Elevate your gardening experience by creating your own compost bin, a straightforward and fun venture that yields rich rewards. Imagine transforming kitchen scraps and yard waste into nutrient-rich compost for your backyard garden – it’s a win-win situation! By making the most of these easy DIY compost bin ideas, you’ll be well on your way to turning what was once waste into a valuable resource for your gardening endeavors.
Simple DIY Compost Bin
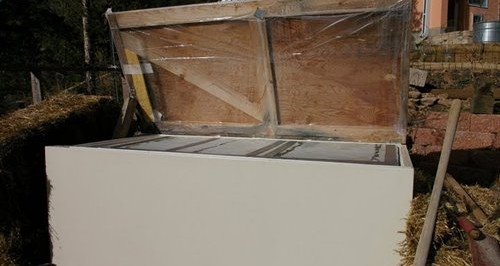
For the seasoned gardener, a compost bin is an essential tool. However, designing and building one can be a time-consuming process. Fortunately, keeping things simple can yield equally impressive results. In just under 6 hours, you too can create this DIY compost bin, complete with proper ventilation and an easy-to-use lid hatch. What’s more, with the right drill kit, you’ll be well on your way to composting success in no time.
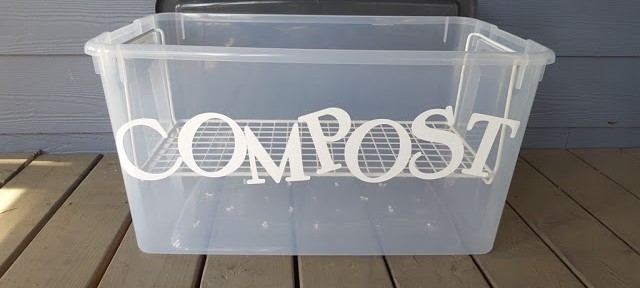
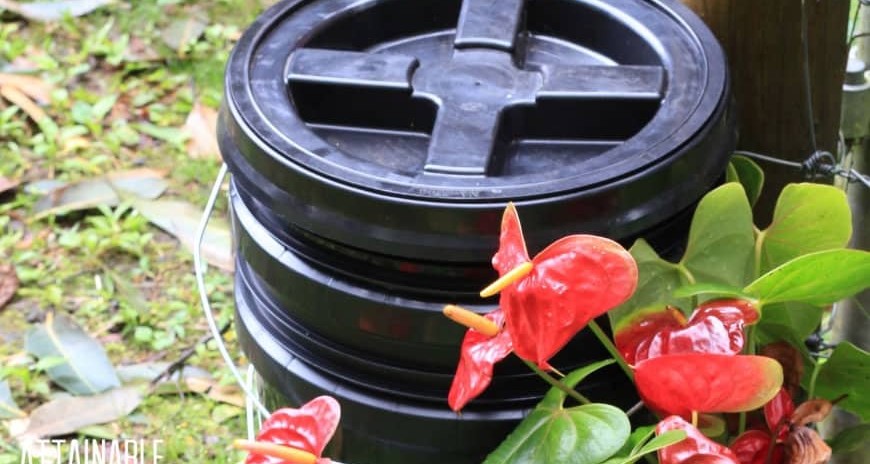
DIY Compost Bin In 15 Minutes
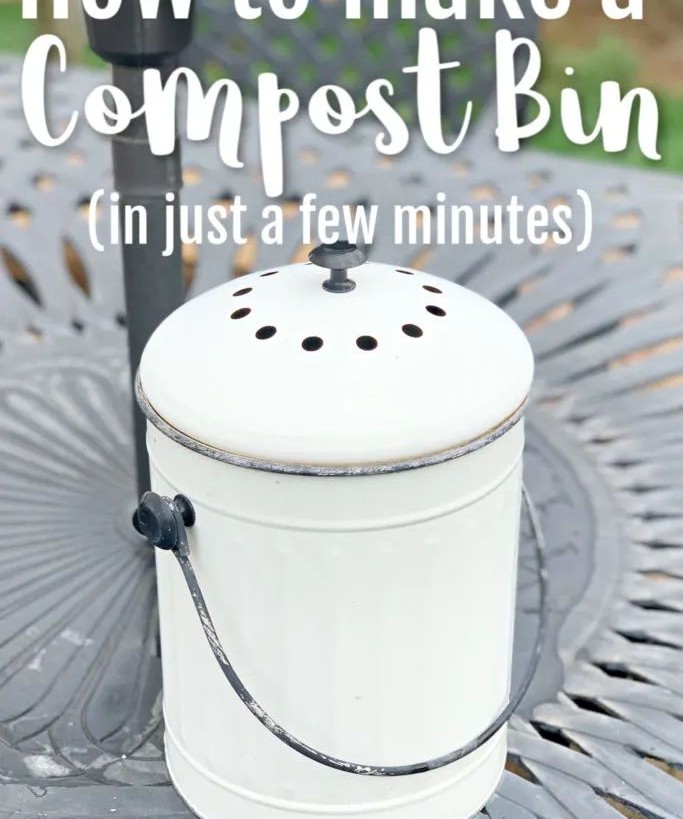
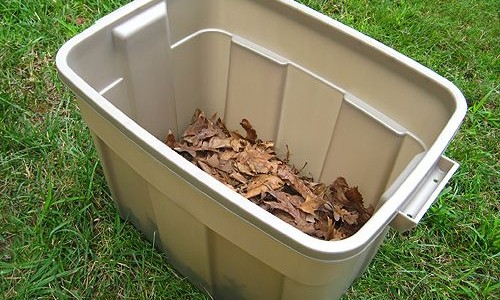
While setting up a compost bin in 15 minutes might seem like an ambitious goal, the end result of a clean and effective system makes the process worthwhile. To get started, you’ll need to acquire a compost keeper, a crucial component that facilitates efficient decomposition. Next, utilize your power drill to create 12-15 holes at the bottom of the bin, ensuring optimal drainage. Finally, it’s time to layer the contents.
Collect a diverse range of materials like leaves, grass, weeds, cardboard, newspaper, and even dryer lint if available. The key principle is that any organic material derived from the earth can be composted in this bin.
Inexpensive Compost Bin
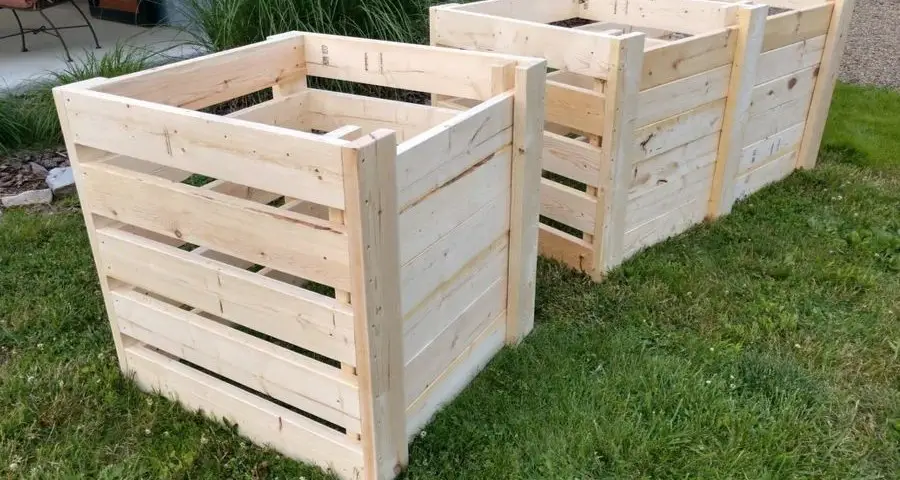
When scouring the market for a compost bin, two key considerations often take center stage: affordability and aesthetics. This particular model strikes the perfect balance between the two. Its spacious interior belies its compact design, which allows it to effectively retain heat and moisture – both crucial factors in facilitating decomposition.
While some assembly is required (you’ll need lumber and wood screws to get started), the end result is a reliable and efficient composting solution that won’t break the bank or compromise on looks.
Compost Tumbler Bin
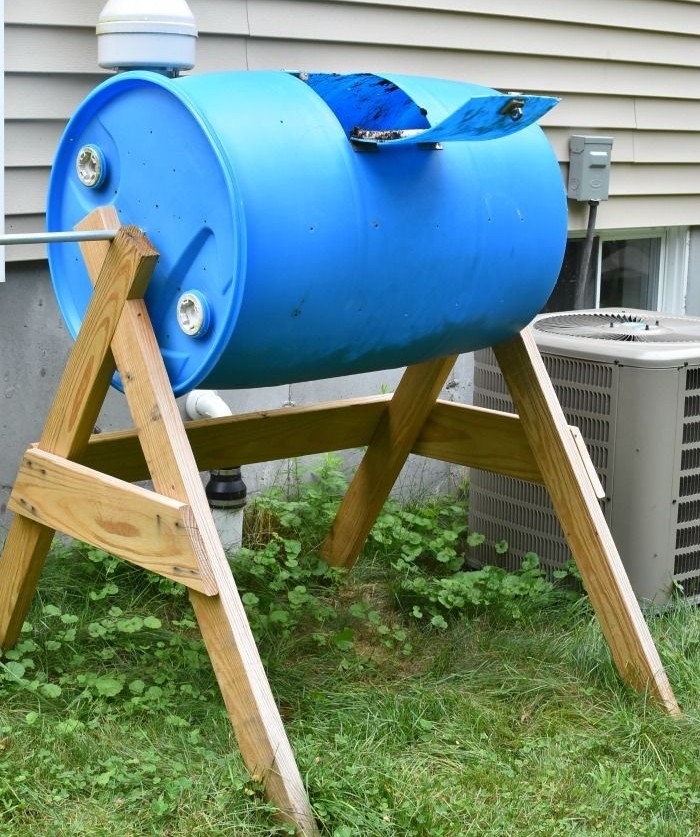
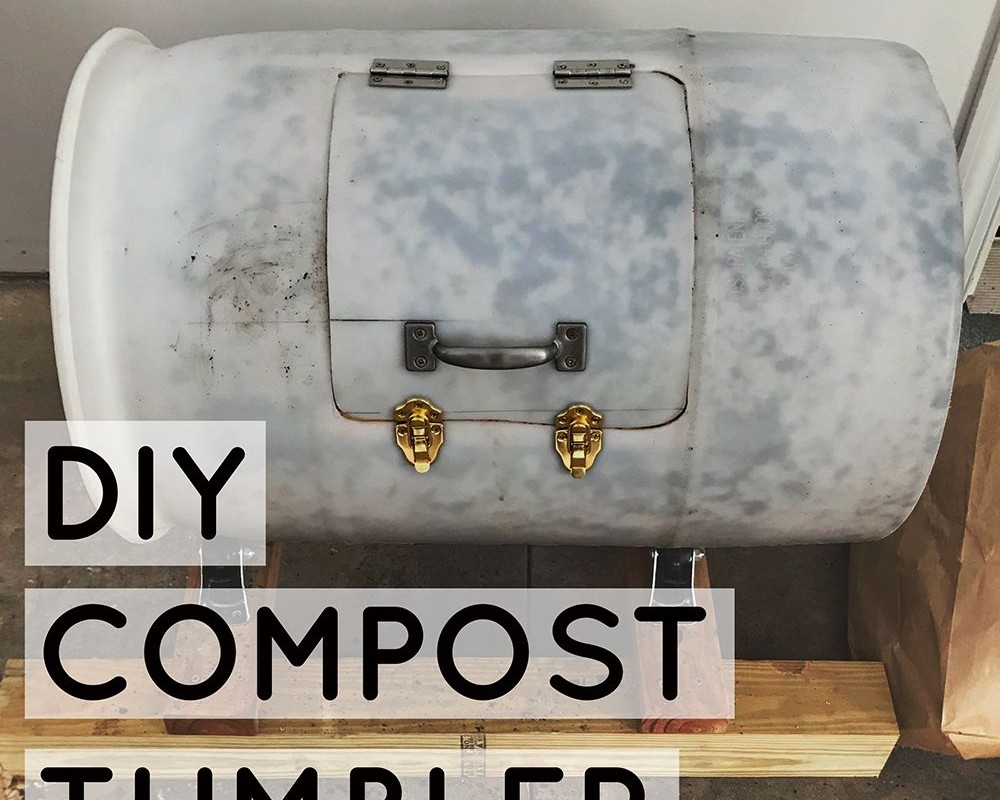
To kick-start this DIY Compost bin project, grab a plastic drum designed for holding large volumes. This will provide ample space for your composting needs. Once you have your drum, it’s time to focus on the tumbler’s hatch door. This will allow for easy access to add or remove materials from your compost pile. Simply cut the door into the side of the drum and attach hinges to secure it in place.
With the hatch door complete, your bin is now ready to be layered with your chosen compost materials. If you prefer a more rustic approach, consider repurposing storage totes as an alternative. These often come equipped with sturdy handles, making them a convenient option.
Compost Container
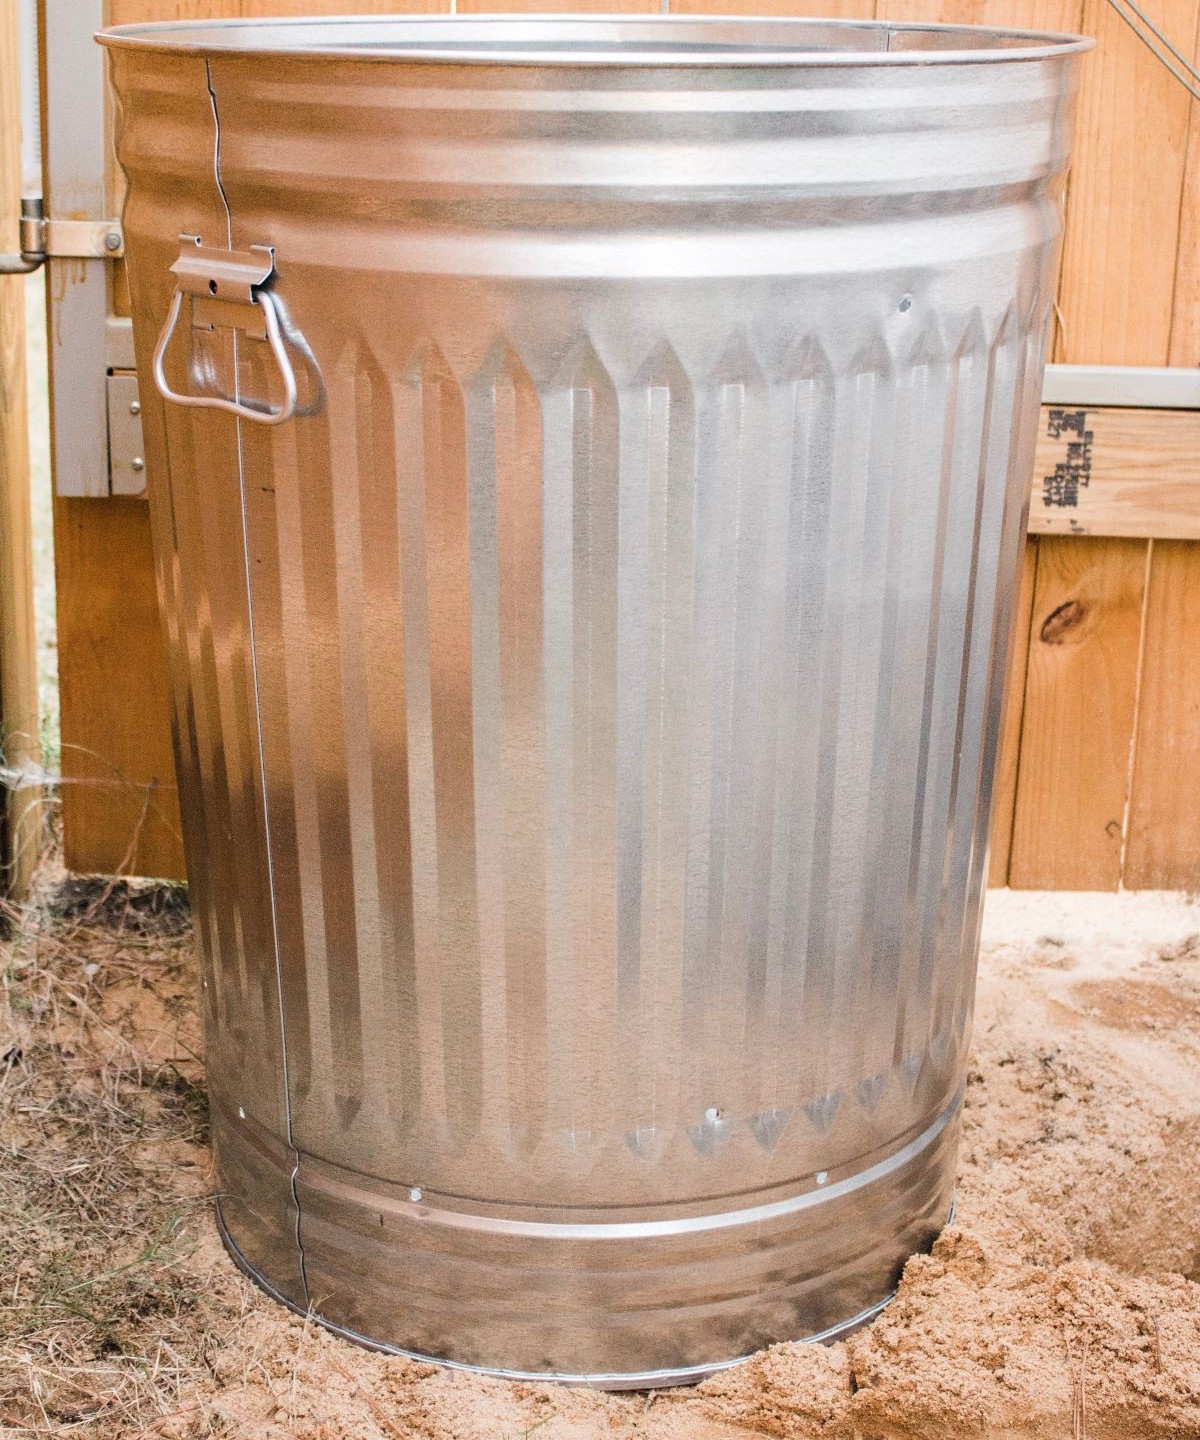
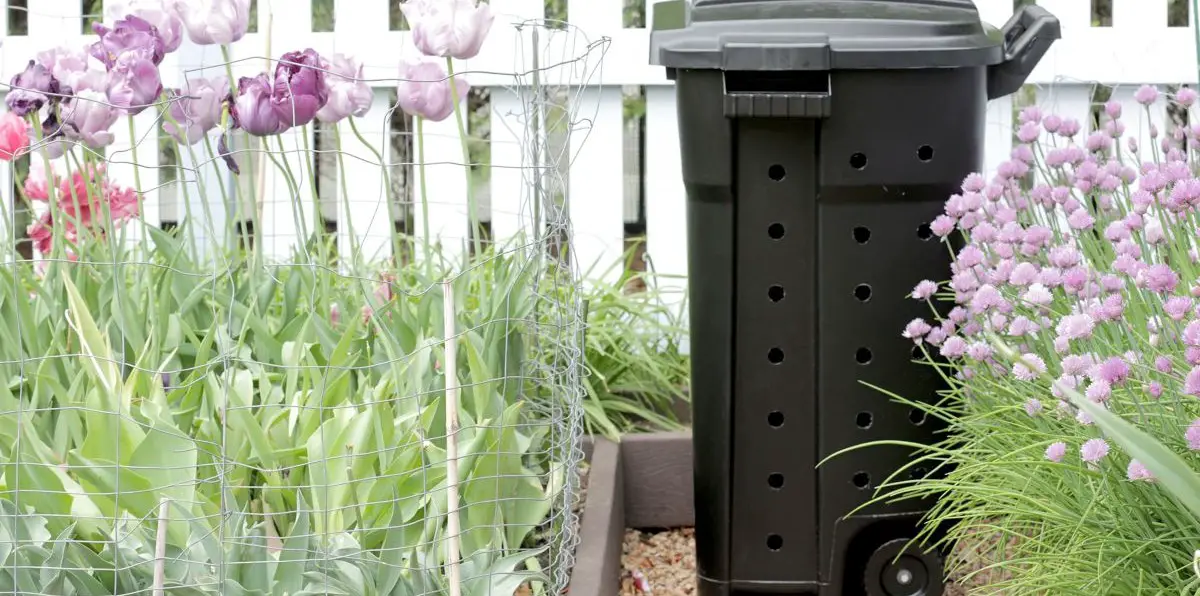
To create your own compost bin, start by relocating your trash can to an outdoor location. If that’s not feasible, simply obtain a new one. Next, drill rows of holes into the top and bottom sections of the container. The holes on top will facilitate air circulation, while those at the bottom will permit worms and other beneficial organisms to enter and contribute to the decomposition process.
Once you’ve drilled the holes, dig a hole in your chosen spot that’s wide enough to accommodate the bottom half of the trash can. Place it in the hole, ensuring it’s snugly positioned before covering it halfway up.
No-Work Composting
For this DIY project, you’ll need a sturdy plastic garbage can instead of the traditional galvanized option. In addition to the container, gather an appropriately-sized drill bit and a bungee cord. Start by drilling holes in the lid to ensure proper air circulation. Once you’ve completed this step, it’s simply a matter of selecting your organic compost materials and you’ll be ready to get started.
Wooden Crate Compost Bin
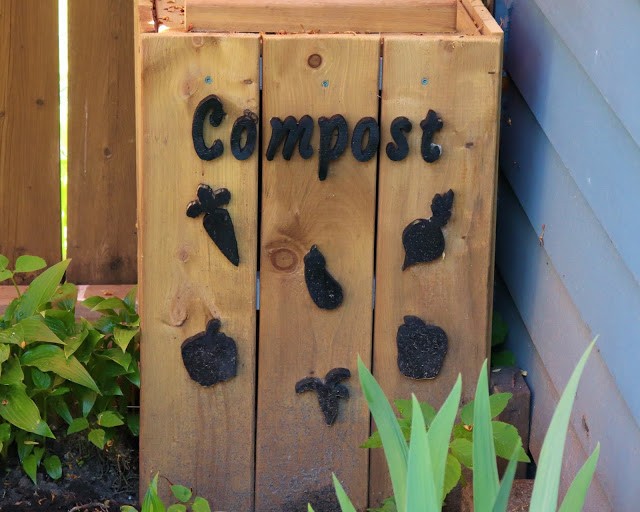
A simple yet functional compost bin is the key, and it’s surprisingly easy to build. To get started, gather the following supplies: sturdy fence boards, 2-by-2 planks for the inner frame, and heavy-duty wood glue that can withstand the rigors of decomposition. Don’t forget to ‘requisition’ some wooden alphabet blocks from your little ones – a compost bin without a sign would be a bit, well, bland, wouldn’t it?
Back To The Basics Of Tumbler Compost Bins
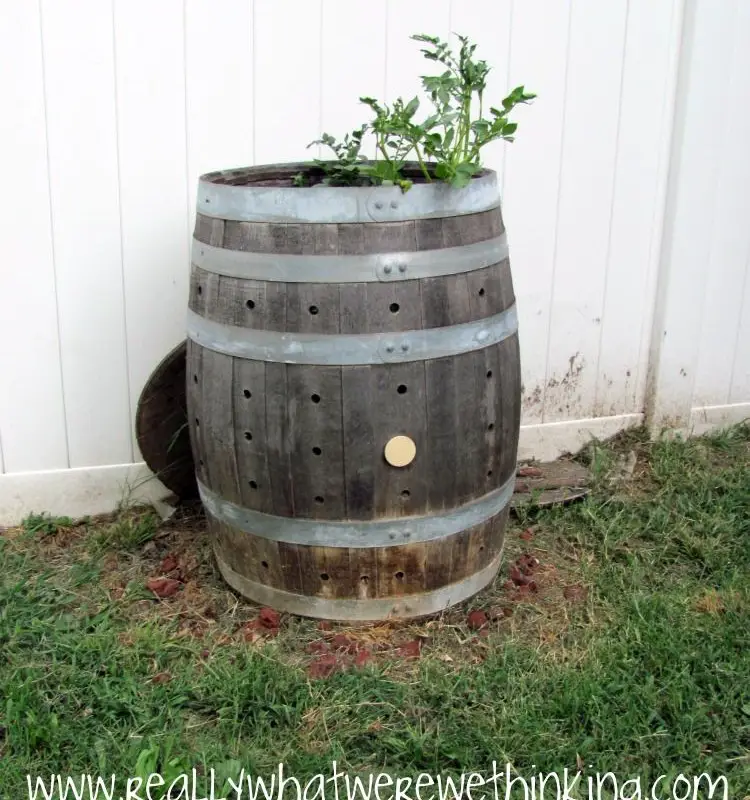
When embarking on this DIY project, you’ll need a suitable container – a plastic drum or mixing barrel (for more options, see here). If you have drums lying around, previously used for storage or other purposes, those can also work. However, regardless of the source, it’s crucial to properly prepare and clean your chosen drum before use.
A gentle, chemical-free detergent is recommended to ensure the pH balance of the compost pit remains unaffected, guaranteeing a healthy environment for microorganisms to thrive.
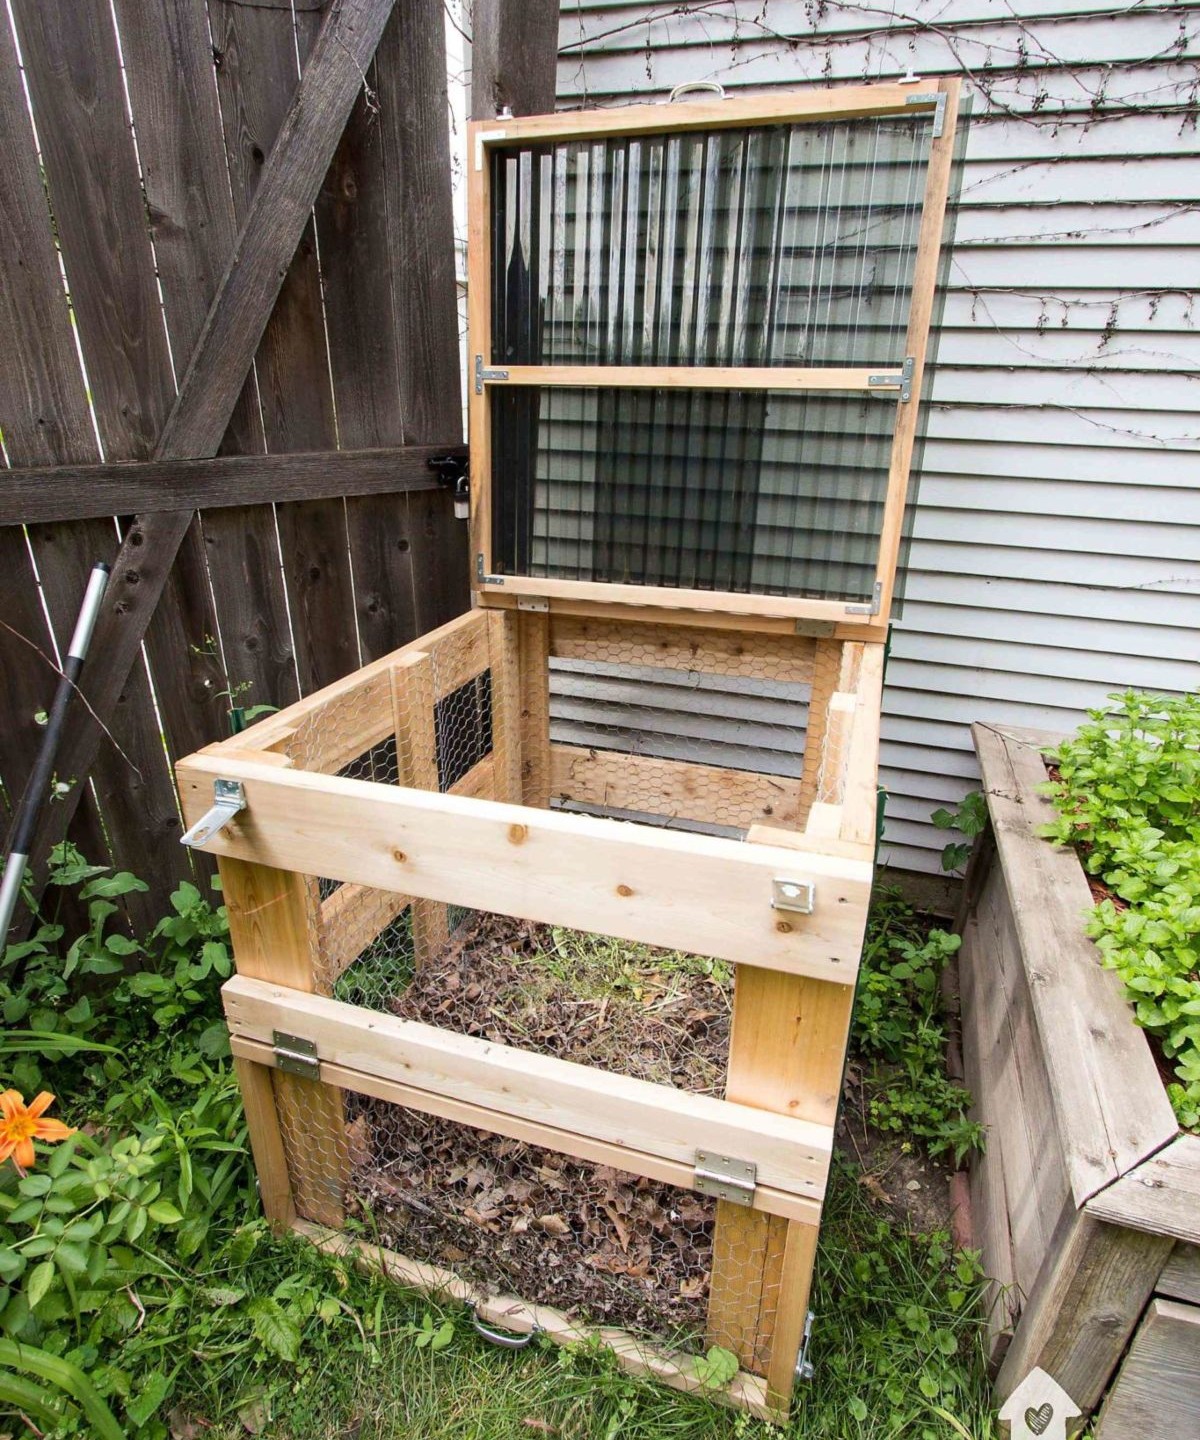
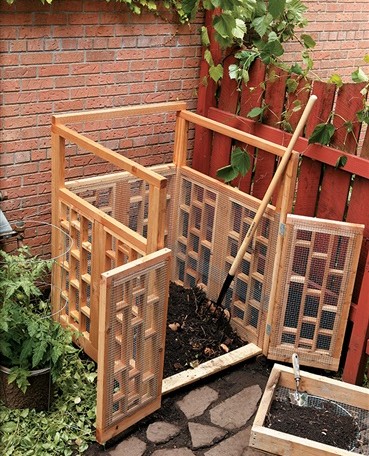
Compost Bin For Kitchen Scraps
When it comes to managing kitchen scraps, having a reliable compost bin on hand can be a game-changer. Rather than simply disposing of them down the drain or out the window, you can take control of the process and turn those scraps into something valuable. In just a few weeks, your compost bin will be ready to use, providing a natural and sustainable way to break down organic waste.
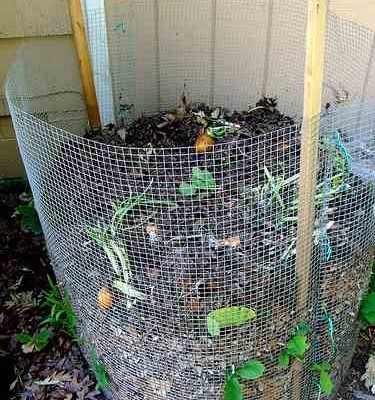
To get started, consider building a frame for your compost bin using wooden posts, which can be easily found at most hardware stores. Additionally, don’t forget to add some chicken wire to the mix – it’s an essential component in keeping pests out of your bin. With these simple steps, you’ll be well on your way to creating a functional and effective composting system that benefits both your garden and the environment.
Compost Bin For Kids
Composting can be an exciting family activity. Engage your little ones in the process by involving them in collecting materials for the compost pile. This can include leaves, twigs, and unexpected food scraps they may have stashed away in their lunchboxes. To get started, you’ll only need a storage bin or even a recycled container from around the house. And if you’re looking for more ways to keep kids entertained during the summer months, here are some fun and creative crafts for them to enjoy.
Wood Frame Compost Pile
When constructing a composting bin from the ground up, you gain the freedom to tailor it to your unique requirements. The size, complexity, and features of your bin can be precisely controlled to meet your specific needs. One such approach is to utilize a grid panel system, which allows for effortless customization. Additionally, incorporating a door frame can significantly enhance accessibility.
Once the basic structure is in place, consider lining the interior with galvanized hardware cloth to create a durable and effective composting environment.
Ready To Assemble Wooden Compost Bin
As the buzz around efficient waste management through composting kitchen waste grows, it’s no surprise that pre-assembled kits are gaining popularity. One such kit stands out for its innovative design, featuring an Eastern White Cedar frame and a durable metal cloth interior. The hinged top allows for effortless loading, while the removable front panel simplifies the process of turning and removing the compost.
By streamlining the construction process, these kits eliminate the uncertainty surrounding building a bin from scratch.
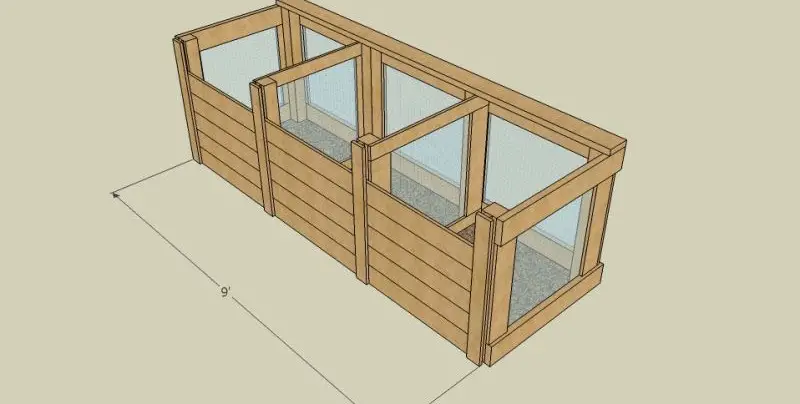
3 Bin Compost System

Composting doesn’t have to be a tedious task. Instead of relying on a single compost bin or pile, consider implementing a three-part system that makes the process effortless. The first two compartments are designed for storing materials as you collect them – think kitchen scraps, leaves, twigs, and other organic matter. Once your collection bins are full, transfer the materials to the final compartment where you’ll turn them regularly.
This simple act of turning helps facilitate the decomposition process, breaking down organic waste into a nutrient-rich compost.
Stone Block Compost Bin

In the world of gardening, functionality often takes precedence over aesthetics. However, that doesn’t mean we have to sacrifice style entirely. A stone compost bin is an excellent example of form meeting function. By using stone blocks, mortar, gravel, and the right tools, you can create a composting system that not only gets the job done but also blends seamlessly into your garden’s landscape.
To ensure a safe and successful building experience, don’t forget to wear protective gear like safety goggles and a dust mask when working with these materials.
Cardboard Box Compost Bin

For those just starting to explore the world of composting, investing in a dedicated bin or constructing one from scratch might seem daunting. A humble cardboard box can serve as an excellent makeshift starter bin, allowing you to dip your toes into the process without committing to a larger investment. The added benefit is that these biodegradable containers will eventually break down on their own, giving you time to experiment and decide if composting is right for you.
Once you’re comfortable with the process, you can transition your contents to a more suitable bin and allow the composting cycle to continue.
Beehive Style Compost Bin
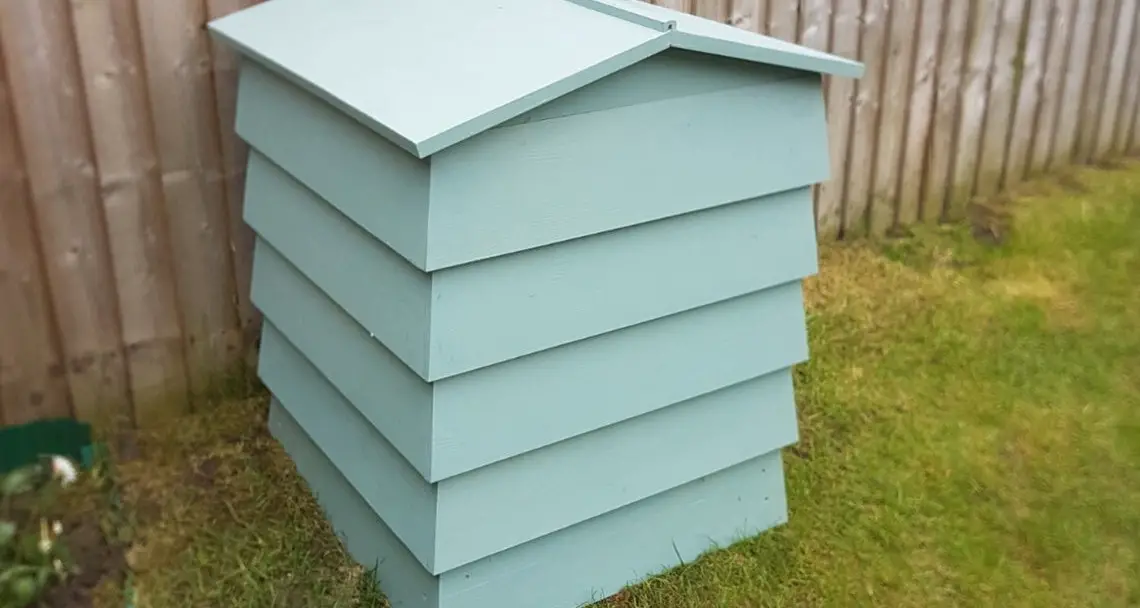
Consider repurposing a beehive-like structure as a compost bin, leveraging its sturdy walls and compact design with an inner chamber. The top-side lid is also reminiscent of beekeeping structures, which will prove useful when it’s time to aerate the compost. Moreover, this alternative is far more aesthetically pleasing than a standard plastic bin. You can either construct one yourself or explore options available online.
DIY Trash Can Turned Compost Bin
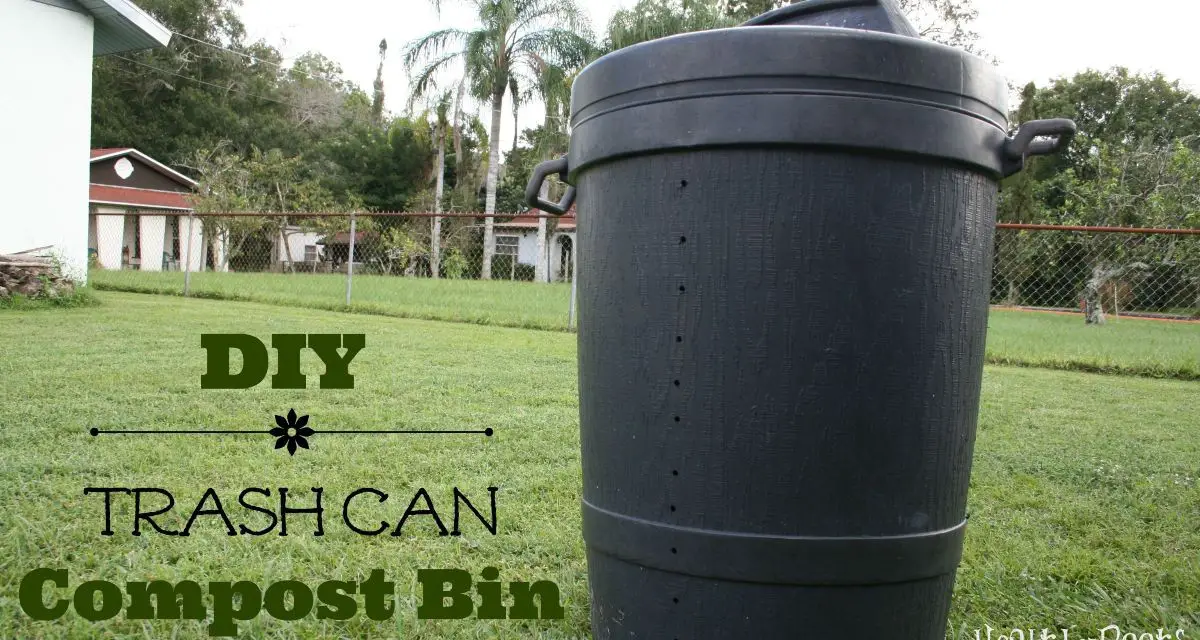
In just under 16 minutes, you can transform an ordinary trash can into a functional compost bin. To get started, gather the necessary tools: a trash can with a lid and a power drill. The first step is to drill holes in three key locations – the lid, the bottom, and up the sides of the bin. With these simple steps complete, you’ll have a composting solution ready to accept your organic waste, all within a remarkably short 15-minute timeframe.
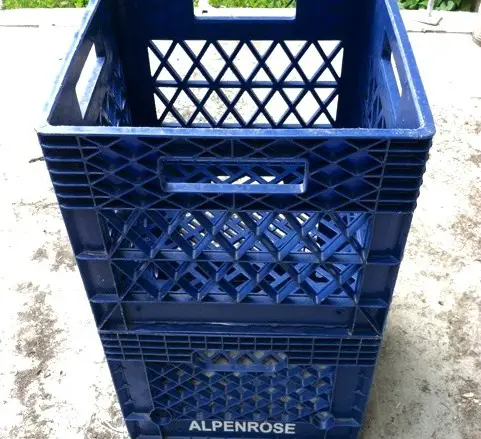
Stackable Milk Crate Compost Bins
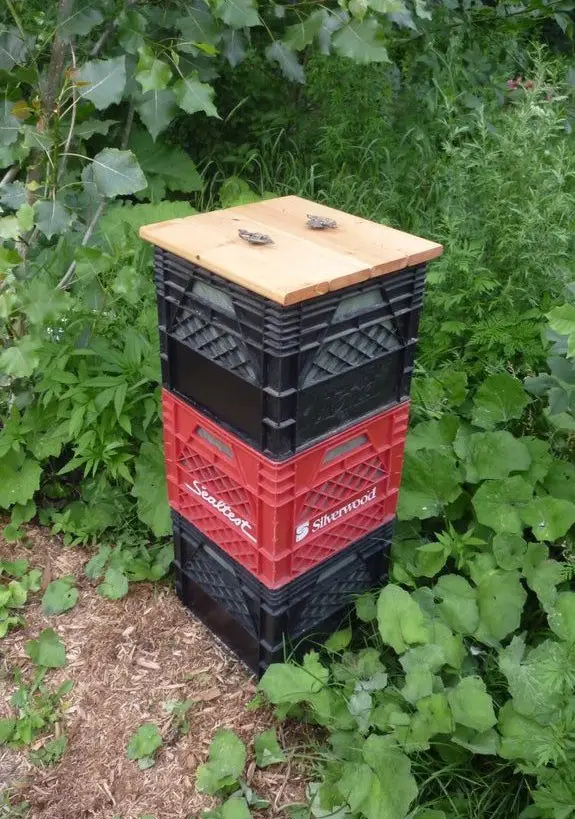
Building upon your existing stackable storage bins, milk crates can be repurposed to provide similar functionality. To utilize these crates effectively, you’ll first need to line their insides with a mesh screen or metal hardware cloth. Additionally, consider elevating the utility of your crate by crafting a wooden lid with a convenient pull handle. This simple modification can add a touch of elegance and practicality to your storage solution.
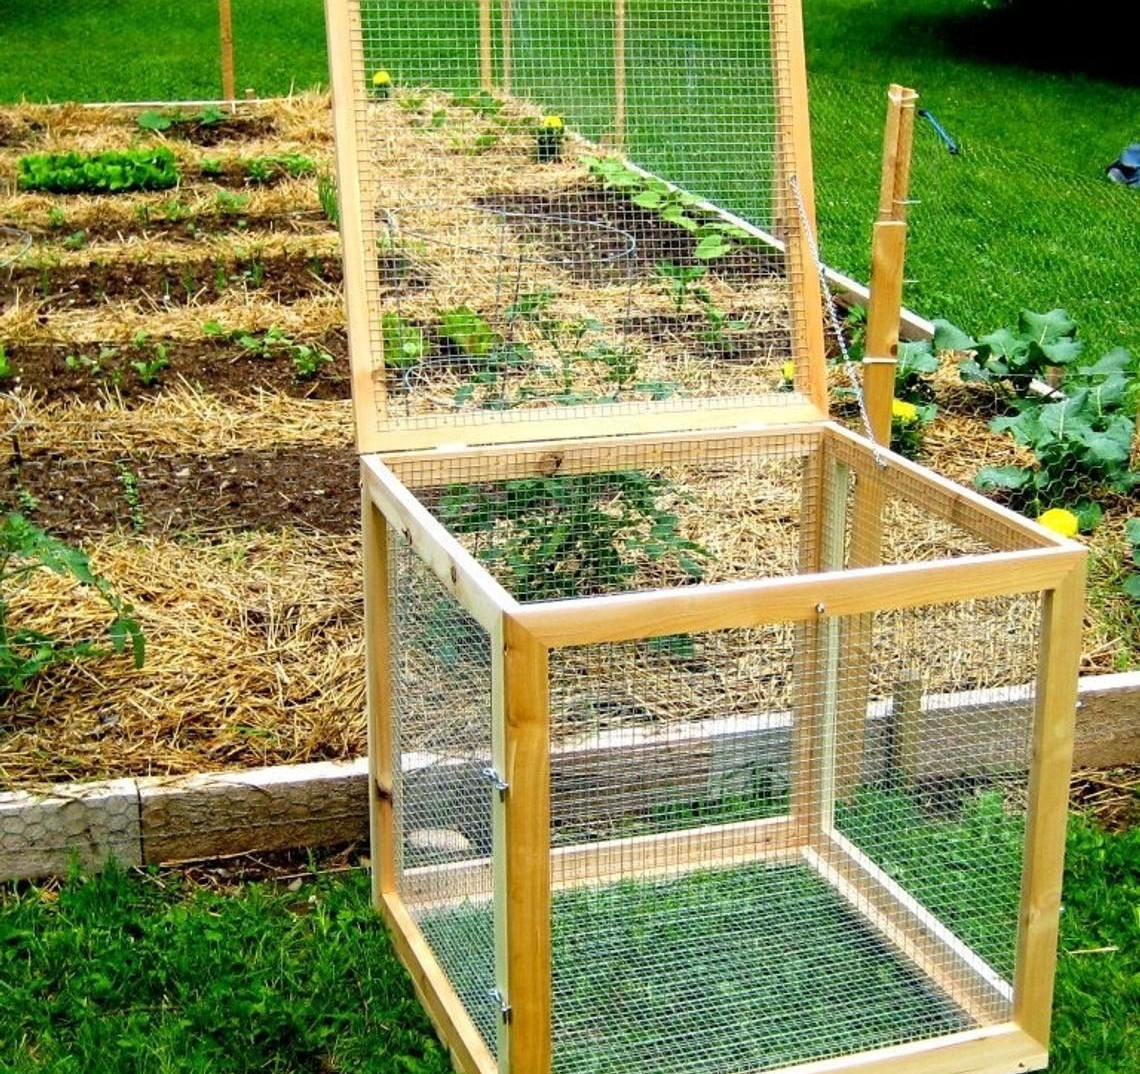
Compost Pit For Yard Waste

When it comes to creating a compost bin, kitchen waste is an excellent starting point. However, there’s another often overlooked source of biodegradable materials – your backyard. With a little effort and creativity, you can collect enough yard waste in just a couple of weeks to add to your compost pile. And the best part? You can make it a fun family activity by getting your kids involved. Turn scavenging for twigs, leaves, flowers, and even earthworms into an adventure.
Just be sure to have a sturdy welded wire utility fence on hand to contain any stray branches or debris. Plus, if you happen to collect some extra leaves, consider upcycling them into a DIY leaf candle holder – it’s a great way to get the most out of your materials.
Lazy Composting
Composting doesn’t require an elaborate setup or specialized equipment. A simple, rustic approach can be just as effective. In fact, the humble backyard compost pile has been doing its thing for years without any fancy systems or bins. If you’re willing to get your hands dirty and don’t mind a few minor drawbacks (like pesky pets that might disturb the proceedings), you can still create a thriving composting environment using this low-tech method.
Worm Compost Bin
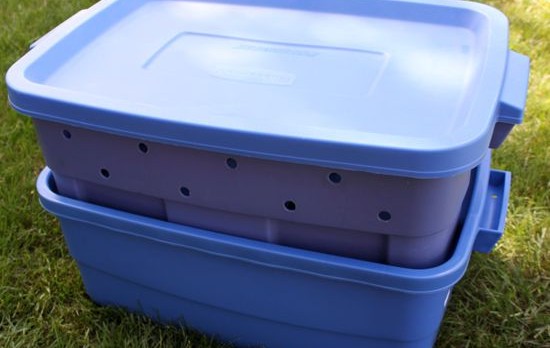
While I may not be a enthusiast of creepy crawlies or plump worms, their importance in decomposition is undeniable. If you’re willing to overlook my aversion, setting up a vermicompost DIY bin can be a straightforward process. Chances are, you already have the necessary storage containers and a stash of newspapers on hand.
The most challenging part of this endeavor is acquiring the worms themselves.
Rather than waiting for them to spontaneously populate your bins (which, let’s be honest, is no guarantee), you may need to take matters into your own hands by digging or visiting a local garden supply store to procure some wormy friends.
Compost Bucket- Easy and Frugal

To initiate kitchen composting on a budget, start by grabbing a basic bucket. Alternatively, repurpose an existing item with a lid, such as a coffee can or kitchen storage container. For added convenience, consider utilizing materials you already have on hand. A charcoal filter is also necessary for optimal results.
Used Tire Compost Bin
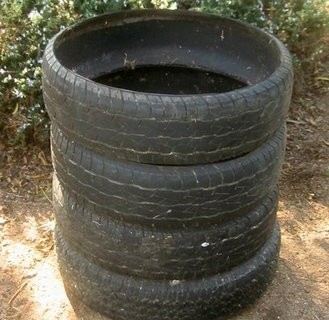
If you’re like many people, you might have a stash of spare tires collecting dust. If that’s the case, you can easily repurpose them into a unique planter or storage container. To get started, head to your local hardware store or an online retailer to pick up a few tires at a discounted rate. Once you’ve got your tires, it’s time to prepare them for their new life. Grab a sharp utility knife or an electric saw, and carefully cut along the sidewalls of each tire.
Next, stack the tires on top of one another, creating a sturdy base for your planter or storage container. Finally, simply pile your compost and materials onto the stacked tires, and you’ll be ready to get growing (or storing) in no time.
Basket Weave Compost Pit
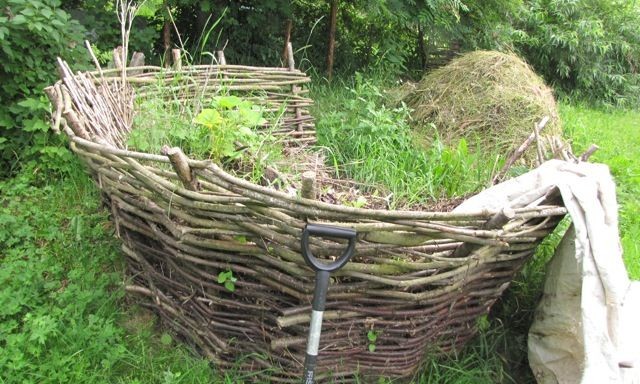
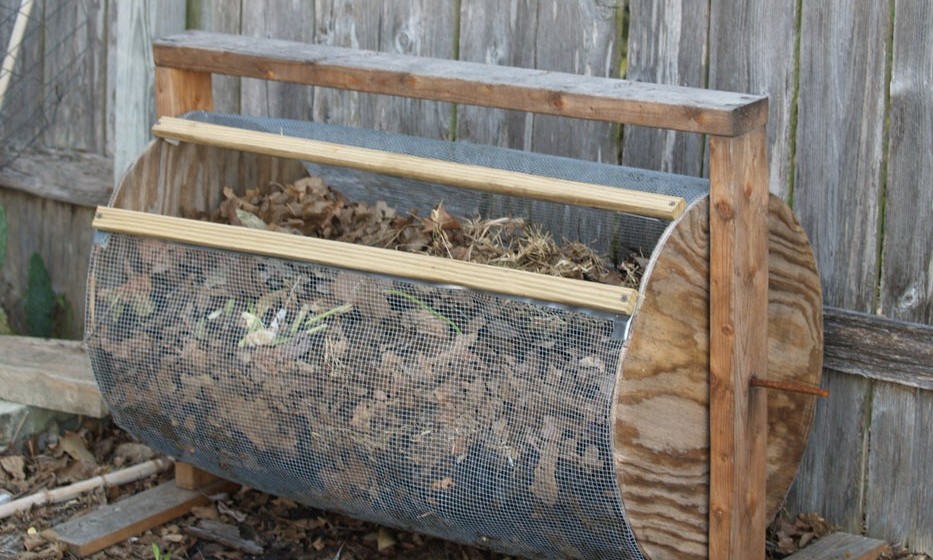
The compost pile before me is a picture-perfect example of what effective waste management should look like. The sturdy basket-weave frame provides a solid foundation for its impressive size, allowing for generous piles and effortless layering. Furthermore, the curved design enables optimal air circulation while facilitating the natural heat and moisture exchange that promotes efficient decomposition.
Before diving in, it’s worth noting that having a trusty rake nearby is essential, as you can prop it against the bin until it’s time to turn the compost.
Compost Tumbler In A Cradle DIY
As you begin constructing your compost tumbler project, it’s essential to incorporate a cradle system that facilitates effortless turning. Following the completion of the barrel/tumbler and its hinge door attachment, you can proceed with building the cradle. To ensure seamless rotation, attach a few rollers on either side of the cradle. Next, take a can of black spray paint and coat the bin in a dark hue.
This strategic color choice serves a crucial purpose: it enhances heat retention within the bin by trapping warmth.
Pot Calling The Kettle A Compost Bin
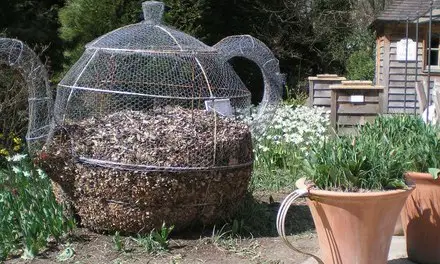
Instead of opting for a conventional, industrial-style compost bin, why not get creative and craft your own unique vessel? The process begins with setting up a base frame that captures the curved silhouette of a teapot. While this may seem daunting at first, the end result is well worth the effort. To complete the look, fashion a lid, spout, and handle using mesh or pliable metal cloth.
And what’s more fitting than adding a few tea leaves to the compost pile, as if in a nod to its teapot-inspired design? It’s a small touch that adds a layer of whimsy to an otherwise practical endeavor.
DIY Compost Bin
Before diving into the DIY composting process, ensure that your bin is spotless, complete with drilled holes on top, bottom, and sides for optimal airflow. With this foundation established, you can begin constructing your pile by starting with a quarter-full layer of shredded newspaper and dry leaves. This foundation layer sets the stage for the rest of the build, which involves adding a mid-layer of dirt to bring the total height to roughly halfway up the bin.
Next, it’s time to introduce your organic matter, including food scraps, eggshells, and even lint if you have it on hand. To initiate decomposition, give the mix a good stir, followed by a gentle misting with warm water to create the ideal environment for microbial activity.
Straw Bale Compost Bin

When it comes to building a thriving compost pit, one often overlooked yet incredibly useful material is straw. Not only is straw biodegradable, but it also plays a crucial role in maintaining optimal moisture and heat levels within the pile. By incorporating bales of straw into your compost bin’s structure, you can create a compact and efficient system that will help your decomposition process run smoothly.
As the straw begins to break down, you’ll find that it can be easily integrated into the compost itself, providing an added layer of nutrient-rich material. This symbiotic relationship between straw and compost is a perfect example of how even the humblest of materials can make a significant impact on your composting success.
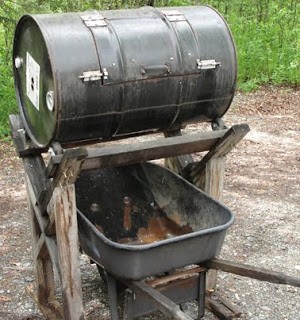
Garbage Drum Composter
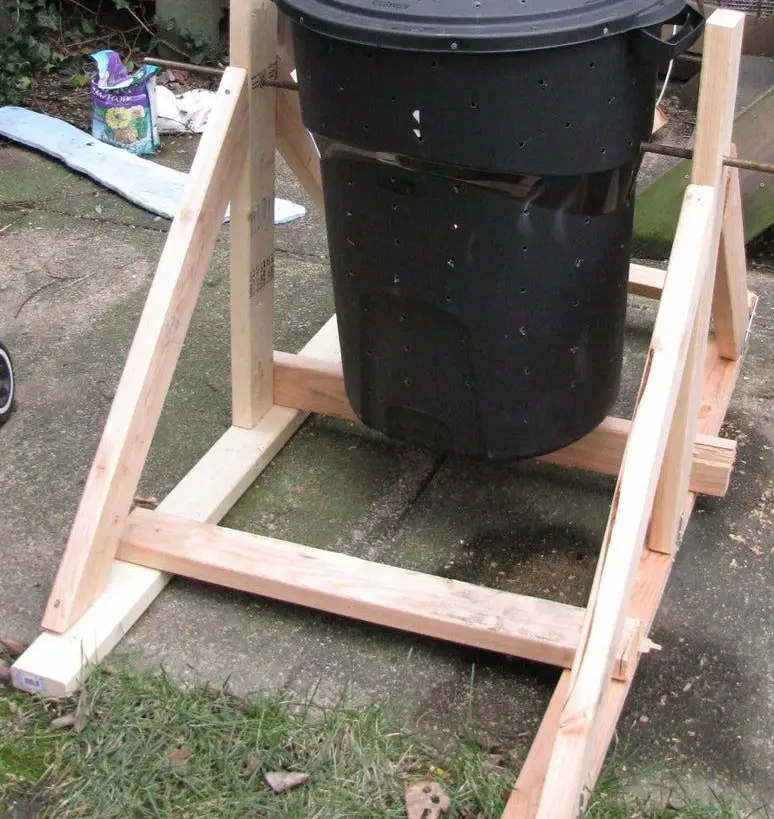
When considering where to deposit kitchen scraps, the obvious choice is indeed a garbage bin. However, taking it to the next level requires a thoughtful approach. One effective solution involves creating a mobile compost system. This can be achieved by attaching the bin to a long metal rod supported by a wooden frame.
By lifting the bin several inches off the ground and incorporating a 360-degree swinging mechanism, you’ll create an effortless composting experience.
Imagine being able to effortlessly rotate your garbage can without having to physically lift it – much like a cradle, but instead of a precious cargo, it’s filled with nutrient-rich compost.
Super Easy DIY Compost Bin
The standard-issue composter gets an upgrade with the addition of wheels, making it effortless to transport around your yard. You can discreetly tuck it away into a corner, where it won’t be visually overwhelming and will remain aroma-free. Letting it sit undisturbed allows the organic compost to work its magic within, breaking down into a rich blend that’s ready for use.
Multiple Bin Compost System

For large-scale gardeners with extensive gardens, a multi-bin system is an ideal solution for efficiently producing high volumes of compost. This design not only enables the creation of a substantial amount of compost in a shorter timeframe but also ensures the process is well-organized and productive.
Pallet Project Compost Bin
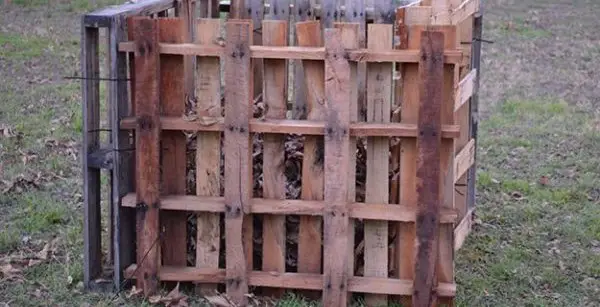
Are you in need of a yard cleanup? If so, and you have repurposed wooden pallets, zip ties, and a rake at your disposal, you’re essentially halfway to setting up a compost bin. The kids can lend a hand with the yard work, but they’ll be more excited about the craft session that follows.
Have them collect some pebbles and rocks while they’re out cleaning the yard. Once the task is complete, treat them to a fun DIY project – like making this unique rock photo holder.
Not only will they enjoy the creative process, but you’ll also have some useful materials ready for your compost bin.
Milk Crate Composter
To kick-start your compost bin project, you likely have the necessary materials at home. Start by lining the bottom of an old milk crate with durable brown paper or a few layers of newspapers for a solid foundation.
Next, wrap weed block fabric around the sides of the crate and secure it using hot glue.
Vermicomposting Bin
When approaching worm-filled bins, I take no chances without proper protection. Head-to-toe gear is essential to ensure a safe and healthy experience. If I do encounter worms, it will be on my terms and under controlled circumstances.
While dealing with worms in an enclosed bin is preferable to open compost pits, a key requirement remains: an opaque bin with a secure lid or tarp to block out light and prevent any potential escape artists from making their getaway.
Outdoors Worm Bin
As I gaze upon yet another worm bin setup, I can’t help but ponder the prospect of a gummy worm or craft worm alternative. Why must we stick to traditional worms? Perhaps it’s time to get creative and explore indoor bug-crafting instead. To embark on this DIY adventure, you’ll need a deep, pitted box or slab with a lid. Don’t forget to drill holes for drainage and air circulation.
Once your setup is complete, line the bottom with a layer of bedding material such as old compost, straw, sawdust, shredded cardboard, or paper. As the final step, it’s time to introduce the worms to their new home. Simply pour them in and give them space to settle in before you start observing their underground activities. Who knows? You might just find yourself getting hooked on vermicomposting.
Woodwork Three-Bin Compost System
While it may not be the most glamorous task, creating a functional composting system is entirely possible even when dealing with large volumes of organic waste. Our design can accommodate up to 55 gallons per bin, allowing for the efficient decomposition of kitchen scraps and other materials into a valuable nutrient-rich soil amendment. If you’re looking for more engaging DIY projects to tackle, we’ve got plenty more where this came from!
Rotating Drum Compost
A key benefit of using a rotating compost bin is the ability to effortlessly aerate and mix the contents without having to physically turn over the pile. By allowing the compost matter to breathe and moisture to distribute evenly, the decomposition process is significantly accelerated. Furthermore, this design eliminates the need for manual raking or turning, keeping your hands clean and saving you time. Simply rotate the drum to achieve a well-mixed and thriving compost environment.