
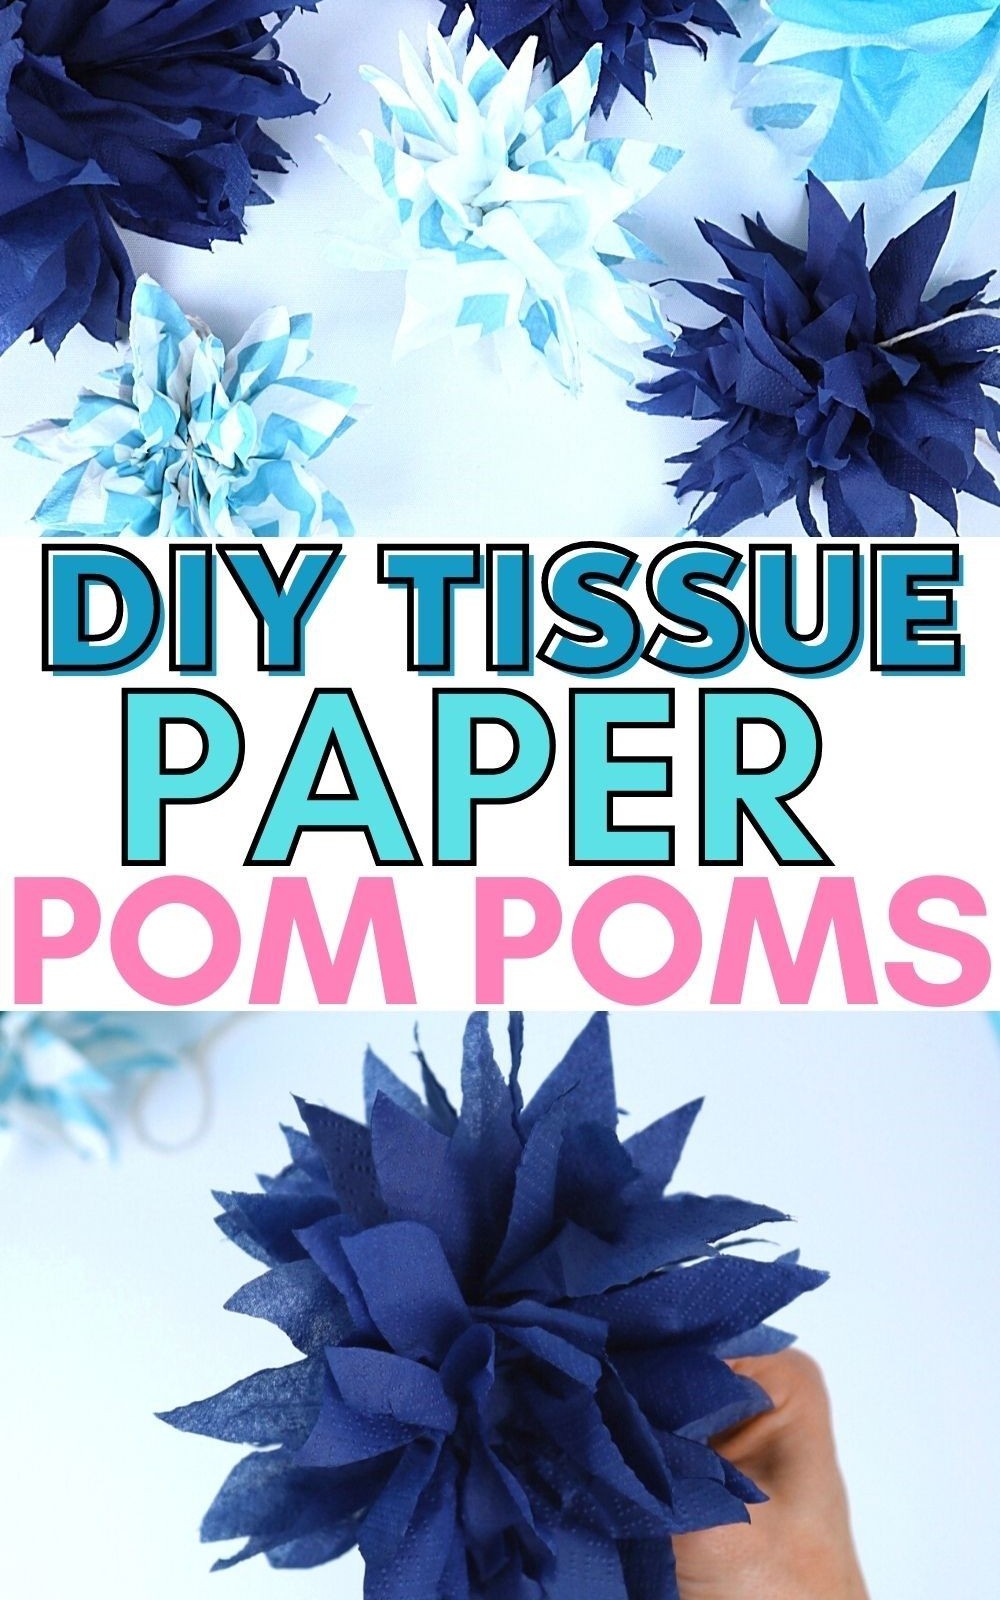
Transforming any space into a haven of elegance has never been easier or more affordable. Paper pom poms, in particular, offer a delightful solution for those looking to add a touch of whimsy and charm to their environment. With their lightweight and airy texture, these tissue paper creations are perfect for adding a playful flair to your home decor.
Imagine walking into a room where the walls are adorned with delicate, feathery orbs that seem to defy gravity.
The soft rustle of the paper as they gently sway is all it takes to create an inviting atmosphere. Whether you’re preparing for the winter season or simply seeking to revitalize your space, these beautiful tissue paper pom poms are sure to impress.
Their versatility knows no bounds – hang them from the ceiling, place them on a table centerpiece, or use them as a decorative accent wall treatment.
Wherever you decide to display them, rest assured that they will effortlessly elevate any room’s aesthetic.
A Great Craft for Teens, Kids, and Even Adults
While traditional crafts are often reserved for adults, this paper pom-pom project is an inclusive activity that brings everyone together. Whether you’re a parent, grandparent, or simply a crafter at heart, this fun and easy DIY can be enjoyed by people of all ages. In fact, it’s the perfect way to spend quality time with loved ones, fostering memories and strengthening bonds over a shared creative experience.
So gather your family members around the dining room table, break out the tissue paper and yarn, and get ready to bond over this delightful craft. The result? A whimsical decoration that adds a touch of personality to any space.
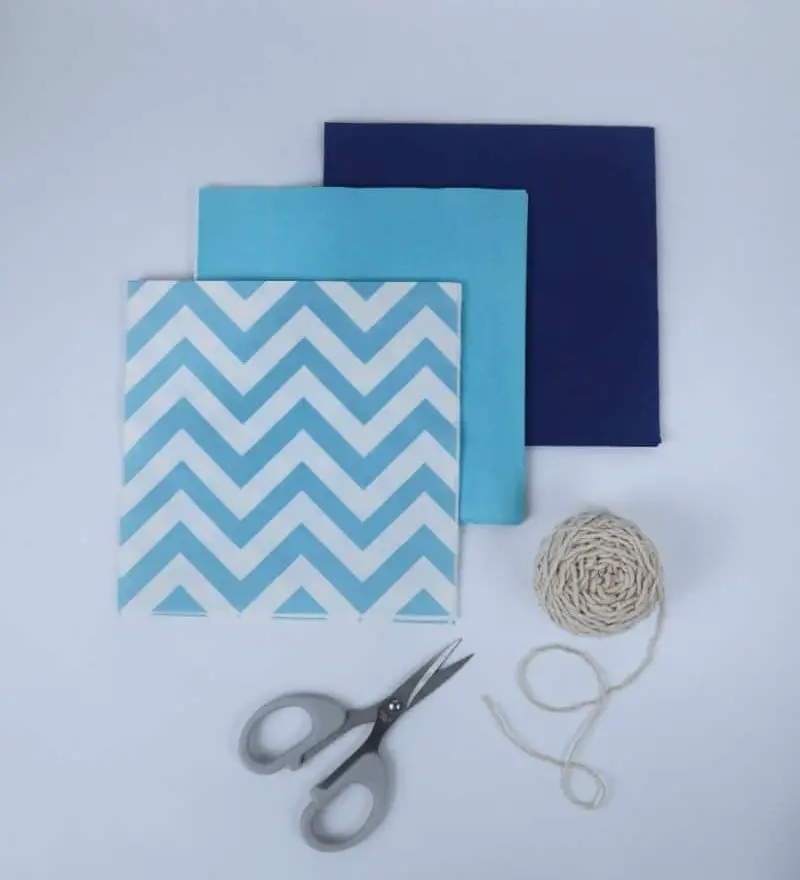
Supplies You’ll Need for 3 Pom Poms
How To Make Tissue Paper Pom Poms
To create stunning pom poms, simply follow each instruction in sequence and you’ll be enjoying their beauty shortly.
Step 1
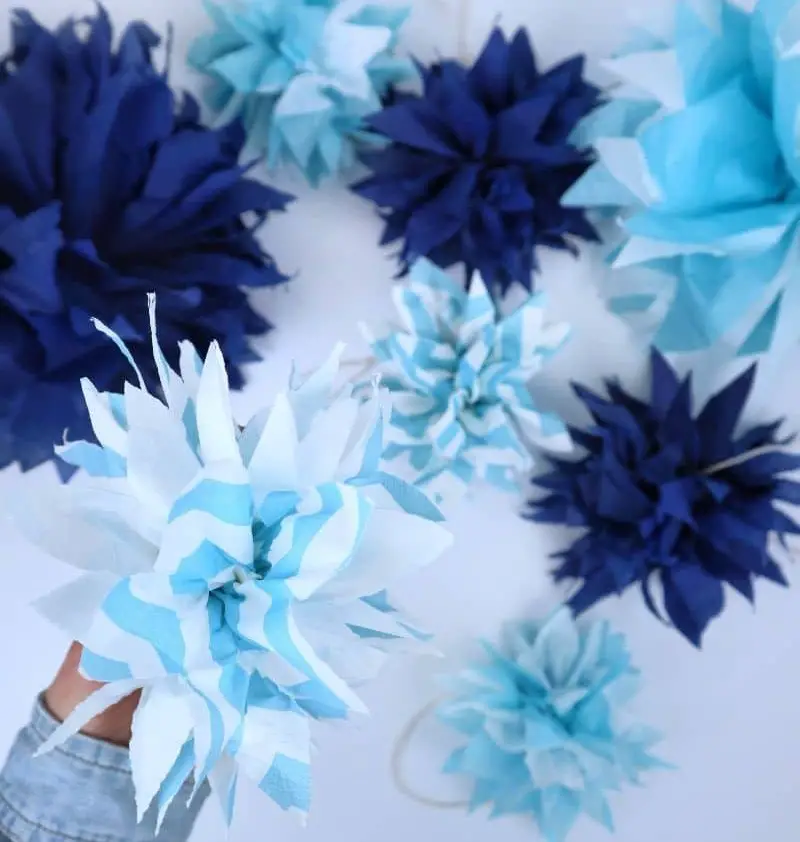
To begin, gather all the necessary materials. For this example, I selected a diverse set of three tissue papers – two solid colors and one featuring a unique pattern – all within the same blue color palette. This curated collection will create an visually appealing display when displayed together.
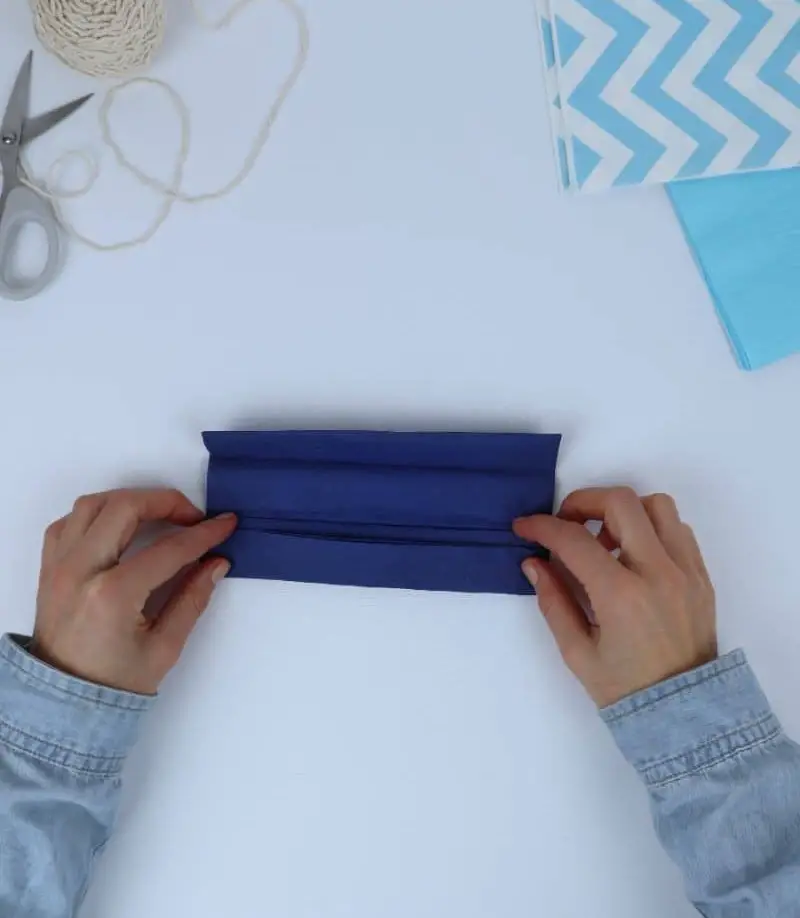
Step 2
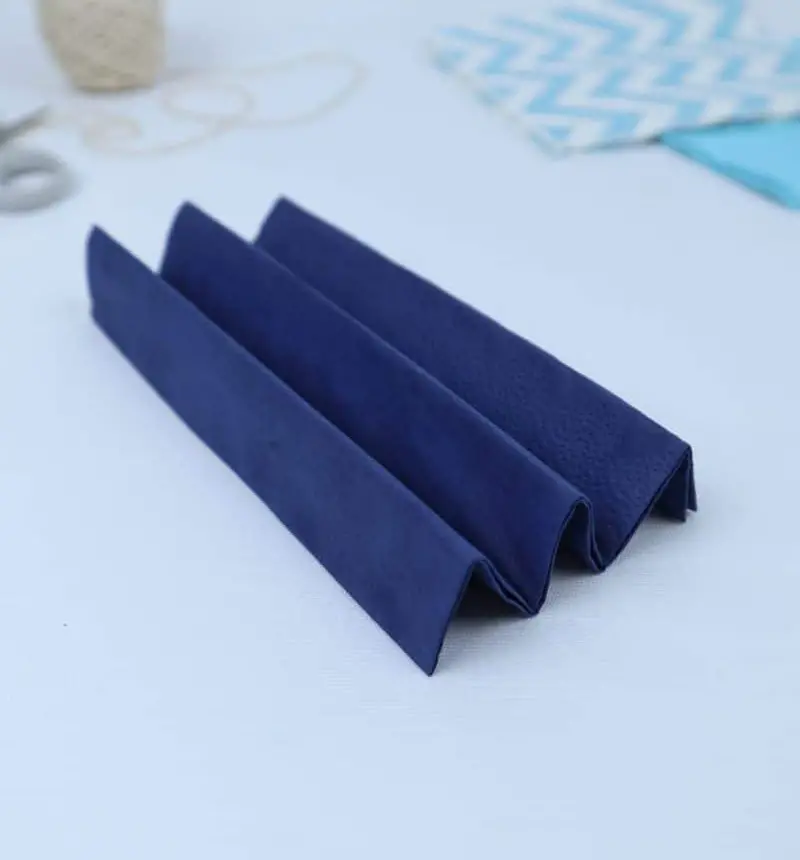
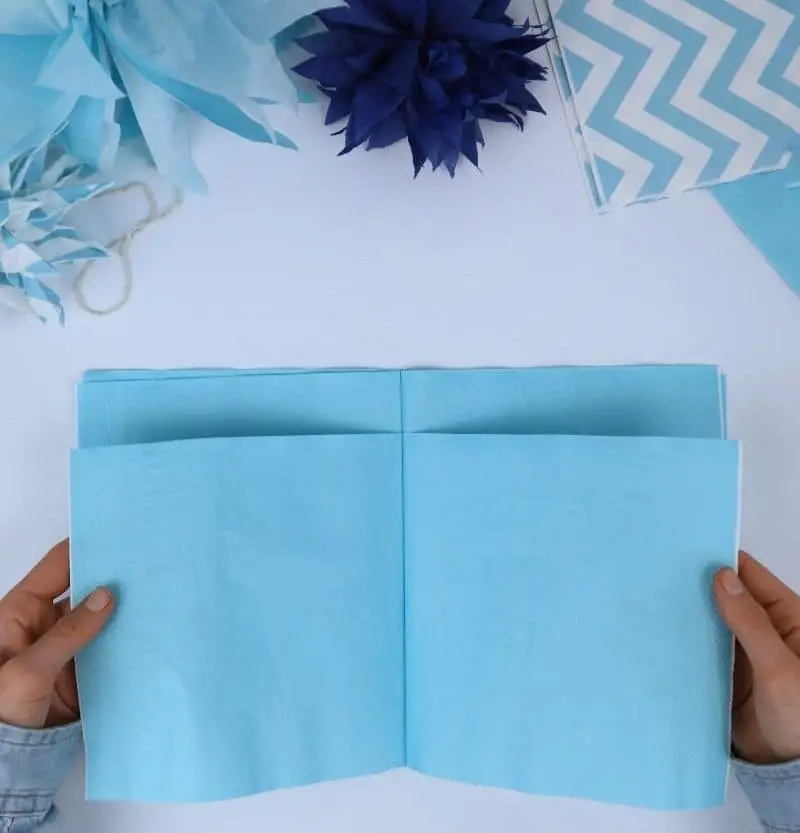
Begin by taking a folded square of tissue paper and introducing a ‘fan fold’ technique. Hold the edge and create a small crease about one-sixth of the way in, then grasp that edge and repeat the process. As you continue to fan-fold the paper, you’ll start to see a corrugated shape take form.
Step 3
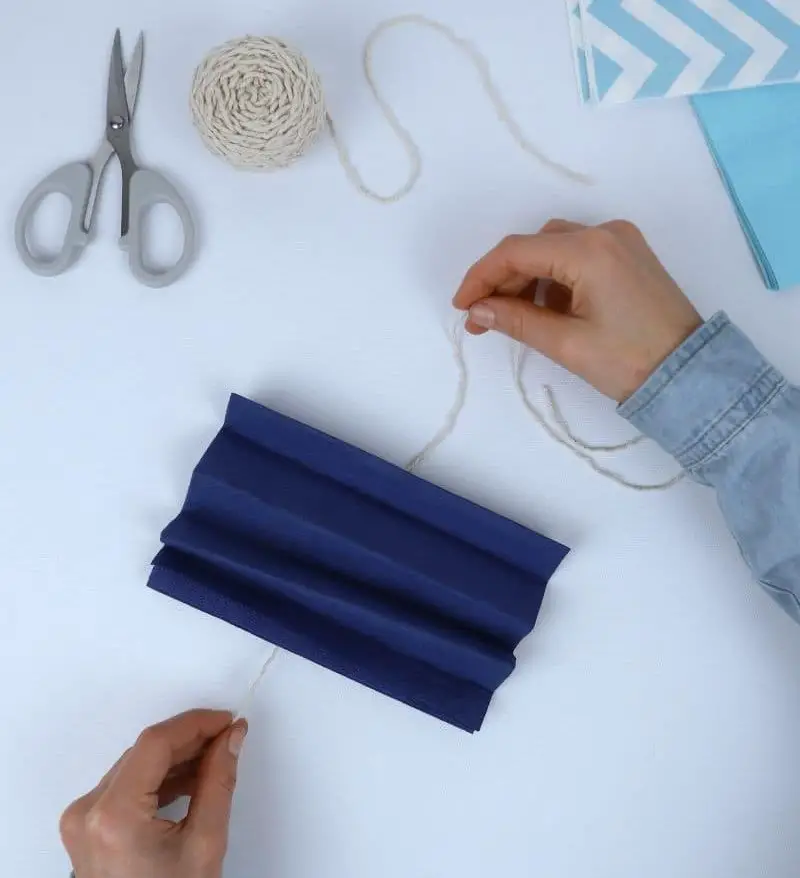
When it’s time to create the yarn strings for your pom-poms, start by cutting an appropriate length. The ideal size will depend on how you plan to display them – this string will be responsible for suspending your finished creations once they’re complete. To avoid any issues later on, I opted for a piece of yarn that roughly matches the length of my forearm. This approach ensures you’ll have more than enough material, leaving room for adjustments or unexpected turns along the way.
Step 4

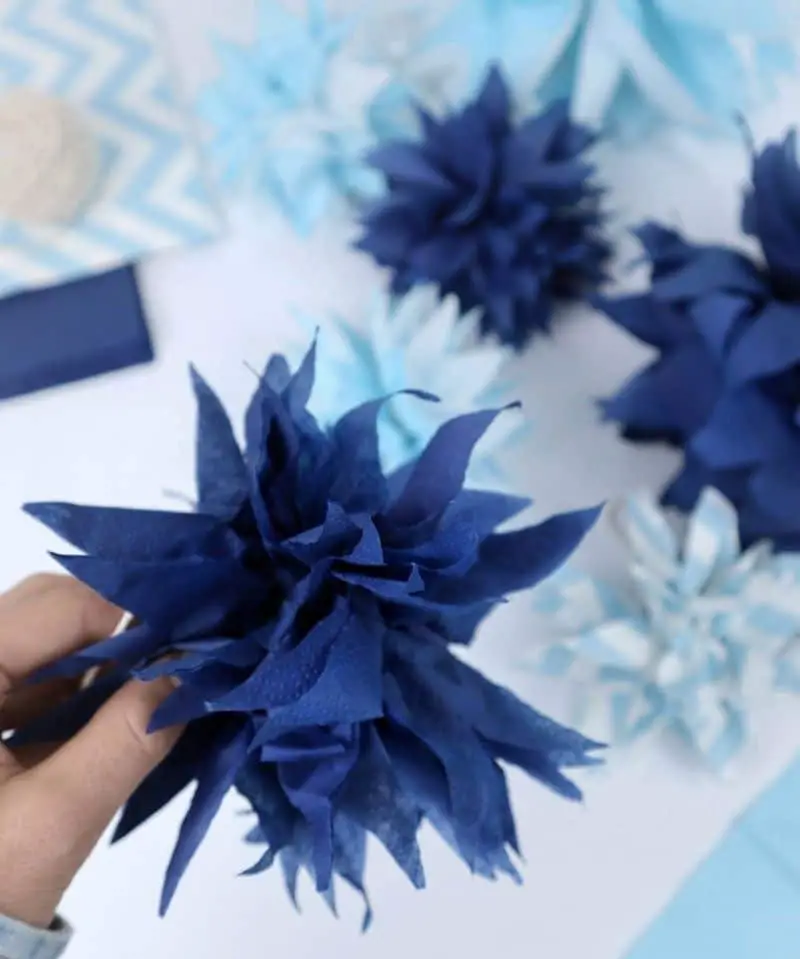
To create the desired shape, begin by securing the yarn in the center of the folded tissue paper. Twist the yarn tightly around its middle to ensure a sturdy hold. As you work, allow the edges of the tissue paper to subtly fan outward, creating a soft and airy appearance.
Step 5
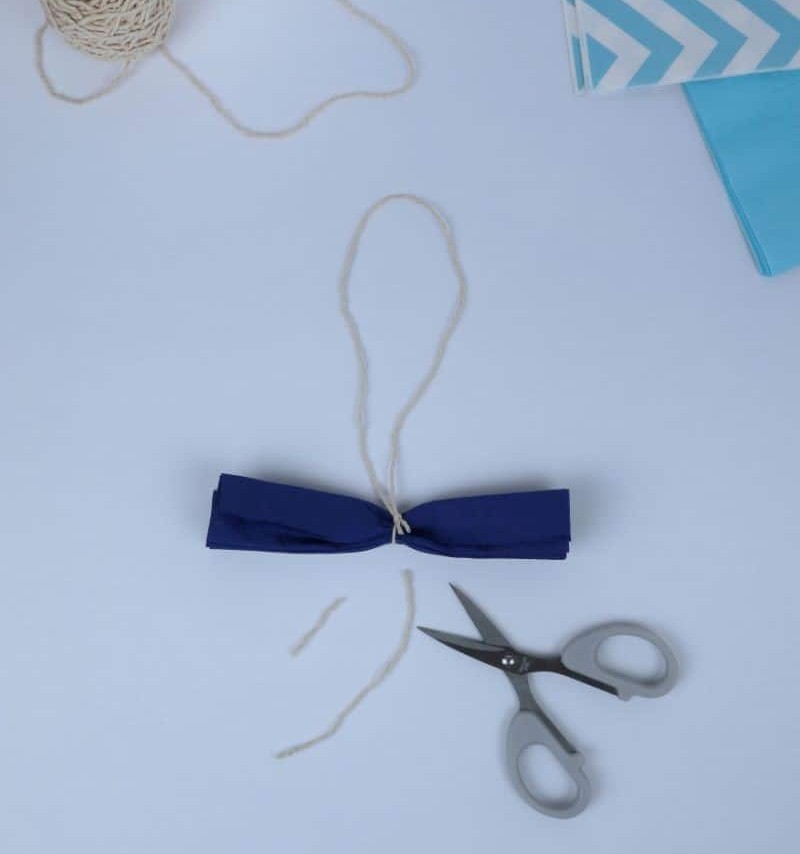
Once you’ve completed the project, it’s time to tidy up those yarn ends! To ensure a professional finish, trim the shorter end of your yarn, setting aside any excess for future use. If you’re not planning to display your pom poms or attach them to something, go ahead and cut both yarn ends off at the knot, leaving just the secure join behind.
Step 6
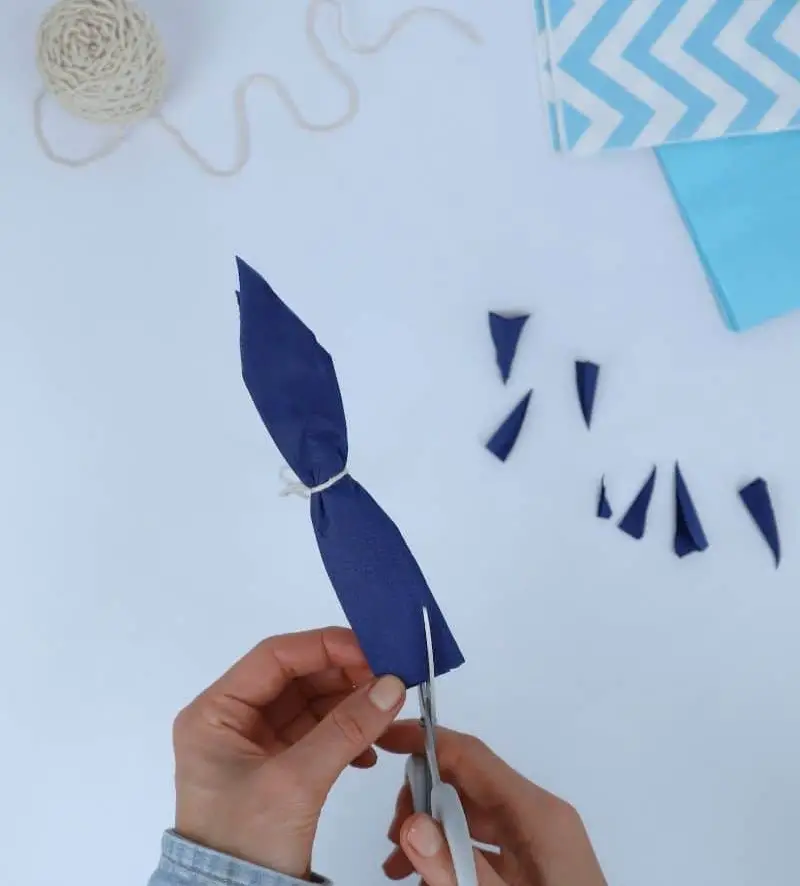
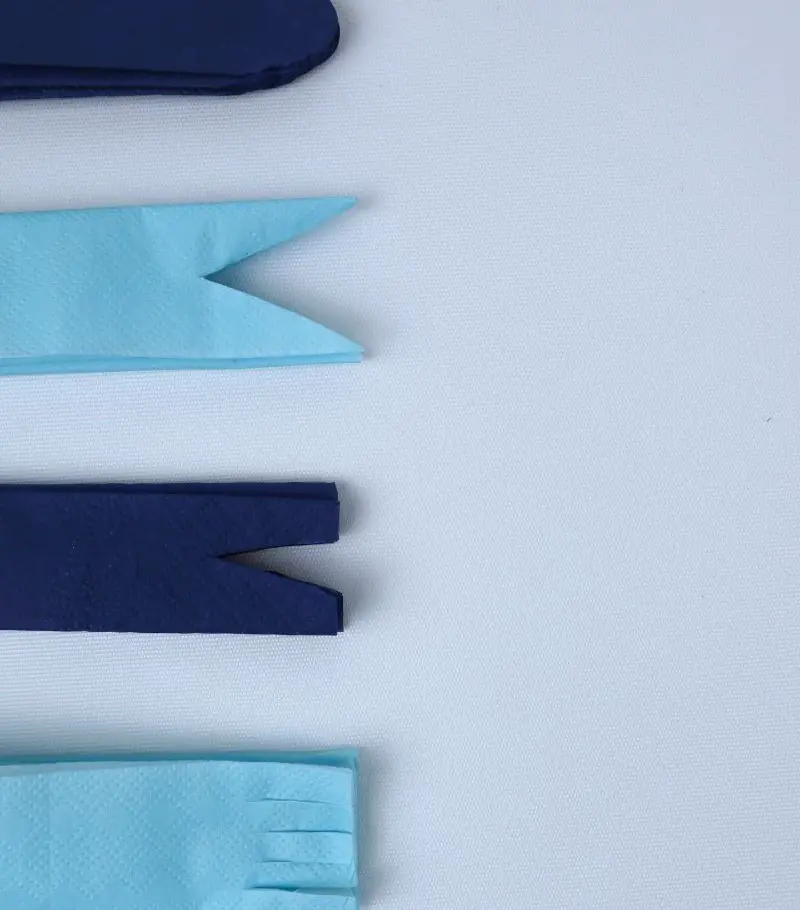
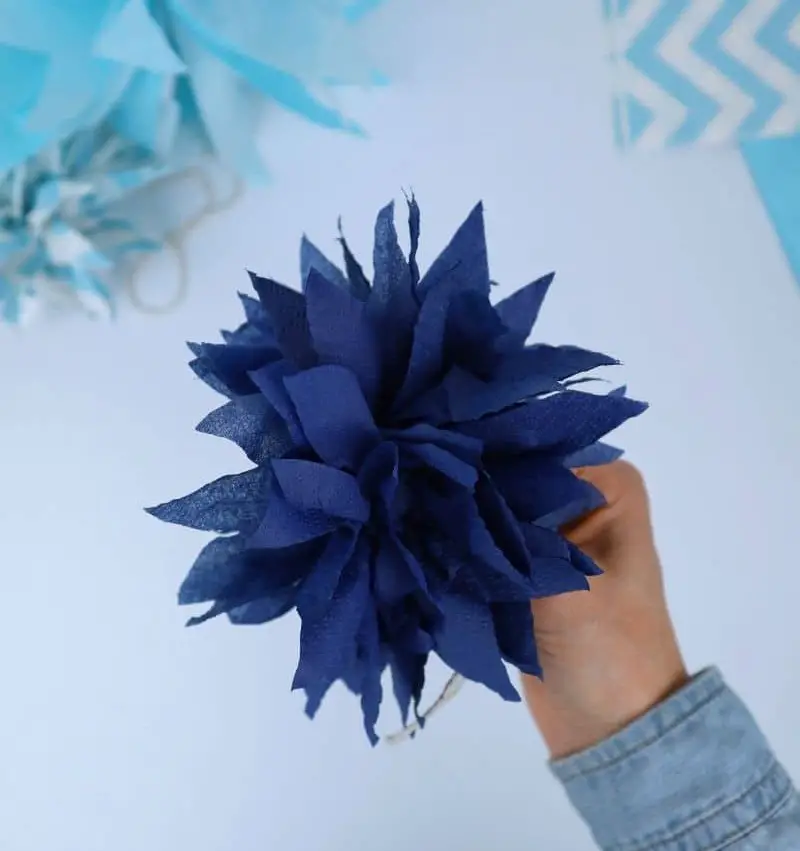
It’s time to add some creativity to your tissue paper decorations! To give your pom poms some extra flair, take out your scissors and start trimming the ends of the bundles into unique shapes. Don’t be afraid to experiment and try out different styles – it’s all about creating a one-of-a-kind look.
Once you’ve flared out the edges, these shapes will really pop and add an extra layer of visual interest to your decoration. And if you’re stuck for ideas, don’t worry!
I’ve tried out four different techniques below that you can use as inspiration or combine in unique ways to create a truly show-stopping display.
Step 7
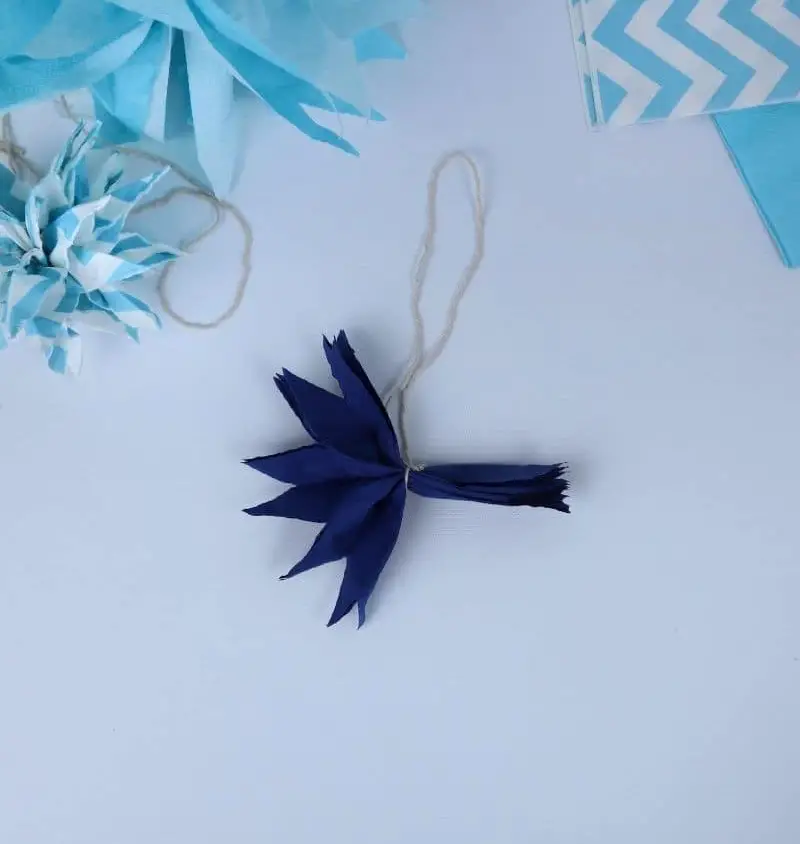
To add fluffiness to our pom-poms, let’s begin by unfolding the ‘fan’ shape we created earlier, starting with one side as depicted. This initial spread sets the stage for the signature fluffy texture of our finished poms.
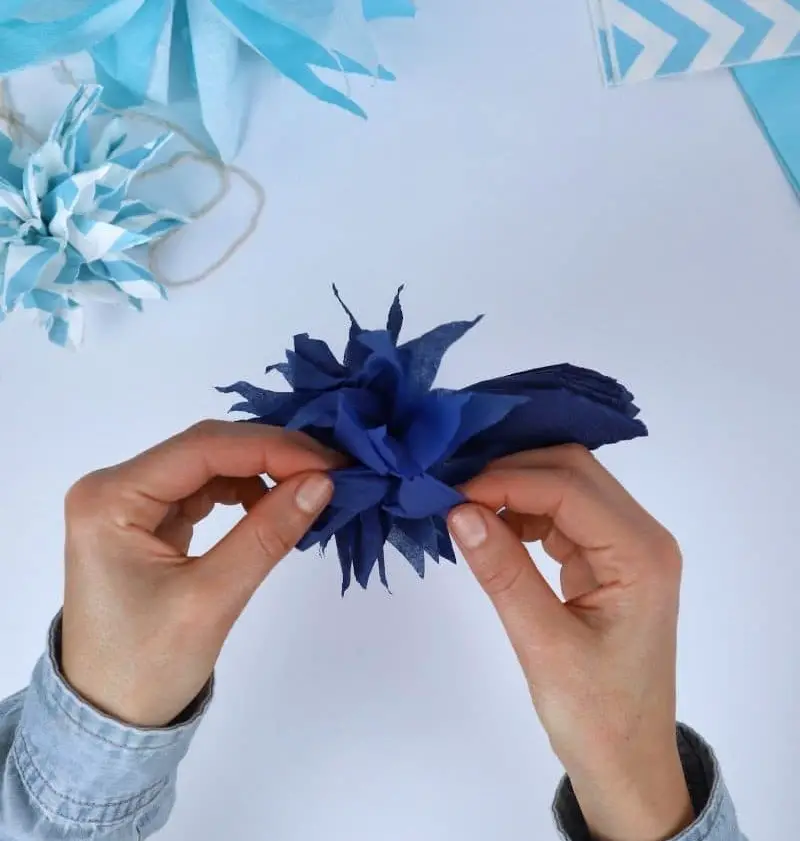
Next, gently tease apart each individual sheet of tissue paper from the others, allowing their natural shapes to emerge. The subtle variations in each sheet’s form will ultimately give rise to that unmistakable feathered pom-pom appearance we’re striving for.
Step 8
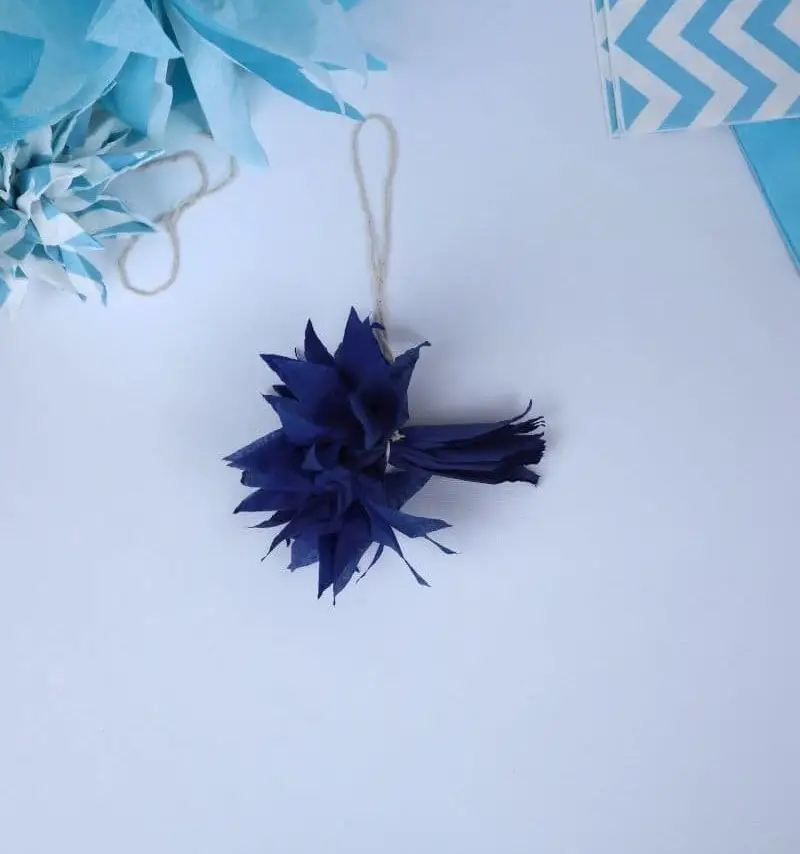
As you complete the initial side, shift your focus to the second half. To achieve a balanced and symmetrical appearance, strive to maintain similar volume on both sides. This meticulous attention to detail will ultimately result in a perfectly rounded and ball-like shape reminiscent of a traditional pom pom.
How to Make a Paper Pom Pom of a Different Size?
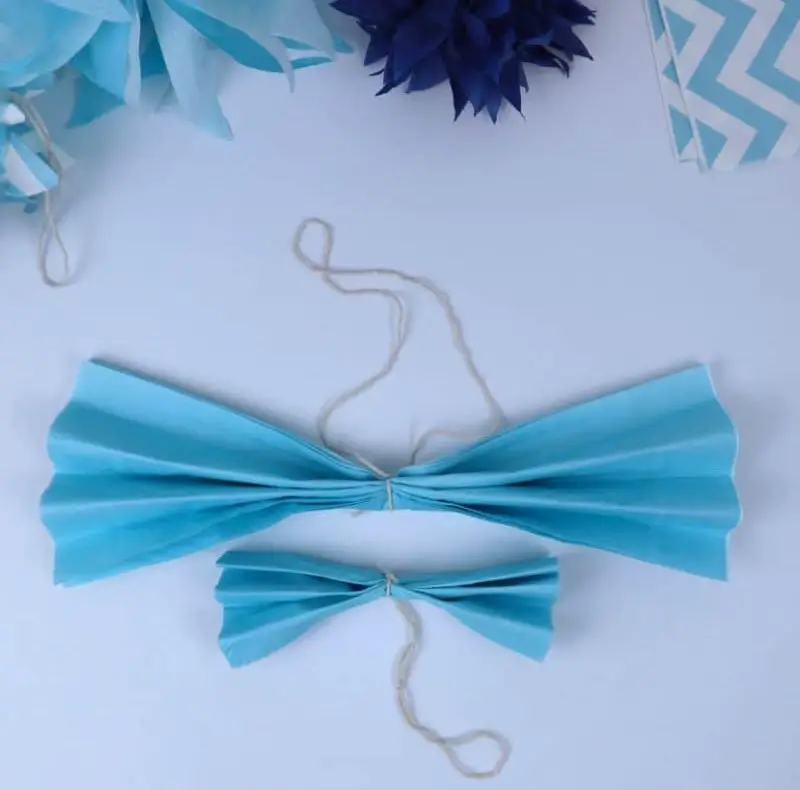
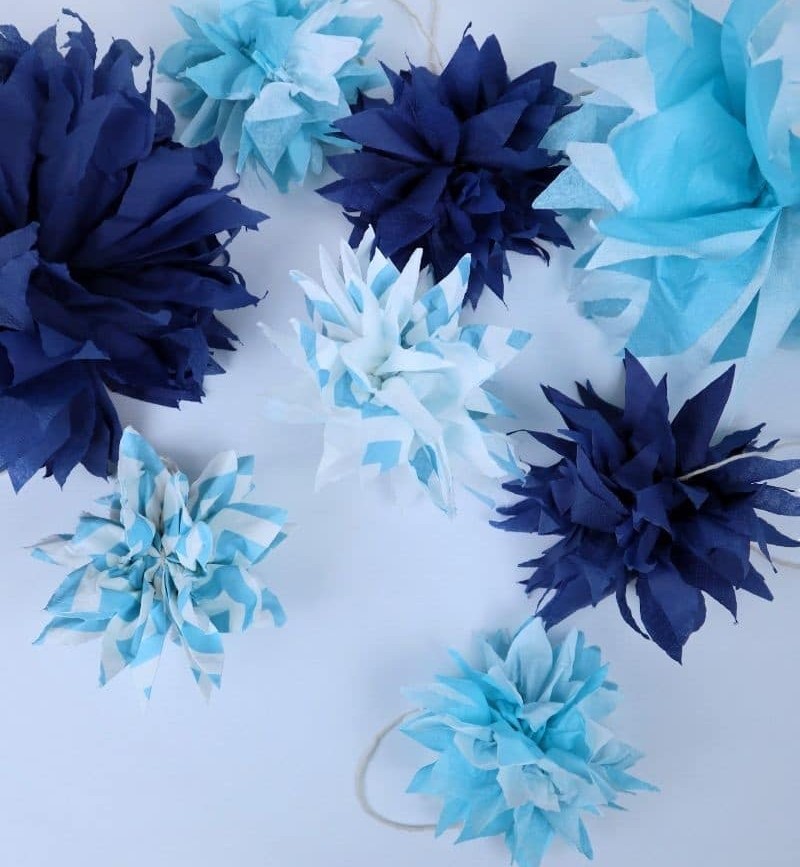
By incorporating varying pom-pom sizes, you can add an extra layer of excitement to your decoration. While uniformity may have its charm, a mix of larger and smaller pom-poms can create a more dynamic visual effect. To achieve this, start by spreading out the tissue paper and building layers. This will give you the volume you need to work with, allowing for creative experimentation.
And if you want to take it up a notch, feel free to scale back the size of your pom-poms by removing some of those layers, opening up even more possibilities for unique designs.
How to Use Pom Poms for Decorating
When creativity is stuck, don’t fret – these versatile decorations can be tailored to fit your needs. For instance, here are some innovative ways to elevate your décor using pom poms:
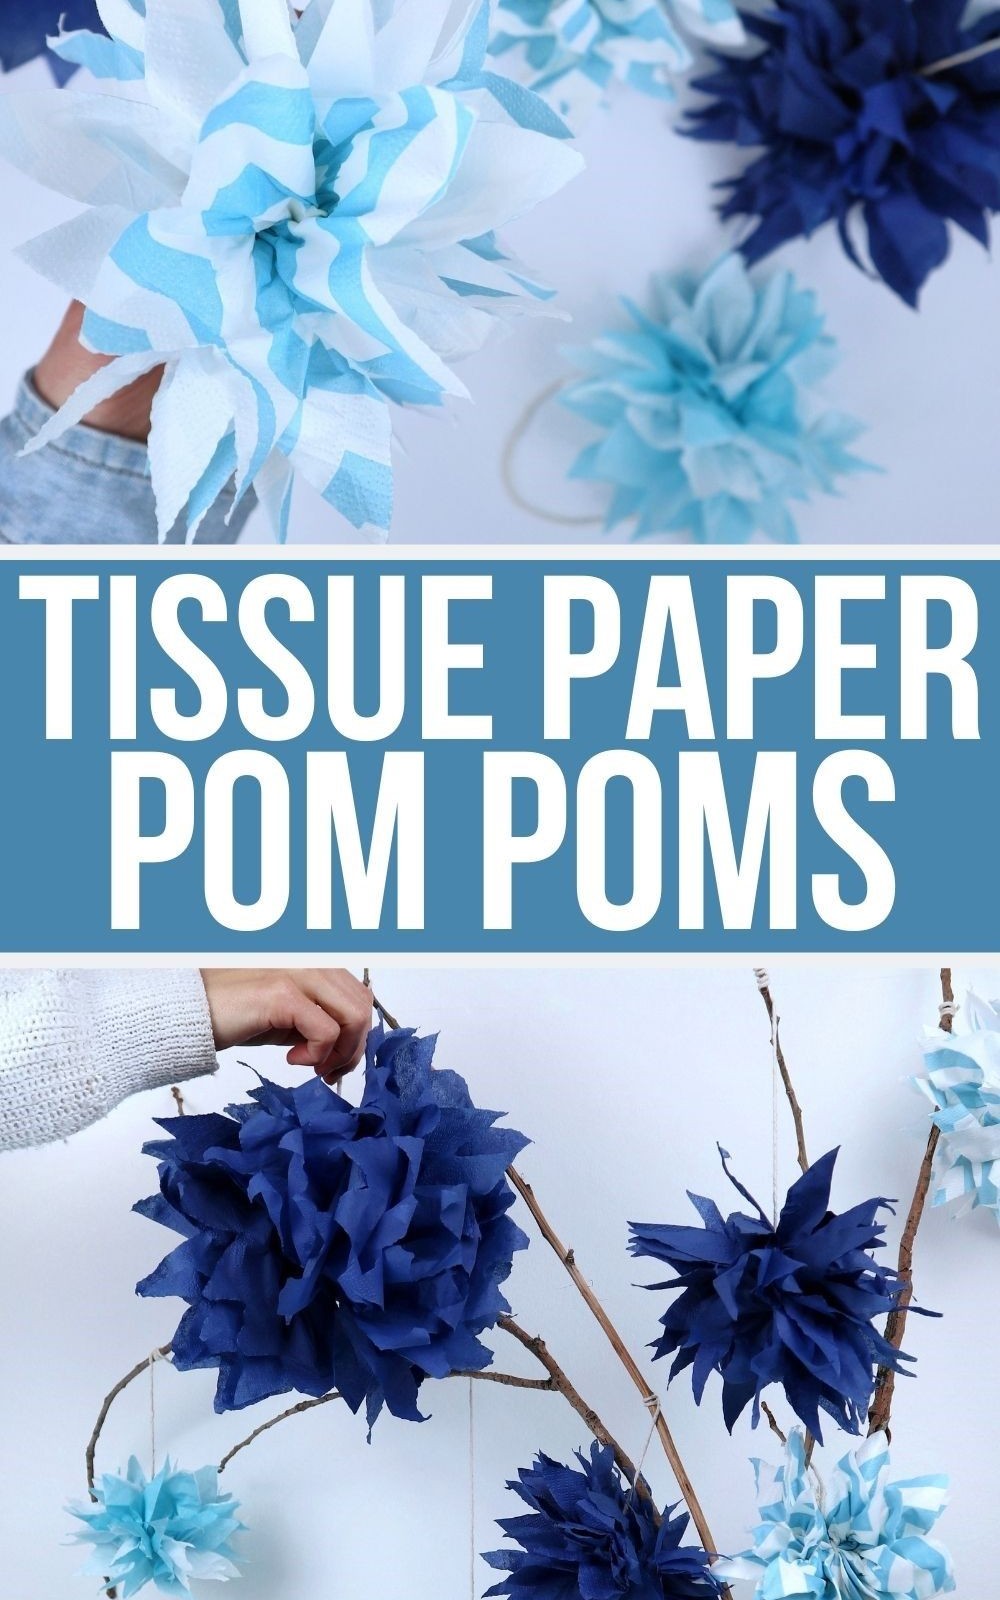
Suspend them from tree branches within a vase for an airy, whimsical touch.
Transform faux stems into makeshift floral arrangements and marvel at the eternal blooms that defy wilting’s constraints – and I challenge you to spot flowers like these in nature!
Alternatively, fill a glass pillar vase with small pom poms in harmonious hues to create a one-of-a-kind centerpiece that’s sure to spark conversation.
Feel free to share your unique ideas for using pom poms in the comments below!
How to Make Tissue Paper Pom Poms
Want a fun and accessible craft that’s suitable for all ages? Look no further than these stunning tissue paper pom poms, perfect for brightening up any room! With just 20 minutes of active time, you can create one beautiful decoration to impress your family and friends. This easy DIY project requires minimal investment, coming in at a mere $0.25 per pom-pom.
Equipment
Materials
Instructions
Begin by taking a folded tissue paper and transforming it into a fan fold by carrying one edge forward and backward, creating a corrugated effect. Next, cut a piece of yarn the desired length, leaving a few inches extra. Tie this yarn tightly around the middle of the tissue paper, securing it with a knot. Trim the shorter end to create a seamless finish.
Using scissors, cut the ends of the tissue paper into a design that suits your taste (options include shapes and patterns).
Unfold both sides of the tissue bundle to reveal its signature pom-pom shape. To achieve a one-of-a-kind decoration for any room in your home, experiment with different sizes, colors, and lengths.