Whether you have a stash of tissue paper lying around or are looking for a creative outlet, making your own tissue paper flowers is a great way to add a personal touch to your home decor. And the best part? It’s surprisingly easy! Despite the delicate nature of some flower designs, the texture and pliability of tissue paper can actually make it more fun to work with than you might expect. With a little practice, you’ll be whipping up beautiful blooms in no time.
In fact, once you get the hang of it, you may find yourself getting carried away and making dozens – but that’s half the fun!
Supplies and Tools You’ll Need

To get started on this creative project, gather the necessary supplies. For smaller flowers, you’ll need 7 tissue paper pieces measuring 3 inches by 5 inches. If you’re aiming to create larger blooms, prepare 8 tissue paper pieces with dimensions of 4 inches by 6 inches. Additionally, make sure you have a good pair of scissors and some thread on hand.
How to Make Tissue Paper Flowers
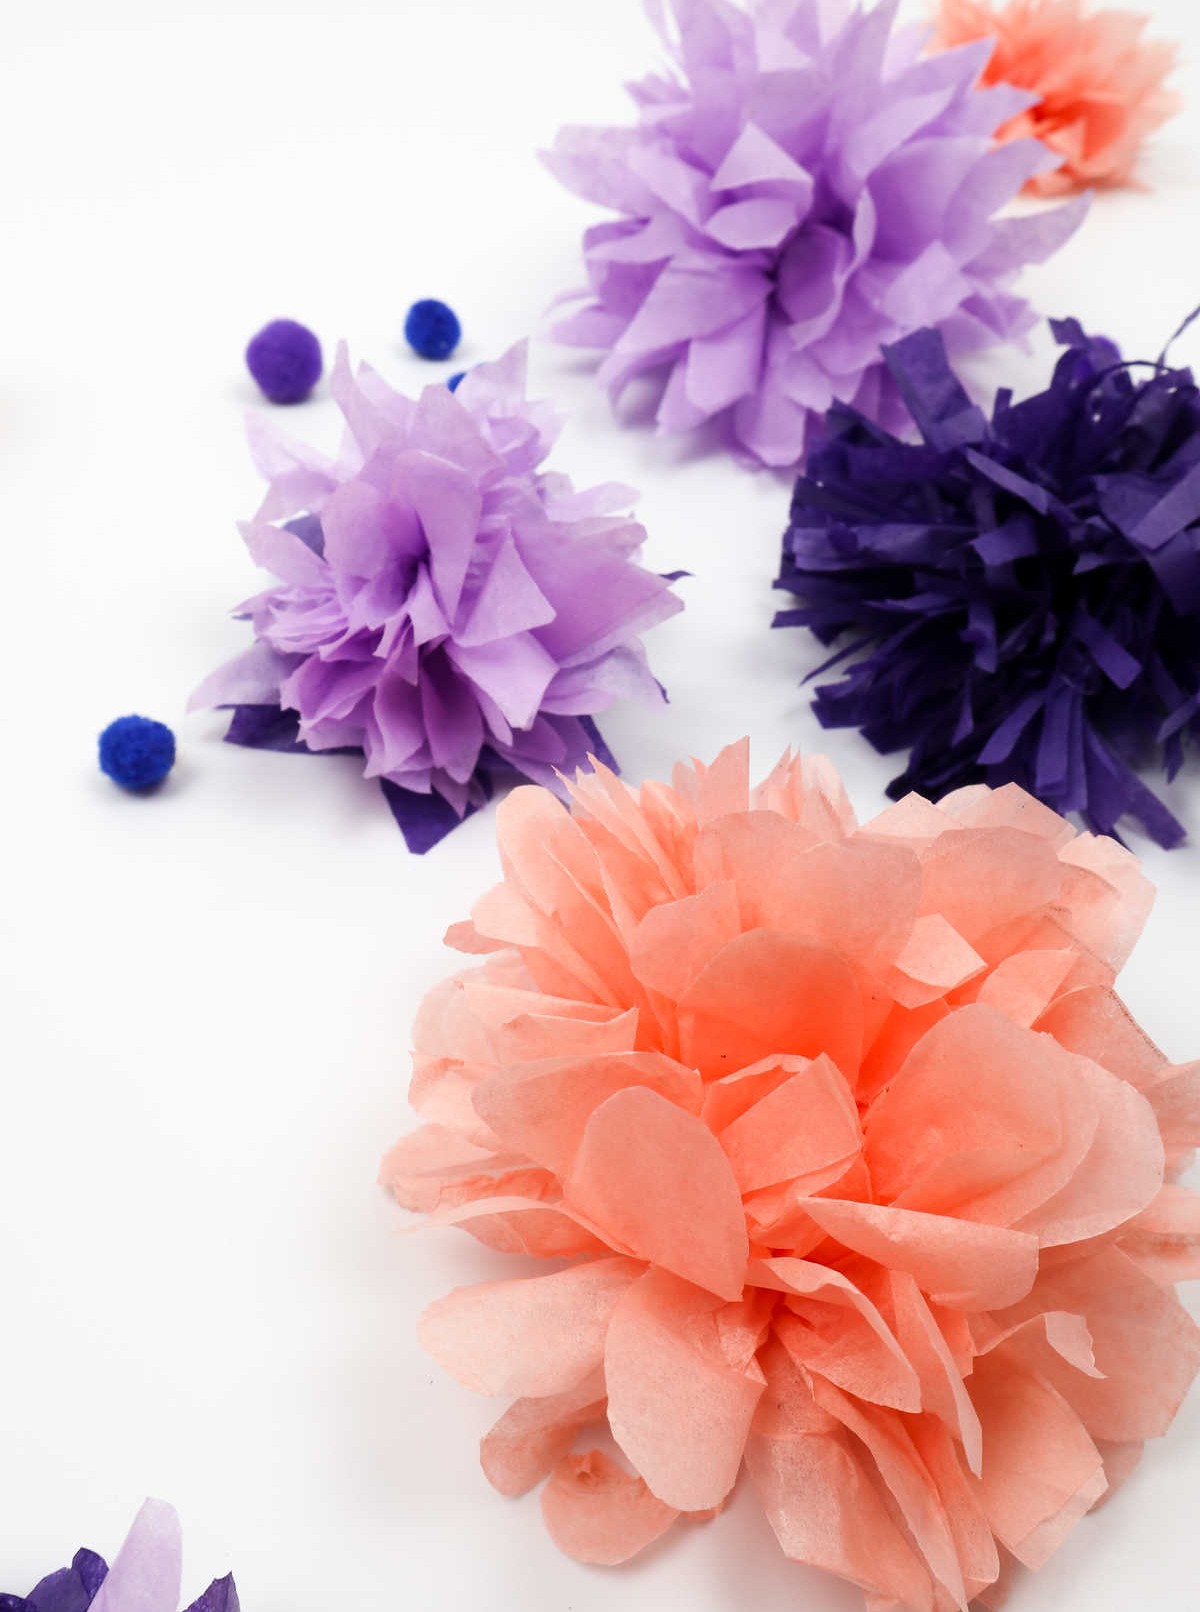
To elevate your floral arrangements, experiment with a range of colors and textures by carefully layering the petals in a harmonious sequence. This will not only add depth but also create an visually striking display.
Step 1
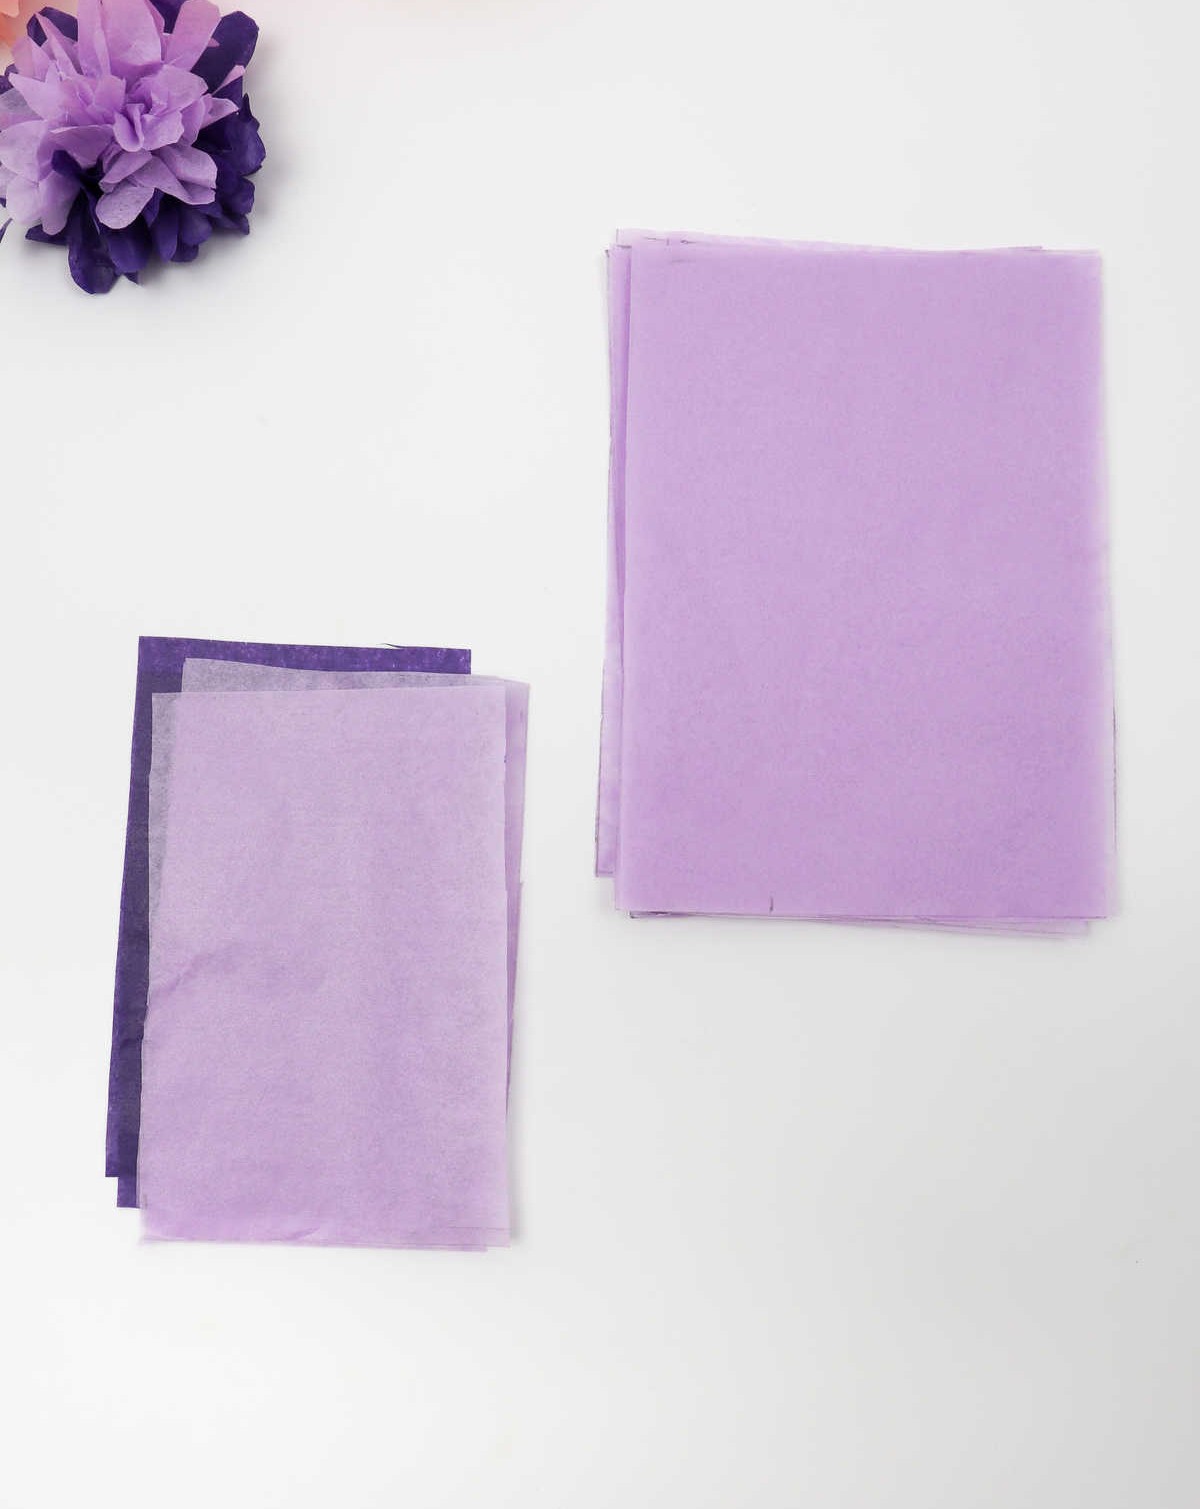
When starting to create your tissue paper flowers, the first step is to select the colors of your tissues. You’ll be layering them on top of each other, so don’t be afraid to get creative with the color combinations. As you add more layers, the stack will grow thicker and the final product will take on a fuller, more lush appearance.
Step 2
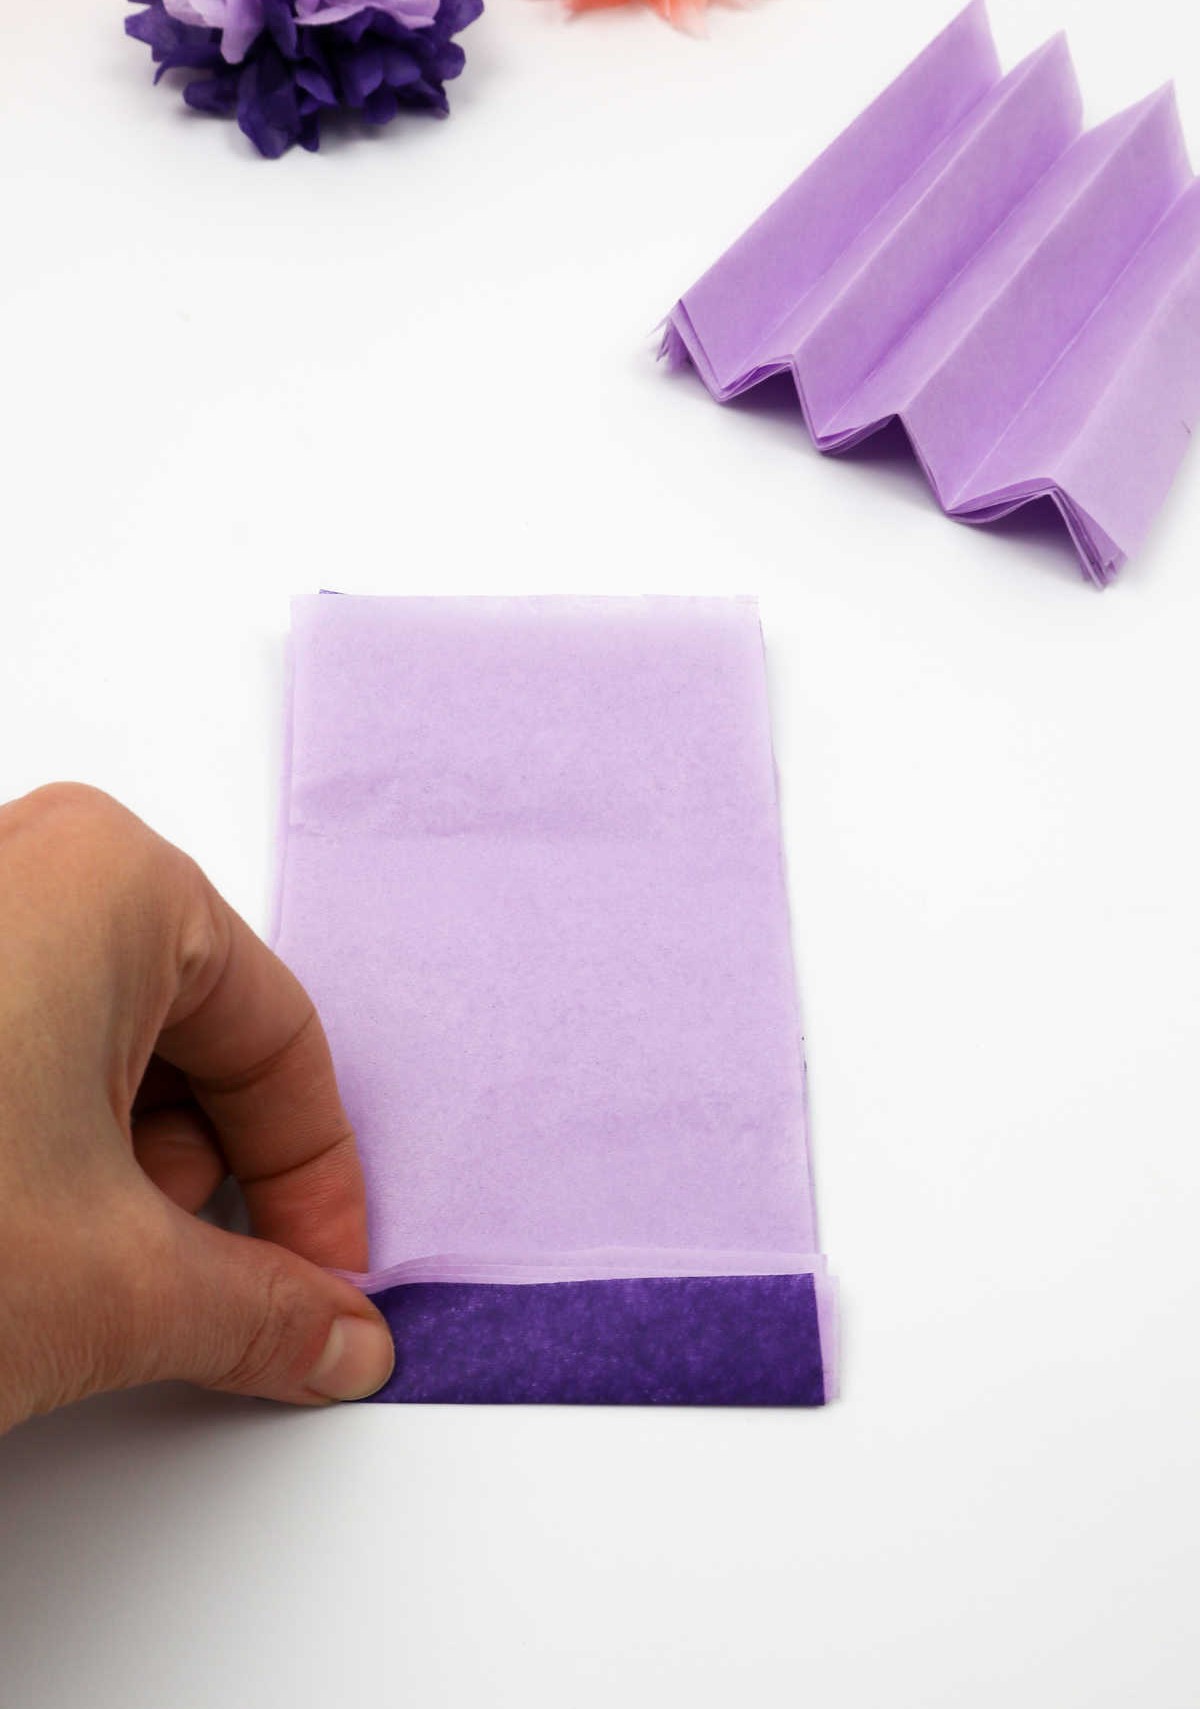

To create the desired layered effect, begin by grasping one end of the stacked tissue paper and initiate the folding process. As you fold each sheet inwardly, aim for an evenly corrugated shape, reminiscent of a fan. This will result in a uniform texture that adds depth to your overall design.
Step 3
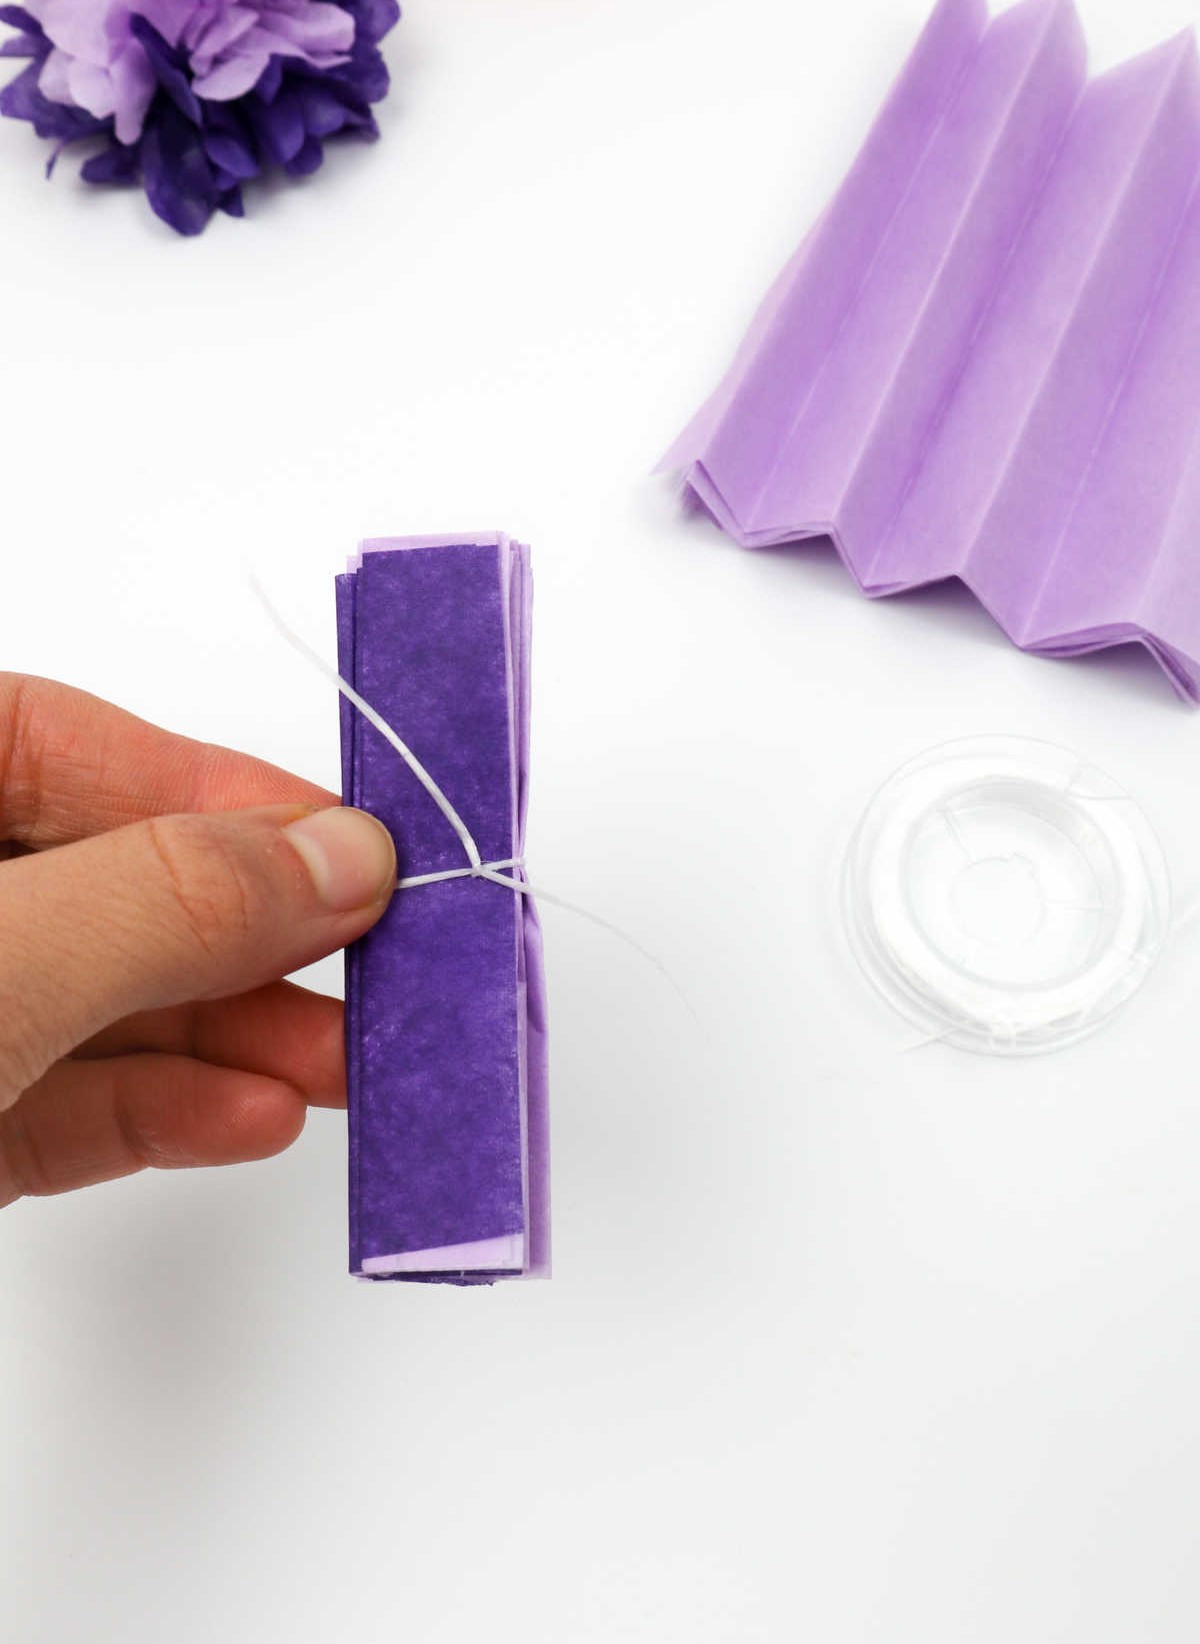

To further prepare your paper for binding, take a length of thread and wrap it around the center crease of each folded sheet. This process should be repeated for every stack of papers you’ve created to ensure uniformity.
Step 4

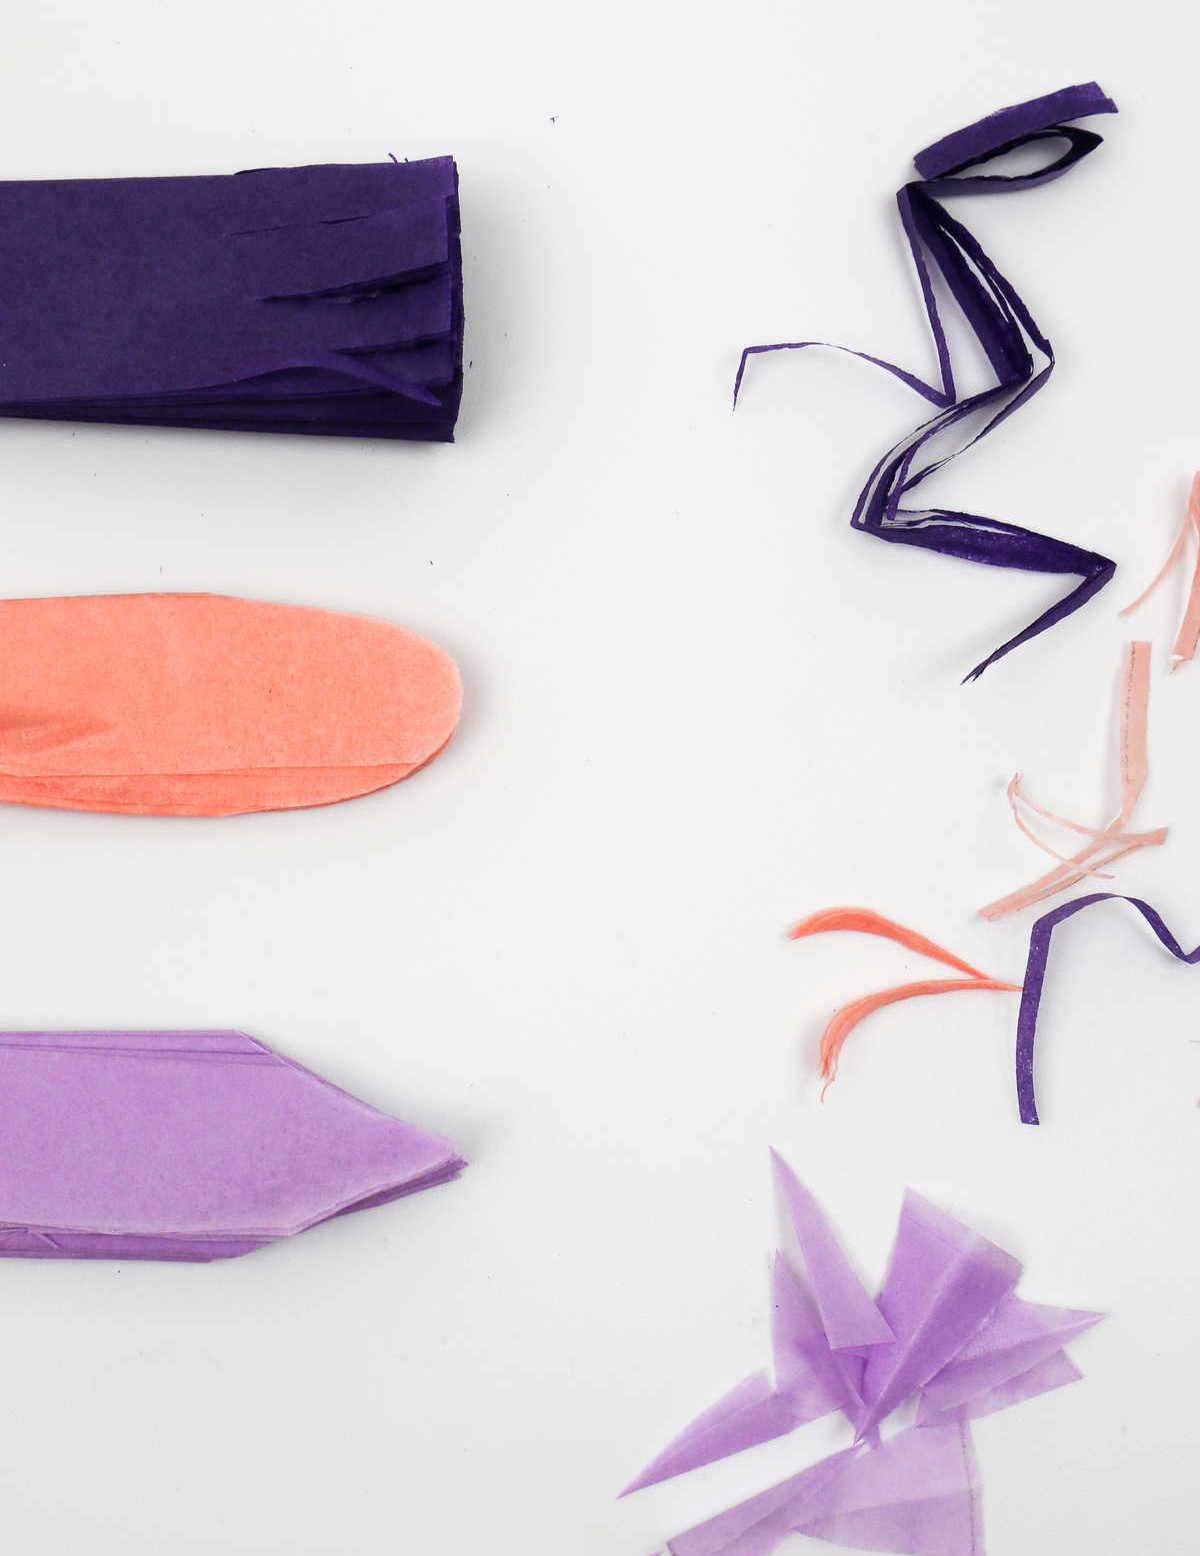
To give your paper flowers some visual interest, start by cutting the edges of each stack using scissors. You’re not limited to straight cuts, though – get creative and experiment with different shapes. The way you cut the paper will affect the final shape of your flowers when they’re unfurled. Try cutting the stacks in a tapering V, a curved U, or even into stripped ends like the example below shows.
Step 5
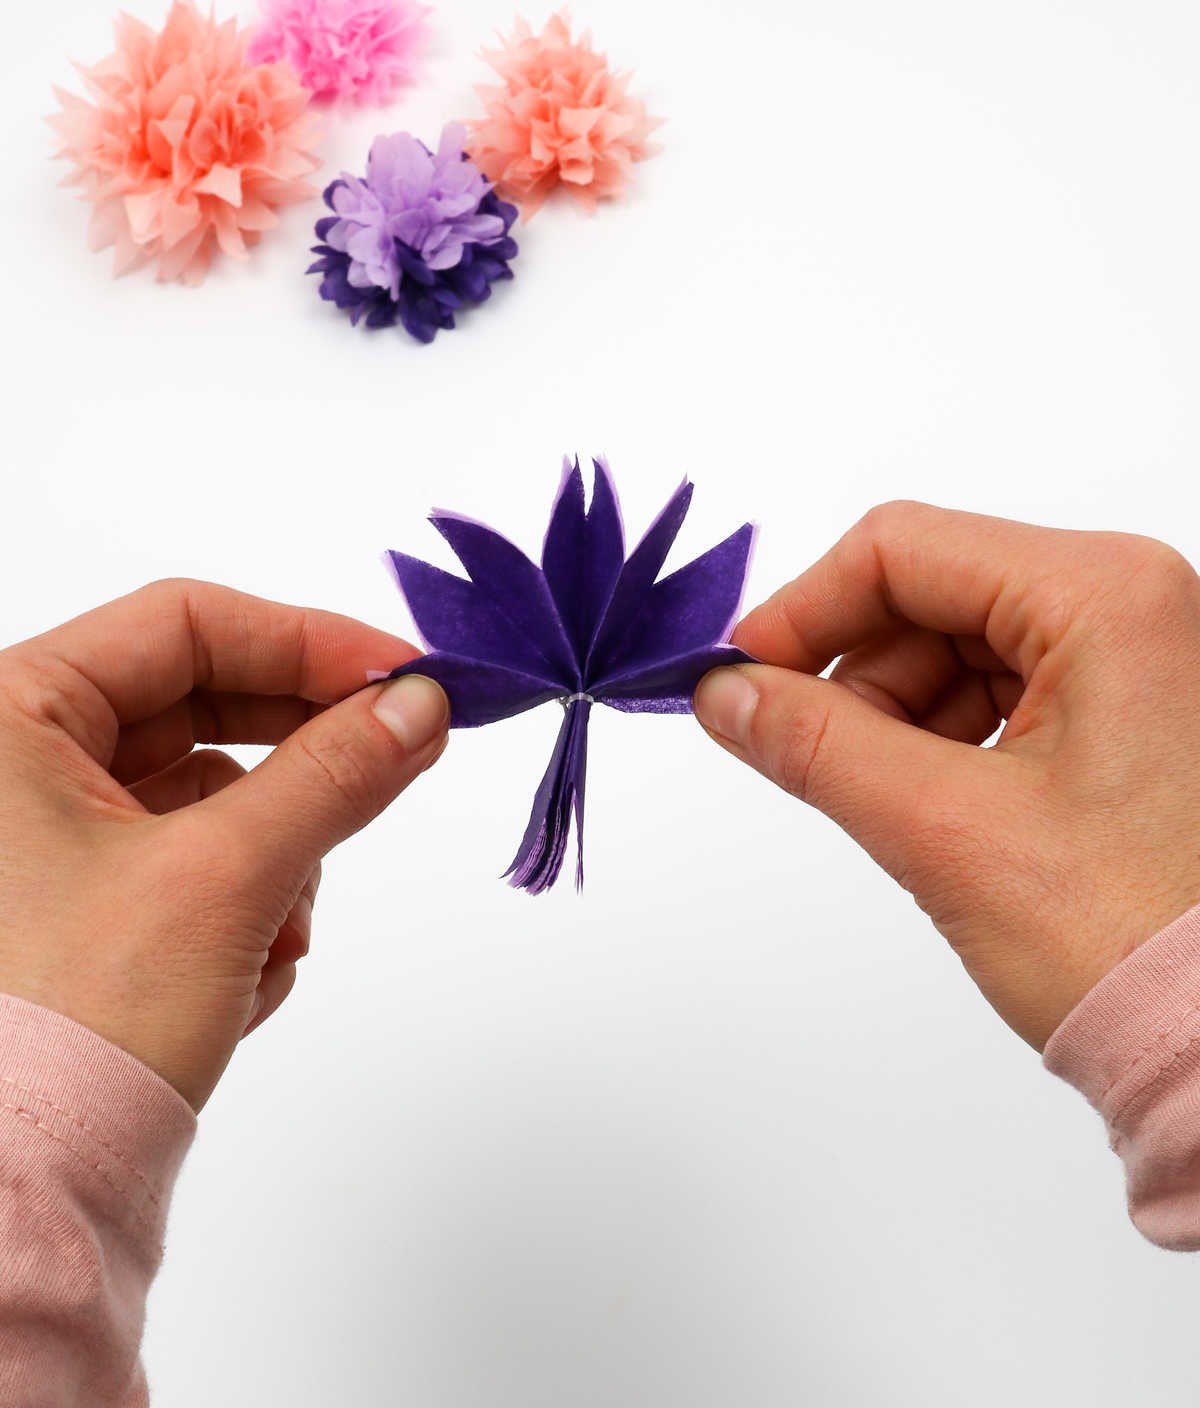
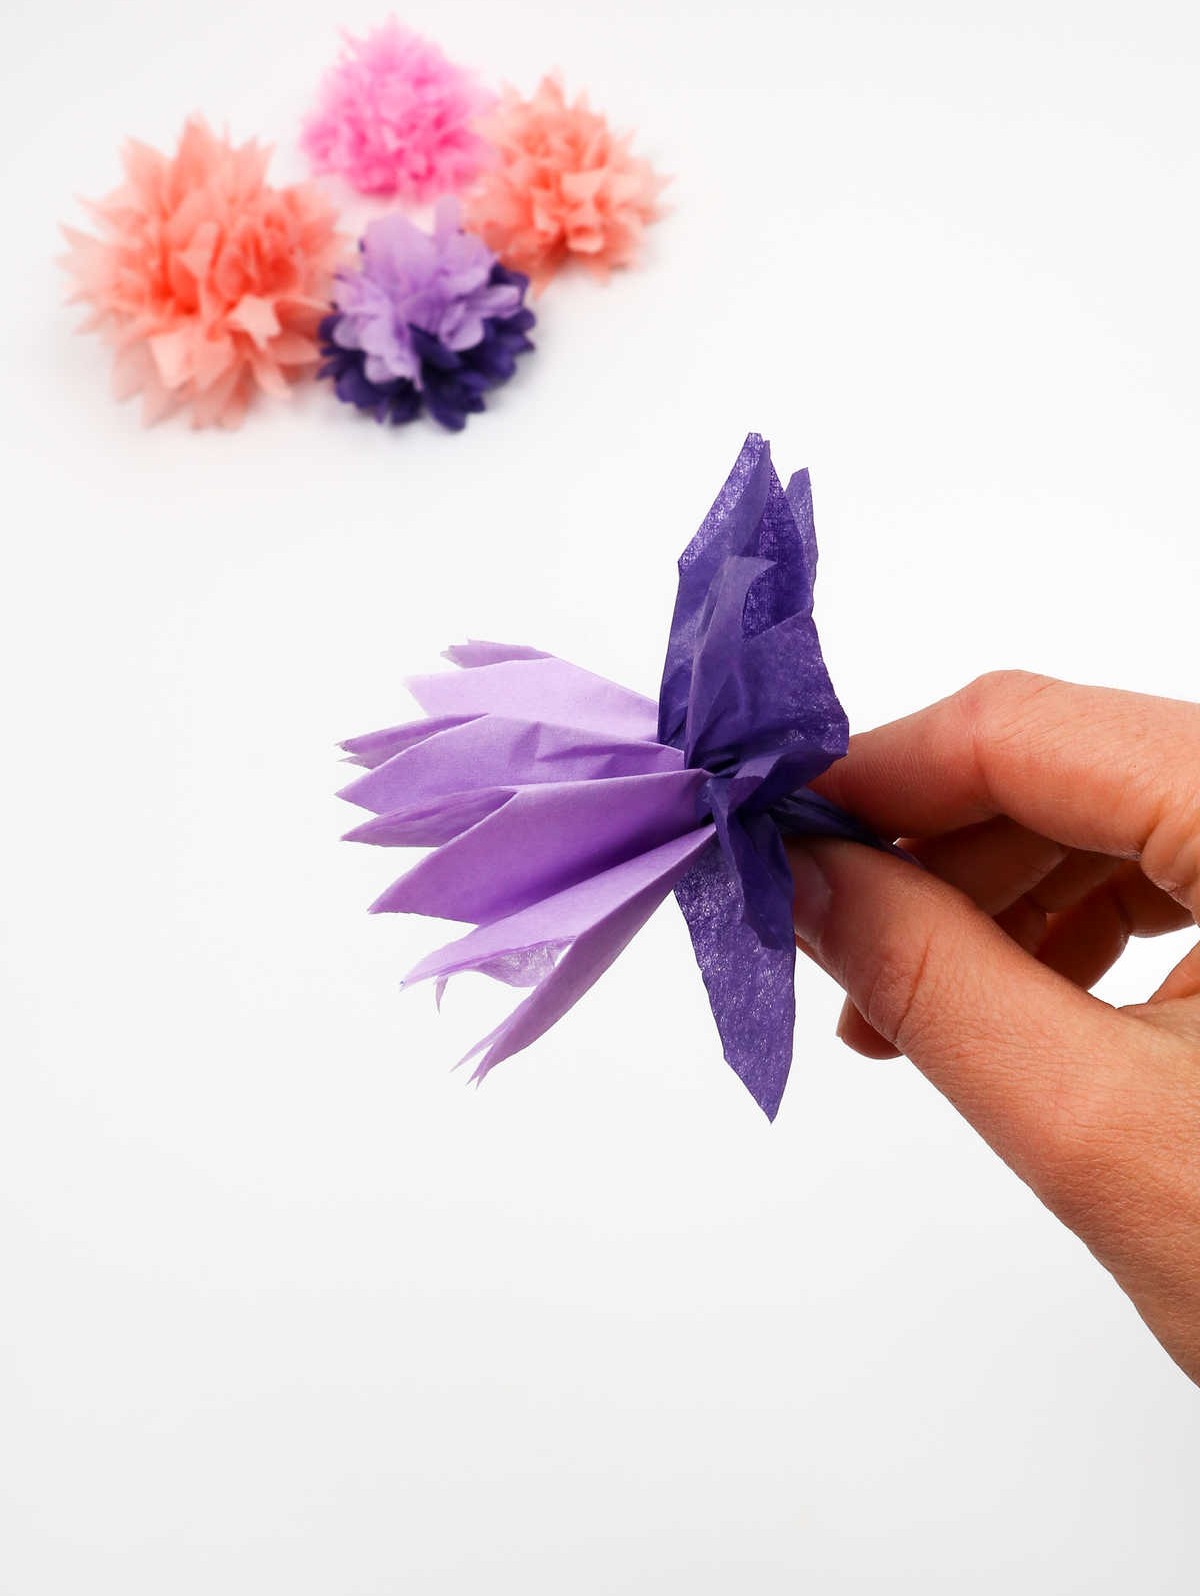
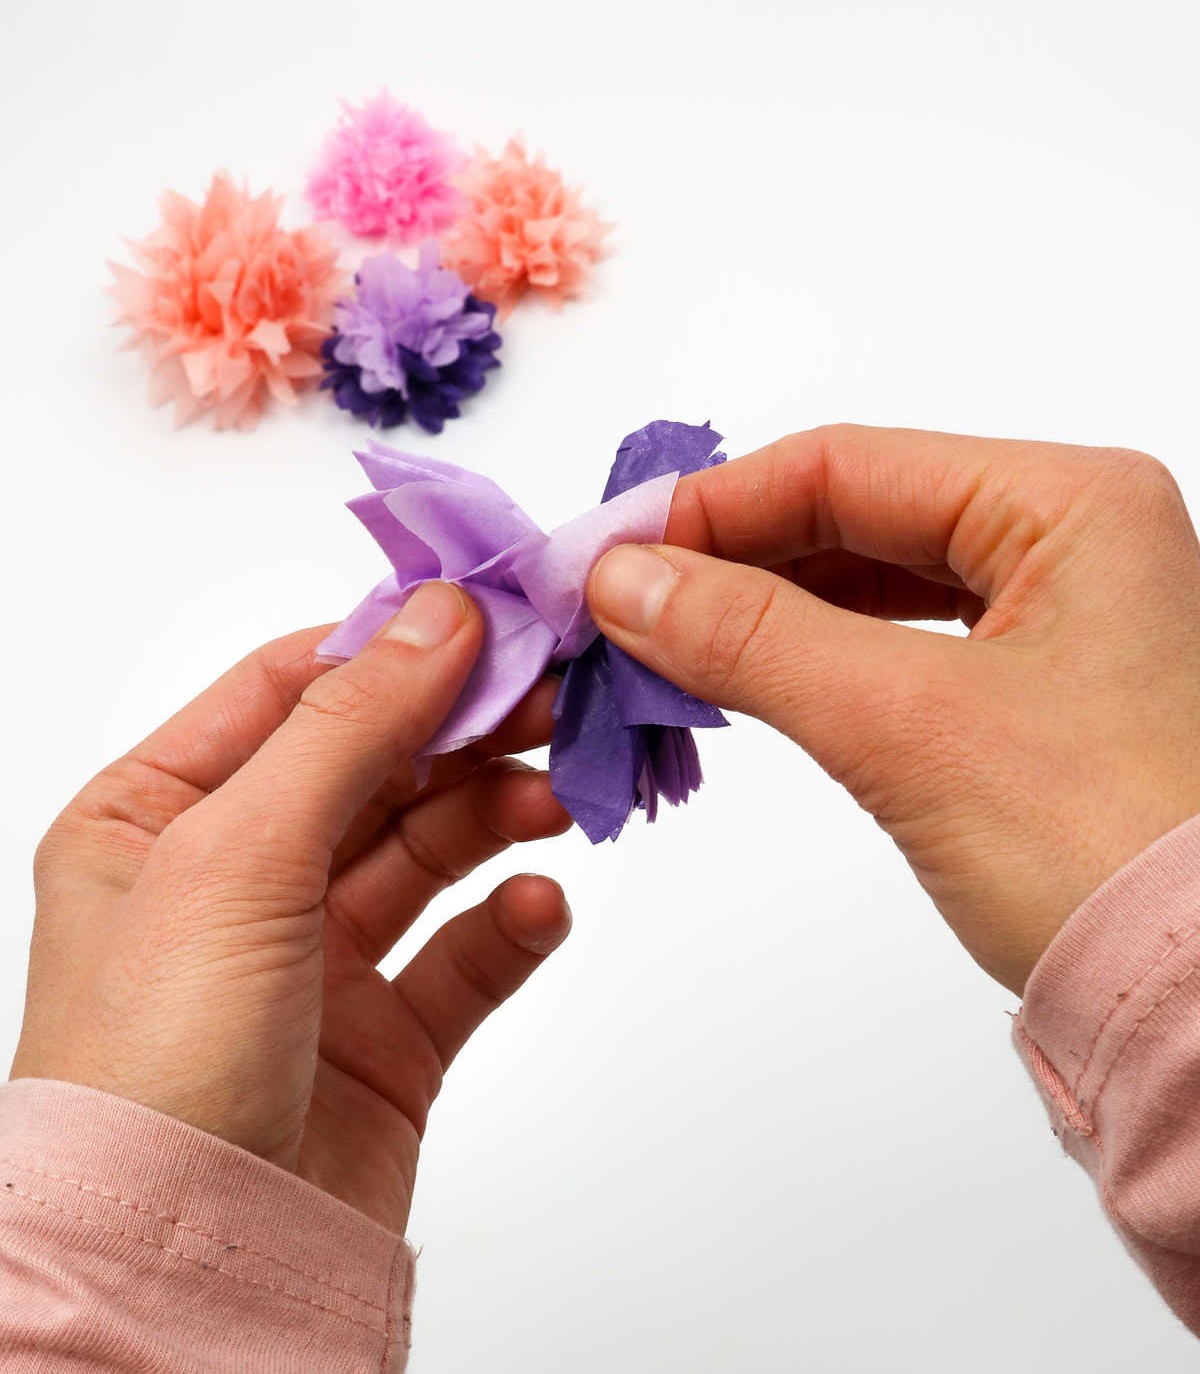
To disassemble the paper flower, start by grasping the base of the petals and delicately pulling them apart. Unfurl each layer, carefully separating the individual petals from one another. If you’ve used multiple colors of tissue paper, it’s a good idea to separate them in the same order they were stacked, ensuring that your final product retains the intended color pattern.
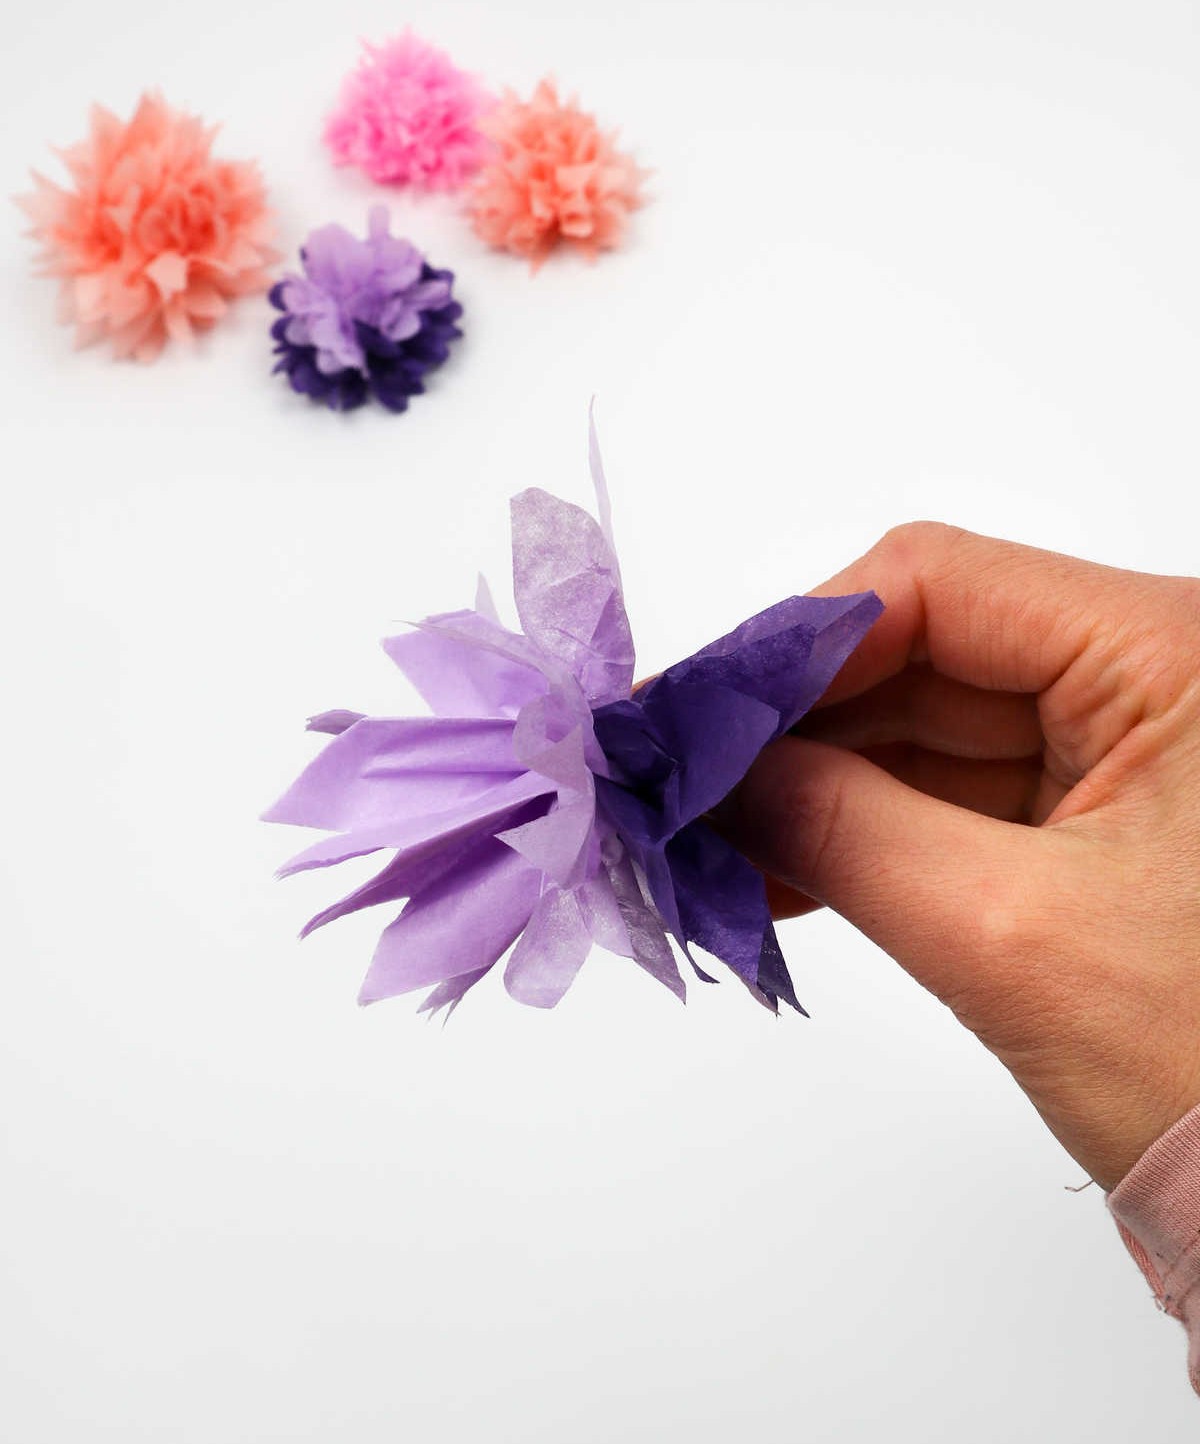
Step 6
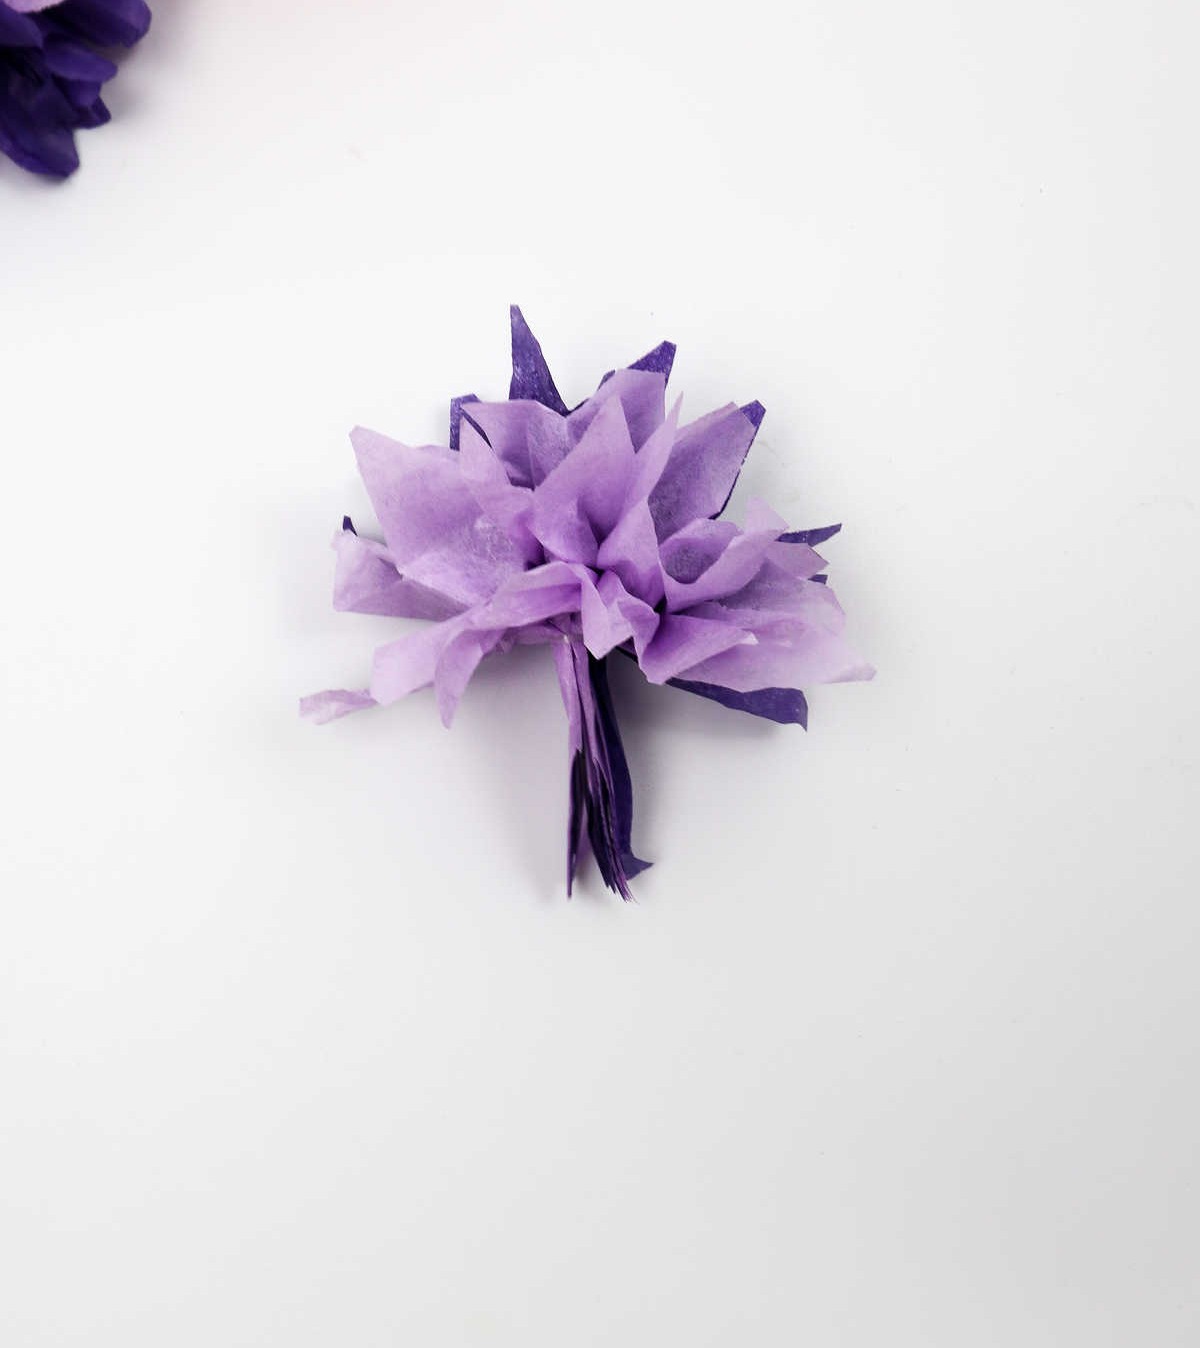
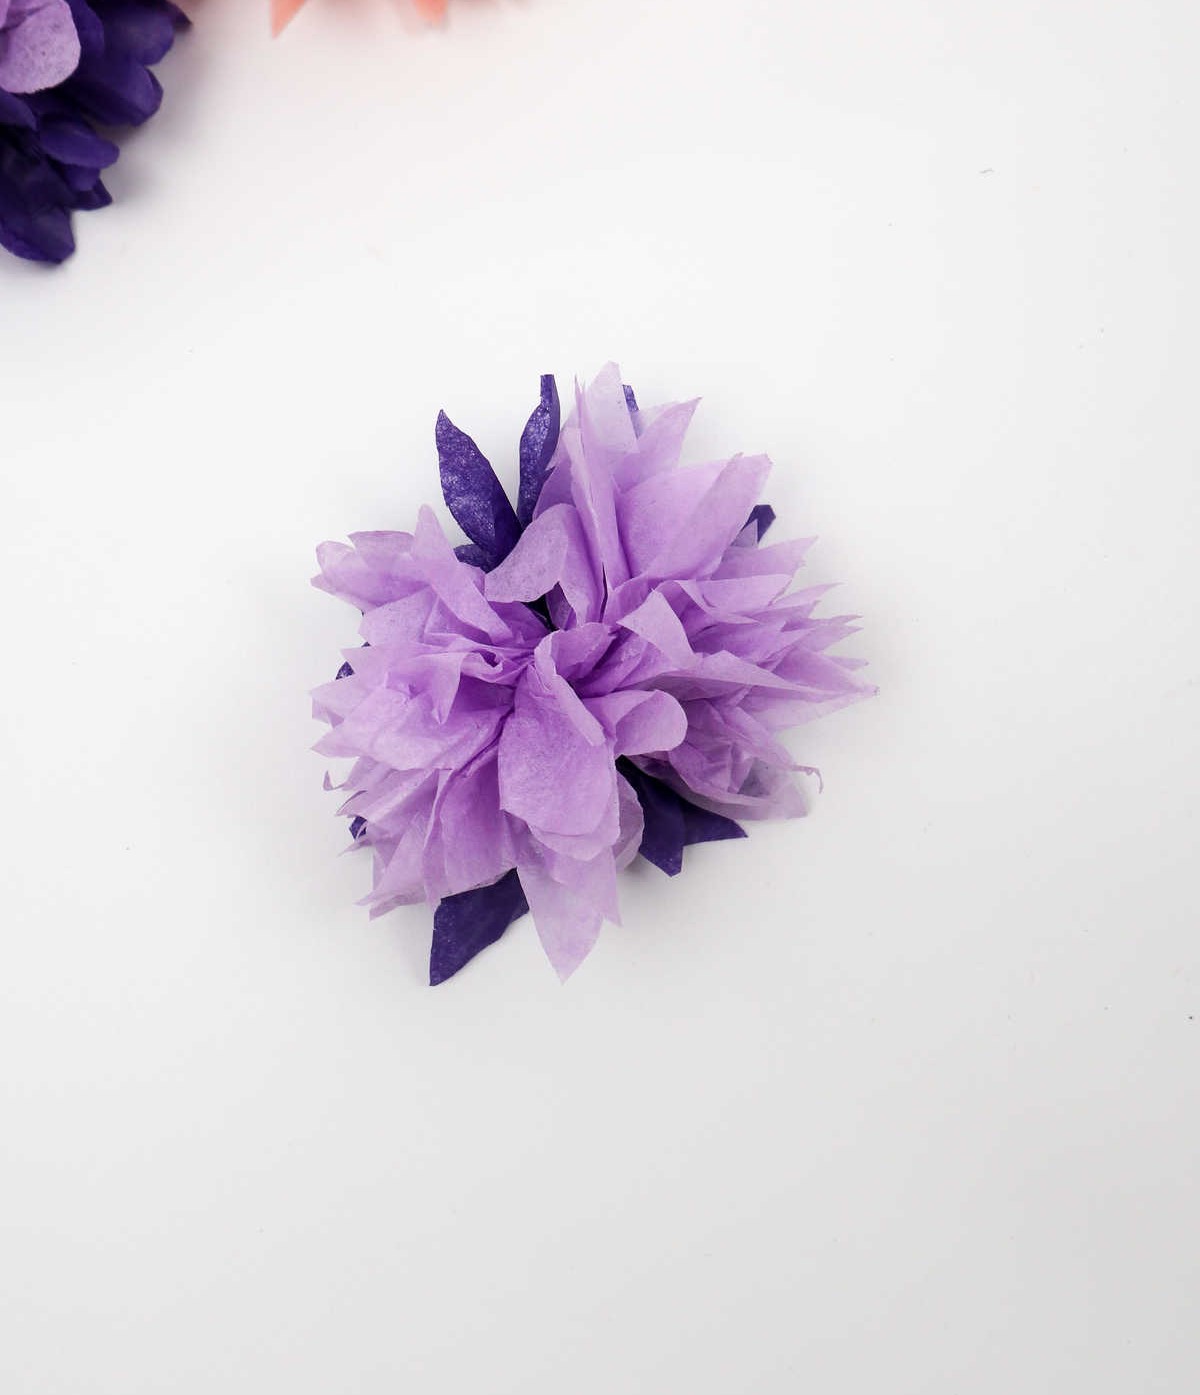
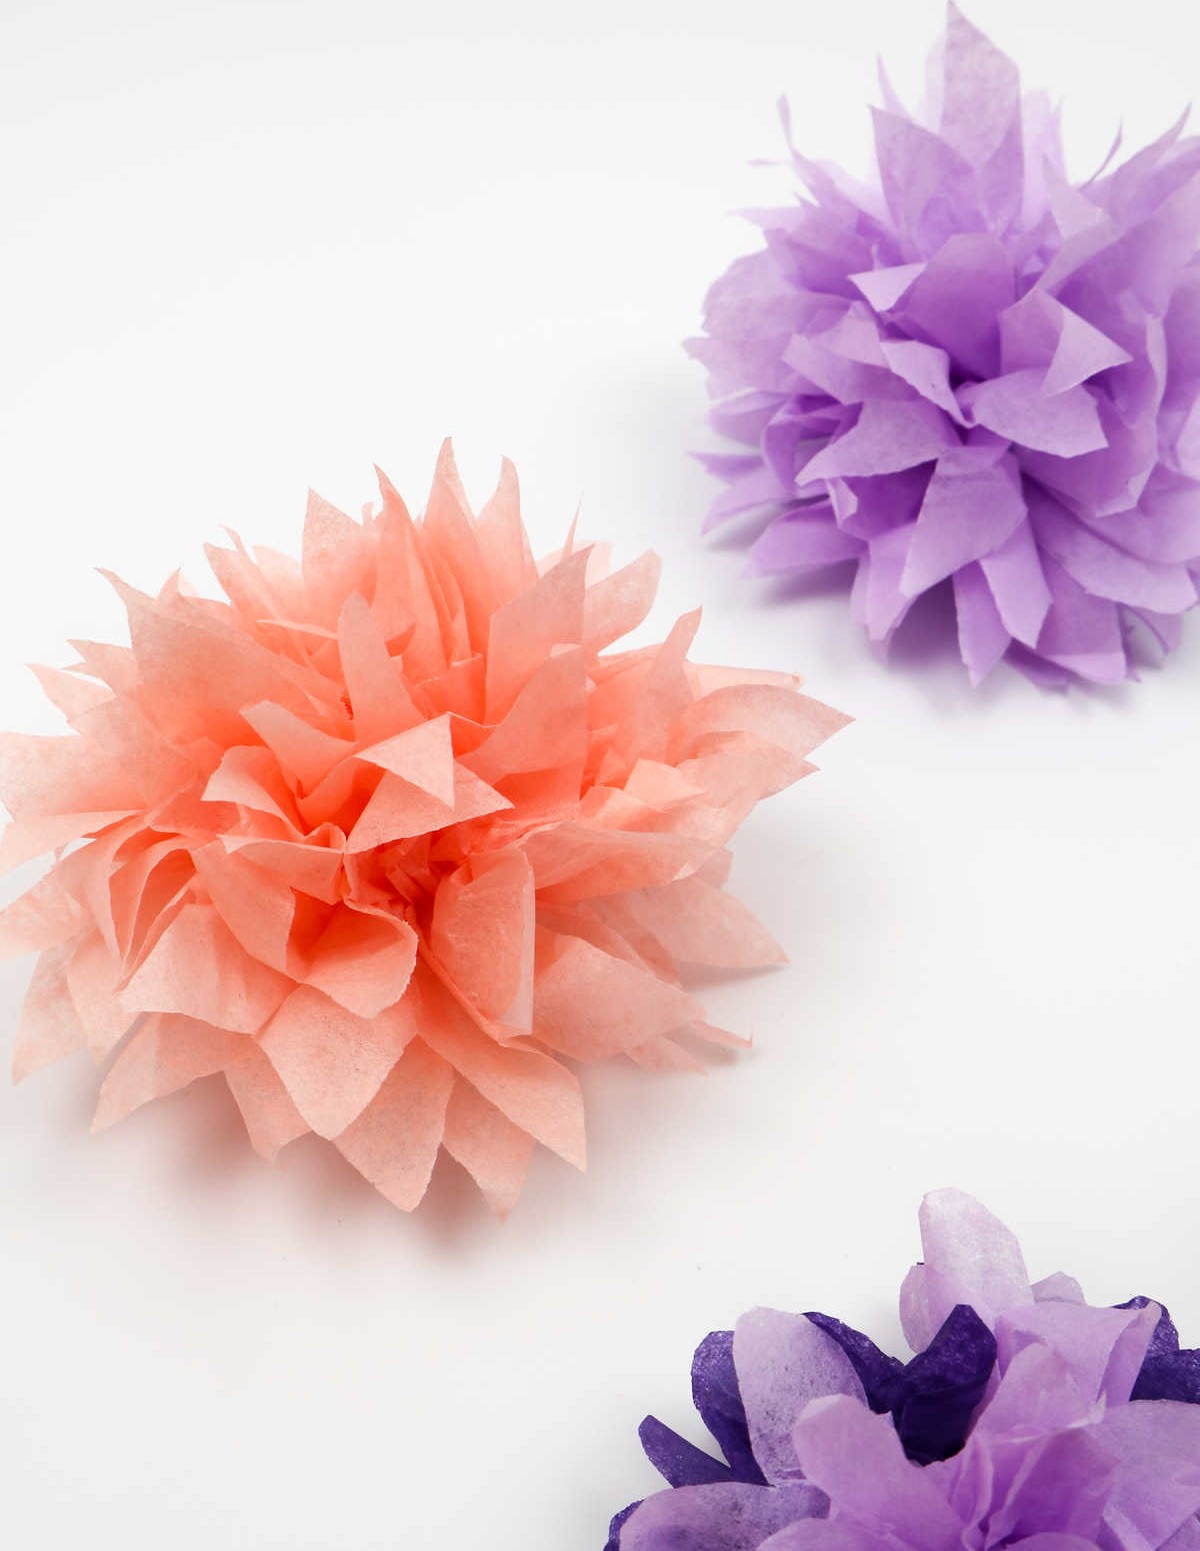
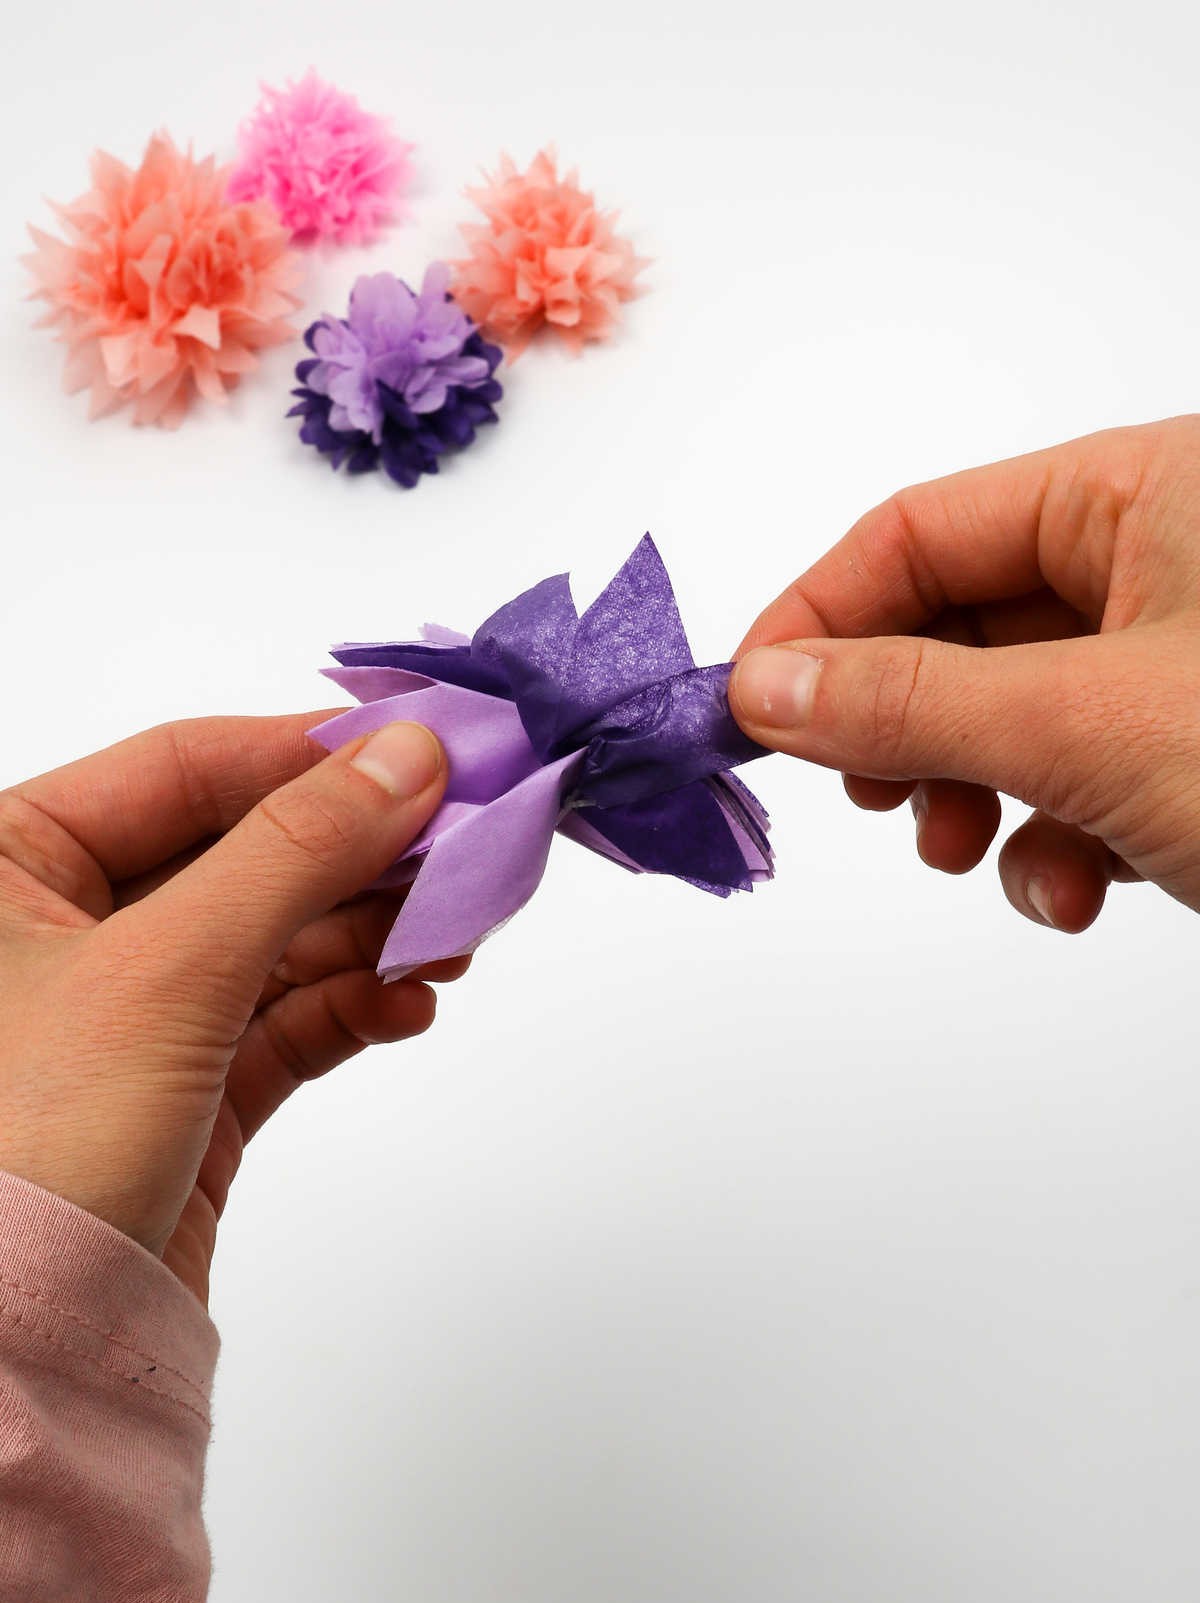
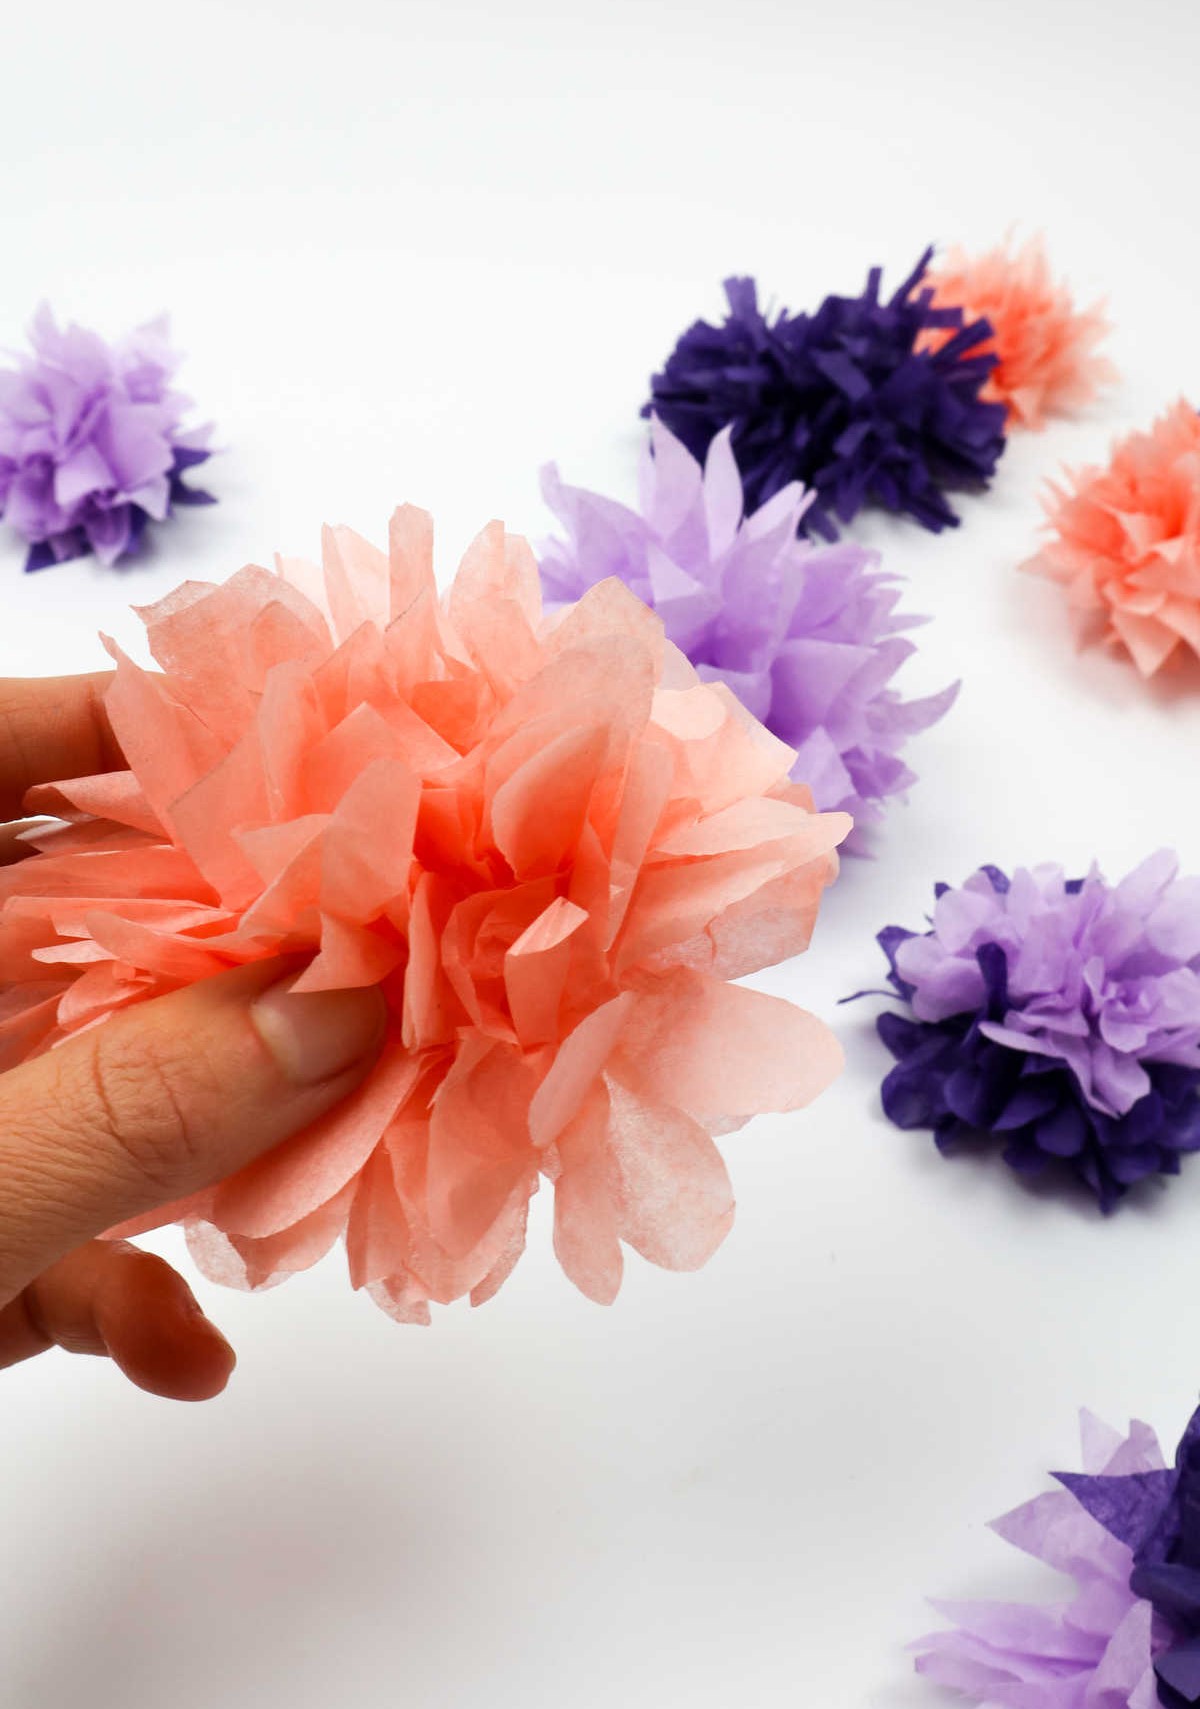
As you successfully disentangle the flower’s top half, you’ll be greeted with a delicate arrangement of layers, each one uniquely shaped and textured. The process is similar for the lower portion, where you’ll aim to create a soft, rounded ball-like structure. To achieve this, simply fluff out the tissue paper petals to your desired level of fullness, and voila! Your DIY flower project is now complete.
How Many Sheets of Tissue Paper Make a Flower?
When it comes to creating small-sized flowers, you can expect them to require around 7-9 sheets of paper, measuring approximately 3” x 5”. In contrast, larger blooms typically need between 9-12 sheets of paper, with dimensions around 4” x 6”. Interestingly, regardless of the size of each individual sheet used, the key takeaway is that the more paper you use, the thicker and bigger your finished flowers will turn out.
What Can You Use These Flowers For?
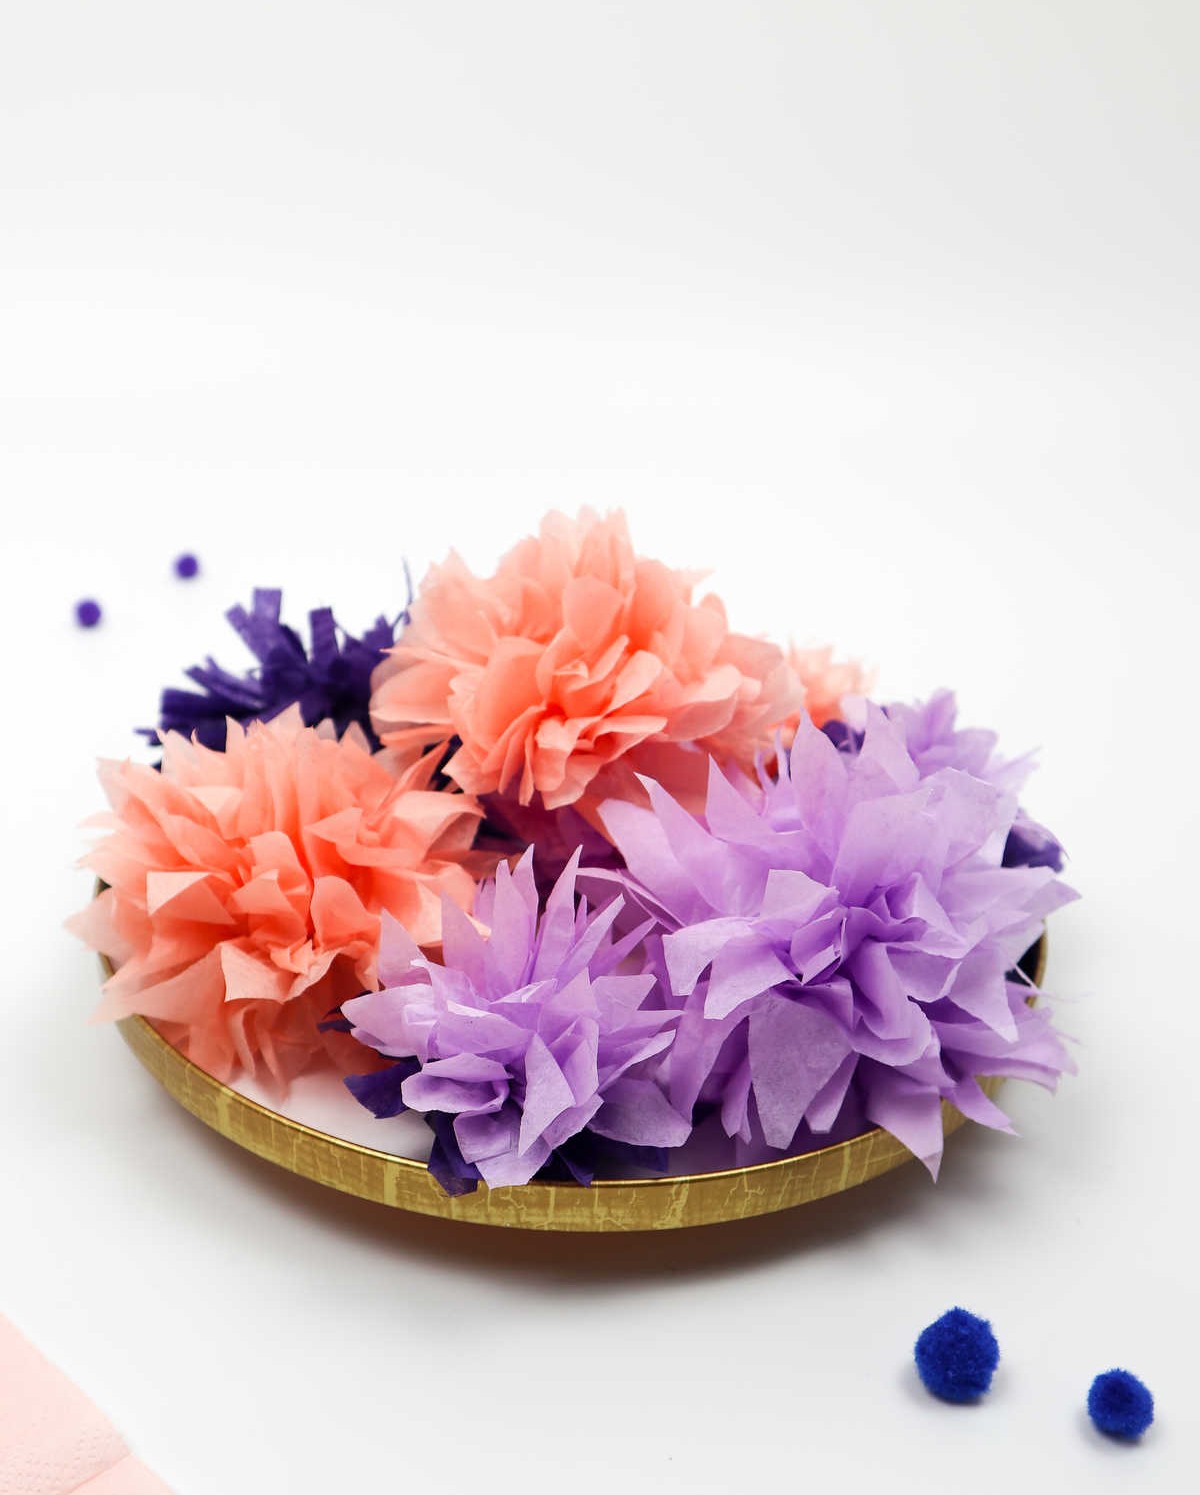
While often employed as a decorative element, these flowers also lend themselves well to craft projects. In fact, you can create a stash of them and use them in various DIY endeavors down the line, saving yourself valuable time in the process. Beyond their decorative appeal, these flowers can be leveraged in a number of creative ways. For instance, they can be strung together into a garland that serves as a unique banner at parties or gatherings.
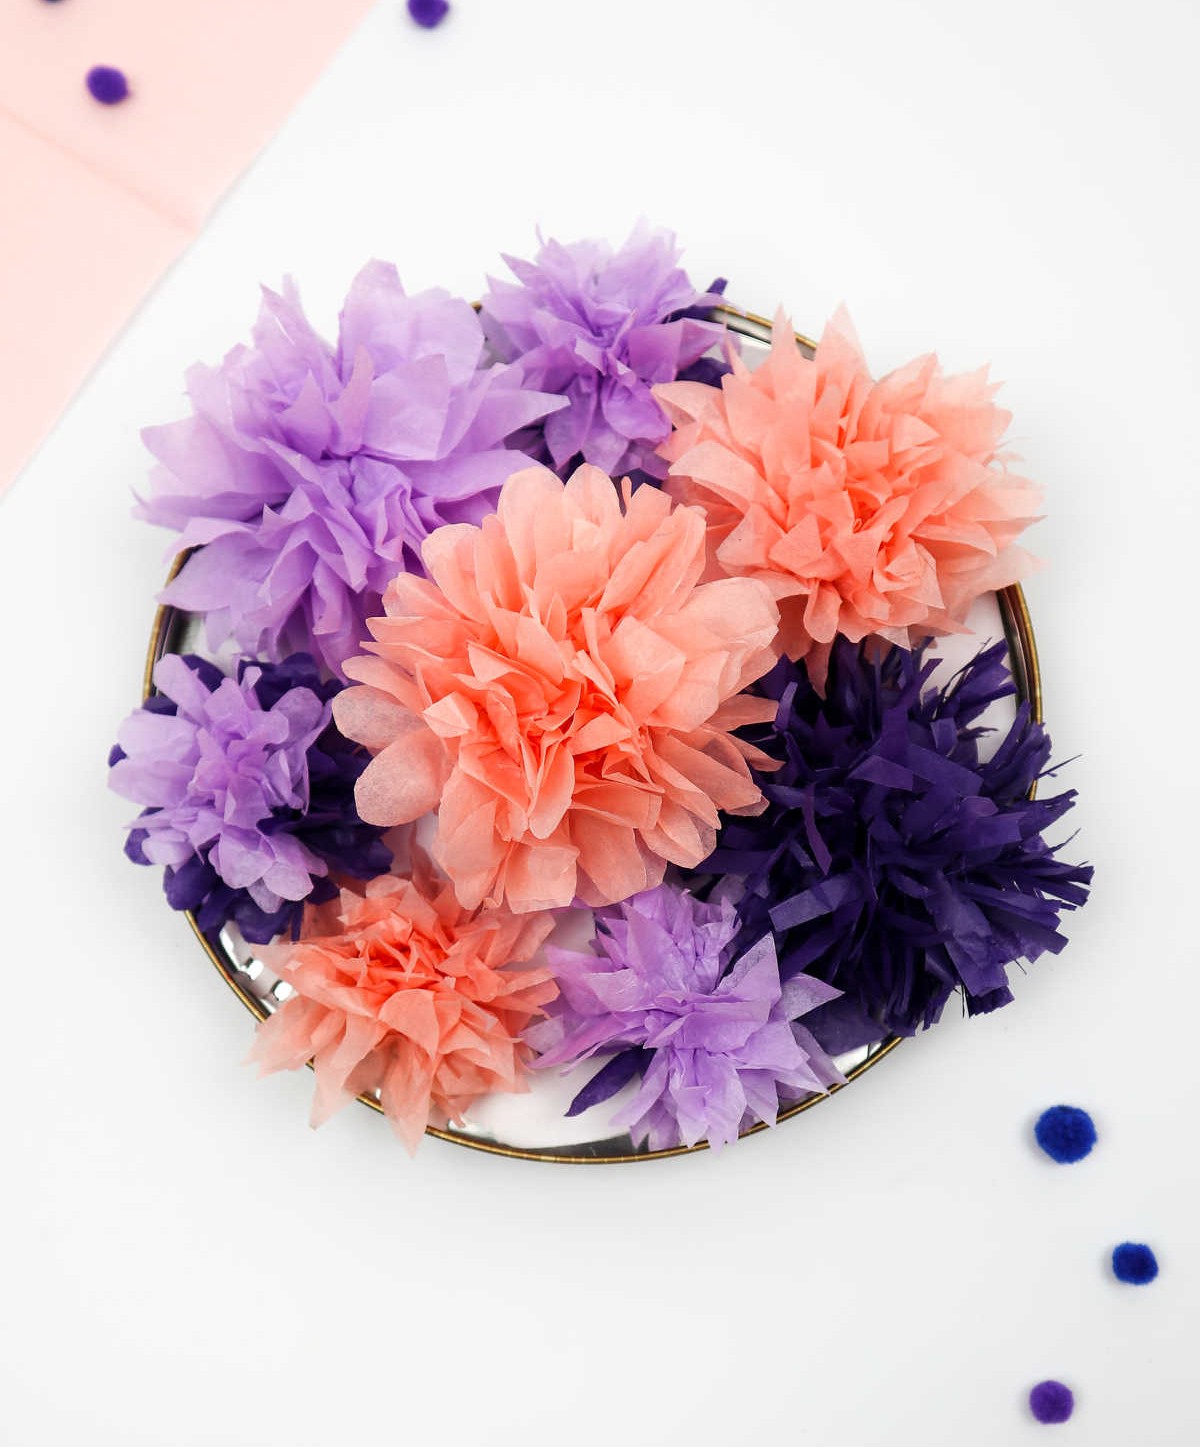
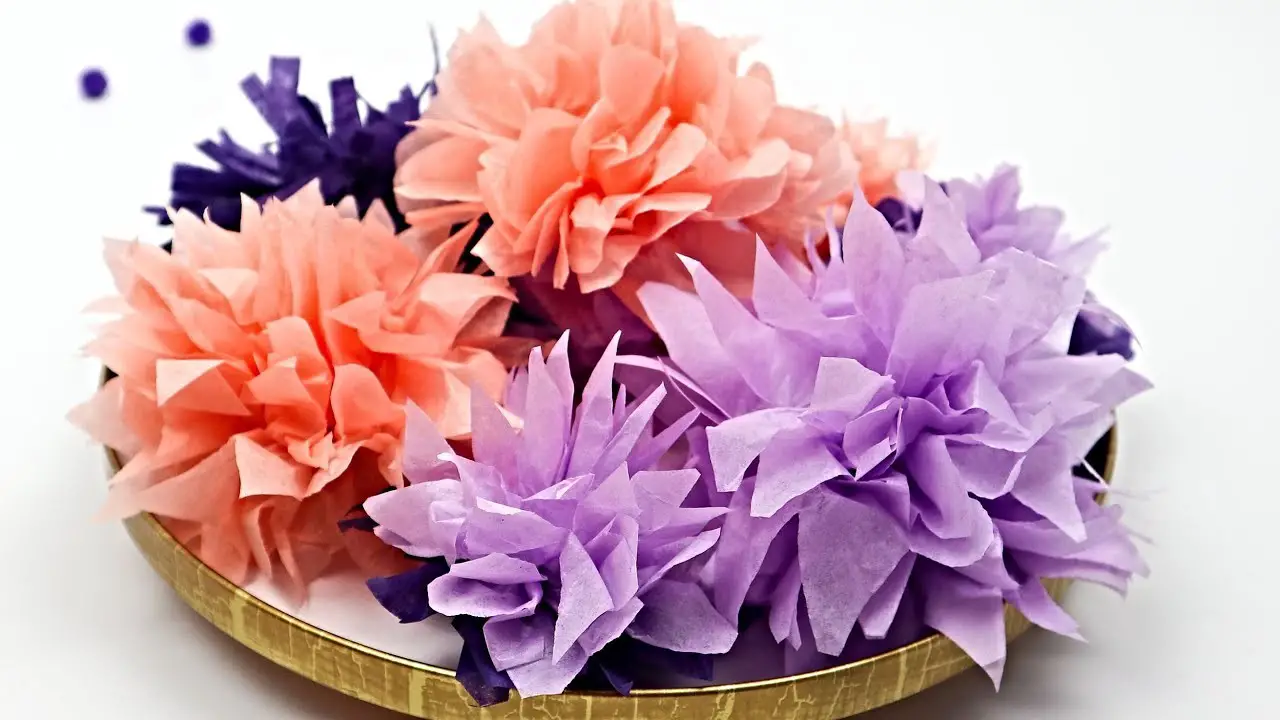
Alternatively, you could artfully arrange them in a bowl and use them as a centerpiece or place them on the mantel for added visual interest. Finally, they can even be used to fill boxes when packing gifts and presents, adding an extra touch of thoughtfulness to your present-giving endeavors.
Watch: How to Make Tissue Paper Flowers
If you’re interested in learning more about creating [insert type of content here], I encourage you to explore further by checking out comprehensive tutorials available on YouTube. The platform offers an array of video resources that can help guide you through the process, providing step-by-step instructions and valuable insights along the way.
Who Can Make These Flowers?
While the simplicity of these flowers has undoubtedly piqued your interest, it’s essential to acknowledge that young children may require some assistance when handling scissors and delicate tissue paper. With proper guidance, kids and toddlers can still create stunning floral arrangements with minimal supervision, but a gentle nudge in the right direction is often necessary to avoid any frustration or destruction of the materials.
How to Make Tissue Paper Flowers (Step-by-Step)
Tissue paper flowers offer a delightful DIY experience that’s both accessible and cost-effective. This charming craft project requires minimal time investment, making it an ideal activity for those seeking a quick creative outlet. With just 20 minutes of prep time and total time, you can create a beautiful bouquet without breaking the bank. At a mere $0.50 per flower, this delightful hobby is perfect for all skill levels and budgets.
Equipment
Materials
To create a delicate flower, you’ll need to gather the right materials. For smaller blooms, start with seven pieces of 3-inch by 5-inch tissue paper. If you’re aiming for something more majestic, you’ll want eight pieces of 4-inch by 6-inch tissue paper instead. The specific dimensions may vary depending on the desired size and intricacy of your flower design.
Instructions
To begin creating your tissue paper flower, collect your materials and prepare for the process. The first step is to stack and align the tissues according to the size of the flower you desire. Consider a color scheme and organize the tissues accordingly. Next, fold the stacked tissues into a fan shape, ensuring an even corrugation. This will form the foundation of your flower. Once the fan shape is formed, secure it with a string or thread in the middle.
Cut the ends of the stack to achieve the desired shape for your flower. Unfold each individual tissue sheet, gently pulling them apart to create a ball-like tuft. Adjust and refine the ends as needed to achieve the desired appearance. With these steps complete, you now have a beautiful finished tissue paper flower.