Discover the therapeutic benefits of DIY stress balls! Whether you’re looking for a fun family activity or a personal relaxation technique, these squishy wonders are perfect. The tactile experience of squeezing them can stimulate nerves in your palms, calming your nervous system and even regulating hormones that contribute to stress. It’s no wonder they’ve become a popular anxiety-relief tool.
To take this DIY project to the next level, you can customize and decorate your stress balls with balloons and other creative materials. The end result is not only a unique stress ball but also a fun and interactive way to manage stress. So, get ready to unwind and create!
Supplies You’ll Need
The everyday objects that may seem harmless at first glance, but can actually be used to create a makeshift survival kit. Imagine having a collection of items that could help you navigate a difficult situation, such as having no access to basic necessities like water or shelter. This list includes some unexpected items that might just come in handy when the going gets tough.
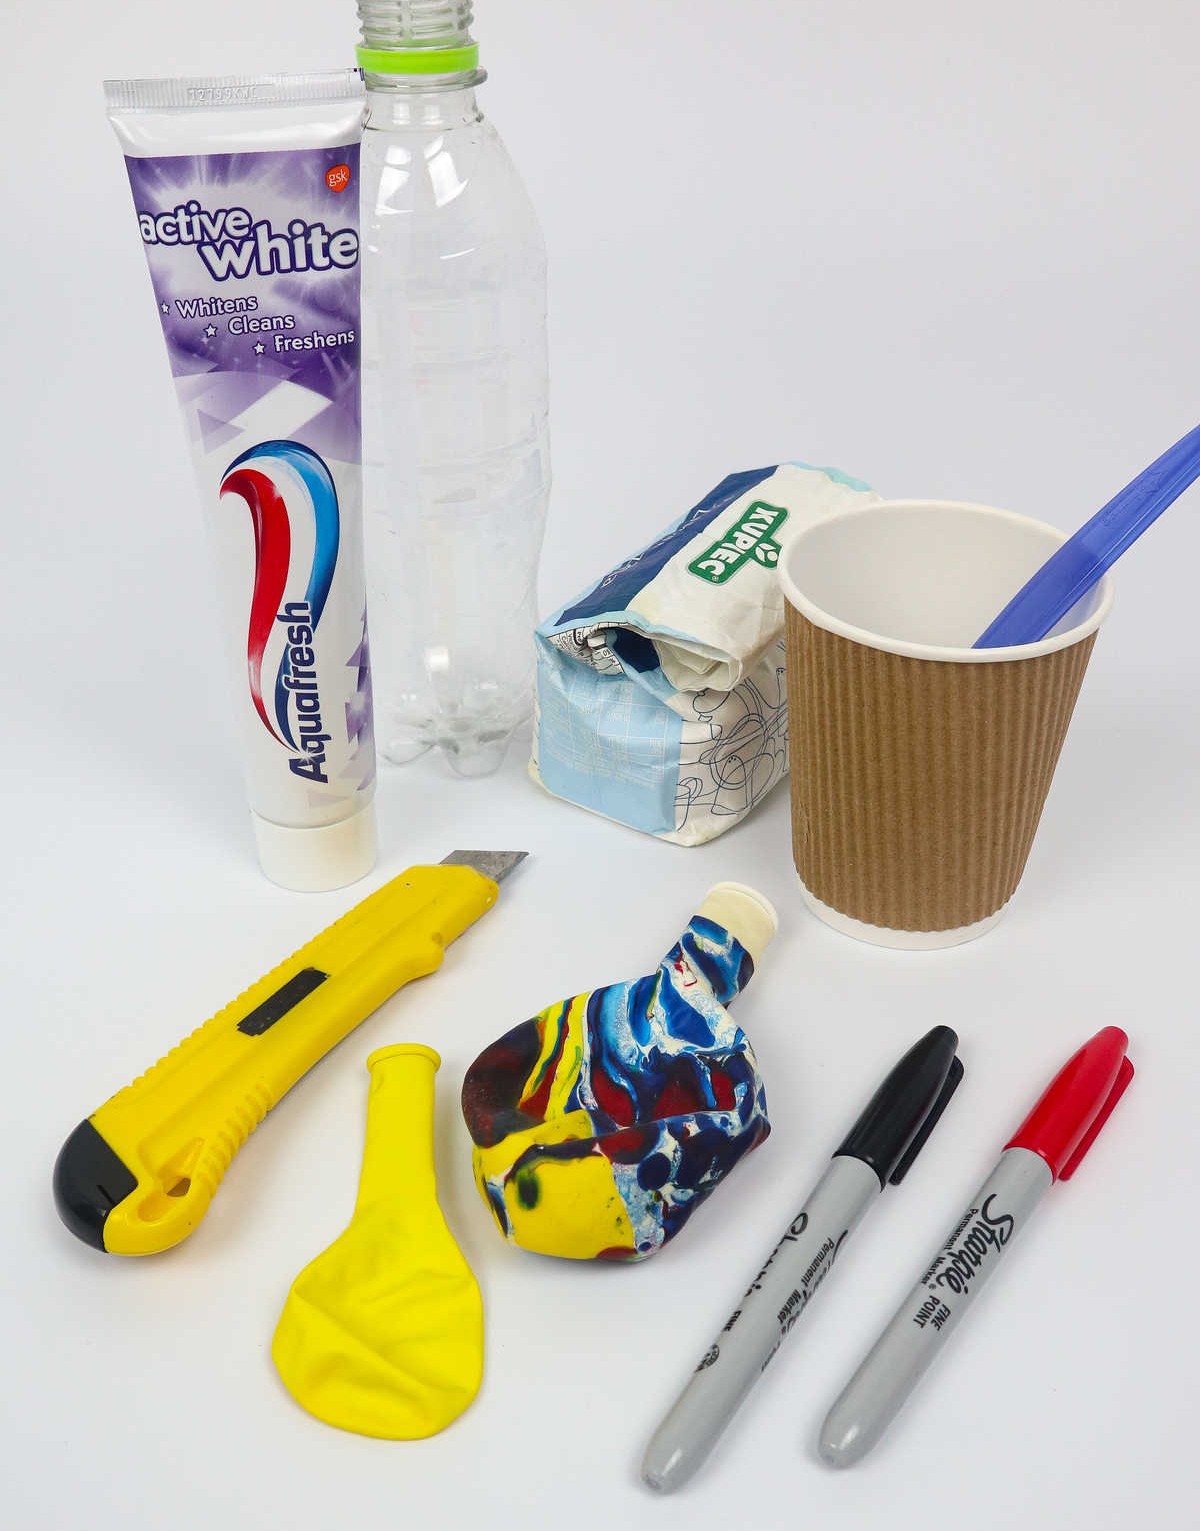
You’ve got your standard issue kitchen utensils like plastic bottles and spoons, but also some more unusual items like toothpaste and permanent markers. Then there are the miscellaneous objects that could be used for a variety of purposes, such as paper cups or bowls to collect water, or even balloons to help signal for help. And let’s not forget about the starchy ingredients like potato starch, cornstarch, or wheat flour that can aid in food preservation and other survival tasks.
These items may seem insignificant on their own, but when combined, they could provide a lifeline in a pinch.
How to Make Stress Balls
Before embarking on this creative endeavor, it’s essential to prepare for the potential mess that may ensue. To avoid any last-minute stress, ensure you have a sufficient supply of newspapers or paper towels readily available. These will come in handy as you combine materials and get creative, potentially resulting in a space that’s anything but tidy.
Step 1
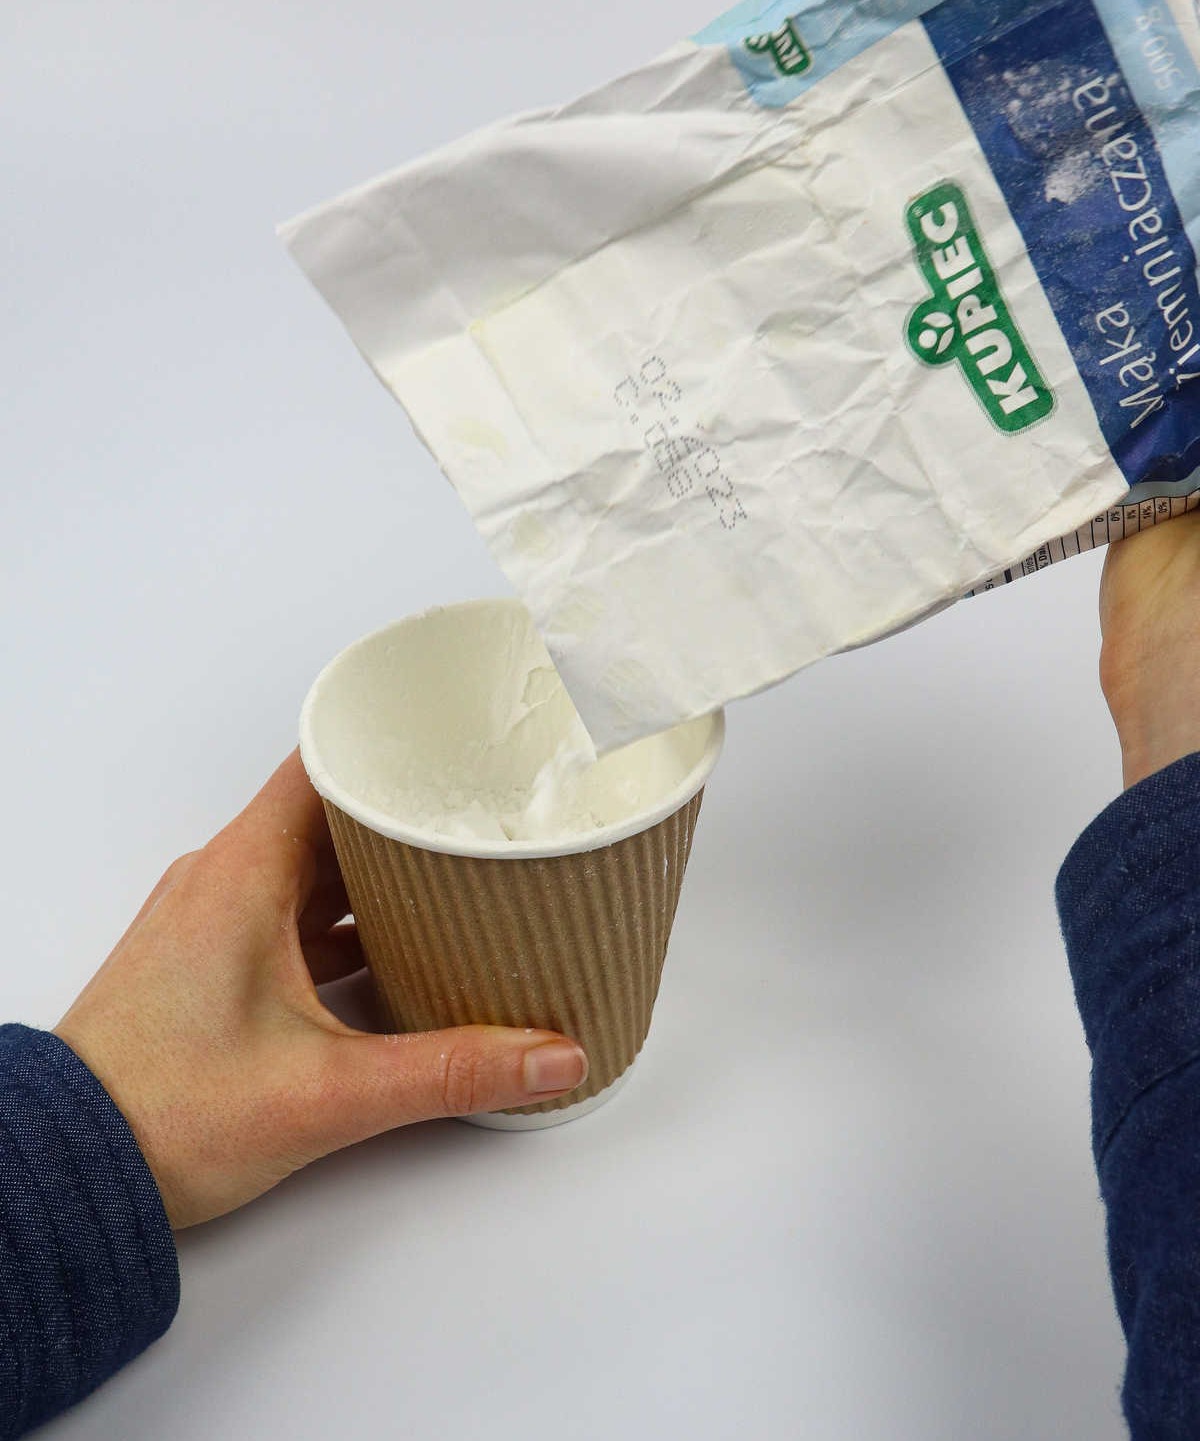
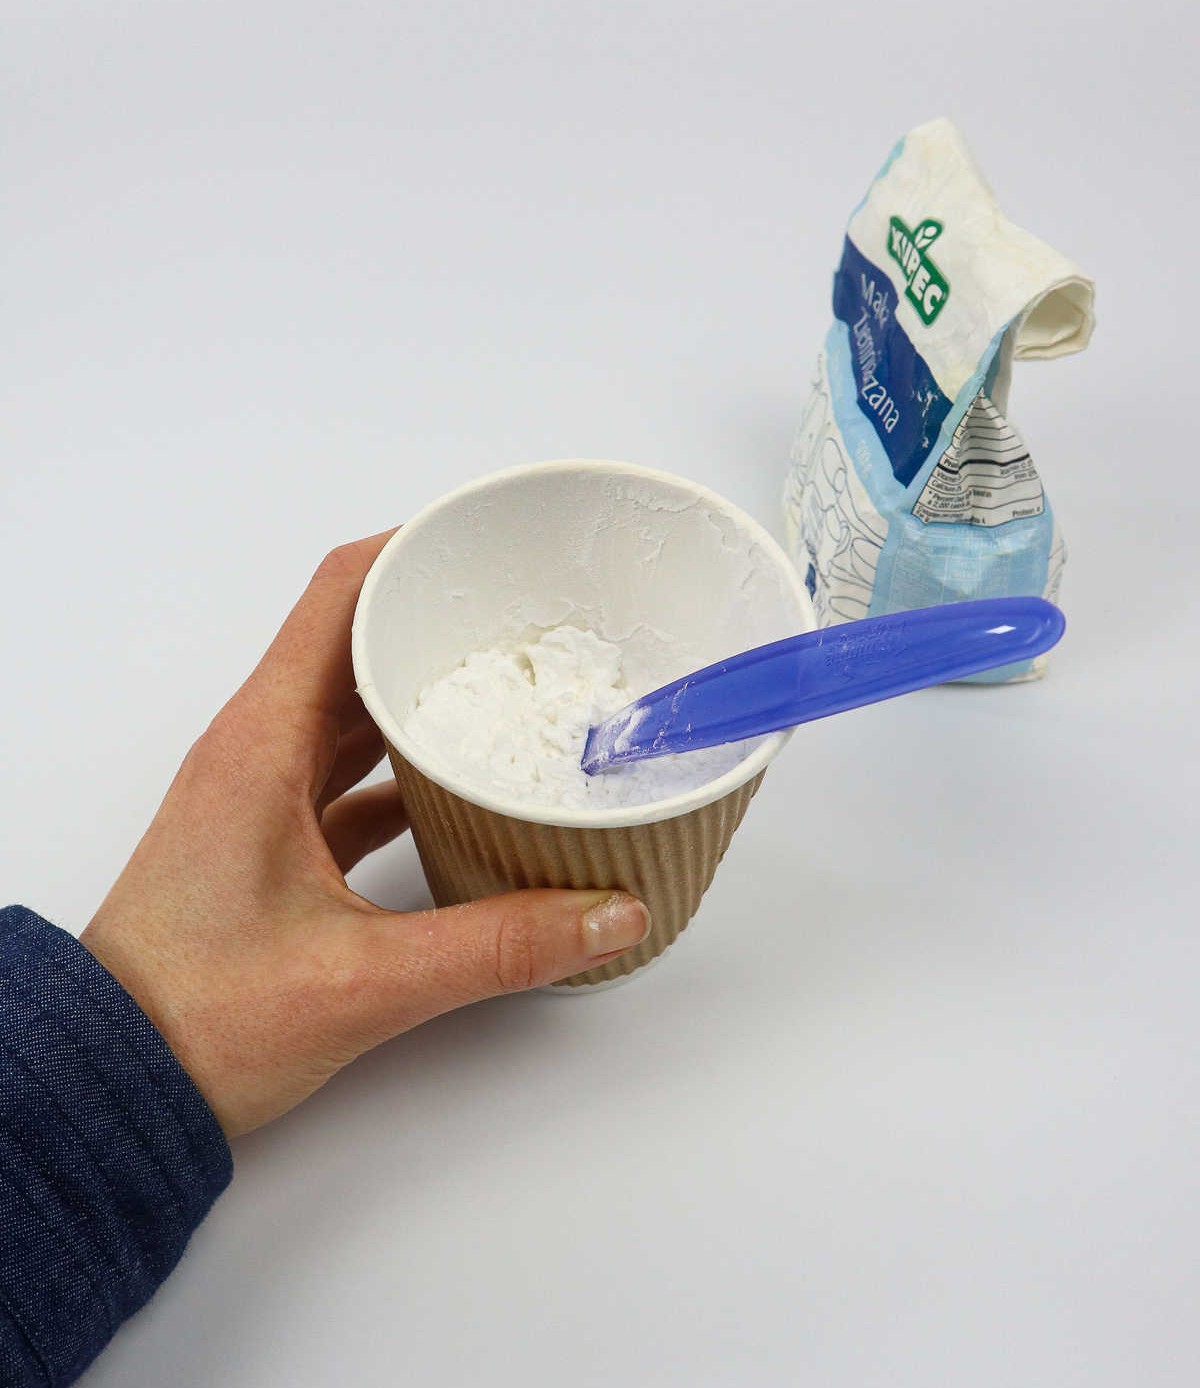
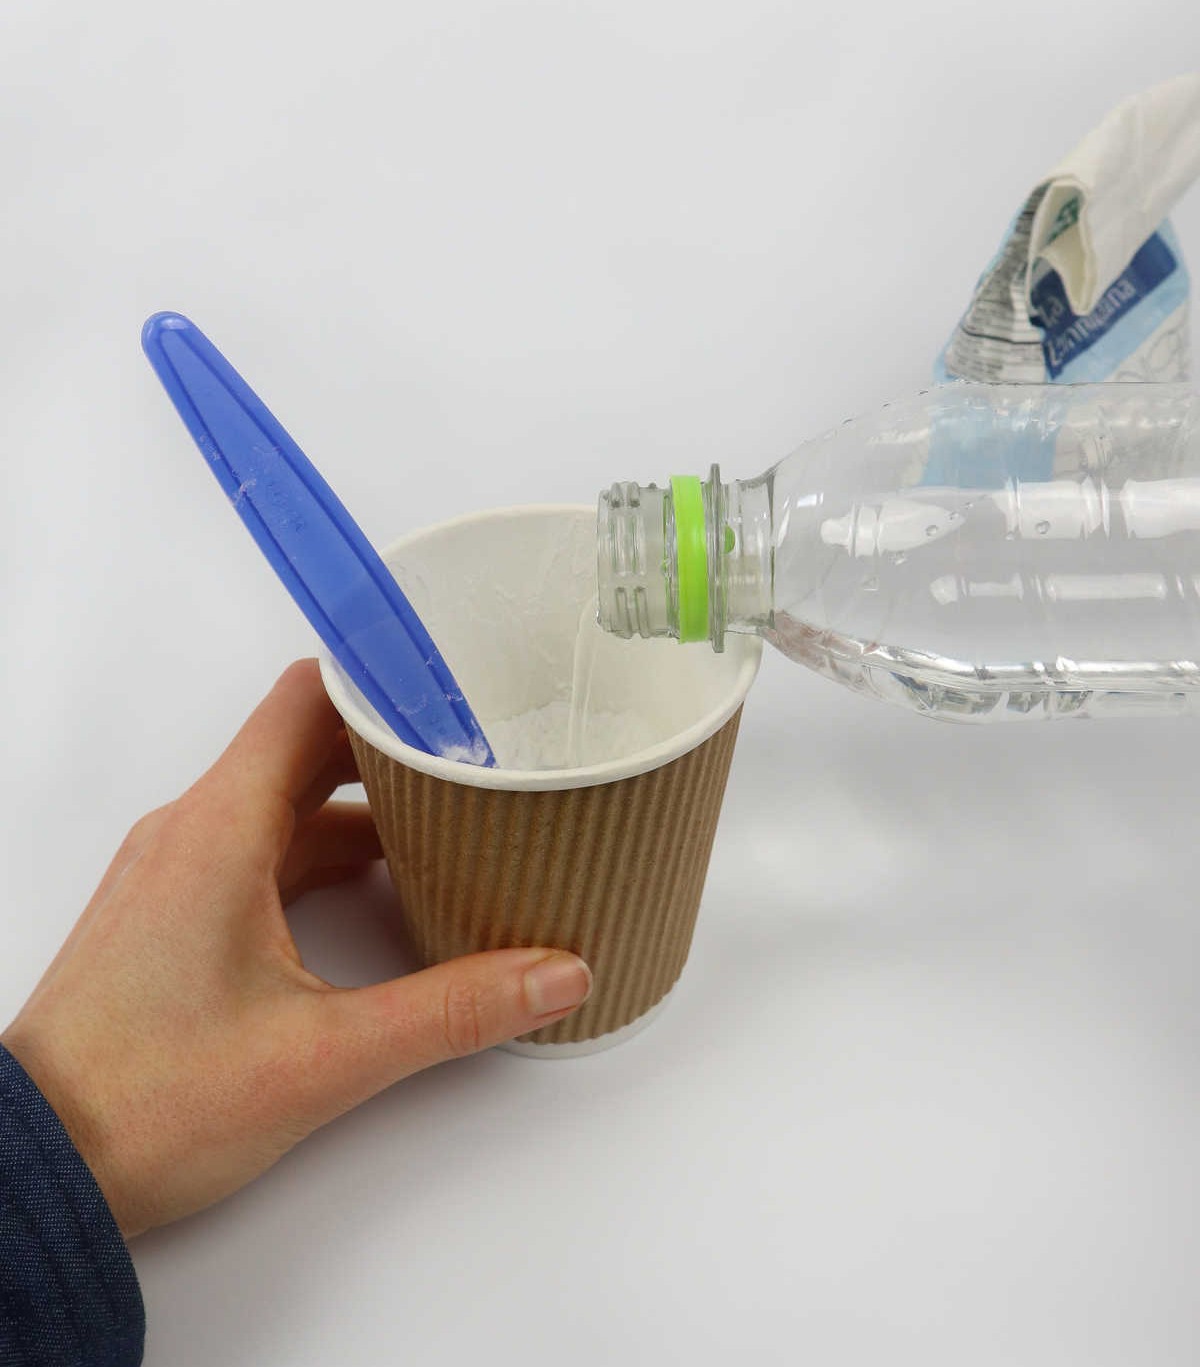
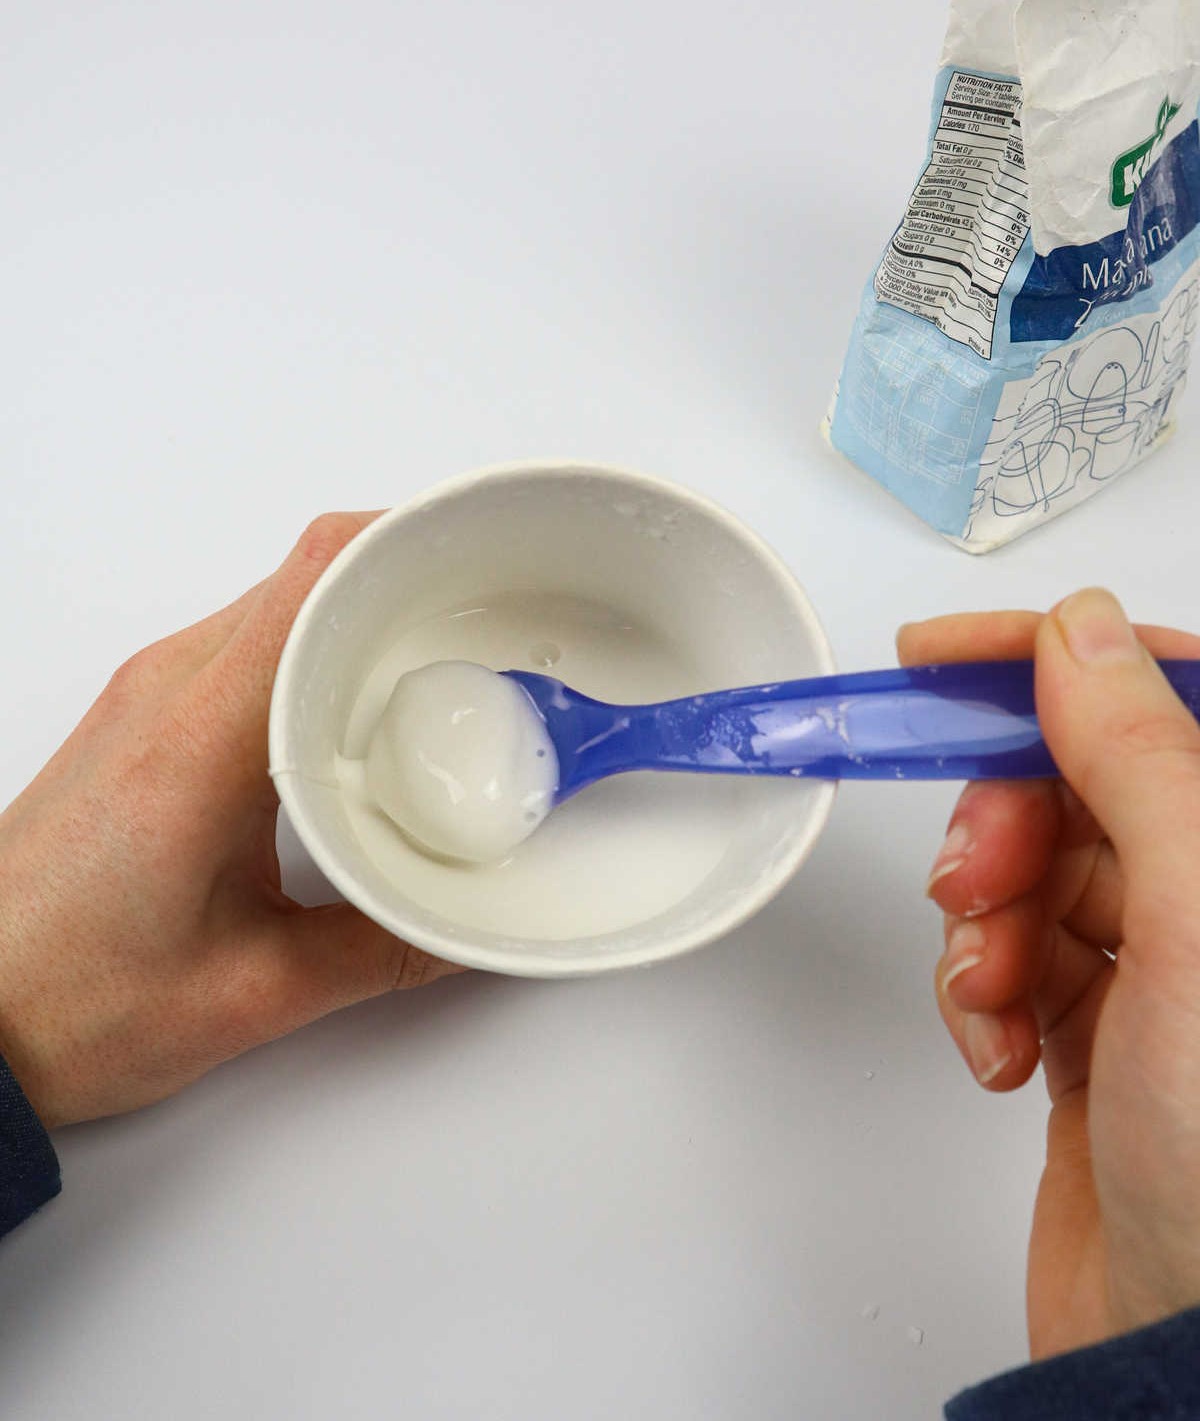
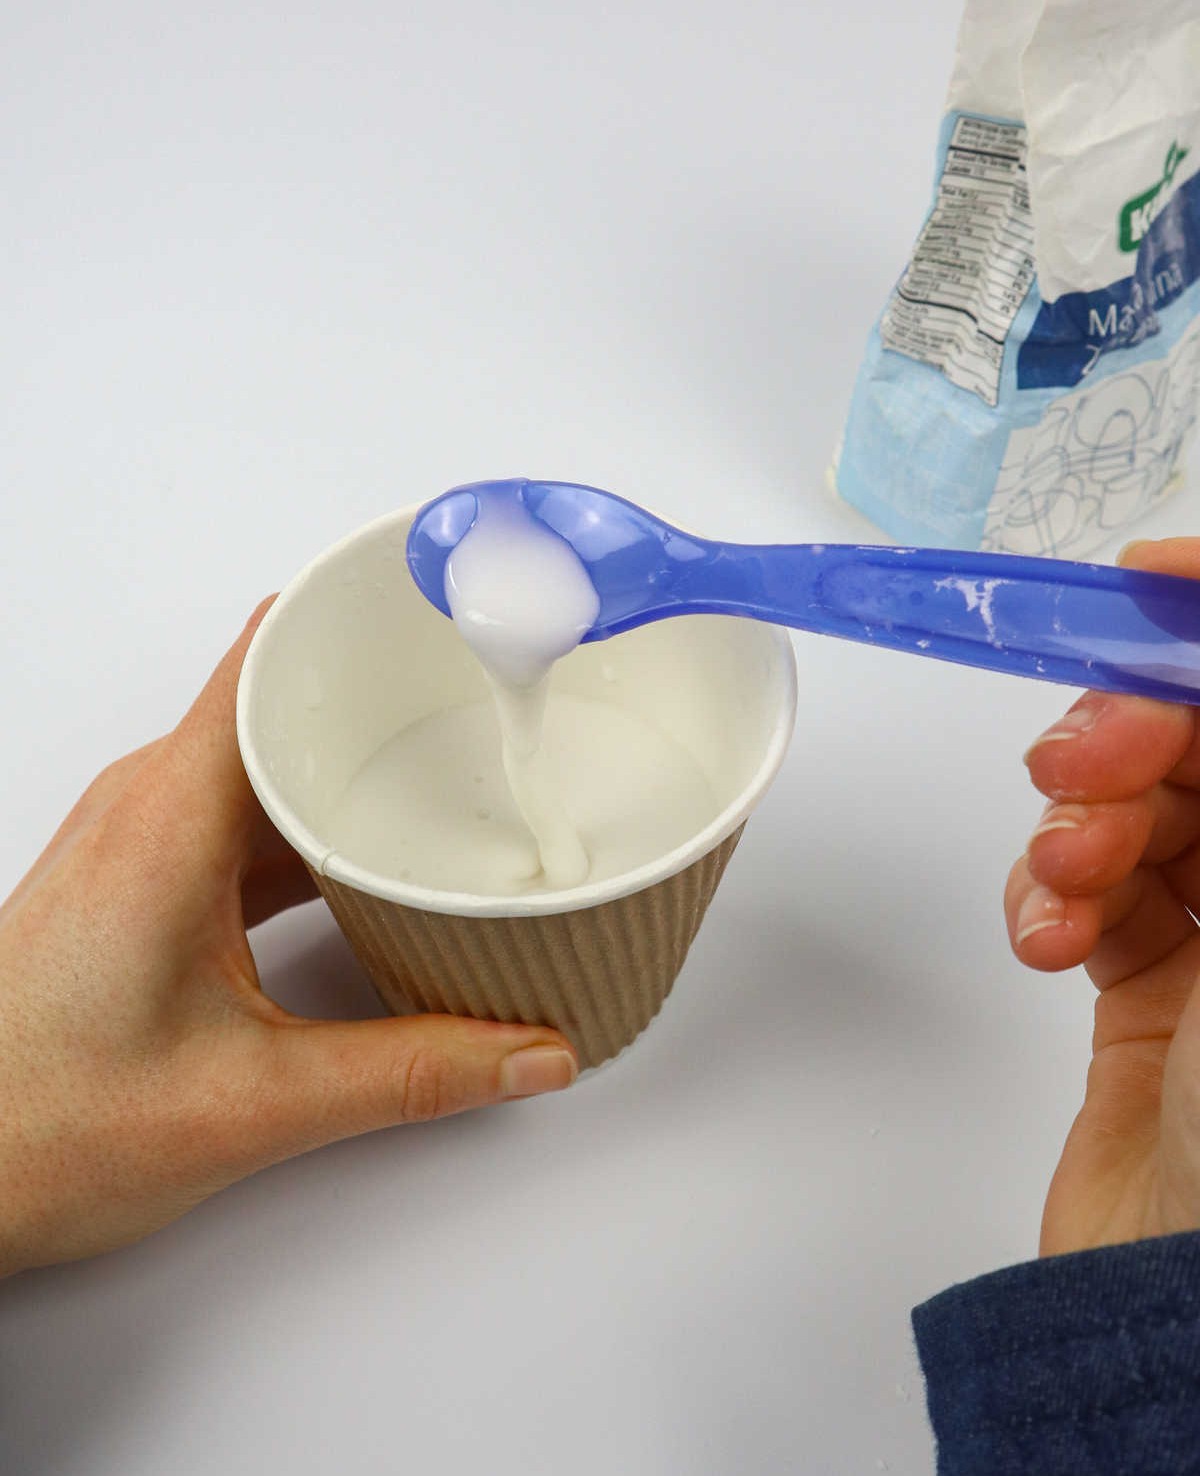
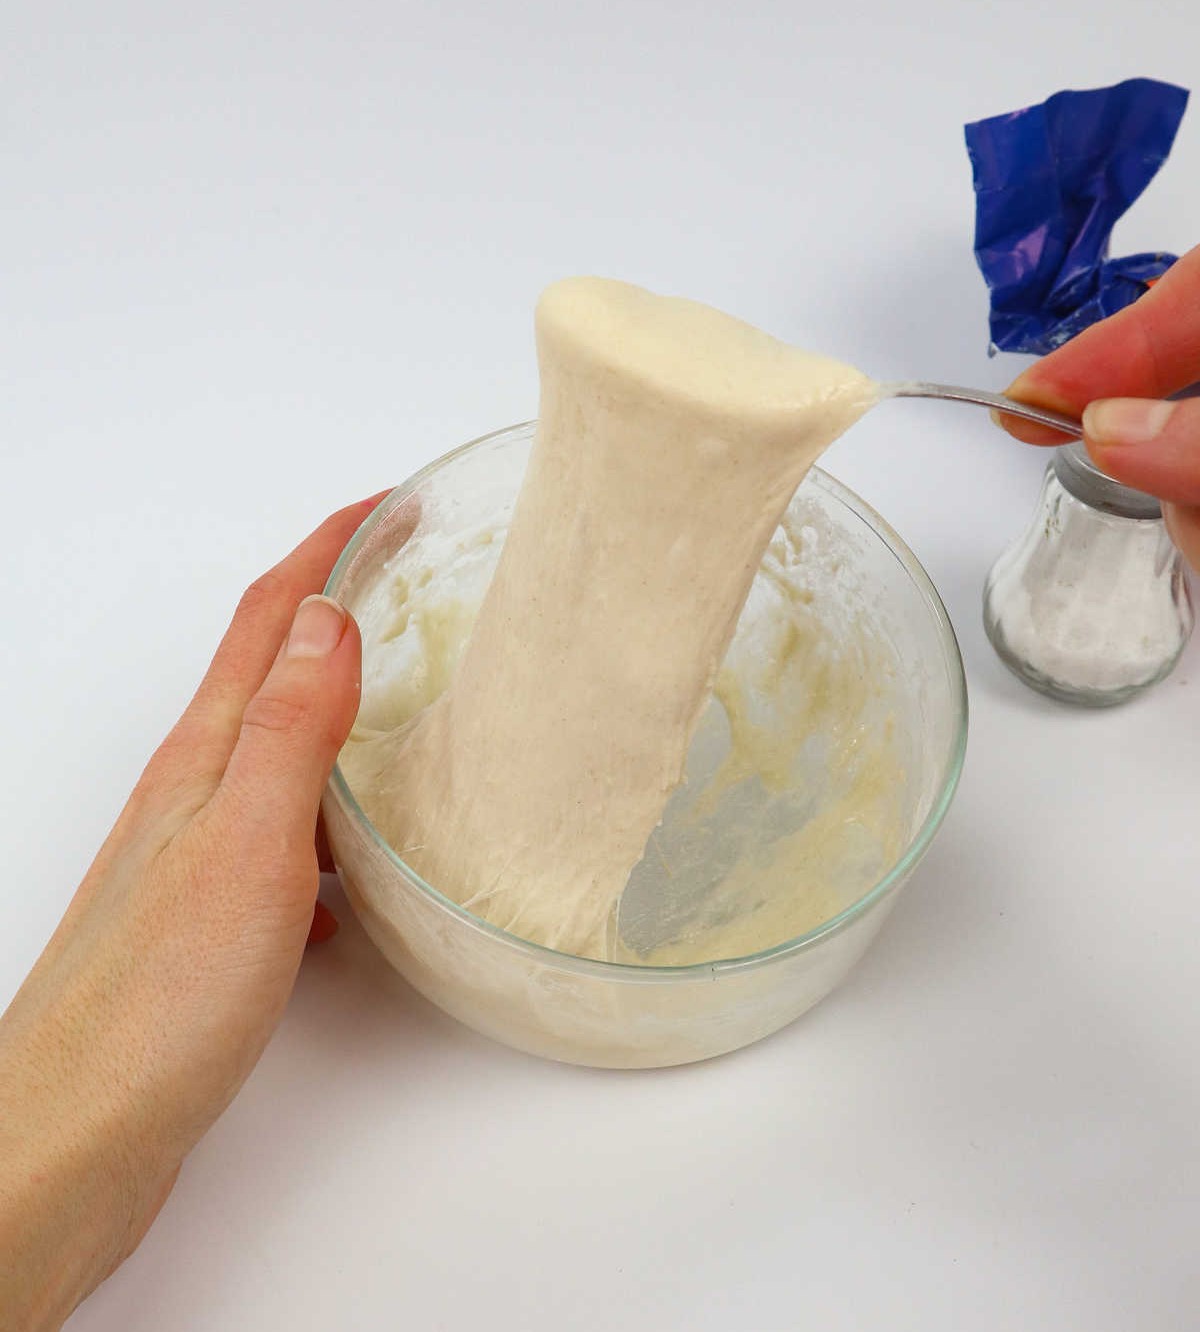
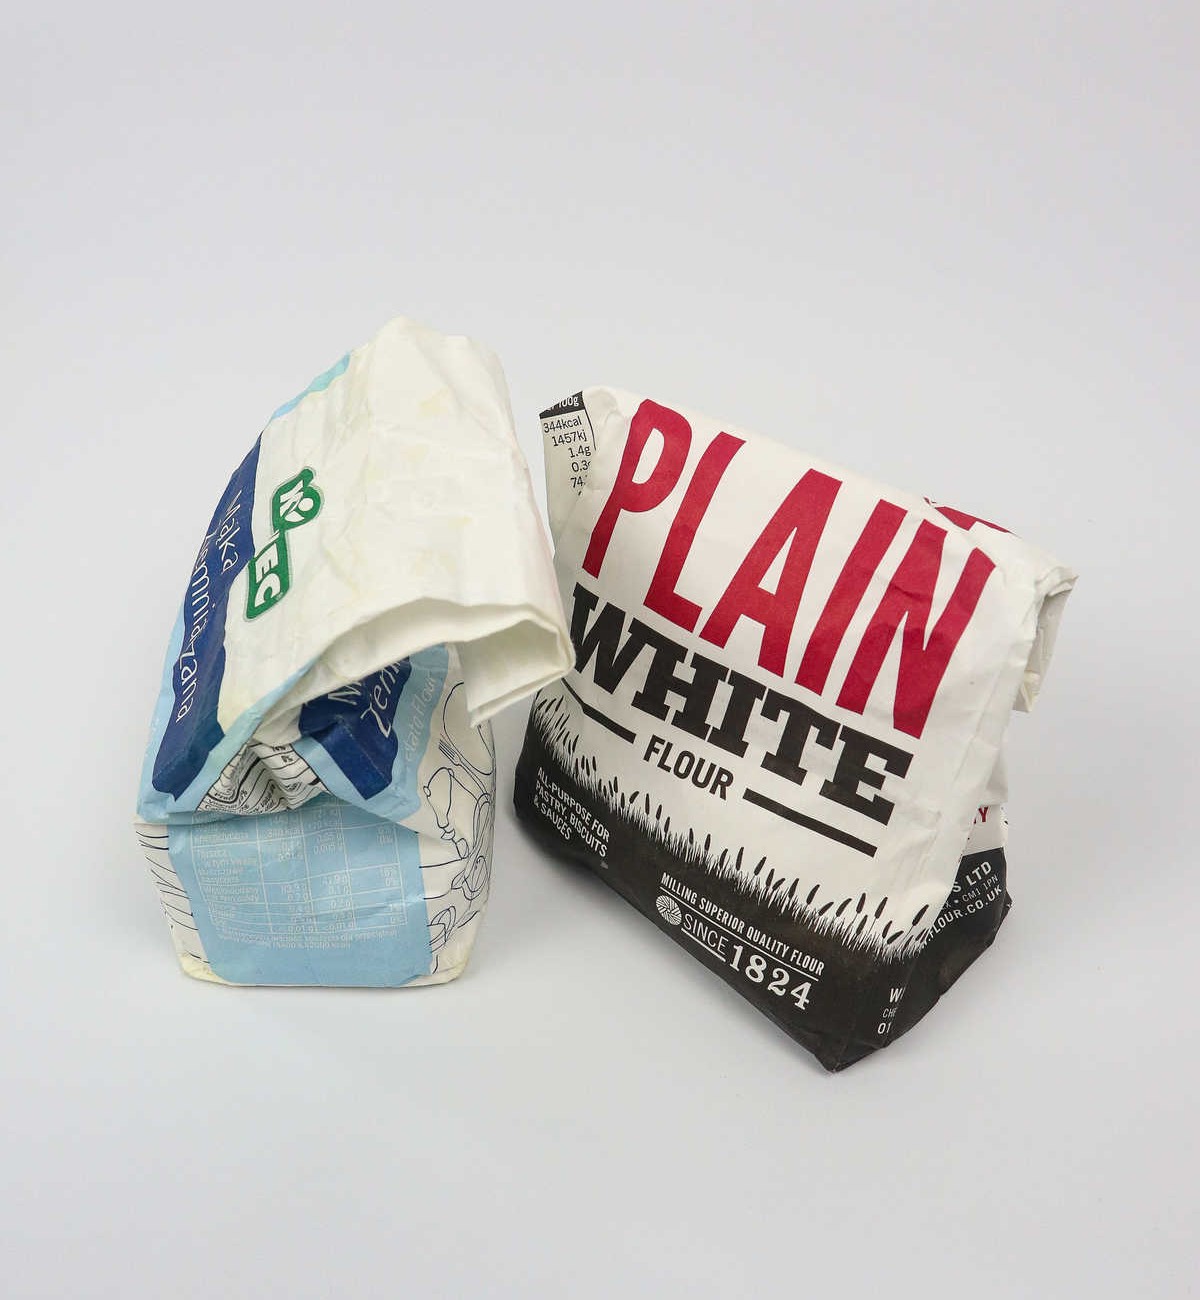
To create the perfect paste, start by measuring out a cup of water and a starchy substance such as potato starch or corn flour. Wheat flour can also be used, which will result in a distinct texture. The key is to achieve the right consistency, which may require some trial and error.
Begin by pouring cold water into the measured flour, gradually adding more water if needed until you reach your desired paste-like consistency. Stir the mixture as you go to ensure everything is well combined.
The type of flour used will affect the final texture of the paste. Corn flour will produce a watery, glazed consistency, while wheat flour will yield a smooth and sticky paste similar to sourdough, albeit slightly runnier.
Take a hands-on approach and play with the mixture until you’re satisfied with its consistency. Don’t be afraid to get messy in the process! Additionally, consider adding a pinch of salt to help extend the paste’s shelf life.
Step 2
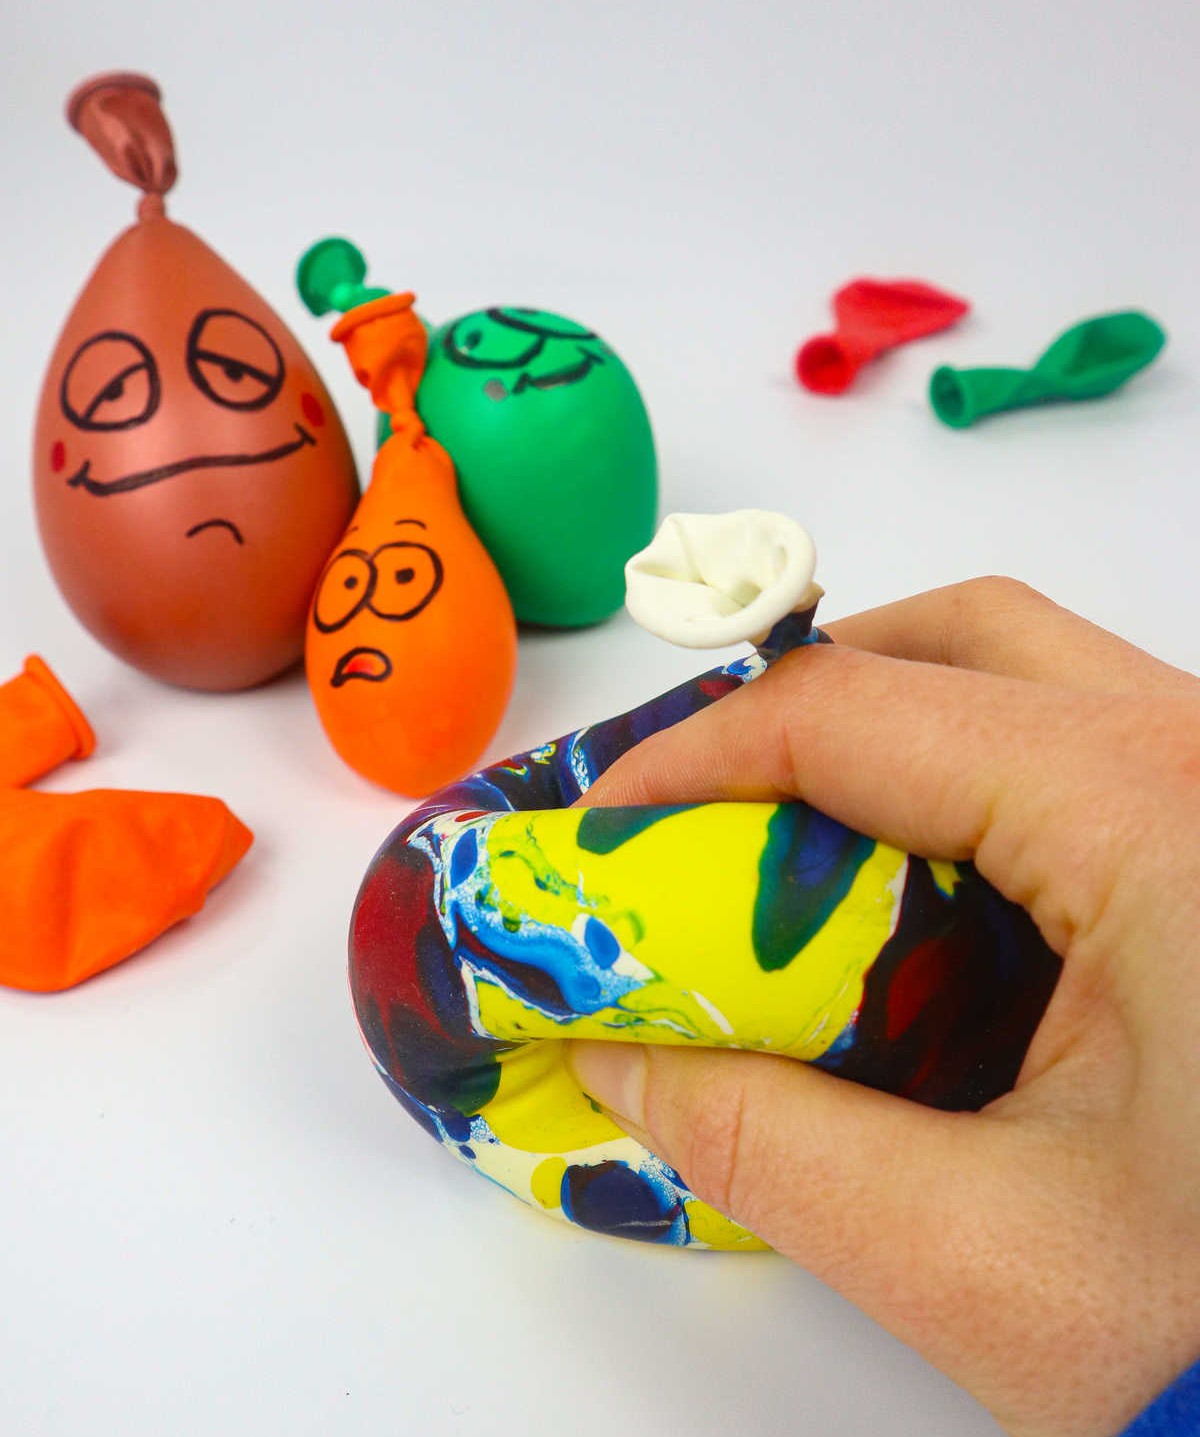
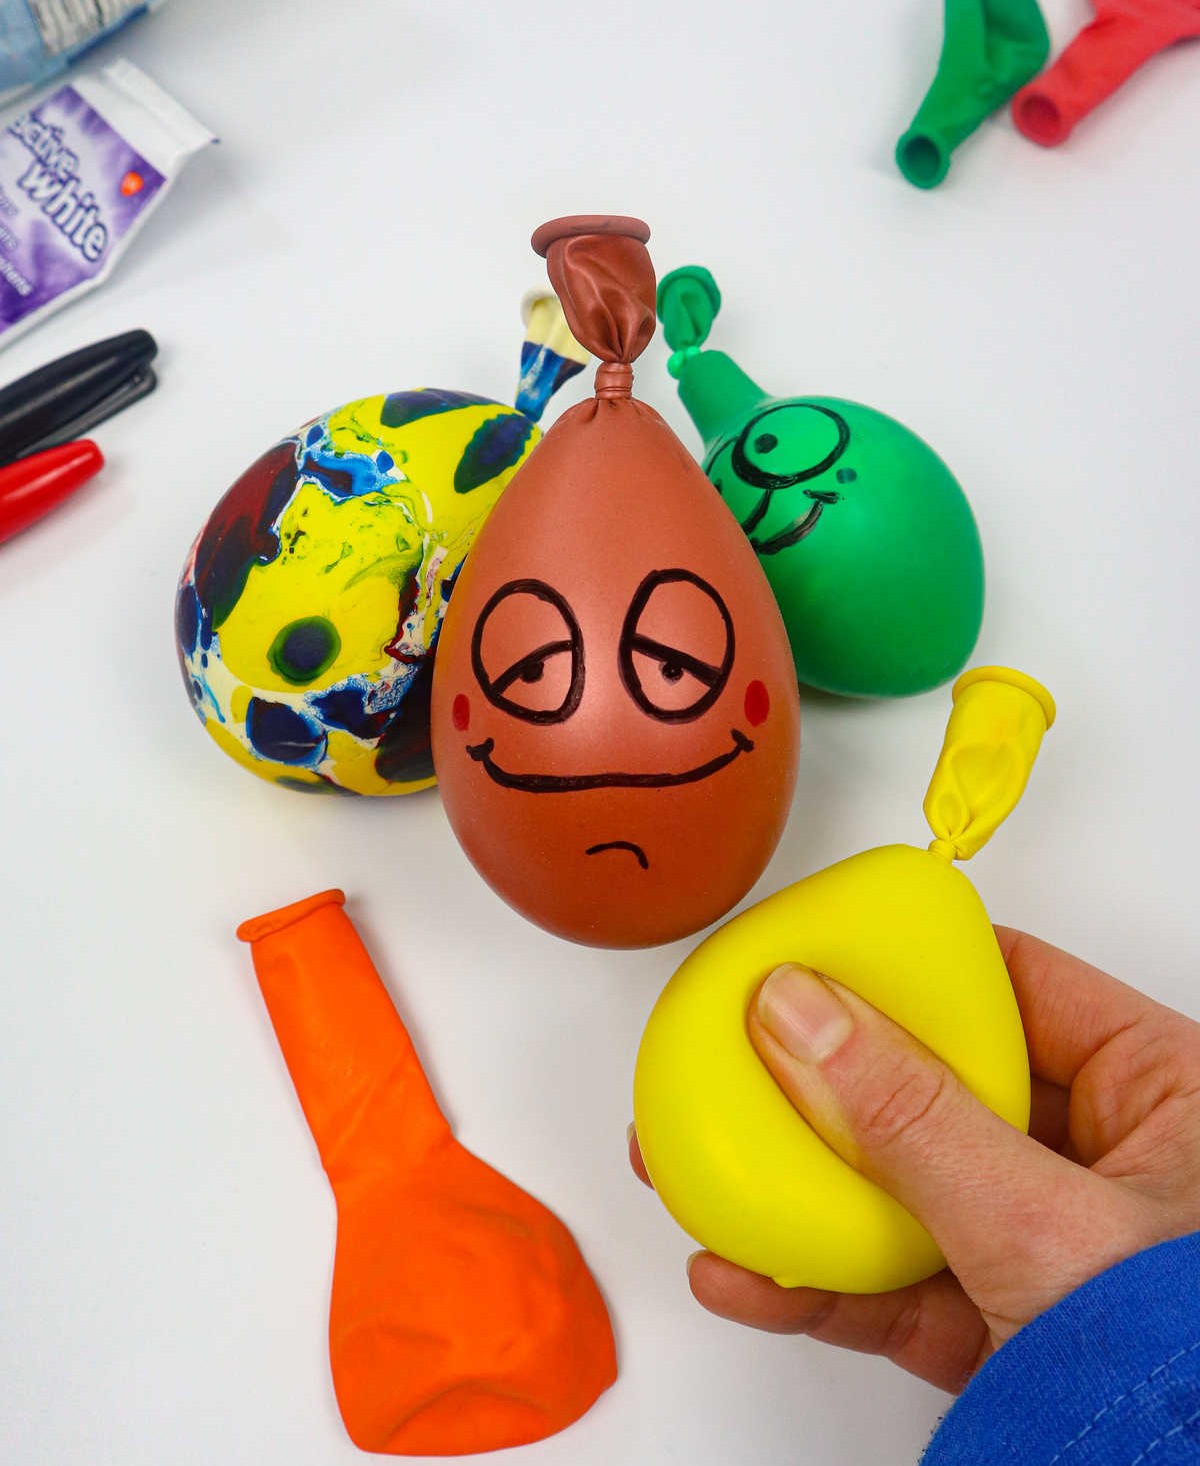
To begin with, the excitement starts when selecting a balloon from the numerous colorful options available. Don’t worry if all you have are plain ones; get creative by using markers to draw playful emojis on their surface. Once you’ve got your balloon, take a deep breath and inflate it to its full potential – the stretchier it gets, the more adhesive you can fit inside.
Step 3
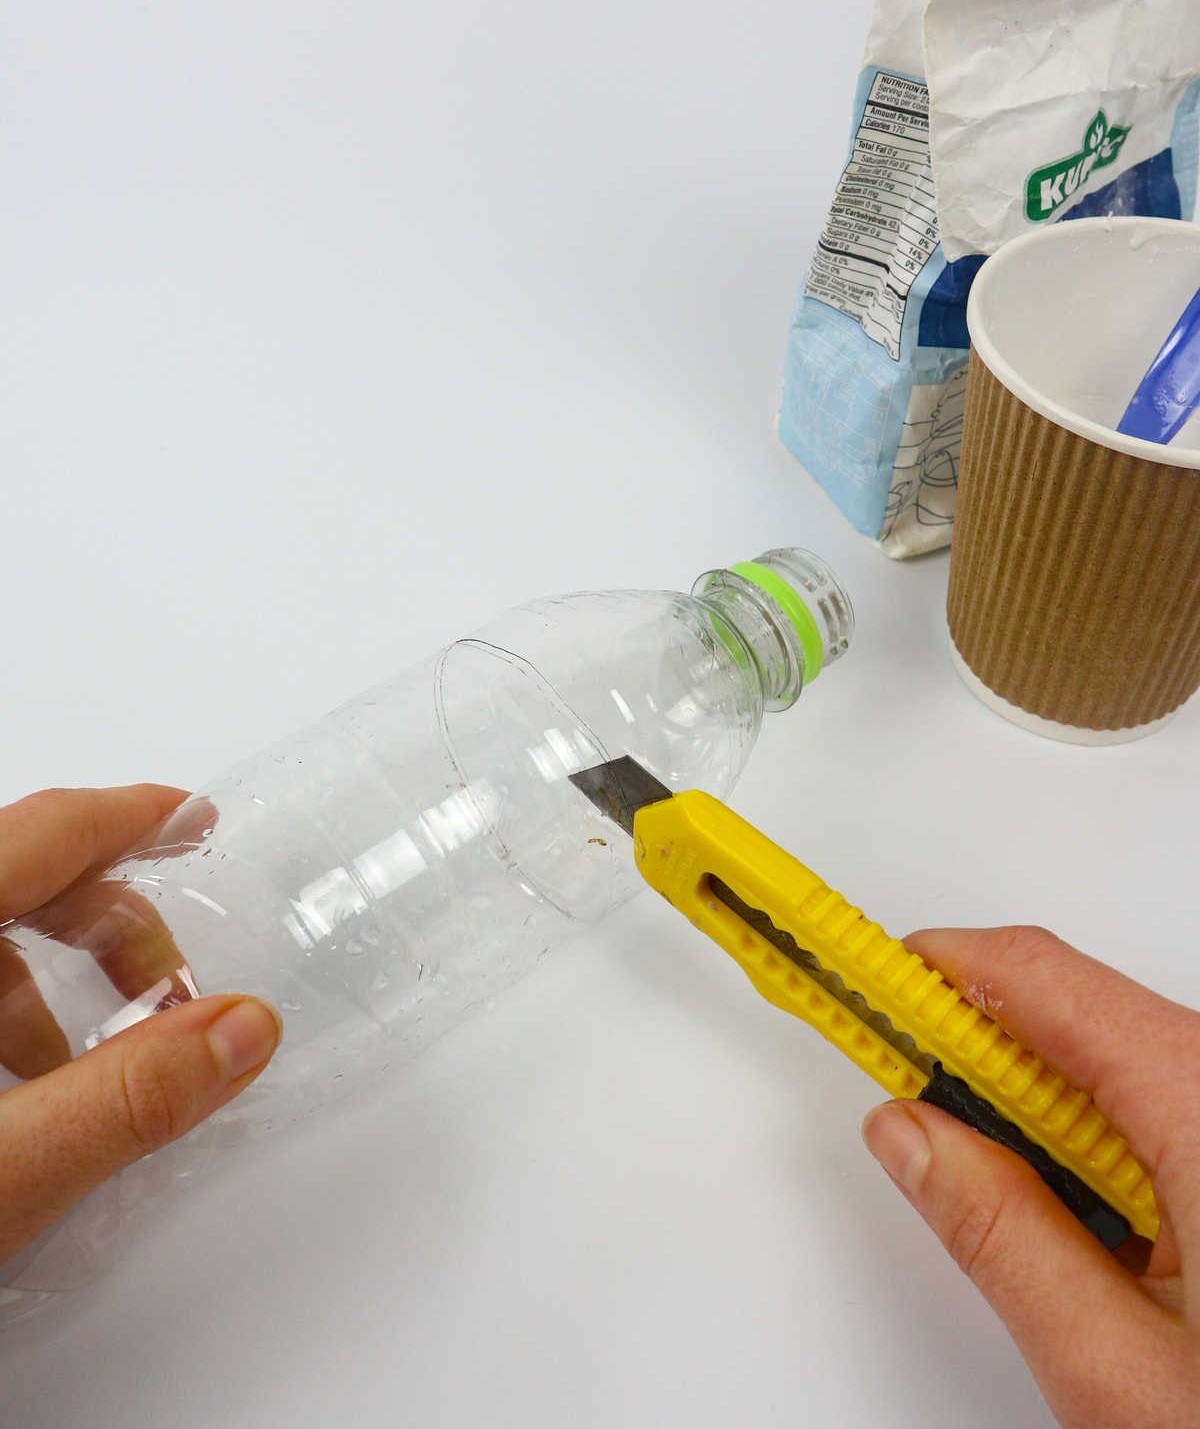
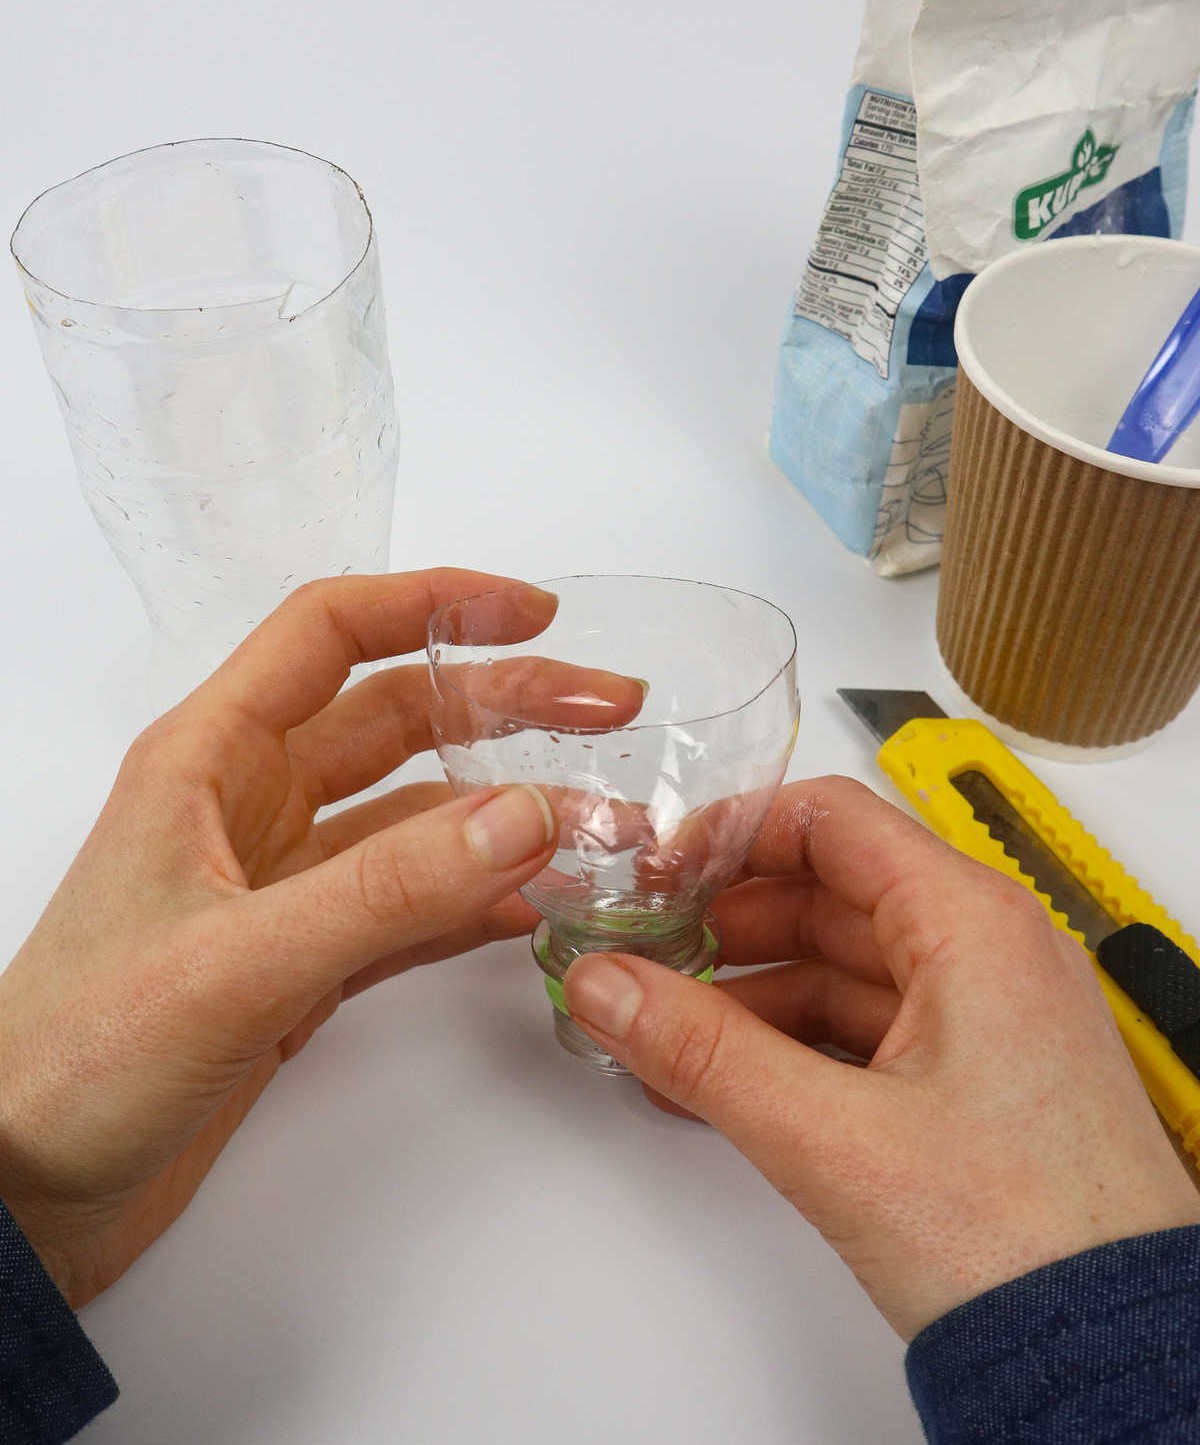
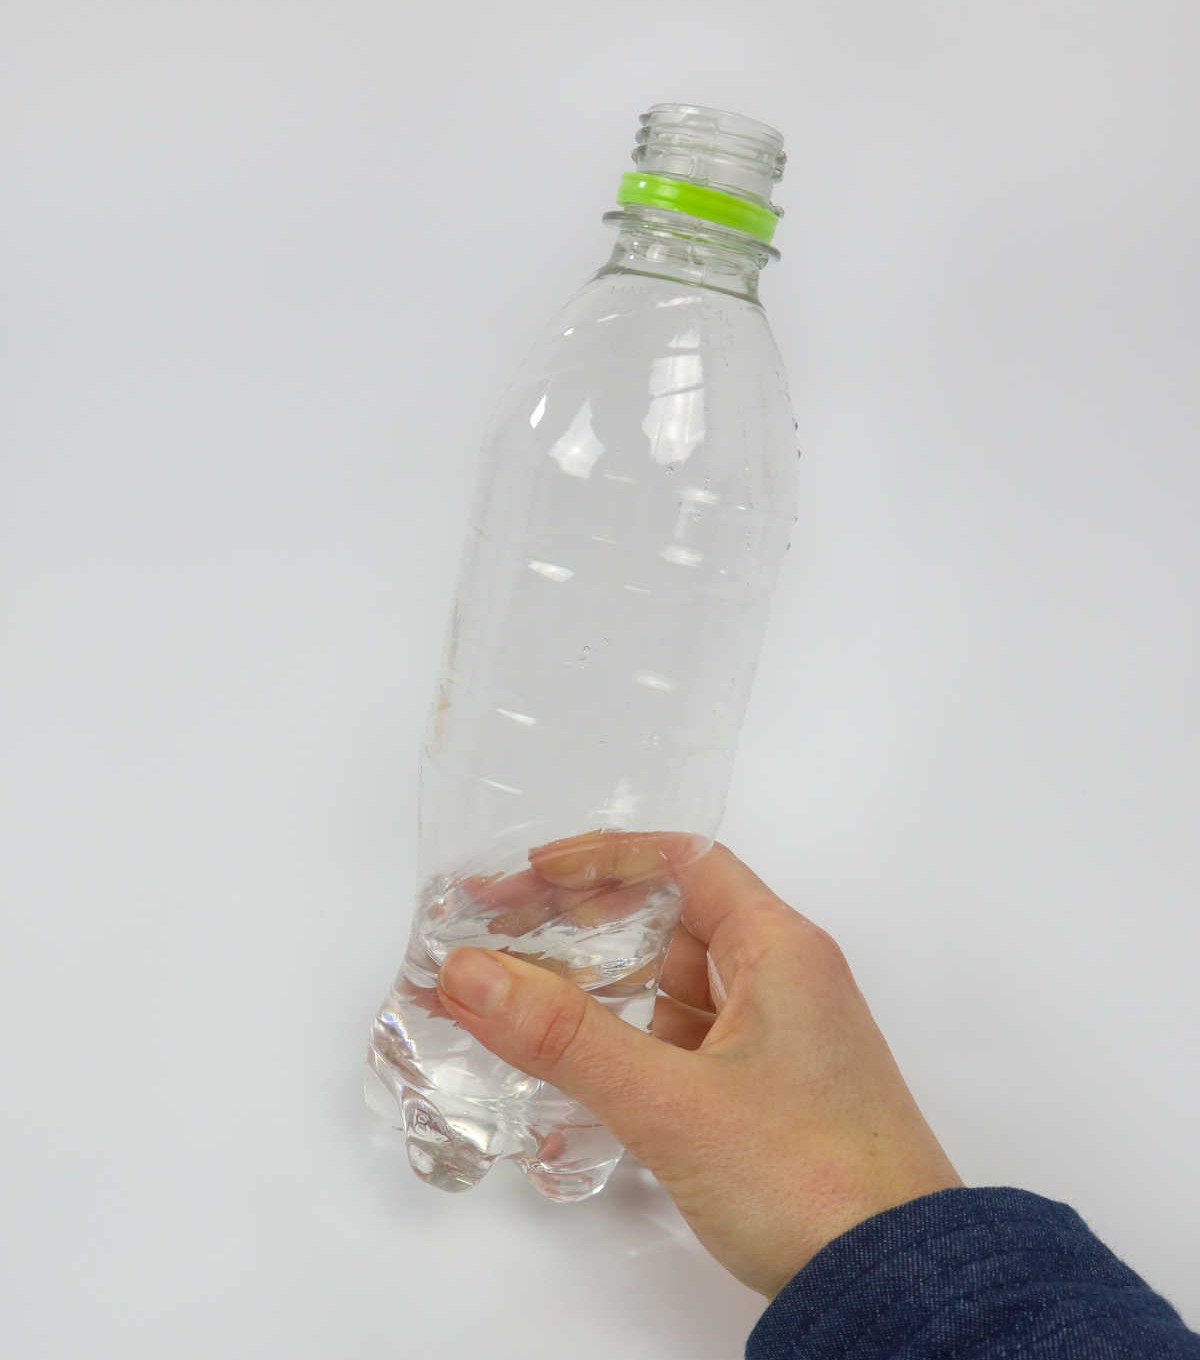
To successfully inflate your balloon, you have the option to employ two distinct methods. The first approach involves using a water bottle as a makeshift funnel. To set this up, acquire a water bottle and a cutting tool. Next, carefully cut off the top of the bottle to create a cone-shaped opening. This will enable you to easily guide the paste into the balloon’s mouth.
Step 4
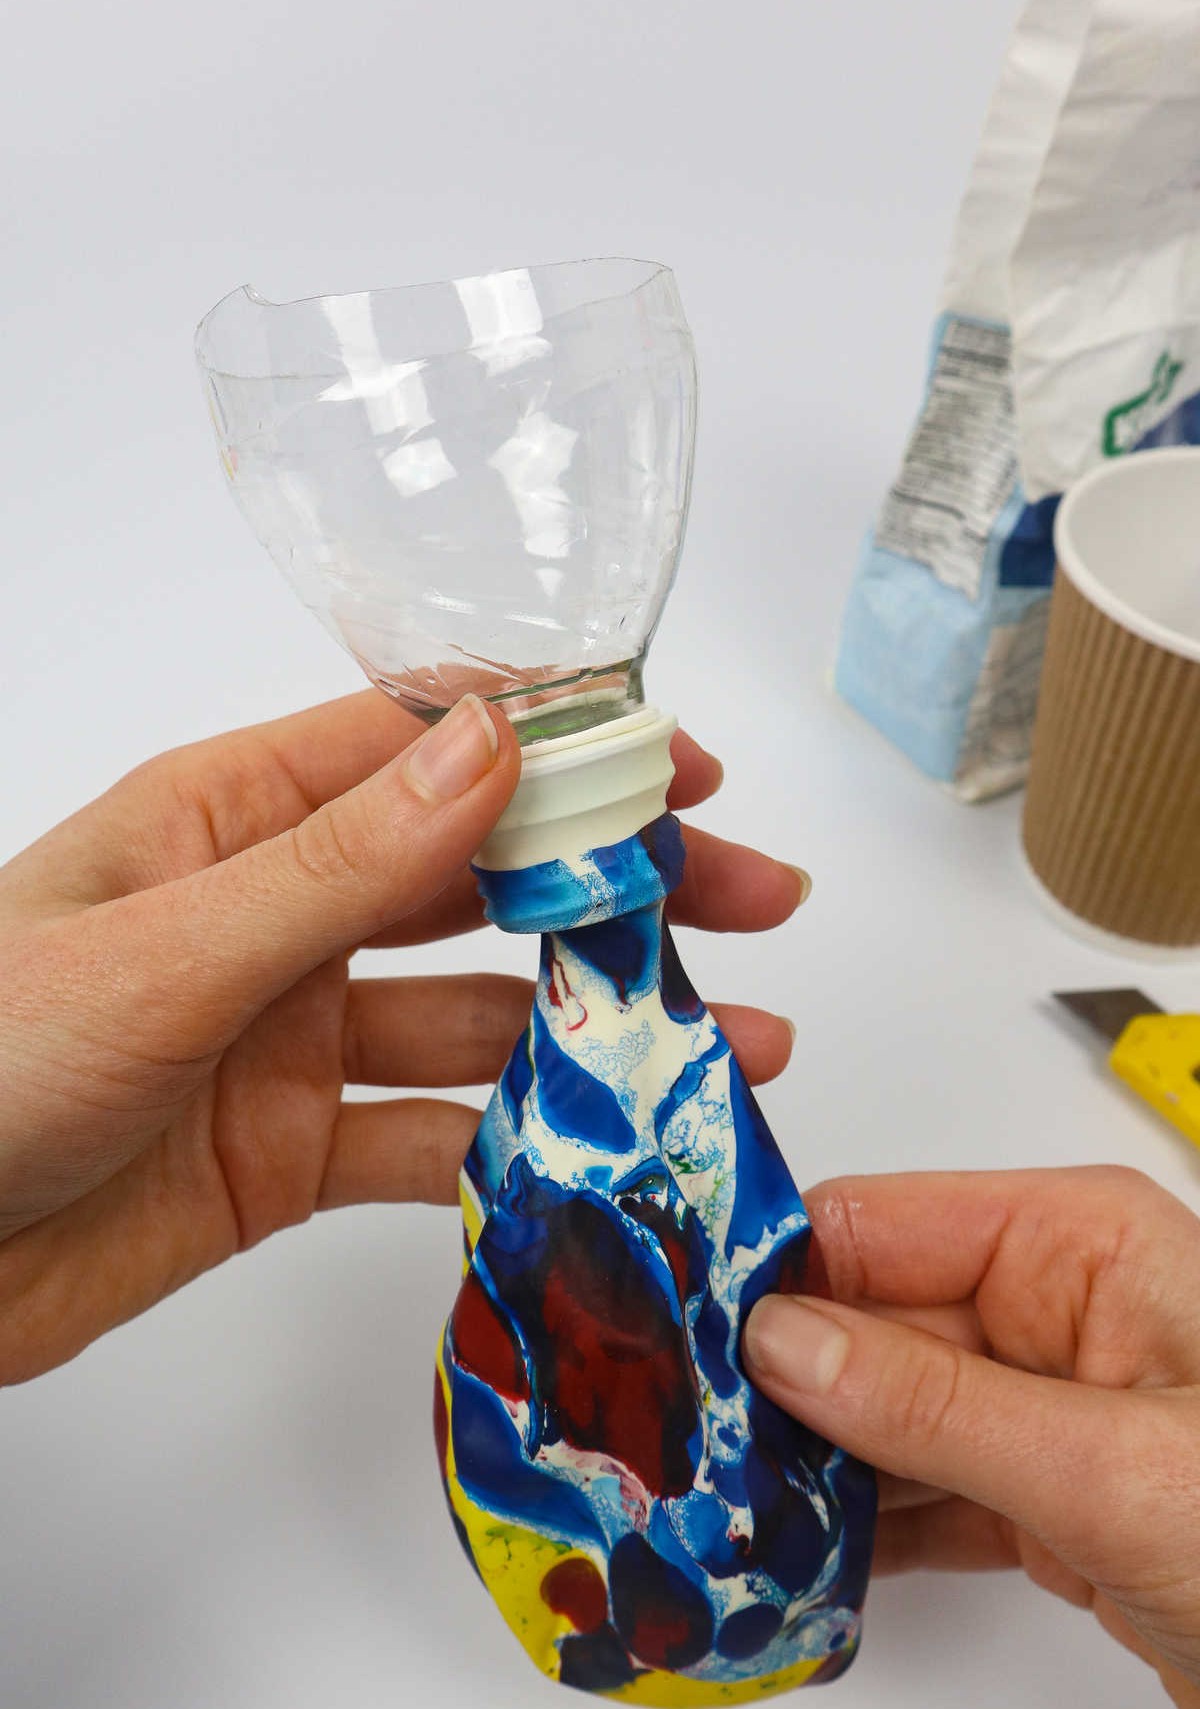
To create your DIY air-powered bottle pump, start by carefully stretching the mouth of the balloon until it’s large enough to fit snugly over the opening of the water bottle. Before attempting to place the balloon on the bottle, make sure to remove the cap from the top of the bottle to ensure a secure fit.
Step 5
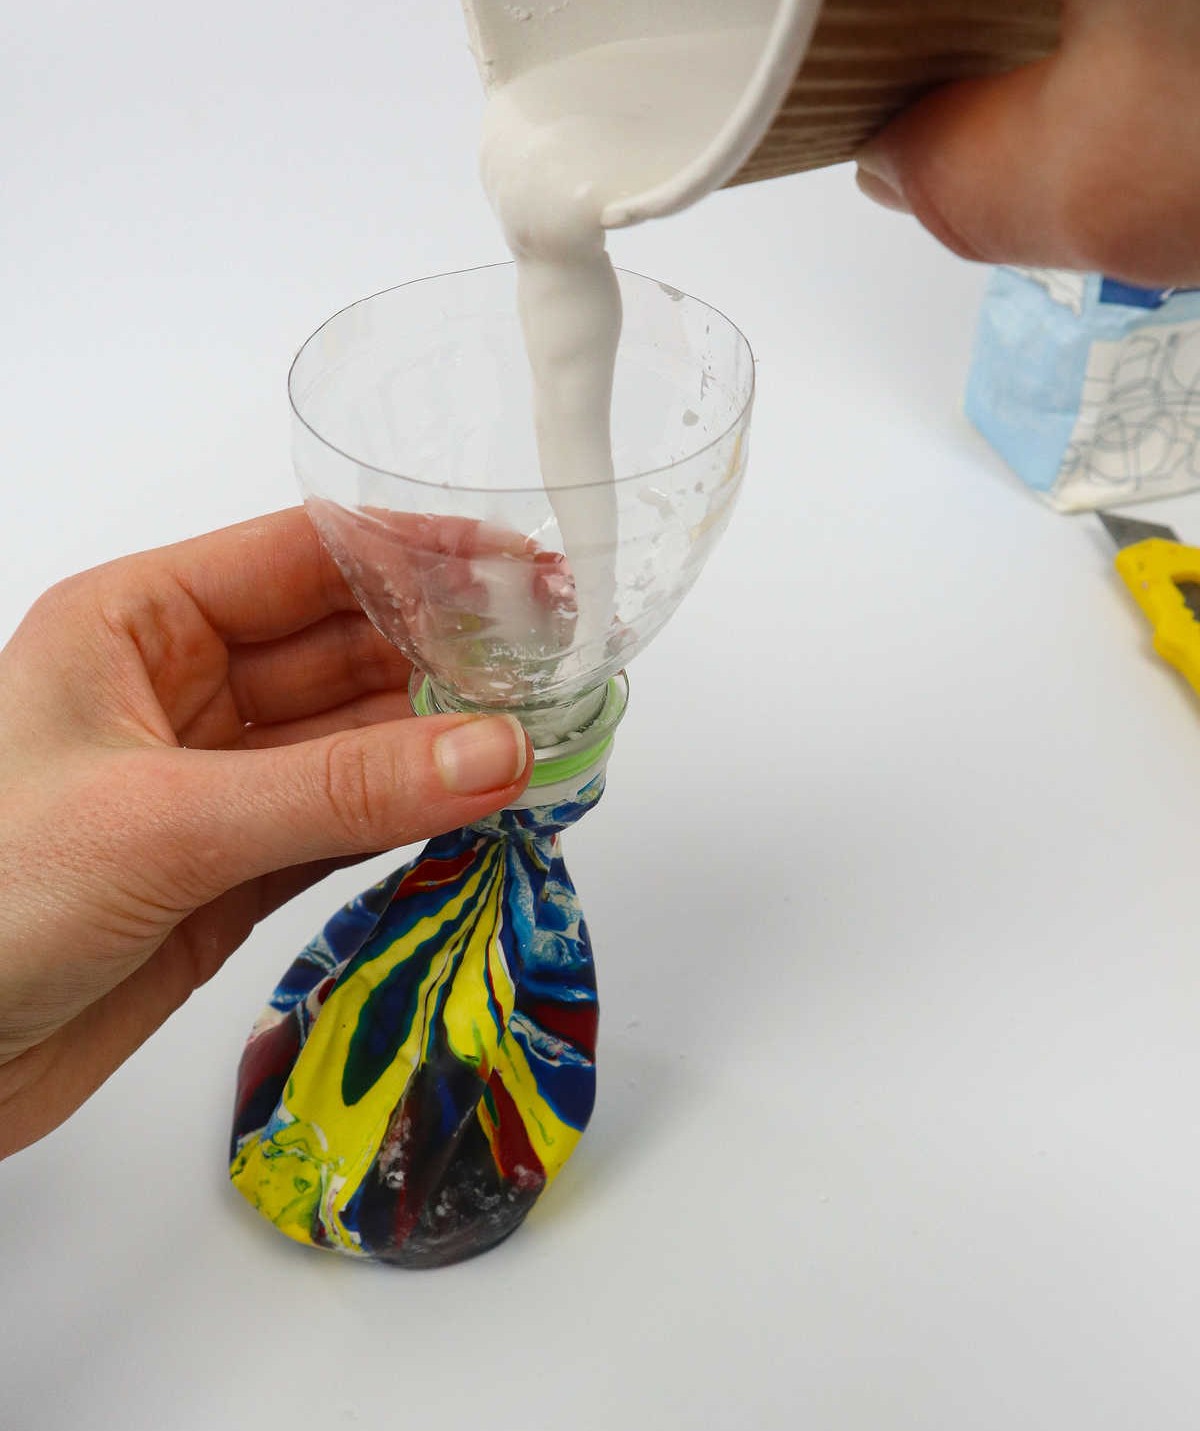
As you proceed with the process, gently pour the paste into the funnel, allowing it to flow effortlessly into the awaiting balloon. Feel free to pack the balloon to your desired level of fullness – the more paste you add, the thicker and more robust the final product will be. The ideal consistency is one that’s delightfully squishy, making each subsequent step a true pleasure.
Step 6
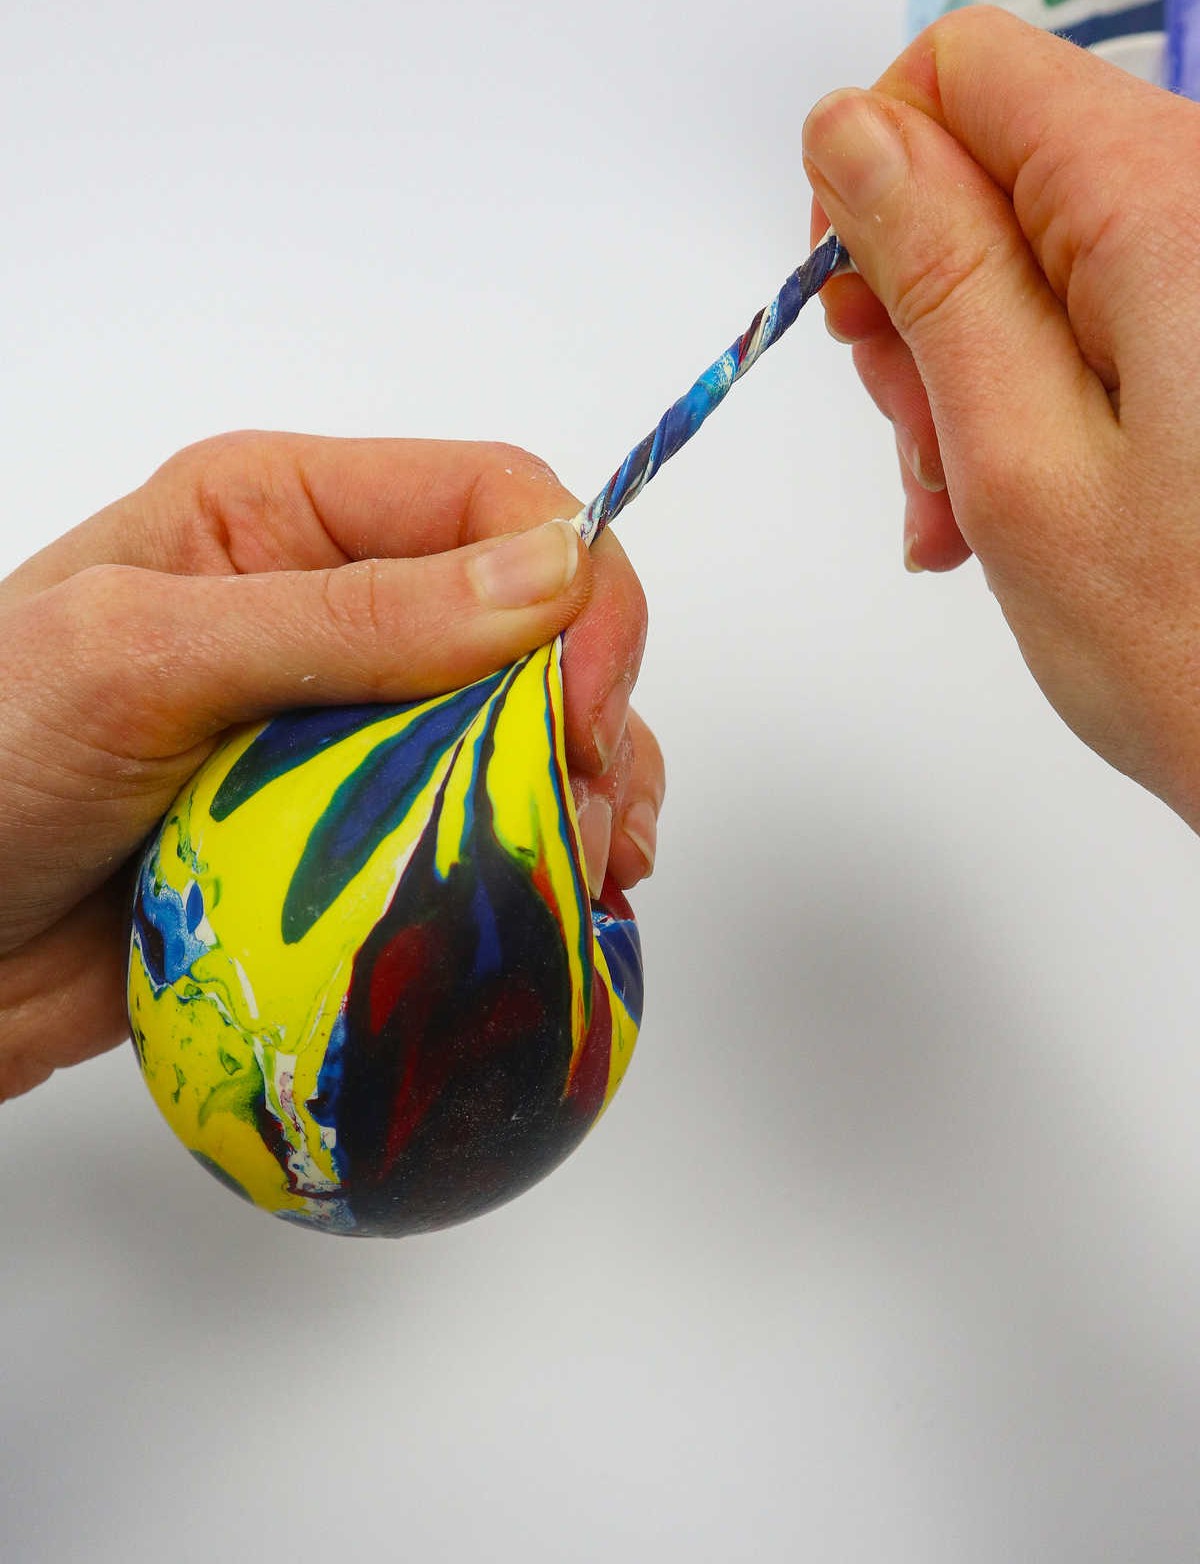
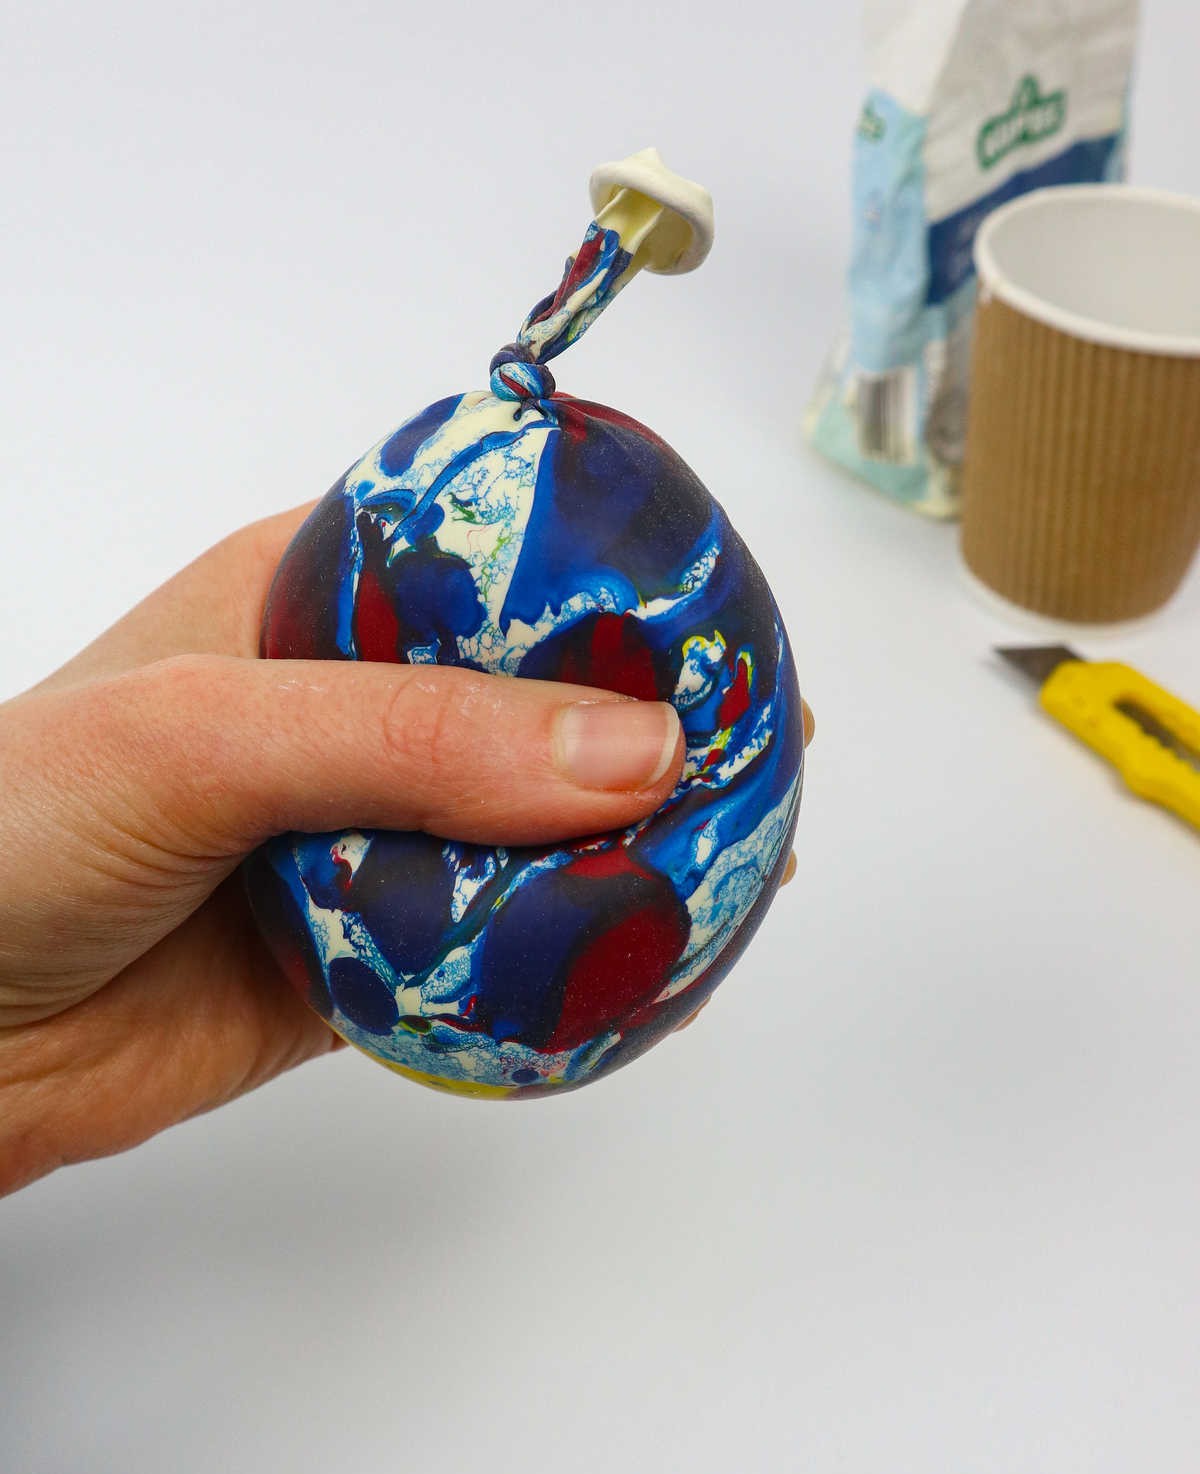
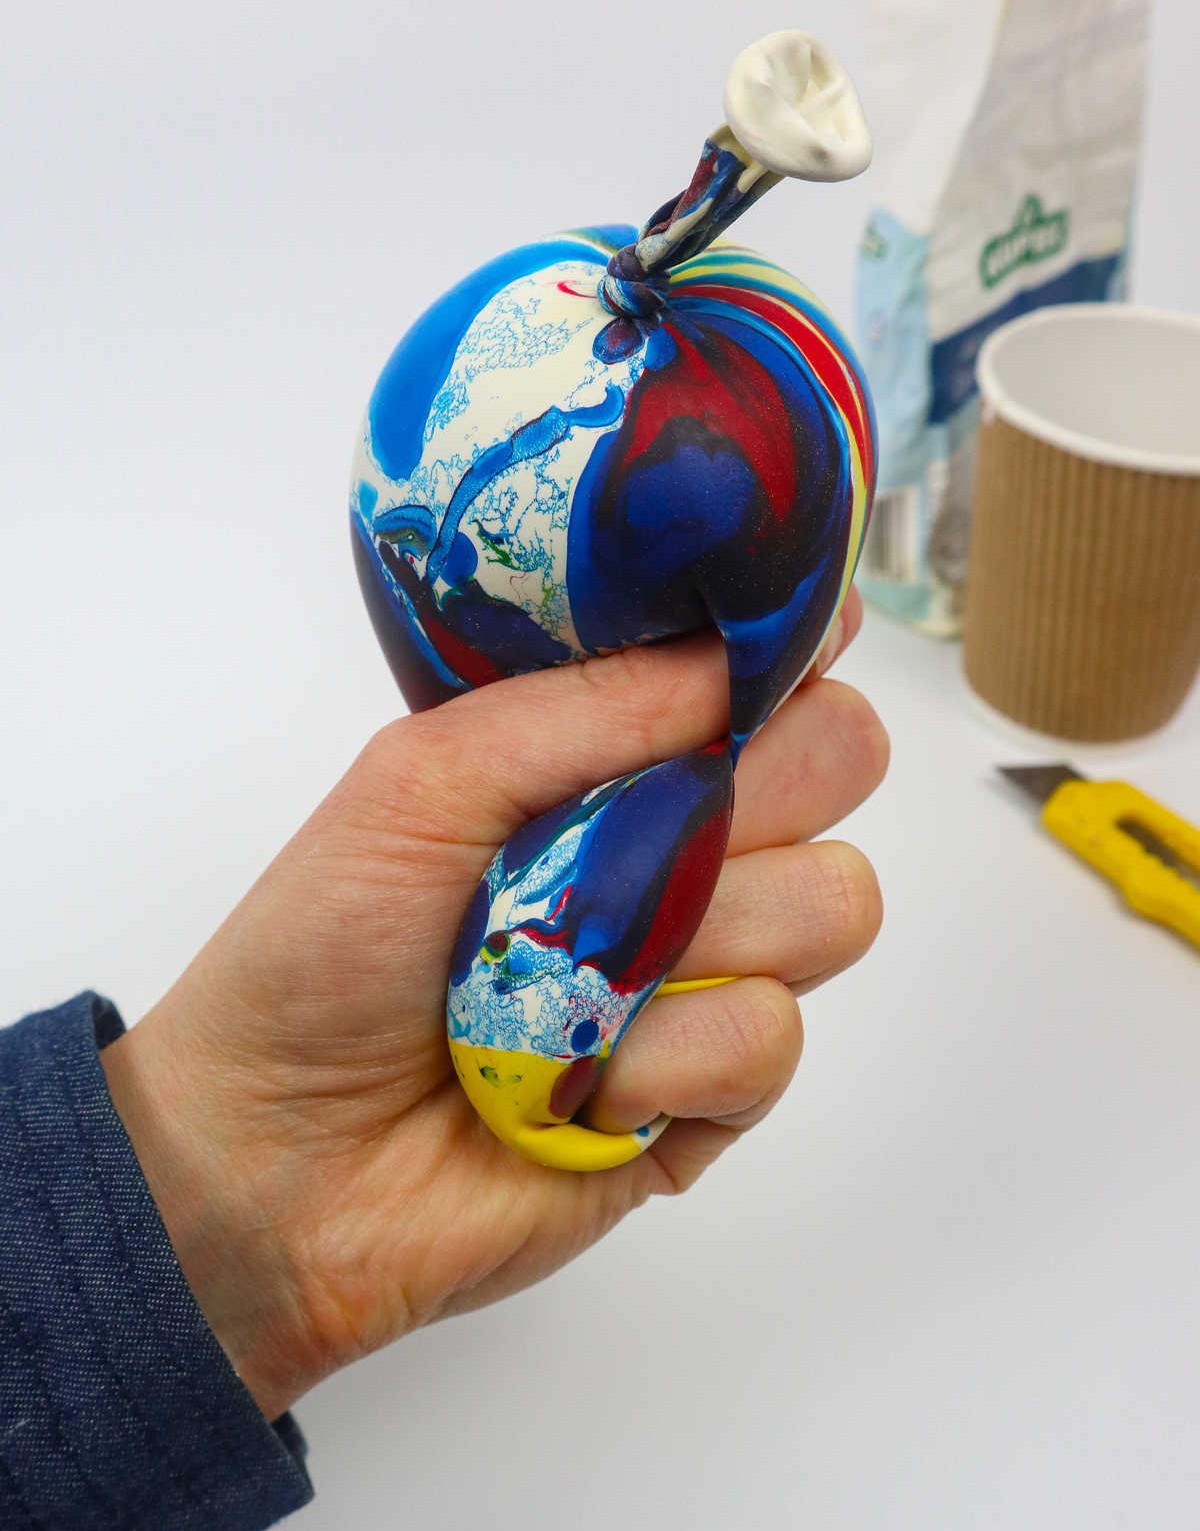
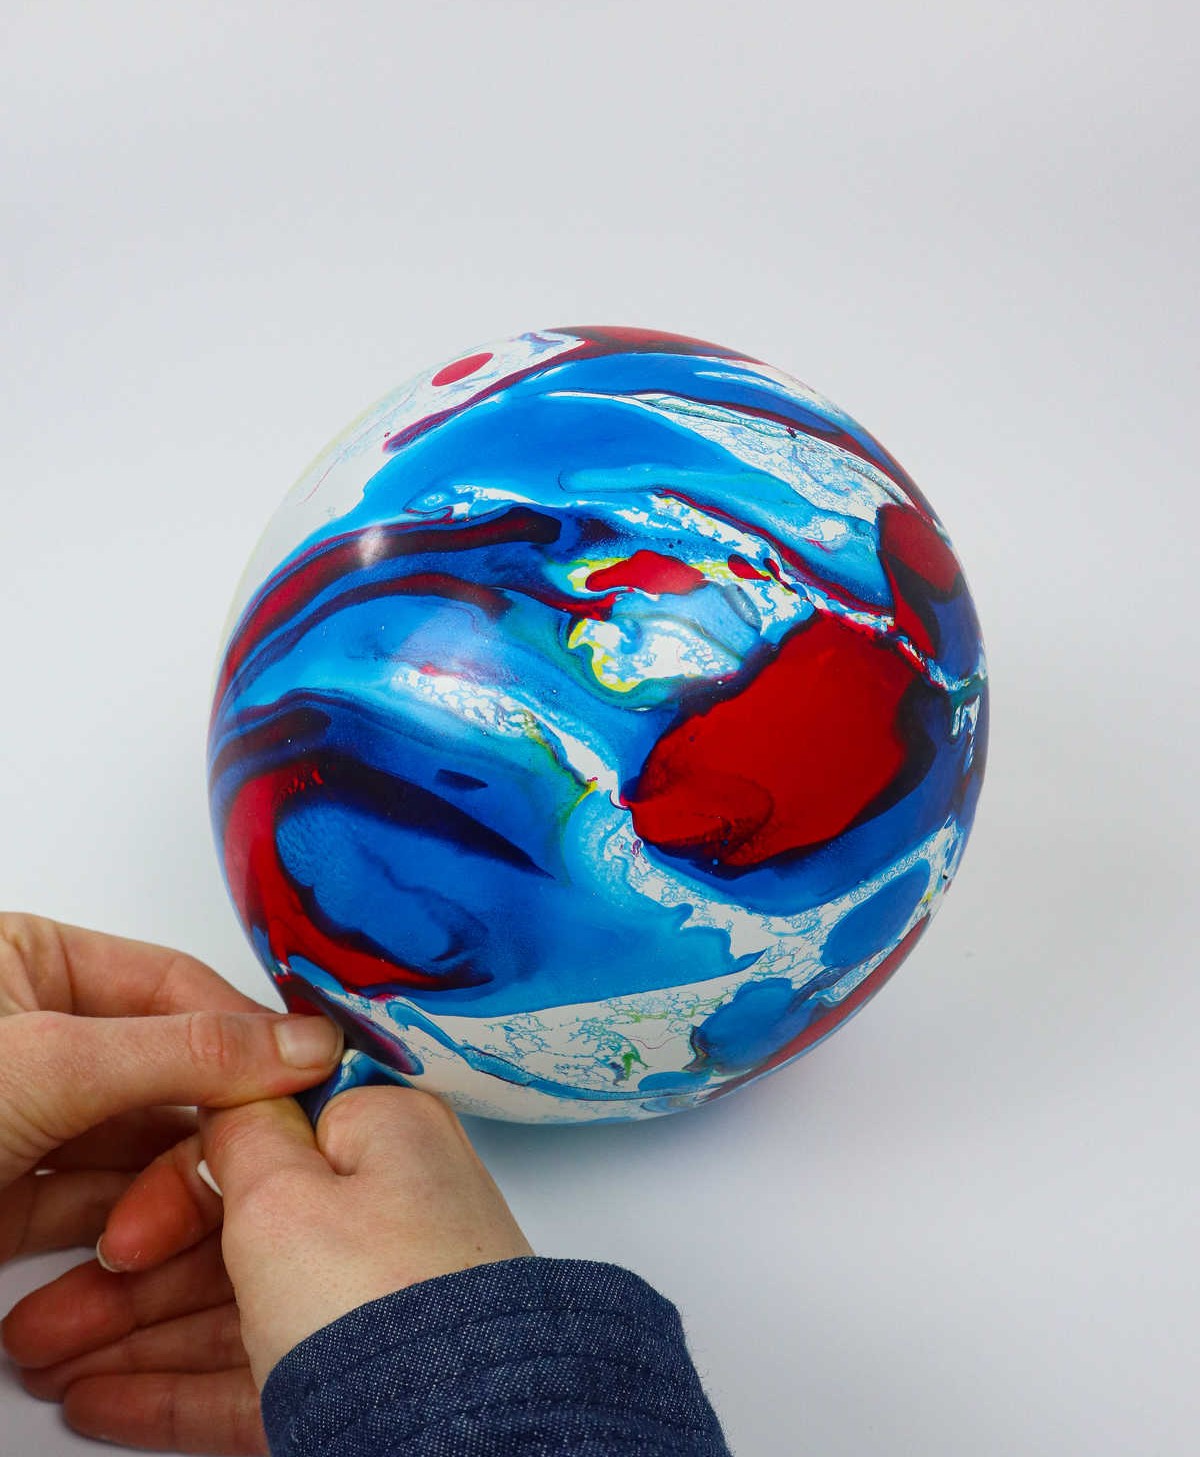
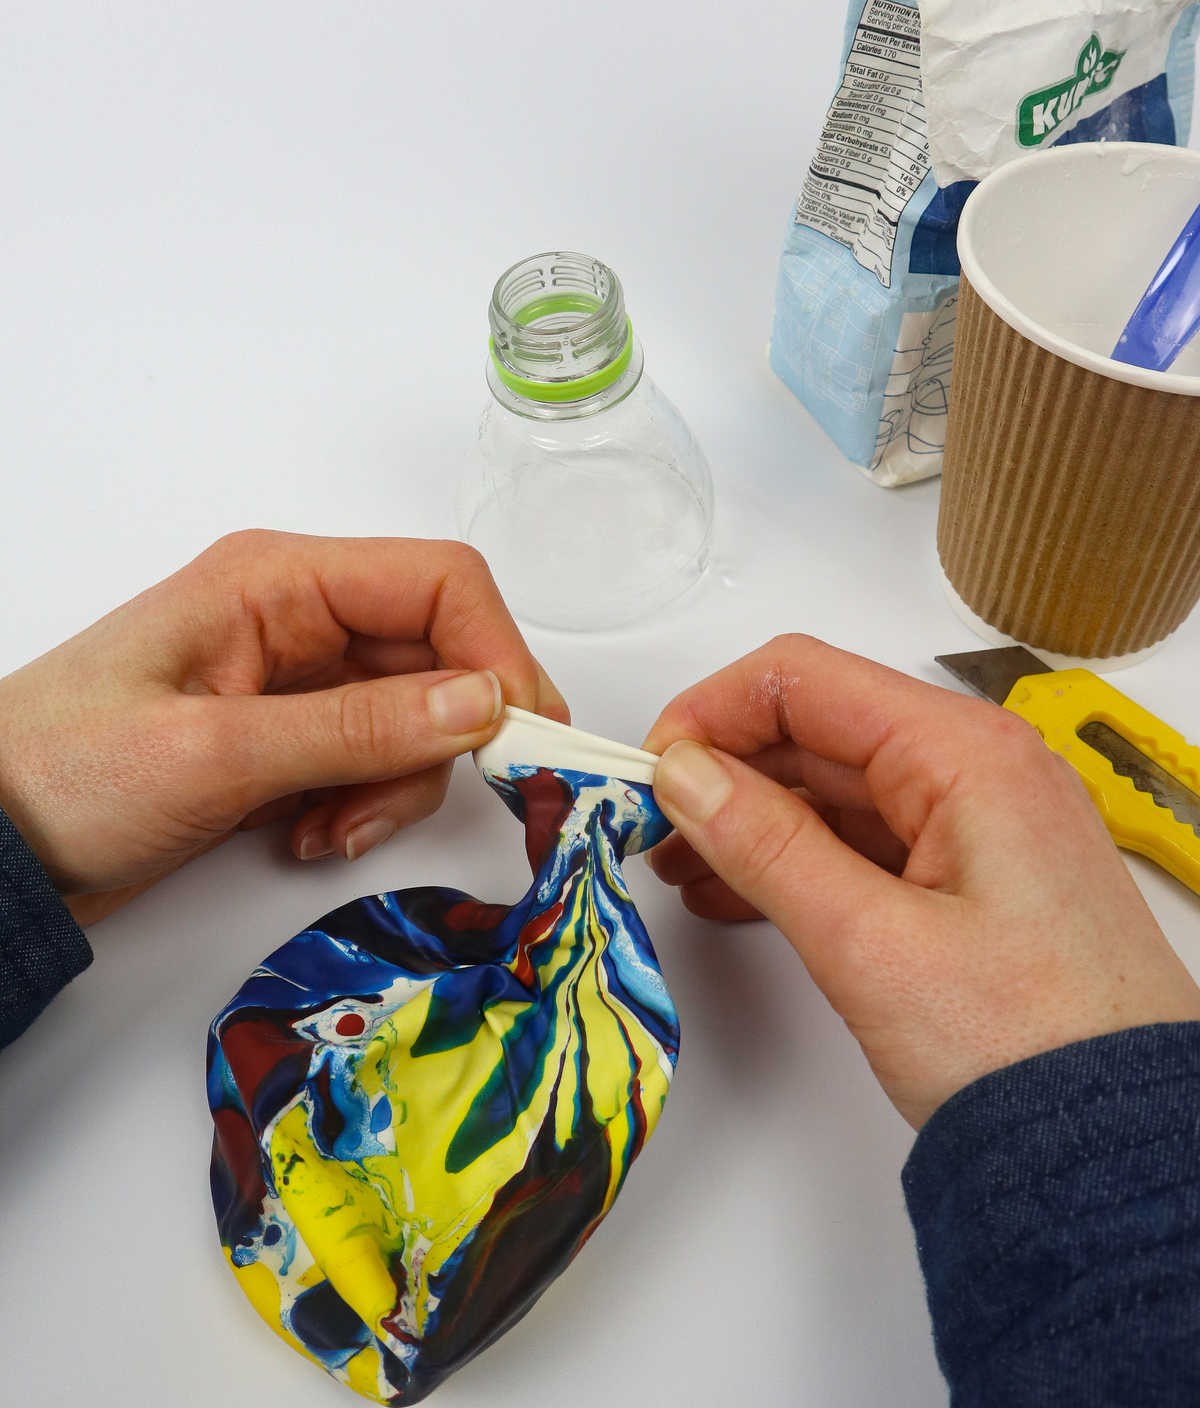
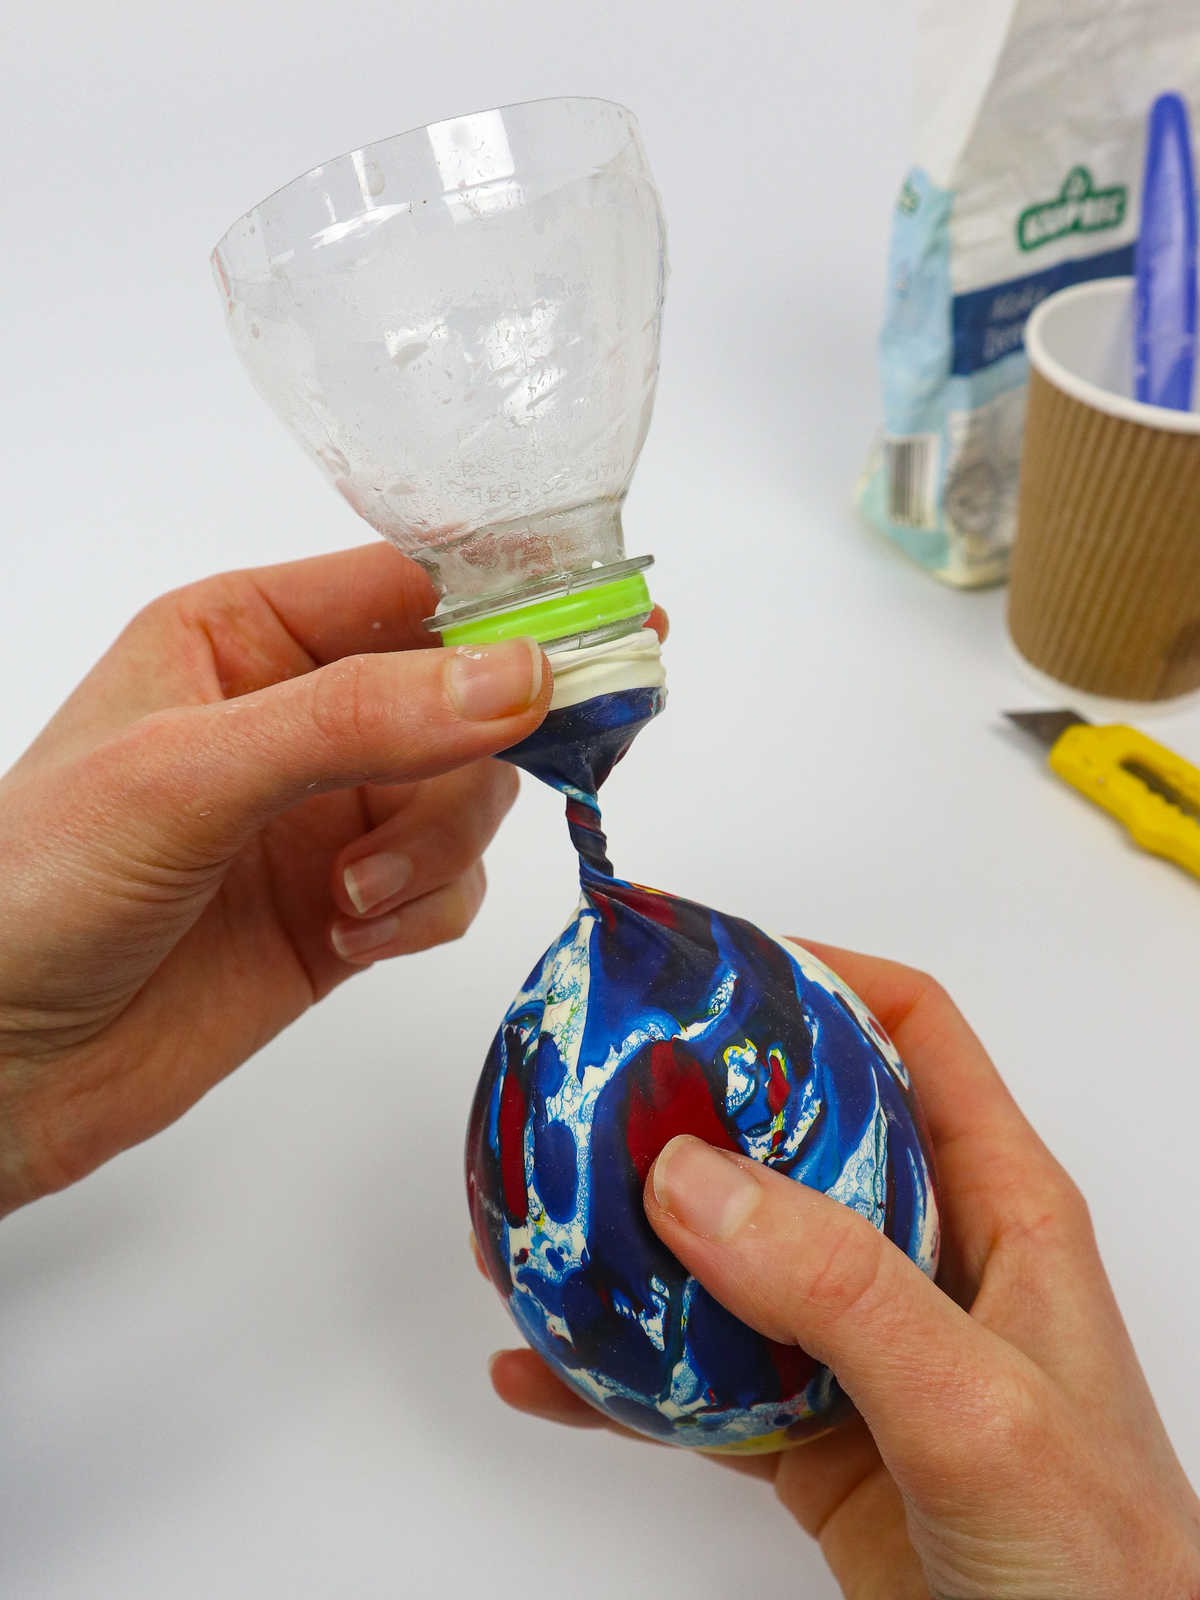
To successfully detach the mouth of the balloon from the rim of the bottle, take your time and be gentle. Start by twisting the neck of the balloon a few times to prevent any potential mess. This simple trick will ensure the paste doesn’t spill out as you remove the balloon’s mouth. Once you’ve secured it with a knot or double knot, you’ll be ready to move on to the next step.
Step 7
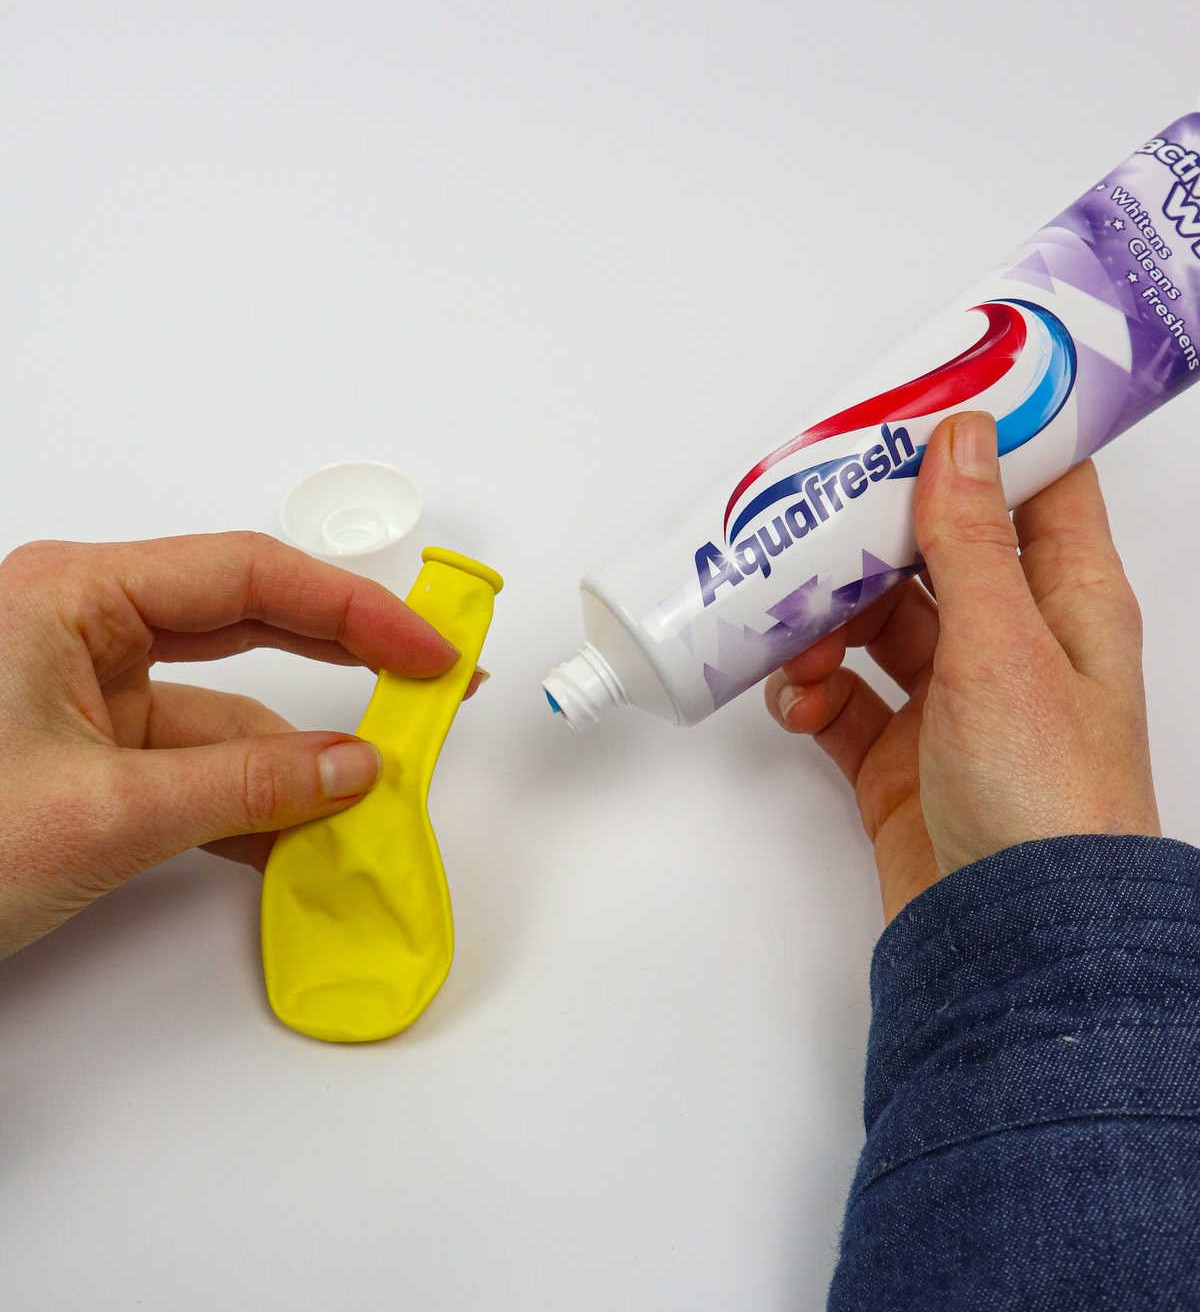
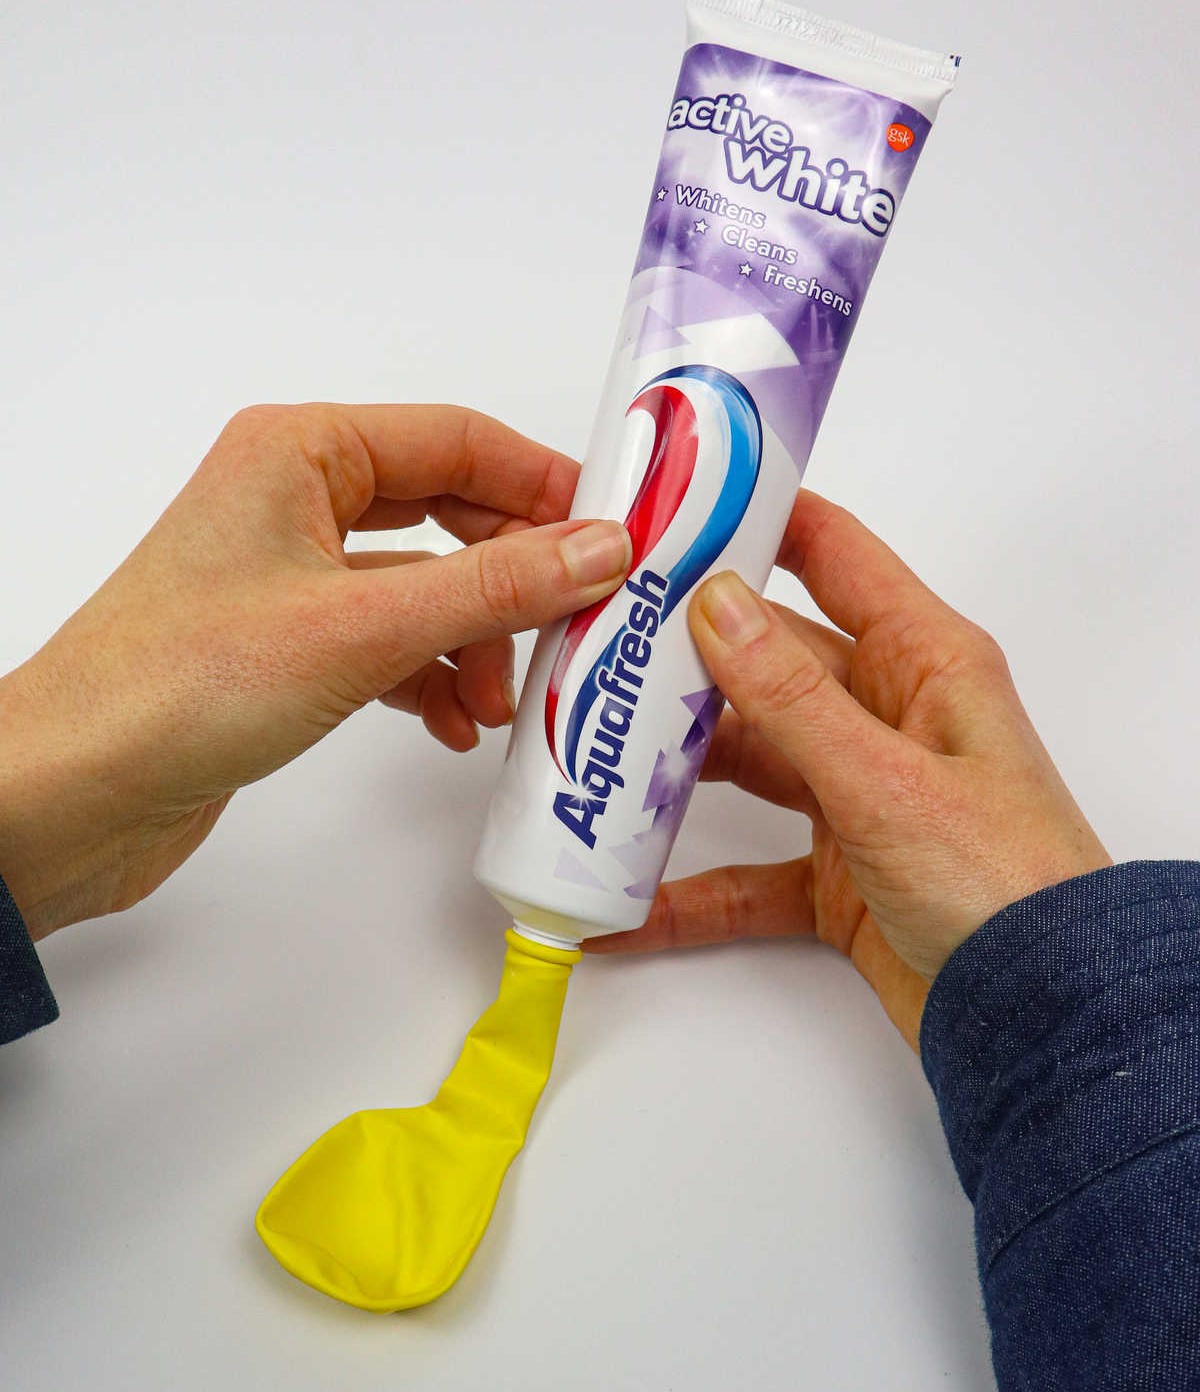
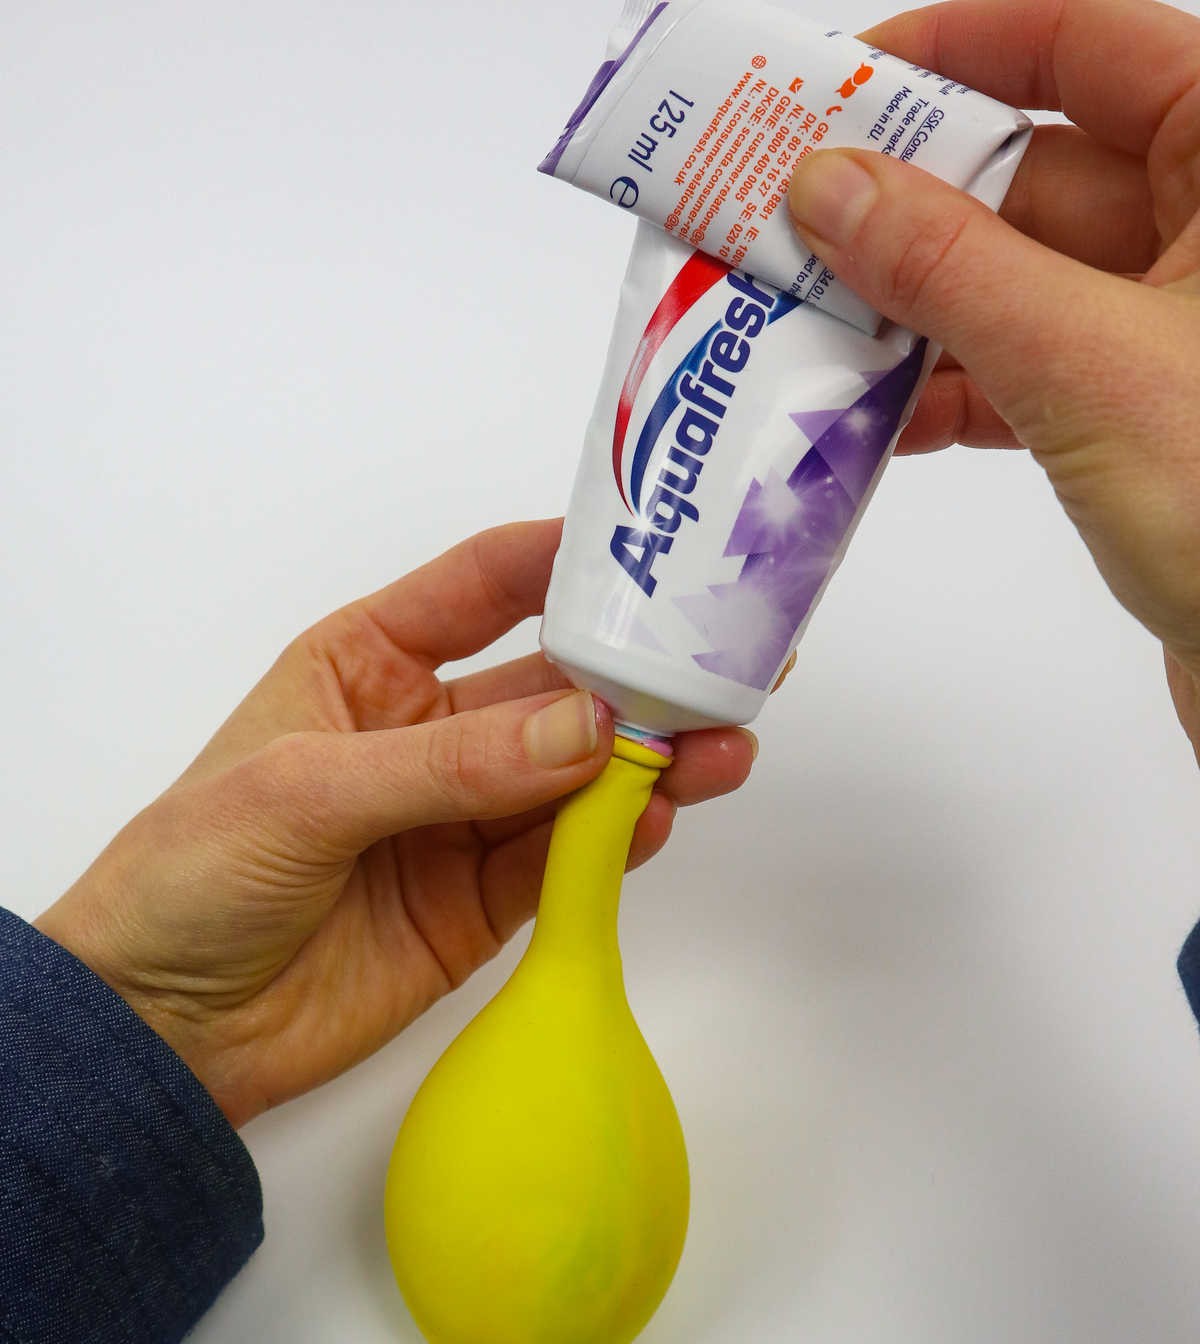
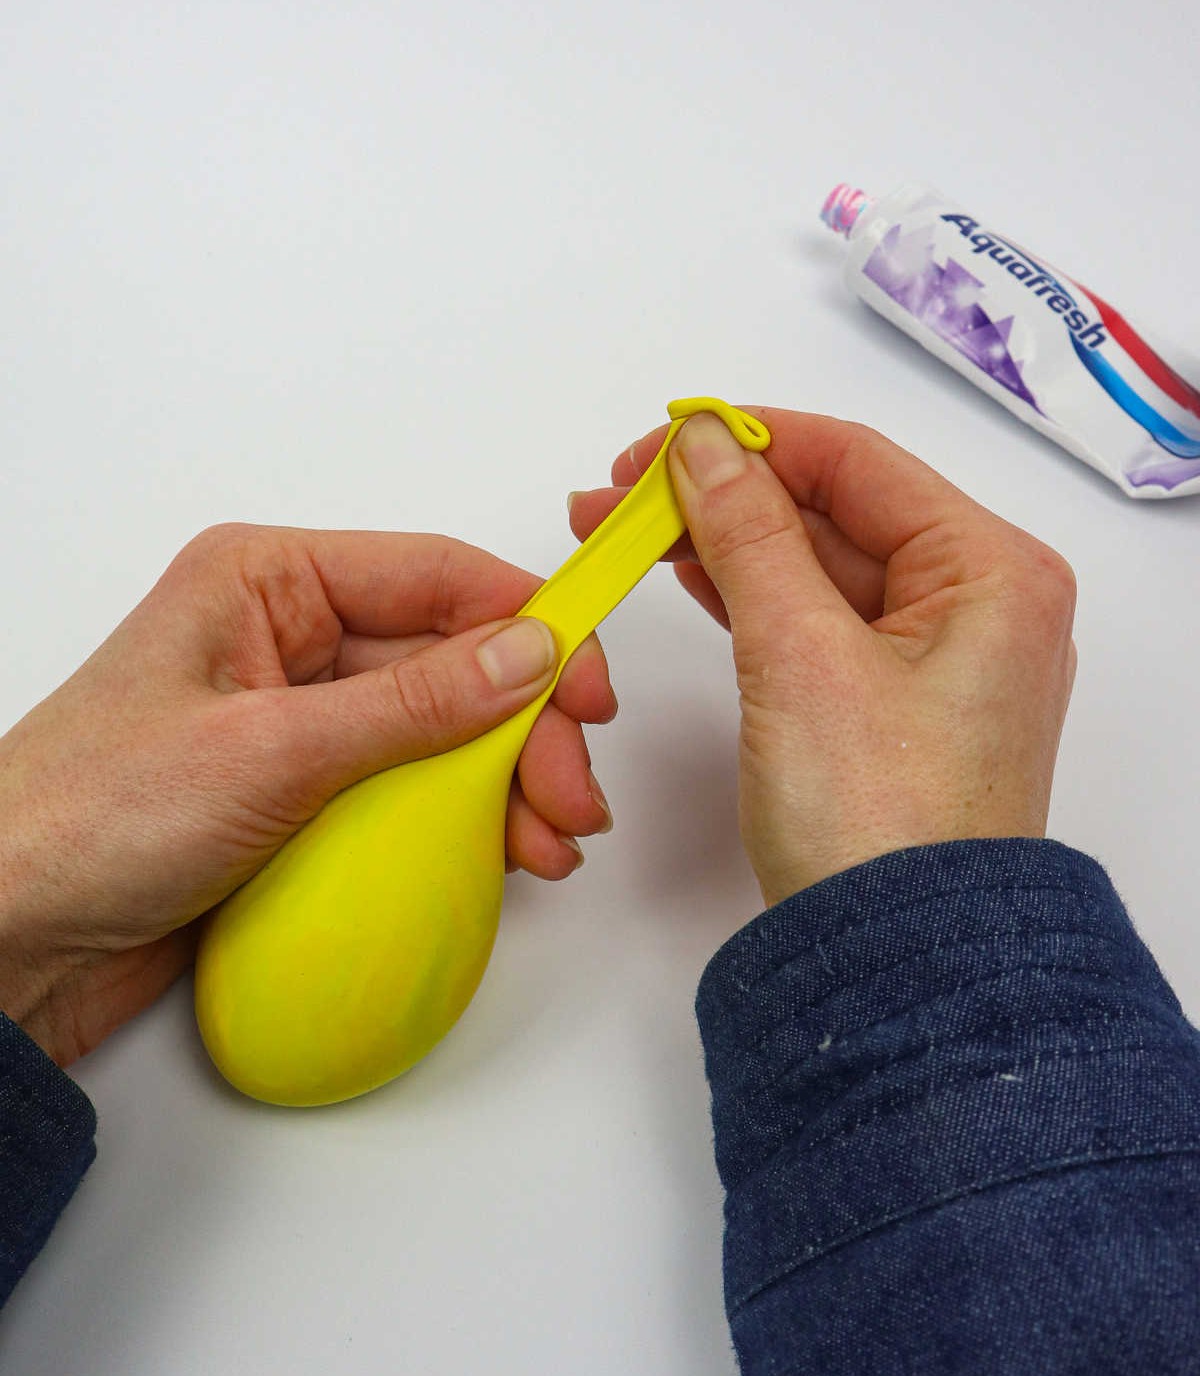
When you’re short on time or not feeling crafty, a quick hack can come in handy. For instance, using toothpaste as a substitute for homemade paste is a genius solution. Not only does it save you the trouble of creating the paste from scratch, but the fact that it comes pre-packaged and ready to use means you won’t have to worry about spoilage or mess. Simply squeeze out the desired amount into your balloon and voila! You’ve got yourself a makeshift stress ball.
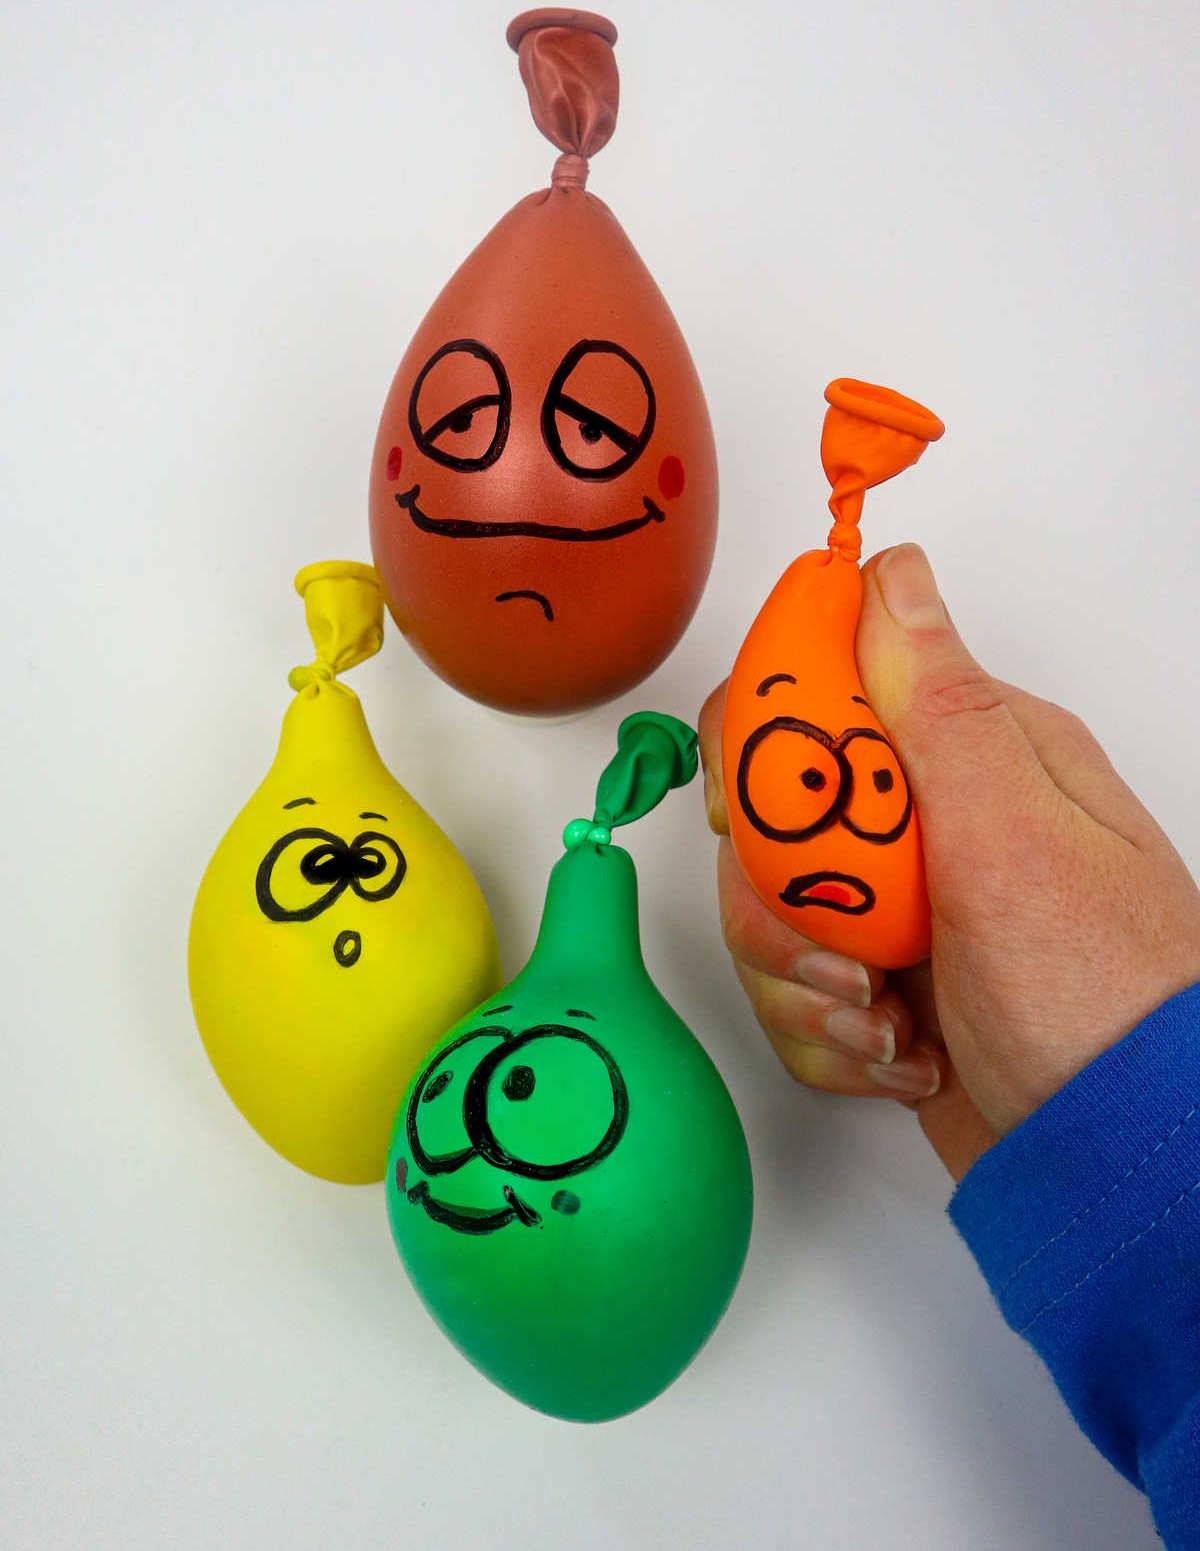
Don’t forget to add some cute emojis to make it even more fun. With this hack, you can quickly whip up a batch of DIY stress balls that will help you unwind and de-stress.
How to Make a Stress Ball (Step-by-Step)
Get creative and make your own DIY stress balls, a fun and easy project to do with kids that will also help you relieve stress! With just 15 minutes of your time, you can create these adorable stress-relievers for yourself or as a thoughtful gift. The best part? It’s budget-friendly, costing only $4.
Equipment
Common household items that are often overlooked for their potential to spark creativity and innovation include everyday objects like plastic bottles, retractable knives, spoons, paper cups, and bowls. These seemingly mundane items can be repurposed and transformed into something entirely new and useful, showcasing the power of imagination and resourcefulness.
Materials
The list of creative and unconventional materials that can be used to remove stubborn stains from teeth includes unexpected items like balloons, which can help dislodge stuck food particles. In addition to these unusual tools, a cold glass of water is also essential in helping to loosen the stain before applying toothpaste.
Furthermore, permanent markers can be used to create a makeshift stain-removing tool by dipping the tip into baking soda or cornstarch, and then scrubbing the area gently with the marker. For more stubborn stains, potato starch, cornstarch, or wheat flour can also be used as an abrasive agent to help remove the discoloration.
Instructions
To embark on this creative journey, gather your essential supplies first. Stock up on paper towels for any unexpected spills and disposable cups to facilitate mixing. Next, combine flour and water in a well-balanced ratio, taking care to add water gradually and continue stirring until the paste is smooth. The consistency of the paste may vary depending on the type of flour used and its starch content. Feel free to get hands-on and mix with your fingers for an even better outcome.
Once the paste is ready, move on to crafting the funnel. Grab a water bottle, trim off the top portion where the mouth is, and remove the cap. Inflate your chosen balloon to stretch it out, allowing you to fill it with more paste later. Next, fit the balloon’s mouth over the bottle’s opening and secure it firmly around the rim. Pour the paste into the makeshift funnel, letting it fill up the balloon.
Once satisfied with its squishiness, twist the neck a few times before removing the mouth from the bottle to prevent any spills. Secure your stress ball with a few knots or two. As an alternative, you can also fill the balloon directly with toothpaste straight from the tube. Since toothpaste is made from non-perishable ingredients, it will last longer too! Lastly, don’t forget to add some personality with emojis and quirky faces on your stress balls, and you’re all set!