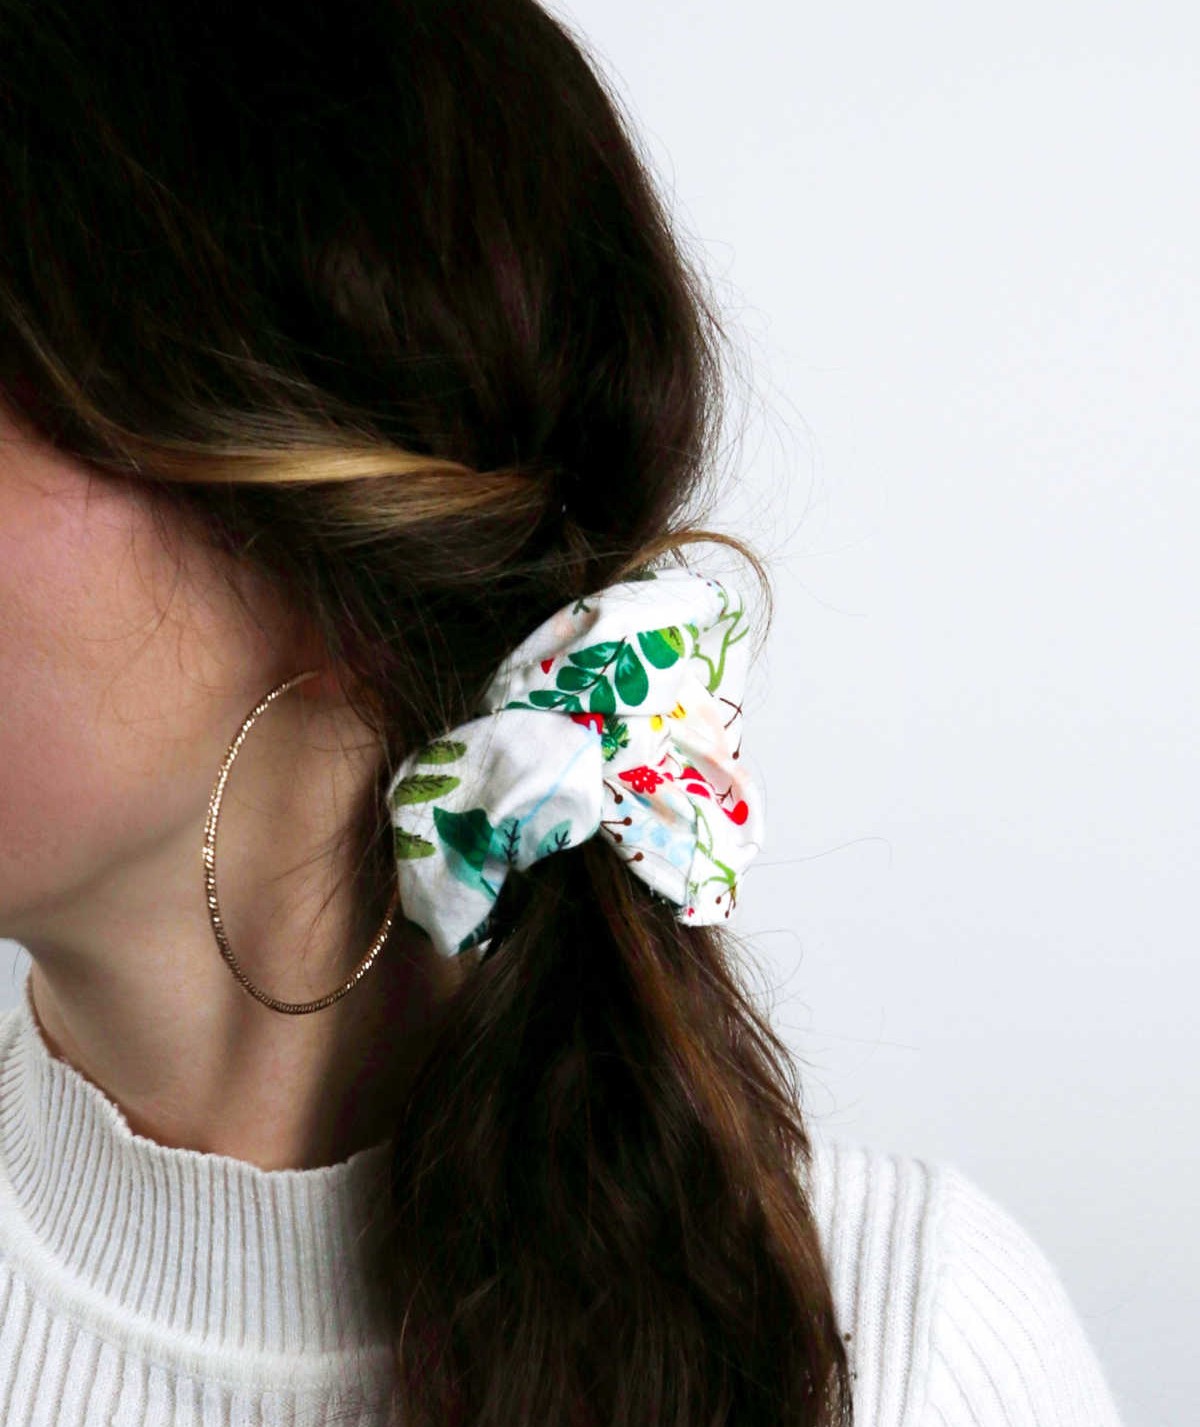
If you’ve got leftover fabric lying around, you’re in luck! Not only can you breathe new life into old scraps, but you can also create your very own scrunchies that are perfect for gifting, wearing, or simply enjoying the process of making them. And let’s be real, who doesn’t love a good scrunchie? They have a way of elevating any outfit from meh to mesmerizing. The thing is, they’re also notorious for going missing at the most inopportune moments.
But what if you could say goodbye to those pesky scrunchie mishaps and hello to having the perfect one for every occasion? With this tutorial, you’ll learn how to make your own scrunchies that are both functional and fashionable. And the best part? You won’t have to break the bank or worry about running out of them anytime soon.
Supplies and Tools You’ll Need
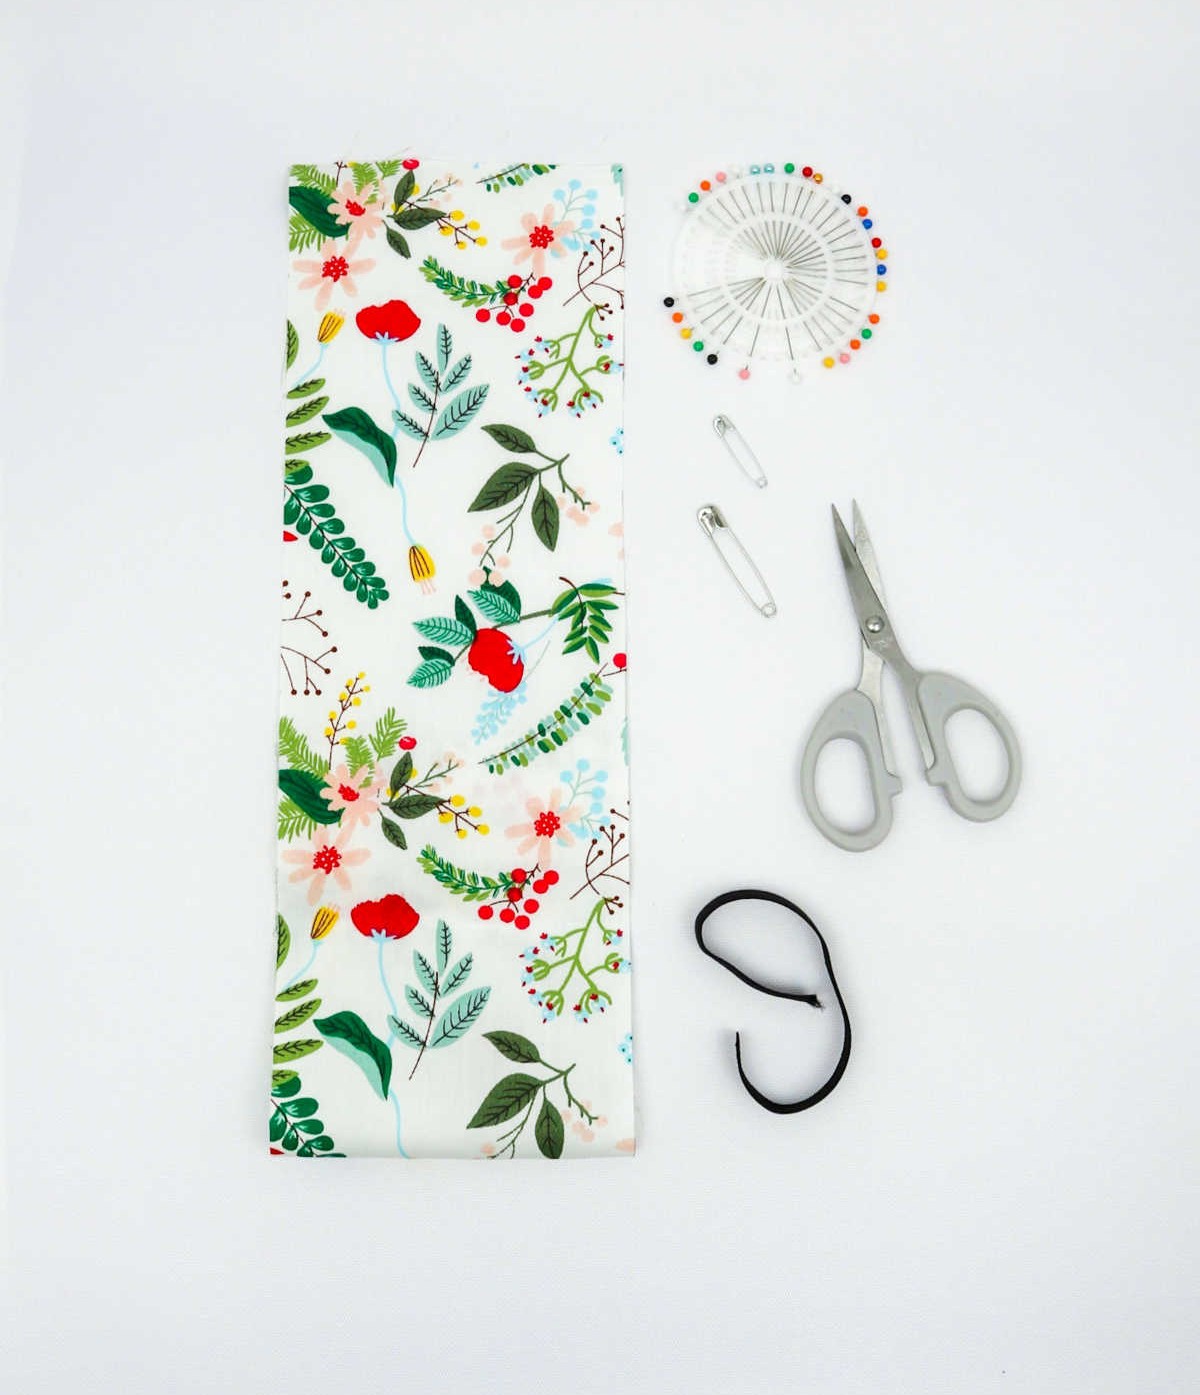
To craft an endless supply of scrunchies, you’ll need to start by gathering the following fundamental materials. These include: a 5-inch by 24-inch piece of fabric, an 8-inch length of elastic ribbon, sewing pins, two safety pins, scissors, and a sewing machine (though this is not strictly necessary).
How to Make a Scrunchie
If you’re short on time or prefer a more manual approach, hand-sewing your scrunchie can be a great option. This method allows for greater control and precision, making it ideal for small projects like this one. Plus, you likely have a stash of beautiful fabrics just waiting to be used. With that in mind, let’s dive right into the process!
Step 1
To initiate the process, begin by placing the fabric face down on your work surface. Next, gently draw the edge of the fabric downwards, about one centimeter, and fold it inwards. This marks the beginning of your seam allowance, so secure it with a few pins to ensure it remains in place.
Step 2
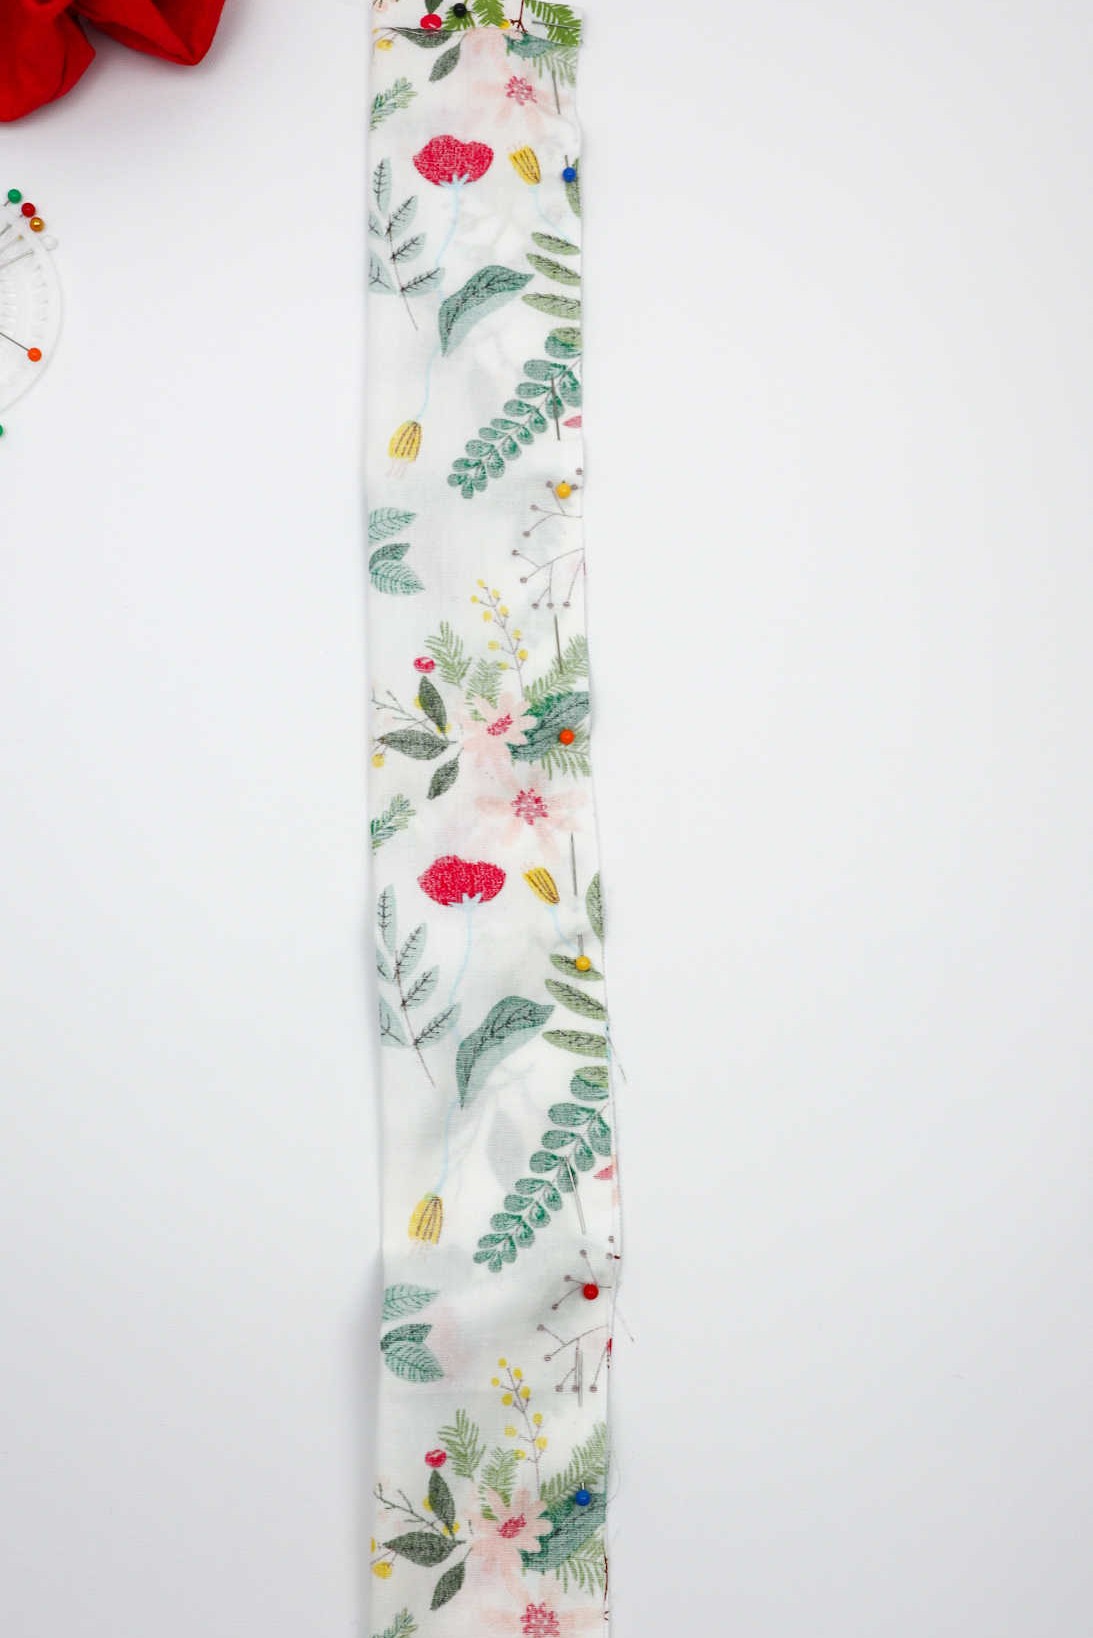
To ensure a precise fold, carefully align the fabric along its longest edge and fold it in half. Pin both edges together to keep the fabric in place, eliminating the risk of uneven pulling during the sewing process.
Step 3
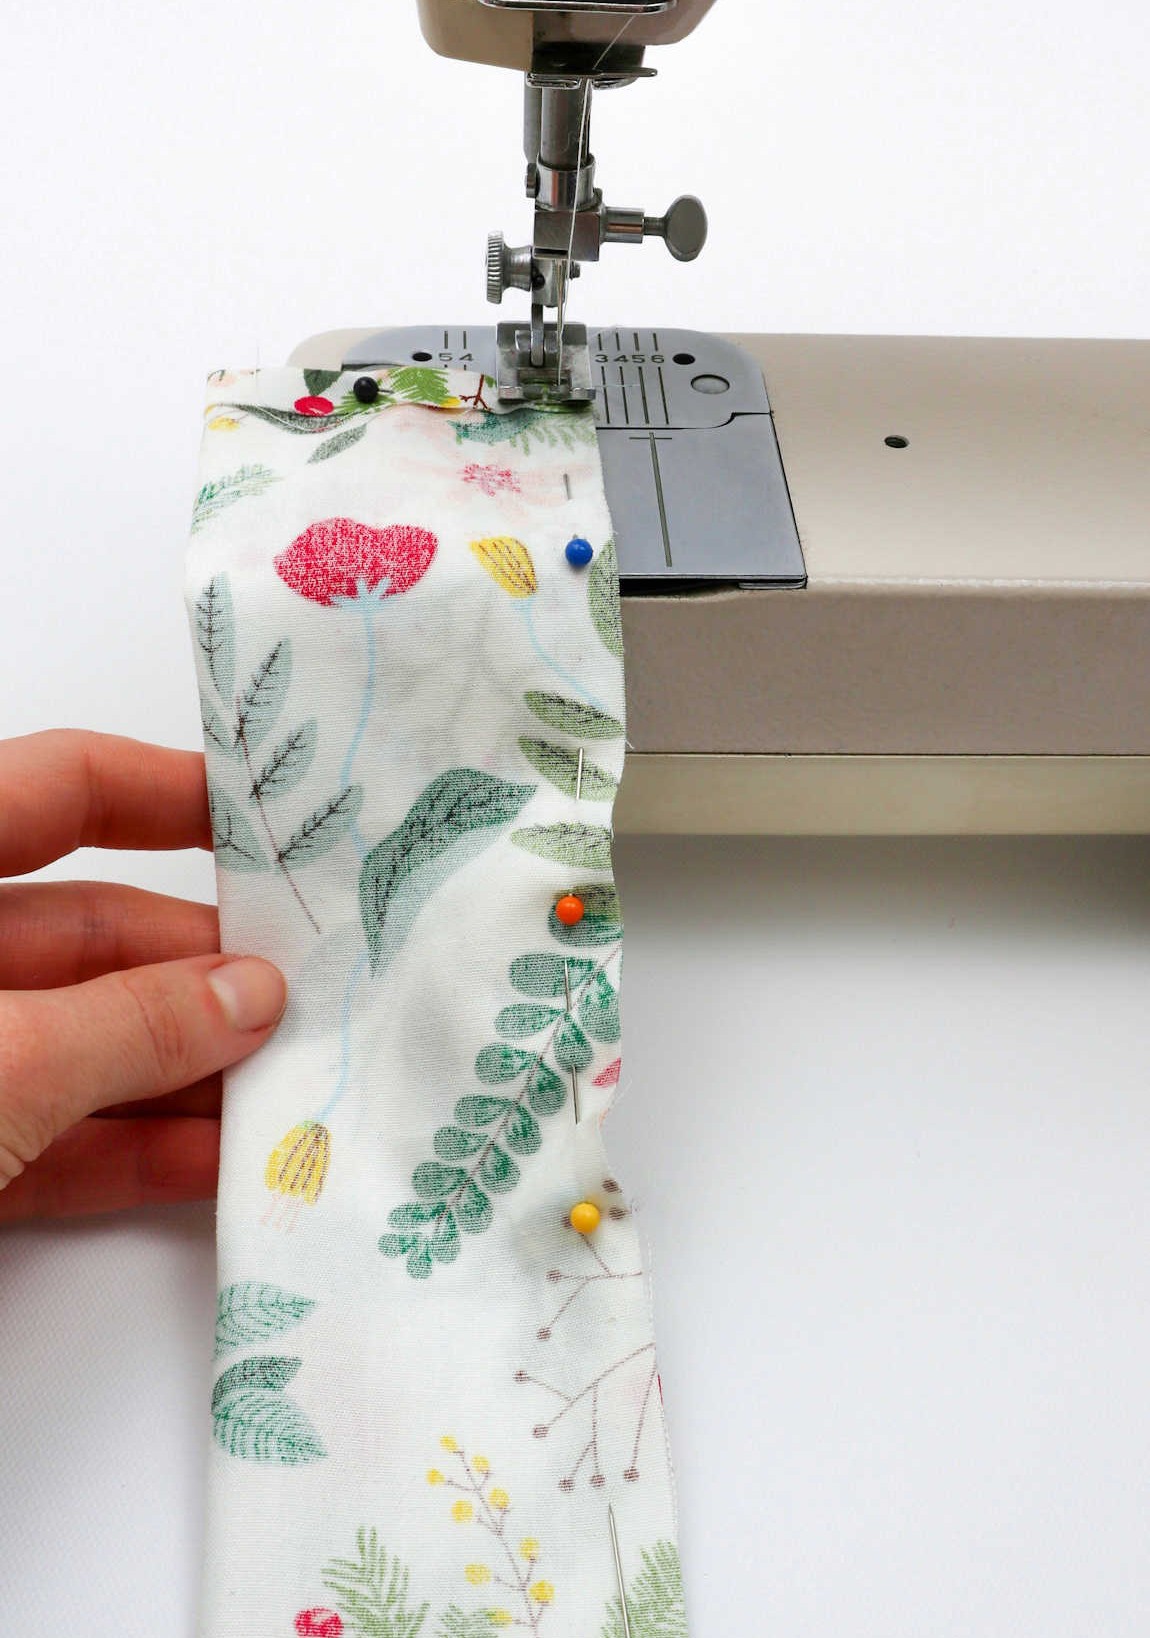
Before proceeding, ensure you have your sewing essentials at the ready – whether that’s a needle and thread or your trusty sewing machine. With your chosen tool in hand, begin sewing along the length of the fabric, working from one end to the other. As you sew, keep in mind that you’ll want to leave the short ends on either side open, allowing for easy manipulation and future use. Focus solely on closing the long edge of the fabric, ensuring a secure and even seam.
Step 4
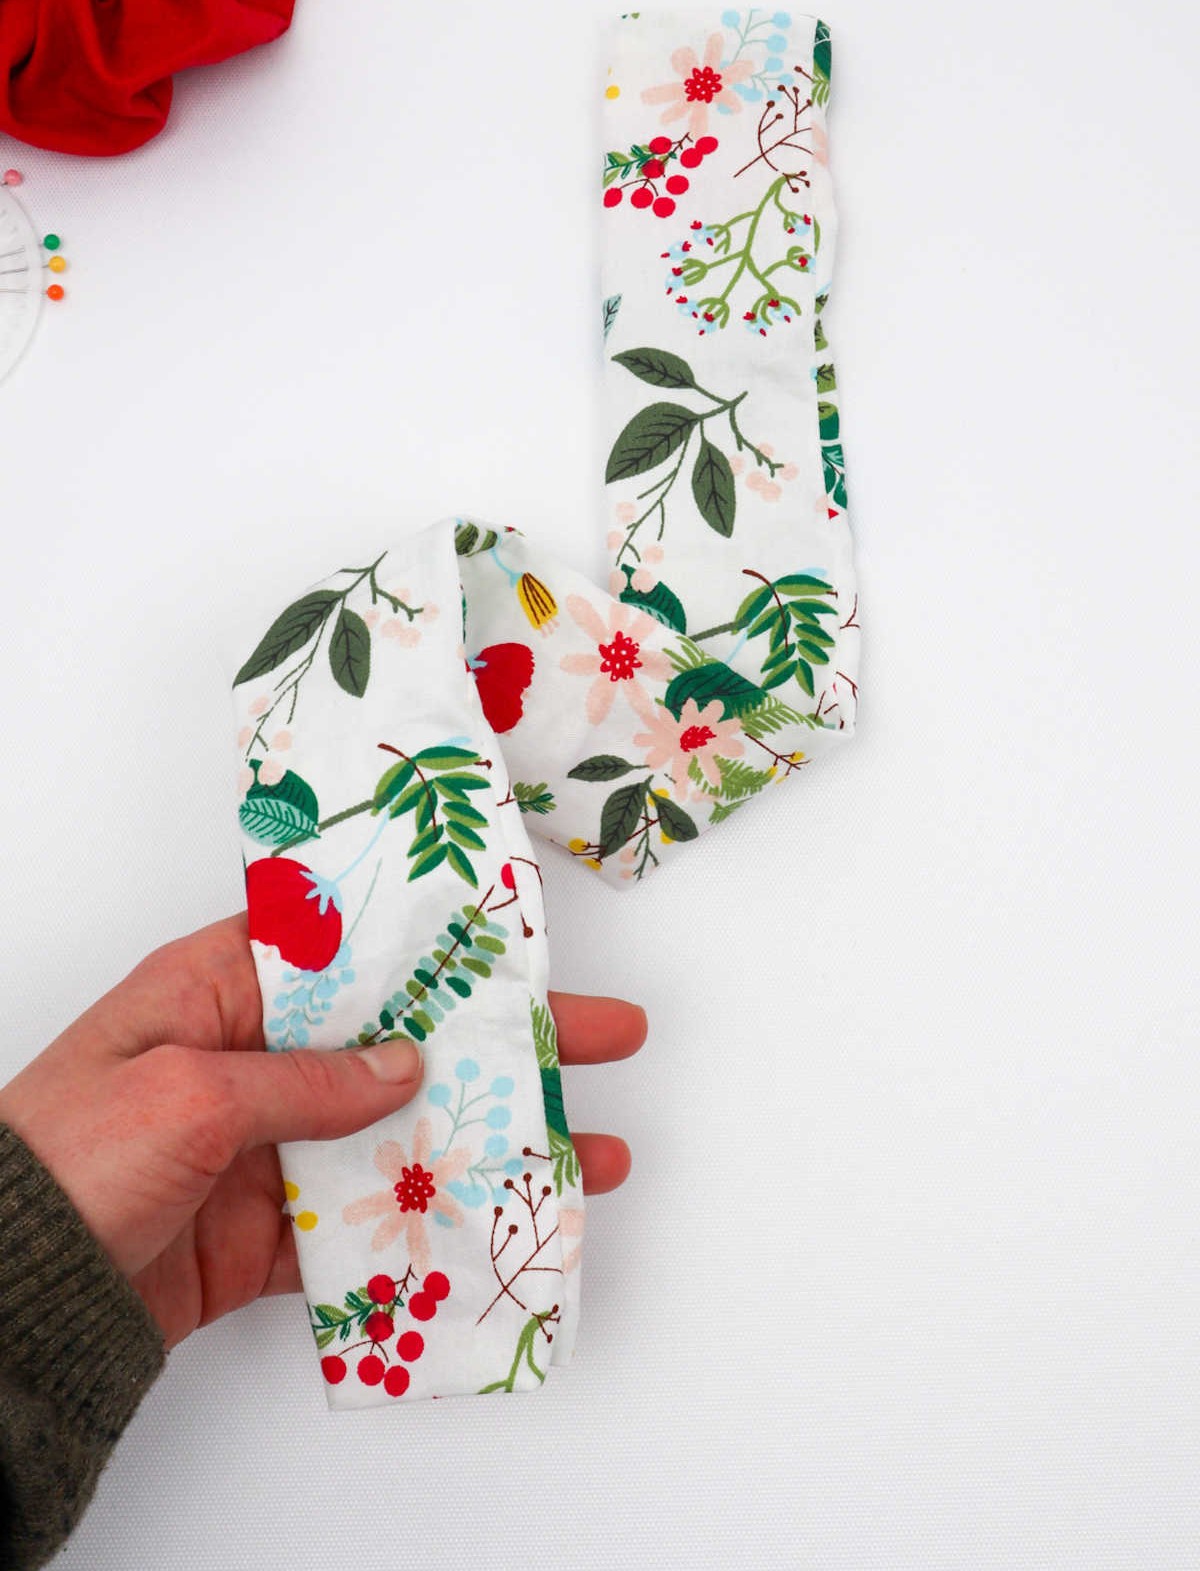
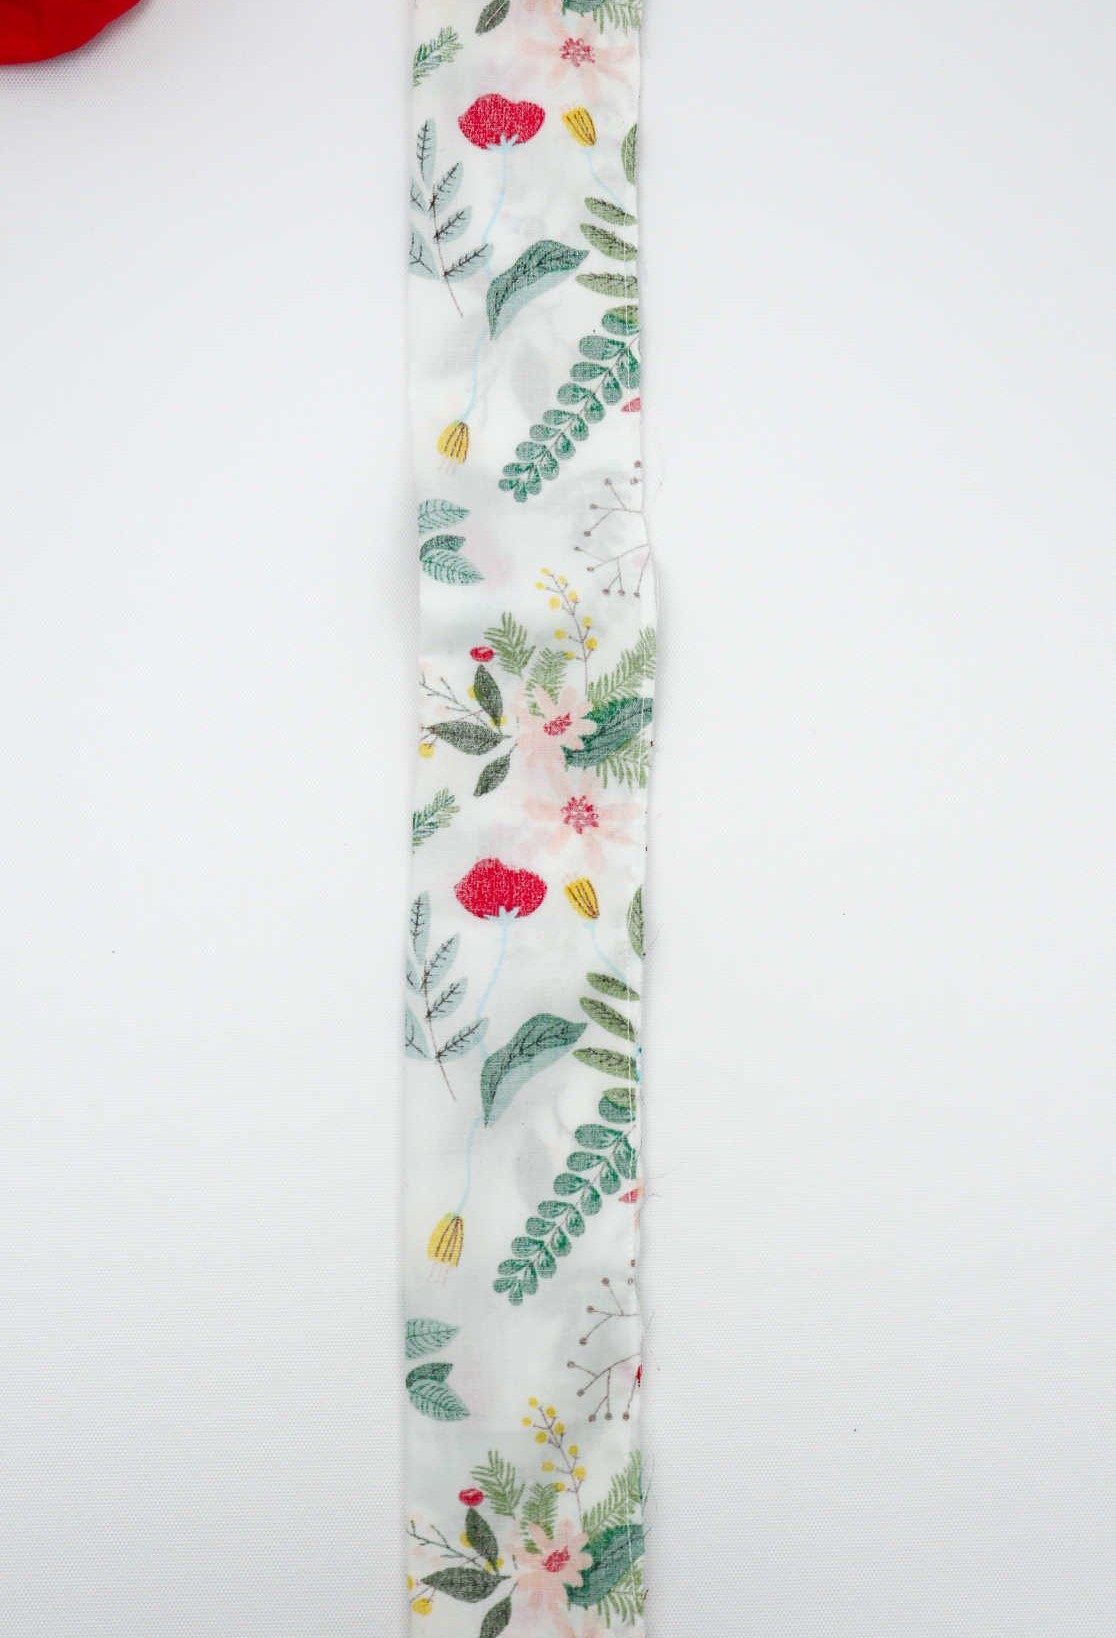
As you near the completion of sewing the edges, it’s time to give your scrunchie a makeover. Flip the fabric over and adjust the seams so that the correct side is now exposed, ready for the next step in your creative journey.
Step 5
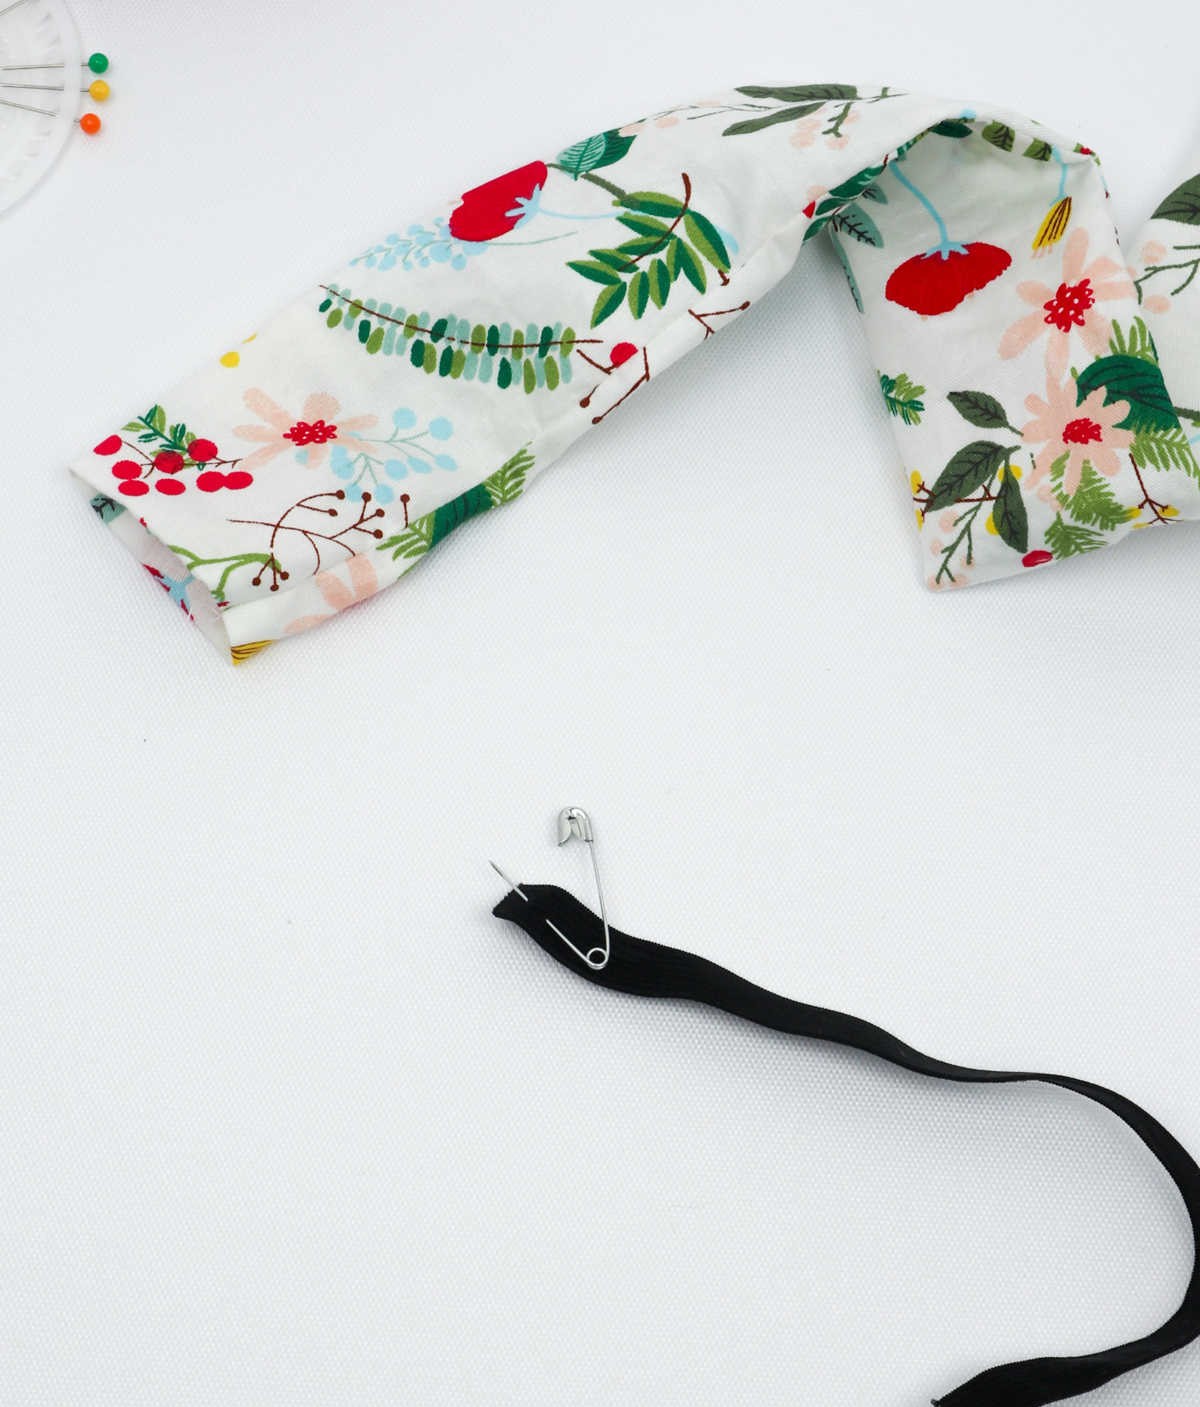
To proceed with assembling the scrunchie, begin by securing the elastic inside. Hold a safety pin and attach the elastic strip’s terminus to the pin. The elastic should be anchored firmly. Next, fasten the safety pin to one end of the scrunchie, ensuring it is securely in place. This will serve as an anchor point for the elastic. Following this, attach another safety pin to the opposite end of the elastic, effectively securing both ends and allowing you to work with the material.
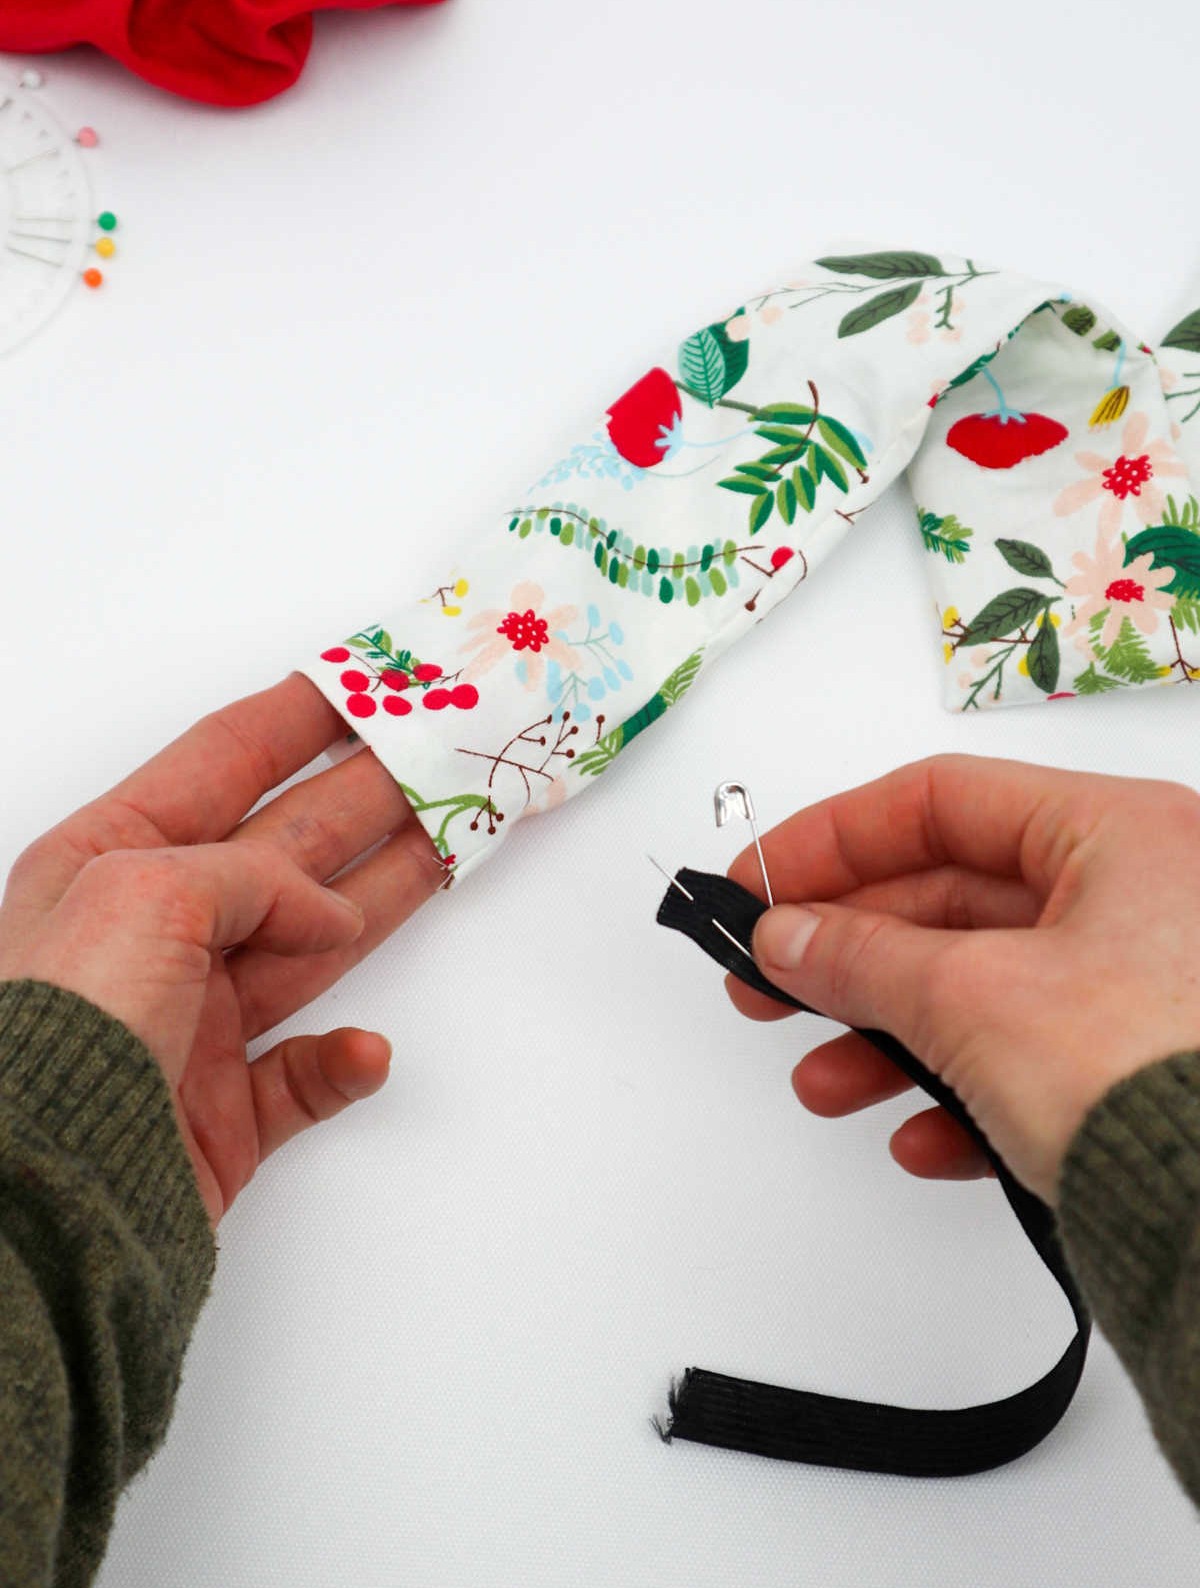
Step 6
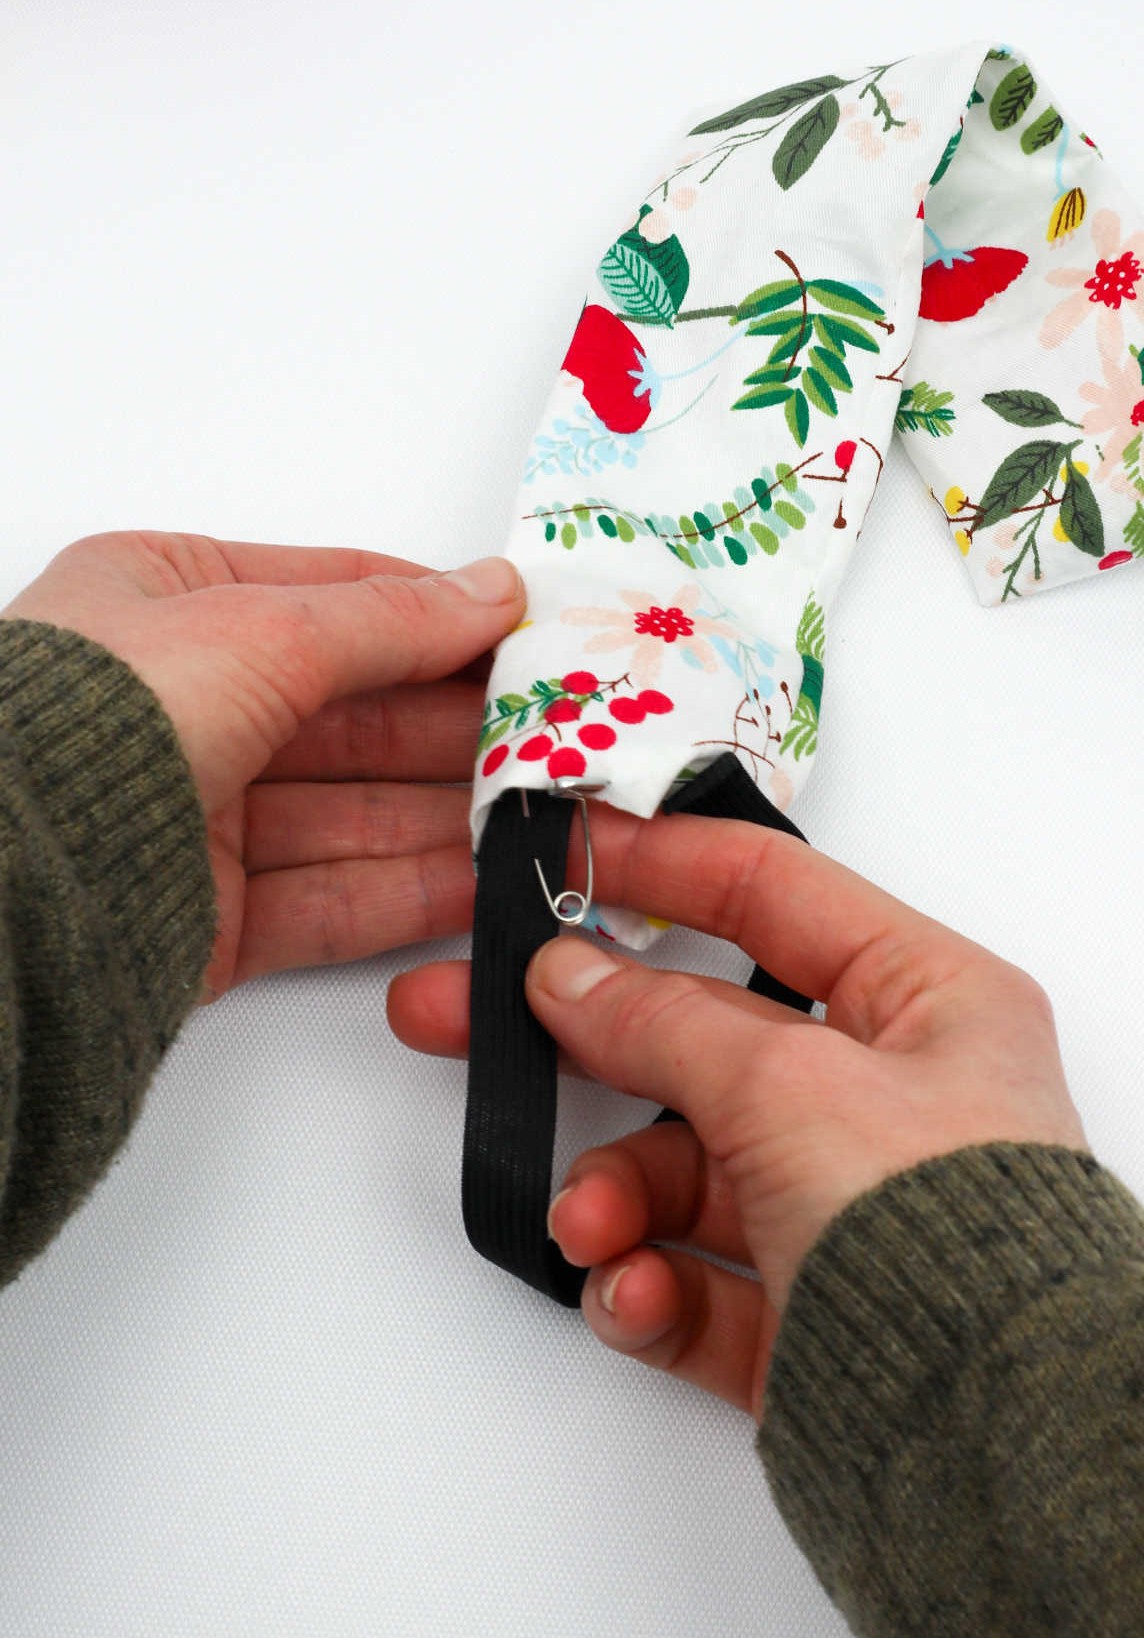
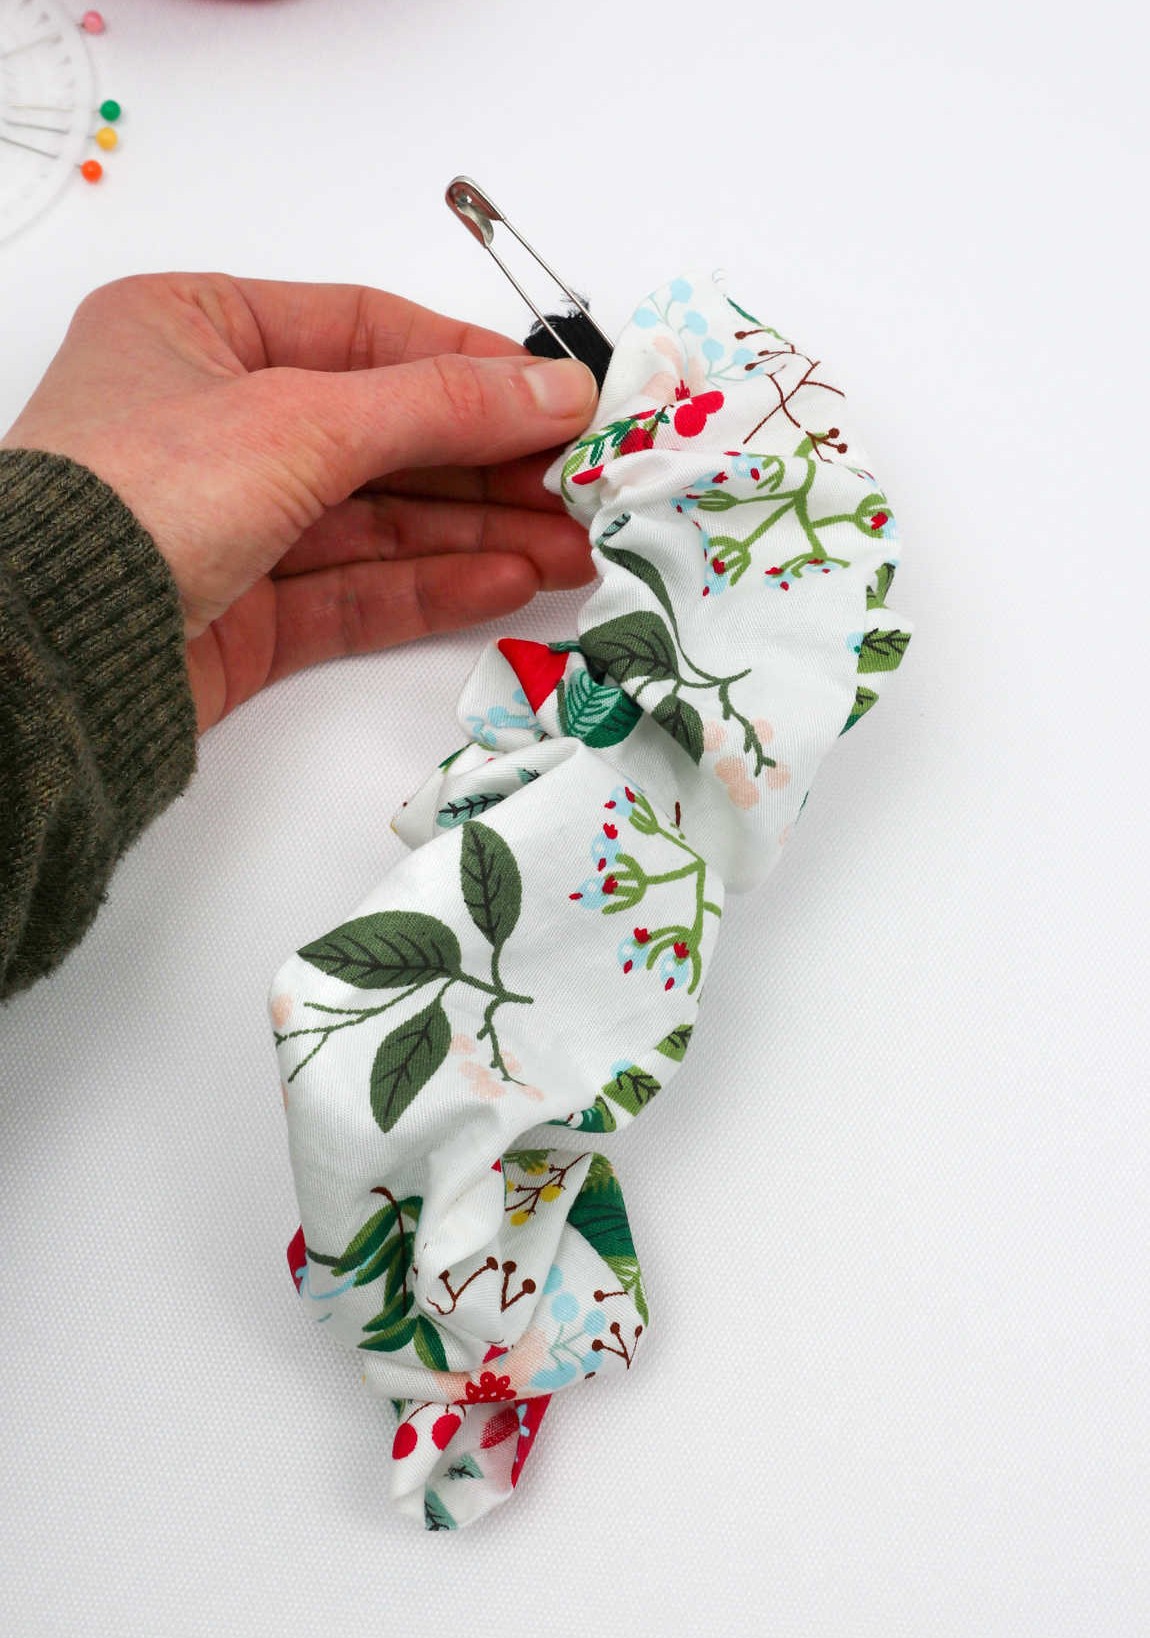
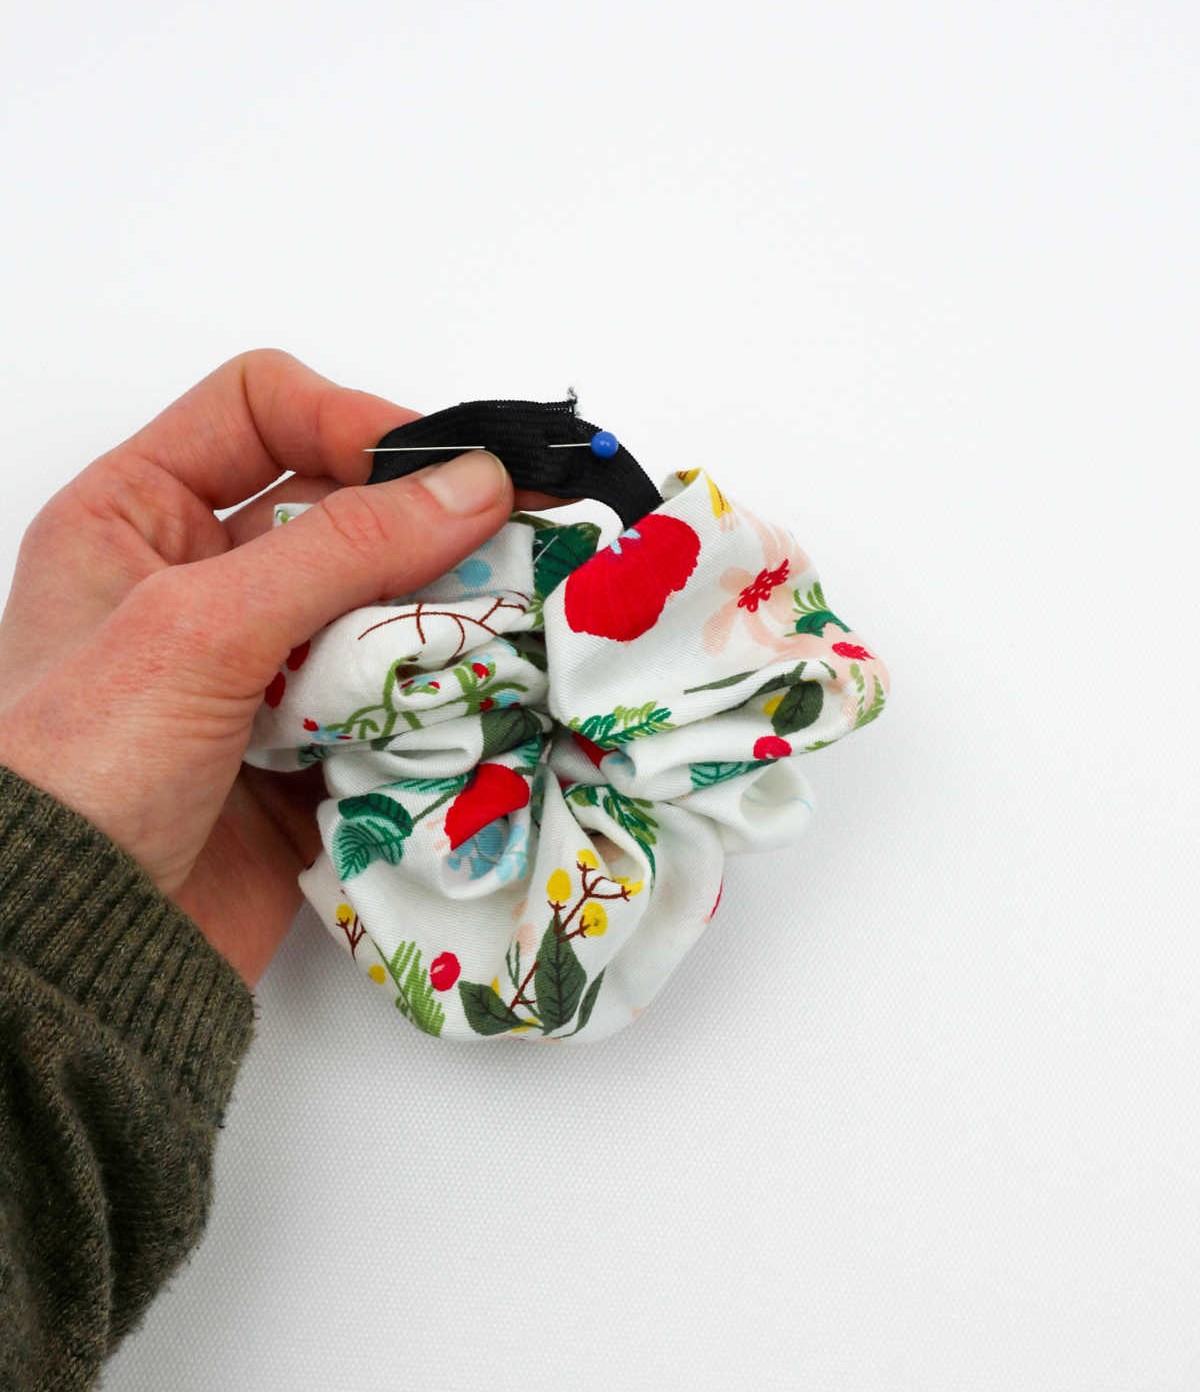
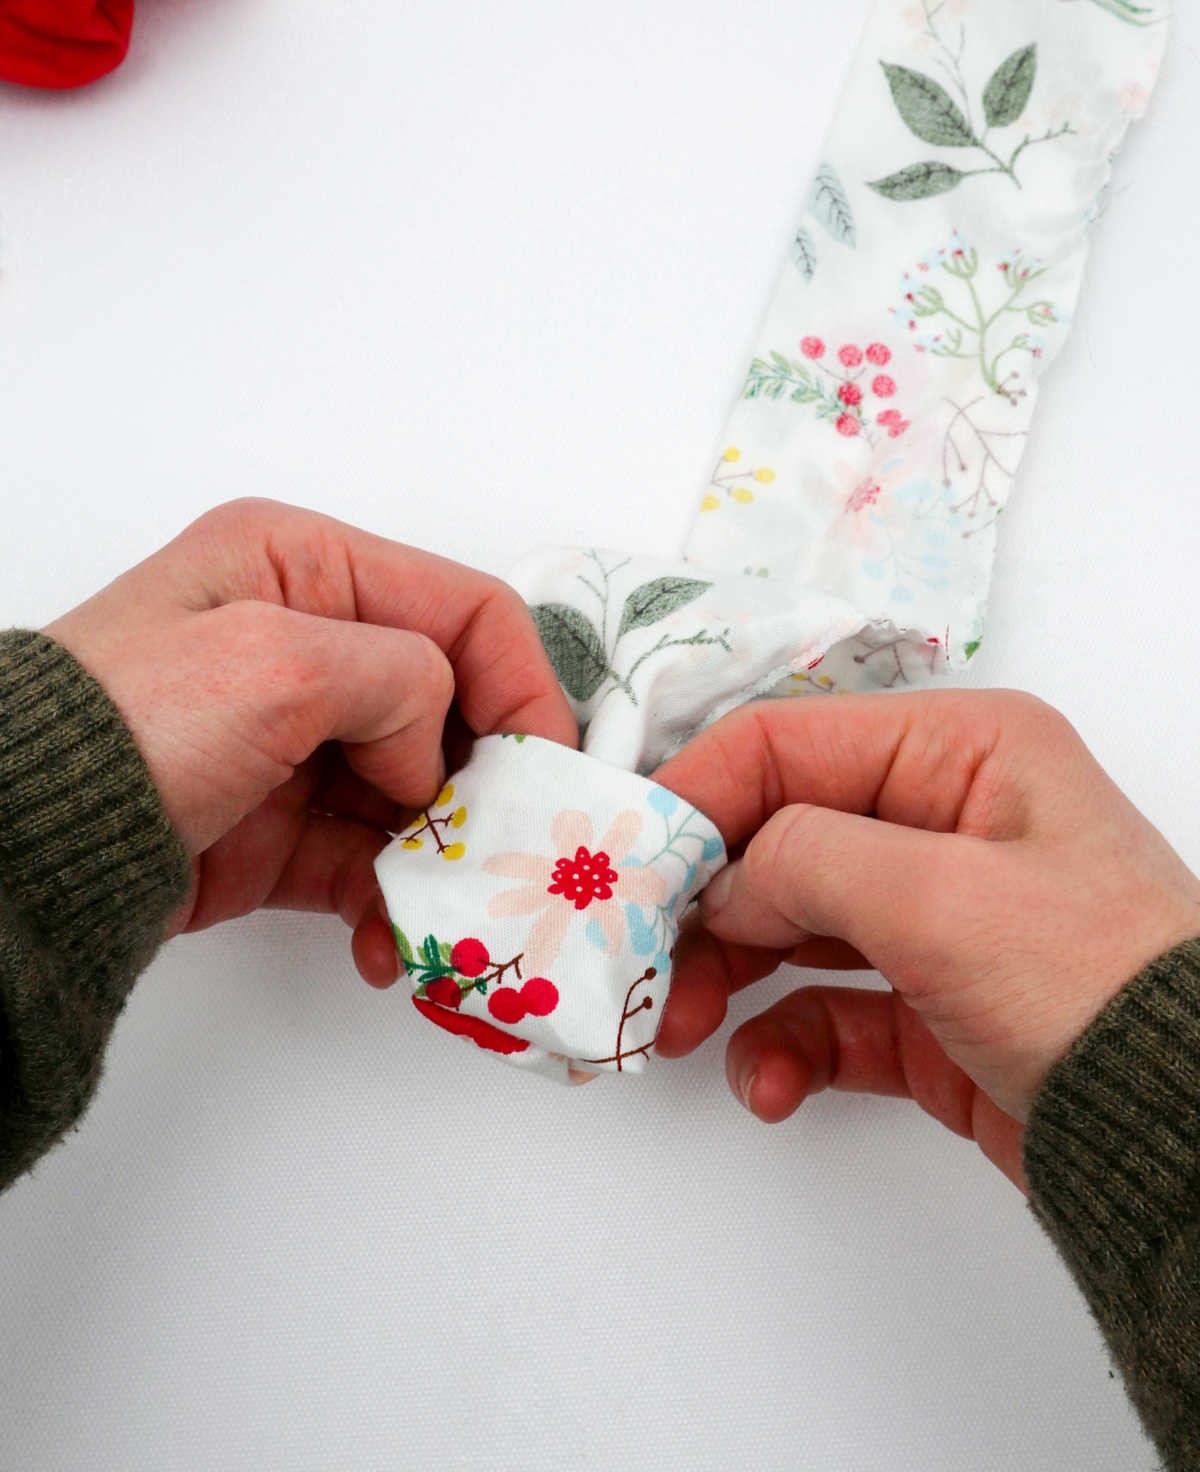
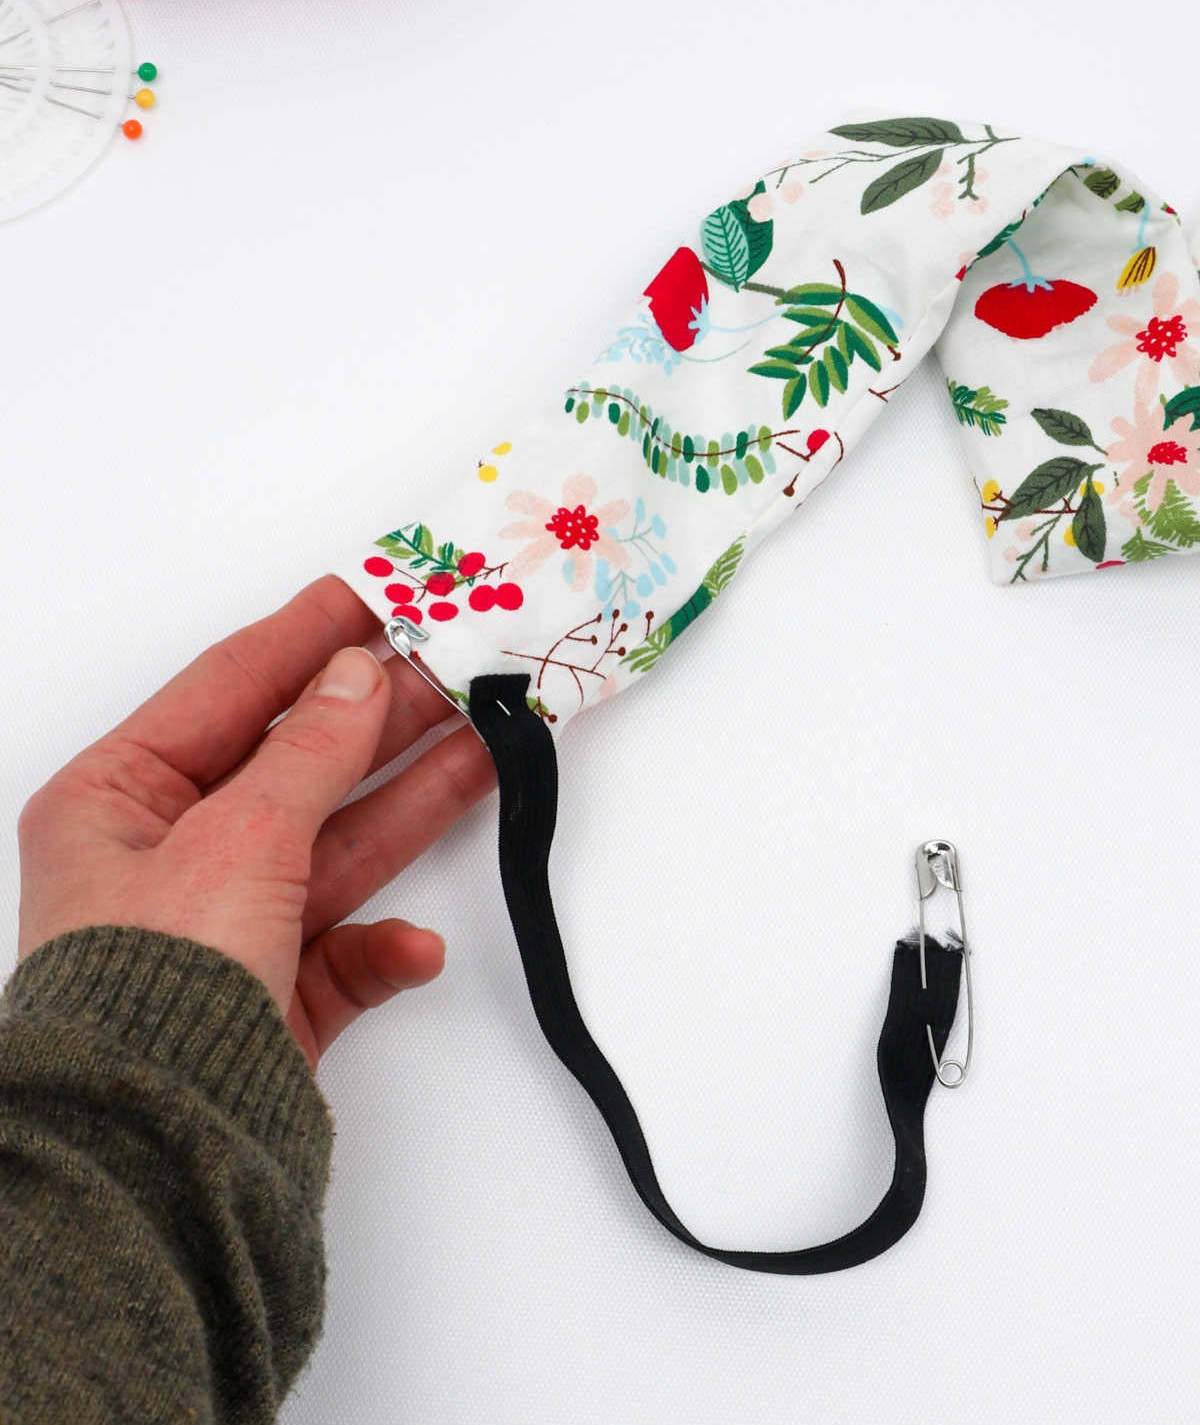
As you begin to guide the second safety pin through the fold of fabric, think of it as anchoring the elastic, which will be stretching as you go. This process is almost like ‘scrunching’ the pin through the folds as the elastic takes its shape.
Once the pin has been pulled all the way out the other end, along with the attached elastic band, remove both from the fabric. Then, to prevent any unexpected releases or snaps, secure the elastic in place using a pin.
Step 7
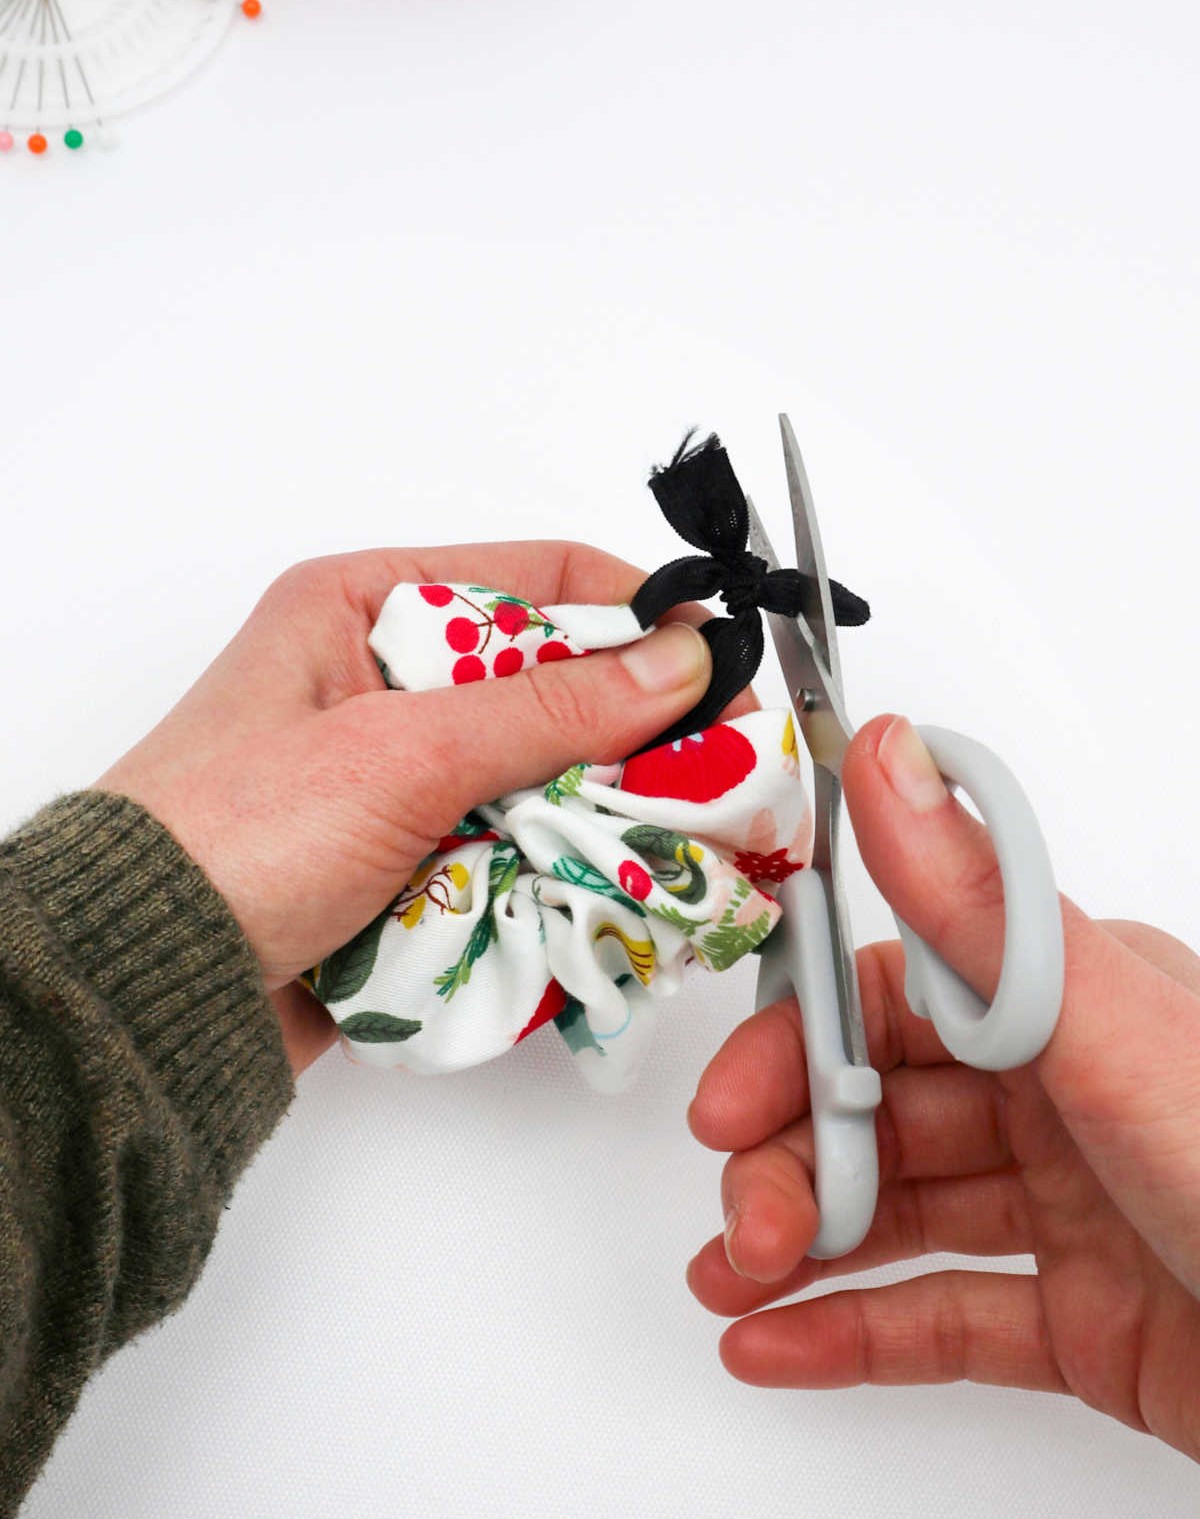
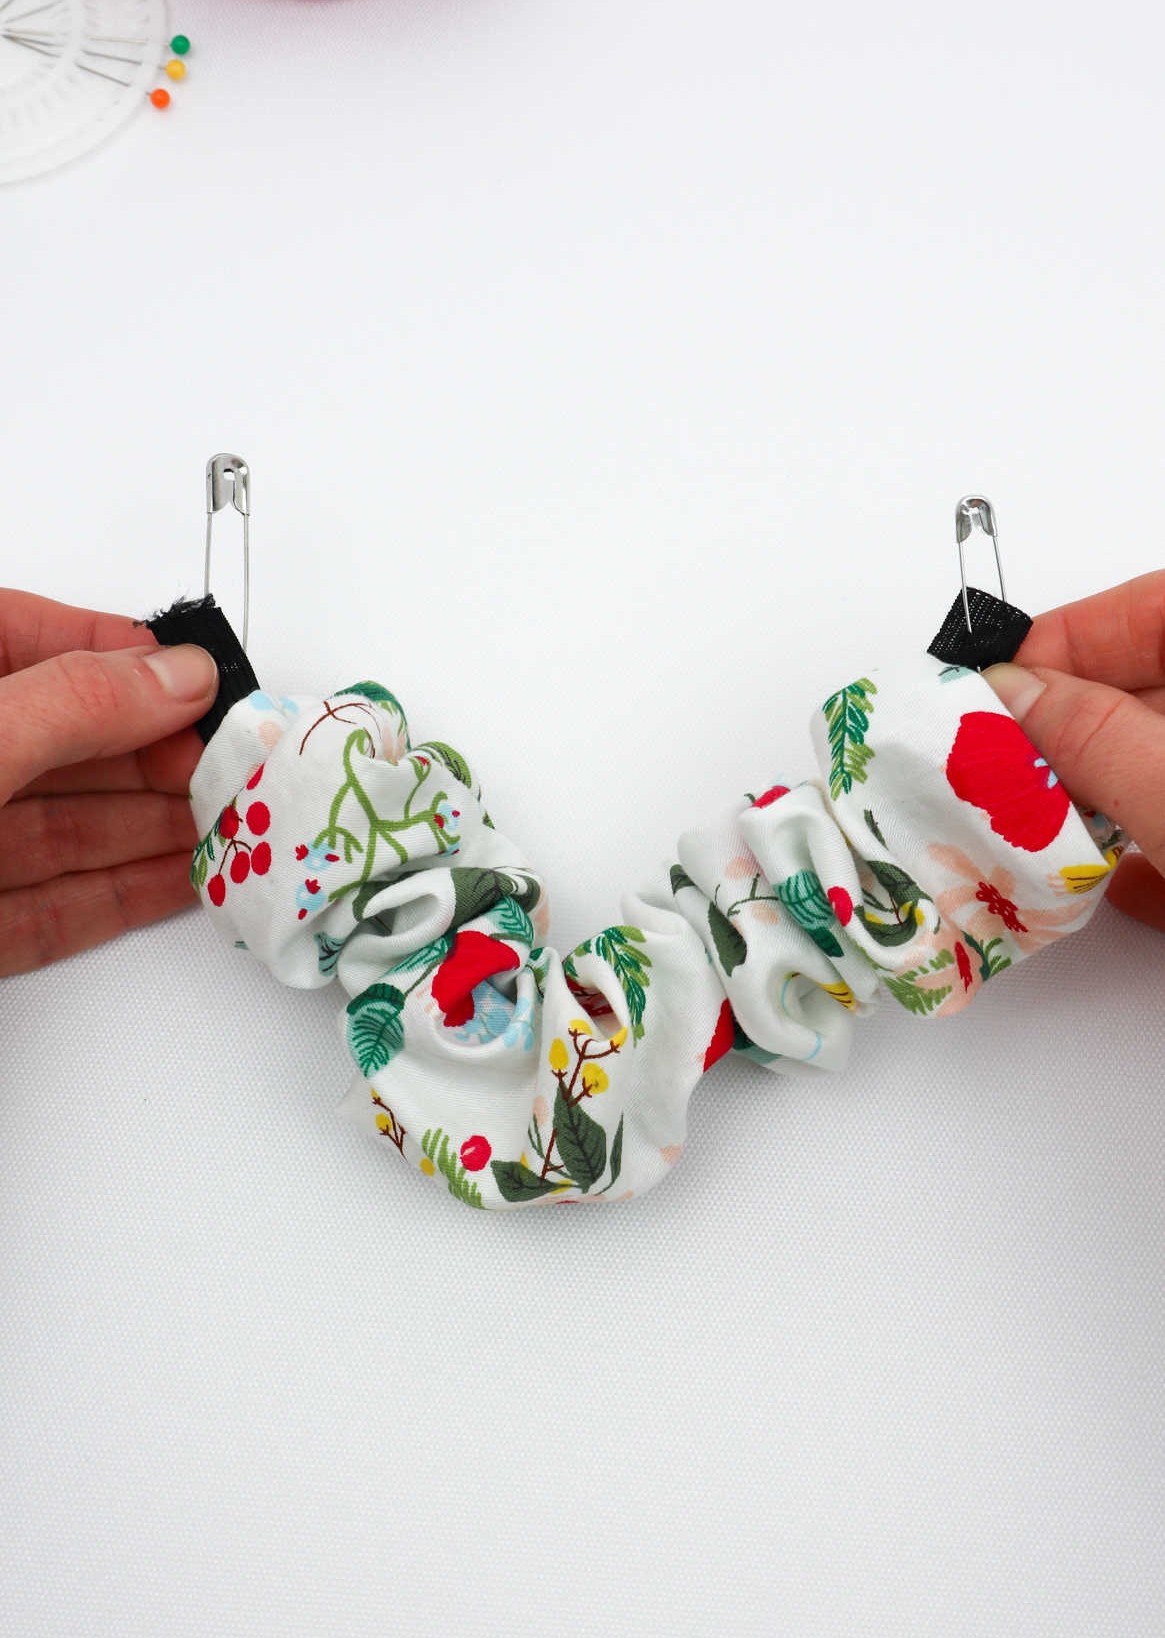
As we reach the final stage of preparing our elastic band, it’s time to join both ends together. Two methods are available: knotting the ends securely or opting for a more precise approach by sewing them together. For added security, consider sewing the ends rather than relying solely on a knot. Once you’ve attached the ends, use scissors to trim any excess material.
Step 8

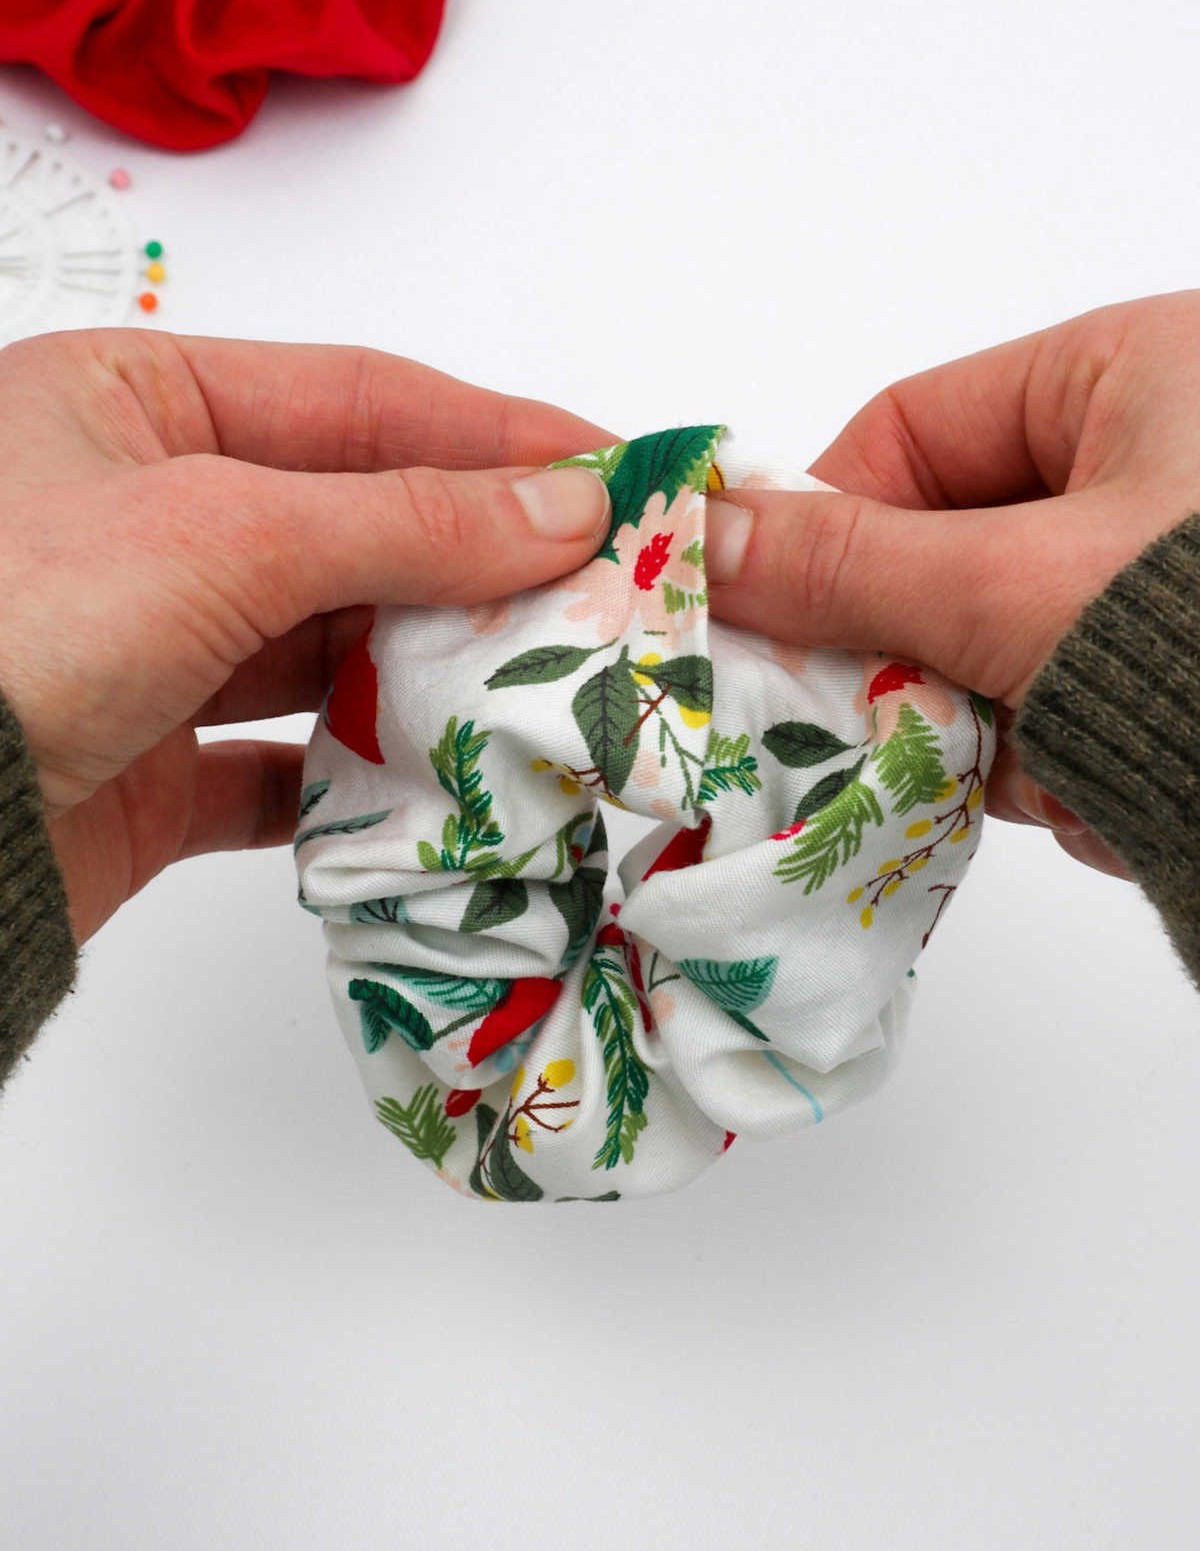
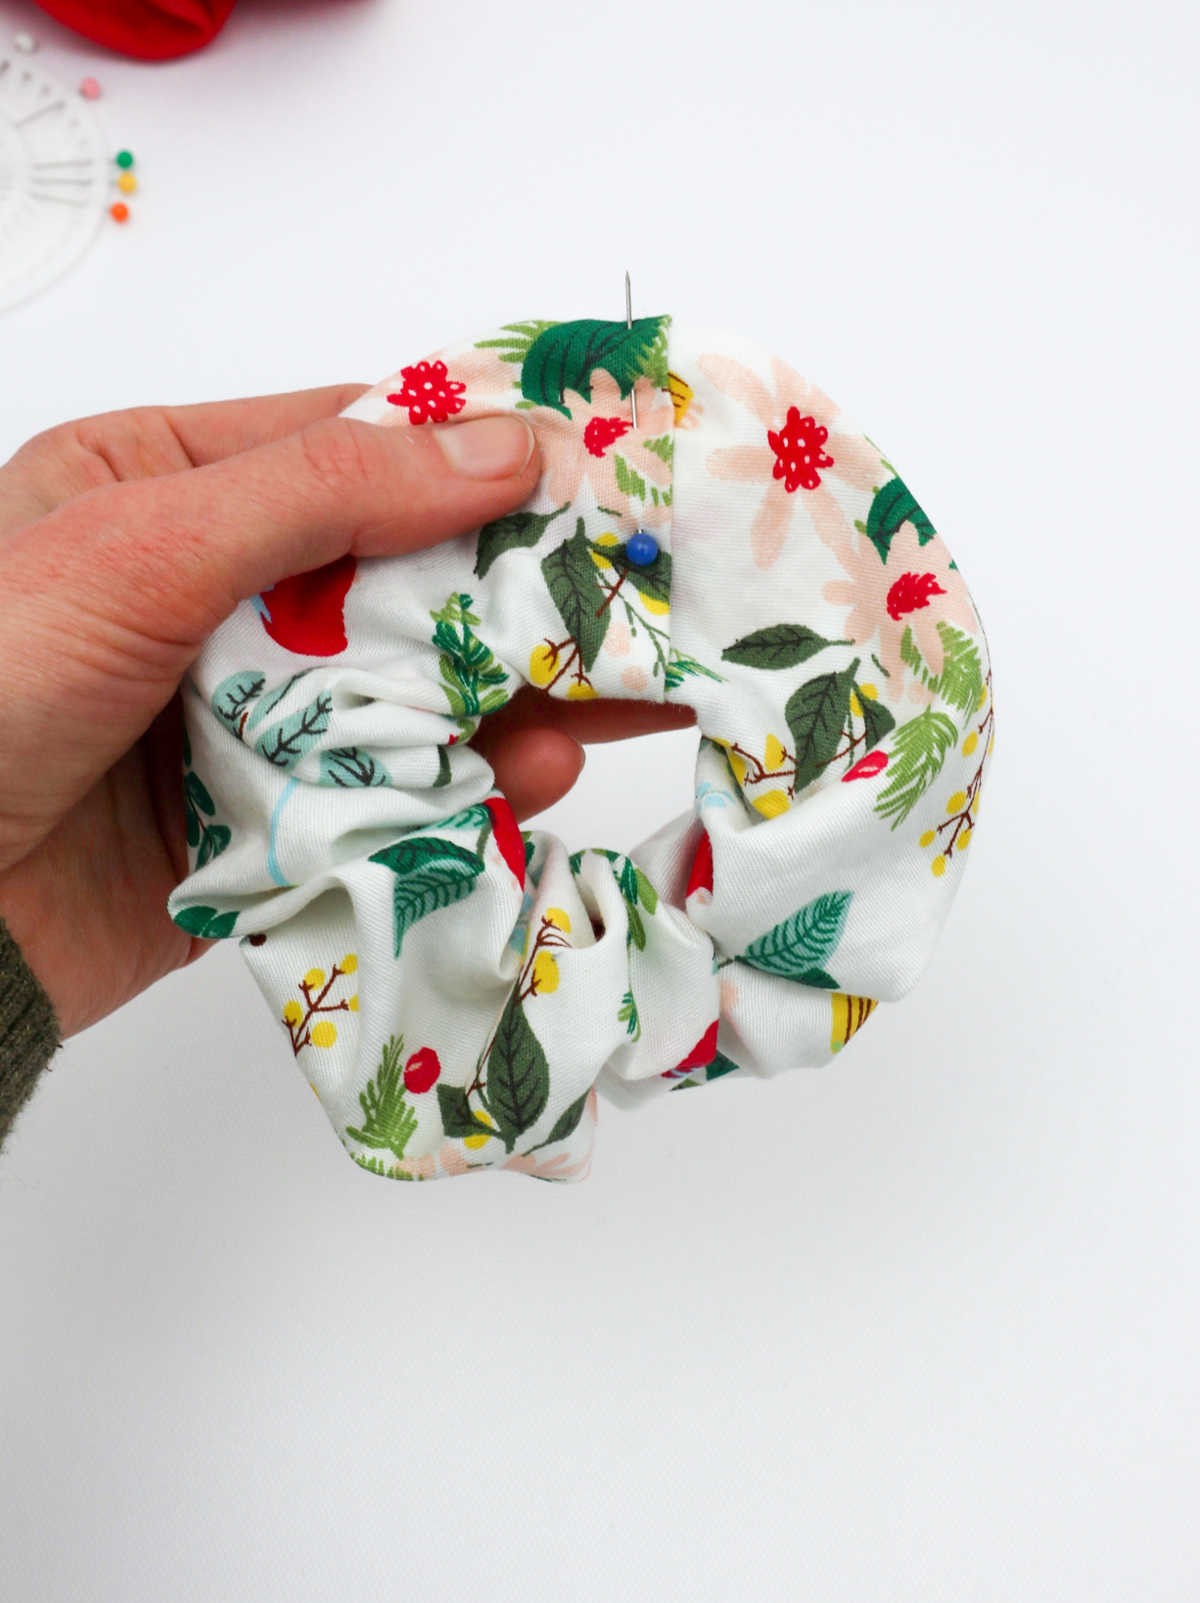
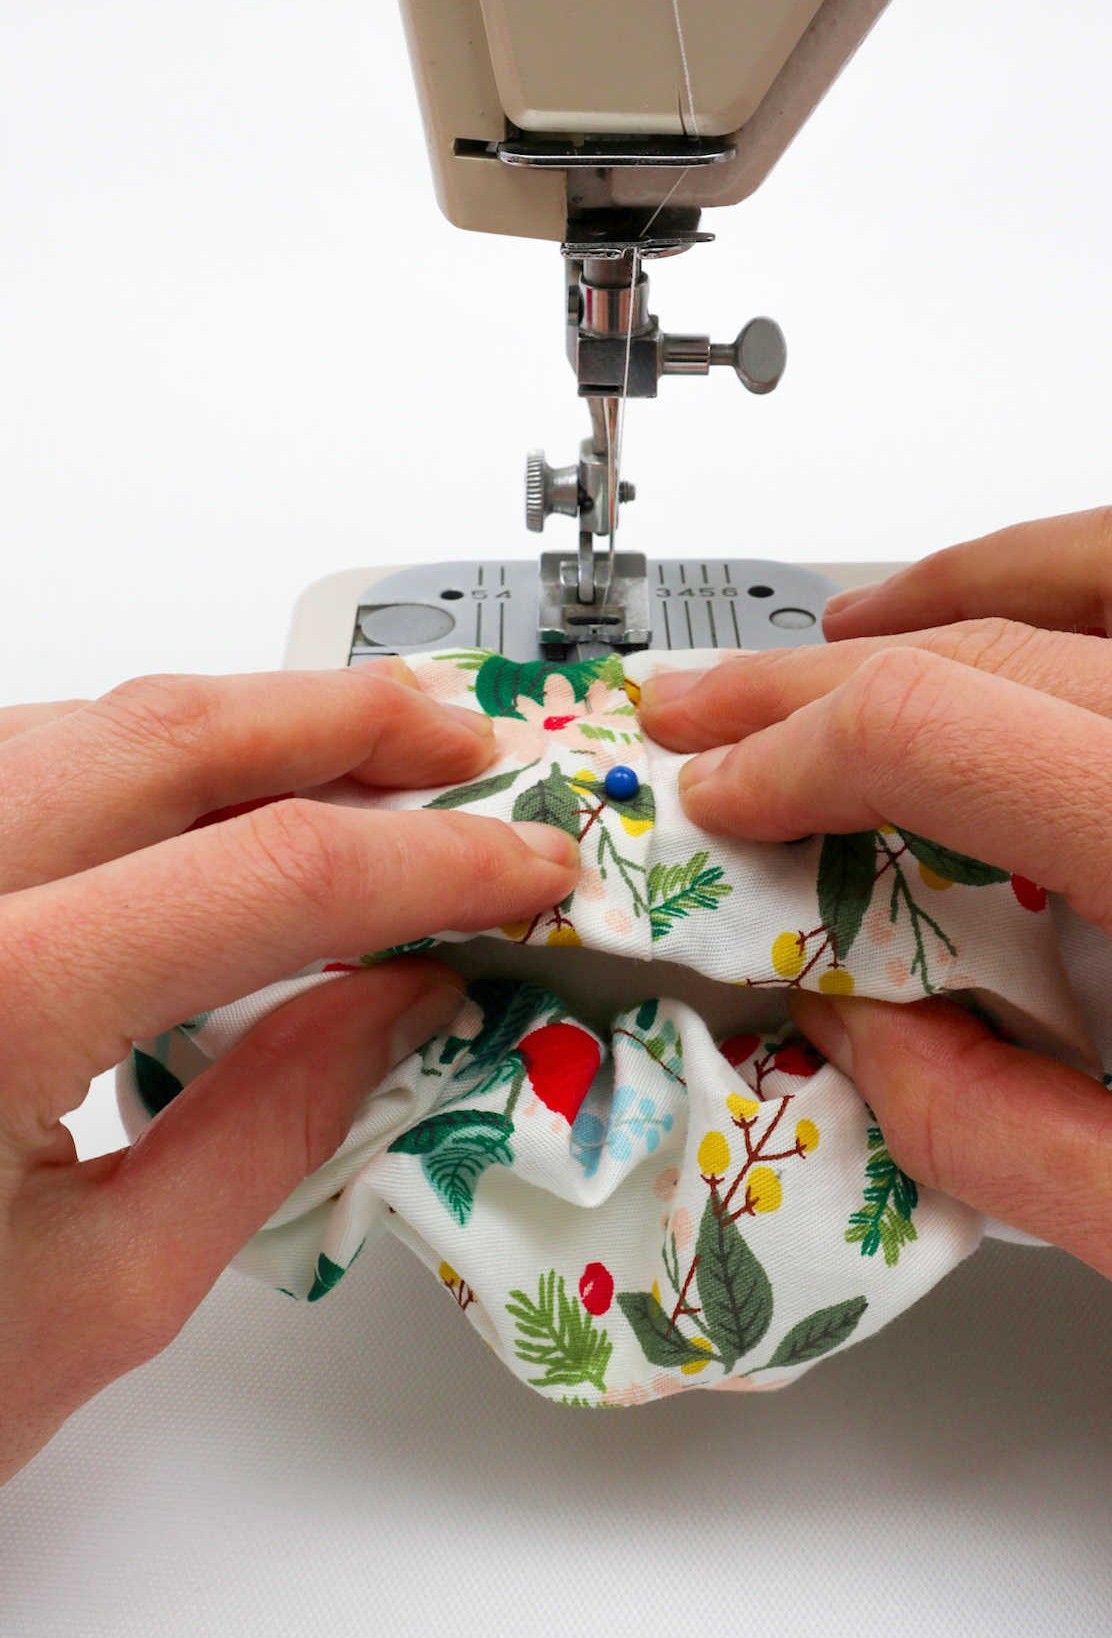
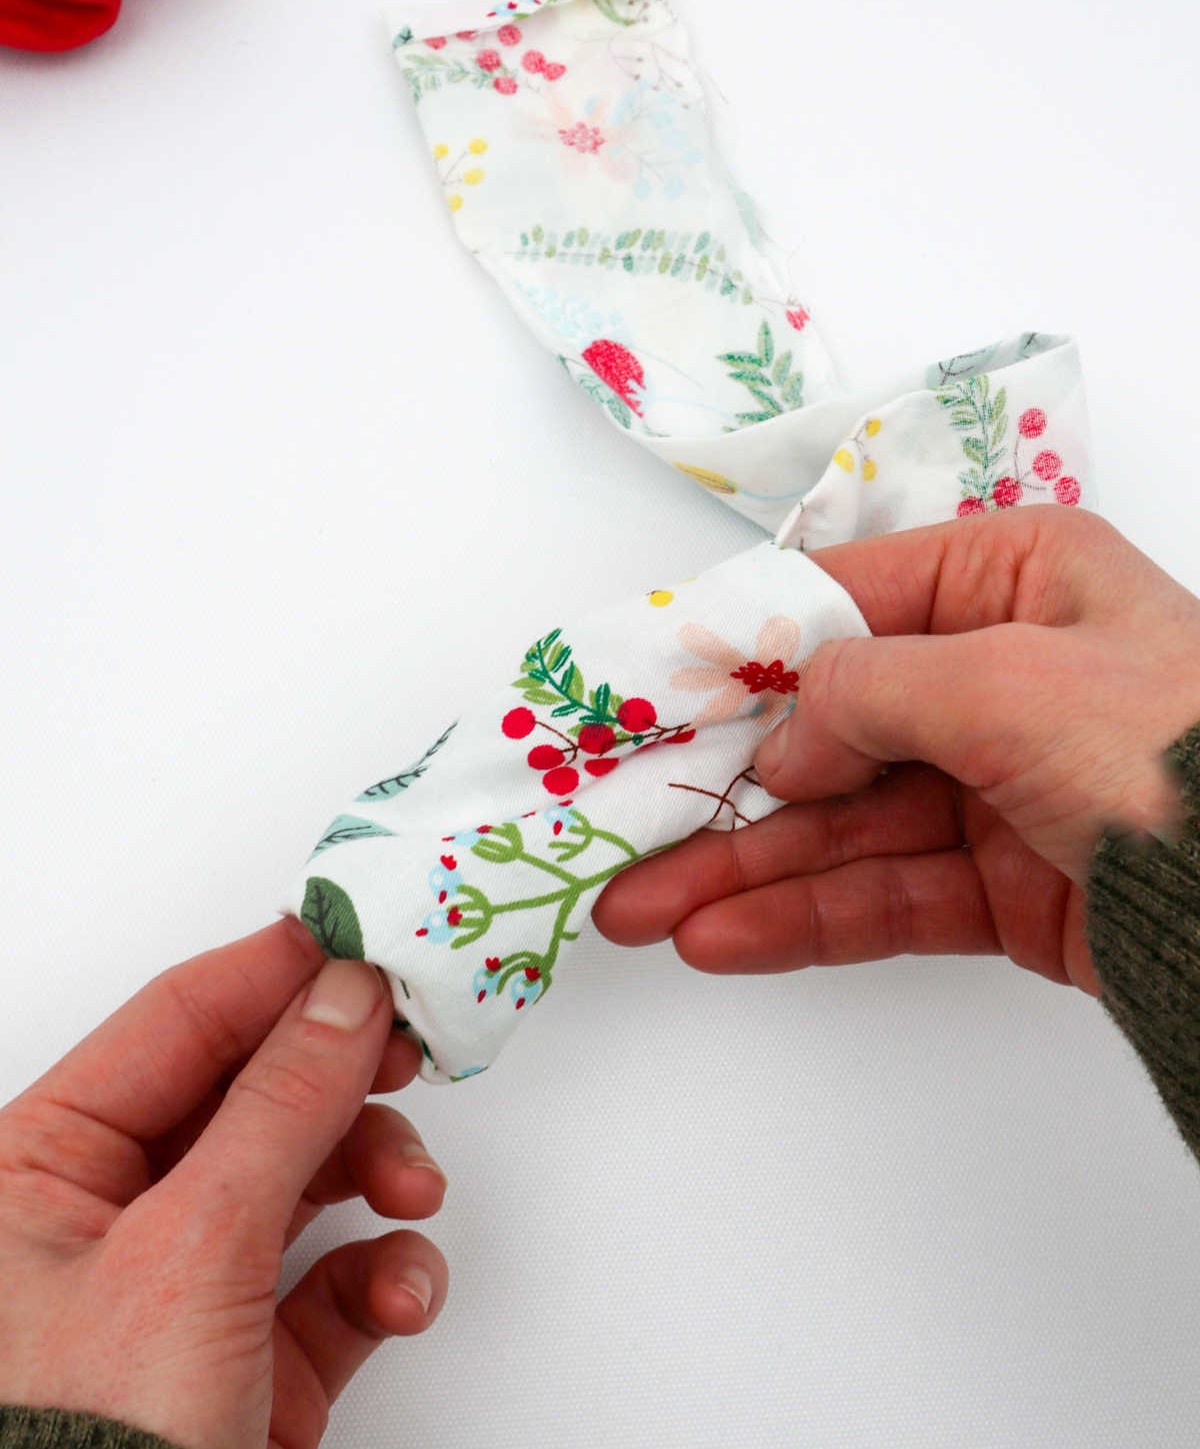
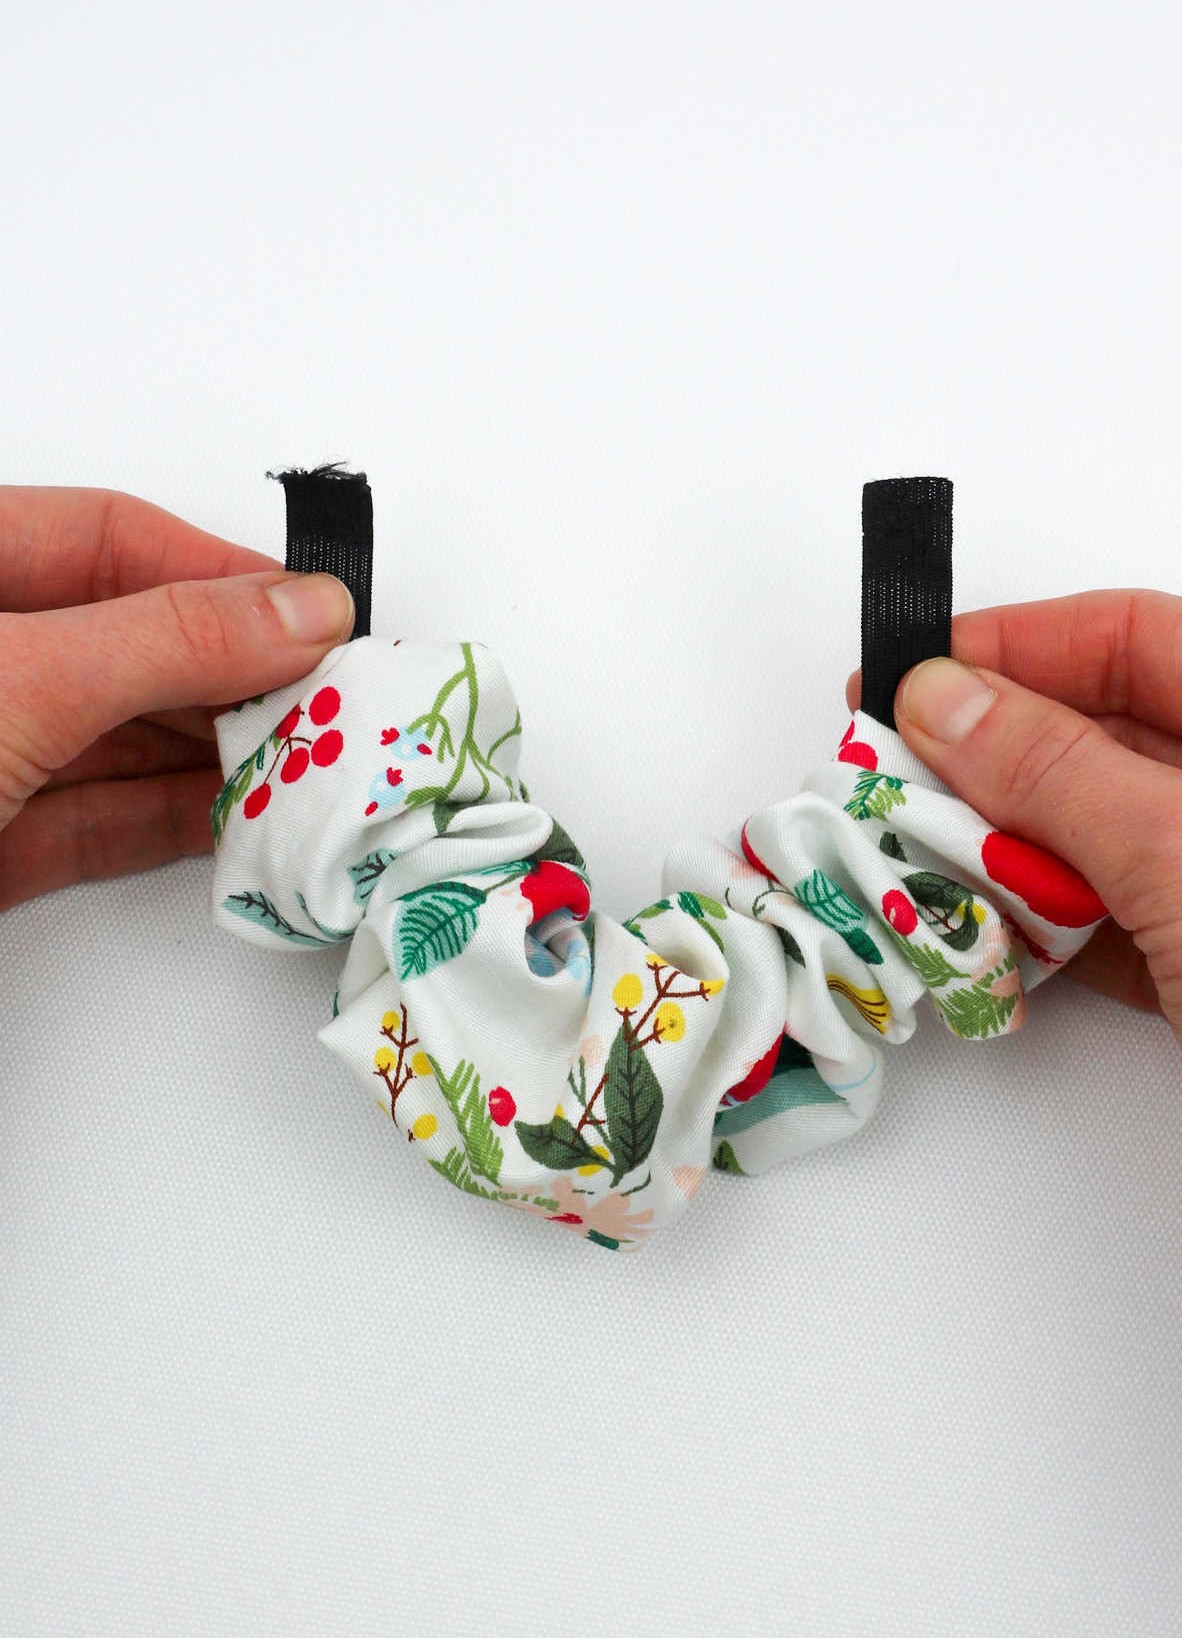
To complete the scrunchie, gather the fabric ends together and secure them with pins, taking care to ensure they’re properly aligned before pinning. This attention to detail will facilitate a seamless sewing process and result in a professionally finished product.
As you admire your newly crafted scrunchie, I’m confident that it won’t be long before you’re hooked on creating these stylish accessories by the dozen!
What is the Best Material to Make Scrunchies?
While most fabrics can be used to create scrunchies, silk, satin, and velvet are the top choices due to their exceptional properties. These luxurious materials gently glide off hair without tugging or pulling strands, making them ideal for those with fine or delicate locks. However, cotton is also a great option, particularly for beginners, as it’s easy to handle and work with. Its softness and suppleness make it a popular choice for scrunchie crafting.
How to Make Different Sized Scrunchies?
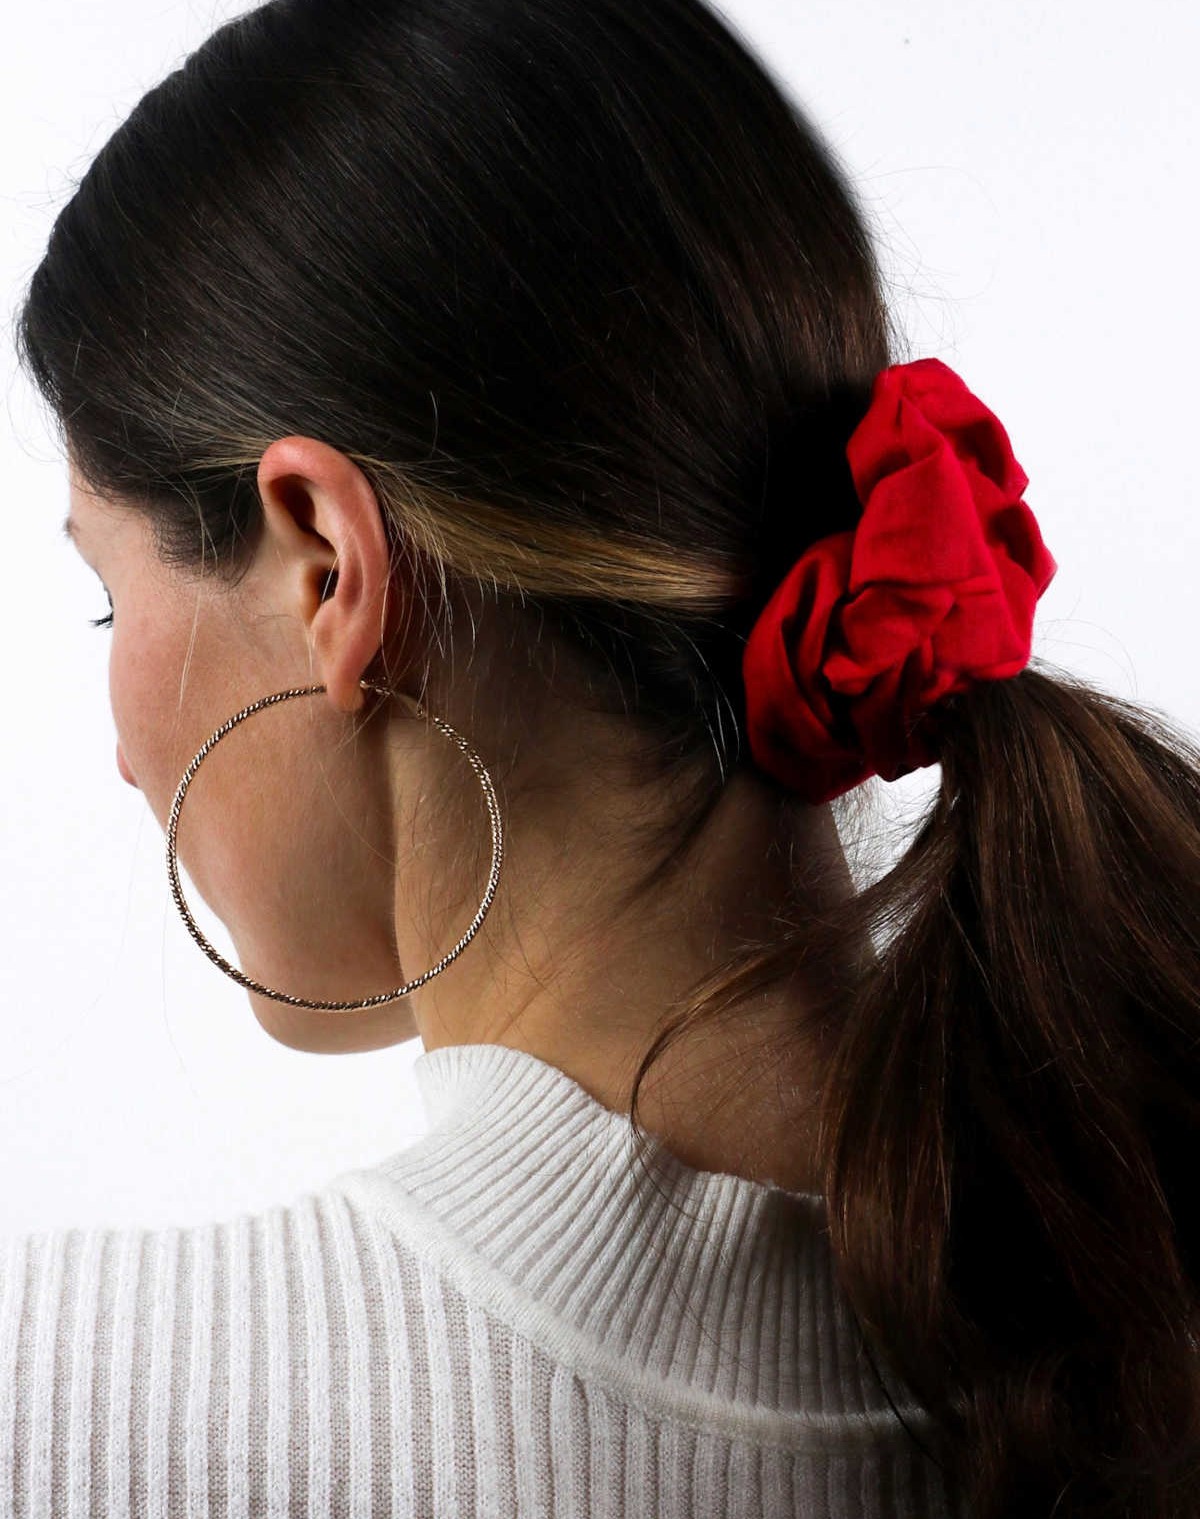
When it comes to scrunchies, one size does not fit all. The dimensions of your scrunchie will depend on various factors, including the thickness and texture of your hair, the number of twists you prefer to make, and even the level of ruffling desired. As a result, there is no one-size-fits-all approach. Instead, it’s essential to consider these variables to determine the ideal size for your scrunchie.
As a general guideline, if the scrunchie sits comfortably on your wrist, it will likely be suitable for use in your hair. However, for those who want more precision, here are seven different sizes of scrunchies that can be sewn, along with the required fabric and elastic measurements:
* Skinny: 18 inches x 3 inches (46 cm x 8 cm), or approximately 6 inches (15 cm) of fabric and elastic.
* Regular: 18 inches x 4 inches (46 cm x 10 cm), or approximately 6 inches (15 cm) of fabric and elastic.
* Fluffy: 18 inches x 5 inches (46 cm x 13 cm), or approximately 6 inches (15 cm) of fabric and elastic.
* Super Fluffy: 20 inches x 5 inches (51 cm x 13 cm), or approximately 7 inches (18 cm) of fabric and elastic.
* Kid-Sized: 14 inches x 3 inches (36 cm x 8 cm), or approximately 5 inches (13 cm) of fabric and elastic.
* Jumbo: 35 inches x 5 inches (89 cm x 13 cm), or approximately 15 inches (38 cm) of fabric and elastic.
* Thick Hair Regular: 20 inches x 4 inches (51 cm x 10 cm), or approximately 8 inches (20 cm) of fabric and elastic.
How to Make a Scrunchie (Step-by-Step)
In just 20 minutes, you can create a functional and fashionable scrunchie with this easy DIY project. To start, gather your materials and prepare for the task at hand. You’ll need approximately 5 minutes to get everything ready, followed by 15 minutes of active crafting time. Once complete, you’ll have a one-of-a-kind accessory that’s perfect for adding a touch of personality to any outfit.
Equipment
When it comes to embarking on a sewing project, having the right tools is crucial for ensuring your garment turns out as desired. A few essential items you’ll want to have at your disposal include sewing pins, safety pins, and scissors. If you’re planning on working with thicker fabrics or more complex projects, a sewing machine can also be a valuable addition to your arsenal.
Materials
Instructions
Gather all the necessary materials for this project and lay the fabric on a flat surface with its right side facing downwards. Create a seam allowance by folding the edge of the fabric about 1 centimeter and secure it with pins. Repeat this process for the opposite end as well. Next, use a sewing machine or needle and thread to sew along the pinned edges. Turn the scrunchie inside out so that the right side is now facing upwards.
To attach the elastic, first pin one end of it to a safety pin, then secure the safety pin to the edge of one of the fabric openings. Next, pin the other end of the elastic to another safety pin, using the initial safety pin as an anchor. Now, pull the second safety pin through the opening and out through the opposite opening, creating a loop with the elastic. Secure the ends together by pinning them in place to prevent the elastic from snapping back.
As you stretch the fabric over the elastic, you’ll notice it begins to ruffle. To complete the scrunchie, either sew both elastic ends together or knot them before trimming any excess material. Finally, fold and align the fabric edges so that they overlap neatly, concealing the elastic. Sew along the folded edge to finish the scrunchie, and your project is now complete.