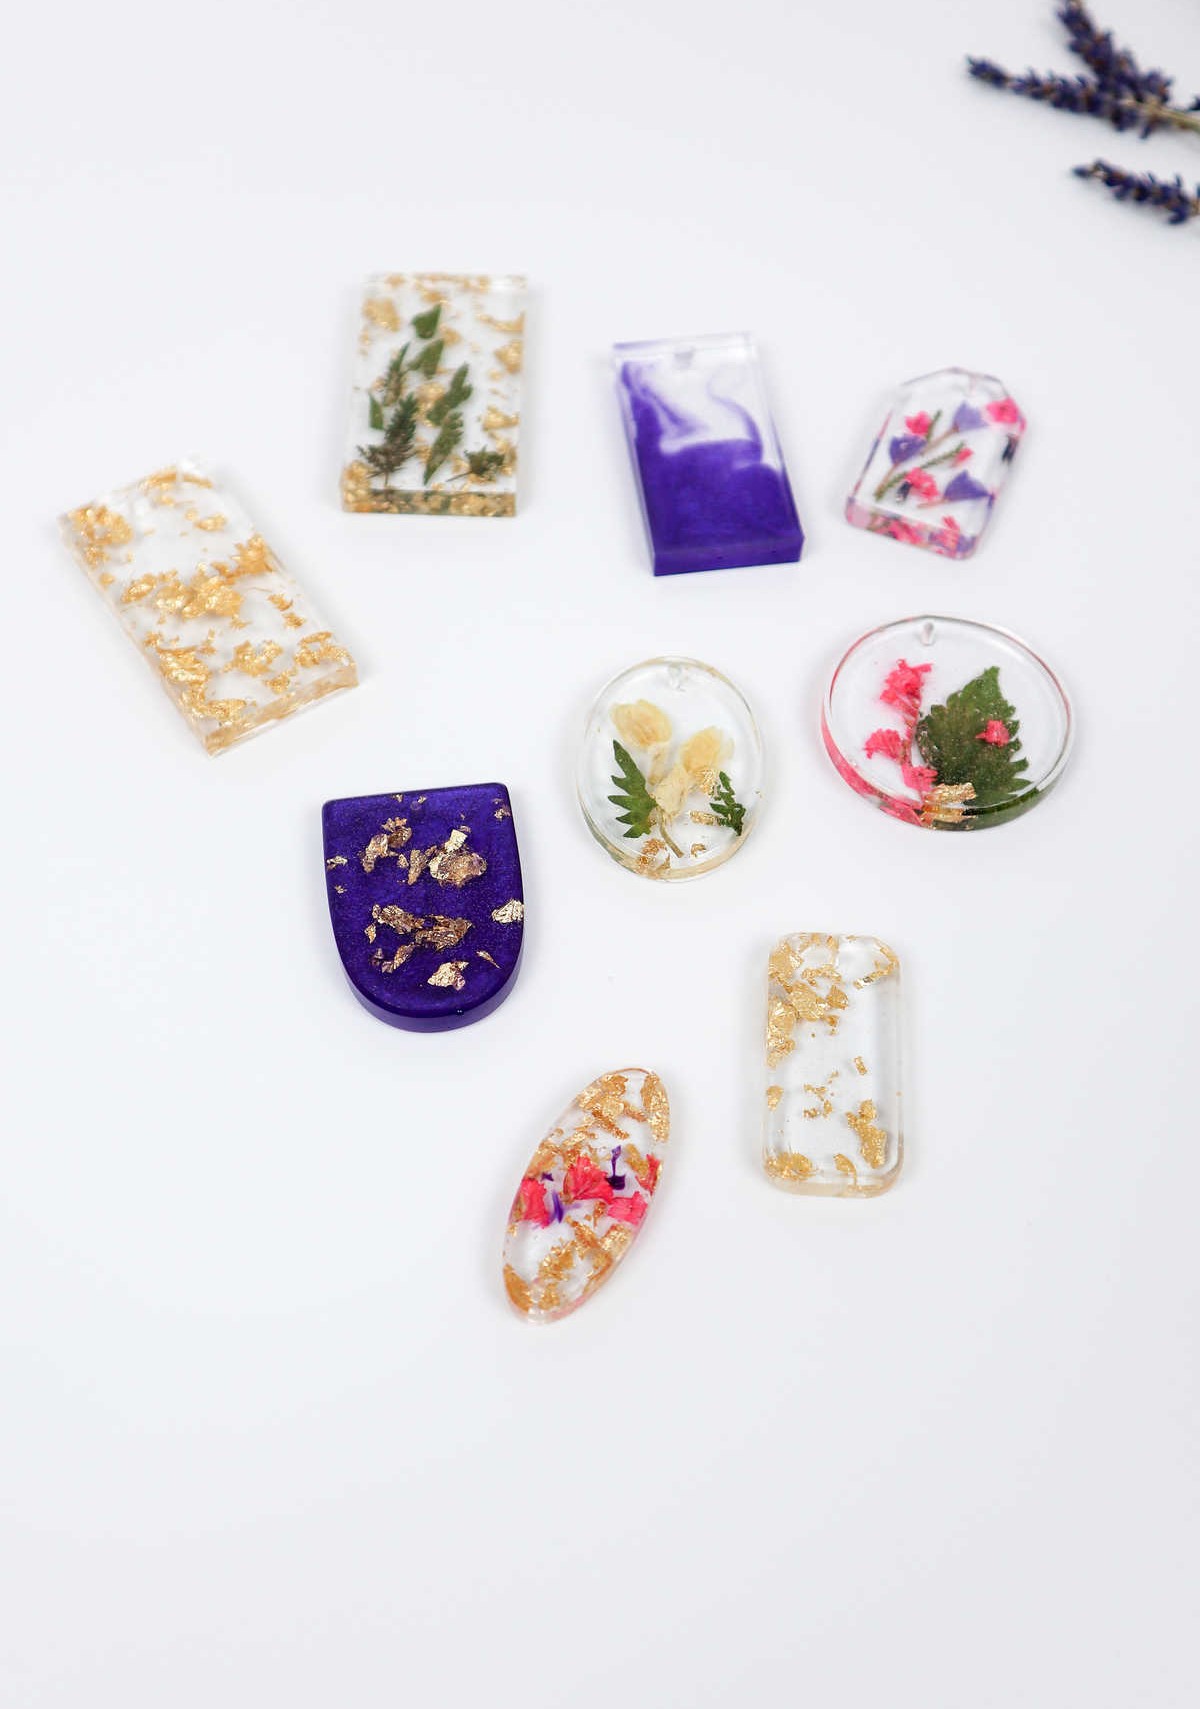
If you’re passionate about working with resin, you’ll love this DIY project that’s perfect for both teens and adults. Not only is it a fun and creative activity, but you can also use the finished keychains or gift them to your loved ones. The beauty of resin crafts lies in their versatility – there’s endless room to experiment, customize, and express yourself through color, style, and more. Even if you’re a complete beginner, don’t worry!
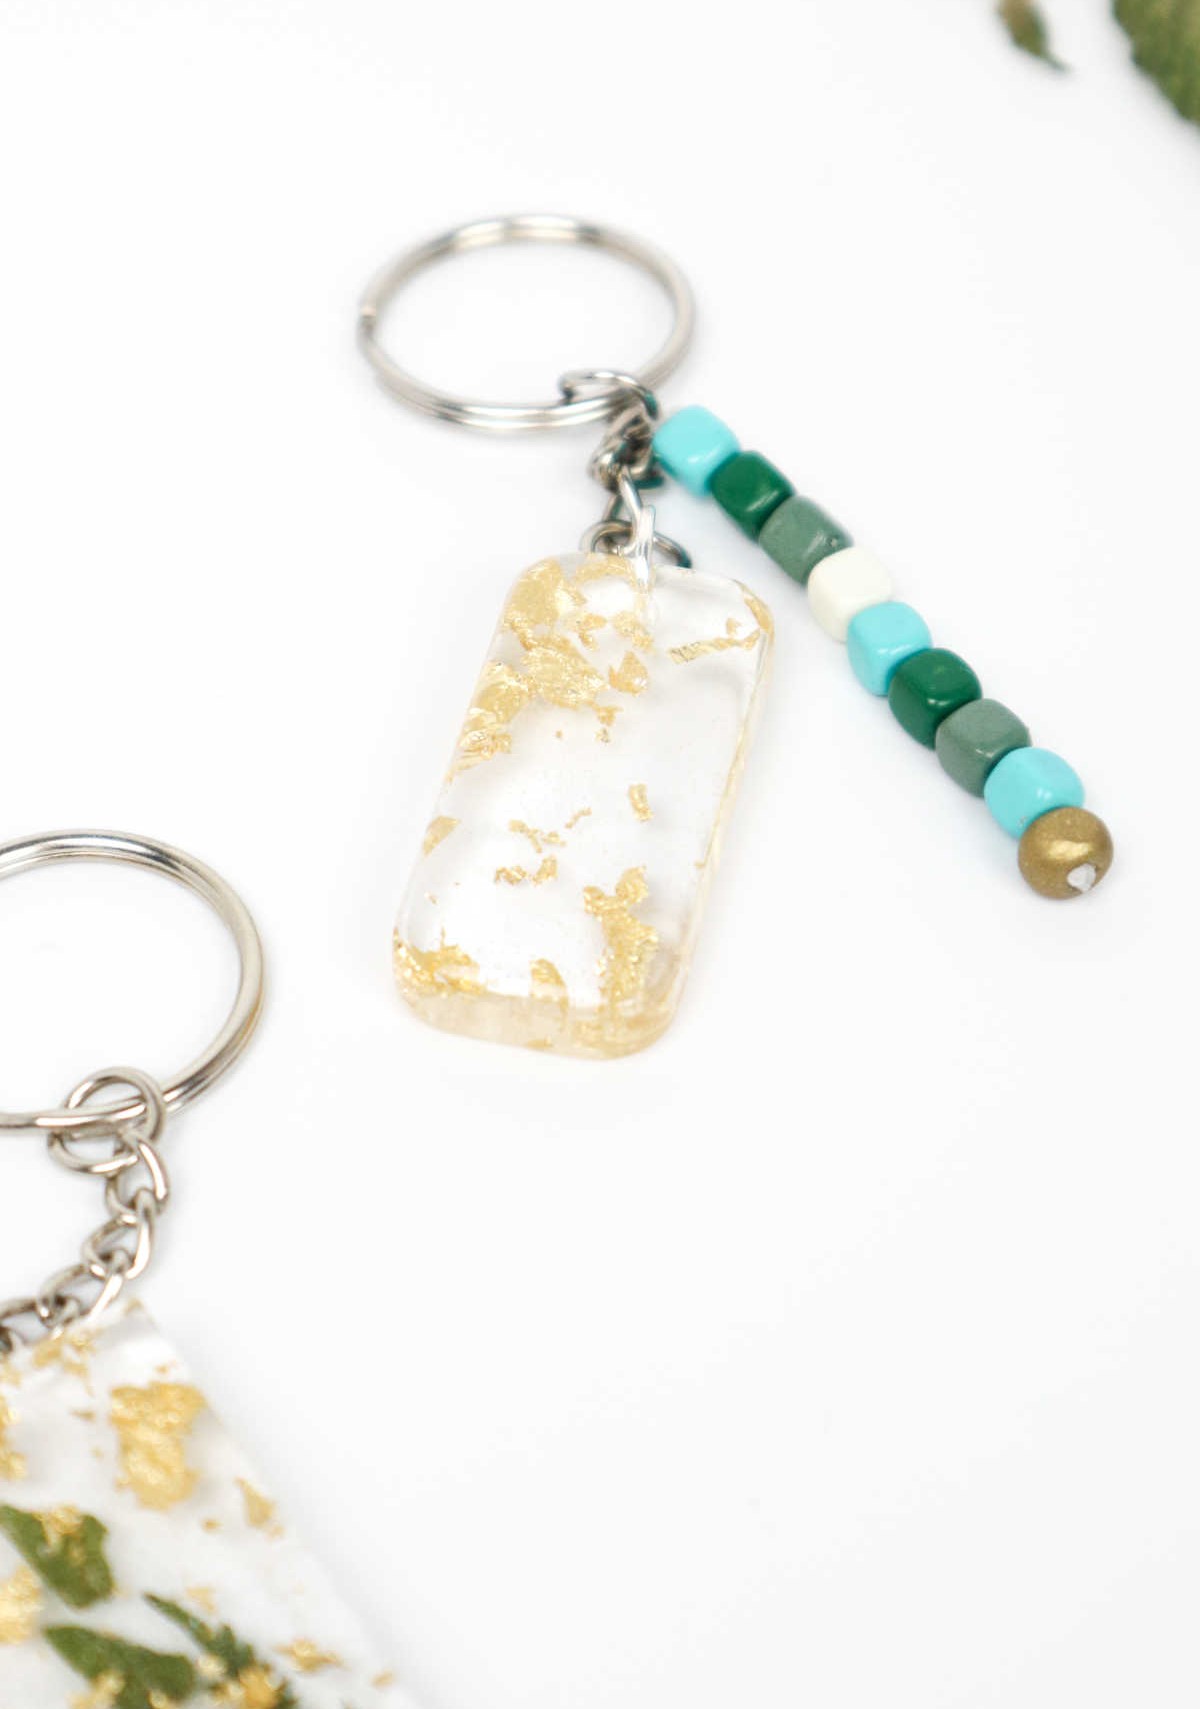
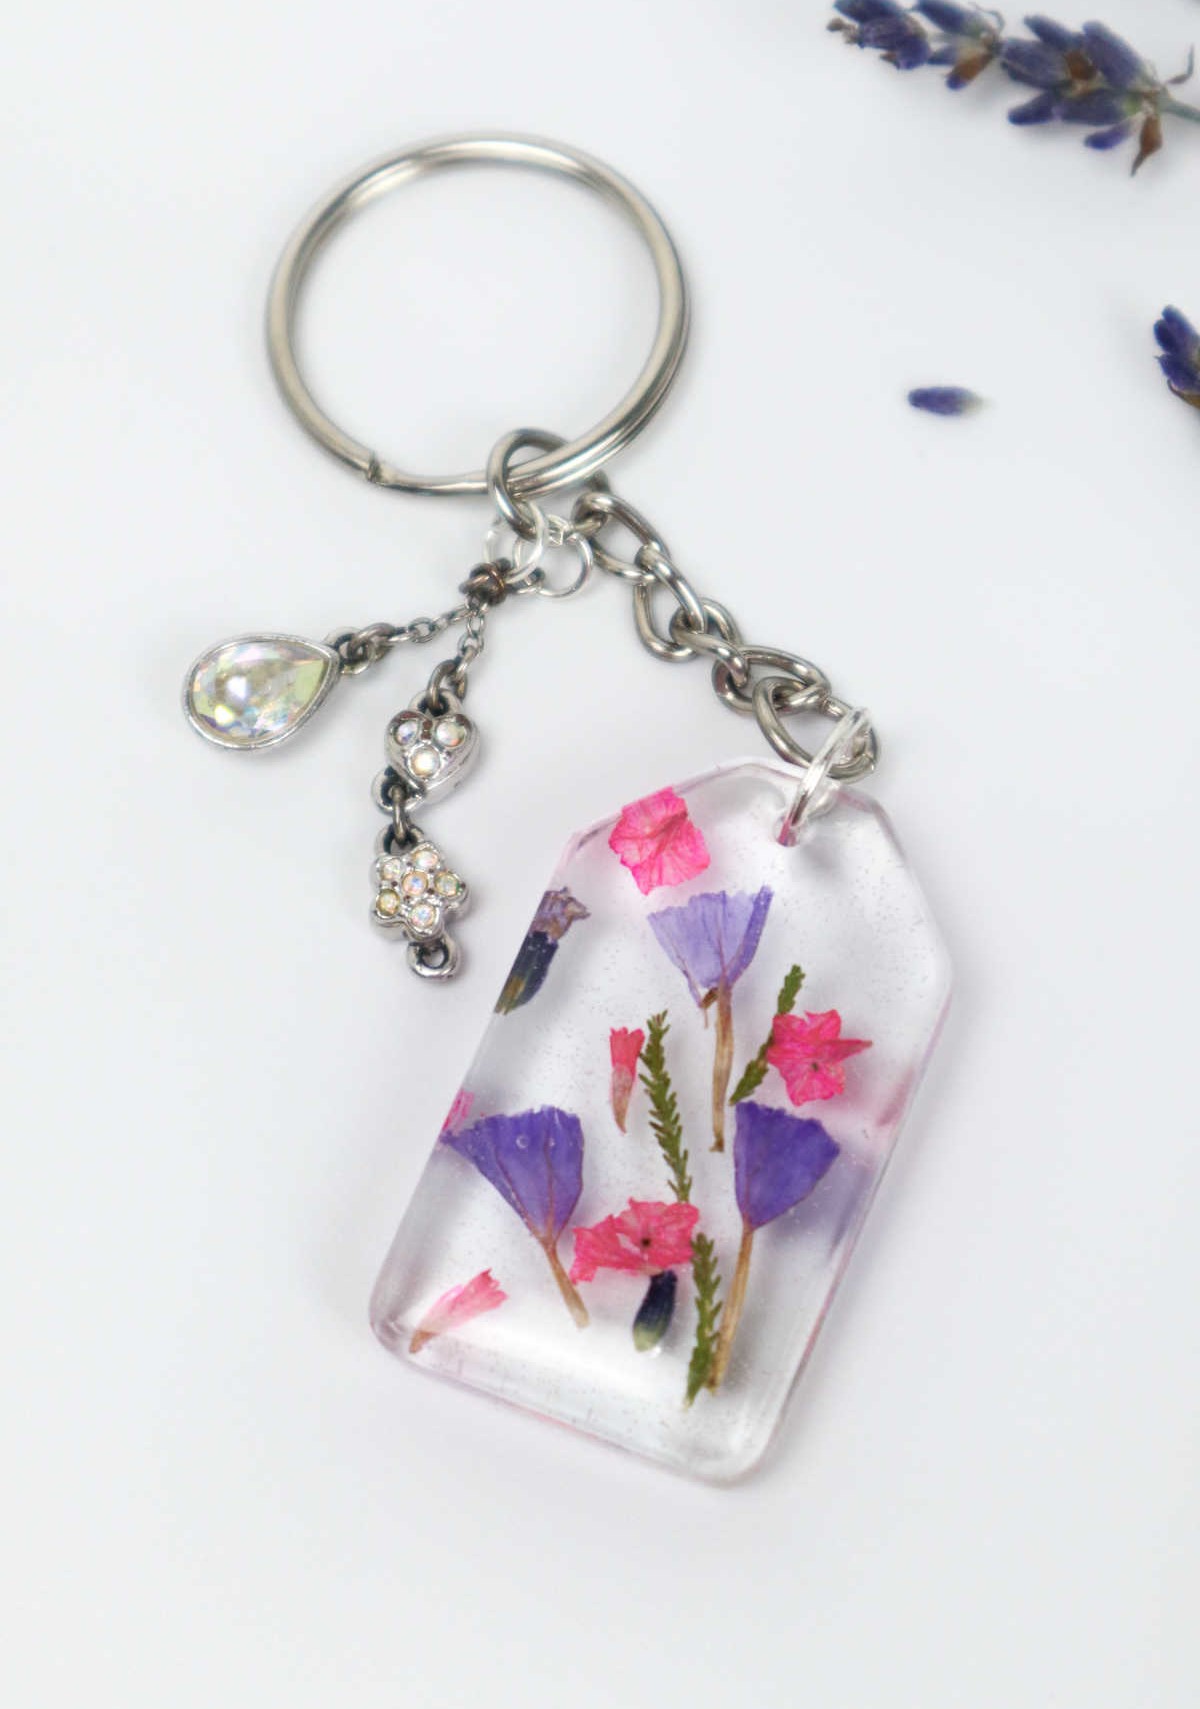
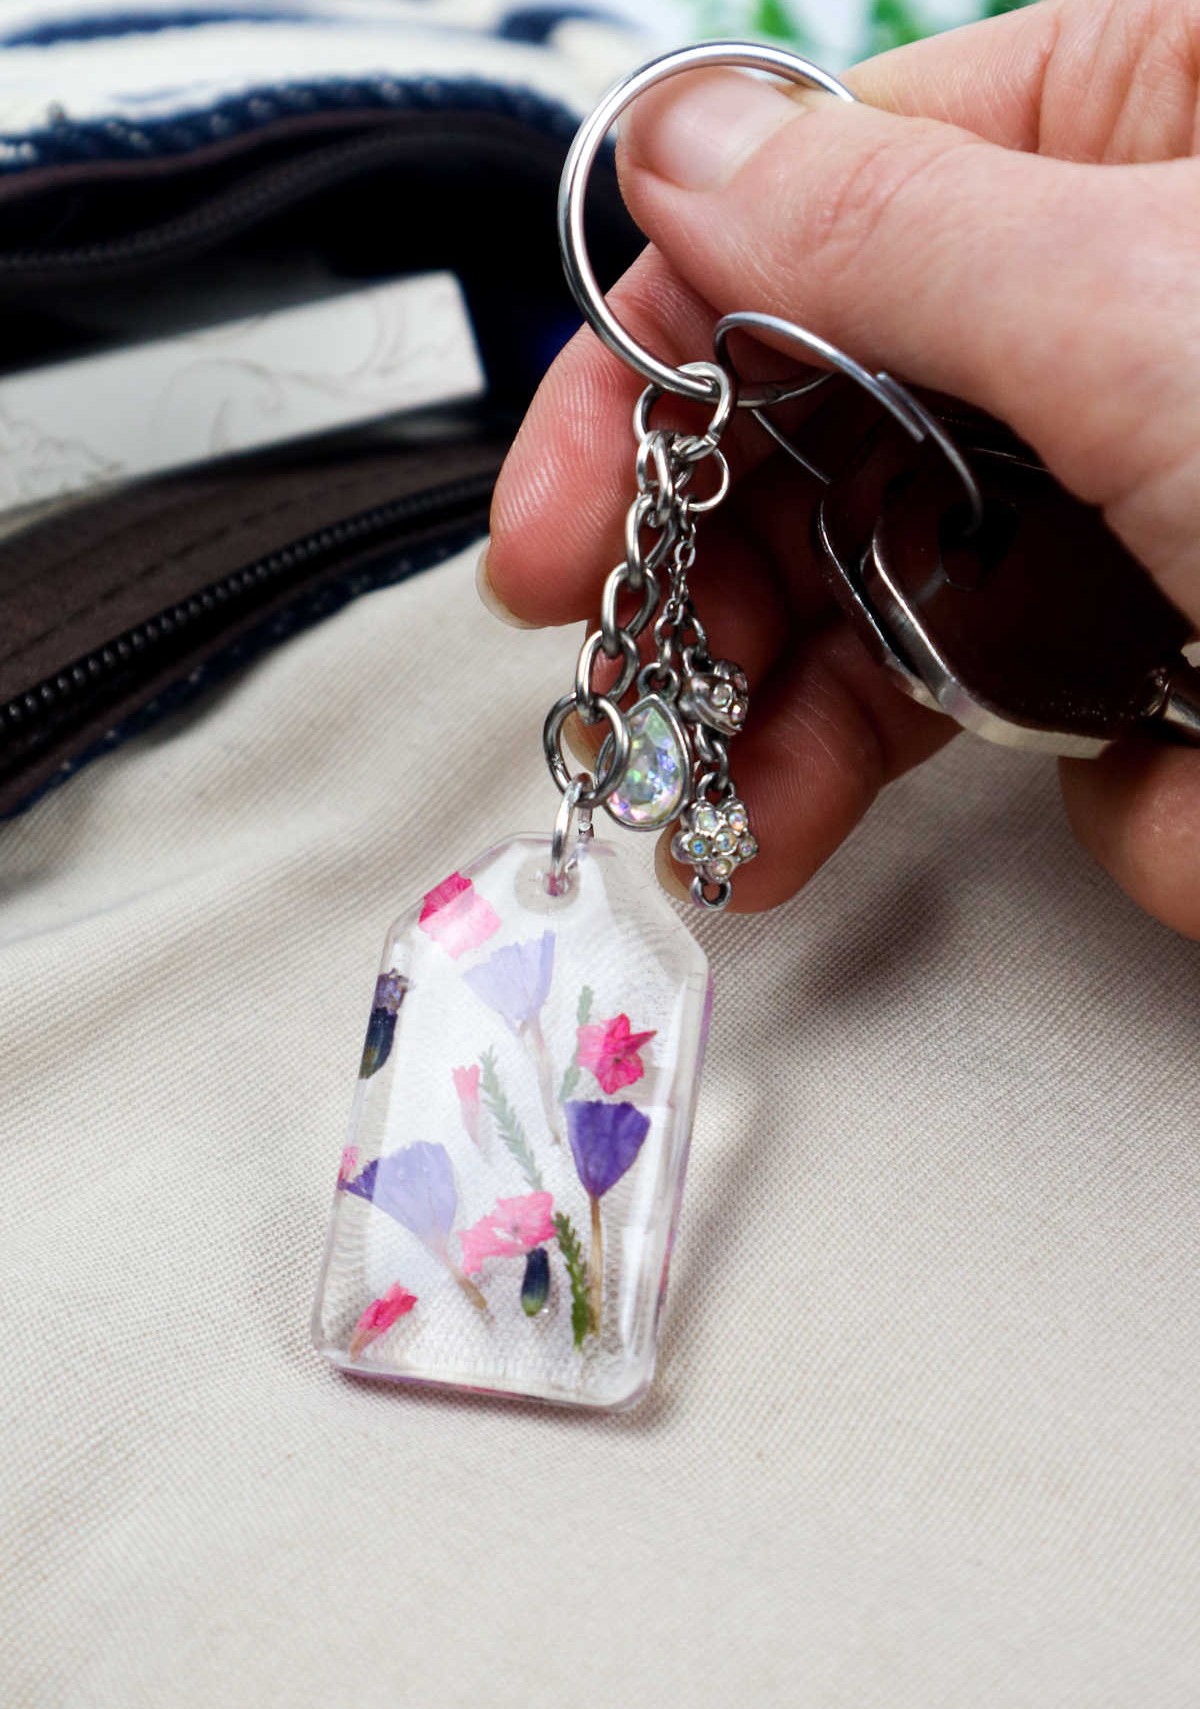
You can start with something small like a coaster or a simple resin keychain. And let’s be honest, there’s something charming about resin keychains, especially when they feature pressed flowers inside. Before you begin, take a look at the supplies you’ll need to gather and get started on this delightful project.
Supplies You’ll Need
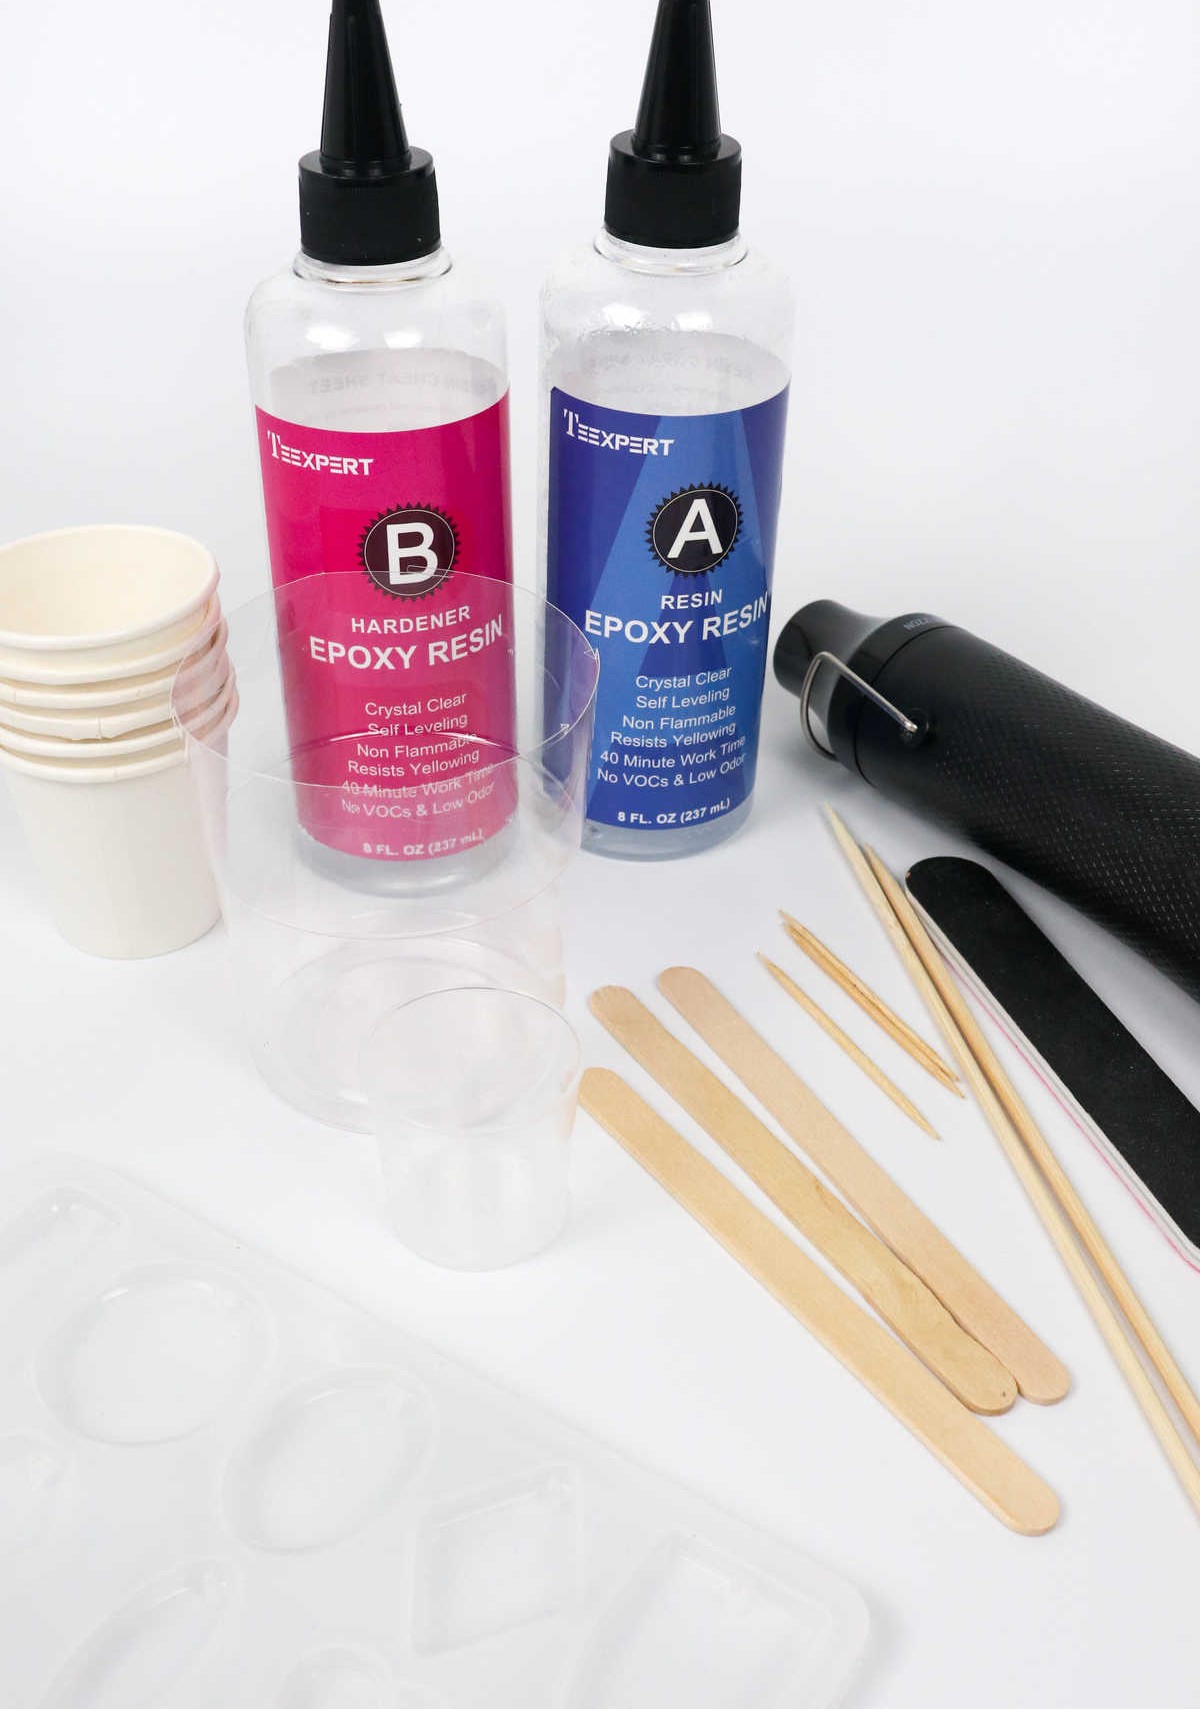
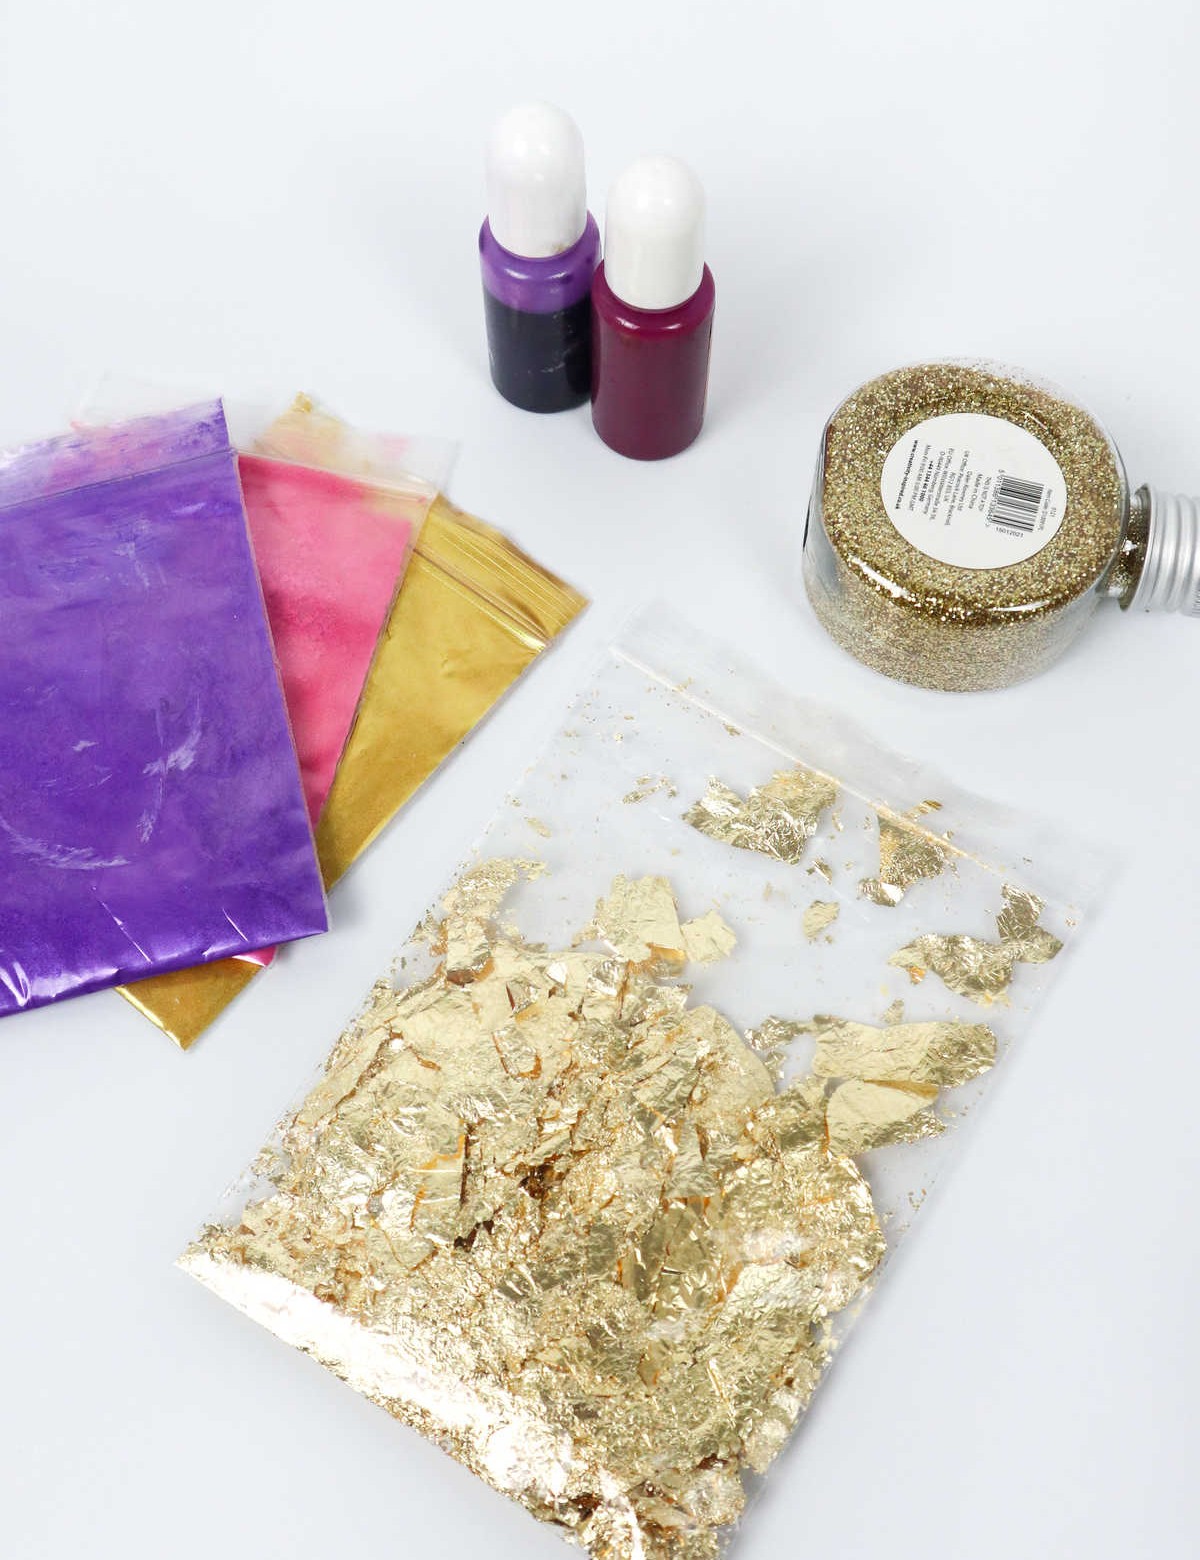
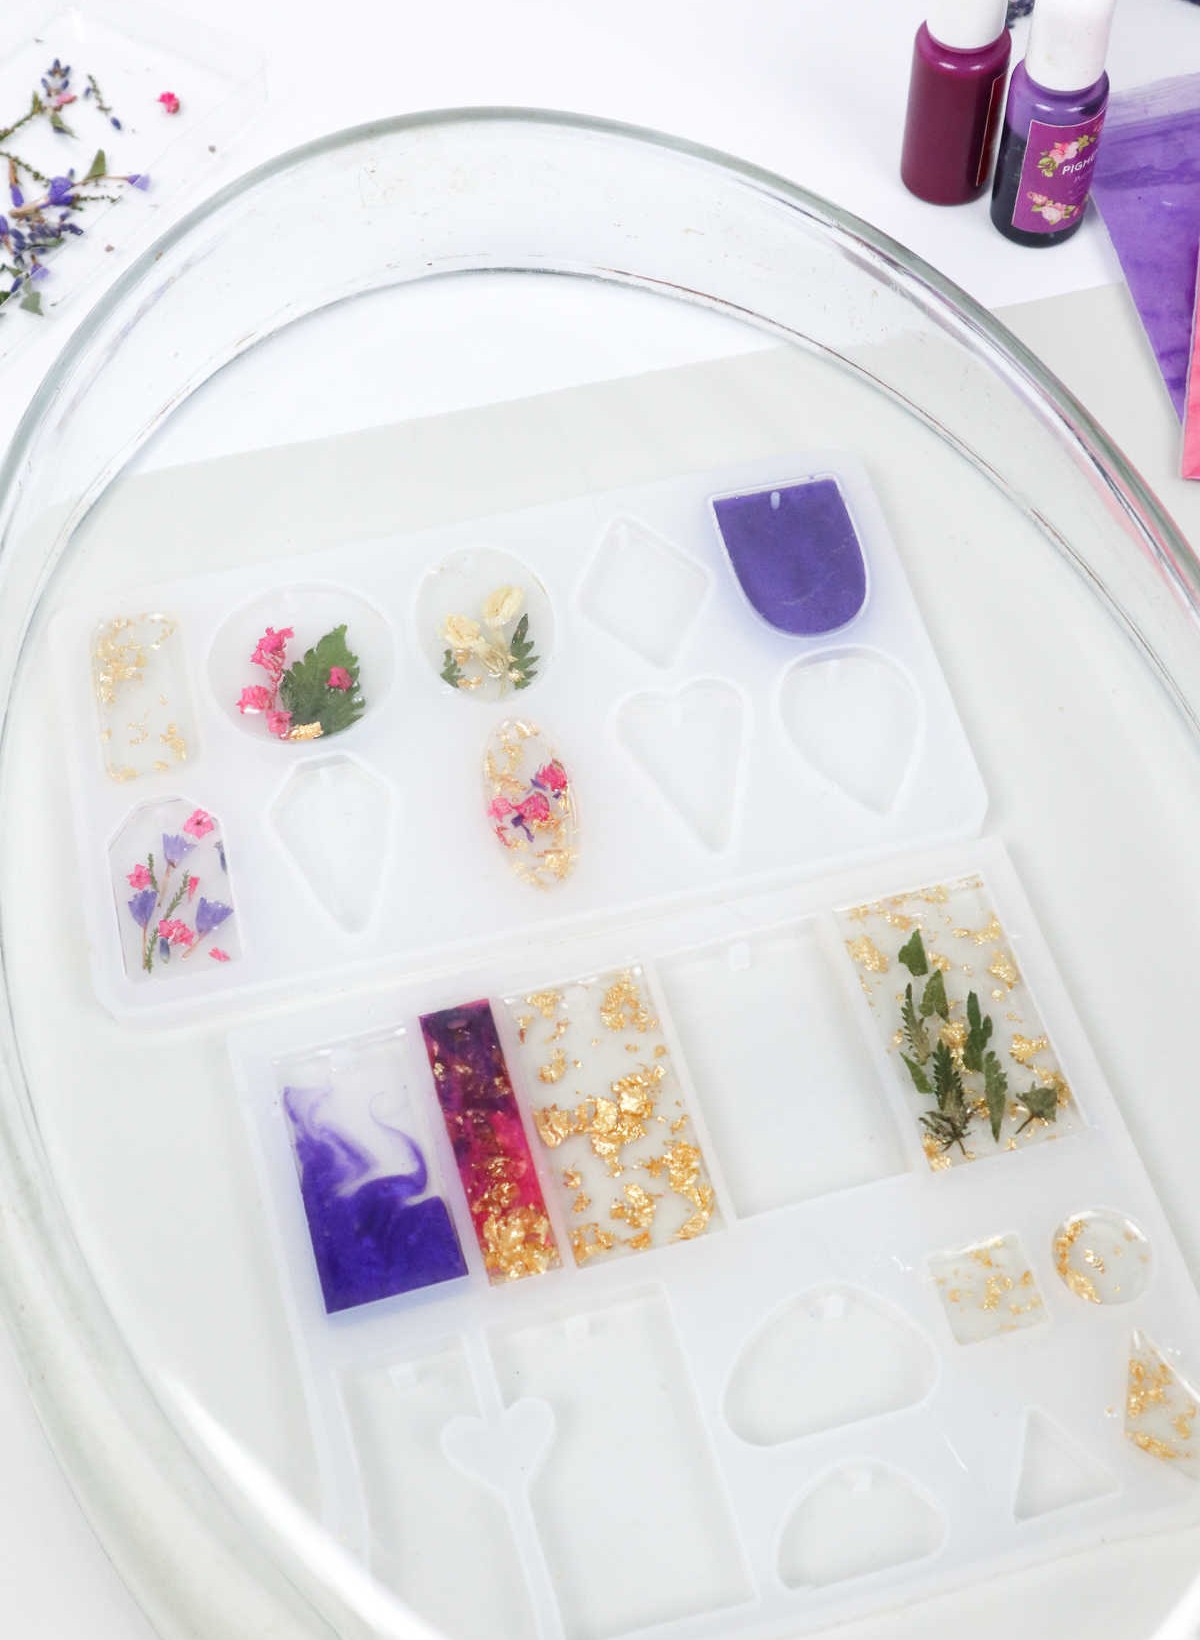
To begin crafting your DIY resin keychains, you’ll need to gather the following essential materials: epoxy resin and its corresponding hardener, small plastic cups, a large plastic cup, a toothpick, a wood skewer, silicone molds, spatulas, and a heat gun. Additionally, you’ll require blank keychains for the base of your creations.
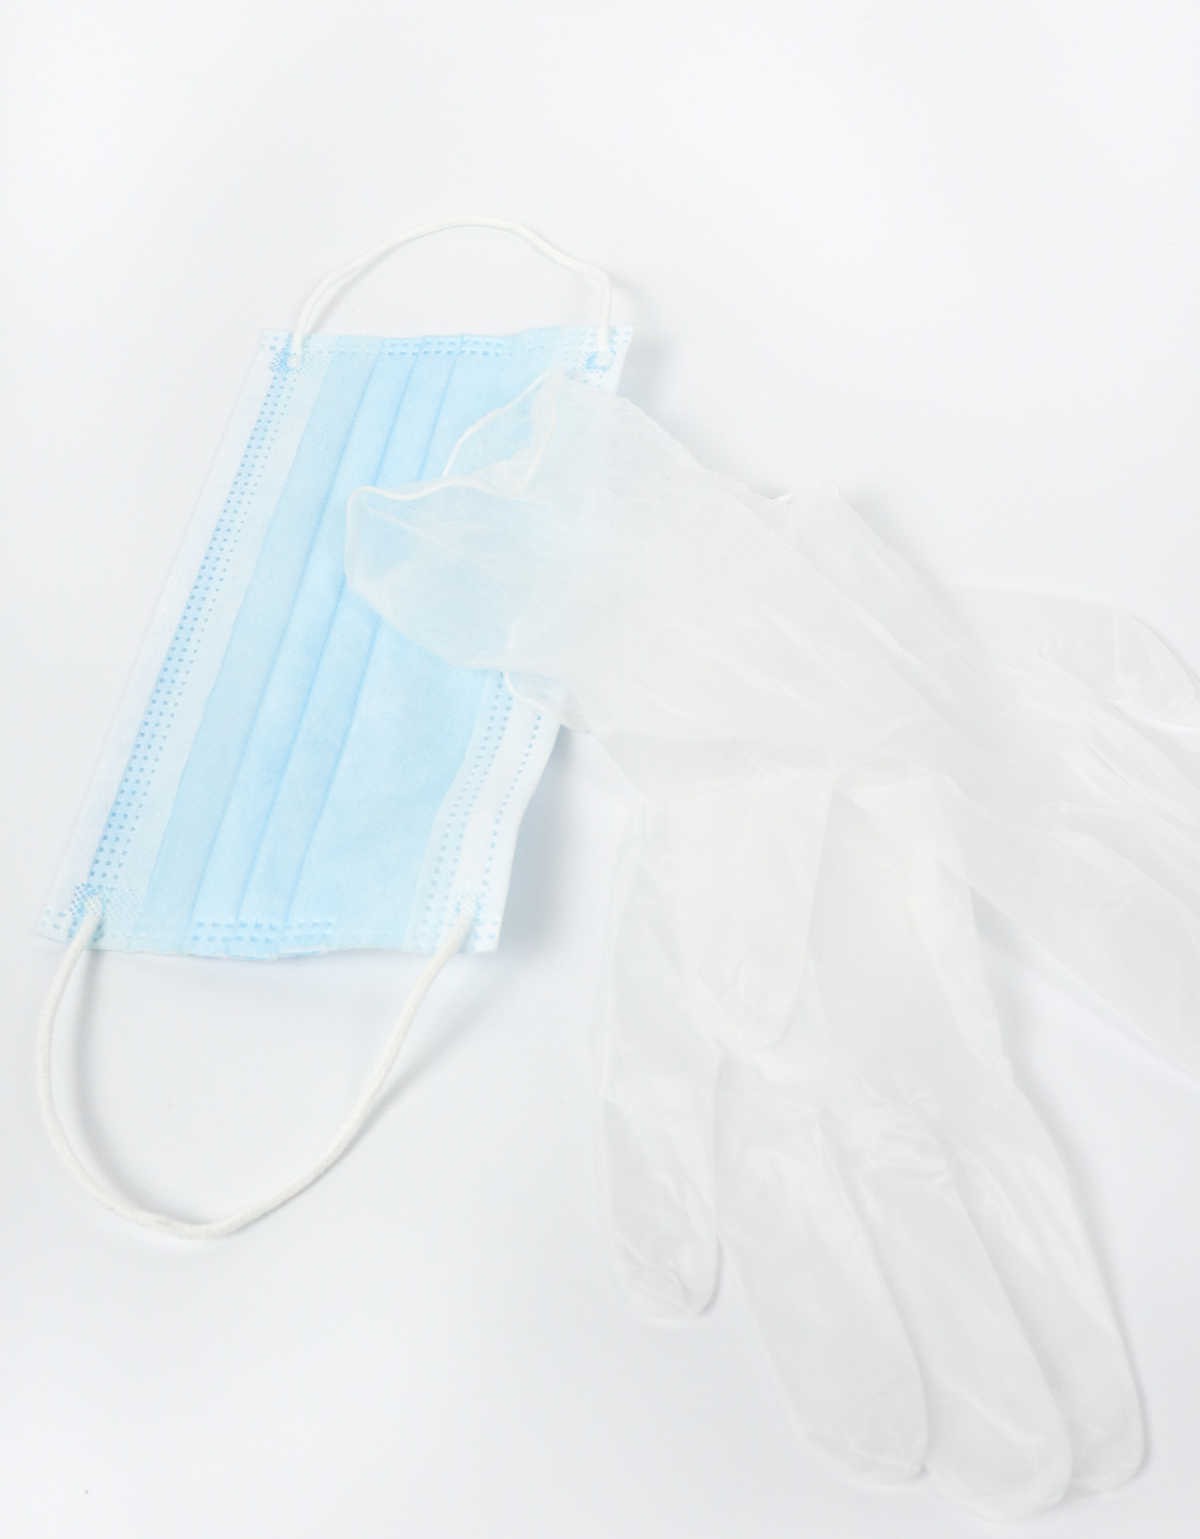
To ensure a safe and tidy workspace, consider investing in personal protective equipment like face masks and gloves.
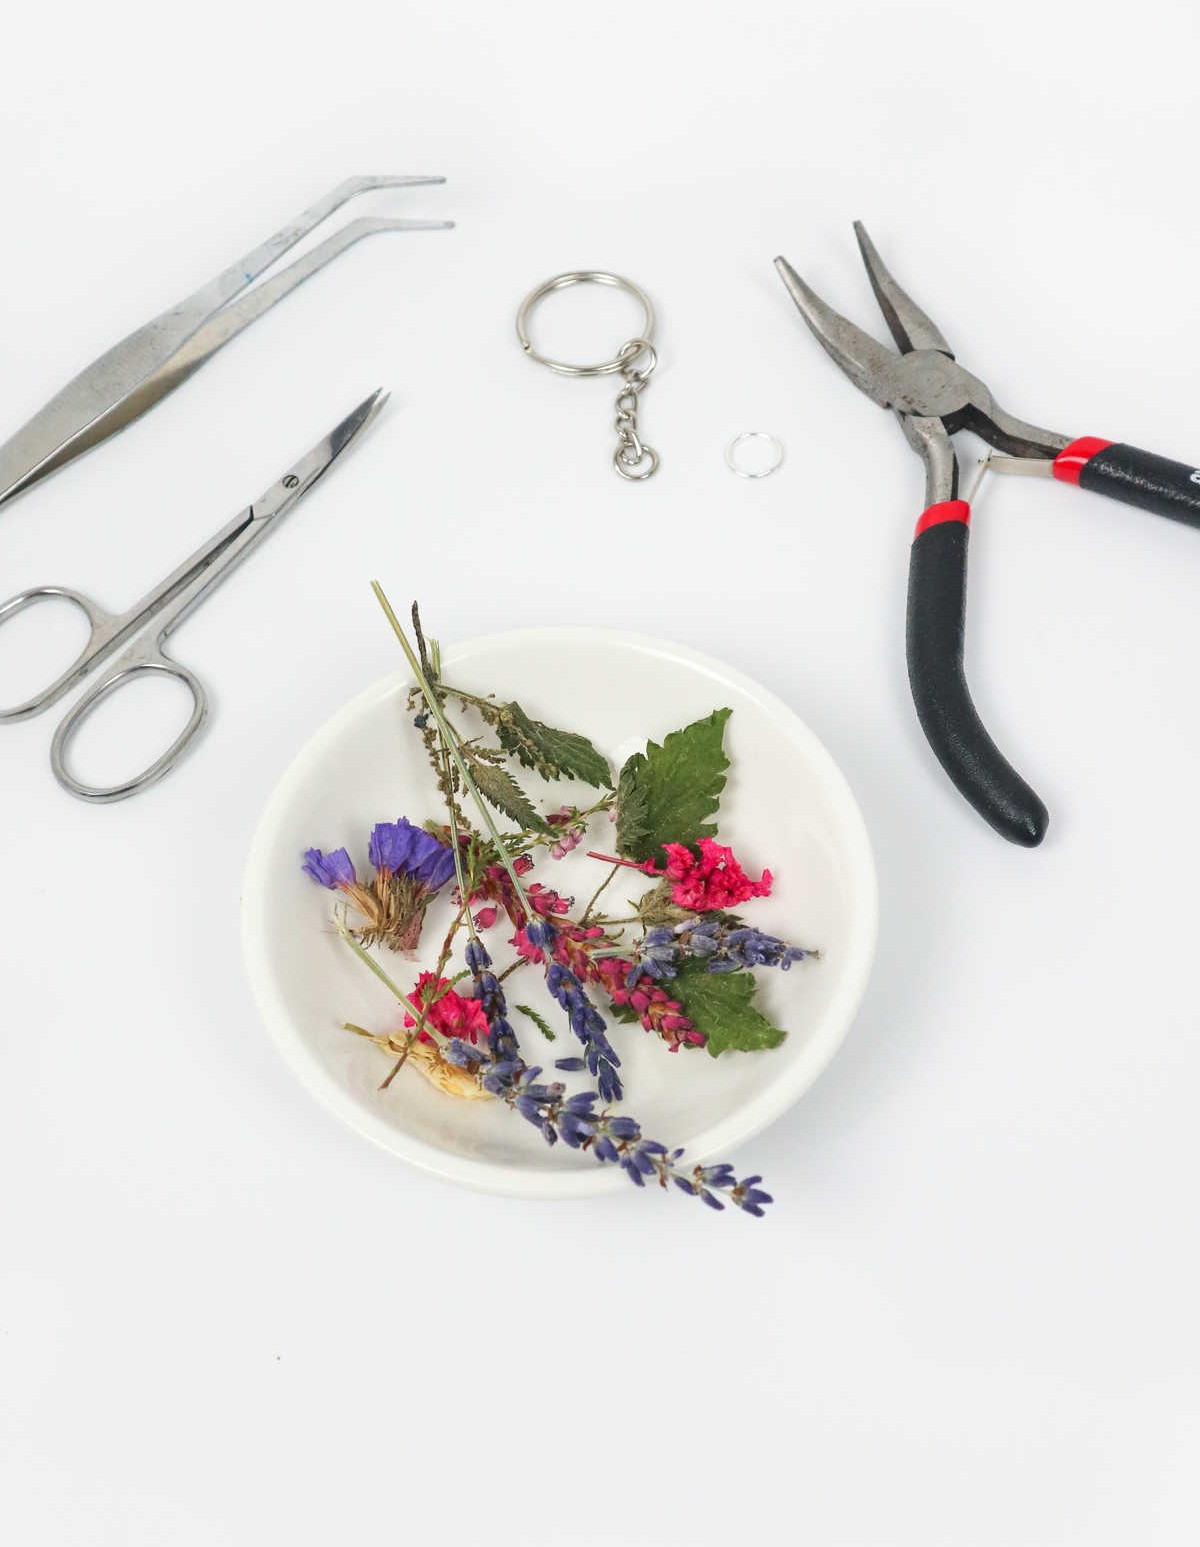
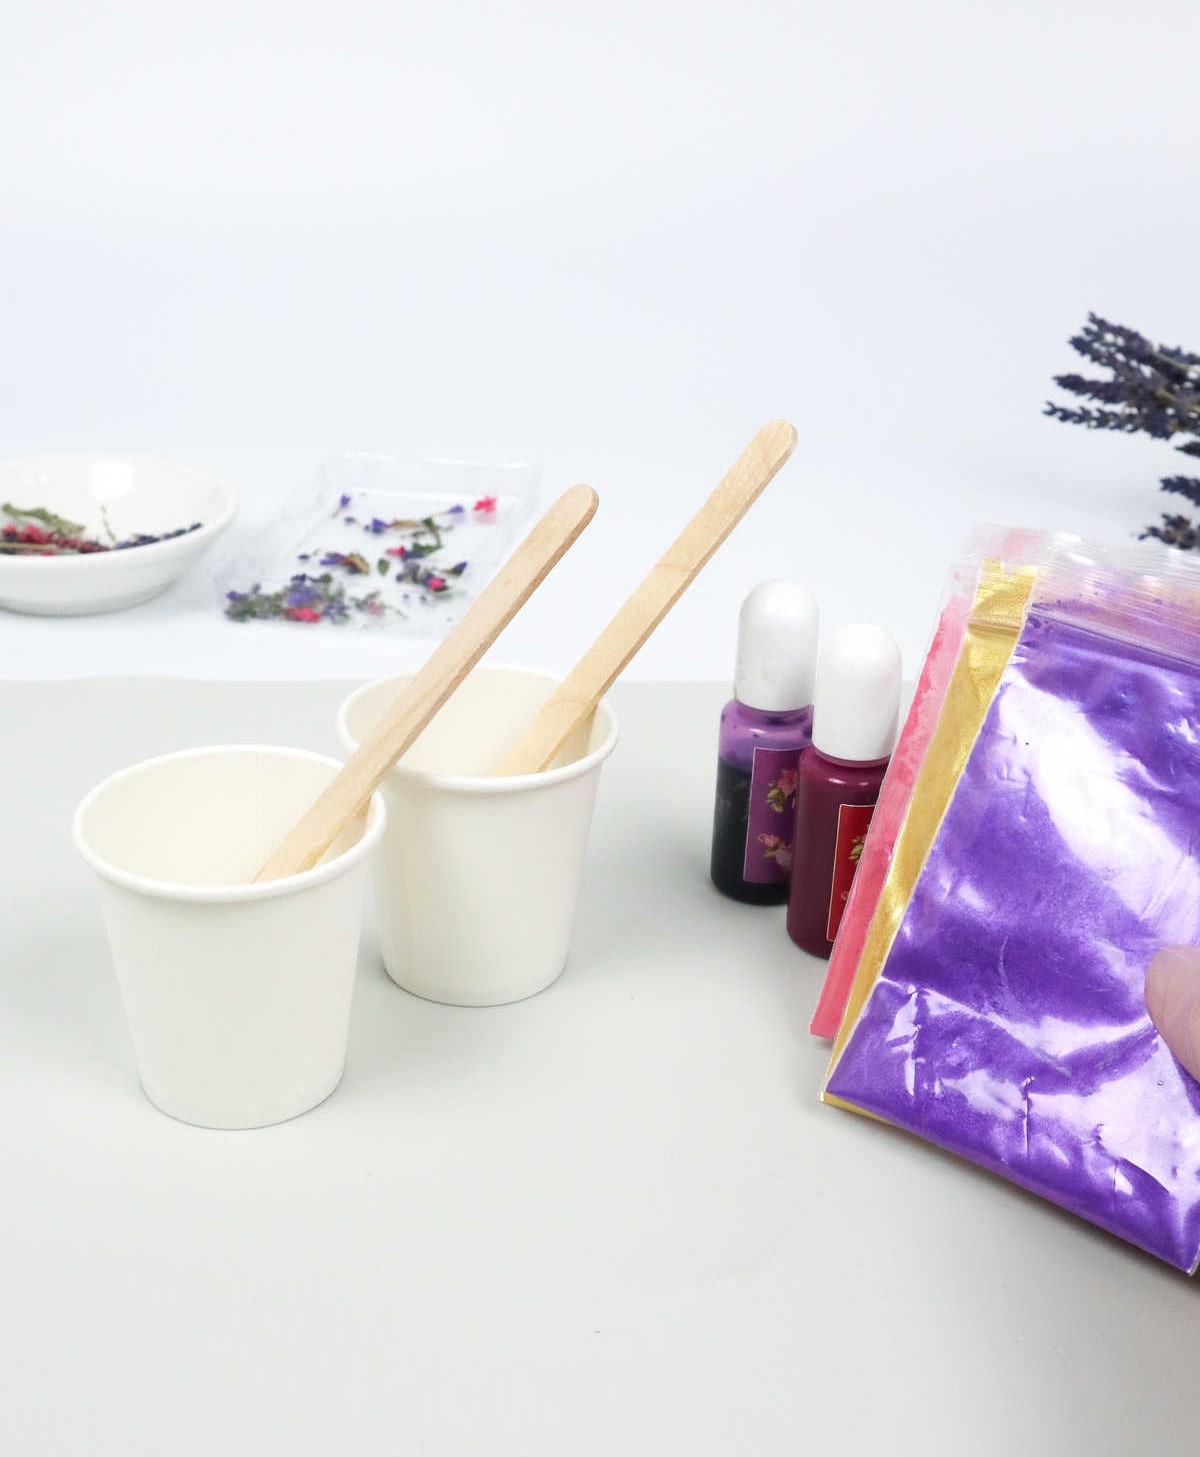
Once you have these fundamentals covered, you can move on to adding decorative flourishes with gold flakes, glitter powder, mica powder, and resin pigment. If you want to incorporate organic elements into your designs, dried flowers are a lovely addition. You’ll also need scissors, pliers, and tweezers for manipulating any small components.
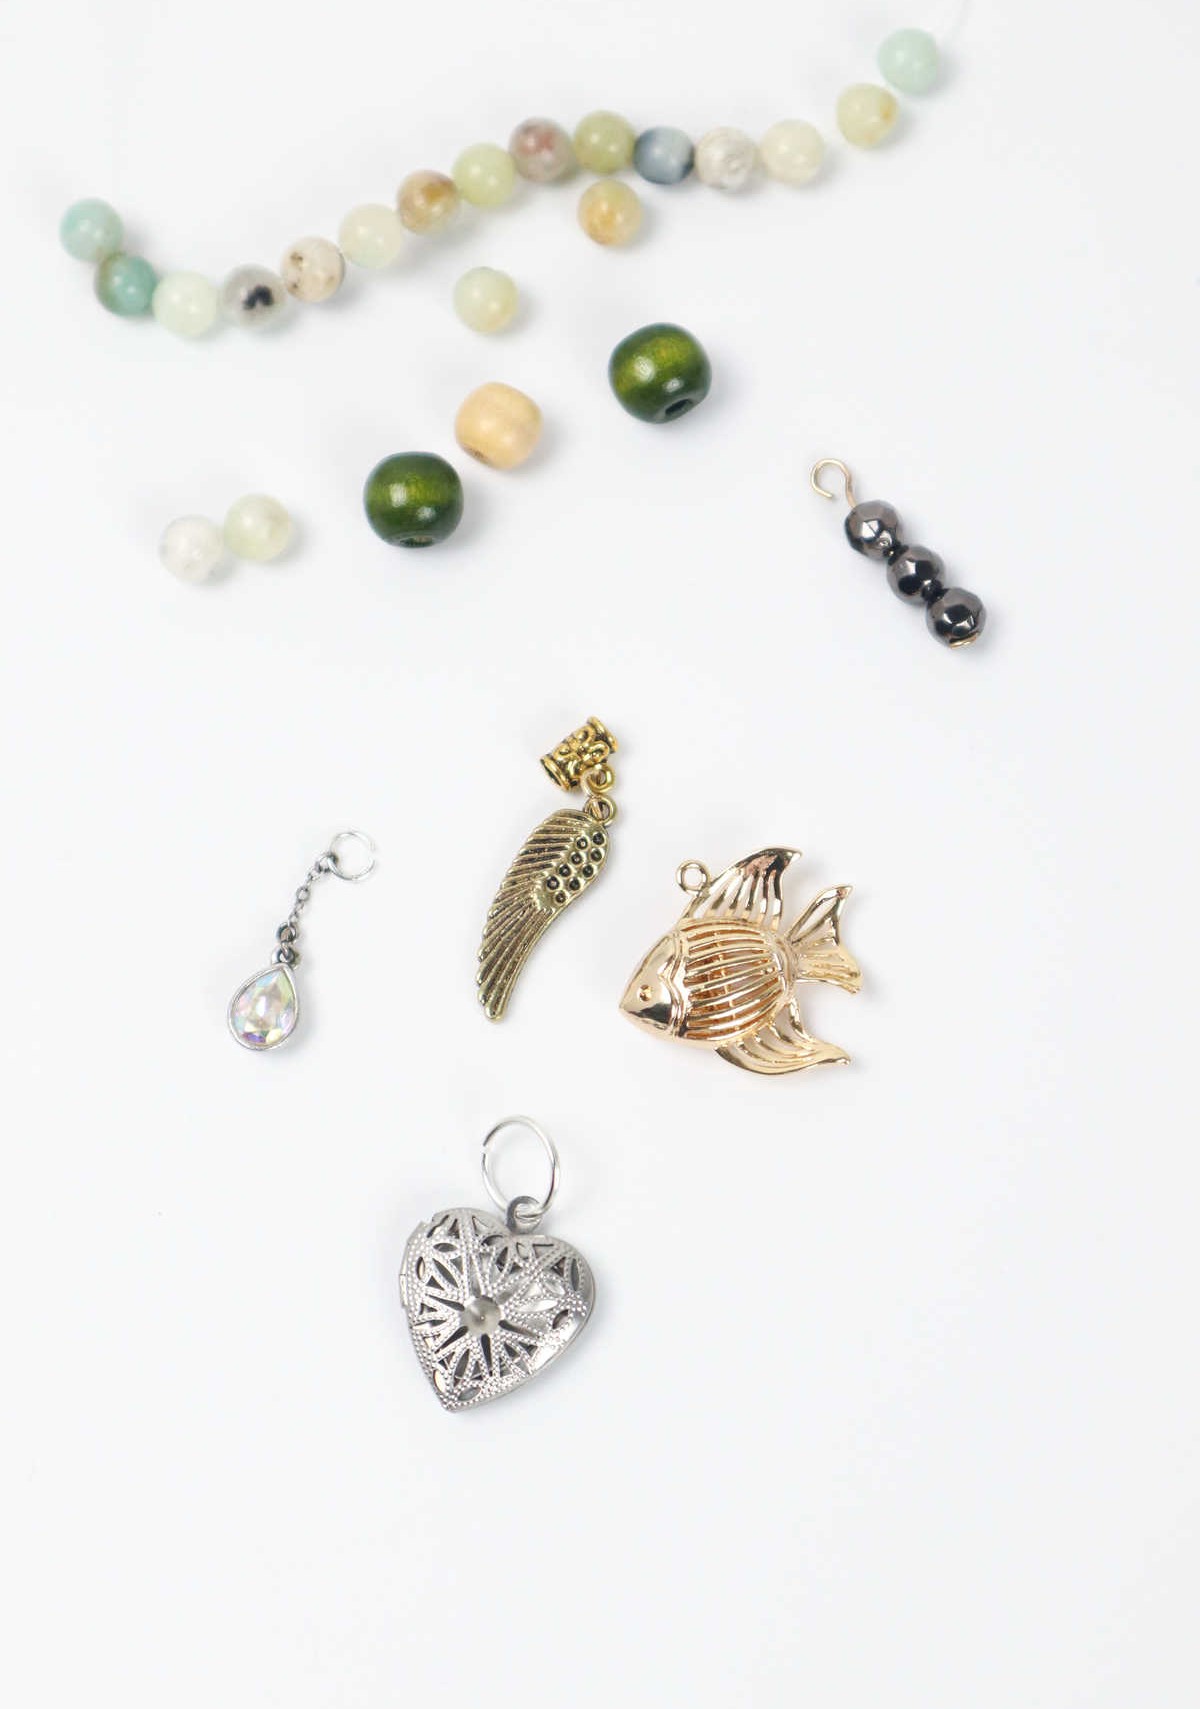
Finally, if you want to take your keychains to the next level, consider adding optional embellishments like e-strung beads or e-charms.
How to Make Resin Keychains
As the pièce de résistance of this DIY endeavor, decorating your keychain is where the real creativity shines. With an array of materials at your disposal, the possibilities are endless. Before we dive into the nitty-gritty, let’s take a moment to appreciate the excitement that comes with bringing this project to life.
Step 1
Before diving into the keychain creation process, it’s helpful to envision the final product by experimenting with dried flowers. Arrange them in a way that feels appealing to you, considering various flower types and decorative elements you plan to incorporate. This step not only allows for creative exploration but also saves time later on when working with resin.
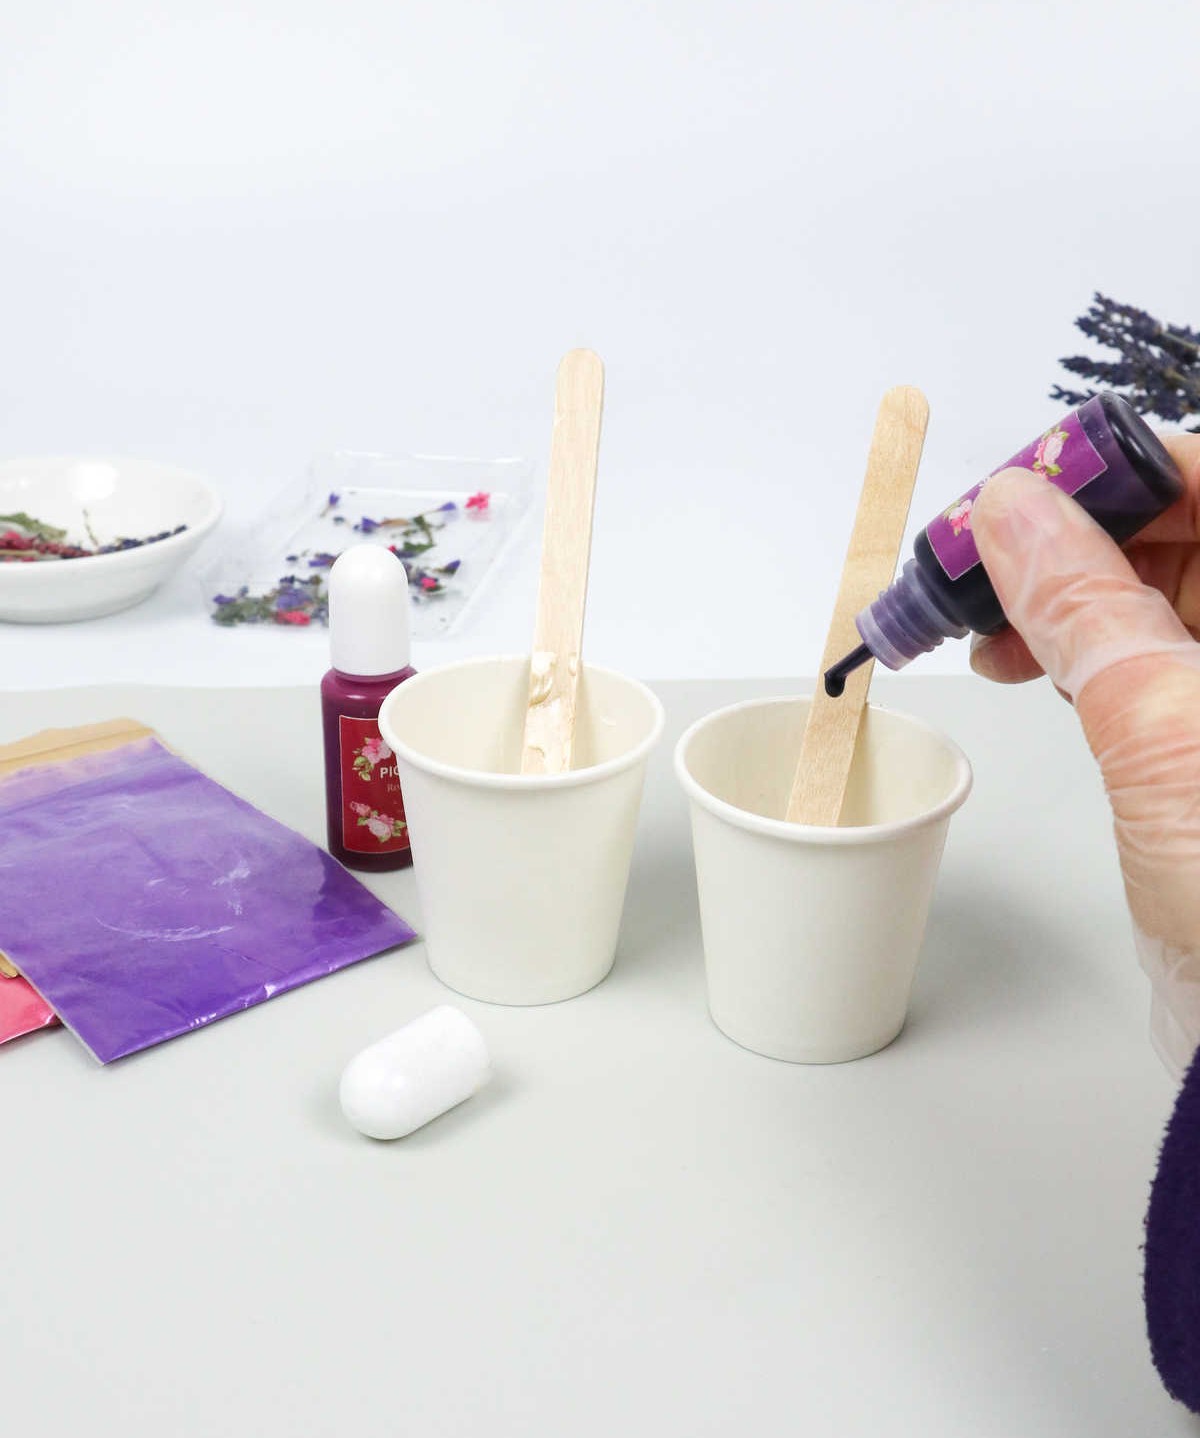
Once satisfied with your design, move on to preparing the resin, making sure to wear protective gear first to ensure a safe and chemical-free experience.
Step 2
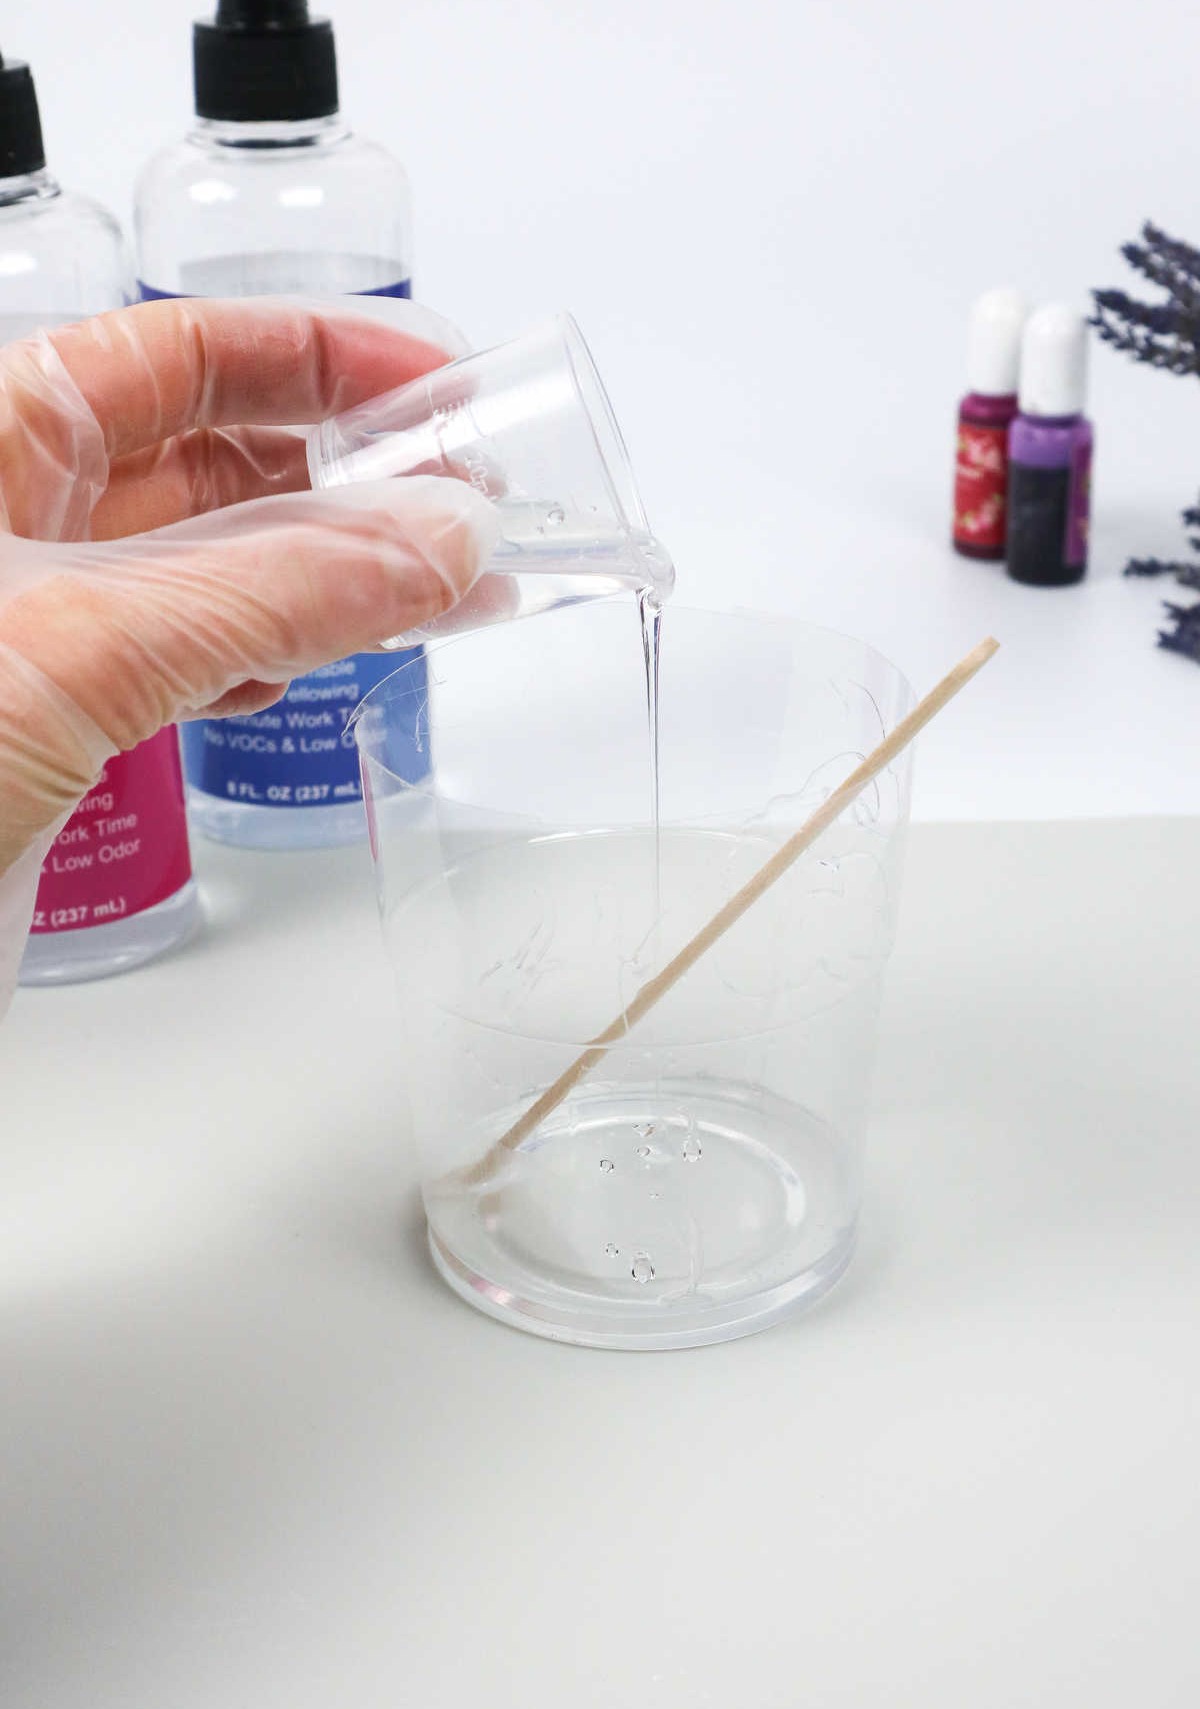
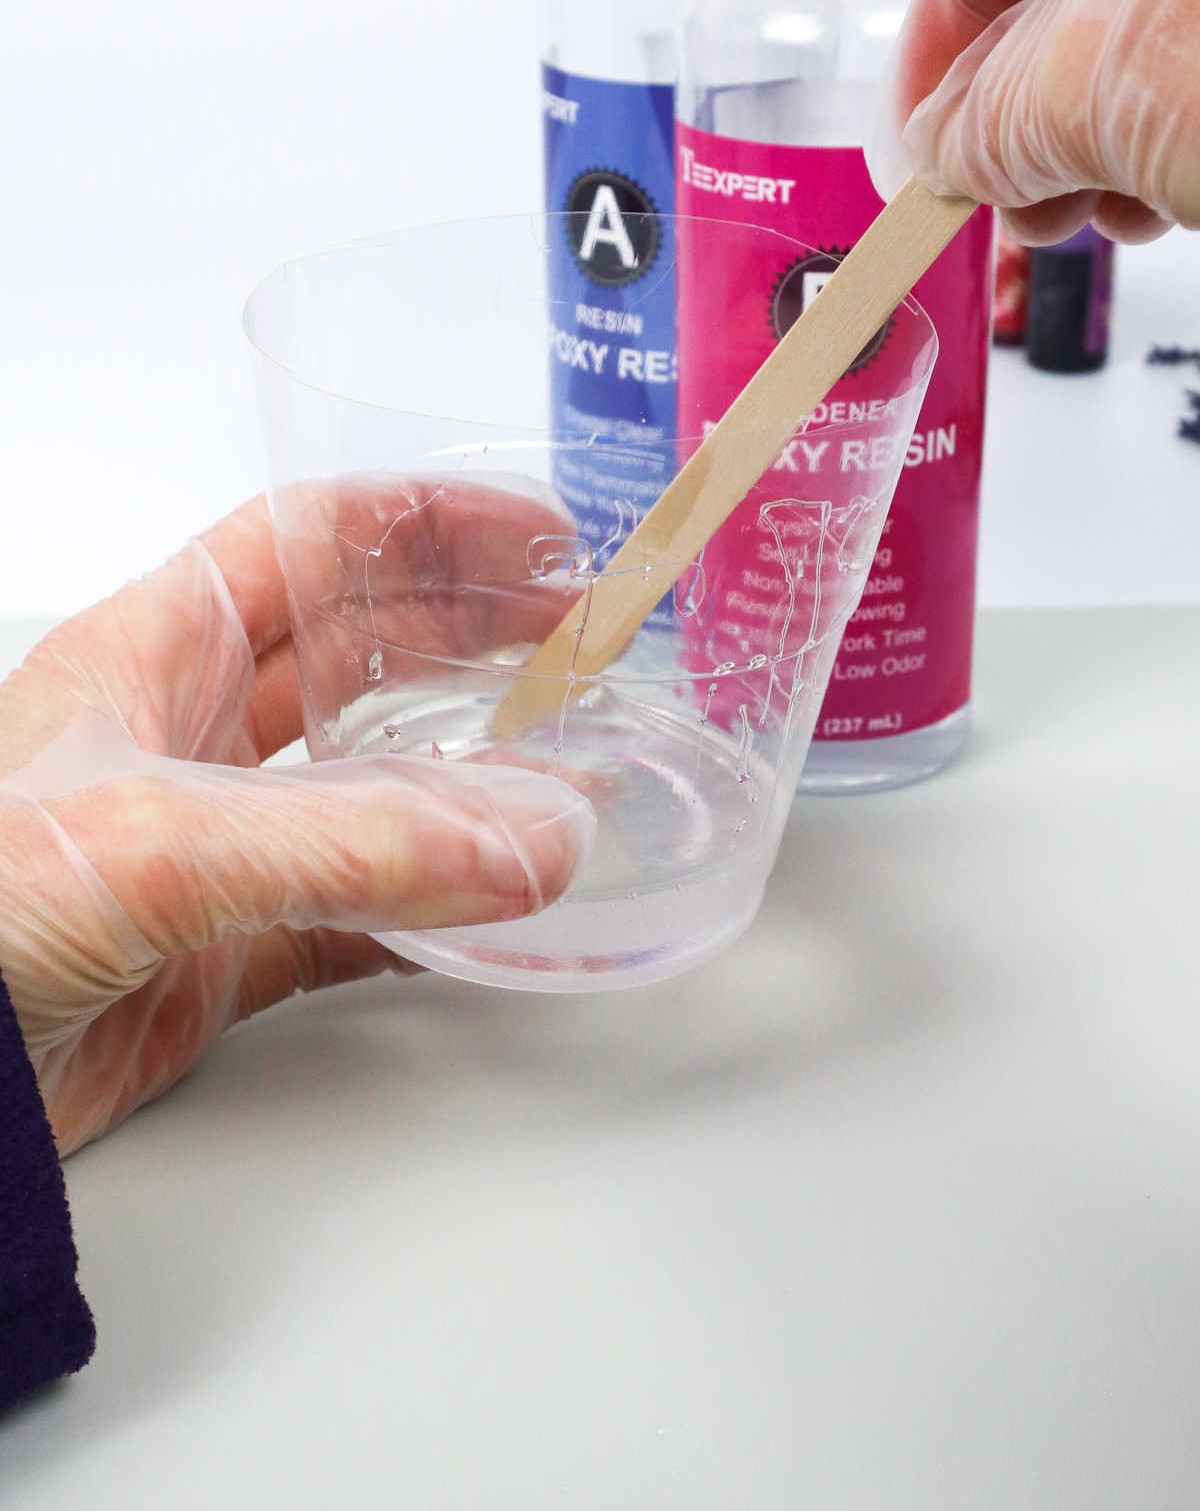
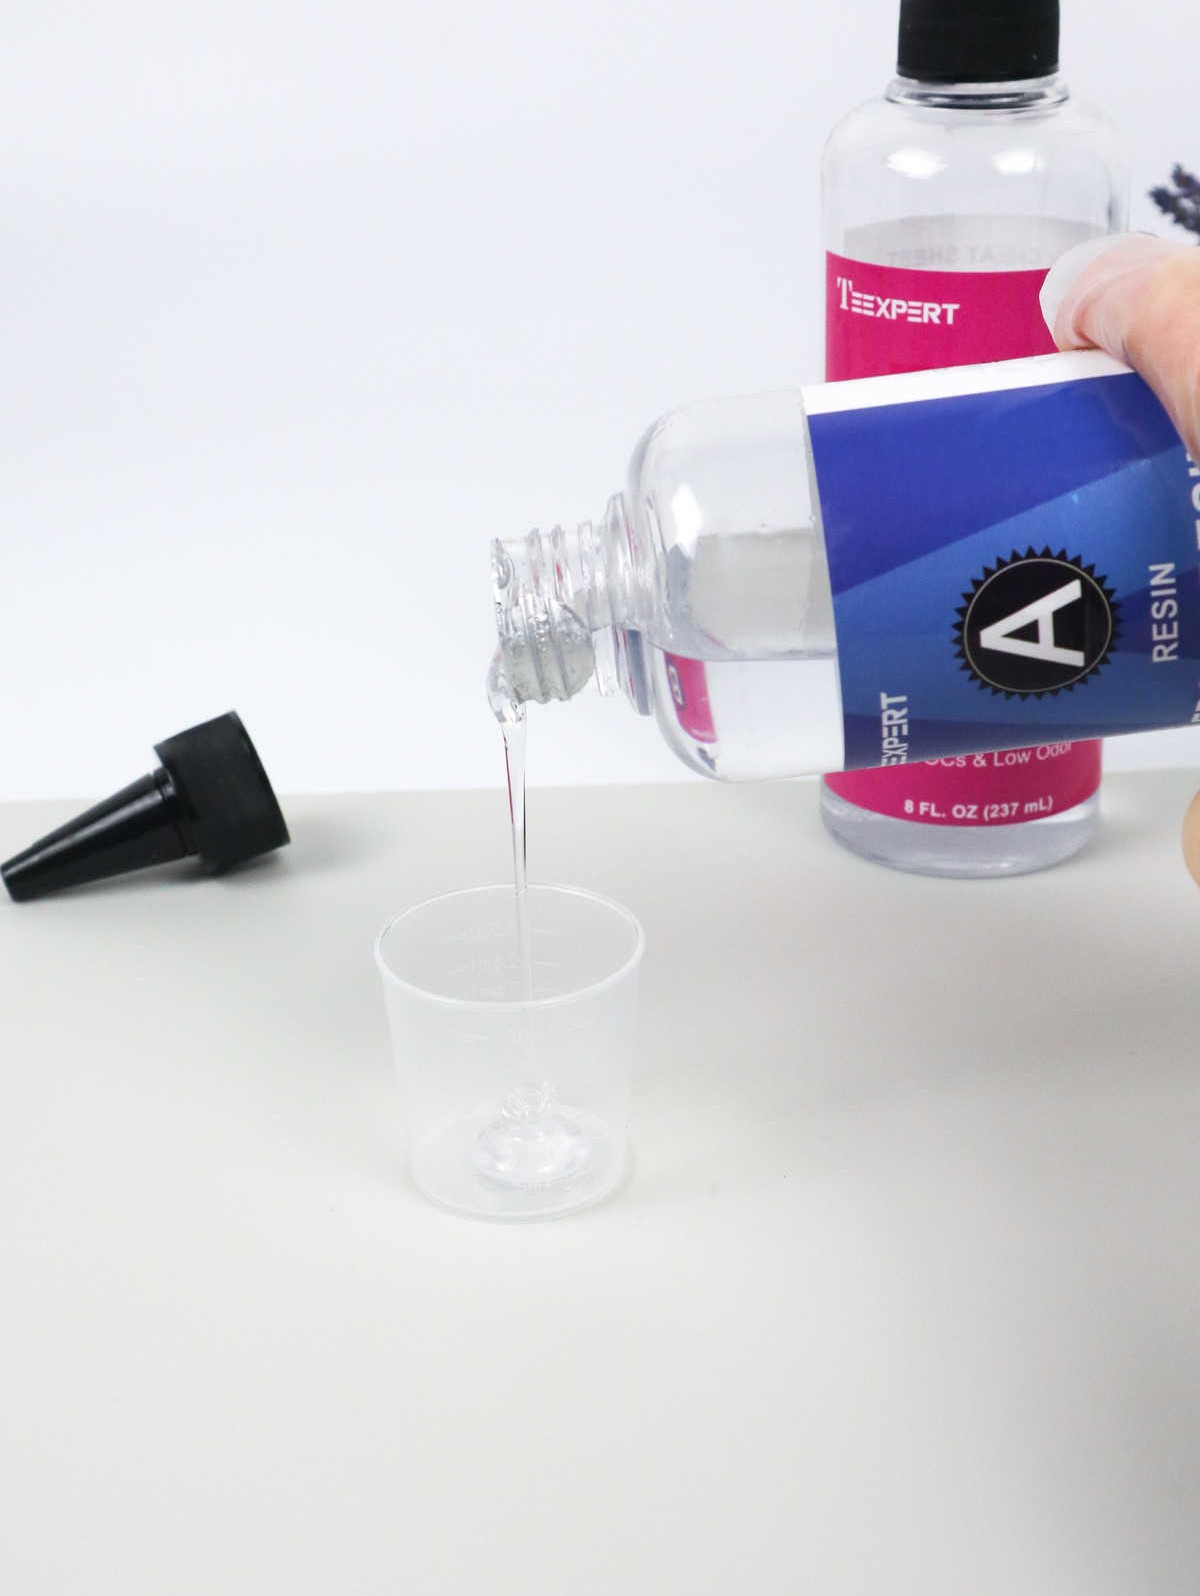
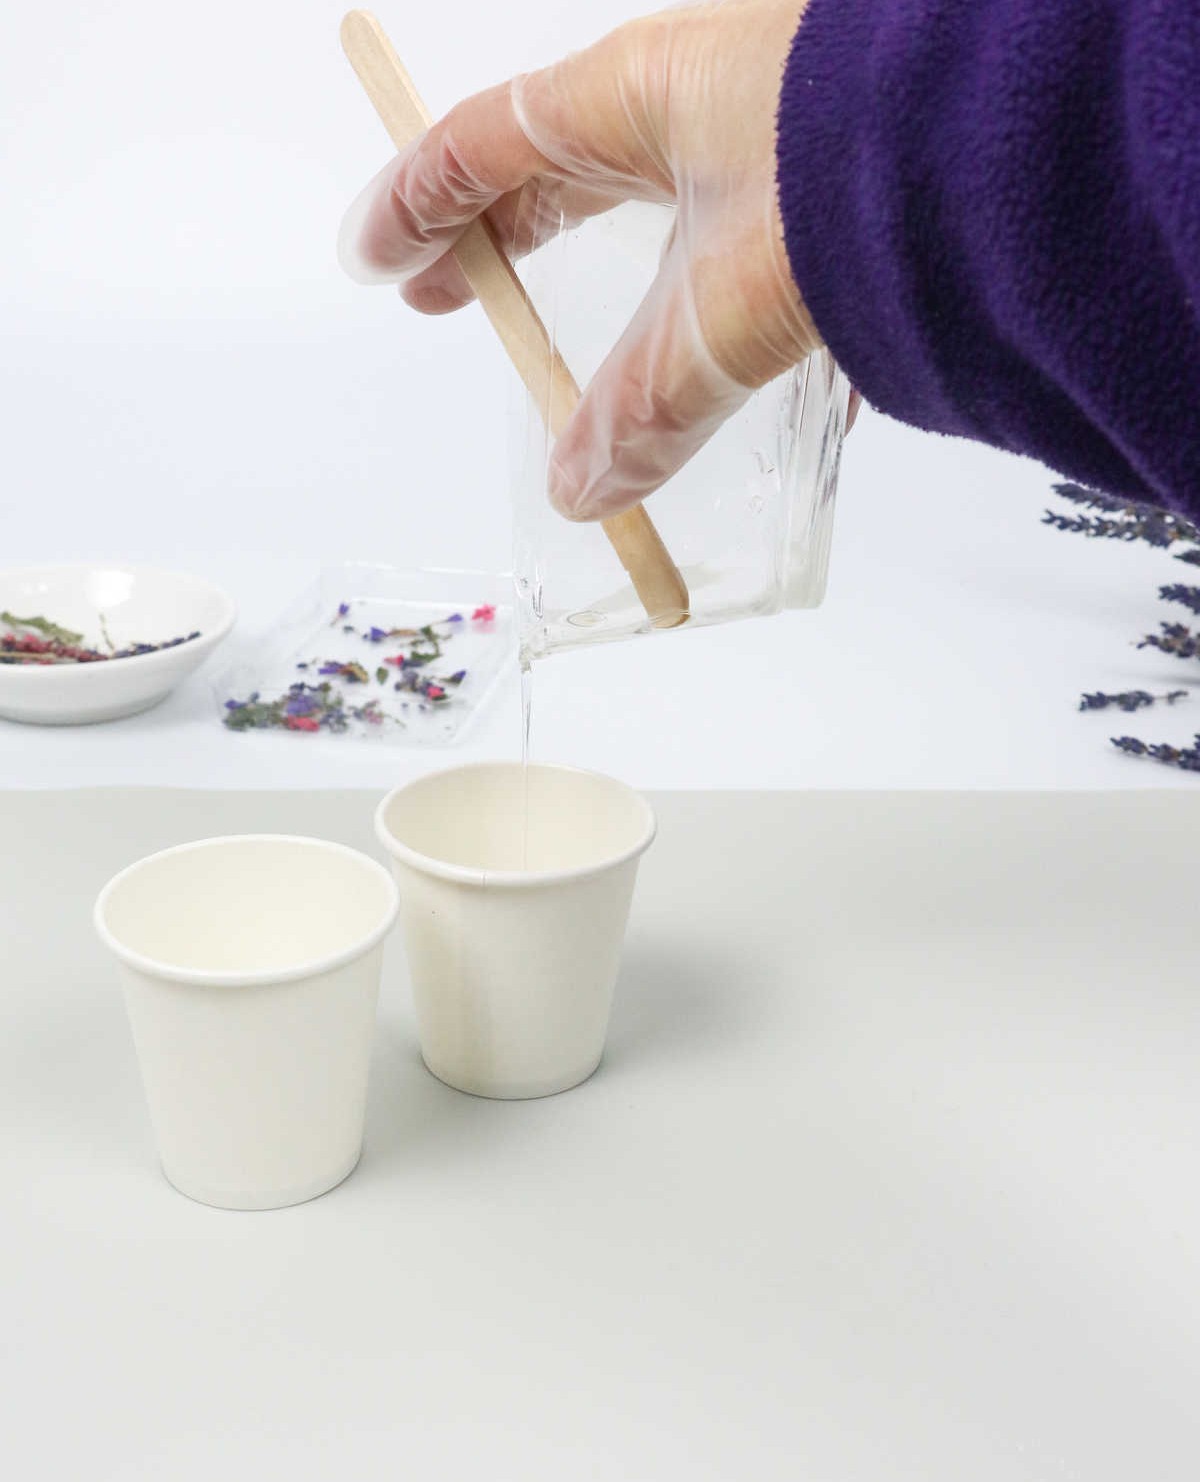
Combine equal parts resin and hardening agent in a plastic cup, following the recommended ratio of 1:1 as specified on the product label. Use a craft stick to stir the mixture thoroughly until air bubbles start to form. This is a normal phenomenon during the mixing process. To ensure an even set, it’s essential to mix the two substances together for about 2-3 minutes.
Step 3
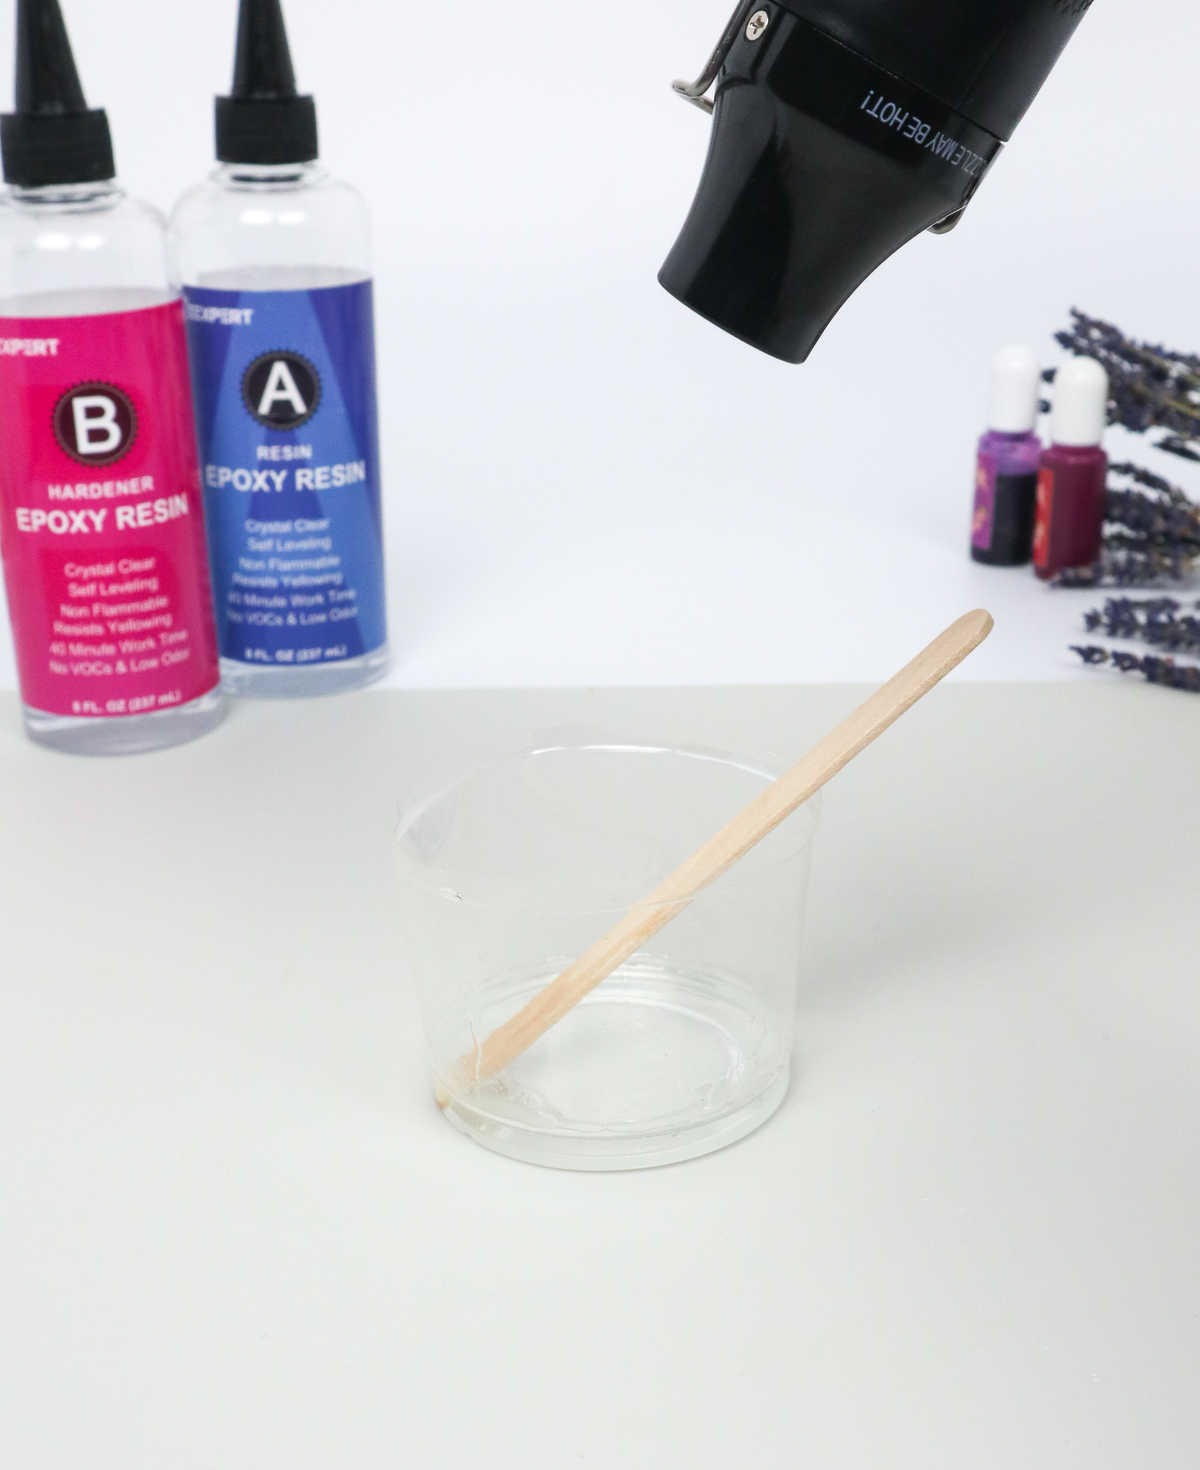
When you’re ready to tackle the pesky air bubbles that have been plaguing your craft project, it’s time to put an end to their annoying presence. One effective way to do this is by using a heat gun or torch to carefully pop each bubble. If you prefer a more low-tech approach, you can also submerge the affected area in a hot bath for 3-4 minutes. This gentle heat will help loosen and release the air bubbles, allowing you to smooth out the surface of your project.
Step 4
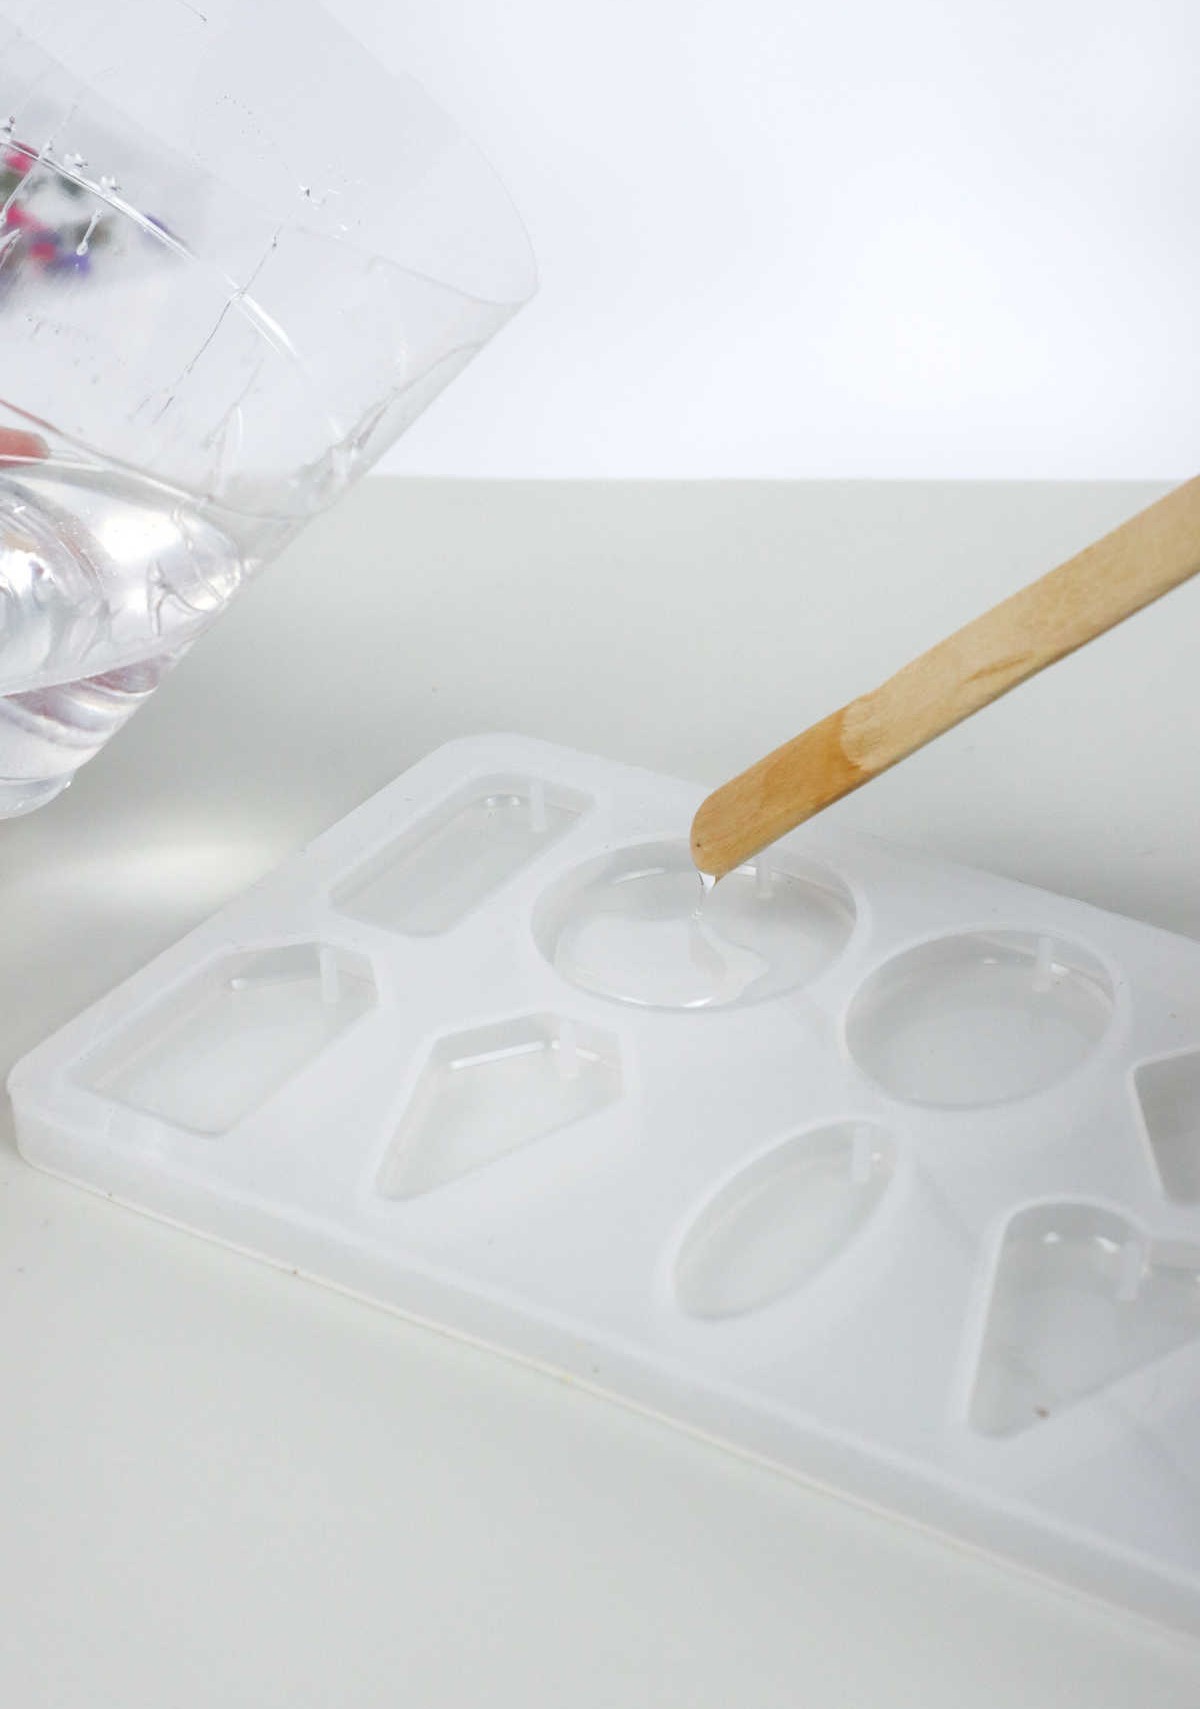
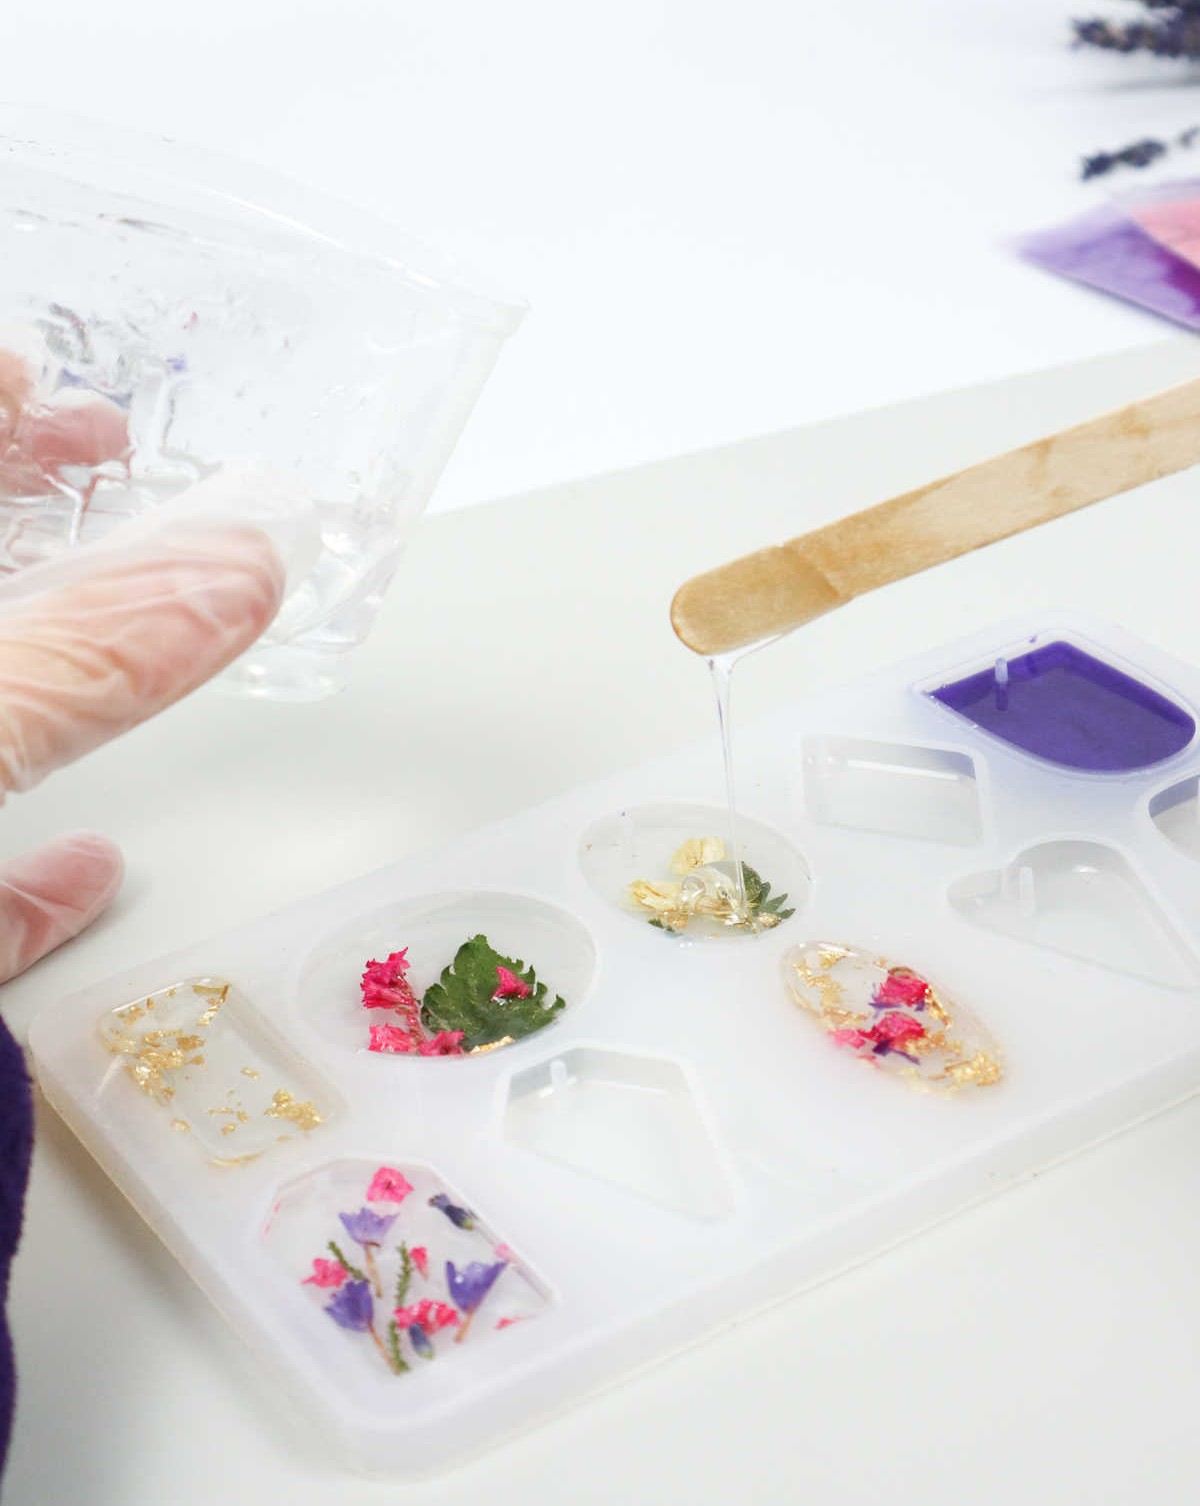
As we begin crafting the three-layered keychain, it’s essential to work efficiently, as the resin will quickly harden and become sticky. To start, pour a layer of resin into the molds, ensuring any air bubbles that may form are addressed immediately. If necessary, utilize a heat gun to smooth out the surface, guaranteeing a seamless transition to the next layer.
Step 5
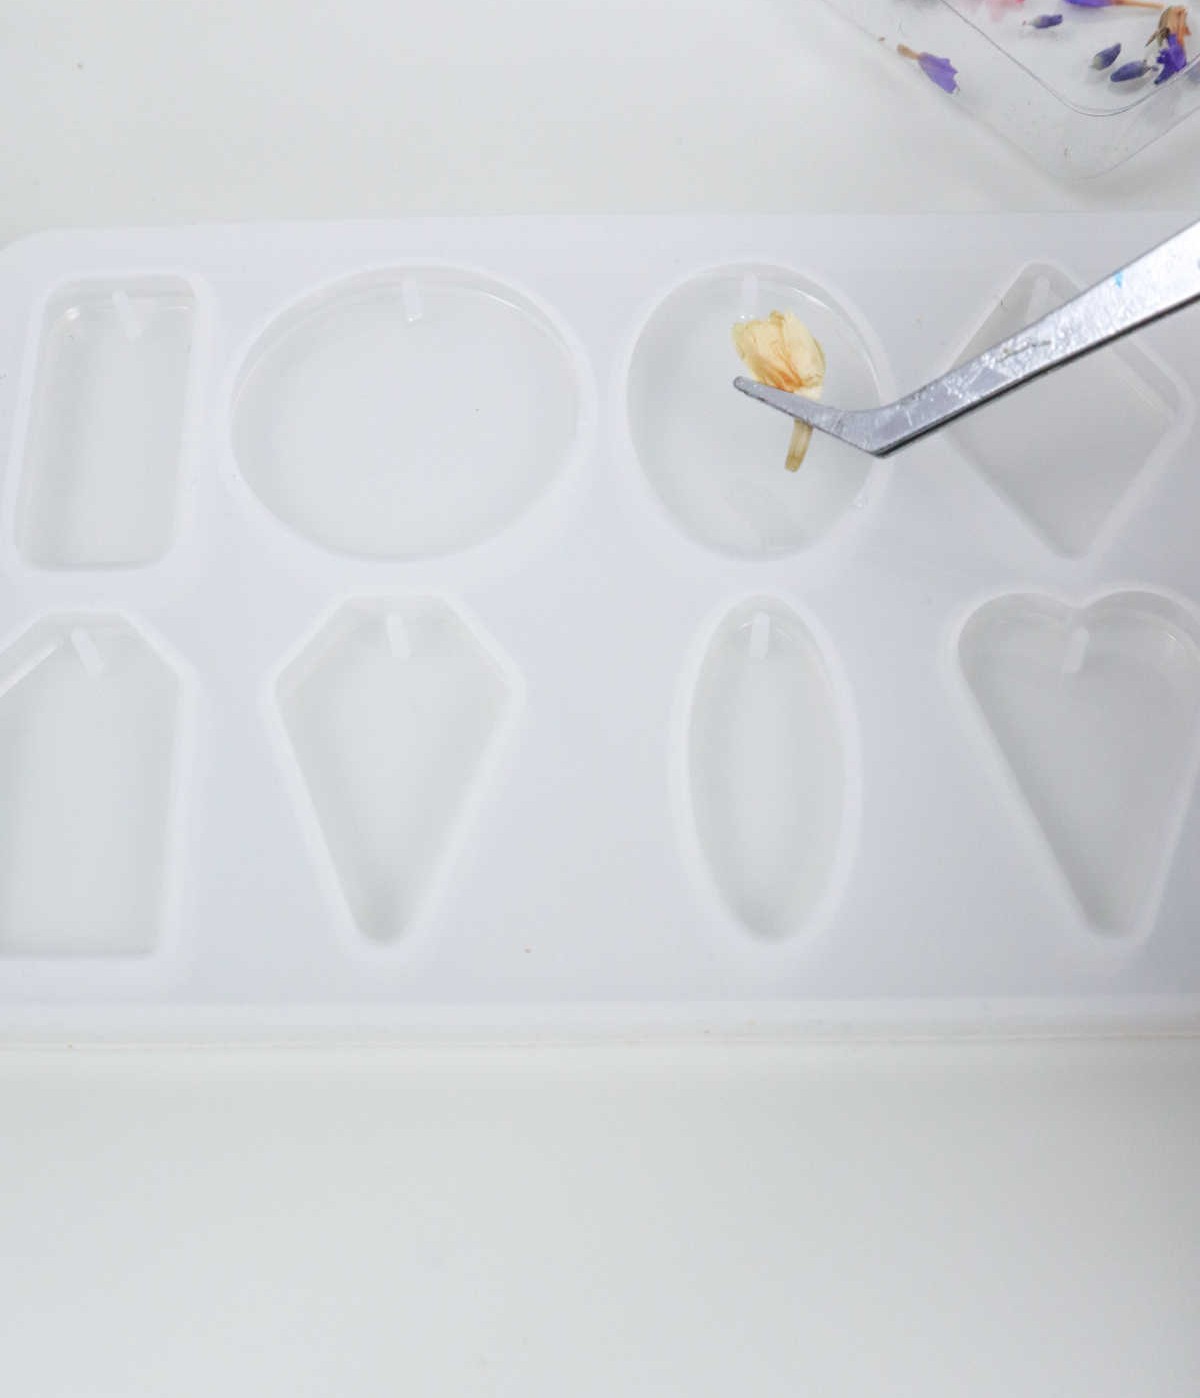
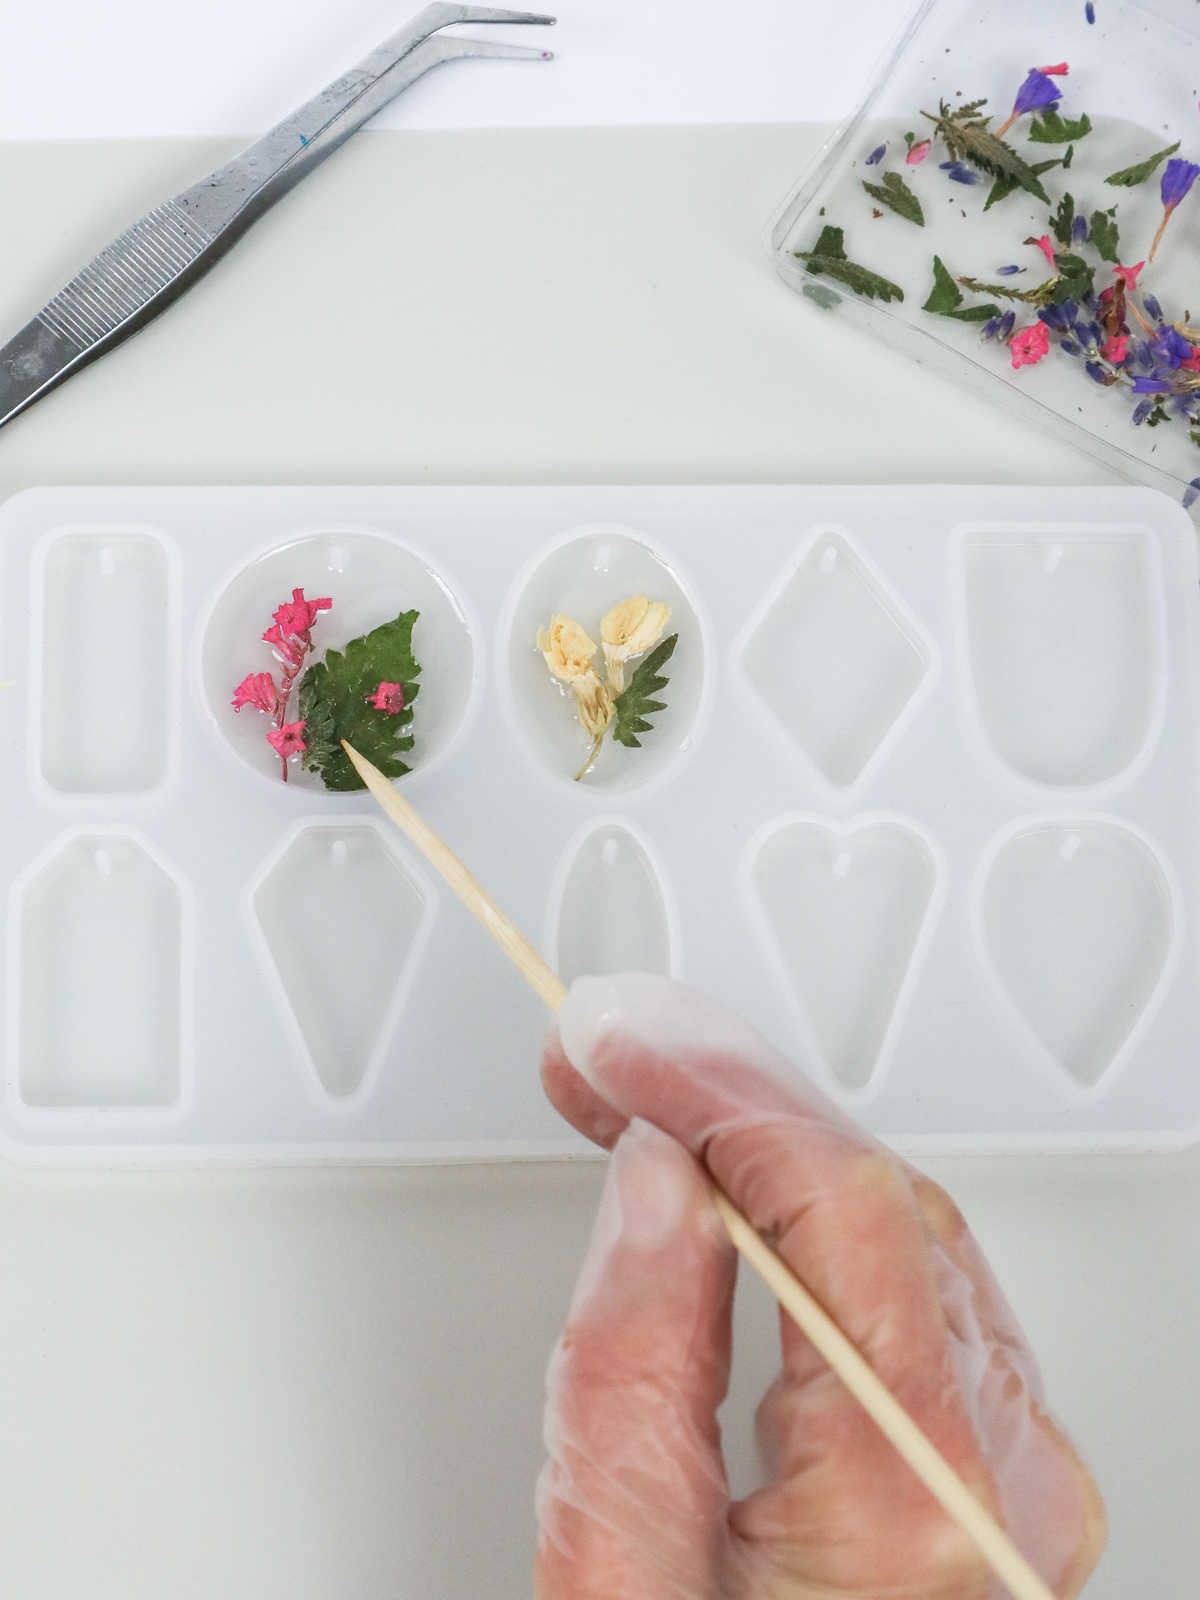
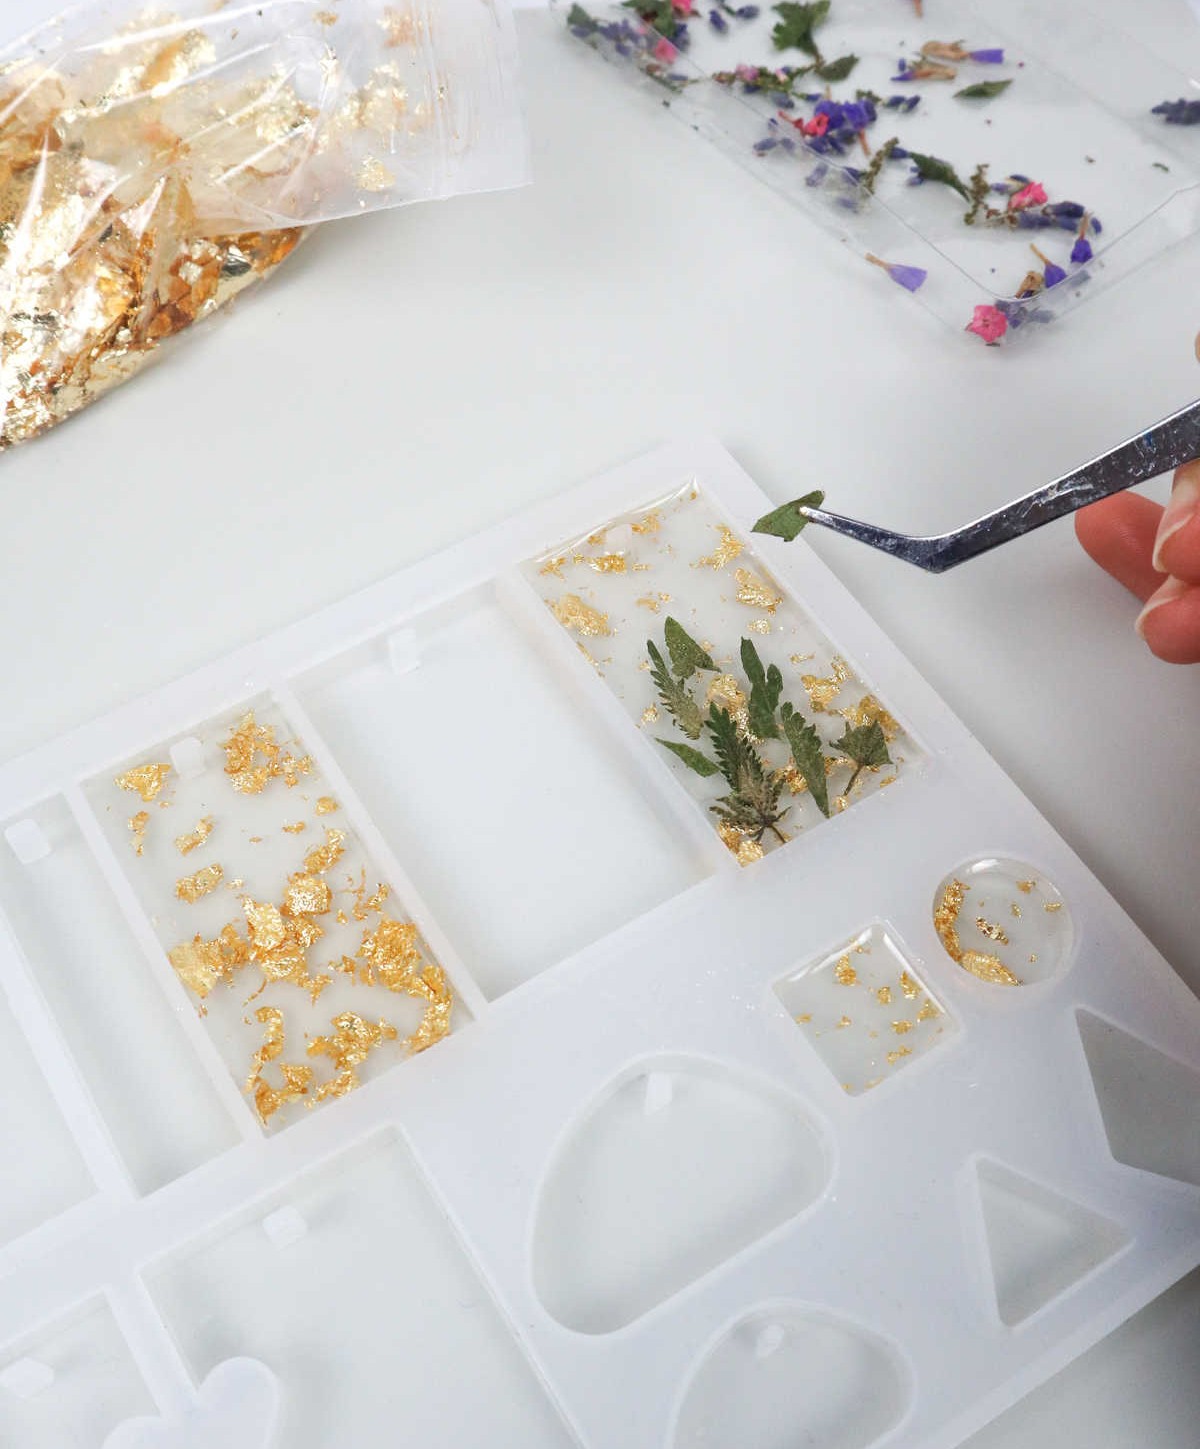
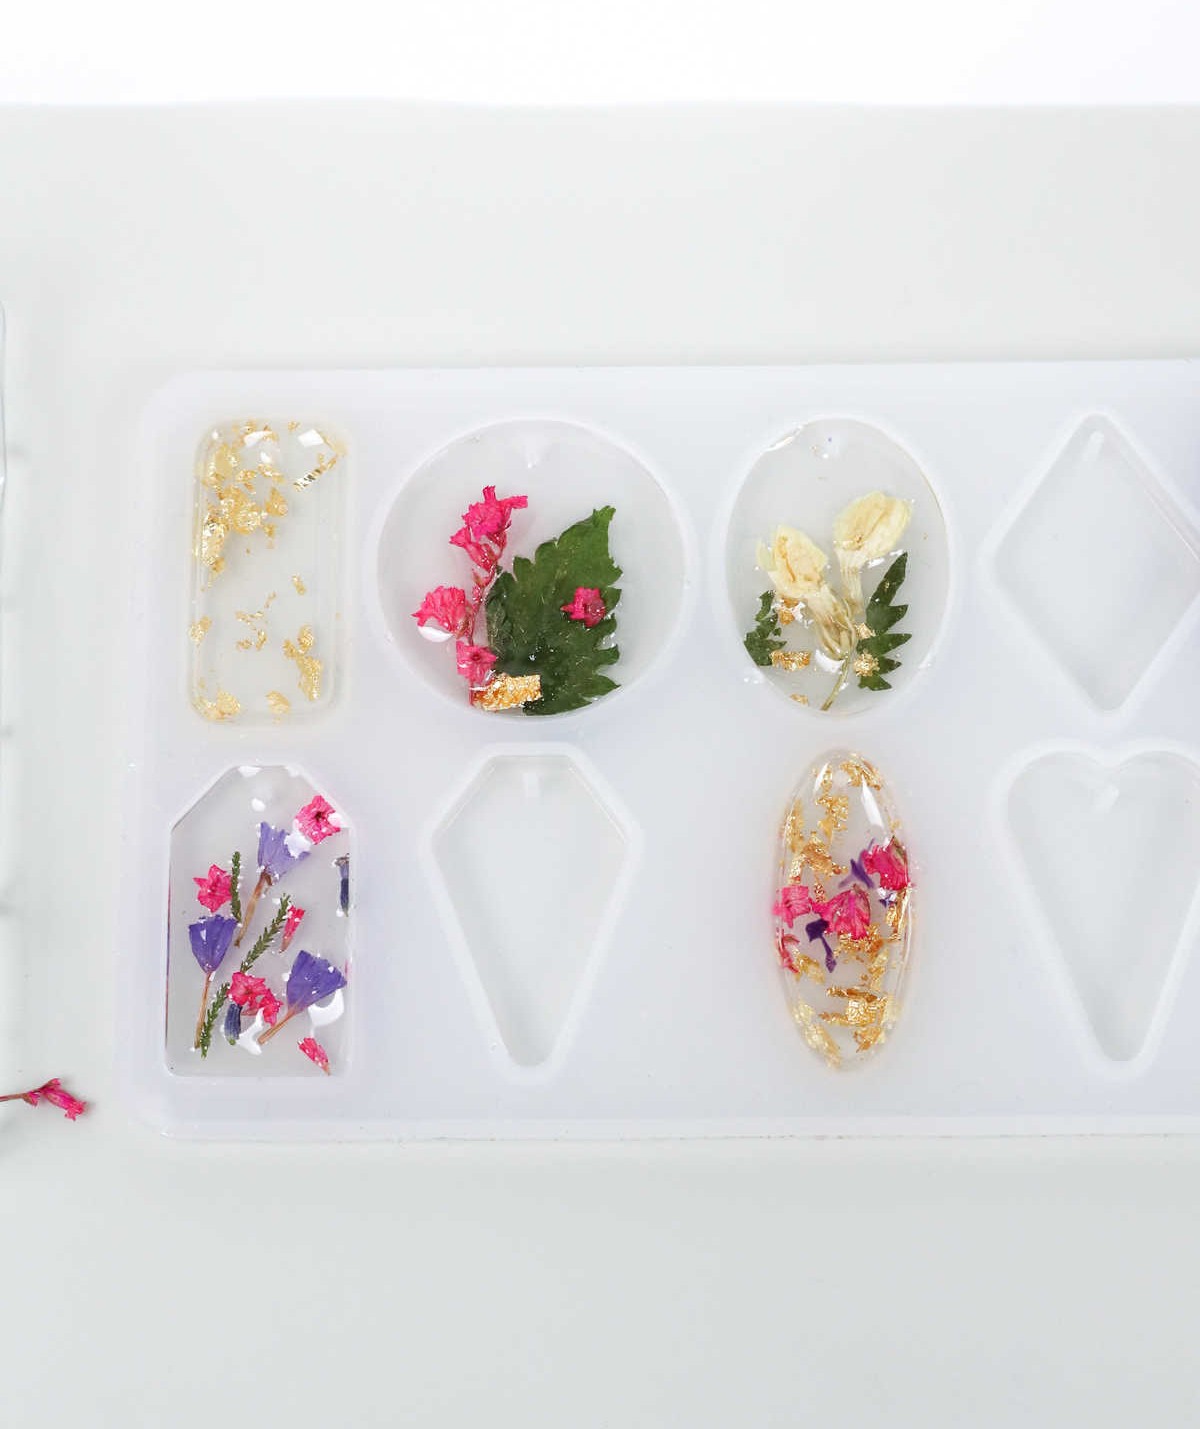
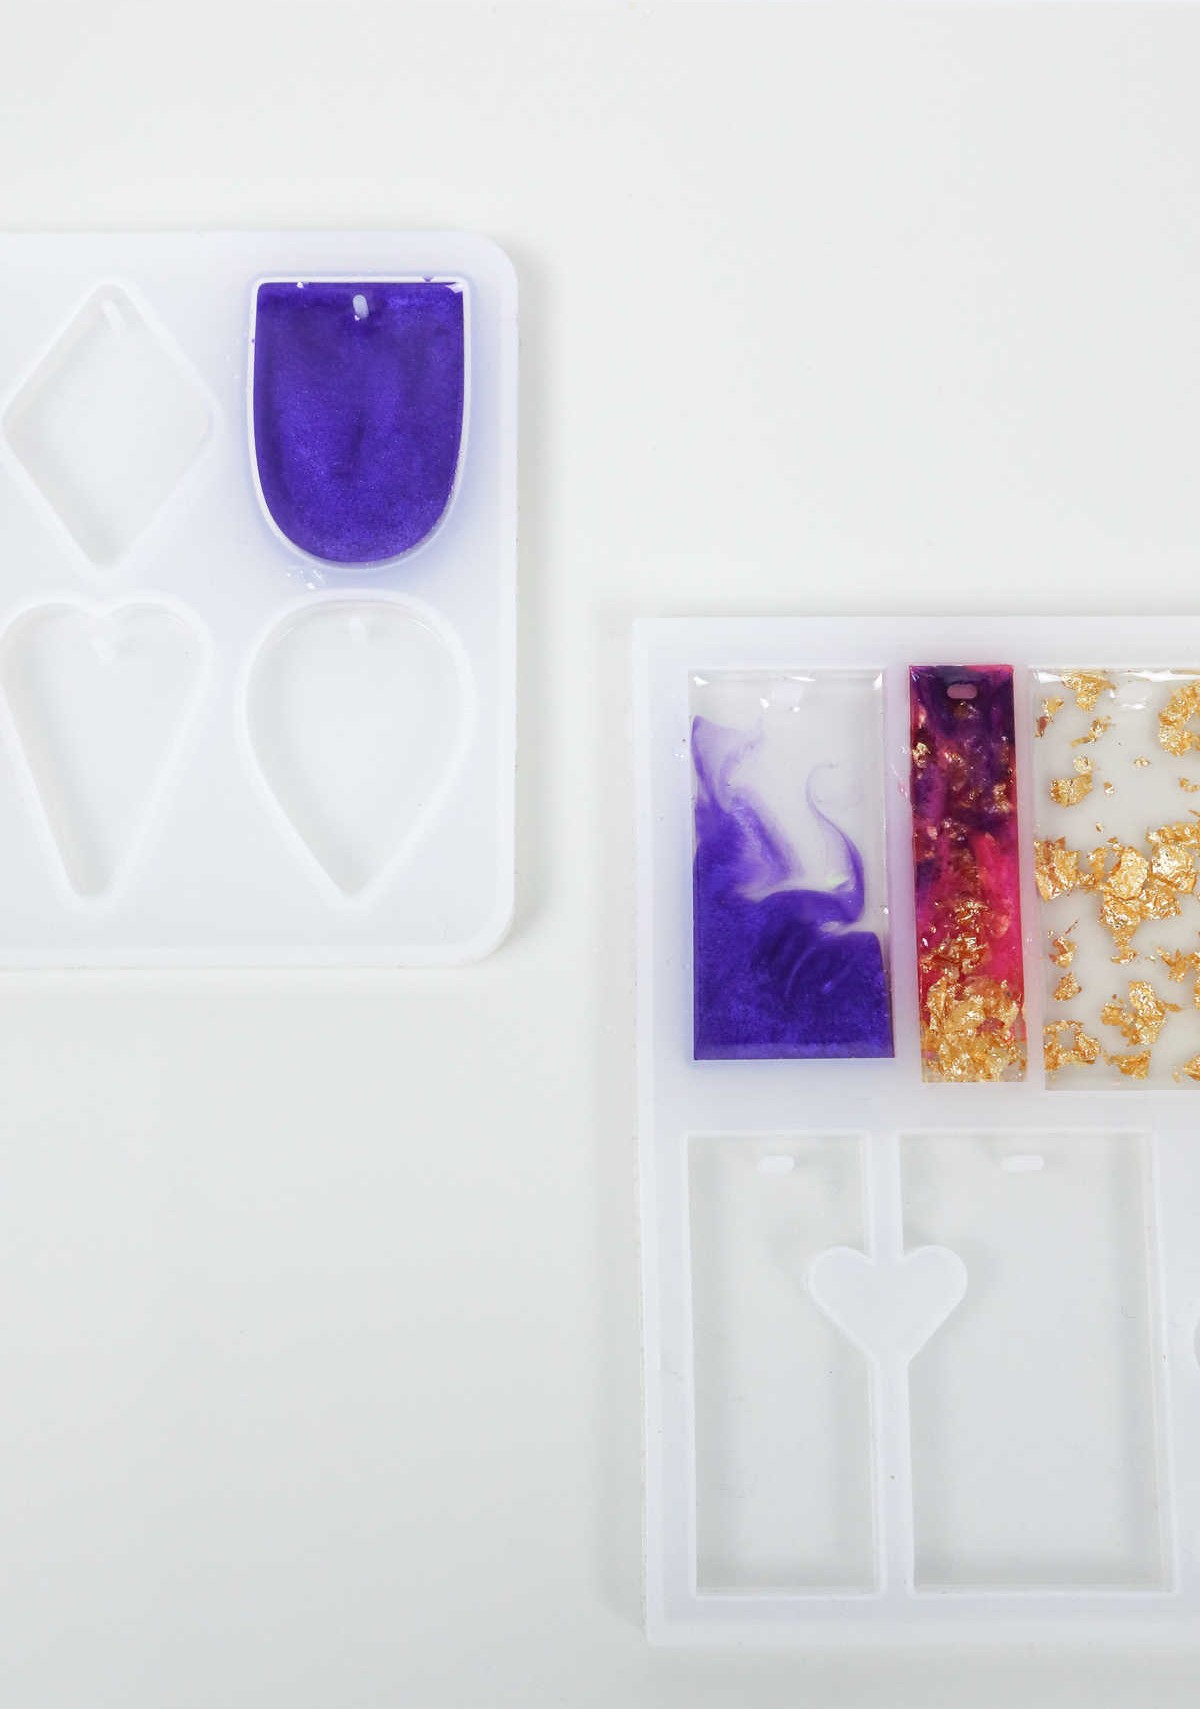
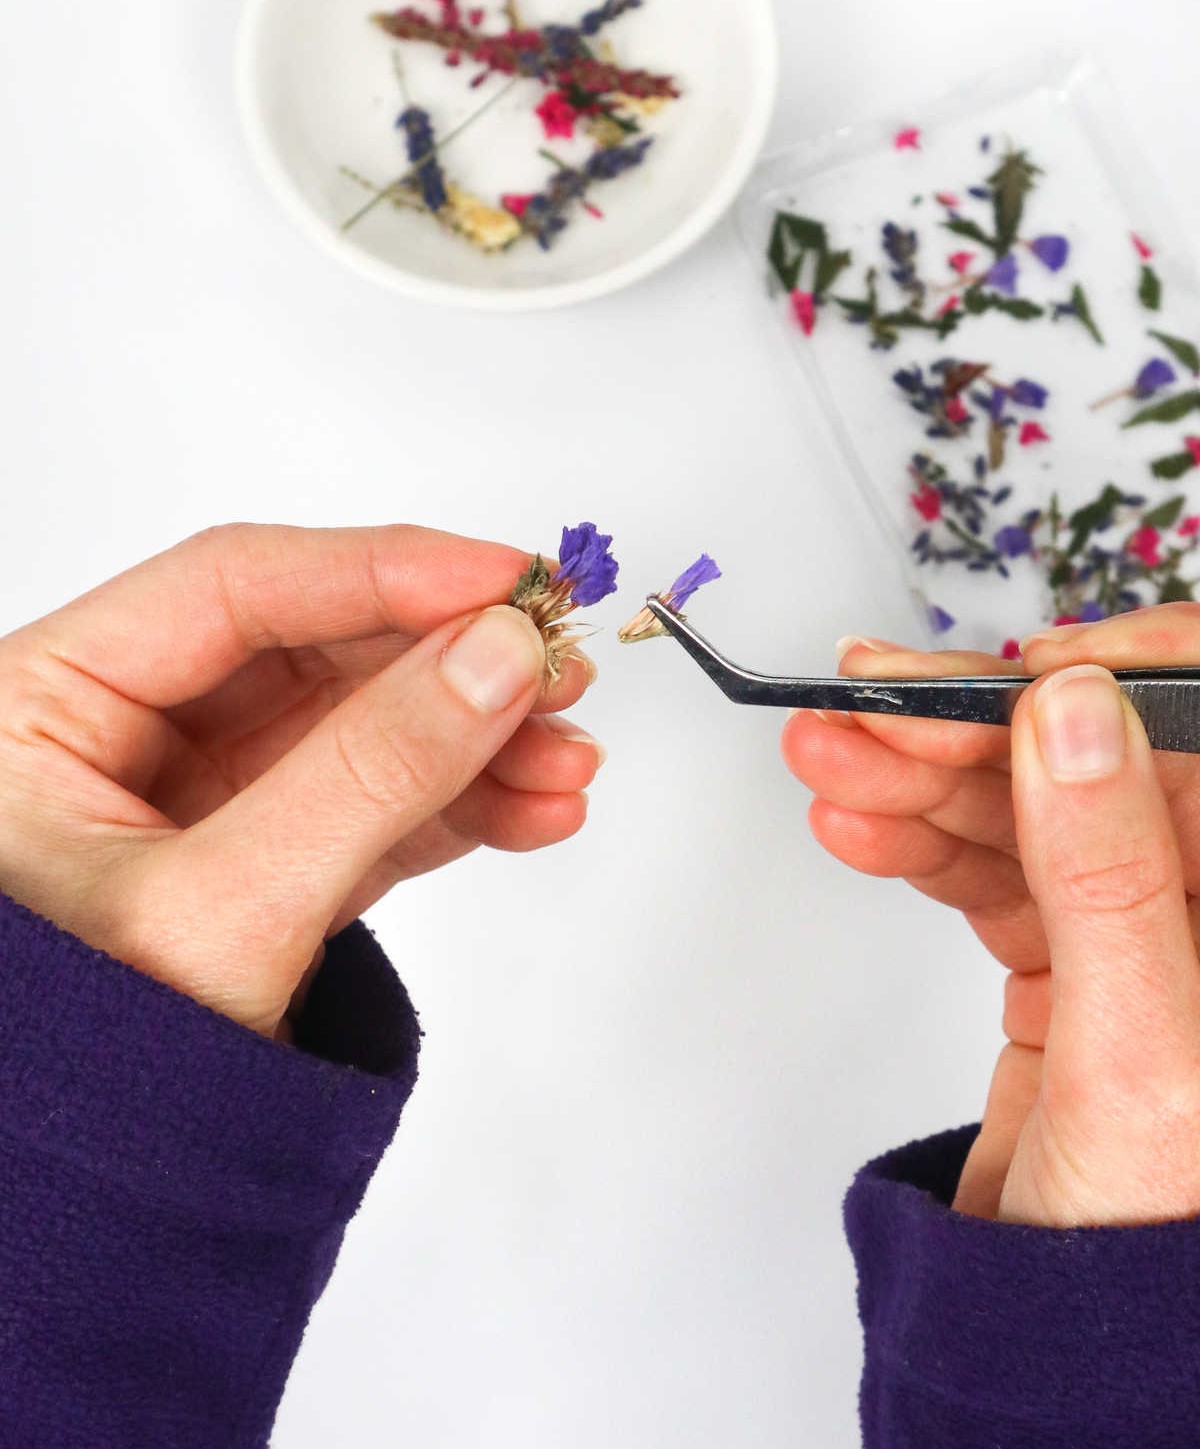
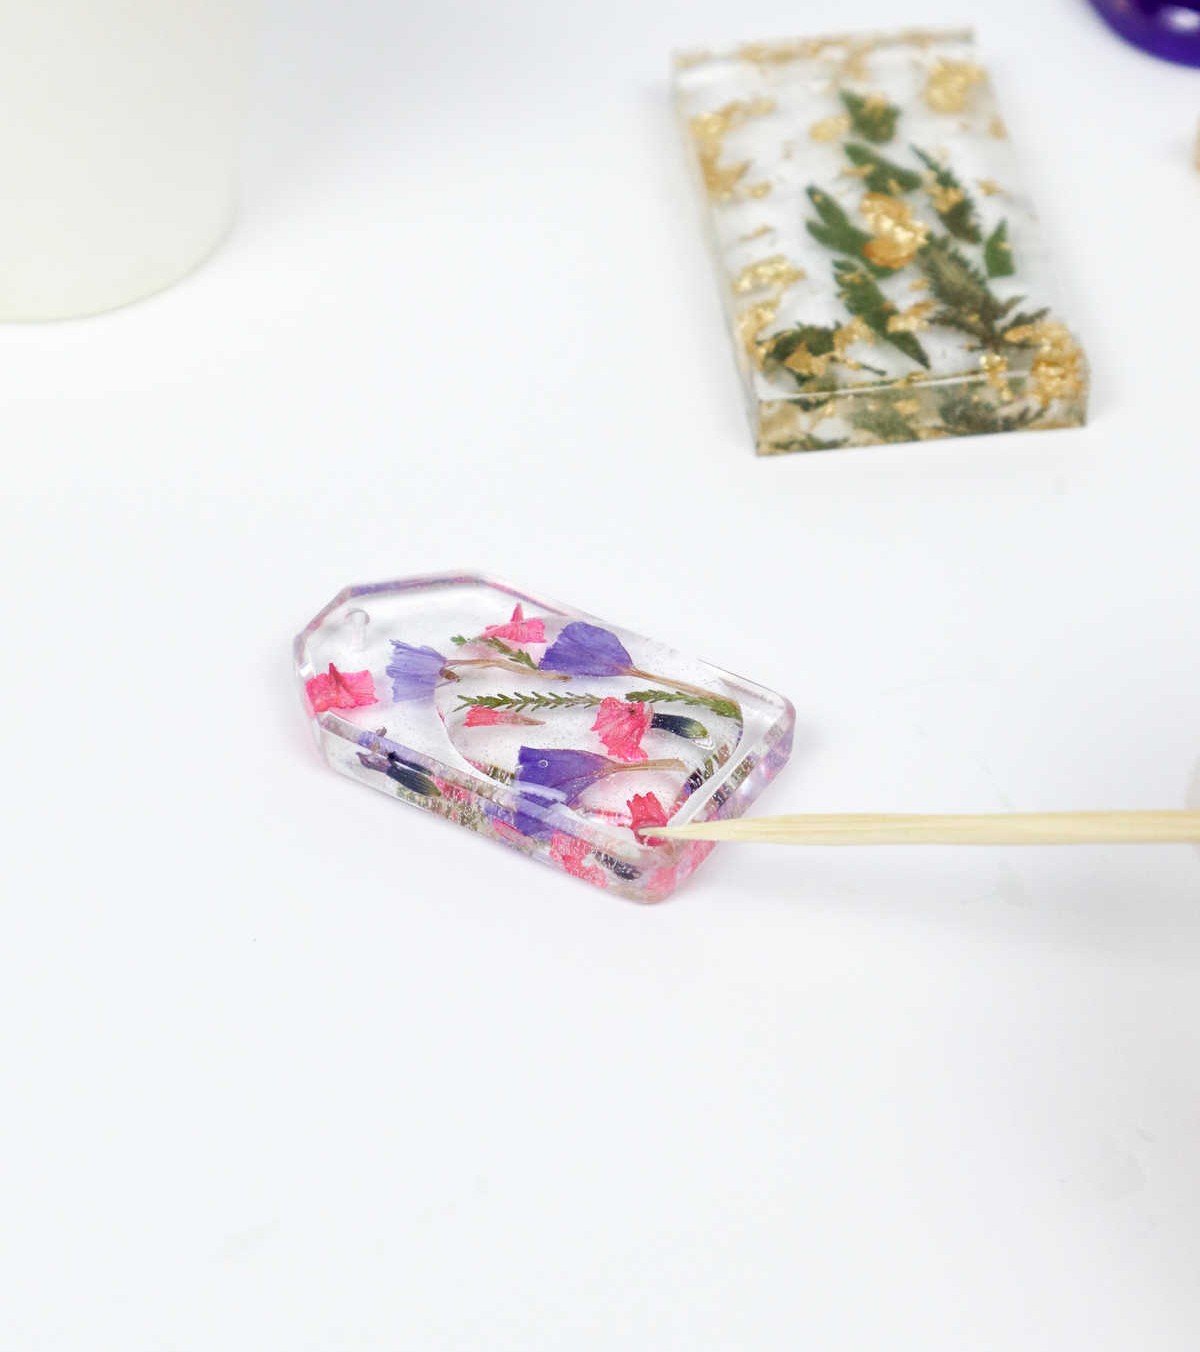
As you progress with your net layer, it’s essential to carefully place the flowers over the resin surface using tweezers. Since these delicate petals won’t sink into the resin, you’ll need to cover them up with a third layer of resin for added security. To facilitate this process, consider employing a stick or tweezers as makeshift tools to guide your placement.
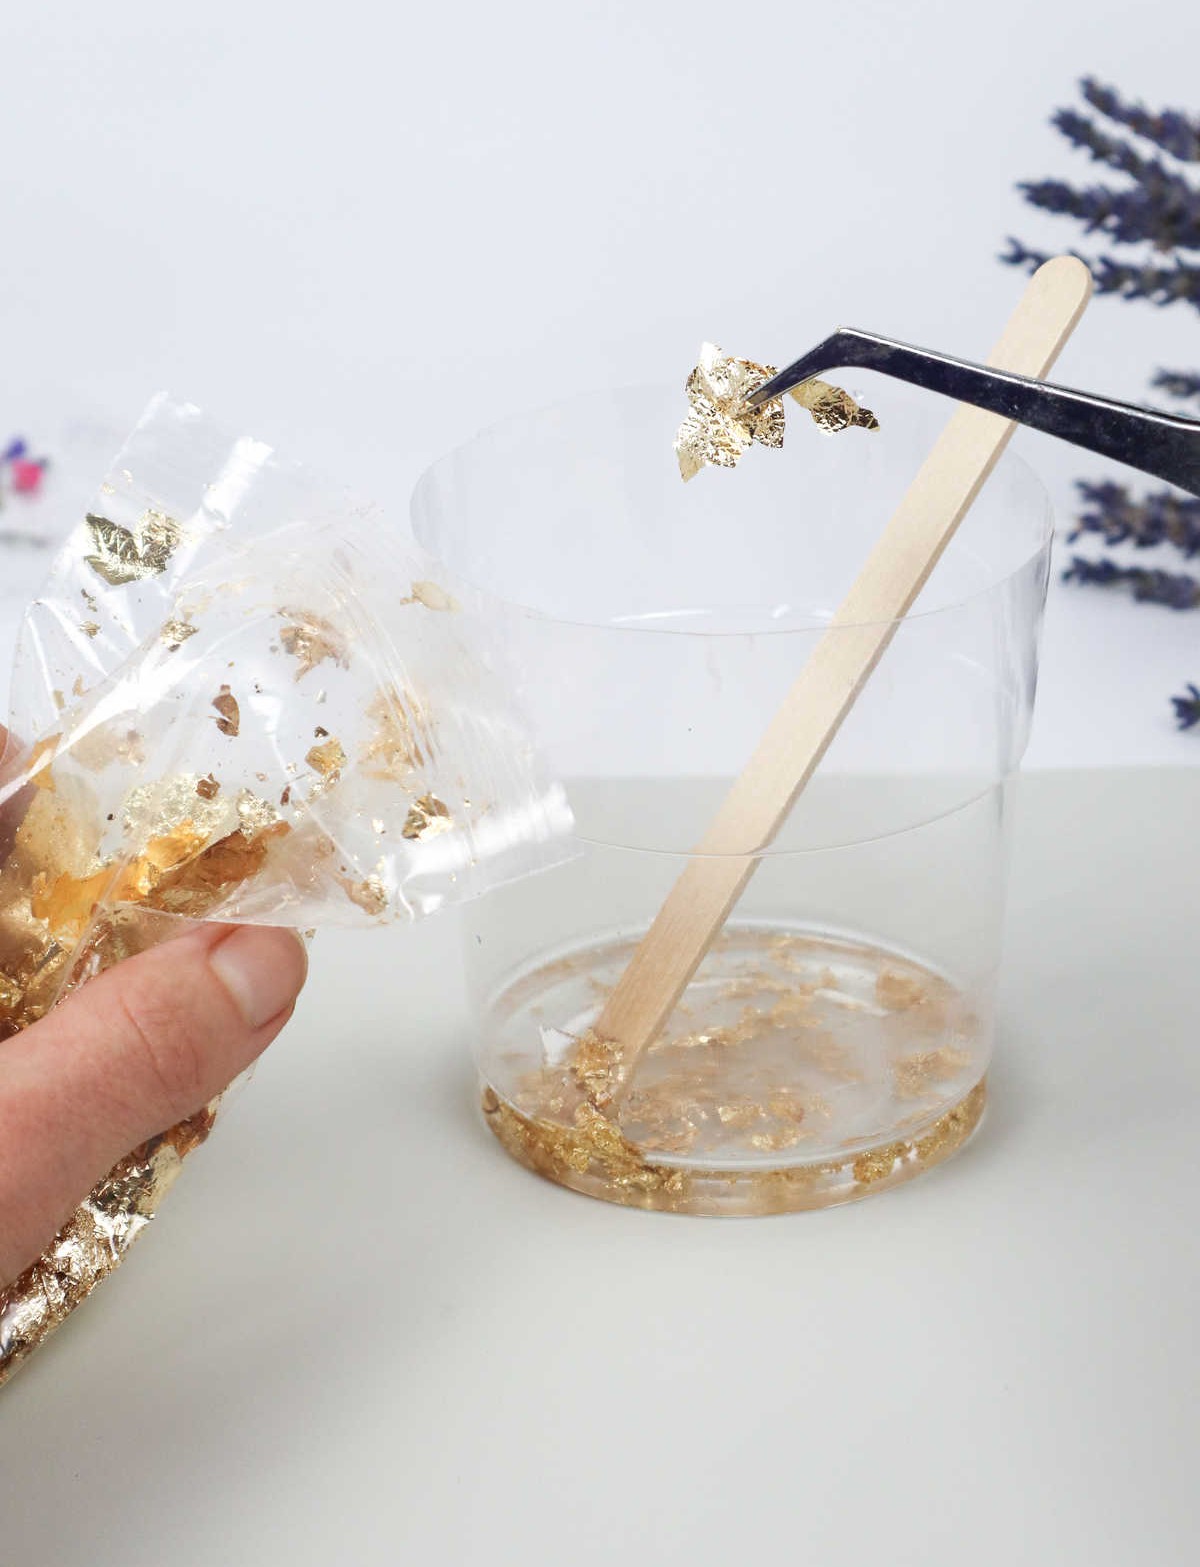
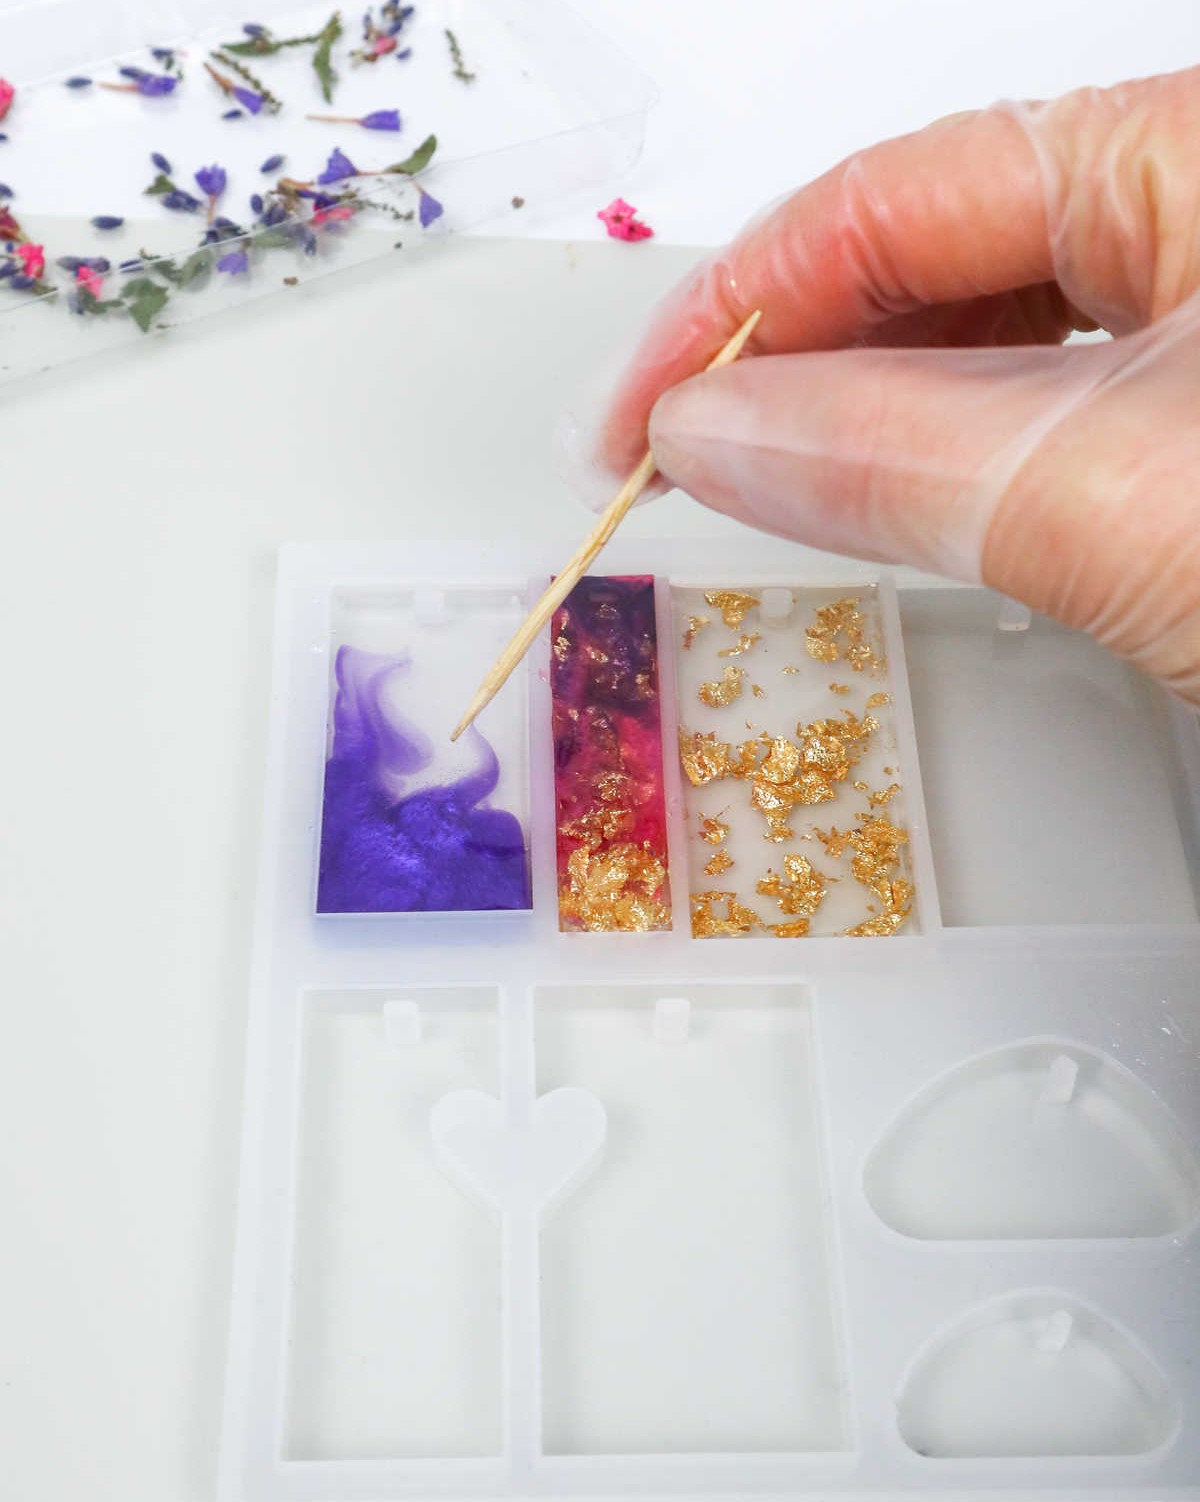
This is also an excellent opportunity to incorporate other decorative elements like gold foil, leaves, and tiny flecks of embellishments. The end result of the second layer will be a visually stunning resin keychain that’s sure to impress. Feel free to experiment with leftover resin by mixing in colored mica powder, glitter, or gold foil for added visual interest. Use a craft stick or skewer to stir these elements into the resin and create unique patterns.
If you choose to incorporate colored dye, you can use a stick to swirl patterns and blend the colors in a creative and one-of-a-kind design.
Step 6
Allow the mixture to fully set and cure for approximately 6-8 hours. Cover it with a container to prevent contamination from dust, dirt, or other foreign particles. Ideally, allow it to sit undisturbed overnight to ensure optimal results.
Step 7
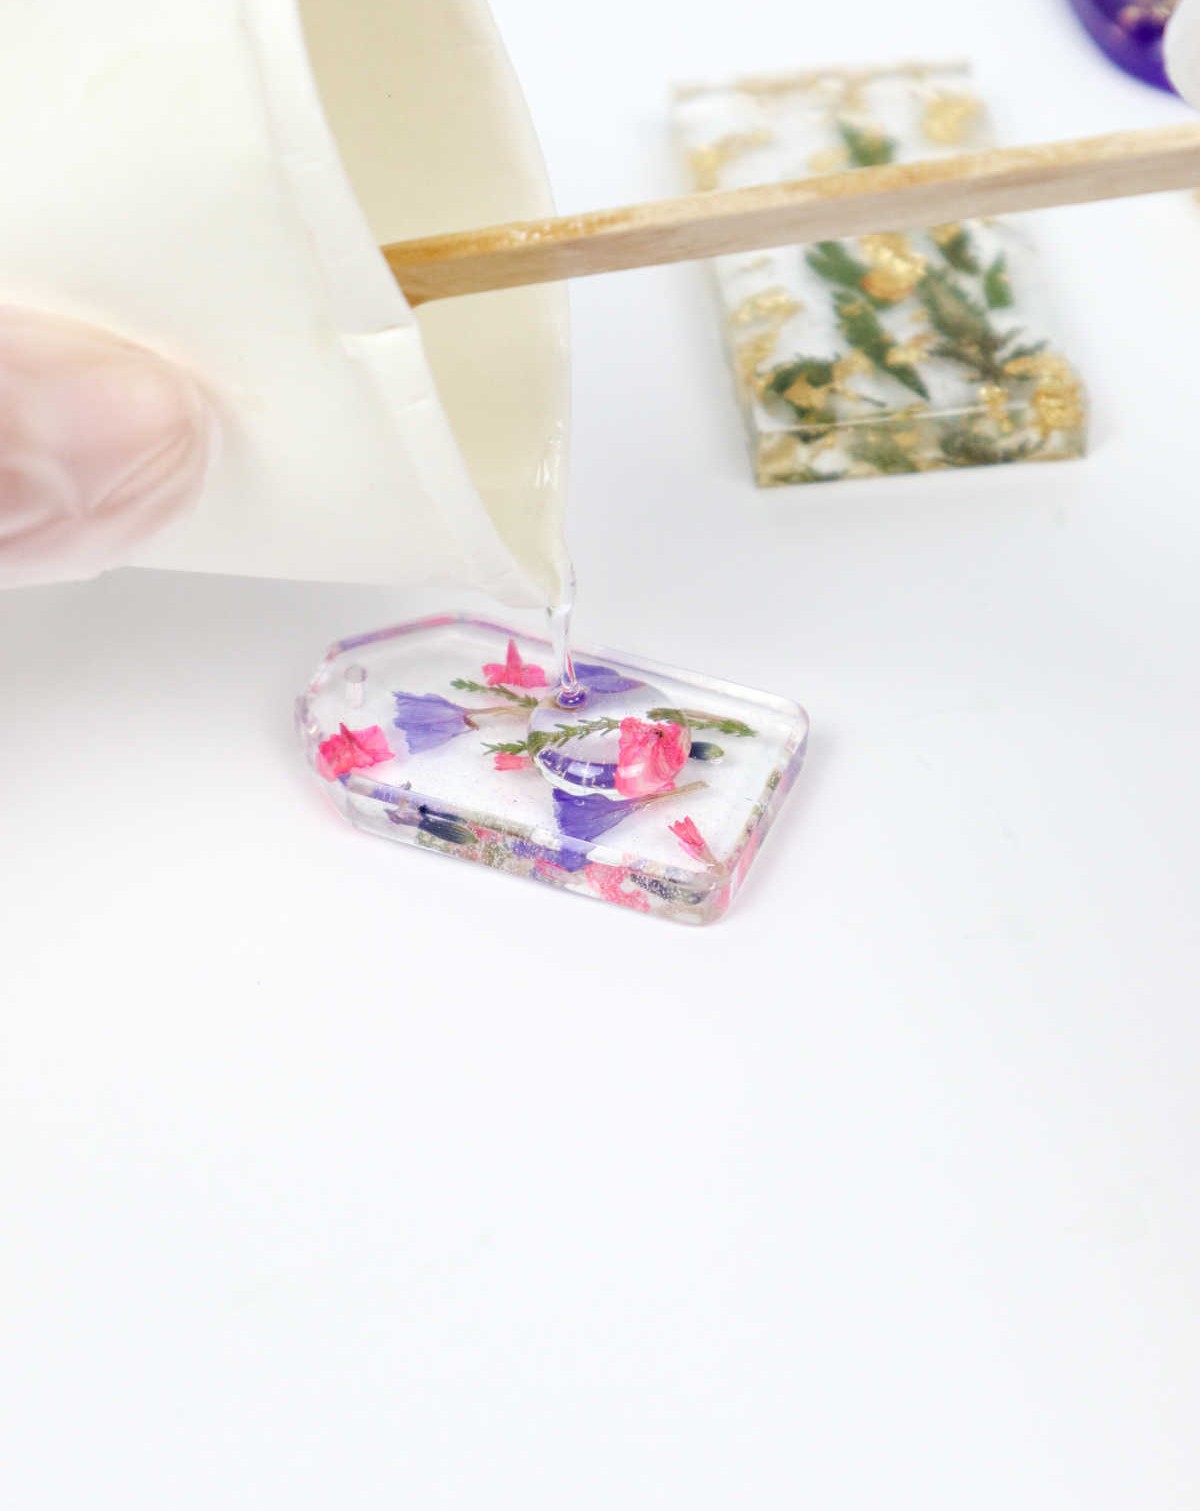
As you approach the final stages of your resin art project, it’s time to move on to the third layer. Now that your previous layer has hardened, it’s a good idea to get started on preparing the next batch of resin. Simply stir it well to ensure everything is fully incorporated before pouring it over the flowers.
To remove any bubbles that may have formed, you can use a stick or tool to gently stir them away, or if needed, utilize a heat gun to speed up the process and achieve a smooth, even finish.
Step 8
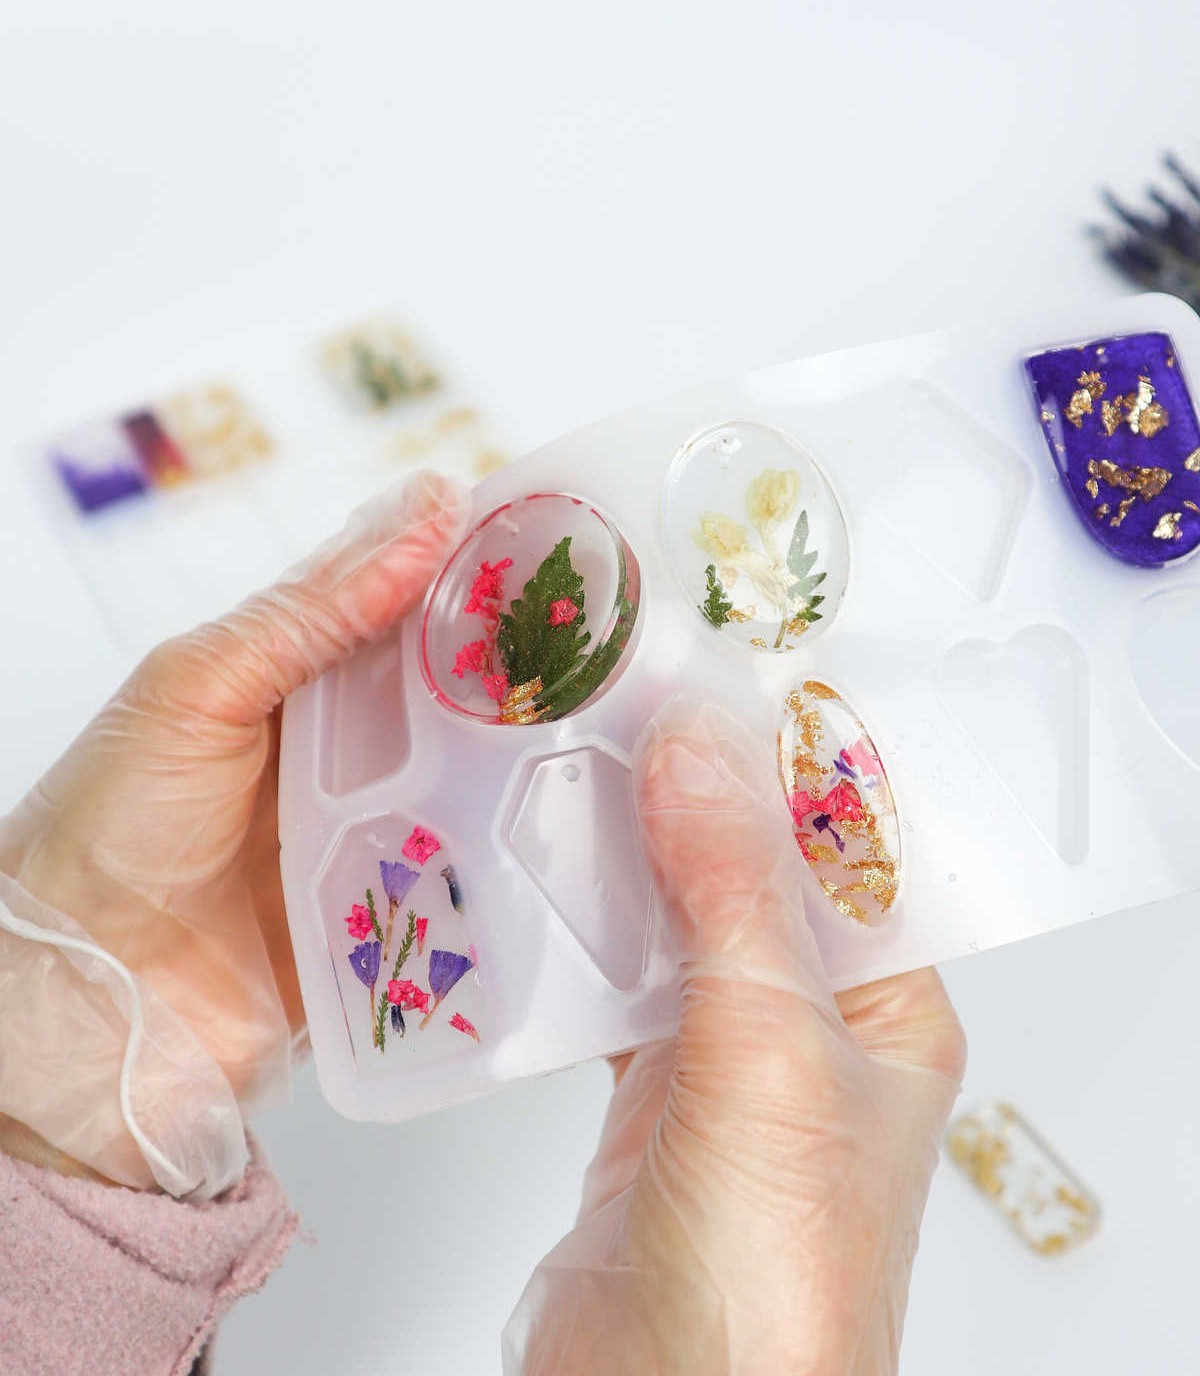
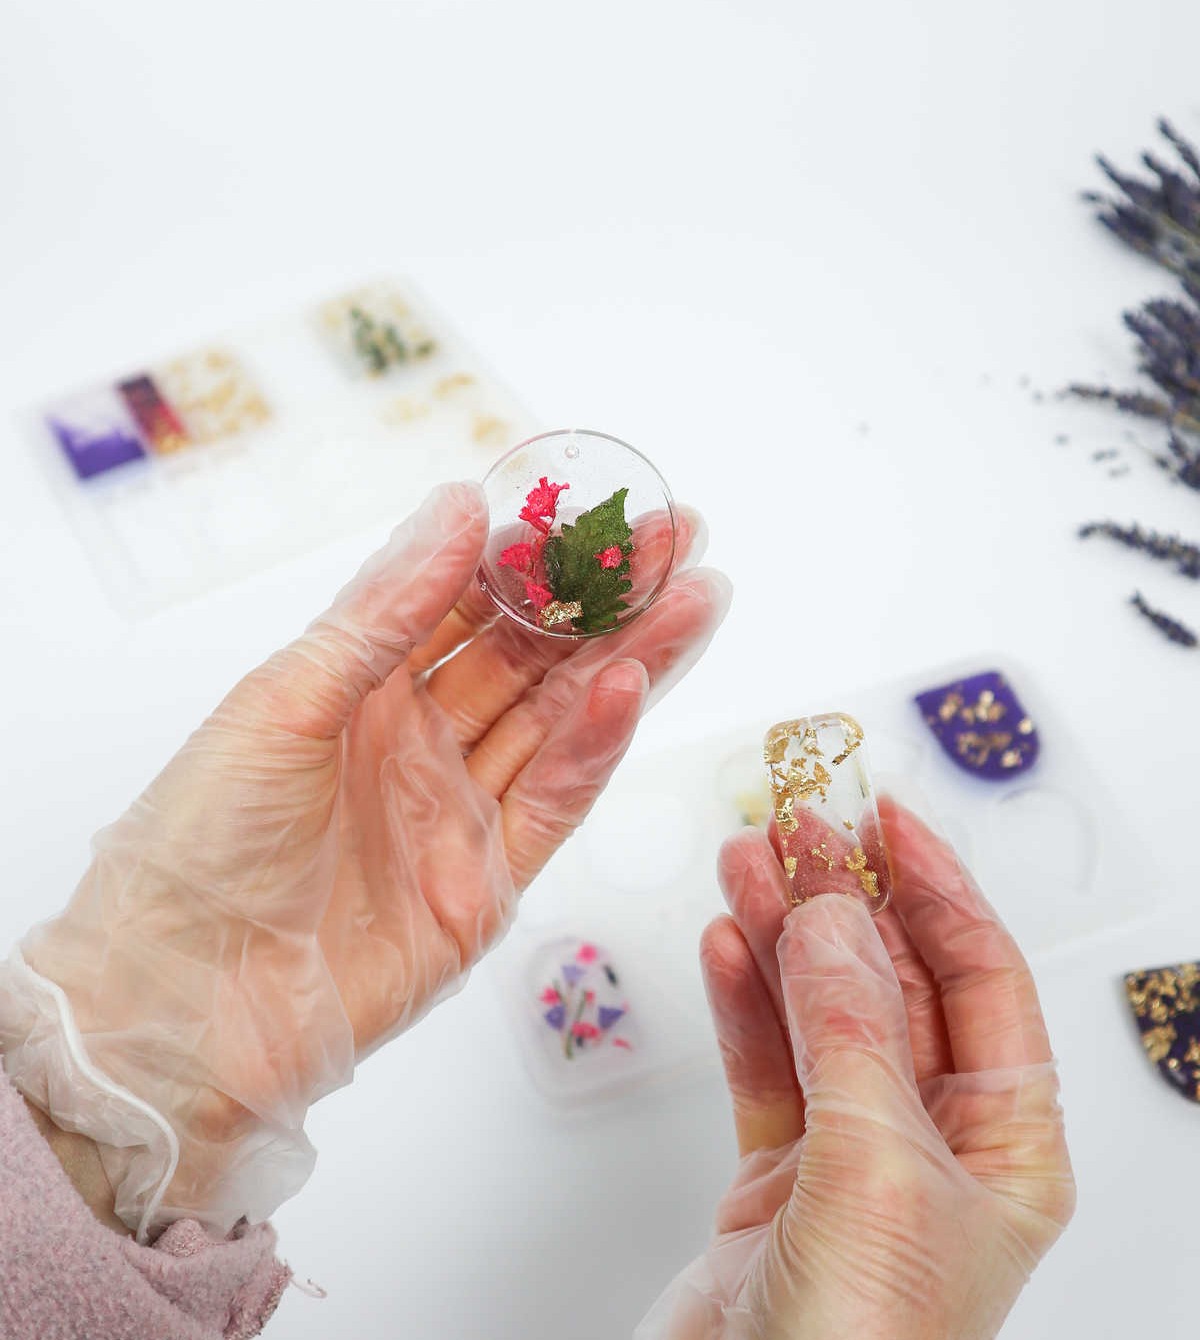
After allowing the keychains to set in their molds for 24-48 hours under a protective cover, carefully remove them from the silicone molds. Once you’ve achieved the desired shape, inspect the surfaces for any imperfections or bumps. If necessary, use a nail file or fine-grit sandpaper to gently smooth out any irregularities, ensuring a refined and even finish.
Step 8
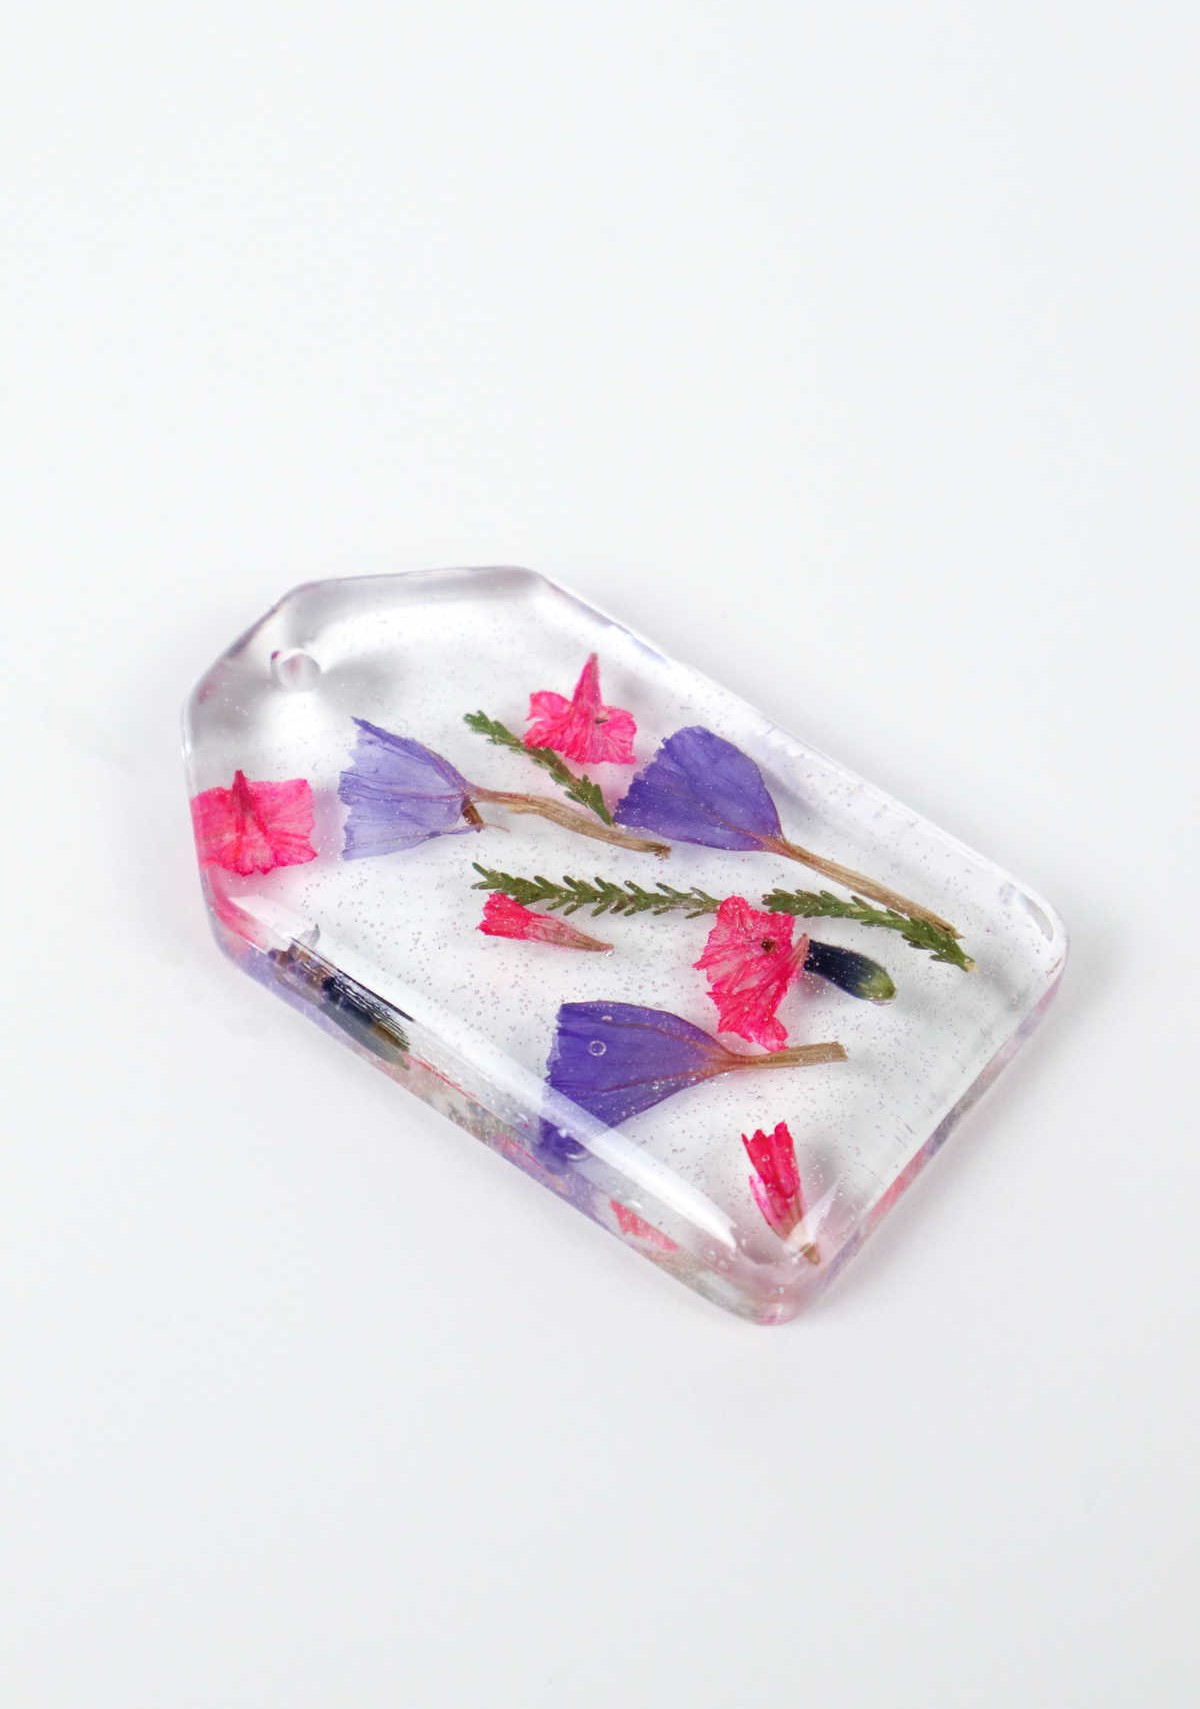
To take your DIY resin keychain to the next level, there’s a simple yet effective step you can take: adding a domed surface. To do this, mix another batch of resin and let it harden until it reaches a tacky consistency. Then, pour just enough resin over the surface to create a slight dome shape, ensuring it doesn’t overflow or run over the edges.
Use a toothpick to spread the resin evenly and, if desired, use the same technique to create a dome shape while the keychain is still in the mold – just be mindful of the jump ring hole. This process requires at least 12-14 hours to cure, so let it sit and do its thing. Once complete, simply push the keychain and jump ring through the hold, and your DIY resin keychain will be ready for use.
How to Make Resin Keychains
Are you looking to create unique DIY accessories that make for thoughtful gifts? Look no further! With a little creativity and some basic materials, you can craft your own stunning resin keychains. Whether you’re a seasoned crafter or just starting out, this project is perfect for anyone who wants to get creative and add a personal touch to their gift-giving. The best part? It’s easy and requires minimal prep time. So, what are you waiting for? Let’s get started!
Equipment
When it comes to crafting with resin, having the right materials can make all the difference. A combination of gold flakes, glitter powder, and mica powder can add a touch of luxury and visual interest to your final piece. Additionally, you’ll want to have resin pigment on hand to customize the color of your creation. To get started, gather dried flowers, scissors, pliers, and tweezers – these will come in handy as you shape and manipulate your design.
Materials
For a successful epoxy resin project, you’ll need a few essential materials. Start by gathering your epoxy resin and its corresponding hardener. You’ll also require small plastic cups for mixing the resin and hardener in the correct proportions. A big plastic cup can come in handy for larger projects or as a temporary container for excess resin. To ensure smooth application, have some toothpicks on hand to remove any air bubbles that may form.
Wood skewers are useful for creating unique textures or patterns in your final product. Silicone molds will be necessary if you want to create specific shapes or designs. You’ll also need spatulas to scrape and mix the resin, as well as a heat gun for accelerating the curing process. Finally, consider investing in blank keychains, face mask, and gloves for added protection and safety while working with epoxy resin.
Instructions
To embark on these DIY resin keychains, gather your supplies and don your protective gear before working with chemicals. The first step is to plan and arrange your dried flowers in the desired layout. With only a short window of time available once you mix the resin, it’s crucial to have a clear vision for your design. To combine the resin and hardener, use equal parts in a plastic cup and thoroughly mix them together using a stirrer or stick.
If bubbles form, utilize a heat gun or torch to eliminate them, or let the mixture sit in a warm bath for 3-4 minutes to allow the bubbles to pop naturally.
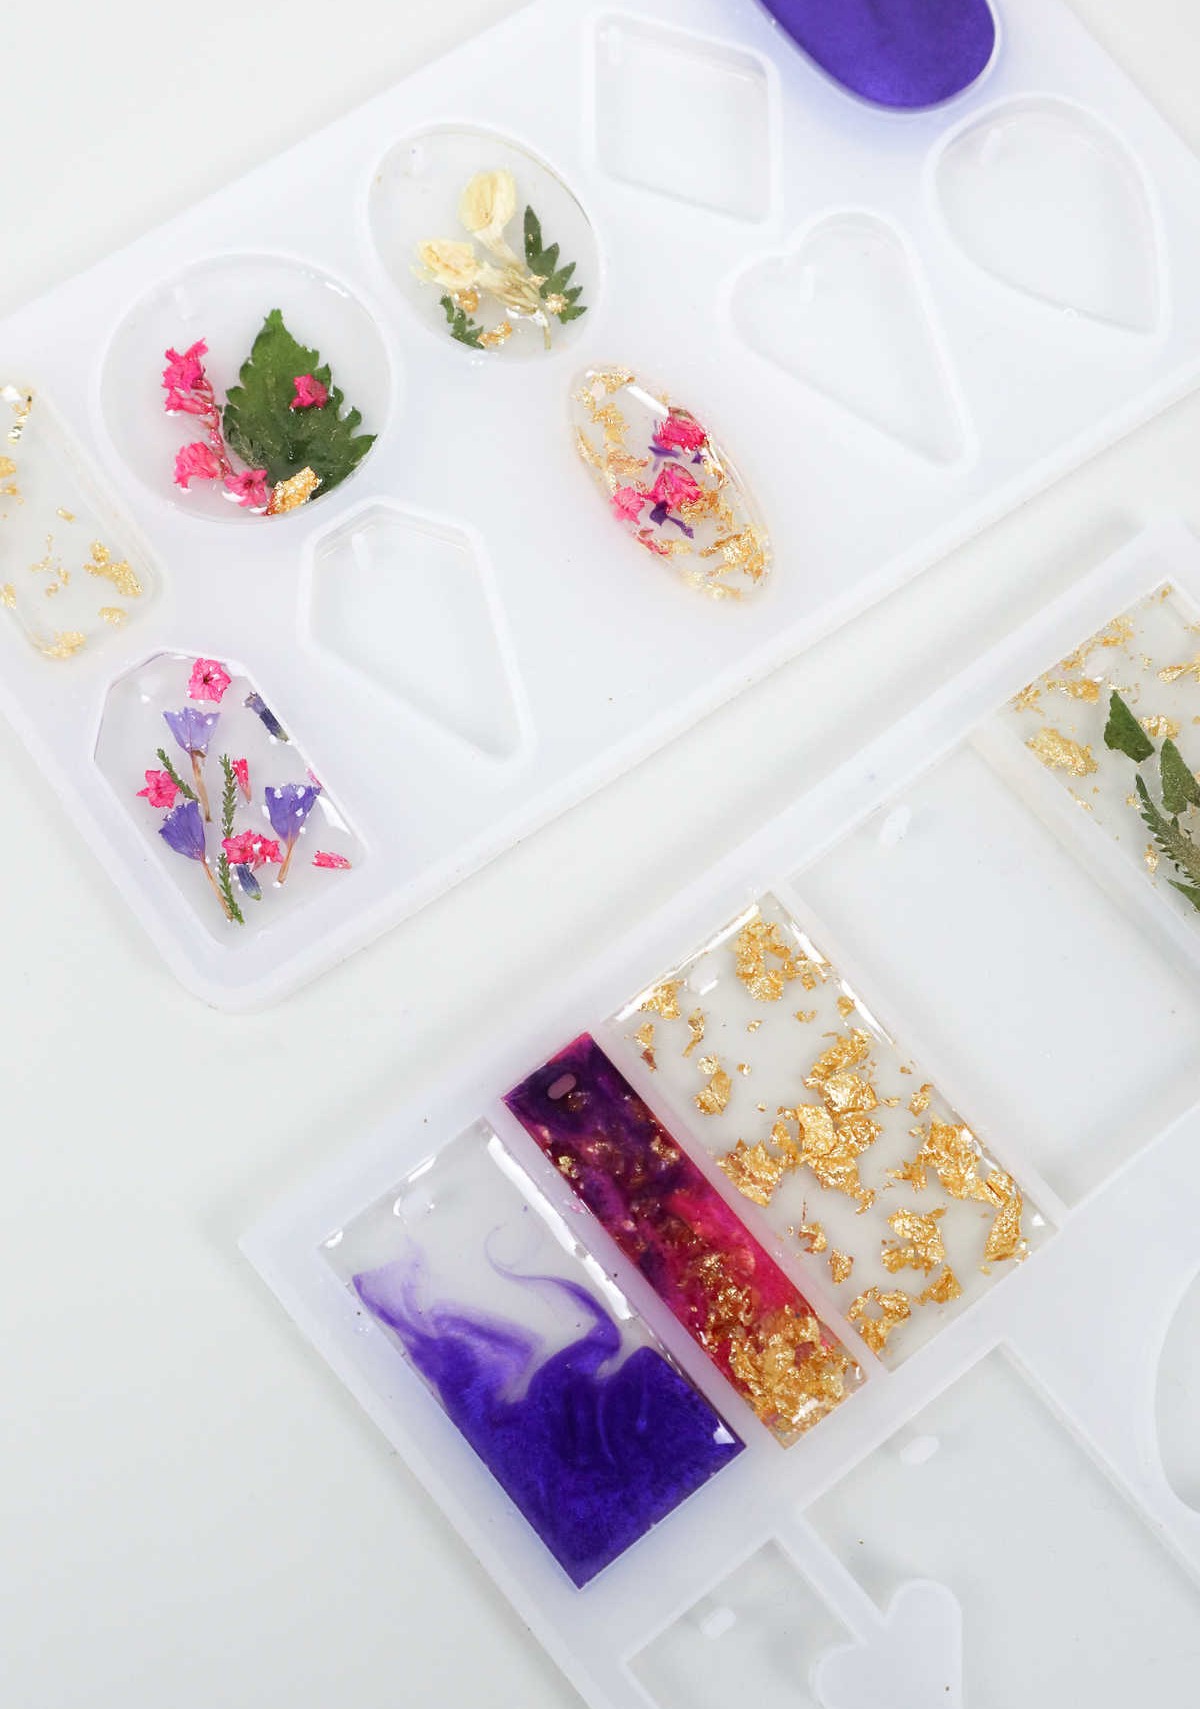
Pour a small amount of resin into your molds and, if necessary, use a heat gun to flatten any emerging bubbles. Employ tweezers to place your flowers and decorative elements – such as gold foil, mica powder, glitter, leaves, or other materials – onto the surface.
You can also add color with dye or mica powder, either by fully coloring the resin or adding subtle swirls. Allow this layer to set for 6-8 hours.
Next, prepare a new batch of resin and customize it as needed – adding foil, color, or other elements. Then, cover the surface evenly and allow it to cure for 24-48 hours.
If you prefer a domed finish, create a small batch of resin that hardens slightly before becoming tacky.
Pour this mixture over the surface in a thin layer and use a toothpick to smooth out any edges. Do not cover the hole. For any irregularities or bumps, employ a nail filer or sandpaper to smoothen the surface.
Allow this layer to cure for another 12-14 hours under a protective cover before inserting the keychain jump ring into the hole. Your DIY resin keychains are now ready!
