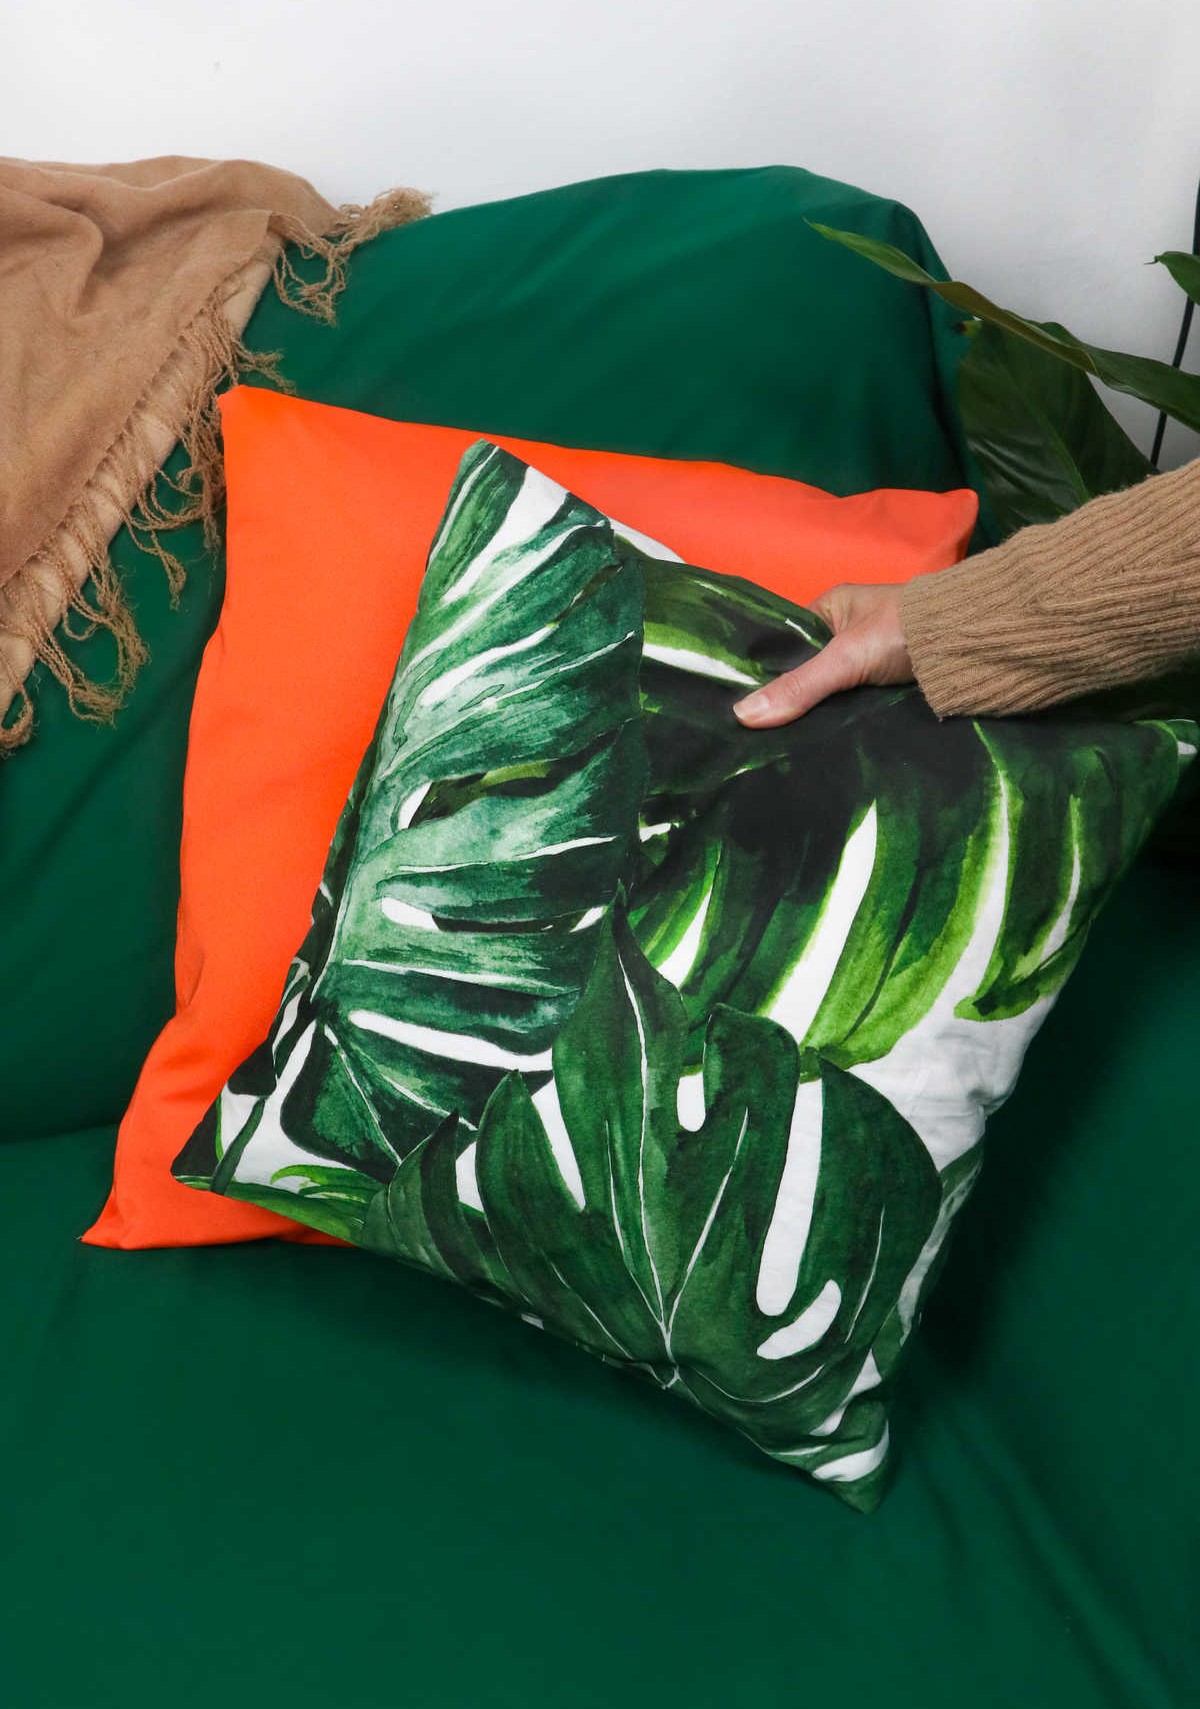
Looking for a simple yet impactful sewing project? Do you want to breathe new life into your bedroom or living room decor without breaking a sweat? Look no further than DIY pillowcases. As a great starting point for beginners, this fun and easy-to-make project will have you hooked from the get-go.
We’ve all been there – walking into our living space feeling stuck in a design rut. The solution is surprisingly simple: swap out those tired old pillowcases for some fresh new ones.
Not only can it instantly revamp the room’s overall aesthetic, but it’s also an effortless way to inject color, texture, and pattern.
Ready to give it a try? Before you begin, gather these essential supplies and tools:
Supplies and Tools You’ll Need
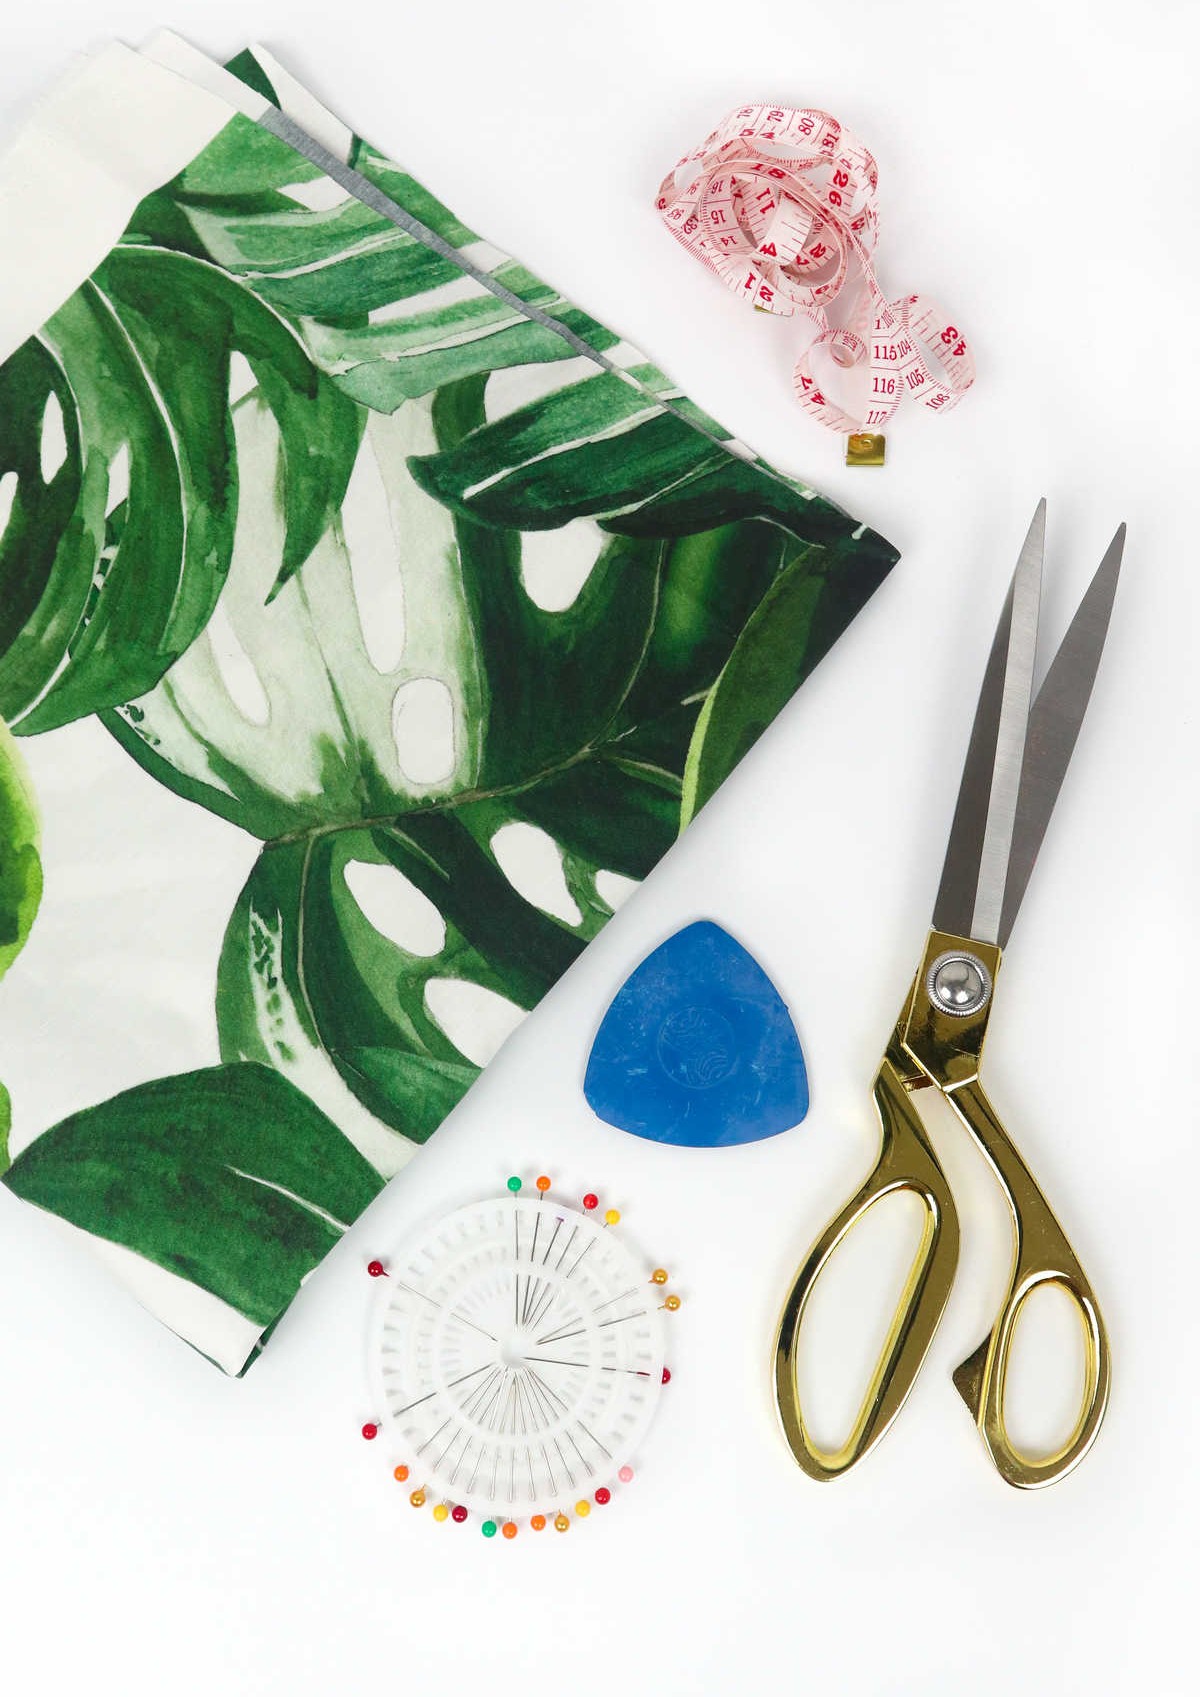
A well-stocked sewing kit typically includes a few essential items, including cotton fabric for crafting and repairing garments. In addition to the fabric itself, a tape measure is crucial for taking precise measurements of the body or garment parts. Other must-haves include scissors, perfect for cutting through various materials, and sewing pins that securely hold fabrics in place while stitching. Finally, tailor’s chalk allows you to mark patterns and guides on the fabric with ease.
How to Make a Pillowcase
To bring your creative vision to life, follow this easy-to-follow guide as we walk you through the process of creating these one-of-a-kind pillowcases. The steps are straightforward and require minimal effort, making it an ideal DIY project for crafty enthusiasts and beginners alike.
Step 1
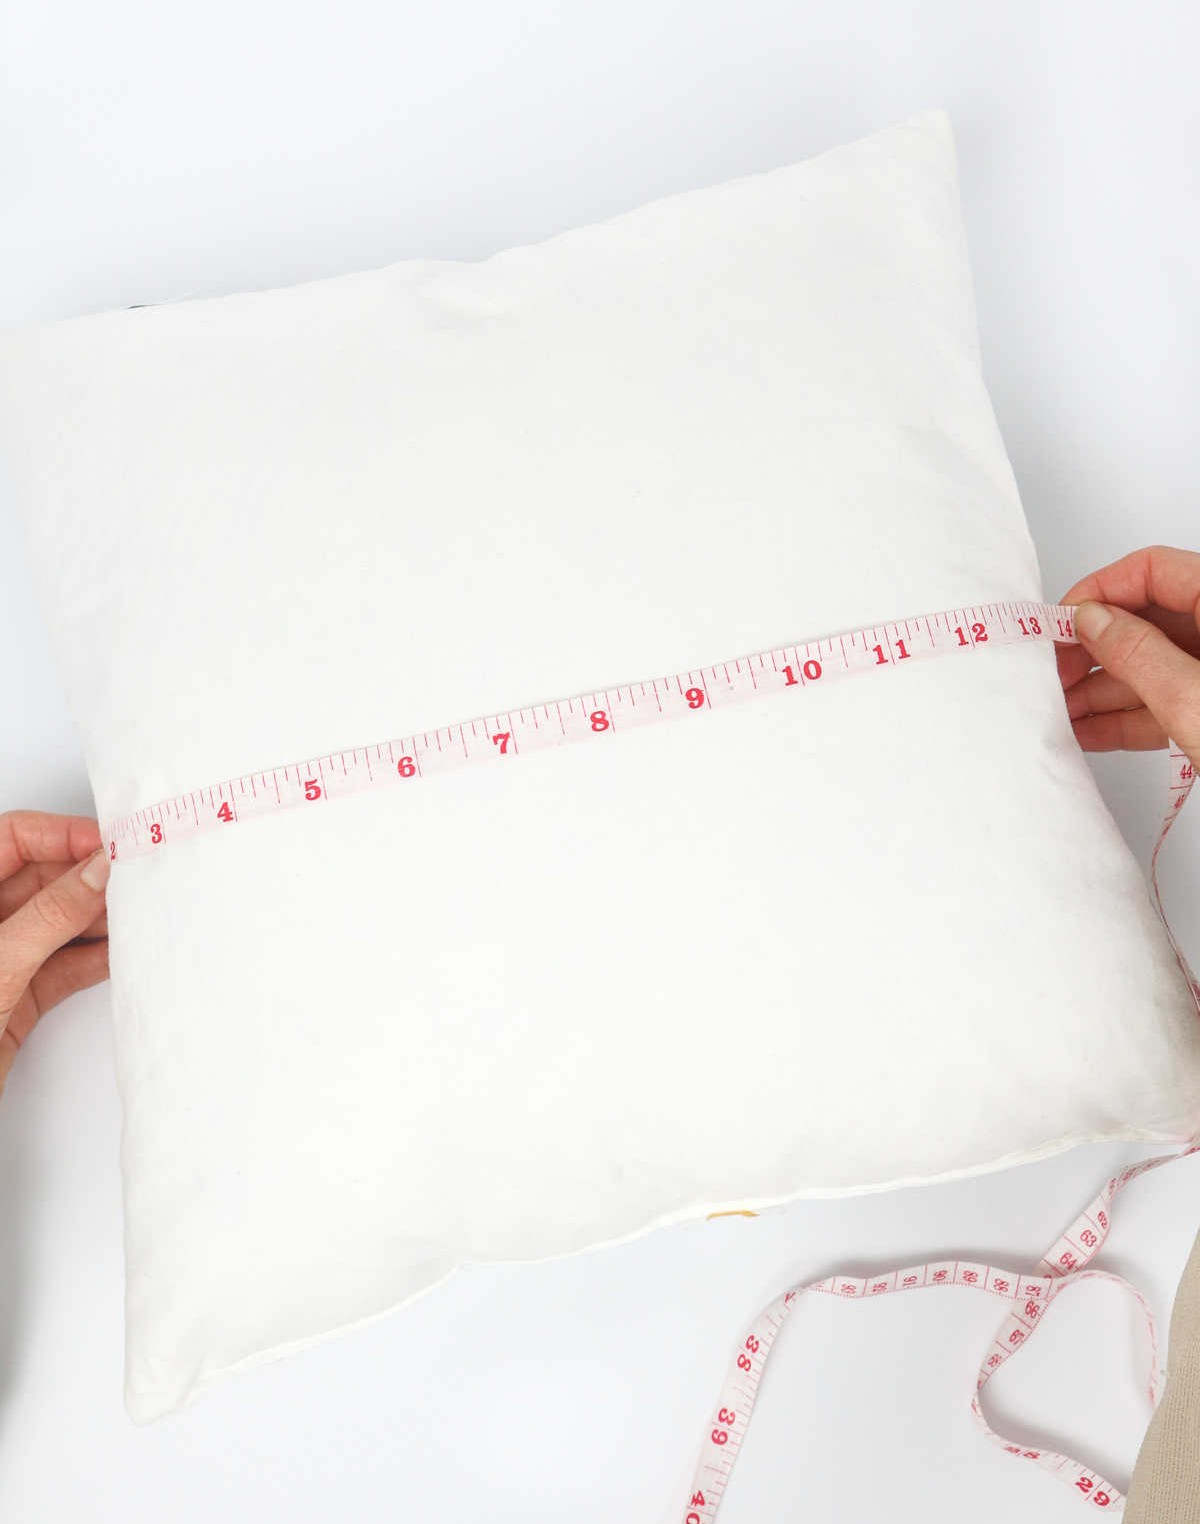
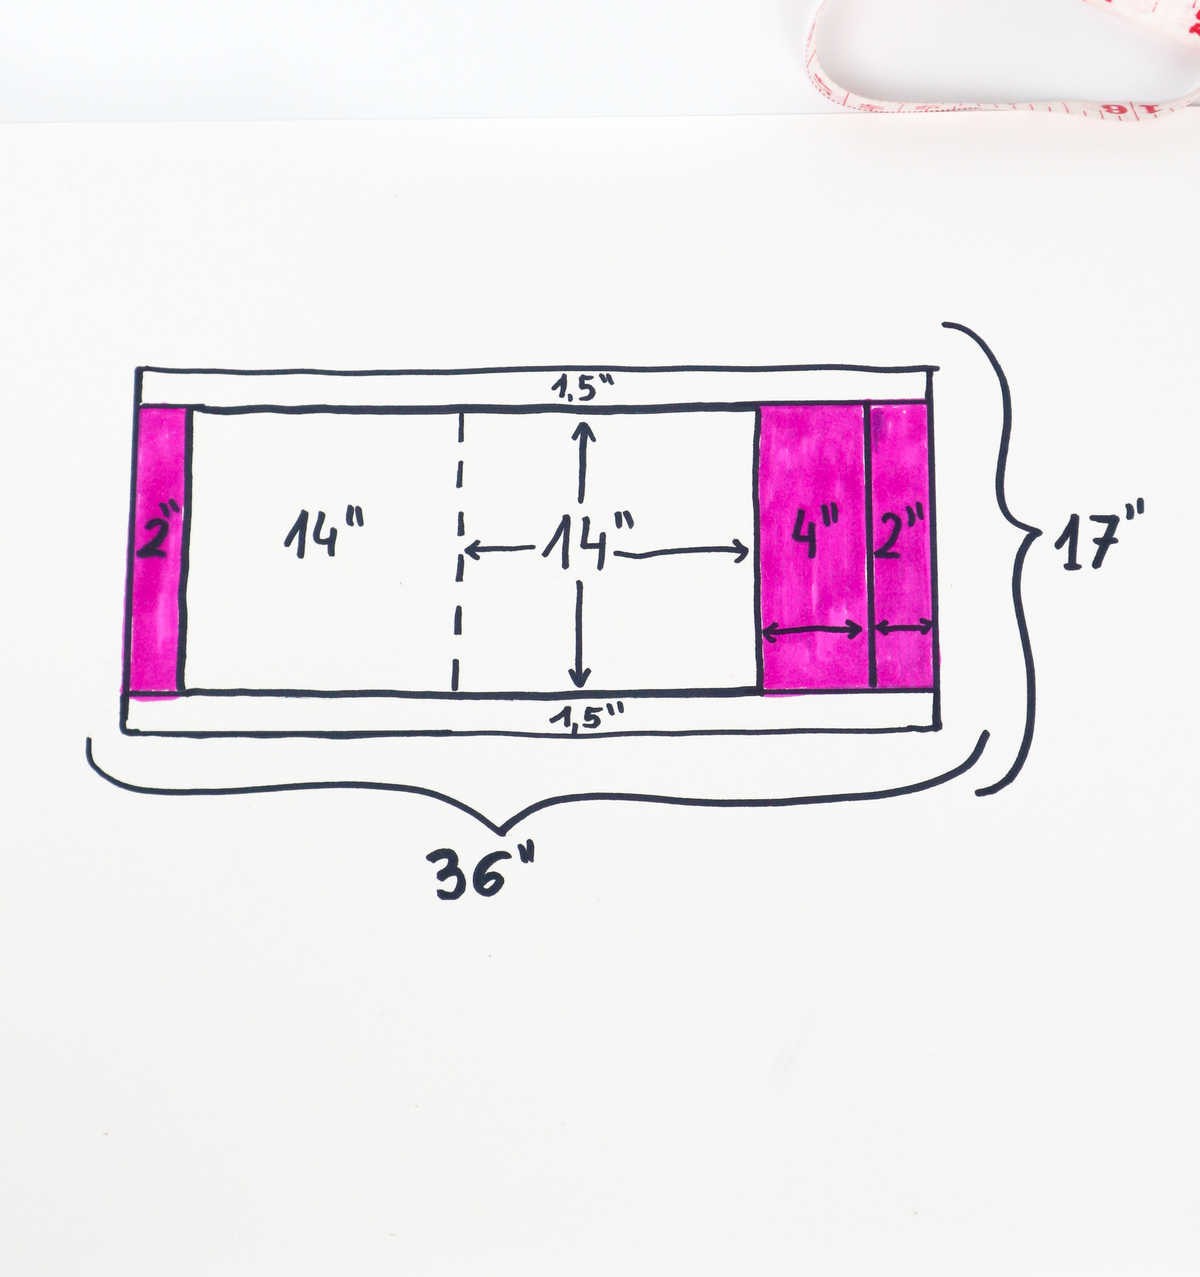
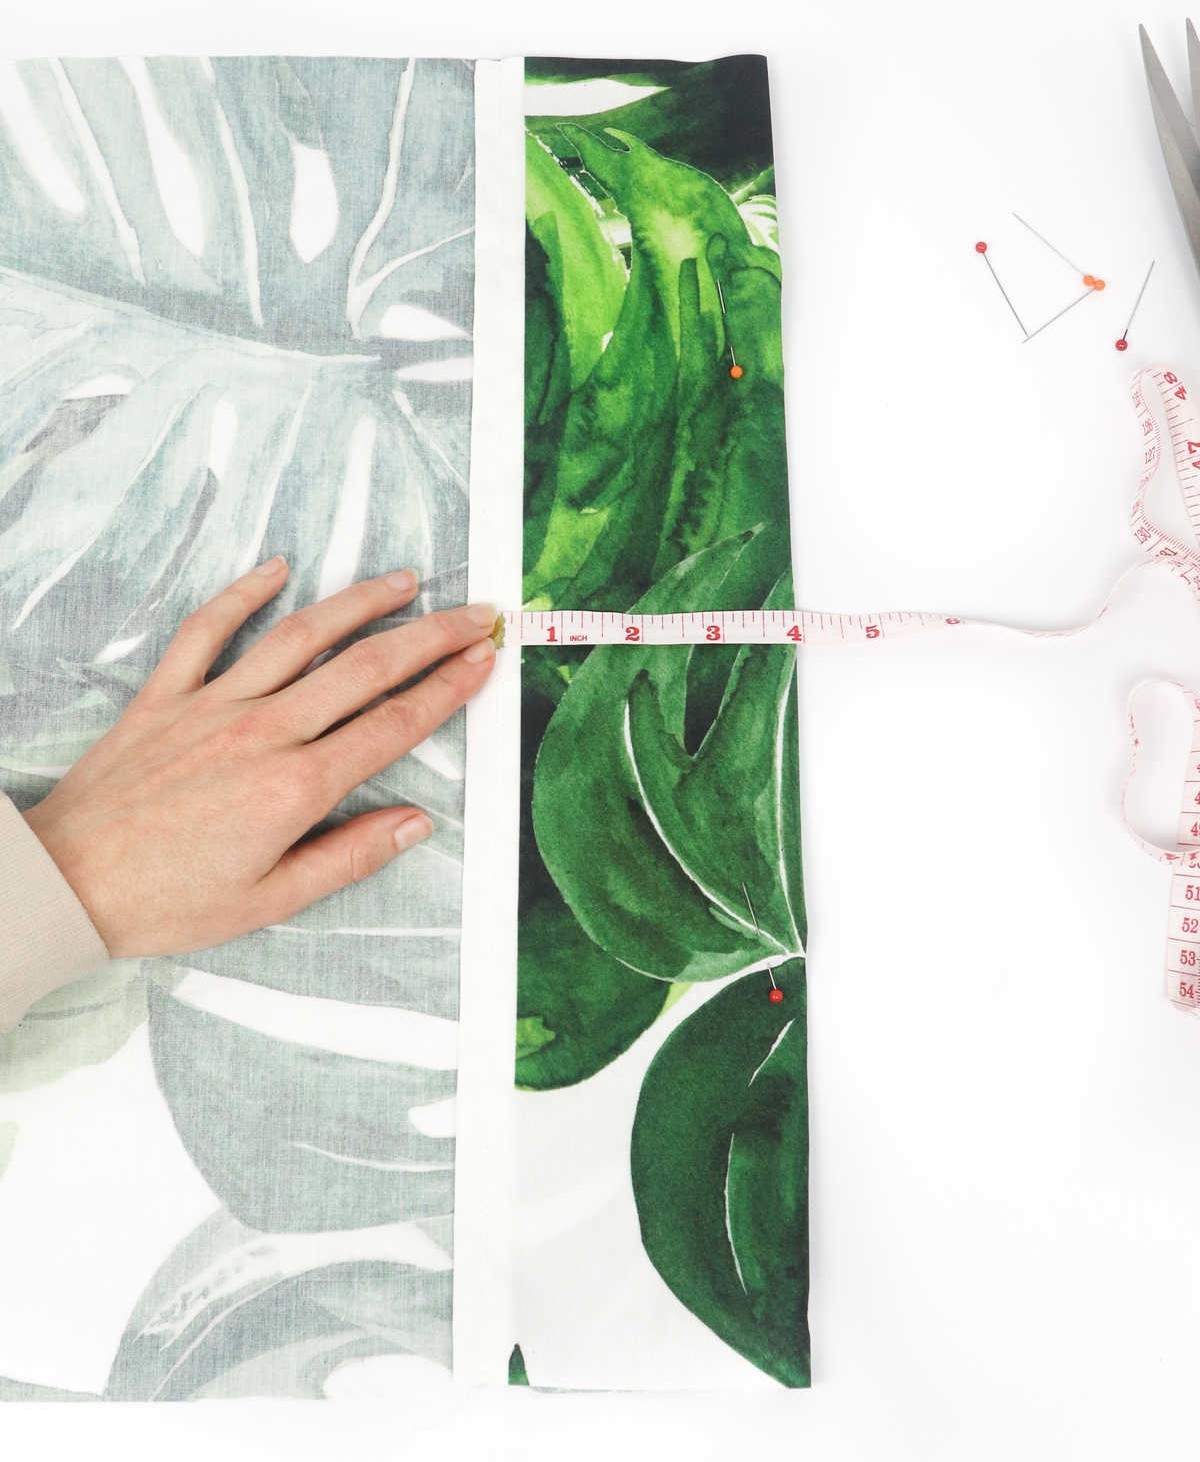
To start, remove any existing pillowcase and take out your measuring tape. You’ll need to measure across both sides of your pillow insert. Let’s assume a standard size of 14 inches by 14 inches for this example. Now that you have the measurement, it’s time to calculate how much fabric you’ll need. Using the dimensions, create two square swatches, each measuring 14 inches by 14 inches.
This will require an additional 2 inches on the left side and 4 inches on the right side, which should be lined up with another 2 inches. The total length of your fabric should now be 36 inches. For the width or height, you’ll need two long strips that are each 1.5 inches wide and 36 inches long to account for sewing allowance. This brings the overall width or height to a total of 17 inches.
Step 2

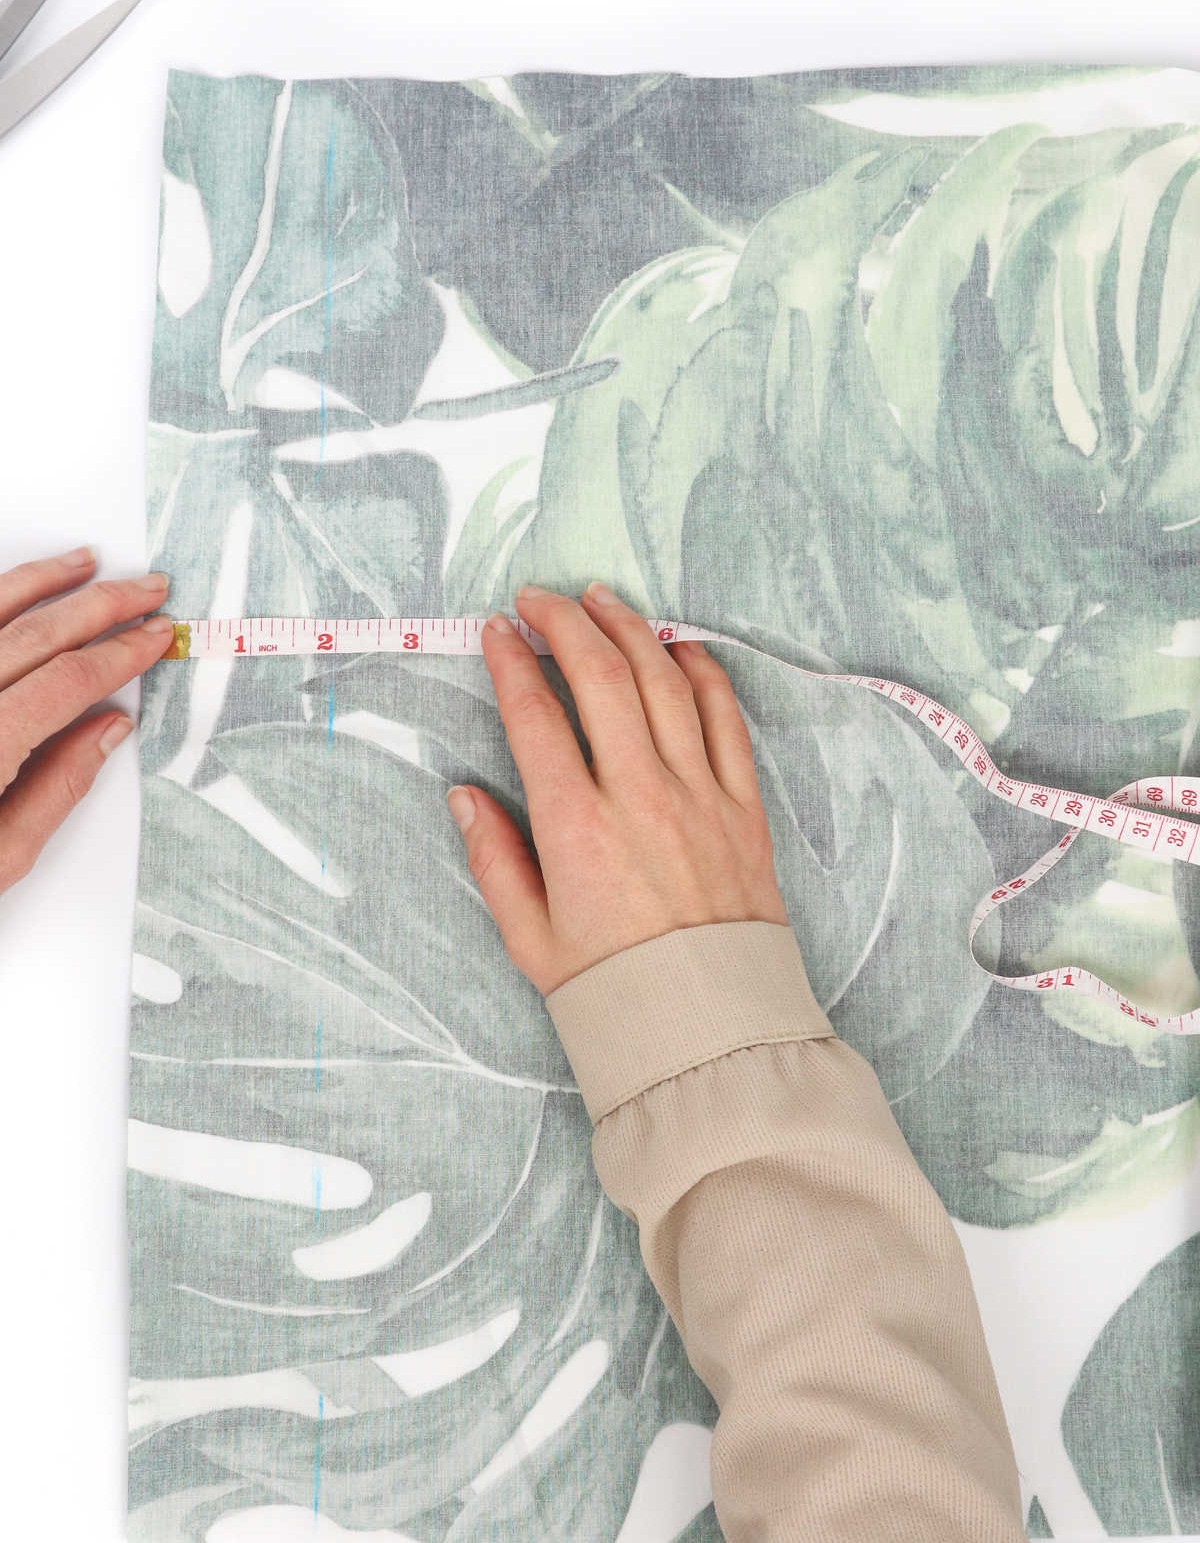
Marking the fabric with tailor’s chalk is a crucial step in creating a well-fitted garment. This process involves making precise measurements on the fabric to ensure that the final product fits perfectly. By following the same level of attention to detail as before, take out your trusty tailor’s chalk and begin making the markings on the fabric. These marks will serve as a guide for cutting the fabric to the correct size.
Step 3
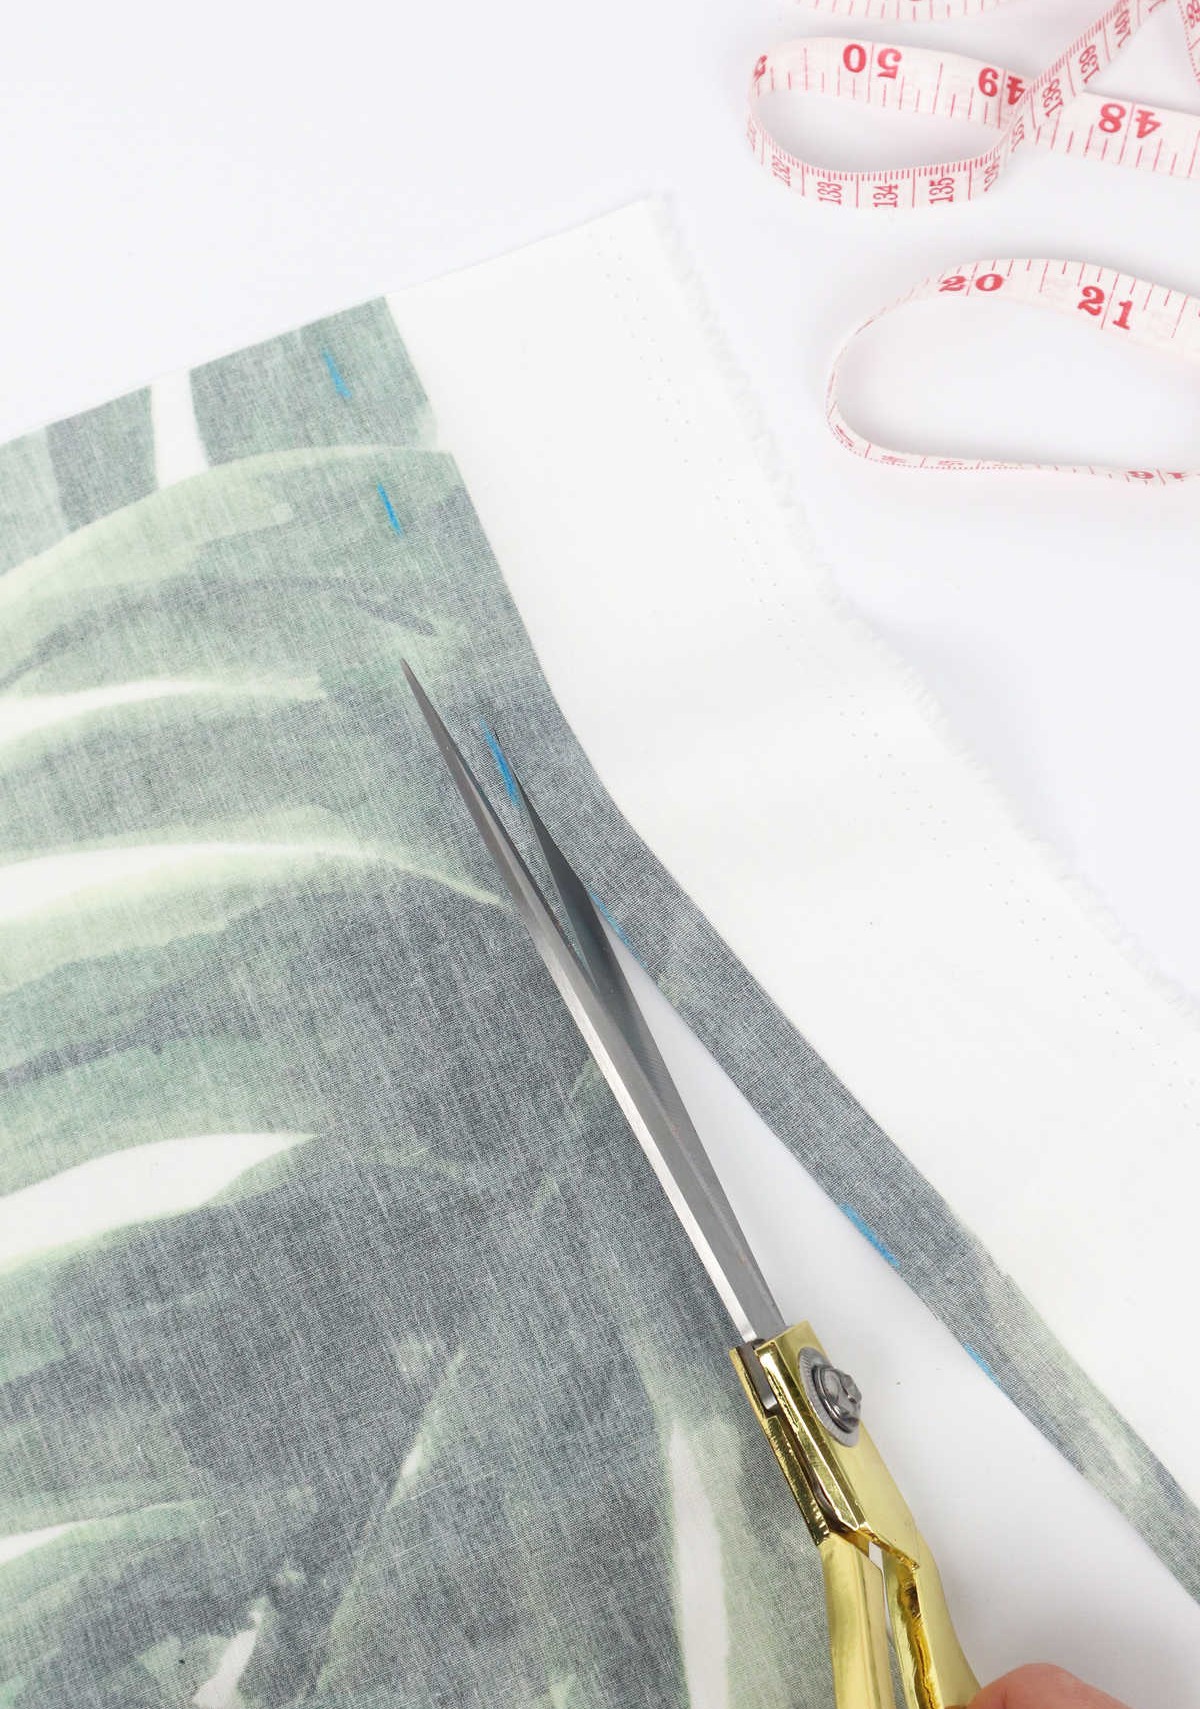
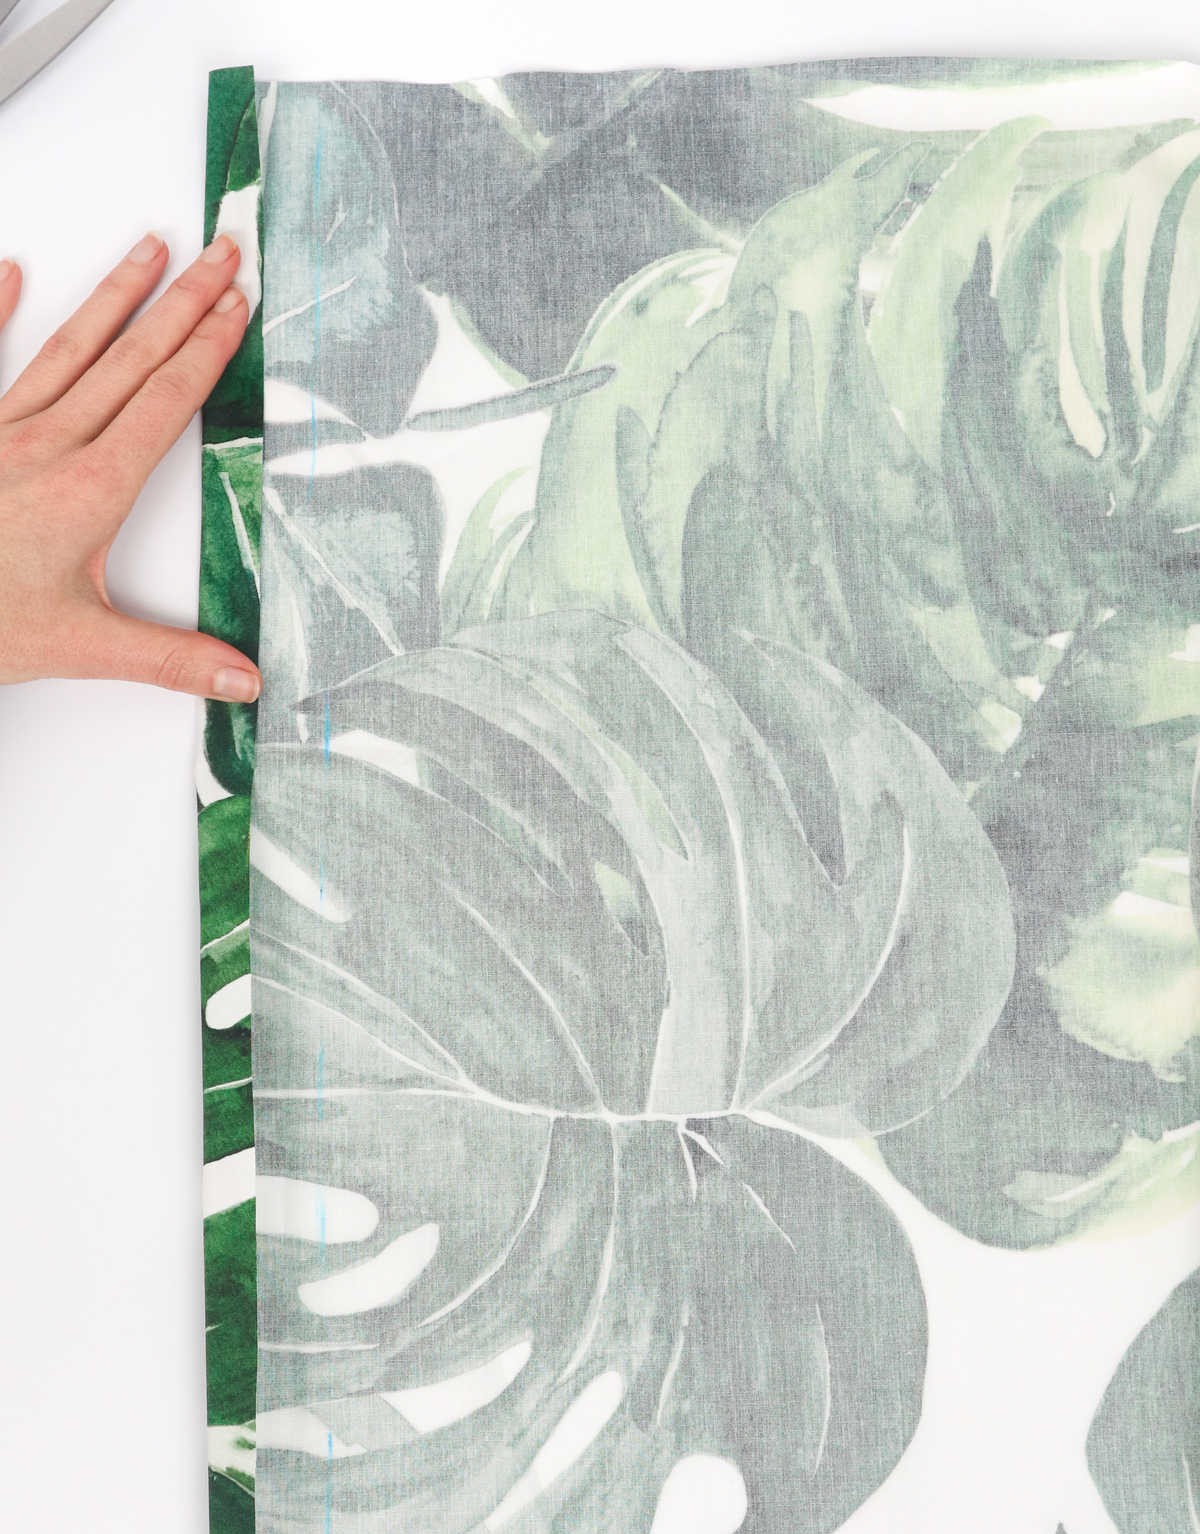
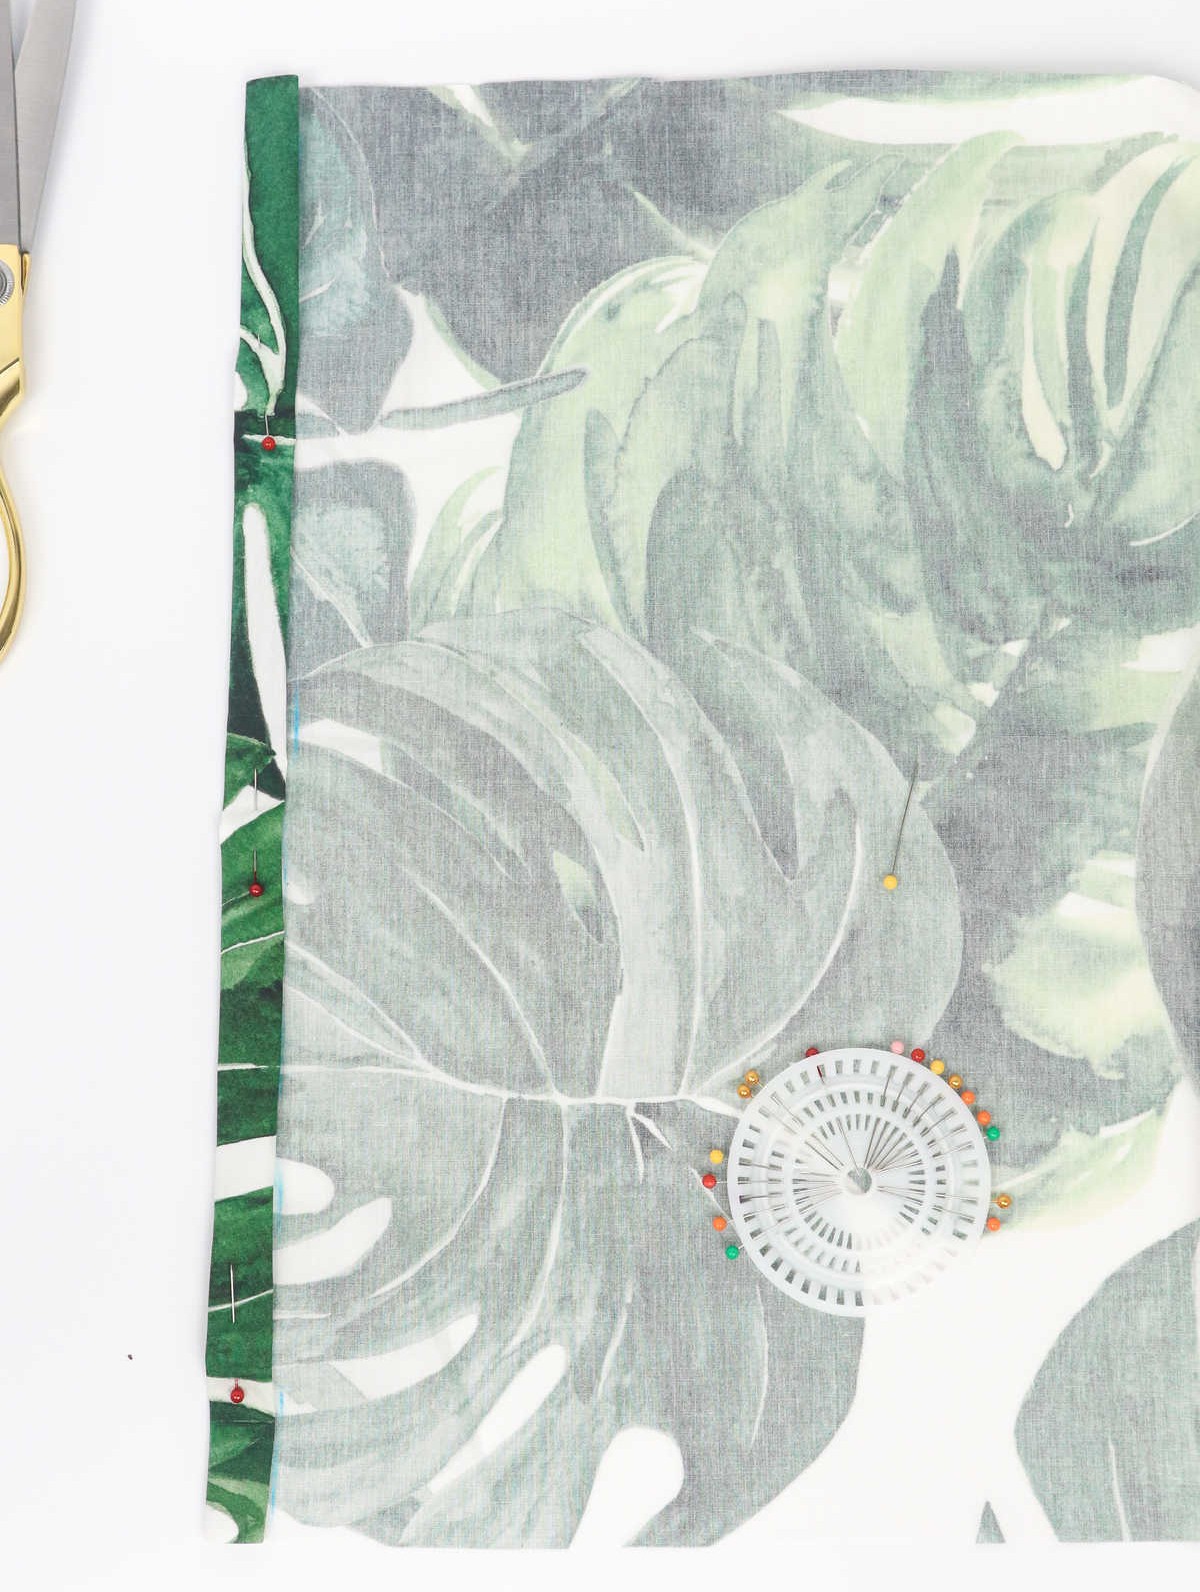

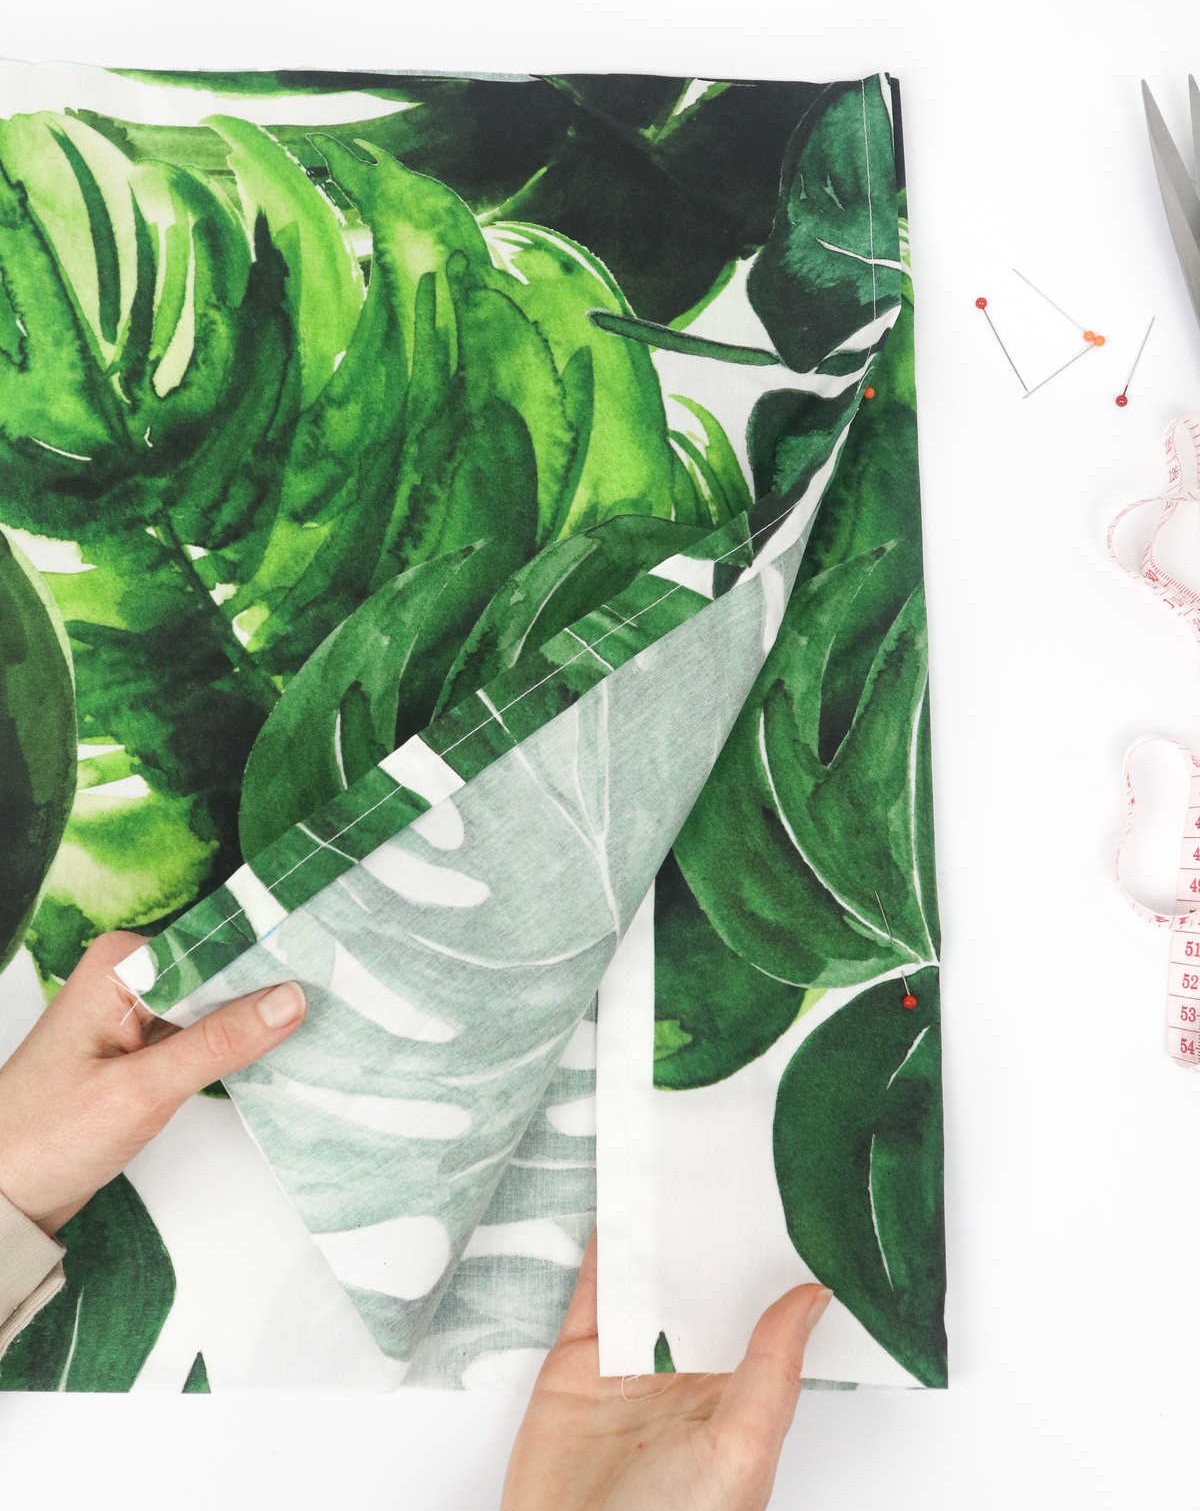
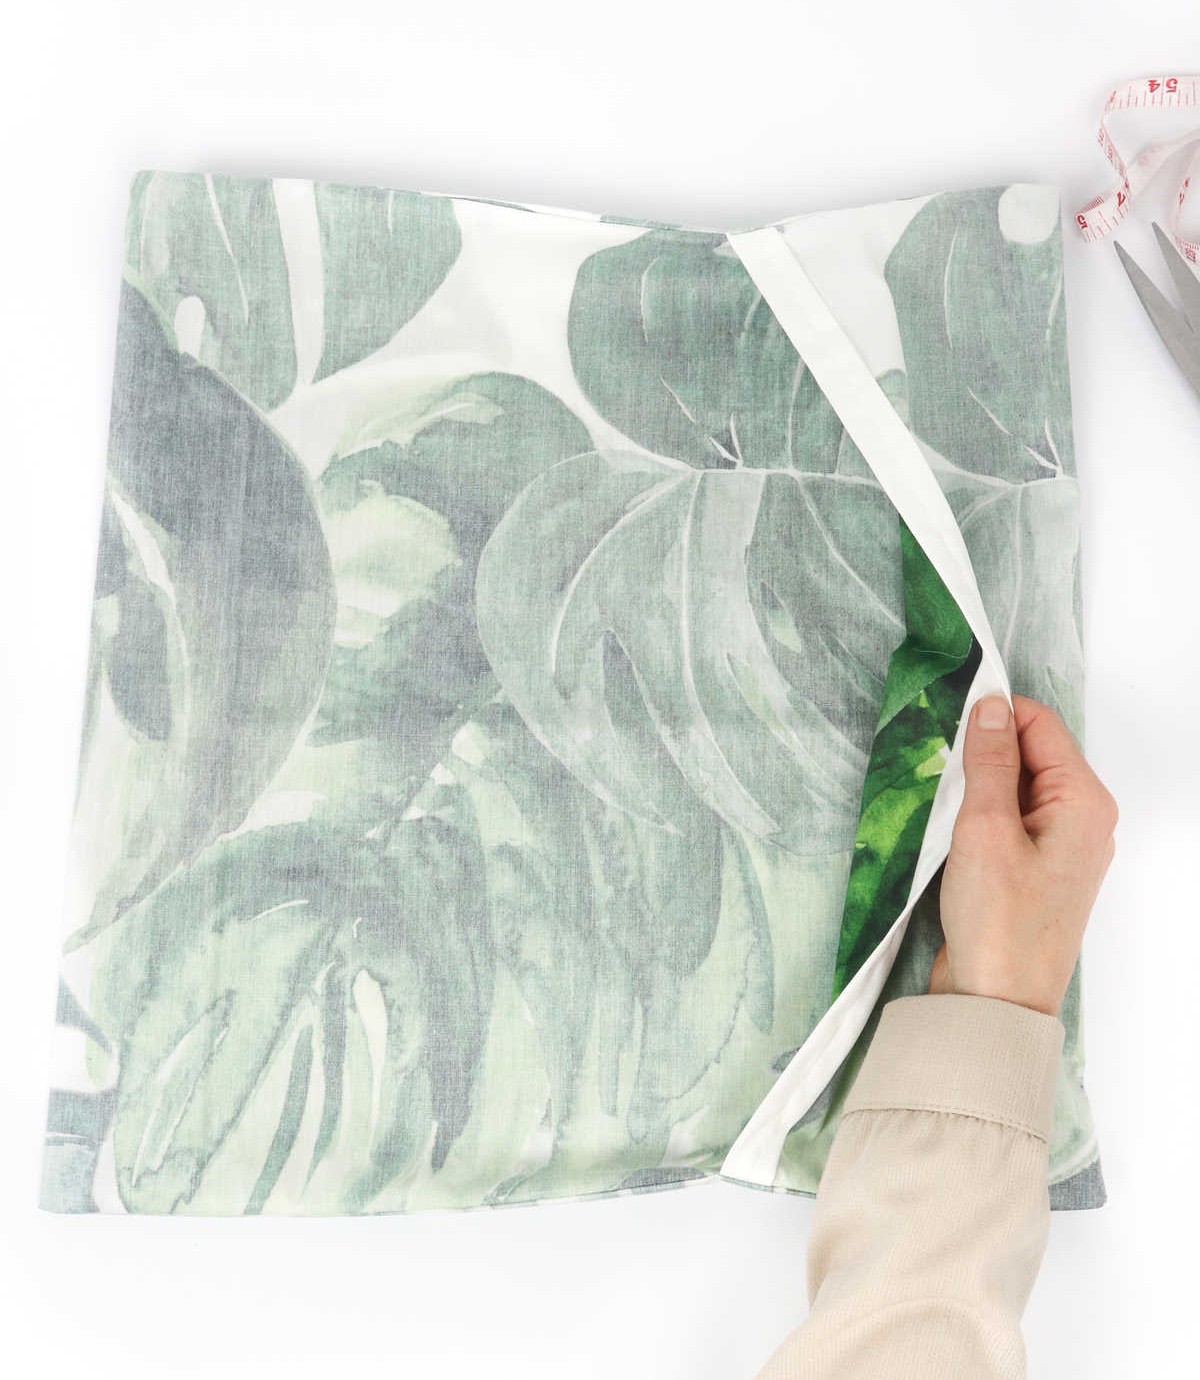
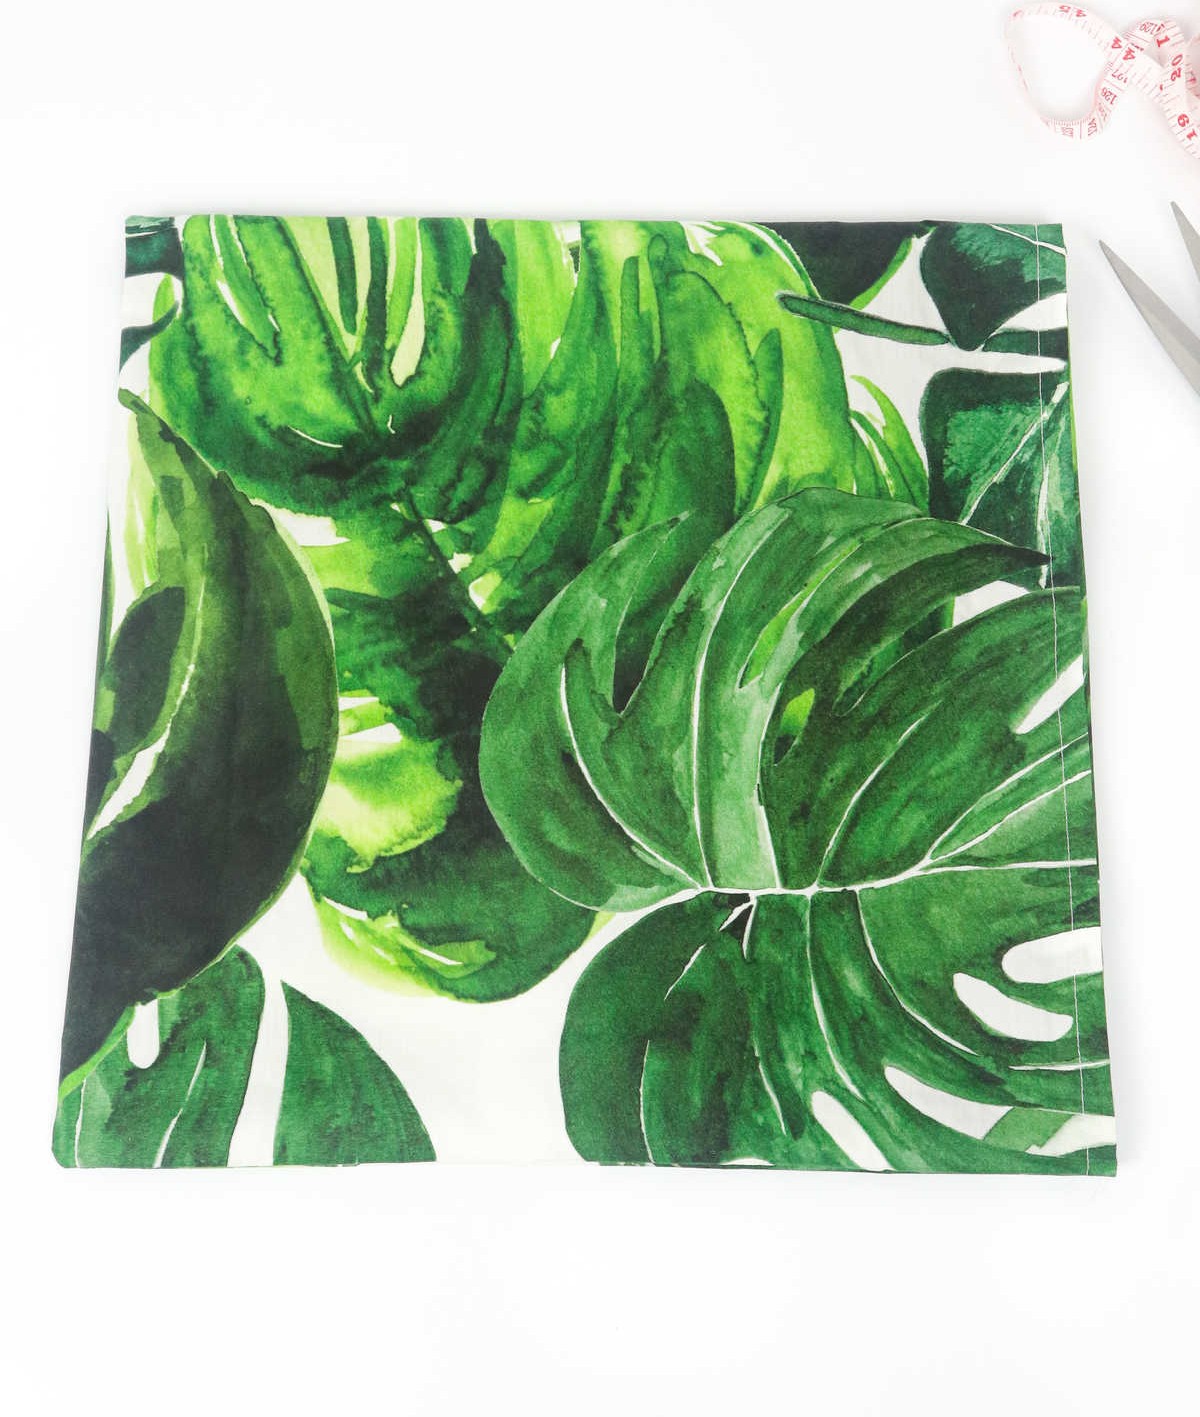
To begin with, take a single piece of fabric measuring 36 inches by 17 inches and cut it to your desired size. Next, fold approximately one inch of the fabric’s edge towards the center, creating an overlap. Secure the folded portion in place using sewing pins, as illustrated below.
When folding the fabric, make sure you’re working on the wrong side, as this will ensure that any seam allowance remains facing inward during the sewing process.
Step 4
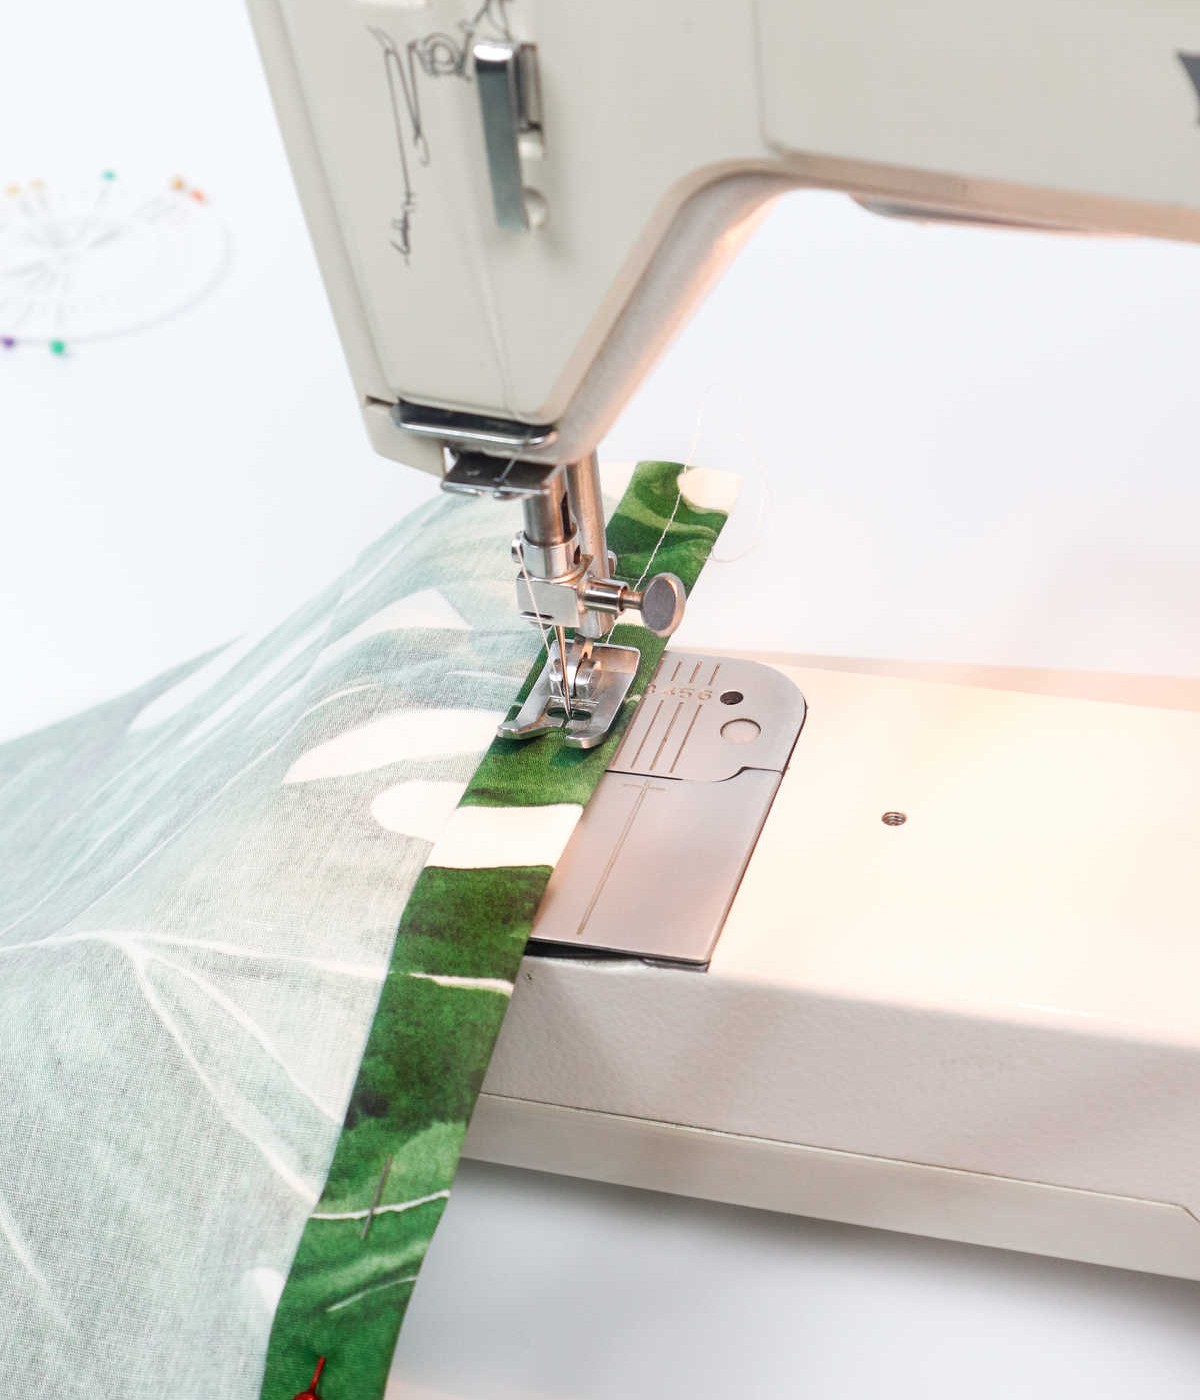
Get your trusty sewing machine ready! Place the fabric under the presser foot, ensuring it’s properly aligned. Begin by sewing along the length of the fabric, maintaining a steady pace to achieve a smooth finish.
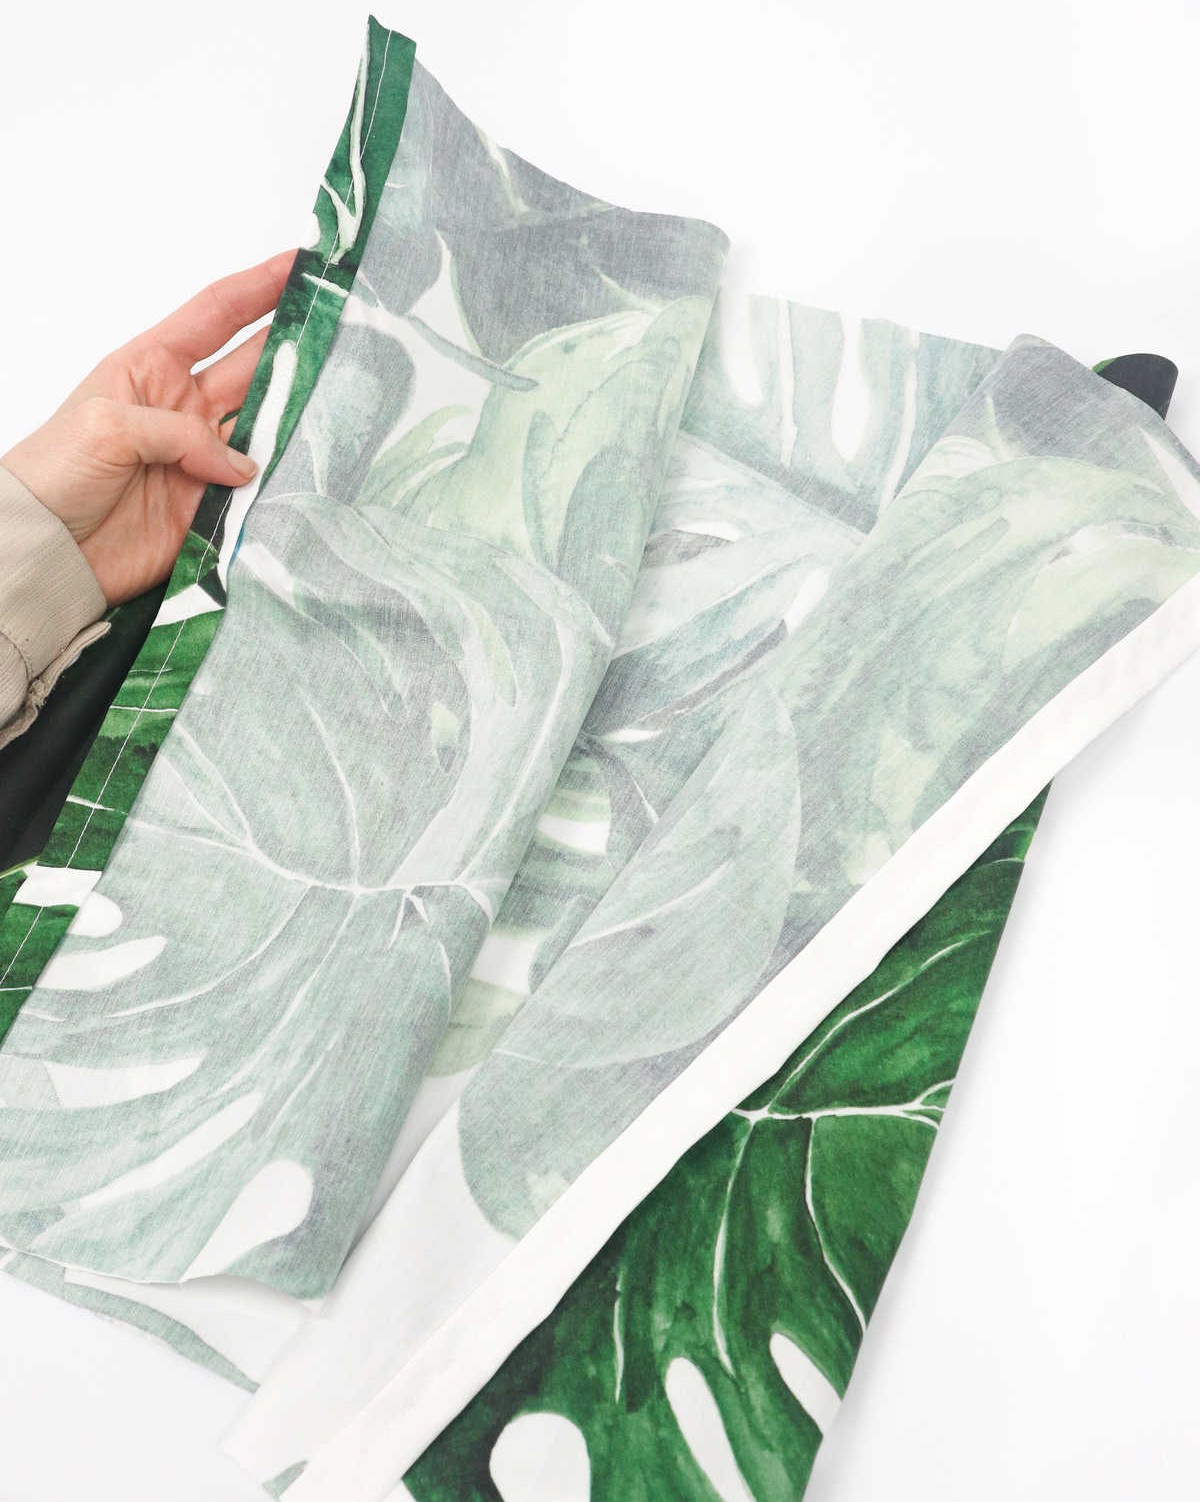
Step 5
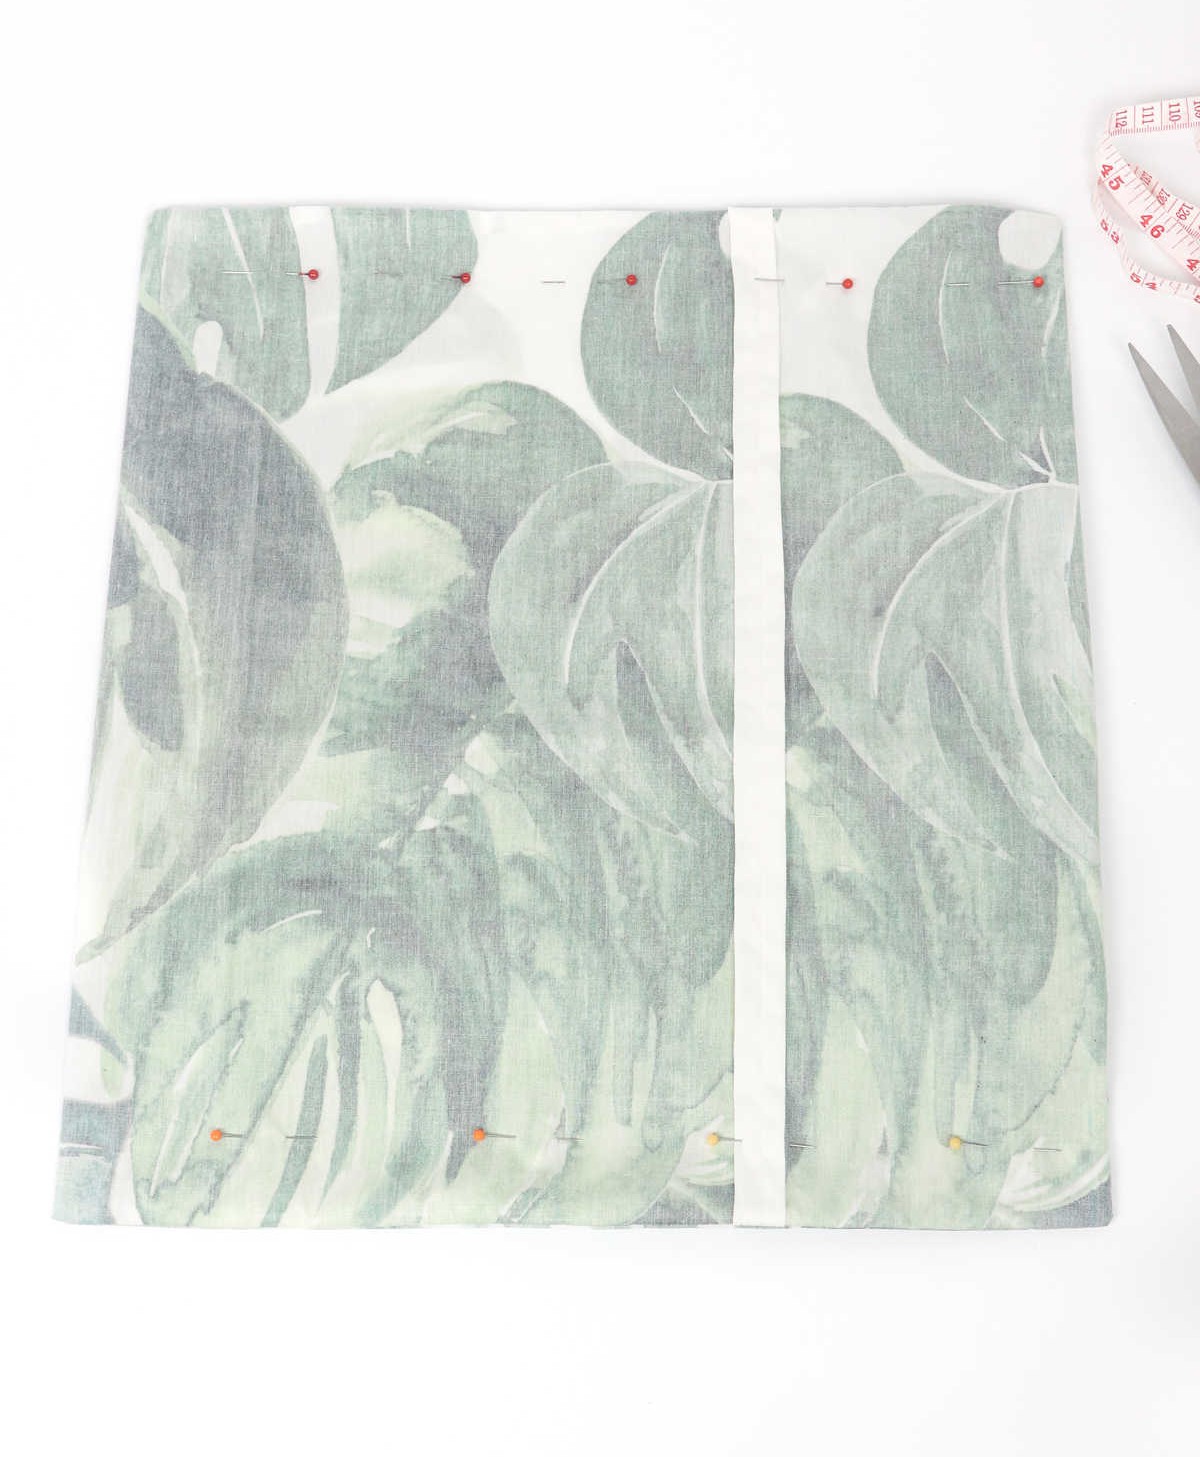
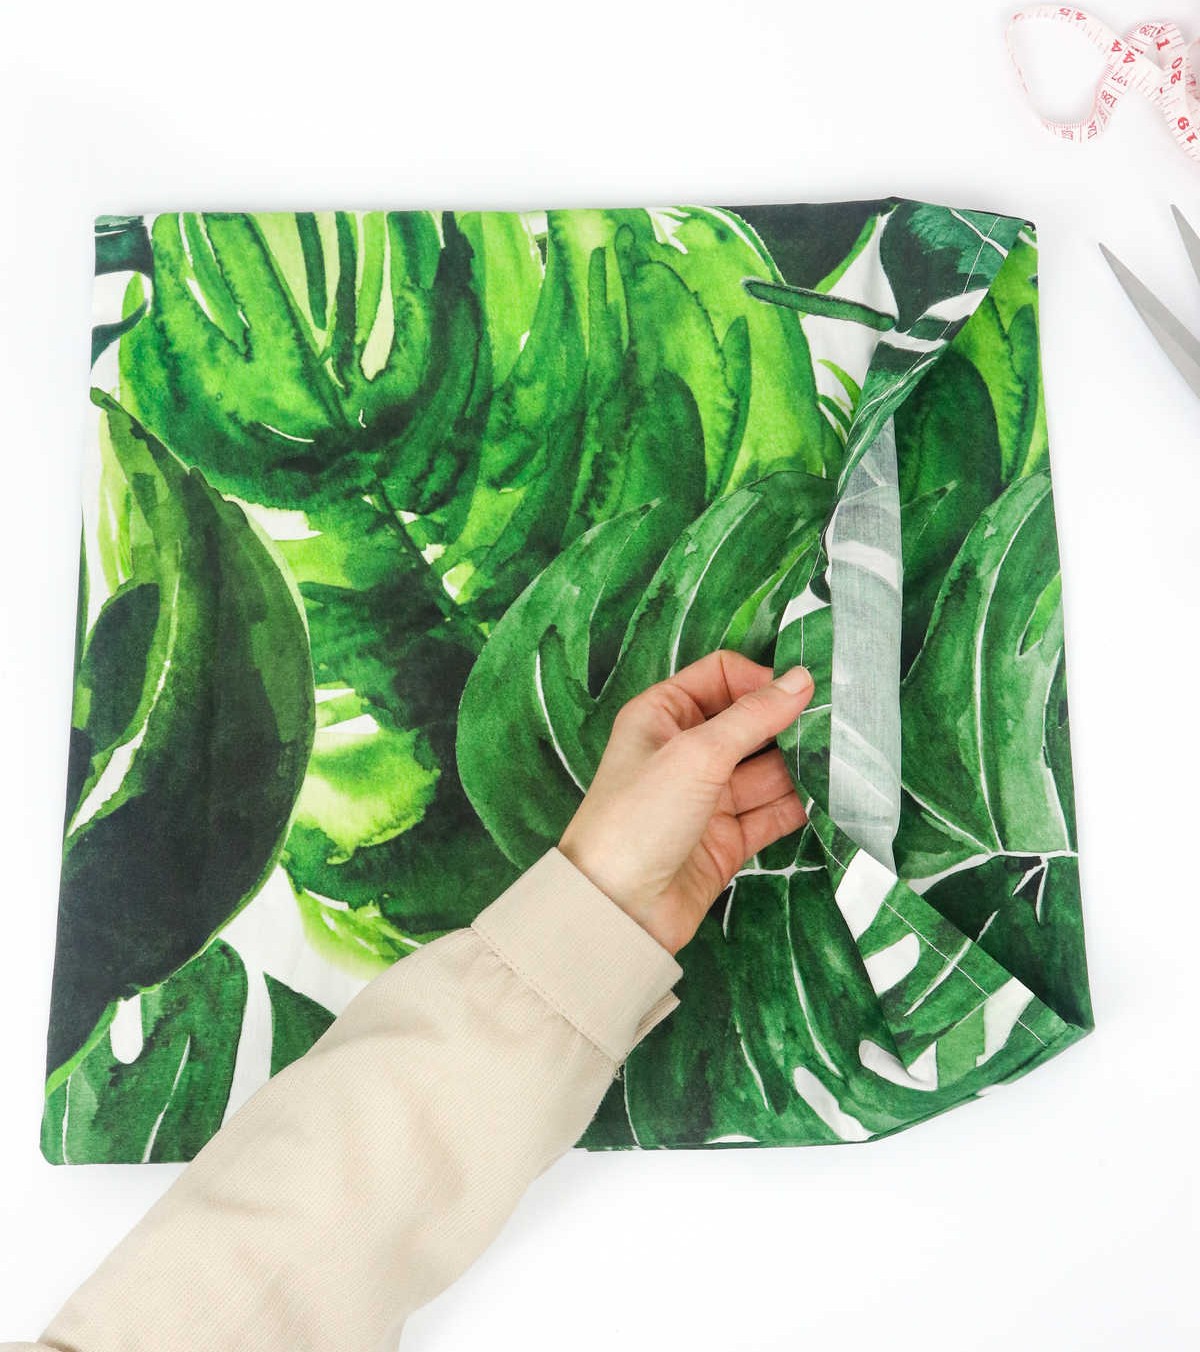
As you near the end of your project, it’s essential to seal the edges by folding the overlapping fabric inward. Start by measuring and folding the edge inward by a width of approximately 4 inches, ensuring the fold is crisp and even. To keep everything in place, secure the flap with pins, taking care to distribute them evenly across the seam.
Step 6
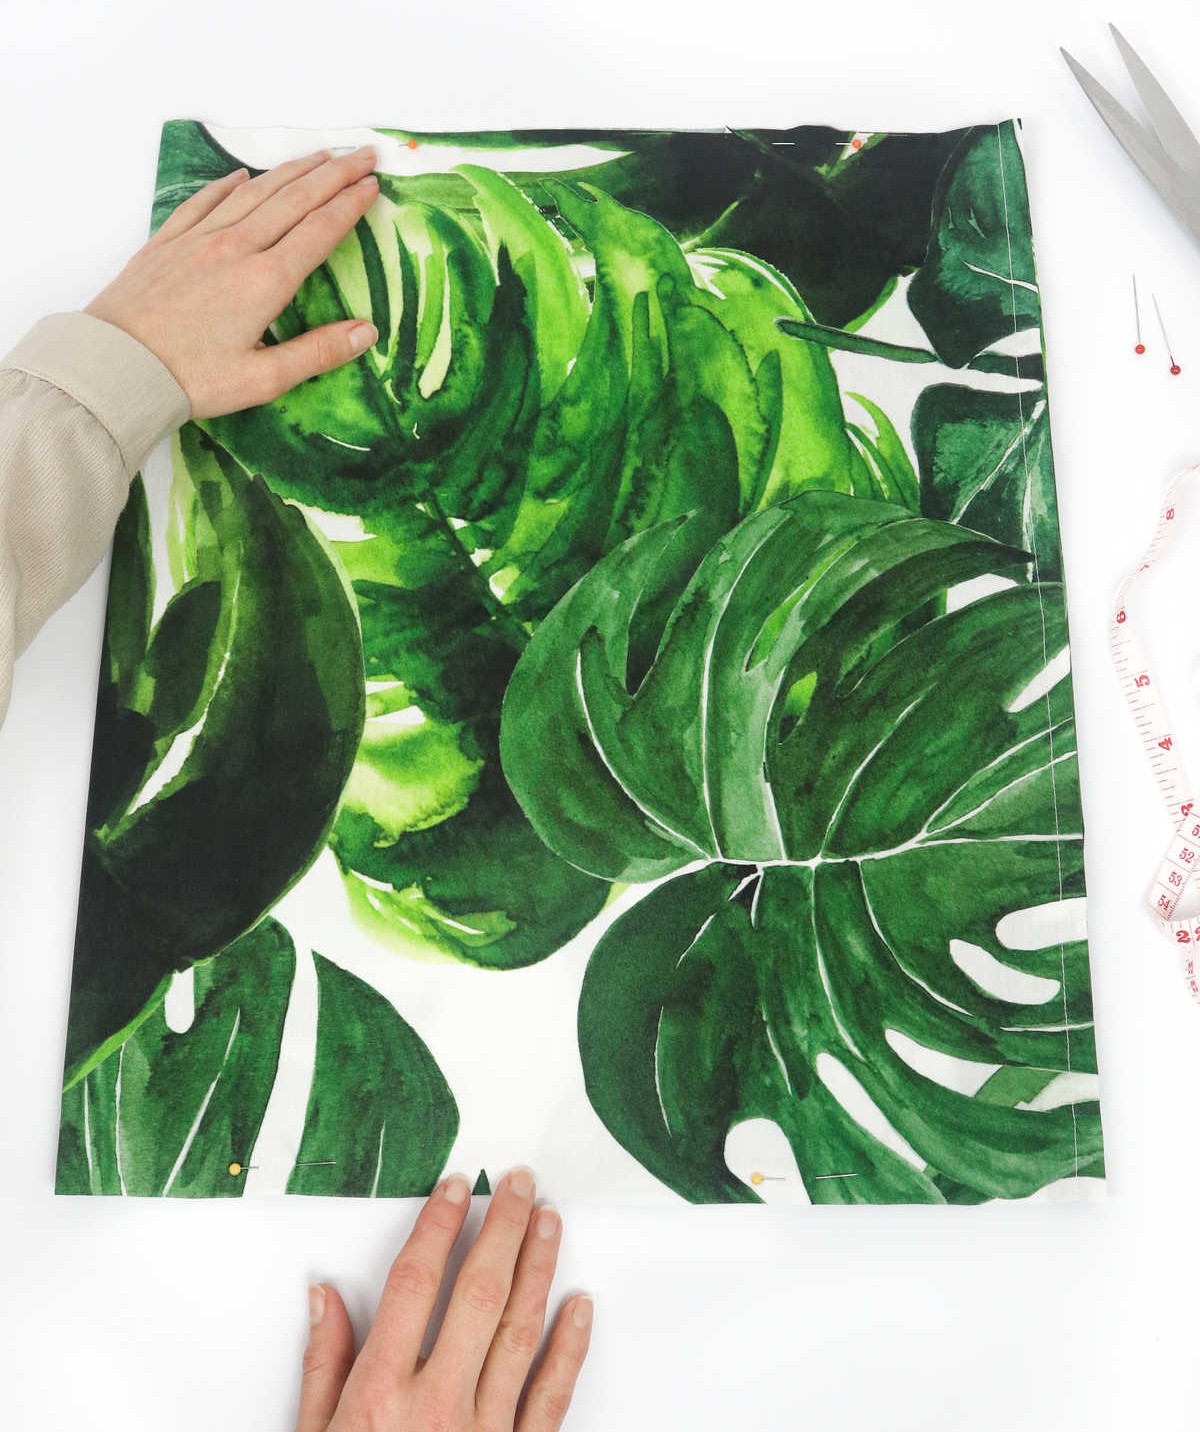

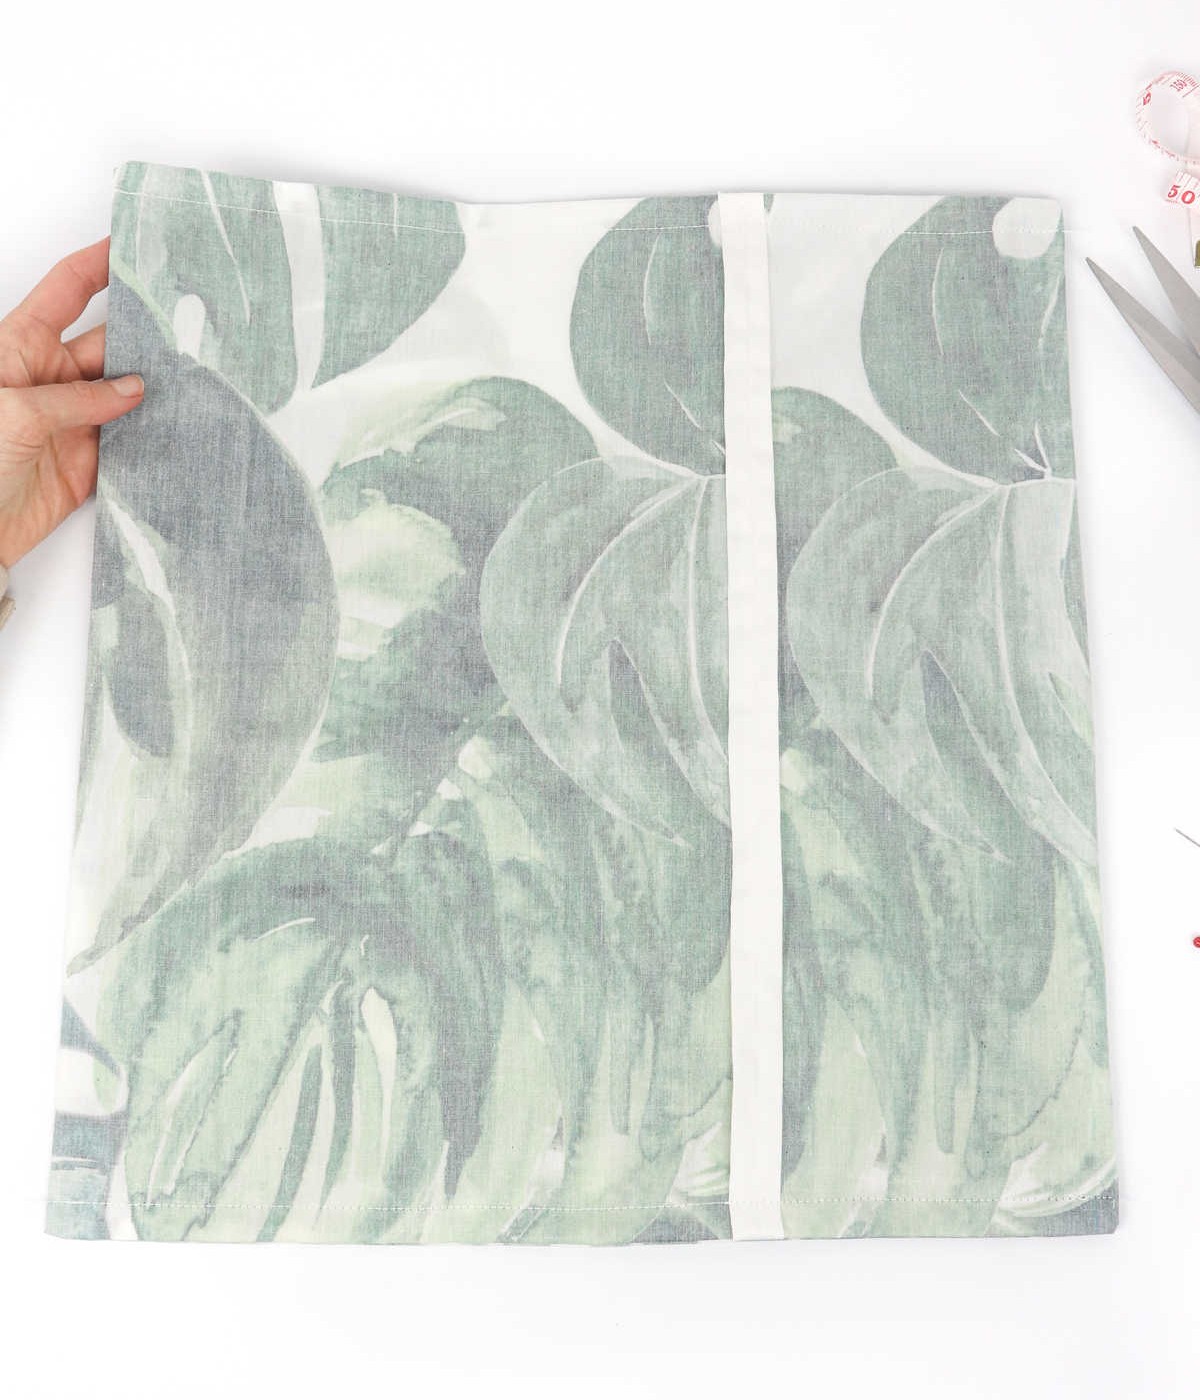
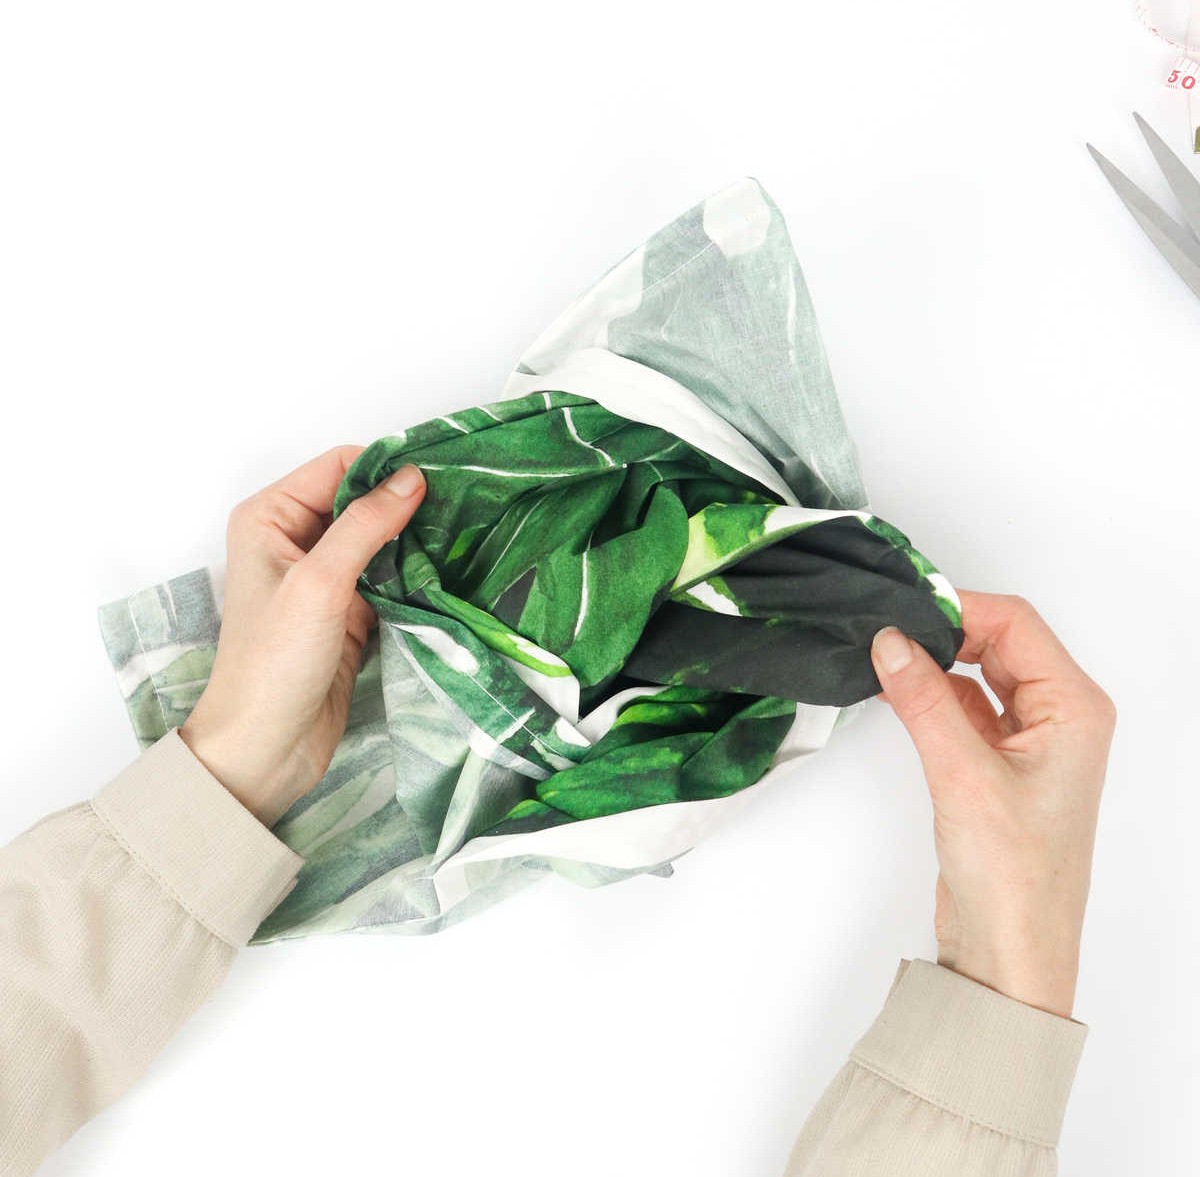
To ensure your pillowcase turns out perfectly, start by folding the fabric in half along the middle crease. As you do this, take note to align the edges carefully. A crucial detail to keep in mind is that the overlap should be positioned on the underside of the fabric, allowing the printed side to face outward. Once you’ve achieved a crisp fold, secure it with a few pins until you’re ready to sew. Take a moment to review your work and confirm that the pillowcase shape is developing as intended.
Only when you’re satisfied with the alignment of the edges should you proceed with sewing.
Step 7
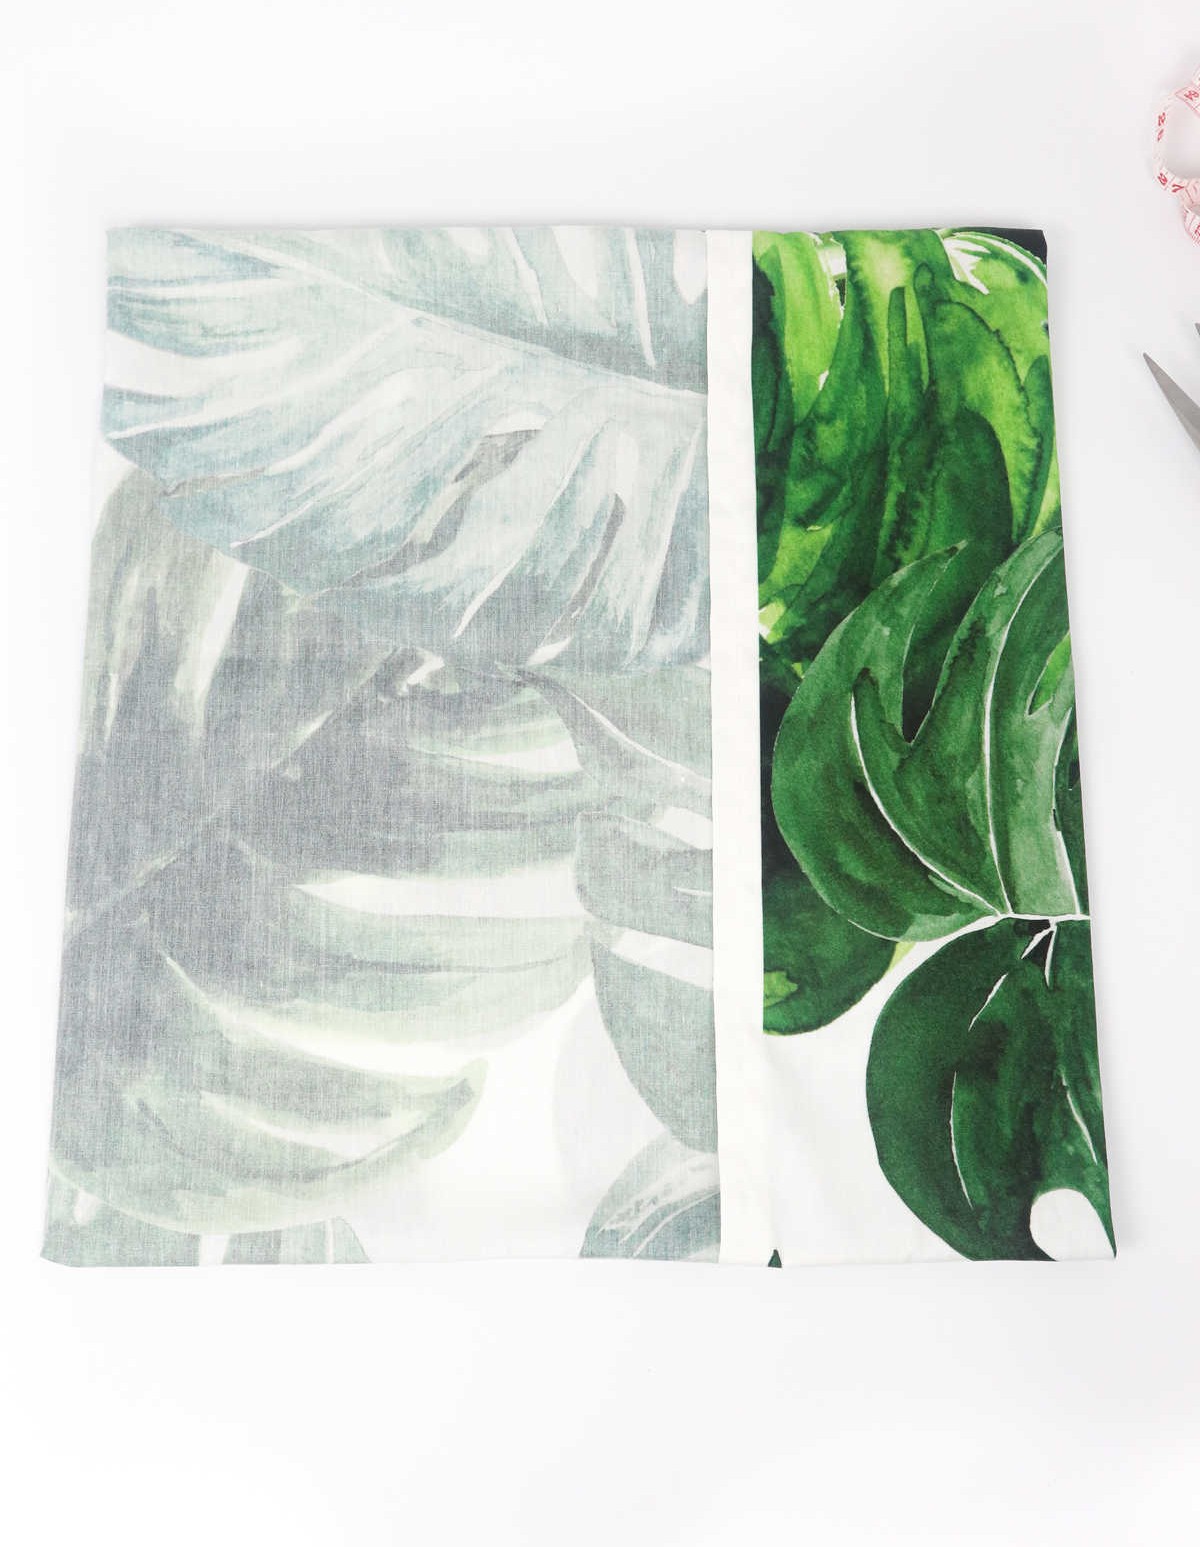
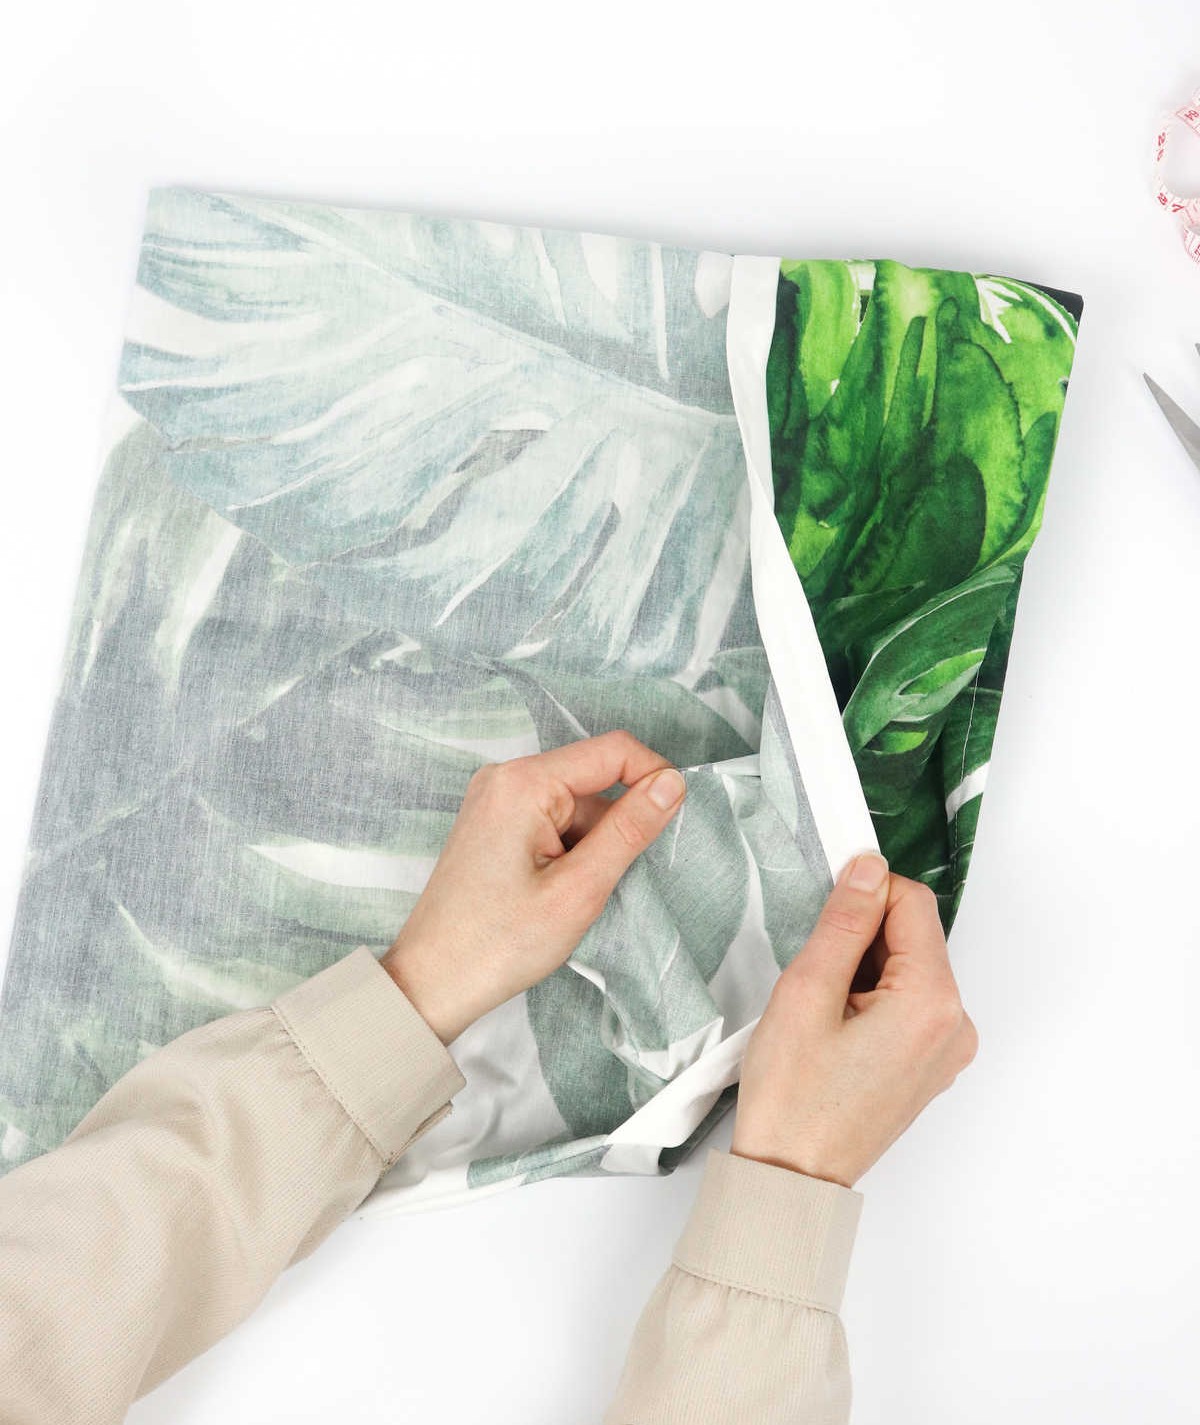
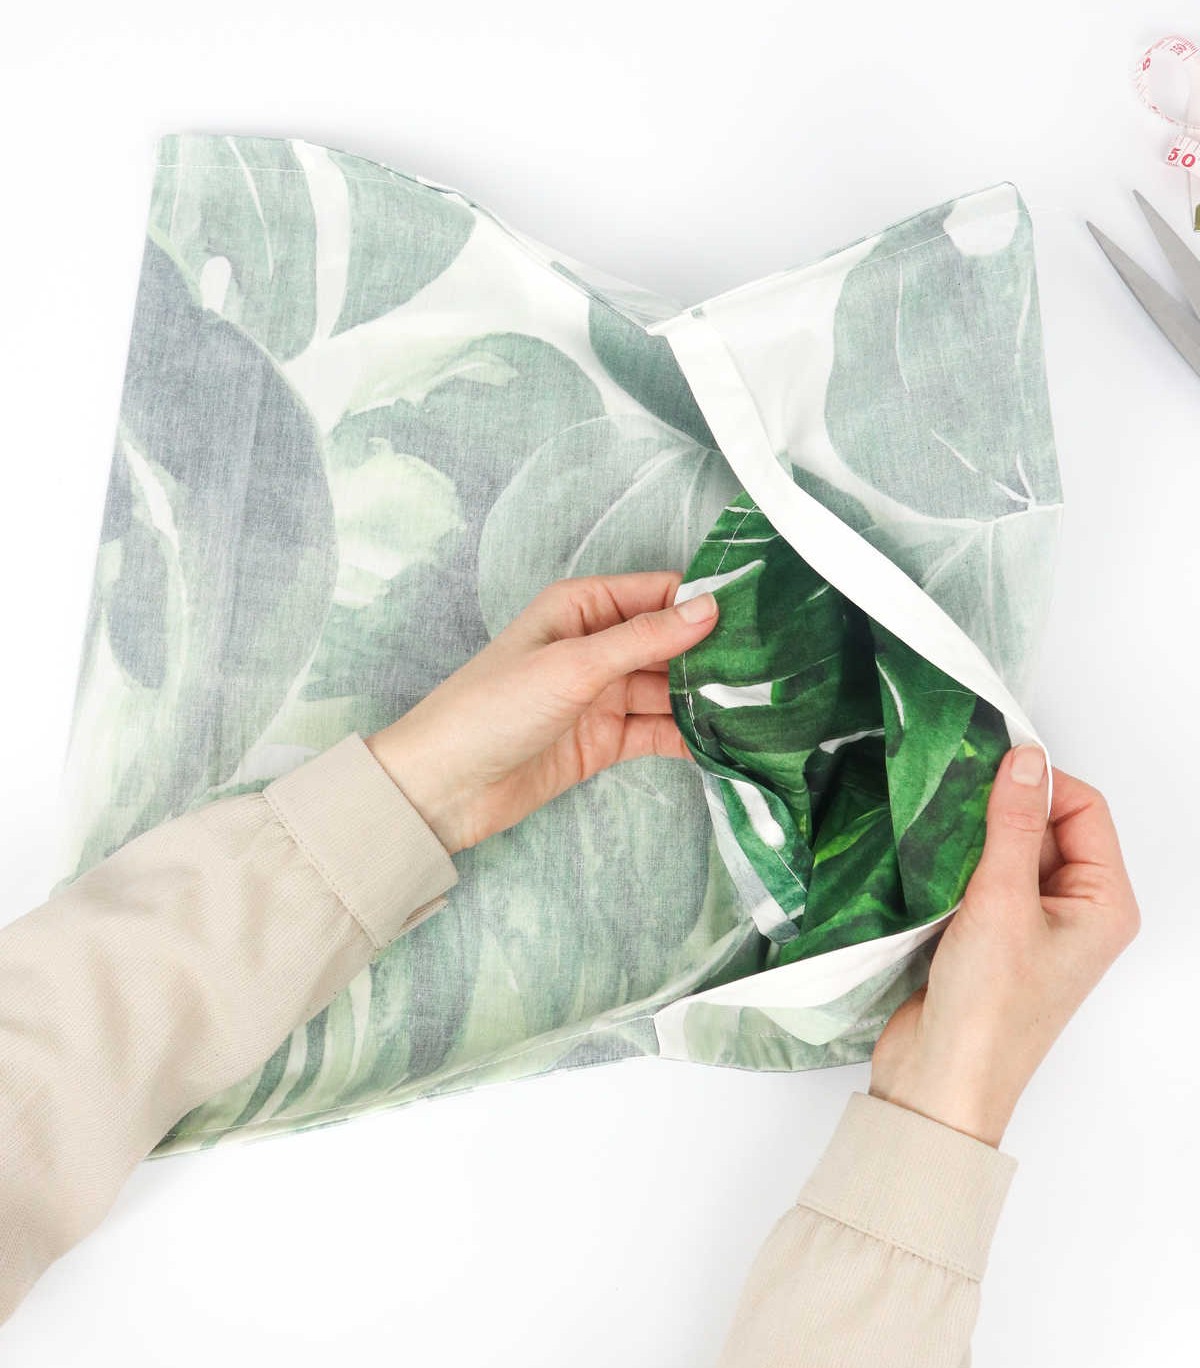
To begin the process, turn the pillowcase inside out, with the wrong side facing upwards and the printed side inward. This will ensure a smooth finish when you’re done. Next, flip the flap inside out, making sure the right side is now facing inwards. Before moving forward, take a moment to mark an extra inch for seam allowance along this edge. With your fabric folded into a 1-inch strip and pinned in place, it’s time to secure all four sides of the pillowcase with additional pins.
Once you’ve got everything pinned down, you can proceed to sew the pillowcase, marking the final step in this process.
Step 8
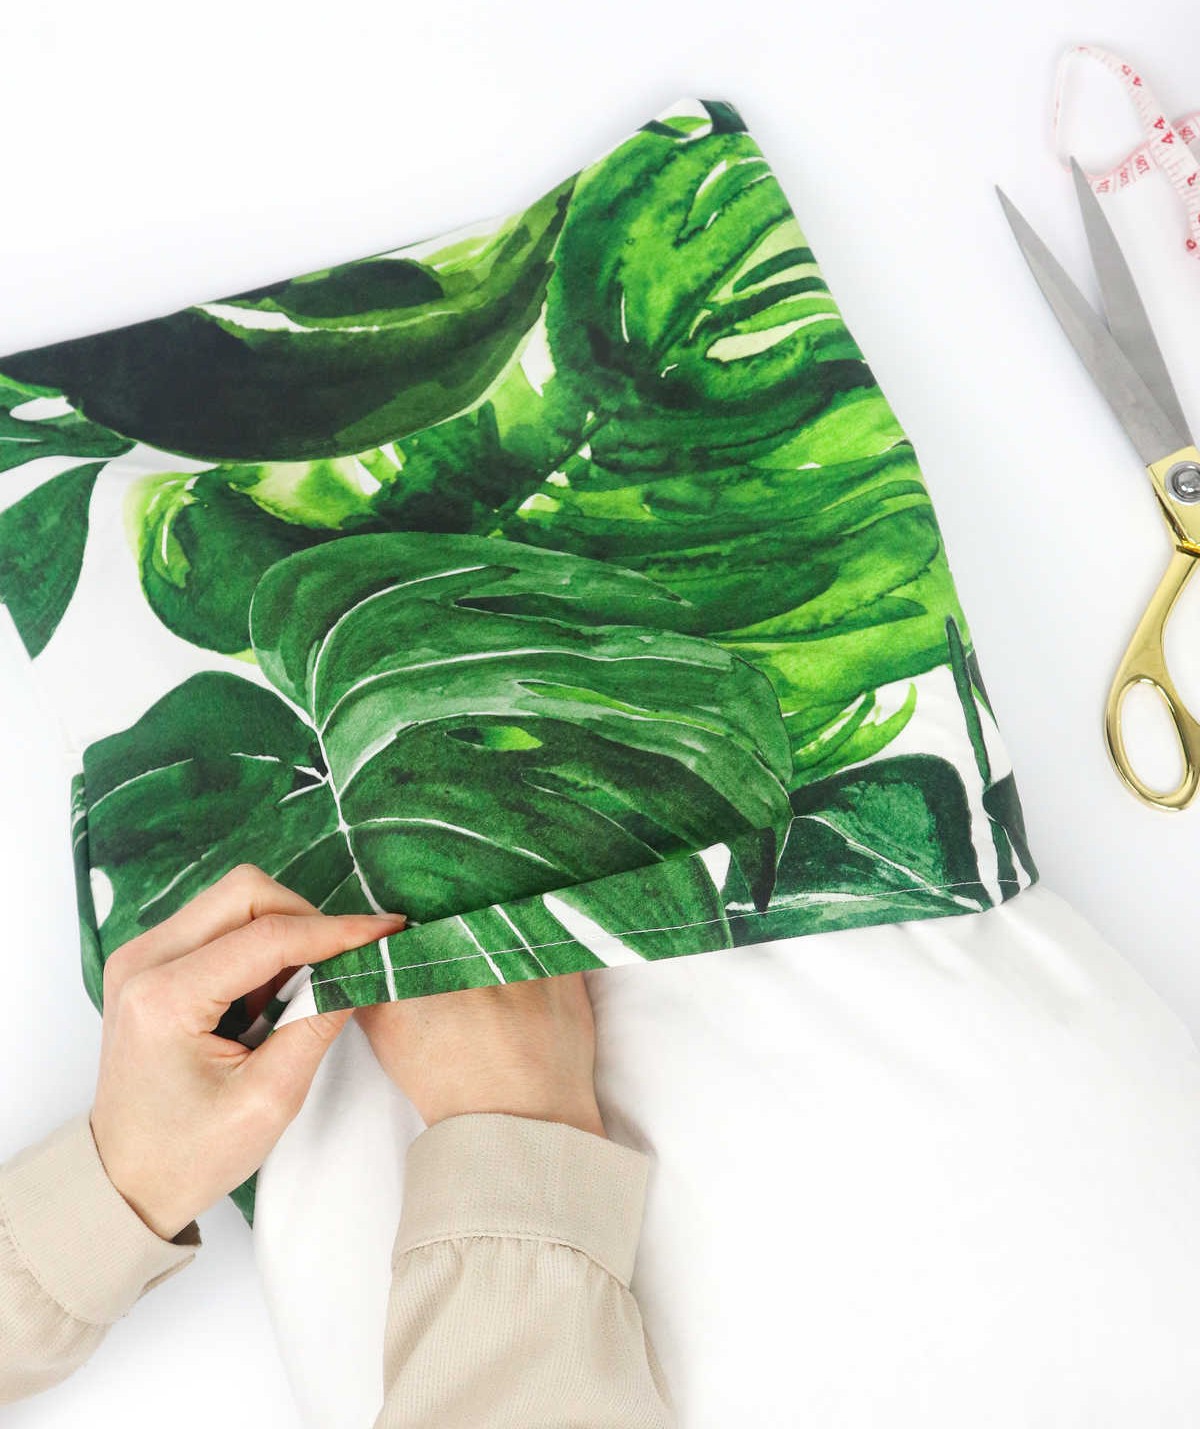
As you complete the final touches on sewing around the perimeter of your fabric, it will now resemble a neat and tidy rectangle. It’s crucial to prioritize sewing the top and bottom edges first, followed by strategically placing backstitches to reinforce the stitches for added durability and stability.
Step 9
Get prepared to give your pillowcase a fresh makeover by turning it inside out. Start by flipping the fabric over, ensuring that the wrong side is now facing upwards. To achieve a crisp and clean finish, use your fingertips to carefully push out each corner until they’re fully unfolded.
Step 10
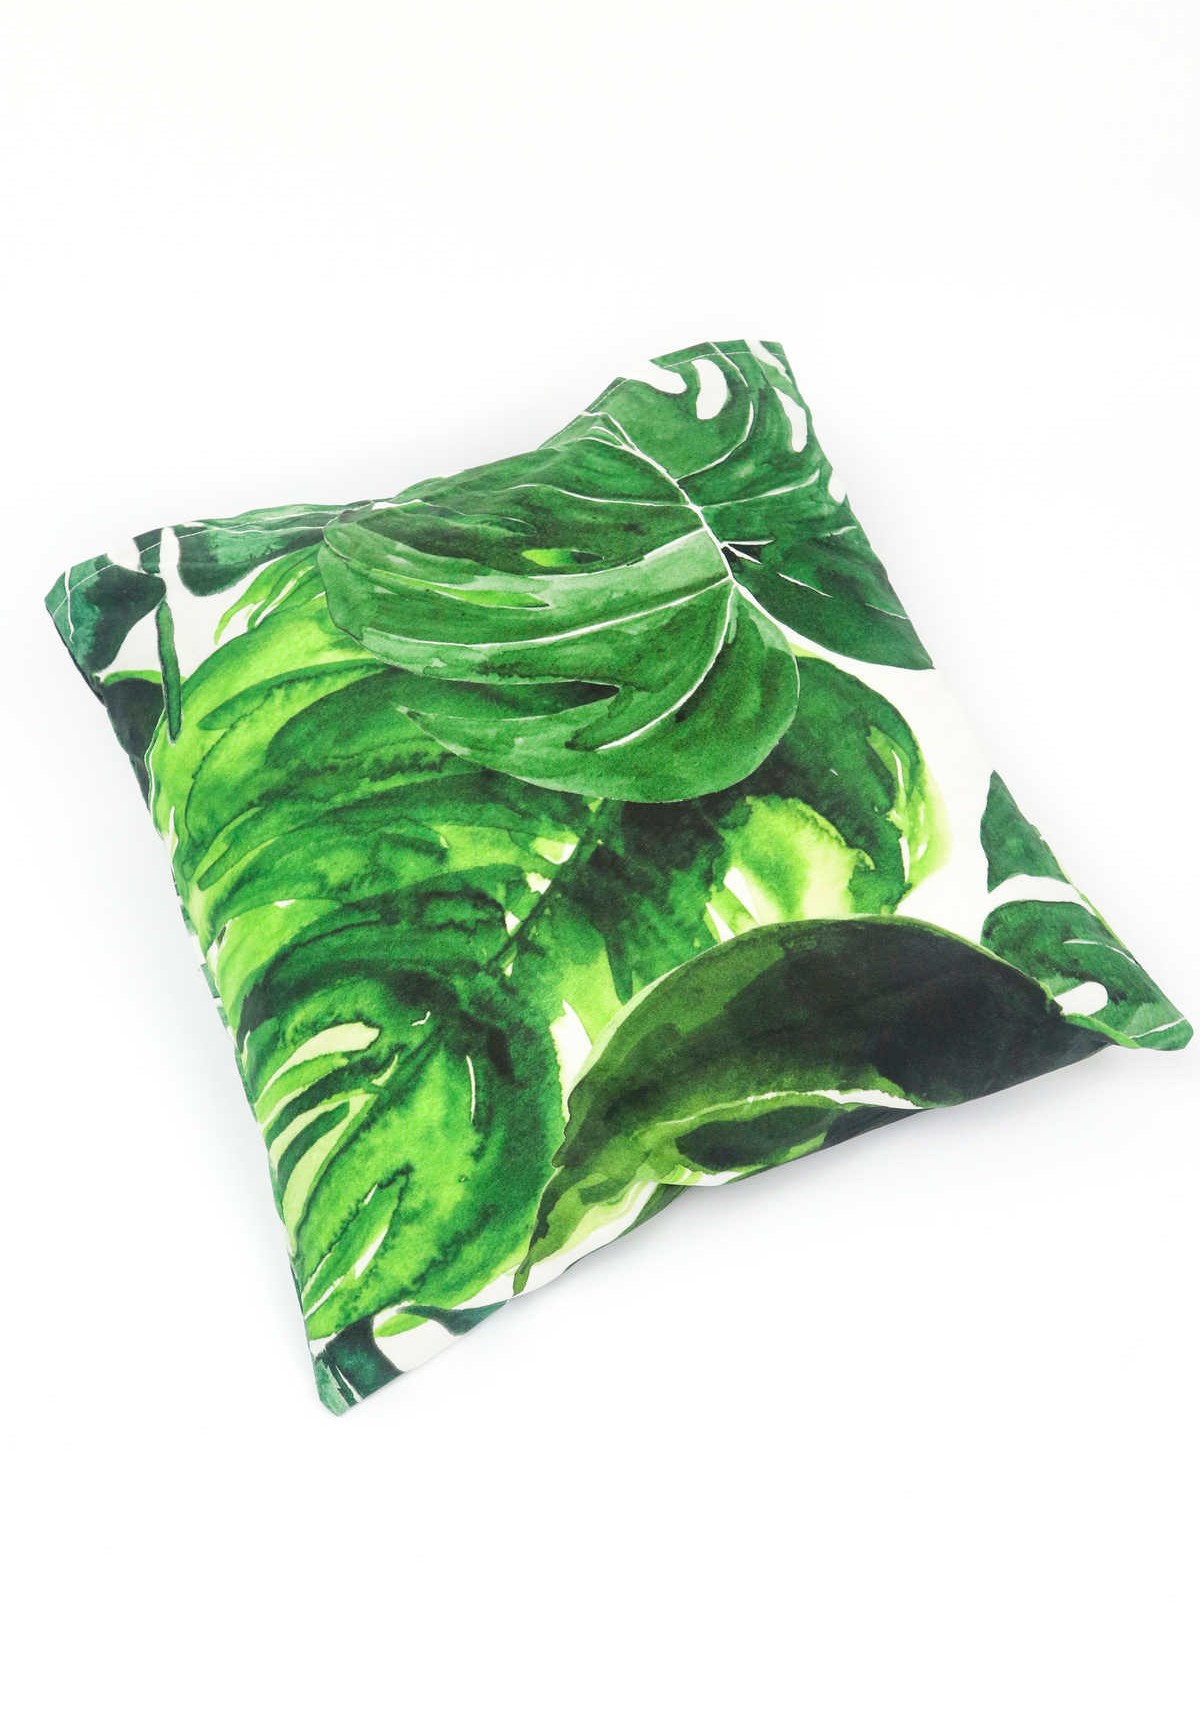
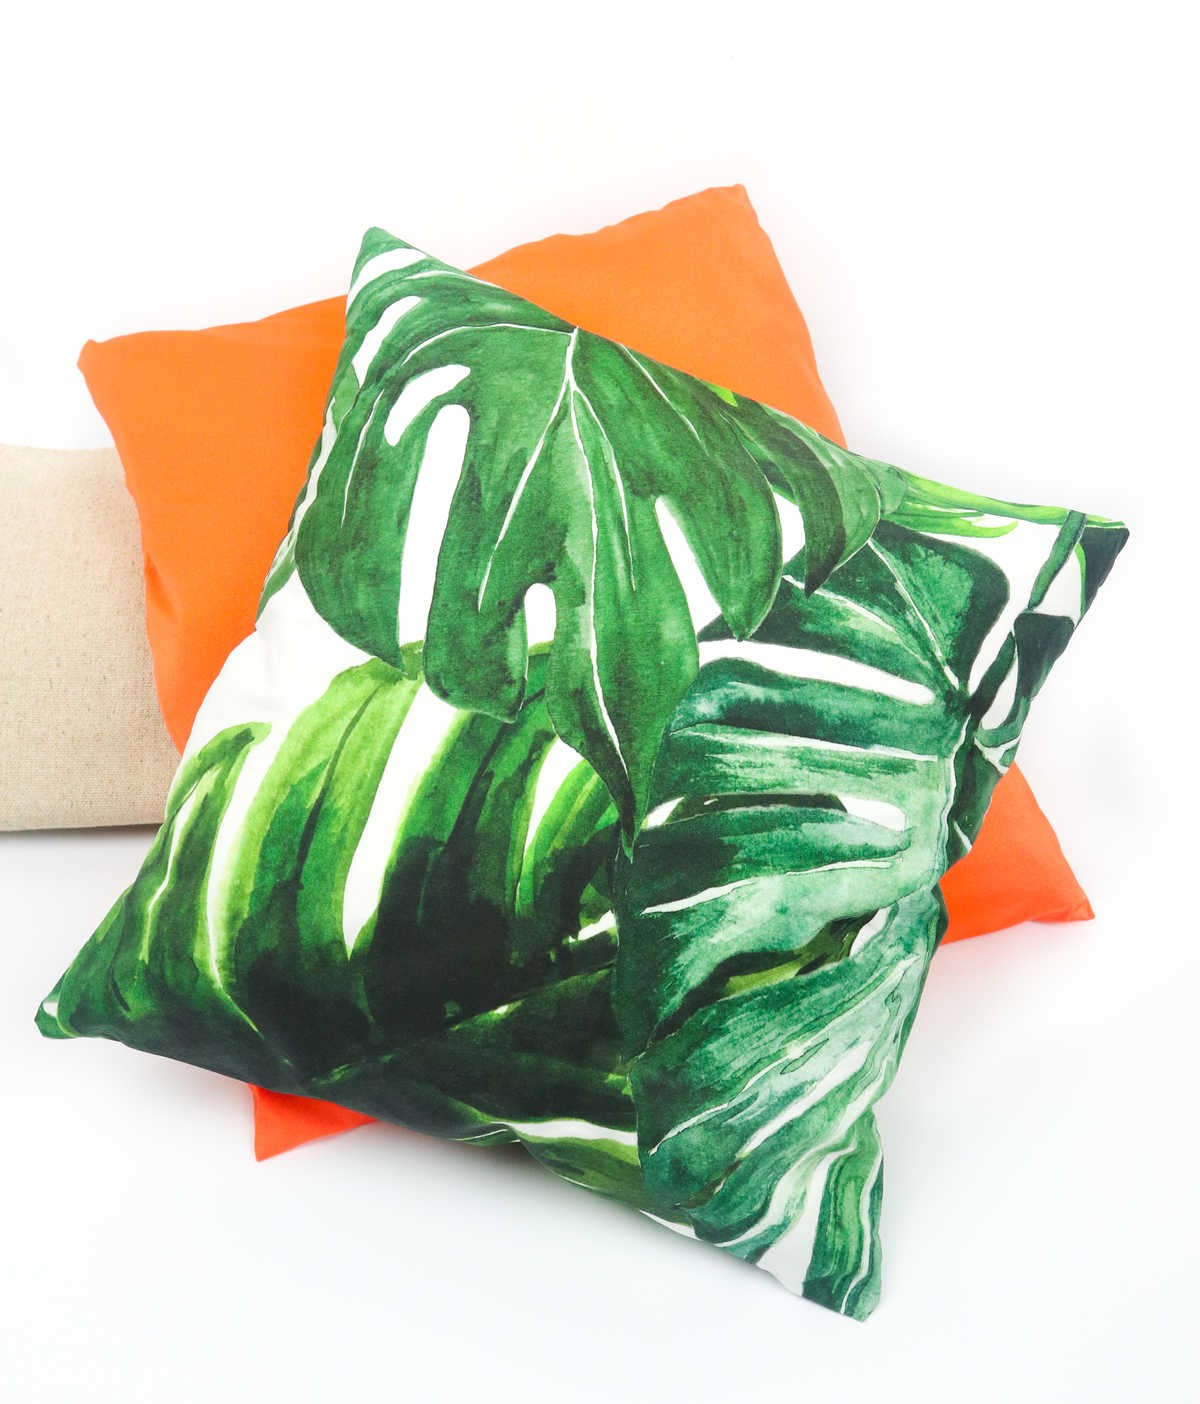
As you’ve now successfully sewn the pillowcase, take a step back and admire your handiwork – it’s looking fabulous! To complete the look, simply slide the pillow insert into the open flap. Use your hands to gently smooth out any wrinkles or creases, ensuring a snug fit. Once in place, give the pillowcase a quick fluff to plump it up and voilà, you’re done!
This envelope-style design not only adds an elegant touch to your bedroom decor, but also provides easy access to switch out your pillowcases whenever you desire. Whether you’re looking to refresh your space or give your pillows a good cleaning, this feature is sure to come in handy. With your new pillowcase in place, take a moment to appreciate the fruits of your labor and enjoy the comfort and style it brings to your home.
How to Make a Pillowcase (Step-by-Step)
Whether you’re just starting your sewing adventure or seeking to create a stunning home decor piece, making a pillowcase is an excellent place to begin. With minimal preparation and a moderate time commitment, you’ll be able to craft a beautiful addition to your living space in no time. The entire process takes roughly 50 minutes from start to finish, with just 5 minutes dedicated to prep work.
In this project, you’ll learn the essential steps to create a lovely pillowcase without breaking the bank – all for a mere $5.
Equipment
Materials
Instructions
To begin, collect all necessary materials and tools. Next, take measurements of your pillow using a measuring tape. Mark the length and width on your fabric, leaving room for overlaps and seam allowance. Use tailor’s chalk to make these markings on the fabric. Grab cloth scissors and cut out the fabric according to your marked dimensions. Fold an inch-wide strip of cloth twice to create hems, securing them in place with sewing pins. You can also iron the folds for neater seams.
Sew the hems on both sides. Repeat this process for the overlap flap by folding a 4-inch wide strip of cloth and securing it with sewing pins. Fold the fabric in half, aligning the ends, and secure them with sewing pins before sewing along the top and bottom edges. Use backstitching around corners to ensure secure stitches. Next, turn the fabric inside out, with the wrong side facing up and the flap on the outside, and the right side facing in.
Mark your seam allowance guide using sewing pins and sew the remaining two sides. Turn the fabric right side out, poke out the corners with your fingers, and insert the pillow case. Hide the edge under the flap to complete the project.
