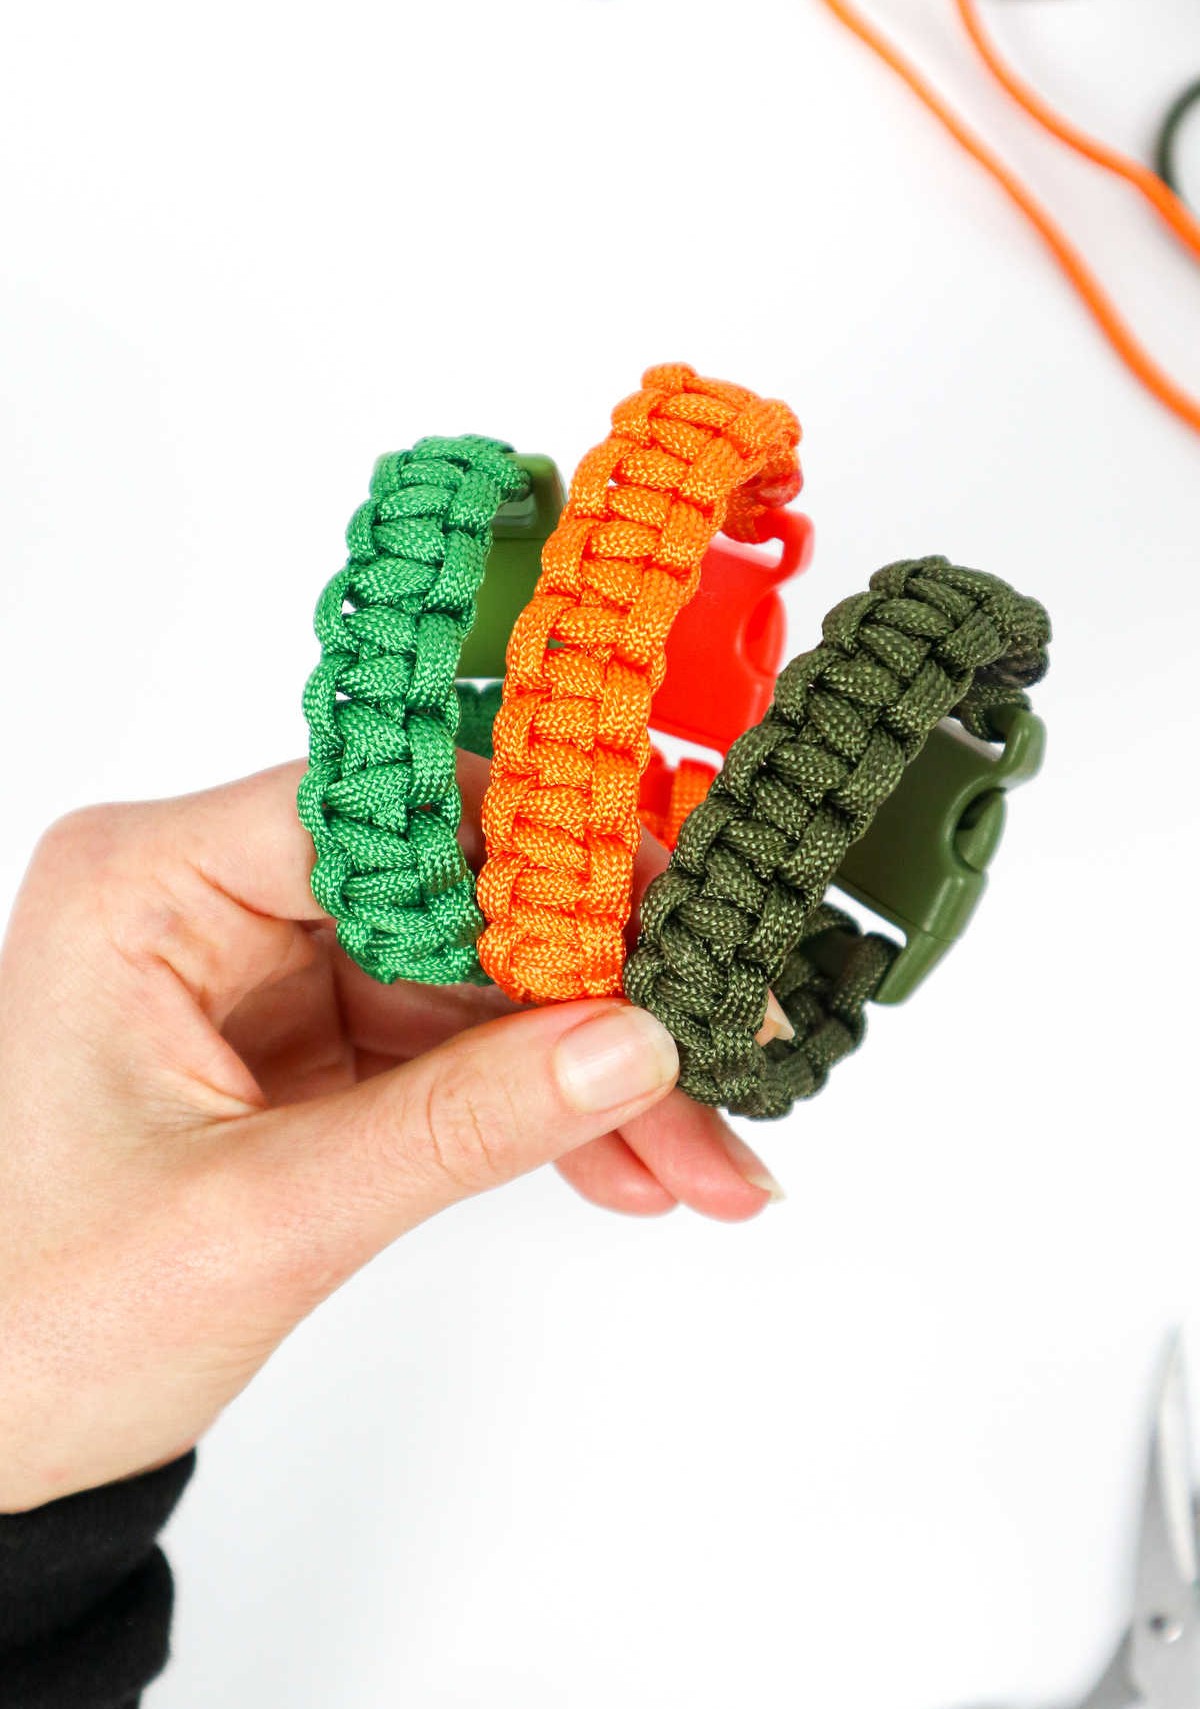
Creating DIY paracord bracelets is an enjoyable and accessible activity that’s perfect for kids and teens. Many of us have fond memories of making our own accessories as kids, experimenting with different materials and patterns.
As someone who was always on the lookout for new and creative ways to make DIY jewelry, I can attest that paracord bracelets are a great option. Not only are they durable, but they’re also surprisingly easy to create.
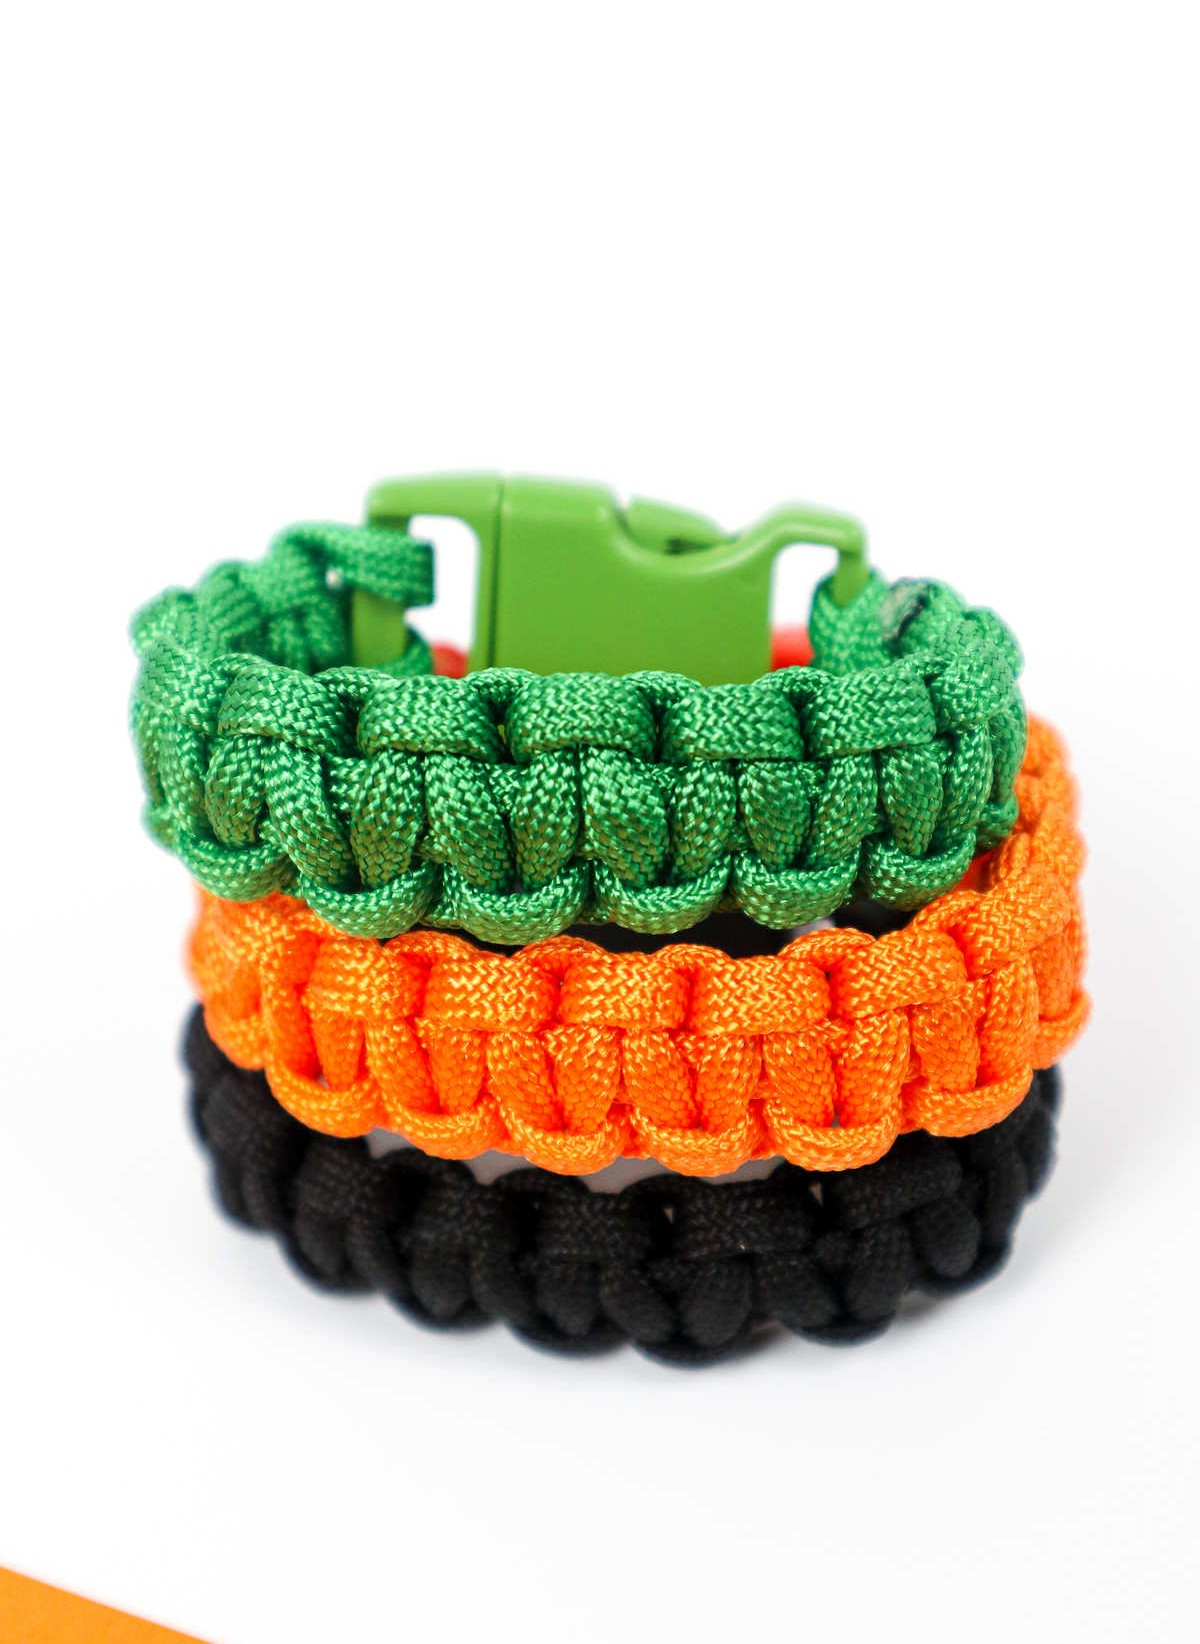
The pattern used in this project bears a resemblance to square knots found in macrame products, making it an excellent starting point for beginners looking to develop their skills and transition from traditional knot-tying techniques.
Tools and Supplies You’ll Need
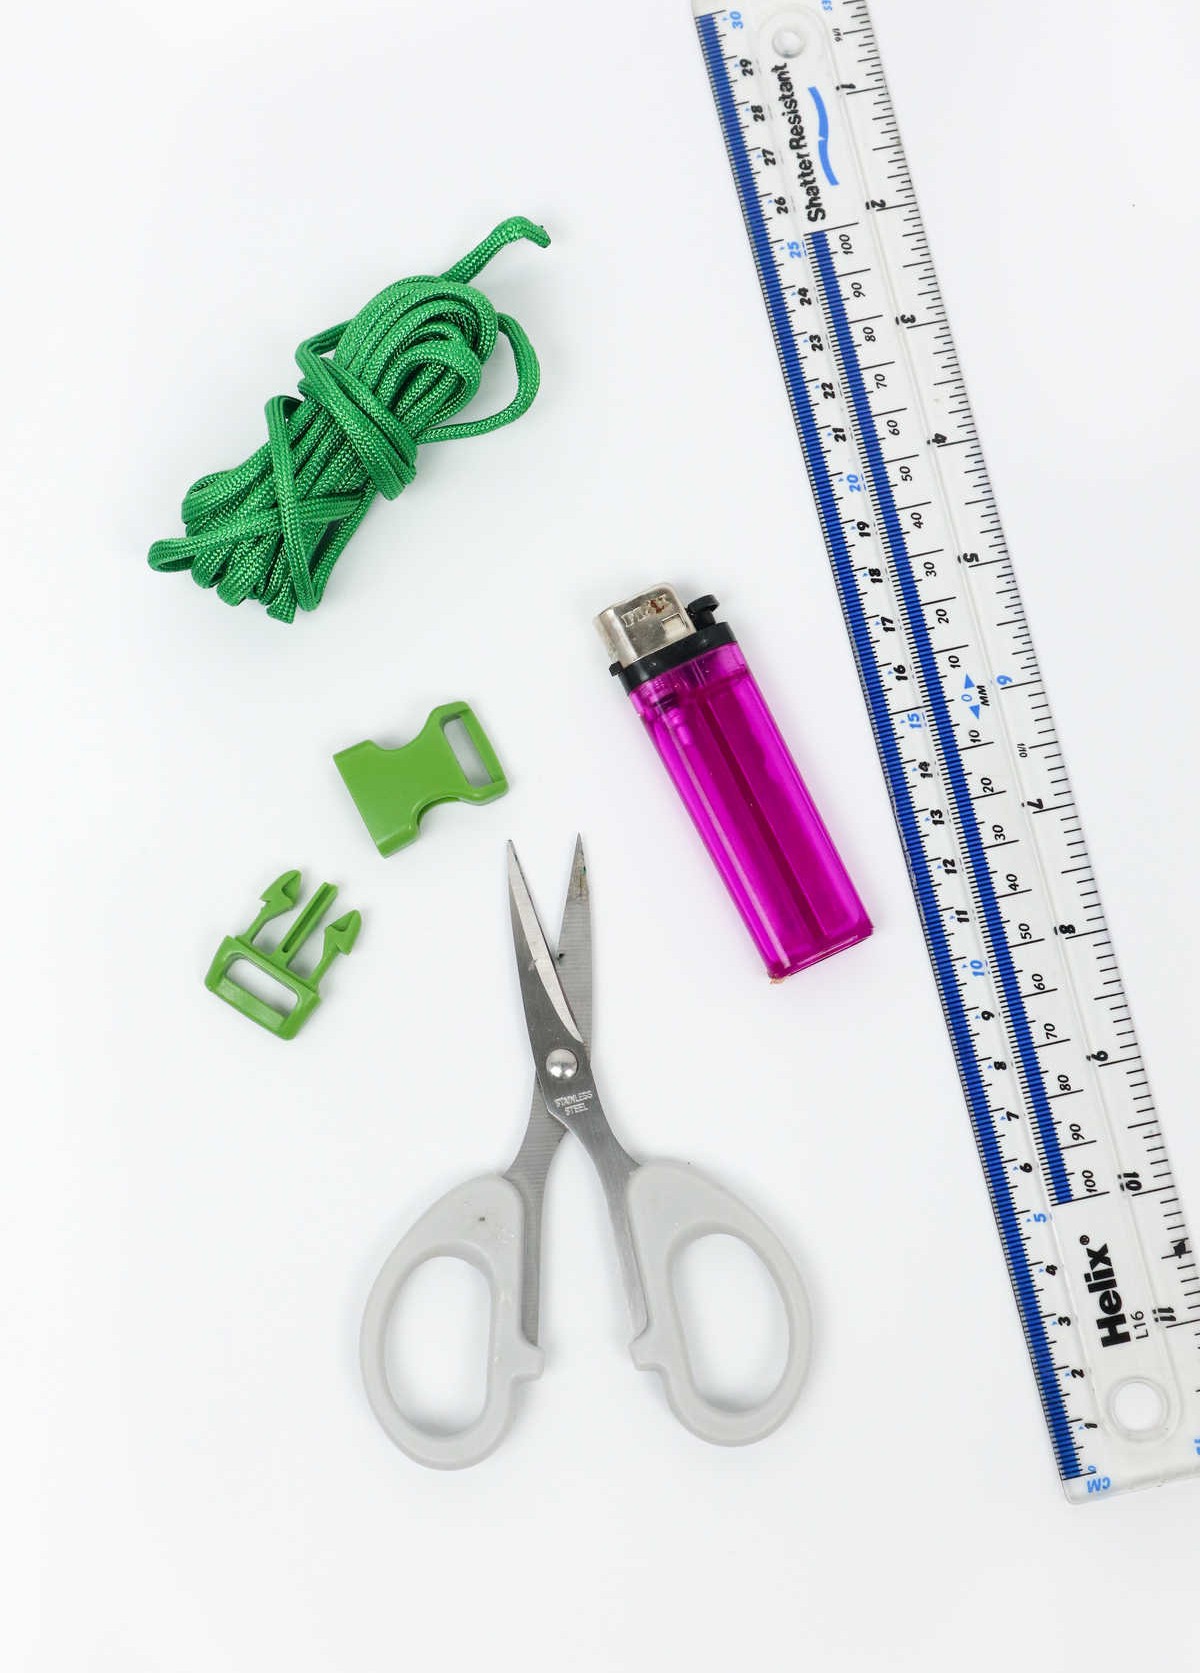
To kick-start your paracord bracelet-making journey, gather the following essential supplies: begin with the star of the show – a reliable spool of paracord. Next, add scissors for trimming and shaping the cord, followed by a lighter to seal the ends and prevent fraying. A ruler will come in handy for measuring and aligning your creations. Finally, don’t forget a sturdy buckle to secure the finished bracelet.
With these basic tools at hand, you’ll be well on your way to crafting unique and functional paracord accessories.
How to Make a Paracord Bracelet
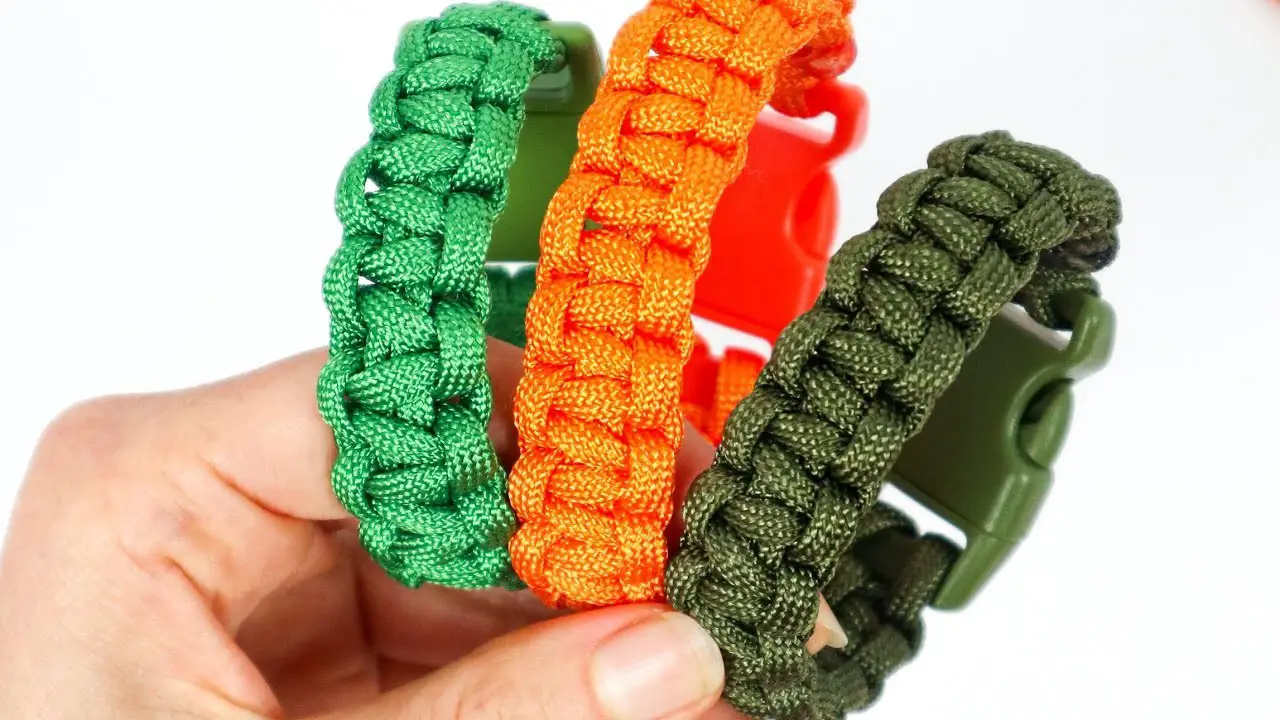
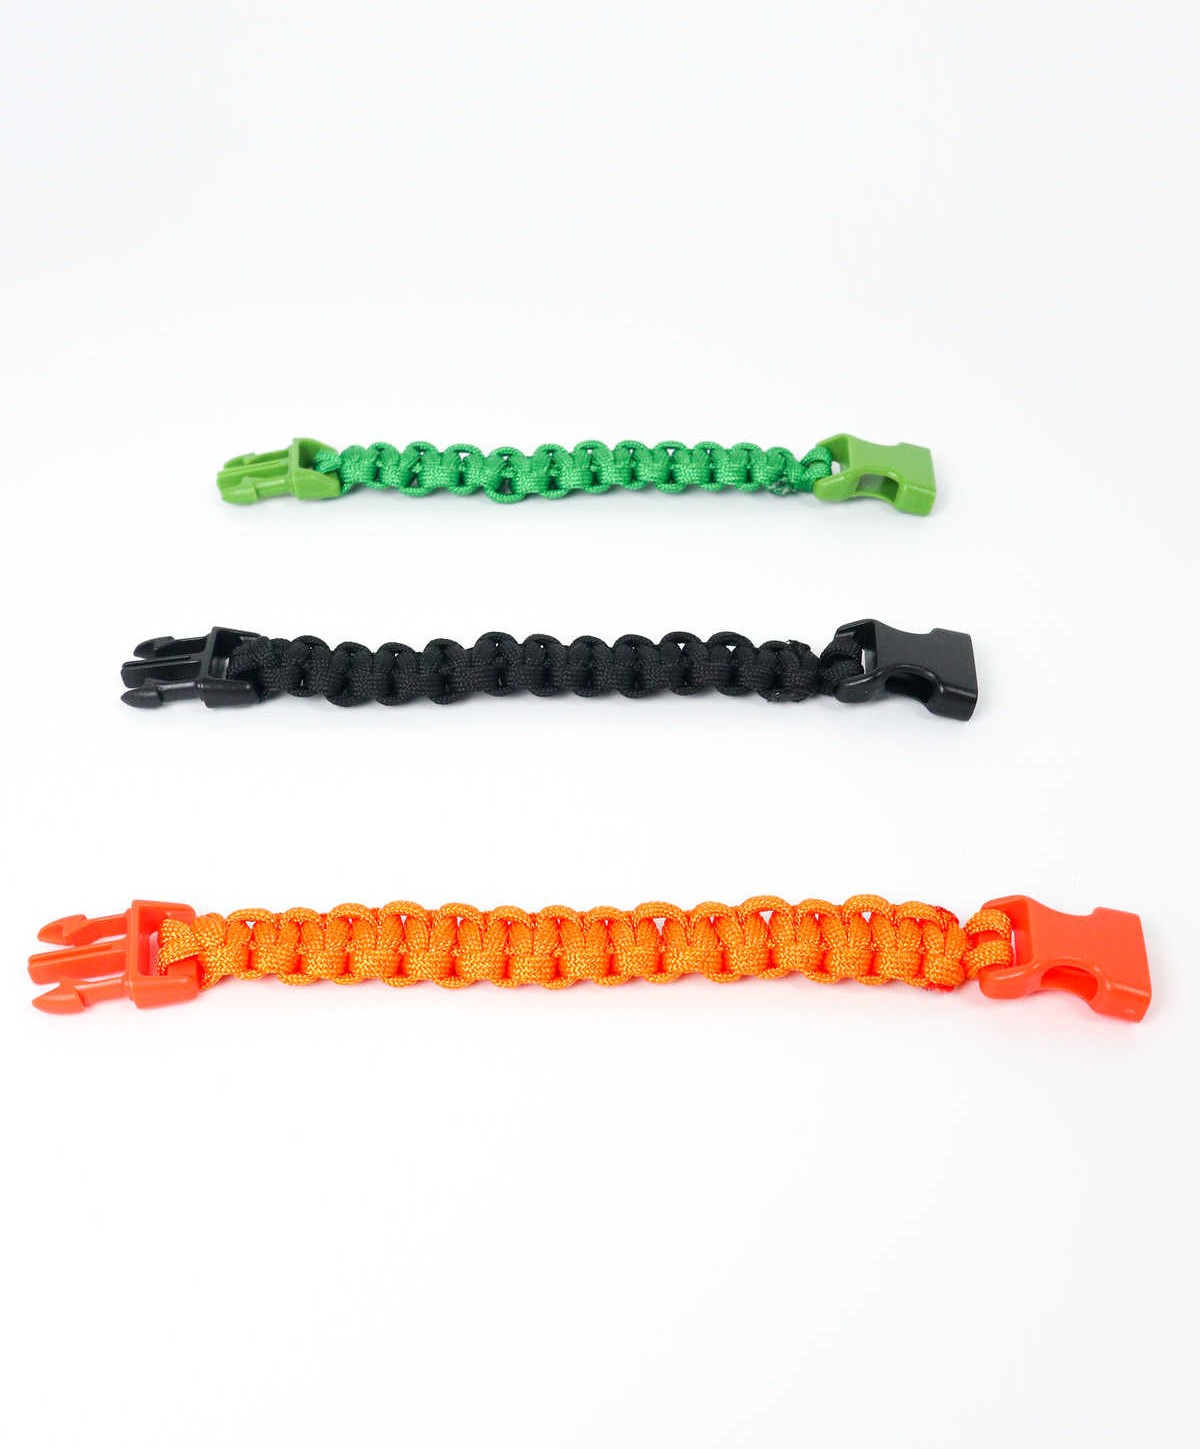
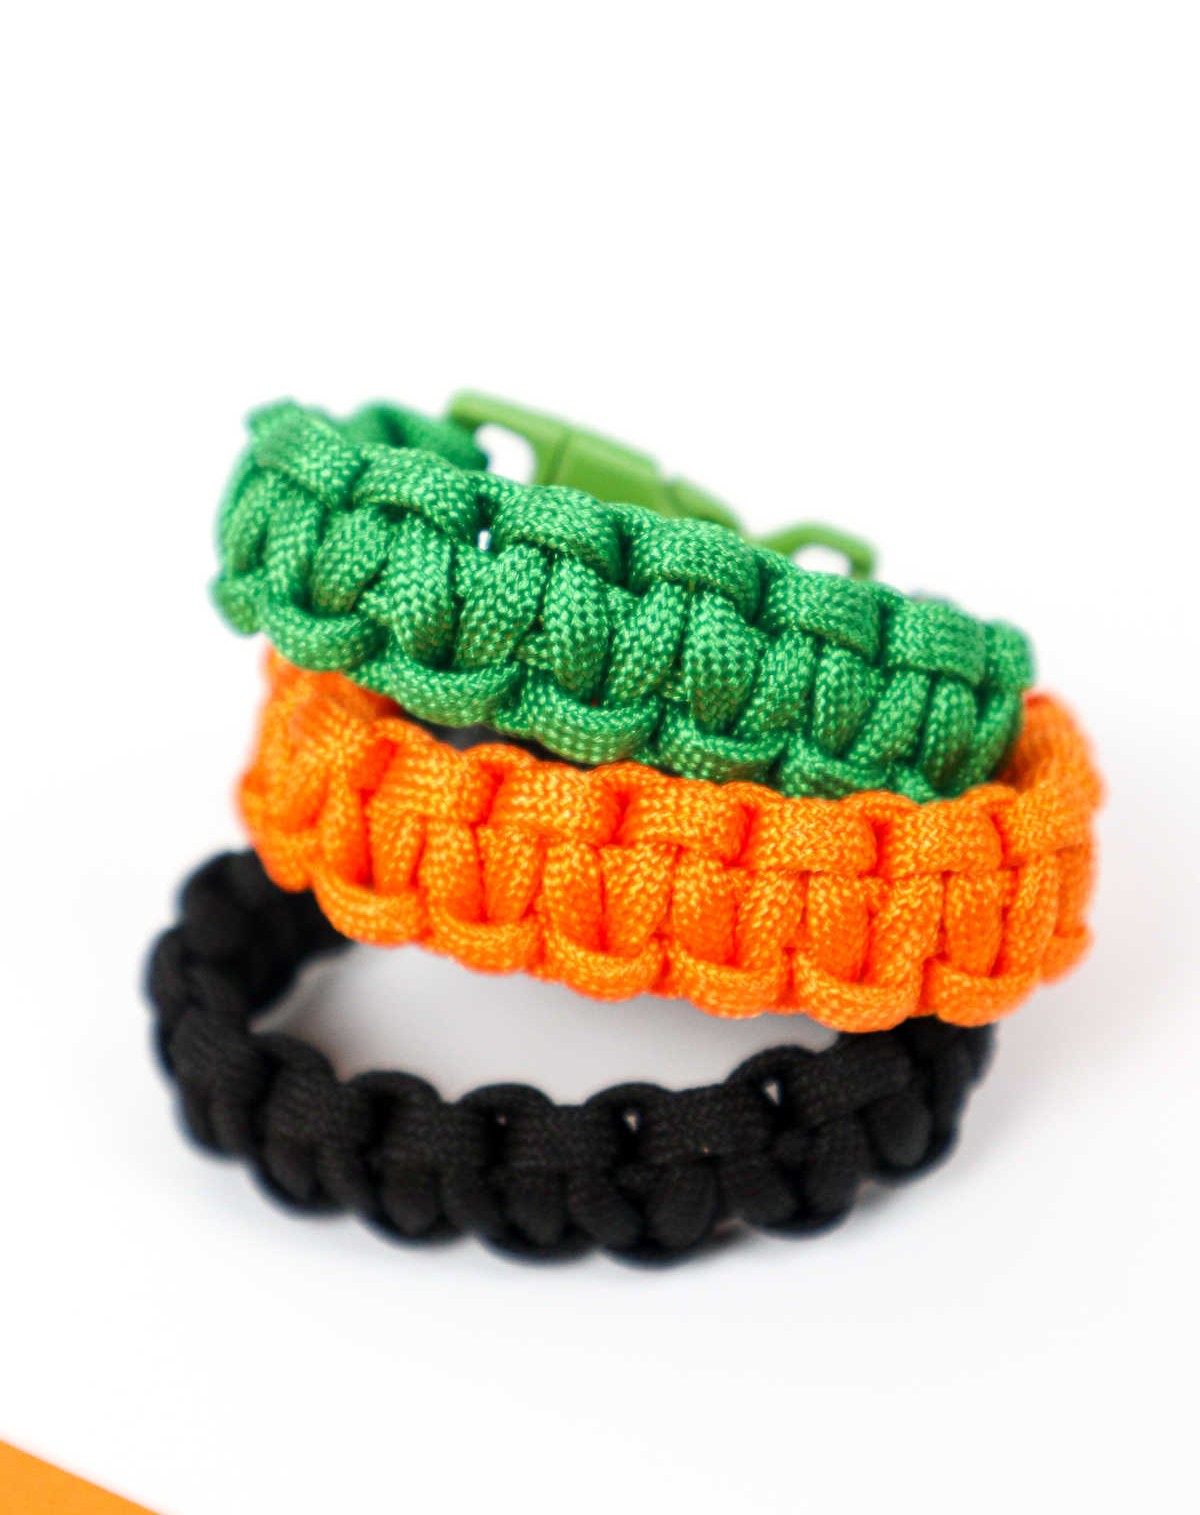
When selecting the perfect shade for your paracord bracelet, you’ll discover an array of options available. Moreover, the material’s affordability makes it an attractive choice. Now, let’s dive into the process of creating this stylish accessory.
Step 1
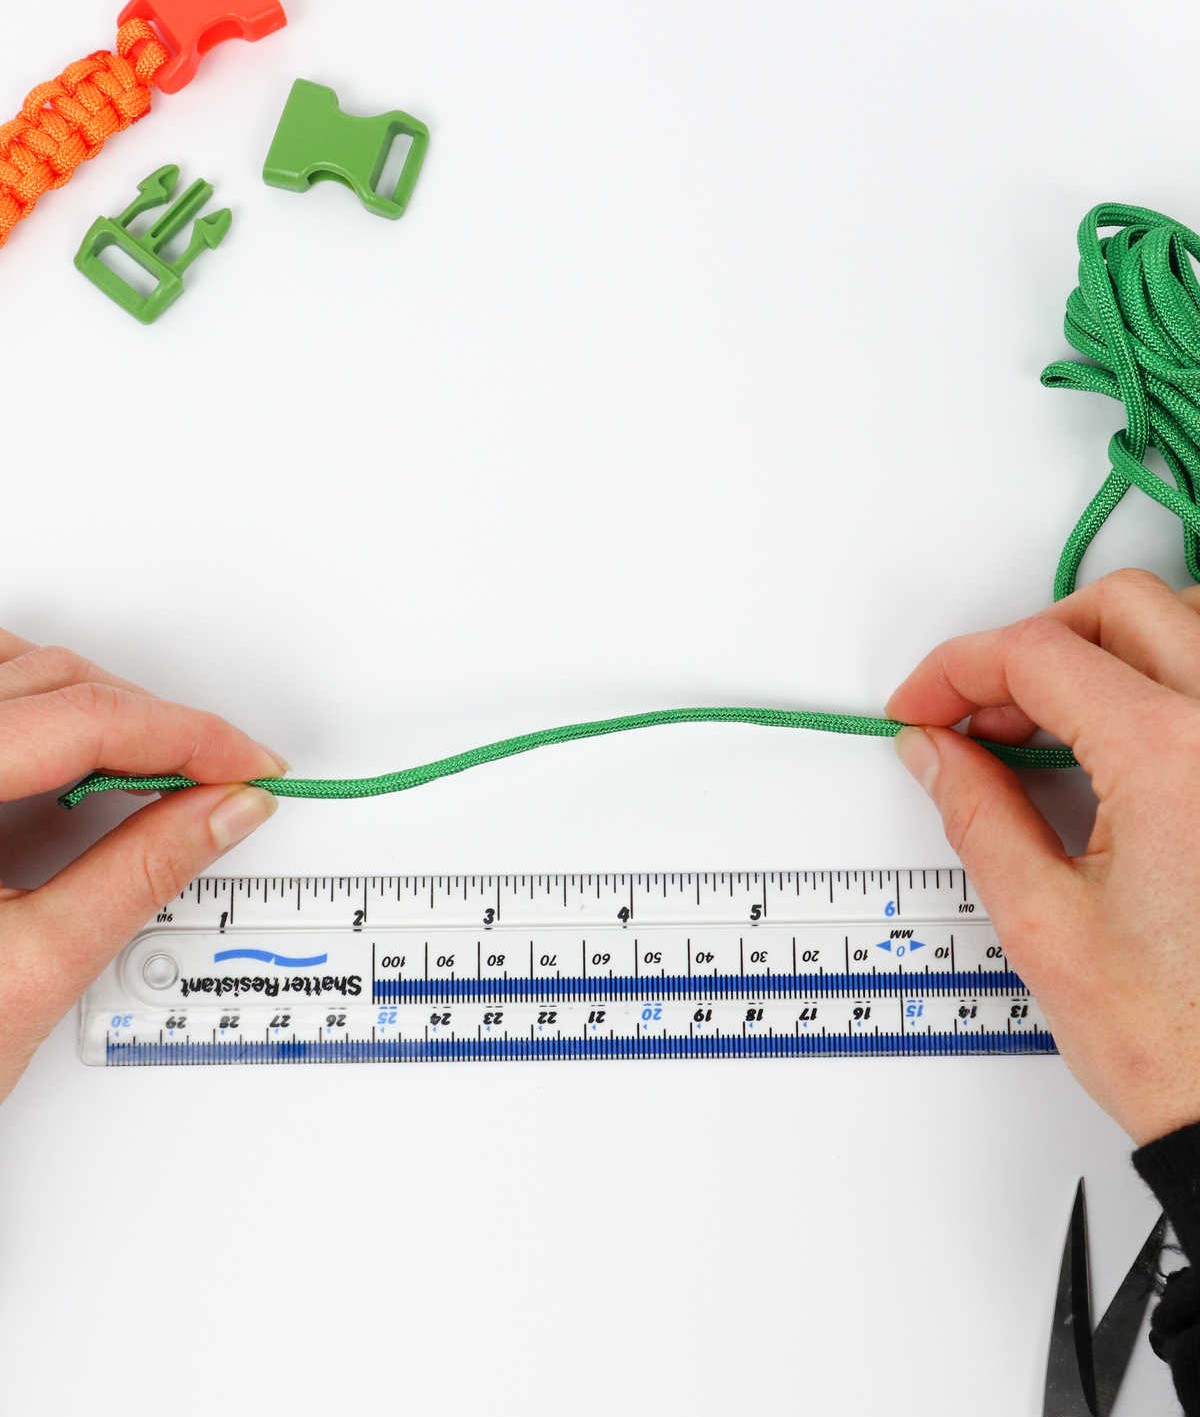
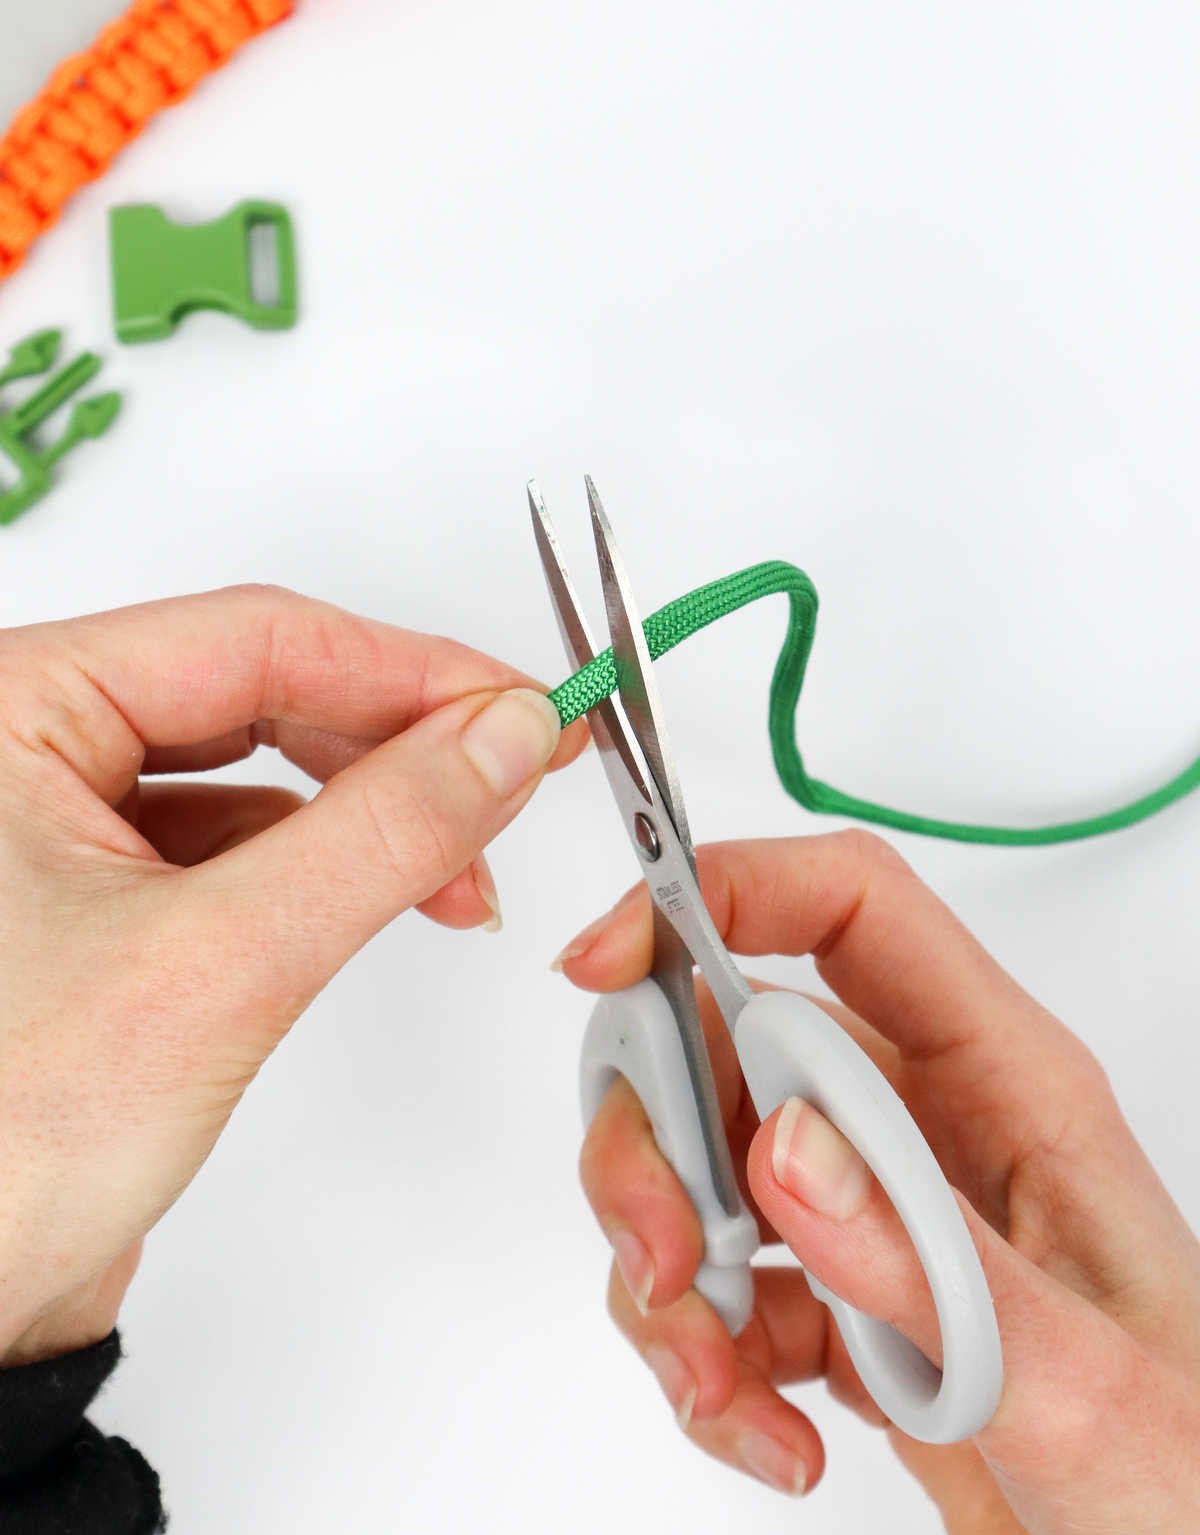
To begin, gather your paracord and a ruler to determine the ideal cord length. The measurement will depend on the size of your wrist. For this project, you’ll need a cord that’s approximately 7 feet (85 inches) long, specifically designed to fit a wrist measuring 6 inches in width. Once you have your measurements, use scissors to trim the cord to the desired length.
Step 2
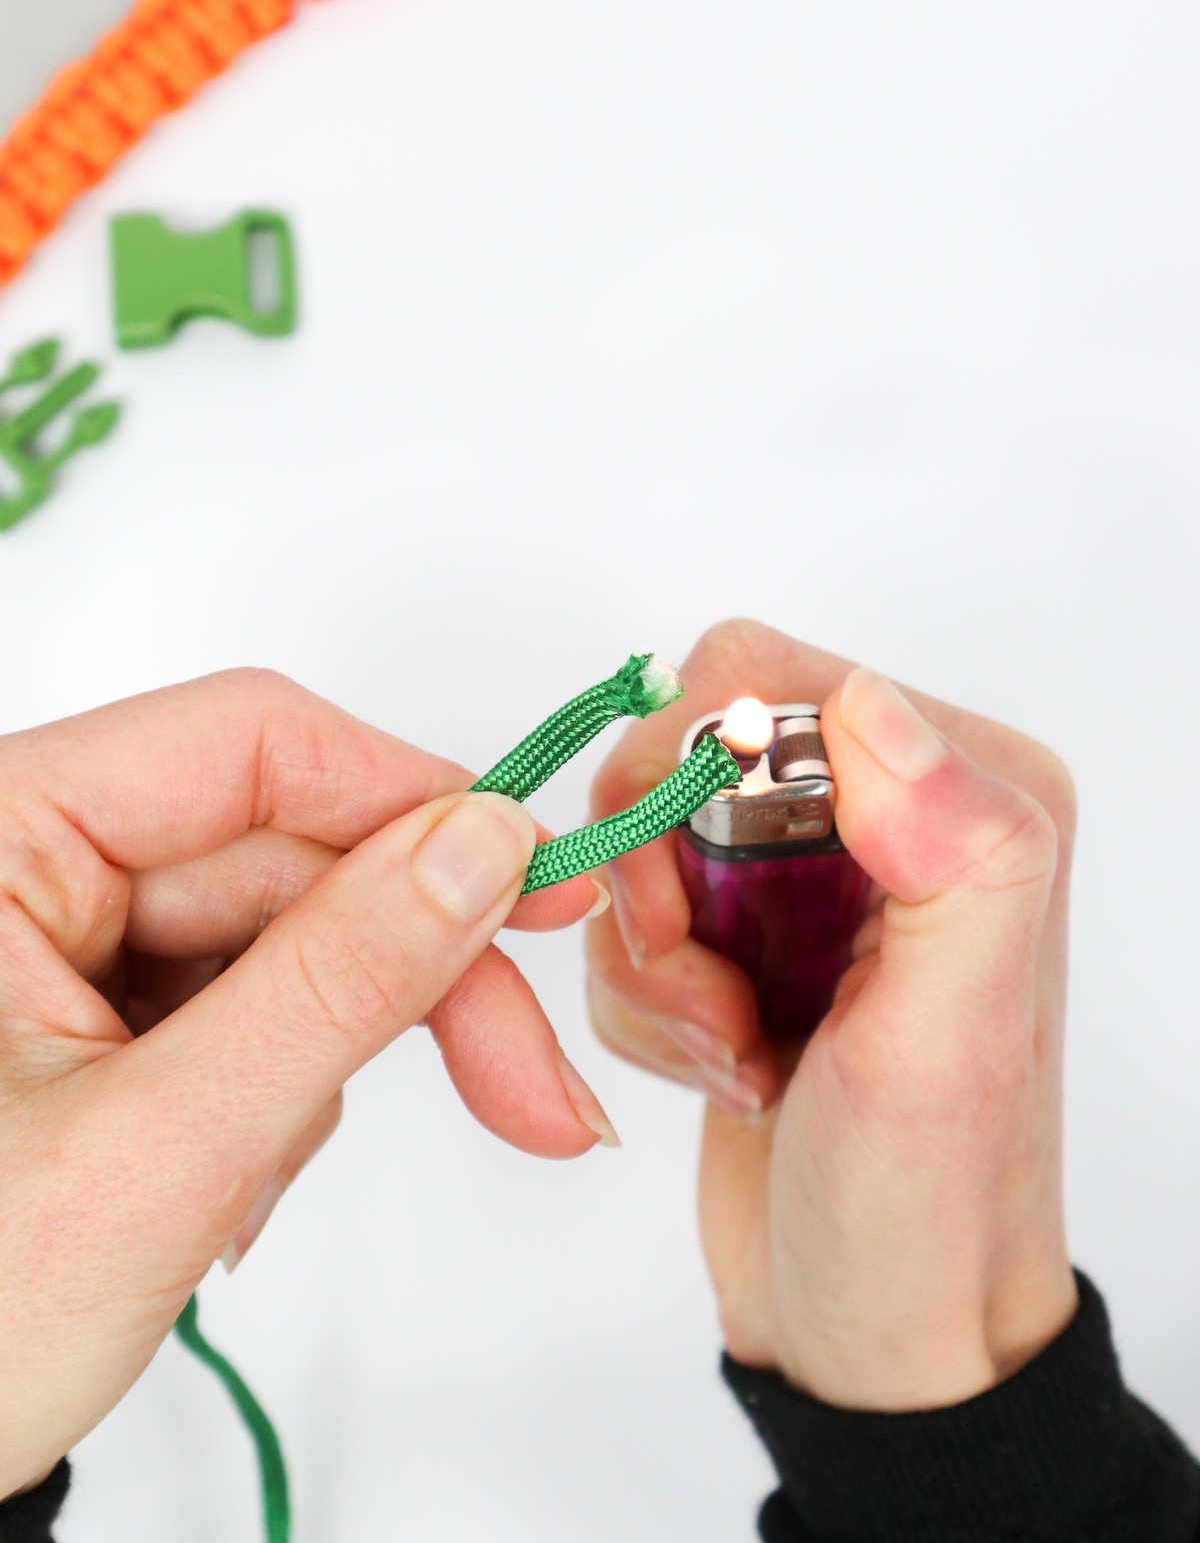
When inspecting your cords, you may notice that their ends appear frayed. To mitigate this issue, you can employ a simple technique: use a lighter or match to carefully burn or melt the cord tips. This approach prevents the threads from further unraveling and ensures a neater appearance.
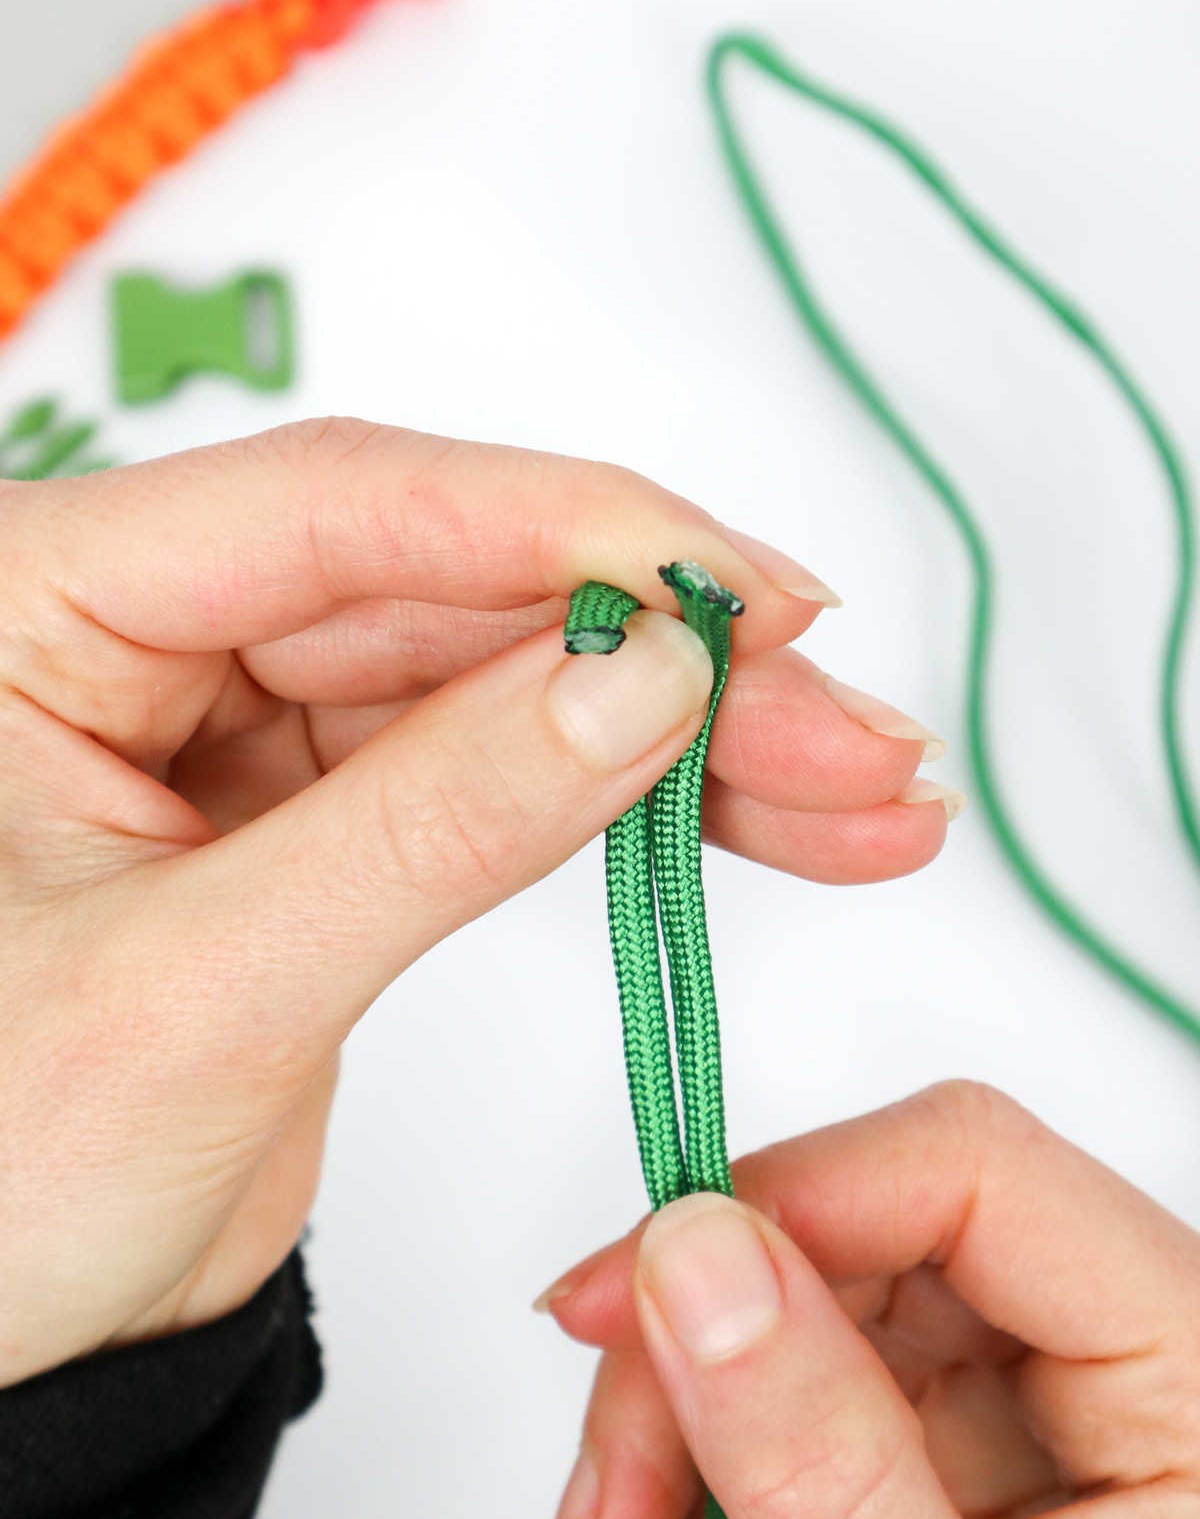
After melting the ends, it’s essential to flatten them out while being mindful of the heat. Be cautious, as the melted plastic can still be quite hot.
With this step complete, your cords should now have a more polished finish.
Step 3
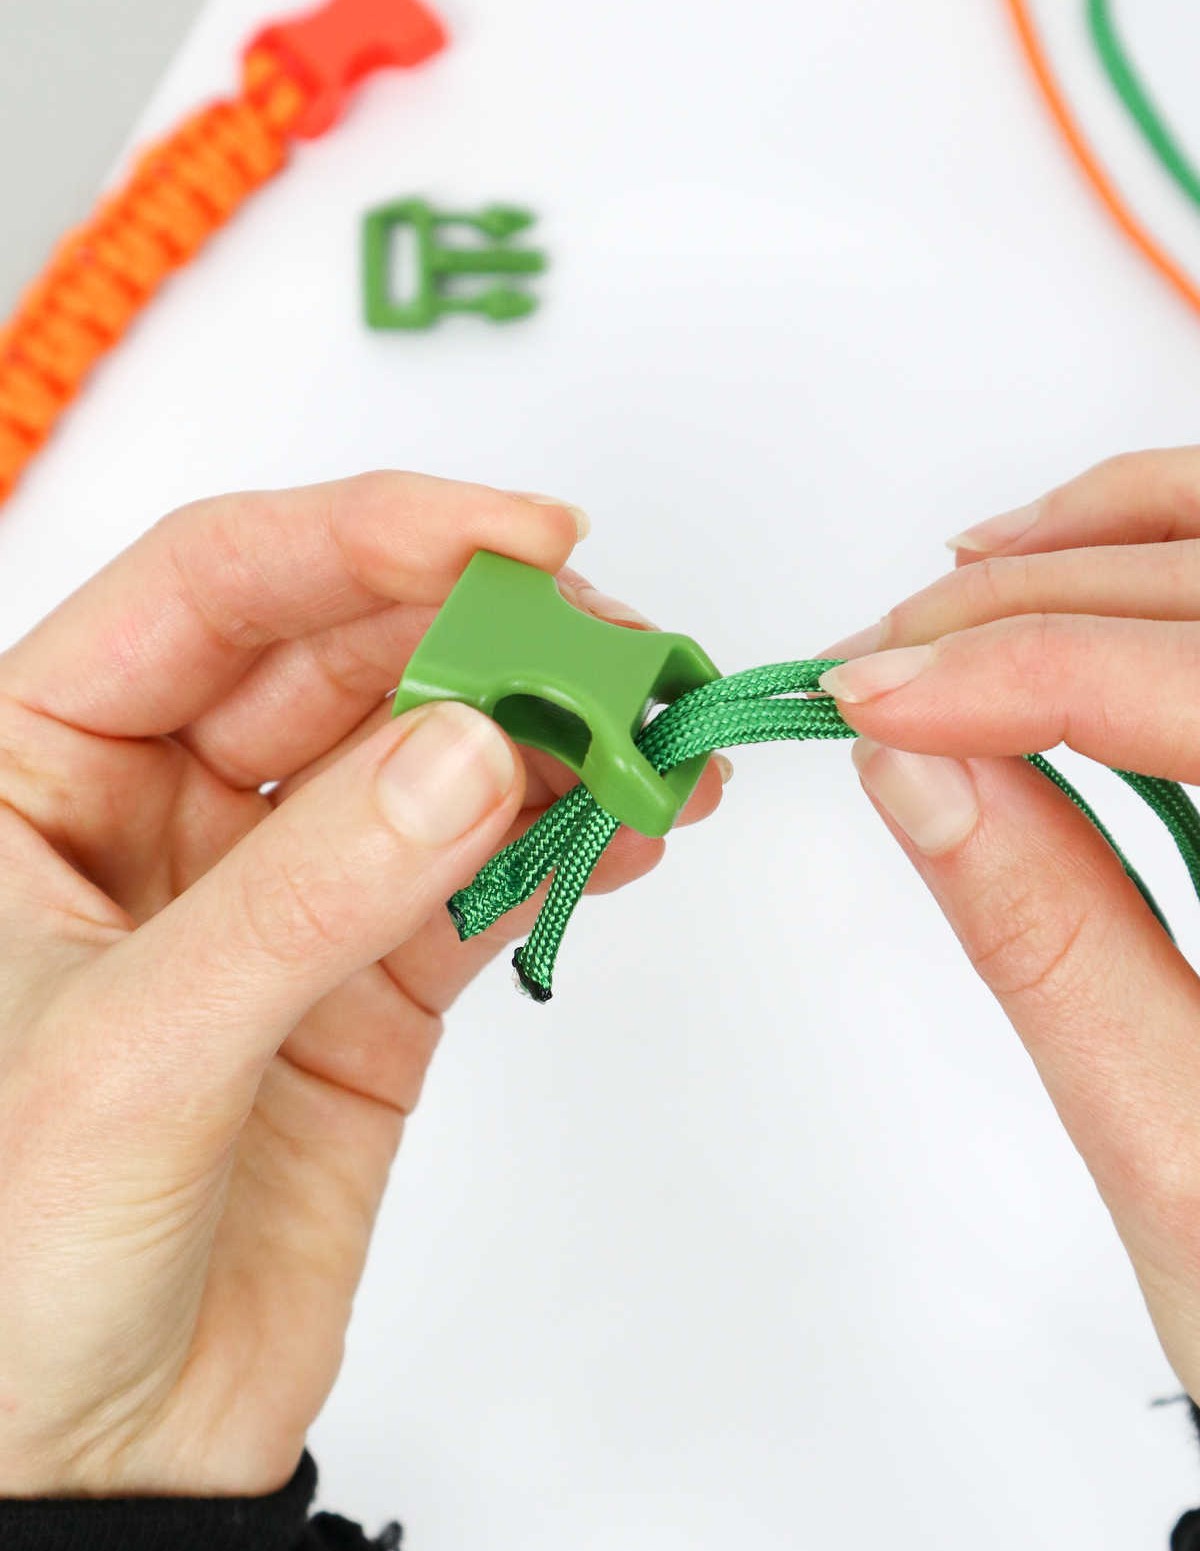
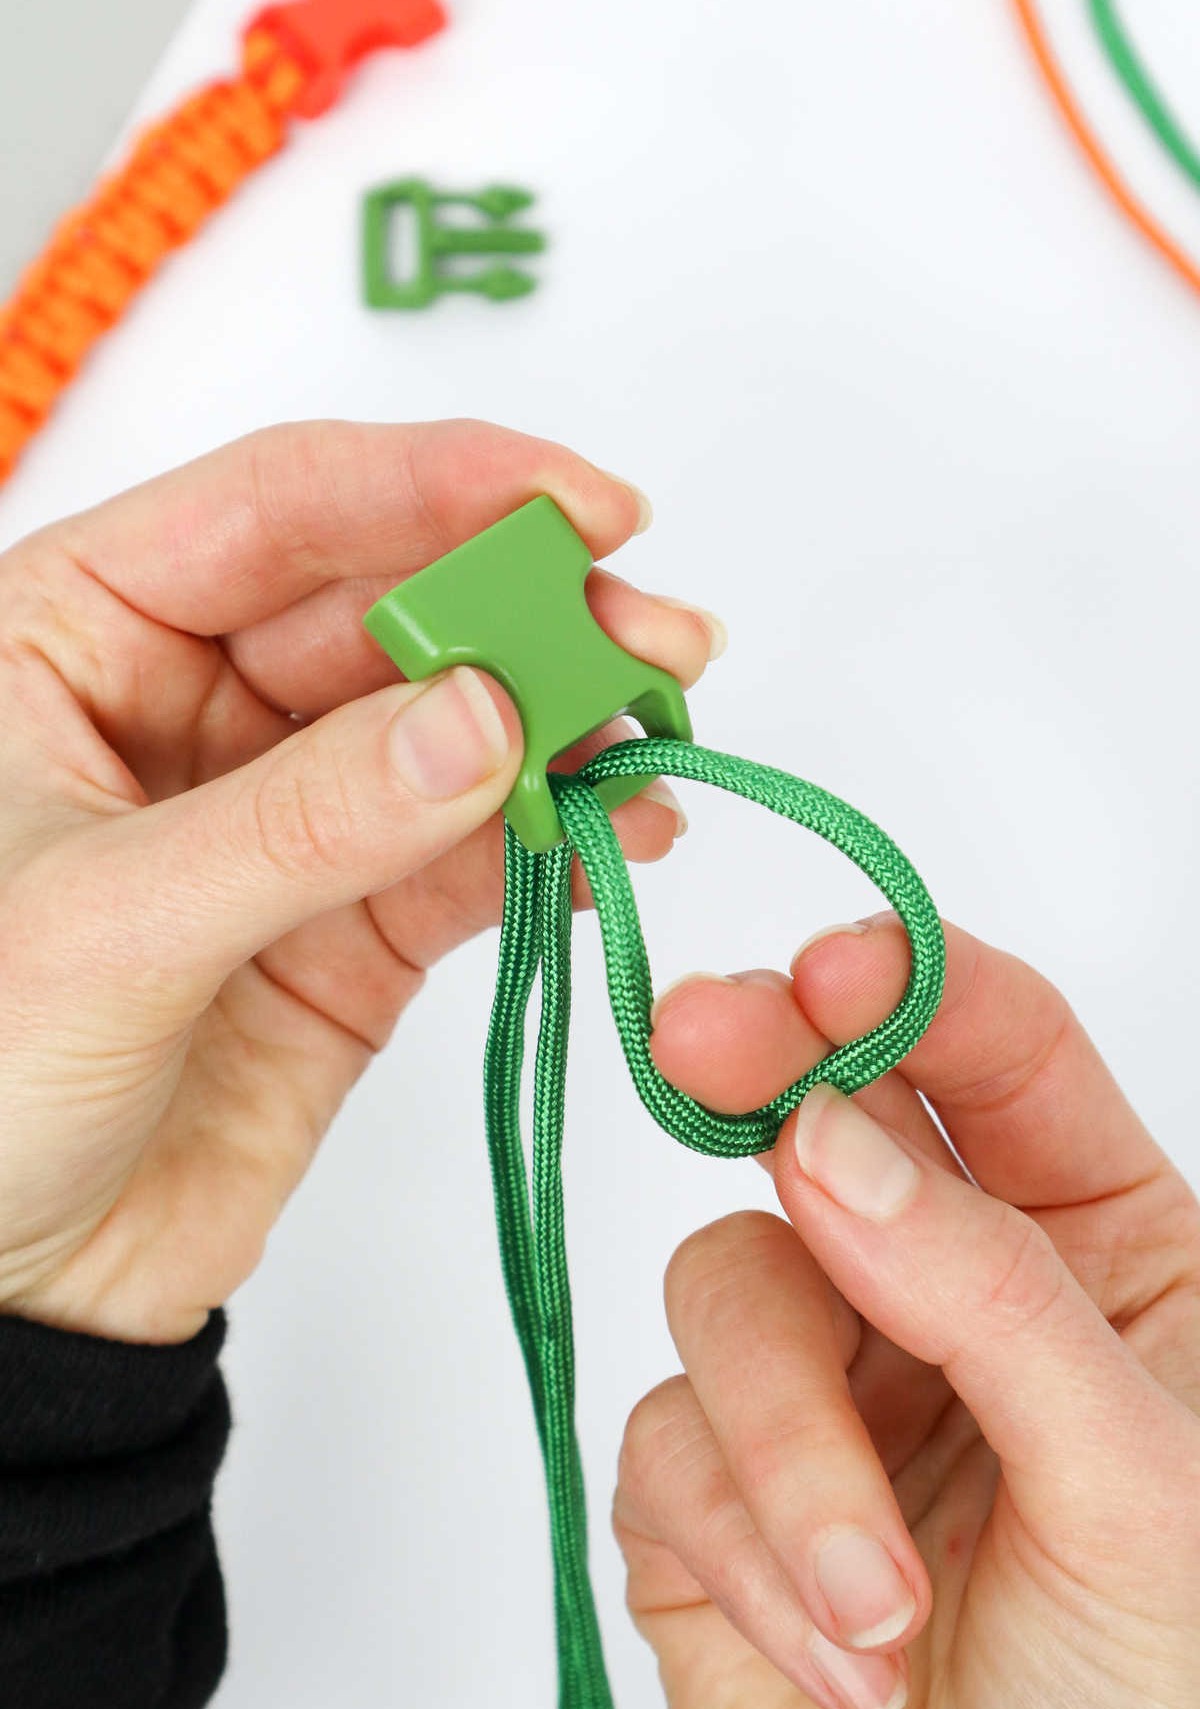
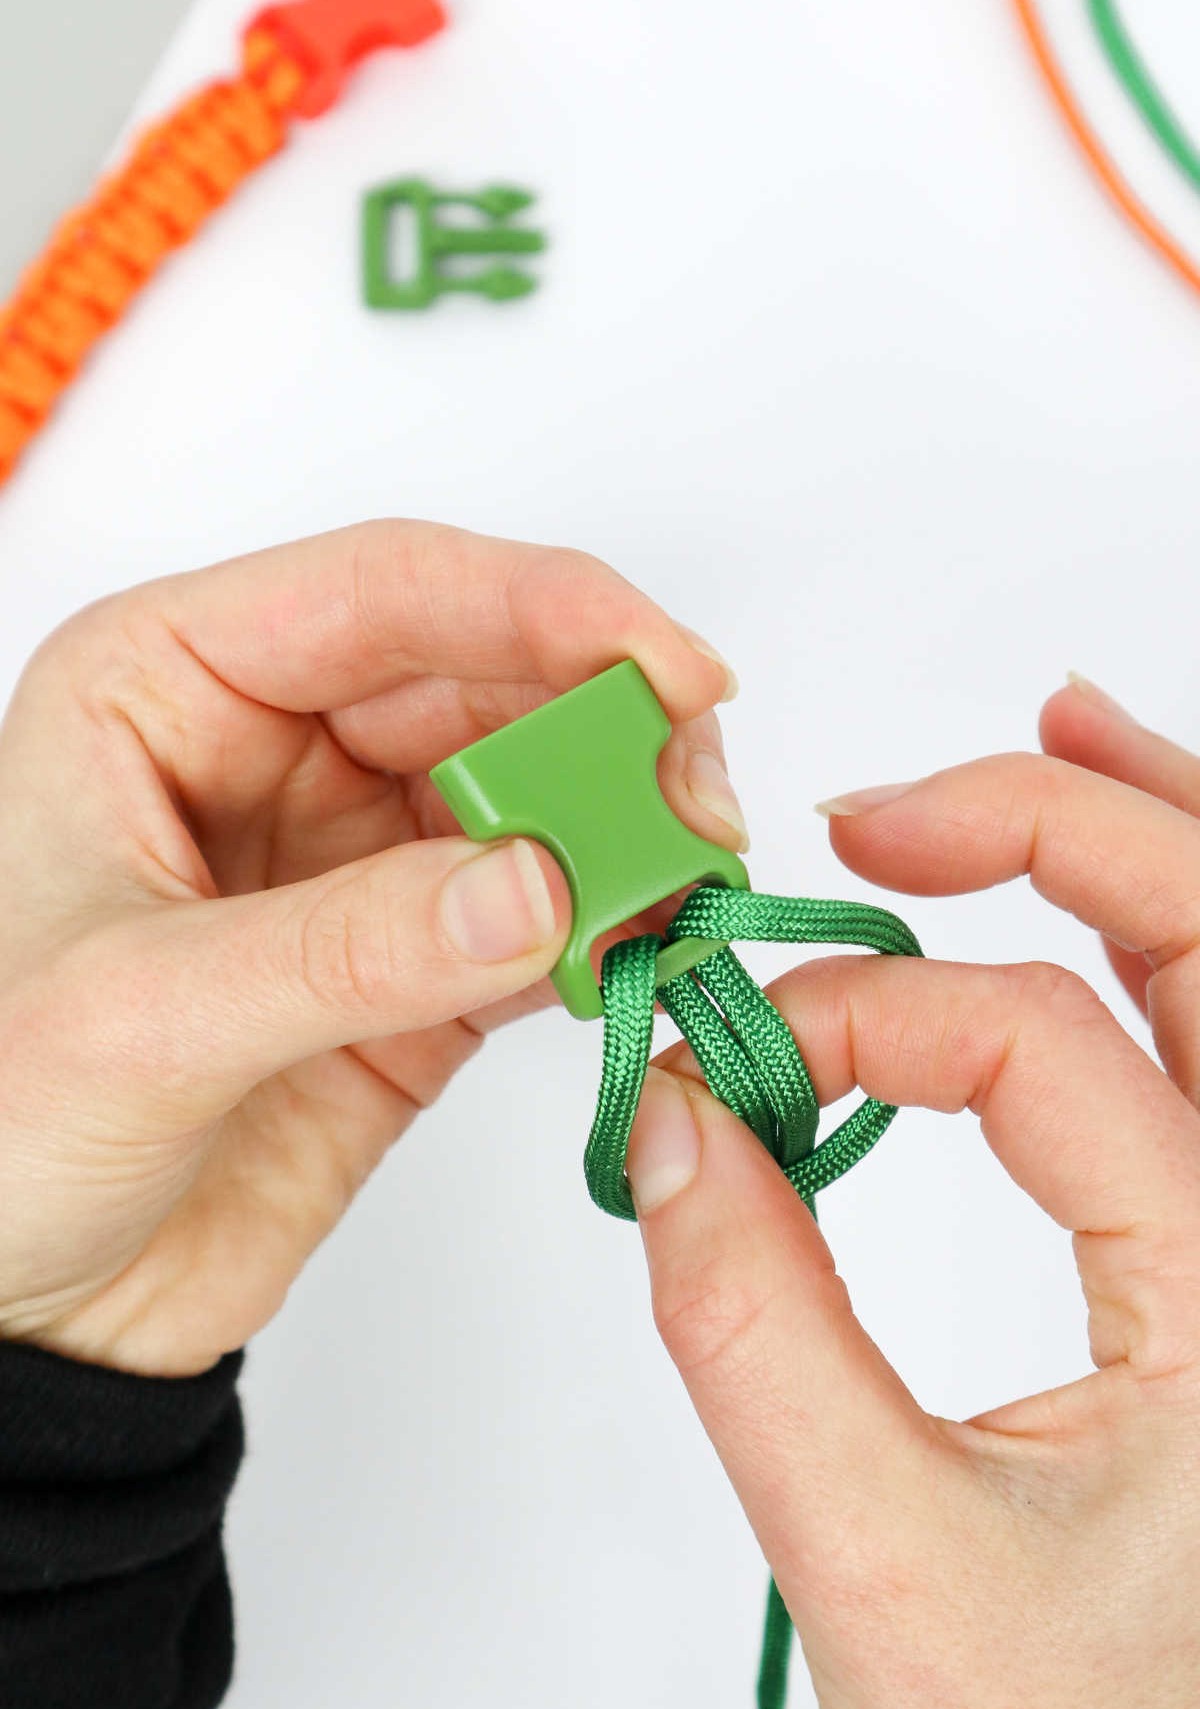
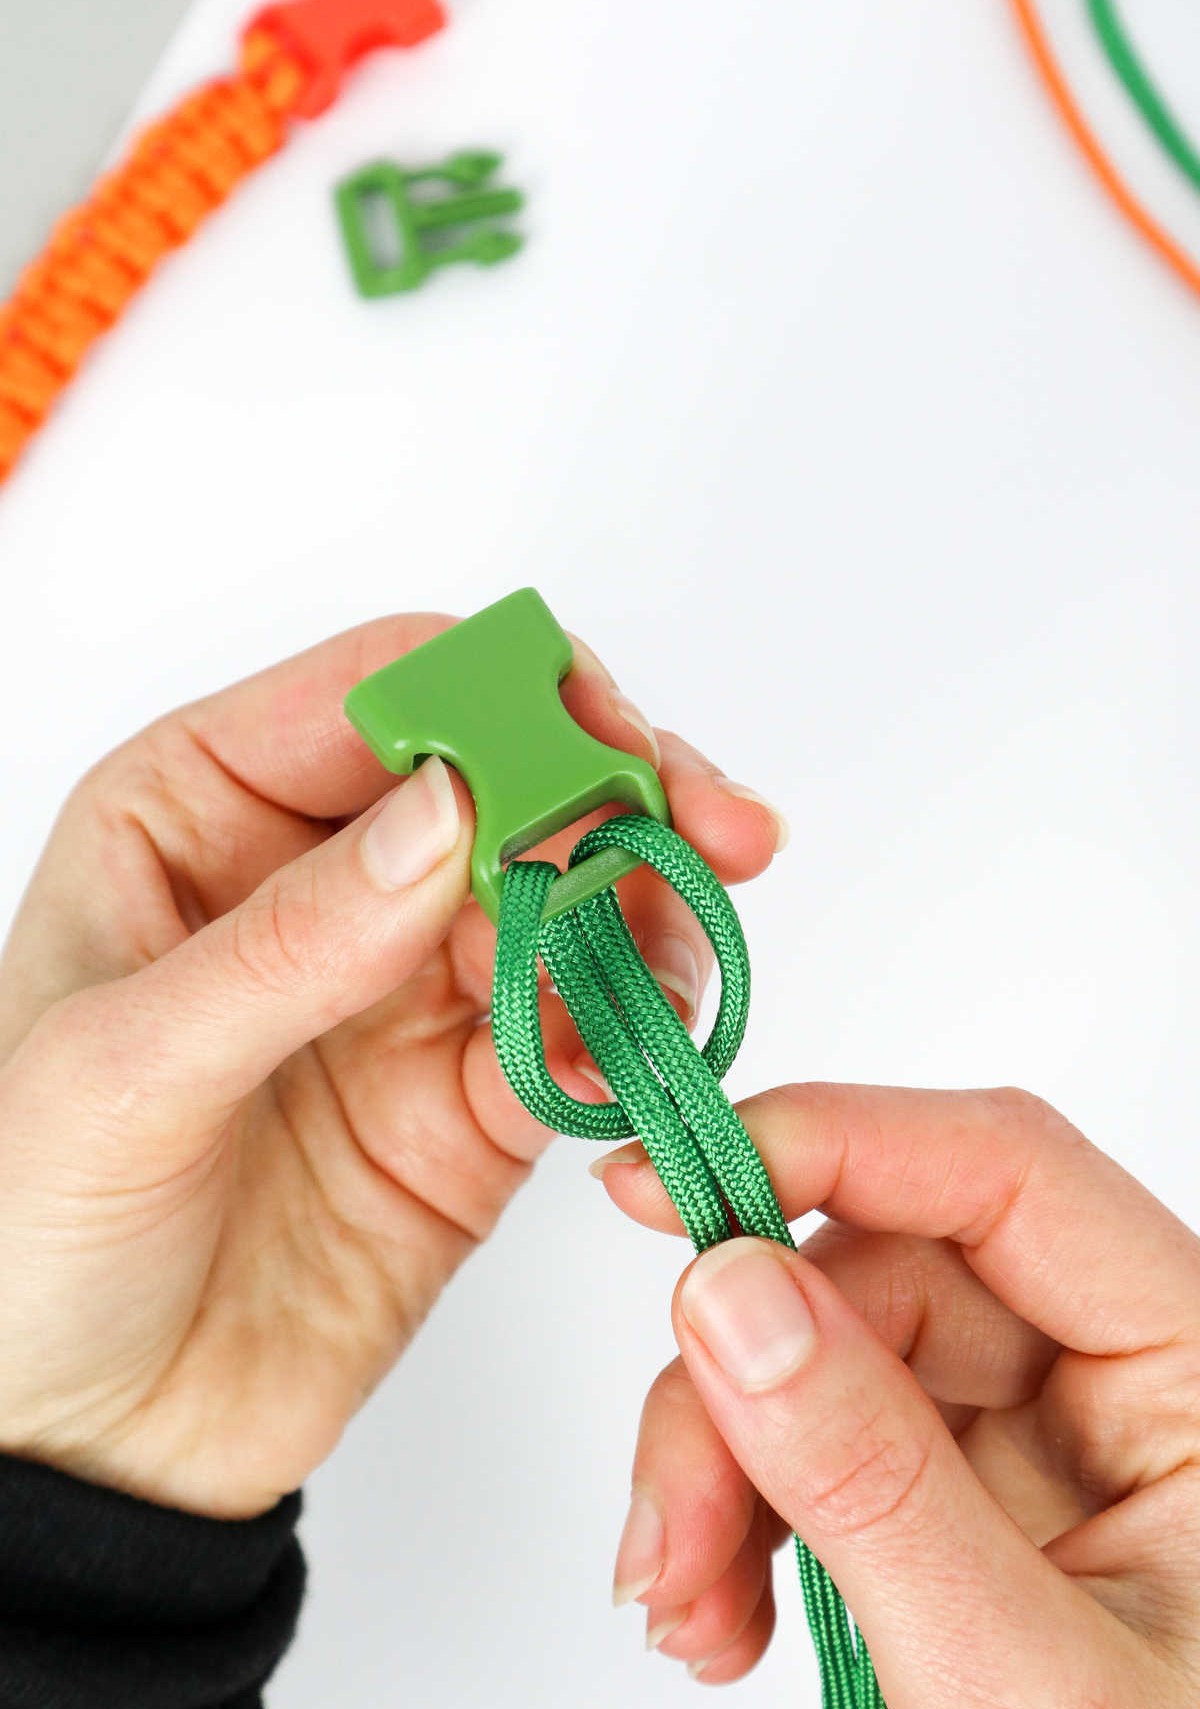
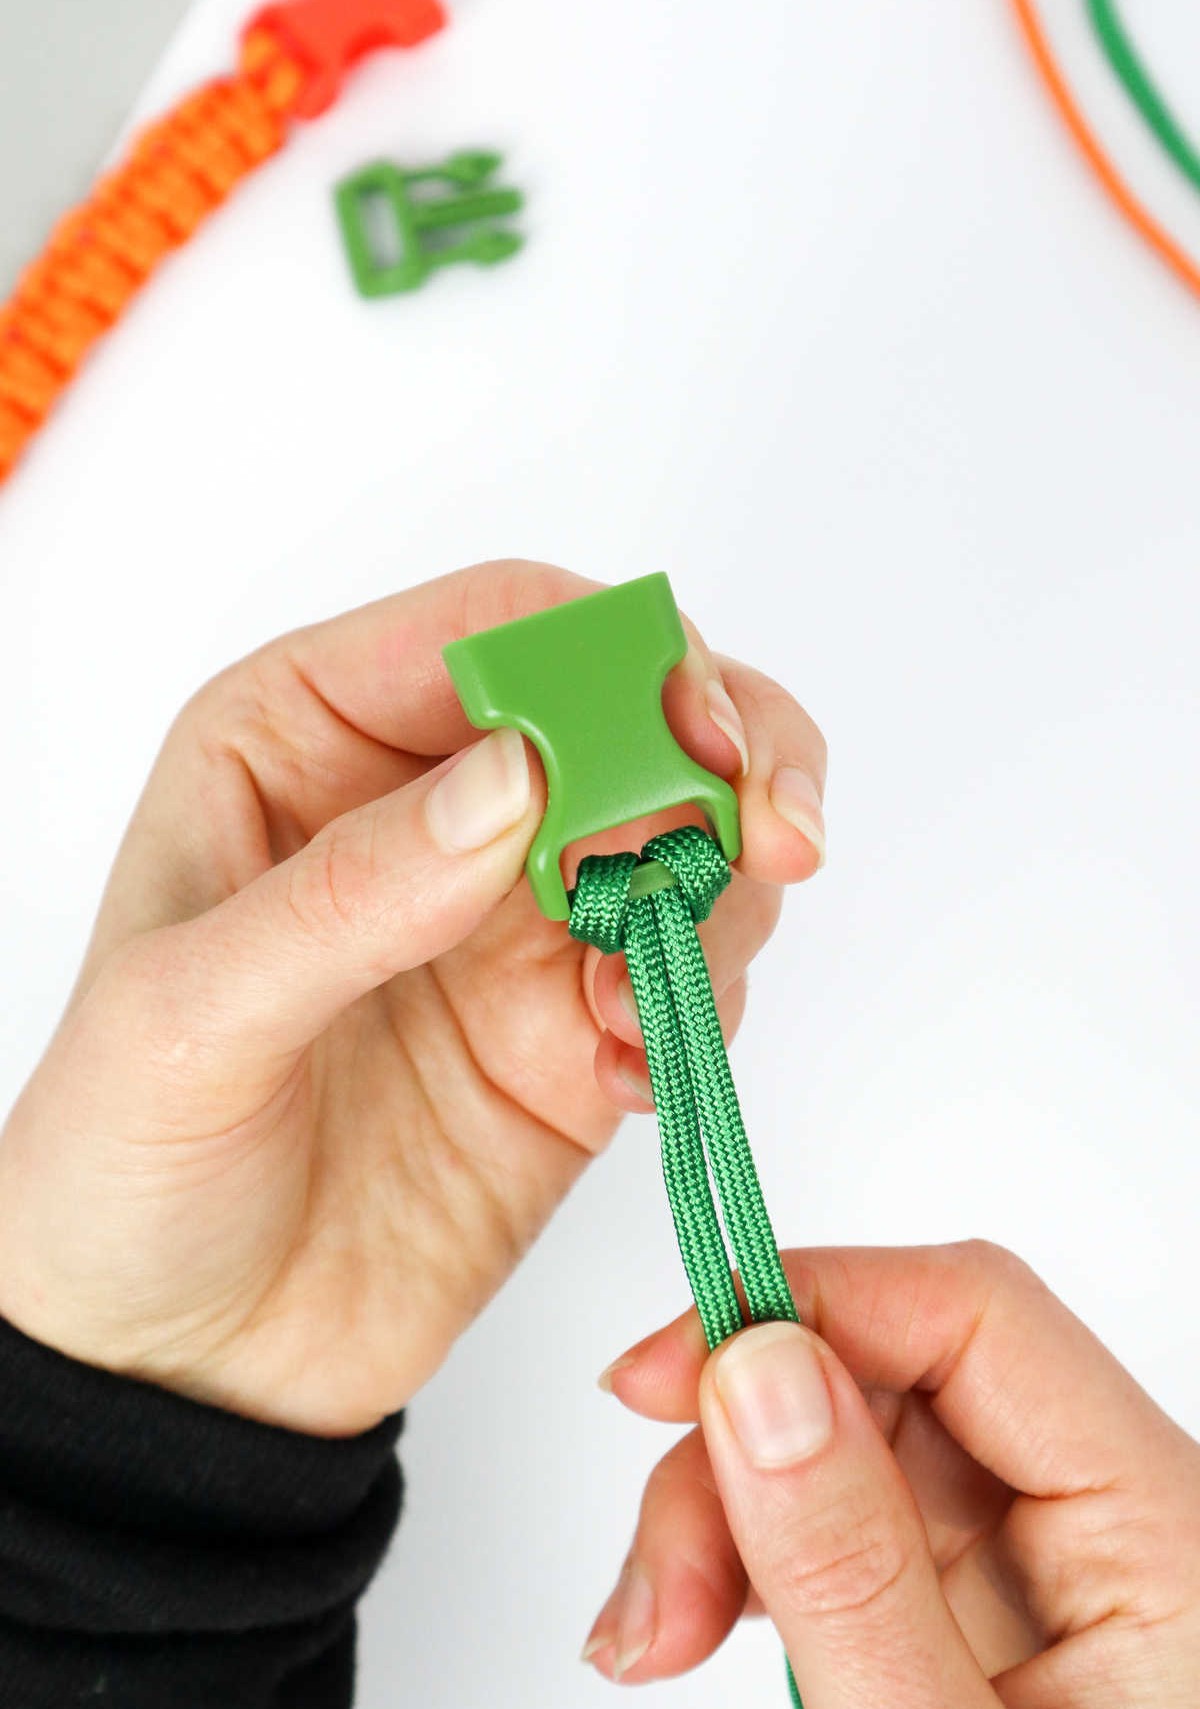
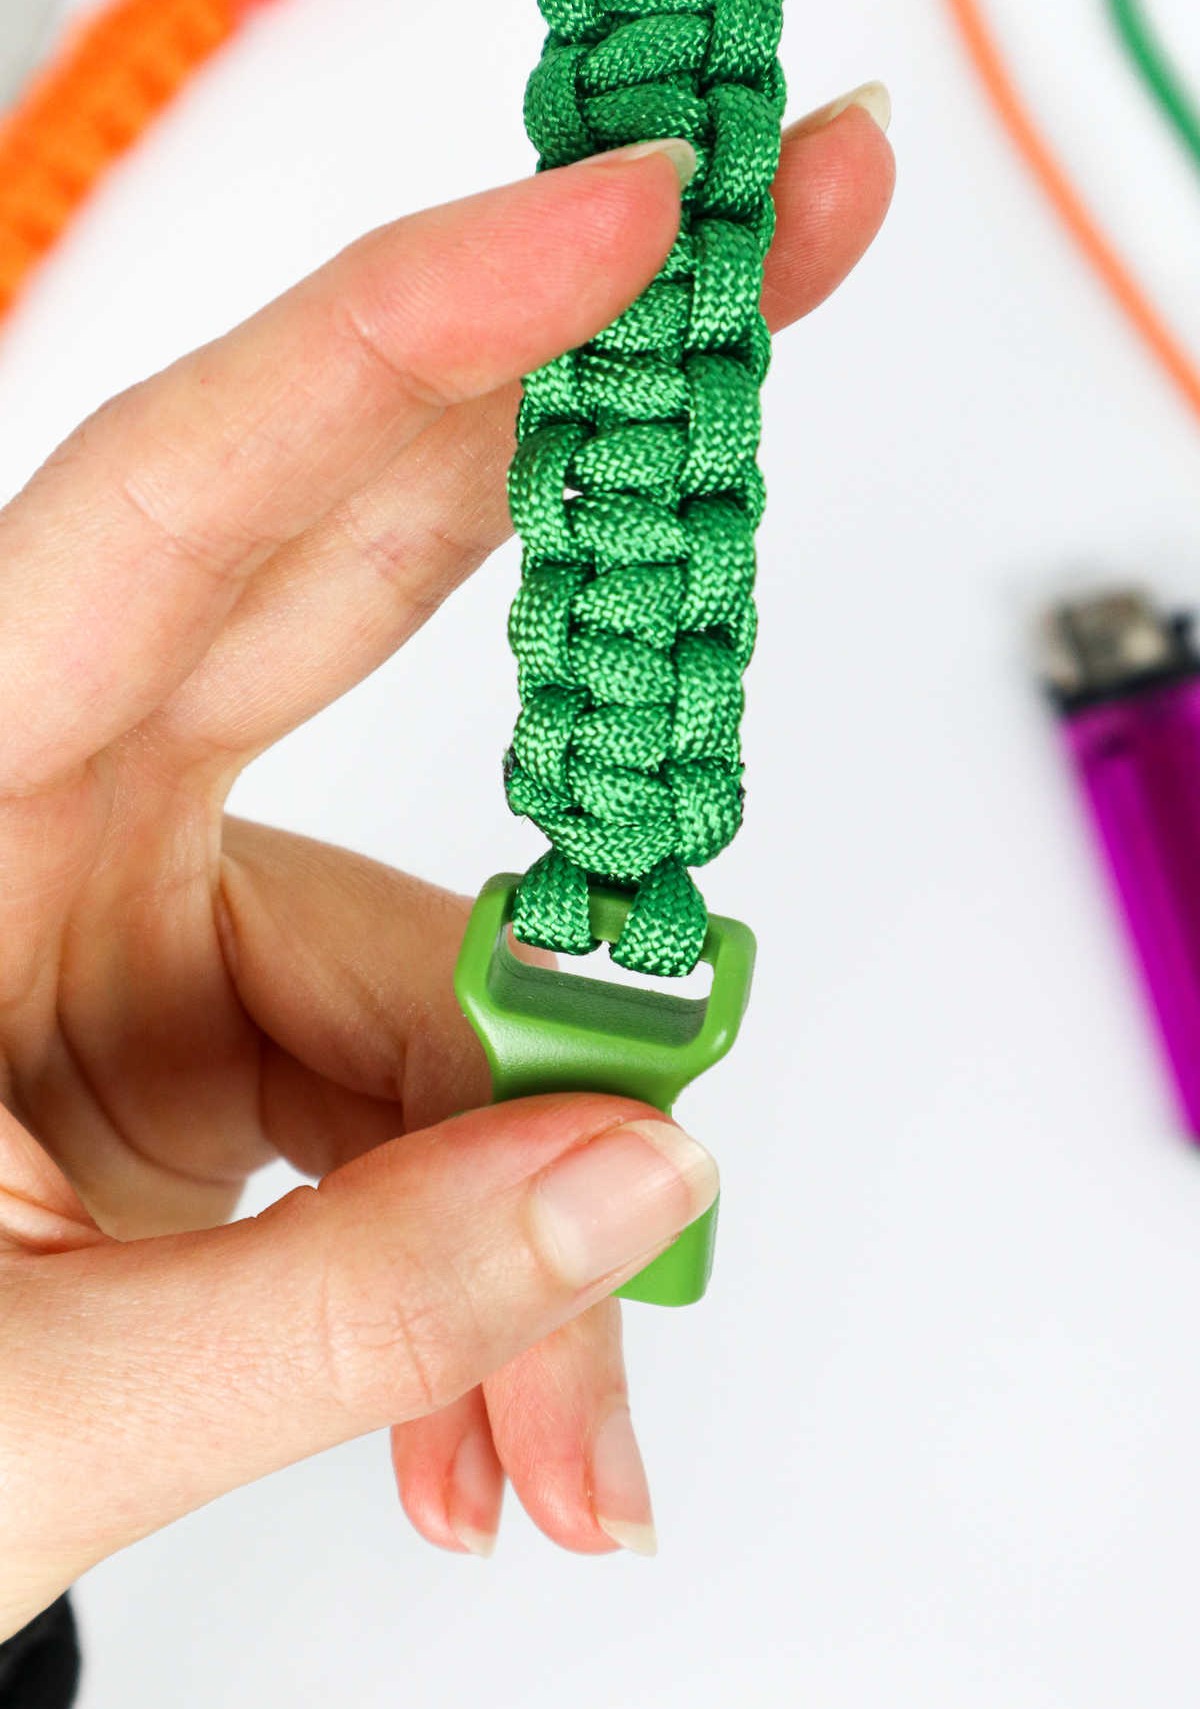
To secure the cord to the clip, start by folding it in half to create a loop on one side. Then, insert the other end, which has the two cord segments, through the clip. Continue pulling the two ends until the folded end is about 2 inches deep within the clip. Next, grab the two ends and pull them through the loop, effectively creating a lark’s head knot that will hold the cord in place. To finalize the knot, simply tug on both ends to tighten it.
Step 4
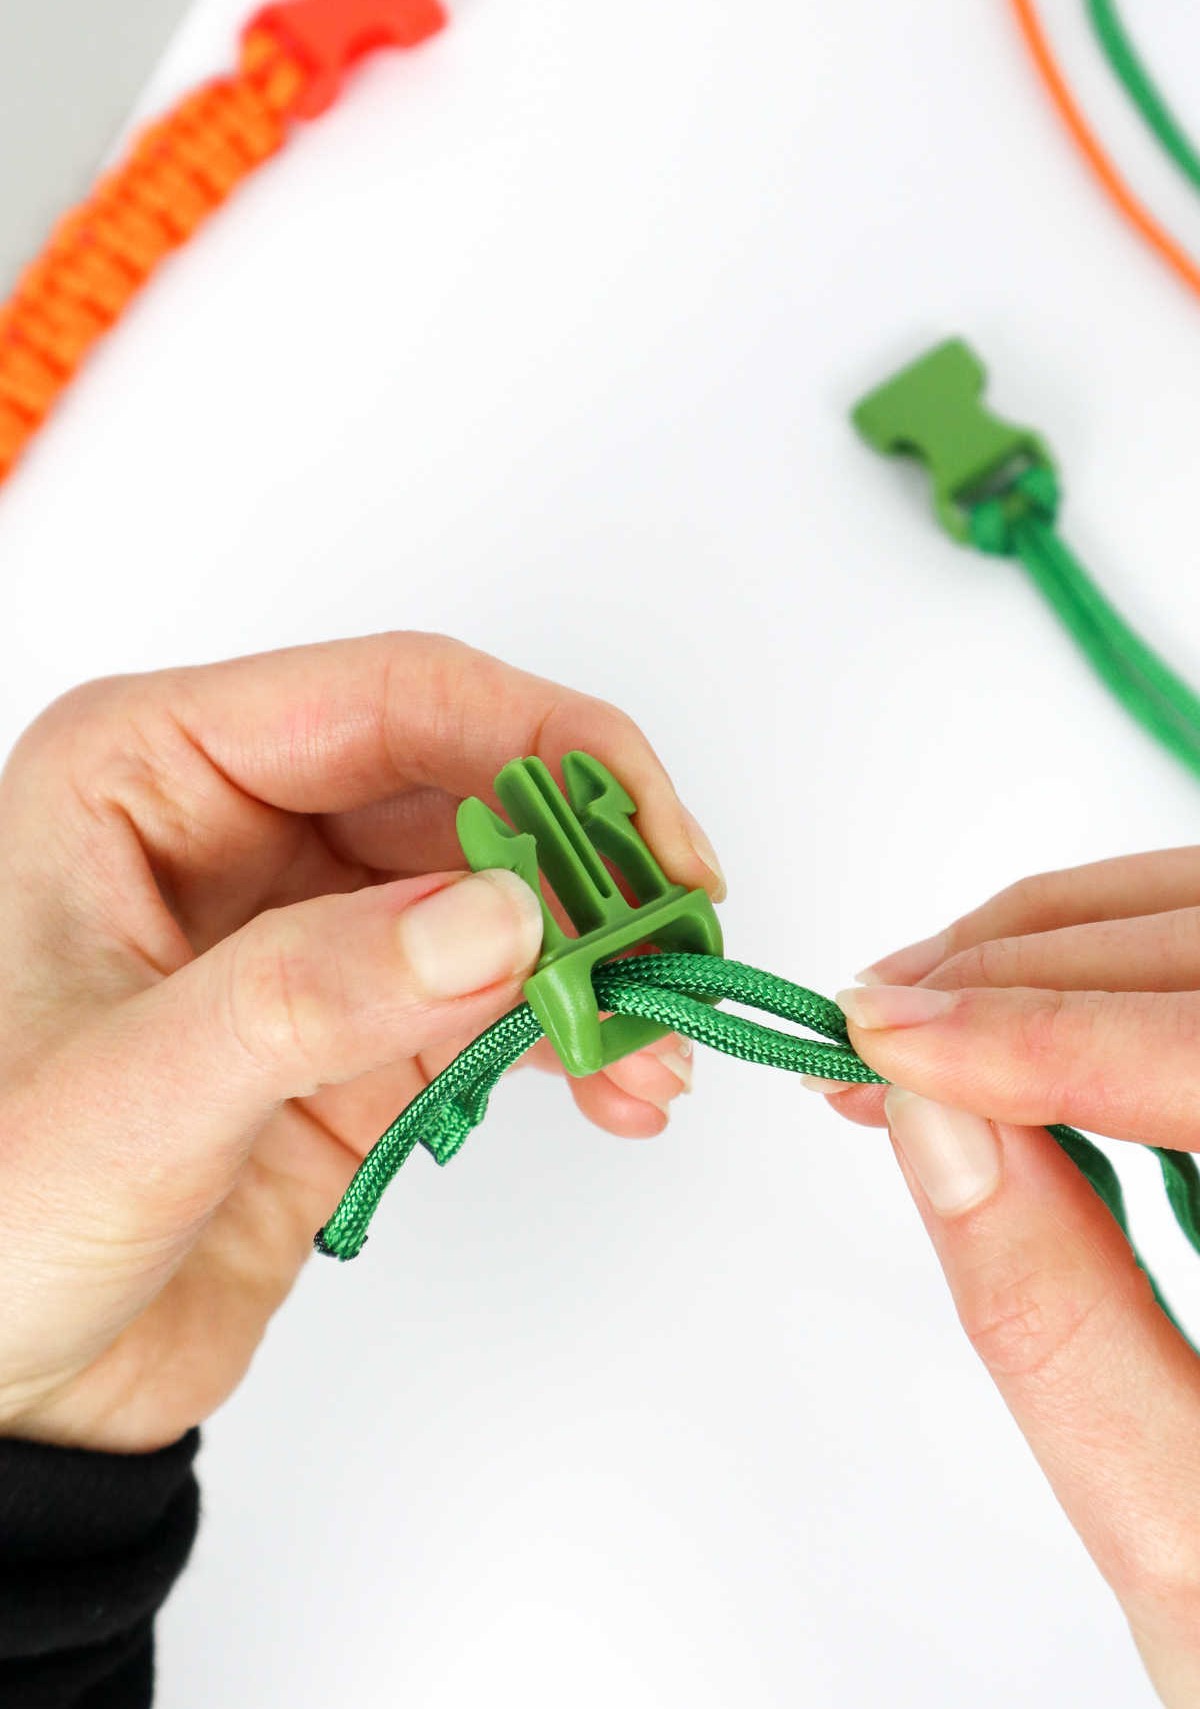
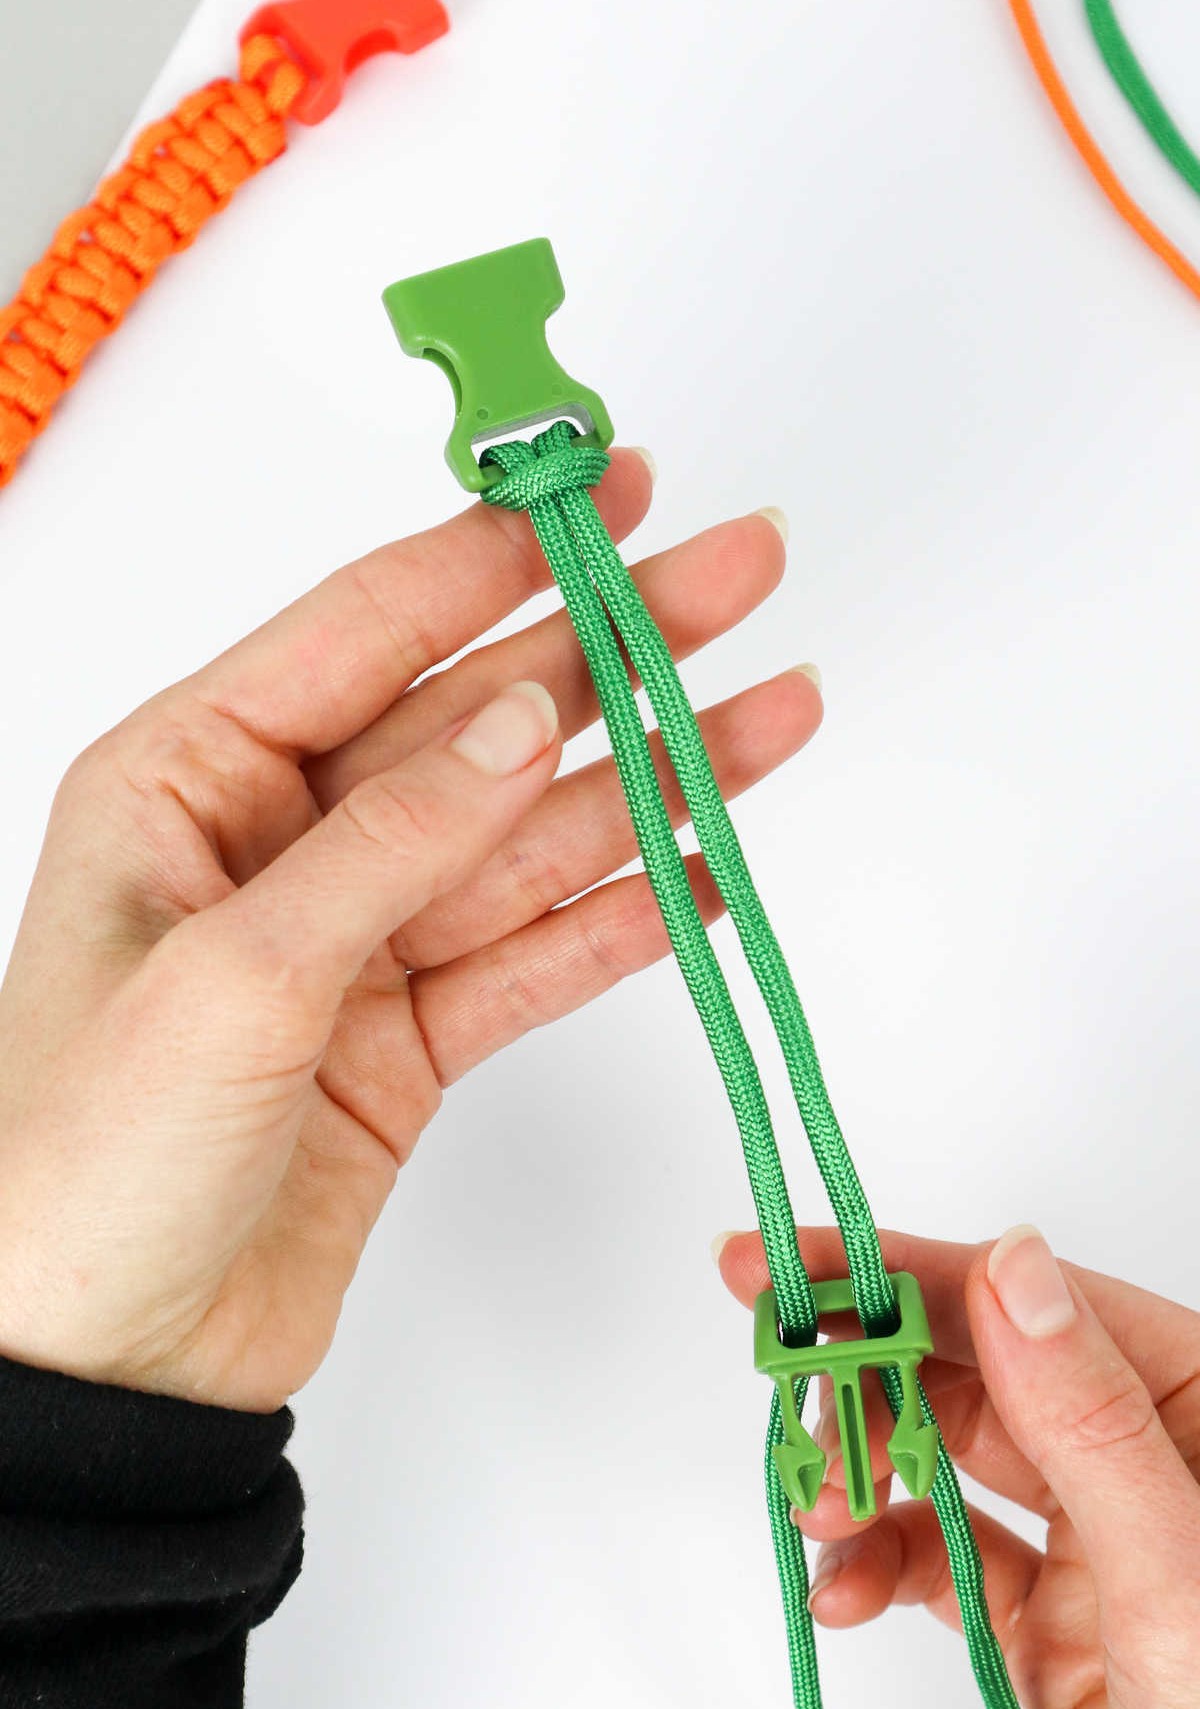
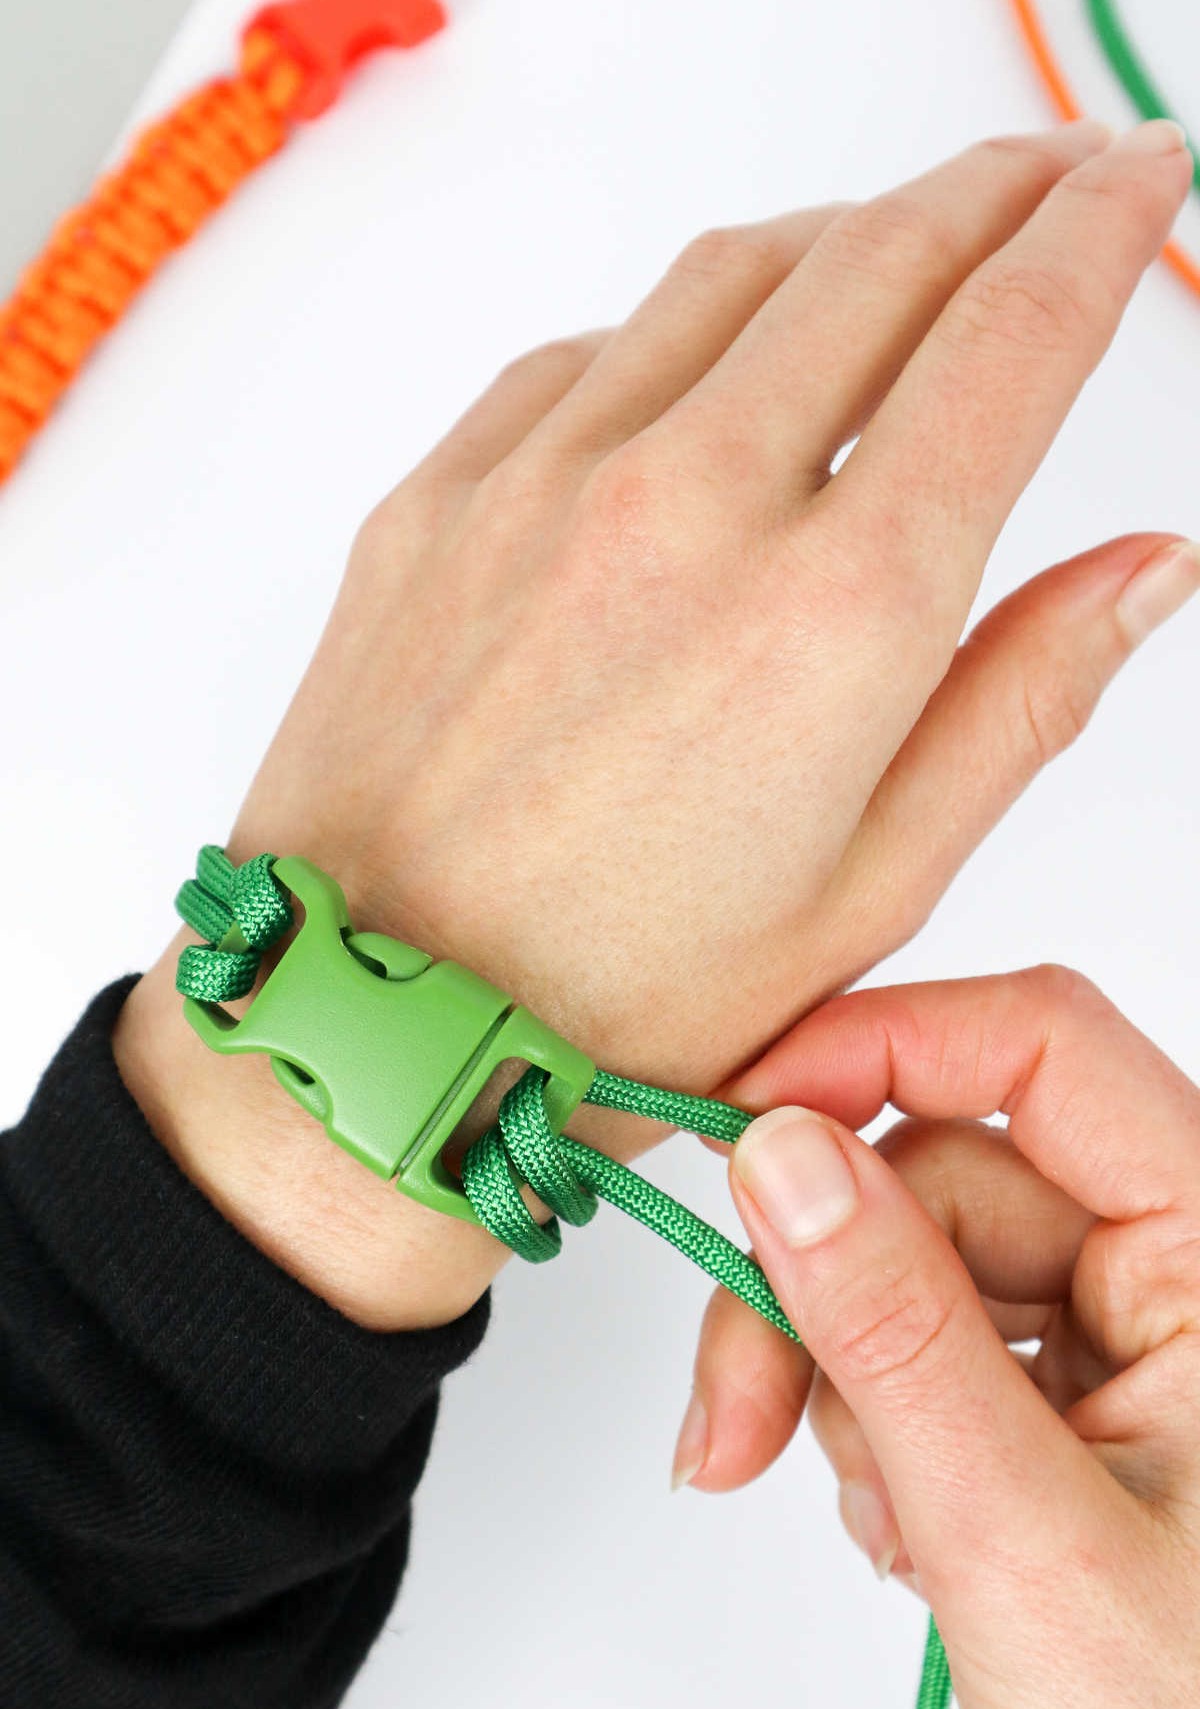
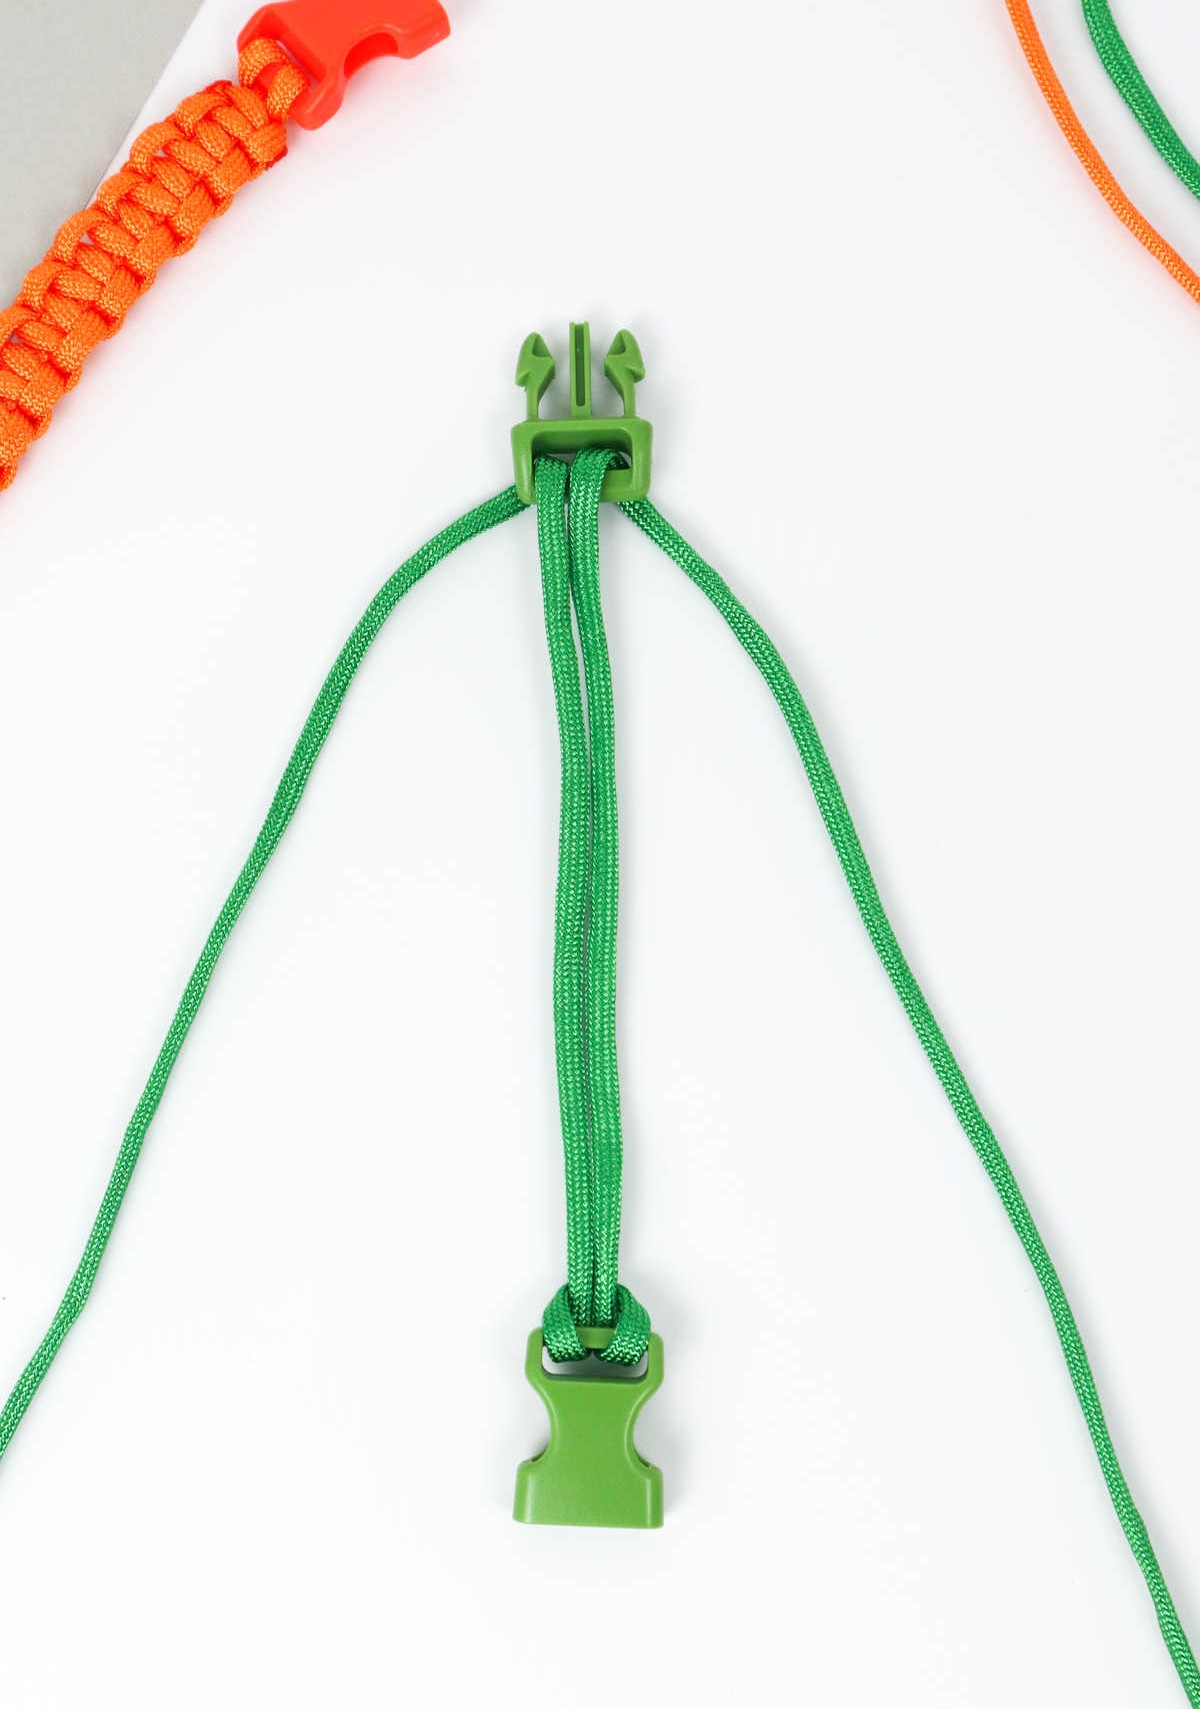
Hold the clip with the insert mechanism in one hand and grasp the two cords. To determine where to secure the ends, wrap the cords around your wrist and fasten the buckle and insert clips. Make any necessary adjustments to the cord length by clicking the buckle shut and repositioning the ends. Once you’re satisfied with the length, set your project aside on a stable surface, taking care not to alter the measurement. Now, it’s time to unleash your creativity and start designing.
Step 5
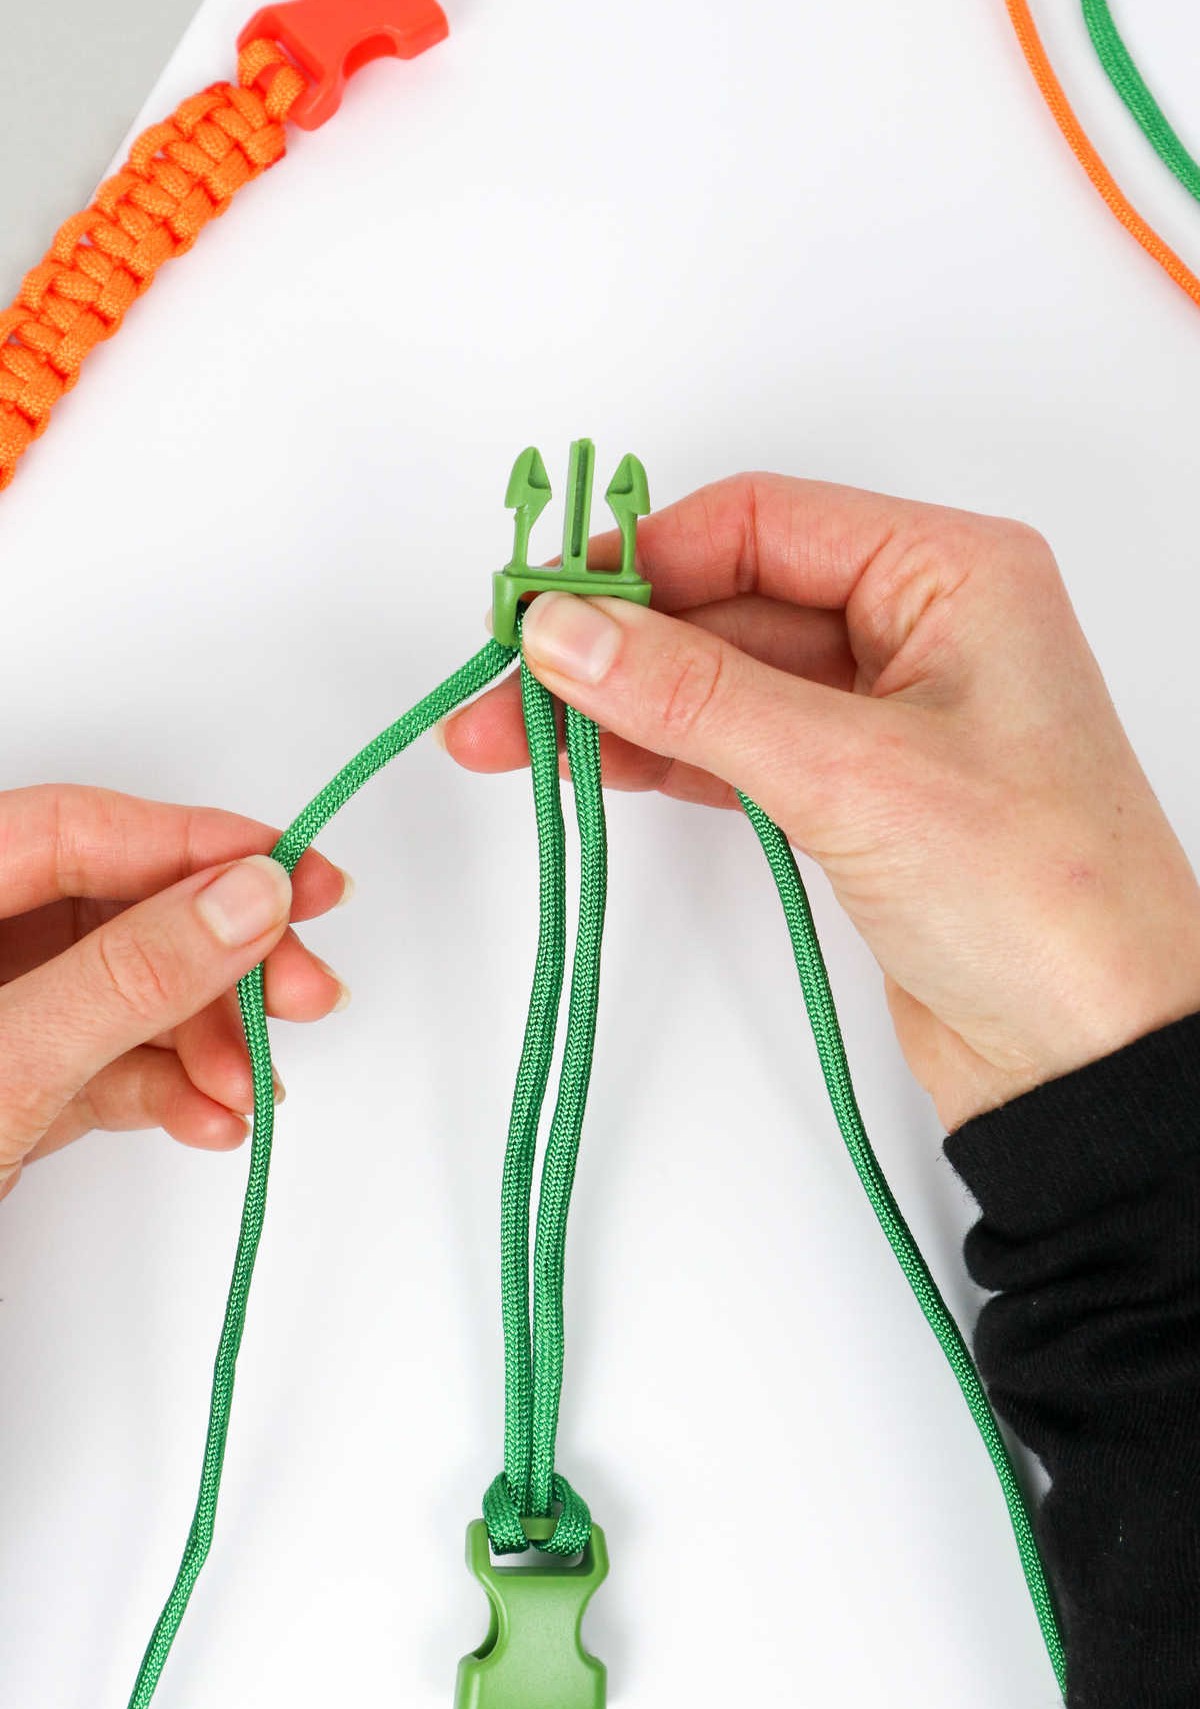


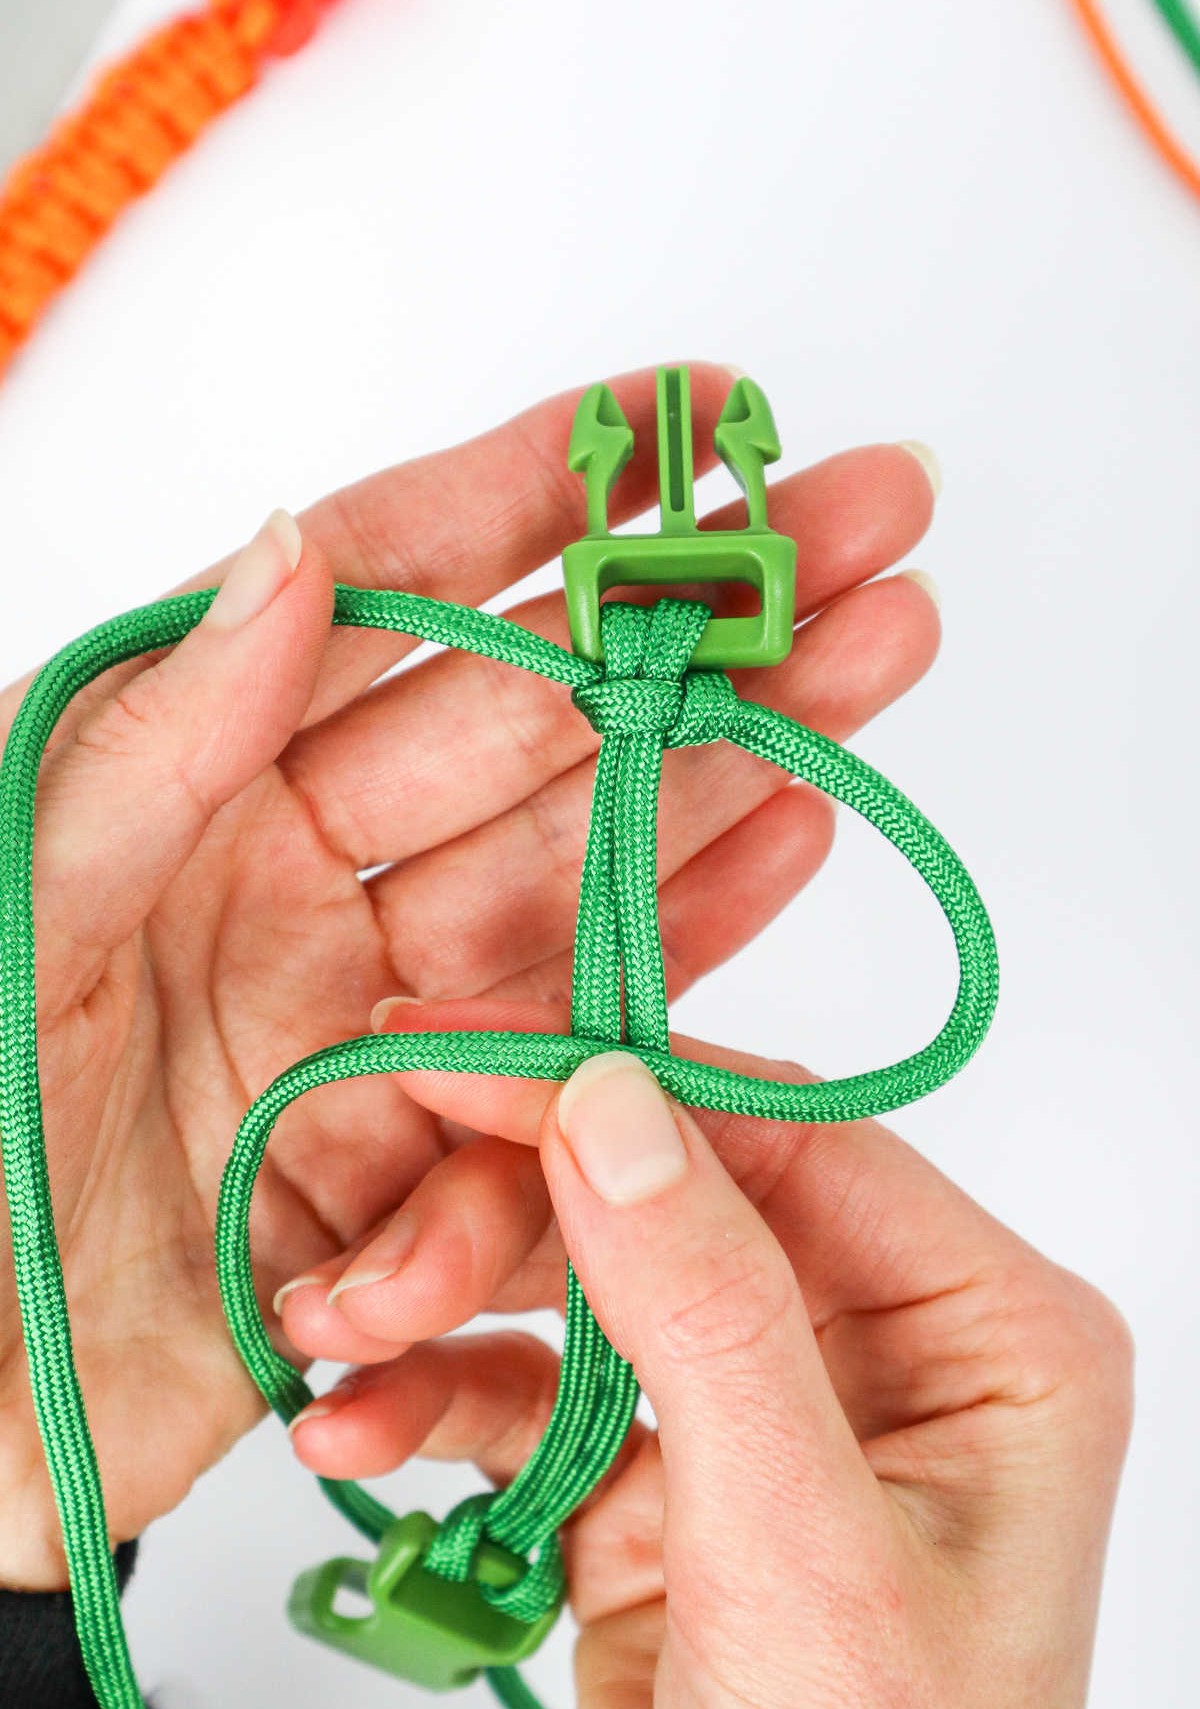
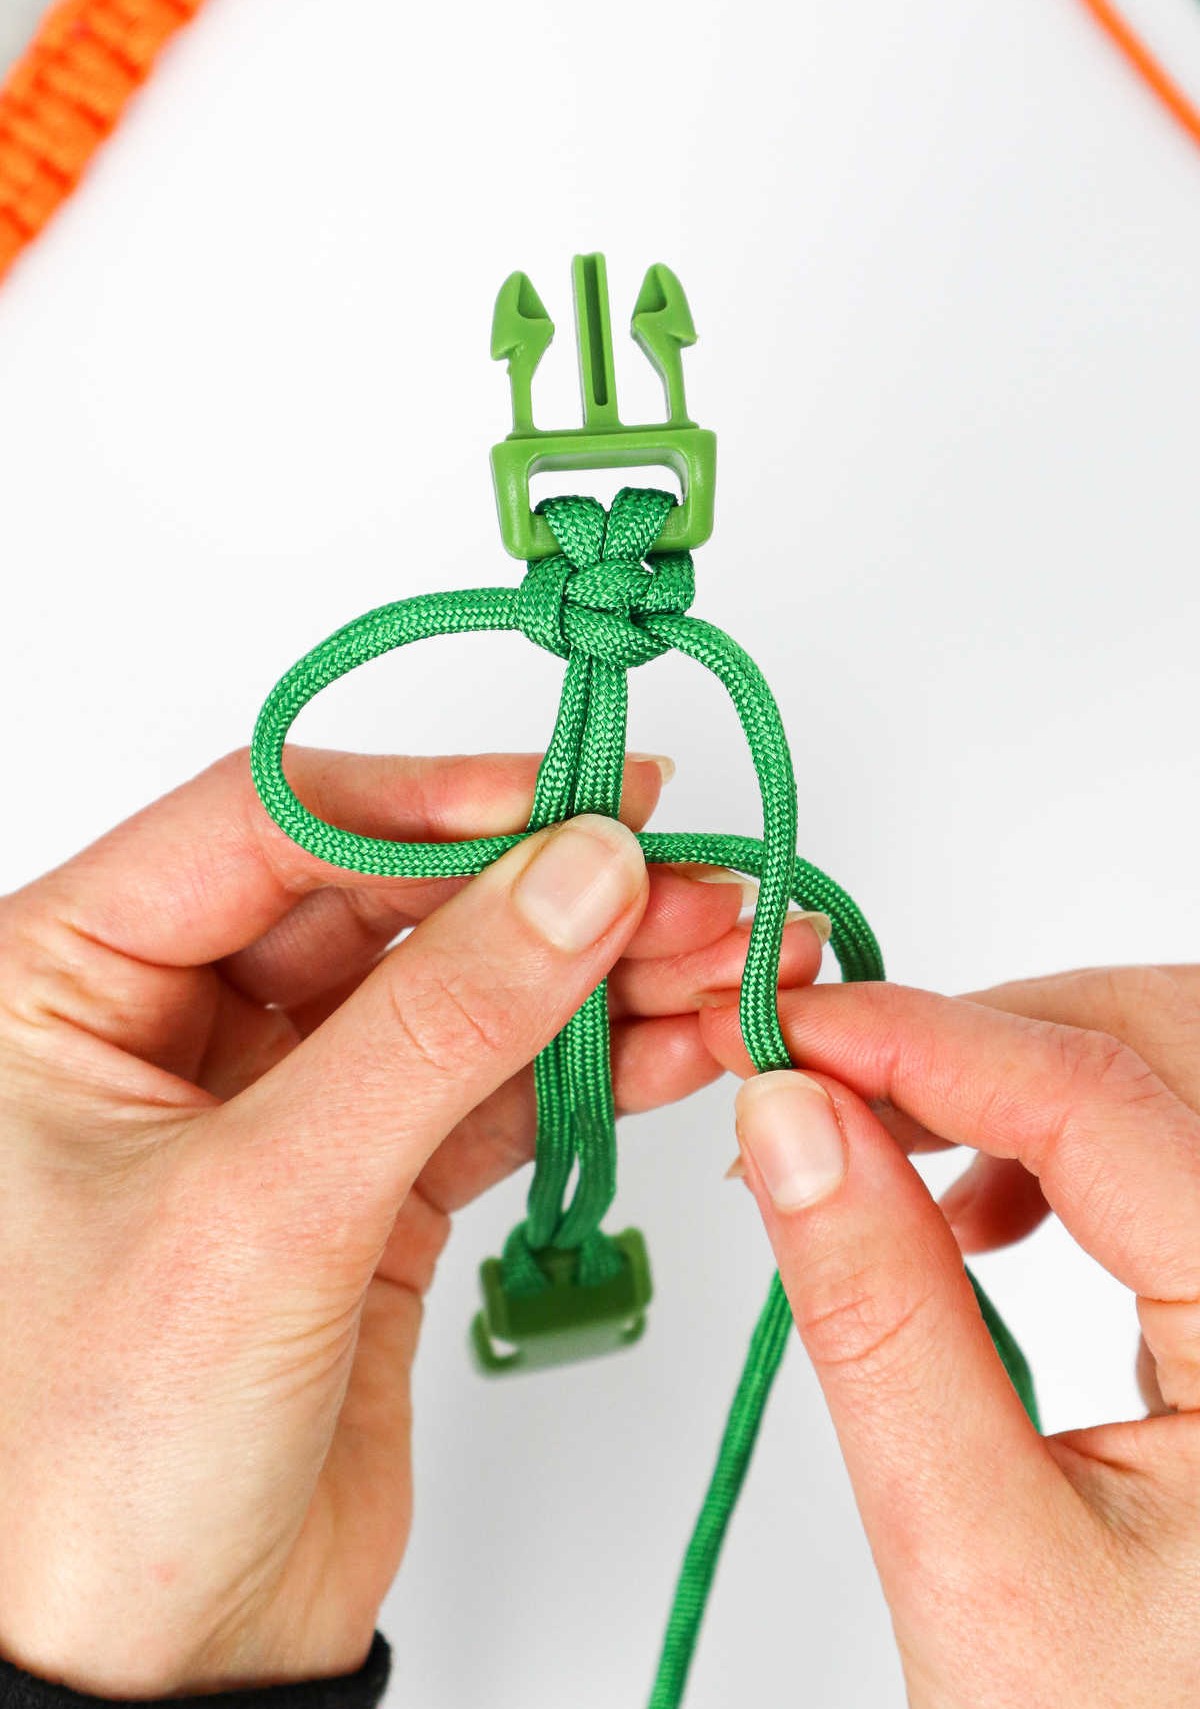
To begin, firmly grasp the insert clip and keep the cords in place with your thumb as you work towards the other end. Your goal is to create a series of interconnected square knots along the way. The process starts by creating a foundation loop using the left cord, which should be held over the two central cords. This will give you a base to build upon.
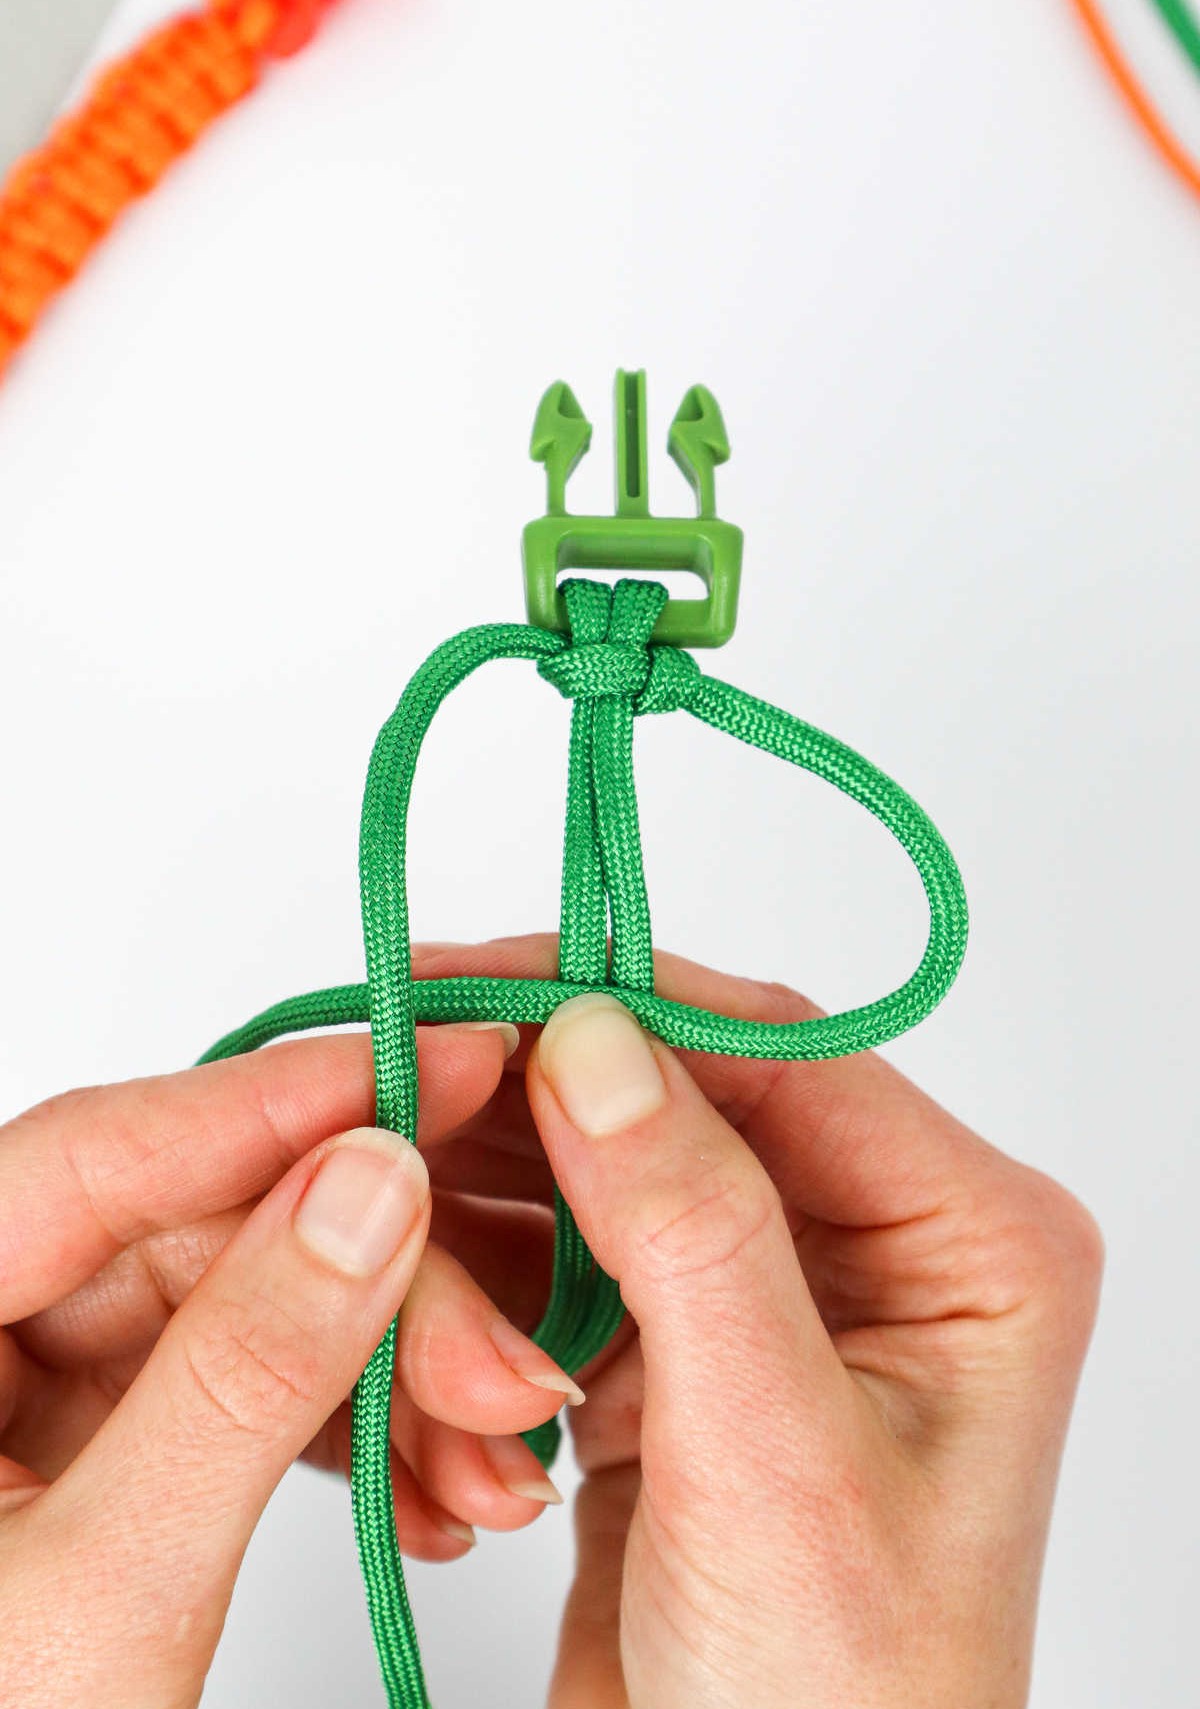
The next step involves pulling the right cord over the left, followed by a subtle movement under both middle cords.
As you do this, focus on keeping everything aligned and even.
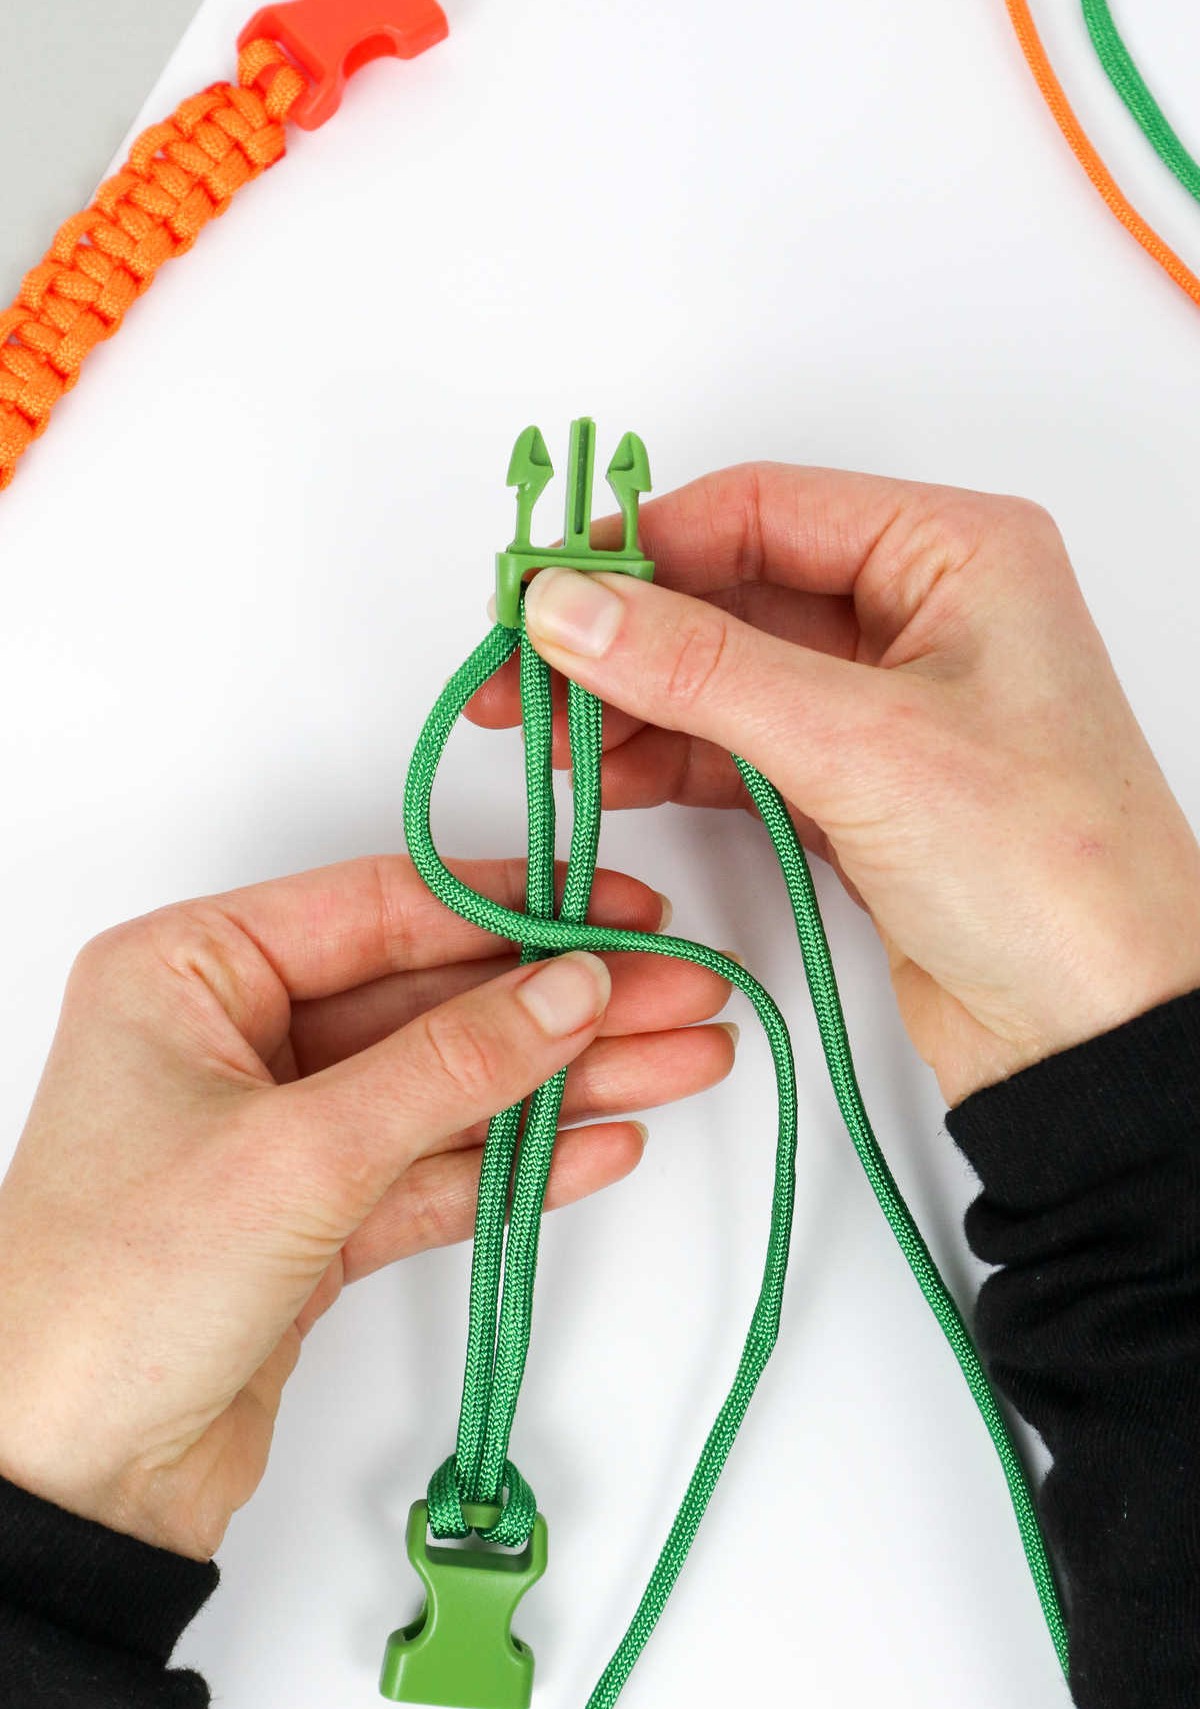
Once you’ve achieved the desired positioning, use your fingers to guide the right cord through the initial loop you created. A gentle tug at the end will help secure the first part of the square knot in place, allowing you to move forward with confidence.
Step 6
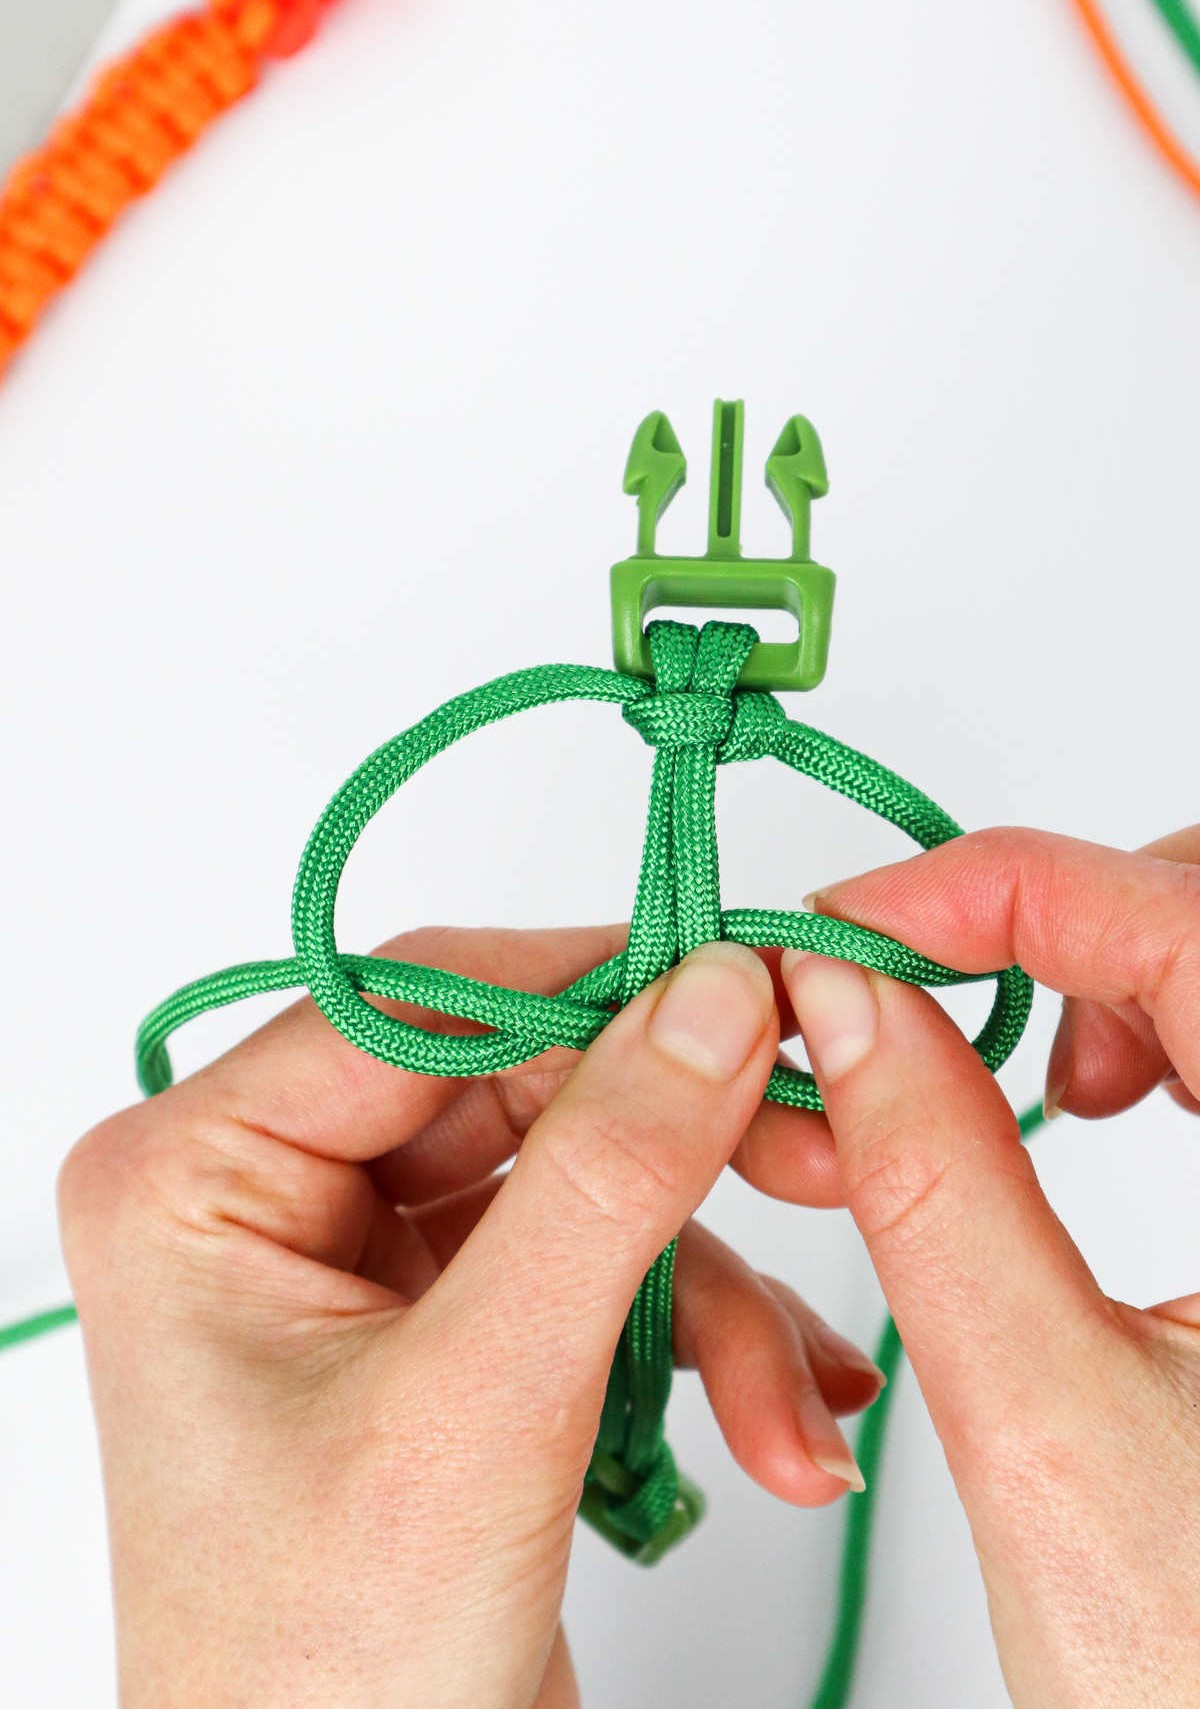
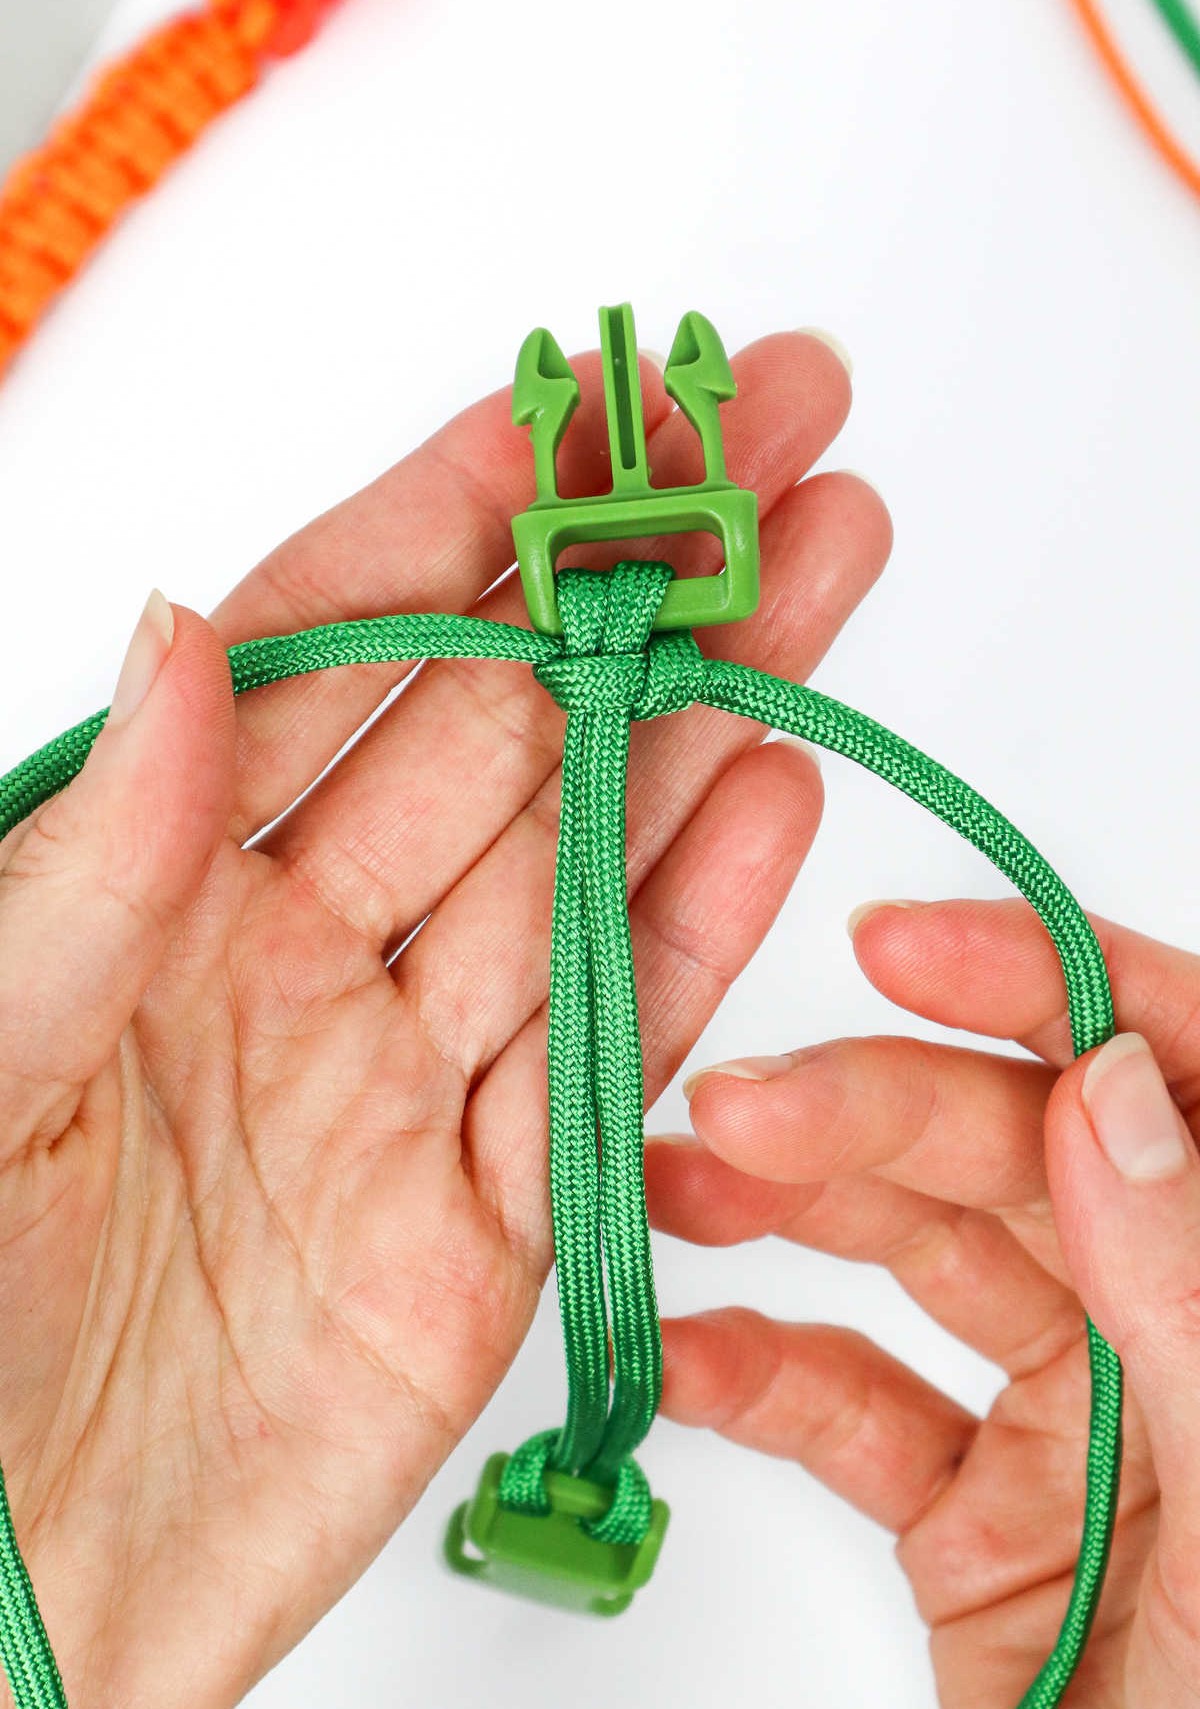
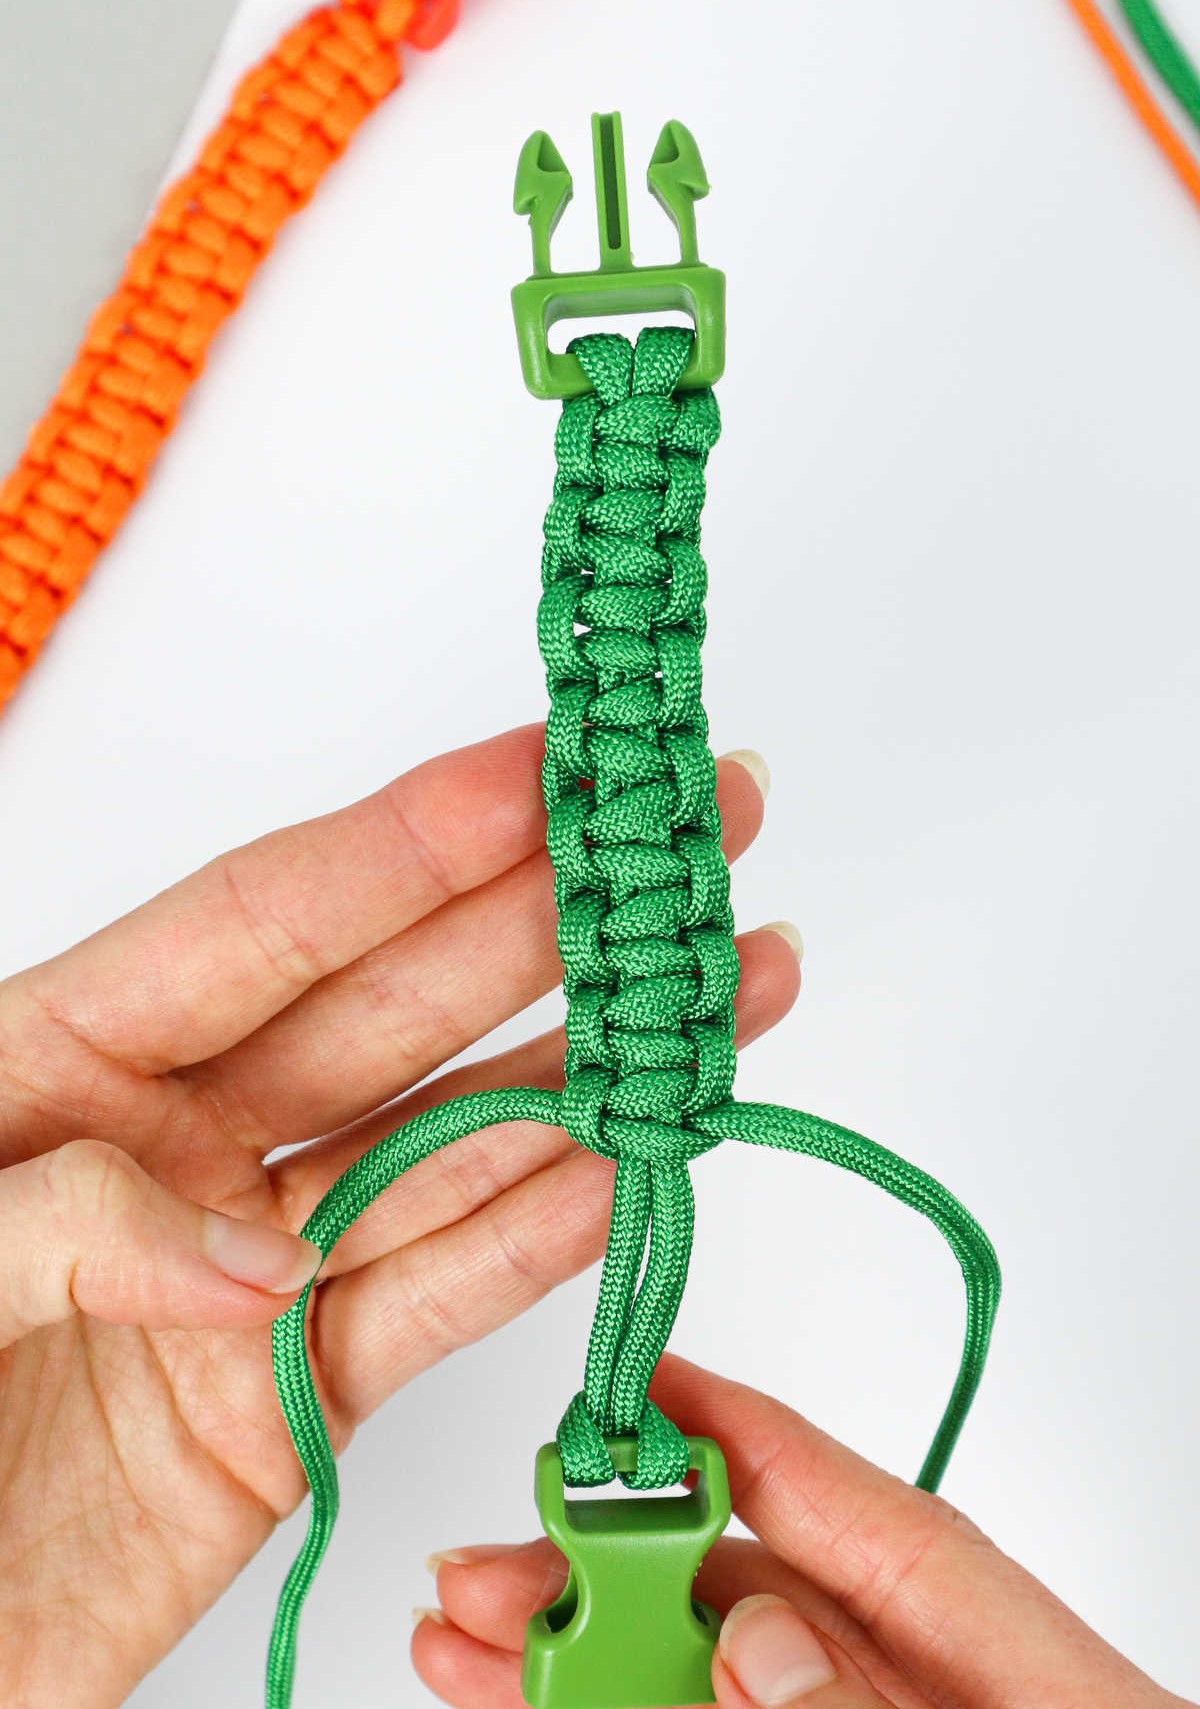
To create a secure square knot, start by forming a loop with one of the middle cords and the cord on the right. Next, take the leftmost cord and pass it over the right-hand cord, then underneath the middle cords. Pull gently on both ends to tighten the knot. Once you’ve got it snug, tug at both ends again to make sure it’s securely in place.
Step 7
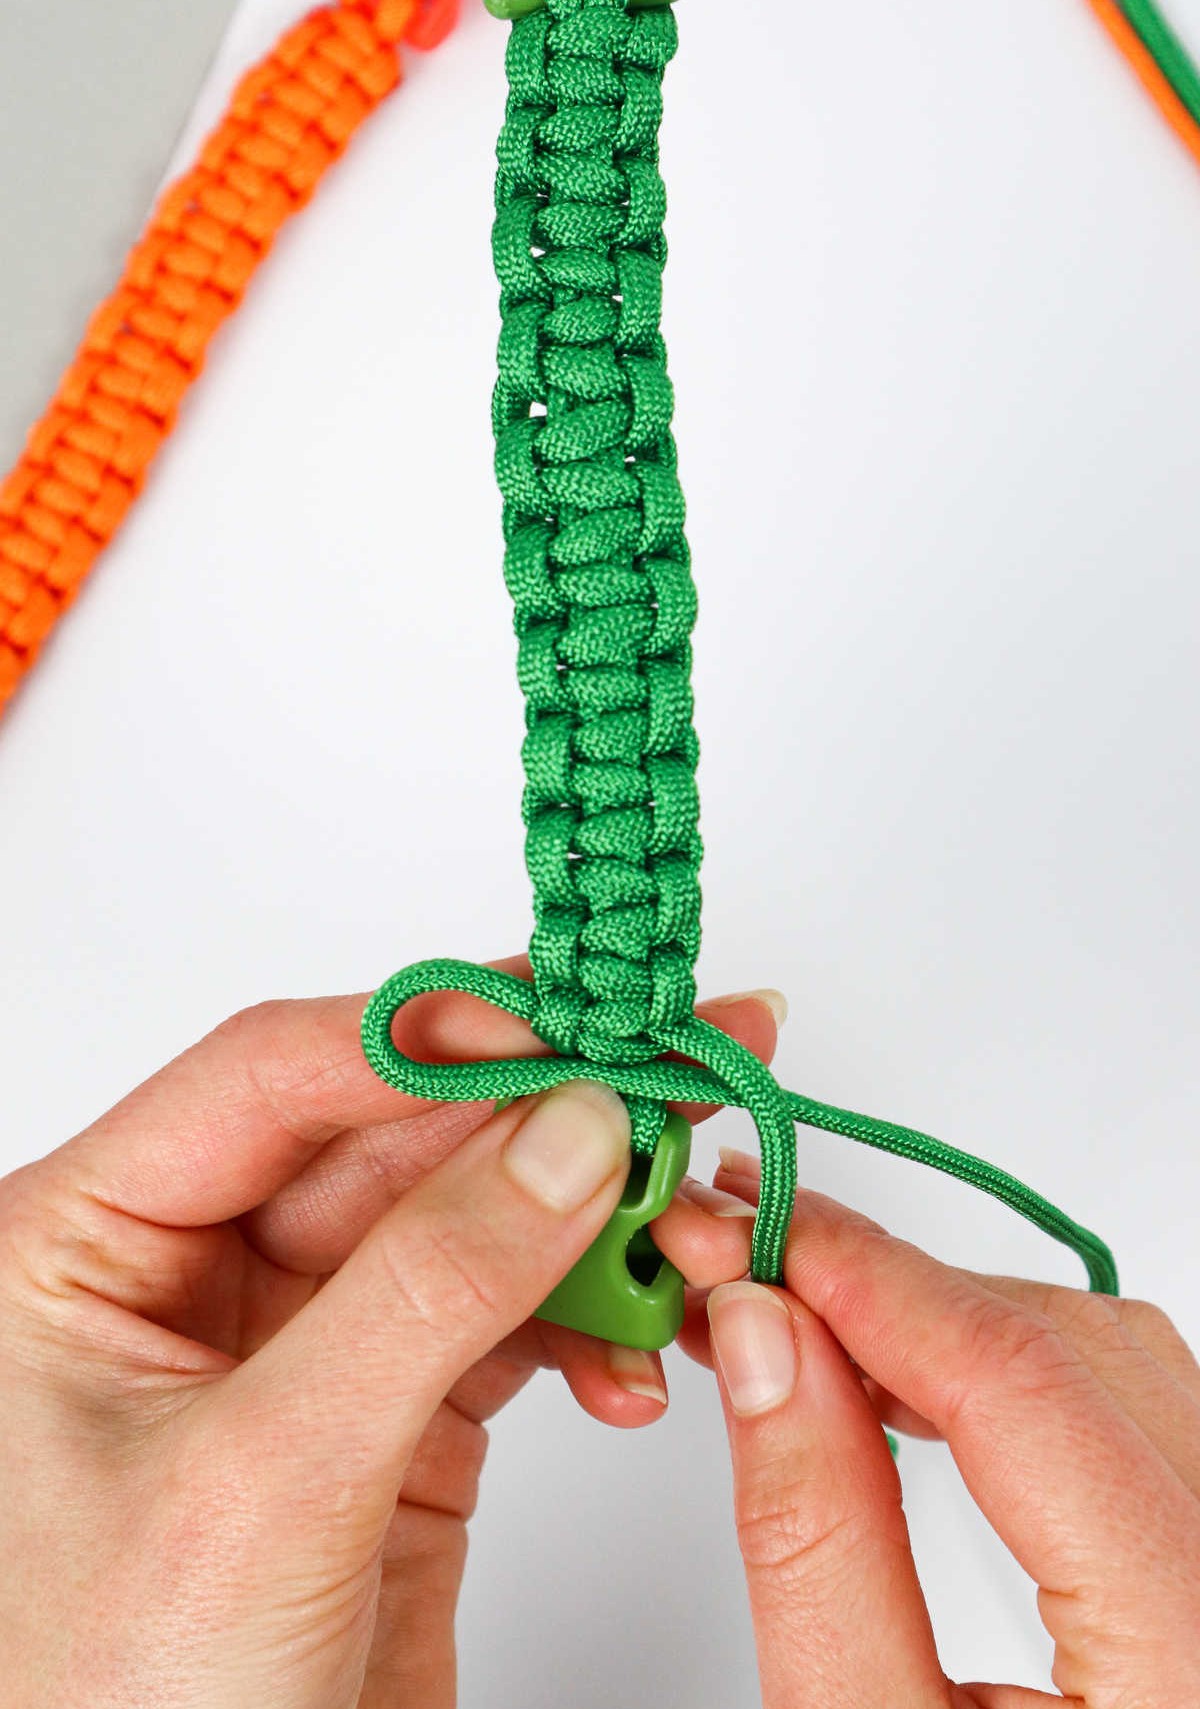
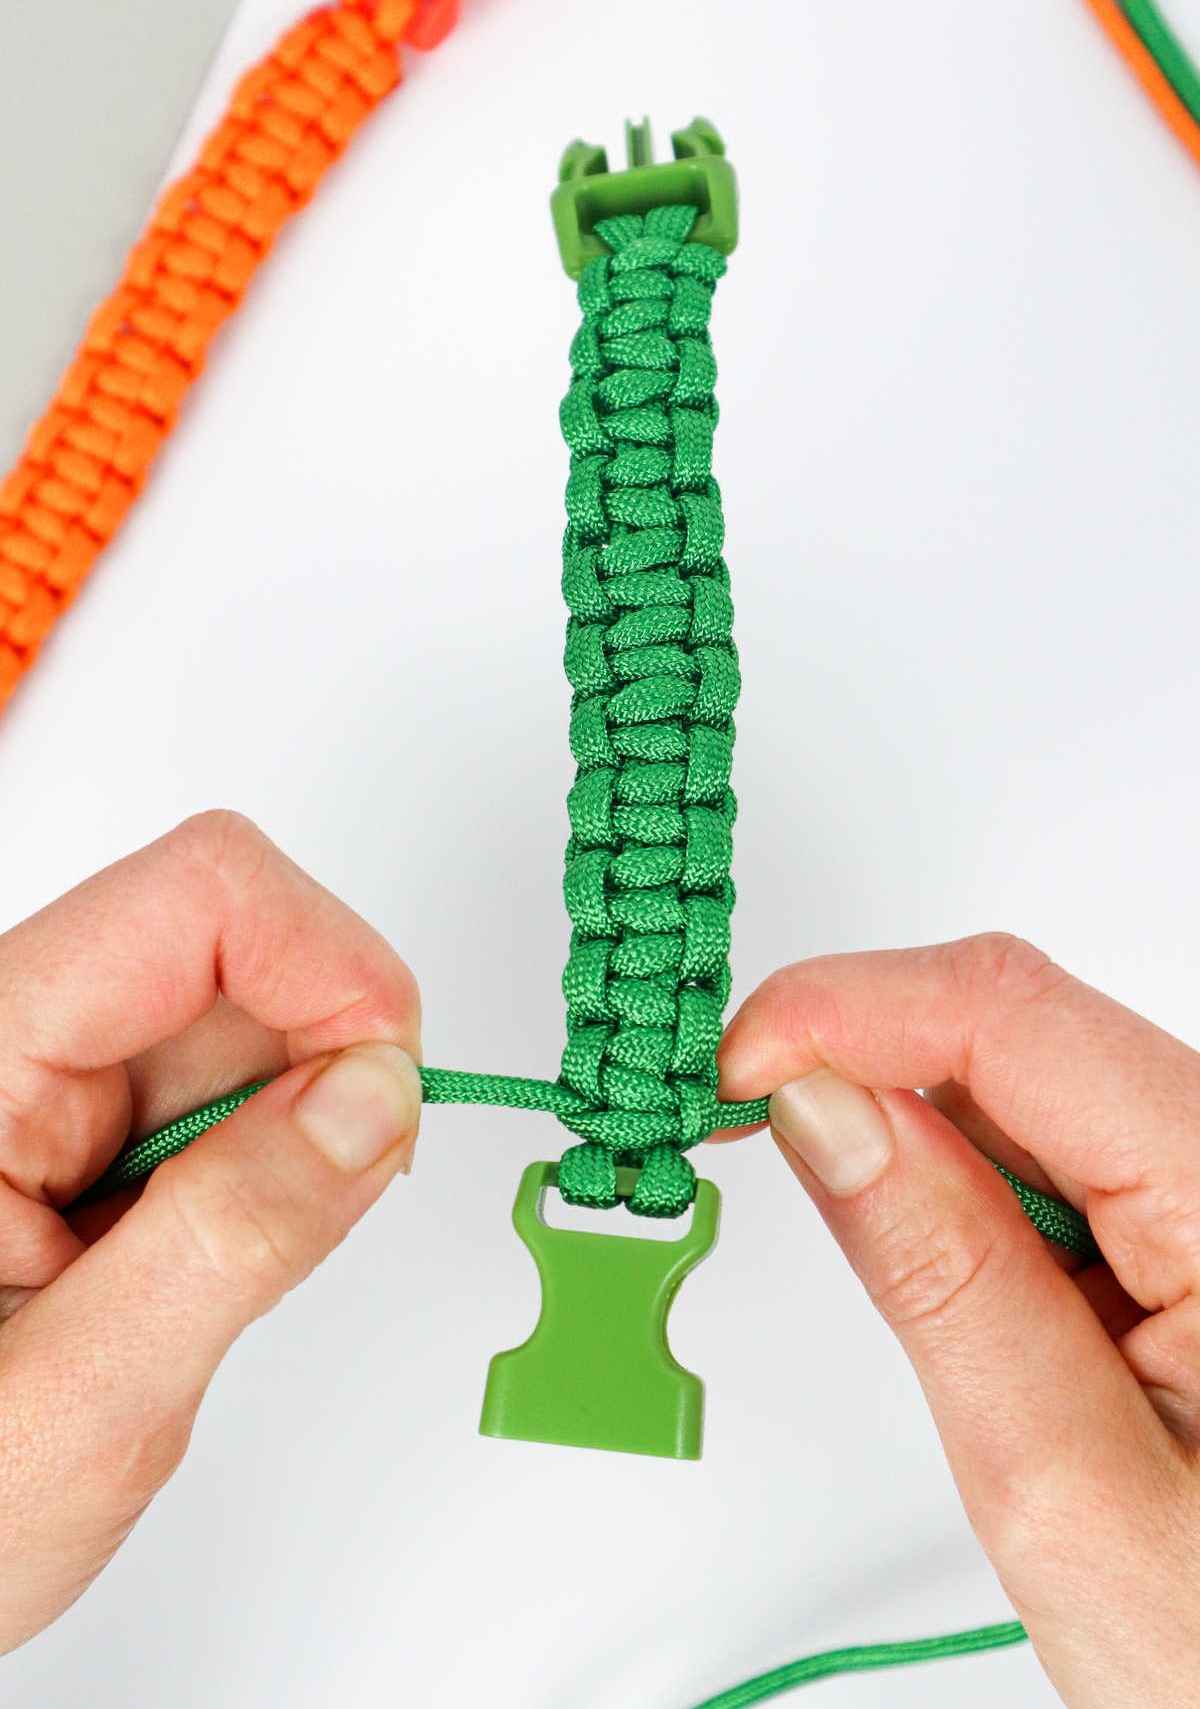
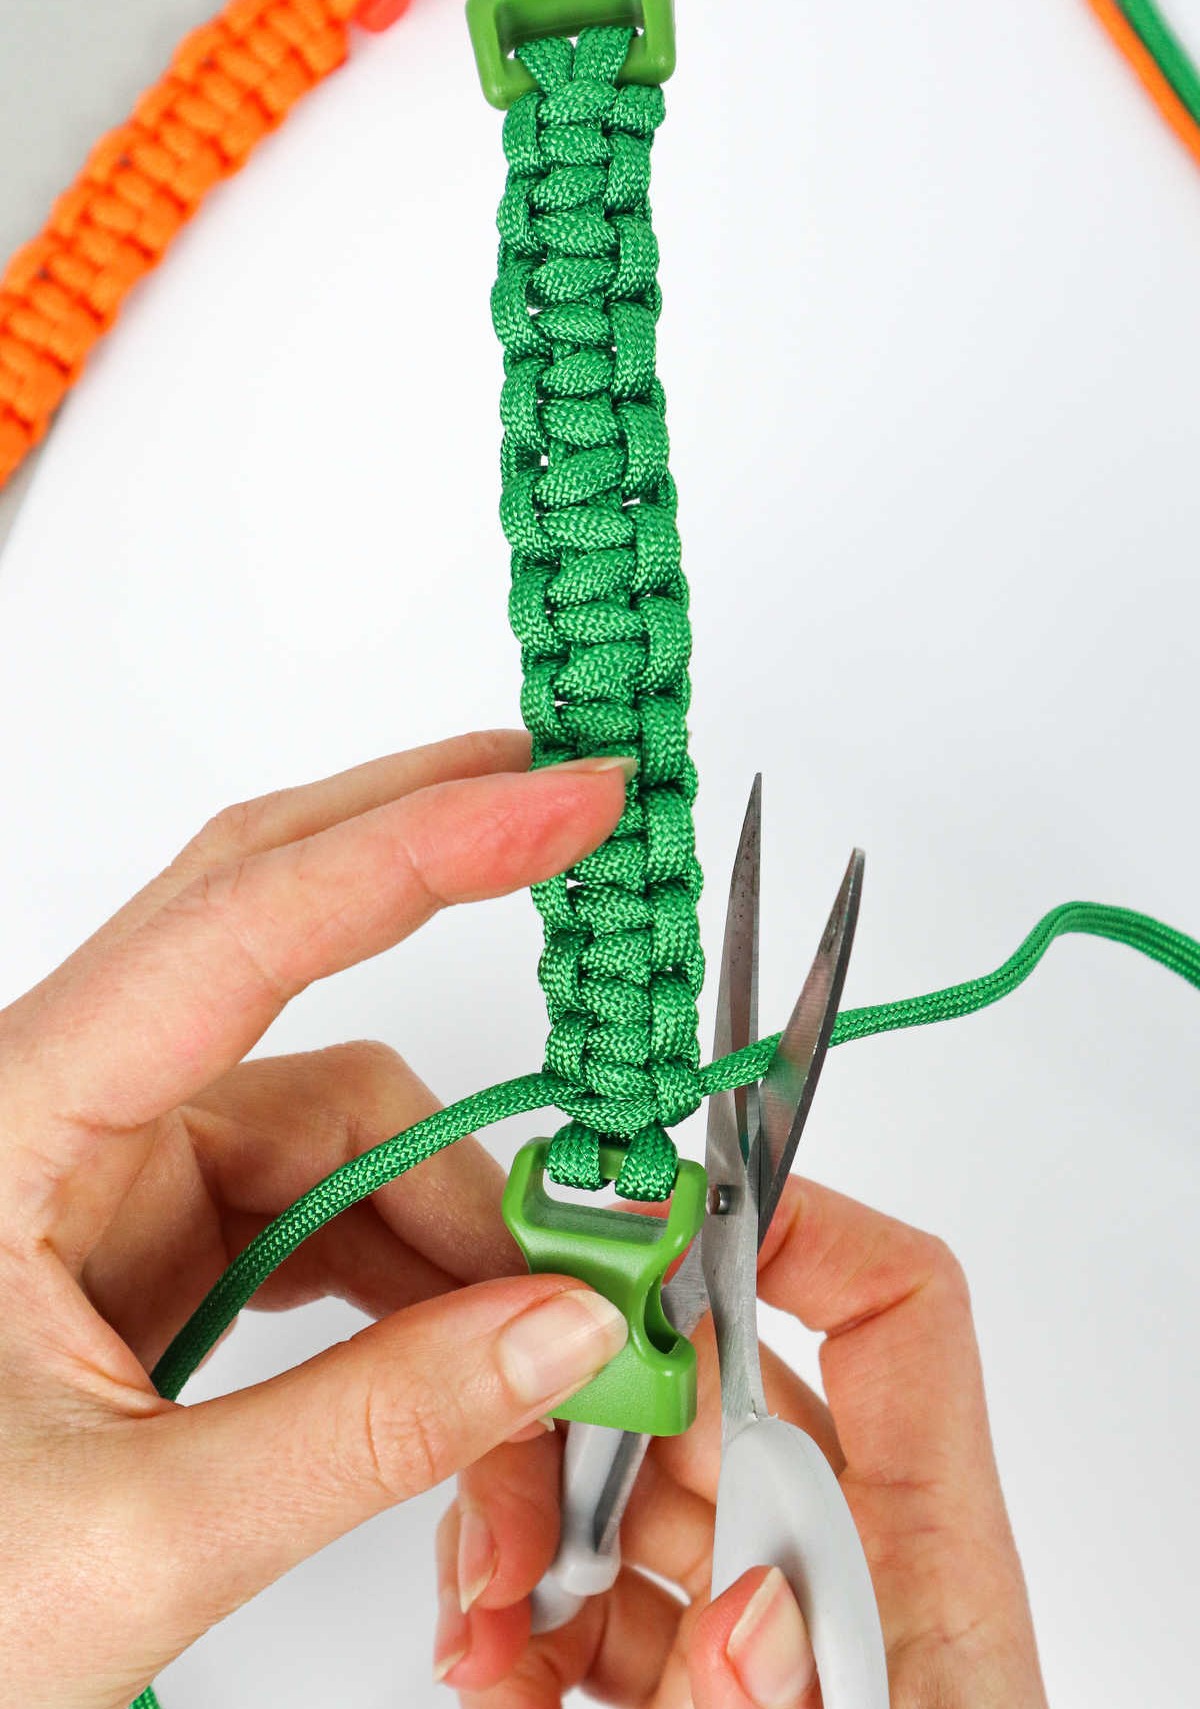
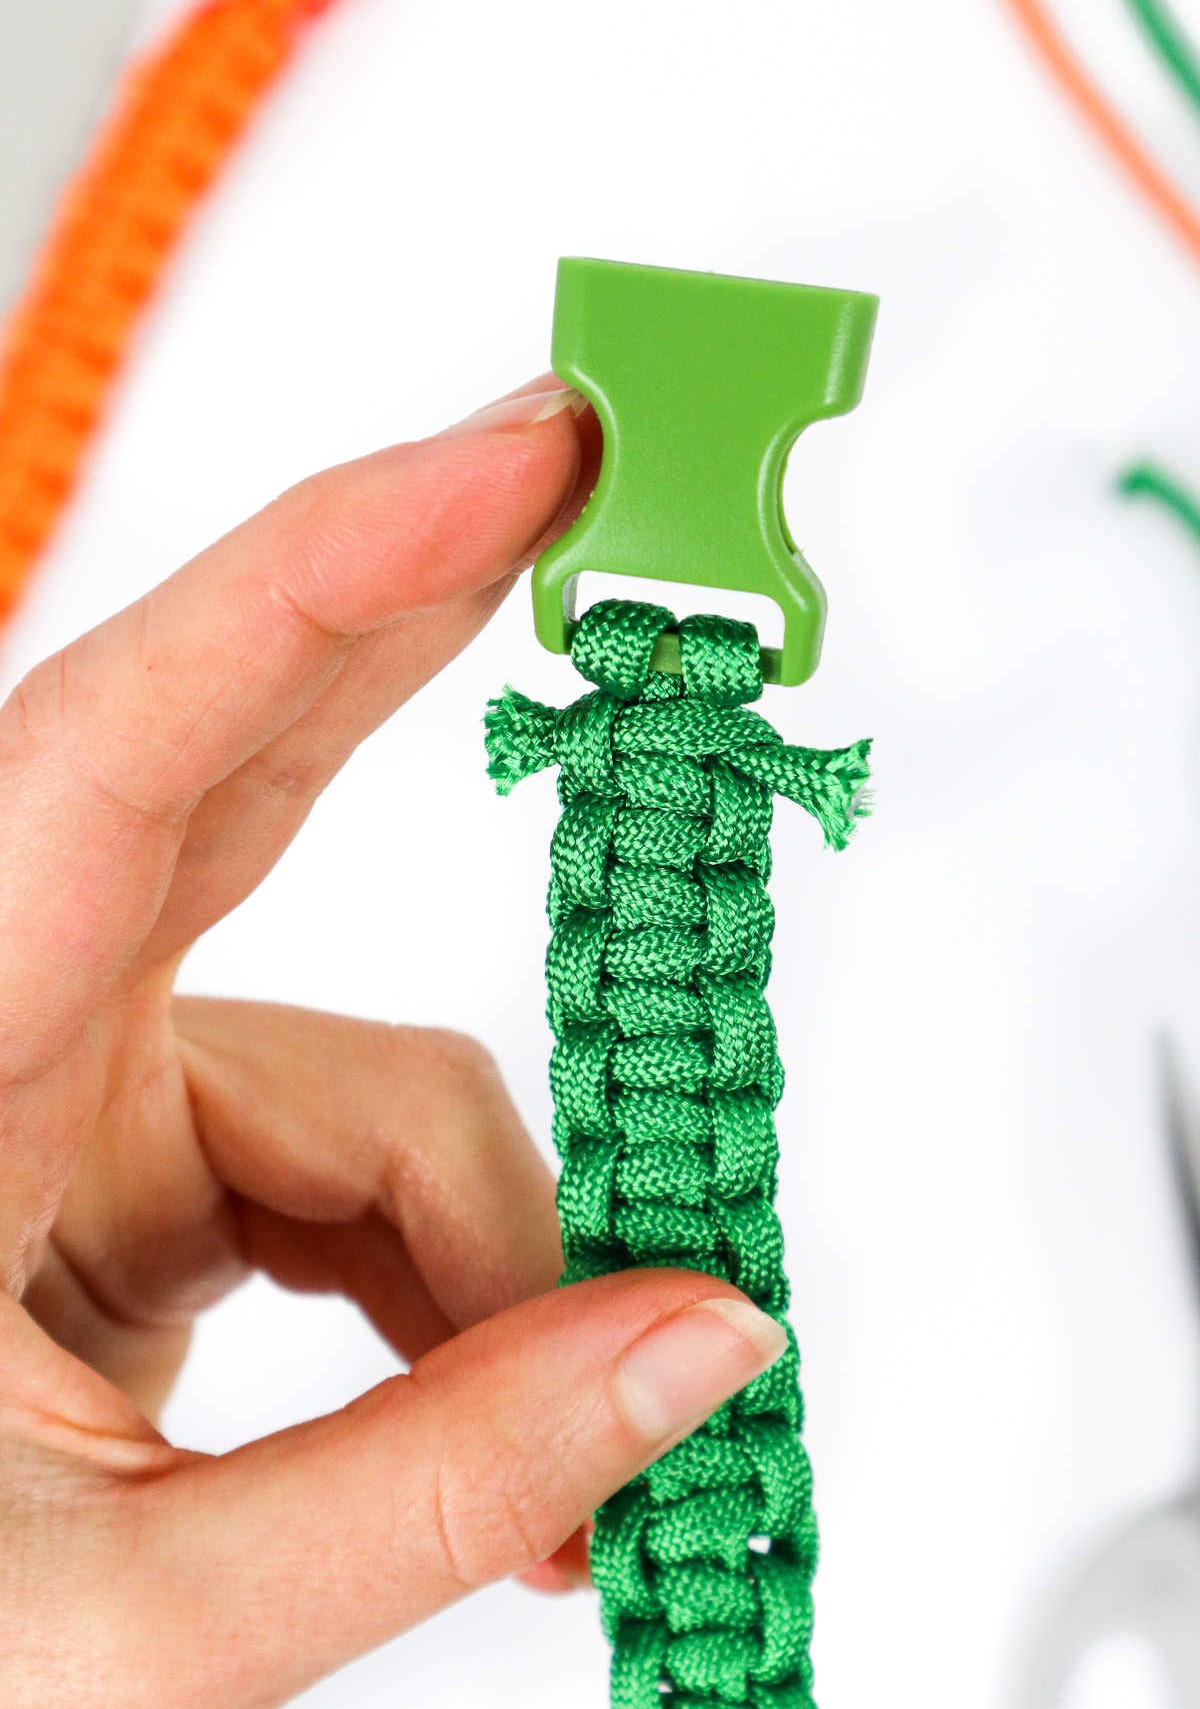
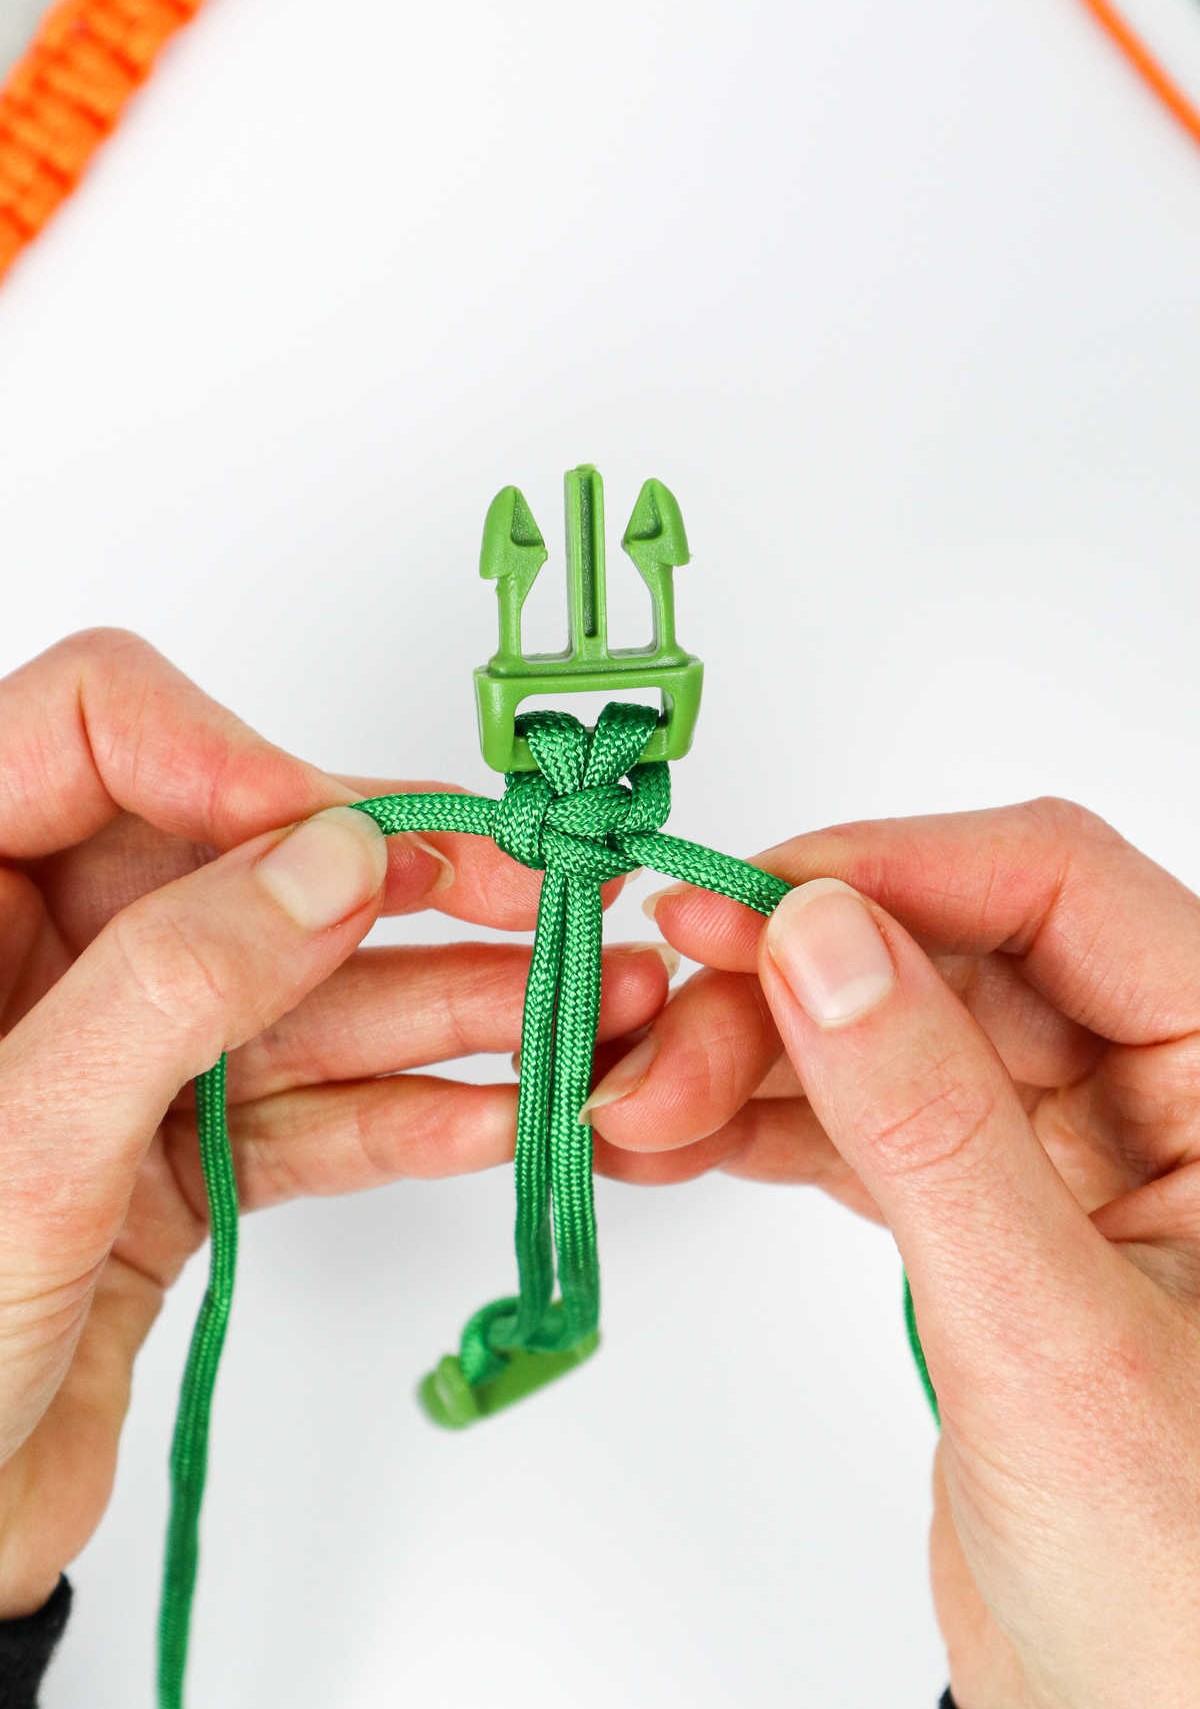
To secure the cords, start by tying a series of square knots, working your way down towards the buckle clip. As you near the end, focus on creating one final knot that will sit just above the clip. Once this last knot is in place, it’s time to bring the process to a close. To finish, simply trim away any excess cord, leaving just enough to provide a clean and tidy appearance. With these steps complete, your buckle clip should now be securely fastened.
Step 8
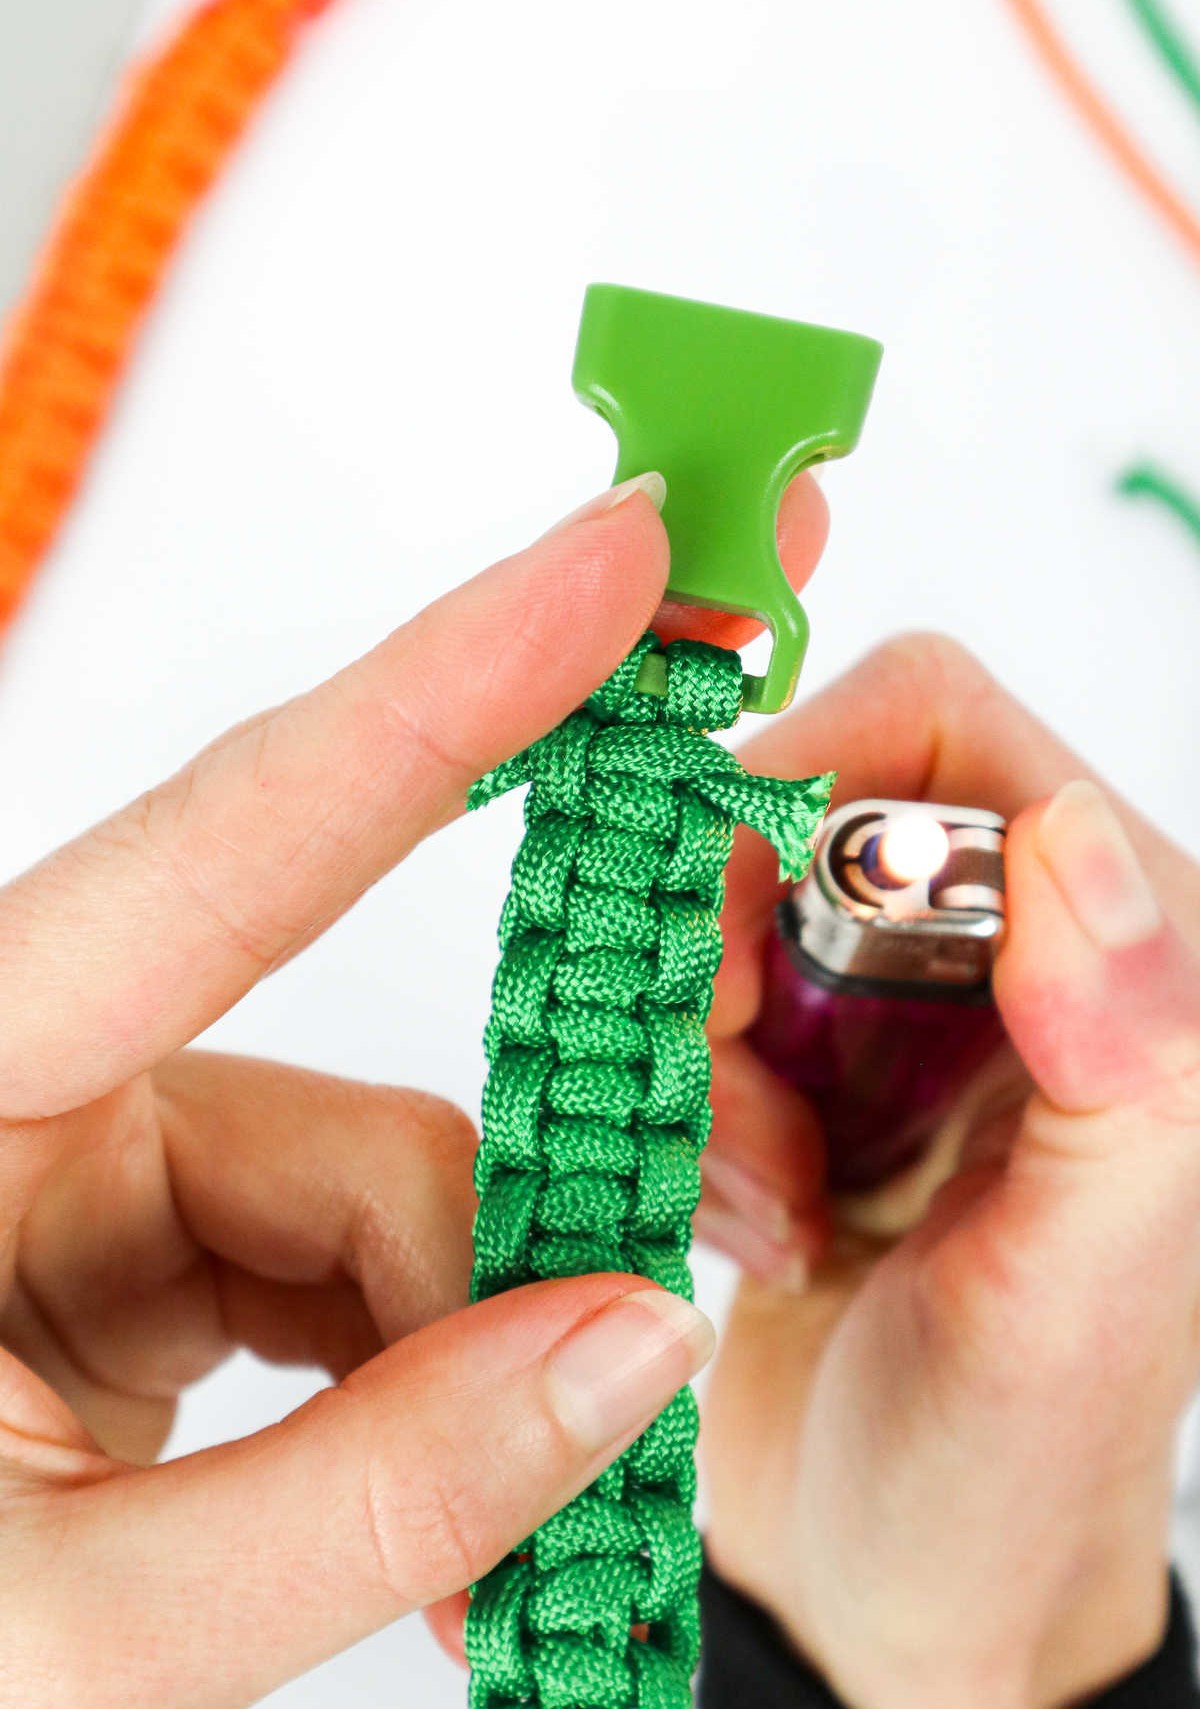
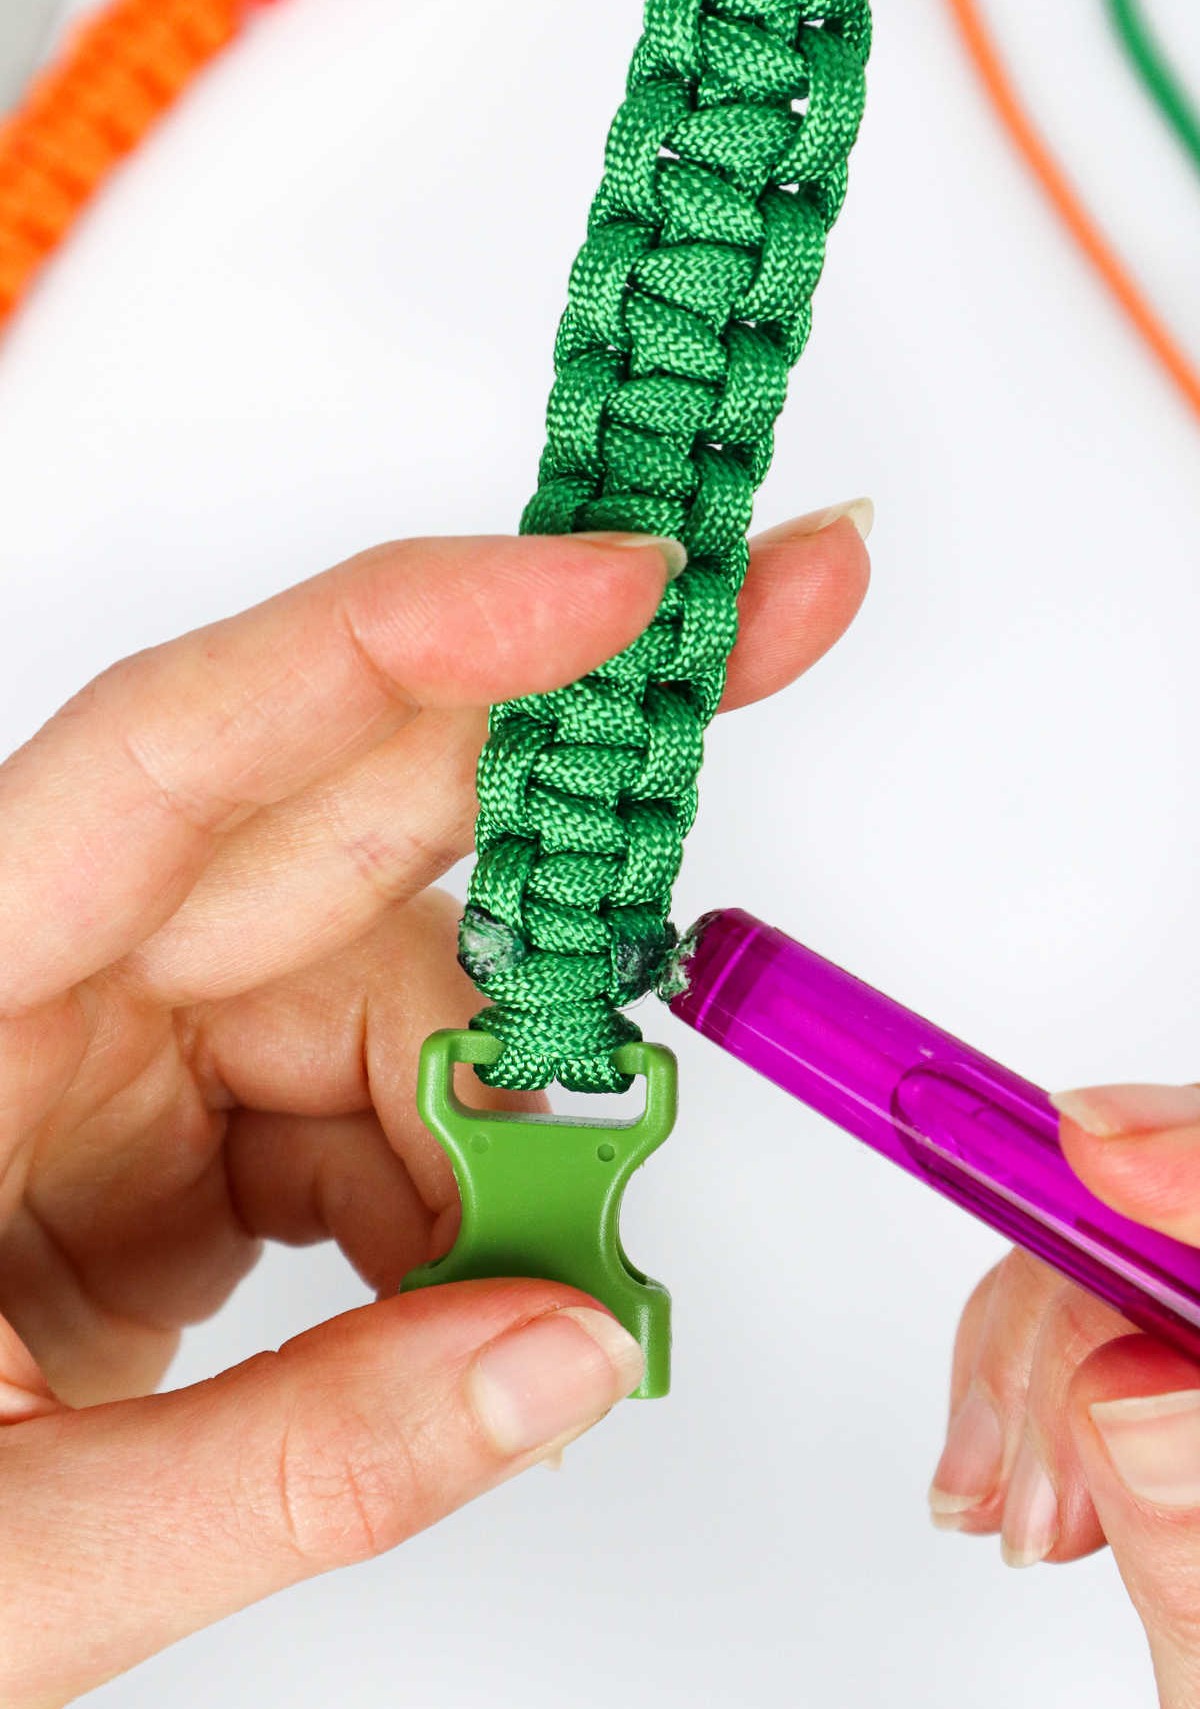
To complete the paracord bracelet, revisit your lighter and carefully melt the tips of each cord end, being mindful not to burn the actual bracelet. You’re aiming for a precise tip-melting technique to secure the ends. Once you’ve achieved this, use the still-hot cord tips to gently press them into the sides of the bracelet, working towards the back. Simply flatten and smooth the ends into their new position.
Who Can Make This DIY Bracelet?
While the bracelet-making process is relatively straightforward, even older children can complete the design with minimal guidance. Nevertheless, considering the project’s requirement for a lighter to seal the ends, it’s crucial that adults provide close supervision to ensure the children’s safety and success in crafting their unique jewelry pieces.
How to Make a Paracord Bracelet
Looking for a fun and affordable DIY project? Creating a paracord bracelet is an excellent way to express your creativity while keeping costs low. With just a few simple materials, you can craft a unique accessory in no time.
To get started, set aside about 5 minutes for prep work. This includes gathering the necessary supplies and preparing your workspace. The active crafting time will be around 25 minutes, but don’t worry – it’s well worth the effort.
As an added bonus, this project won’t break the bank. In fact, you can make a beautiful paracord bracelet for just $3. That’s right, three whole dollars! The perfect combination of creativity and affordability.
Equipment
Materials
Instructions
To kick off your DIY paracord bracelet project, gather the necessary supplies and begin by measuring the width of your wrist to determine the length of cord required. For this project, a 7-foot length is ideal for a 6-inch wrist. Cut the cords to size, taking care to prevent unravelling and fraying by melting the ends. Next, fold the cord in half, creating a loop on one side and two end cords on the other.
Secure the looped end through the buckle clip with a lark’s head knot, then thread the two end cords through the insert clip. Adjust the length of the bracelet to fit your wrist by tightening or loosening the end cords. With the foundation in place, focus on creating a series of square knots along the length of the cord. To start, grasp the left cord and pull it over the middle cords to form a loop. Then, draw the right cord over the left, under the middle cords, and through the loop.
Tug the ends to secure the first half of the knot in place. For the second half, take hold of the right cord and pull it over the two middle cords to create another loop. Next, grasp the left cord and pull it over the right, under the middle cords, and through the loop. Pull the ends taut to complete the second half of the square knot. Repeat this process along the length of the cord until you reach the insert clip. Once the last square knot is in place, trim the excess cord with scissors.
Finally, use a lighter to melt the remaining ends of the cords before flattening them against the sides and back of the bracelet, taking care not to burn yourself.