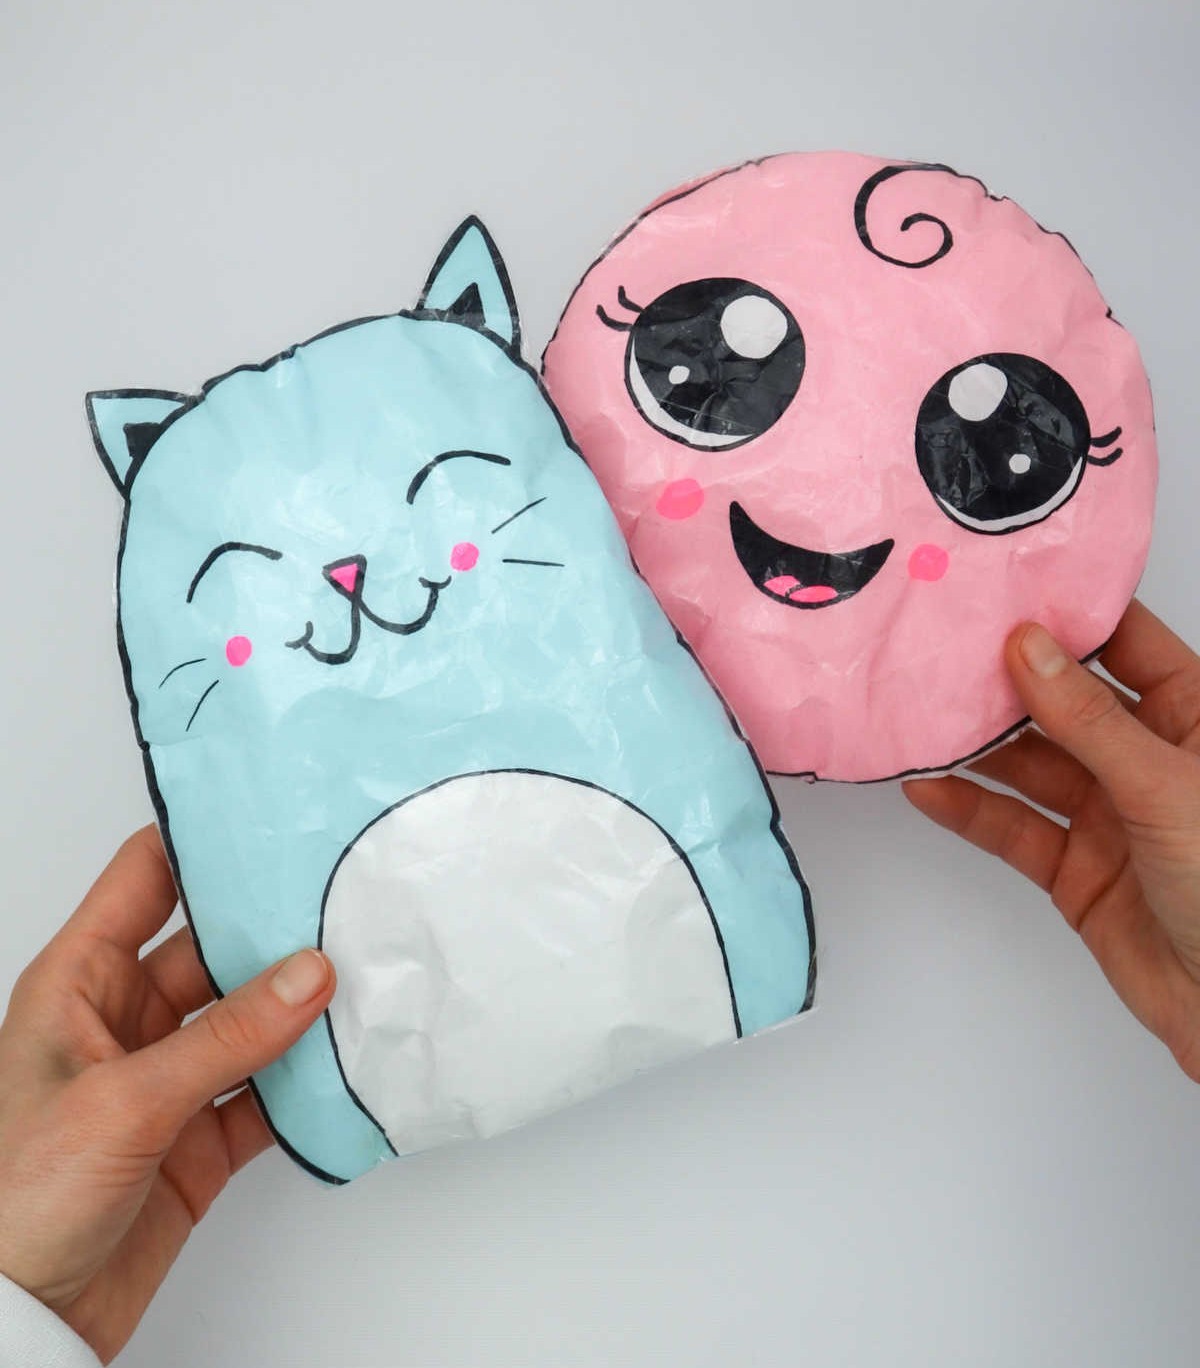

Get ready to indulge in a fun-filled crafting experience with your little ones! Making paper squishies is an absolute delight that’s sure to captivate their imagination and keep them engaged for hours. This DIY tutorial is the perfect excuse to put any other craft project on hold – you won’t regret it! You’ll be creating something truly special, and who knows, it might just become a new family favorite. Paper squishies are an irresistible combination of cuteness, whimsy, and tactile fun.
Not only do they provide endless entertainment for kids, but they’re also surprisingly easy to make. So, gather your kiddos and get creative – you’ll be amazed at how quickly these adorable DIY paper squishies can bring a smile to their faces!
Supplies You’ll Need for Paper Squishies
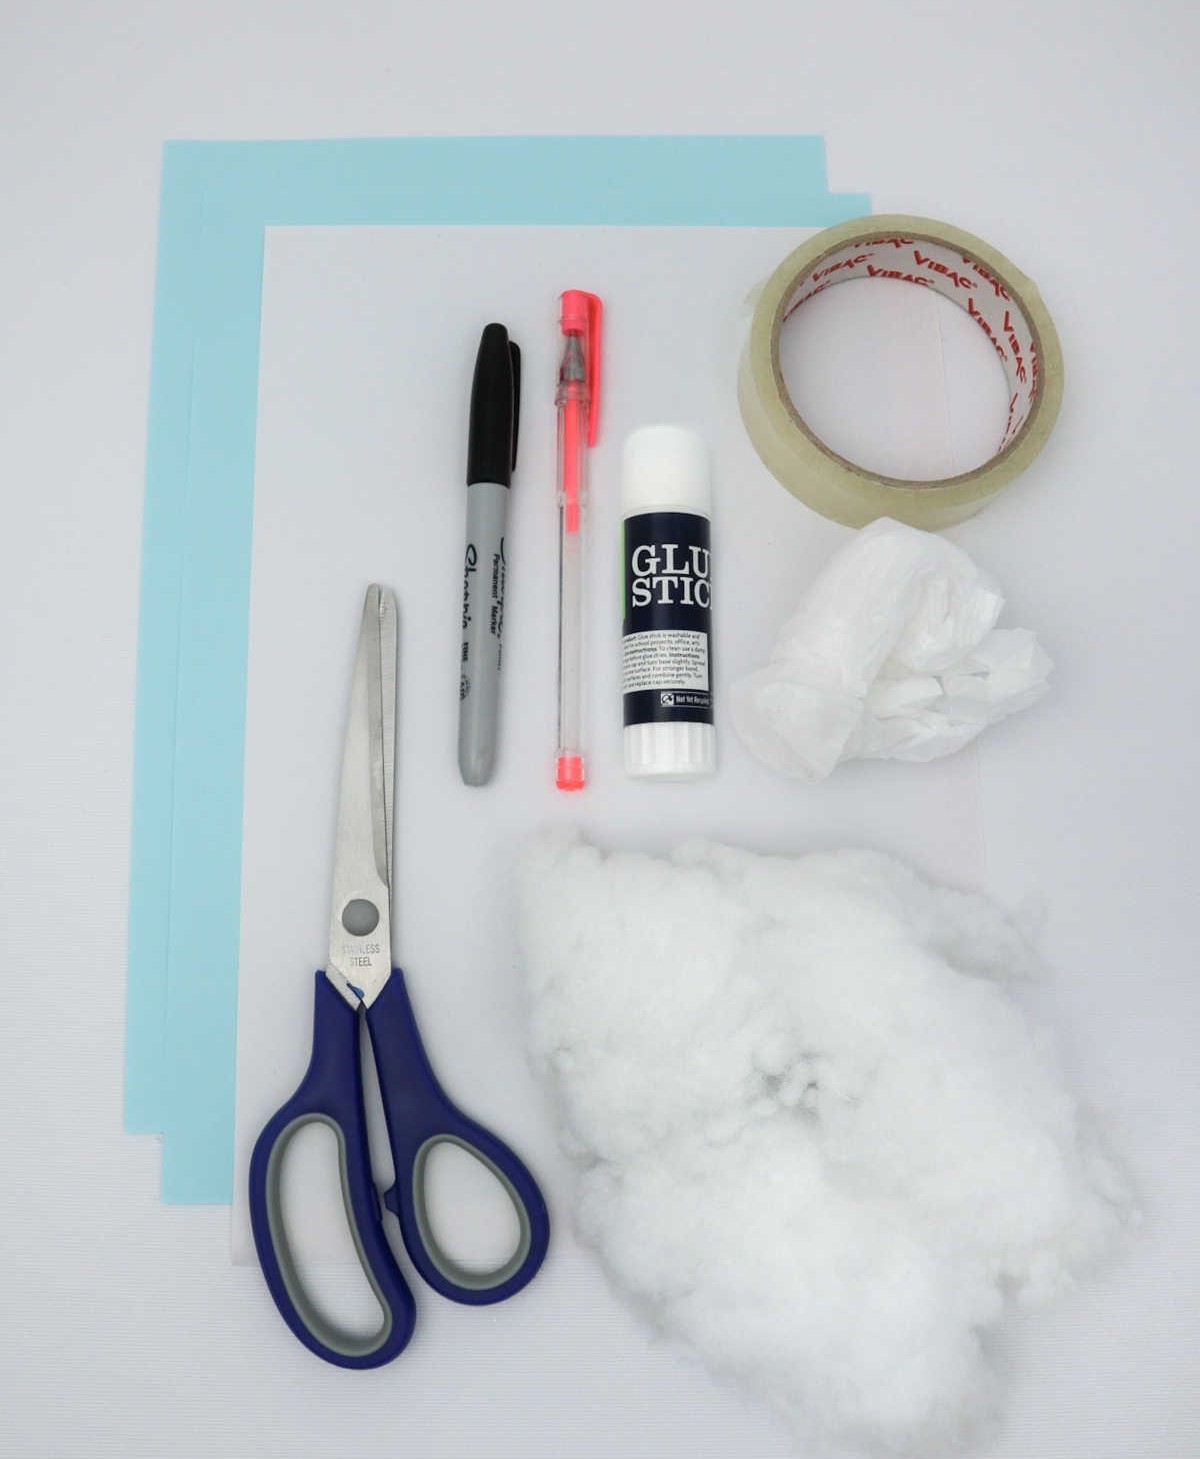
To create your very own paper squishy, start by gathering the necessary supplies. You’ll need a few essential items, including two sheets of colored paper, white paper, a black marker, transparent tape, a glue stick, scissors, and some toy filling material. Additionally, you may also want to have a small plastic bag on hand, although this is optional. Once you’ve collected all the required materials, lay them out before you and get ready to learn how to bring your paper squishy to life!
How Do You Make Paper Squishies
One of the most daunting tasks when creating DIY squishies is selecting a design that captures your creative vision. With an overwhelming array of cute cartoon characters at your disposal, deciding on a single option can be a difficult decision. If you’re feeling overwhelmed by the sheer variety, consider opting for something more straightforward – like a simple inanimate object.
This approach allows you to maintain a focus on functionality and precision without getting bogged down in intricate details.
Step 1
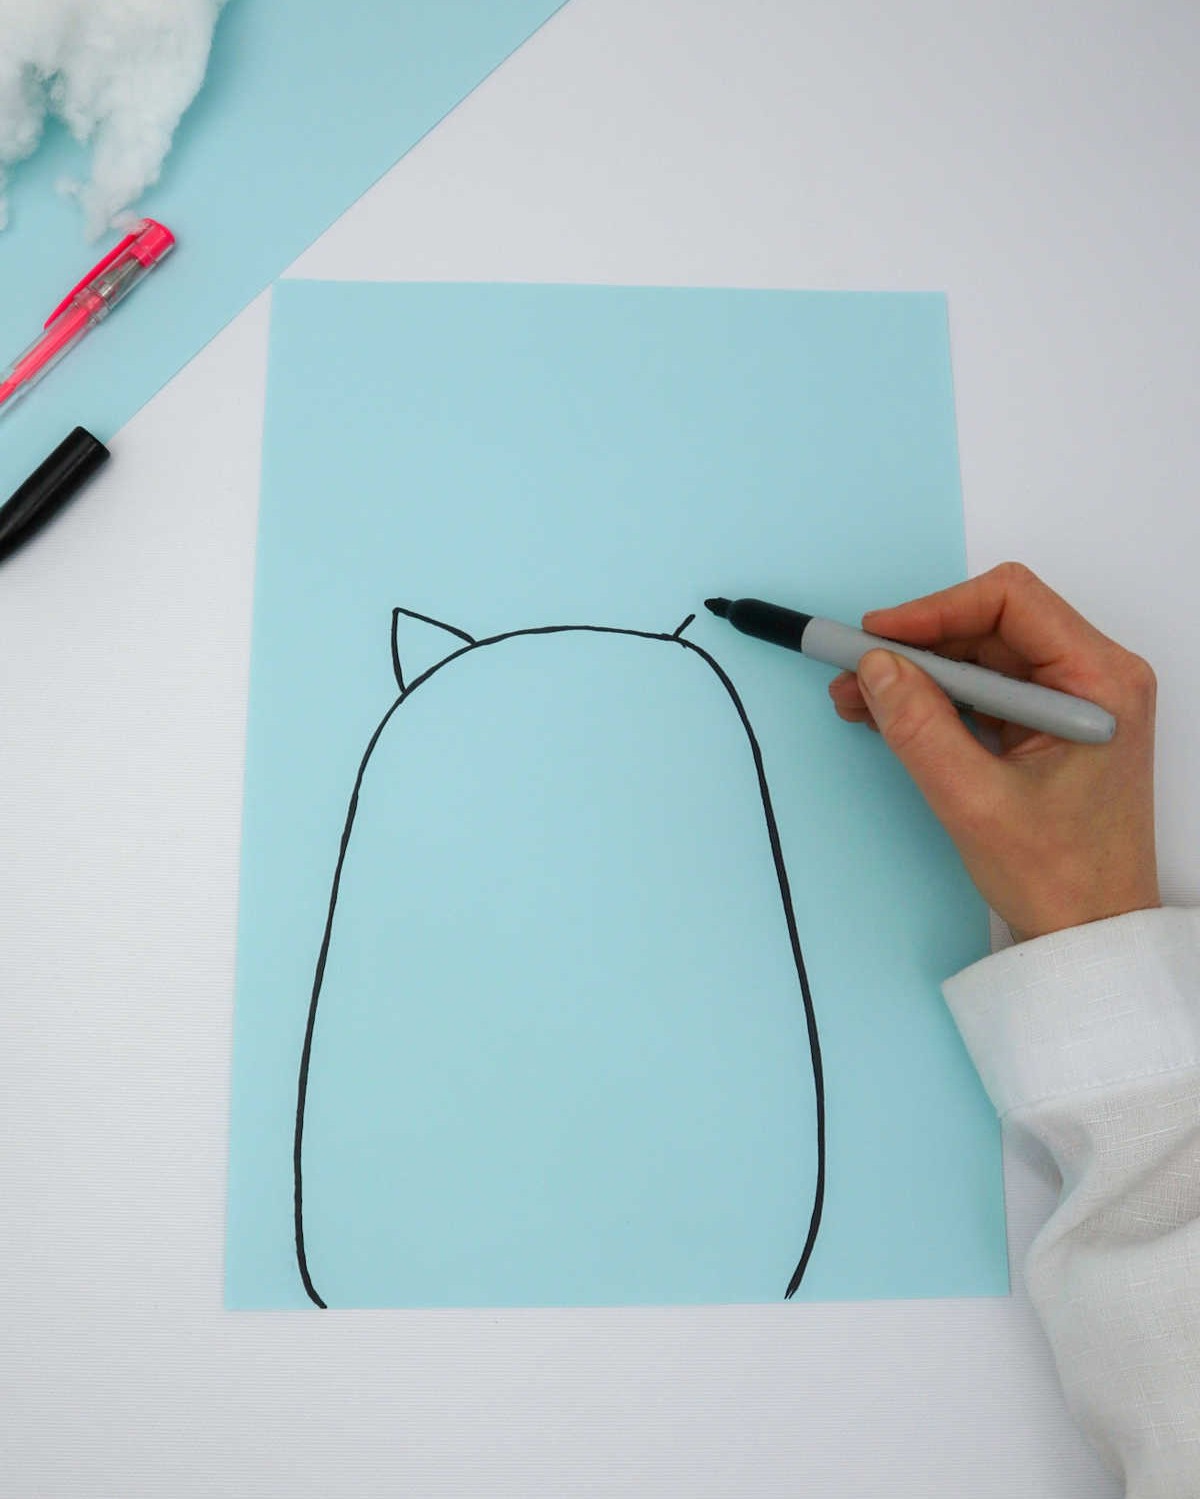
For the best results, start by sketching out your design directly onto your colored paper using a marker. However, if you’re short on time or don’t feel like getting creative, you can simply download our pre-designed pattern and print it out to serve as a guide for your project.
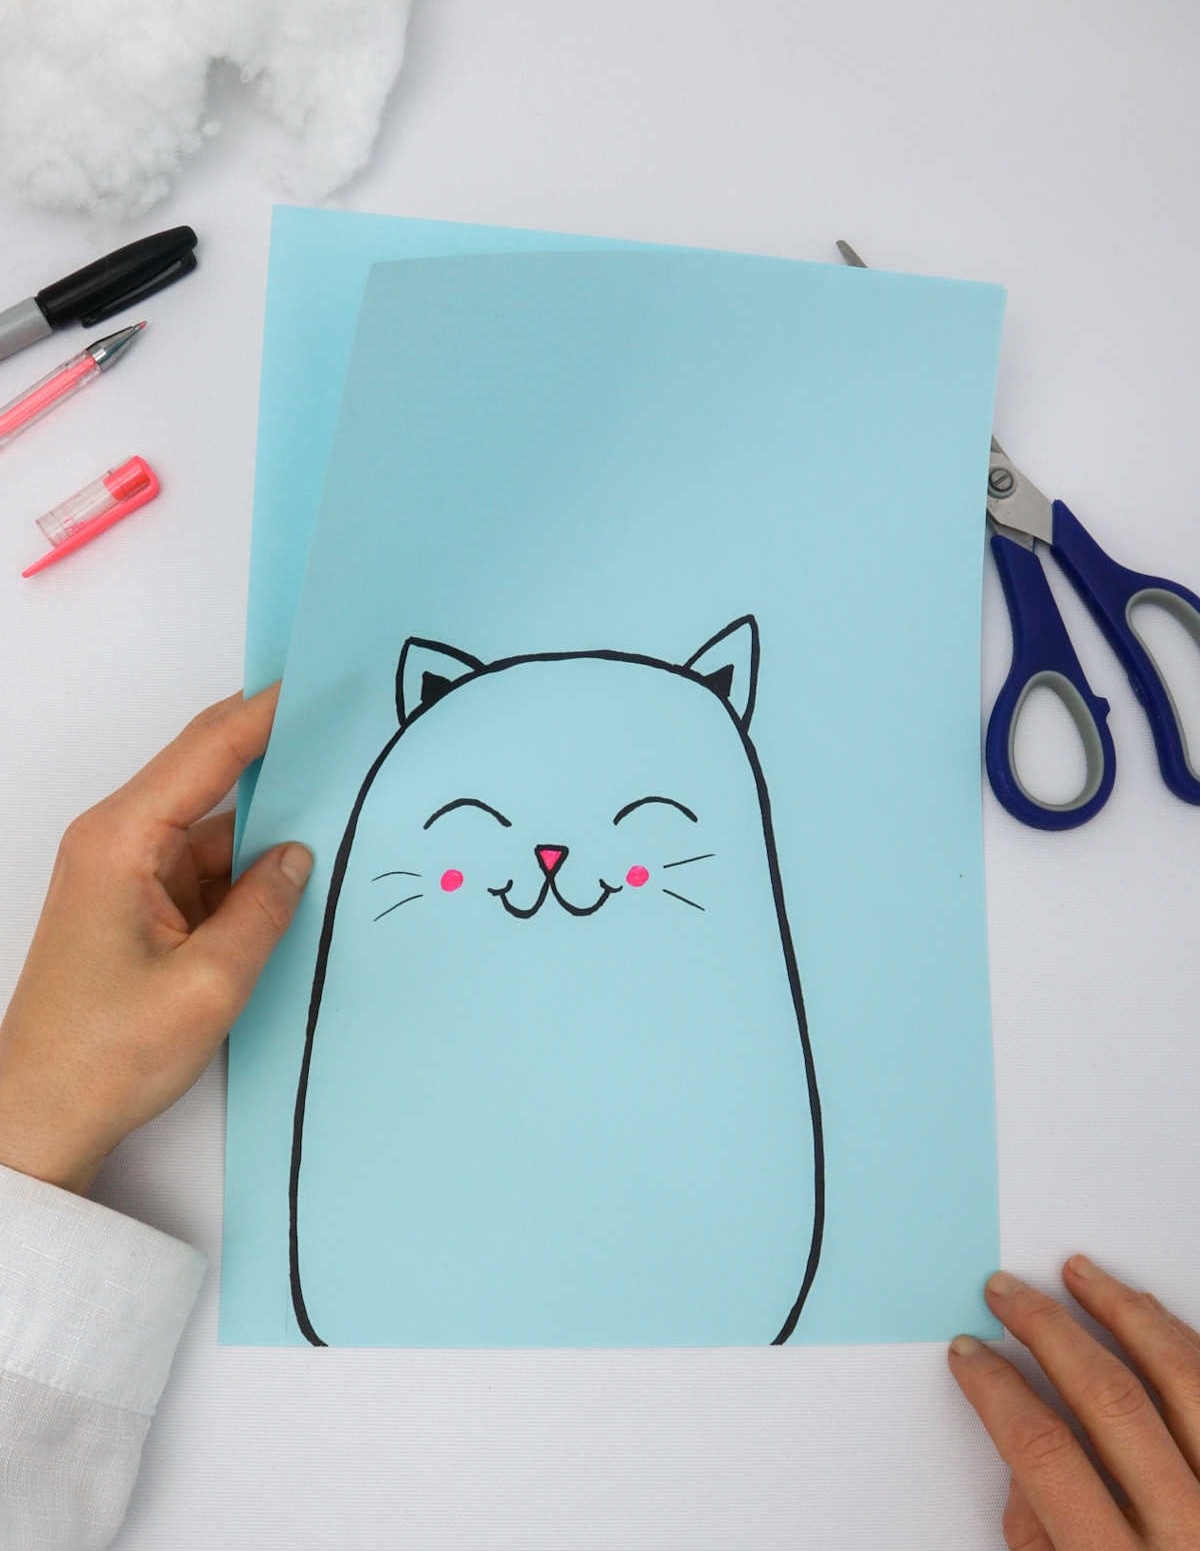
Step 2
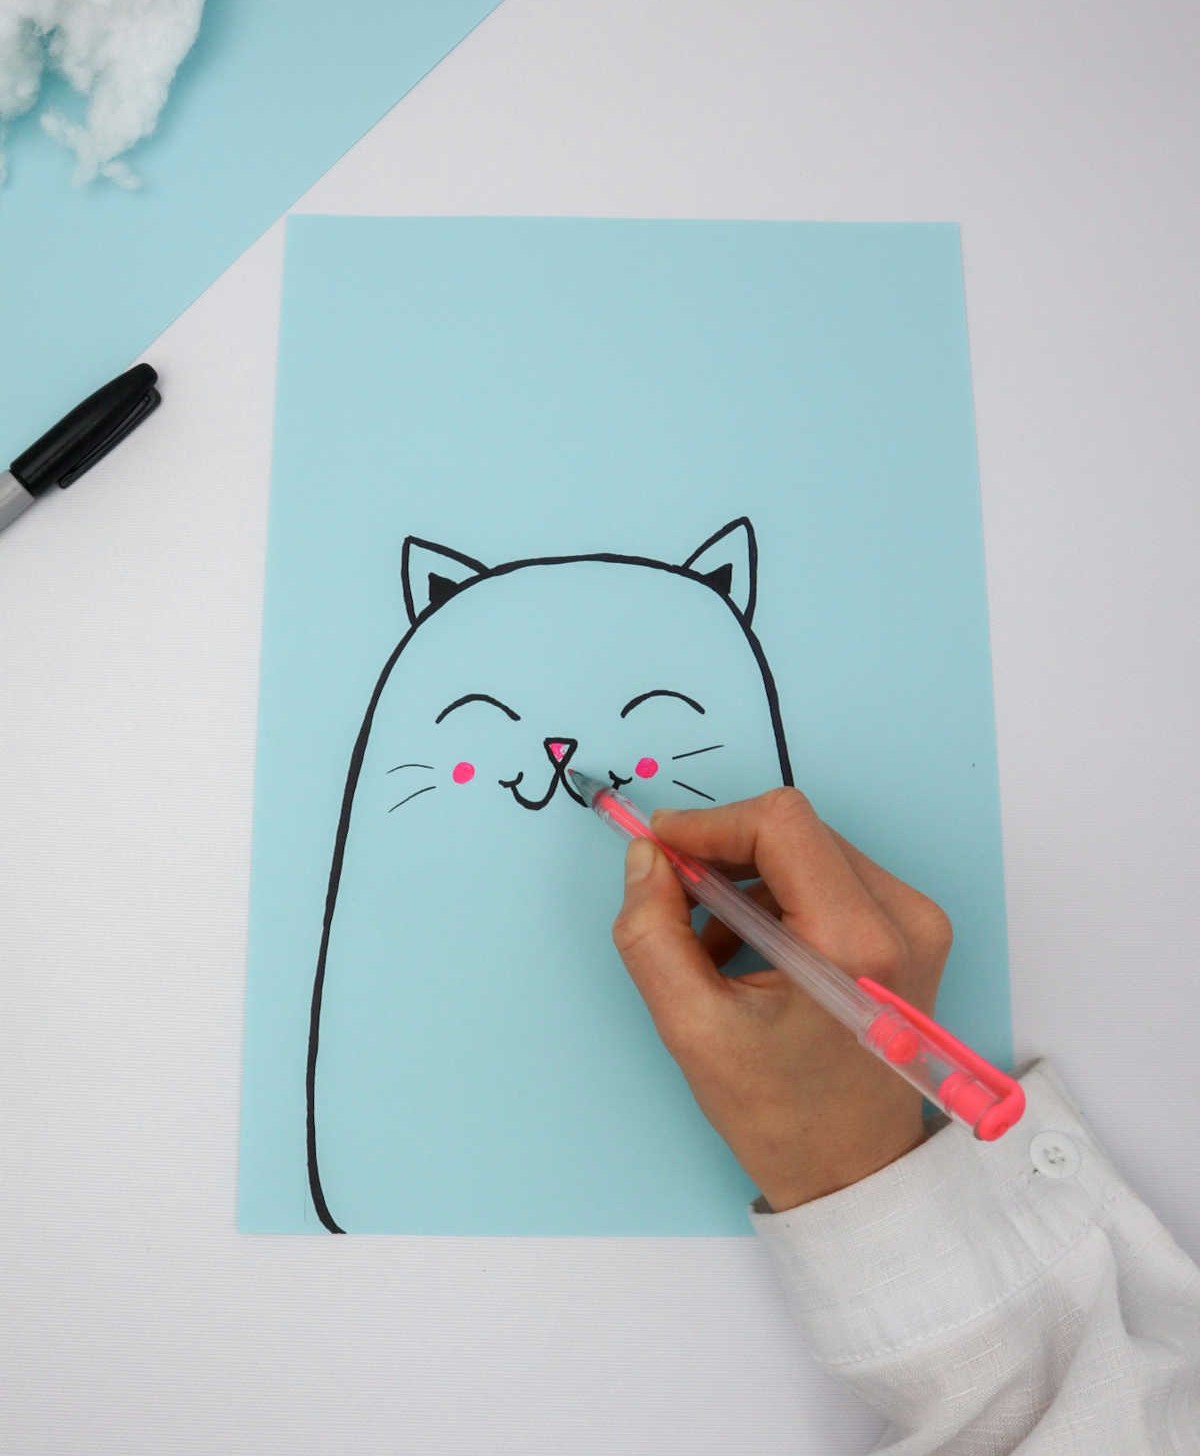
When creating your own illustration, the possibilities are endless! Take advantage of this opportunity to showcase your artistic side by using a variety of colored pens to bring your drawing to life. The more colors you use, the more vibrant and imaginative your artwork will be.
Step 3
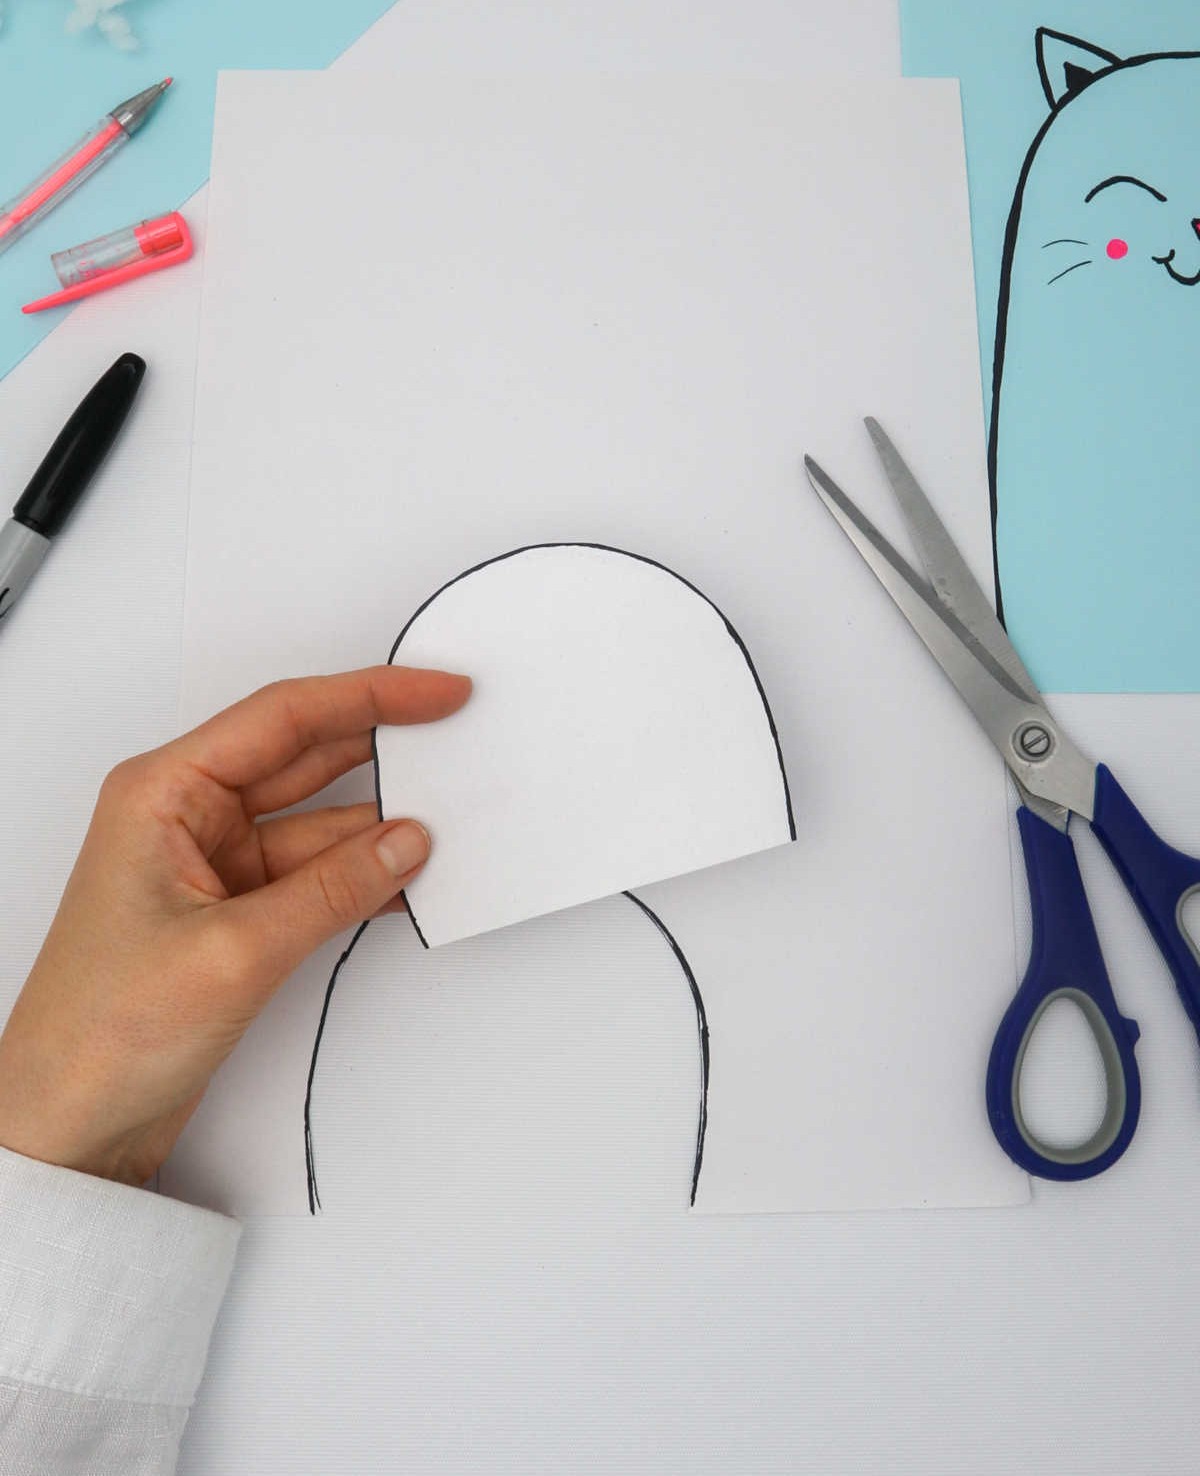
To bring your cartoon character to life, take an additional sheet of paper and use a pencil or pen to lightly sketch the overall shape of the body and ears. Don’t worry too much about details at this stage – simply aim for capturing the basic proportions and features. Once you’re satisfied with your rough outline, carefully cut it out using scissors. Set the pattern aside for now, as we’ll be building upon this foundation in the next steps.
Step 4
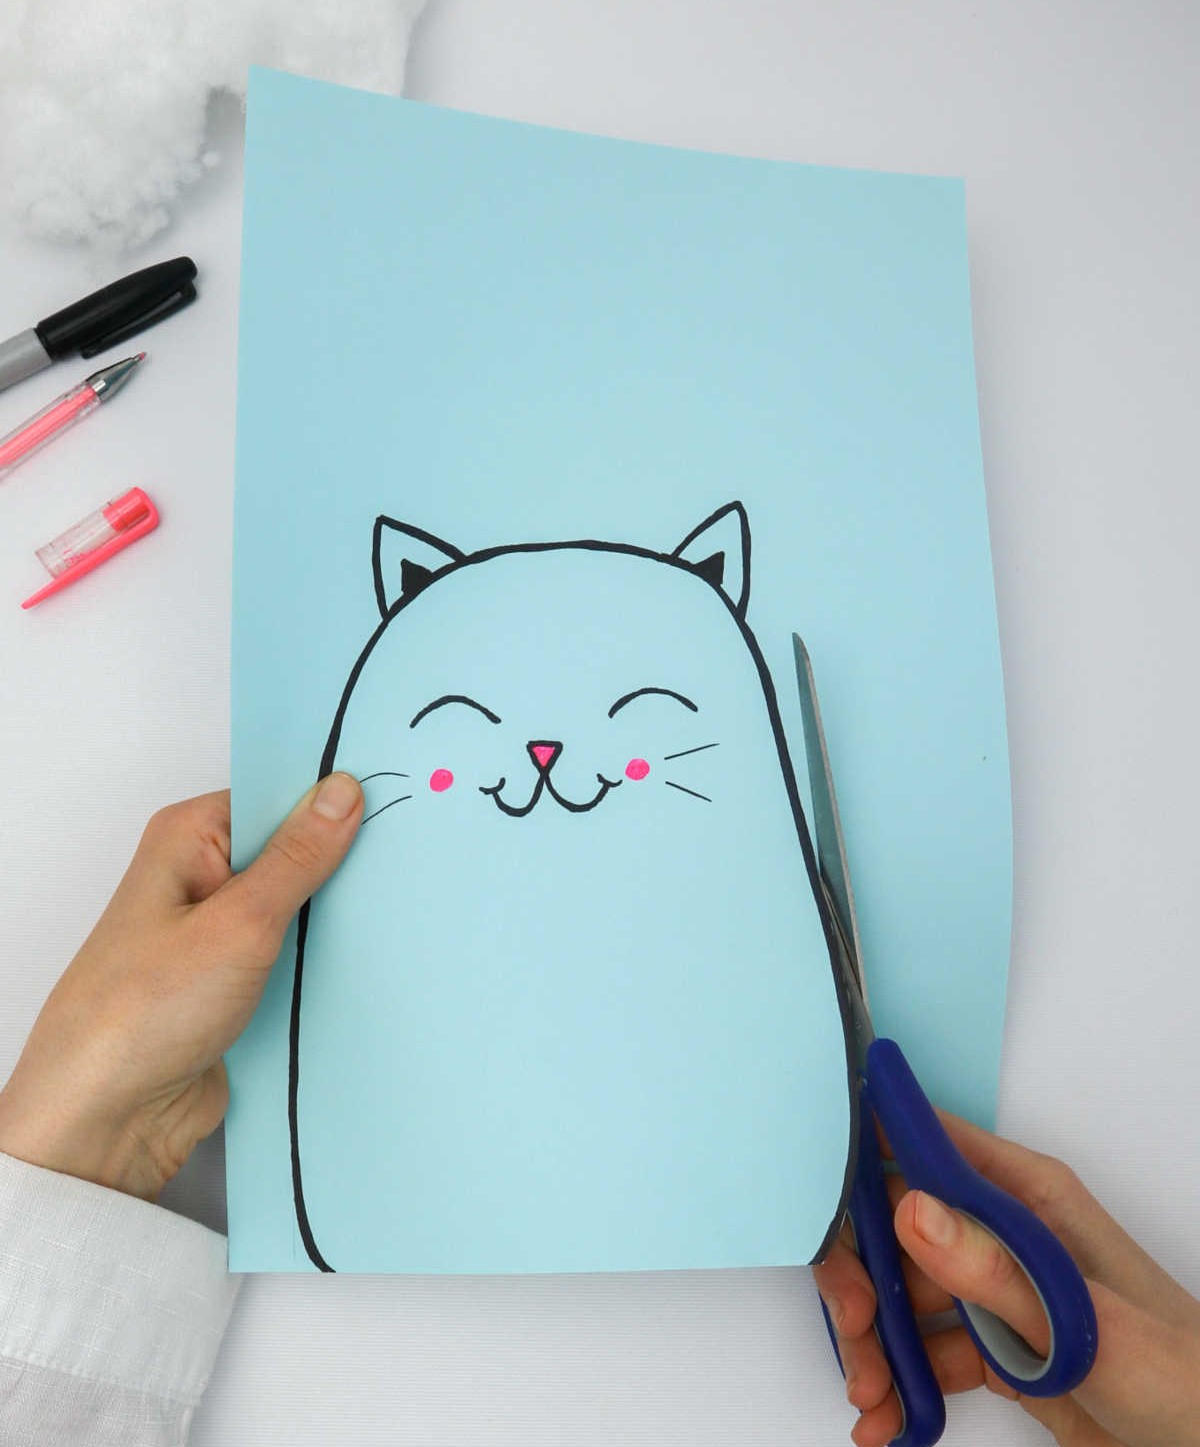
As you finalize your cartoon design, take a precise approach to cutting out the outline. Be meticulous in separating the silhouette from its reverse counterpart, setting the latter aside for future use.
Step 5
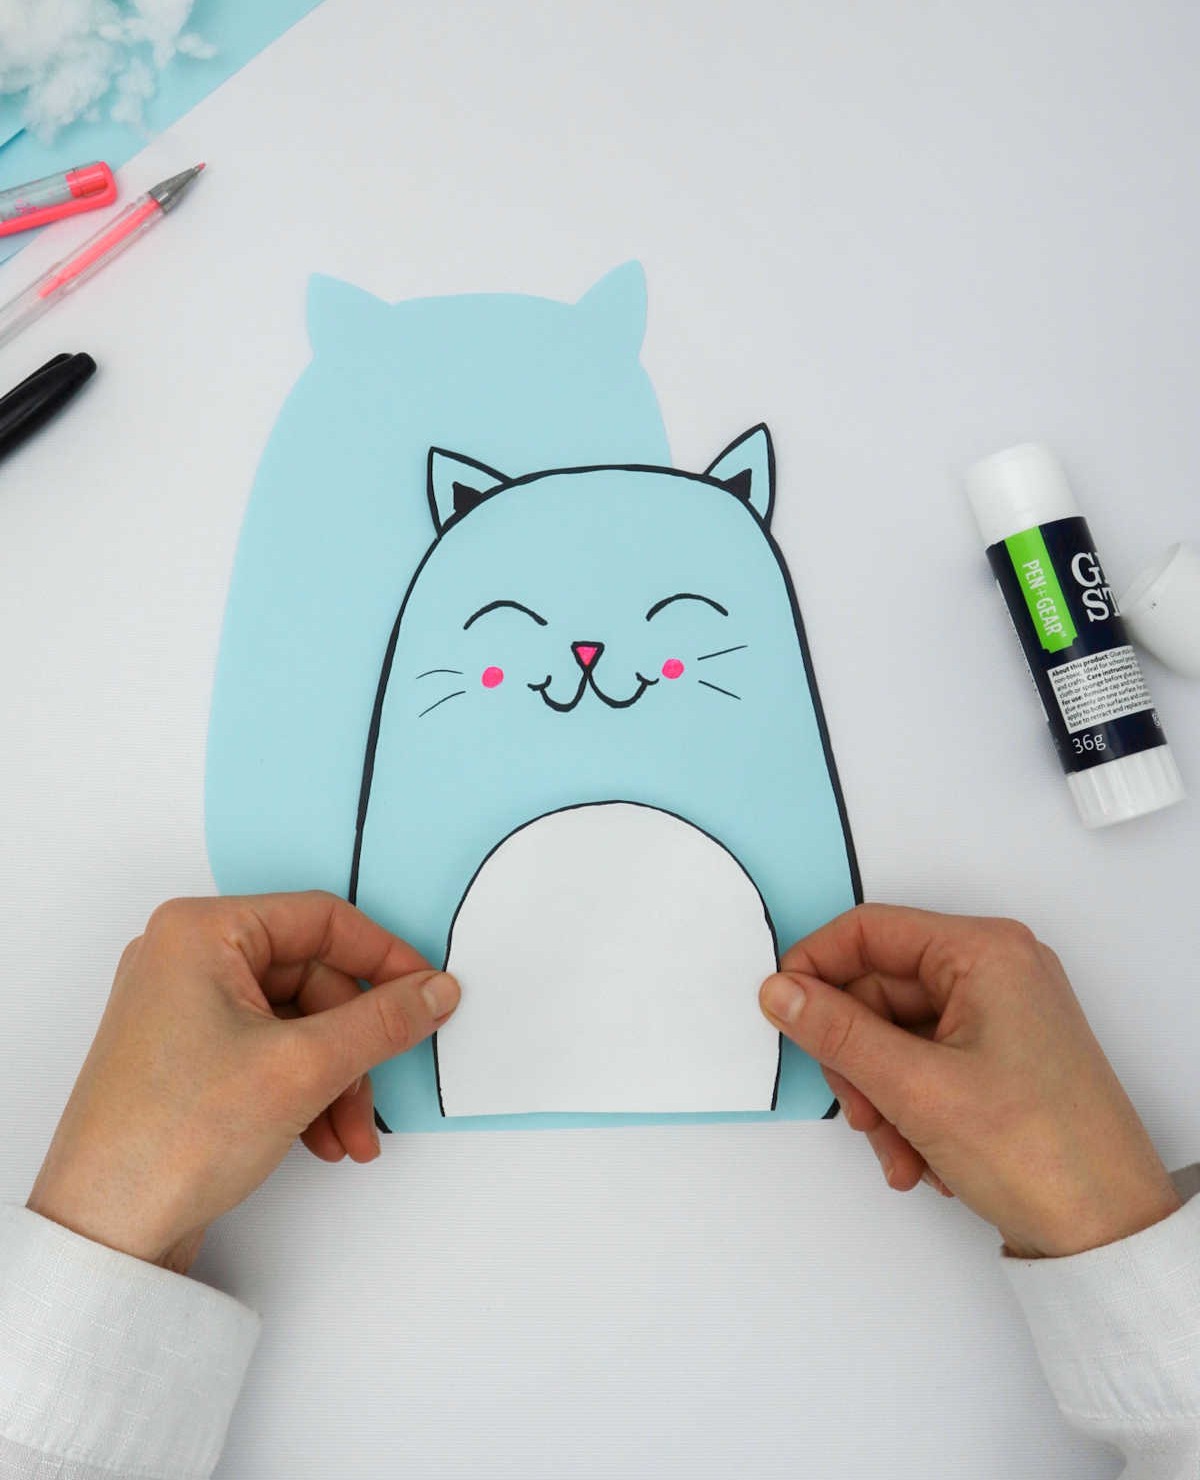
Assemble the previously set-aside components by attaching them to the primary structure, as illustrated in the following example.
Step 6

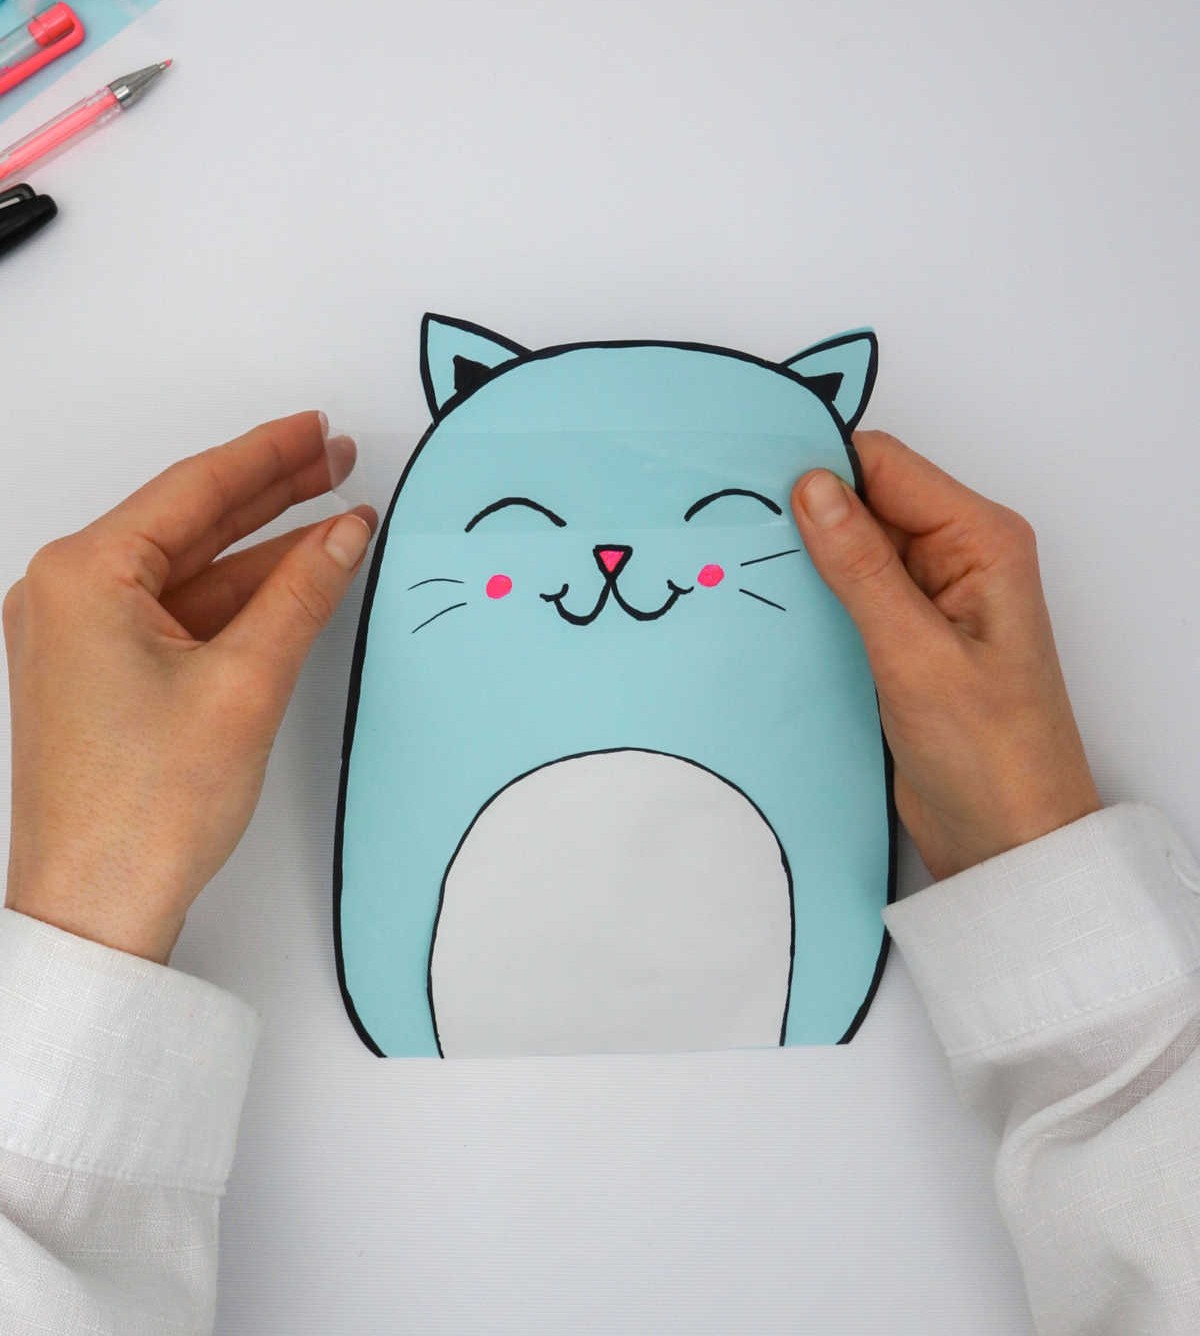
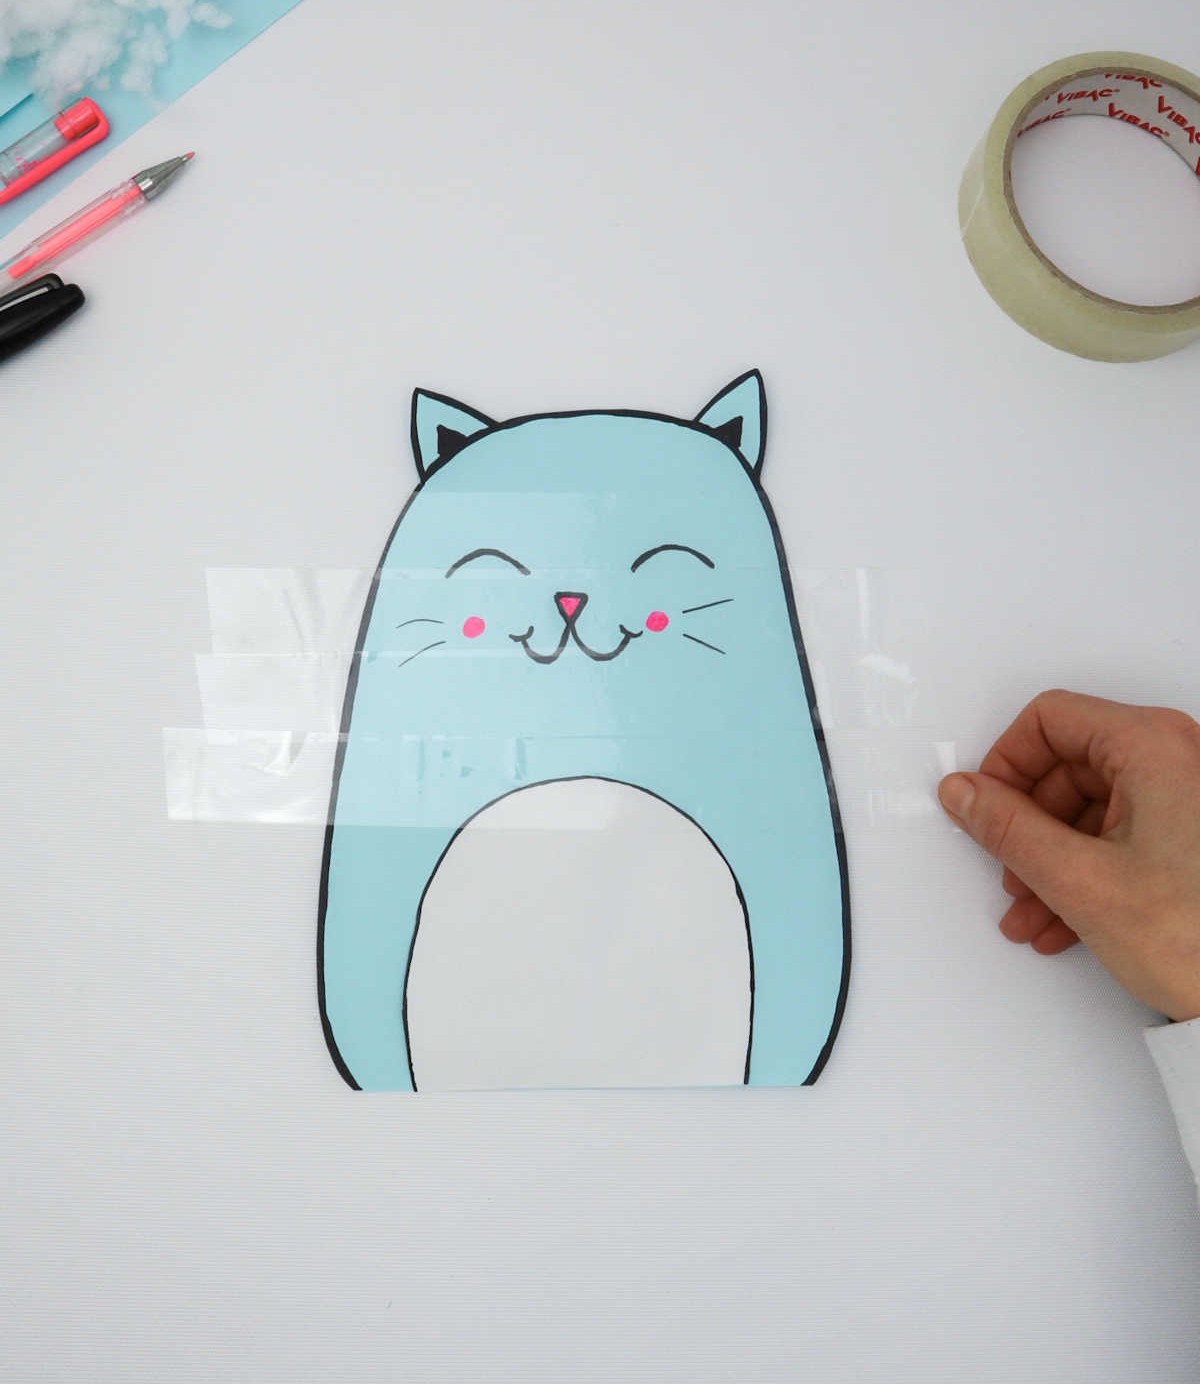
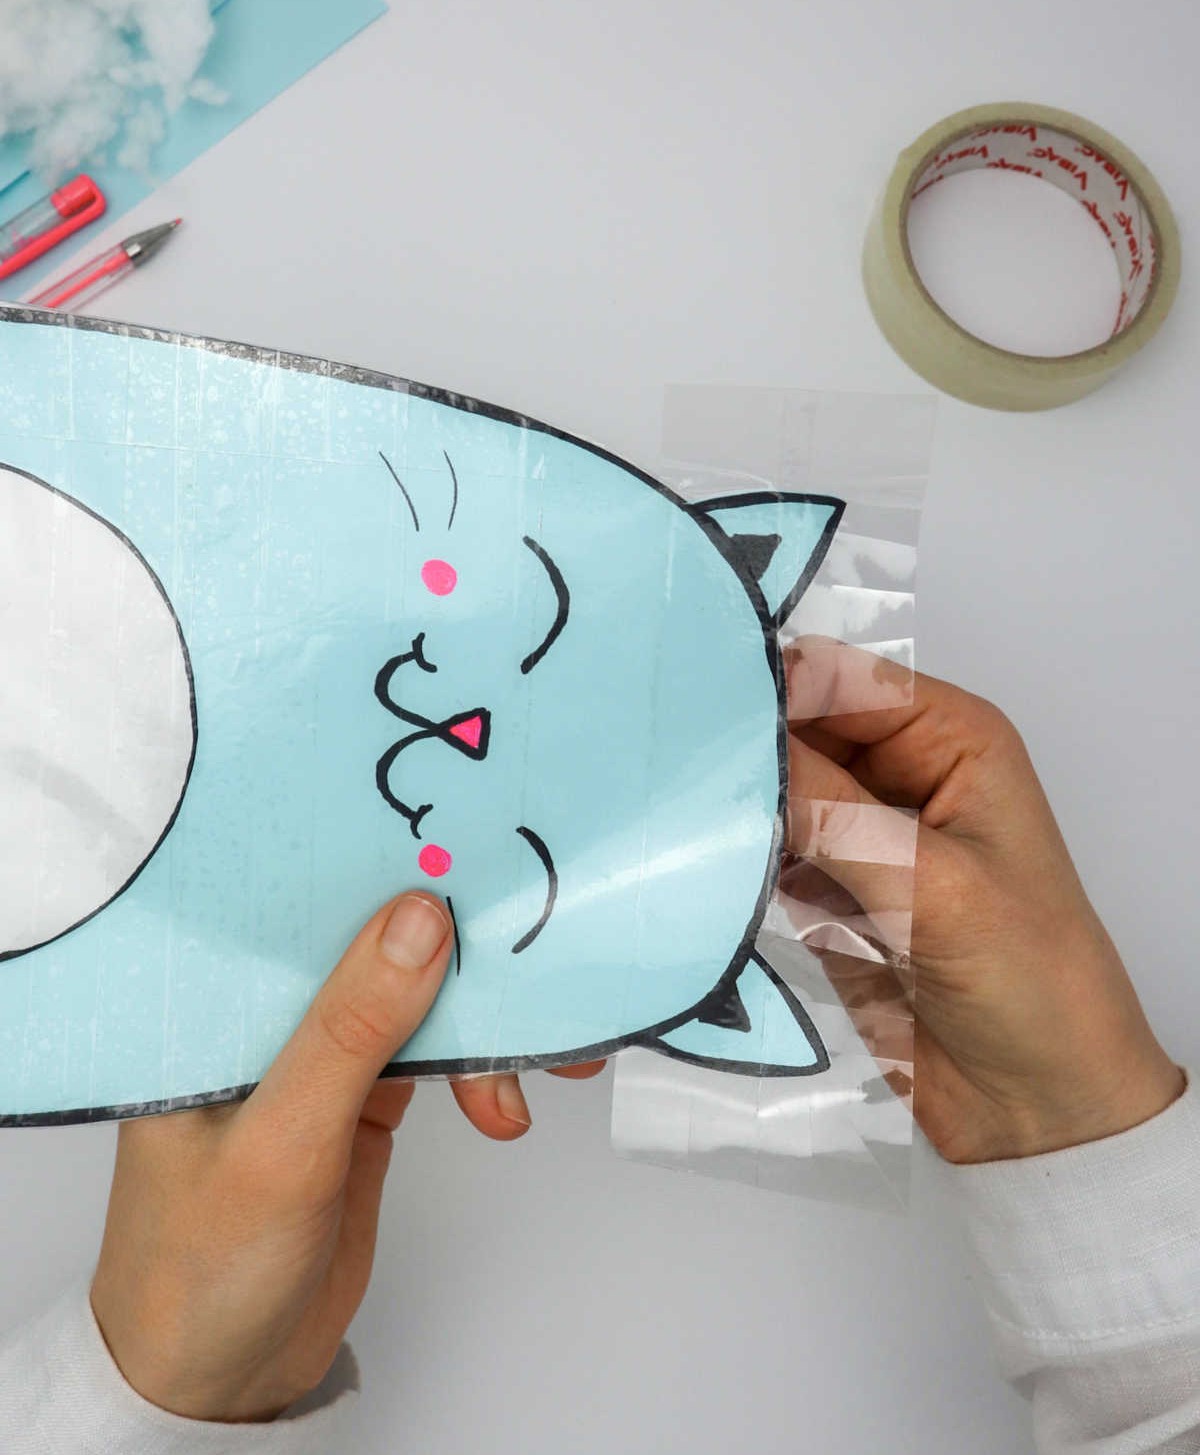
The next step requires a bit more effort, but it’s still an enjoyable process! To achieve this, grab a roll of scotch tape and get ready to cover the entire cutout with strips from head to toe. As seen below, the key is to apply these strips as close together as possible, ensuring there are no gaps or wrinkles in the paper.
Step 7
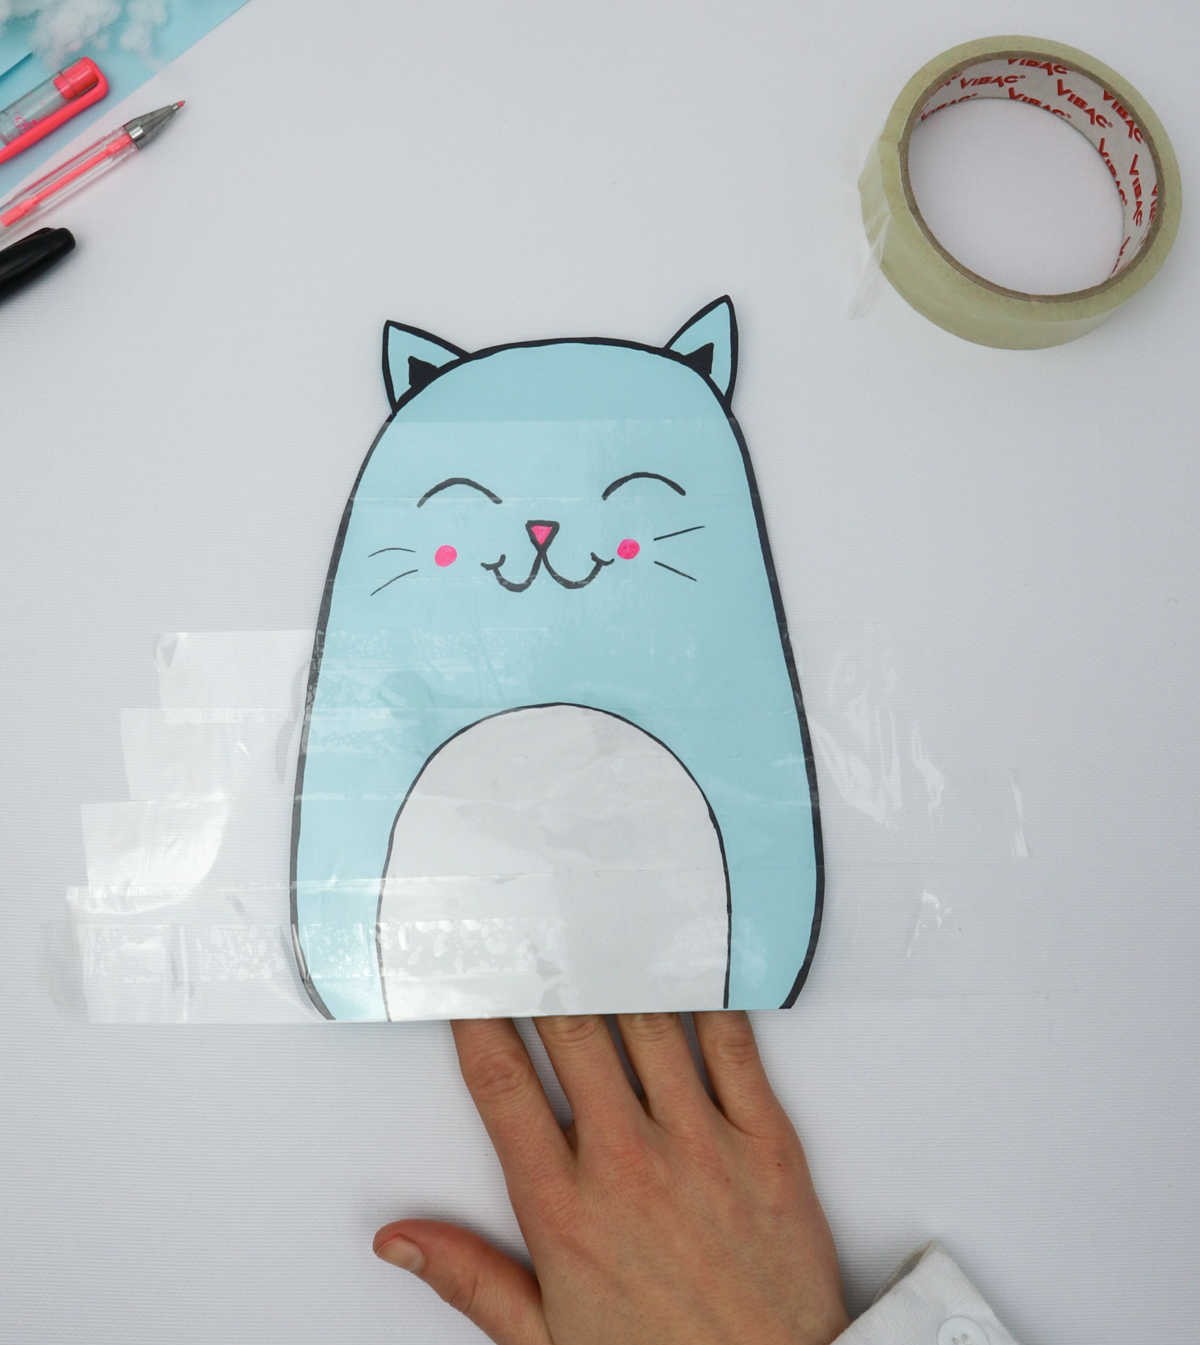
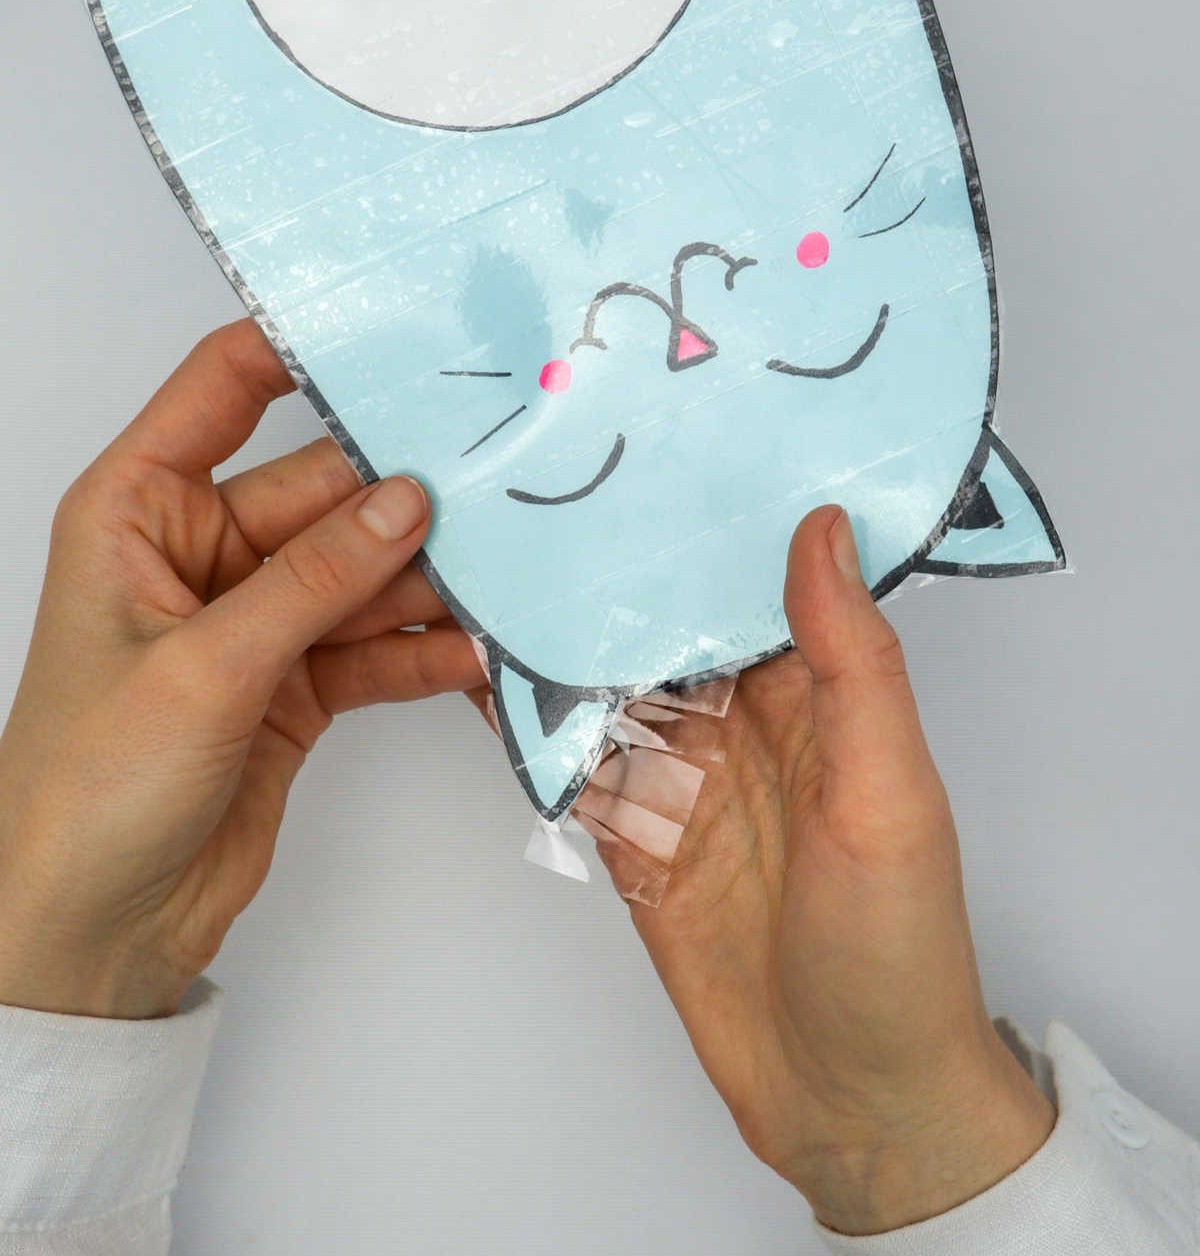
As you wrap up the final touches on your DIY stuffed animal project, don’t forget to leave a small opening at the bottom of the paper unsealed. This hole will serve as an entry point for the toy filling that brings your creation to life. Make sure it’s large enough to accommodate the amount of stuffing needed to give your plush friend its desired fluffiness. When applying tape around the ears, exercise caution and precision to ensure a seamless integration with the paper.
Gently tuck the edges into the crevices as closely as possible to prevent any visible seams from ruining the overall aesthetic.
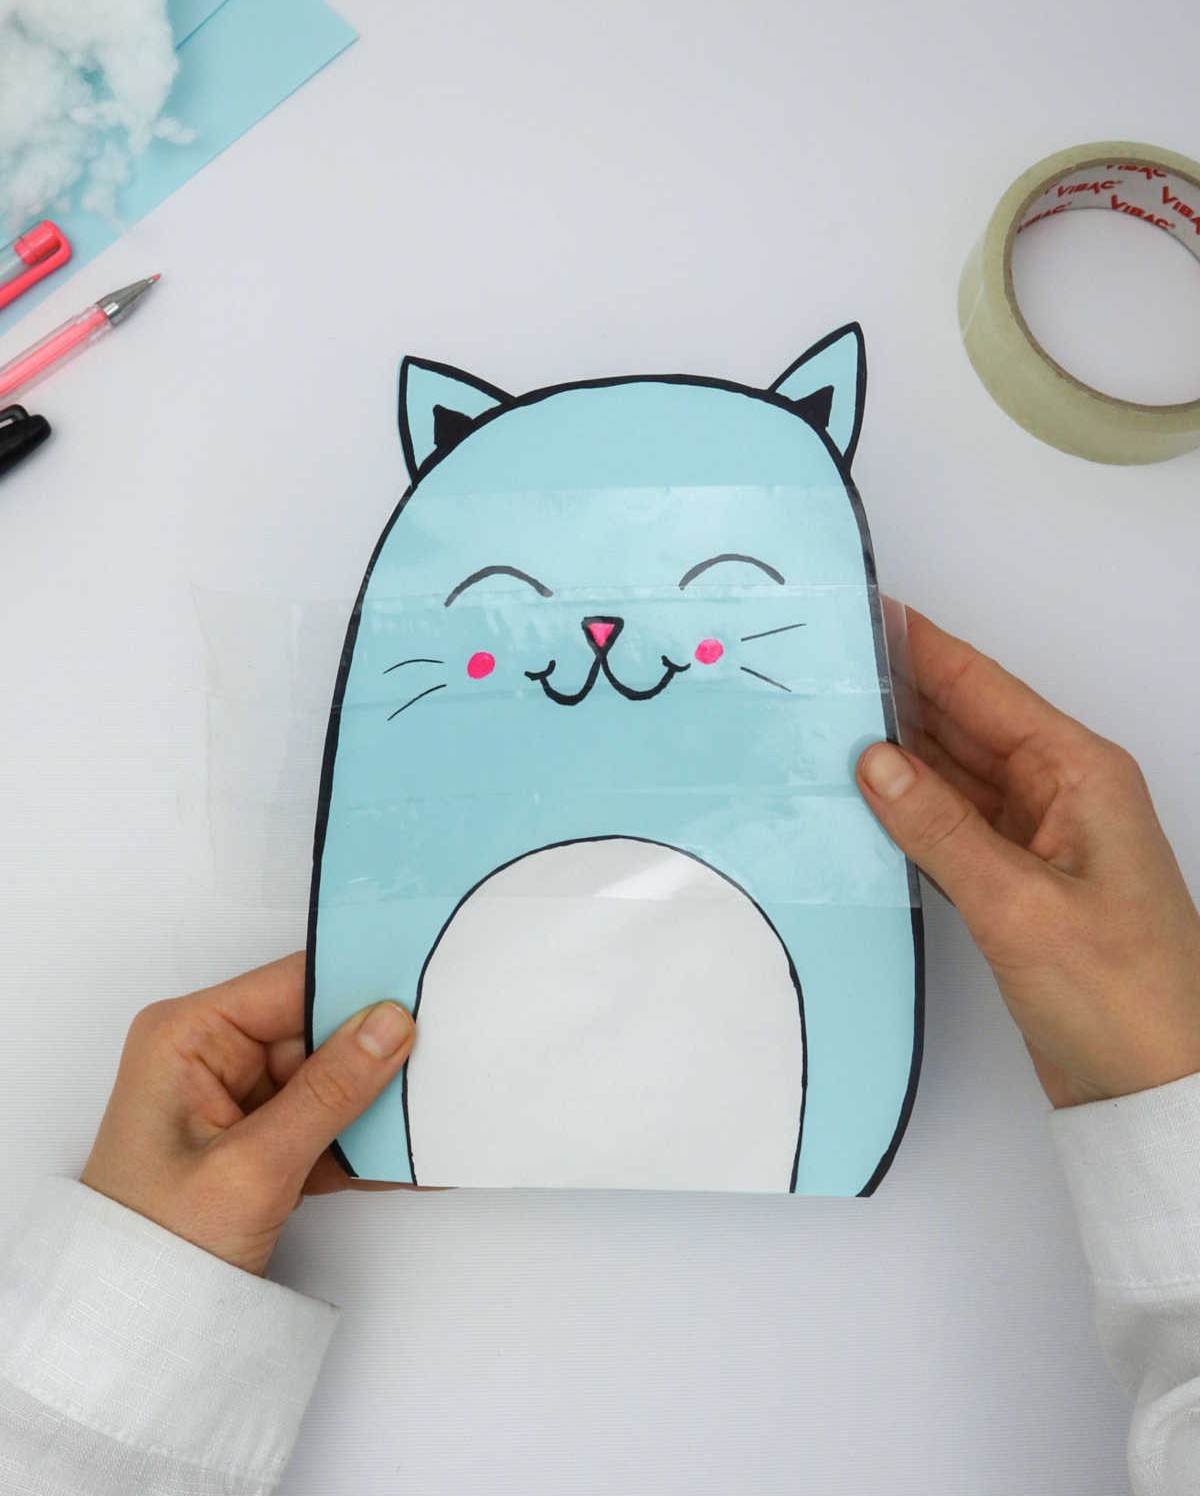
Step 8
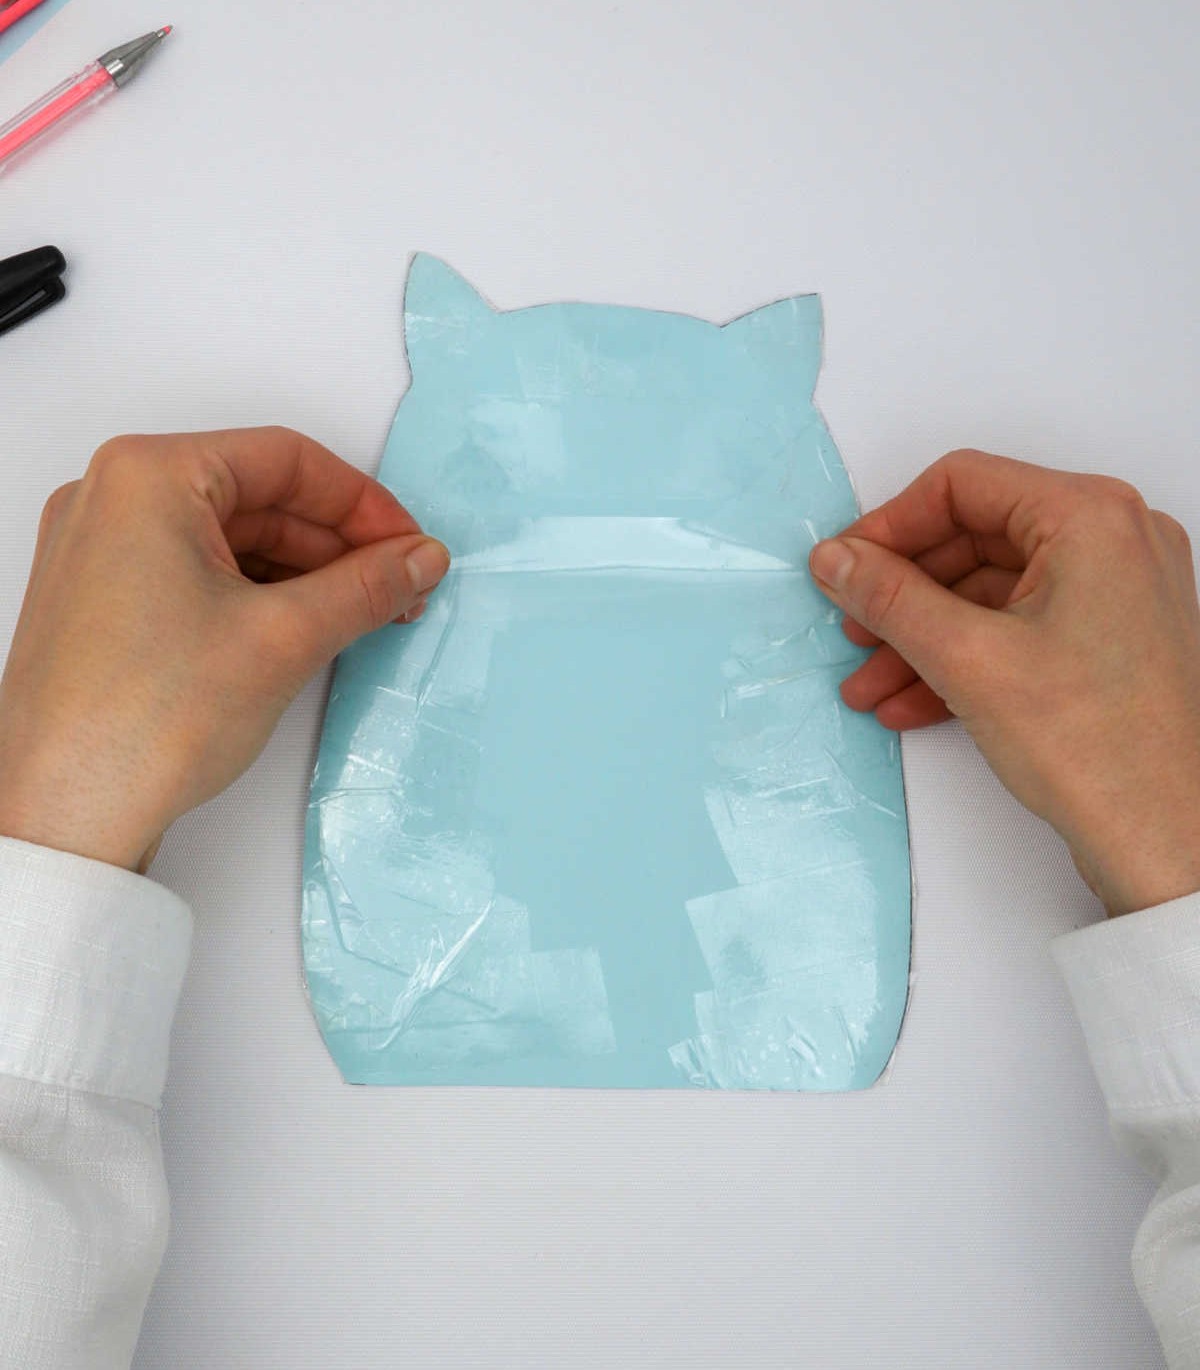
For a secure and precise finish on the back of the squishy, repeat the process one more time. Take the cutout you previously set aside and adhere it to the rear of the squishy using the same strip of tape. As you apply the tape, make sure to tuck in the edges as you go along to ensure a smooth and seamless bond.
Step 9
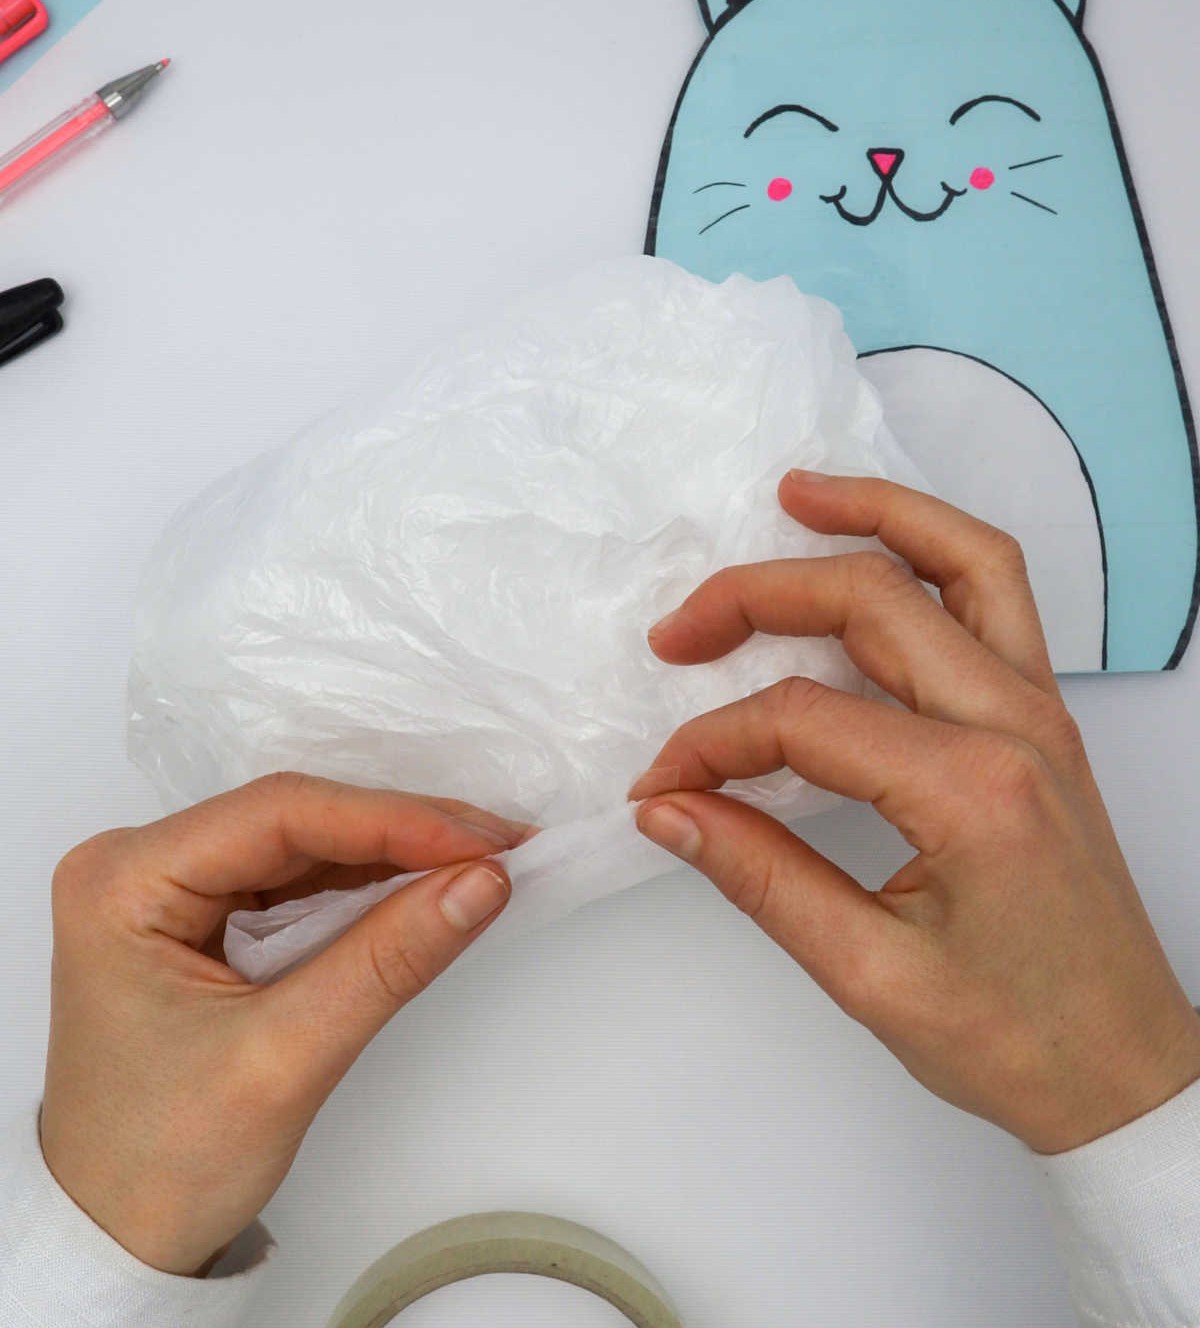
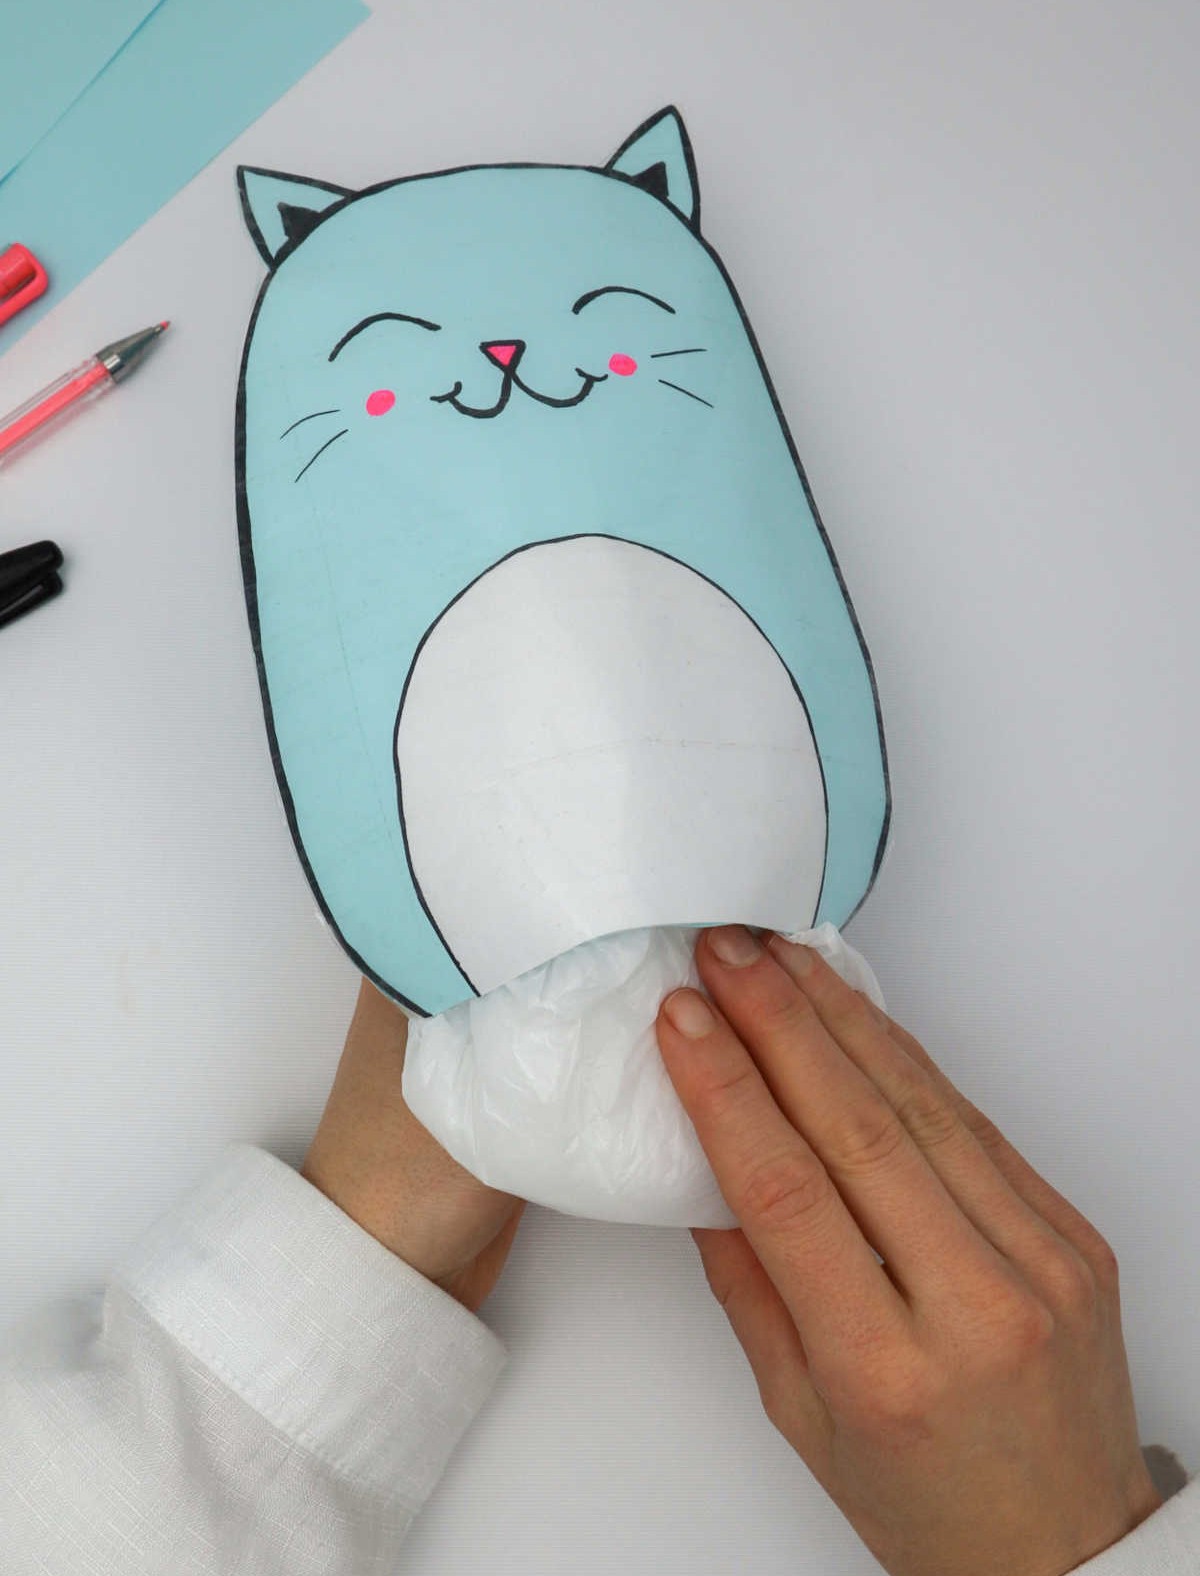
Once you’ve completed step 8, retrieve the bag of stuffing and prepare it for insertion. You can transfer the material into a plastic bag or directly into the squishy toy, using as much or as little as needed to achieve the desired level of fluffiness.
The key is to strike a balance between filling the squishy with enough stuffing to provide a cuddly texture and avoiding overstuffing.
It’s essential to keep in mind that this DIY project is based on paper, which lacks the durability of materials like plastic used in commercial squishy toys. By being mindful of the amount of stuffing used, you can create a unique and endearing toy that still offers a pleasing tactile experience.
Step 10
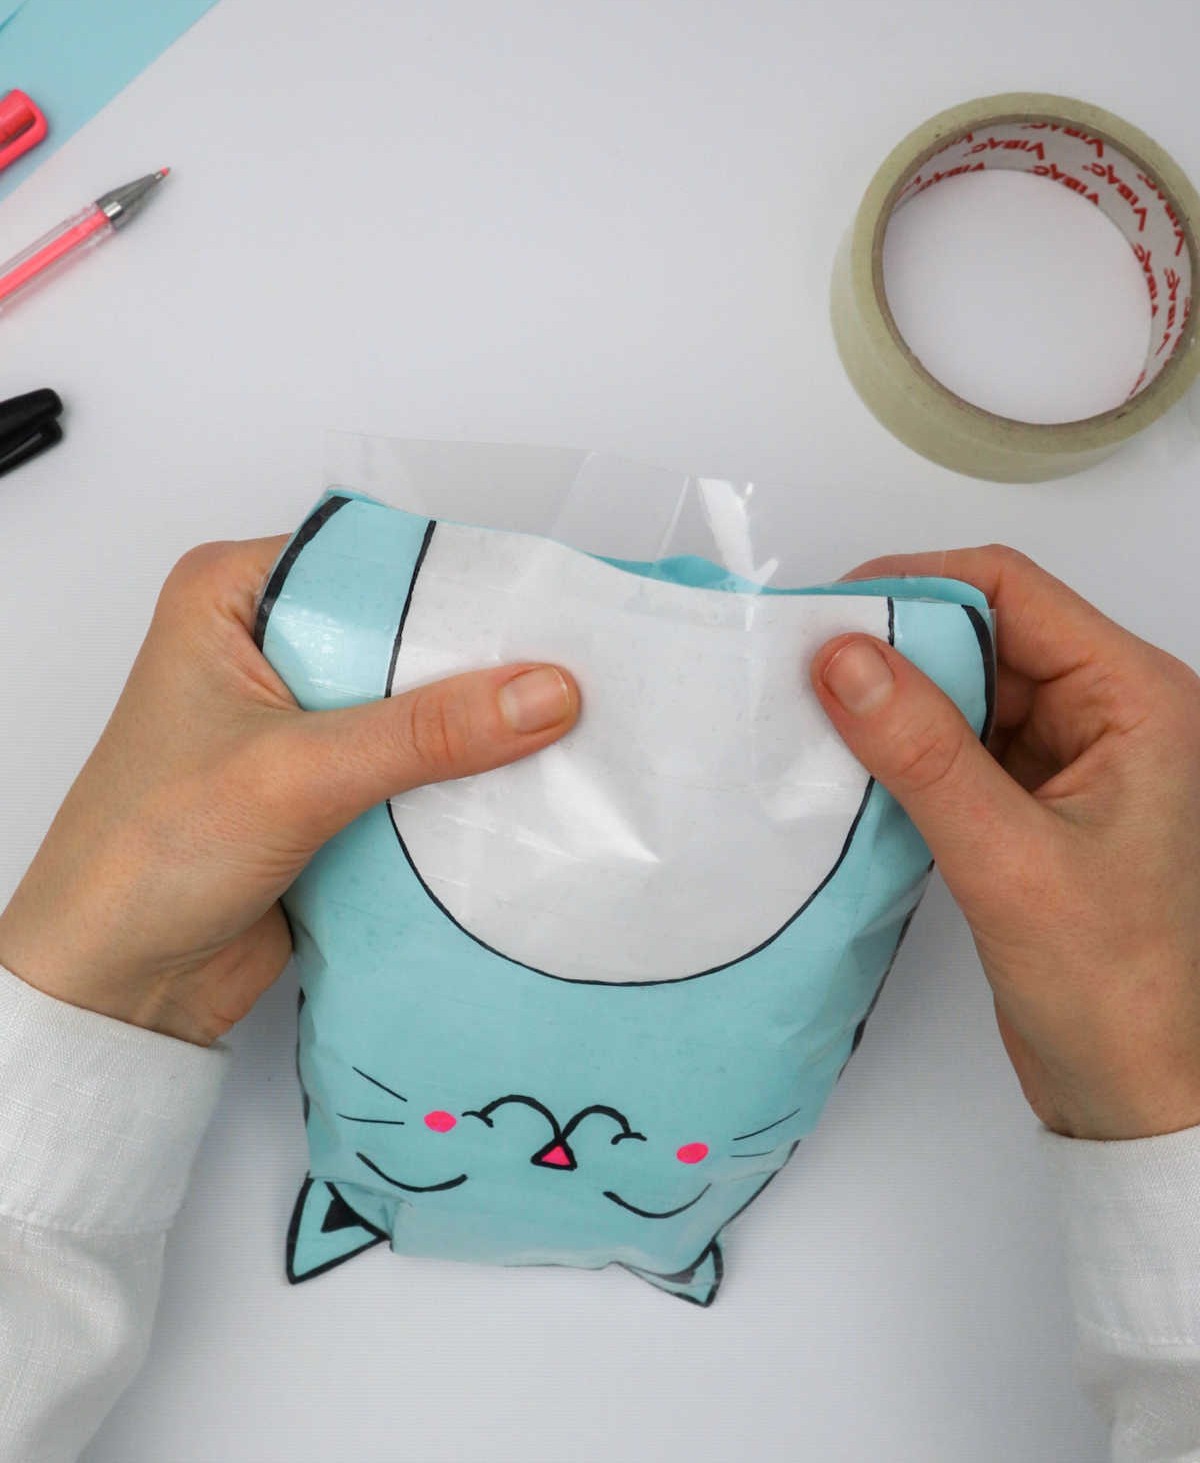
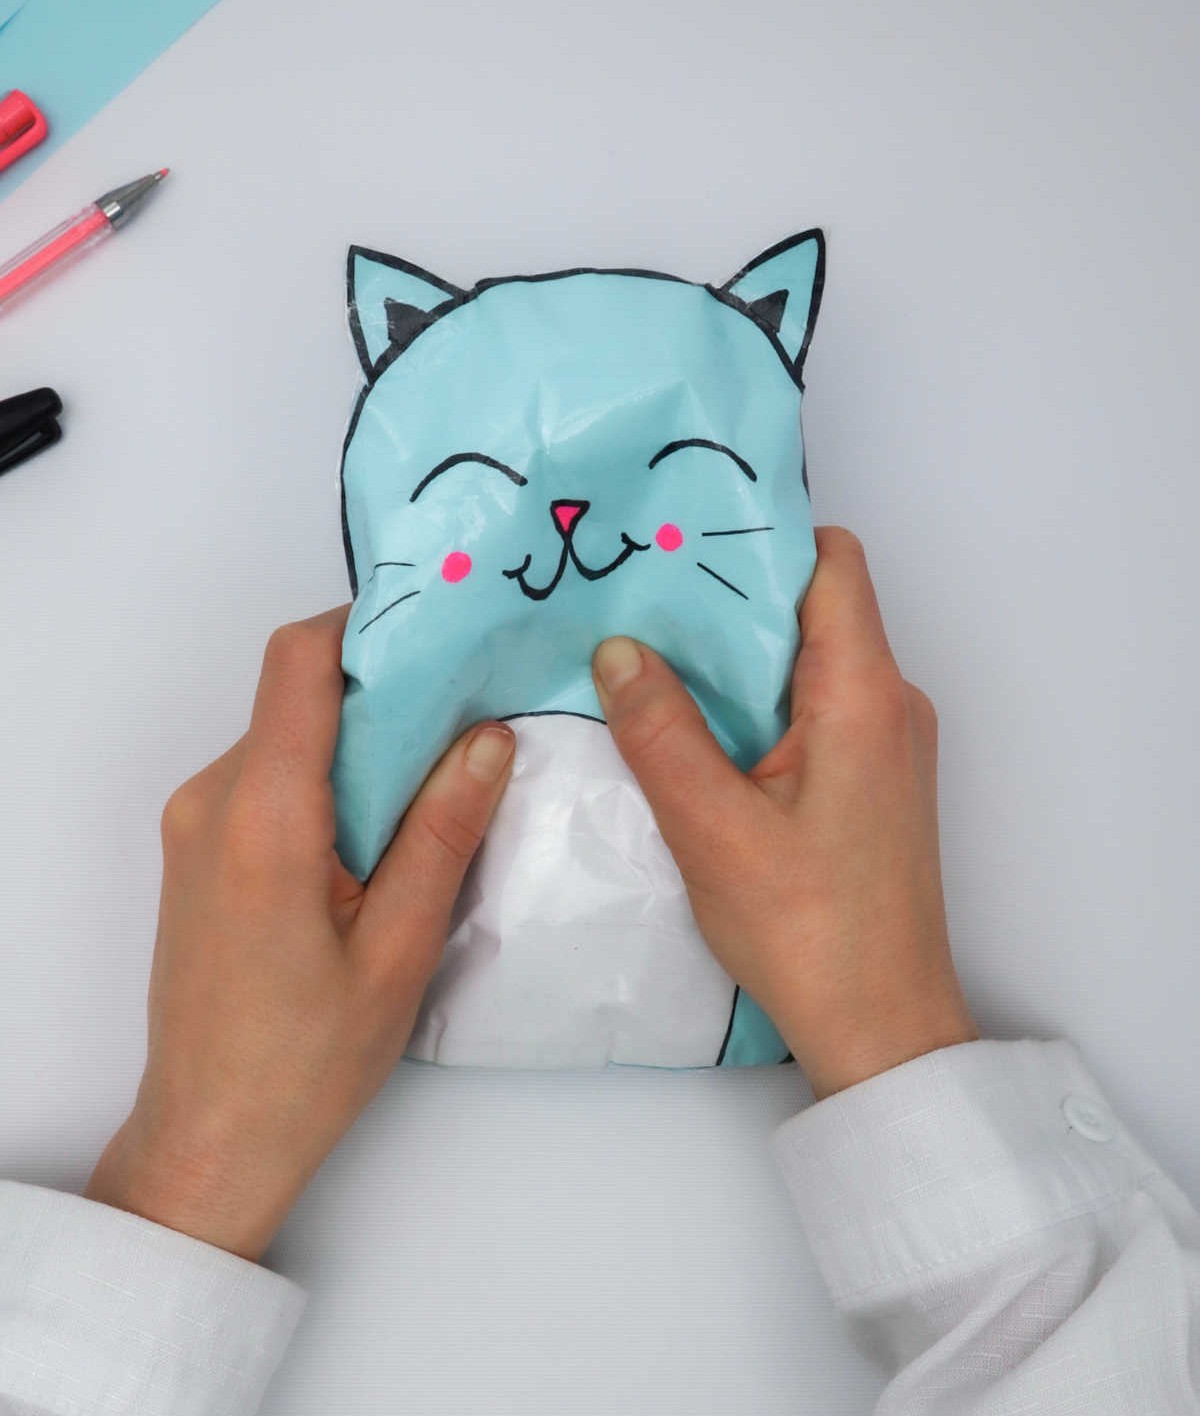
Once the squishy is stuffed, secure the ends by carefully applying scotch tape, leaving a small tab exposed. Next, fold the tabs inward to create a neat seal, ensuring the tape remains hidden. And just like that, your paper squishy is complete! Not only will it bring joy to your kids, but you can also involve them in the creative process and make this DIY project even more enjoyable together.
If you happen to have some extra construction paper lying around after this fun activity, be sure to check out 36 innovative paper craft ideas that are waiting to be explored.
How to Make Paper Squishies
In just a quarter of an hour, you and your tiny tykes can whip up these adorable paper squishies. This DIY delight is the perfect way to get the little ones creative juices flowing and having a blast! With minimal investment, you’ll be amazed at how quickly these soft, cuddly friends come together.
Equipment
Materials
When gathering materials for a creative project, it’s essential to have a few essentials at your disposal. Two sheets of colored paper are a great place to start, providing a vibrant and dynamic backdrop for your work. In addition to this, you’ll also want to have some standard white paper on hand, which can be used as a base layer or for creating contrast with the colored paper. A black marker is another must-have item, allowing you to add bold lines and details to your project.
To keep everything organized and in its place, a roll of transparent tape is also a valuable addition. Finally, if you’re working on a particularly tactile project, consider having some toy filling or small plastic bags on hand to add texture and depth.
Instructions
To create your cartoon squishy, gather essential supplies: craft or construction paper, a marker, clear scotch tape, scissors, and an optional printed pattern. Begin by drawing the cartoon’s features – including ears, belly, eyes, nose, and mouth. Next, cut out each component, taking care to leave small openings at the back for stuffing. Once all parts are prepared, secure them together using the tape, being mindful of delicate areas like the ears.
Leave the original opening accessible for inserting the filling material. You can either fill the squishy with the open-ended design or place a small plastic bag filled with the material inside the gap before closing it with additional tape.