Looking for a fun and creative weekend activity to do with the kids? Look no further than making DIY paper rings. While it may seem unusual at first, paper jewelry can be a great way to showcase your crafting skills and produce unique, eclectic pieces.
The beauty of making paper rings is that you don’t need any specialized supplies – just some basic craft materials like cardstock or quality paper. And the best part? The finished product can last for a long time if made with sturdy materials.
Of course, the real fun comes when you get to decorate your paper rings and let your creativity shine. With endless possibilities for embellishments and designs, you’ll be amazed at what you can create.
What You’ll Need for These Rings
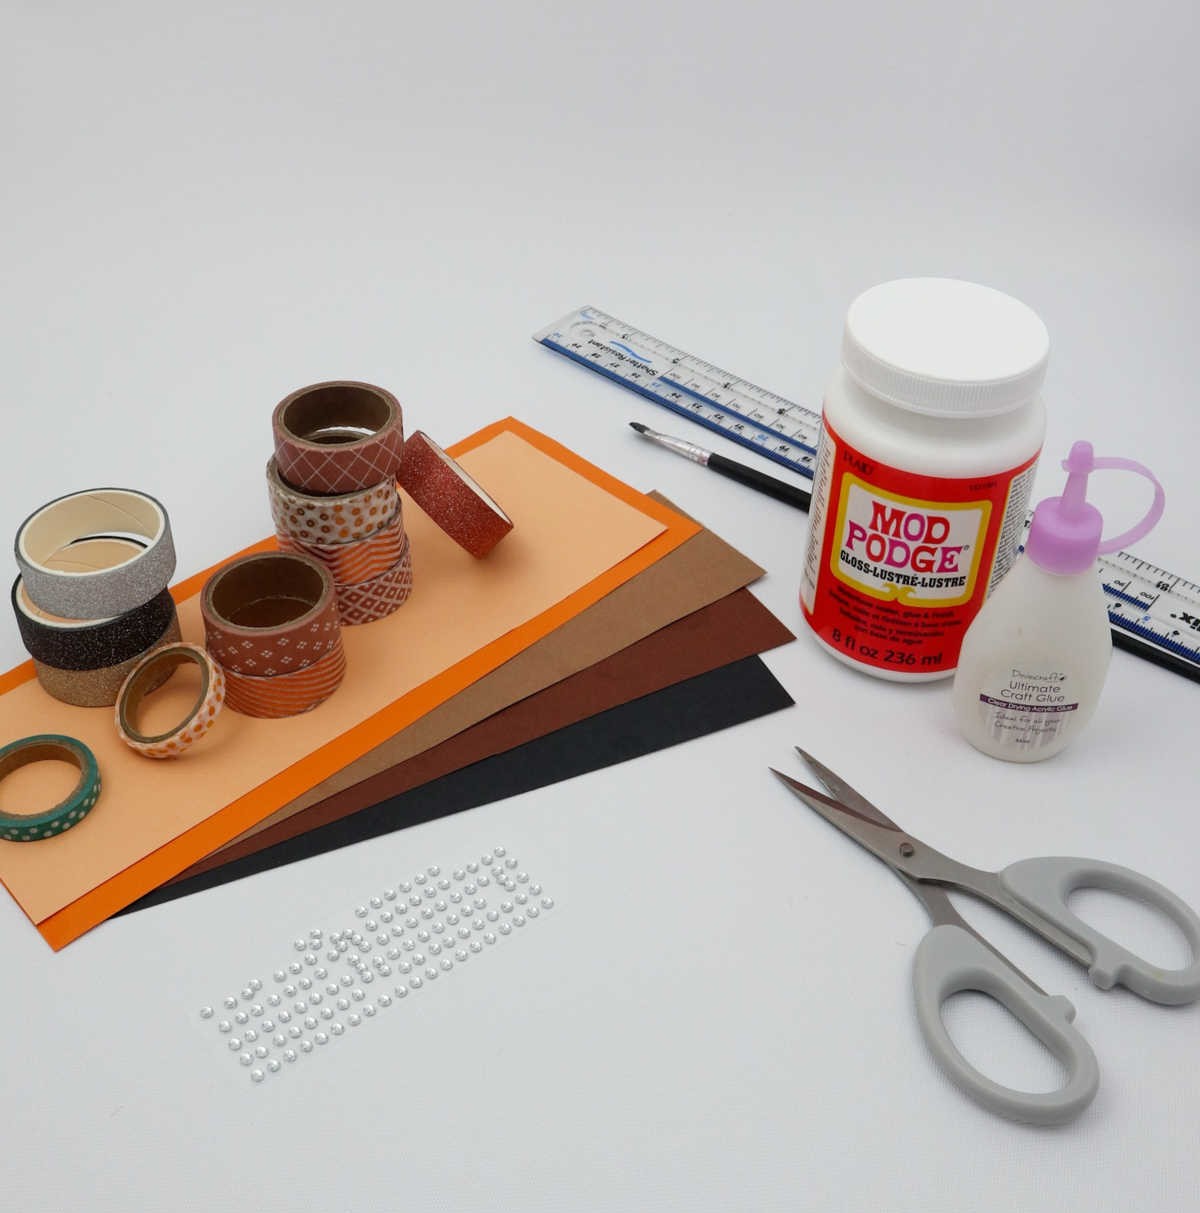
To create your very own DIY paper ring, you’ll need the following materials: a 8-inch piece of craft paper, washi tape for added embellishment, craft glue to secure everything in place, Mod Podge for an extra layer of protection and shine, a paintbrush for smoothing out any excess glue or Mod Podge, a ruler to ensure your cuts are straight, scissors to cut out the desired shape, and finally, flatback crystals to add some sparkle and glamour.
With these basic supplies, you’ll be well on your way to crafting a beautiful paper ring that’s all your own.
How to Make a Paper Ring
With your materials at the ready, it’s time to embark on the creative process and begin crafting your unique paper rings. The next step is straightforward – simply start shaping and molding your supplies into the desired form.
Step 1
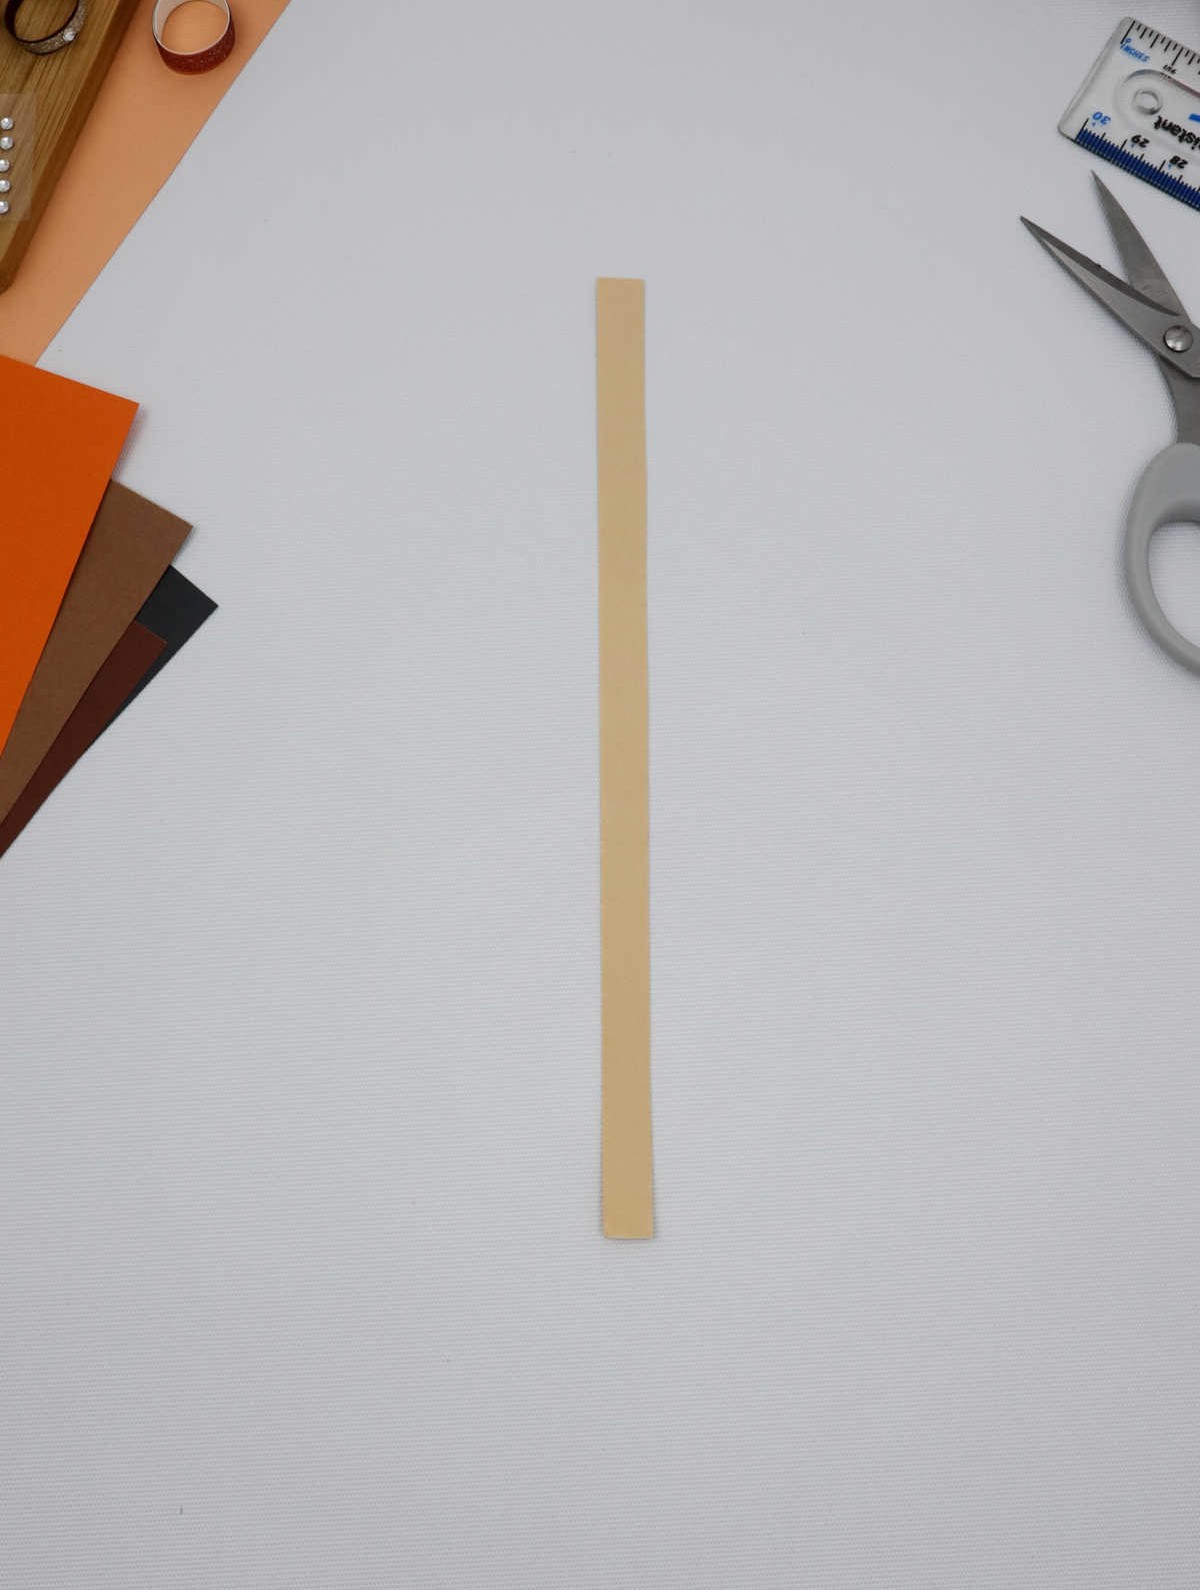
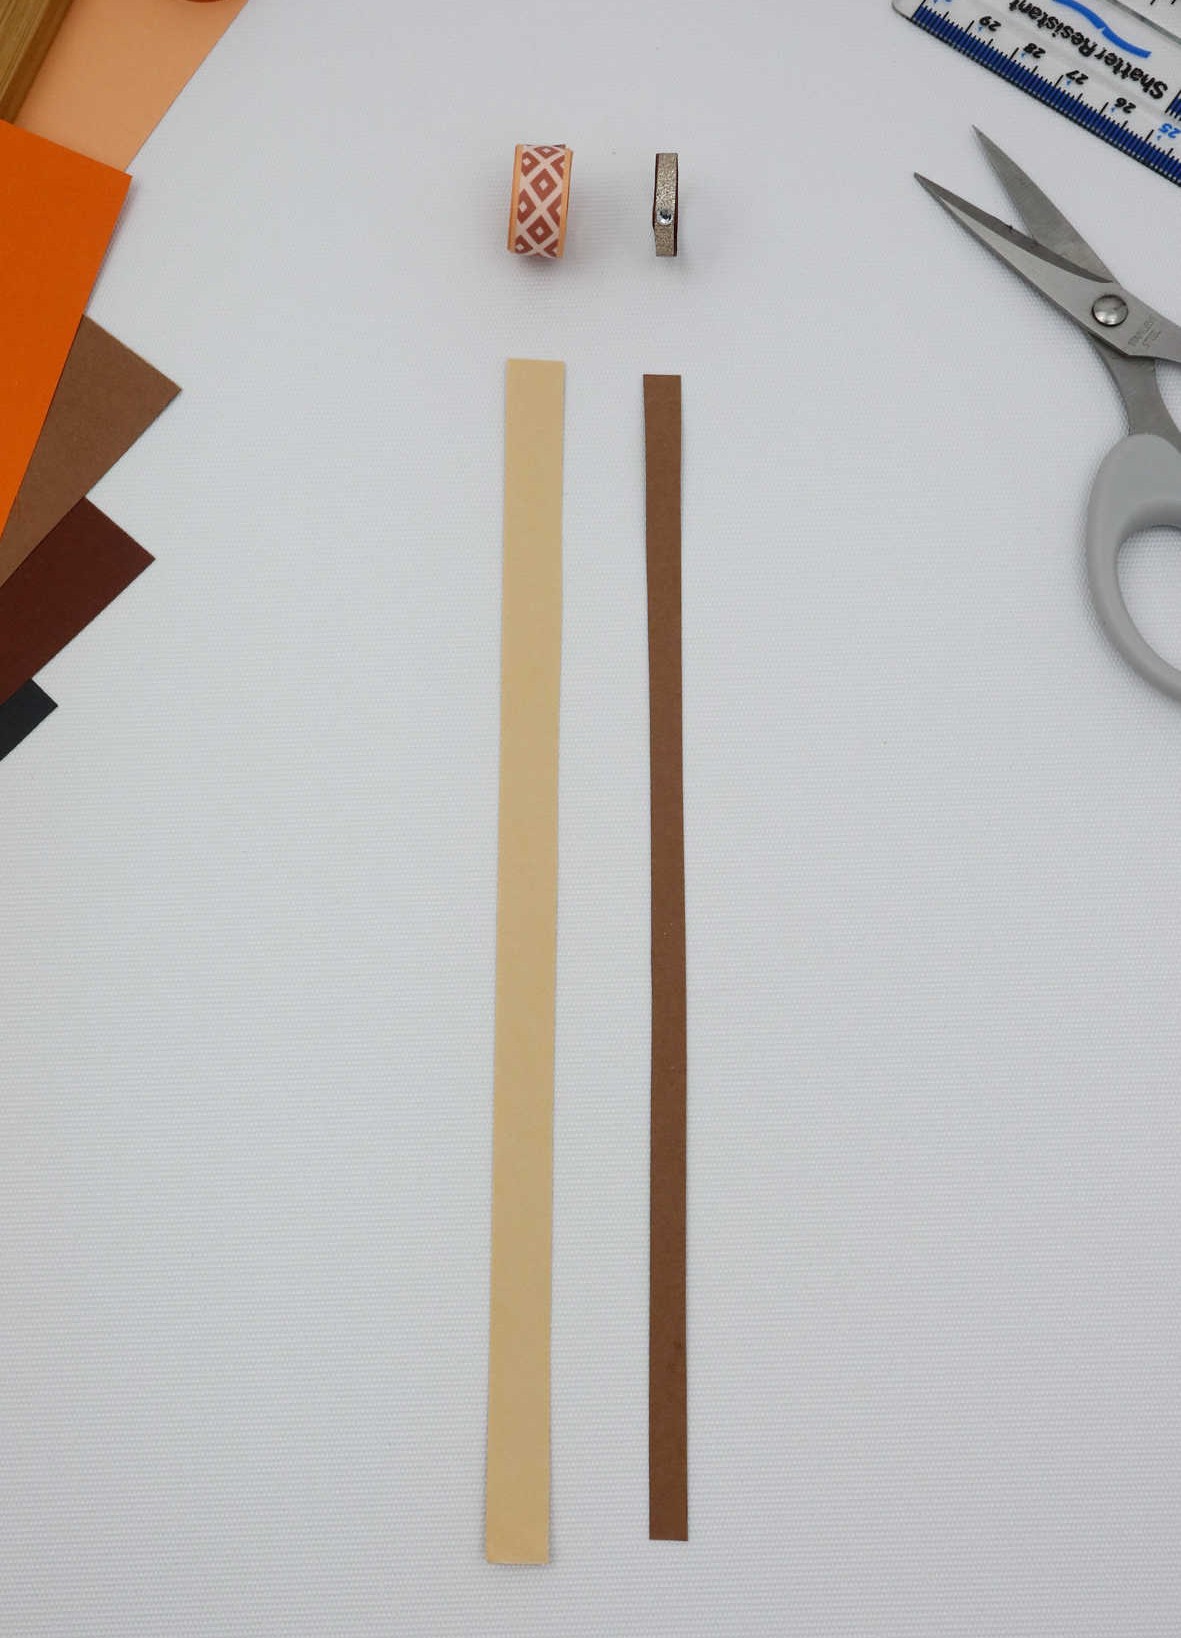
Measure a length of paper to create the foundation for your handmade ring’s width. Lay the strip flat on a stable surface, ensuring its dimensions will directly impact the finished product’s girth. As you work through this process, take note of the paper’s width, as it will ultimately dictate the circumference of your unique piece.
Step 2

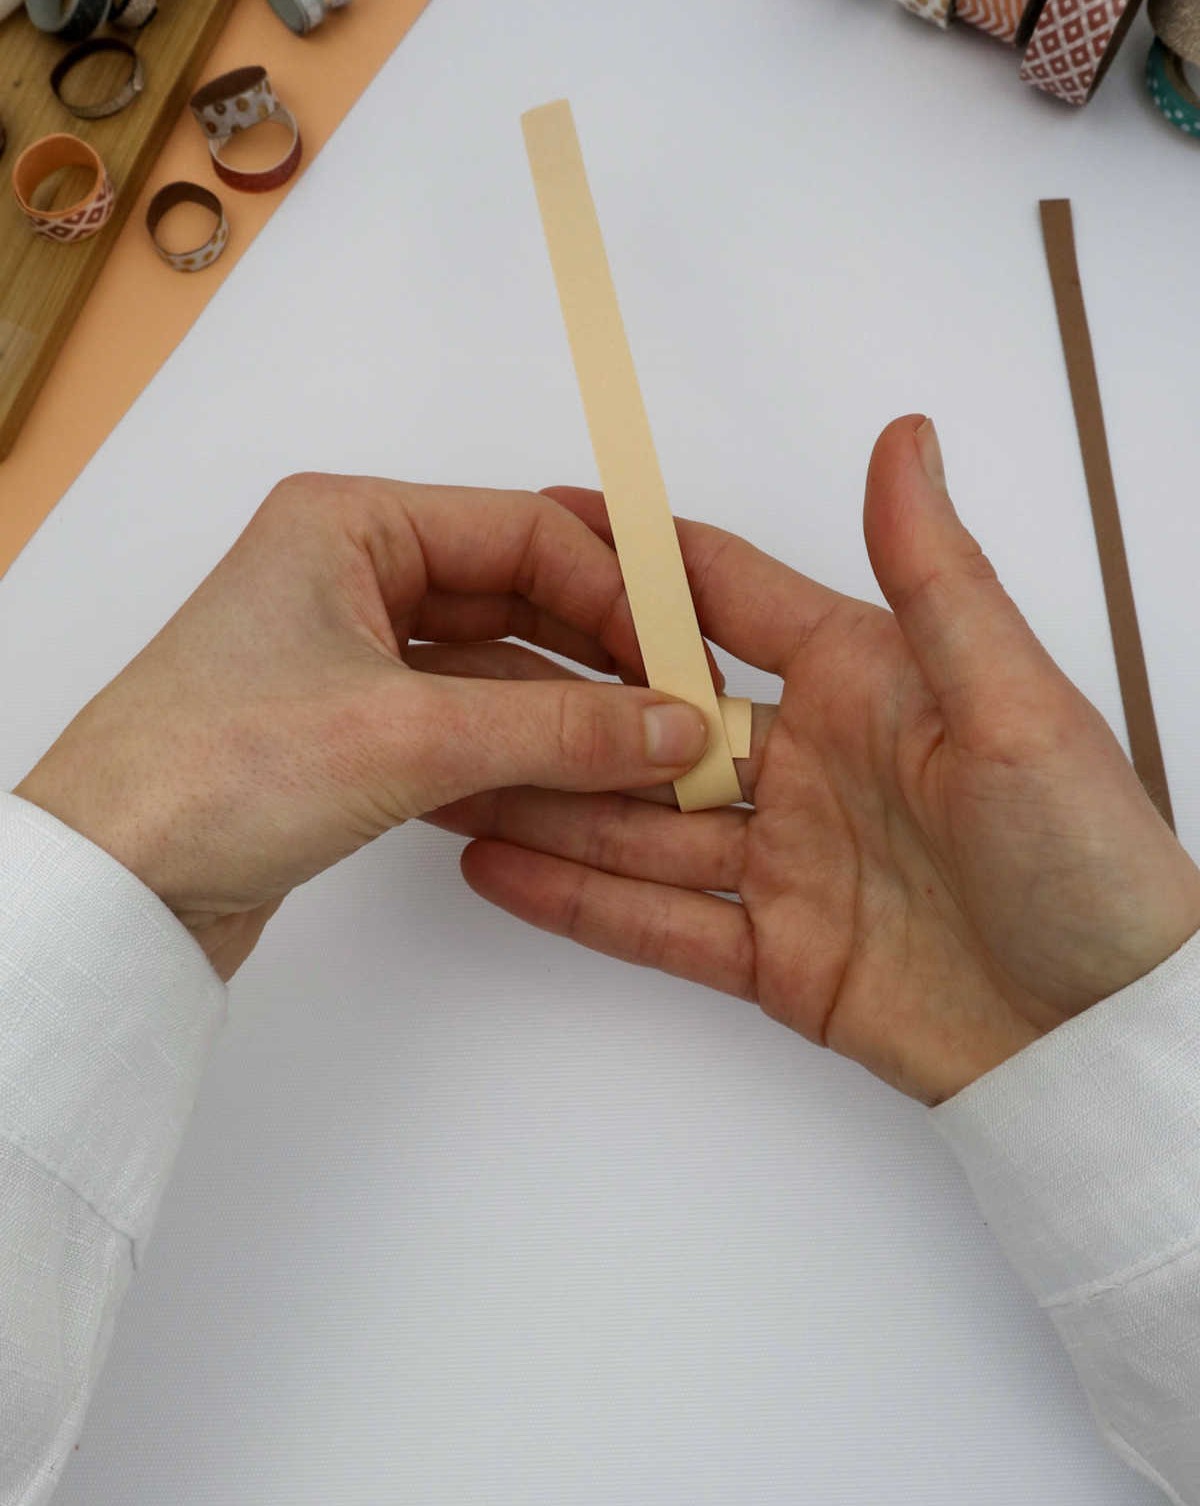
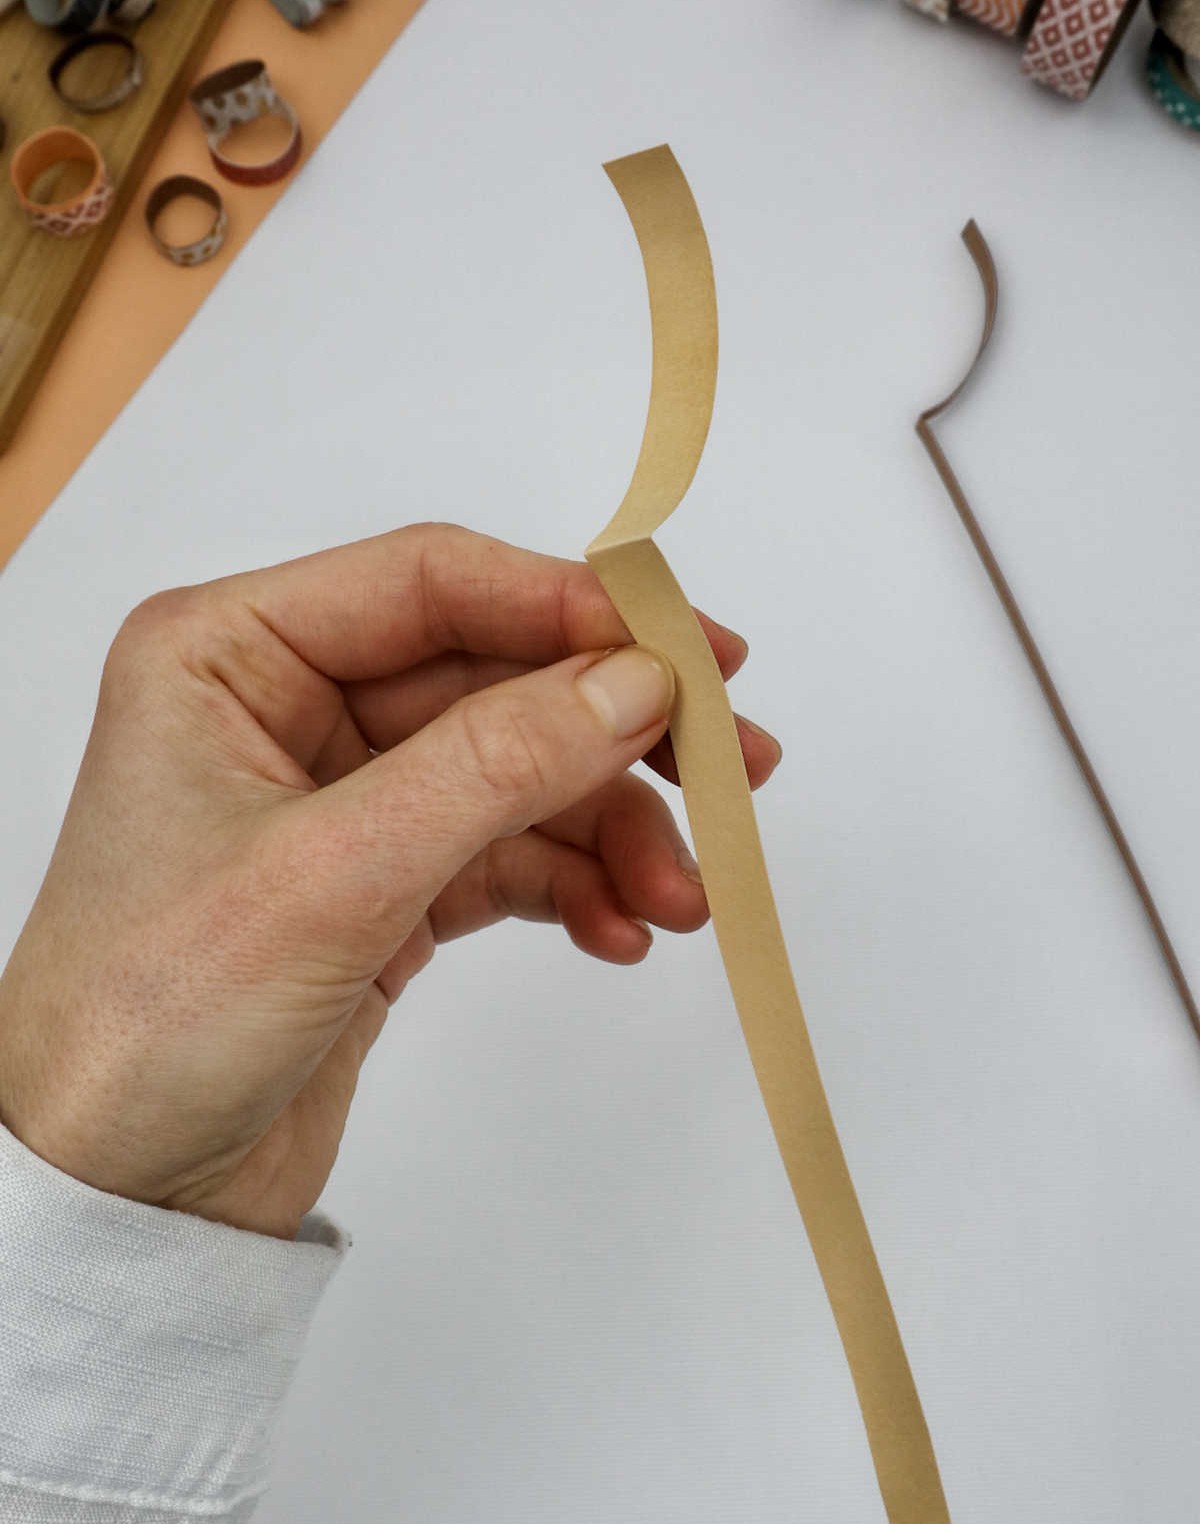
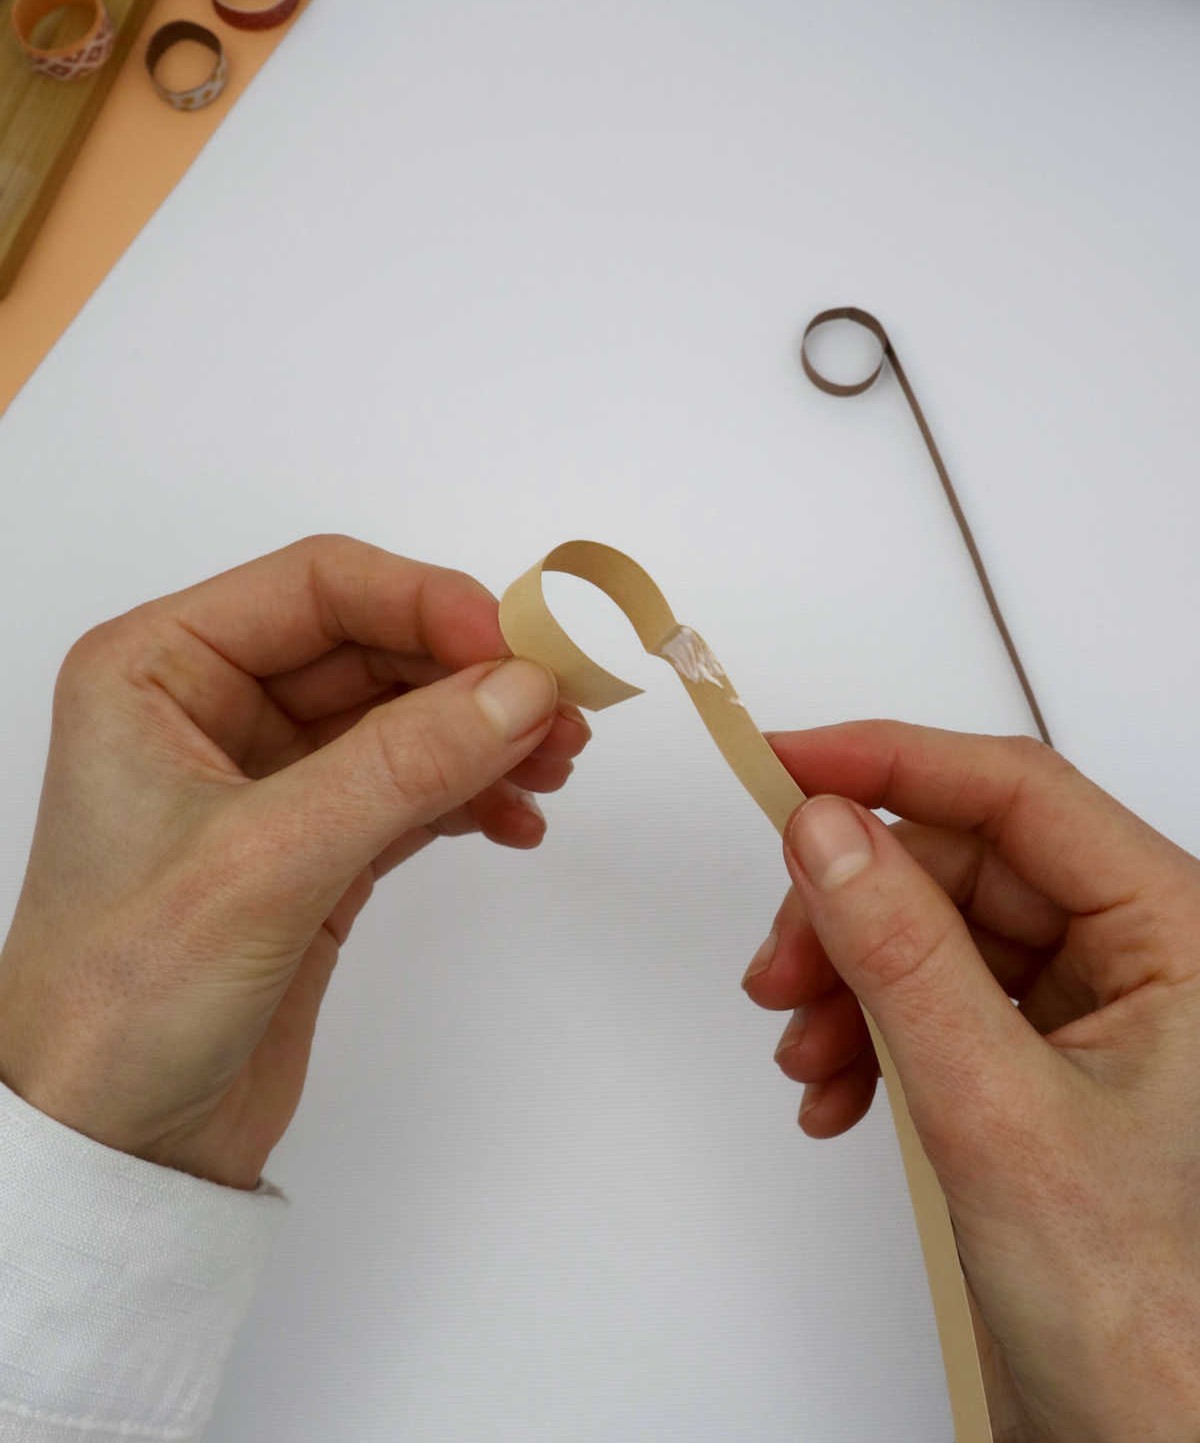
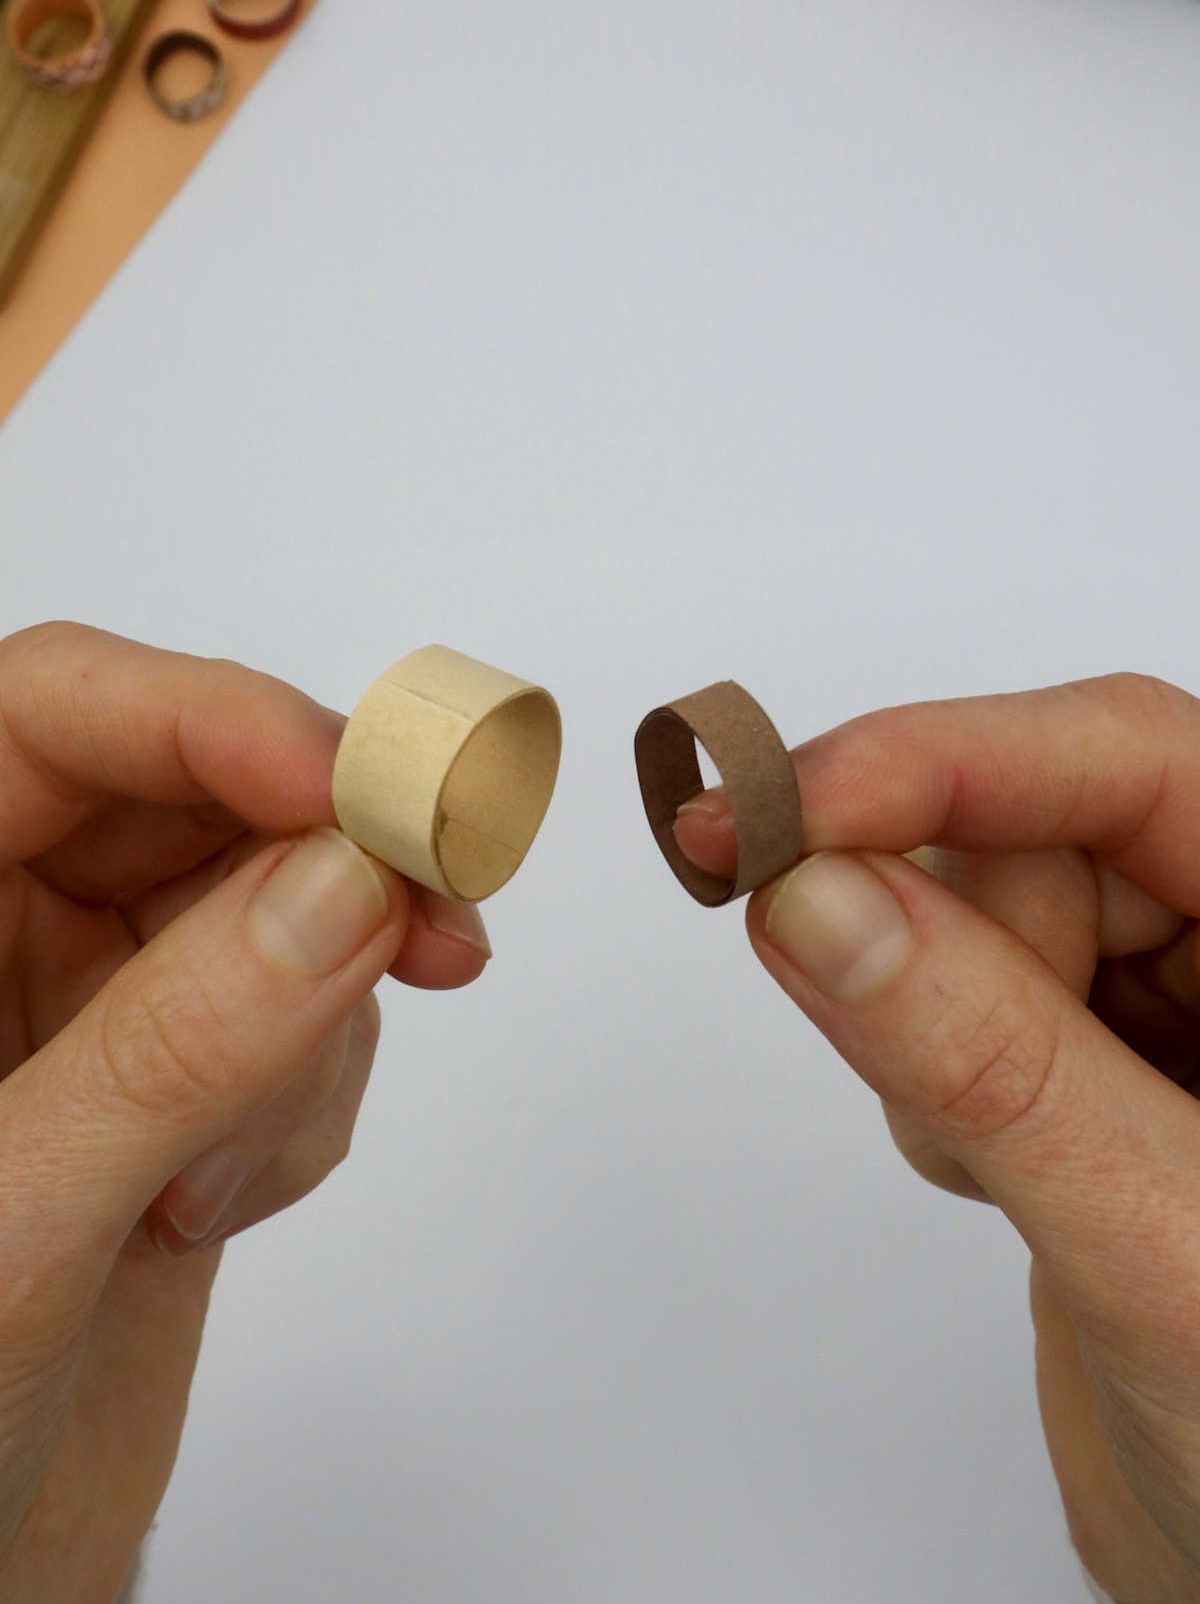
To measure the circumference of your finger, start by holding a strip of paper between your fingers. Gently roll the paper over your finger in one continuous motion, making sure to maintain even pressure as it wraps around the base of your finger. As you reach the starting edge and the paper meets its own end, carefully fold it back onto itself. This technique will give you an accurate measurement of your finger’s circumference, which is essential for sizing a ring accurately.
Step 3
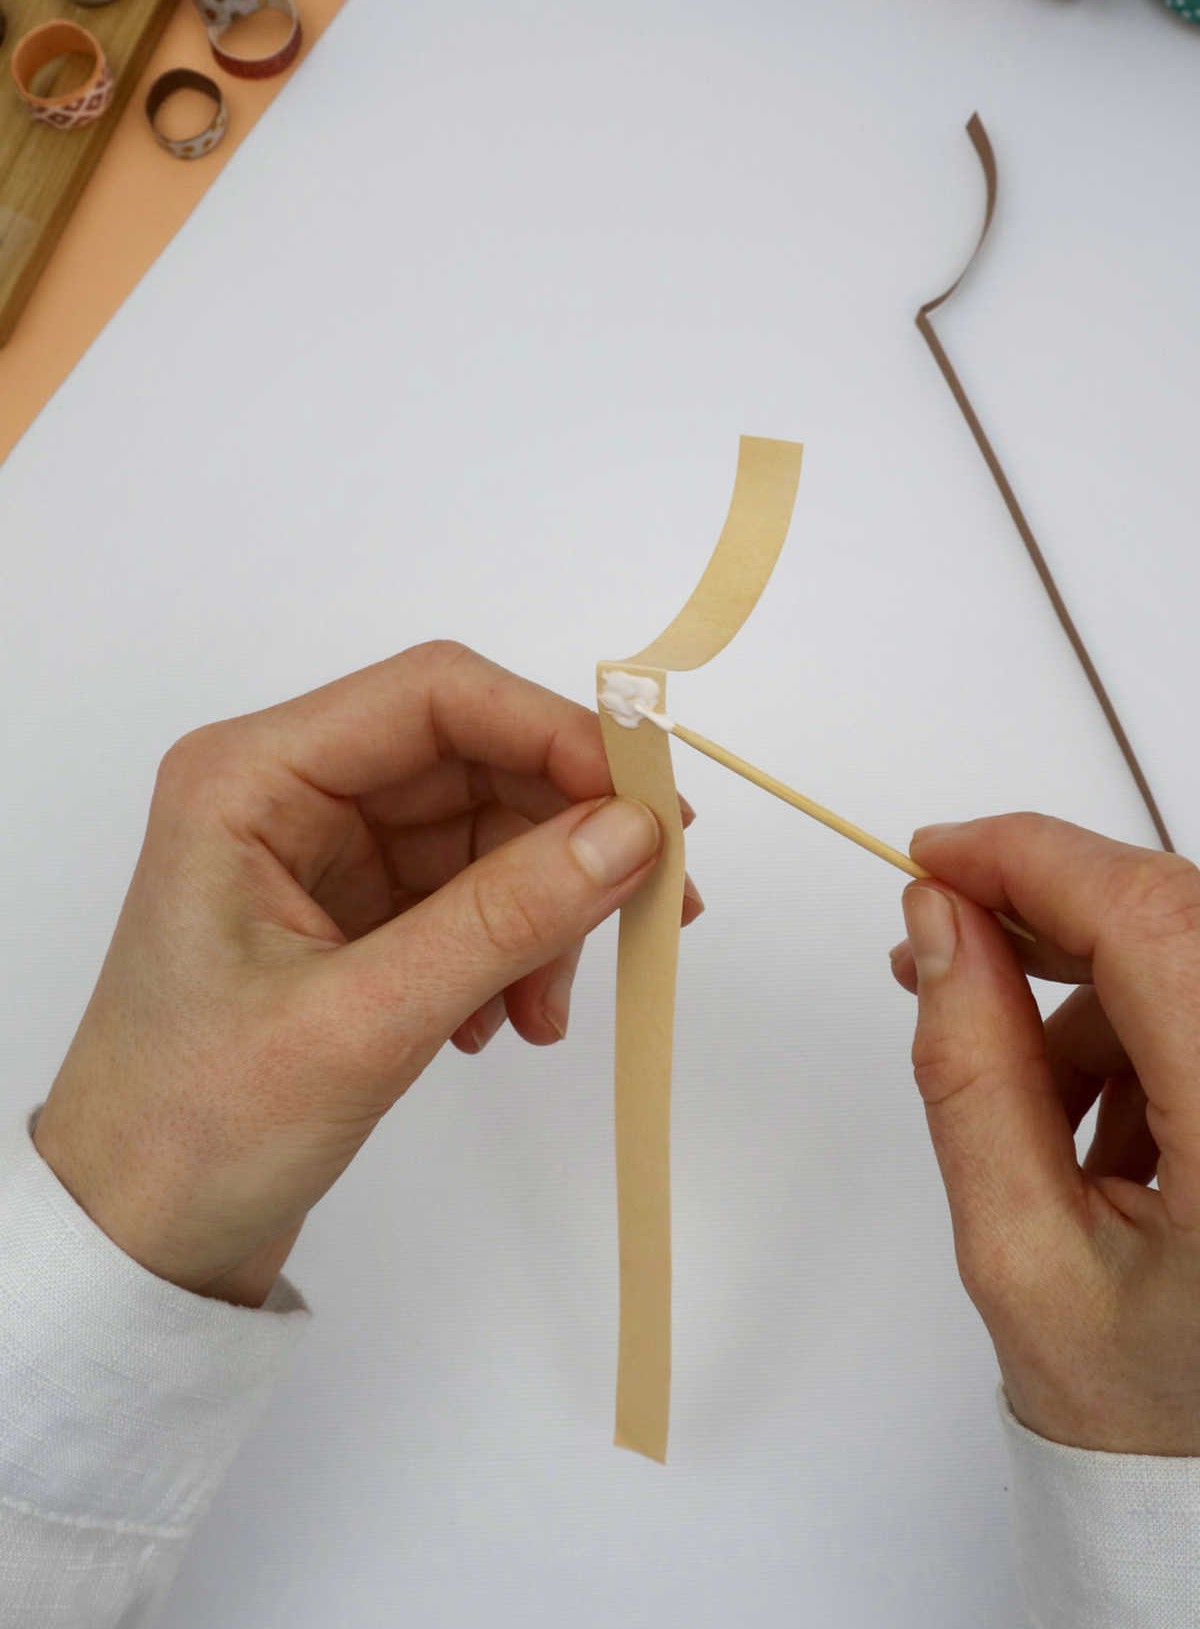
To secure your DIY project, start by applying a small amount of adhesive to the reverse side of the paper, roughly an inch or so from where it meets the fold. You can use a toothpick to carefully dab on just enough glue to create a strong bond without oozing out onto the surrounding area.
Step 4
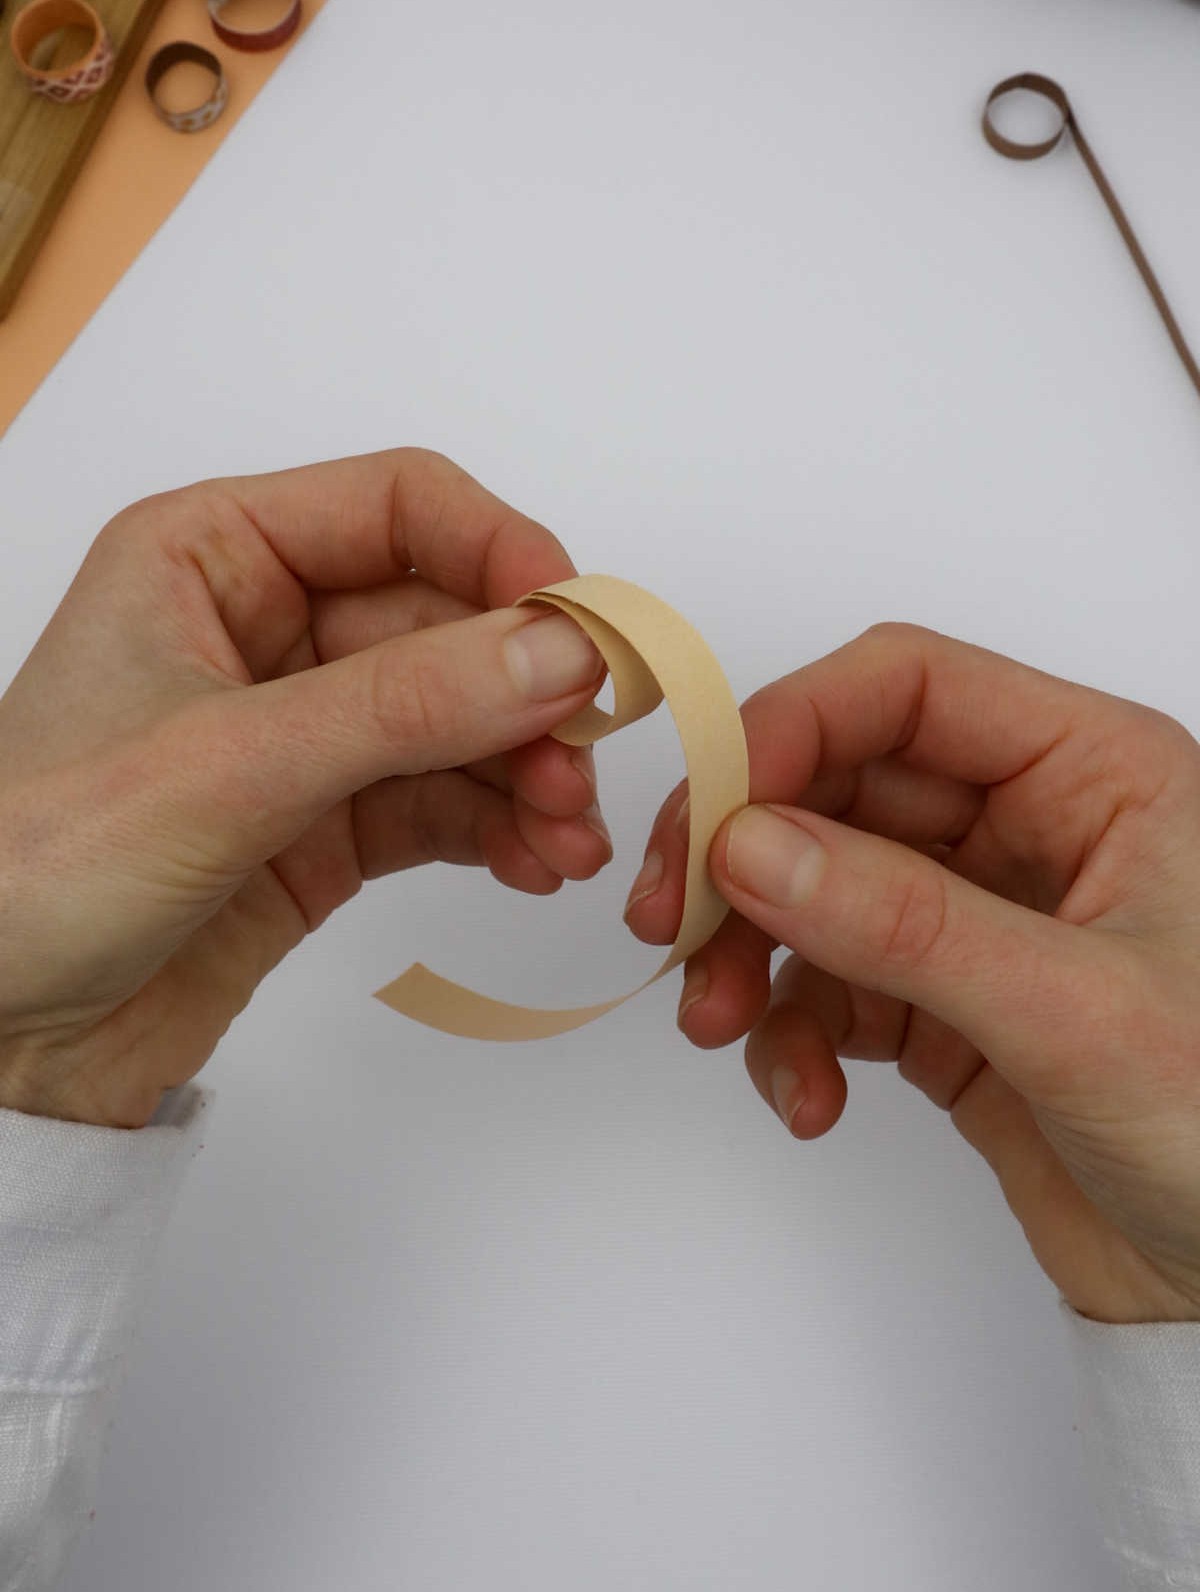
As you proceed with the craft project, carefully guide the curved edge of the paper towards the center of your hand. From here, maintain a steady motion by repeatedly rolling the paper over the previously applied adhesive, working your way along the length until you’ve reached the opposite extremity.
Step 5
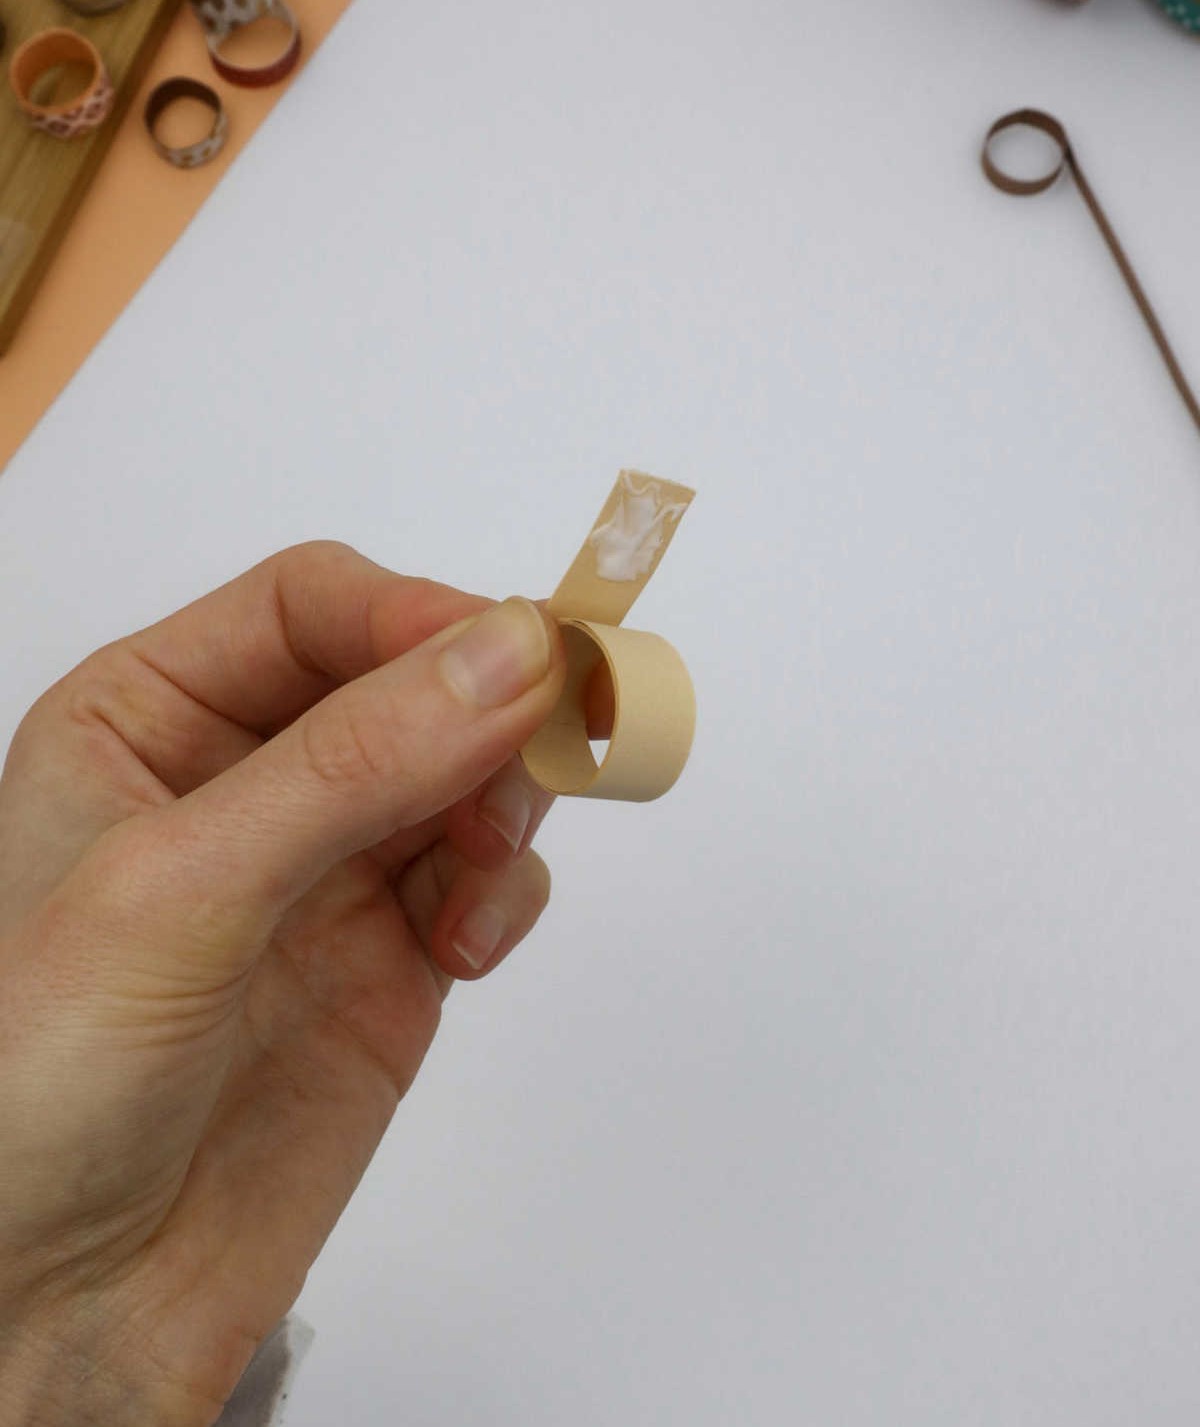
To complete the process, start by applying a small amount of glue to the edge of the paper using a toothpick. Be meticulous in your application, ensuring a consistent and even layer is achieved. With the glue in place, gently press the edge of the paper down onto the rolled core, taking care not to apply too much pressure that may cause wrinkles or creases. As you secure the end, take a moment to inspect your work to ensure a smooth and seamless finish.
Step 6
To roll your paper strip into a ring shape, an alternative method is to lay the strip flat and apply small amounts of glue along its length using a glue stick. Next, perform a single, continuous motion to roll the paper until you reach the end. Secure it in place with another dab of glue. And just like that, the foundation of your paper ring is complete. The real fun begins with the decorating process, which we’ll explore further down the line.
Step 7
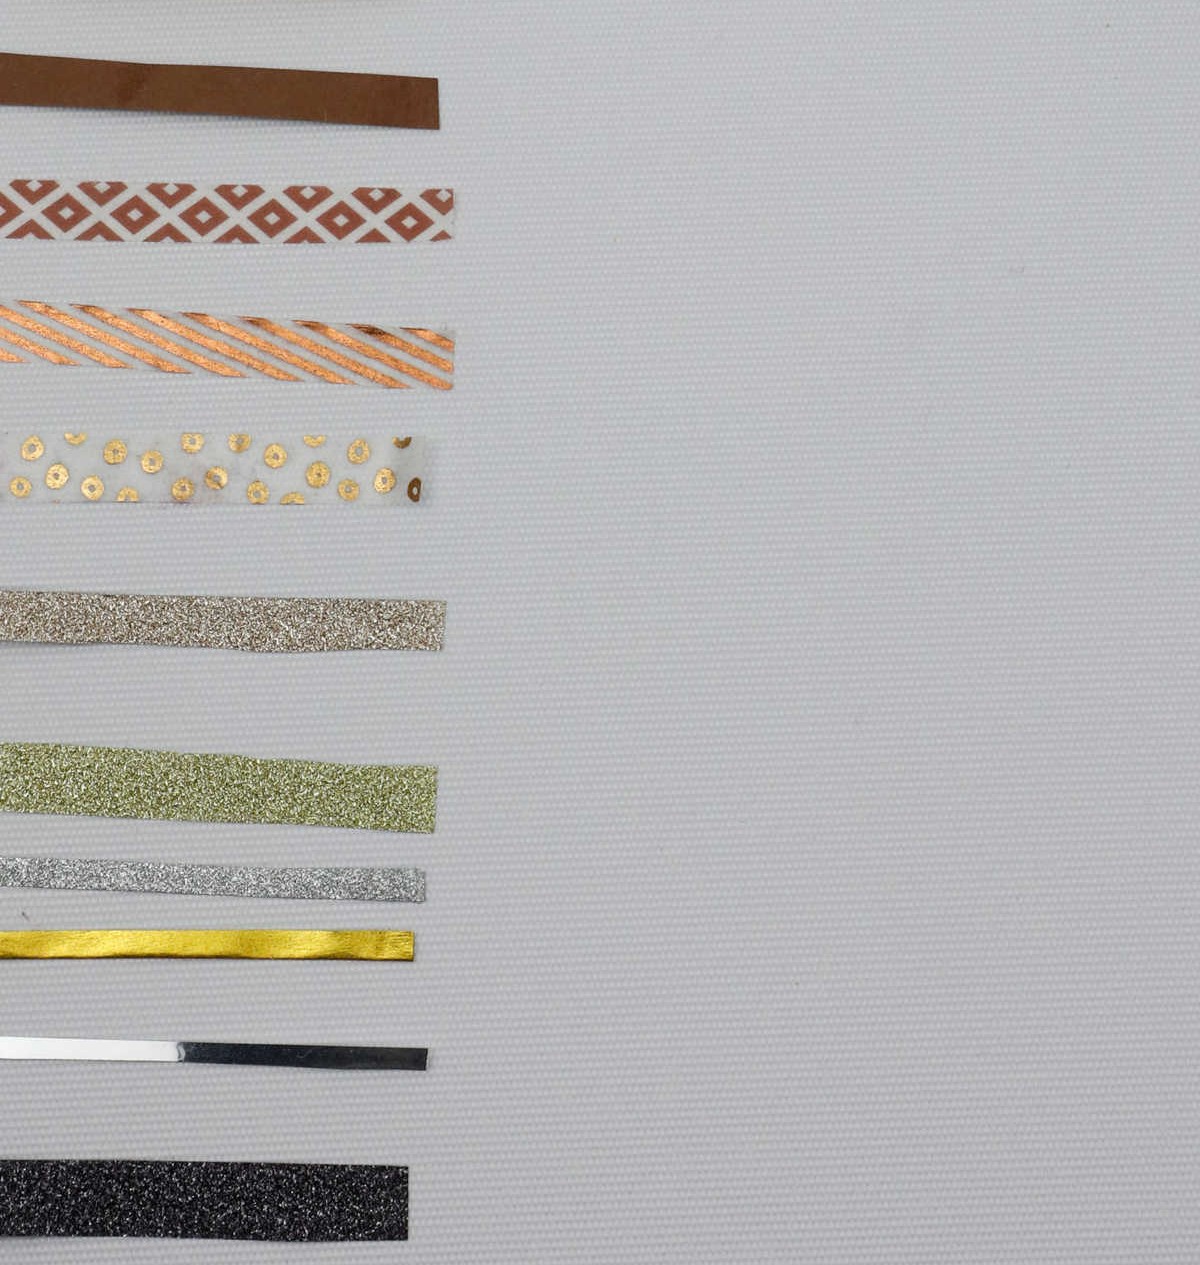
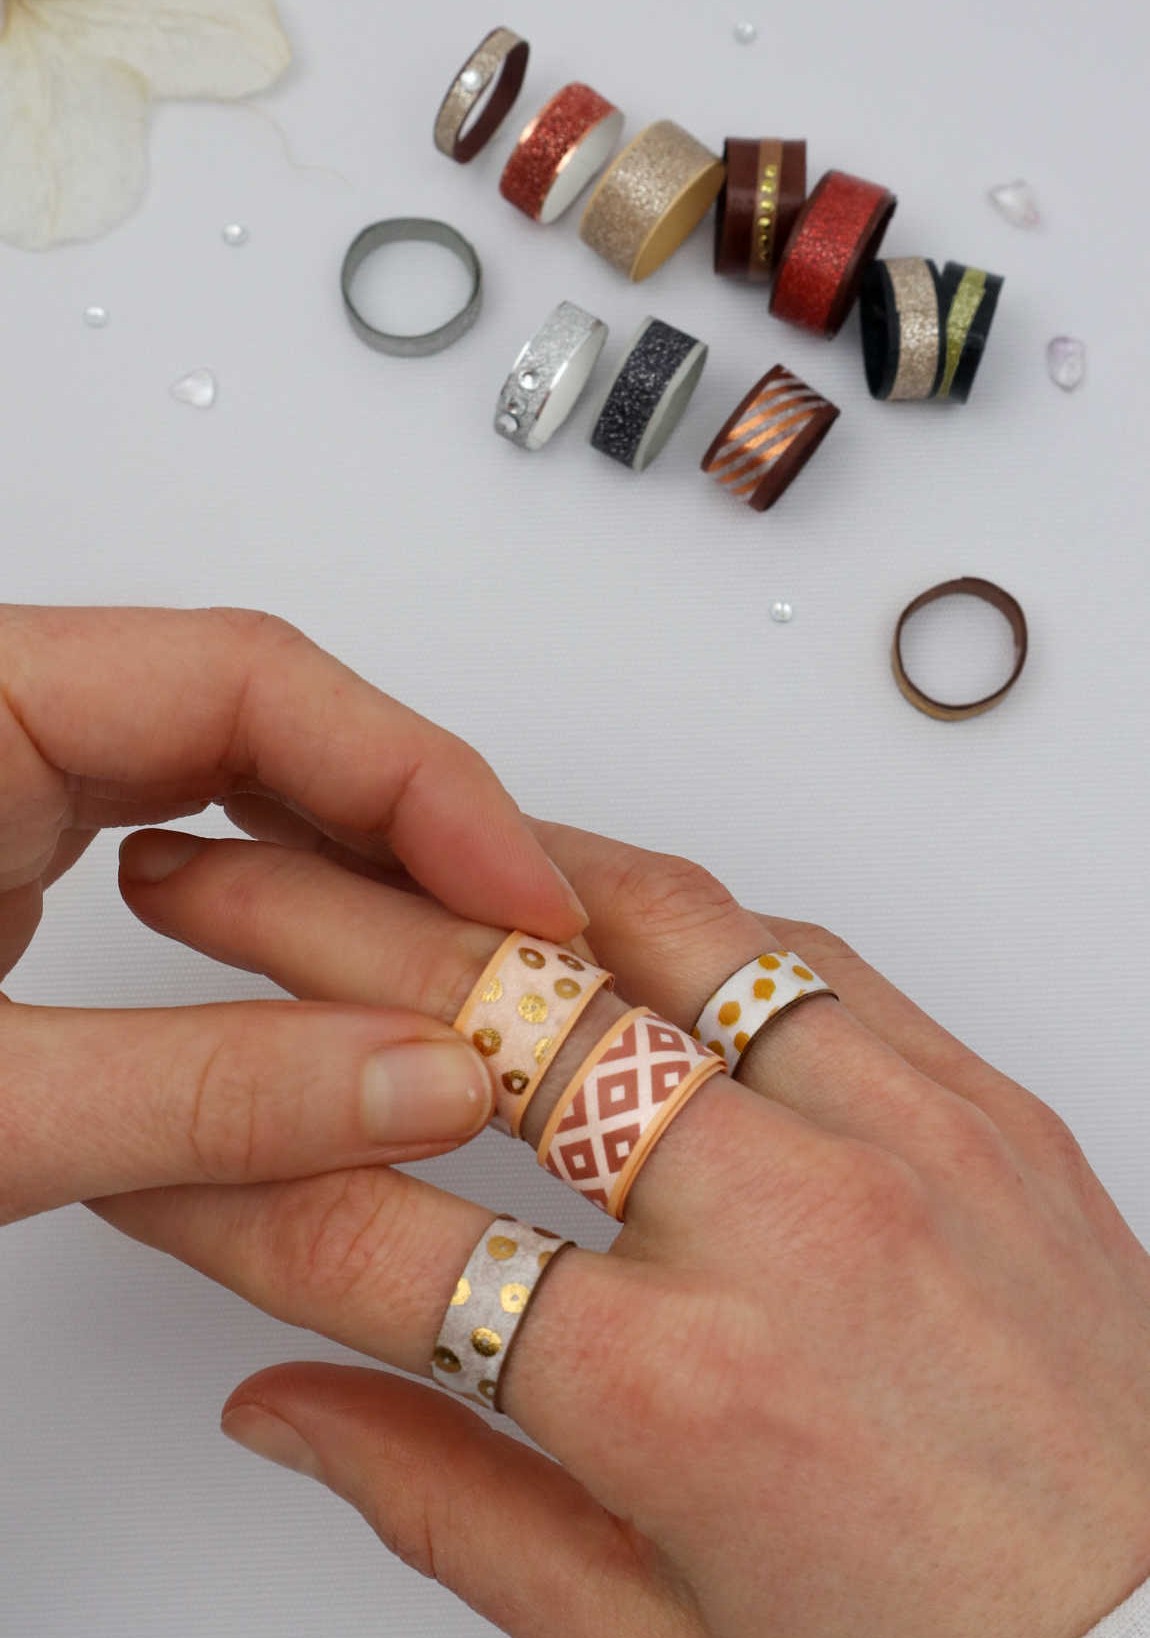
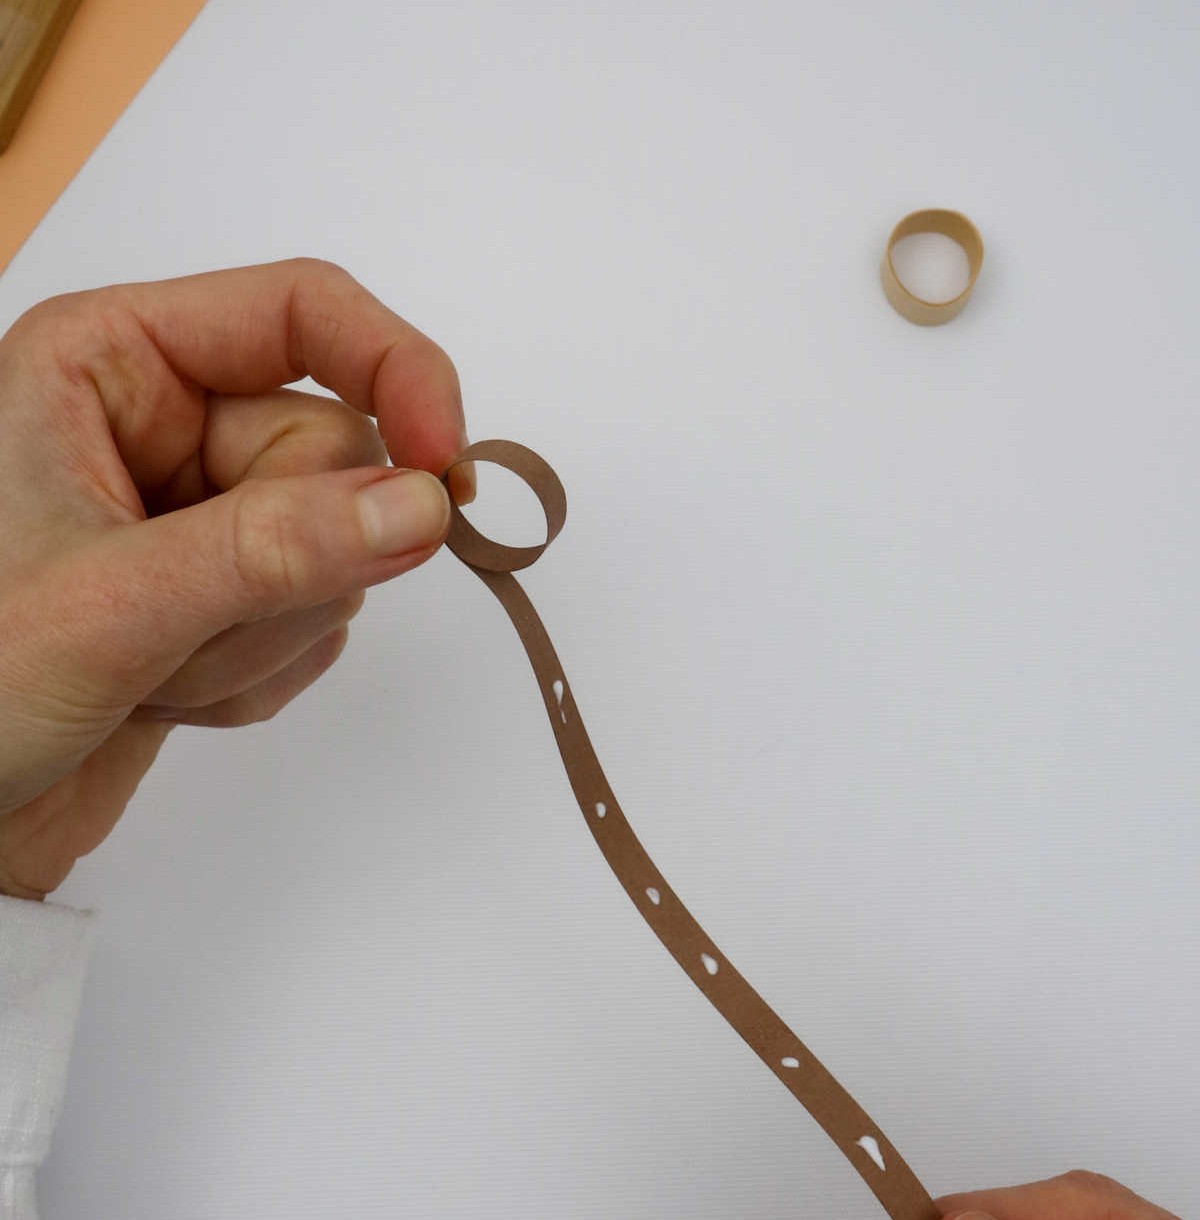
Unleash your creativity by rummaging through your stash of colorful papers, washi tapes, and eclectic scraps. As you gather your favorite materials, envision how they’ll beautifully adorn your ring. Once you’ve curated a selection, lay them out on your work surface and carefully consider which ones will harmonize with the ring’s width. This thoughtful approach will ensure that the decorative paper or tape flows seamlessly around the ring, creating a stunning visual effect.
Step 8
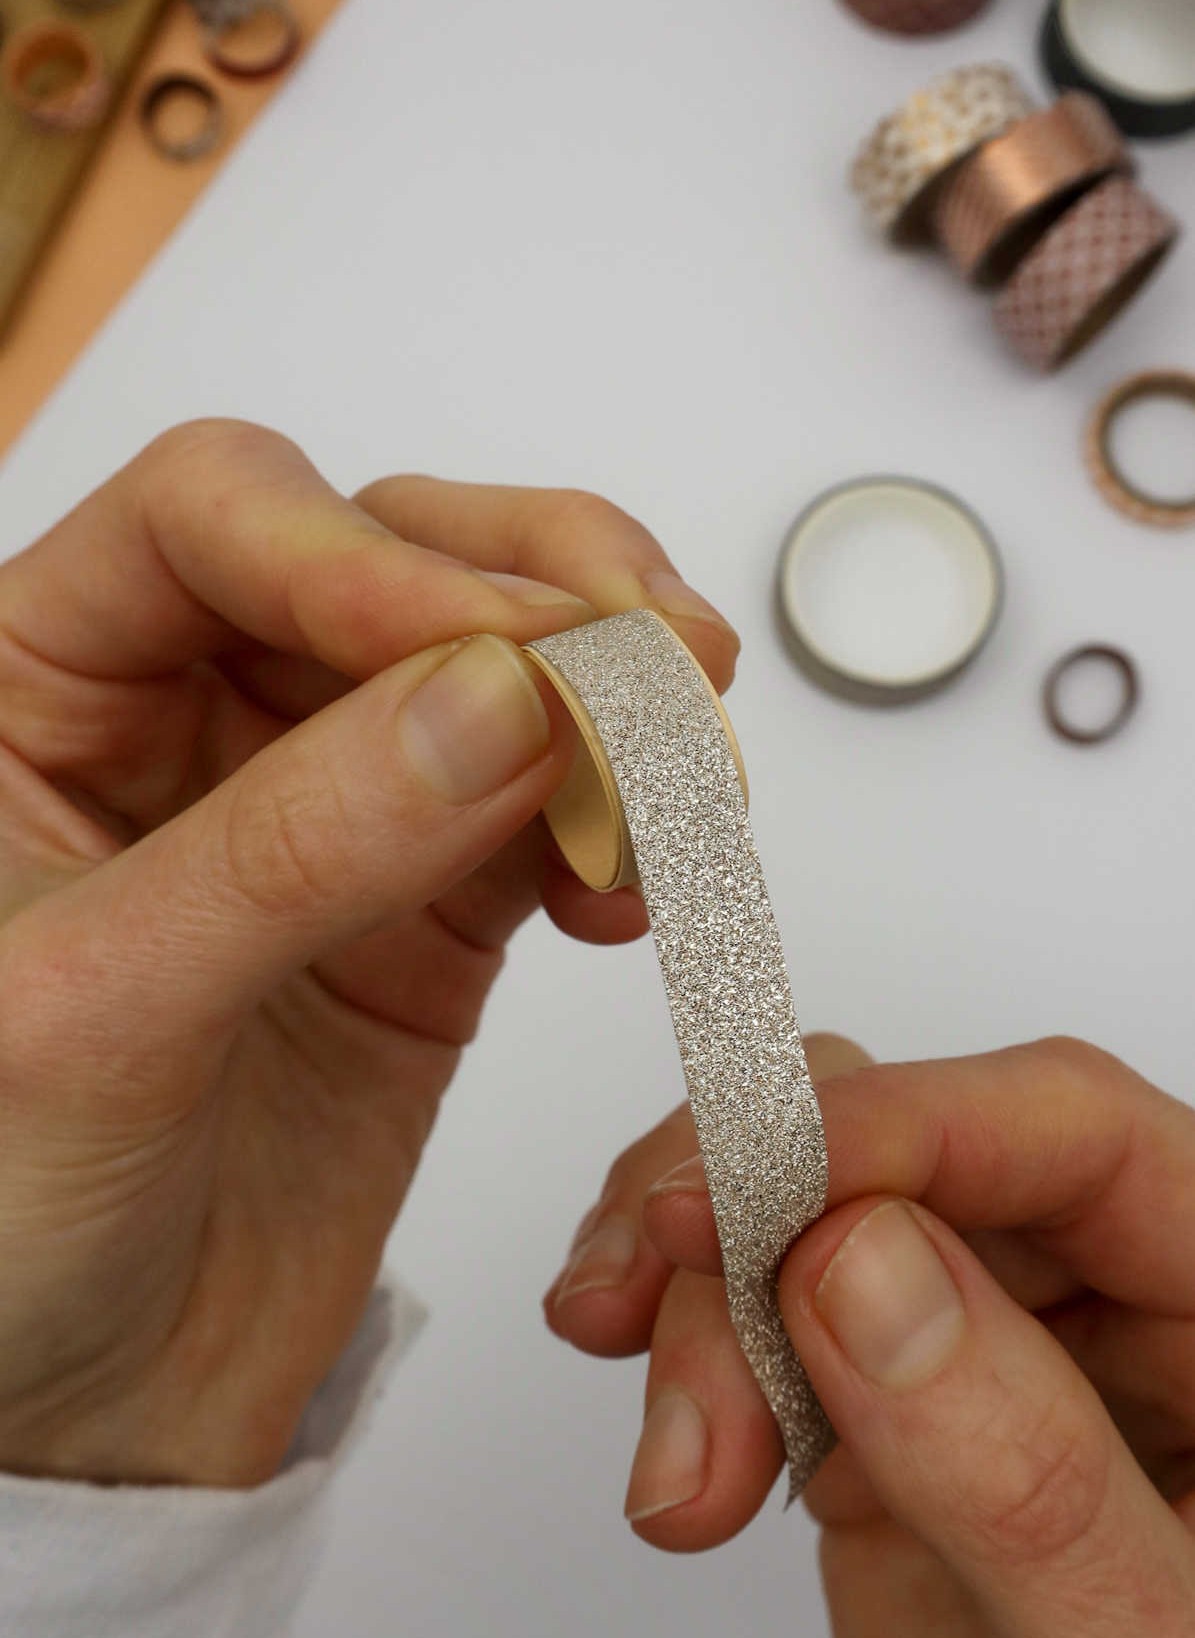
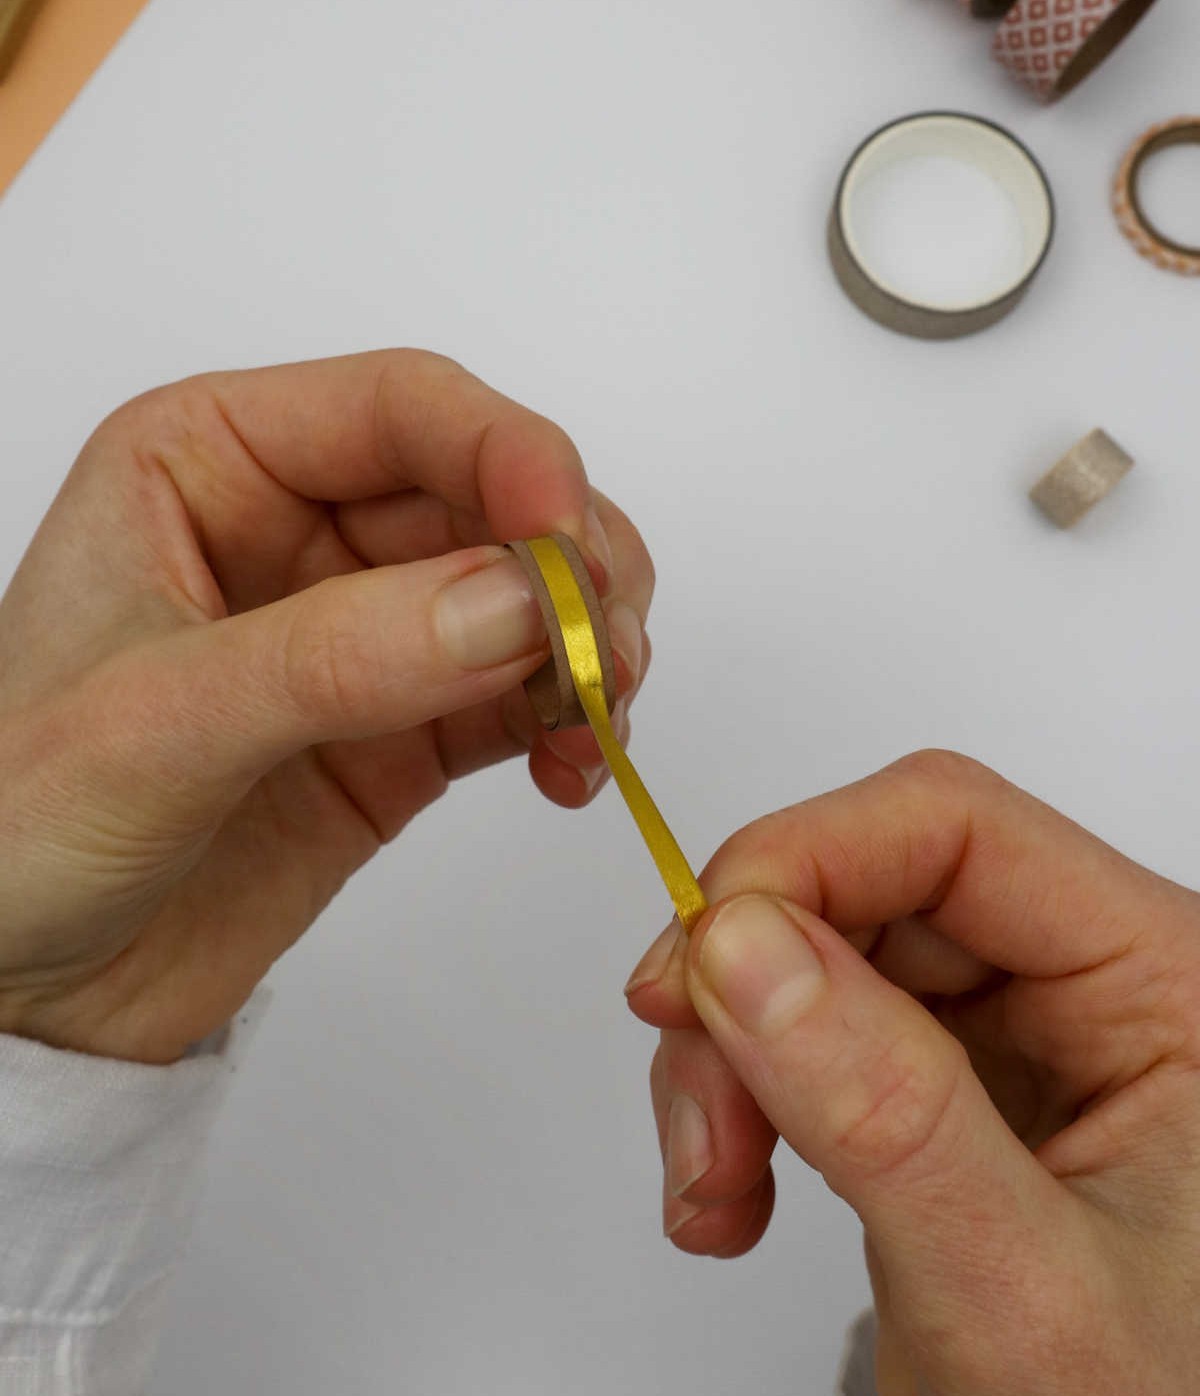
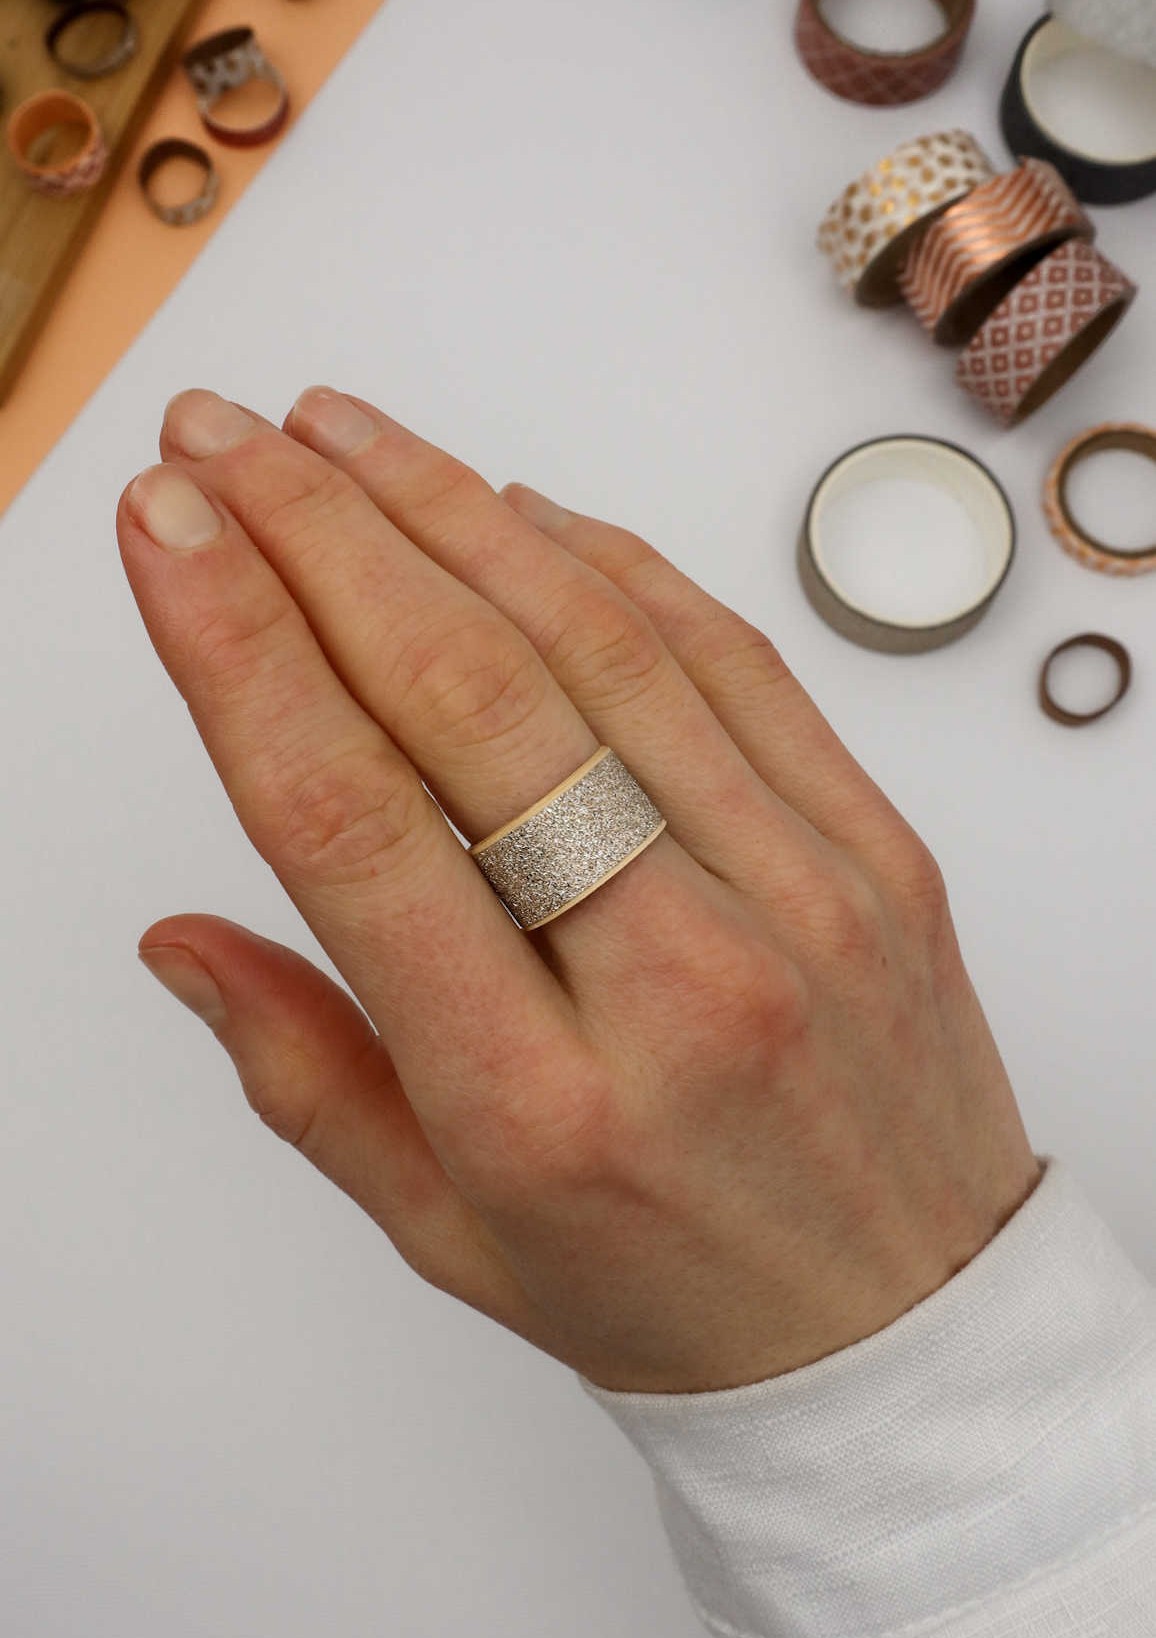
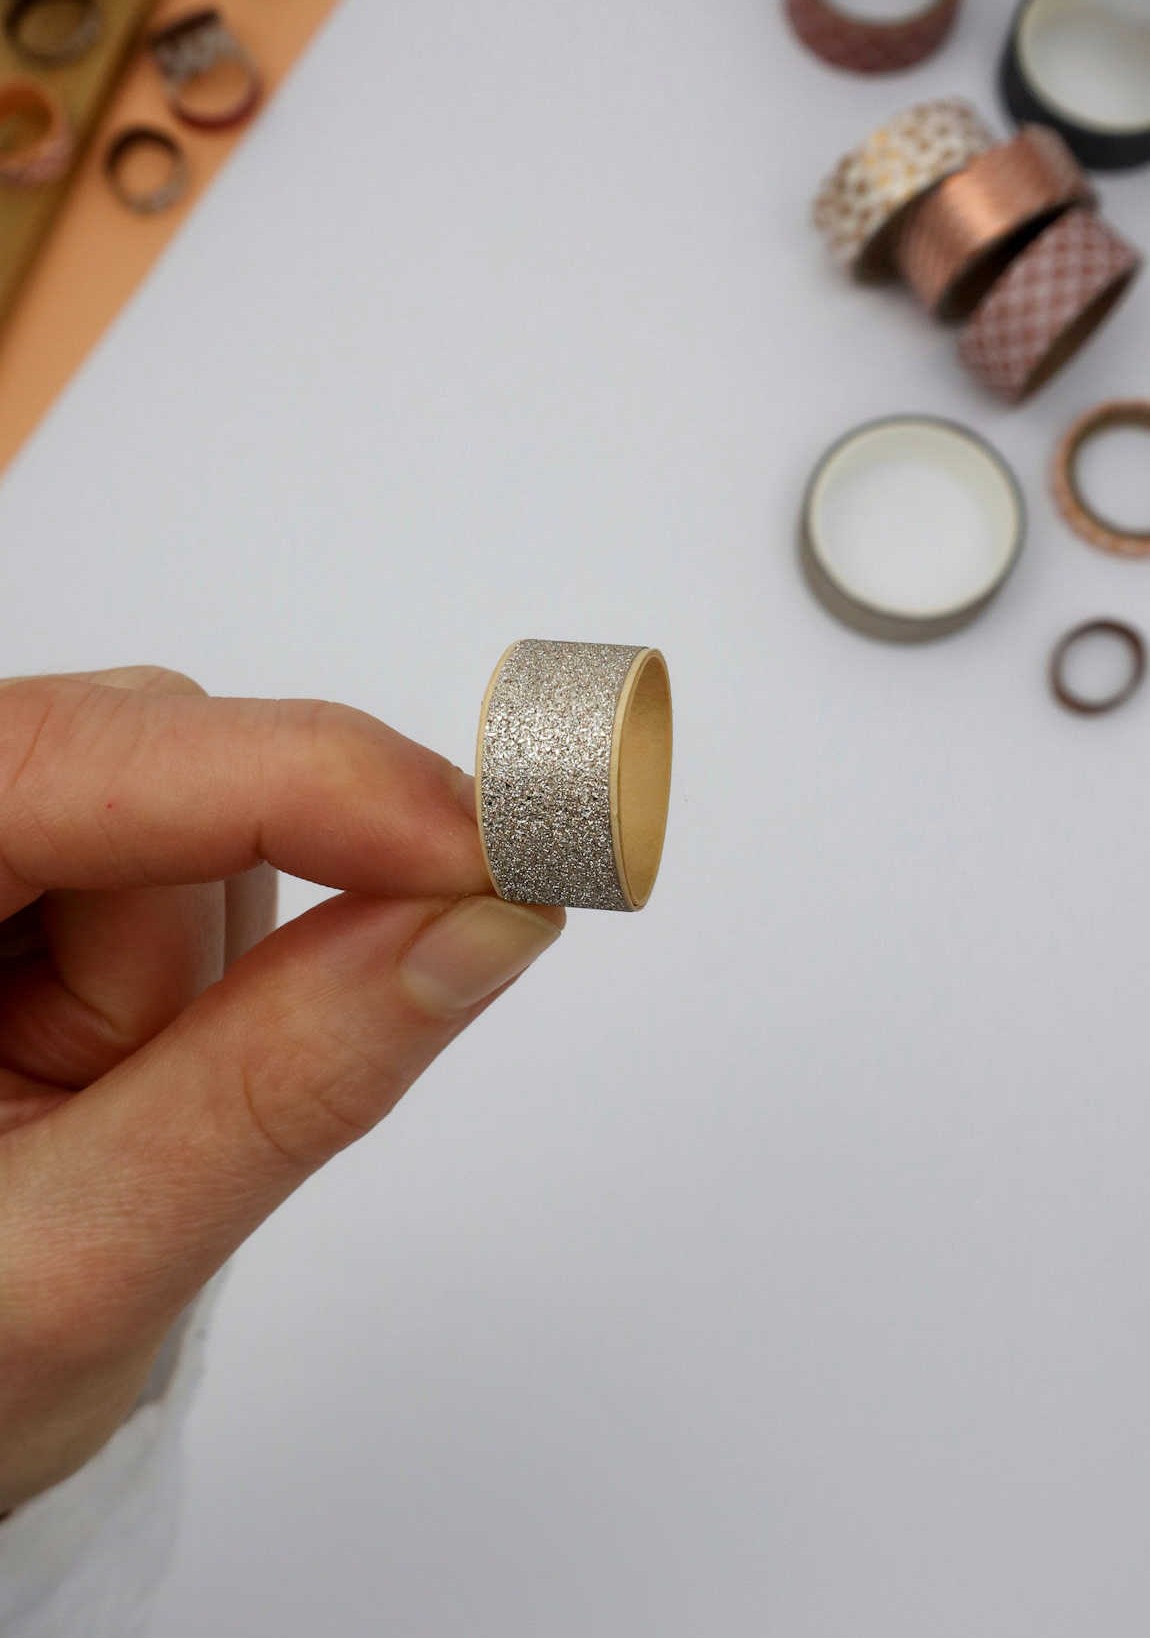
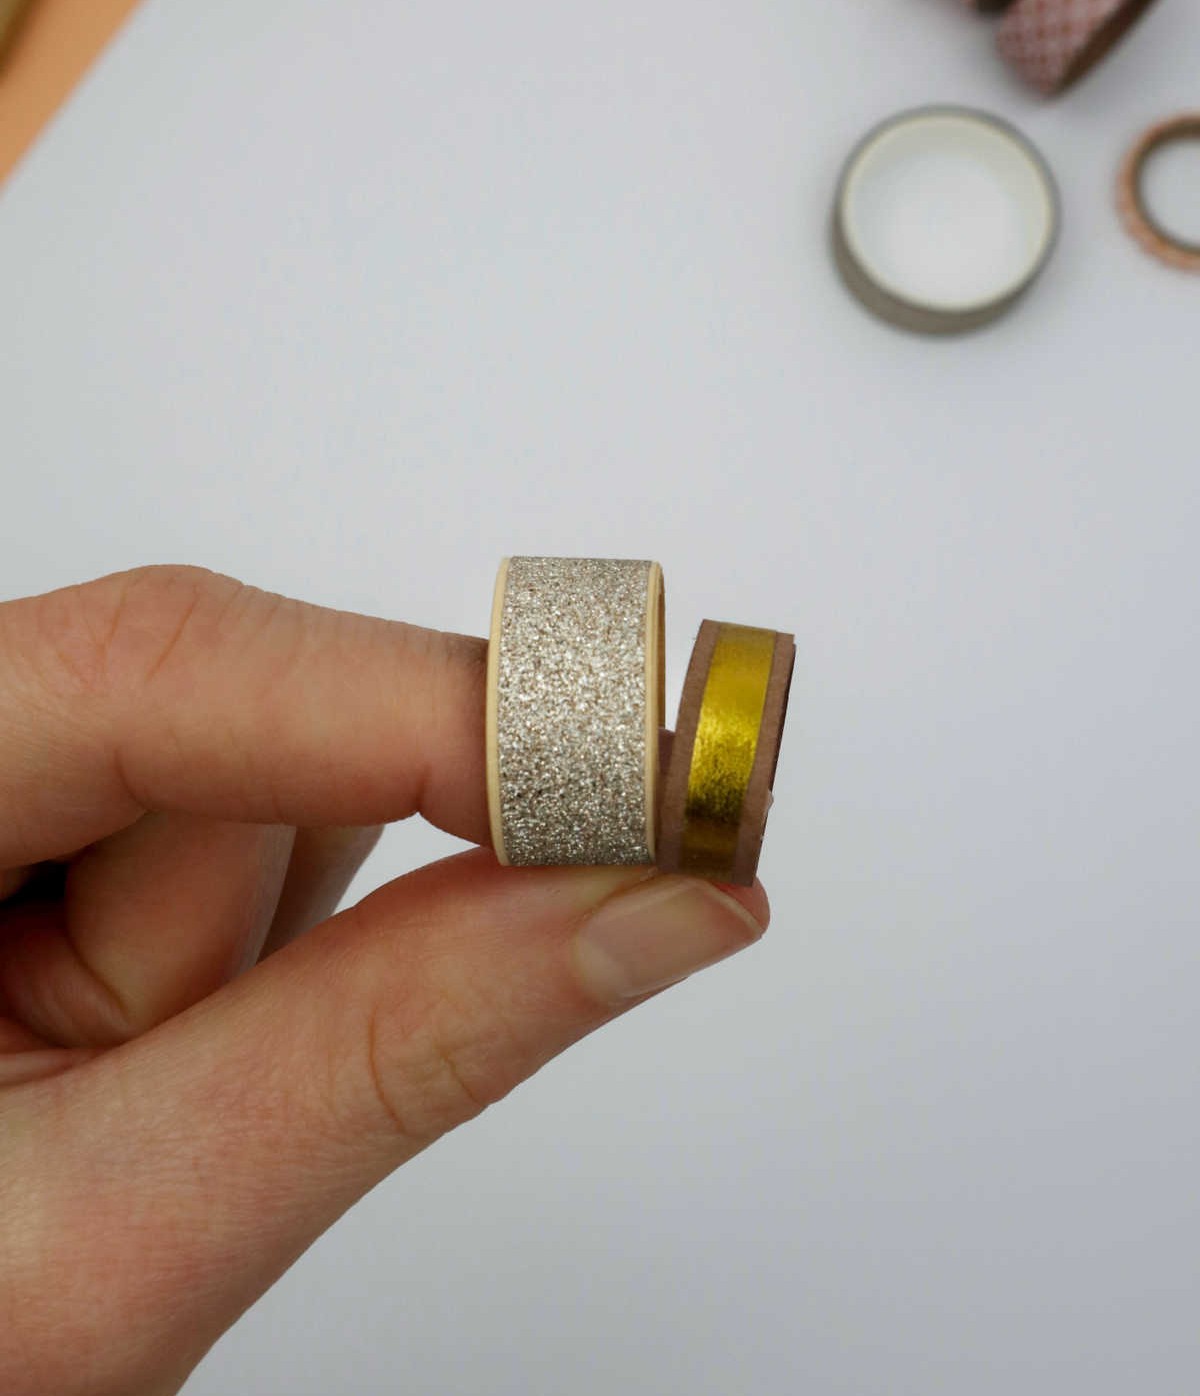
Before committing your paper to the ring, I suggest conducting a trial run to ensure a precise fit. To do this, simply wrap the paper around the ring, verifying that its dimensions align seamlessly. Once satisfied with the fit, you can proceed with adhering it to the base of the ring. The end result is nothing short of elegant and understated, making it difficult to believe these pieces are crafted from humble paper.
Step 9
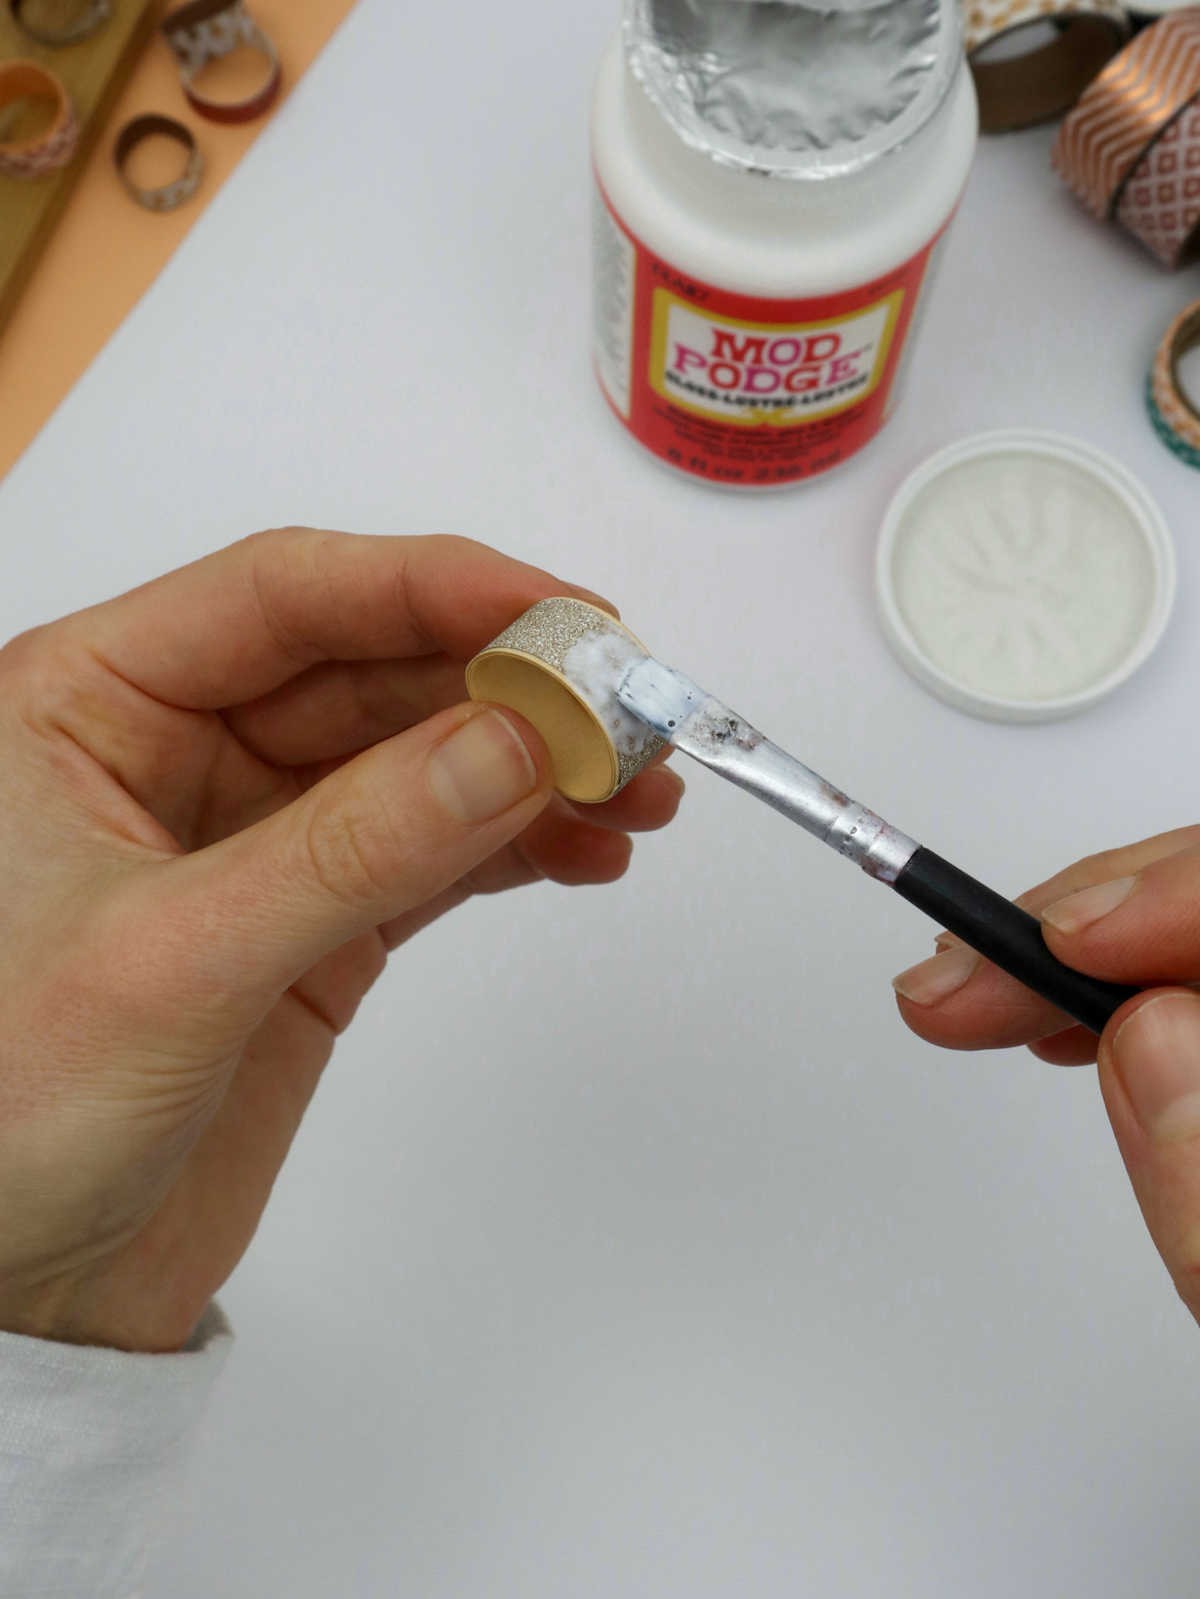
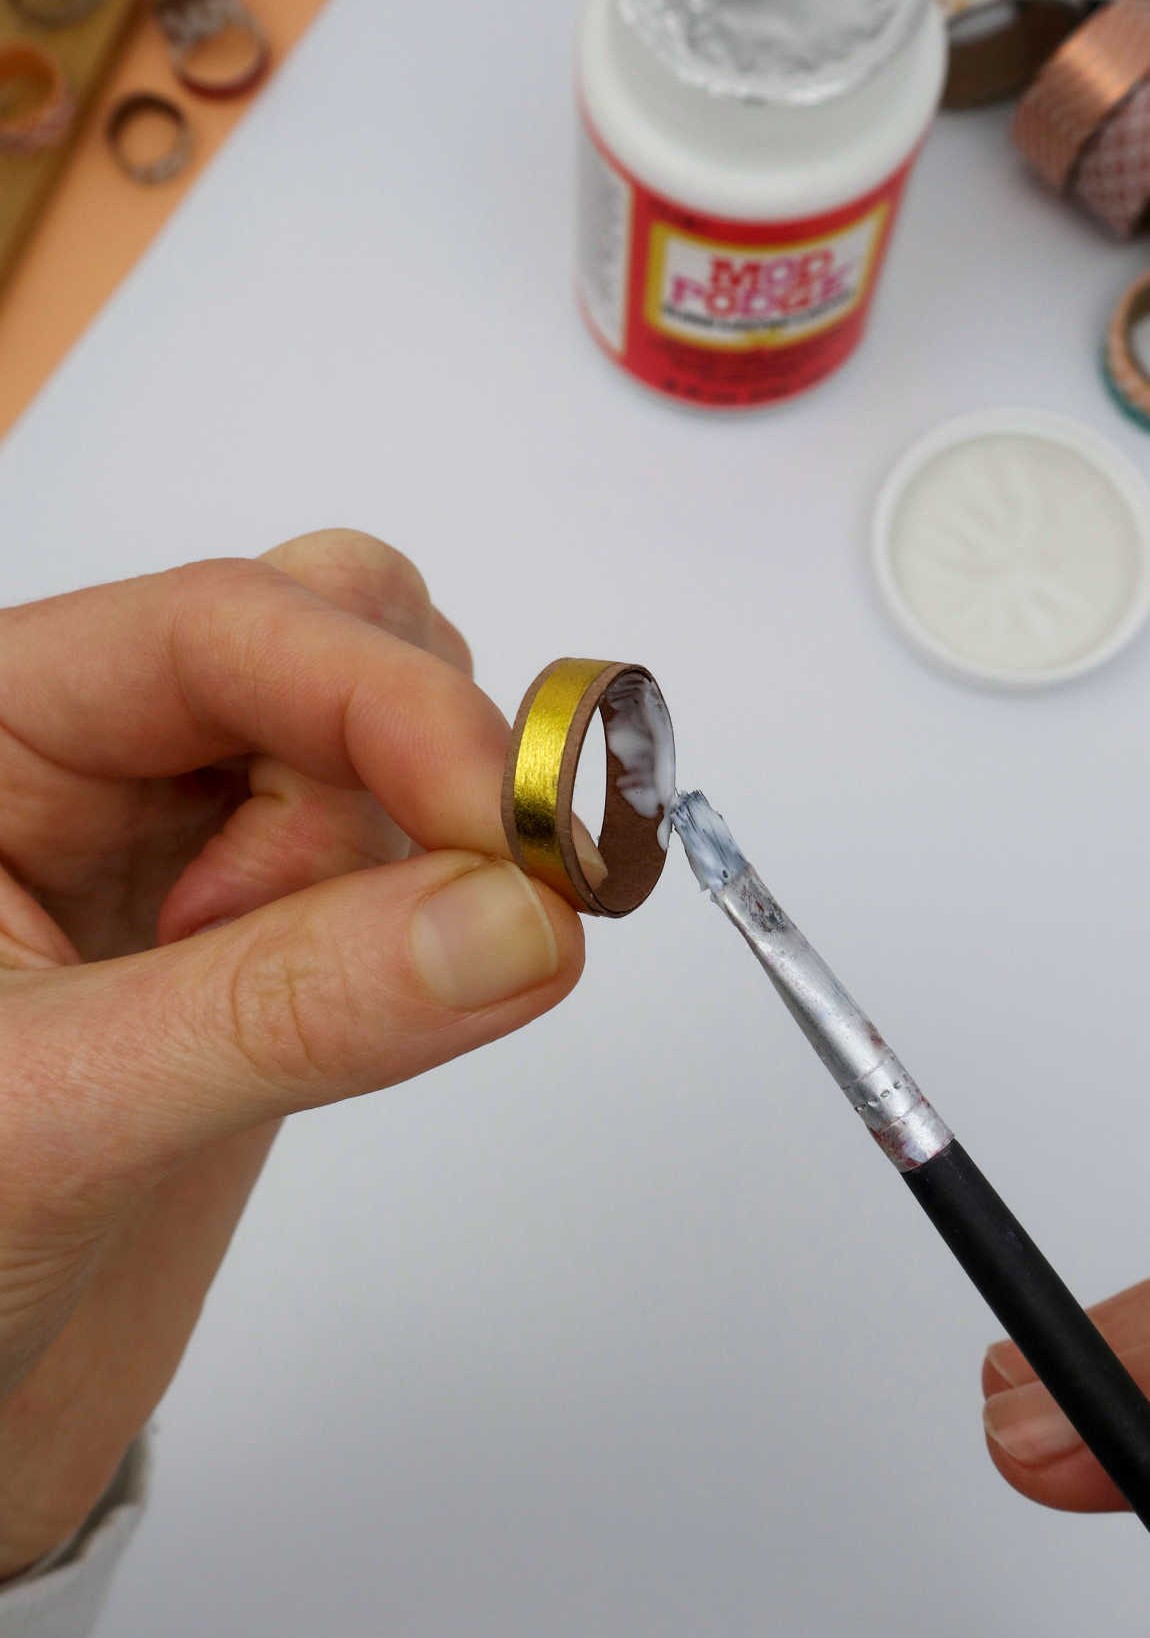
To put the finishing touches on your DIY ring, apply a thin layer of Mod Podge to its surface. This clear coat serves as a sealant, hardening the entire structure and making it more resistant to wear and tear. Additionally, you can also treat the inside of the ring with a similar application, achieving the same level of durability.
Step 10
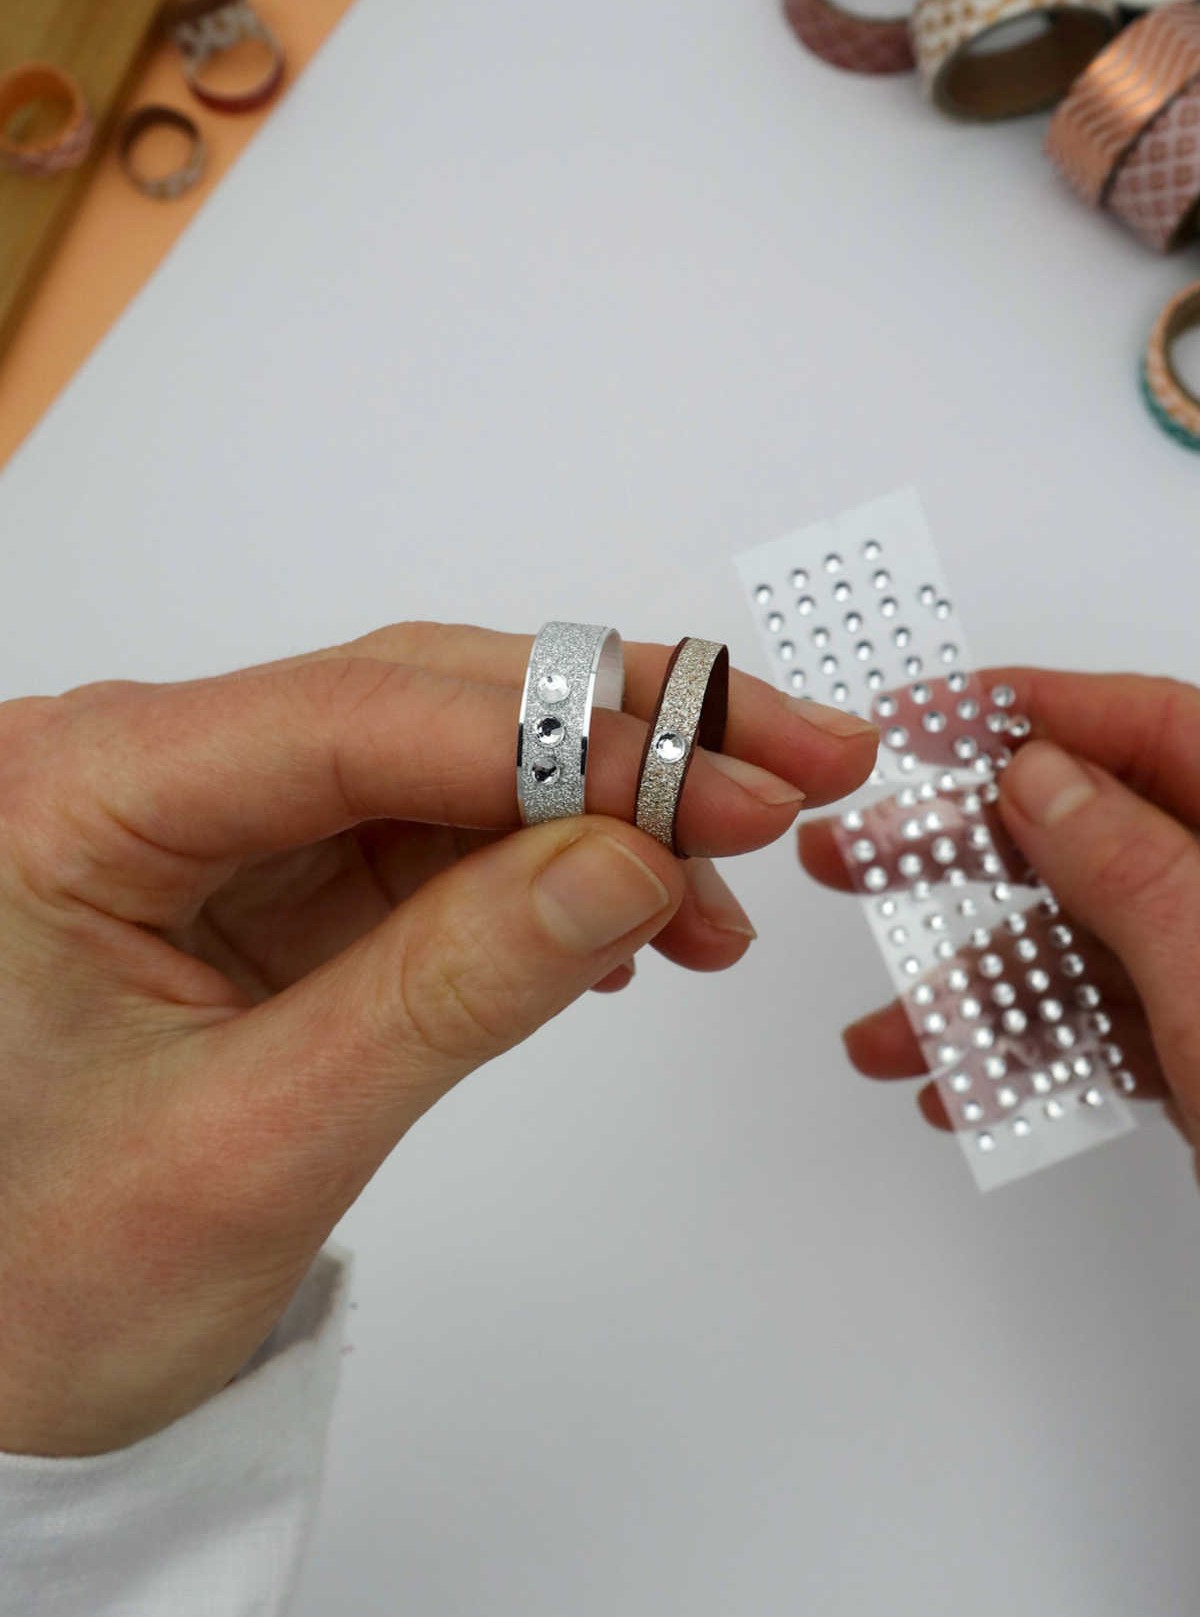
The time has come to add some extra flair to your ring creation. If you have little gem embellishments, now’s the perfect opportunity to attach them. Although it may not be a traditional diamond, these sparkly additions can still bring a touch of glamour to your design.
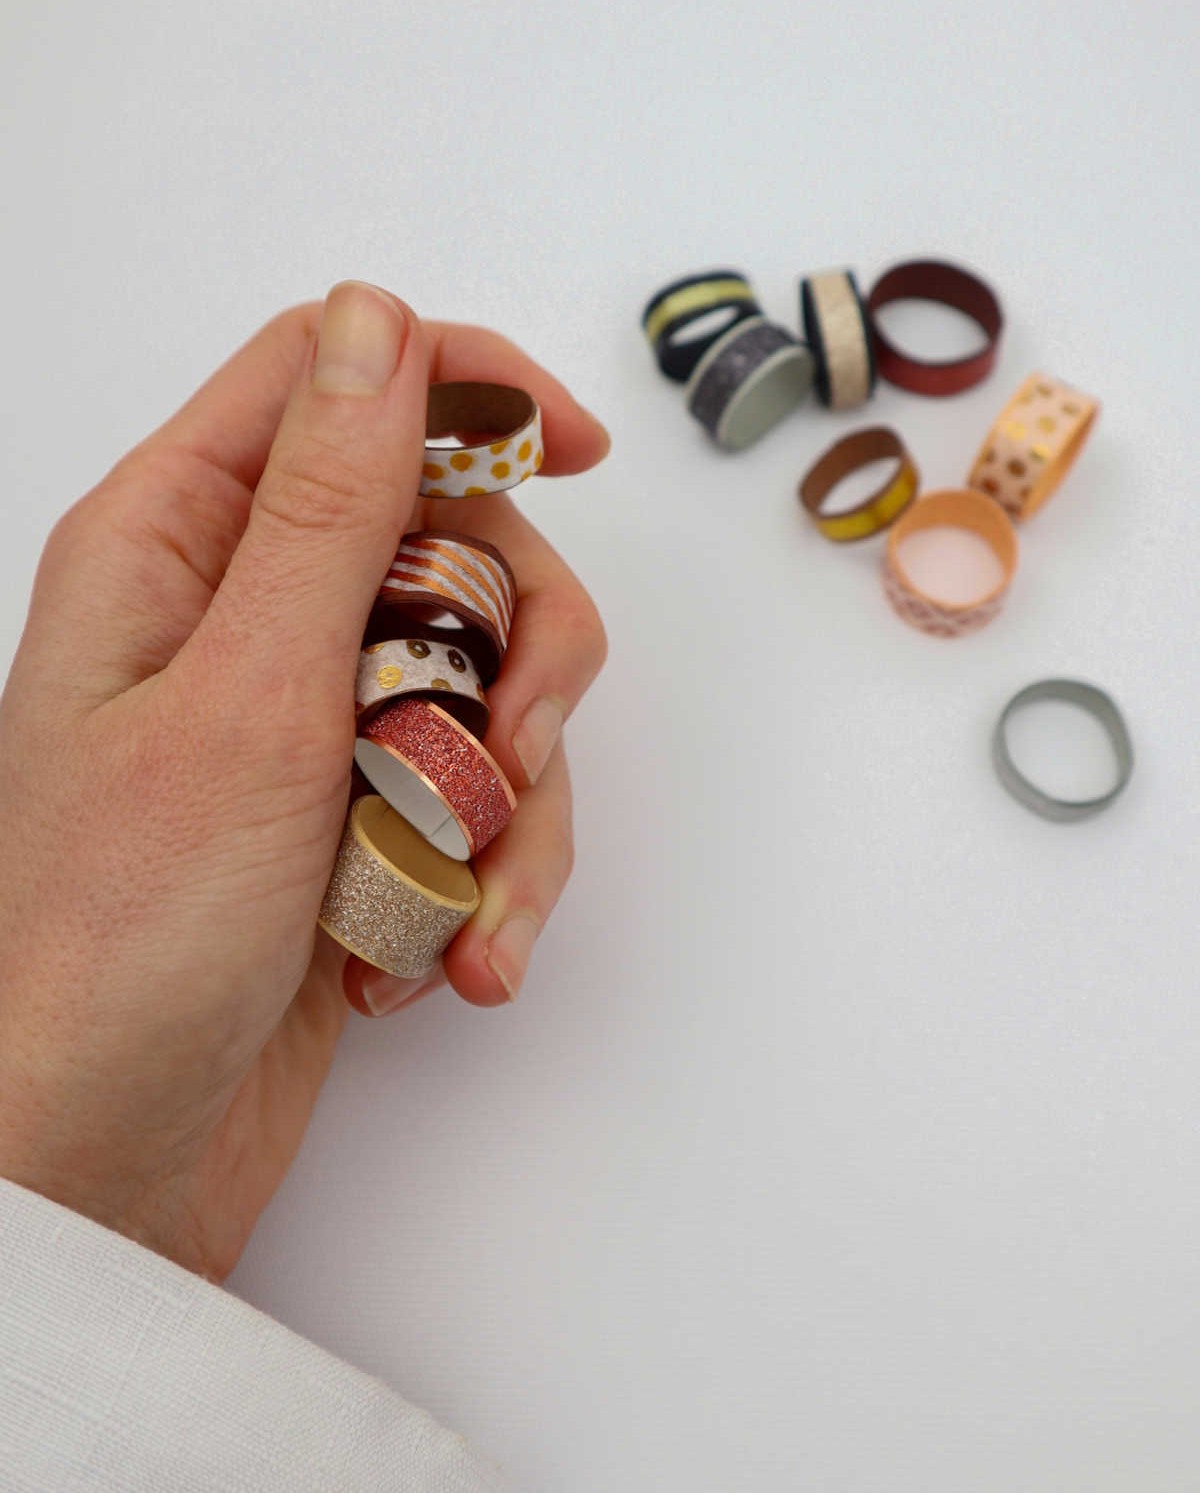
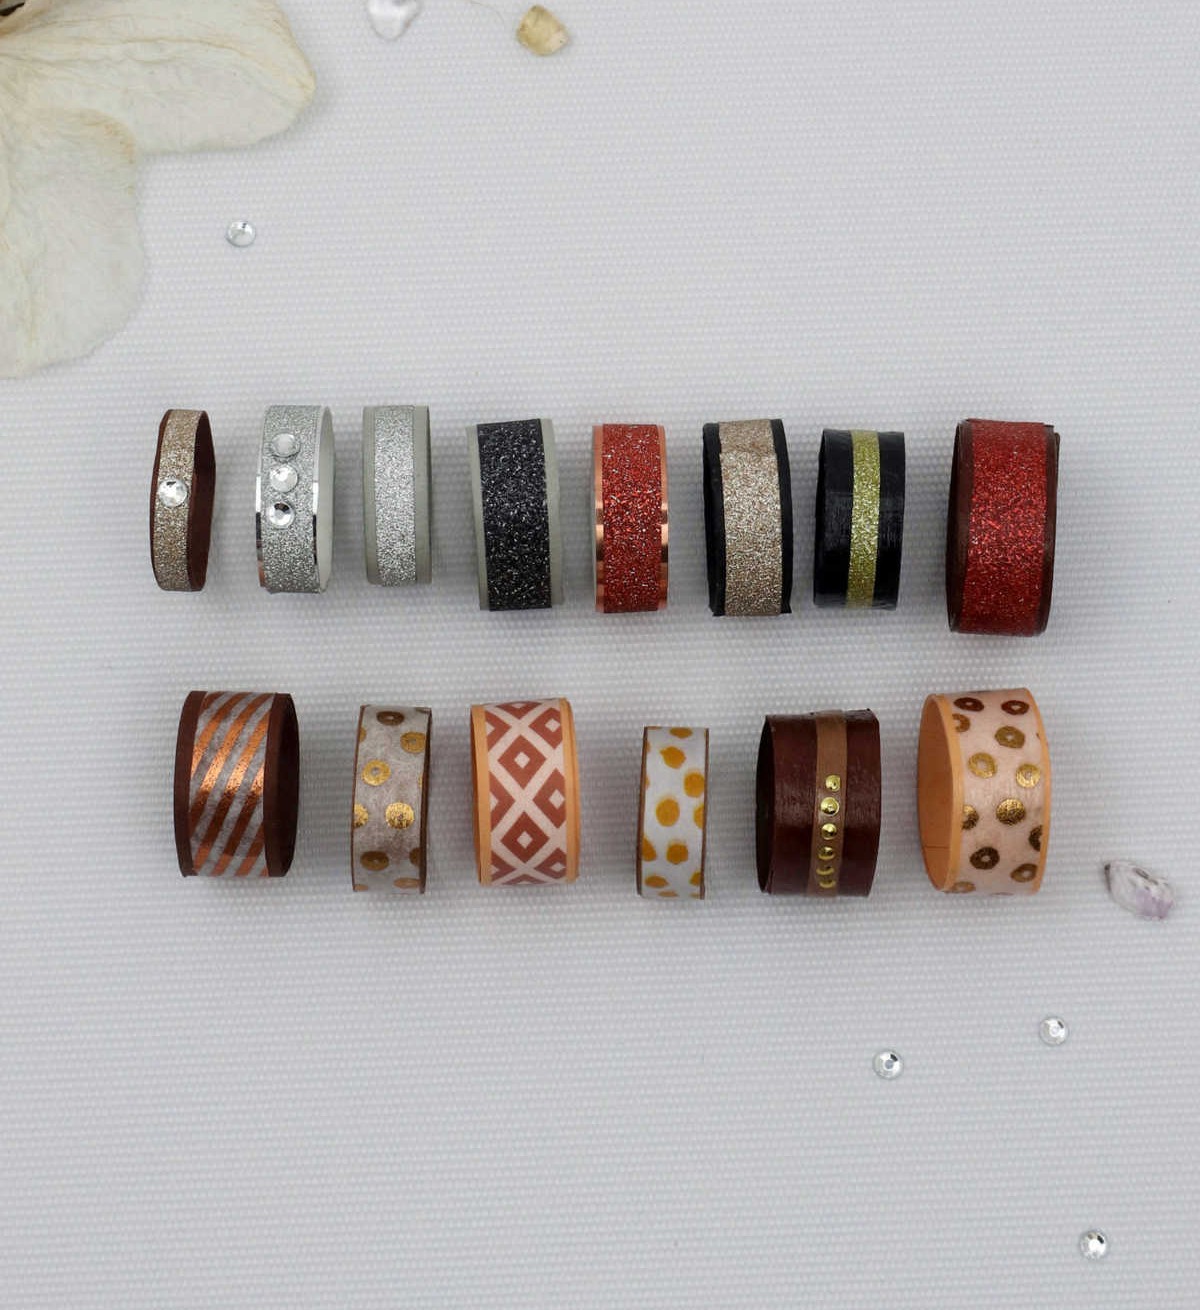
As you begin crafting these rings, you may find yourself becoming increasingly hooked.
The ease and charm of making them can lead to a creative frenzy, with the potential to produce a multitude of beautiful pieces that can be treasured or shared as unique party favors.
How to Make a Paper Ring
If you’ve got some paper lying around, put it to good use by crafting your own DIY paper rings. This fun and easy project is perfect for people of all ages – from kids to teens to adults. You can spend a leisurely 15 minutes making the ring itself, and another 5 minutes adding any final touches or embellishments. The total time commitment? Just 20 minutes!
Equipment
Materials
To create a unique and eye-catching embellishment, you’ll need the following materials: a length of craft paper measuring 8 inches, some washi tape for adding color and texture, a bottle of craft glue to secure everything in place, Mod Podge to add an extra layer of protection and shine, and finally, flatback crystals that can be found in various shapes and sizes.
Instructions
To craft a DIY paper ring, start by cutting long strips of paper that will serve as the foundation for your design. The width of these strips is crucial, as it will dictate the circumference of the finished ring. To determine the ideal width, wrap a strip around the finger you plan to wear the ring on and adjust as needed until it fits comfortably. Once you’ve achieved the desired fit, cut out multiple strips of paper with this width in mind.
Next, fold one of these strips in half along its length and apply a small amount of adhesive to the crease. Then, curl the strip around your finger once more, ensuring that the edges align as you go. Secure the end with another dab of adhesive. Alternatively, you can apply glue spots along the length of the ring and roll it into place in one smooth motion. Allow the adhesive to dry before decorating your ring with paper or washi tape.
To add an extra layer of durability and wearability, coat the insides and top surface of the finished ring with mod podge and let it dry completely. Finally, you can embellish your creation with tiny decorations like sticker gems.