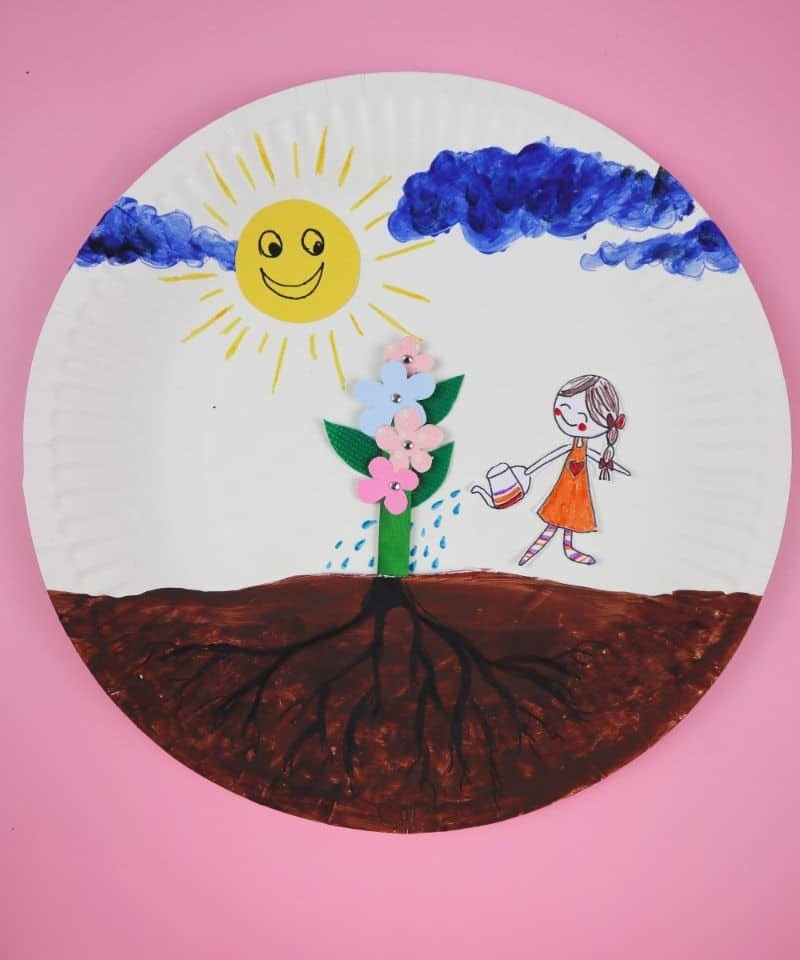
Transforming a humble paper plate into a delightful craft project is a great way to spend quality time with your little ones on a lovely weekend. And it’s not just a fun activity – it’s also a clever way to repurpose an often-overlooked material. The beauty of this DIY project lies in its simplicity and versatility. By combining a 2D summertime scene with 3D flowers, you can create a unique wall decoration that your child will adore.
And if you’re a preschool teacher, this activity is sure to bring joy and excitement to your classroom, while also providing a special memento for the kids’ hard work. The best part? All the necessary supplies are readily available in most homes or classrooms, making it easy to get started. So why not gather the gang, grab some paper plates, and start creating? The results will be well worth the effort!
What You’ll Need

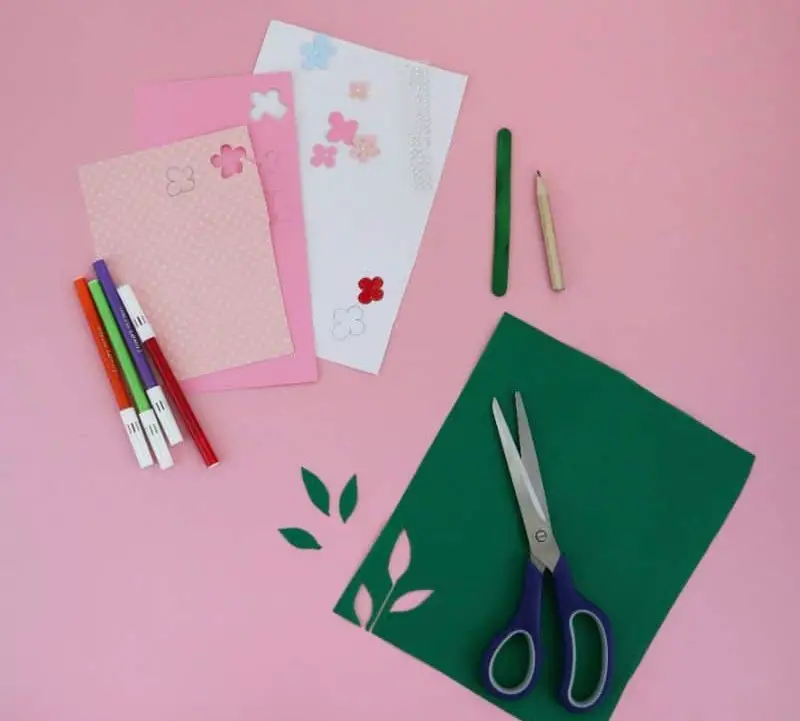
To bring your creative vision to life, you’ll need a few essential materials. Start by gathering the humble paper plate, which will serve as the foundation for your project. For added structure and texture, have some green craft sticks (or dyed lolly sticks) on hand. A good quality glue is also crucial for bonding everything together. You’ll also want a variety of colors to work with, including construction paper in different hues.
To add an extra layer of detail, consider investing in acrylic paint, markers, and a trusty pencil or pen. Of course, no craft project would be complete without some scissors, a brush, and a safety cutter to ensure clean and precise cuts.
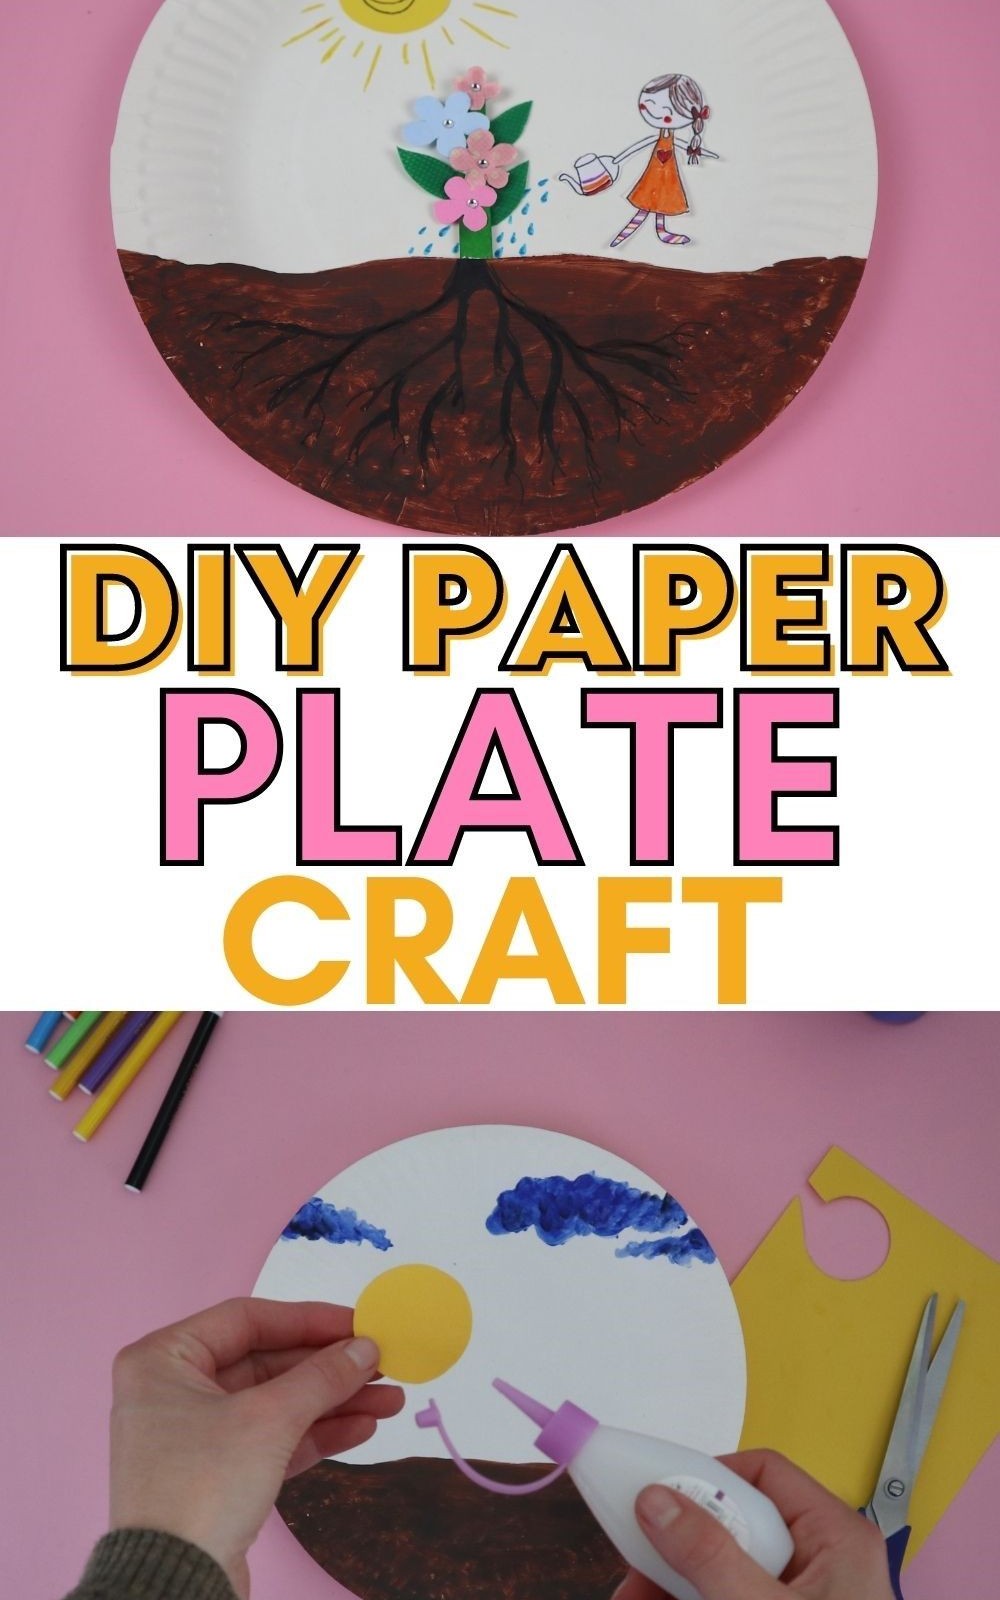
How to Make This Paper Plate Flower Craft
Unleash Your Inner Artist: A Step-by-Step Guide to Transforming Paper Plates into Unique Creations
Step 1
As you prepare to unleash creativity with your kids, it’s essential to gather the necessary materials. The choice of medium is entirely up to them – let their preferences guide the selection process. For my part, I found myself effortlessly transitioning between markers, colorful papers, and vibrant paints.
Step 2
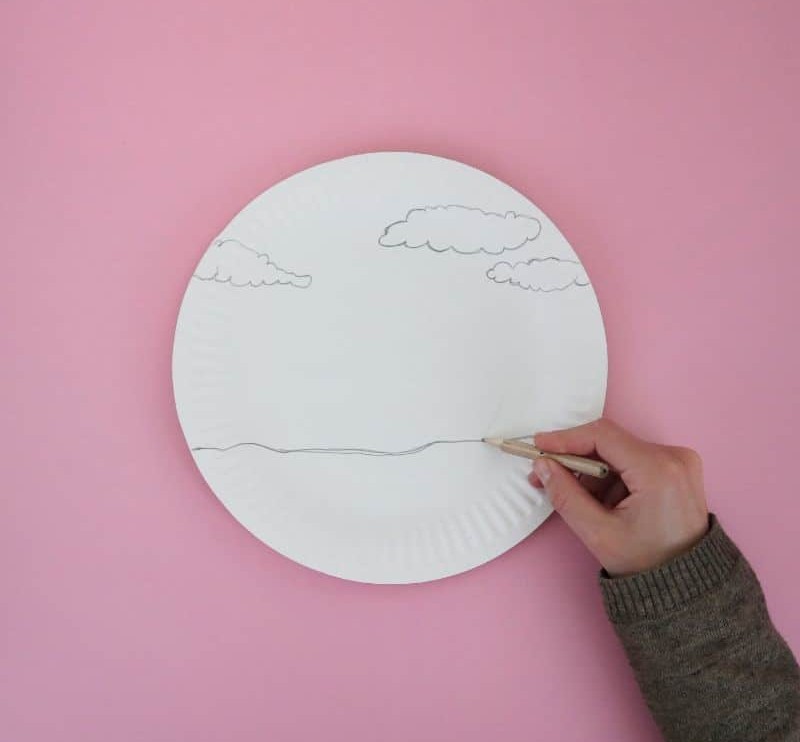
Begin by roughly outlining the clouds and terrain on your paper plate canvas, leveraging its natural curvature to create a sense of depth in the landscape. For younger artists, consider taking the reins for this initial step and letting them bring their imagination to life with vibrant colors.
Step 3
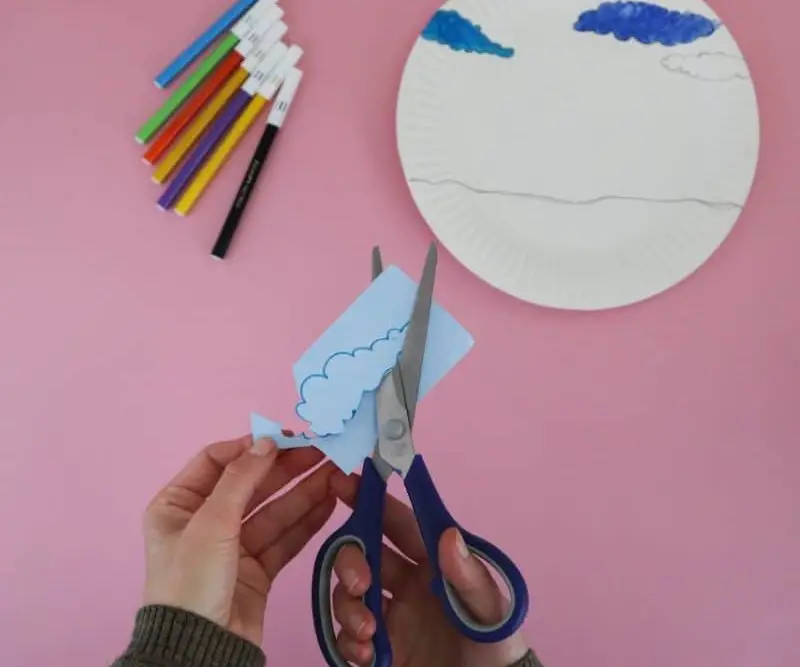
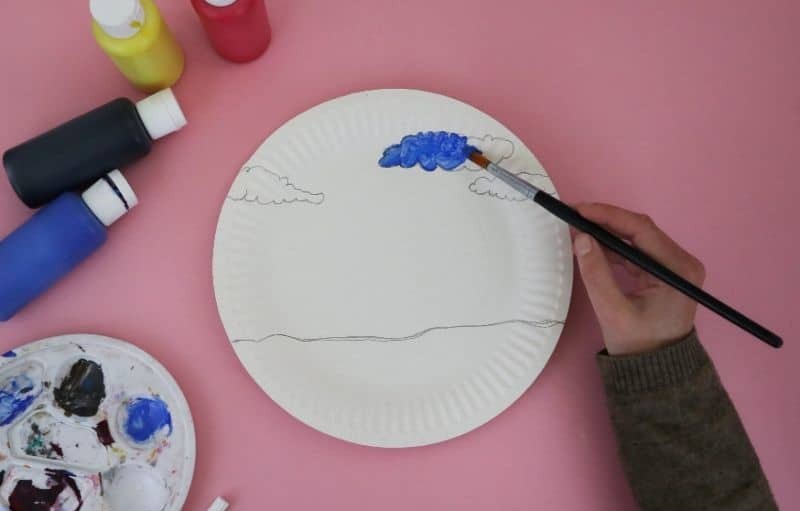
As you explore the world of clouds, take a step beyond just drawing and let your creativity soar by bringing it to life through various artistic mediums. Whether it’s paint, markers, or paper, encourage your little ones to experiment and freely express themselves, embracing the beauty of uncertainty and the thrill of discovery.
Step 4
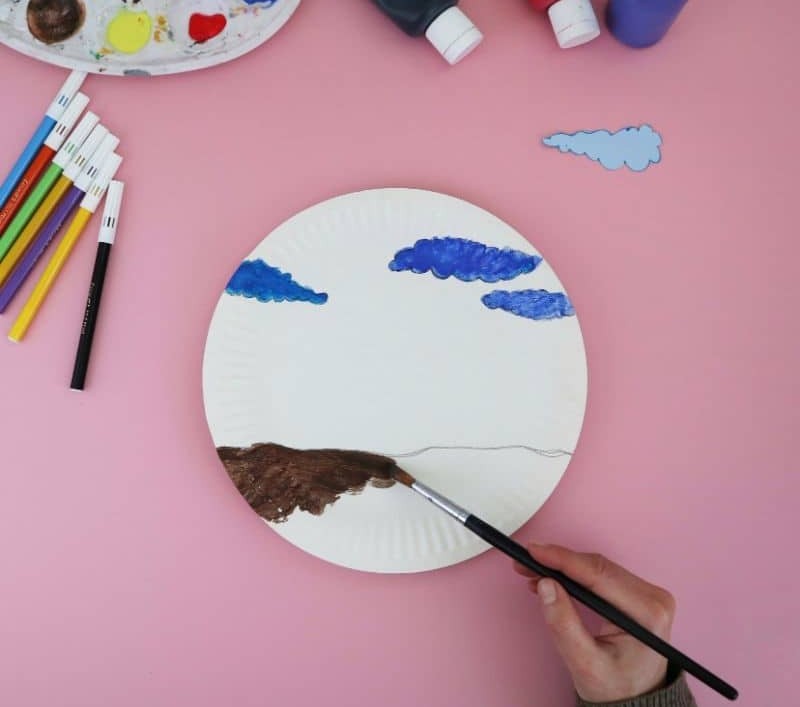
Let your child’s creativity shine by adding some terrestrial flair to their intergalactic setting. Grab a brush or marker and bring the land to life with a splash of color. Brown soil was my go-to choice, but feel free to let your imagination run wild – after all, who says plants only thrive on good old Earth? Perhaps the alien world has its own unique flora, waiting to be discovered by curious young explorers.
Step 5
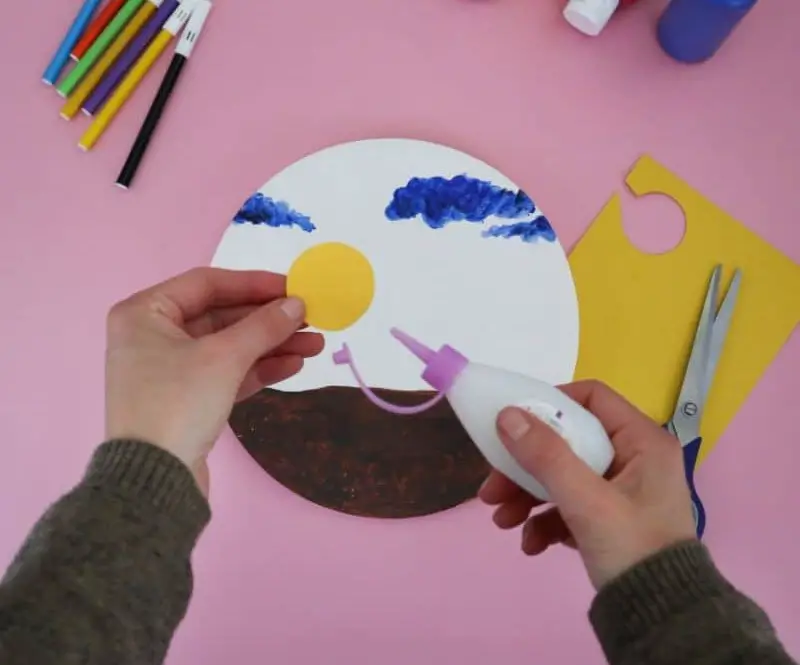
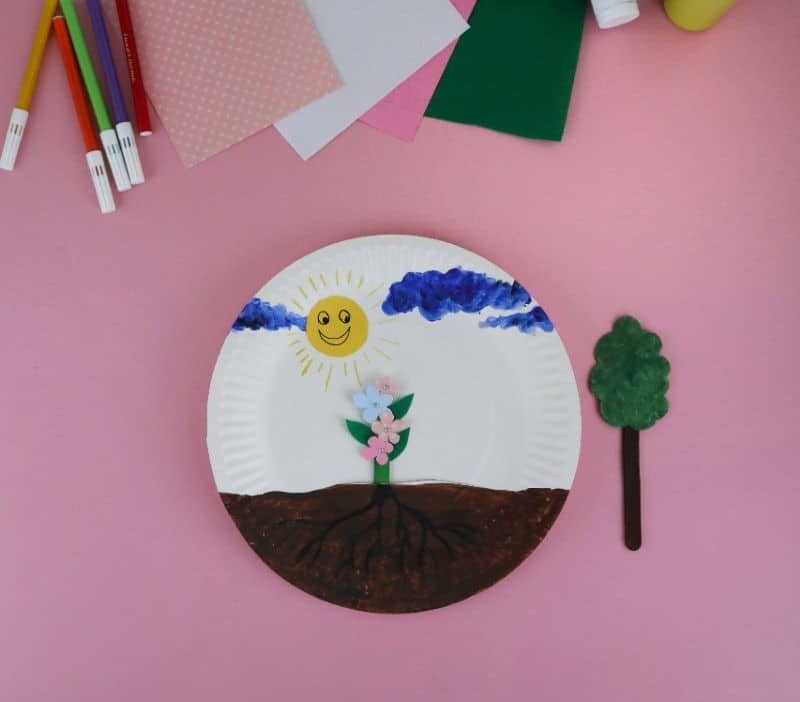
As we bring our diorama to life, let’s not forget the sun. To create this essential element, I opted for a simple yet effective approach. I started by cutting out small rectangles from yellow construction paper, which would serve as the foundation for my sun. Next, I used a yellow marker to add radiating lines, carefully crafting a sense of depth and dimensionality that draws the viewer’s attention.
Step 6

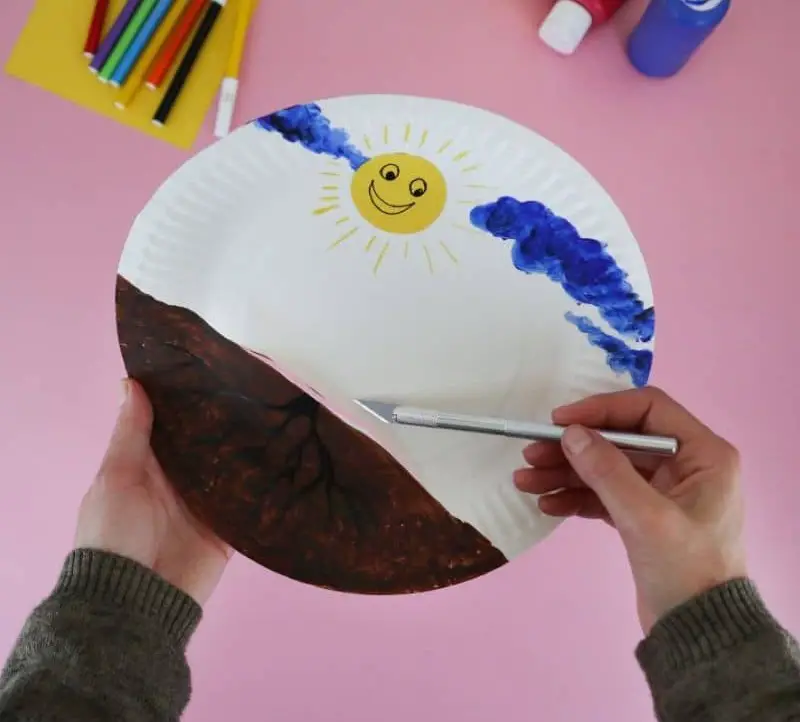
To bring your flower arrangement to life, it’s essential to establish its foundation – the roots. Identify the spot where the stems of the flowers will emerge and guide your child in drawing the root system down into the soil. This simple exercise not only helps develop their artistic skills but also serves as a fantastic opportunity to introduce them to the basics of plant biology.
Step 7
As you begin to create this unique planter, take note of an intriguing detail. Gently use your craft knife to carve out a small recess in the paper plate, situated at the point where the roots meet the soil’s surface. The notch should be wide enough for the flowers’ stems to comfortably fit inside, allowing them to grow and thrive.
Step 8
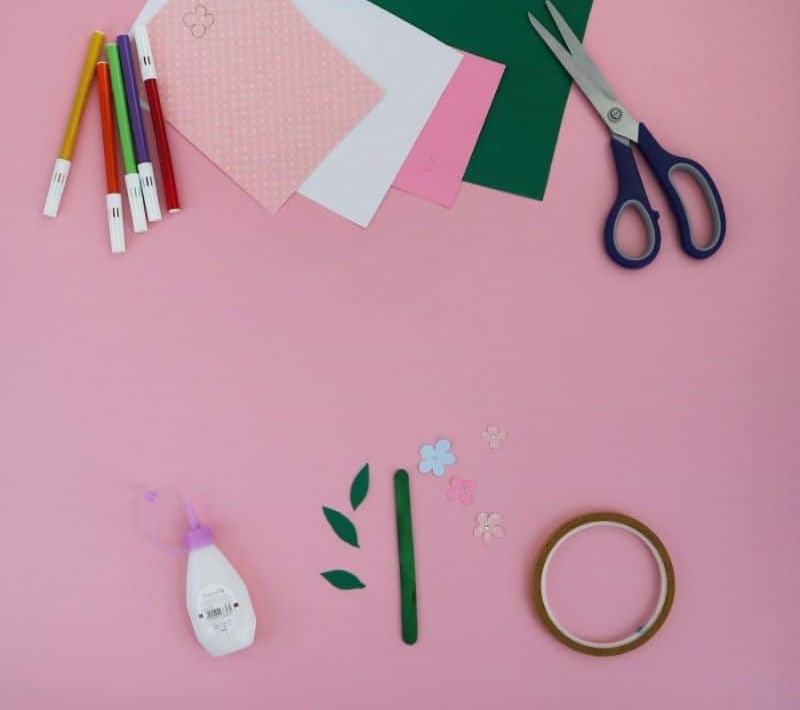
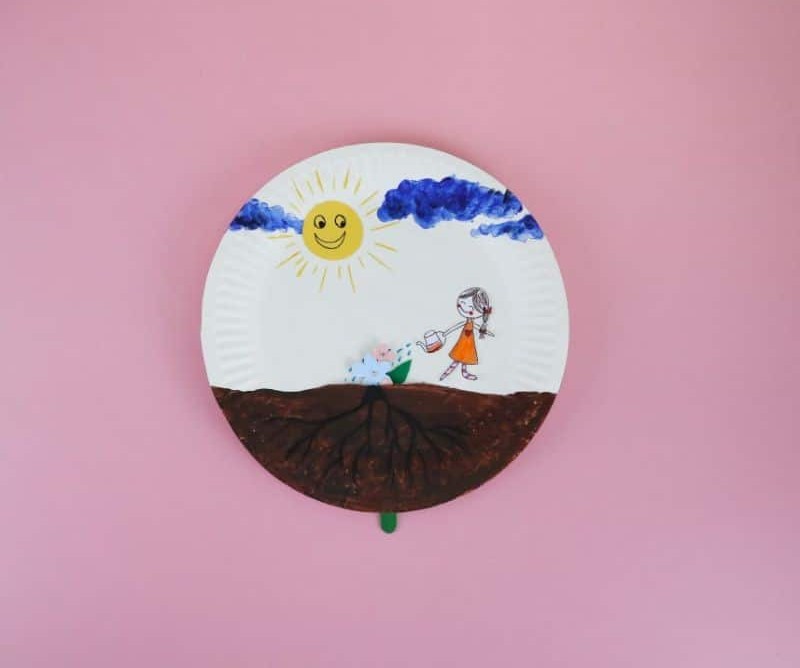
Get creative and bring your beautiful flowers to life! Instead of using a traditional stem, we’ll be substituting it with a humble popsicle stick. This means you won’t need to worry about crafting the stem itself, as the focus will shift to crafting the leaves and blooms that will adorn it. To create these embellishments, feel free to cut them out from colored paper or take a more artistic approach by drawing them onto white paper using a marker and then cutting them out.
Step 9
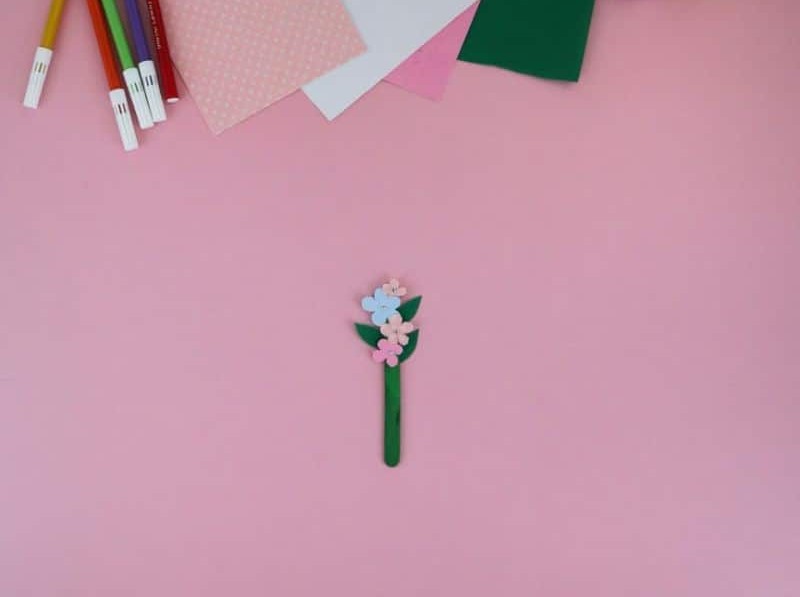
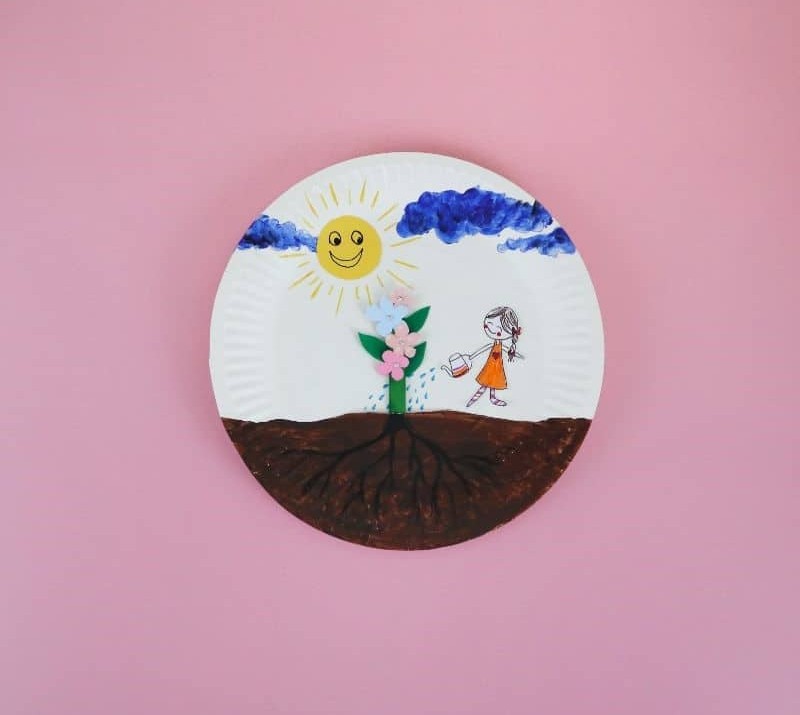
As you have all the necessary components ready, it’s time to bring your creation together. Have your child attach the various parts onto the ‘stem’ and secure them with glue. For an added touch of realism, I recommend layering the flowers or other vegetation to achieve a visually appealing arrangement.
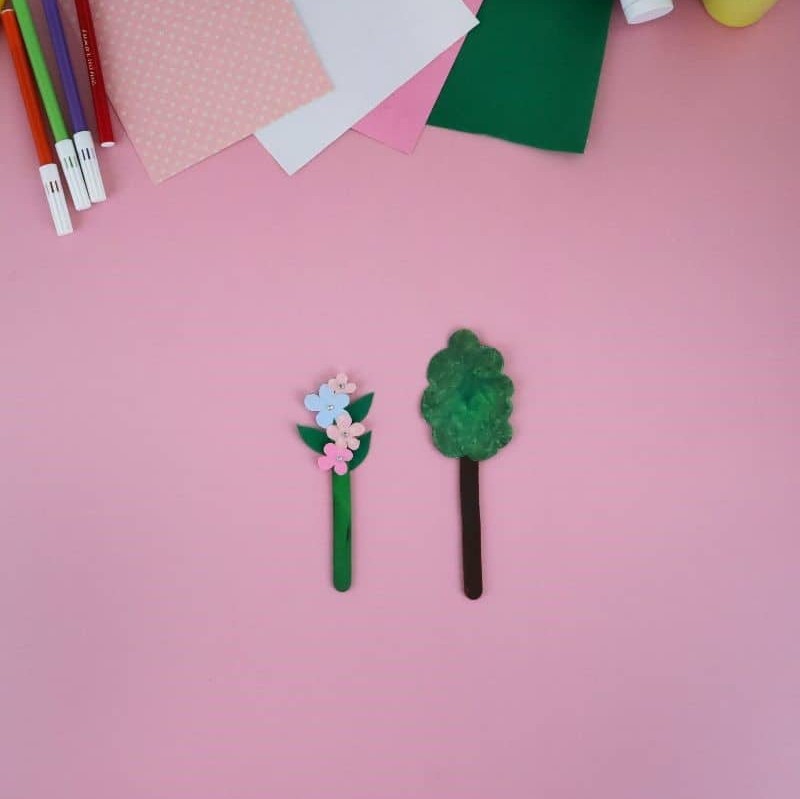
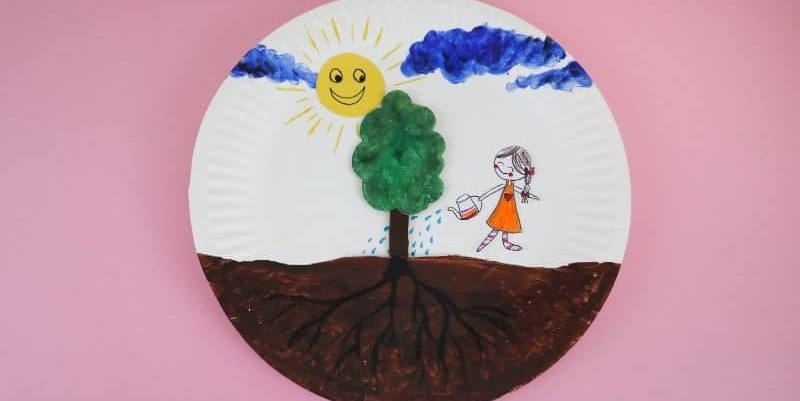
If flowers aren’t your child’s cup of tea, there are plenty of other options to explore.
In fact, they can create anything from trees to vegetables, fruit-bearing plants, or even an entire forest. The beauty of this craft lies in its ability to foster imagination and creativity. Encourage your child to let their imagination run wild as they bring their unique creation to life.
Step 10
As the adhesive sets on your floral arrangement or tree ornament, assist your child in carefully guiding the stem through the slit in the paper plate. Be cautious not to secure it with additional glue at this stage, as this will become relevant soon.
Step 11
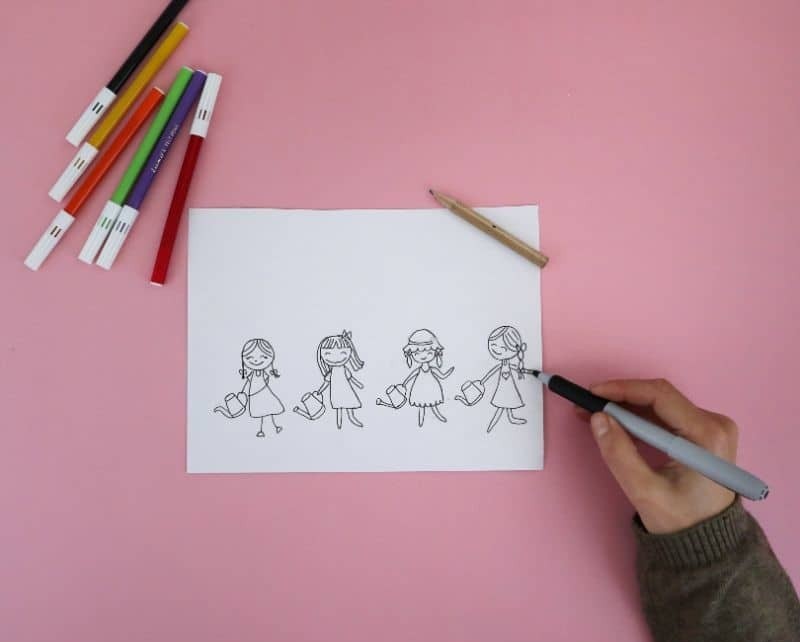
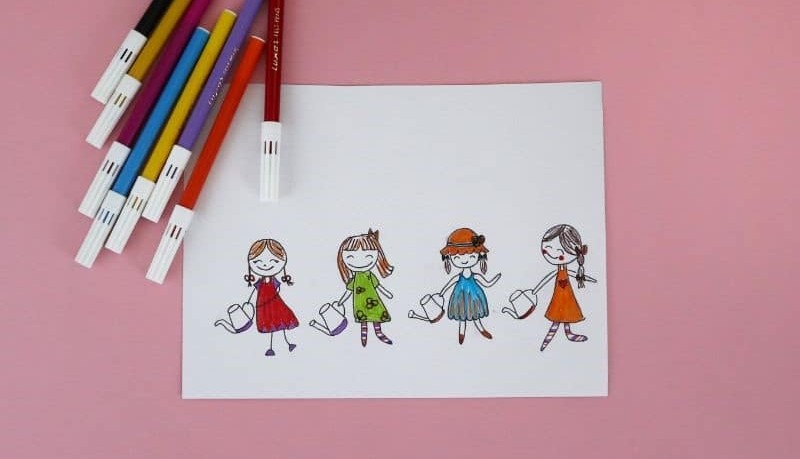
Now it’s time for the young artist to take center stage! Encourage them to draw themselves into the scene, making sure they’re holding a watering can in the same direction as the plant, just like they’ve been observing. You can use the examples above as inspiration or let their creativity shine by coming up with something entirely new. The possibilities are endless!
Step 12
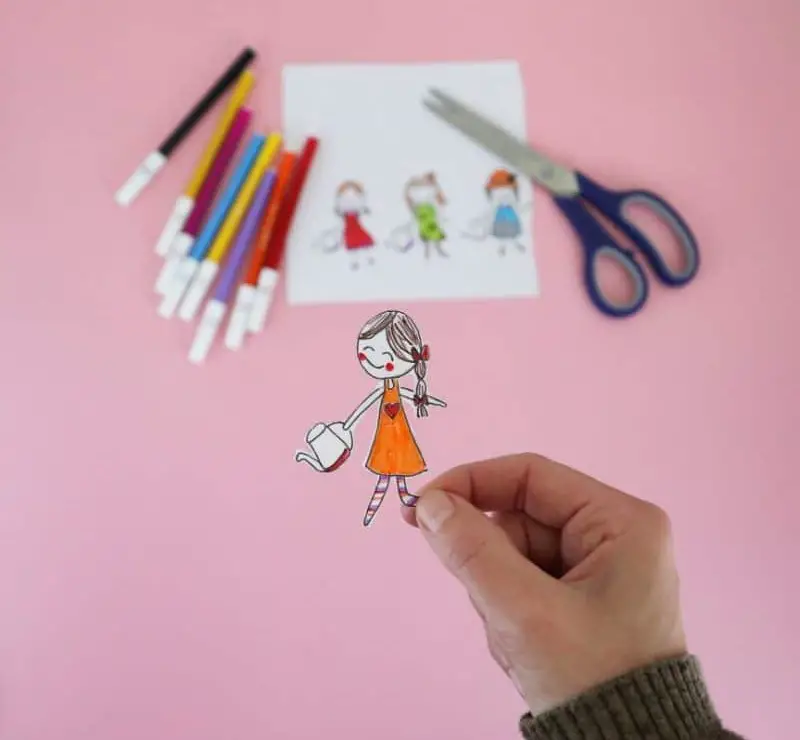
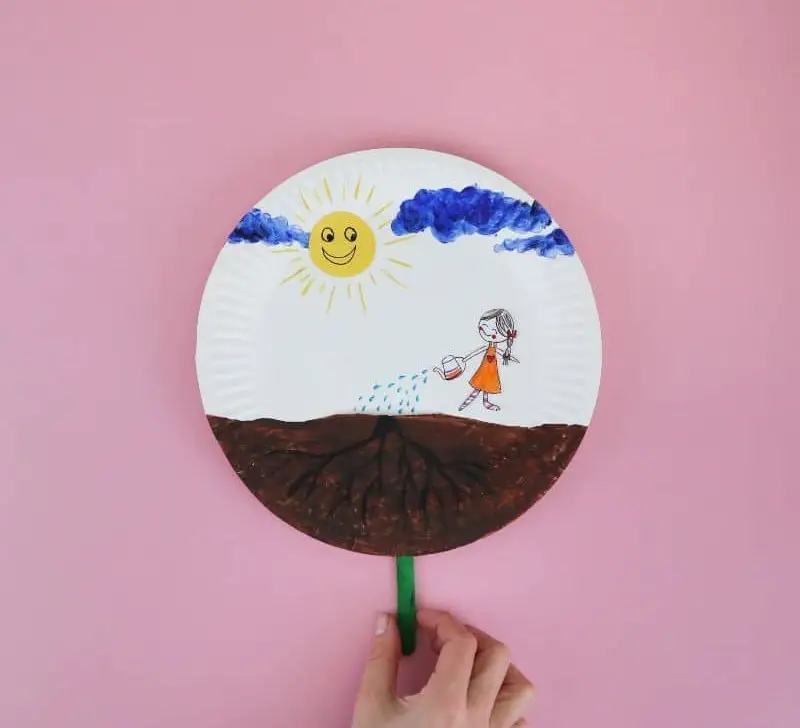
Carefully place the drawing onto the back of the paper plate, applying a thin layer of glue to secure it in position. Add finishing touches by drawing blue droplets emanating from the watering can. This is just the beginning of our creative endeavour.
You might be wondering why our vegetation is perched atop a popsicle stick and not firmly attached. The answer lies in its purpose as both a kid-friendly craft project and an effective educational tool.
By manipulating the stick up and down through the paper plate’s notch, your child can simulate the act of nurturing their own plant. This engaging activity serves as an excellent means to instruct them on the fundamental principles of plant growth, including the importance of soil nutrients, freshwater, and sunlight for a healthy and robust development. It’s an invaluable educational experience!
Paper Plate Flower Craft
This engaging DIY paper plate craft serves not only as an effective educational tool, but also a delightful activity for kids to enjoy. The project requires a mere 5 minutes of preparation time, followed by a fun-filled 50 minutes of creative expression.
Equipment
Materials
To create a unique and eco-friendly art piece, you’ll need a few simple materials: paper plates, which can be used as the base for your design. You’ll also require green craft sticks or dyed lolly sticks to add some texture and dimension. For color and pattern, have acrylic paints and markers at the ready to bring your artwork to life.
Instructions
Get creative and gather your art supplies! Start by sketching out the landscape and clouds on paper, then fill them in with paint or your preferred medium. Create a Sun for your scene using paper and a marker, or feel free to experiment with other materials. For the plant, begin by cutting a notch into a paper plate wide enough for the popsicle stick to fit through. You can cut out flower and leaf shapes from colored paper or draw them on white paper before cutting them out.
Assemble the leaves and blooms onto the prepared popsicle stick, creating a tree, vegetable plant, fruit tree, or any other design your child might like! Gently insert the completed plant into the notch. Finally, have your child sketch and color themselves in, holding a watering can (don’t forget to cut them out and glue them next to their 3D vegetation!). With this finished project, you’ll be able to use the paper plate as a tool to explain how plants grow and thrive.