There’s something quintessentially nostalgic about creating paper mache with kids. The tactile experience, the messiness, and the sense of accomplishment all combine to evoke a strong sense of childhood wonder. For me, it’s a memory that’s deeply tied to summertime and afternoons spent with my mother, making our own paper mache dough from scratch. But what I love most about this craft is its versatility. The simple act of mixing the ingredients can lead to a multitude of creative possibilities.
You can create everything from delicate trinket bowls and ornaments to intricate paper mache alphabets that double as functional art pieces.
Watch Full Tutorial: How to Make Paper Mache
Supplies and Tools You’ll Need for Paper Mache
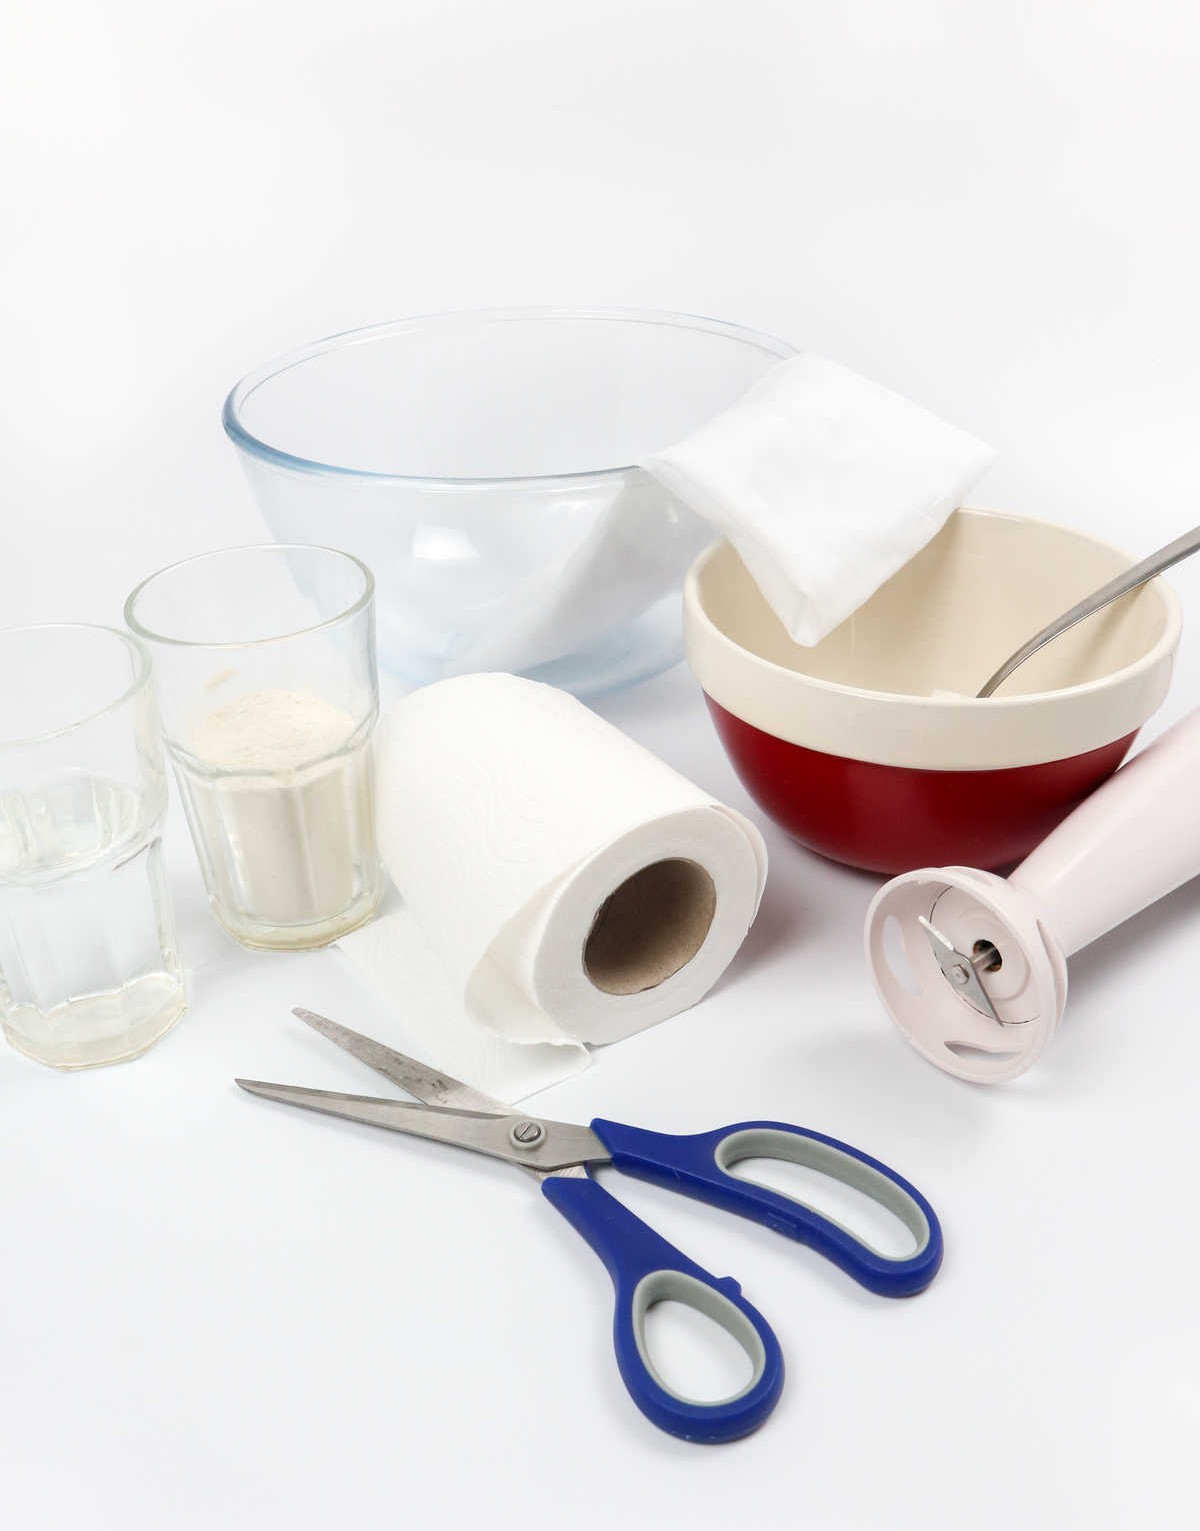
To create your paper mache dough, you’ll need the following supplies and tools: a 1/2 toilet paper roll, cheesecloth, and two bowls. Liquid ingredients include half a glass of water and half a glass of wheat flour. You’ll also require a spoon for mixing and blending purposes. A blender is an essential tool in this process, as it helps to smooth out any lumps or texture issues.
How to Make Paper Mache
As you embark on this DIY adventure, it’s essential to prepare for a potentially messy experience. To minimize the impact of spills and splatters, consider scattering an abundance of paper towels or newspapers around your workspace. This will provide a practical means of cleaning up any unexpected messes that may arise during the project, allowing you to focus on the task at hand with greater ease.
Step 1
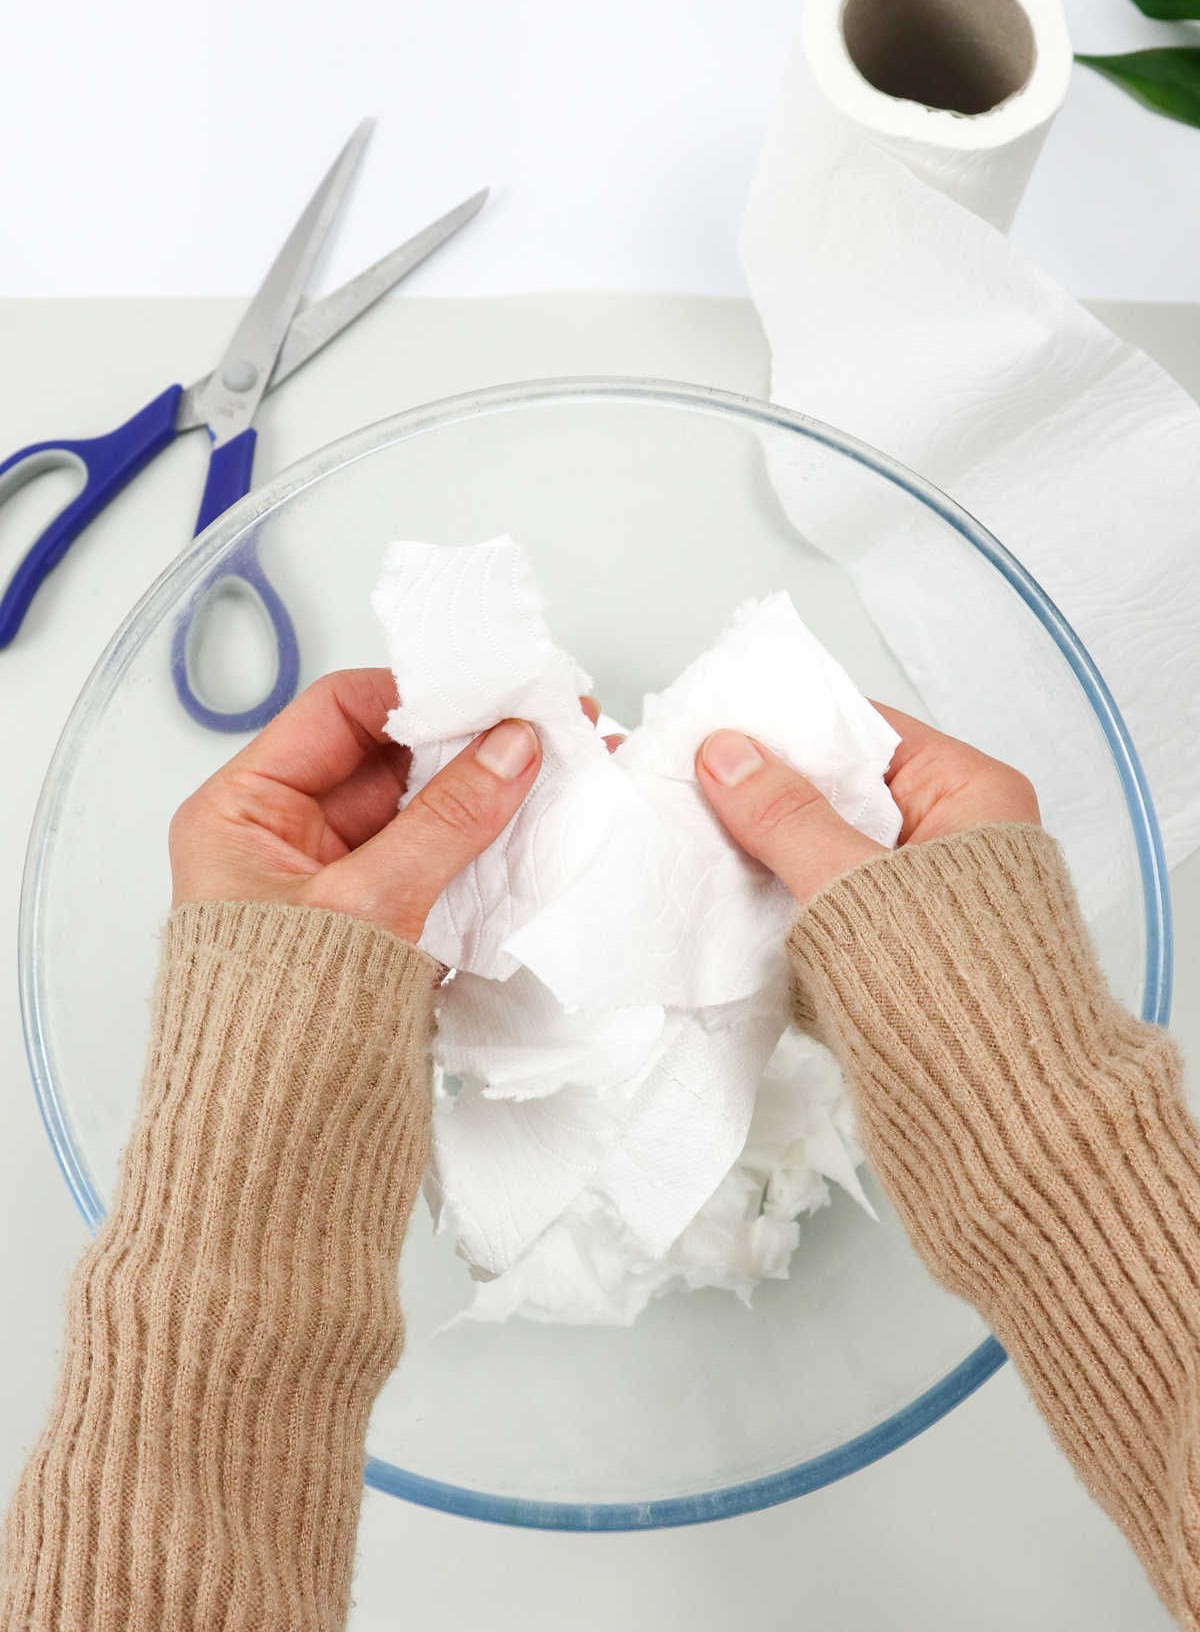
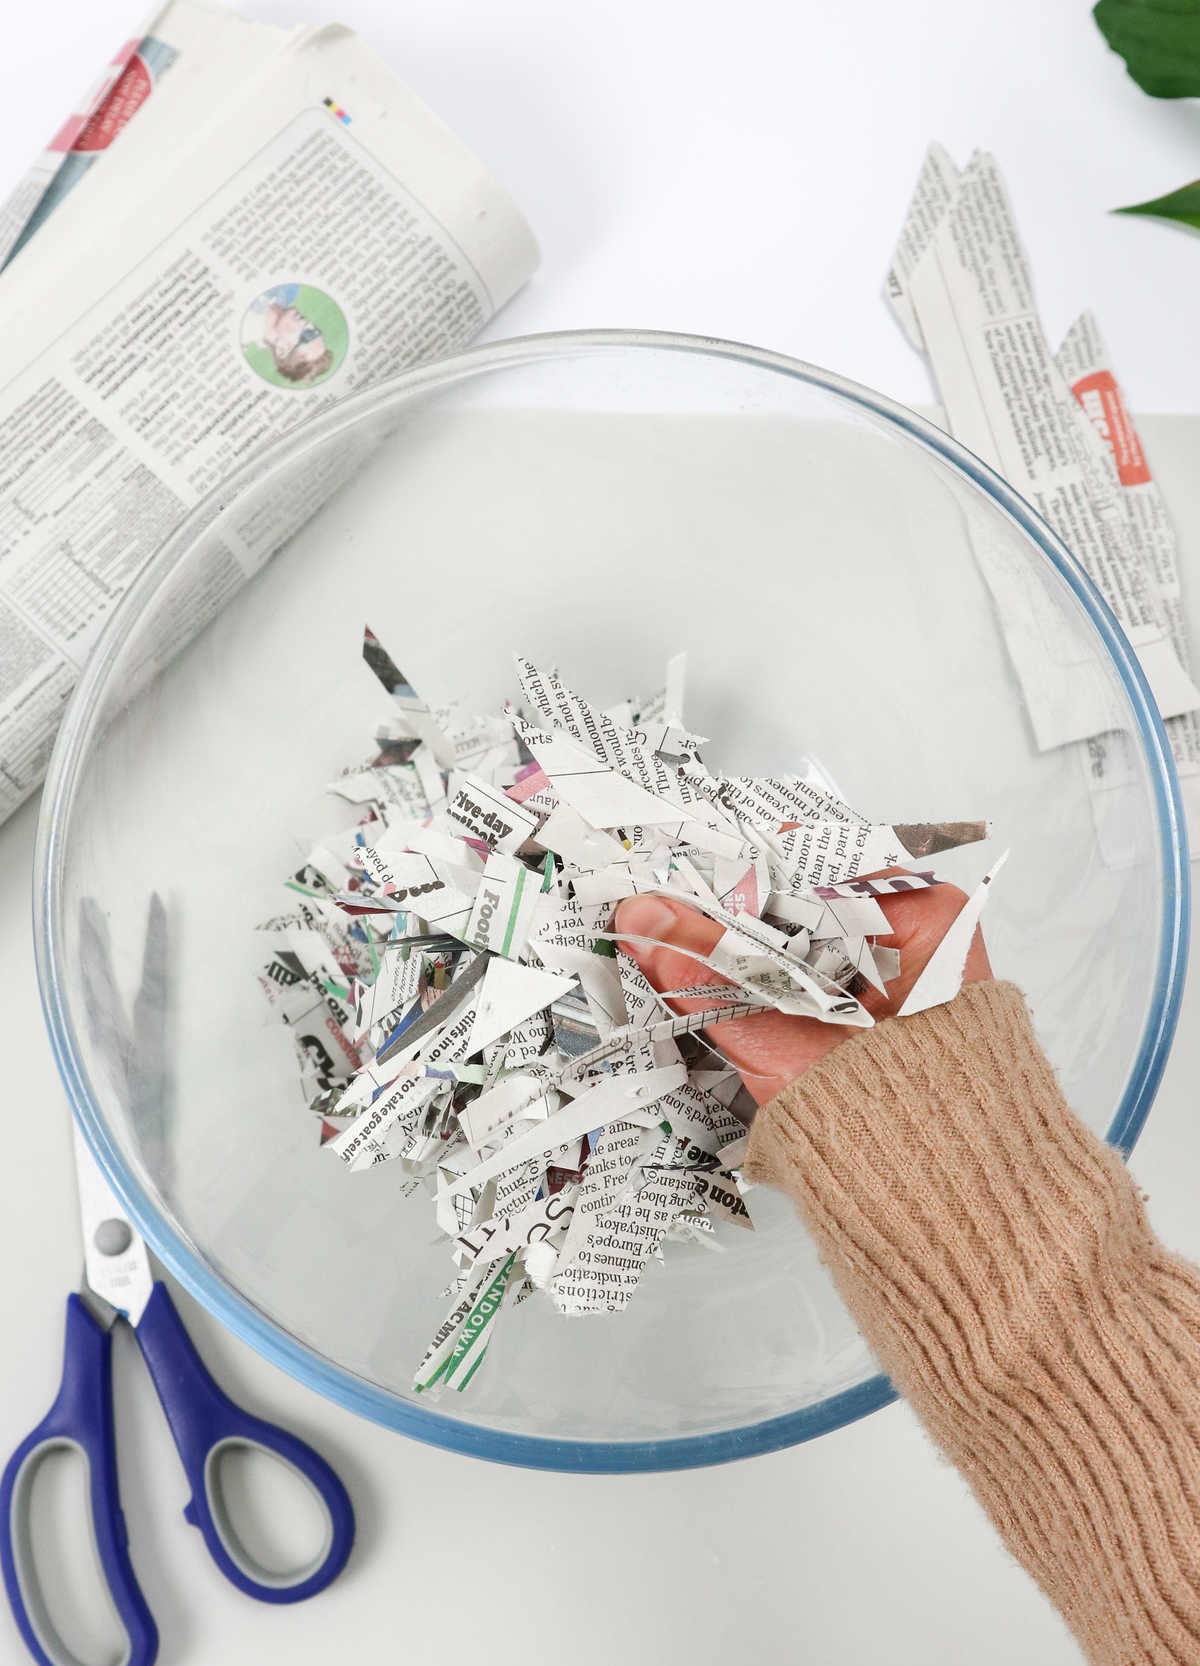
As you prepare for the creative process, start by setting up your workspace with a layer of newspapers. This will provide a foundation for the fun and therapeutic parts of this project – shredding paper! Take a moment to indulge in the tactile experience of ripping apart newspaper into smaller fragments before collecting them in a bowl.
Remember to tear the paper into tiny pieces, especially when using old newspapers, as this will help ensure the final product is evenly textured and easily malleable.
Step 2
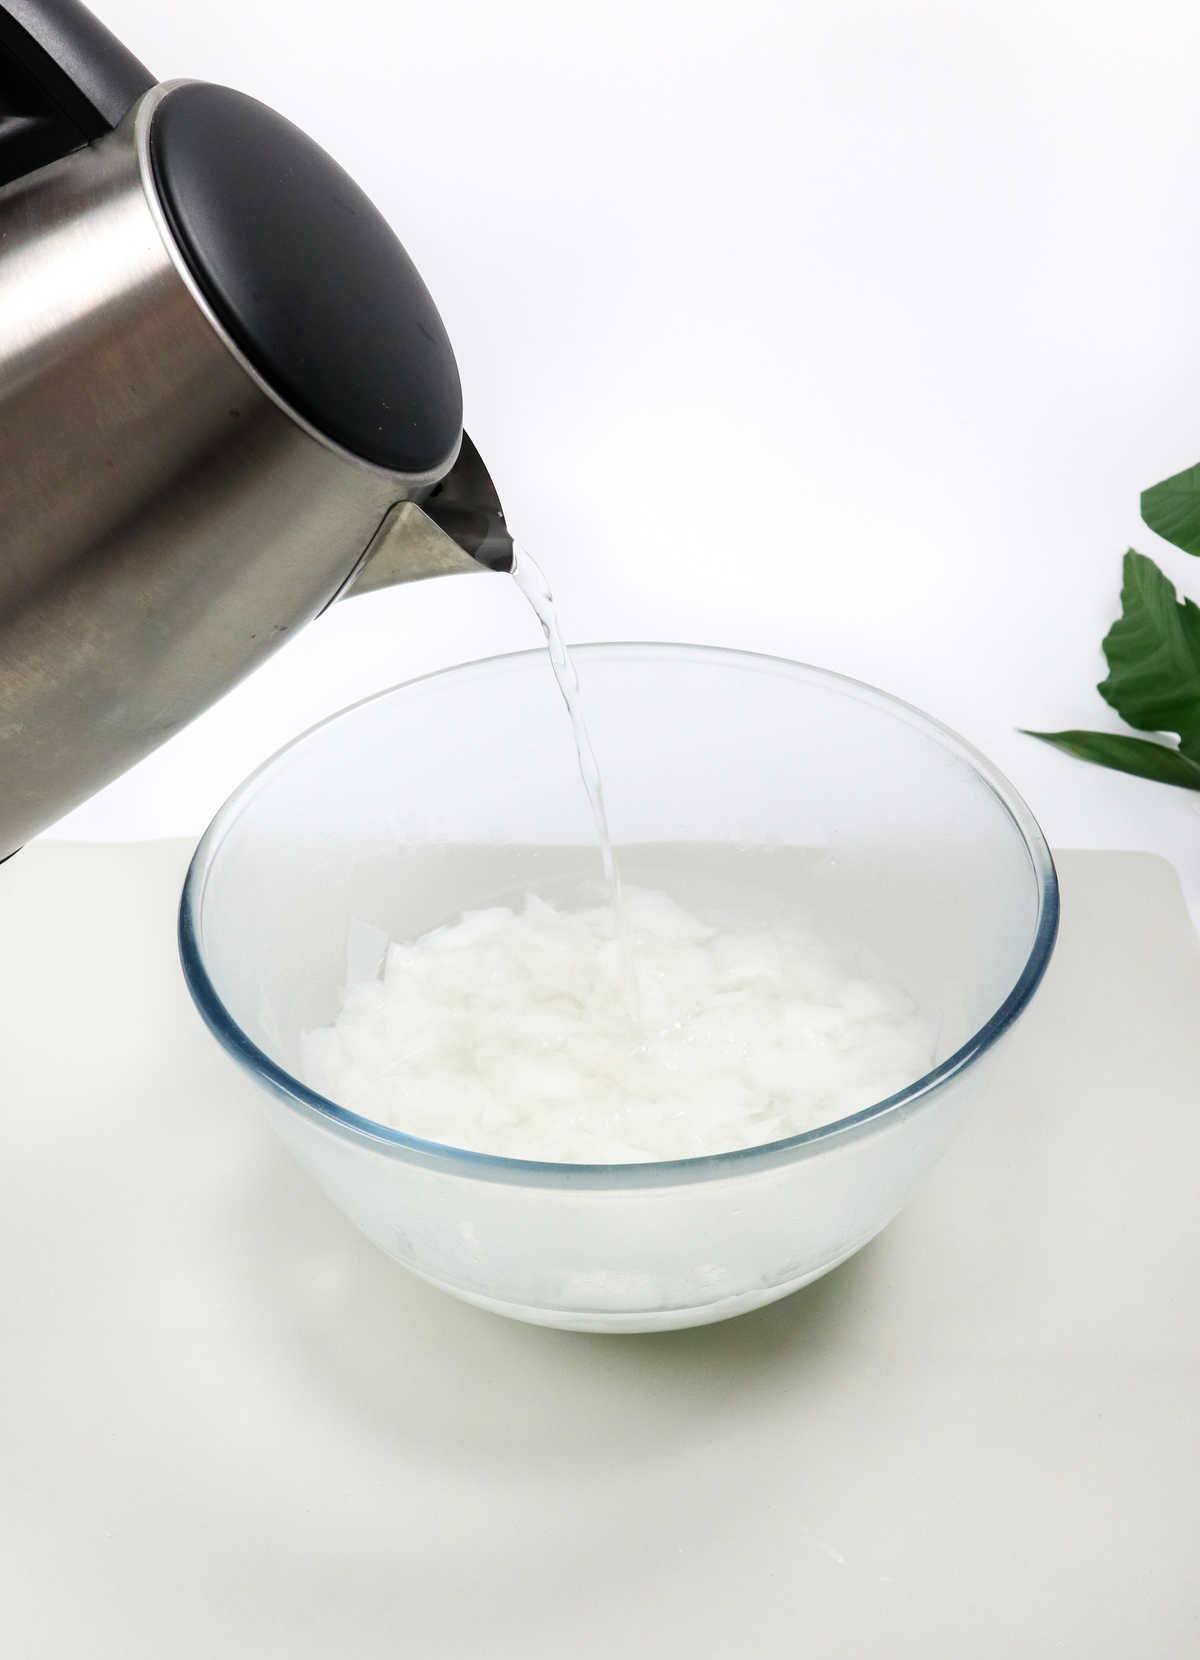
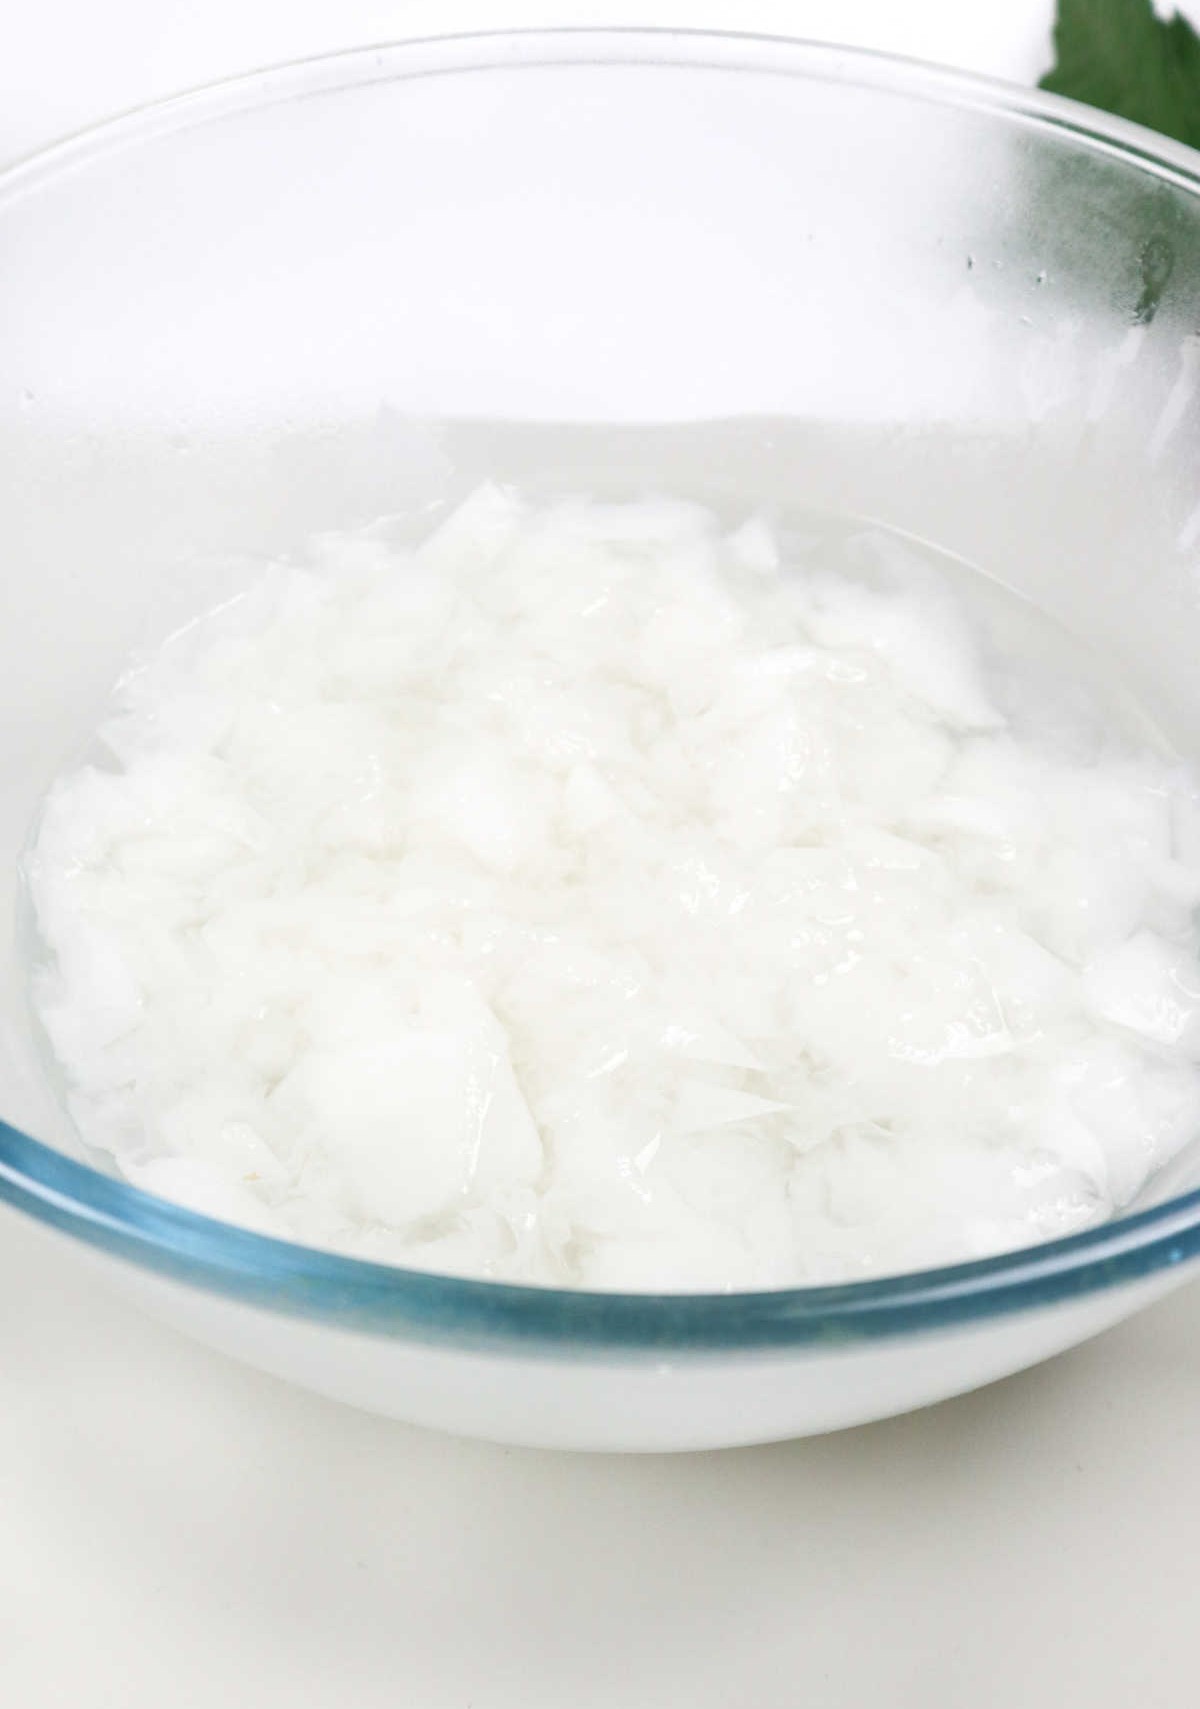
As you work on shredding the paper, don’t forget to get a kettle brewing. This isn’t just about making a cup of tea, although that’s definitely a bonus. The real purpose is to create an environment where your shredded paper can soak up all the goodness. Pour boiling water over the paper and let it sit for a couple of hours – this will help break down the cellulose and leave you with soft, pliable material. This step is crucial, as it allows your dough to become more workable and easier to shape.
If you’re working with newspaper, be prepared to give it an overnight stay in the water. The thicker pulp requires a bit more time to soften and break down.
Step 3
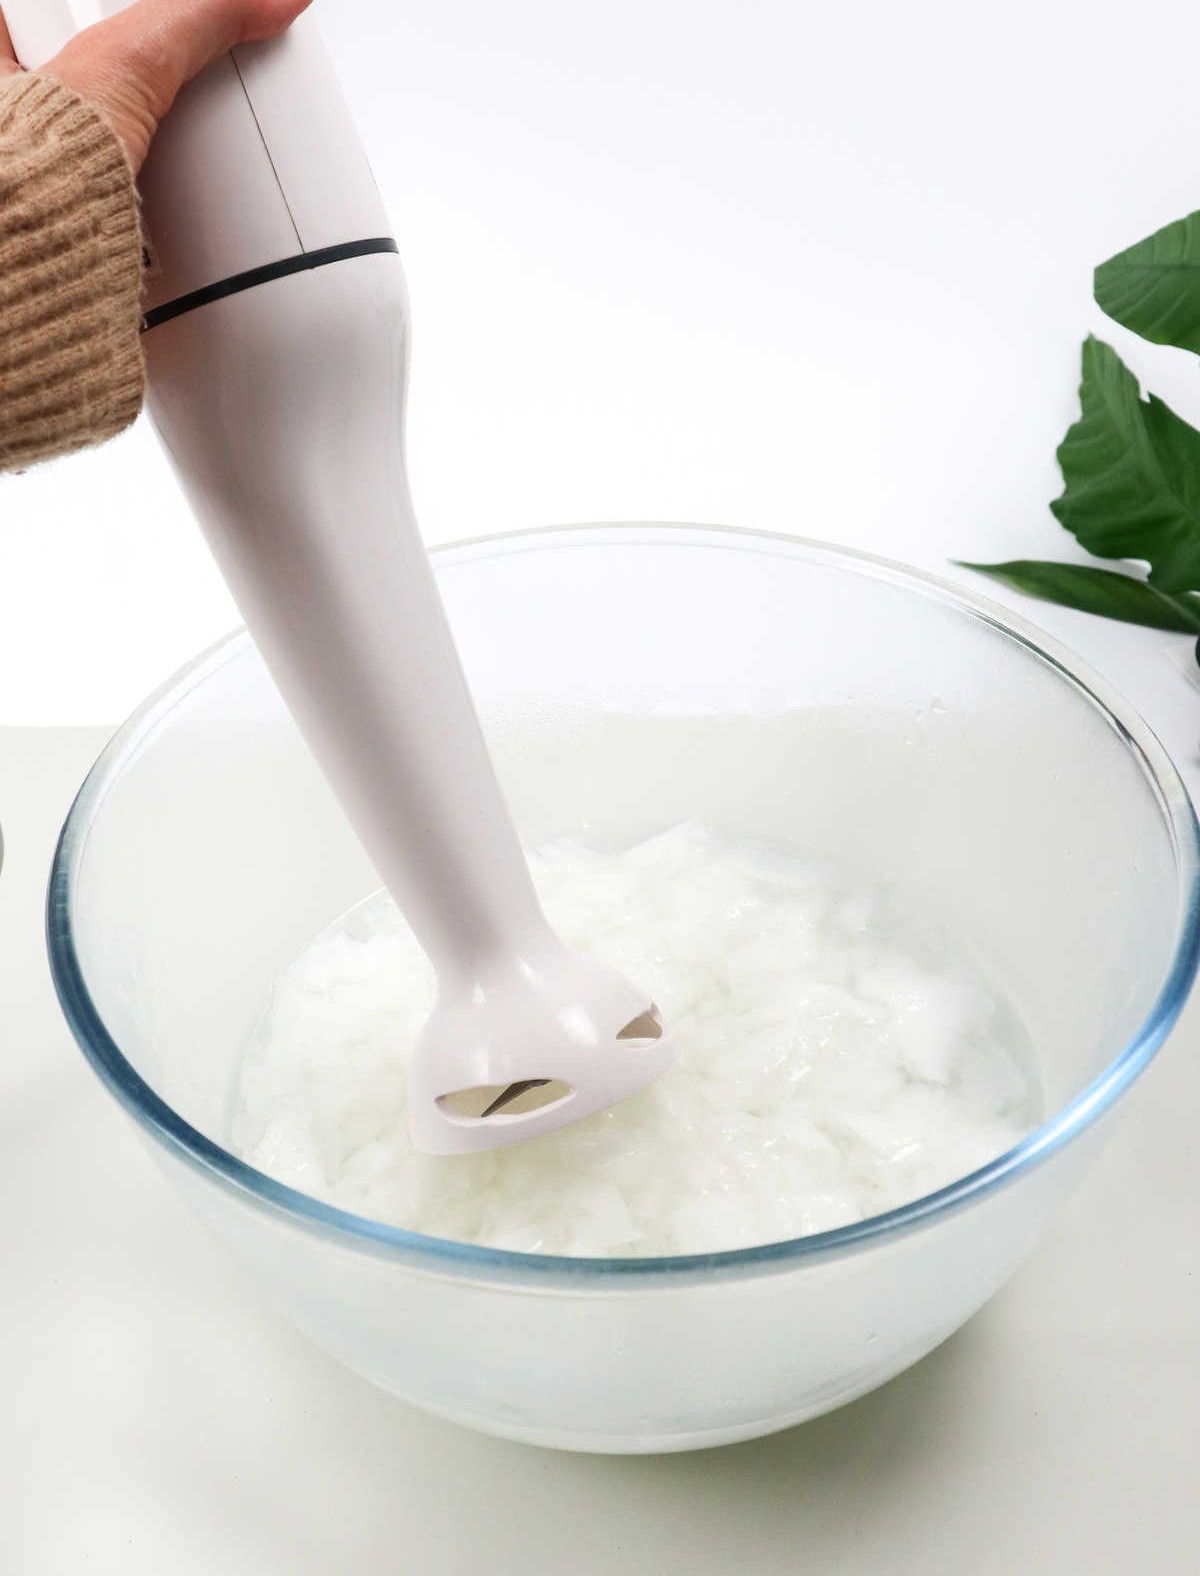
Now that your paper has had sufficient time to soak in water, it’s time to break it down into pulp. Grab a hand blender and blend the mixture until you reach a consistency similar to mushy puree. Be prepared for a sensory experience – some people might find the sounds of squelching and blending to be quite satisfying, while others might not share the same enthusiasm. I personally enjoy the process, finding it to be a meditative and invigorating experience.
Stop blending when you’ve achieved a pulp-like texture, reminiscent of a mixture that’s ready for further processing.
Step 4

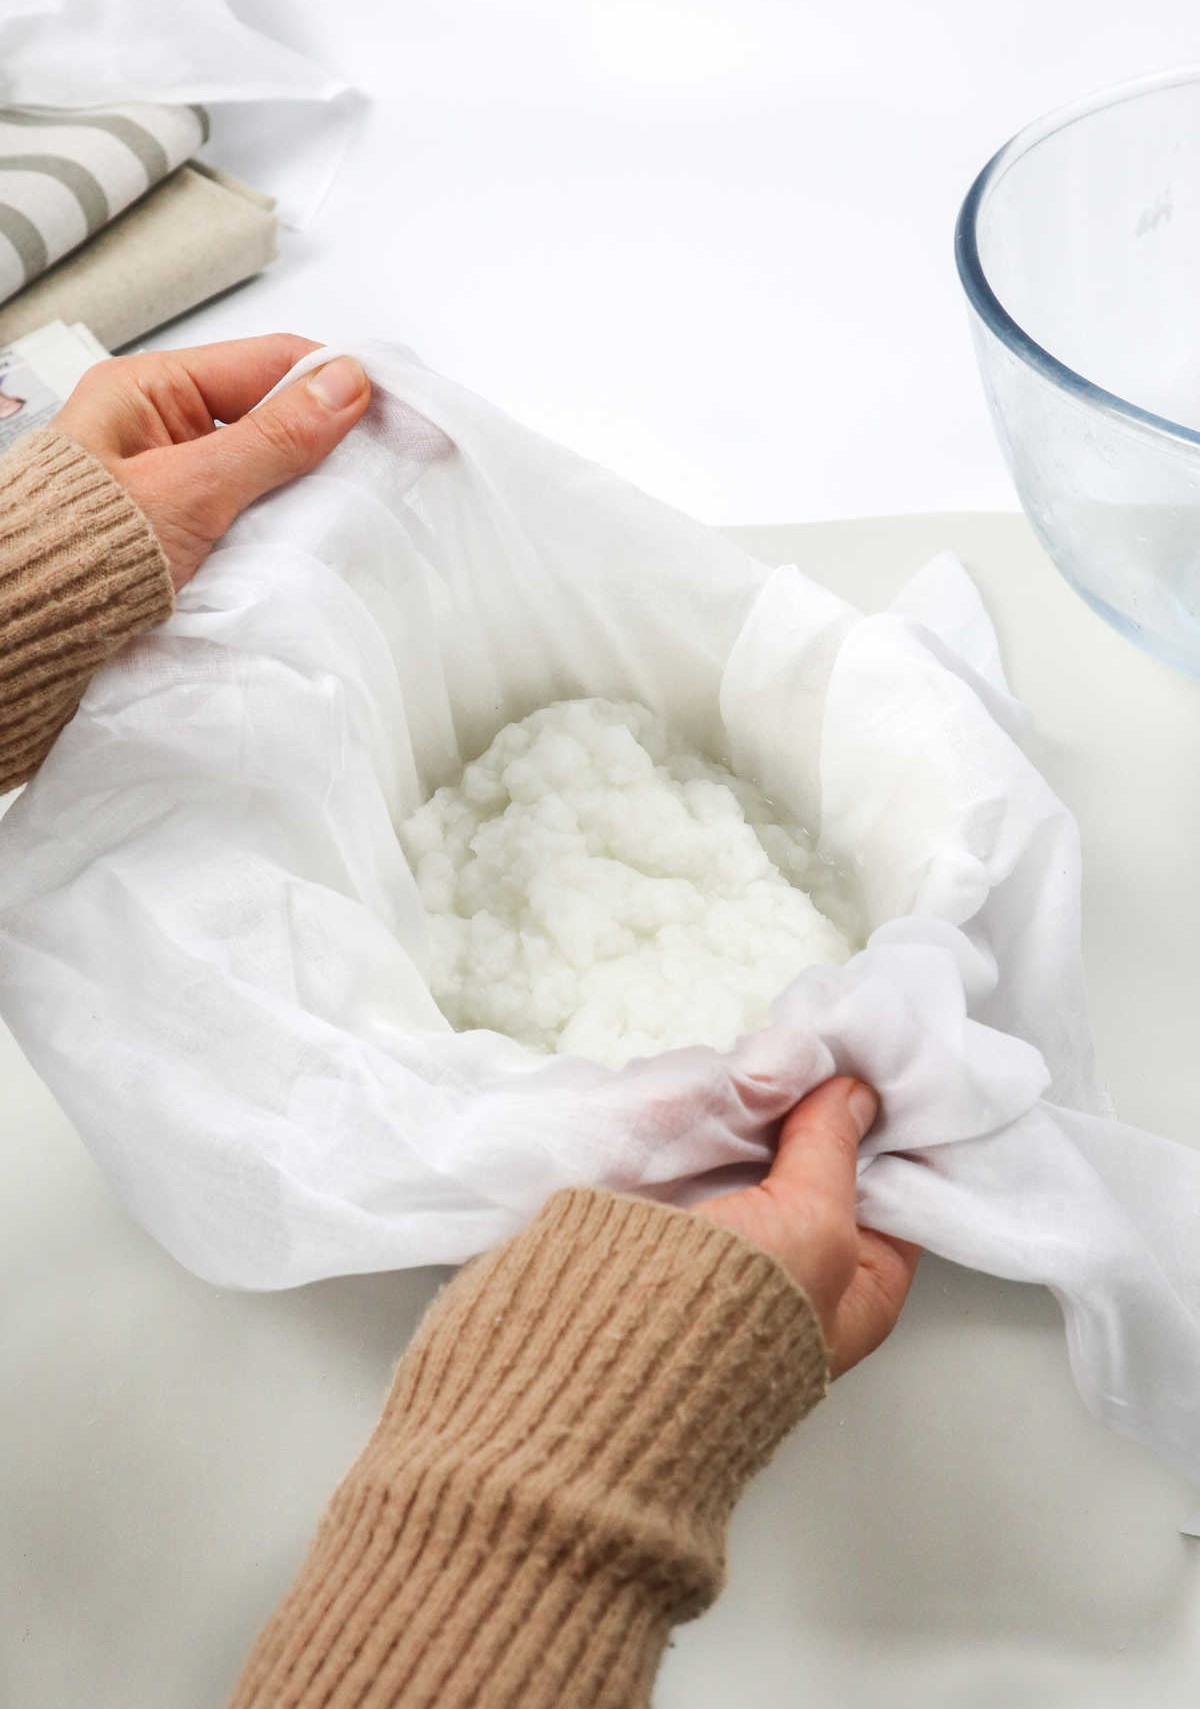
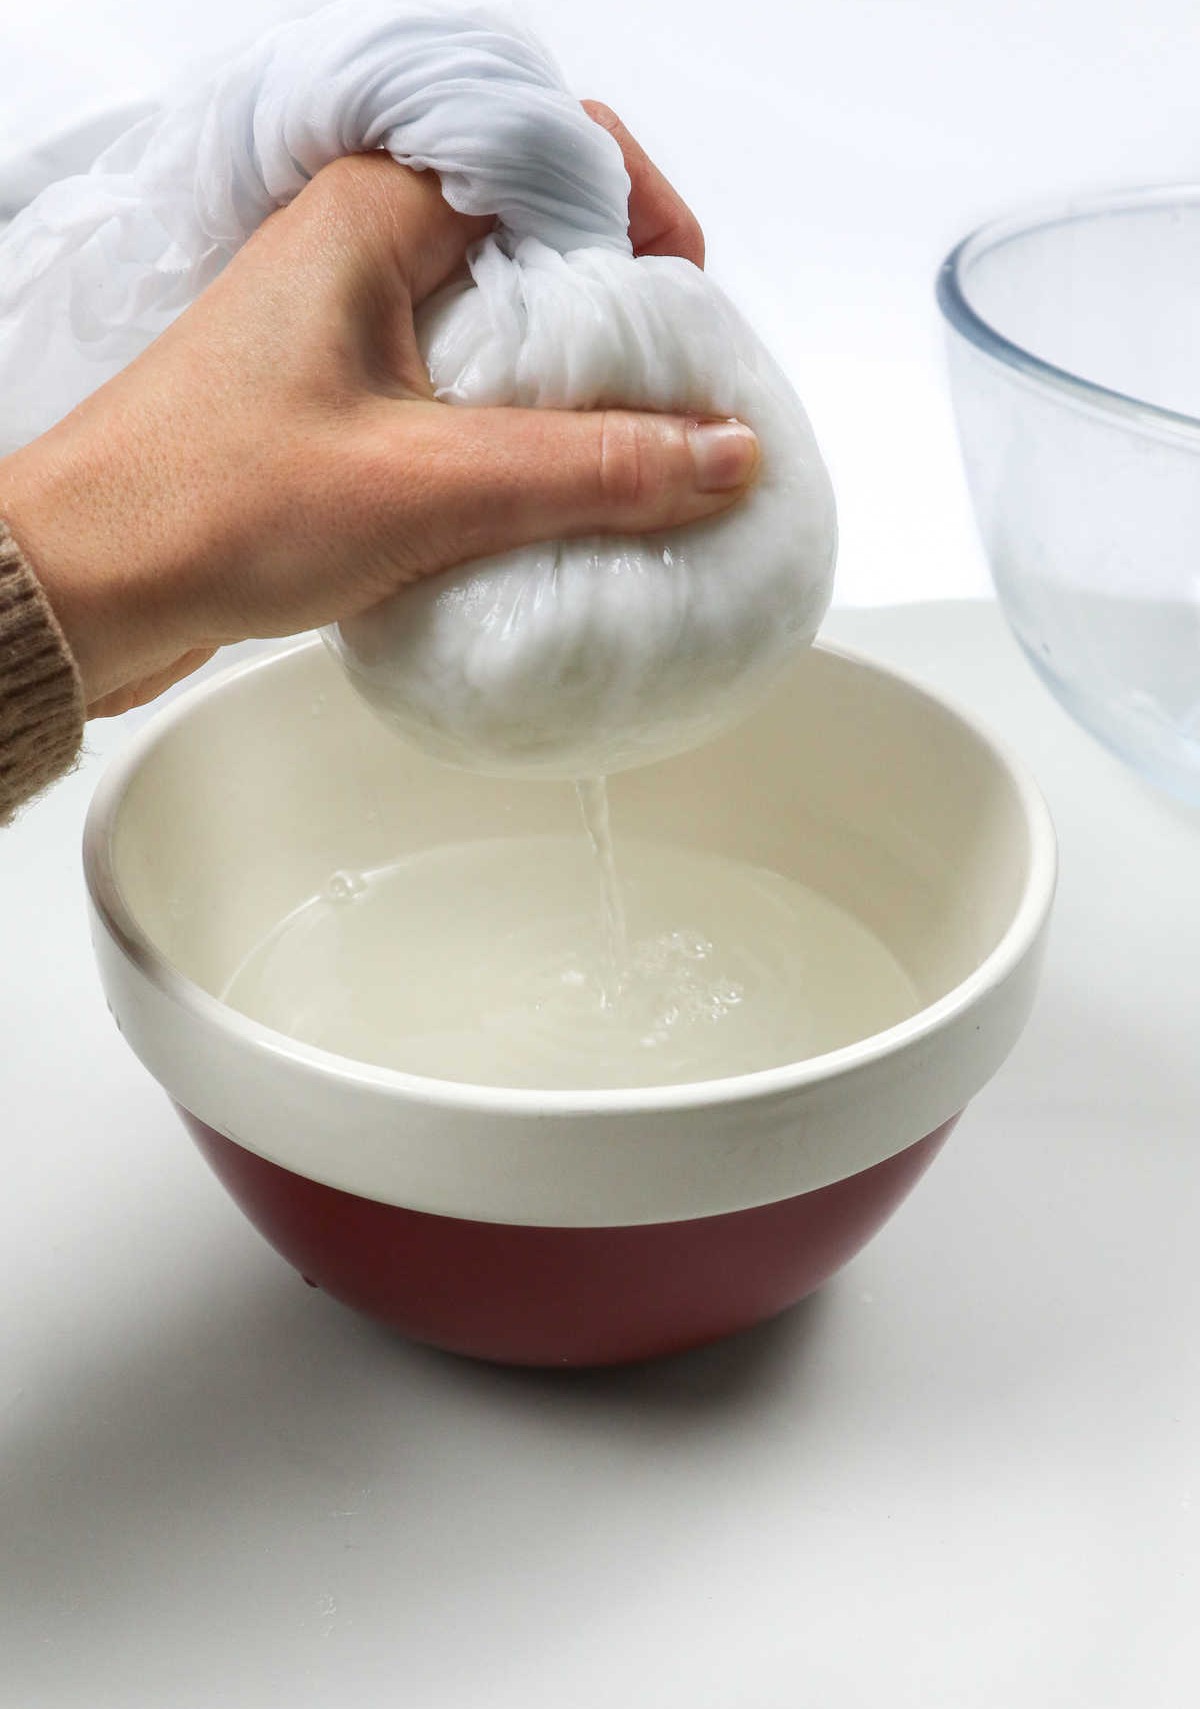
The next step in creating handmade paper is to remove excess water from the pulp. To do this, place a piece of cheesecloth over a large bowl and slowly pour the pulp into the cloth. Once all the pulp has been transferred, gather the edges of the cheesecloth together and apply gentle pressure to squeeze out as much water as possible into the bowl below. Repeat this process if necessary to ensure you’ve removed as much moisture as needed.
Step 5
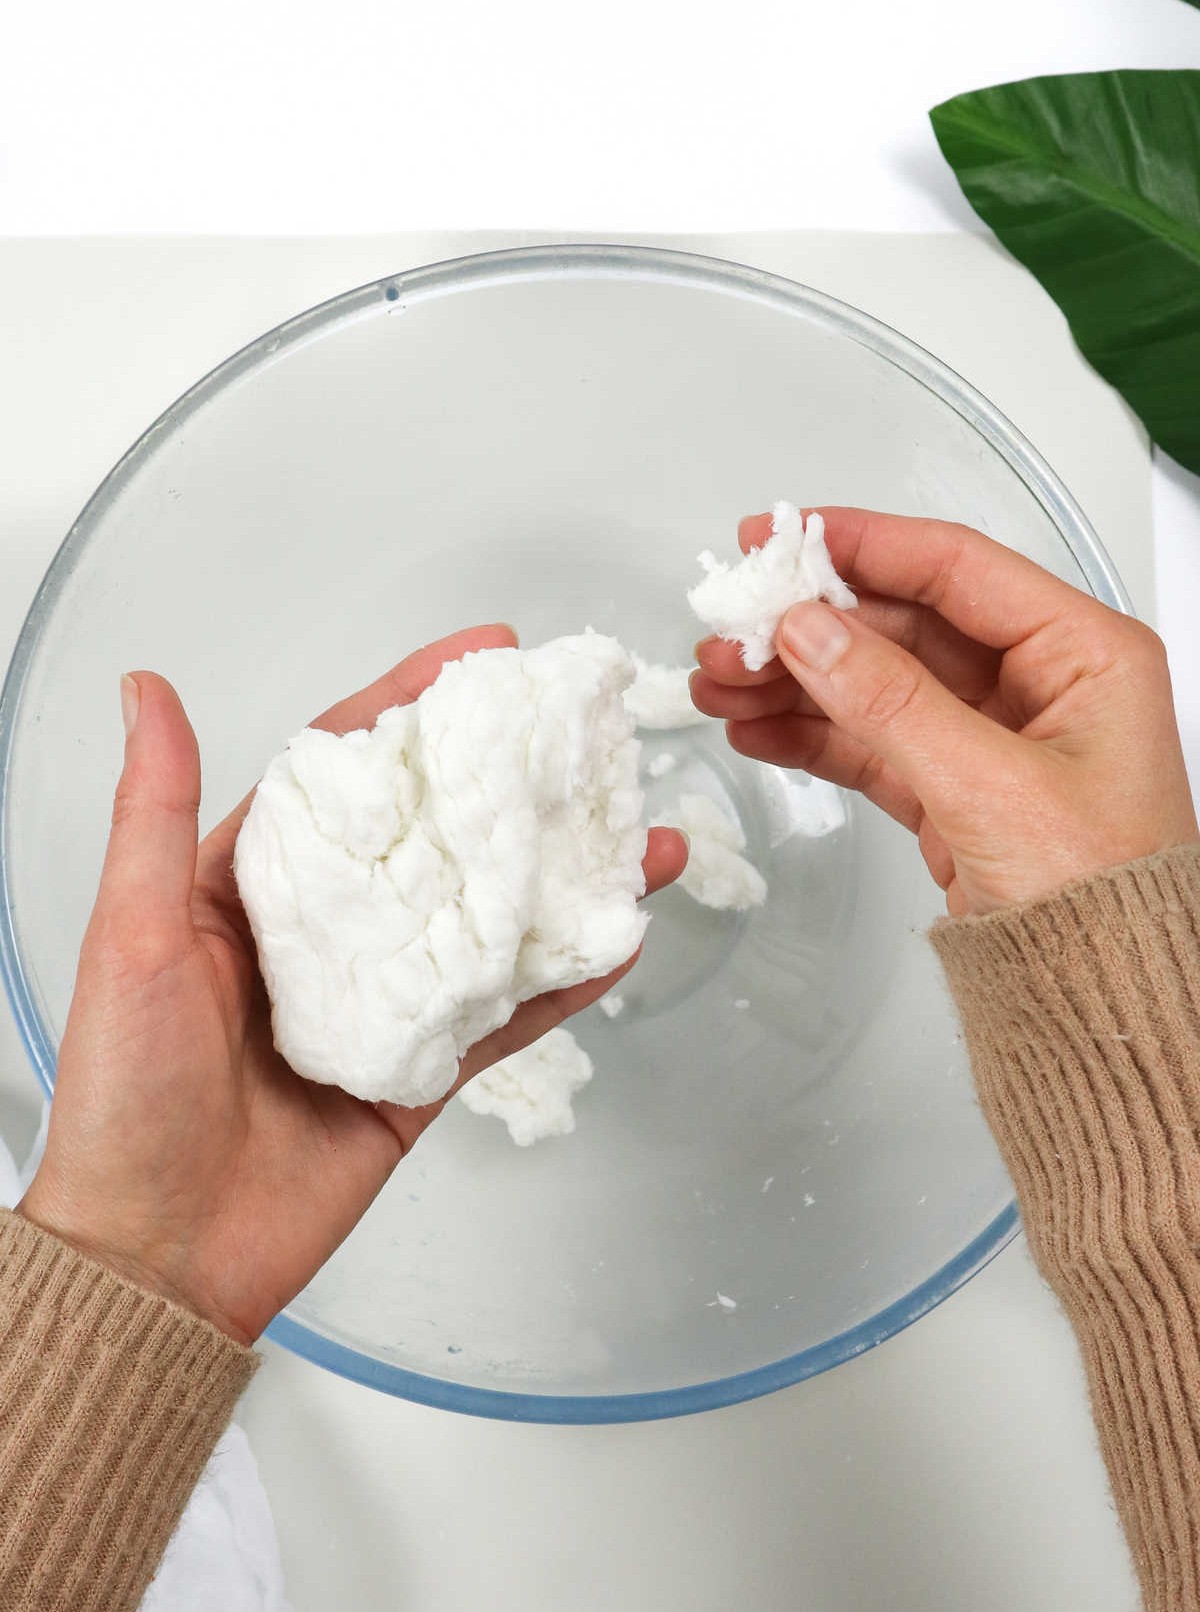
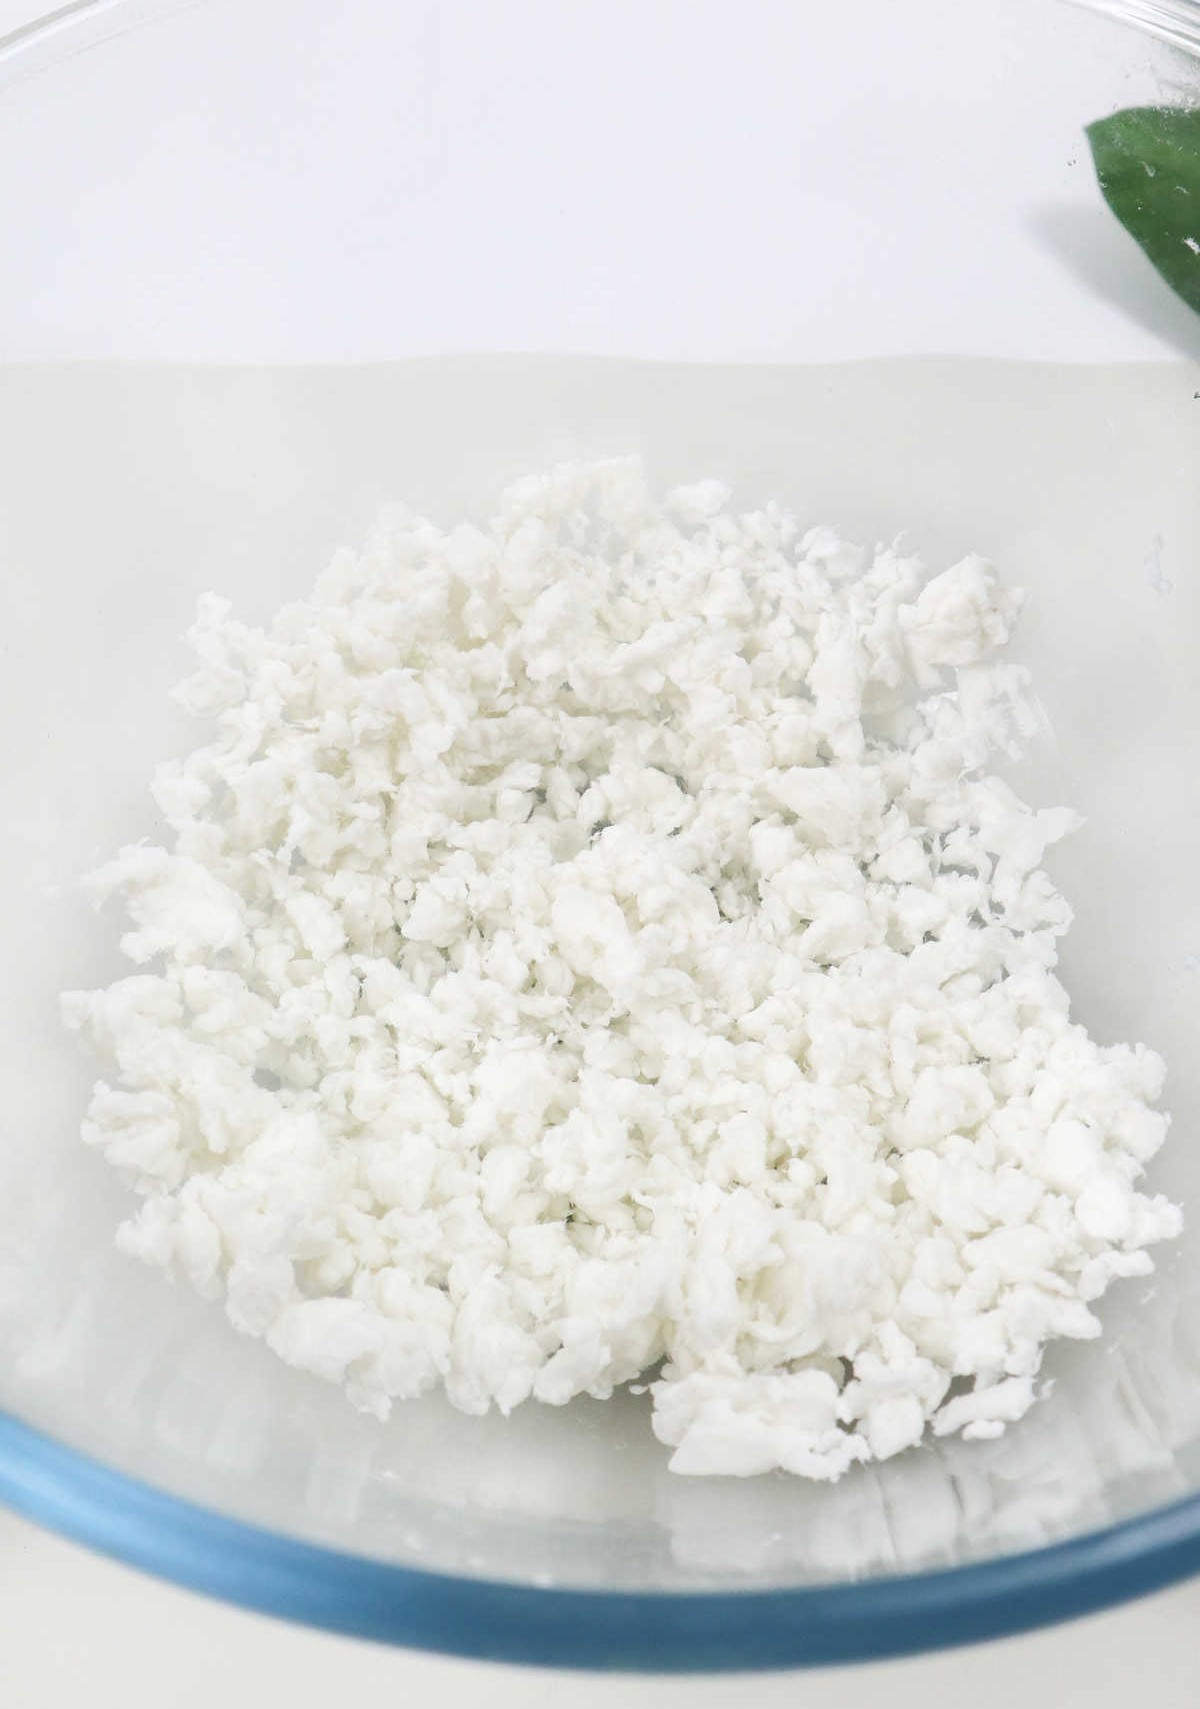
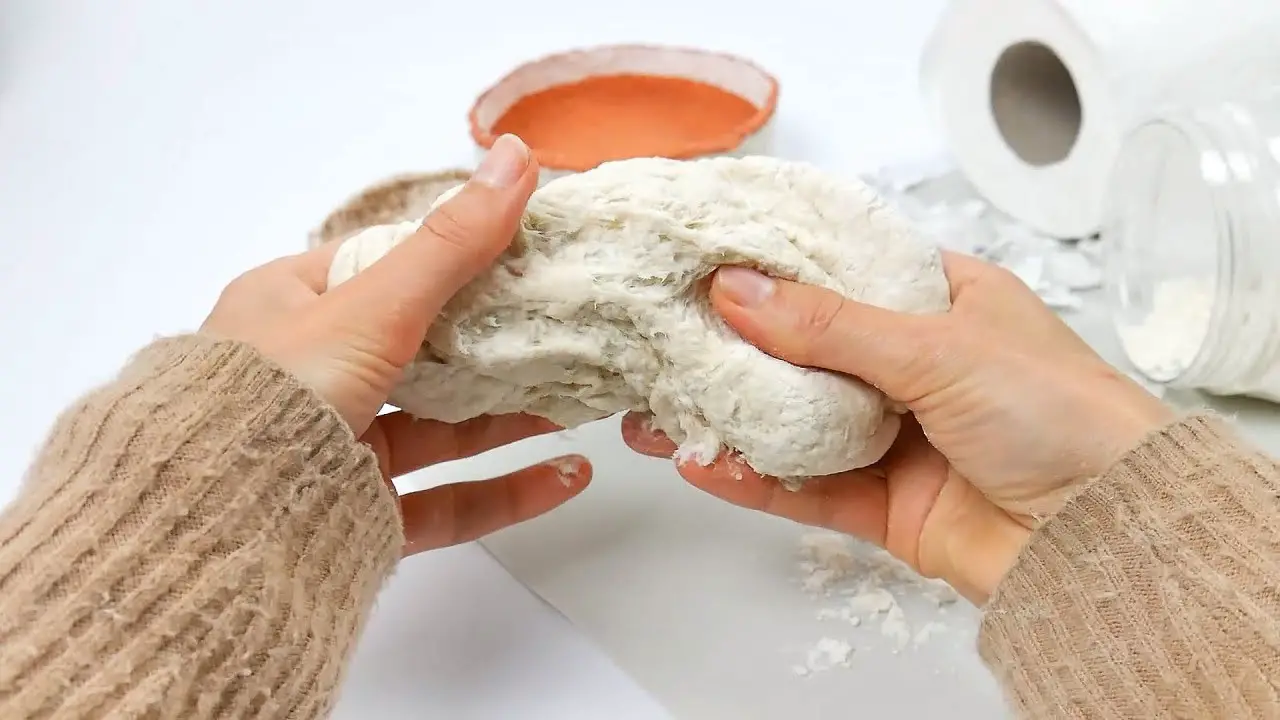
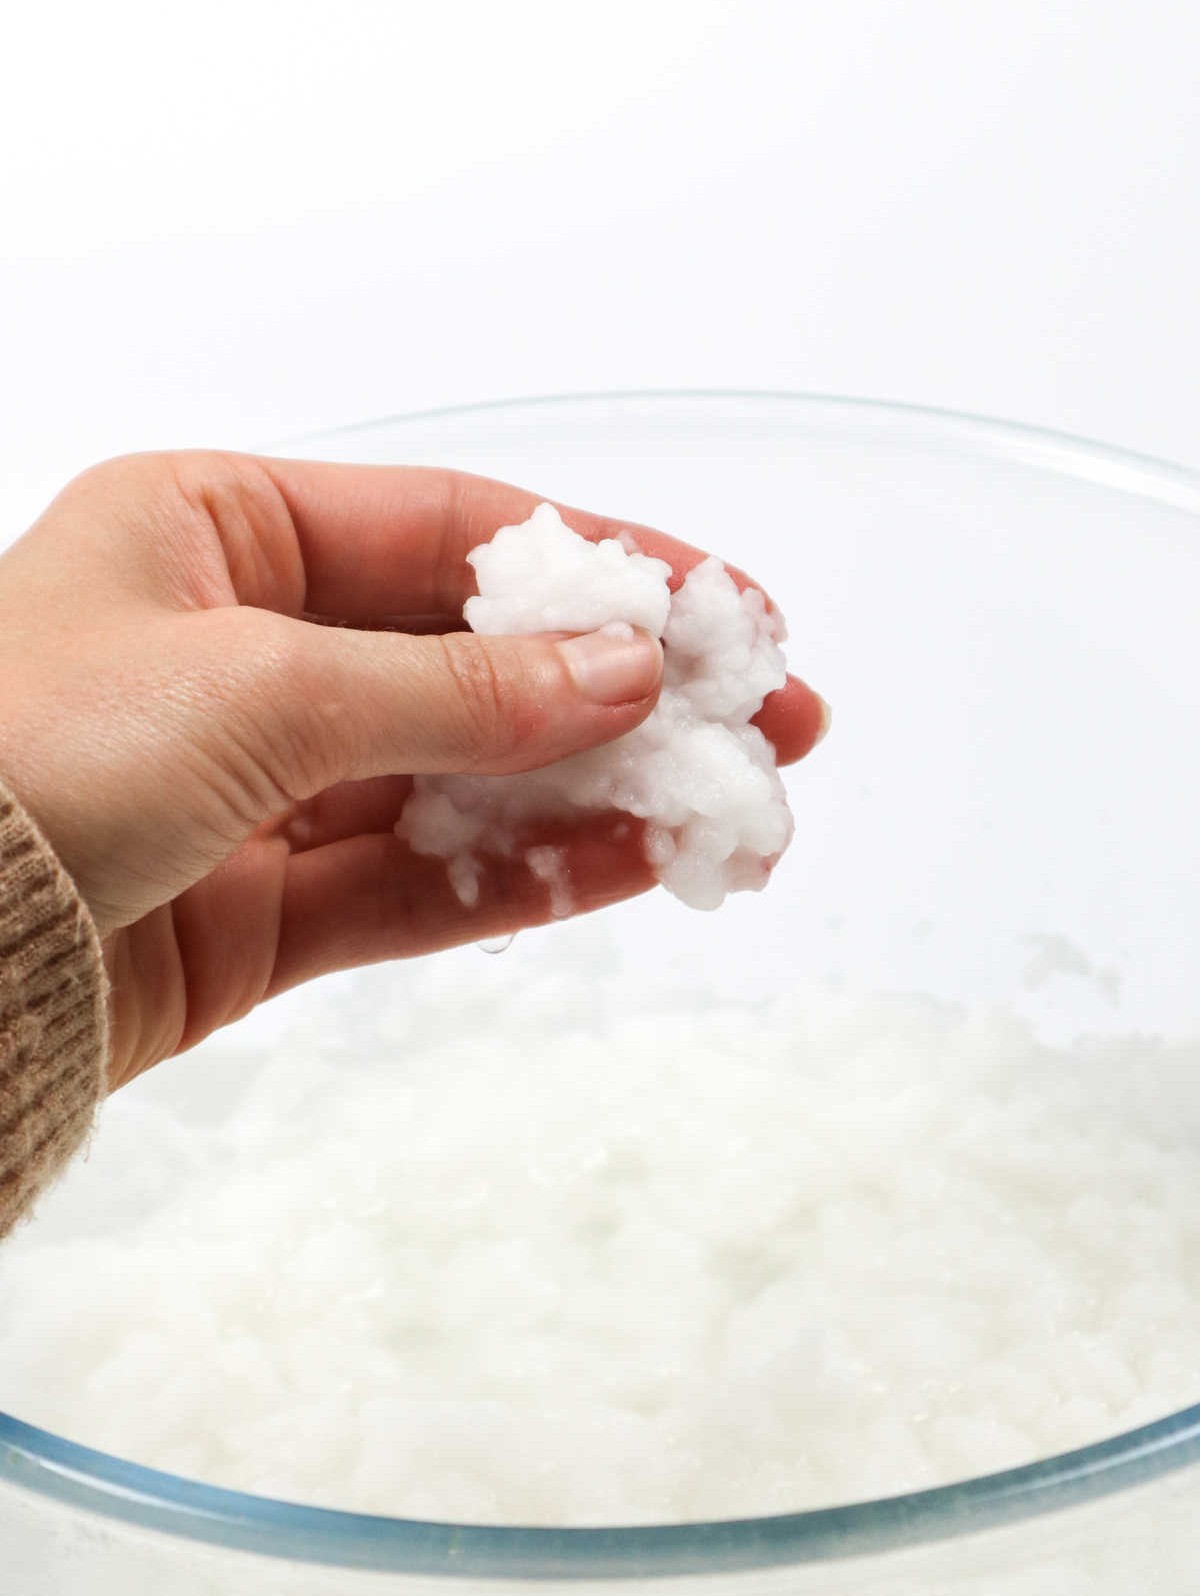
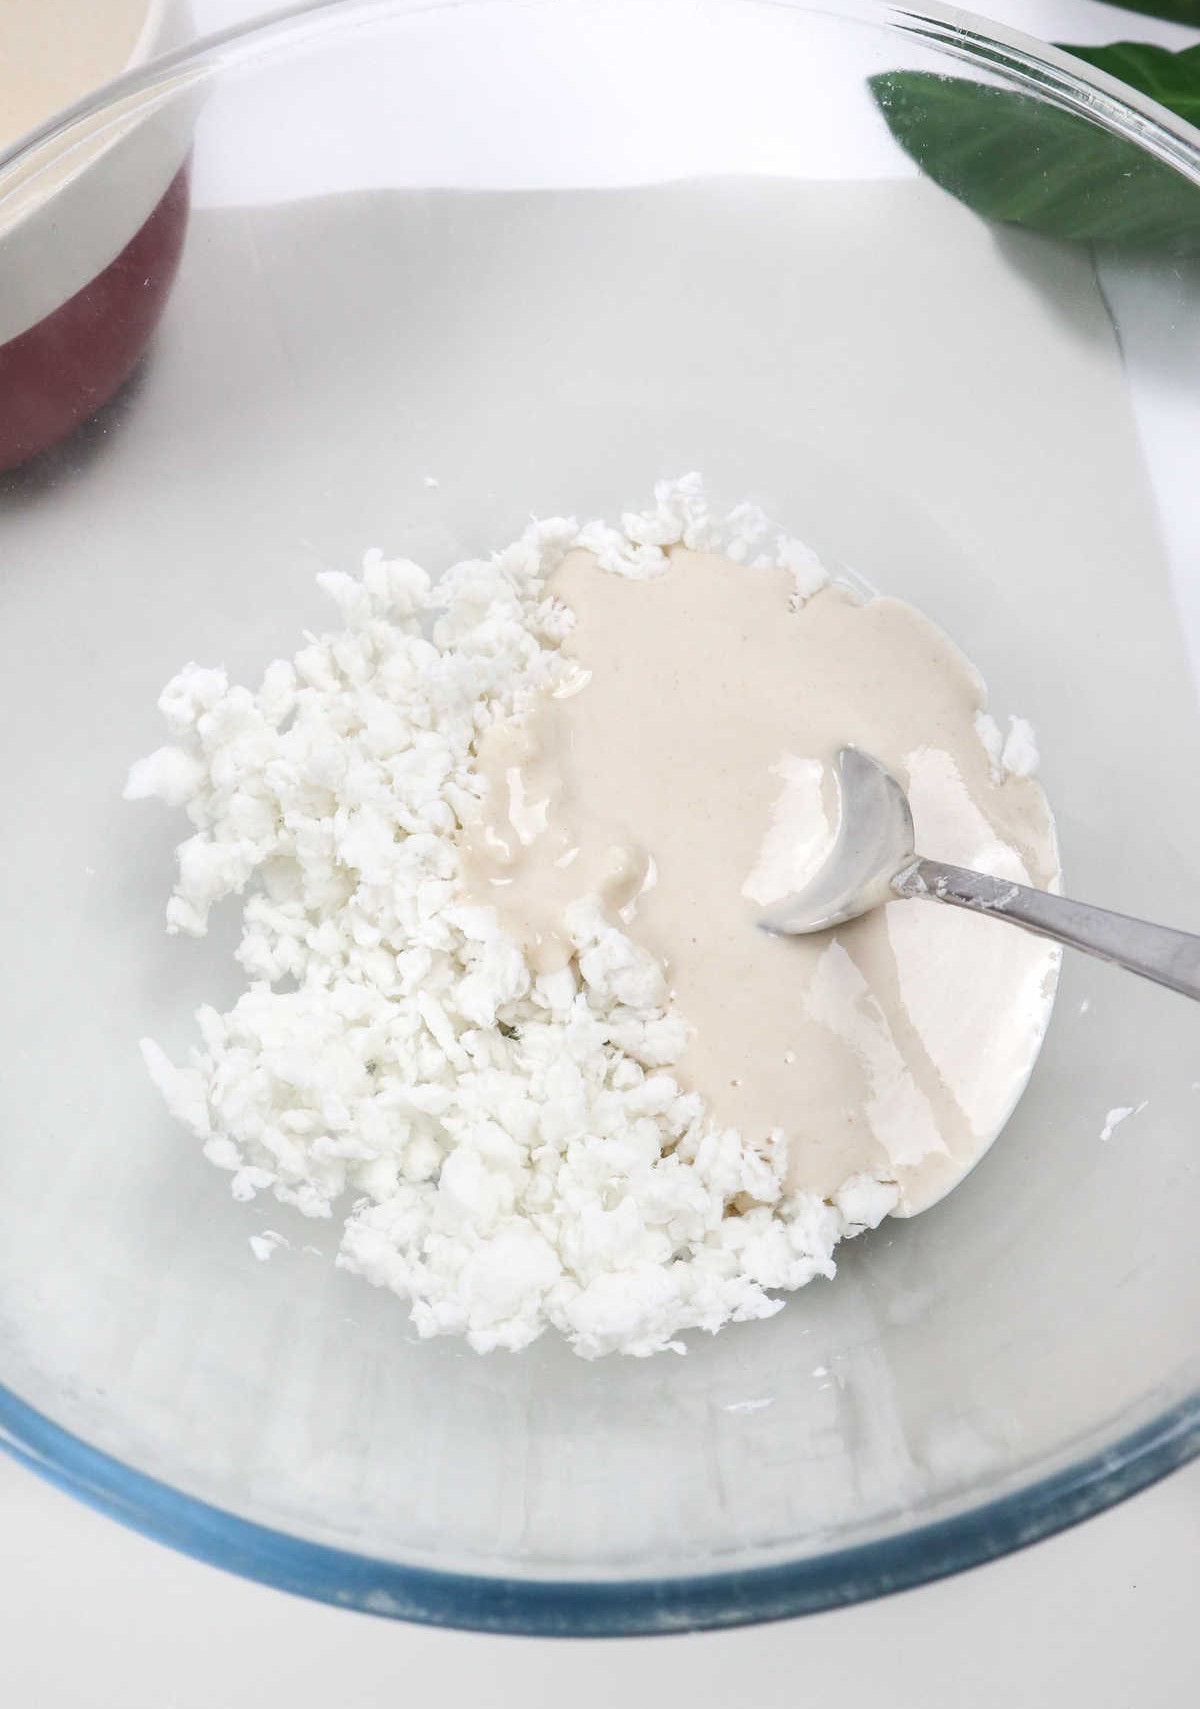
As you extract the pulp from the cheesecloth, you’ll likely be left with a substance that bears a striking resemblance to ricotta or cottage cheese. Take some time to break this pulp into smaller fragments and transfer them to a bowl for further processing.
Step 6
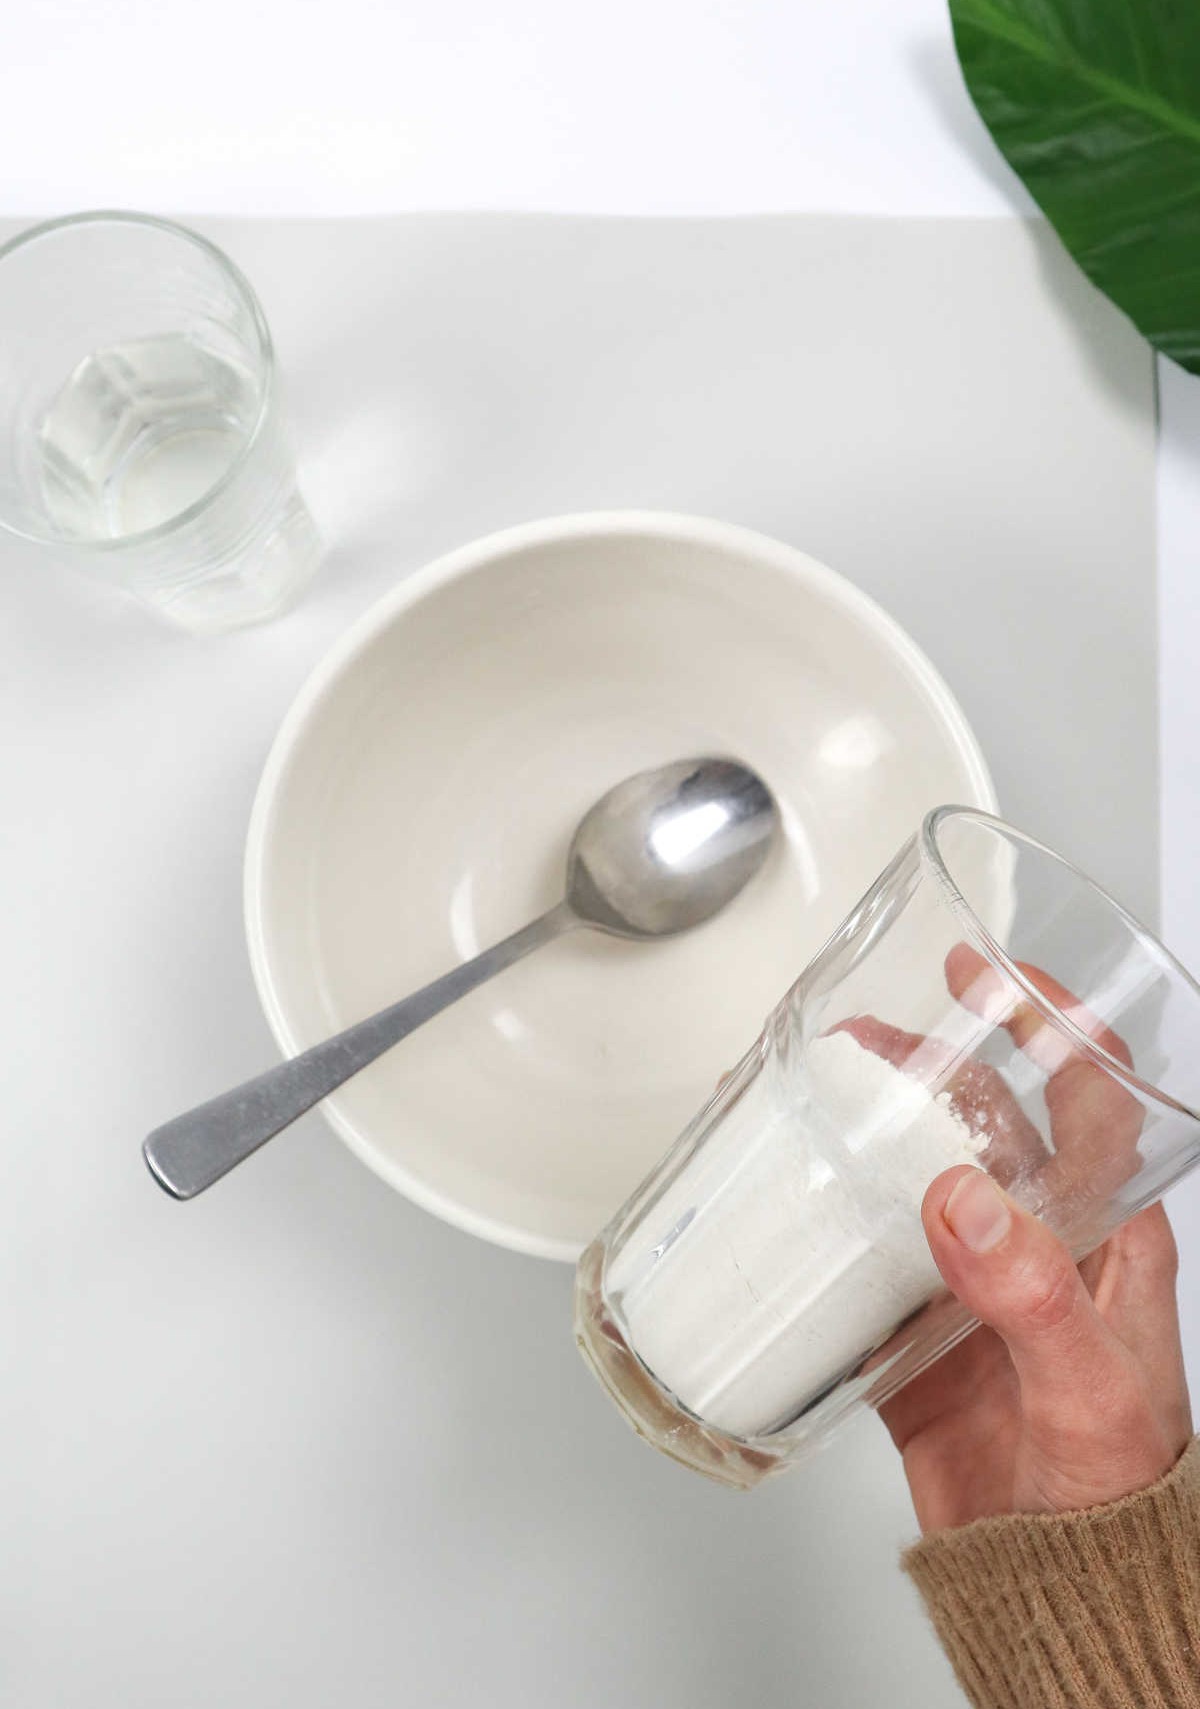
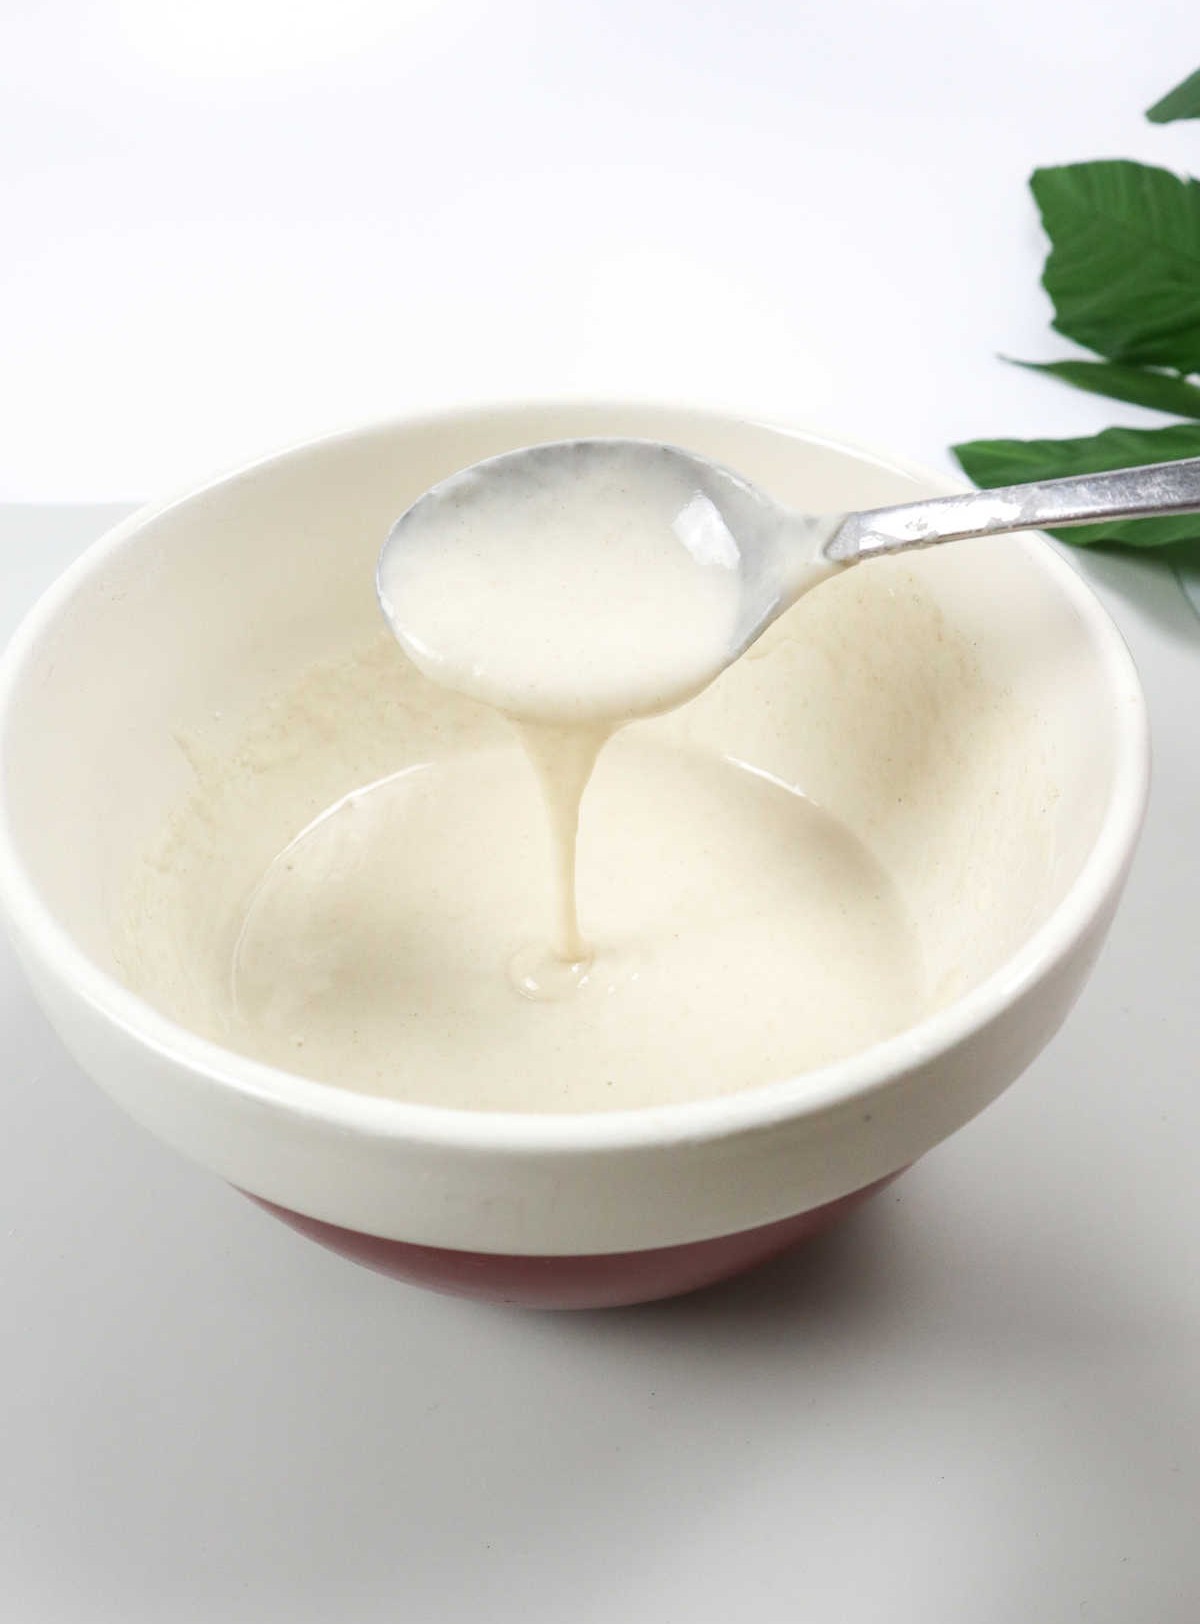
To create your binding paste, start by combining white flour or cornstarch with water in a separate bowl. Avoid adding all the water at once to prevent lumps from forming. Instead, stir in small increments until you achieve a smooth and sticky consistency.
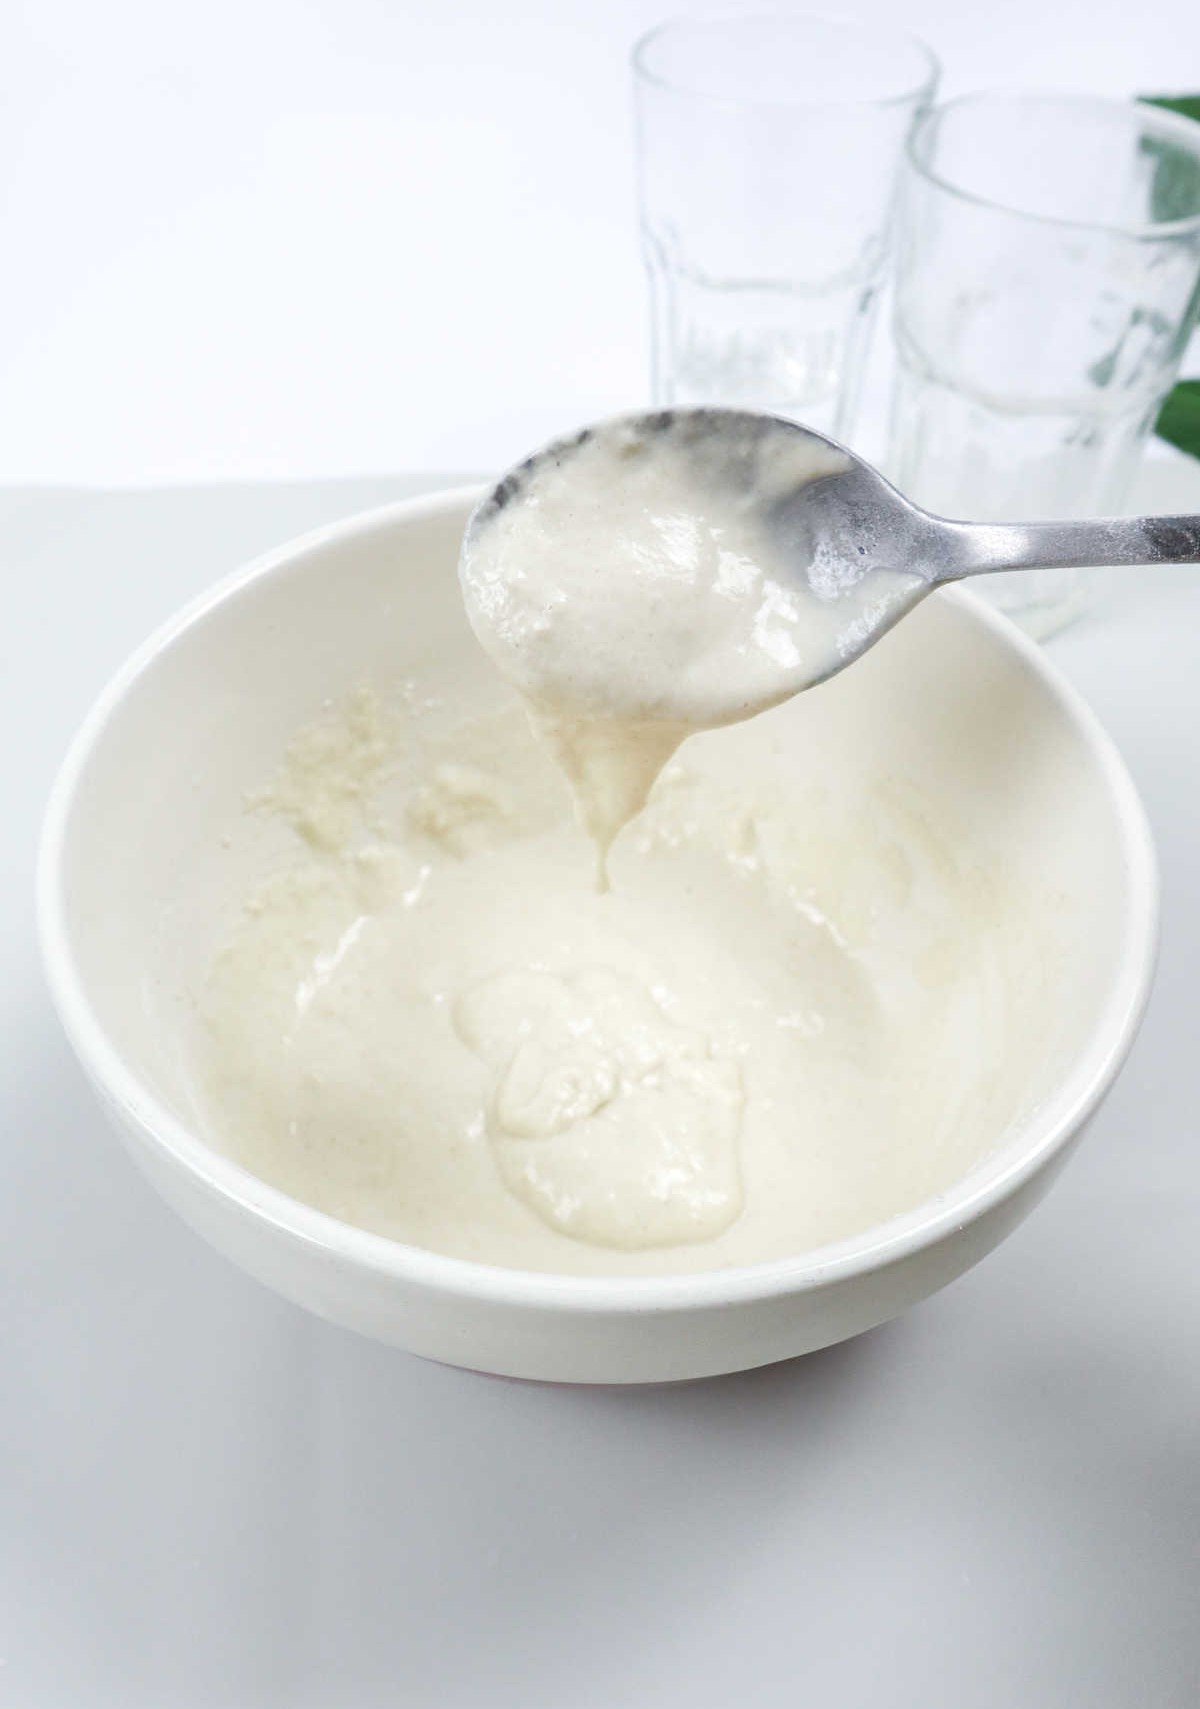
Once you’ve reached the desired texture, transfer the mixture to a saucepan set on low heat. Allow it to simmer for about five minutes or until the excess moisture evaporates, leaving behind a creamy and thick paste.
To ensure the mixture doesn’t scorch, continue stirring constantly throughout the process.
Alternatively, you can use your microwave to speed up the process. Simply heat the paste for 15-20 seconds, remove it from the oven, stir vigorously to redistribute the heat evenly, and then repeat this cycle a few times until the desired consistency is reached.
Step 7
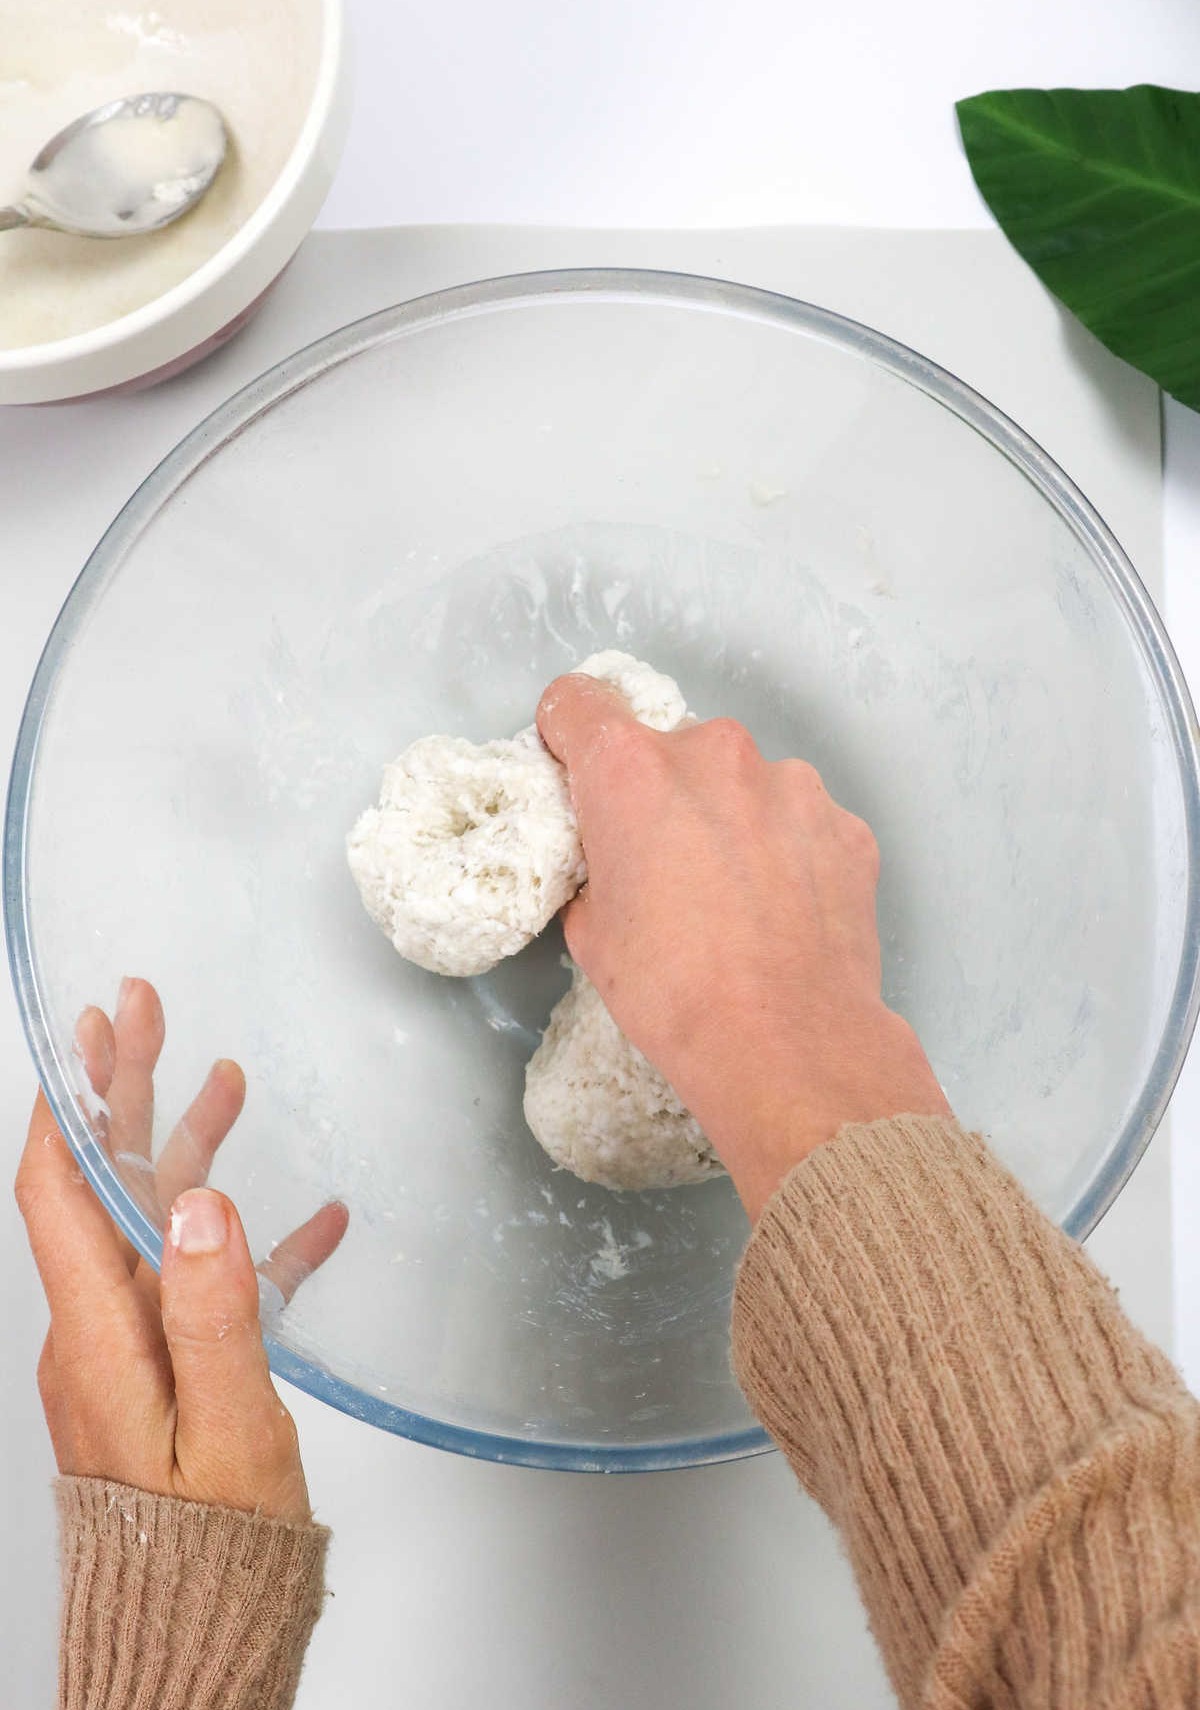
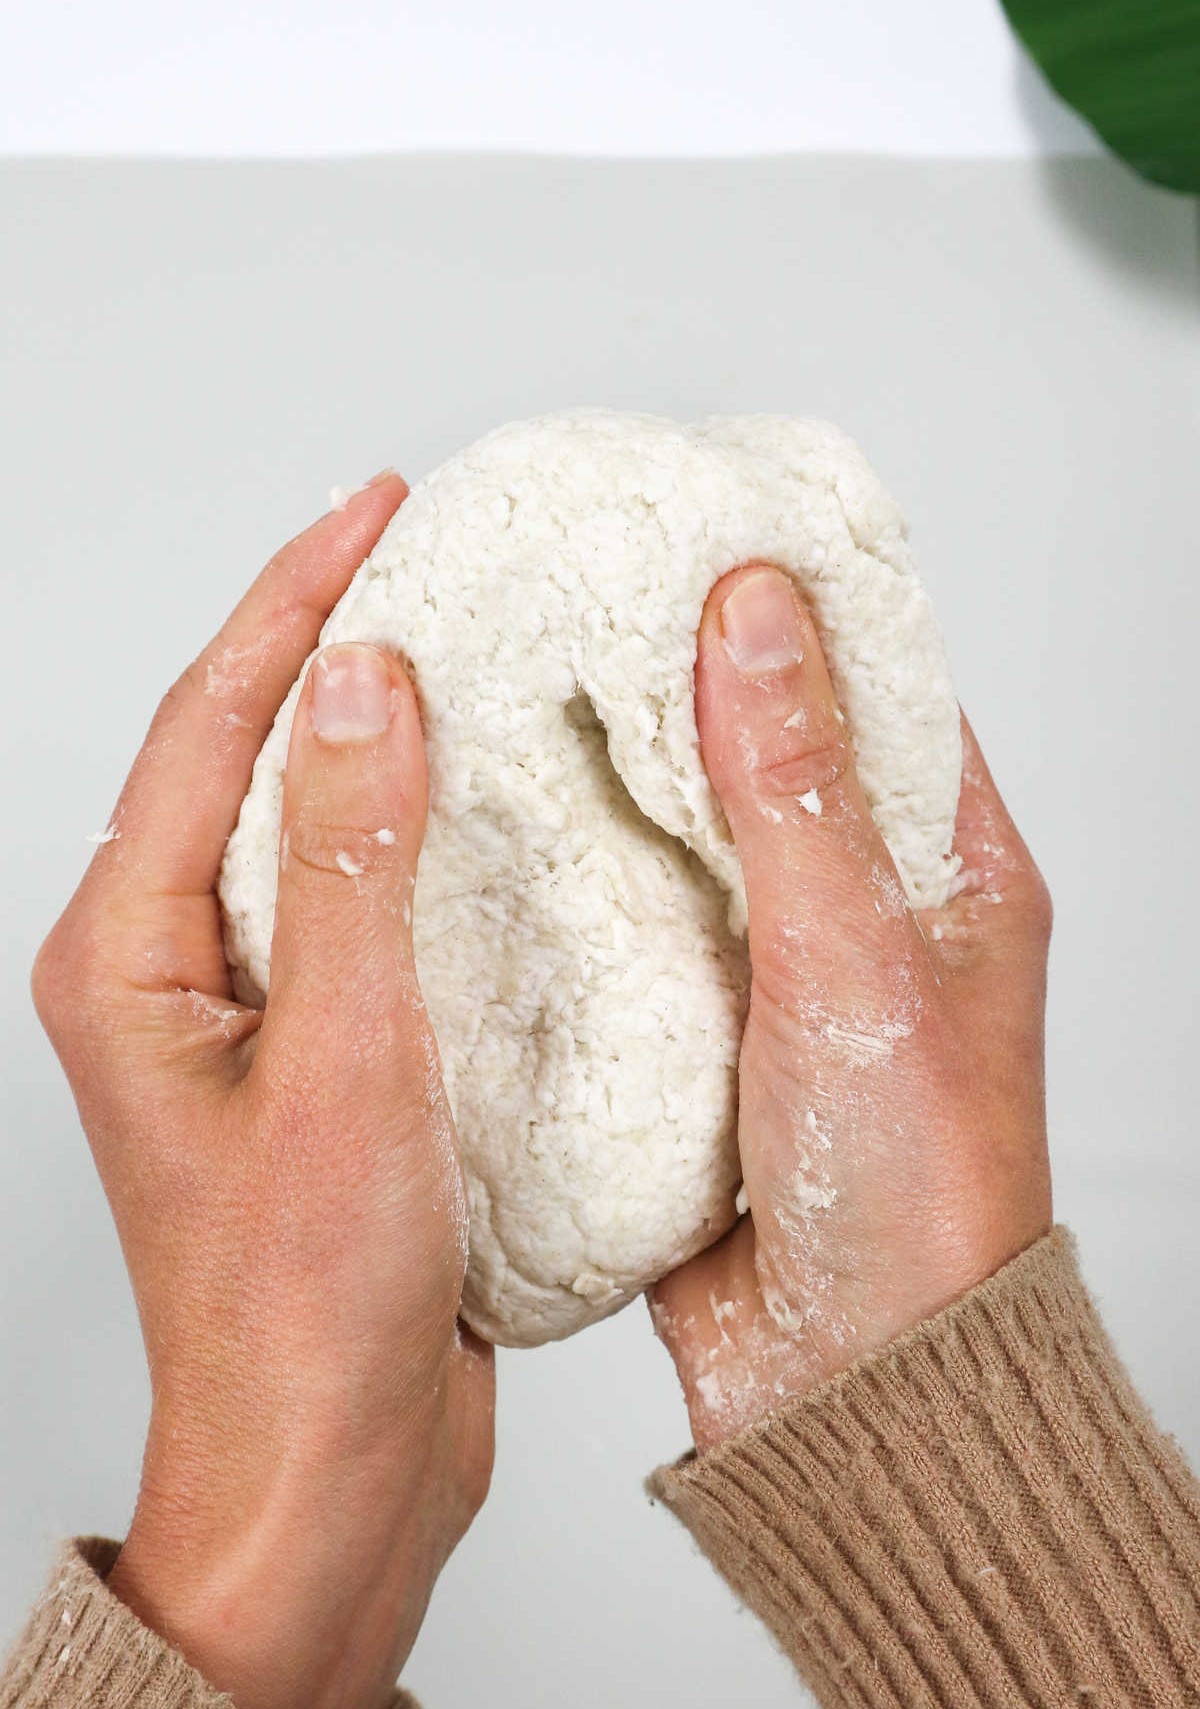
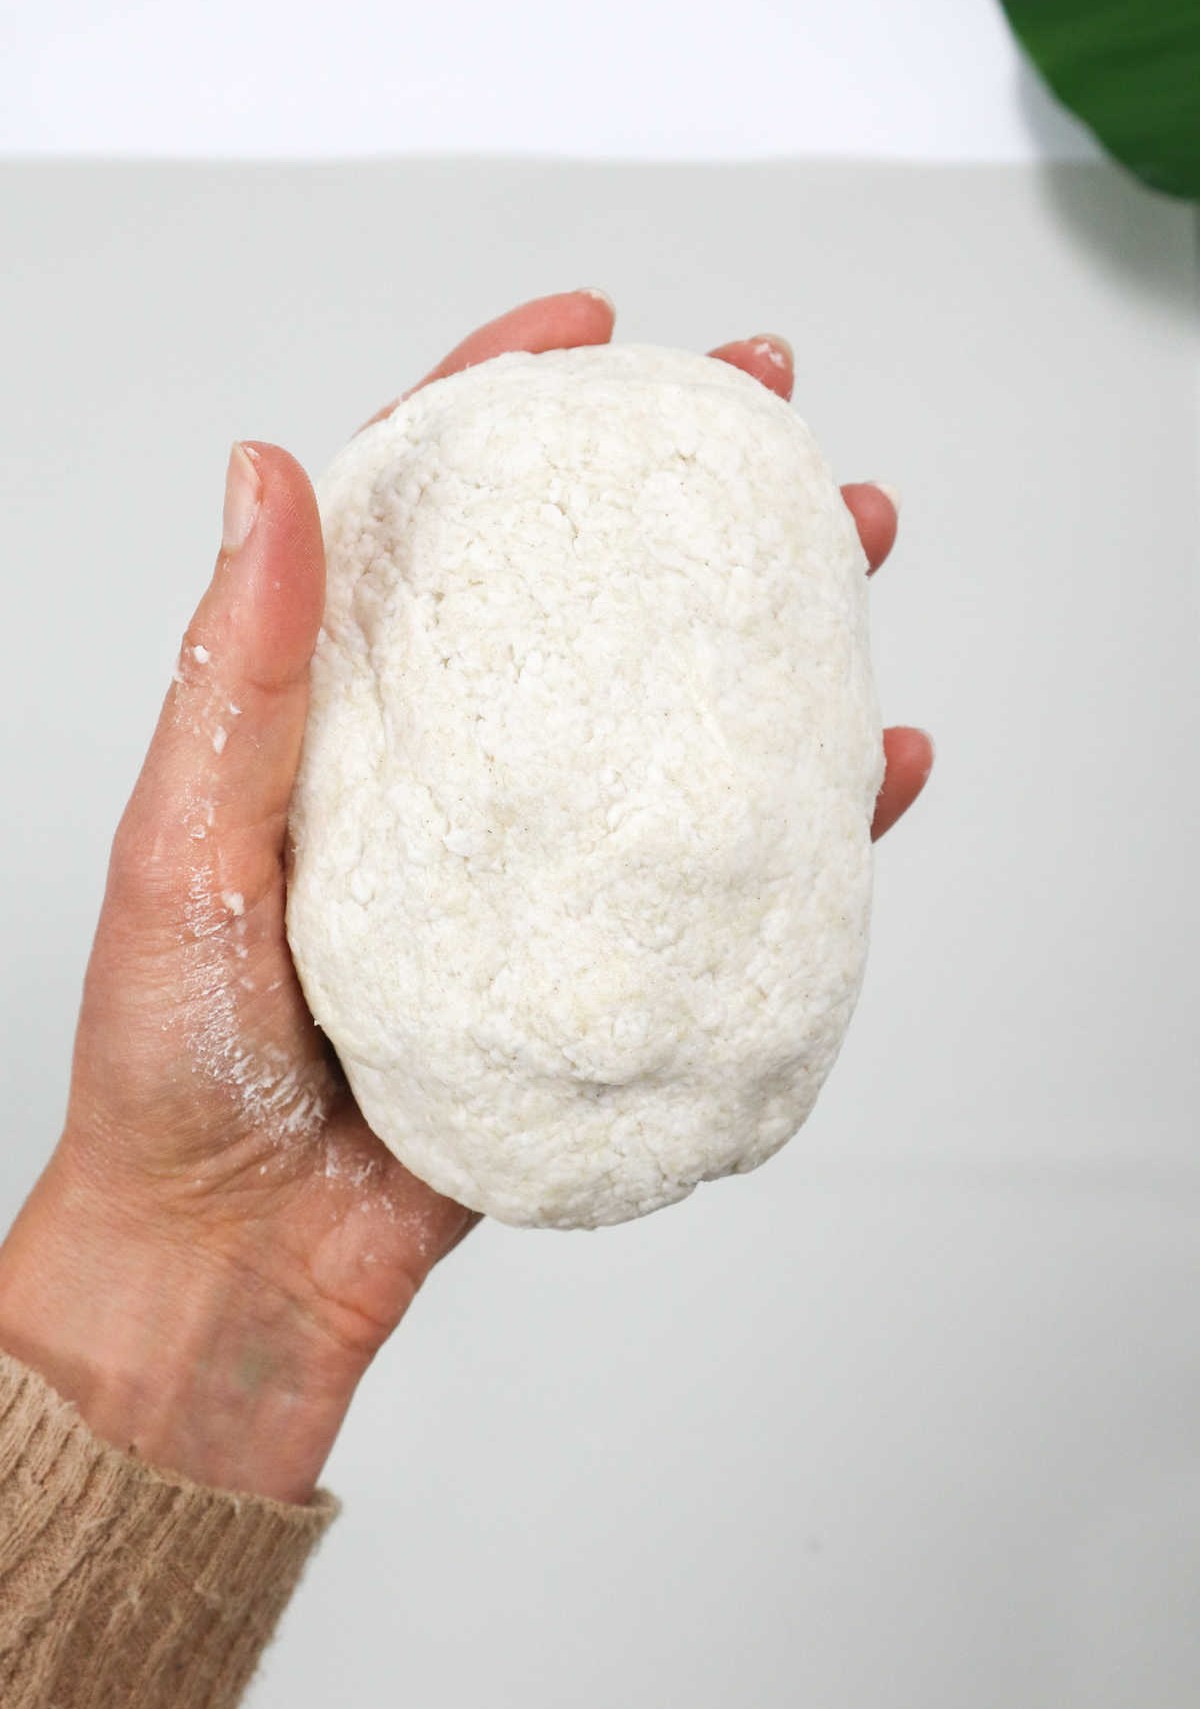
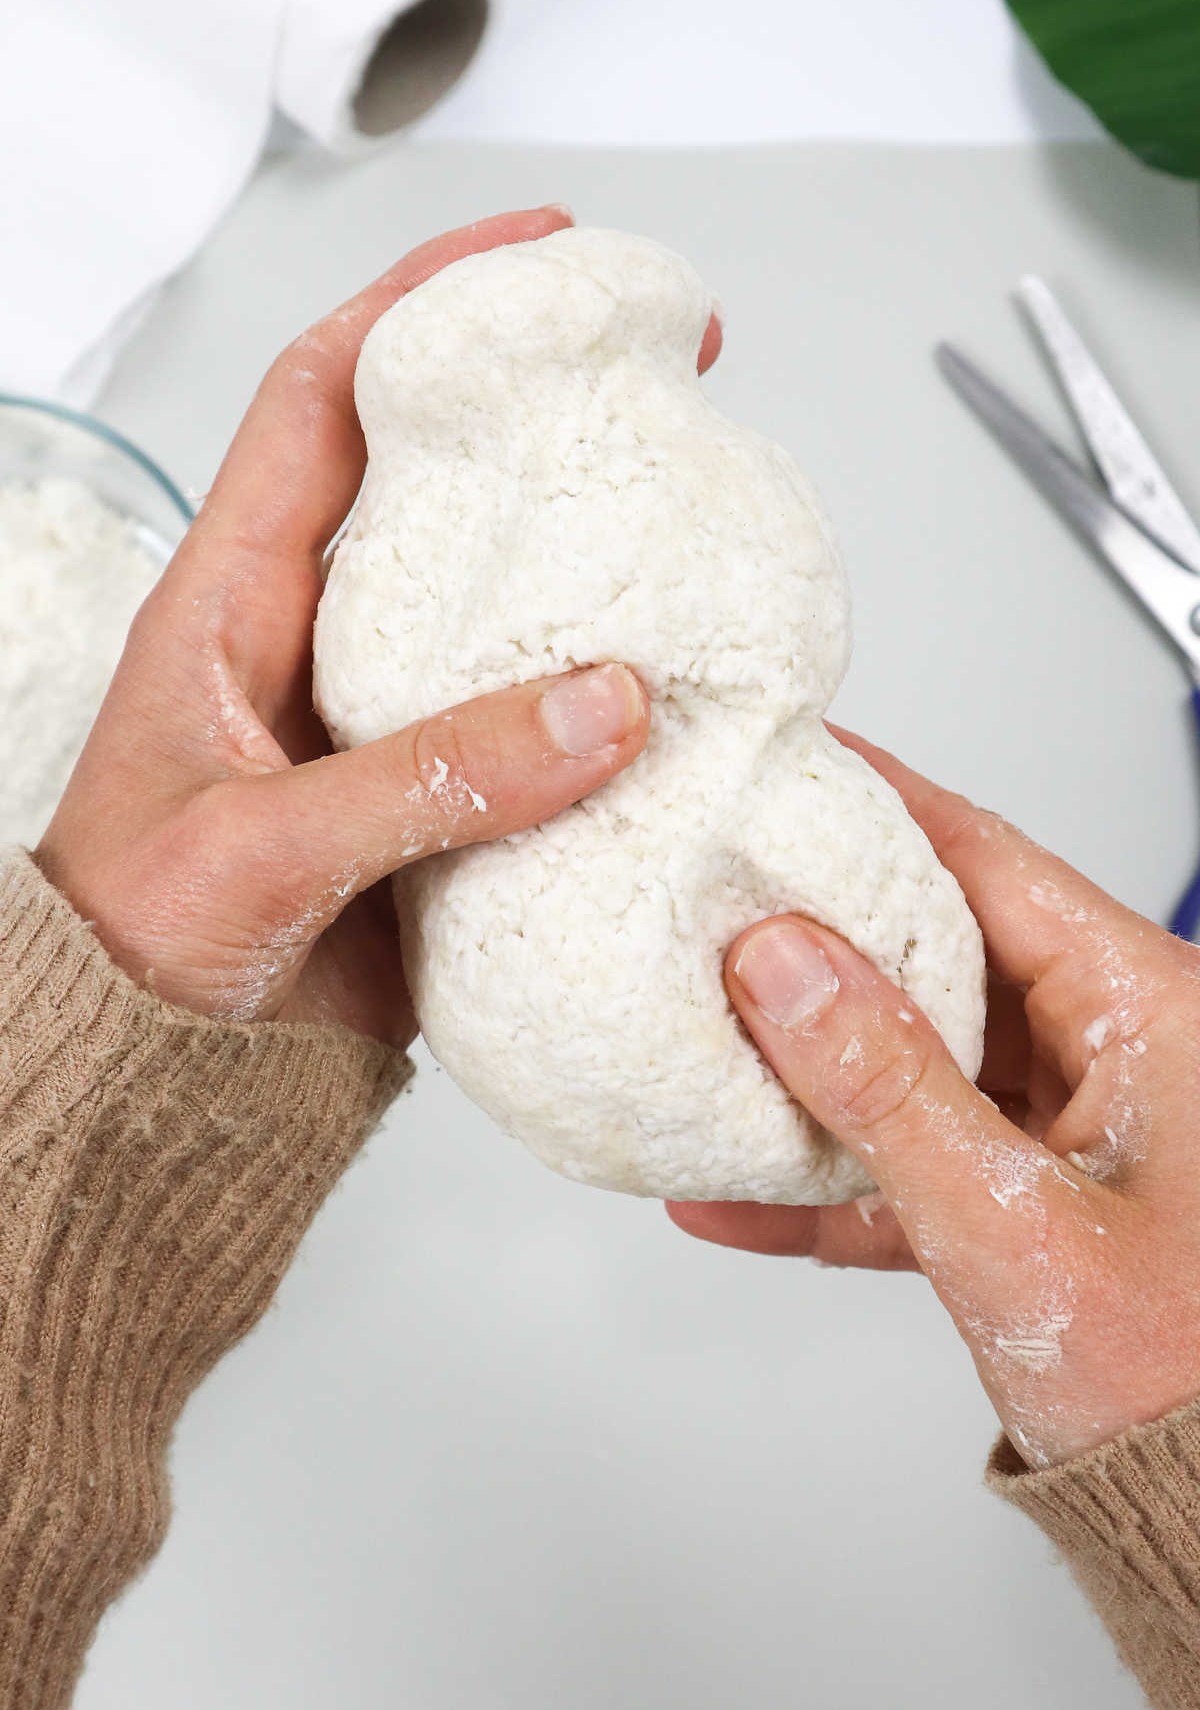
The process of shaping the paste into a moldable dough is perhaps the most enjoyable part of this activity. Before you begin, be prepared for a bit of a mess – it’s all part of the fun! If your mixture appears too wet, simply add a small amount of flour and continue rolling until it reaches the desired consistency. Conversely, if the paste seems overly dry, a few drops of water should help to loosen it up.
Children often delight in this hands-on aspect of the activity, making it an excellent way to encourage their creativity and get them involved in the process. Once you’ve achieved the perfect texture, your paper mache dough will be ready to use for crafting a wide range of creative projects.
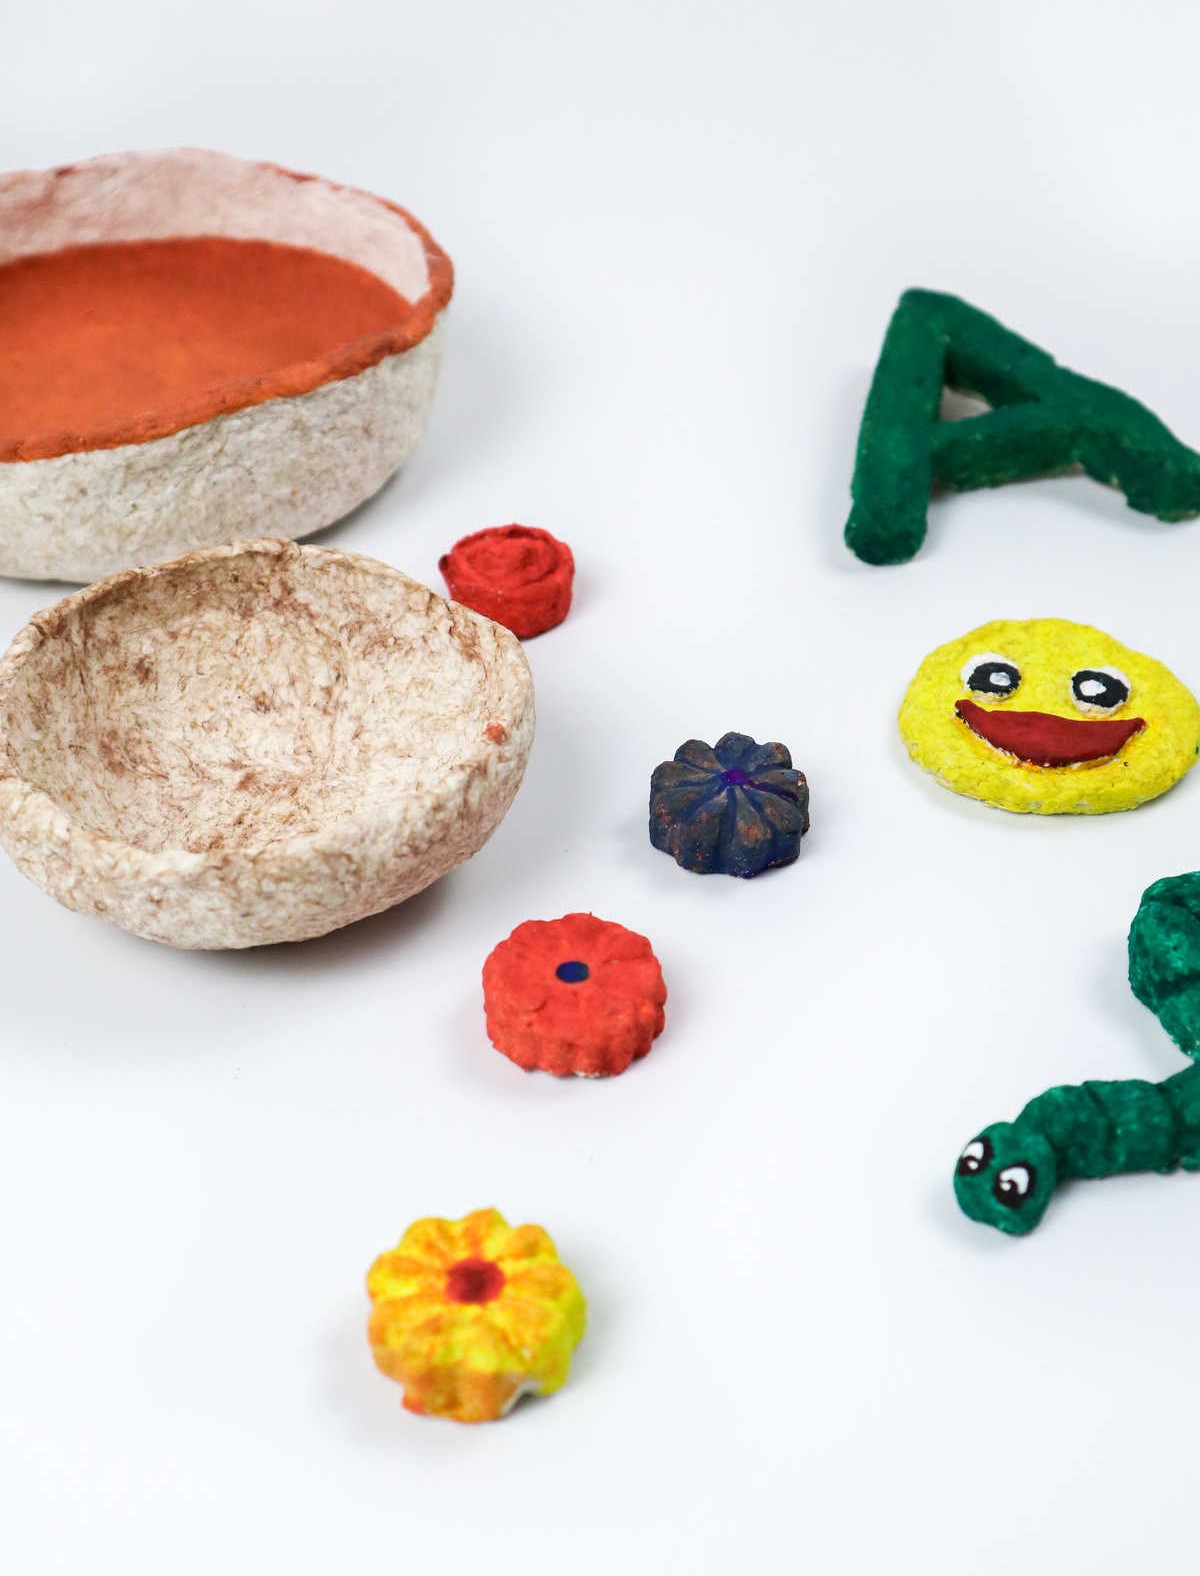
What Can I Make from Paper Mache?
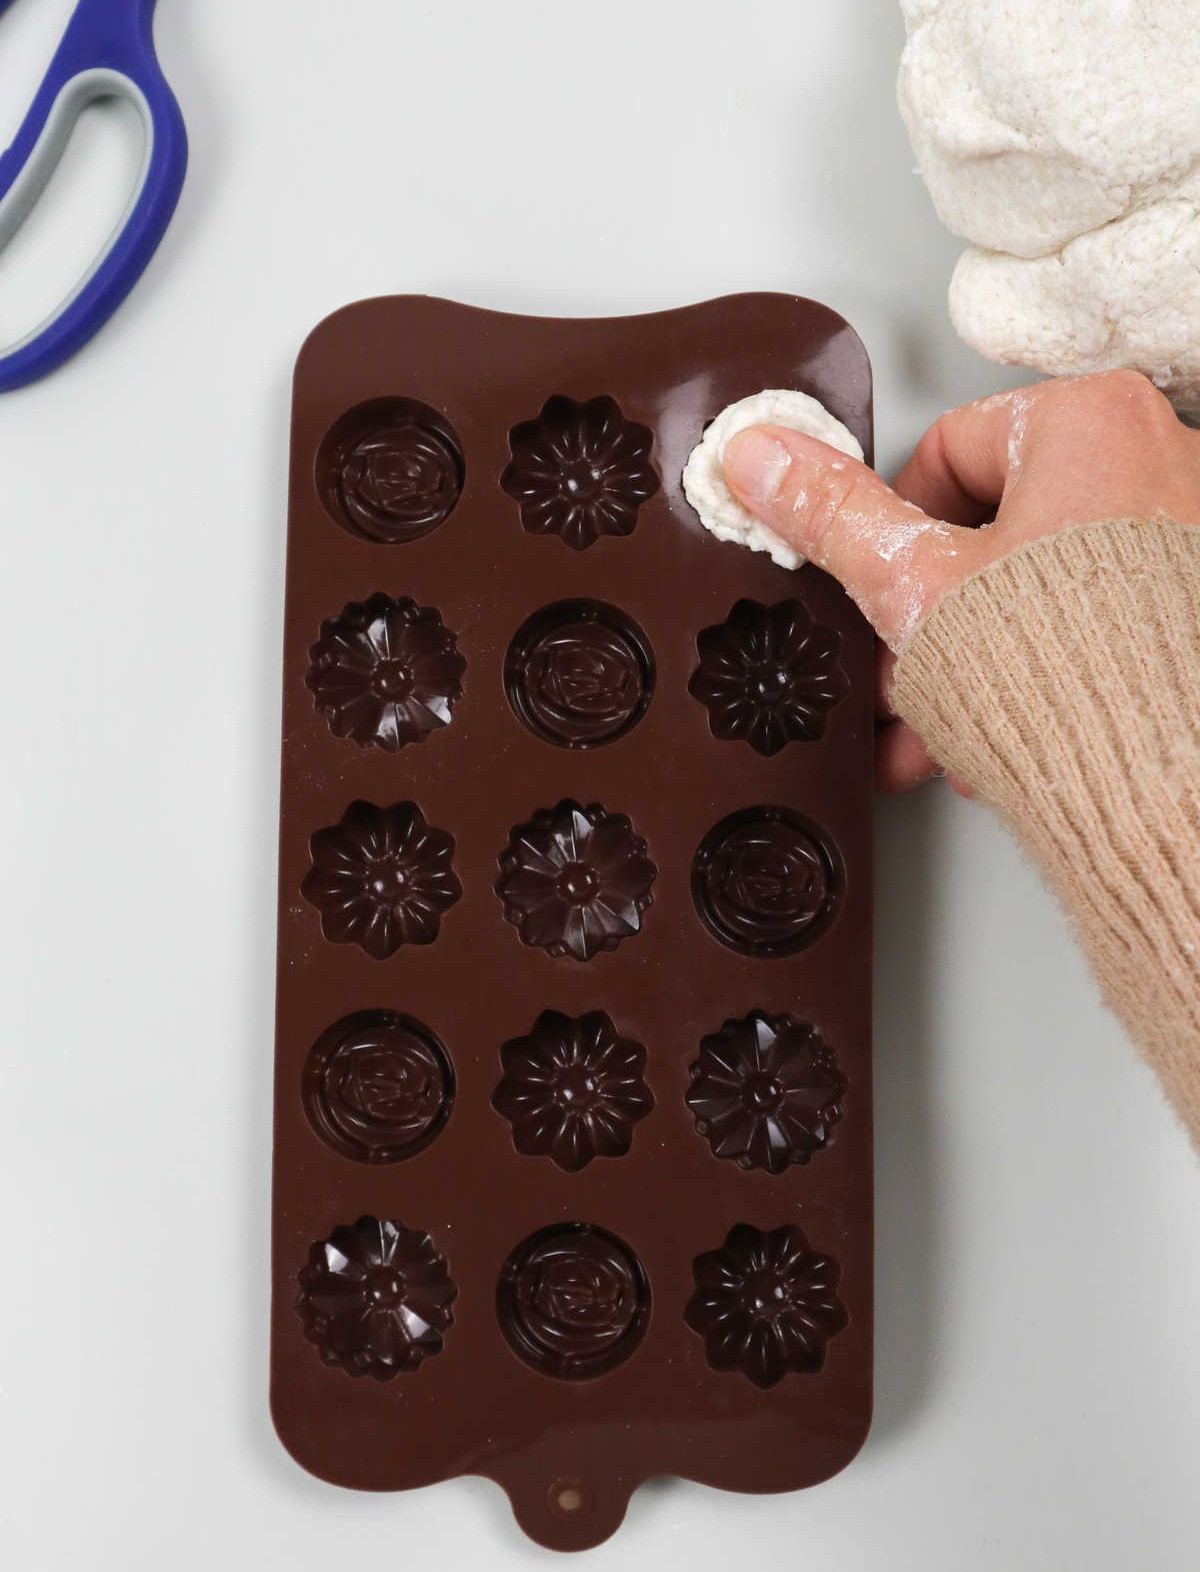
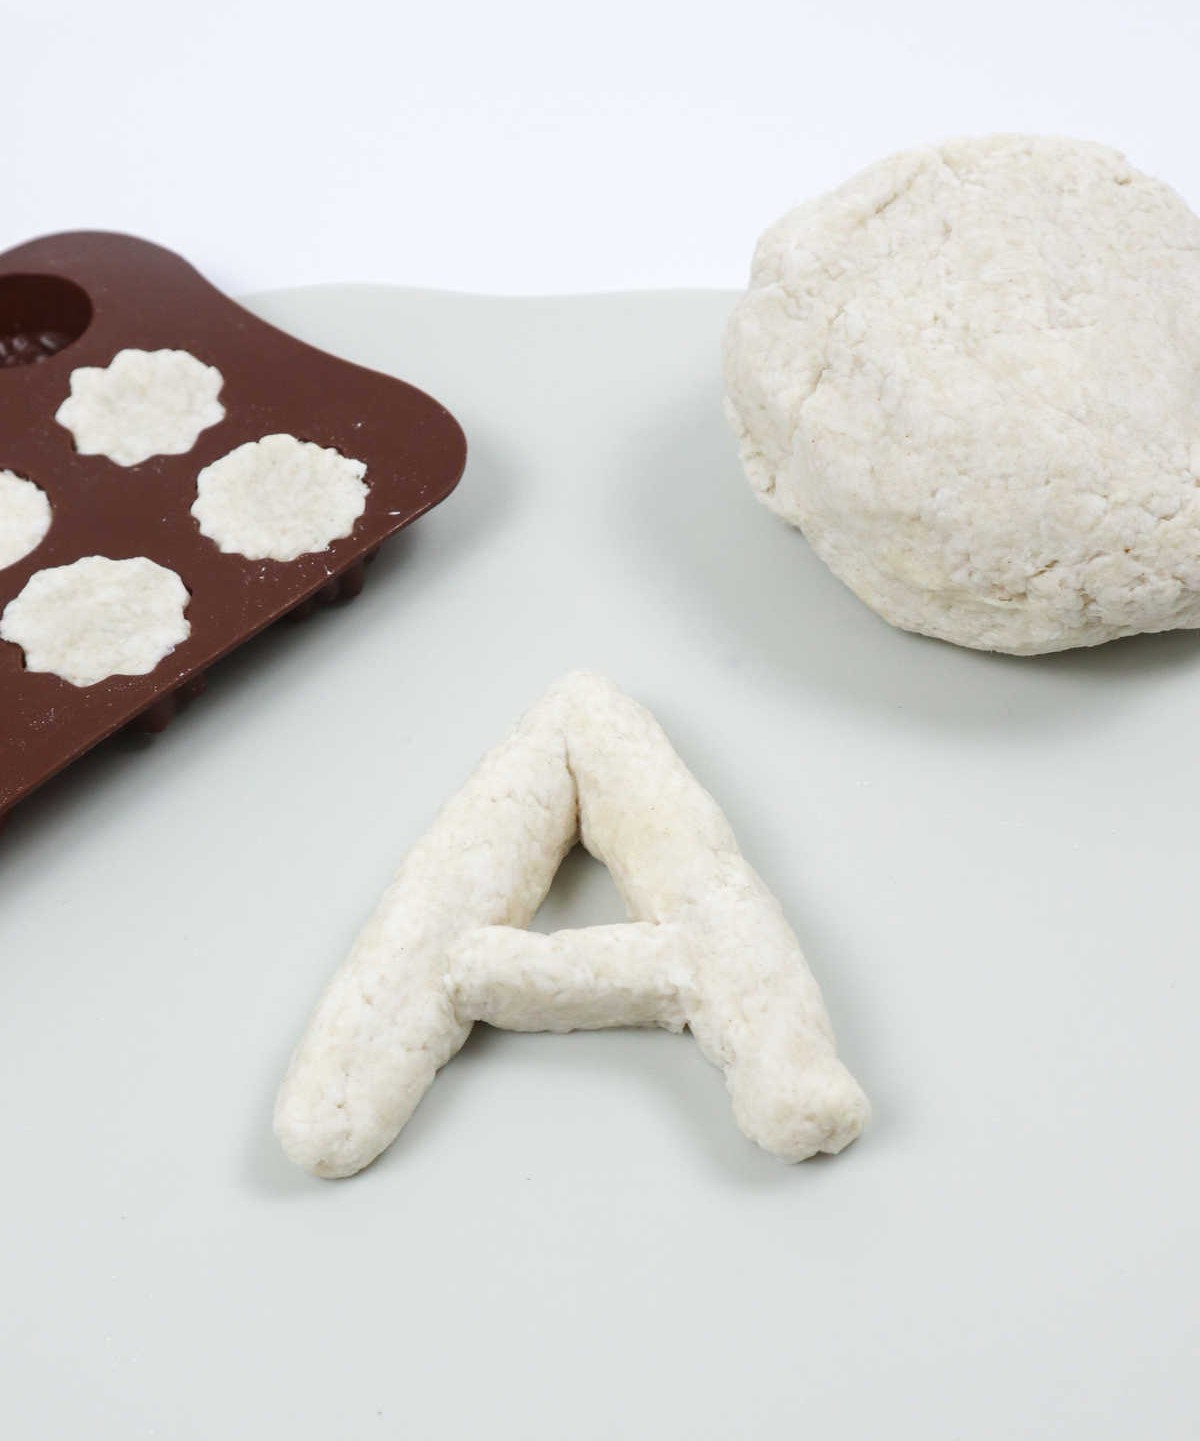
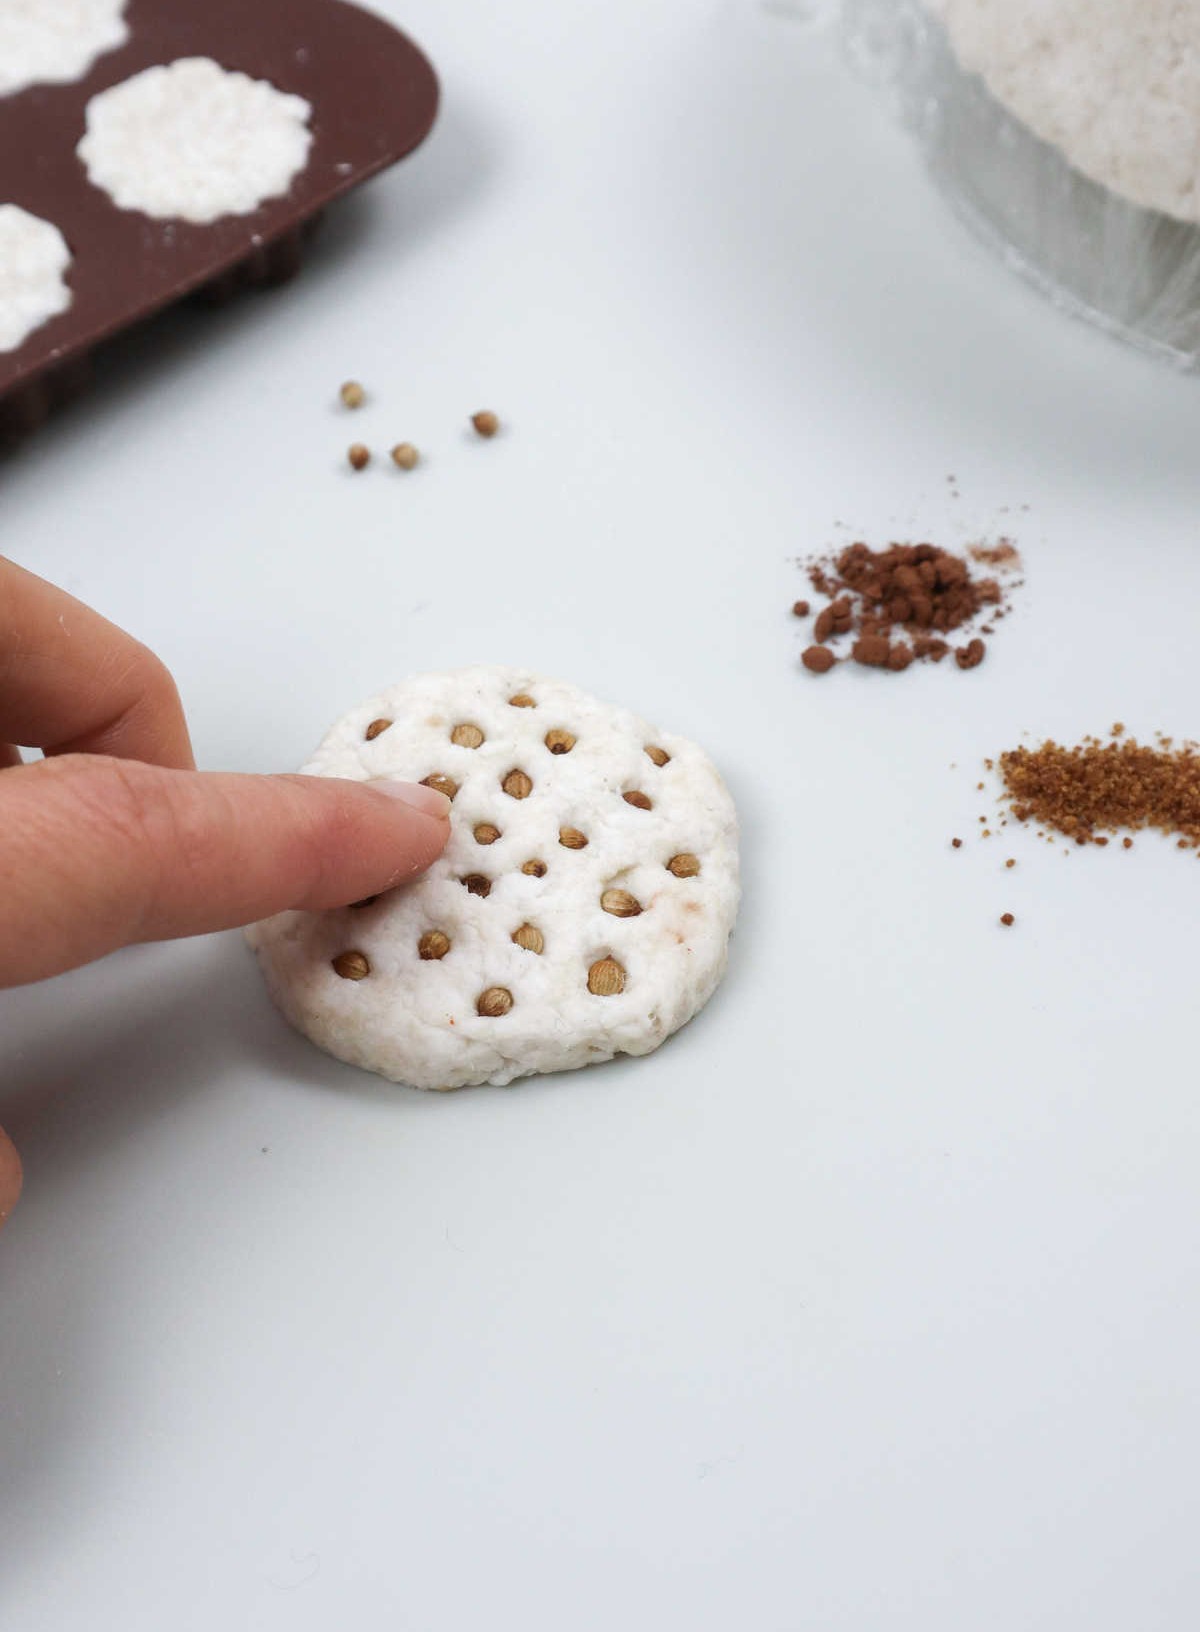
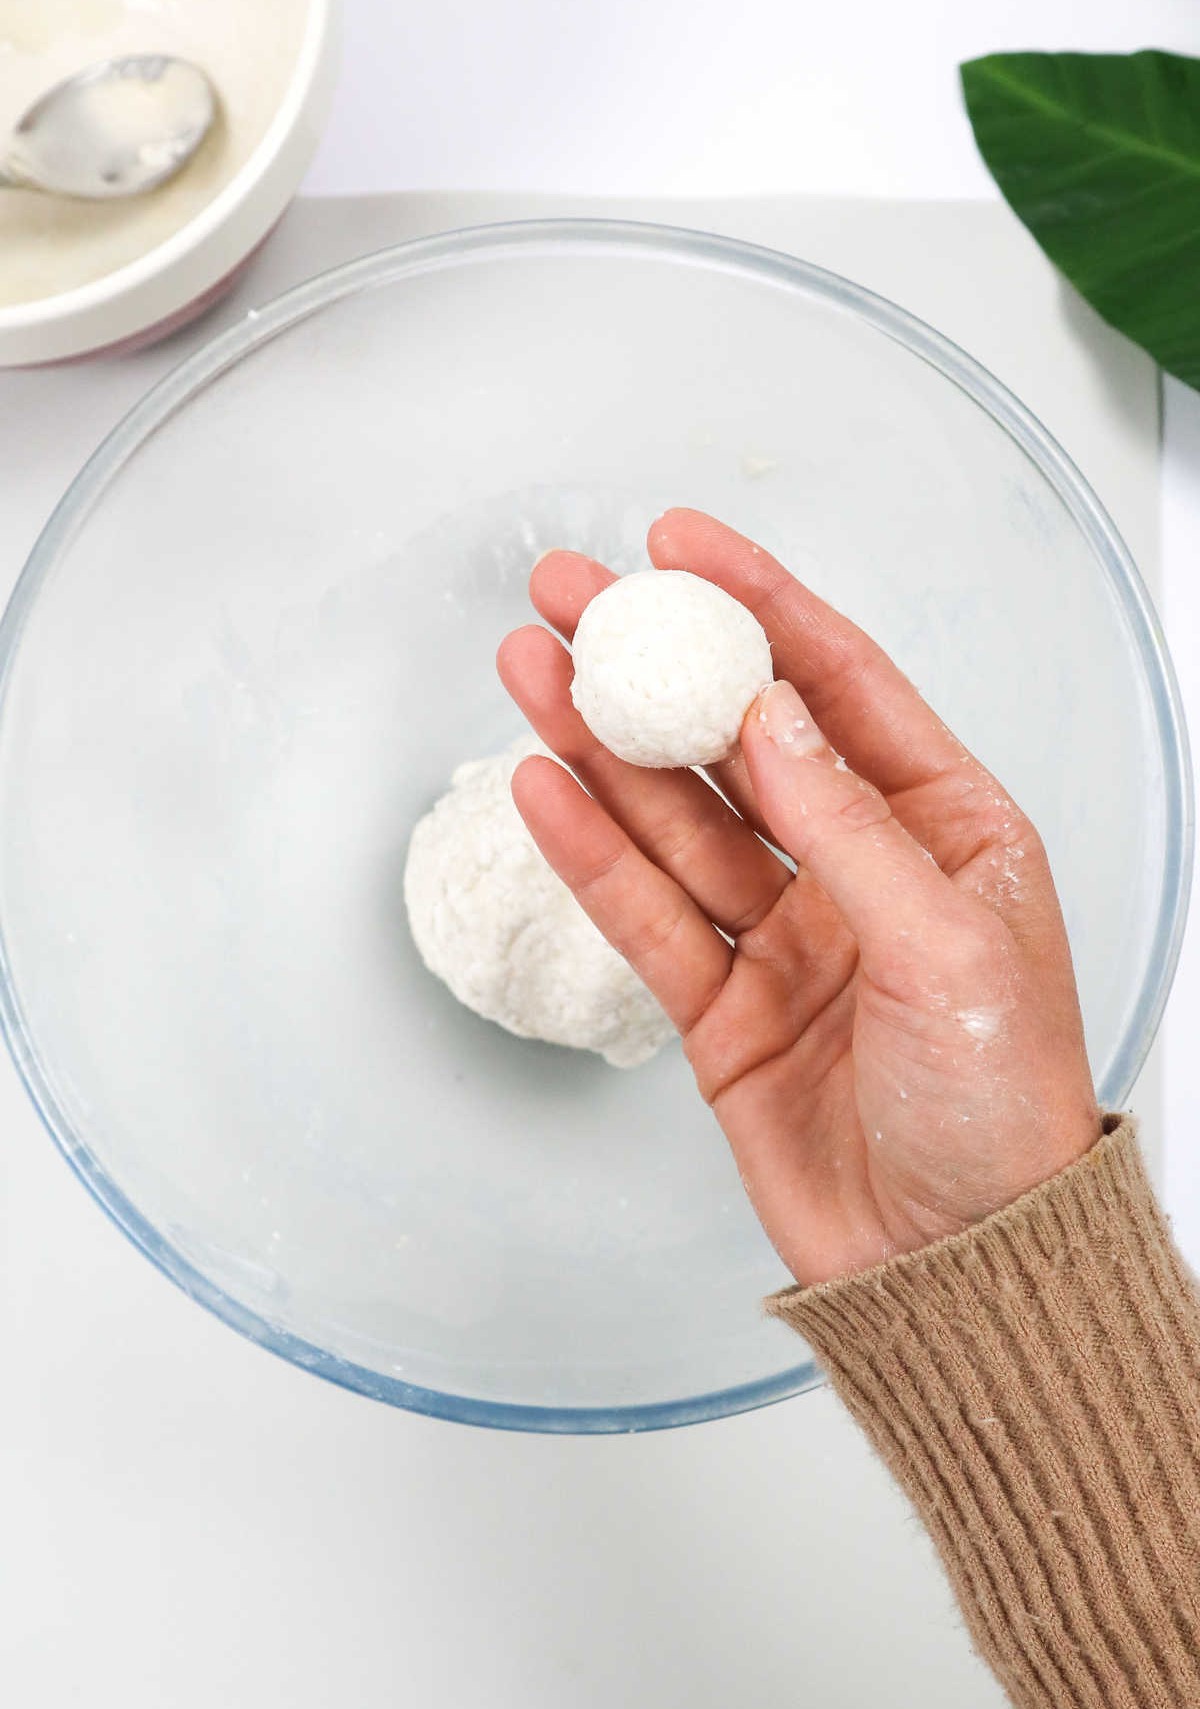
Paper mache offers endless possibilities, starting from creating the dough itself. Once you have the perfect mixture, the creative applications are limitless. One simple yet effective way to use paper mache is by pressing the dough into a chocolate or candy mold, allowing it to dry before painting and using it as ornaments or decorative accents. This method can also be used to create unique baubles for special occasions.
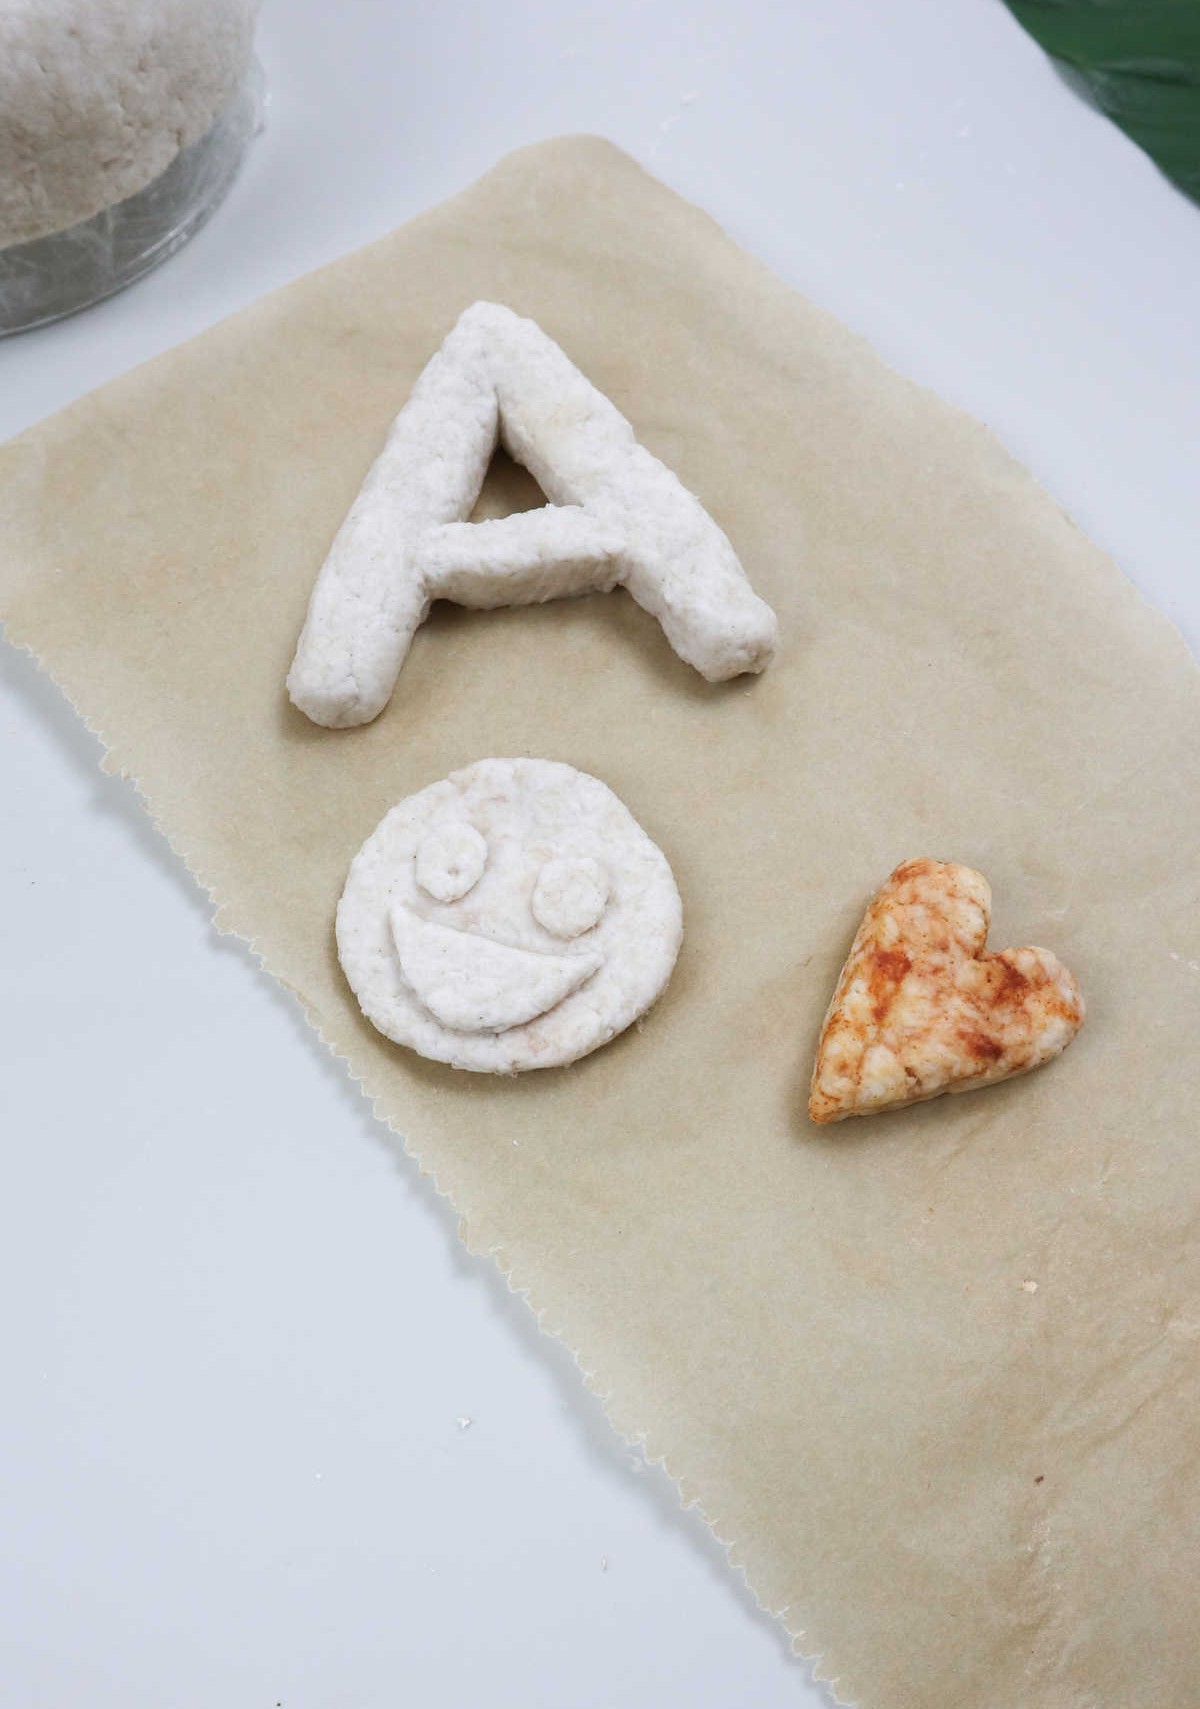
In addition to making decorative items, paper mache can also be used in educational settings. For instance, you can create an engaging ABC lesson by crafting a set of paper mache alphabets for toddlers to learn their letters. The tactile nature of the project makes it an excellent way to introduce young children to the alphabet. Beyond its uses as a teaching tool, paper mache is also great for crafting functional items like trinket trays, bowls, and small dishes.
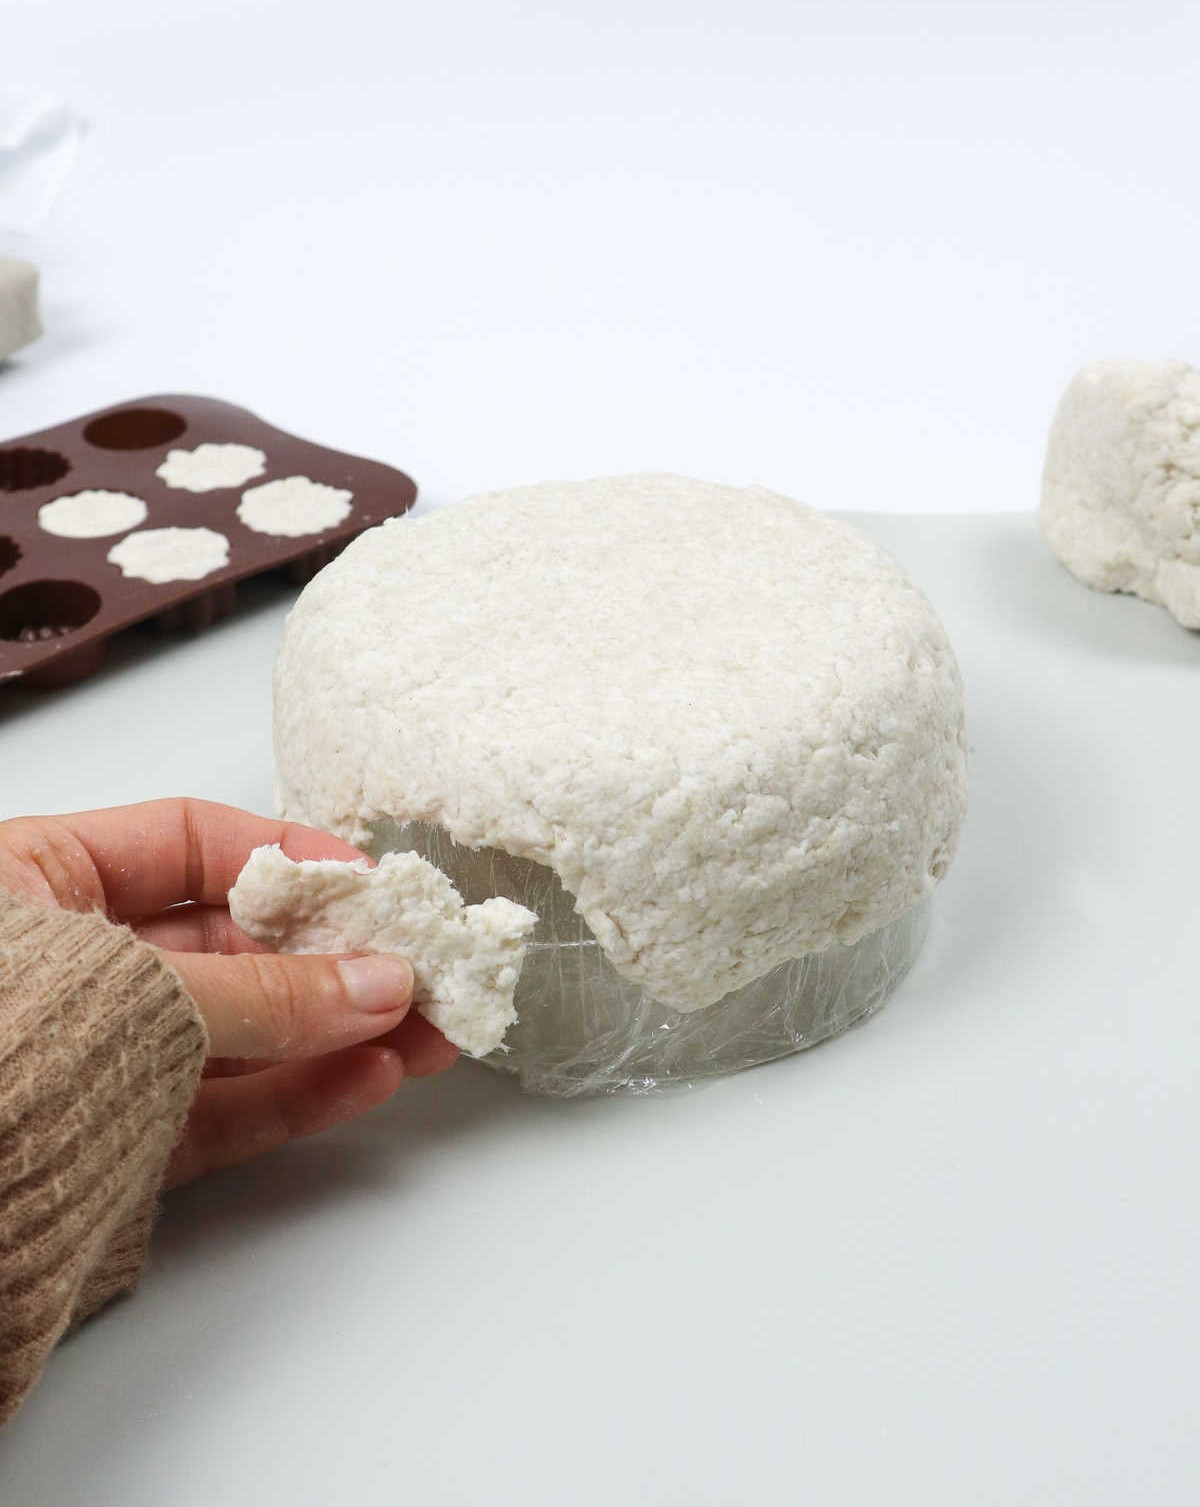
To create these items, start by covering a plastic or glass bowl with clear wrap or cling film, adding a drop of oil around it before applying the paper mache dough. As you shape the dough around the bowl, make sure to cover the entire surface. Once dry, your creation can be used to store small treasures and trinkets.
Can You Use Hairdryer to Dry Paper Mache?
When drying your paper mache, it’s tempting to reach for a hairdryer, but caution is advised. Turn down the heat setting or risk scorching your delicate creation. Remember that paper mache has a tendency to be flammable, so it’s crucial to exercise care. Furthermore, using a hairdryer may not evenly distribute the drying process. Smaller sections will likely dry faster, while larger pieces require more time.
For optimal results, allow your project to air dry for at least 2-3 days, or longer if thicker. Once fully dry, you can proceed with painting. A valuable tip to increase longevity is to add a teaspoon of salt to the dough before kneading. This allows for refrigeration up to a week, making it easier to work on your project in stages.
How to Make Paper Mache (Step-by-Step)
Are you a craft enthusiast looking to unleash your creativity? Crafting with paper mache is an excellent way to get started. With just 10 minutes of preparation, you can begin creating a variety of fun and creative projects. In total, you’ll spend around 2 hours and 30 minutes making these crafts, but the end result will be well worth the effort.
Materials
To create a simple DIY bath bomb mixture, you’ll need the following ingredients and tools. Start by gathering 1/2 a toilet paper roll’s worth of cheesecloth. Next, measure out 1/2 a glass of water and set it aside. You’ll also need 1/2 a glass of wheat flour. A spoon will come in handy for mixing everything together, as well as a blender to help combine the ingredients into a smooth paste. Finally, you’ll want two bowls ready to go – one for mixing and another for shaping your bath bombs.
Instructions
To embark on the process of creating paper mache, start by preparing your workspace. Cover it with an abundance of paper towels to contain any messes or spills that may occur during the process. Next, tear newspaper and paper into small pieces and place them in a large bowl. You can also use scissors to speed up this step. Newspaper is thicker than regular paper, so it’s best to tear it into even smaller fragments.
Once you have your paper particles prepared, pour boiling water over them and let the mixture sit for at least 2 hours – or overnight if using newspaper. The hot water will break down the cellulose in the paper, transforming it into a pliable pulp. After the sitting time has passed, drain the pulp into a cheesecloth and squeeze out as much excess water as possible. Continue squeezing until you’re certain that all the moisture has been removed from the pulp.
Remove the pulp from the cheesecloth and break it down into smaller pieces before combining everything in a bowl. To create the flour paste, combine equal parts of flour or cornstarch with water in another bowl. Place this mixture over low heat and stir continuously as it ‘cooks’ for 4-5 minutes, allowing any excess water to evaporate. The resulting paste should be smooth and sticky.
Alternatively, you can microwave the paste for 15-20 seconds, remove it from the microwave, stir it, and then return it for another round. Repeat this process 4-5 times to achieve the desired consistency. Once you have your flour paste ready, pour it onto the pulp and knead them together until a pliant dough forms. This dough can be stored in the refrigerator for up to a week before use. With your paper mache dough prepared, you’re free to create a variety of craft items.
Simply allow everything to air dry for a couple of days before enjoying the fruits of your labor.