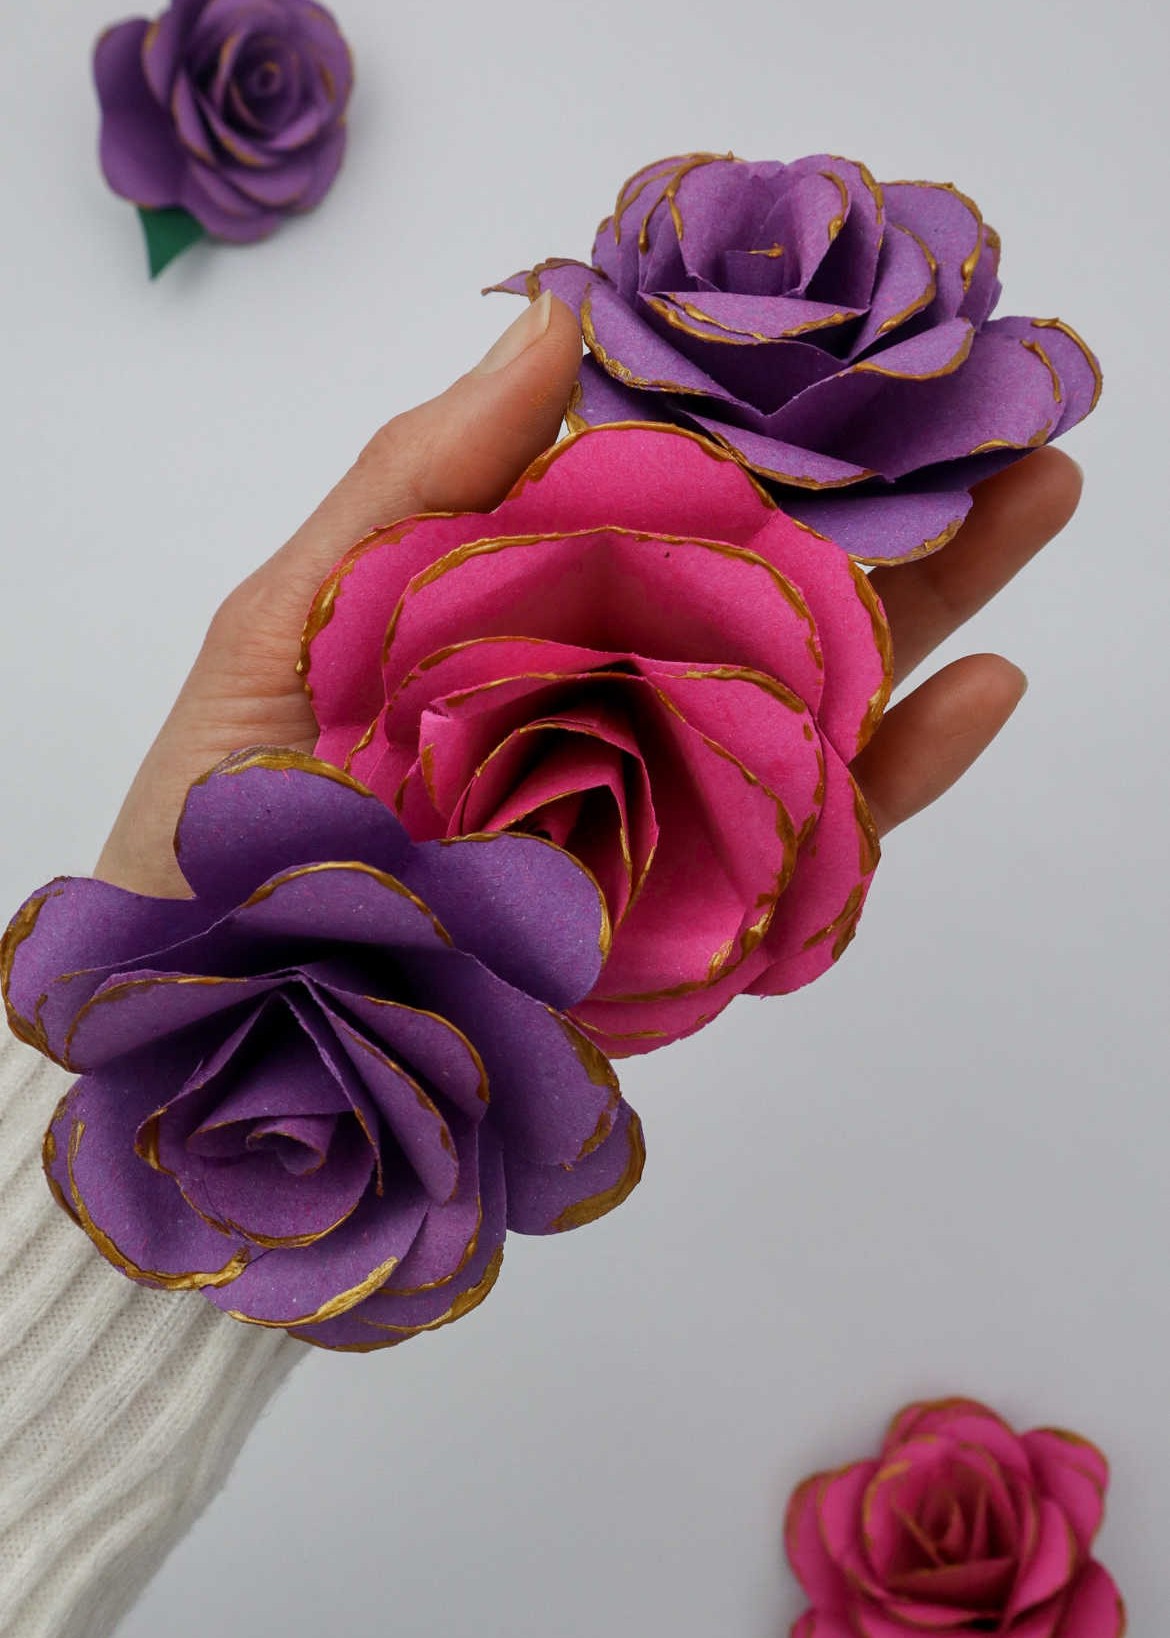
Create stunning paper flowers using leftover materials and bring a touch of elegance to your crafting sessions! This versatile craft is perfect for kids, teens, and adults alike. Paper flowers are a treasure trove of creative possibilities. They can instantly elevate your crafts from good to great, adding a dash of whimsy and charm to any project. Imagine adorning photo frames, birthday cards, or even using them as the star of your own crafting session. The options are endless!
Whether you’re a seasoned crafter or just looking for a new hobby, paper flowers offer a world of artistic expression. So why not get creative with some leftover paper and make your very own stunning blooms? The result is sure to be a masterpiece that will leave you feeling proud and inspired.
Supplies You’ll Need for Flowers
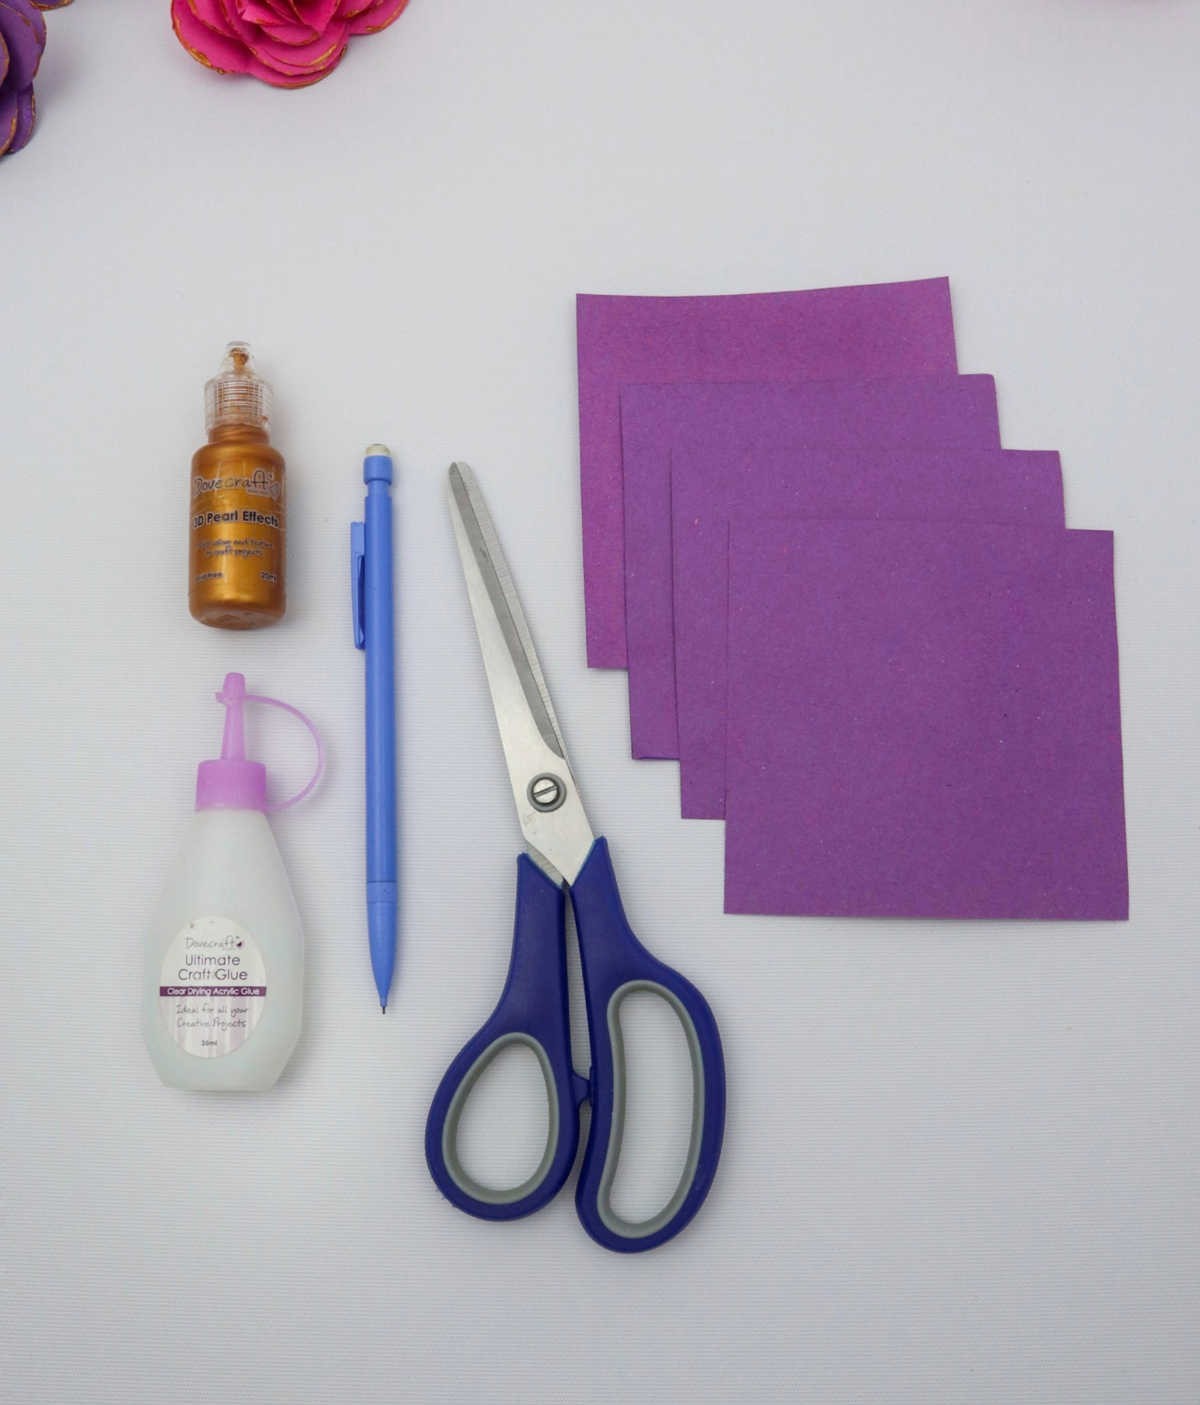
As you prepare for your upcoming creative endeavour with the children, it’s essential to gather the necessary materials. To ensure a successful and enjoyable experience, make sure to have the following supplies on hand: four square pieces of paper (measuring 4 inches by 4 inches), scissors, craft glue, a pencil, and glitter glue.
How to Make Paper Flowers
Now that you’ve selected the perfect paper and gathered all the necessary materials, you’re ready to begin your DIY project. With everything in place, it’s time to dive into the process.
Step 1
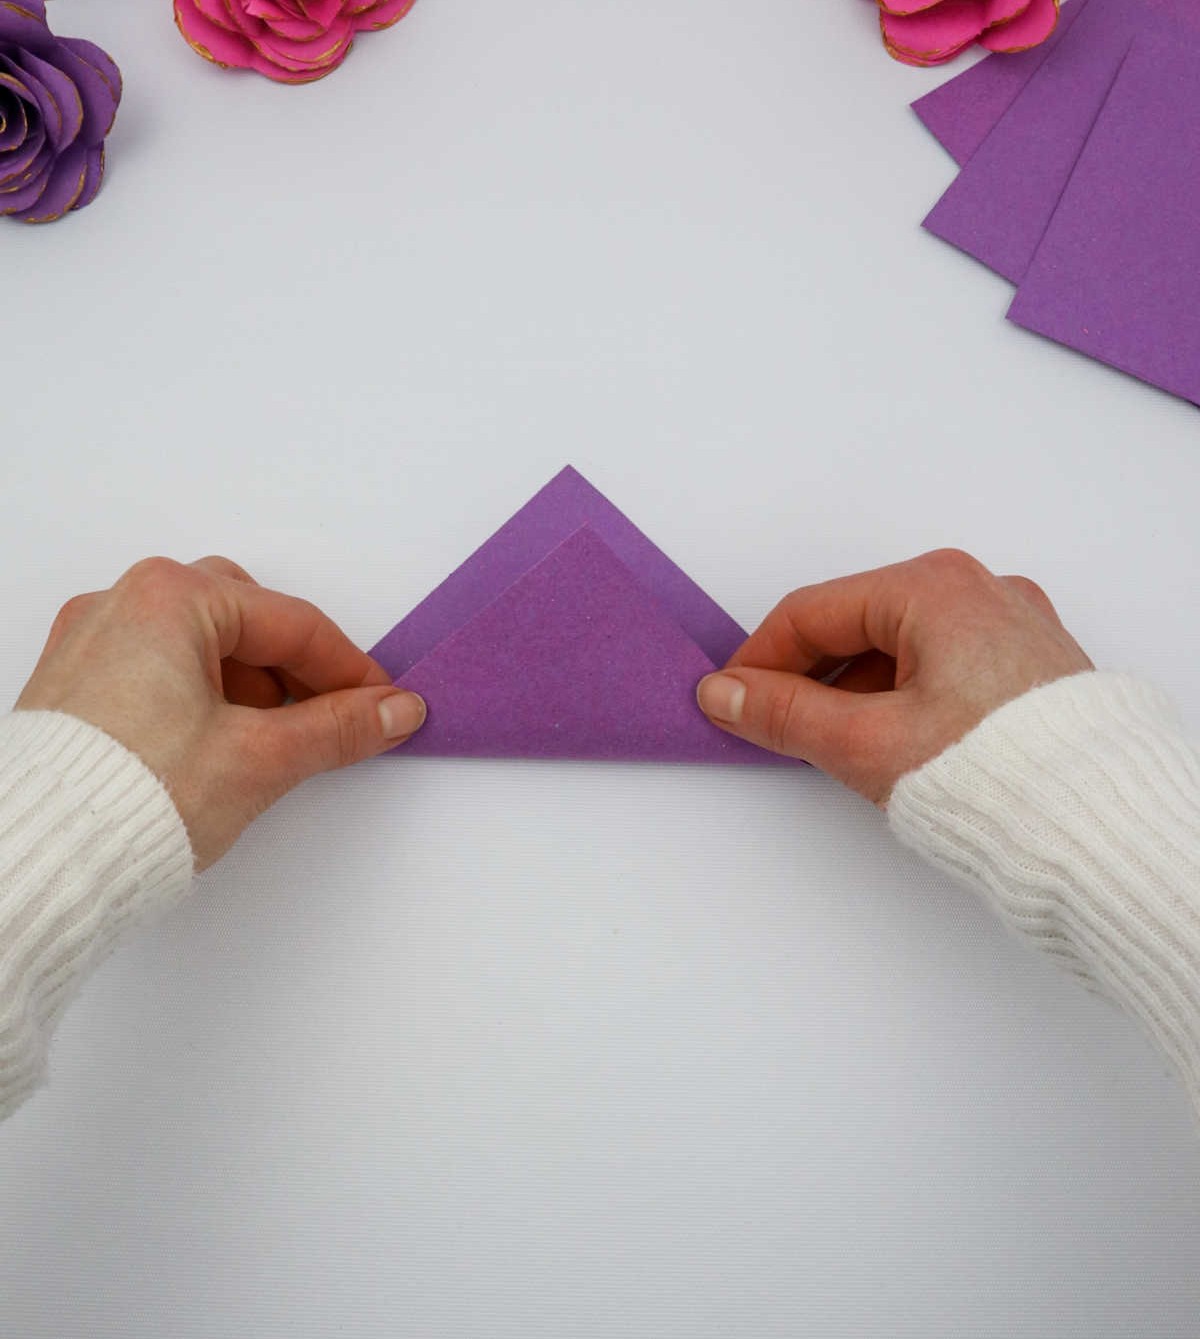
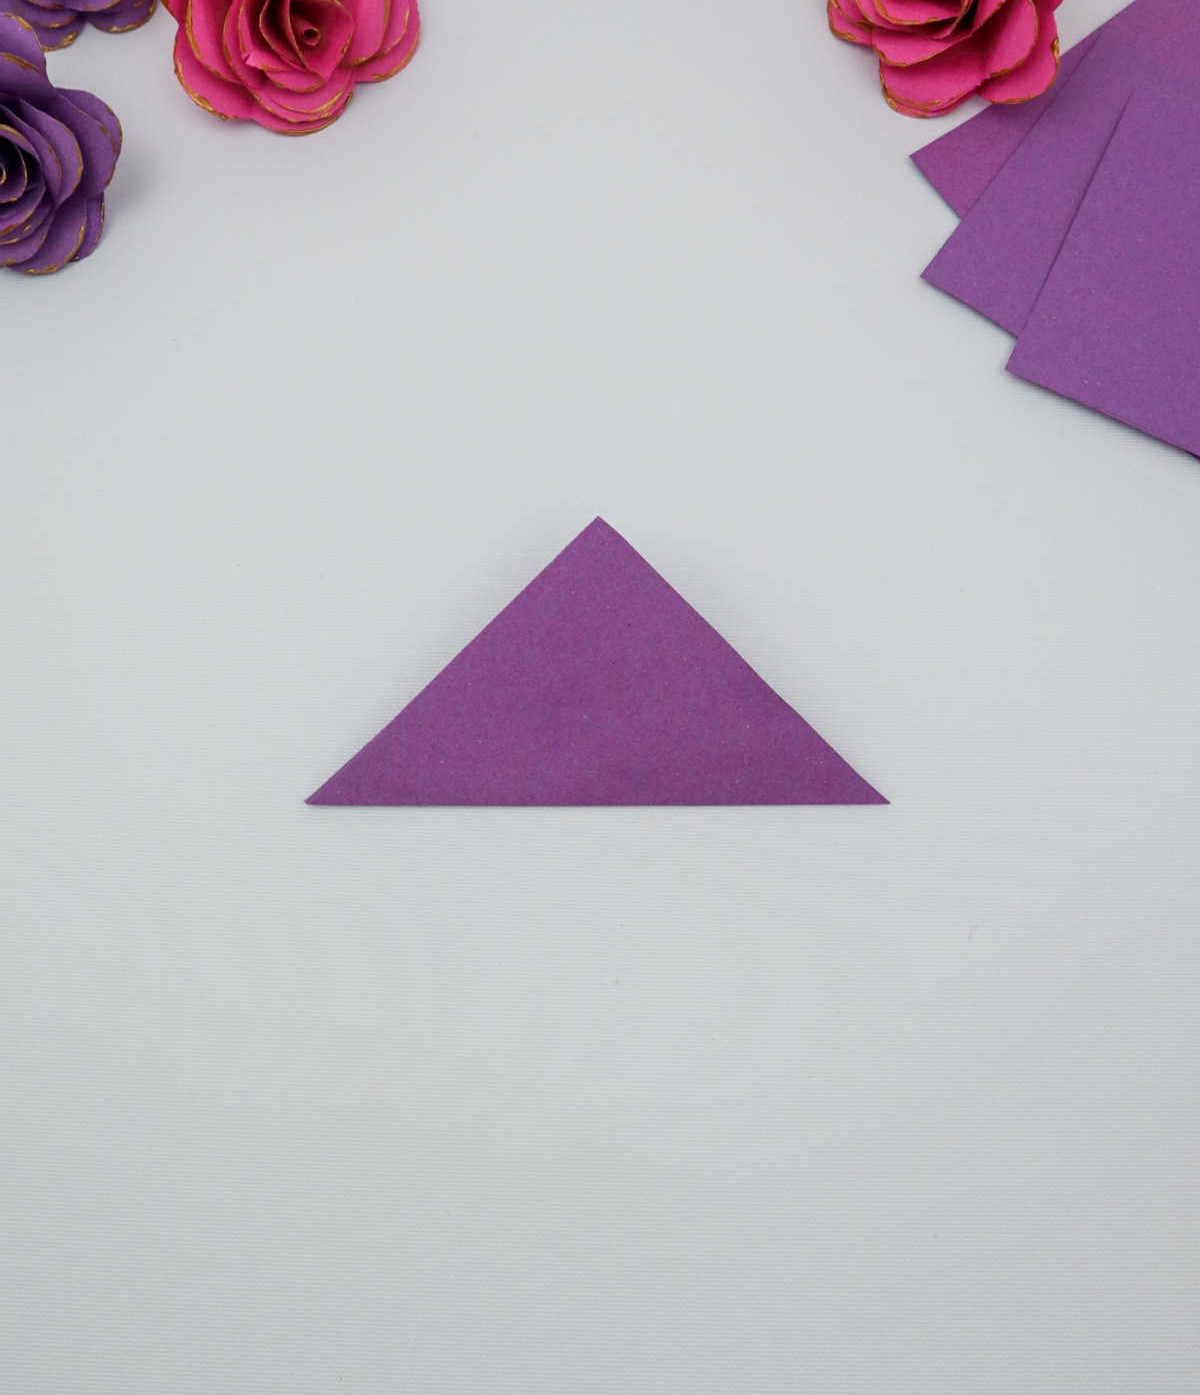
When embarking on this DIY adventure, find a flat surface to serve as your foundation for folding and creasing the paper. This will enable you to achieve crisp folds and precise angles. To begin, bring one end of the paper across to the opposite side, creating a diagonal fold that overlaps its own edges by a small margin. As you shape the paper, ensure the ends align neatly, much like the illustration below.
With each subsequent fold, you’ll find yourself working towards a triangular form, gradually taking shape beneath your hands.
Step 2
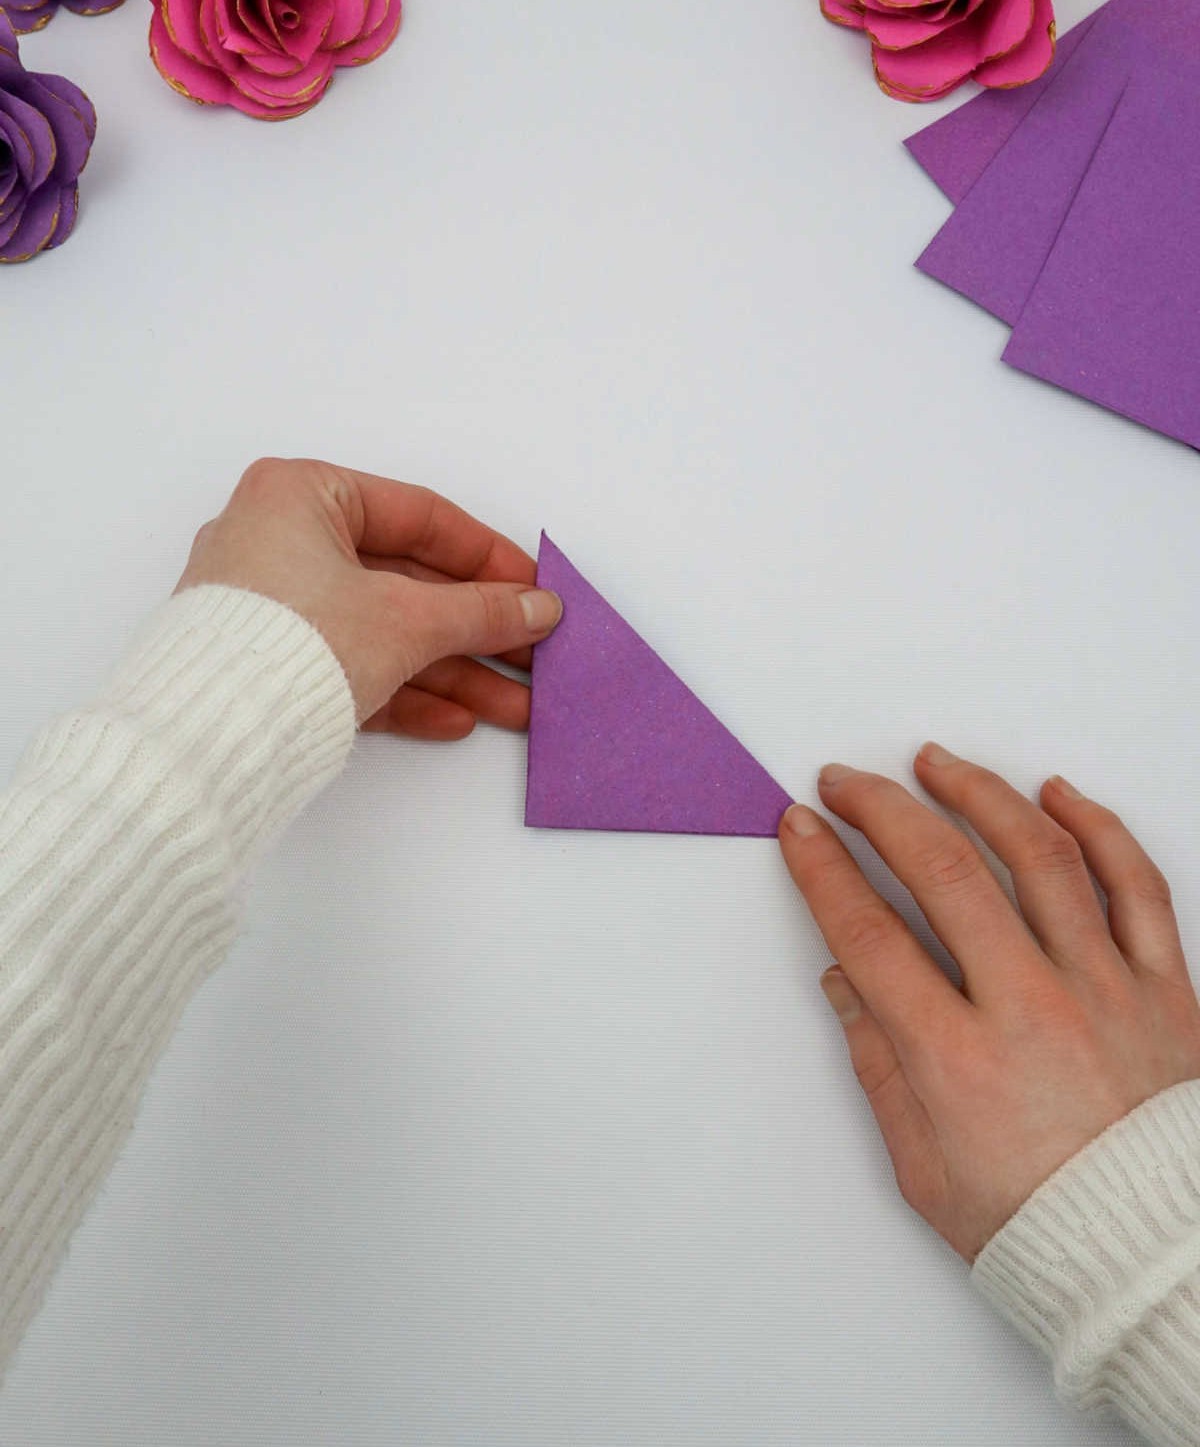
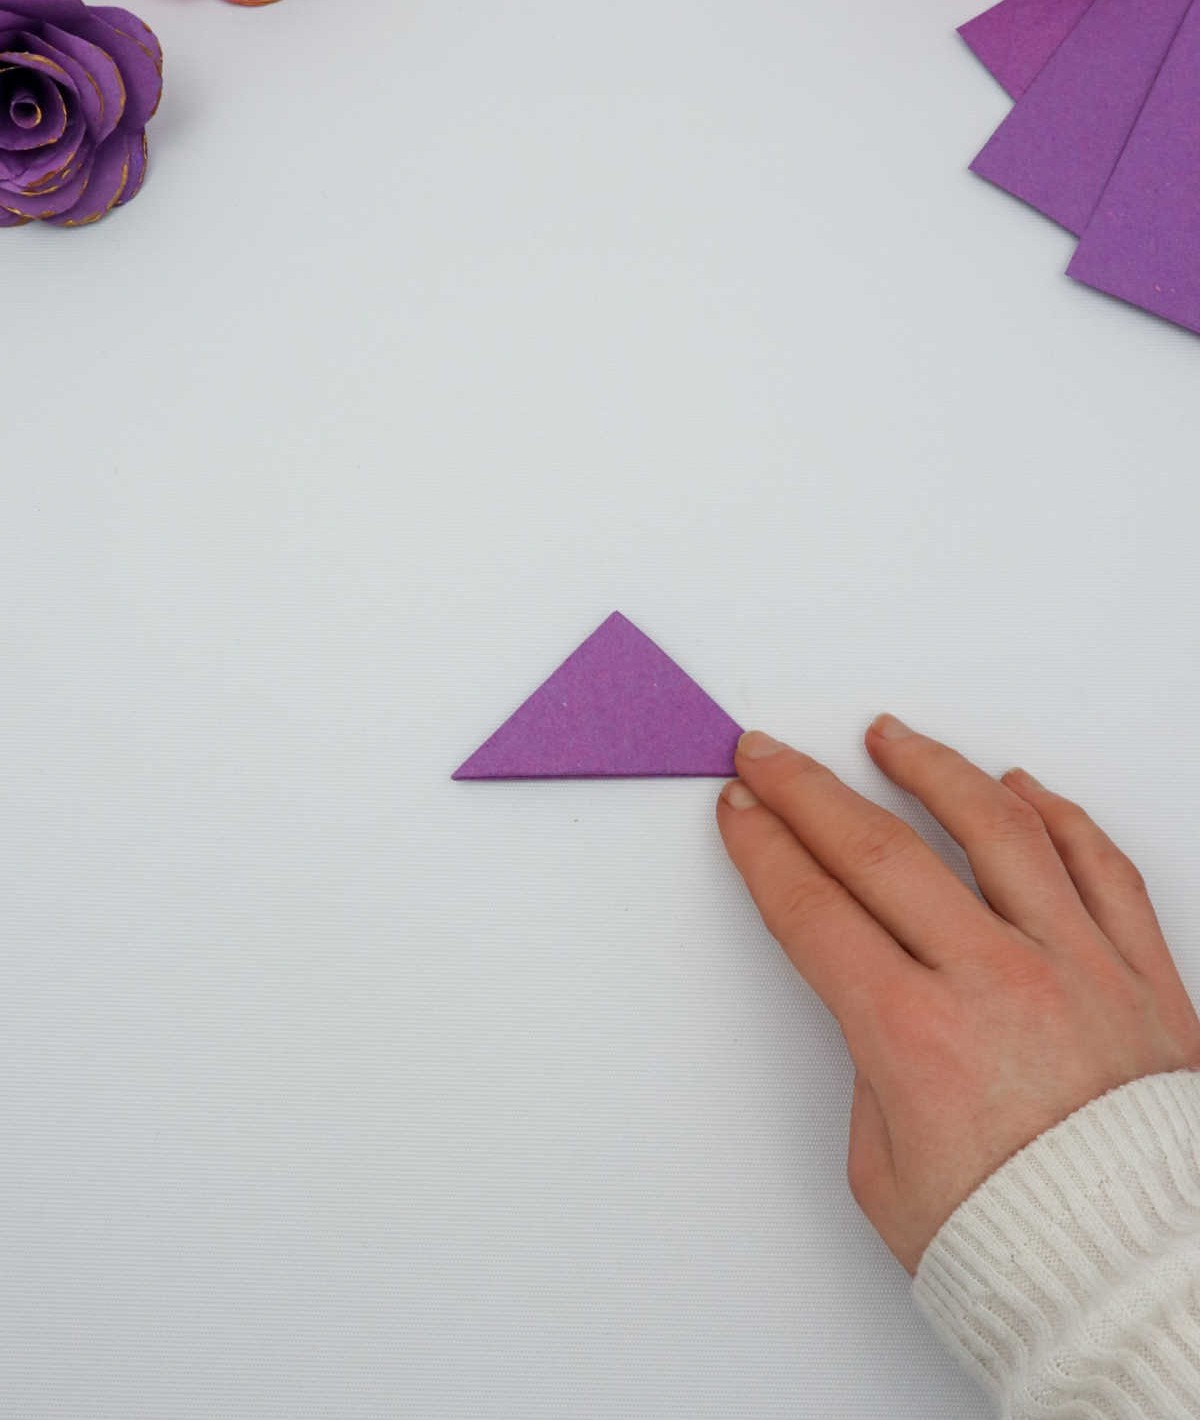
To create a second, smaller triangle, refold the paper along its original crease, taking care to align the edges precisely. This will give you a compact yet still recognizable triangular shape.
Step 3

To create the petals of your imaginary flower, start by drawing a curved line with your chosen writing utensil, forming an arc shape around one corner of the triangular base. The resulting curve should resemble the illustration provided for reference.
Step 4

To create the desired shape, take out your trusty scissors and make precise cuts along the curved line, taking care not to stray from the path. As you work, focus on maintaining a steady hand and a sharp blade to ensure a clean and accurate cut.
Step 5
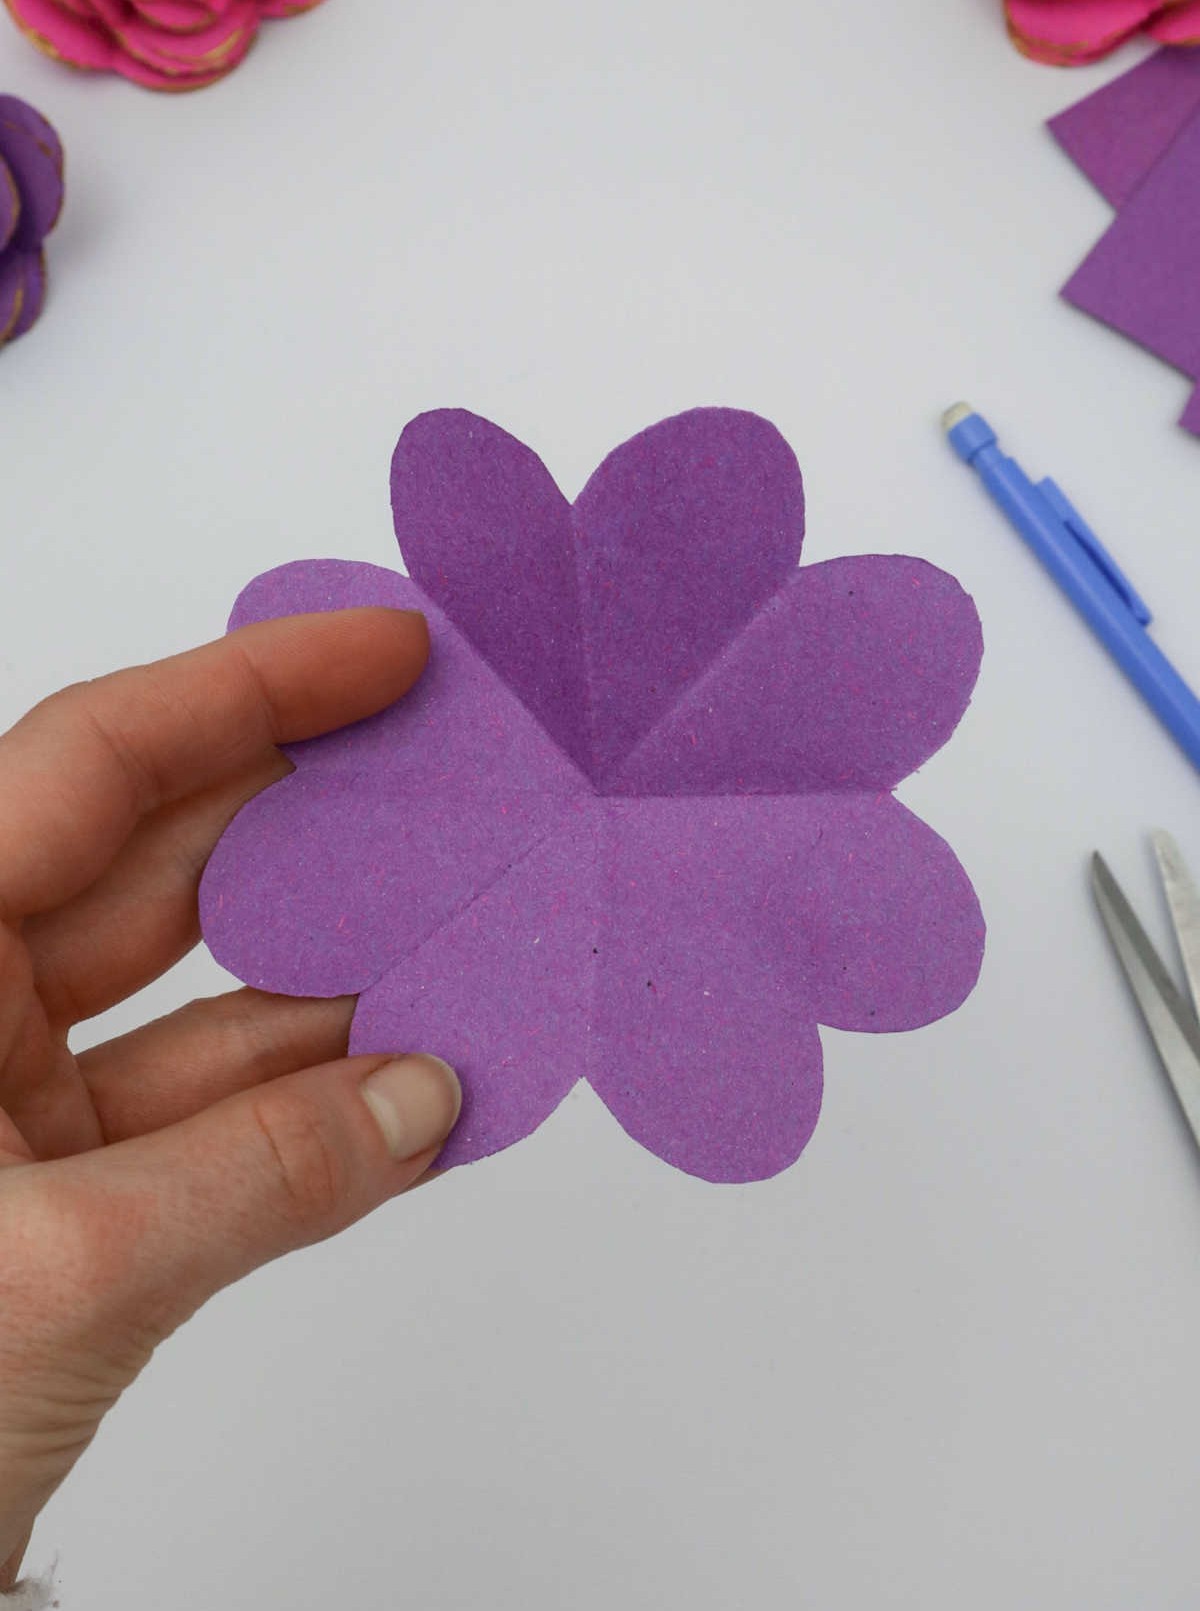
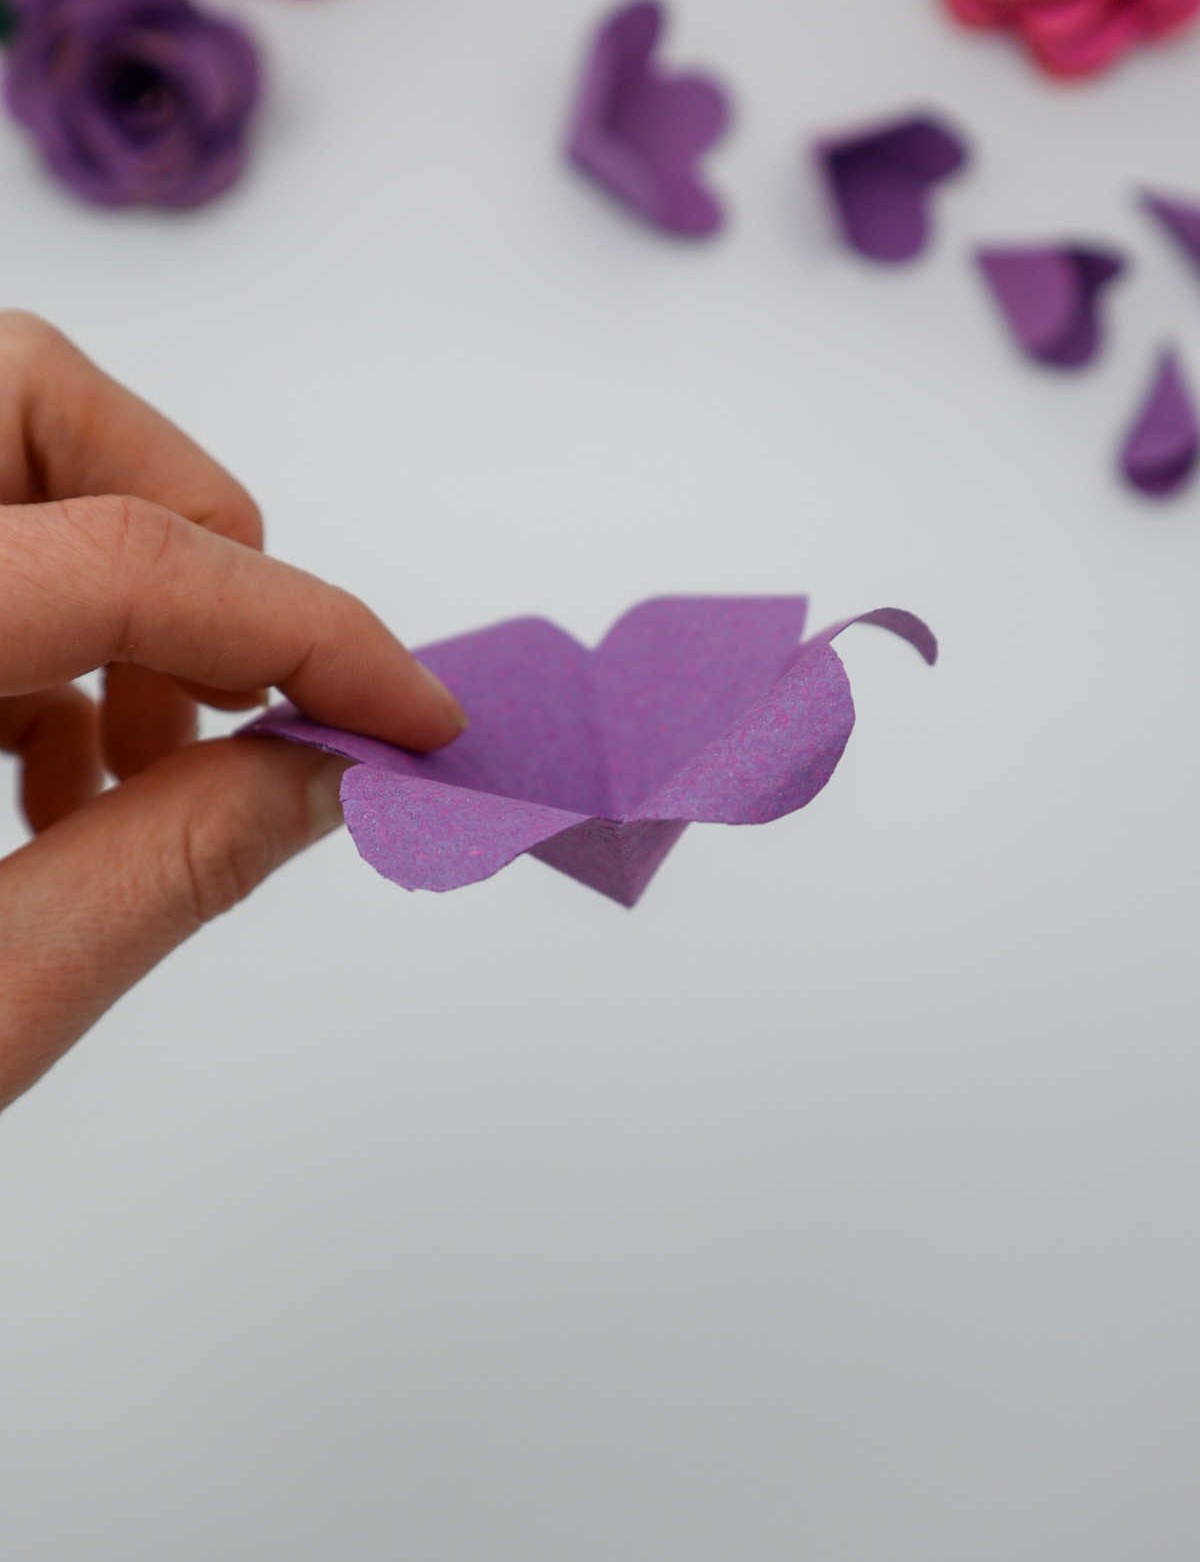
Gently open the folds, and you’ll reveal the foundation of your exquisite paper bloom.
Step 6
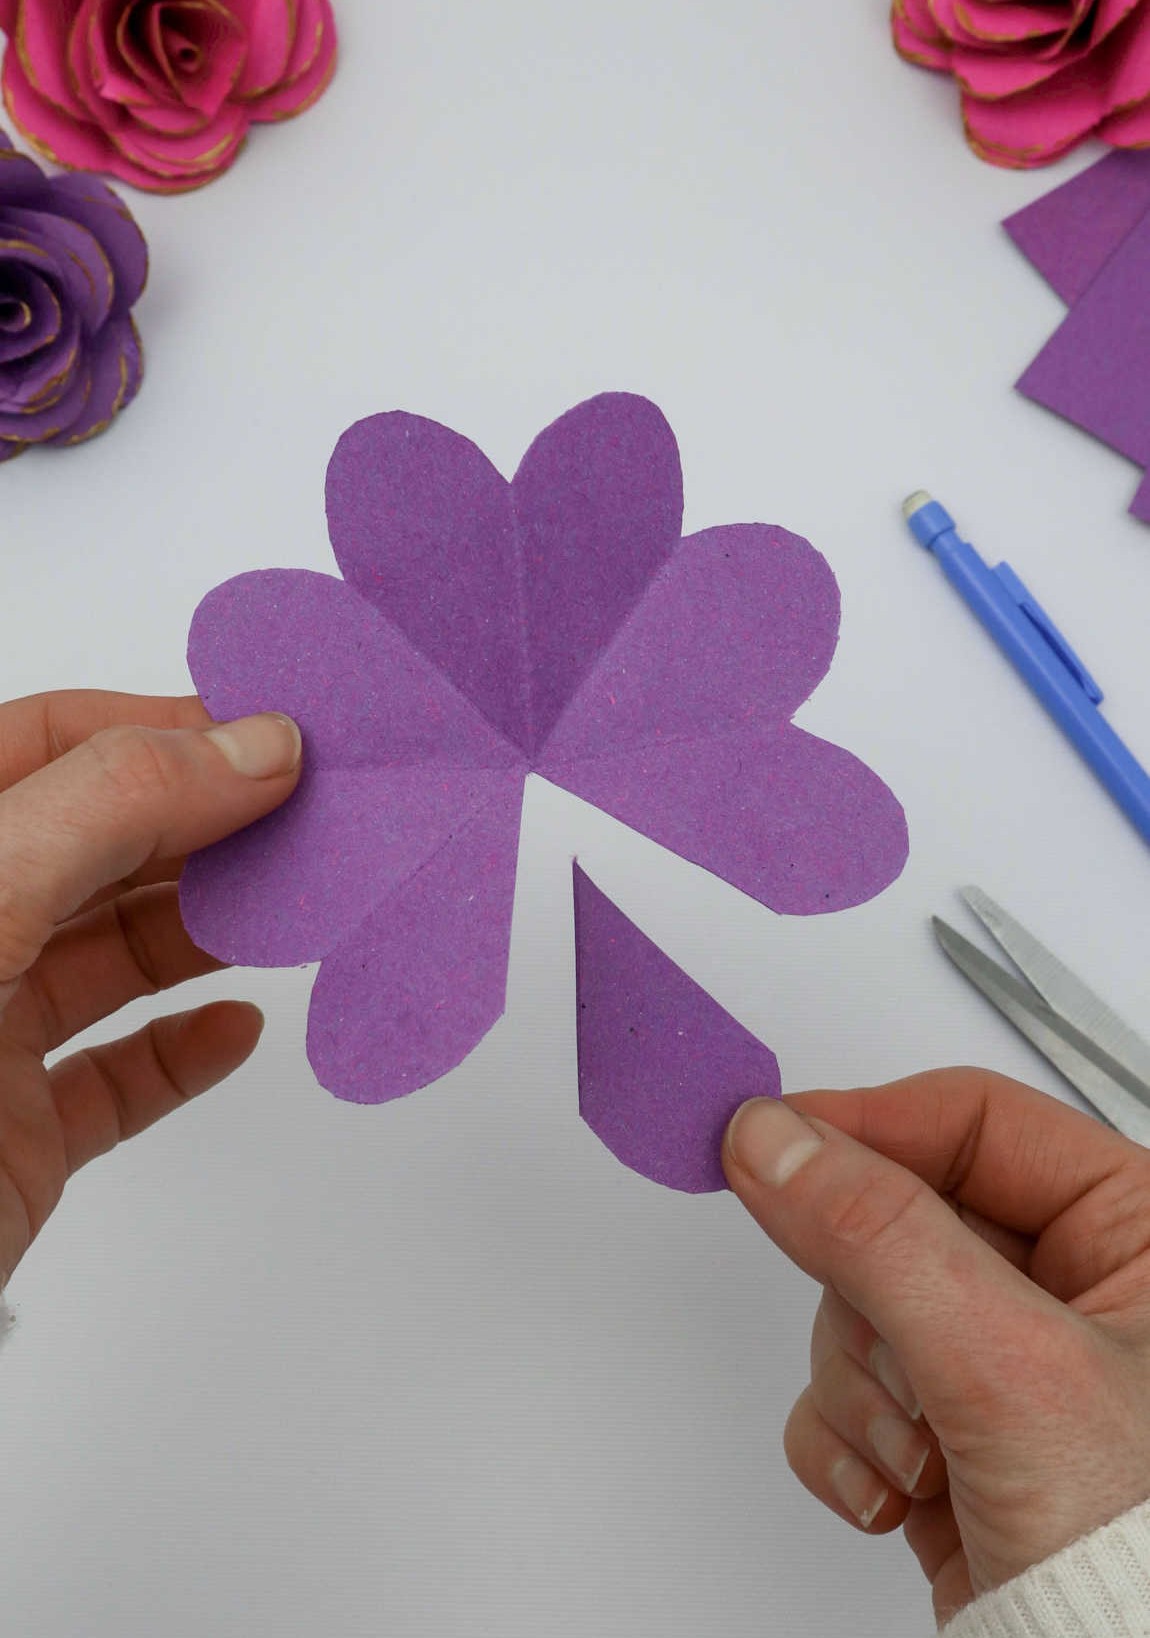
To achieve the signature curved fold of a floral design, carefully remove a single, continuous arc from the outermost layer of petals. This initial step sets the foundation for the rest of your flower’s shape and will guide the folds that follow.
Step 7
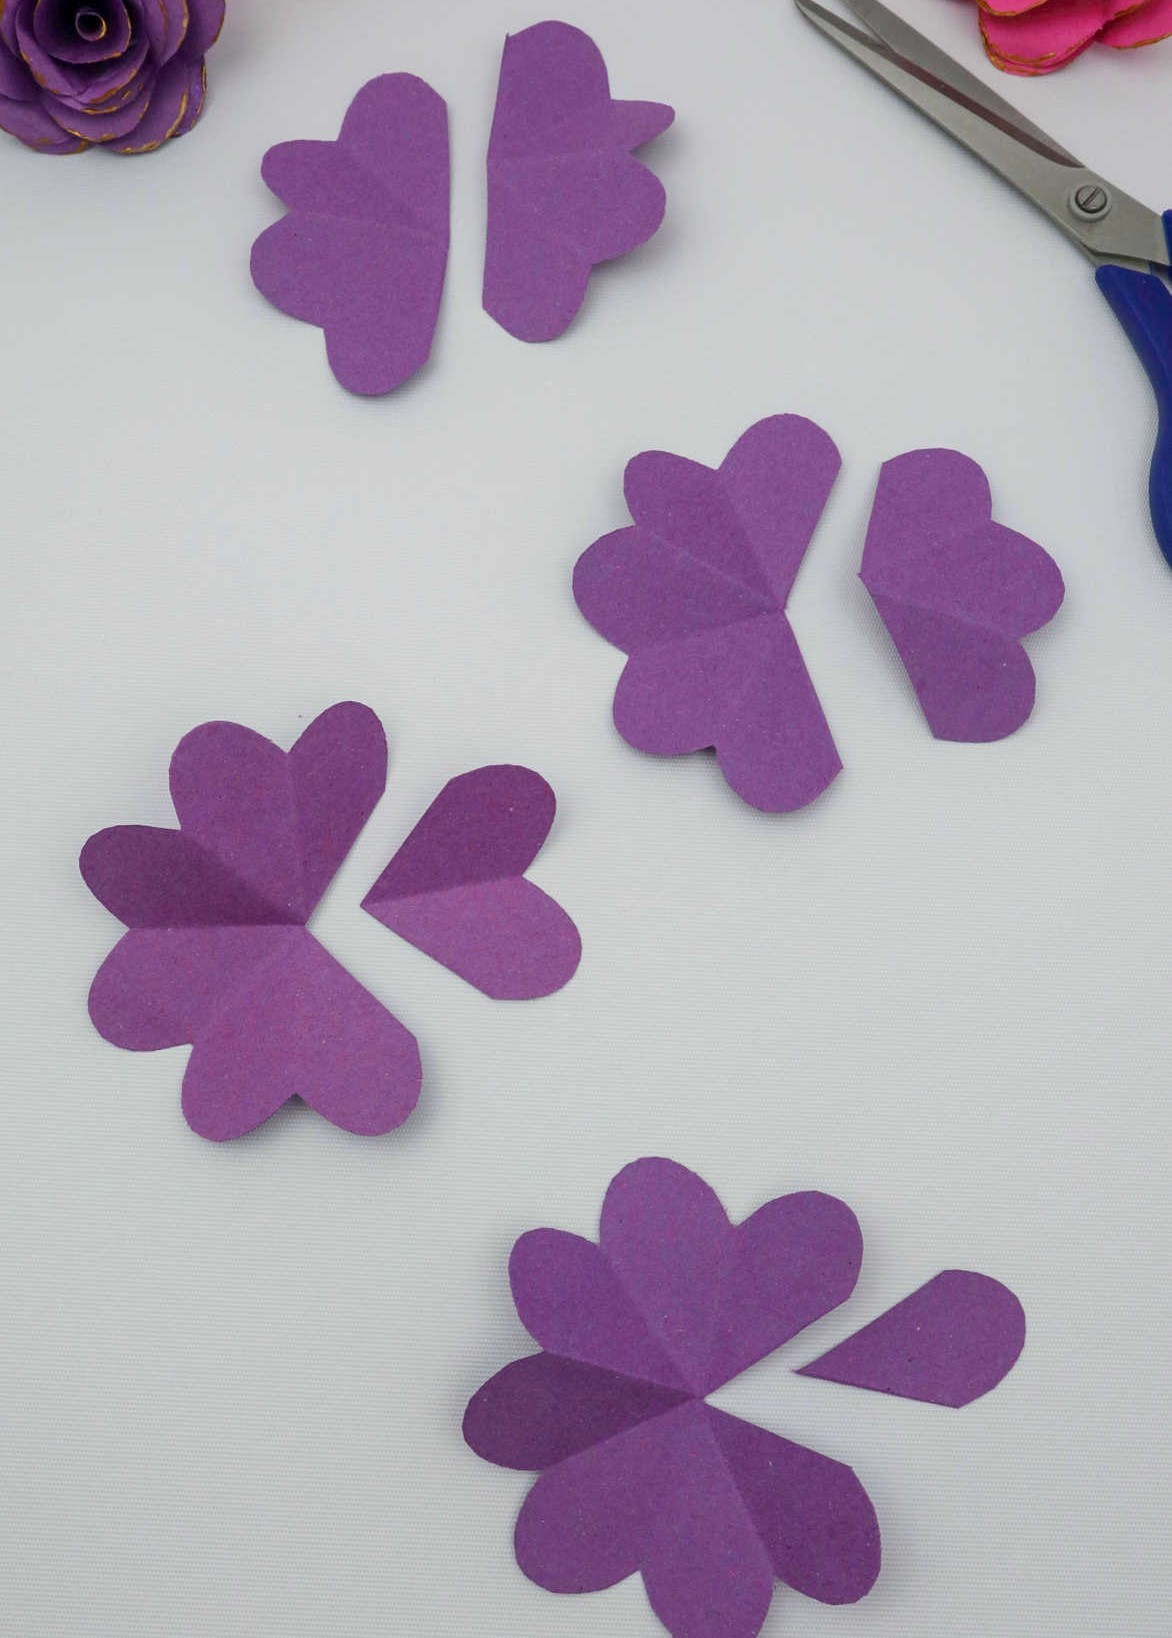

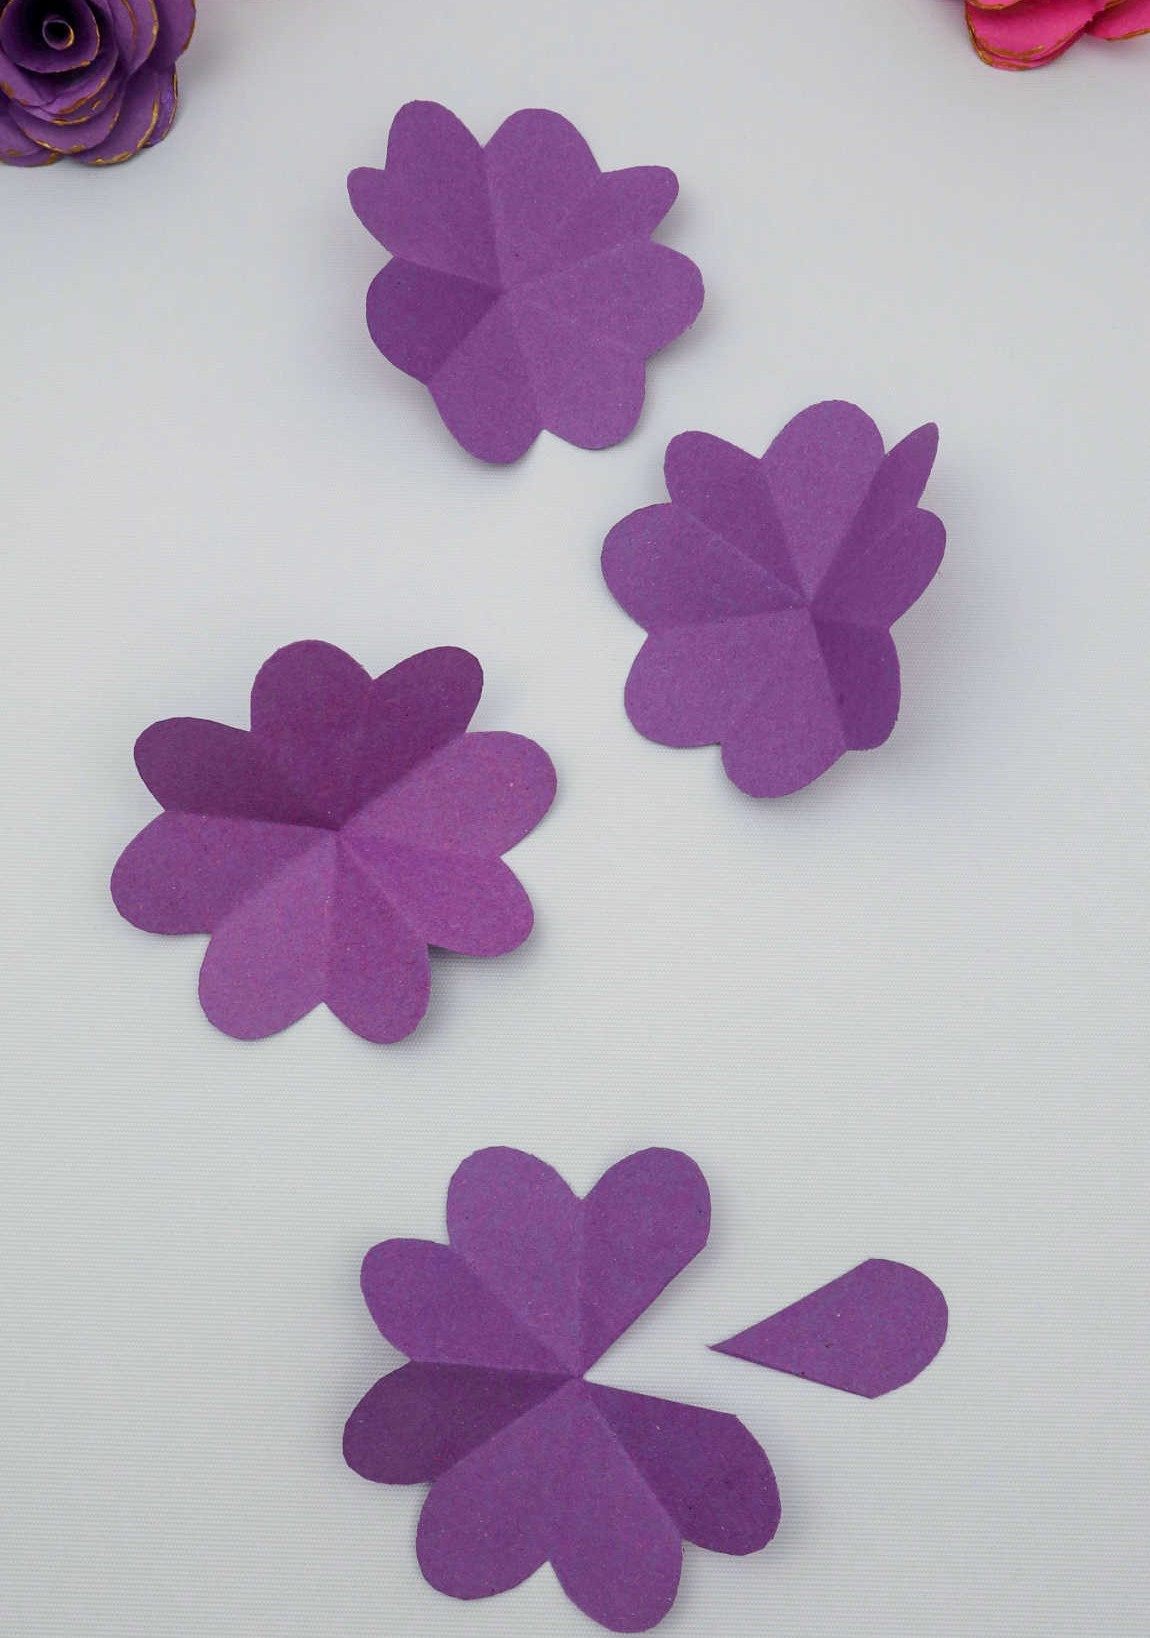
To achieve the desired layered effect in your flower craft, you’ll need to carefully remove petals from each subsequent layer. Begin by cutting out a single petal for the outermost layer, then progress to two petals for the second layer, three for the third, and so on. This precise trimming is crucial in creating the optical illusion of depth and dimensionality in your final piece.
For instance, if you’re aiming to create seven layers in your design, you’ll need to meticulously trim back the petals accordingly.
Step 8
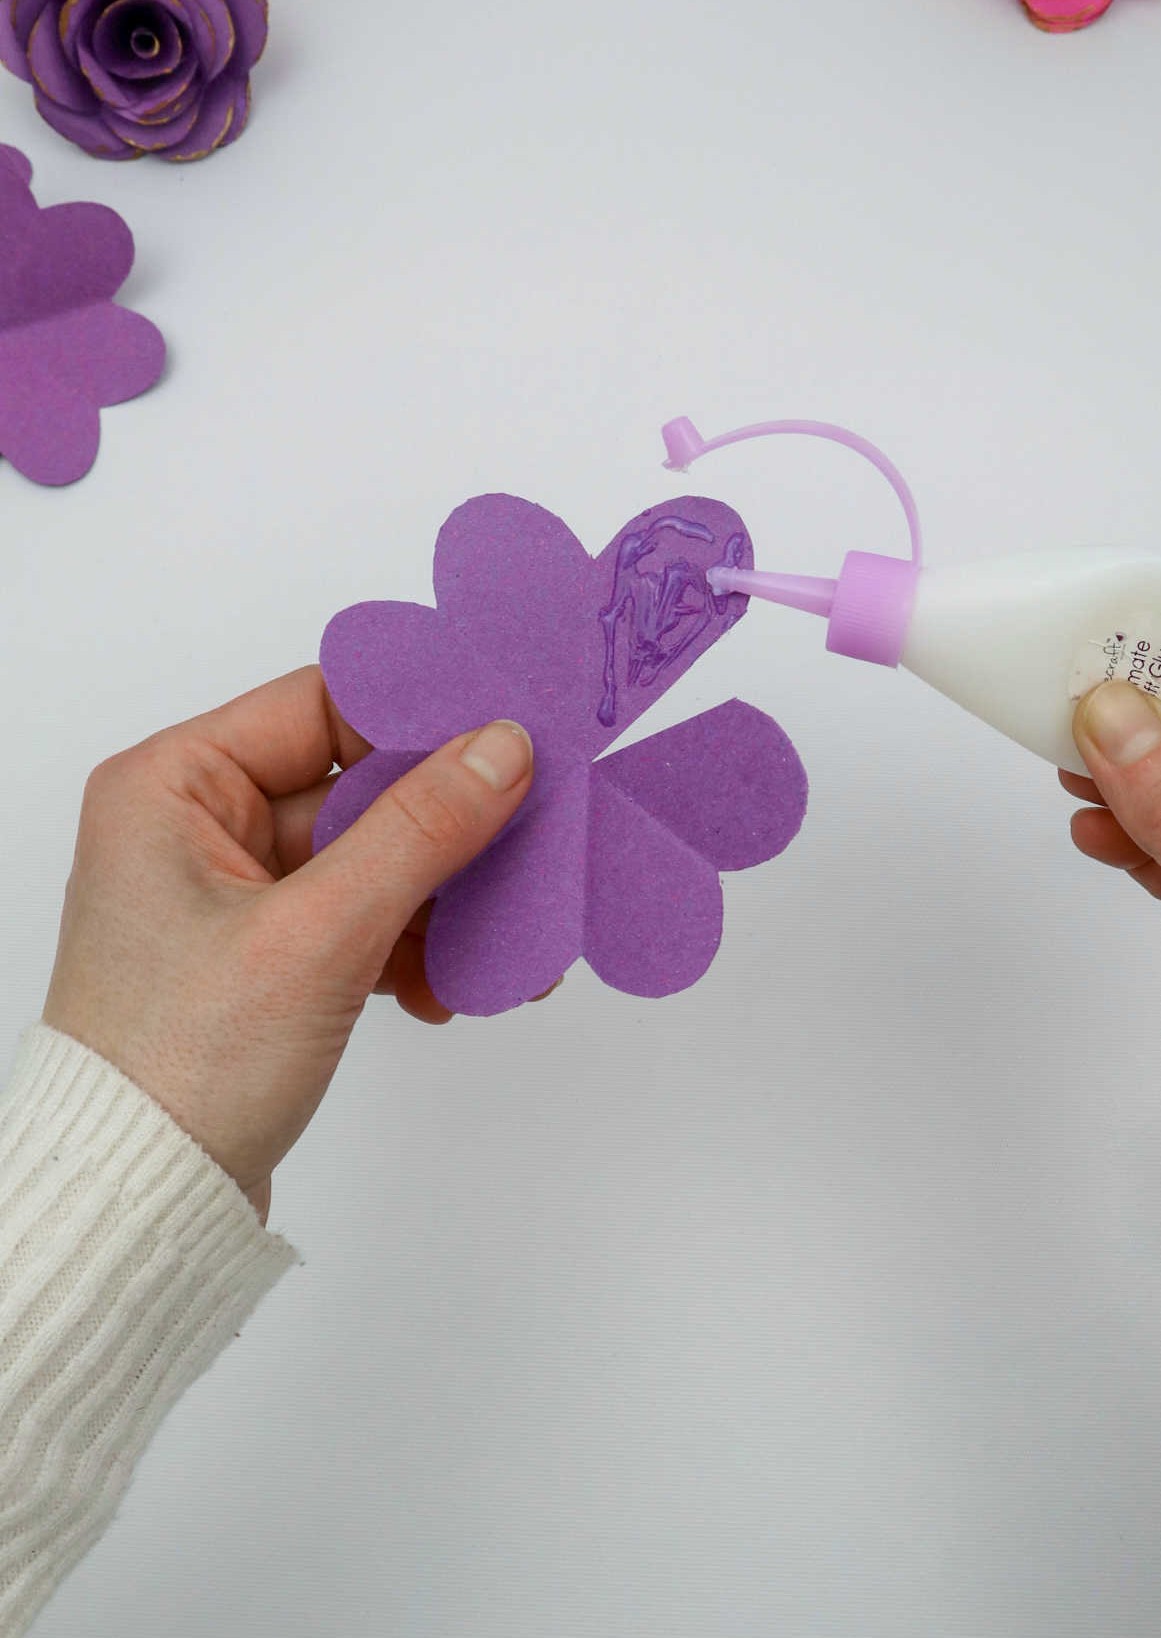
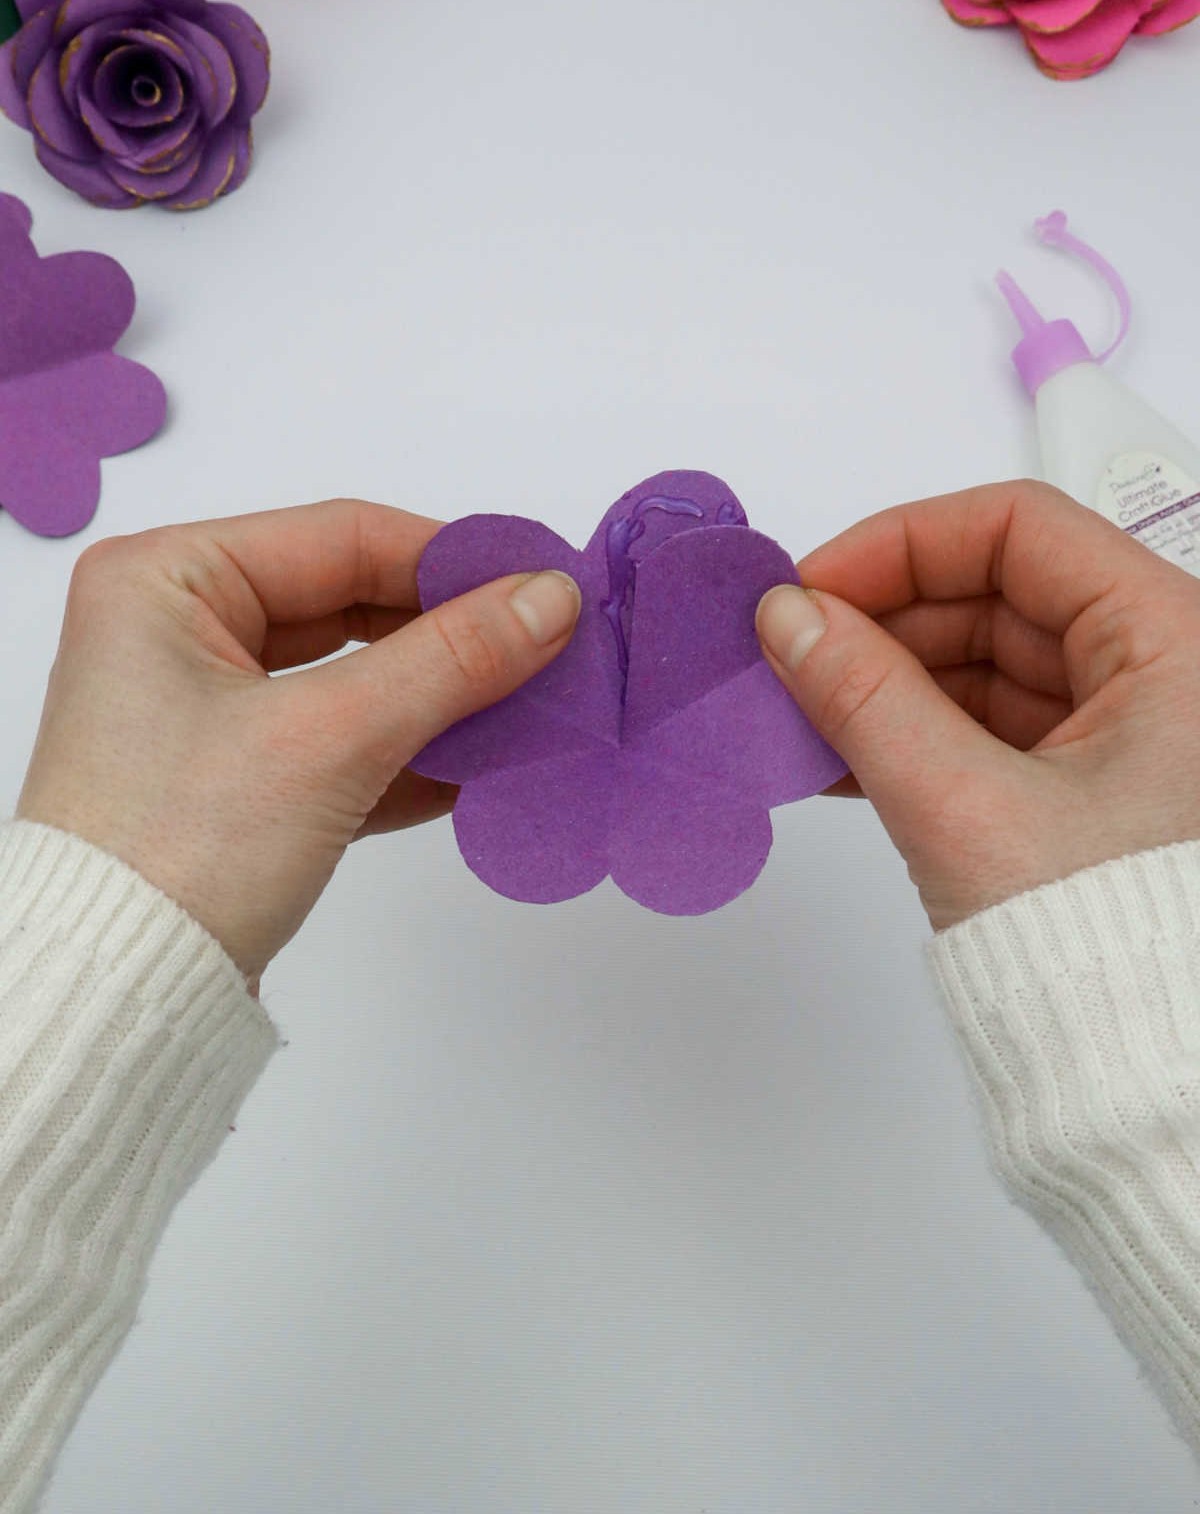
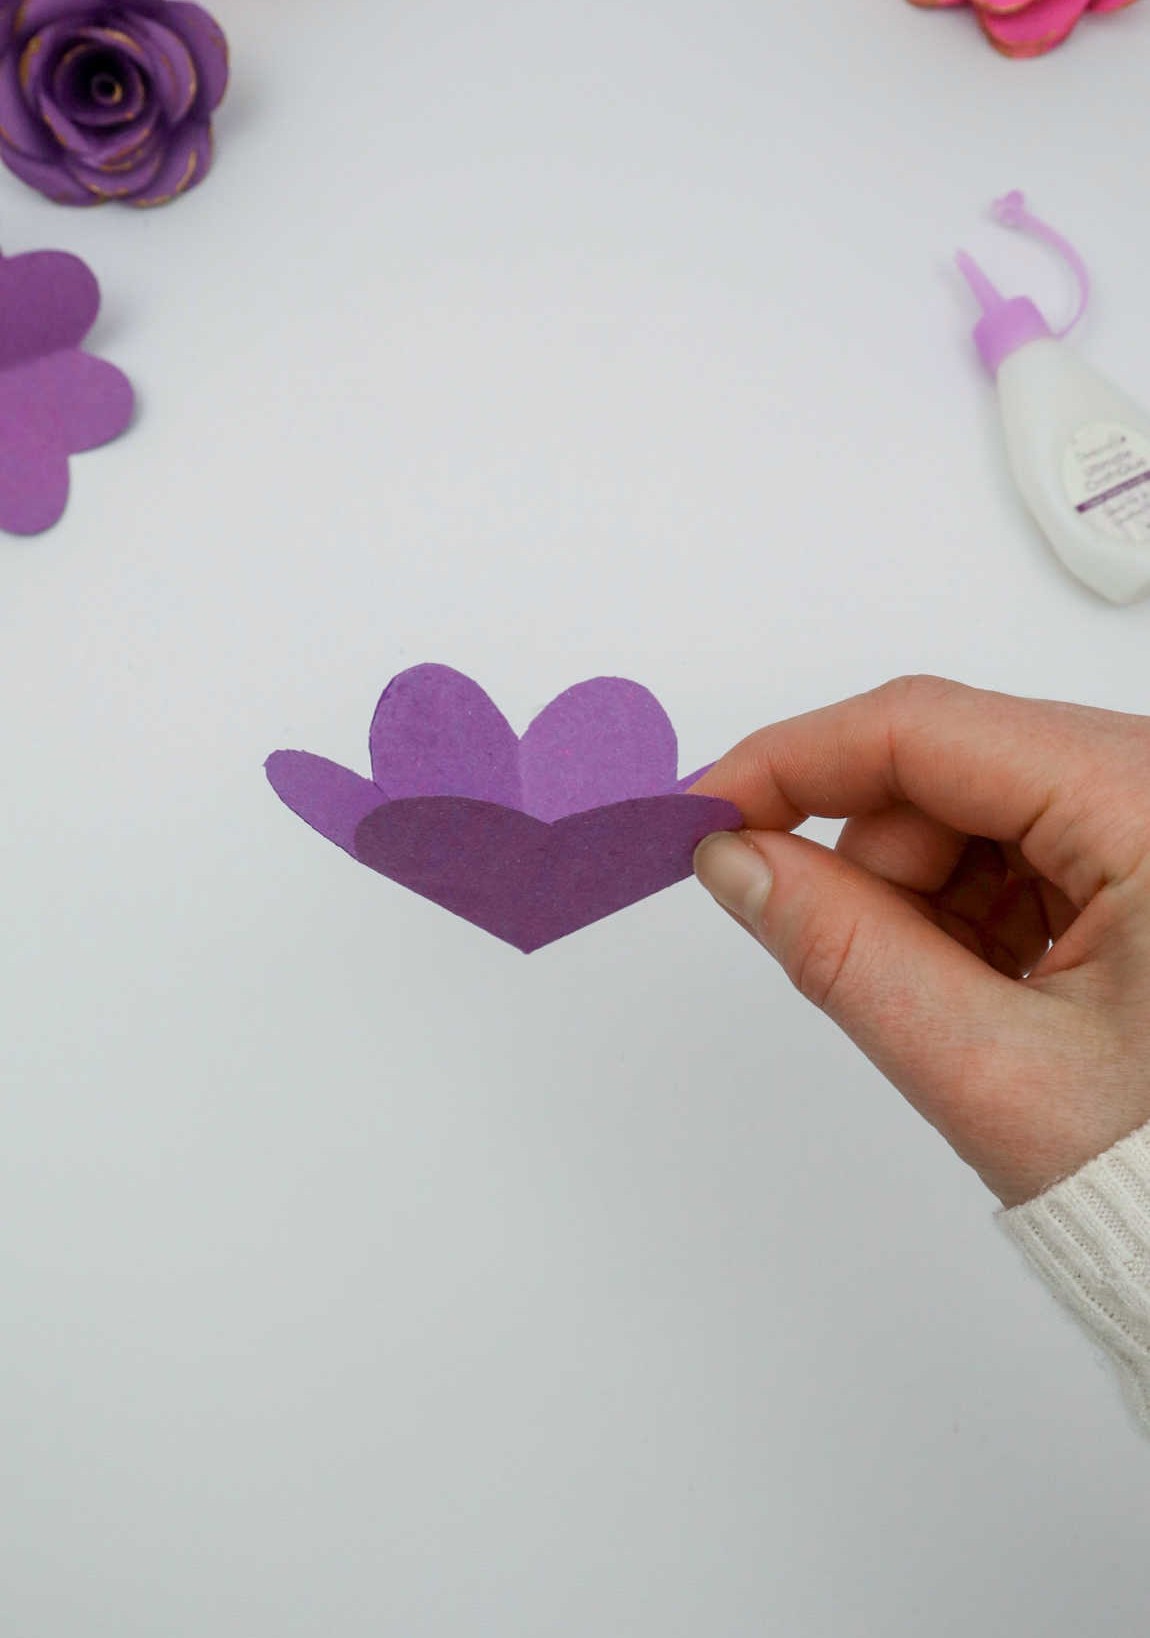
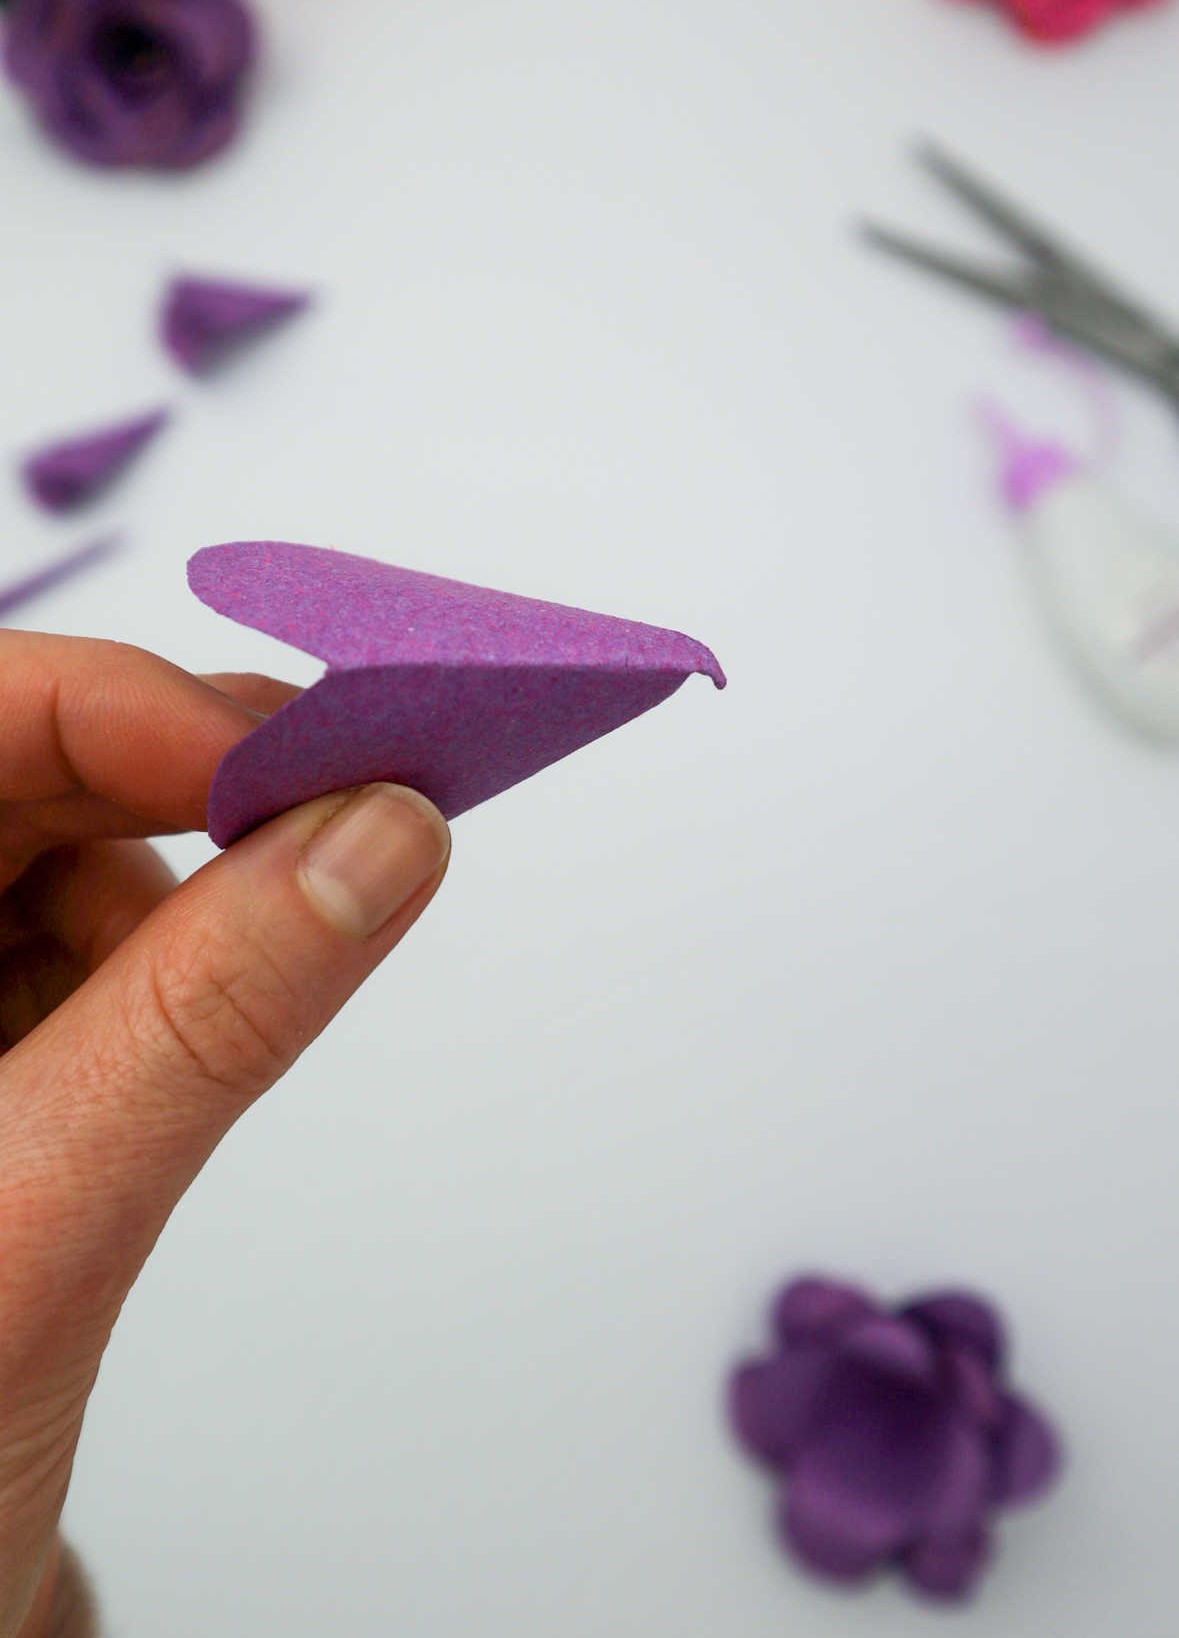
To assemble your paper flower, start by grasping the largest petal and applying a small amount of adhesive along the arc shape, following the illustration provided. Next, take the other edge of the paper and carefully position it over the glue, ensuring a seamless connection. This initial layer should resemble the image described, featuring a distinctive pointed tip and curved sides.
Step 9
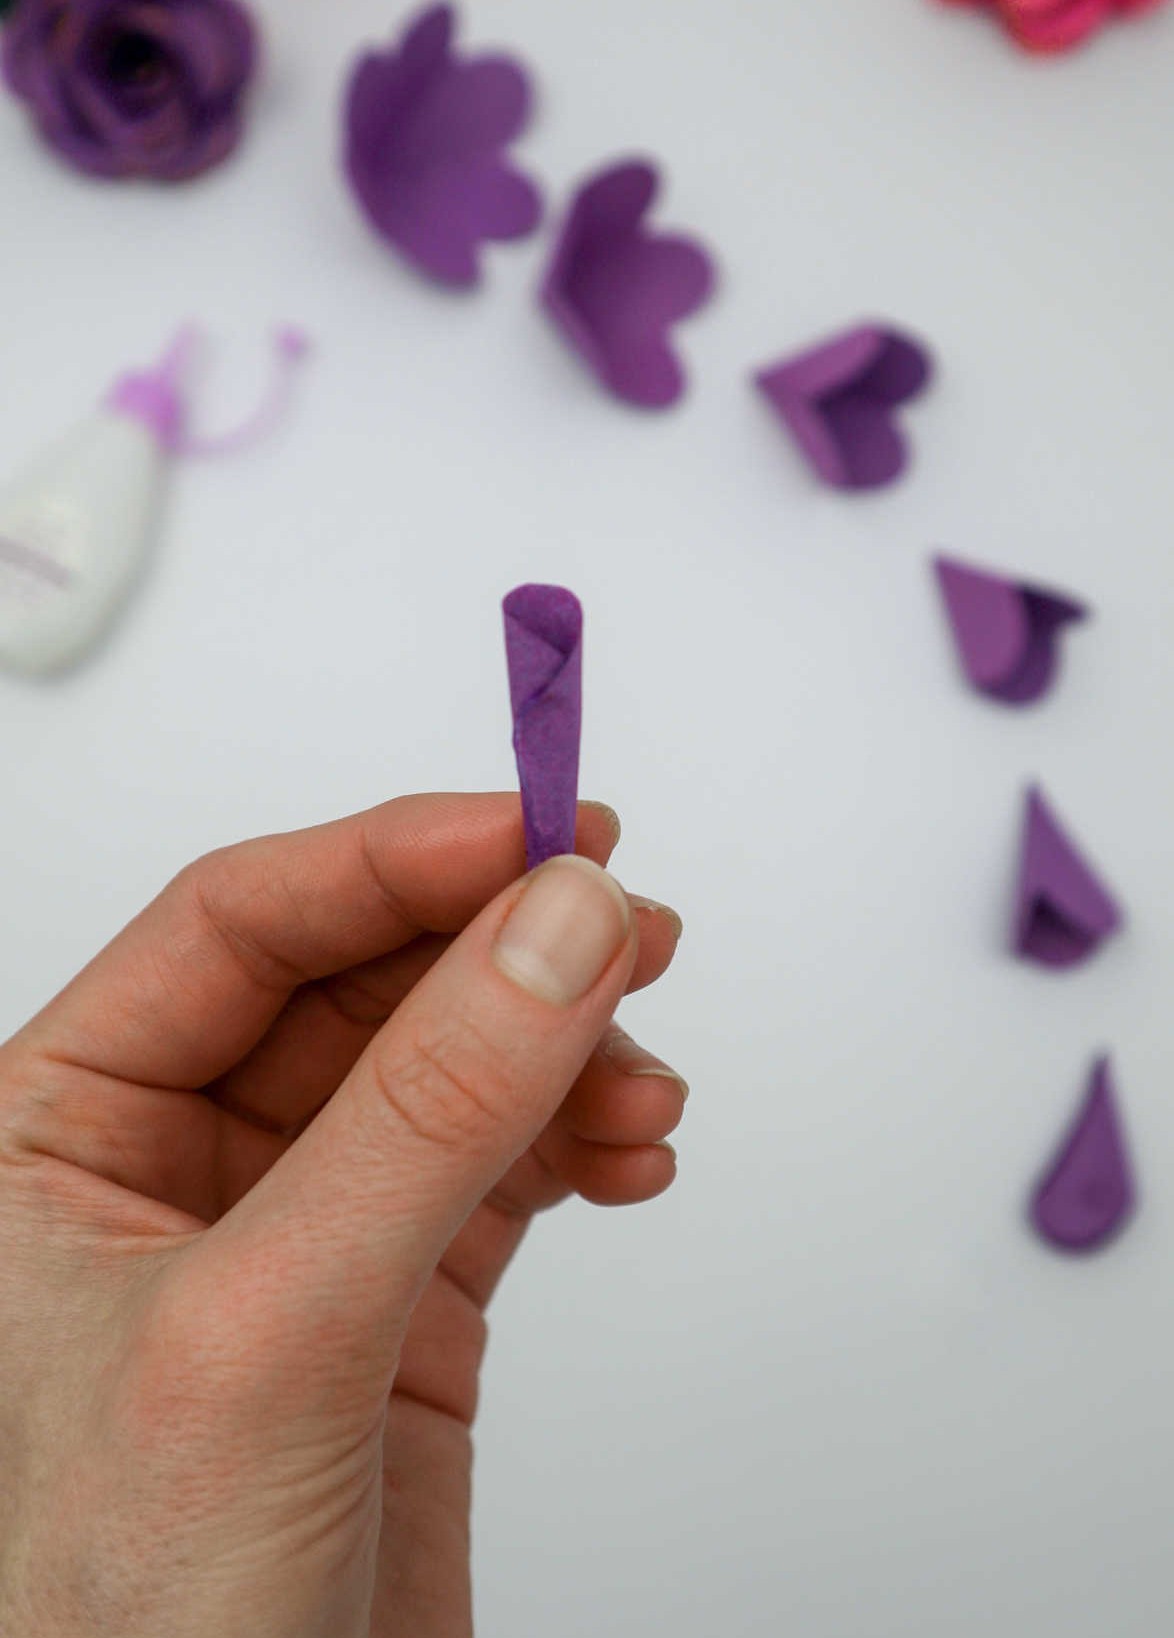
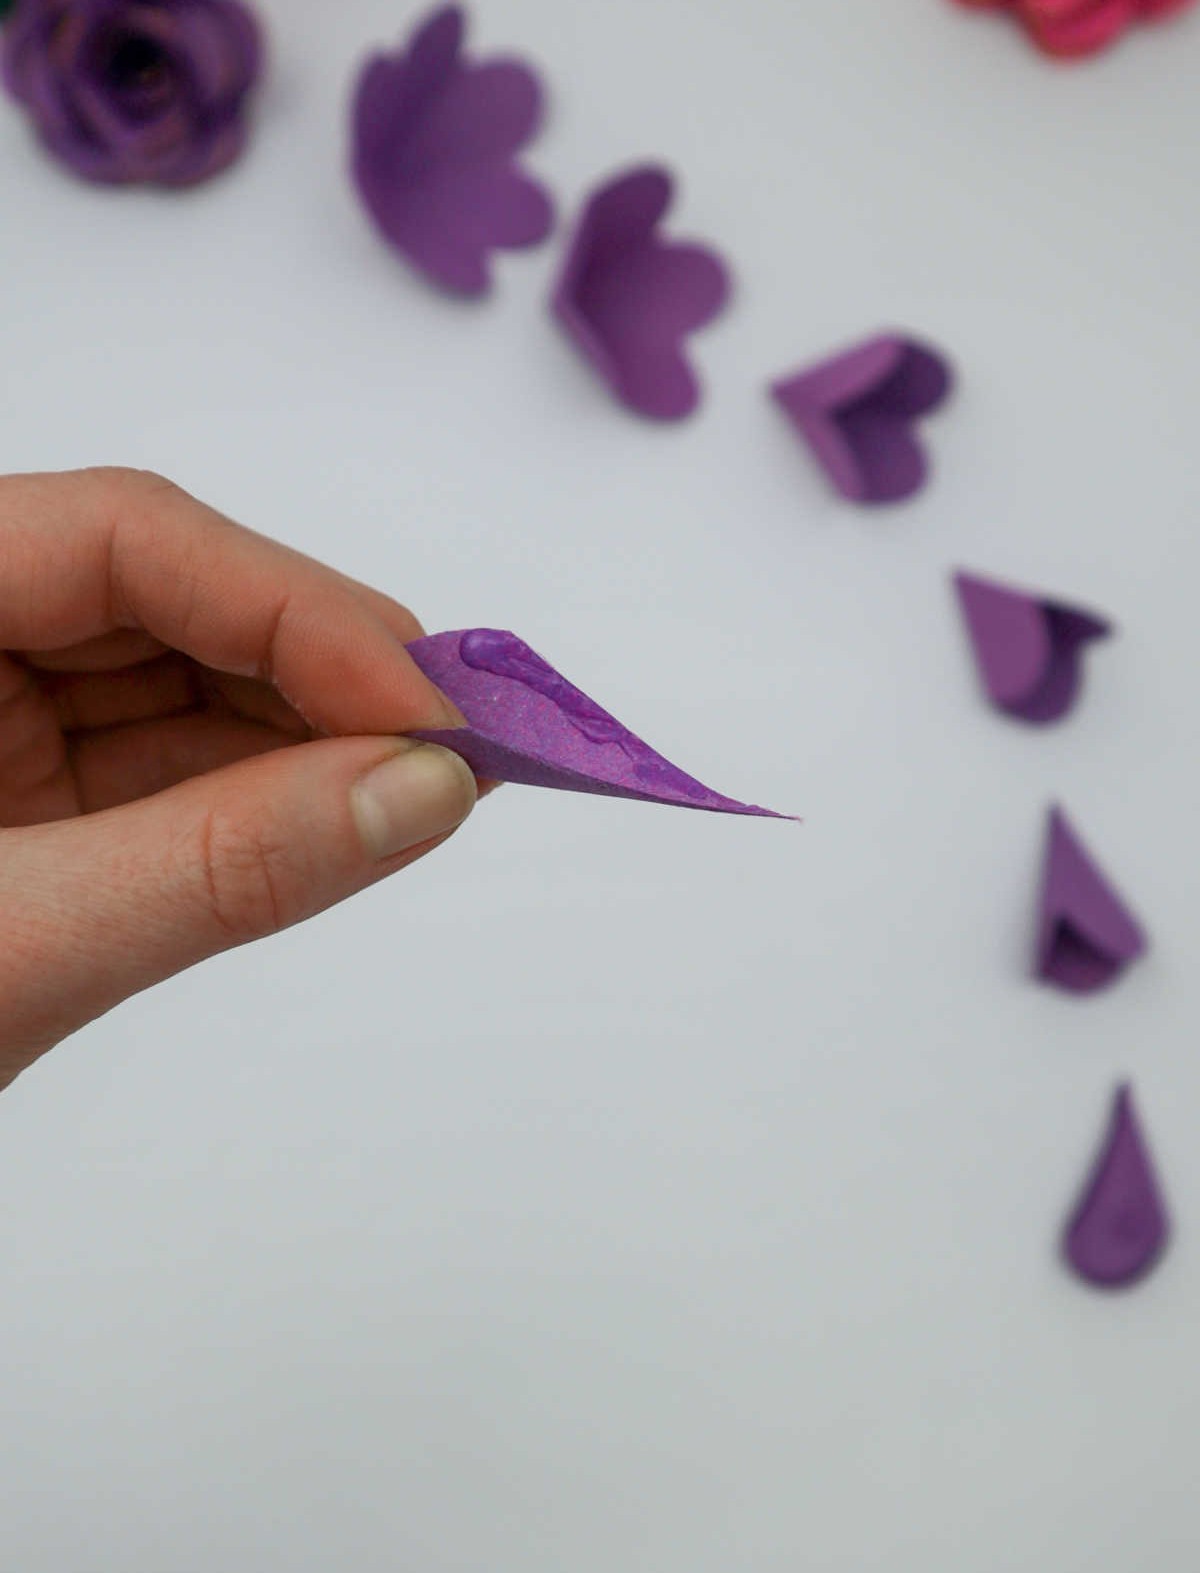
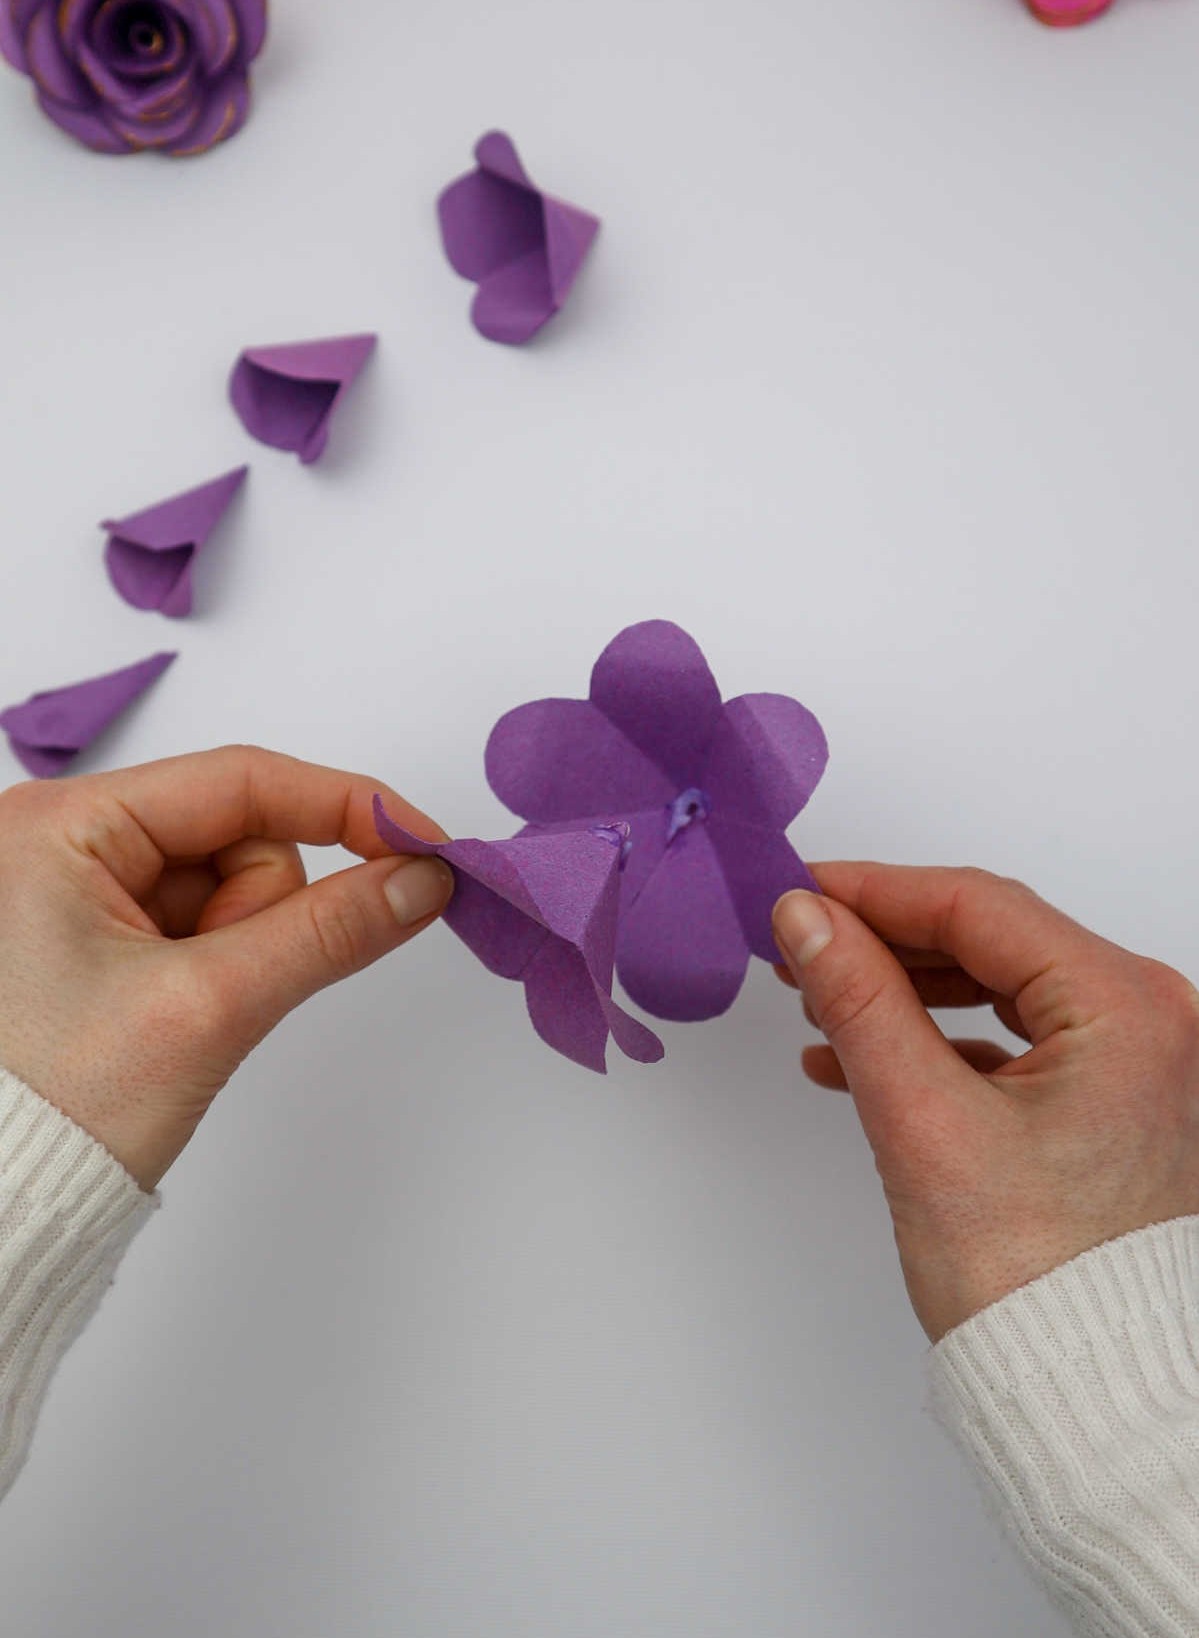
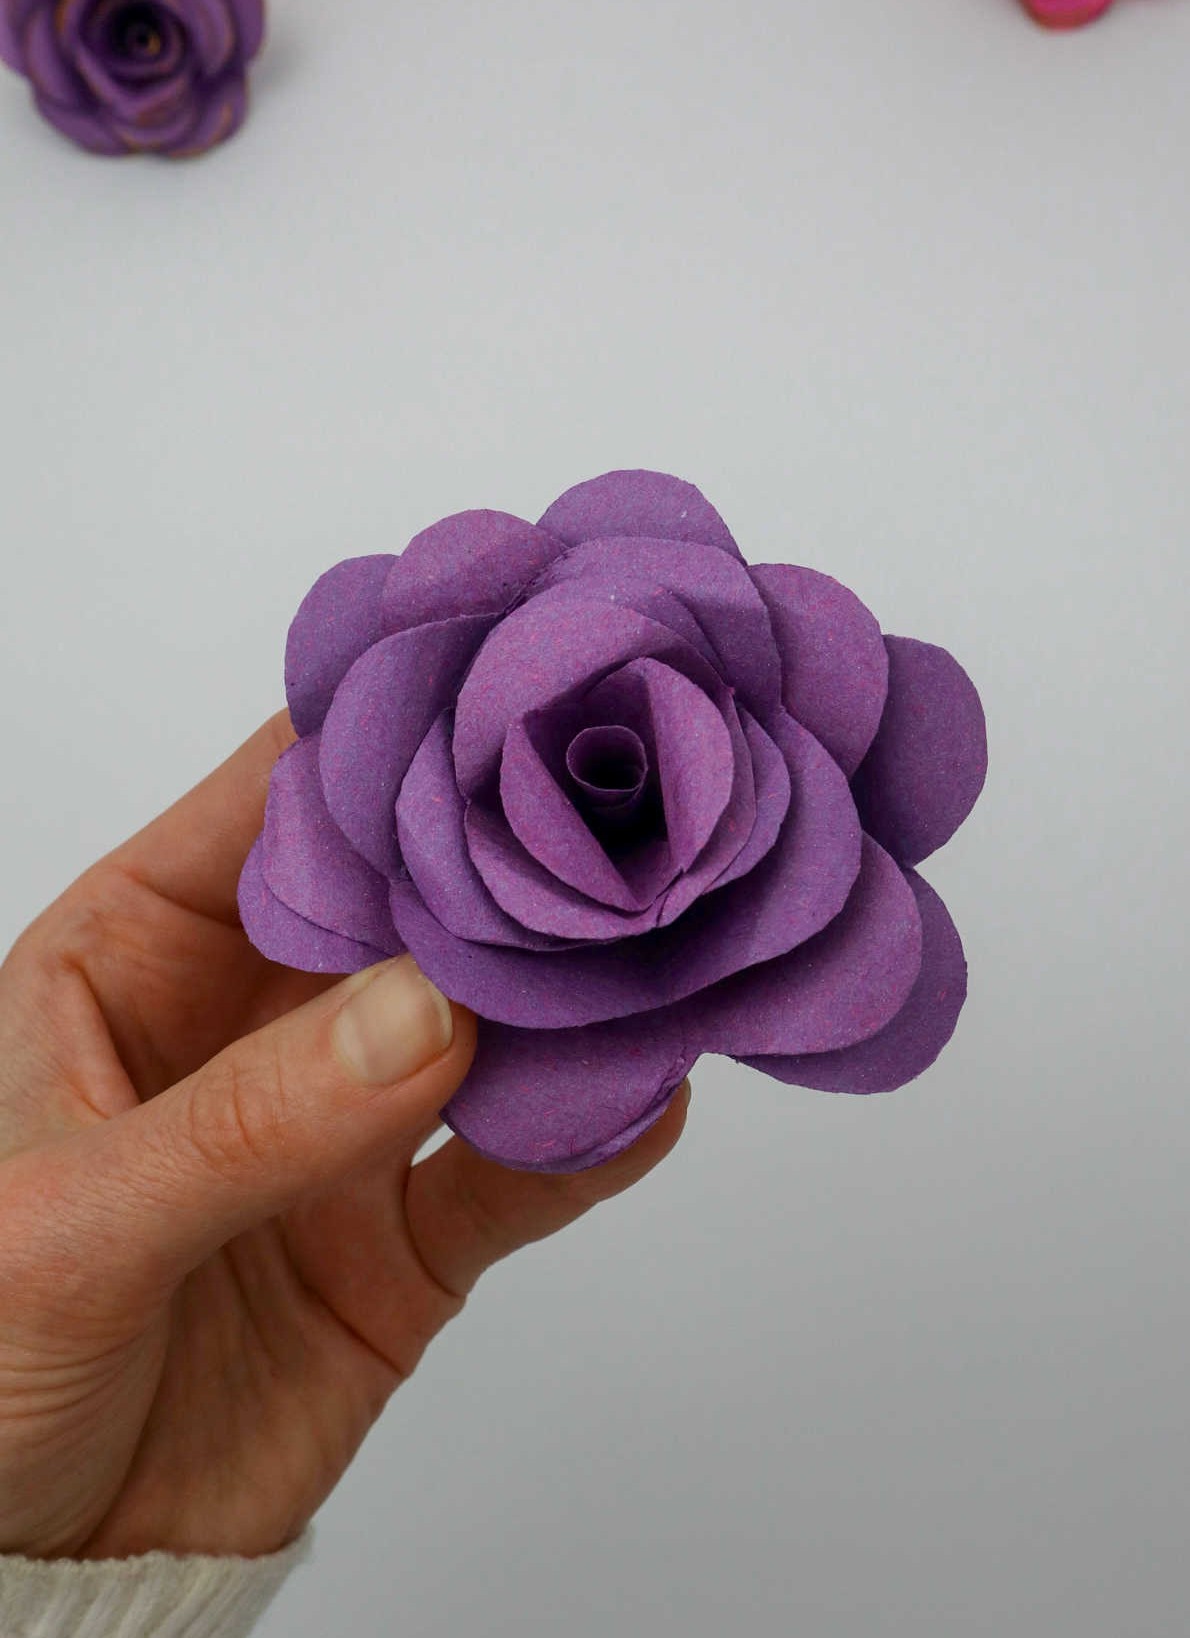
As you work your way through each layer, ensure that every petal is securely attached before moving on to the next. Once all the layers have been completed, take the final petal and gently roll it into a conical shape to form the center of the flower. Secure this central cone in place by carefully positioning it among the surrounding petals.
Step 10
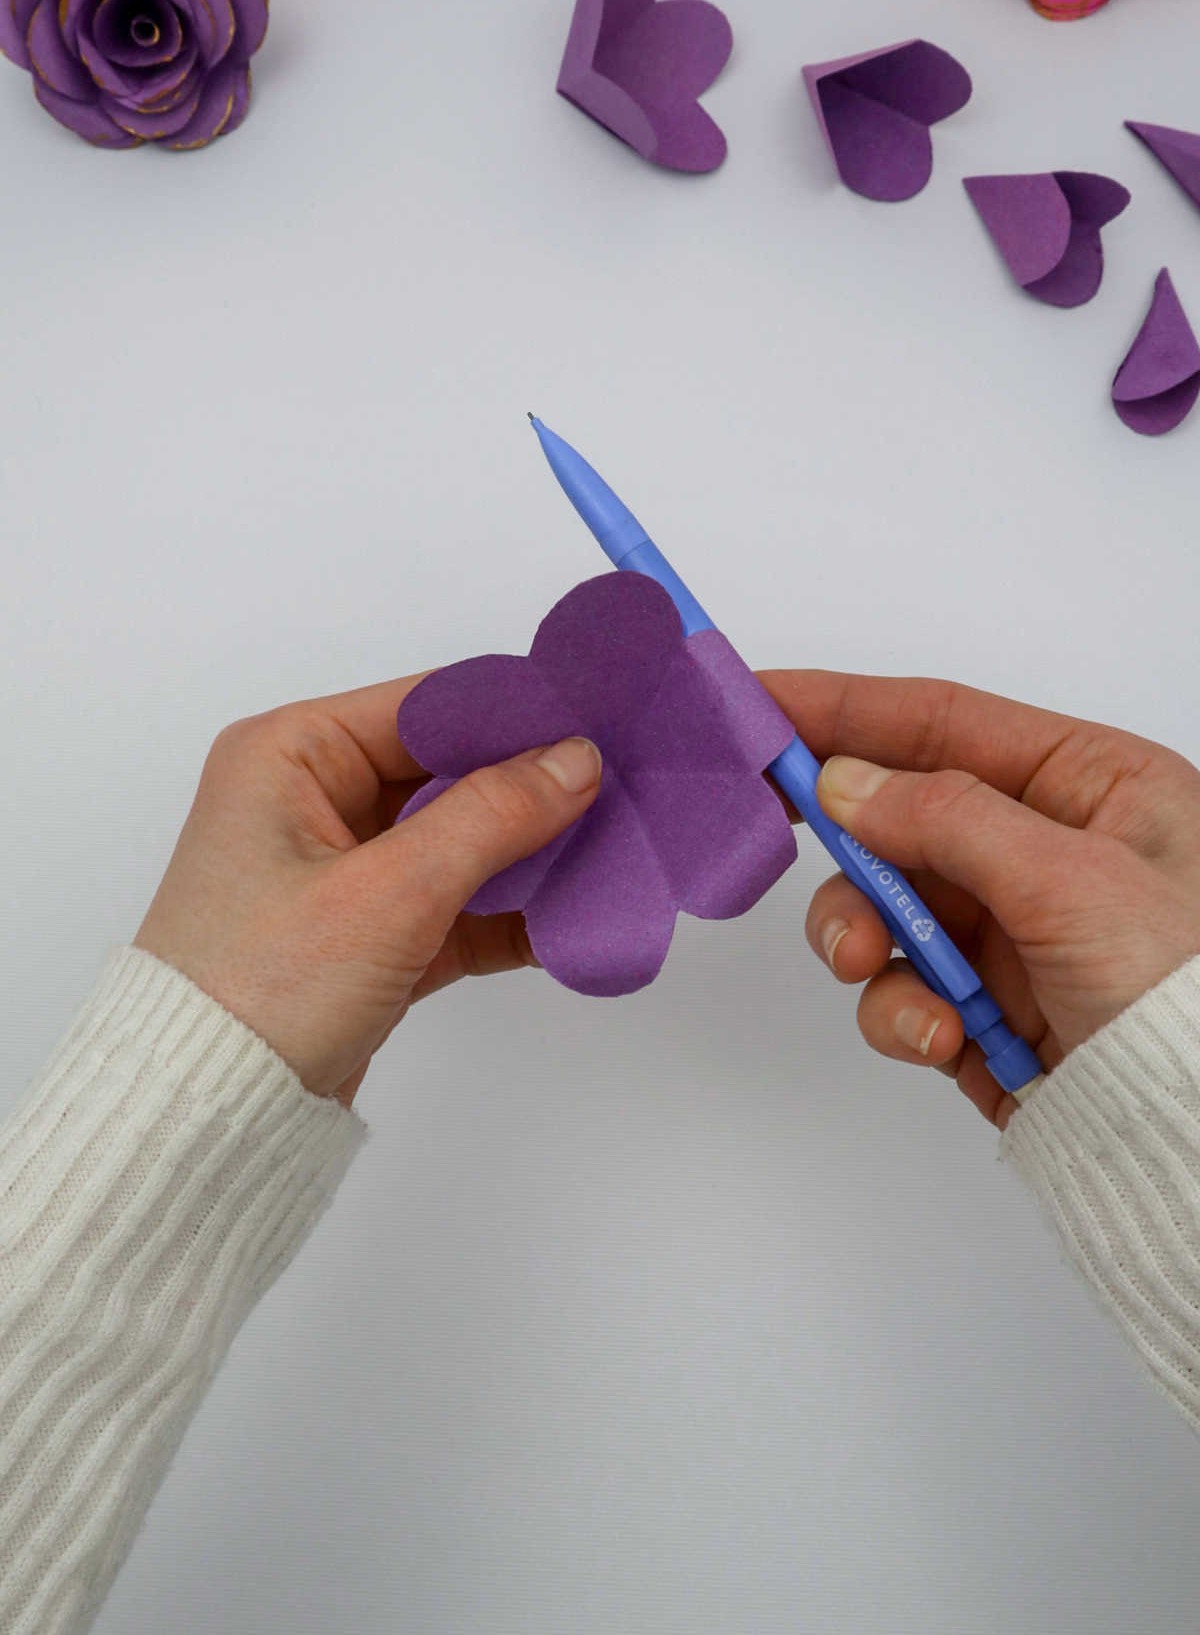
To add a realistic touch to your paper flower, take some time to curl the edges of each petal. This step is quite intuitive and only requires a pen or marker. Hold the pen between your thumb and index finger, then wrap the end of the petal around it. Slowly roll the paper onto the pen to shape it into a natural-looking curve, as demonstrated below. Repeat this process for all petals and layers of your flower, ensuring each one is carefully curled to create a beautiful, lifelike bloom.
Step 11
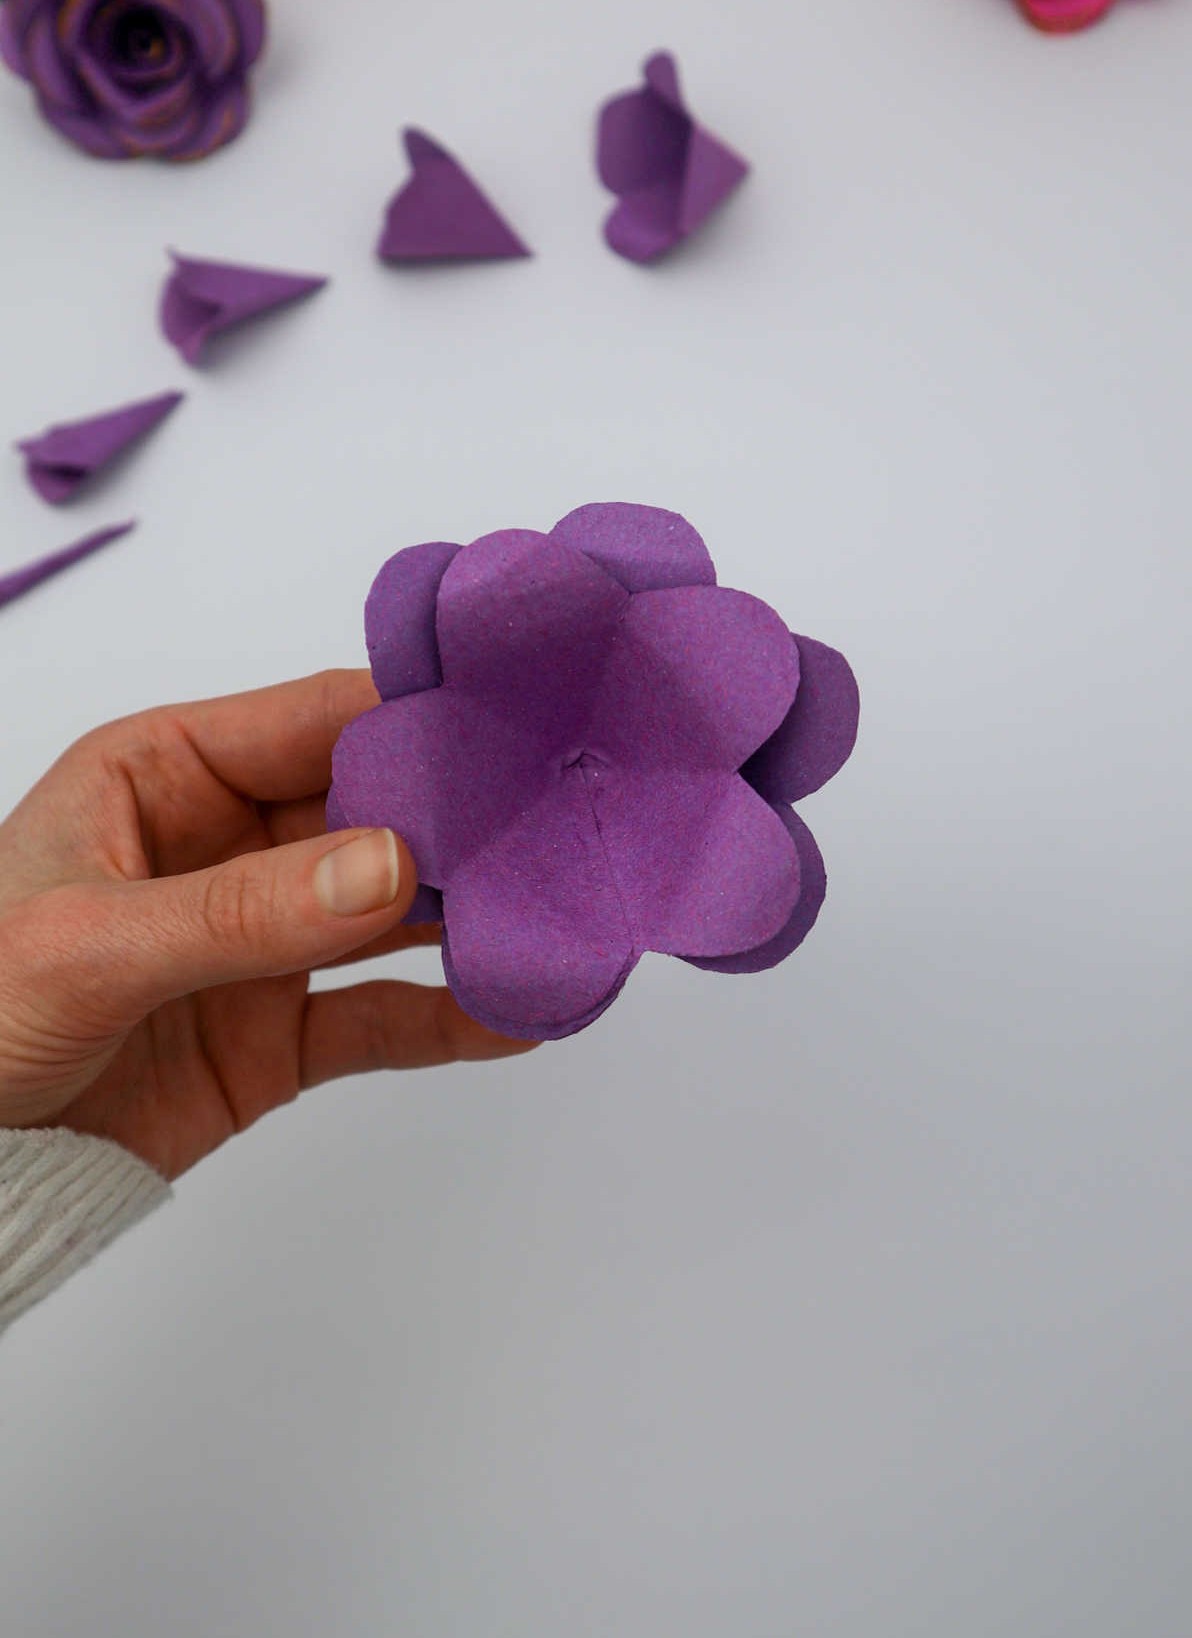
To complete the 3D flower, begin by applying a small amount of adhesive to the inside surface of each petal layer’s pointed tip. Then, carefully position the outer surface of the next layer onto the adhesive, holding it in place for a few moments to allow the layers to bond. Repeat this process for all layers, gradually building the flower’s structure.
Step 12

As you near the end of the petal-stacking process, you may encounter some resistance from the final layers or two. To overcome this, apply glue only to the edges of these petals, rather than the tips. Gently press them into place, ensuring a secure bond with the previous layer. Once stuck, you can confidently say your DIY paper flower is complete.
Step 13
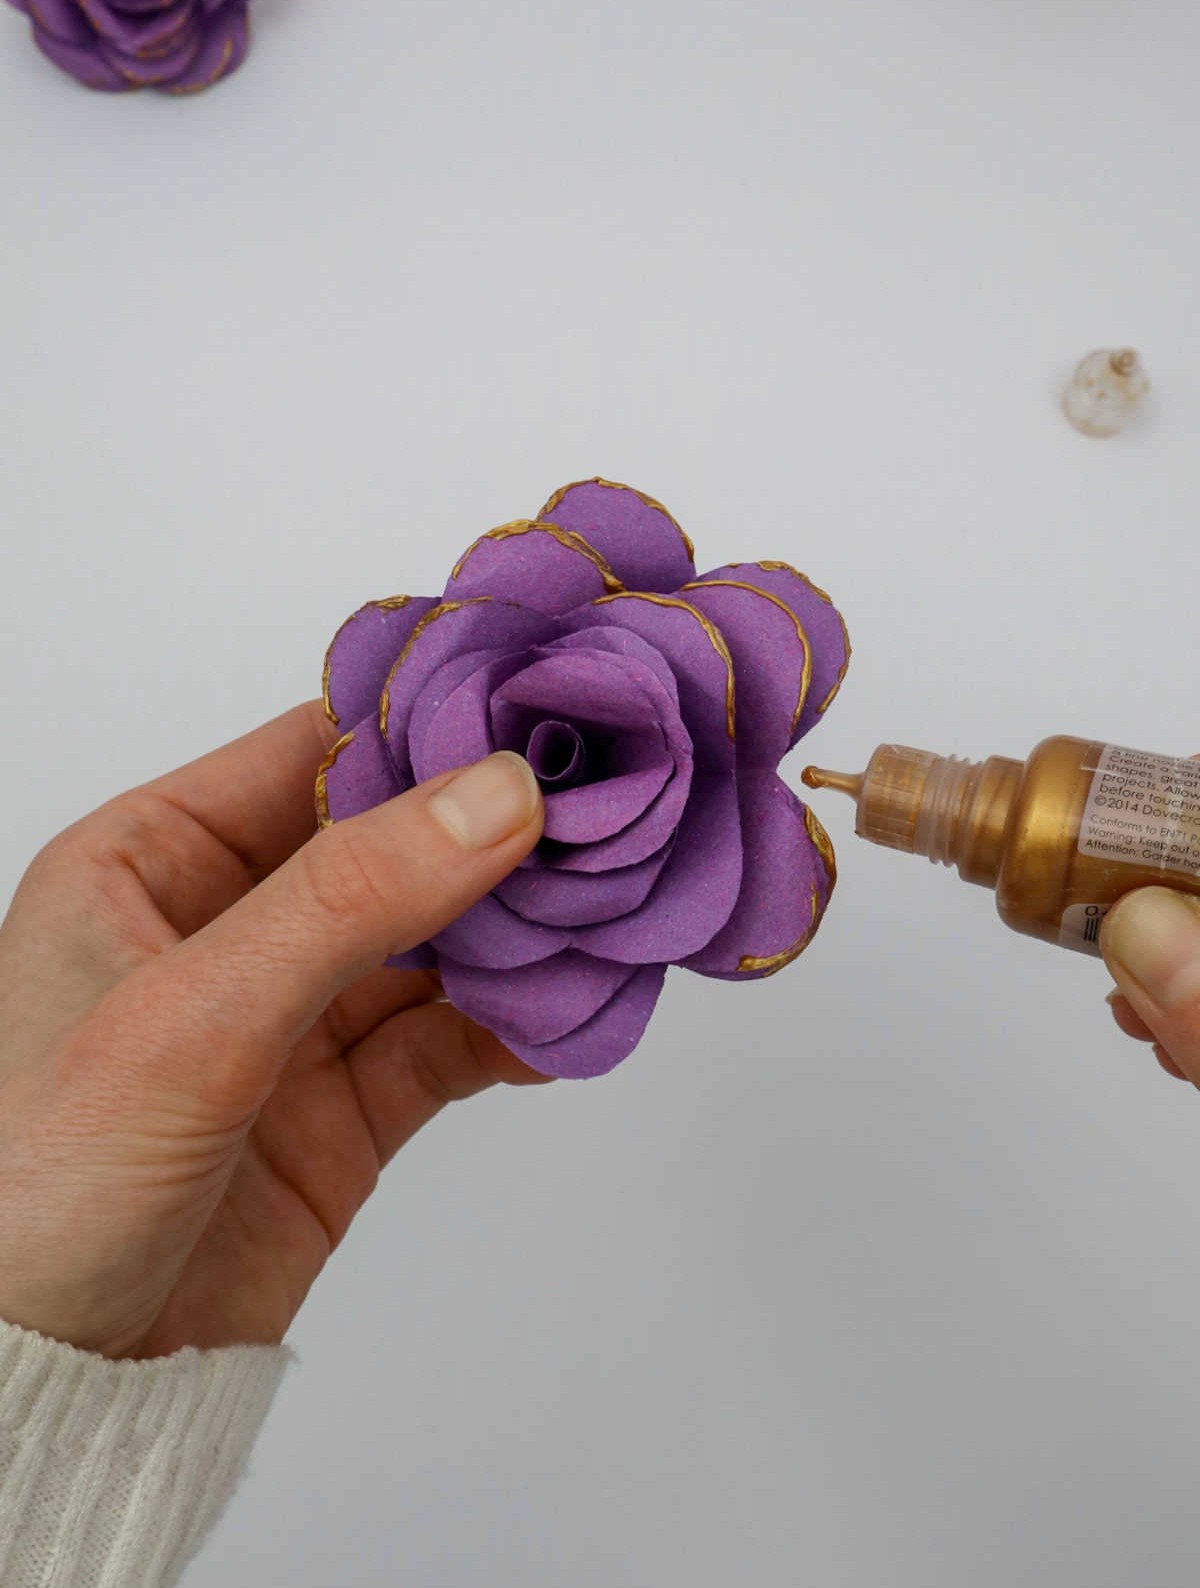
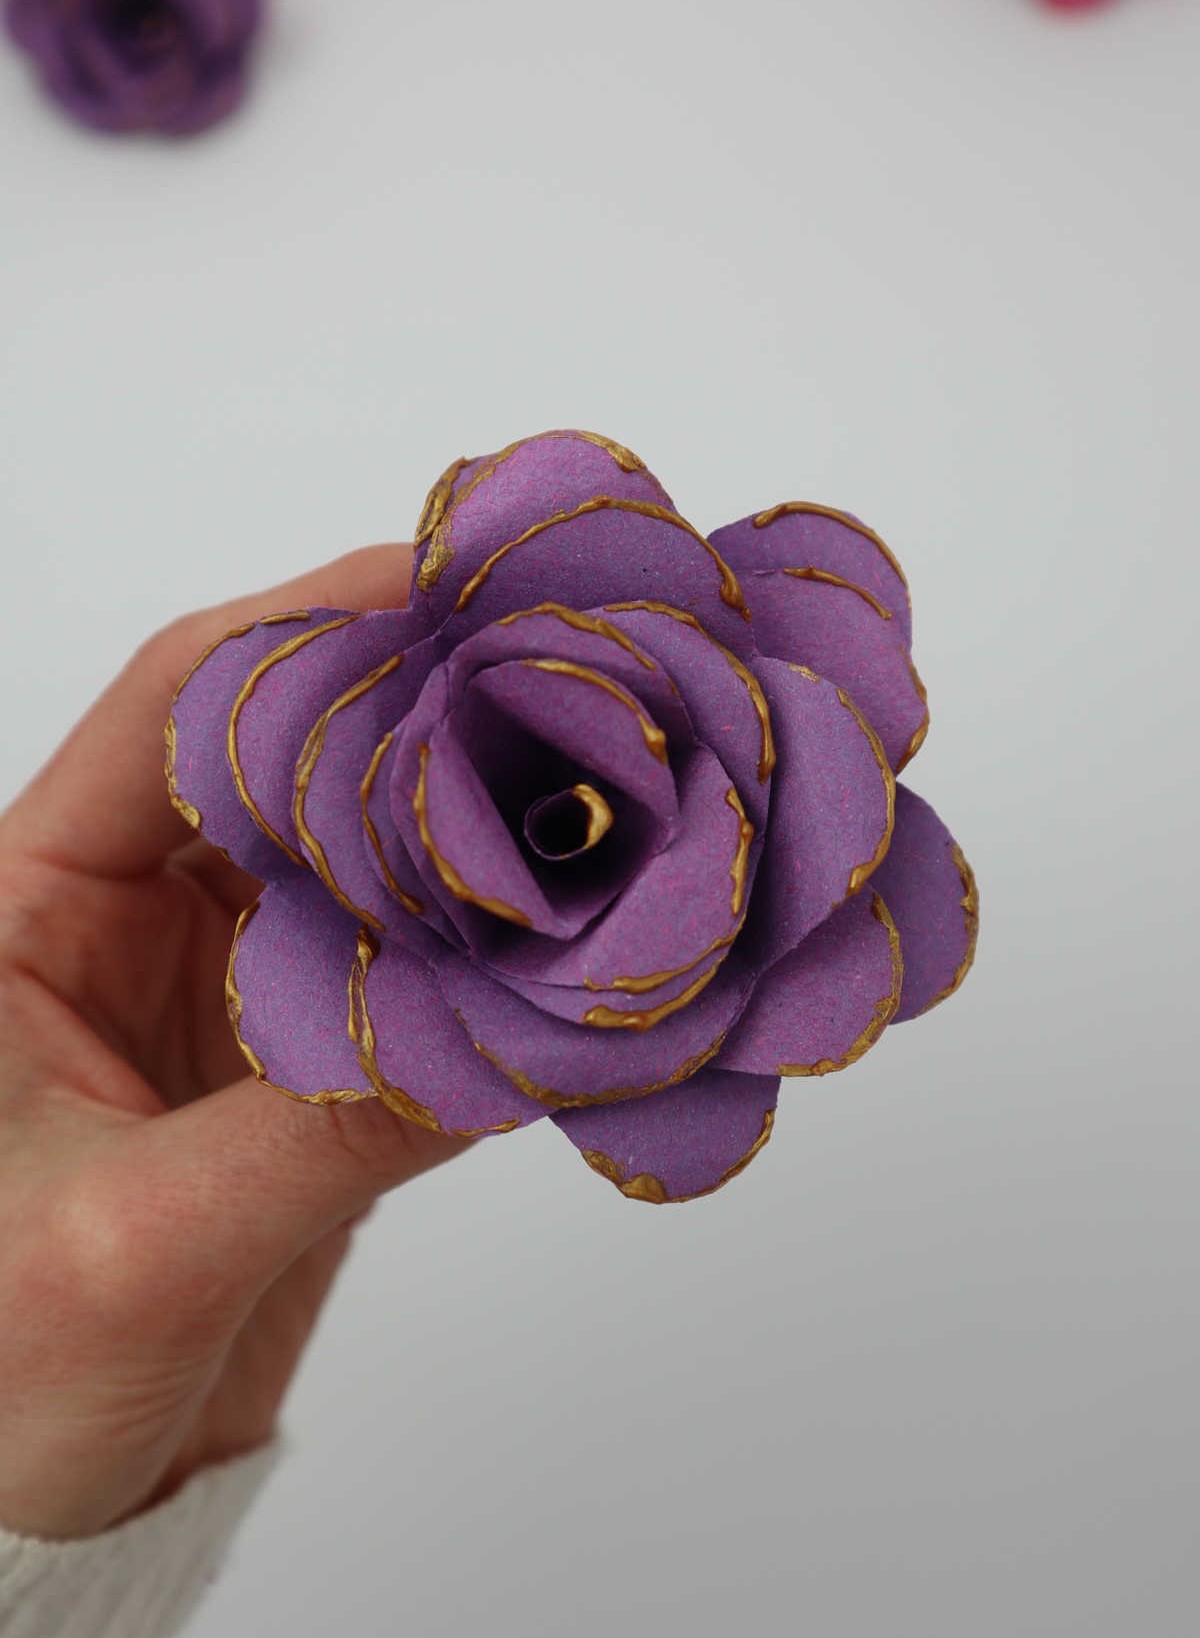
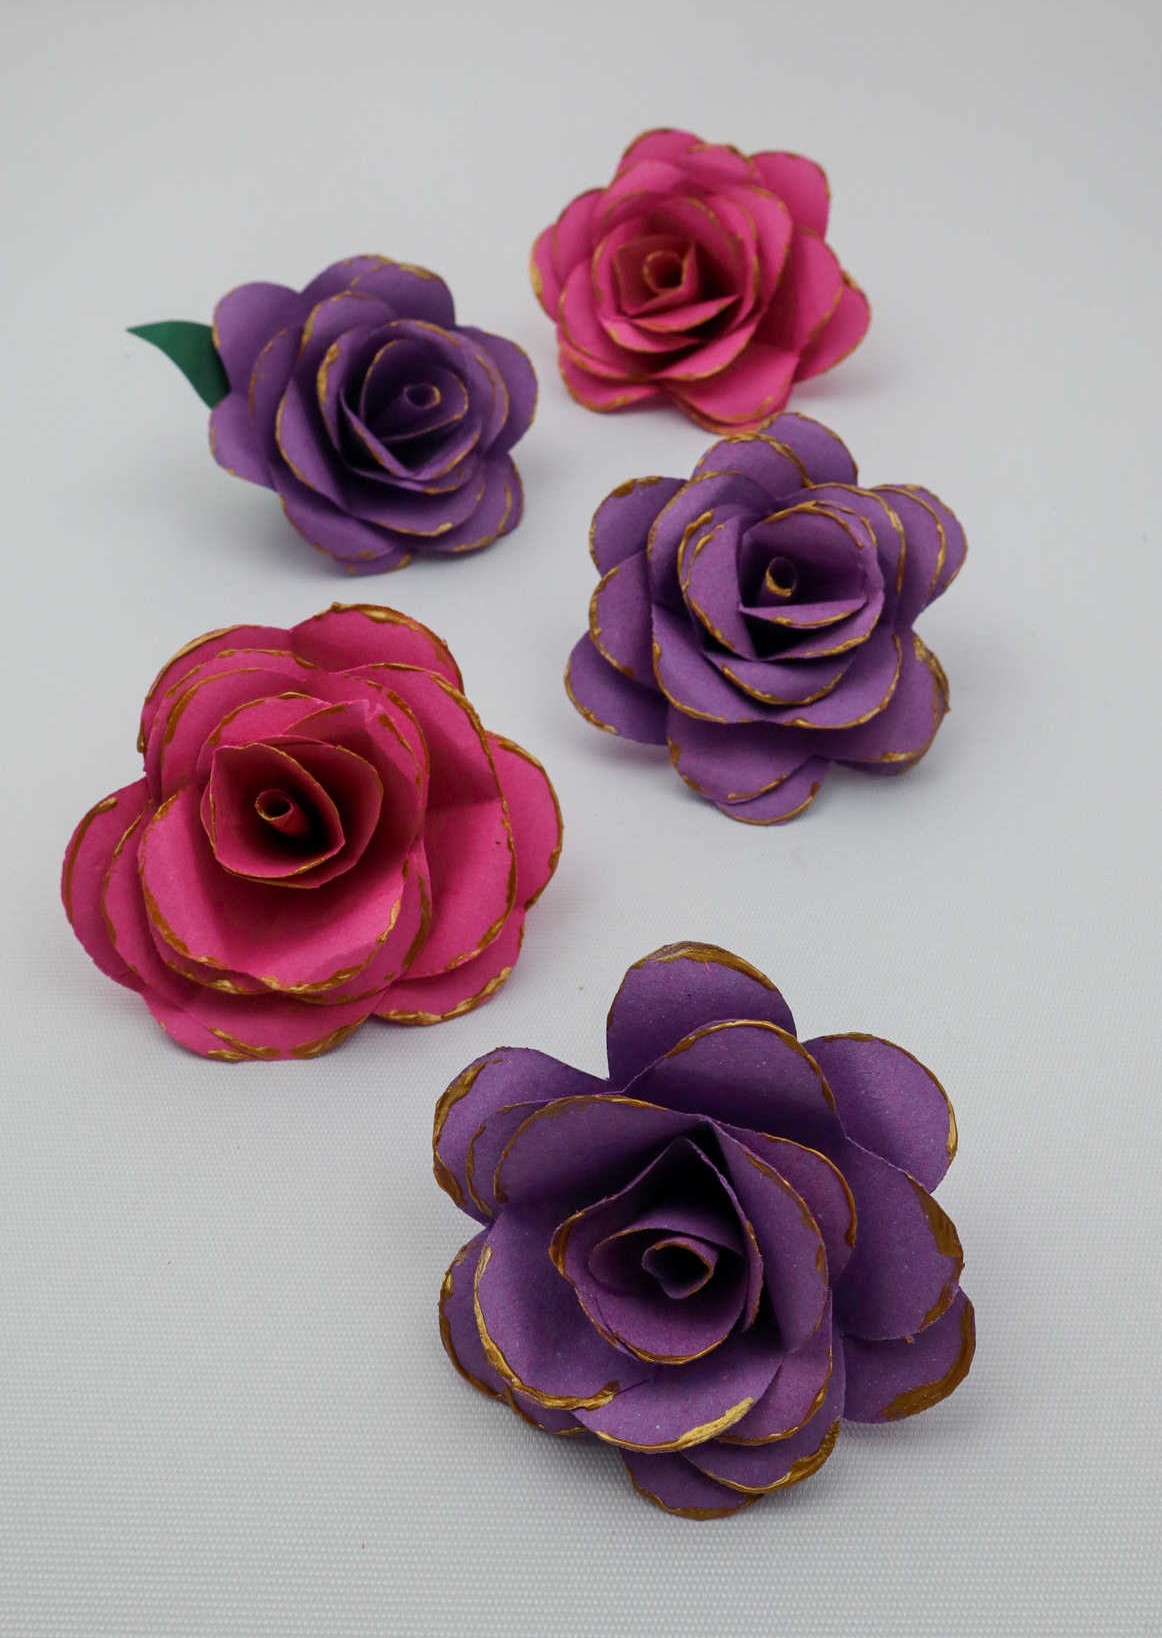
Transform your paper flower by adding a touch of glamour. Consider lining the edges with glitter glue, creating a beautiful border that catches the light. Alternatively, you can achieve a similar effect by gently spraying a fine layer of shimmer over the entire design. With these final touches, your paper flowers are now ready to be admired and enjoyed!
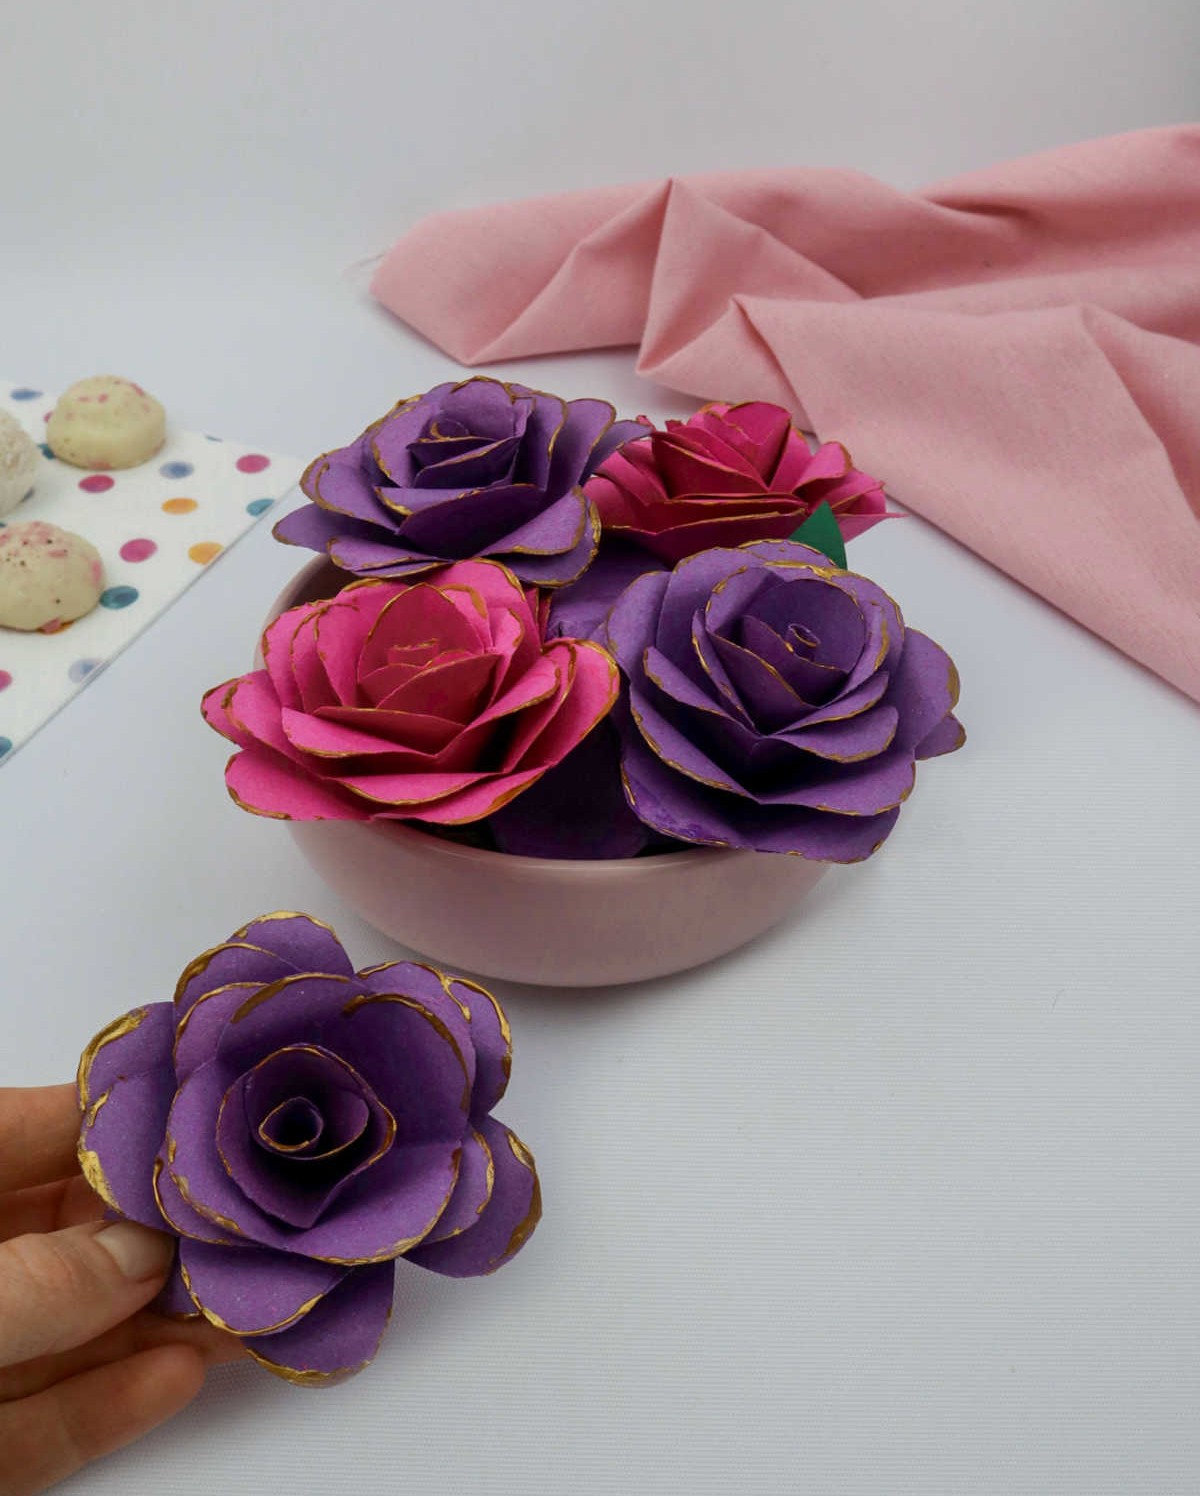
Where Can You Use These Paper Flowers?
Need a creative boost for your craft project? A plain picture frame or birthday card can quickly become a masterpiece with the addition of beautiful paper flowers. These delicate blooms are perfect for adding a touch of elegance to any project, and you can even create a stunning montage or fill a box frame to display as wall decor. The possibilities are endless! For an extra pop of color and texture, consider combining your paper flowers with tissue paper pom poms.
And if you’re looking for more inspiration, check out our collection of 31 innovative paper crafts for adults, packed with creative ideas to elevate your paper crafting skills.
How to Make Paper Flowers
Get creative with your family and craft stunning DIY flowers using paper. This fun project requires minimal materials, making it an ideal activity for all ages to enjoy while adding a personal touch to your decor!
Equipment
Materials
Instructions
To begin crafting your paper flower, start by laying out all your supplies on a flat surface. Begin folding a square sheet of paper diagonally into a triangle, pressing the crease firmly in place. Repeat this process, creating a smaller triangle within the first one. Next, take your marker and draw an arc to serve as the shape for the first layer’s petals. Cut out the petal, then unfold the paper to reveal the original shape. Set aside one single petal from this layer, as you’ll need it later.
As you progress through each layer, remember that you’ll need to cut more of the paper to achieve a tapered effect. For instance, the second layer will require two petals, three for the third layer, and so on. To create the flower’s tip, simply curl one petal into a cone-like center. Secure all the layers’ ends together, ensuring they overlap and their pointed tips curve the petals inward. Once the individual components are stuck in place, it’s time to assemble your flower.
Start by attaching the insides of the first layer, then add the next layer on top, holding everything together until it sets. After your flower has dried completely, you can use a pen to curl the ends into their final shape. Finally, decorate your paper flowers with glitter glue and they’re ready for display!