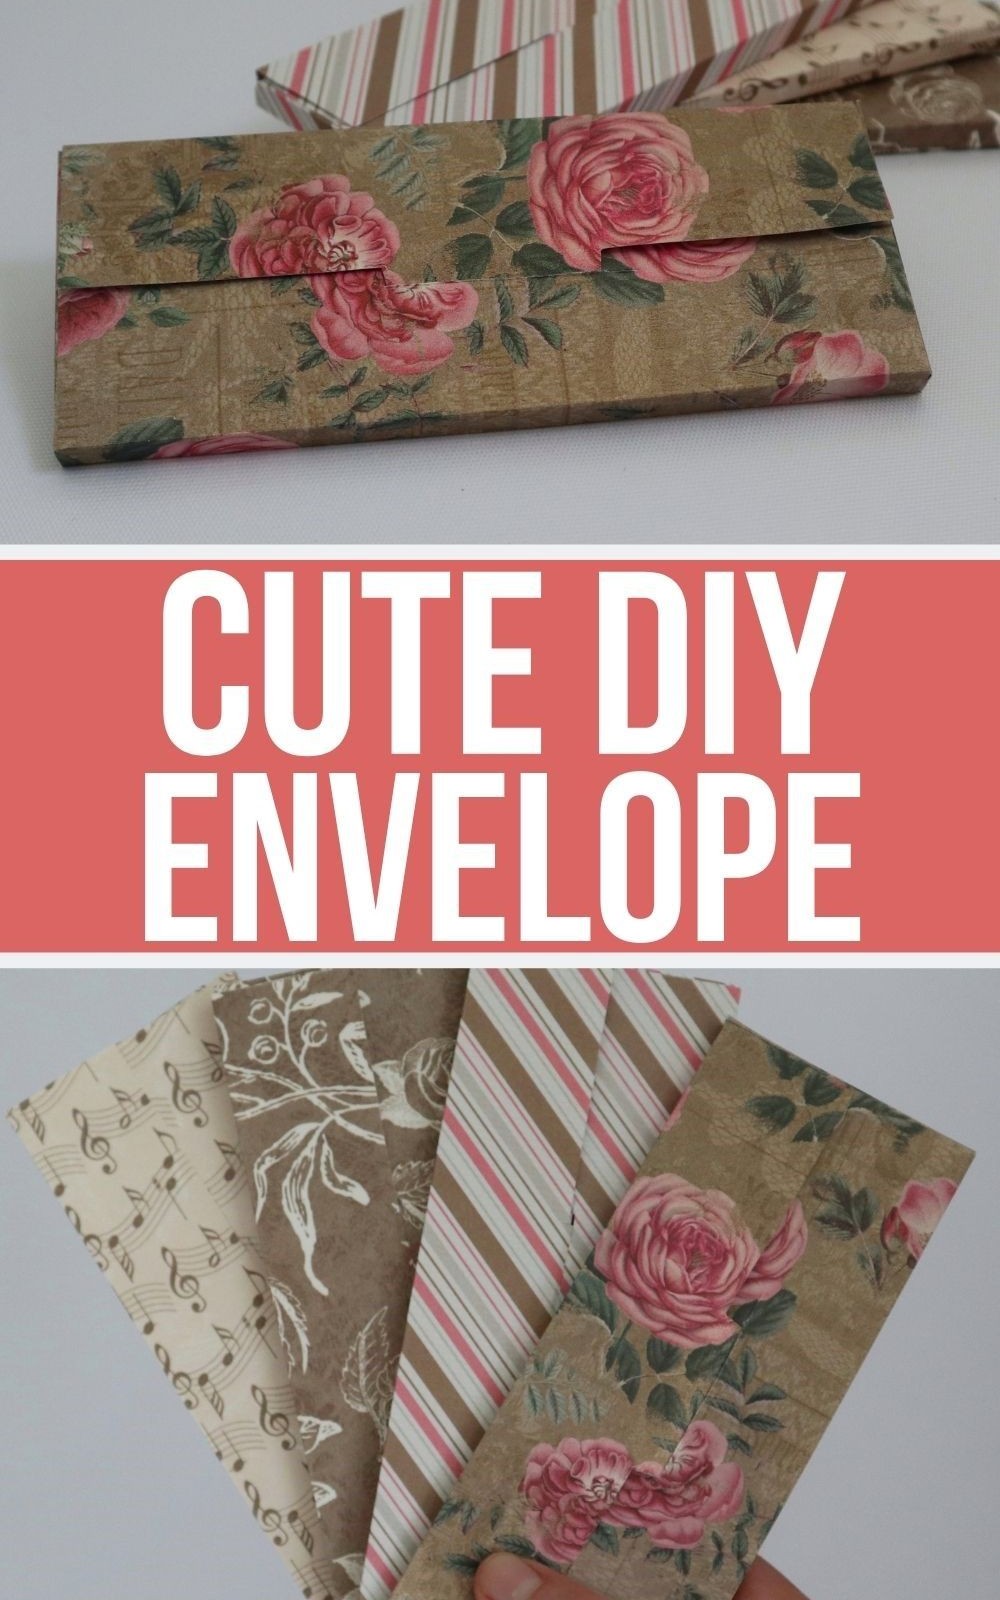
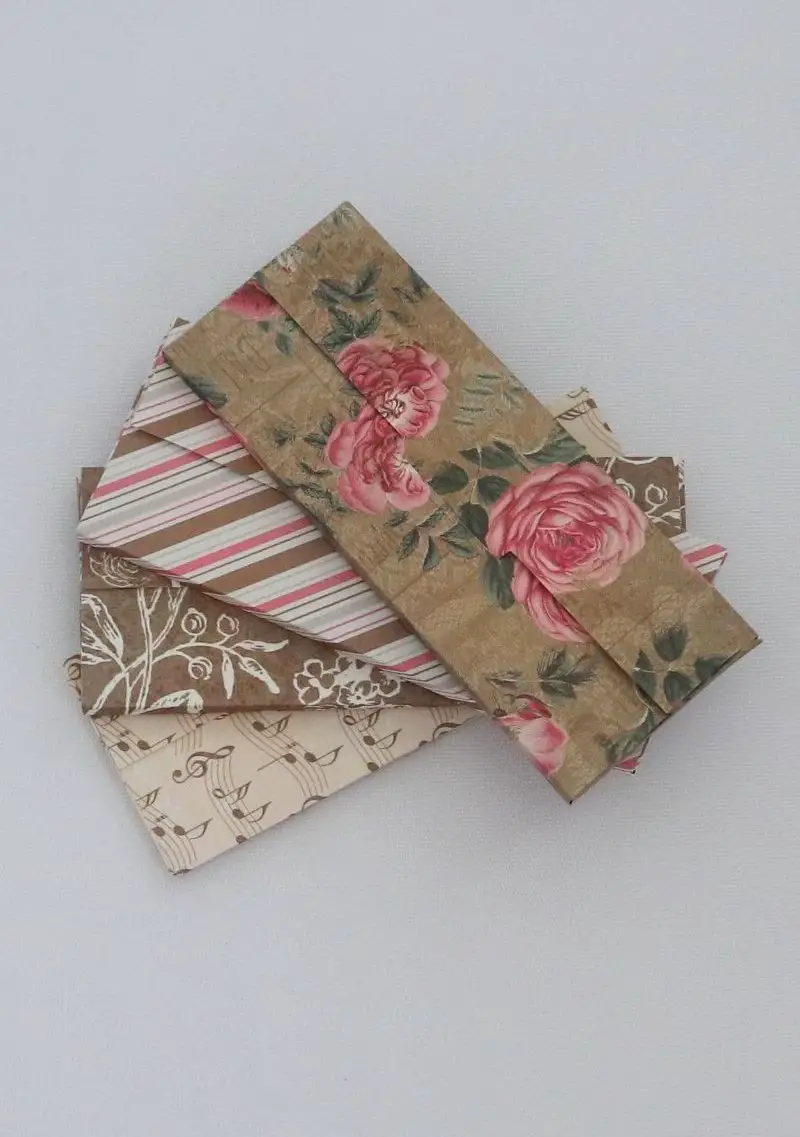
Want to take gift-giving to the next level? Handcrafted envelopes are a beautiful addition to any present! These DIY box envelopes are the perfect way to make the contents an event. By elevating the packaging, you’re creating a sense of anticipation and excitement for the recipient. Whether you’re celebrating a birthday, Christmas, or just wanting to show someone you care, these handmade envelopes can be used to add an extra layer of thoughtfulness to any gift.
With this simple DIY project, you’ll be able to create unique and special packaging that will make your gifts truly unforgettable.
Supplies You’ll Need
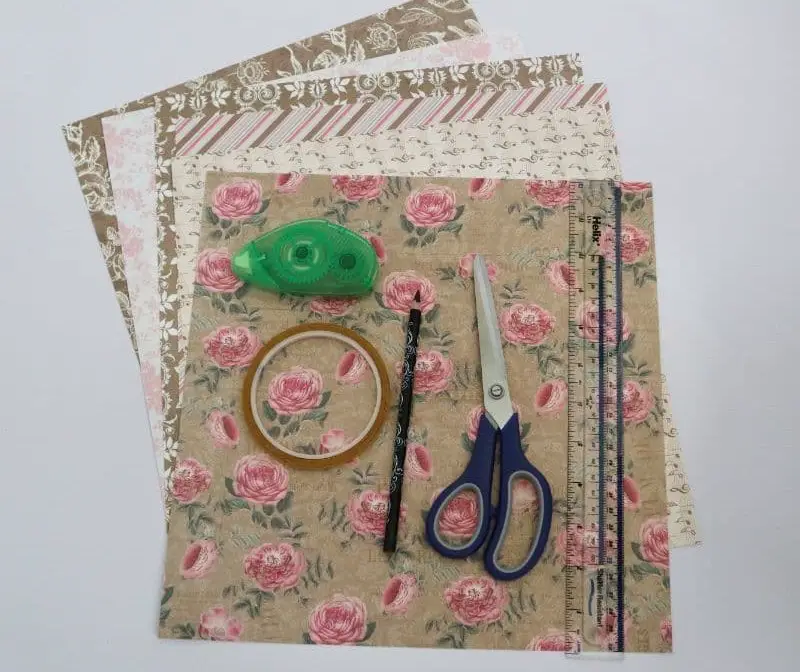
For a crafting project that requires a sturdy foundation, start by gathering essential materials. First, you’ll need some high-quality paper – specifically, patterned cardstock with a weight of 200gsm, which provides a substantial base for your creation. Next, prepare your cutting tools: reach for a pair of sharp scissors to trim and shape your materials as needed. A pencil is also useful for sketching out ideas or making marks on your workpiece.
In addition to these basic drawing tools, a ruler will come in handy when measuring and aligning elements within your design. Finally, have some adhesive at the ready – either glue or double-sided tape – to bring all your components together and secure them in place.
How to Make Envelope
To create an envelope, follow these easy steps: First, gather your materials – you’ll need a piece of paper, a pencil or pen, and a scissors. Next, draw the outline of the envelope on the paper, making sure it’s slightly larger than the item you want to put inside (like a letter or document). Make sure the top flap is about 1-2 inches longer than the sides and bottom. Then, cut out the envelope along the lines you drew, making sure to leave a small margin around the edges.
Finally, fold the top flap over to create a closure, and voila! You’ve got yourself an envelope.
Step 1
Begin by collecting all necessary materials. Thick scrapbooking paper is recommended, as it provides the structural integrity needed to maintain its shape once folded. Additionally, have some double-sided tape readily available – it significantly simplifies the process.
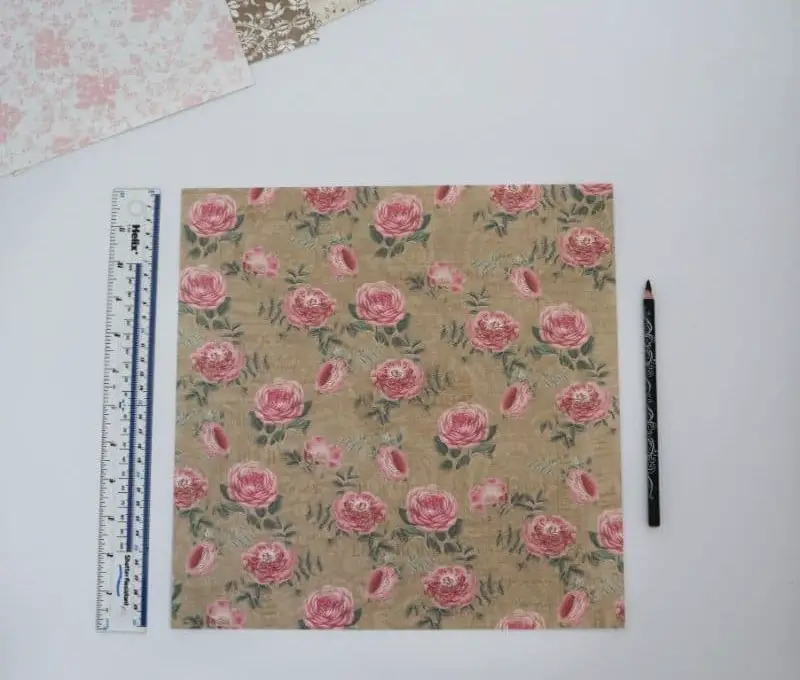
Next, gather a pencil, your selected box paper, and a ruler. In the following step, you will be creating a box template on the blank side of the page, so anticipate requiring precision.
To establish the box’s blueprint, consider printing out a free template or designing your own based on the general shape. I opted for the latter approach.
Step 2
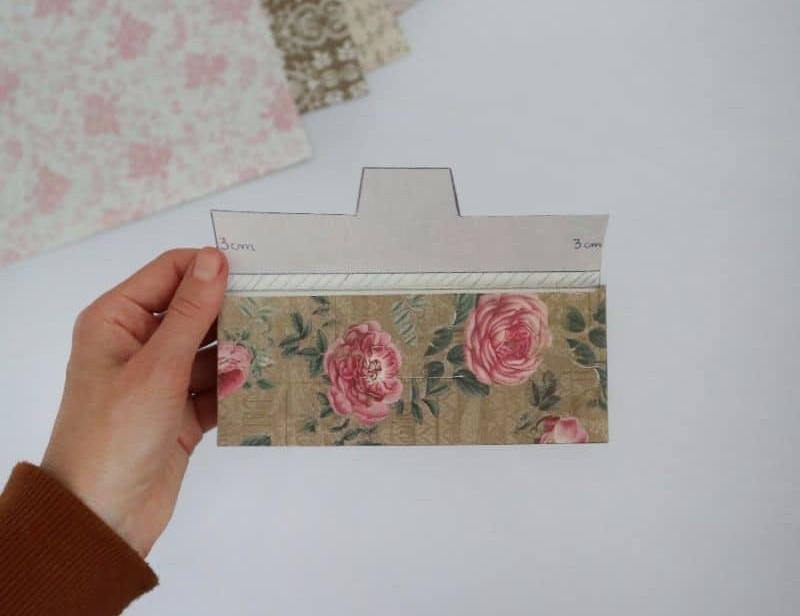
While you don’t need to replicate my measurements precisely, it’s essential to ensure that the two largest rectangles are identical – one represents the back wall and the other the front panel of the box. As for the flap, aim to make it slightly smaller than the central rectangle, but a rough estimate is fine. The same relaxed approach can be applied to the wings’ dimensions.
Step 3
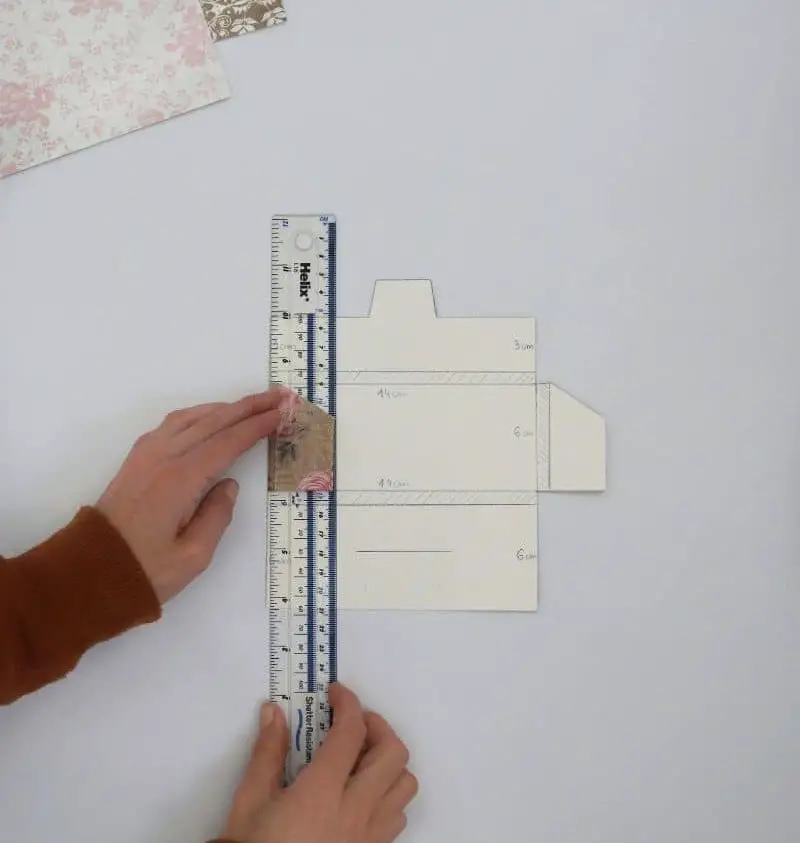
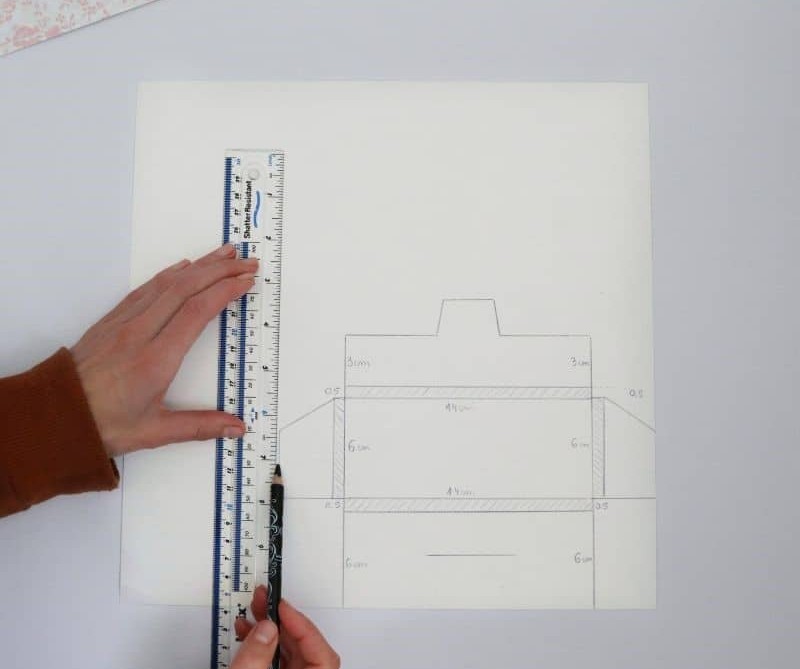
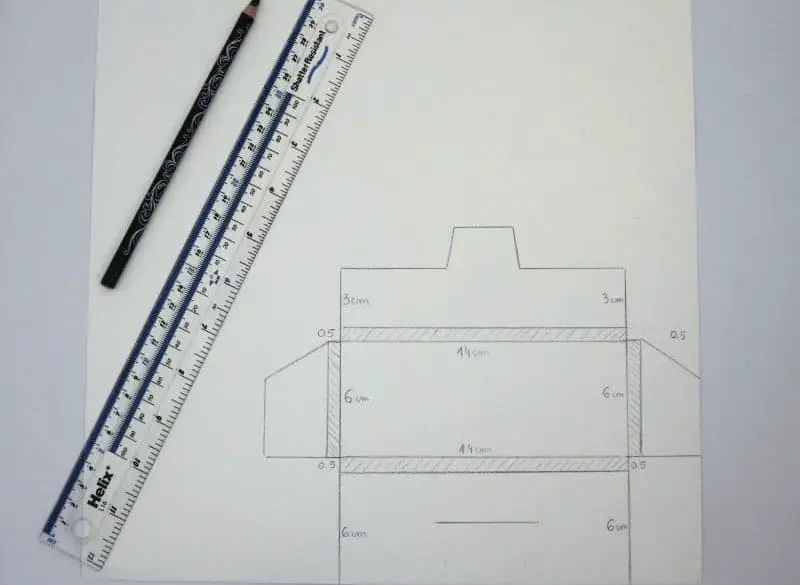
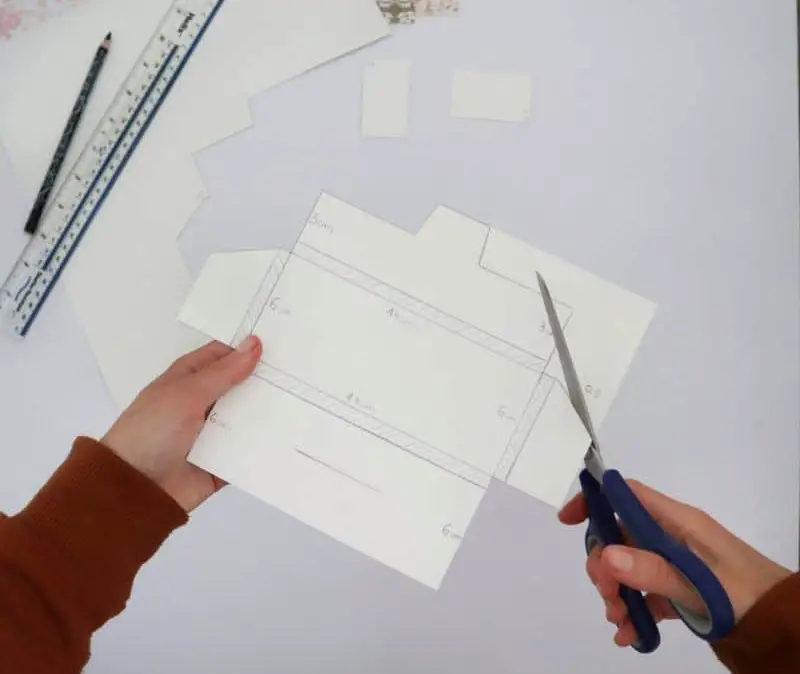
Once your template is complete, it’s time to transform it into a physical model. To achieve this, you’ll need to carefully cut out the design using scissors. When doing so, be meticulous about ensuring square edges, as rounded corners won’t fold together neatly. A ruler will come in handy for creating clean, precise cuts, particularly when it comes to the cross-hatched sections that will eventually create internal space within the box once it’s folded.
Take a moment to measure the thickness of your ruler and adjust accordingly to ensure these areas are accurately defined.
Step 4
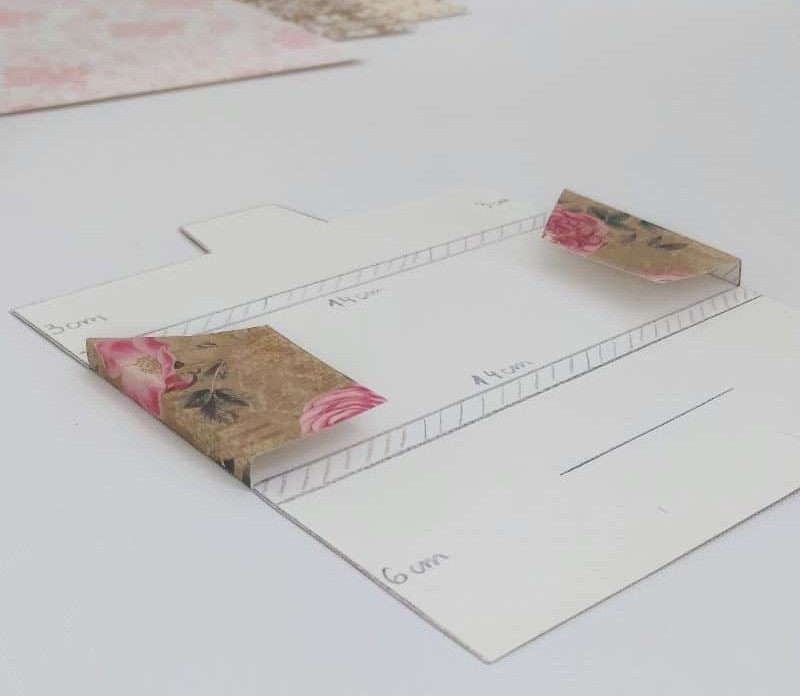
As you move on to the next step, grab your ruler and position it along the edge of the first wing. Carefully fold the wing over onto the ruler, creating a sharp square corner. Repeat this process on the other side, folding both flaps inward to form two matching straight edges. The precision of these folds will help shape the box’s overall rectangular form.
Step 5
To elevate the folding precision of your larger flaps, carefully guide them inward to create sharp edges. Align these edges meticulously, ensuring the finished product remains symmetrical and free from wonkiness. For added accuracy, consider utilizing a level table and wall as a reference point when folding the box, allowing you to achieve precise right angles throughout.
Step 6
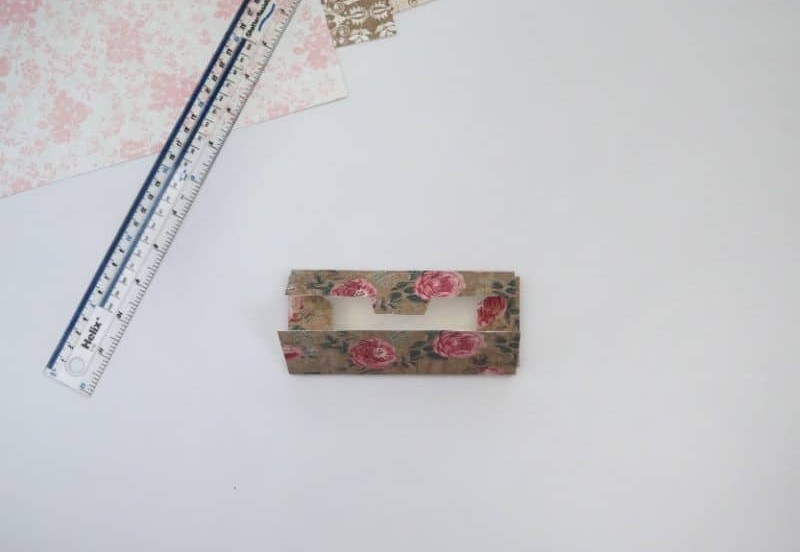
Upon completing the project, your finished piece should resemble the illustration provided. However, if the creases in your foldable material are not crisp and defined like those depicted, it may be worth taking a few extra minutes to use a ruler to reinforce the edges and enhance their overall appearance.
Step 7
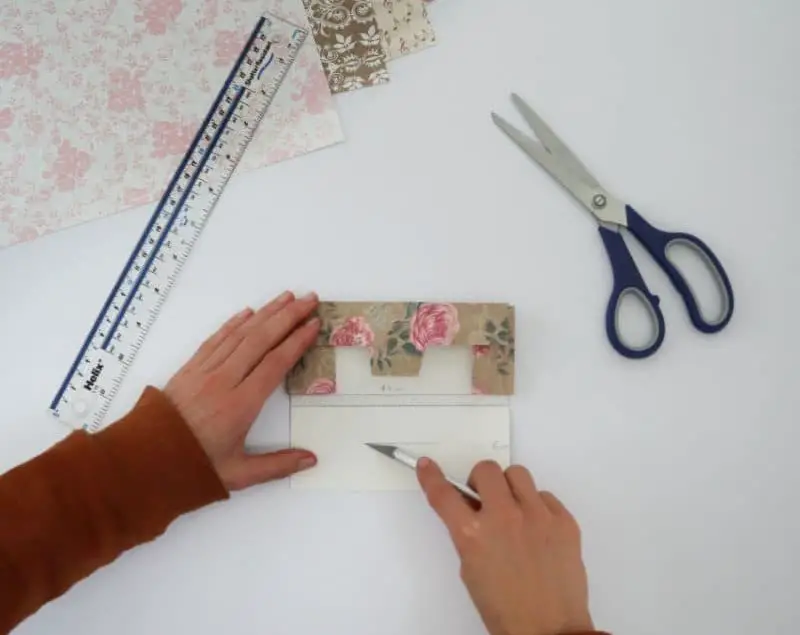
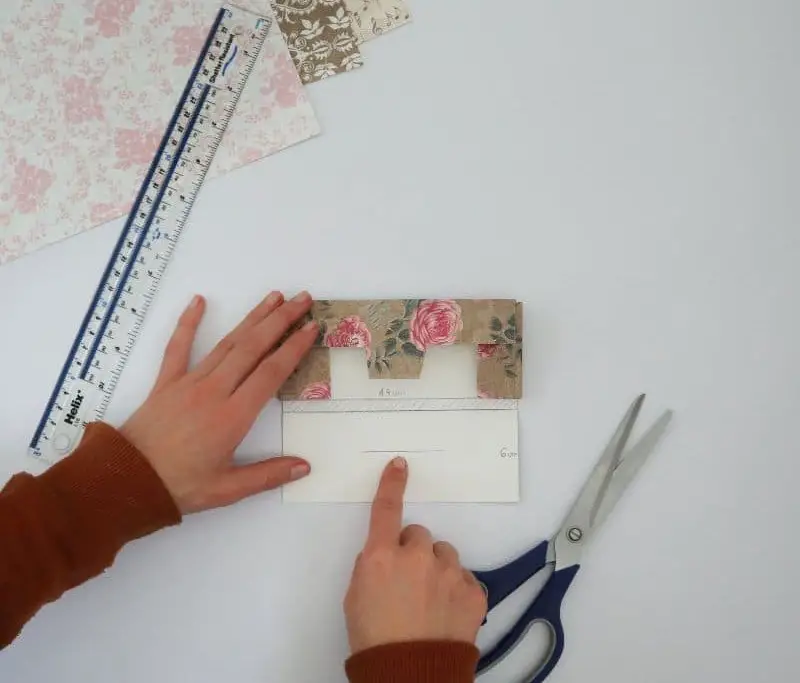
To complete the box’s closure mechanism, we need to create a slot in the top flap. This step is straightforward – simply draw a line across the center of the flap and then cut along it to form the slot. If you have a craft knife, this process will be significantly easier. Alternatively, you can use a single blade from your scissors to achieve a clean cut. It’s crucial that the notch created is wide enough to accommodate the protrusion on the top flap, ensuring a snug fit when the box is closed.
Step 8
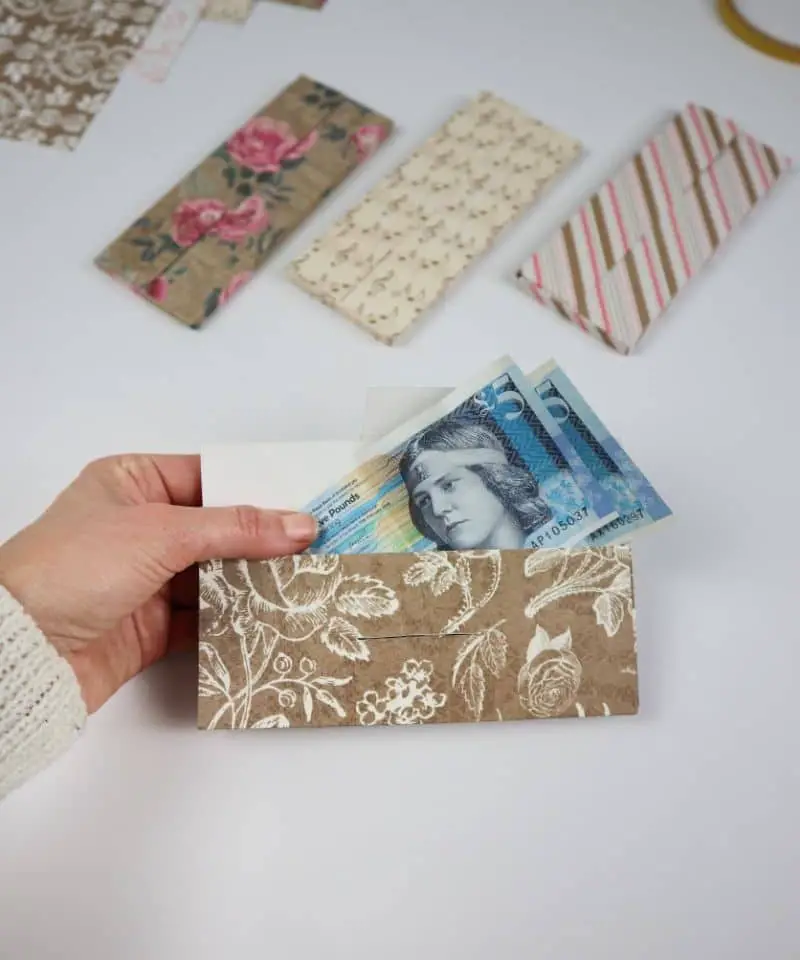
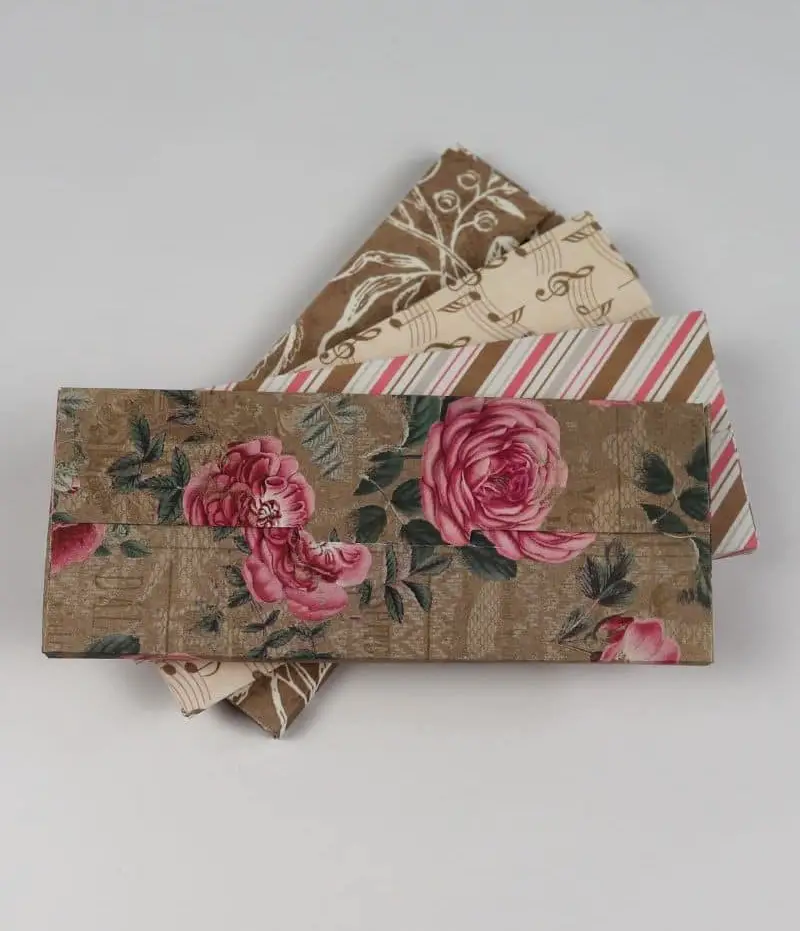
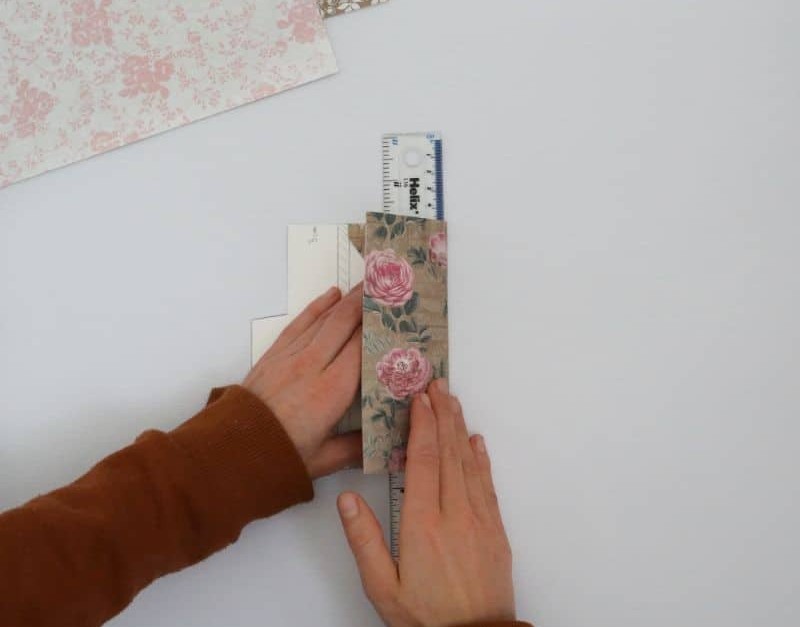
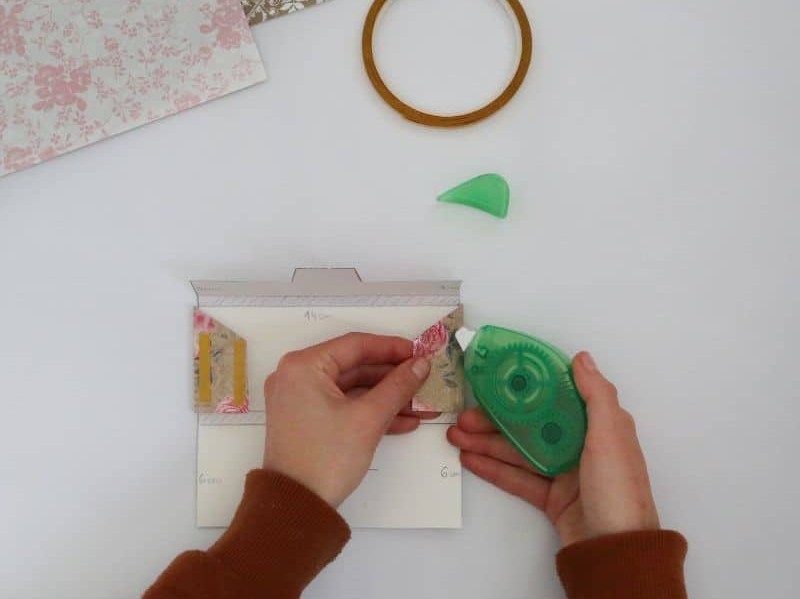
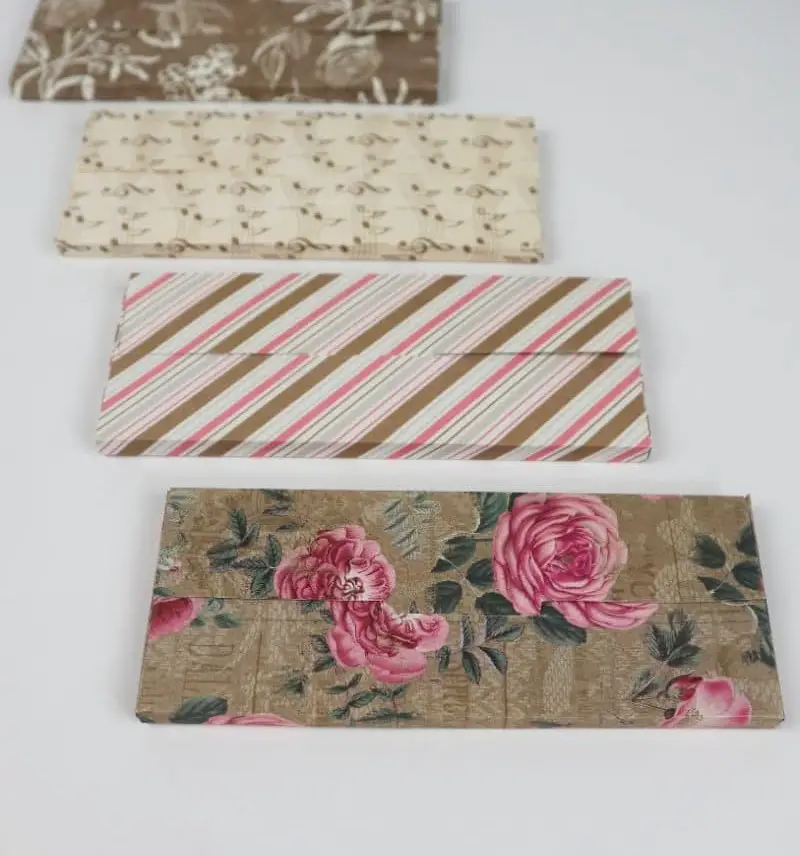
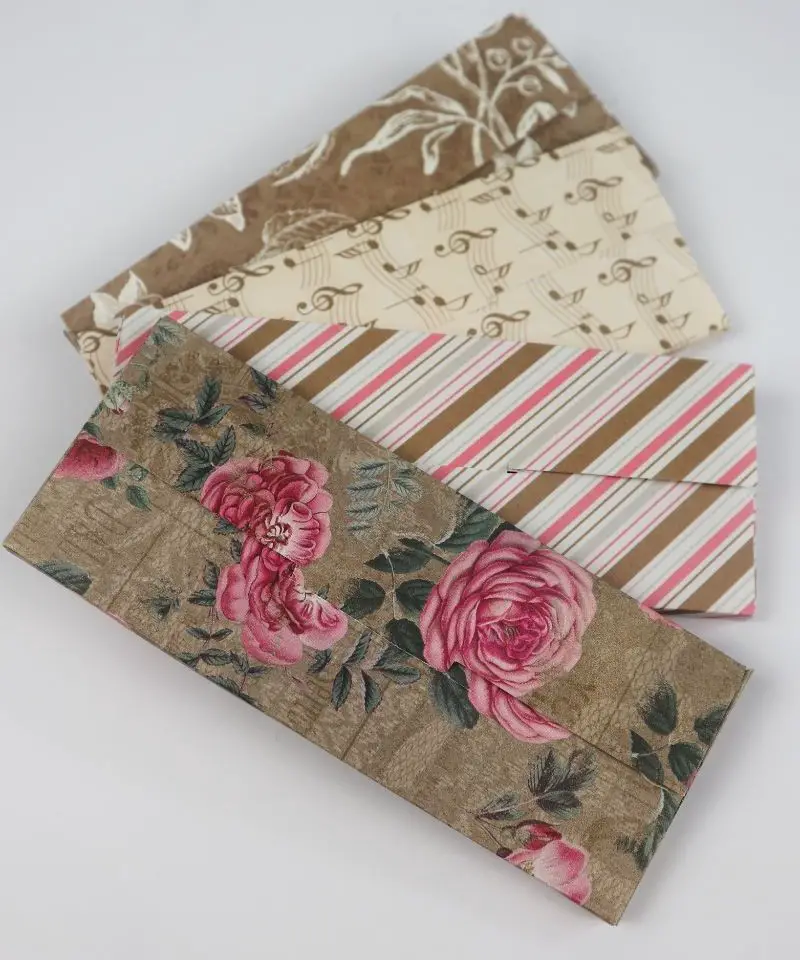
Assembling your custom box envelope is the final step in this creative process. I experimented with both double-sided tape and glue for assembly purposes. While glue requires a waiting period for drying, using tape proved to be a more straightforward approach, eliminating any downtime. To assemble the box, simply fold the wings inward, apply adhesive to their patterned side, and then attach the rectangle flap to form the box’s body.
This will leave your top flap free to open and close with ease, allowing you to easily access the contents within. With precision cutting and careful folding, you’ll have successfully crafted a unique and personalized box envelope to elevate your gift-giving experience.
What Can You Use These Envelopes For?
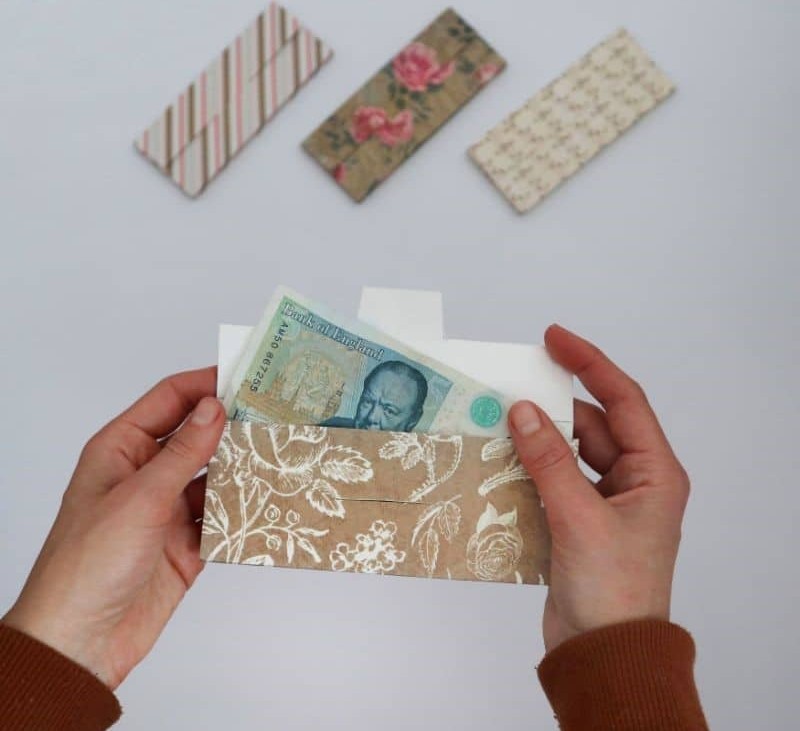
These versatile boxes can transform even the most mundane gifts into something truly special. Whether you’re looking for a thoughtful surprise or simply want to add some flair to your present-giving, they’re incredibly useful. Here are just a few ideas to get you started:* Cash never goes out of style, but adding it to one of these boxes gives it an extra touch of elegance.
* Gift cards can be especially meaningful when presented in this way – after all, who doesn’t love the thrill of choosing their own gift?* Share memories with loved ones by filling the box with a collection of your favorite photos or mementos.* Experience gifts like concert tickets or a night out at the theater are always a hit.* And let’s not forget the value of handwritten notes – a heartfelt letter or card can be treasured for years to come. The beauty of these boxes lies in their simplicity.
If it fits, they’ll dress it up and make it feel like a true gift. That’s why I’m such a big fan! They really do make present-giving that much more special.
How to Make a Paper Envelope
Transform your DIY paper envelopes from plain to stunning in just 12 minutes! Start by gathering the essentials – a few basic supplies and some creativity. Fill your newly designed envelope with meaningful mementos like cards, photos, or even cash, and get ready to witness the joy on their face as they unwrap it.
Equipment
Materials
For creating a sturdy and visually appealing design, we recommend using patterned cardstock with a weight of at least 200gsm. This heavyweight material provides a solid foundation for your project, allowing you to attach embellishments and other elements securely in place using either glue or double-sided tape.
Instructions
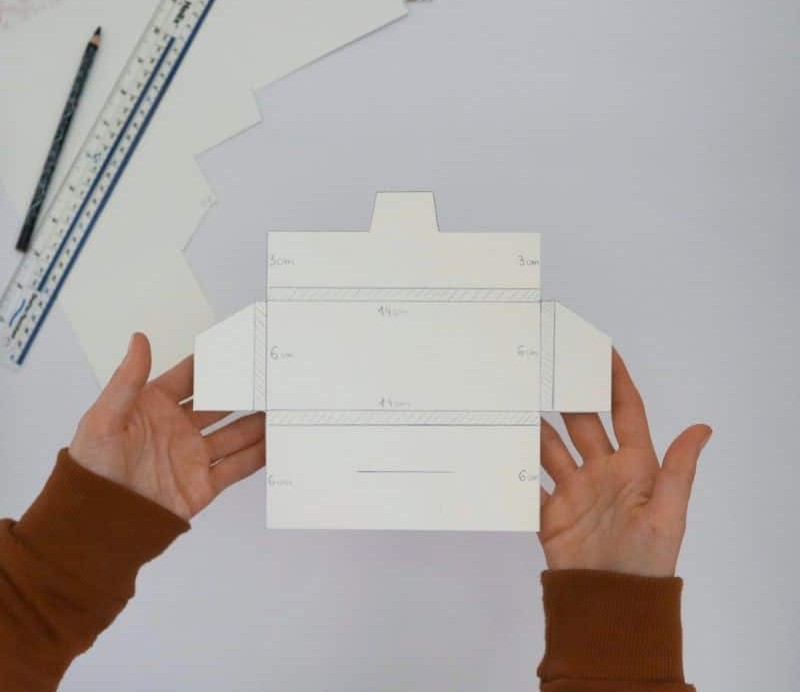
To begin crafting your unique envelope box, collect all necessary materials, including a printed template if you’re using one. Start by meticulously drawing the blown-out shape of the box onto the non-patterned side of the paper. This step is crucial in avoiding future frustration, so take your time to ensure accurate measurements. The layout consists of two identical rectangles flanked by two panels on the long edge and two flaps on the short edge.
While it’s essential to be precise with the rectangle dimensions, you can be slightly more relaxed when drawing the other parts. Make sure to leave sufficient space for the pieces to fold over and create a hollow area in the middle. I recommend using a ruler’s edge to measure the width of the interior compartment. Once your shape is drawn, carefully cut it out. To create a gap for the tab, draw a notch in the center of the ‘front’ piece and then use scissors or a knife to cut through it.
Begin folding each edge inward, starting with the large rectangles, followed by the flaps and panels. Use your ruler to create a clean square edge and fold. Finally, secure the flaps to the ‘back’ using glue or double-sided tape. Fill your envelope box with your chosen treasures, present it to your recipient, and bask in their joy as they experience the delightful surprise inside!