
There’s something special about creating your own soap bar, whether it’s as a thoughtful DIY gift or a fun project for teens and adults. To get started, here’s a comprehensive guide on how to craft your own homemade soap.
The allure of handmade soaps is undeniable – they’re surprisingly easy to make yet exude a luxurious charm. Who hasn’t been thrilled when receiving a gift basket filled with fragrant bars?
You can’t help but be eager to try them out, and their beauty only adds to the excitement.
What if you never had to wait for or splurge on an expensive handmade soap again? With this simple DIY project, you can create your very own soaps that not only smell amazing but also become a treasured possession.
Supplies and Tools You’ll Need
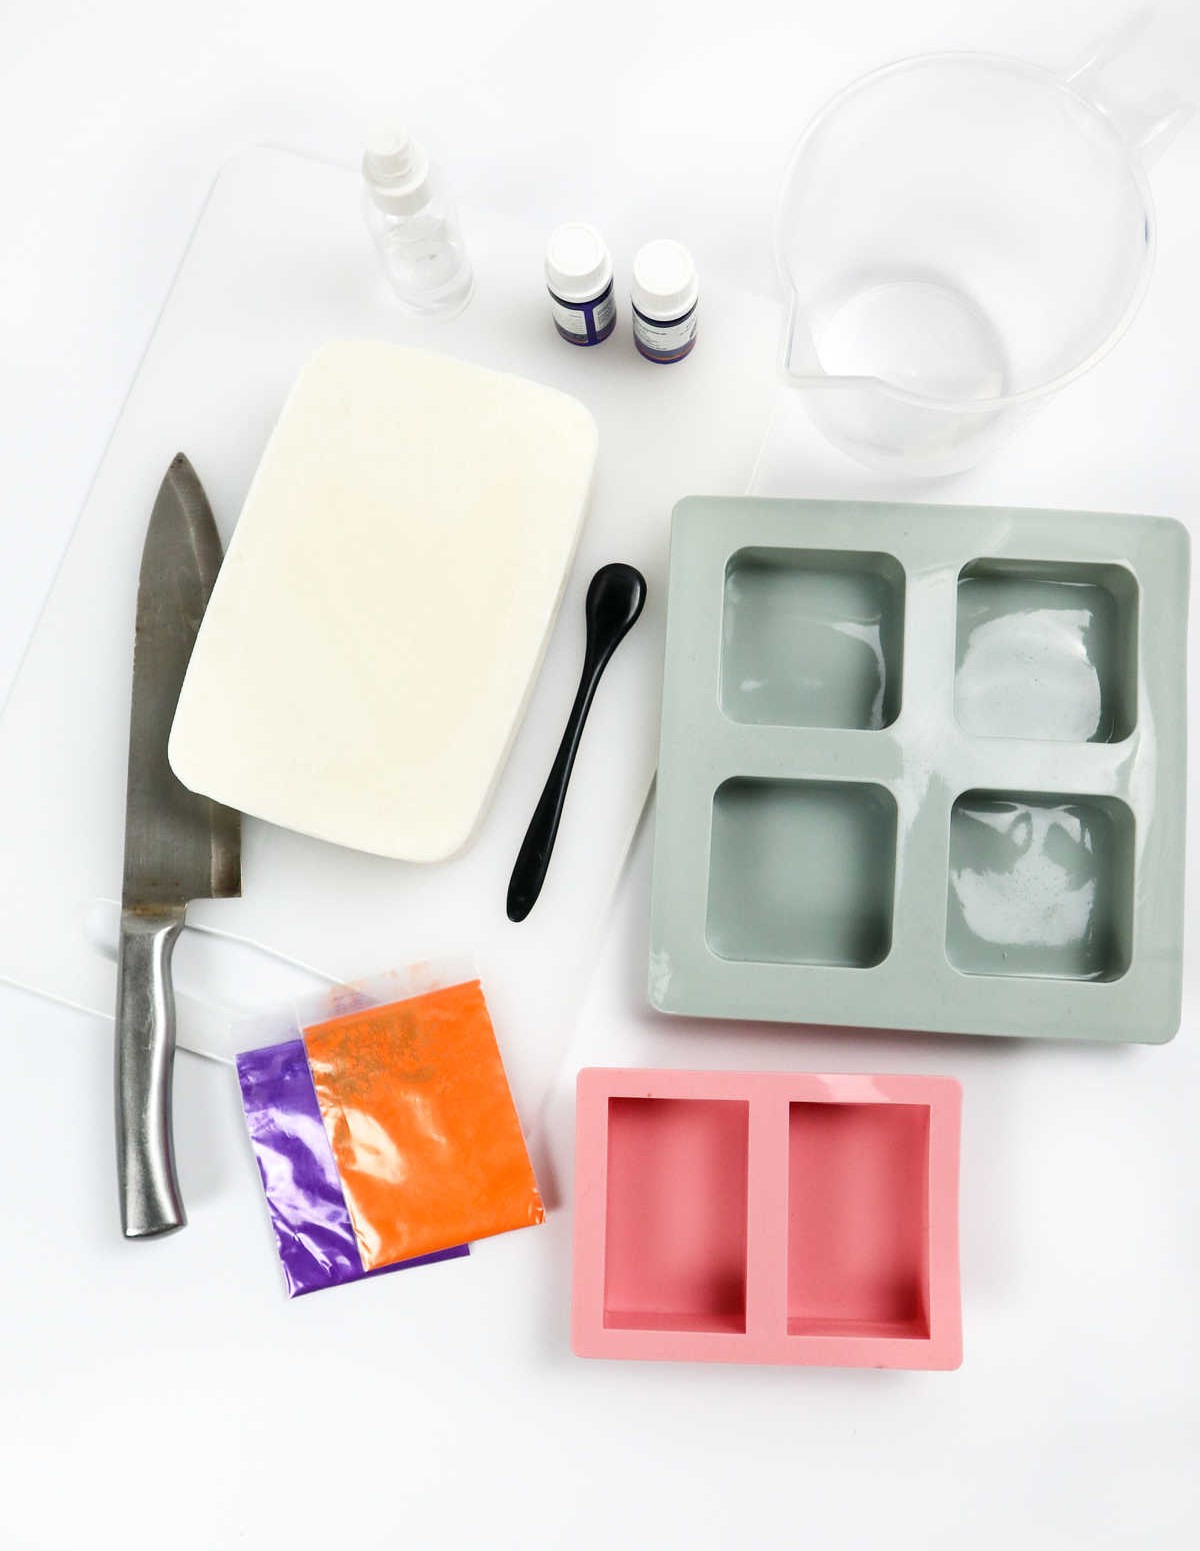
To create your melt and pour soap creations, you’ll need the following supplies:
* Melt and pour soap base: This is the foundation of your project.
* Silicone molds (or plastic cups): You can use these to shape your soap into various forms.
* Heat safe container: A heat-resistant container will come in handy when melting and pouring your soap.
* Spatula: A spatula will help you mix and pour the soap base with ease.
* Knife: A knife is necessary for cutting and mixing the ingredients.
* Essential oils: These will give your soap a pleasant aroma.
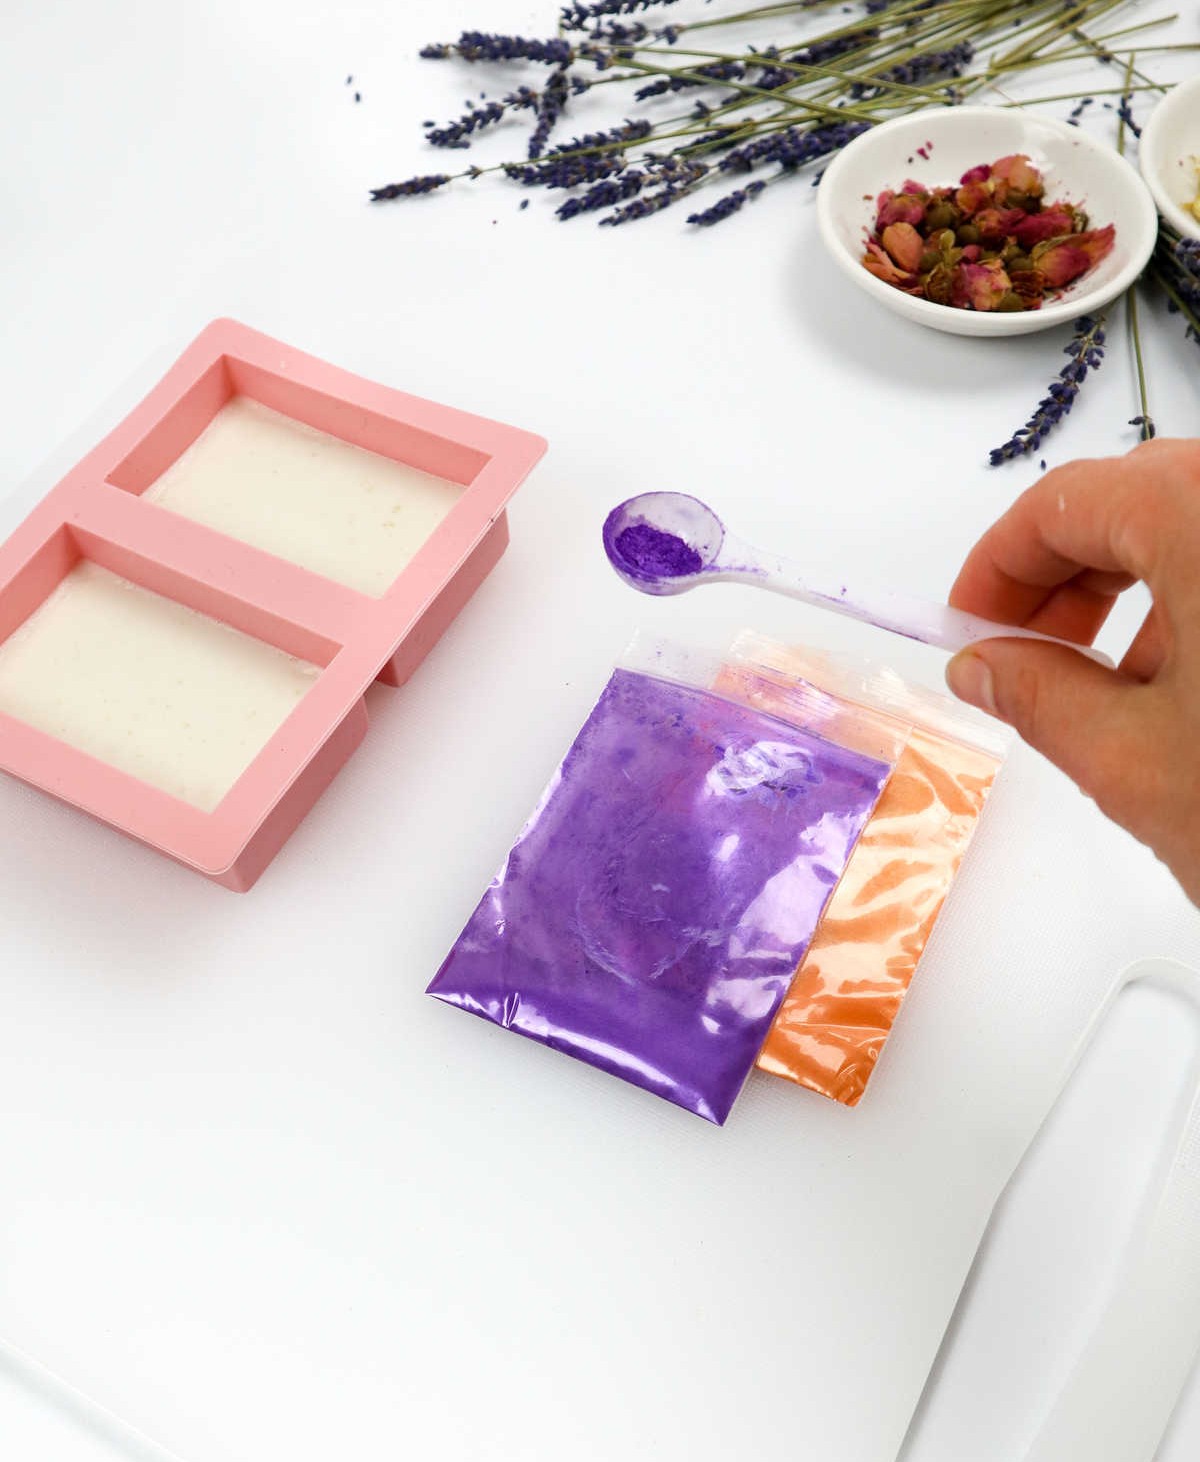
* Mica powder: This adds color and visual interest to your soap.
In addition to these basic supplies, you can also use various materials to decorate and package your soaps. Some ideas include:
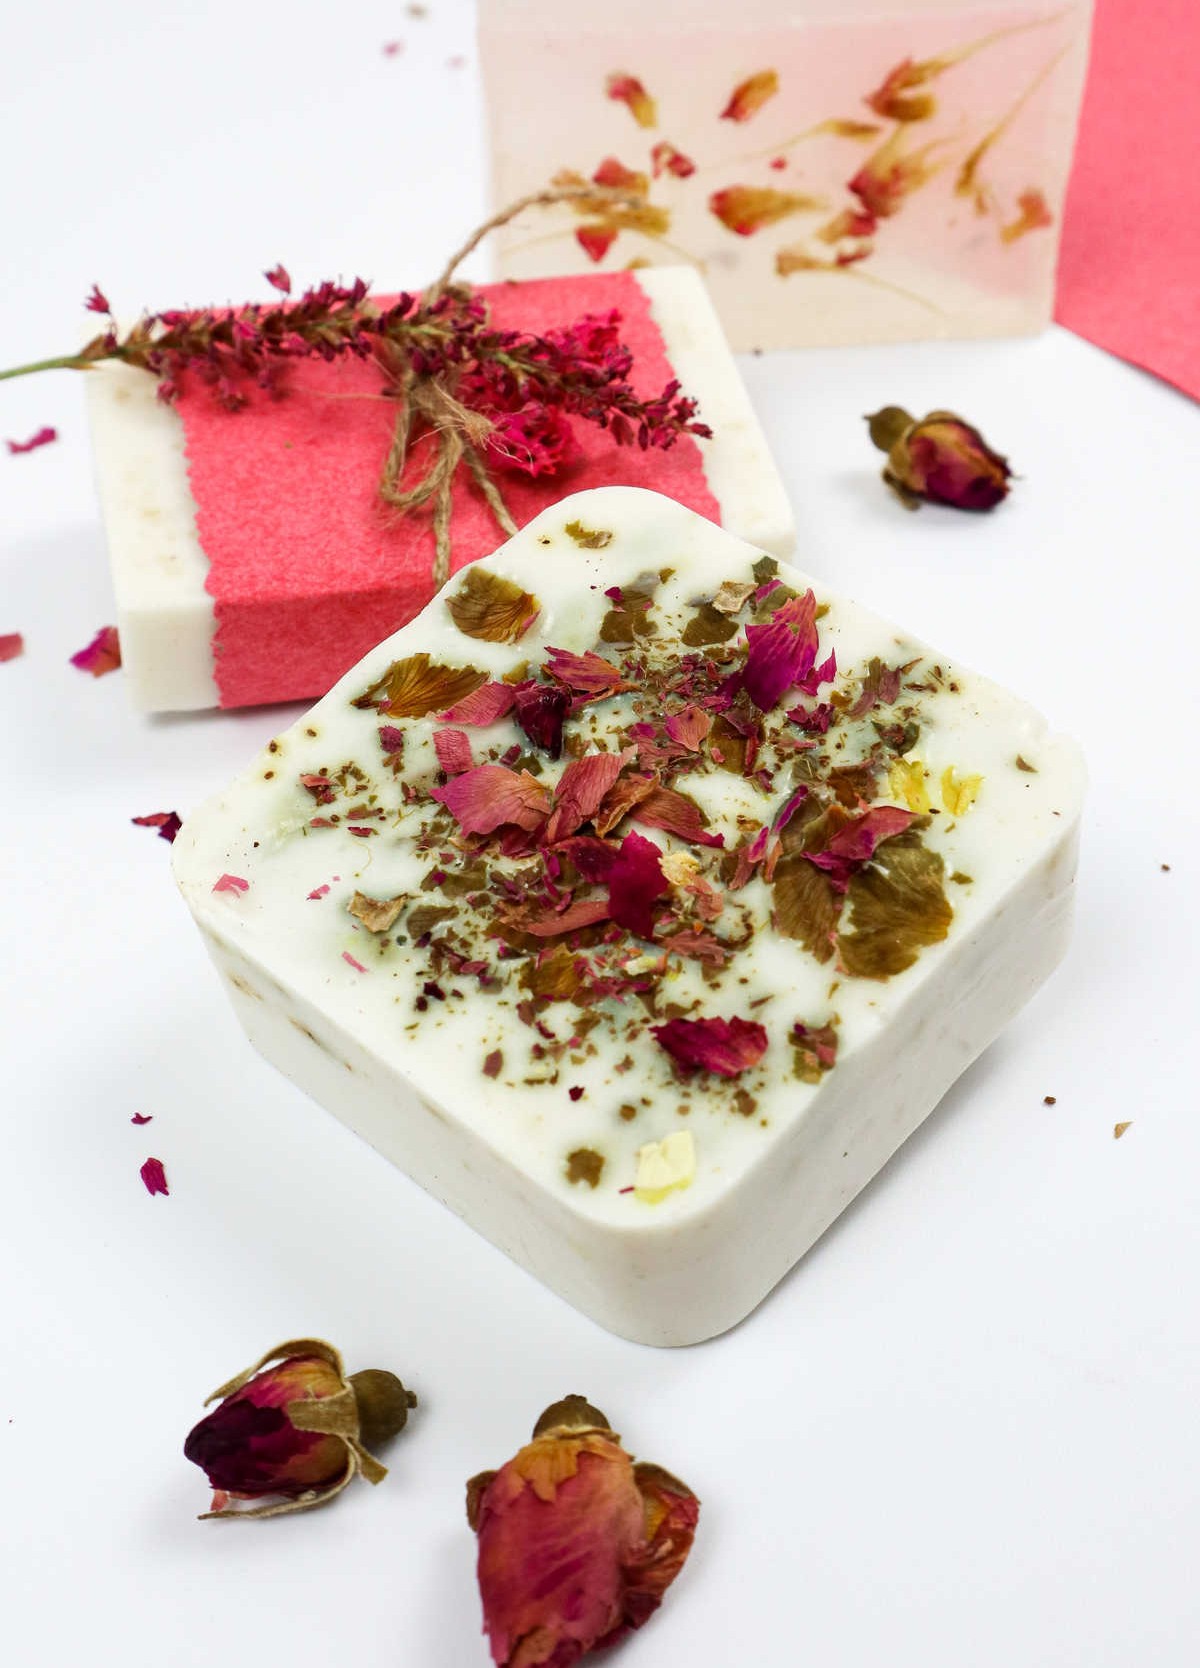
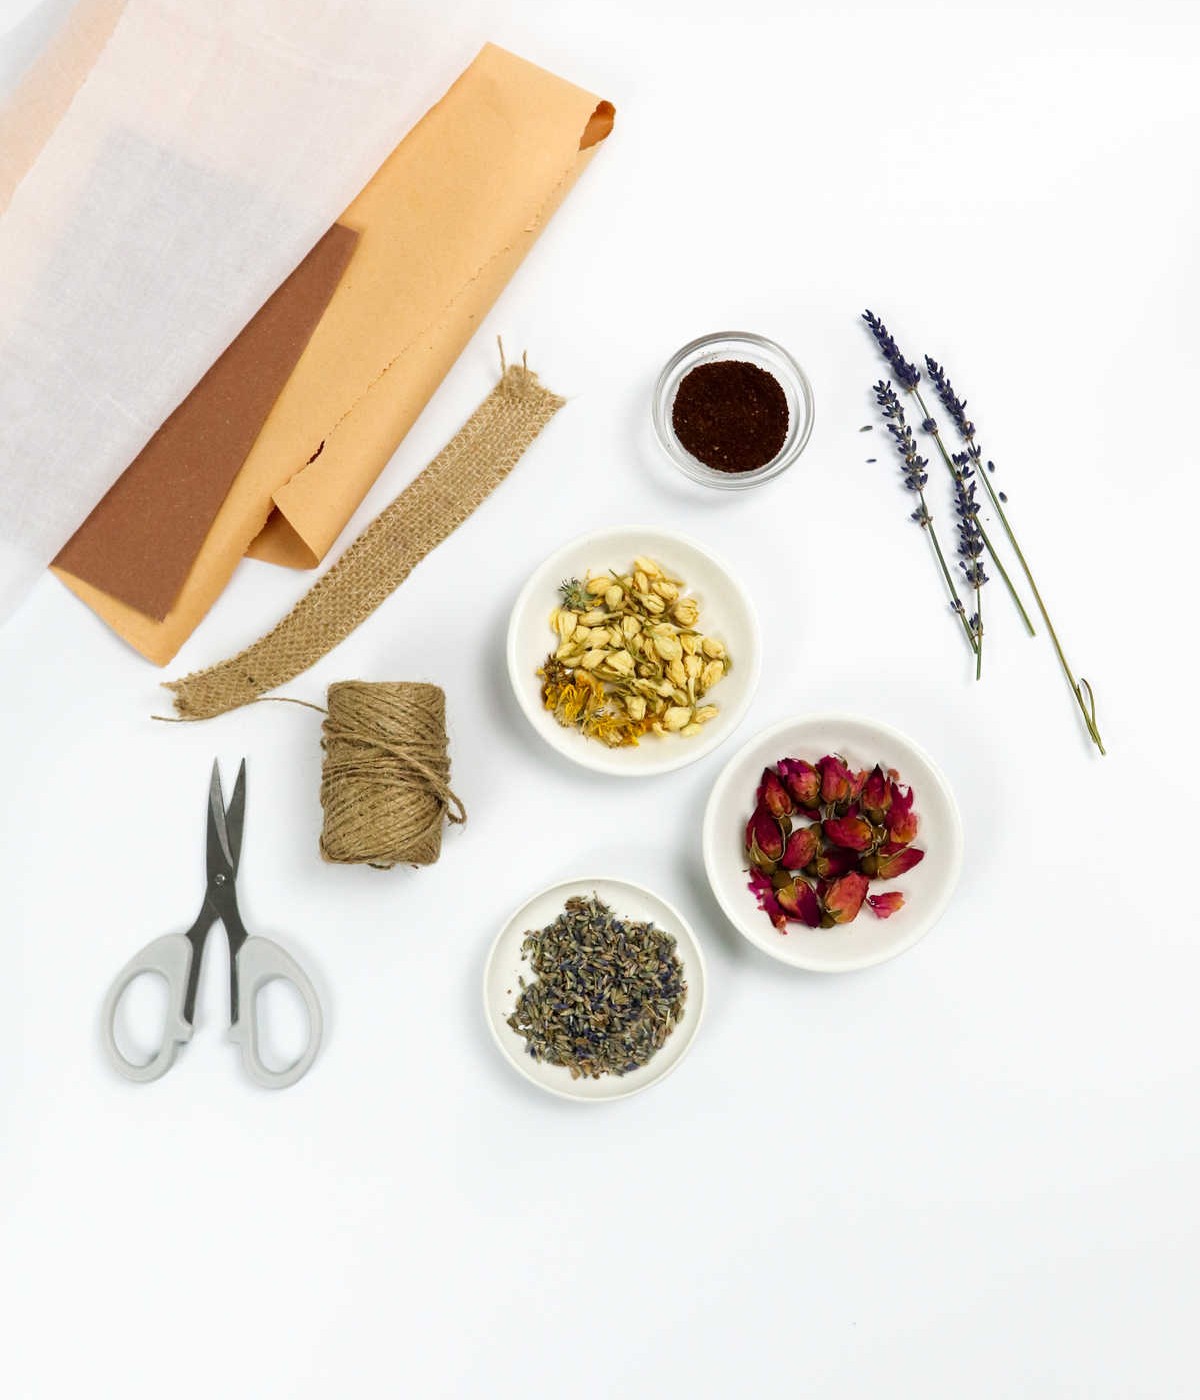
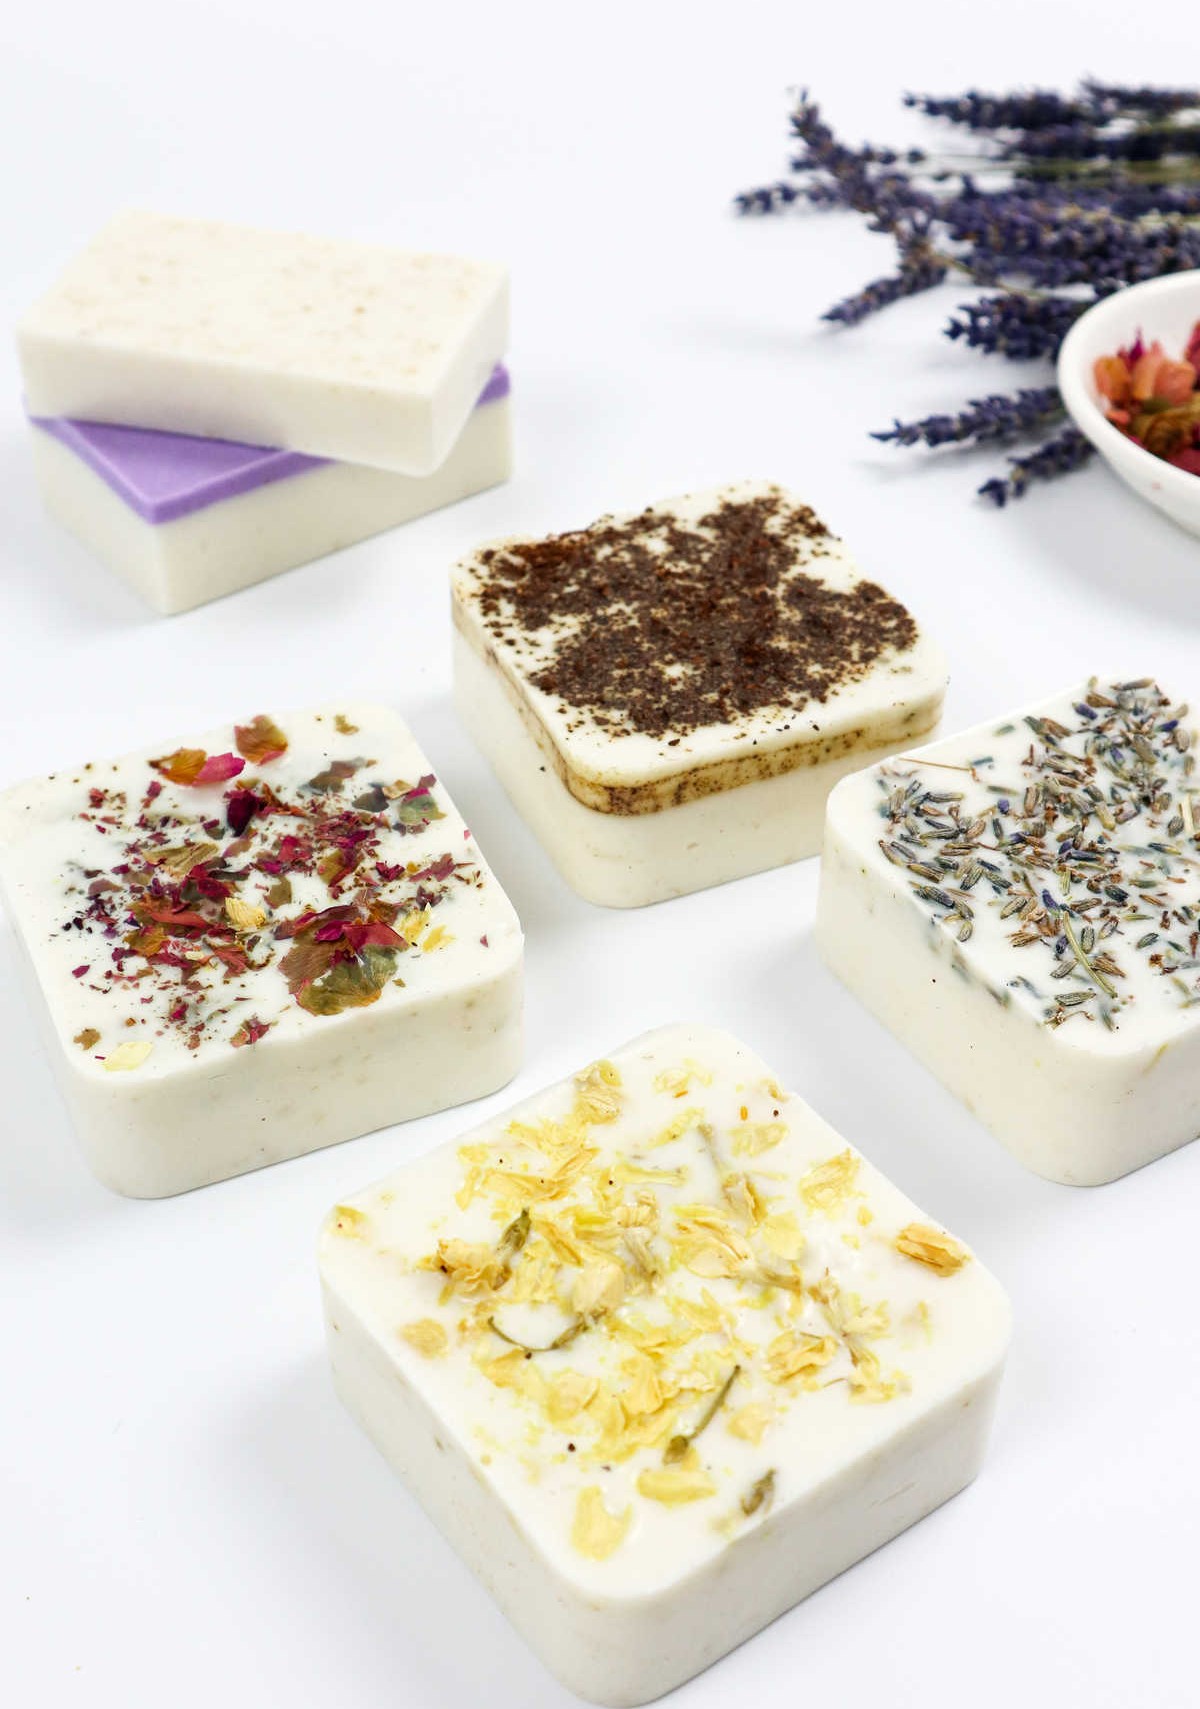
* Dried herbs and flower petals: These add a natural, rustic touch to your soap.
* Ground coffee: You can use ground coffee to create a unique texture or design.
* Scissors: These are necessary for cutting any materials you want to use in your decoration.
* Jute twine: This is a great material for wrapping around your soaps, giving them a natural look.
* Jute ribbon: Similar to jute twine, this can be used to add a decorative touch to your soap.
* Craft paper: You can use craft paper to create custom packaging or labels for your soaps.
* Cheesecloth: This is another material you can use to add texture and interest to your soap.
How to Make Soap at Home
To craft exceptional soap from raw ingredients, follow these steps: Begin by combining a suitable blend of oils and fats with lye solution, carefully monitoring temperatures and reaction times. As you mix and heat the concoction, ensure it reaches the ideal temperature for saponification to occur. Once the process is complete, shape and mold your new soap creation, allowing it to harden and cure before using it.
Step 1
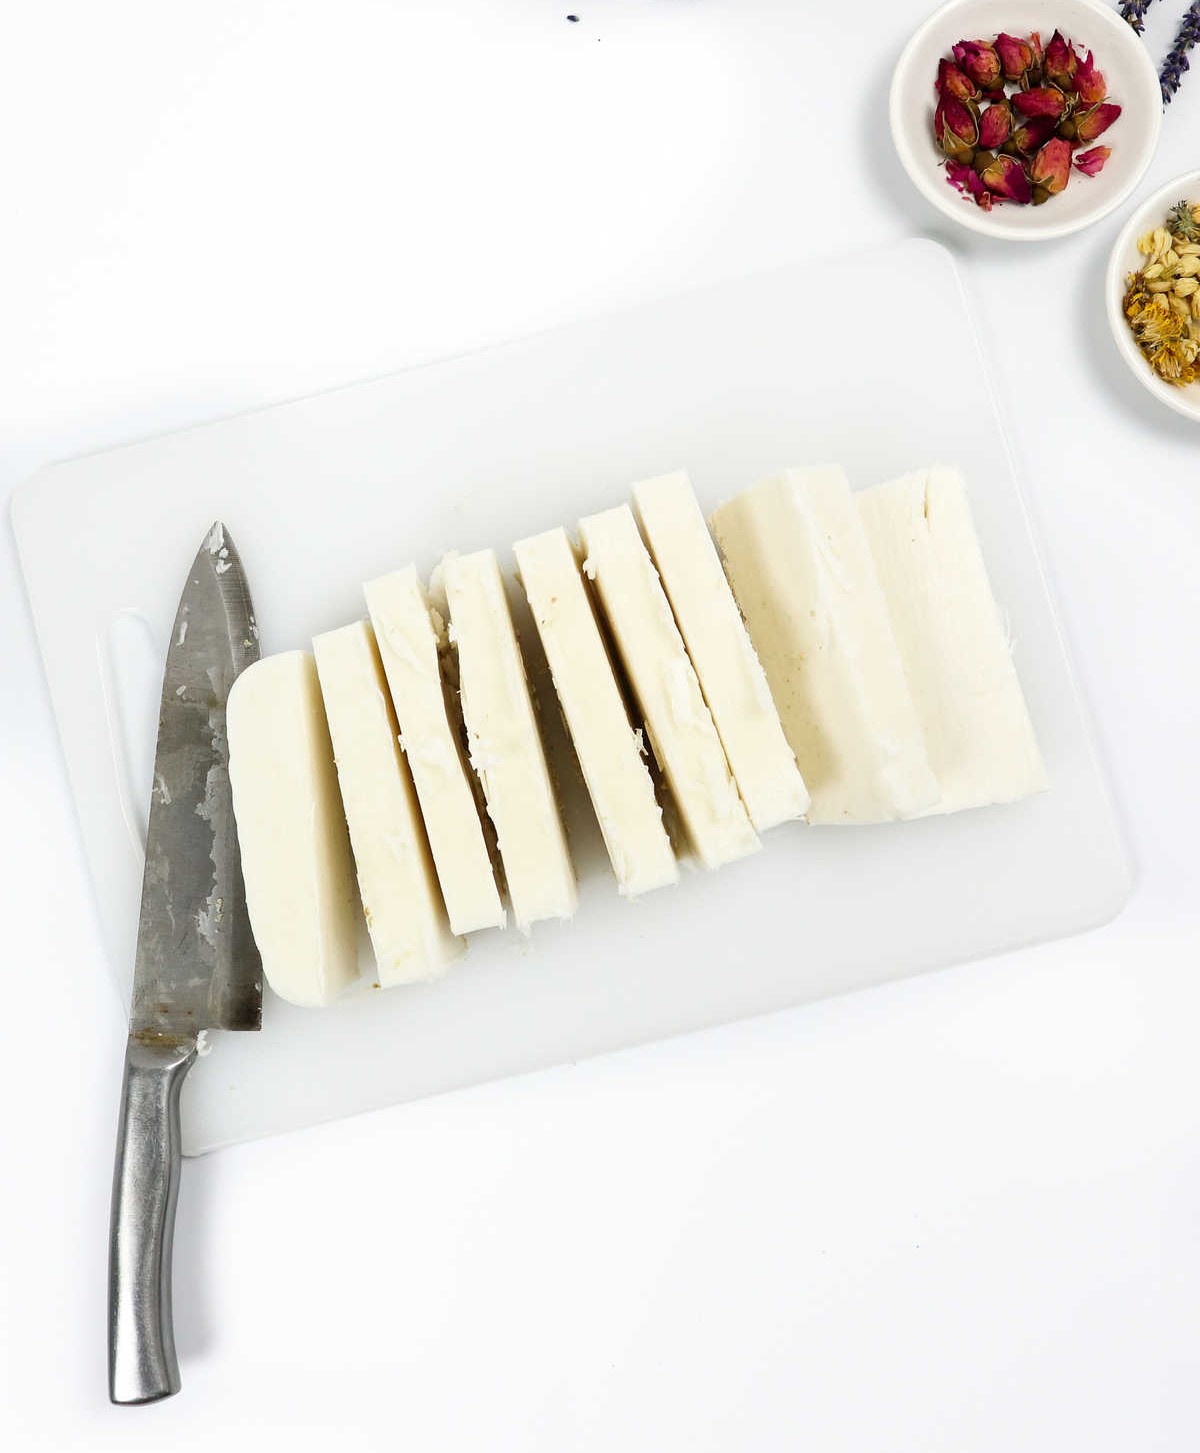
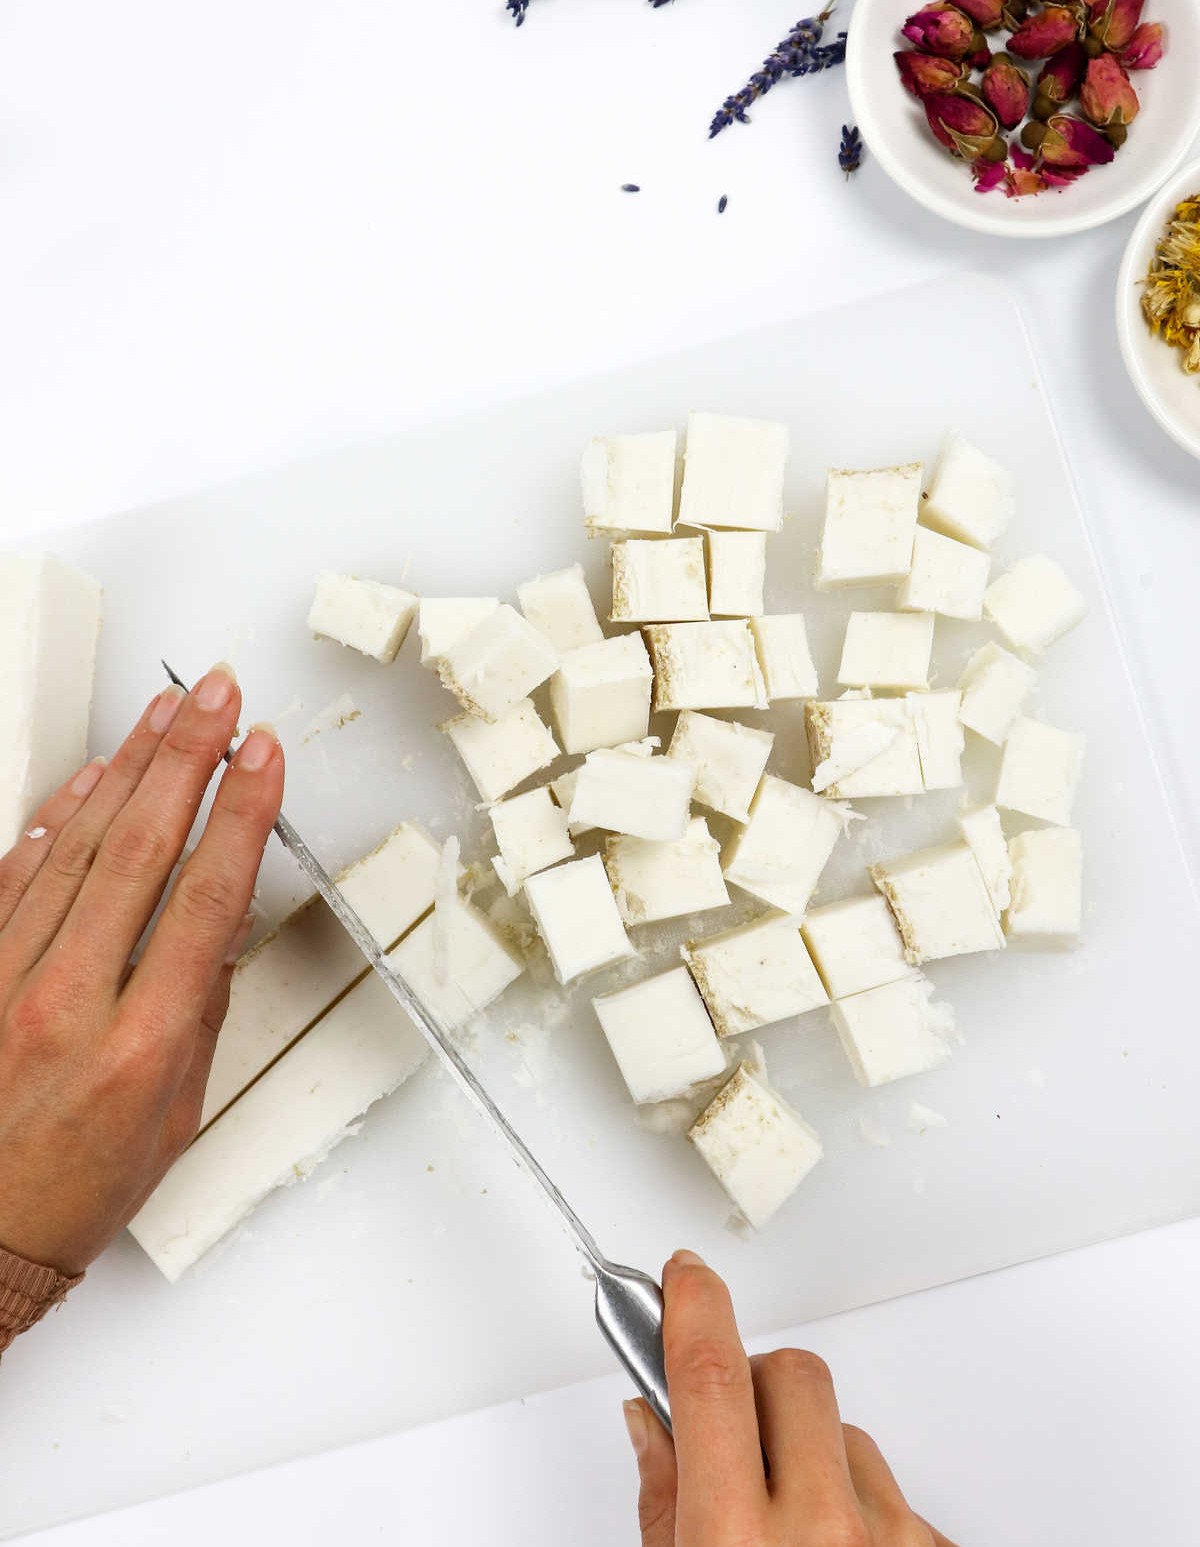
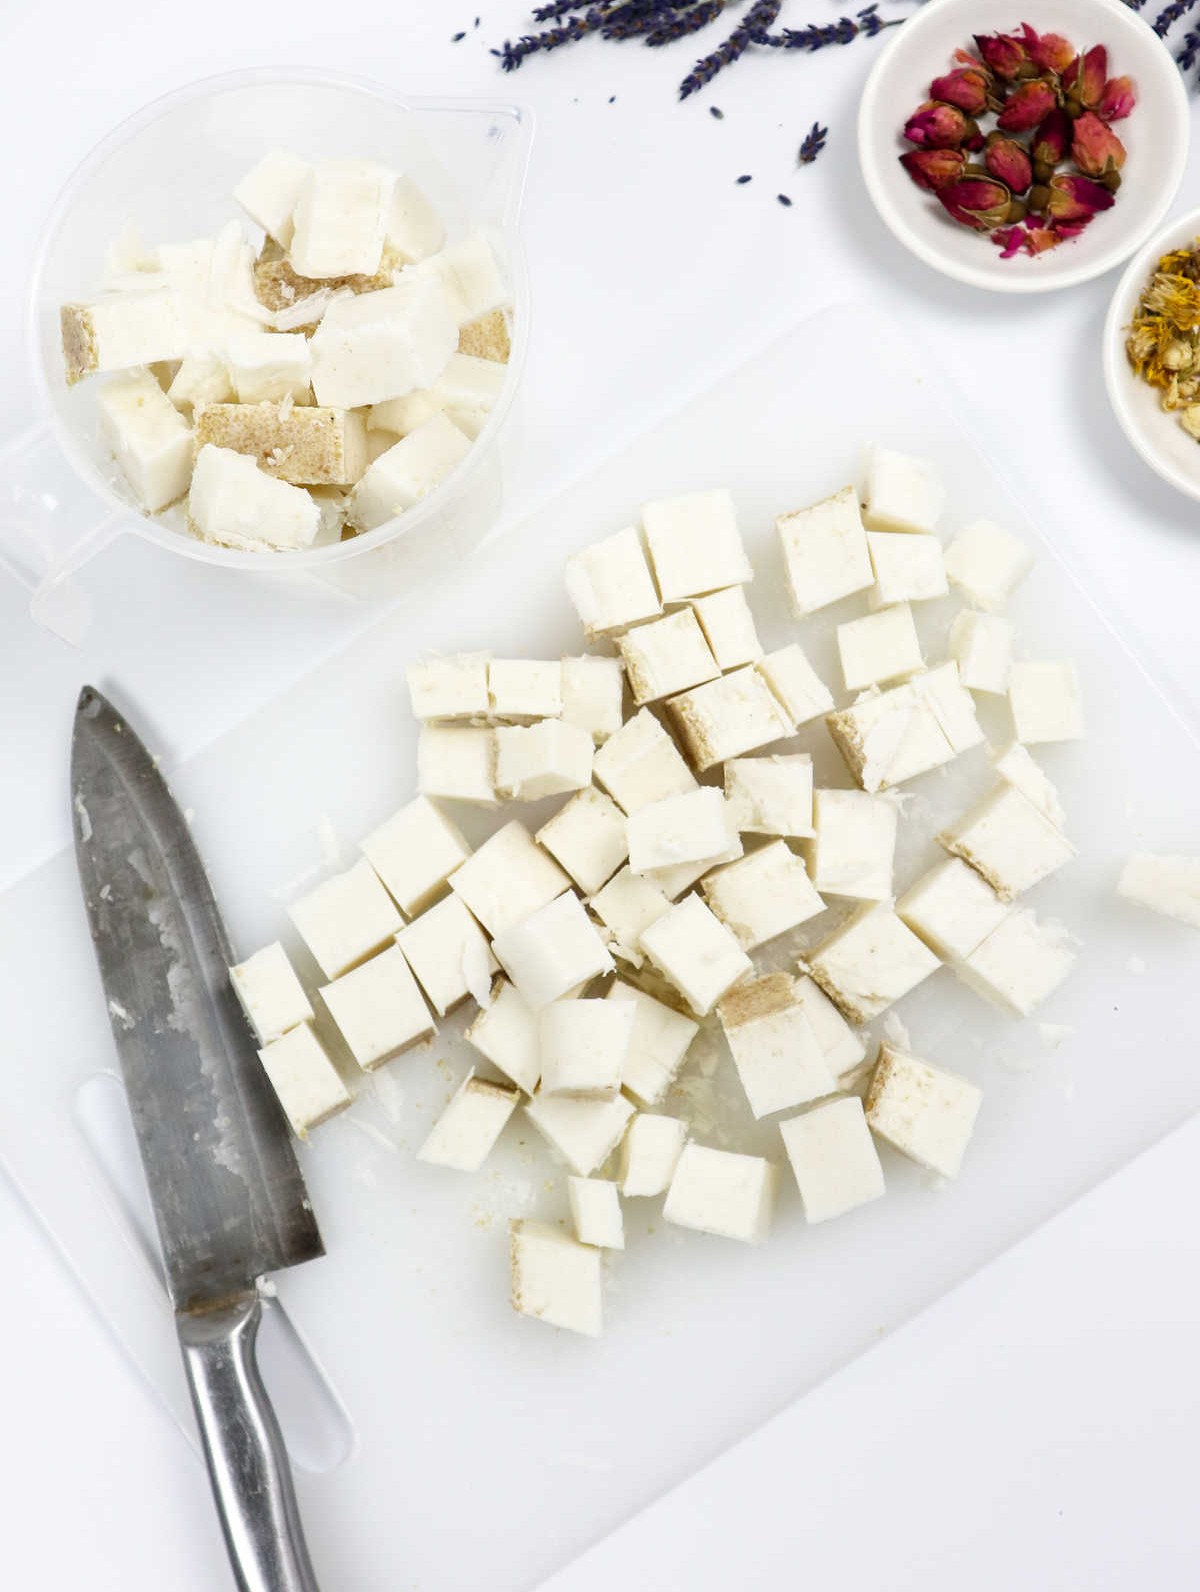
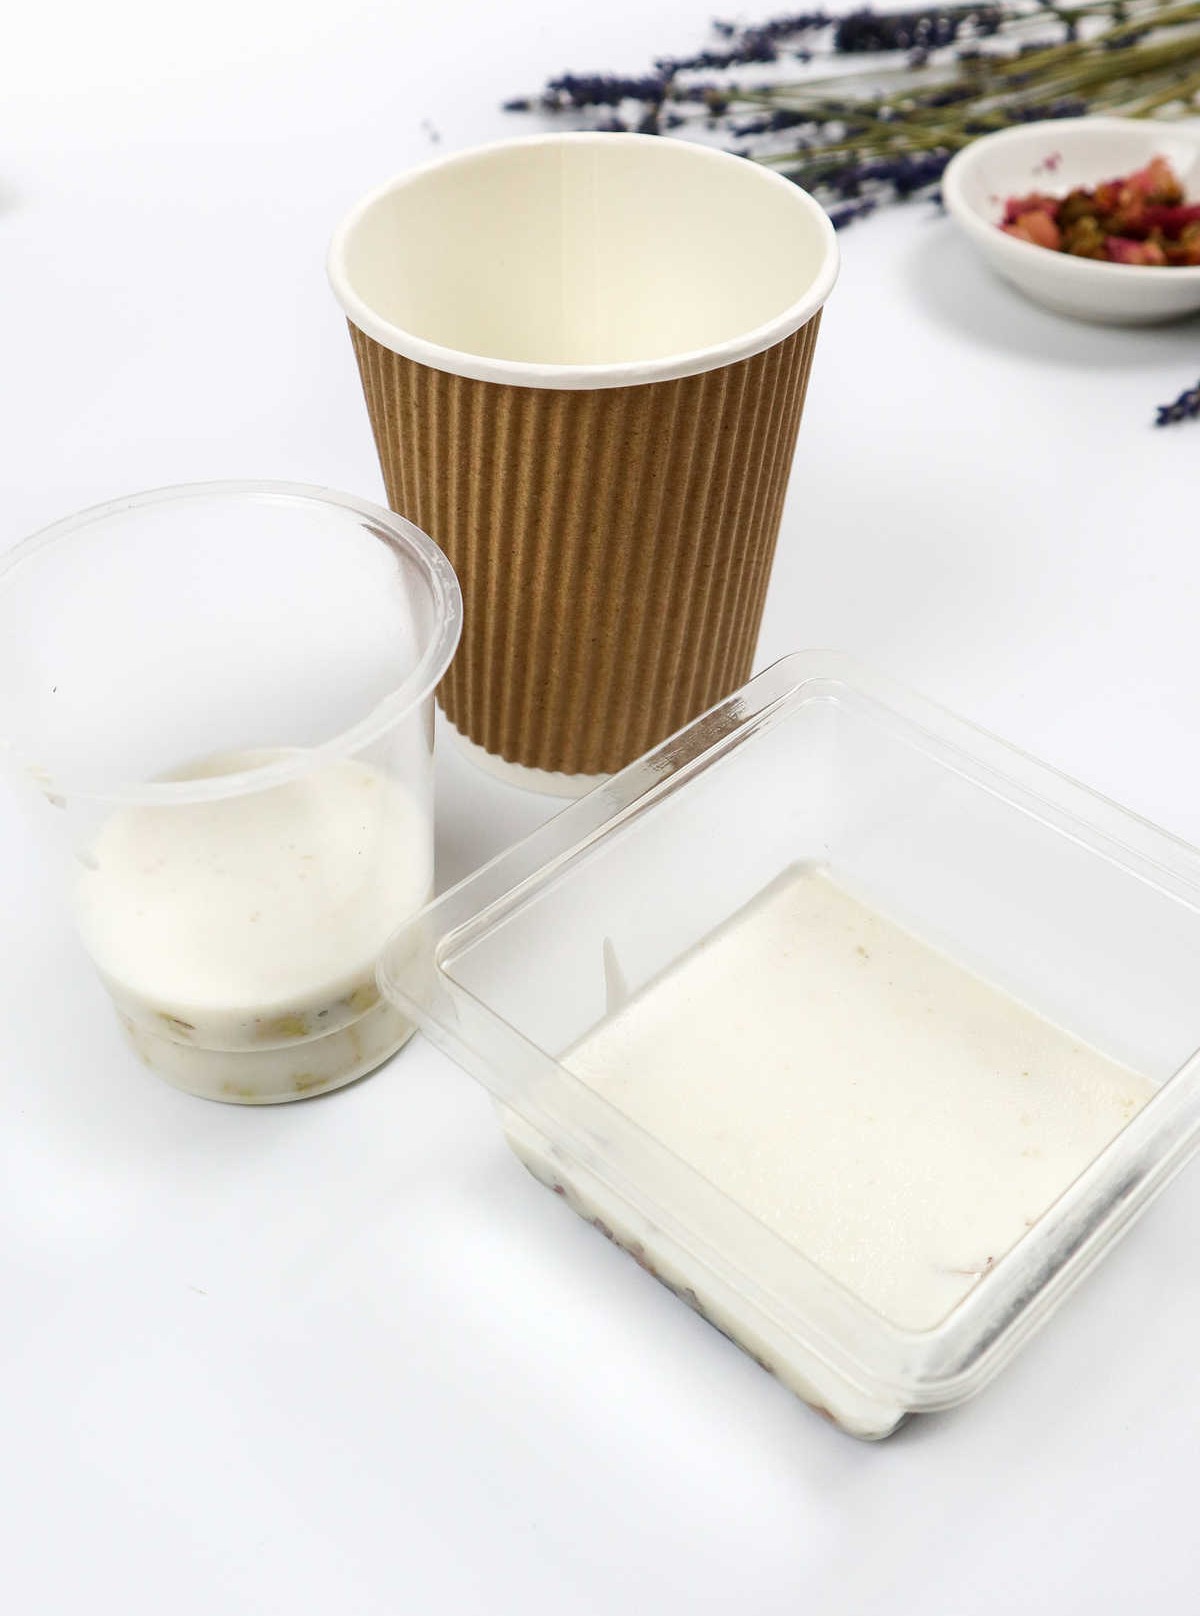
To initiate the process, carefully position a block of your soap base on a stable cutting surface. Next, retrieve a sharp knife and proceed to dissect the block into manageable cubes. This initial step is crucial in ensuring a smooth melting process, as well as preventing the formation of lumps that can be difficult to stir back into solution.
Step 2
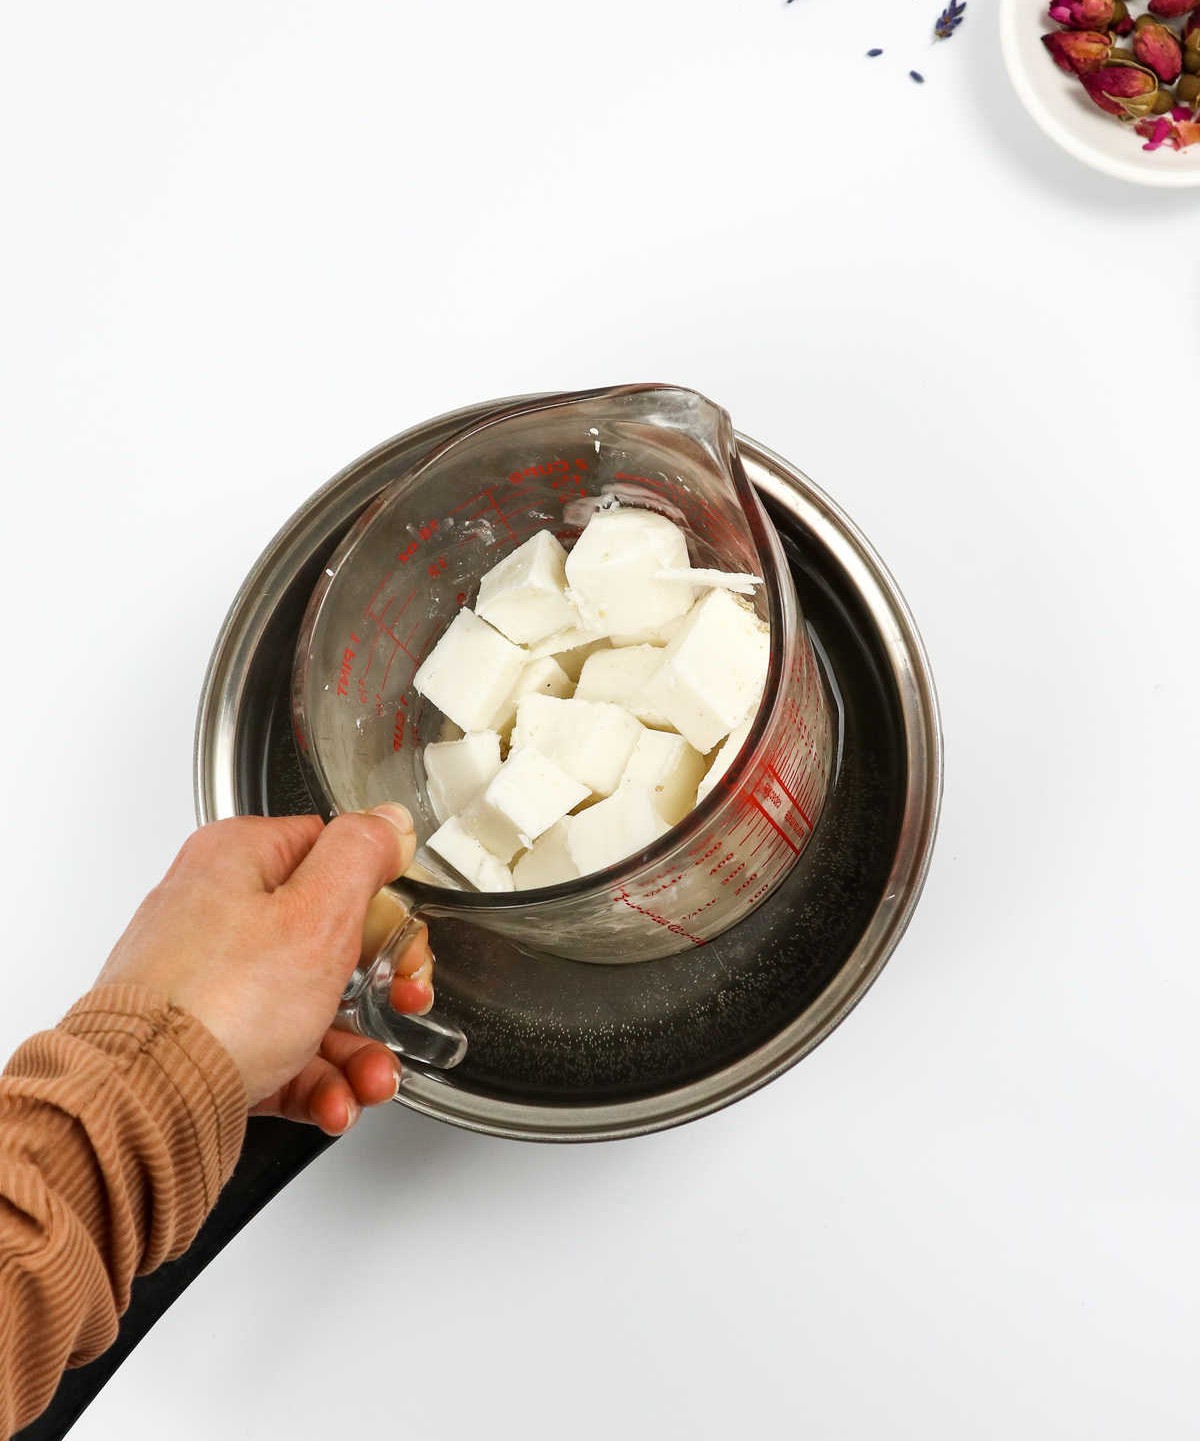
When it’s time to melt your soap, you’ve got two reliable methods to choose from. One way is to use the microwave – just be sure to check on it every 20-30 seconds to ensure even melting by giving the mixture a good stir before returning it to the microwave. Alternatively, you can opt for a more low-tech approach: place a large pot of water on your stovetop and nestle your soap’s container within it. As the heat from the water warms the soap’s container, it will eventually melt.
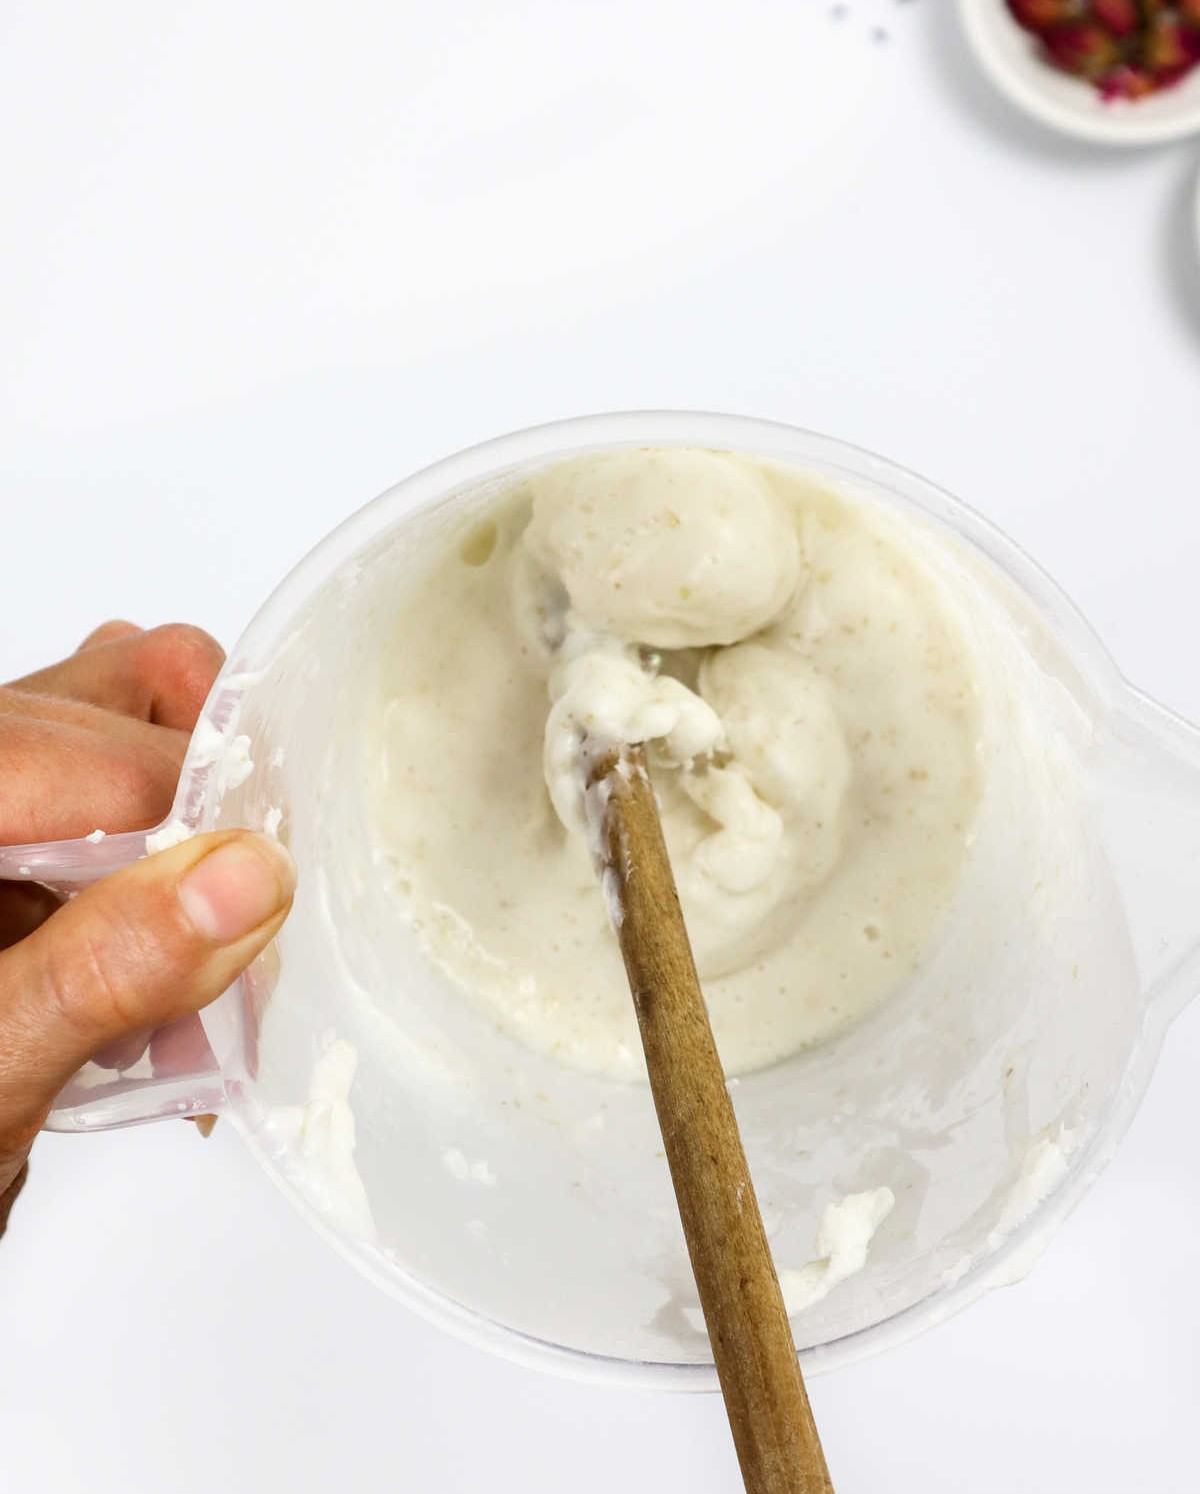
To prevent any lumps or burnt soap, use a stick to stir the mixture thoroughly once it’s melted, ensuring a smooth consistency throughout.
Step 3
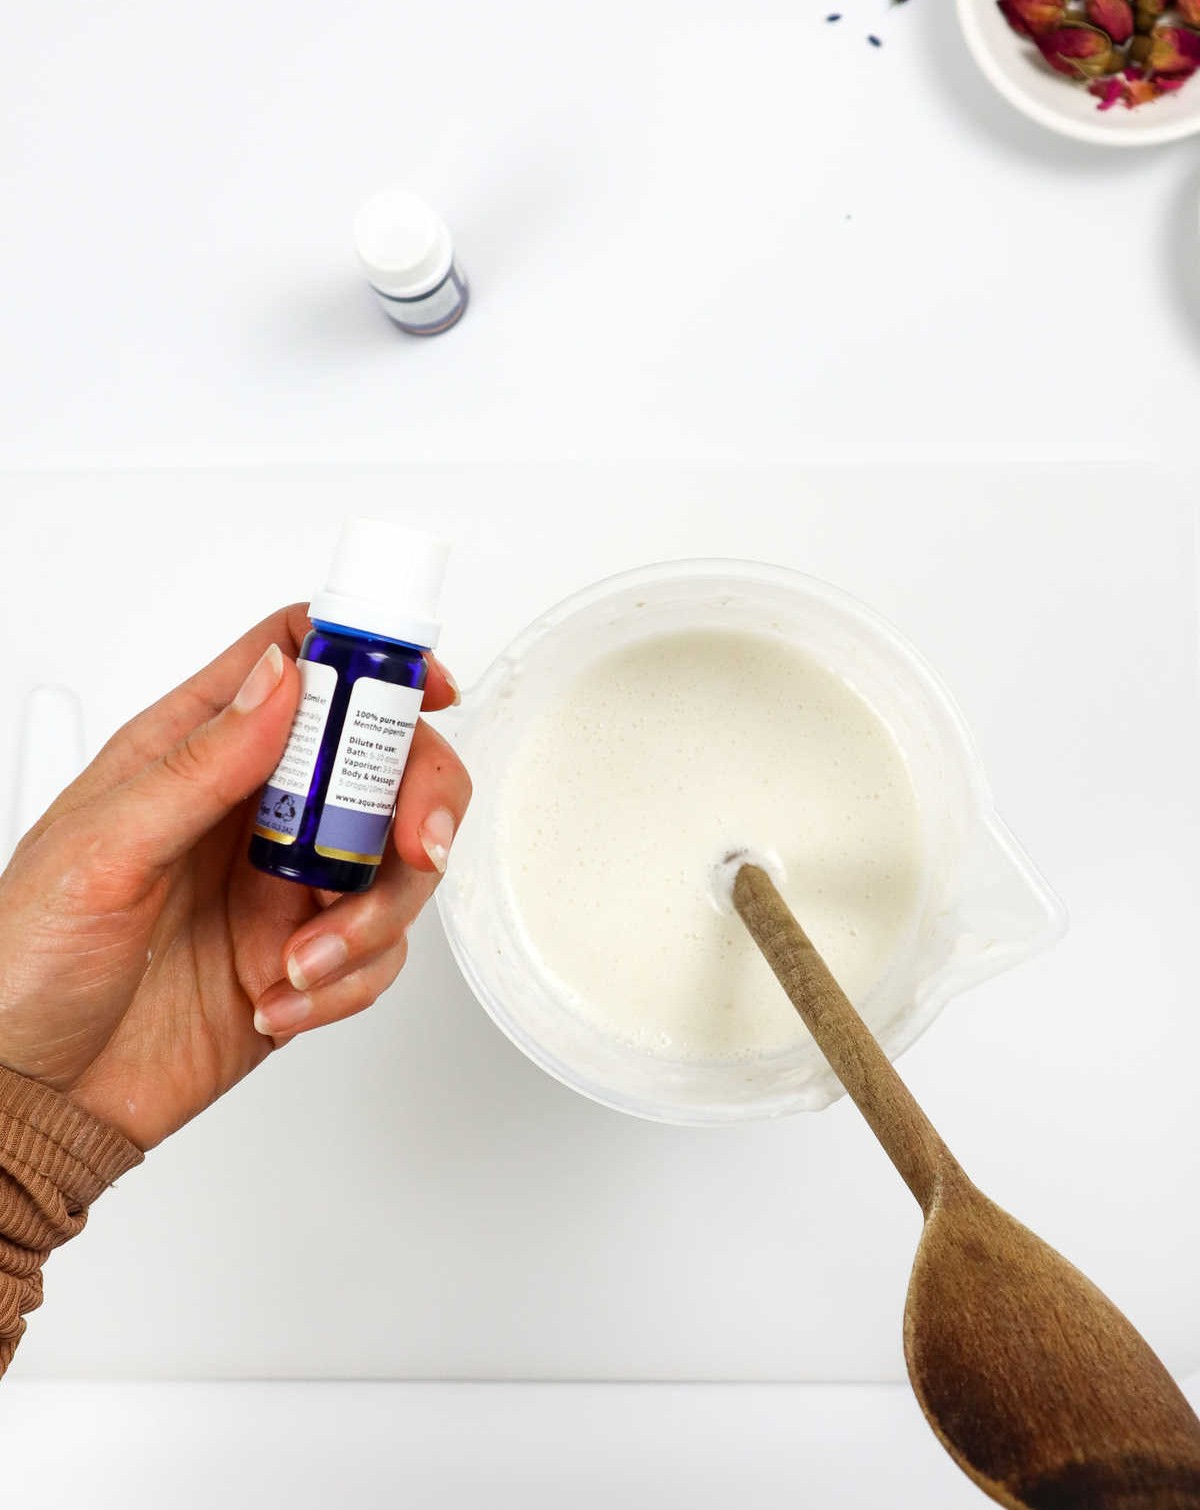
As you proceed, introduce a few carefully measured drops of your chosen essential oil into the melted soap mixture and thoroughly combine them. This stage provides an ideal moment to explore various fragrances and identify the ones that resonate with you the most.
Step 4
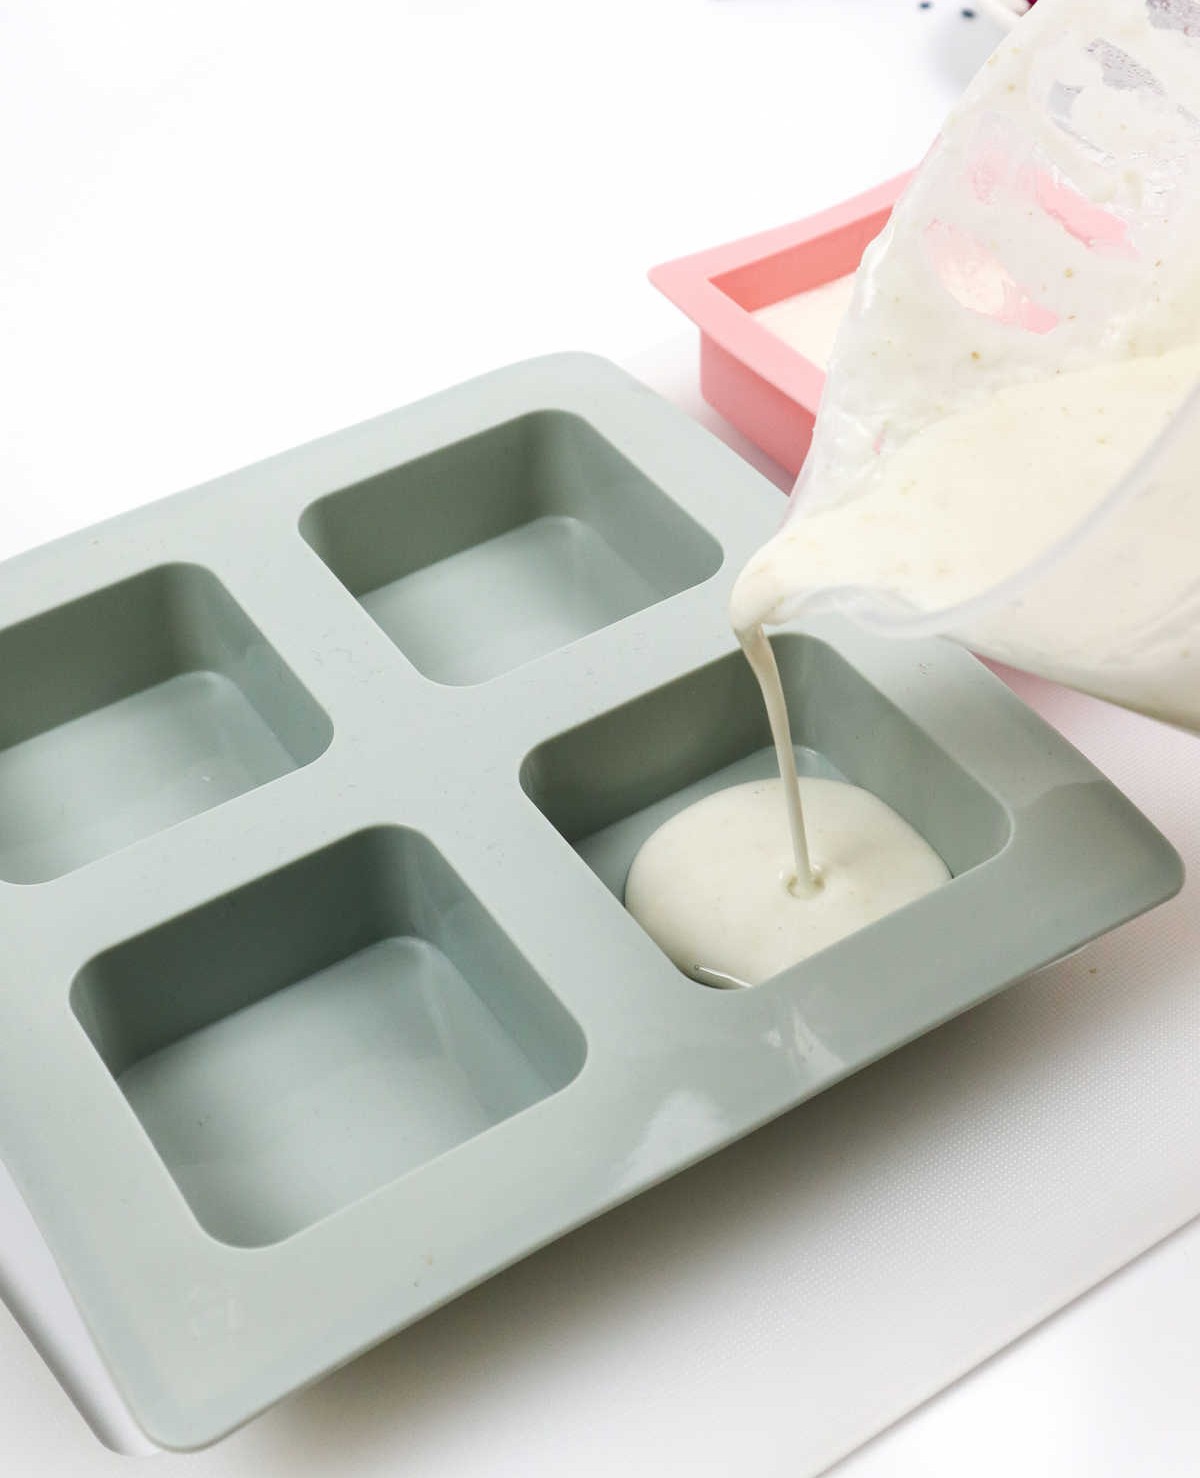
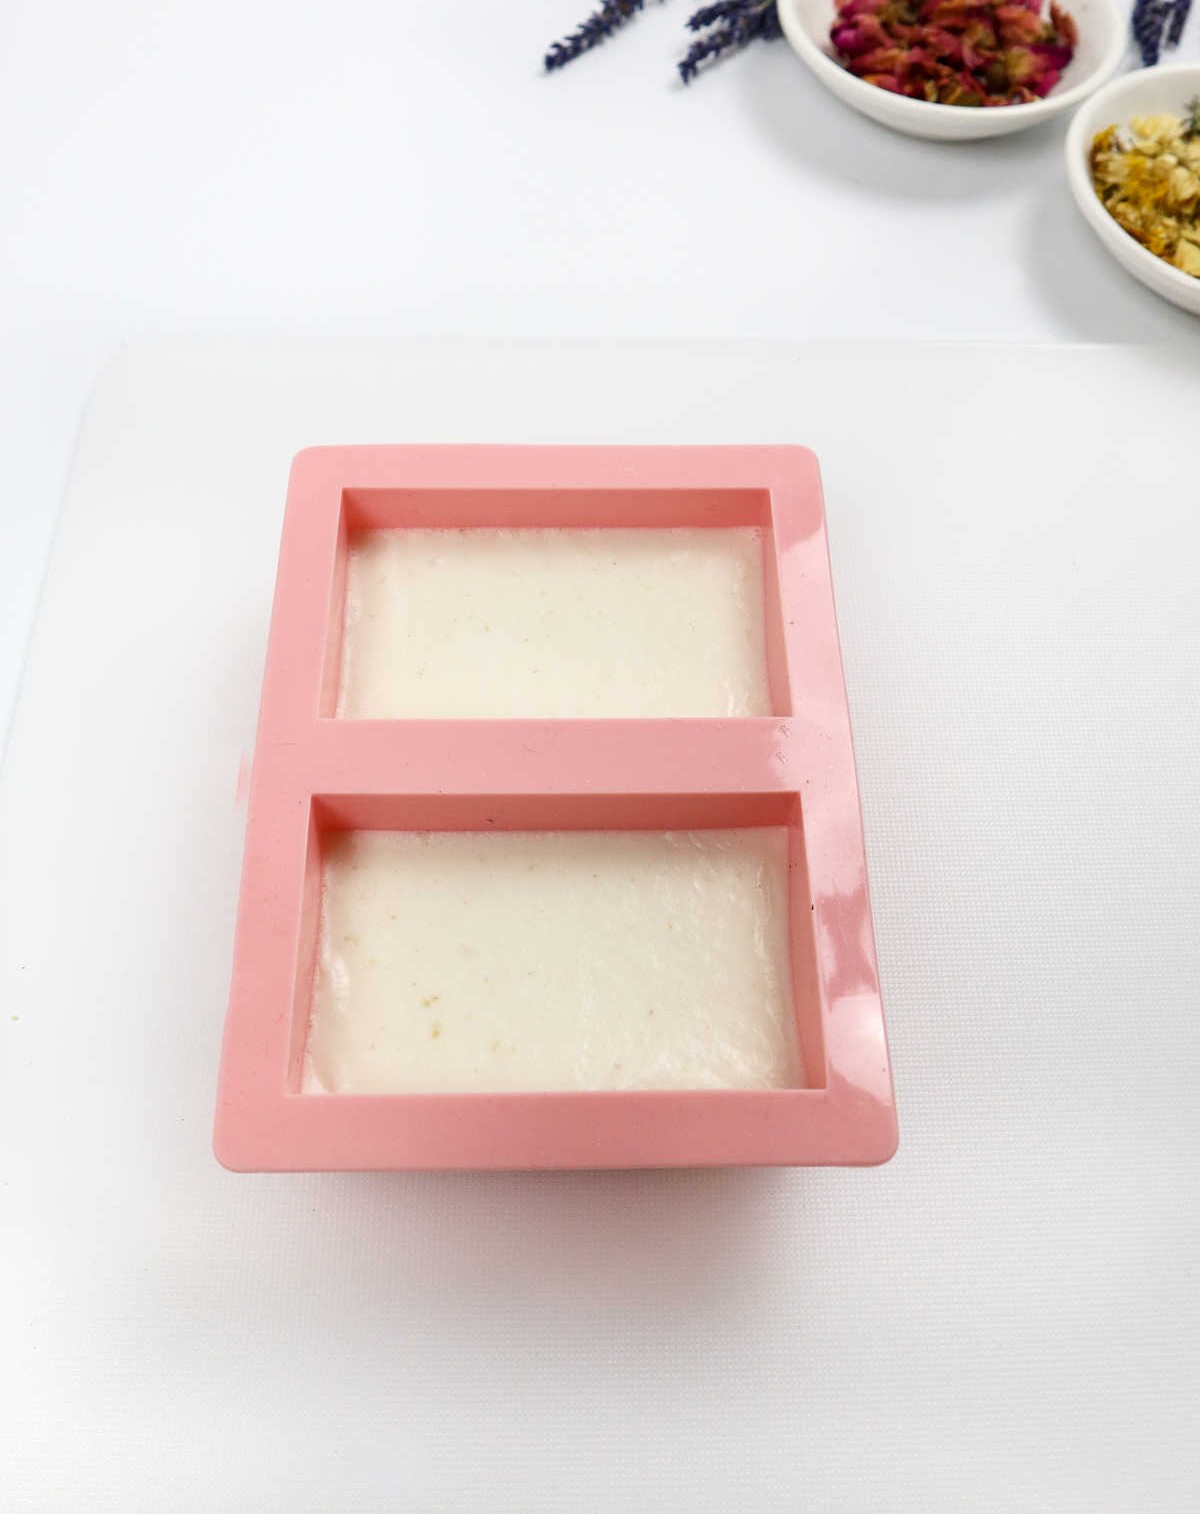
As you prepare to shape your soap creations, pour the melted soap mixture into each silicone mold, moving quickly as the soap cools and begins to harden rapidly once removed from heat. Ensure a smooth transition by pouring the soap into the molds promptly. Once the soap is in place, use isopropyl alcohol to swiftly eliminate any surface bubbles that may have formed. While your soap is now technically ready, the fun doesn’t stop here – it’s time to get creative and give it some extra flair!
Step 5
When it comes to decorating homemade soap, creativity knows no bounds. The process is akin to crafting a work of art, where every detail matters. You might recall selecting various items to enhance your soap’s appearance earlier on. Now, let me share some ideas on how you can bring these decorations to life and elevate the aesthetic appeal of your soaps.
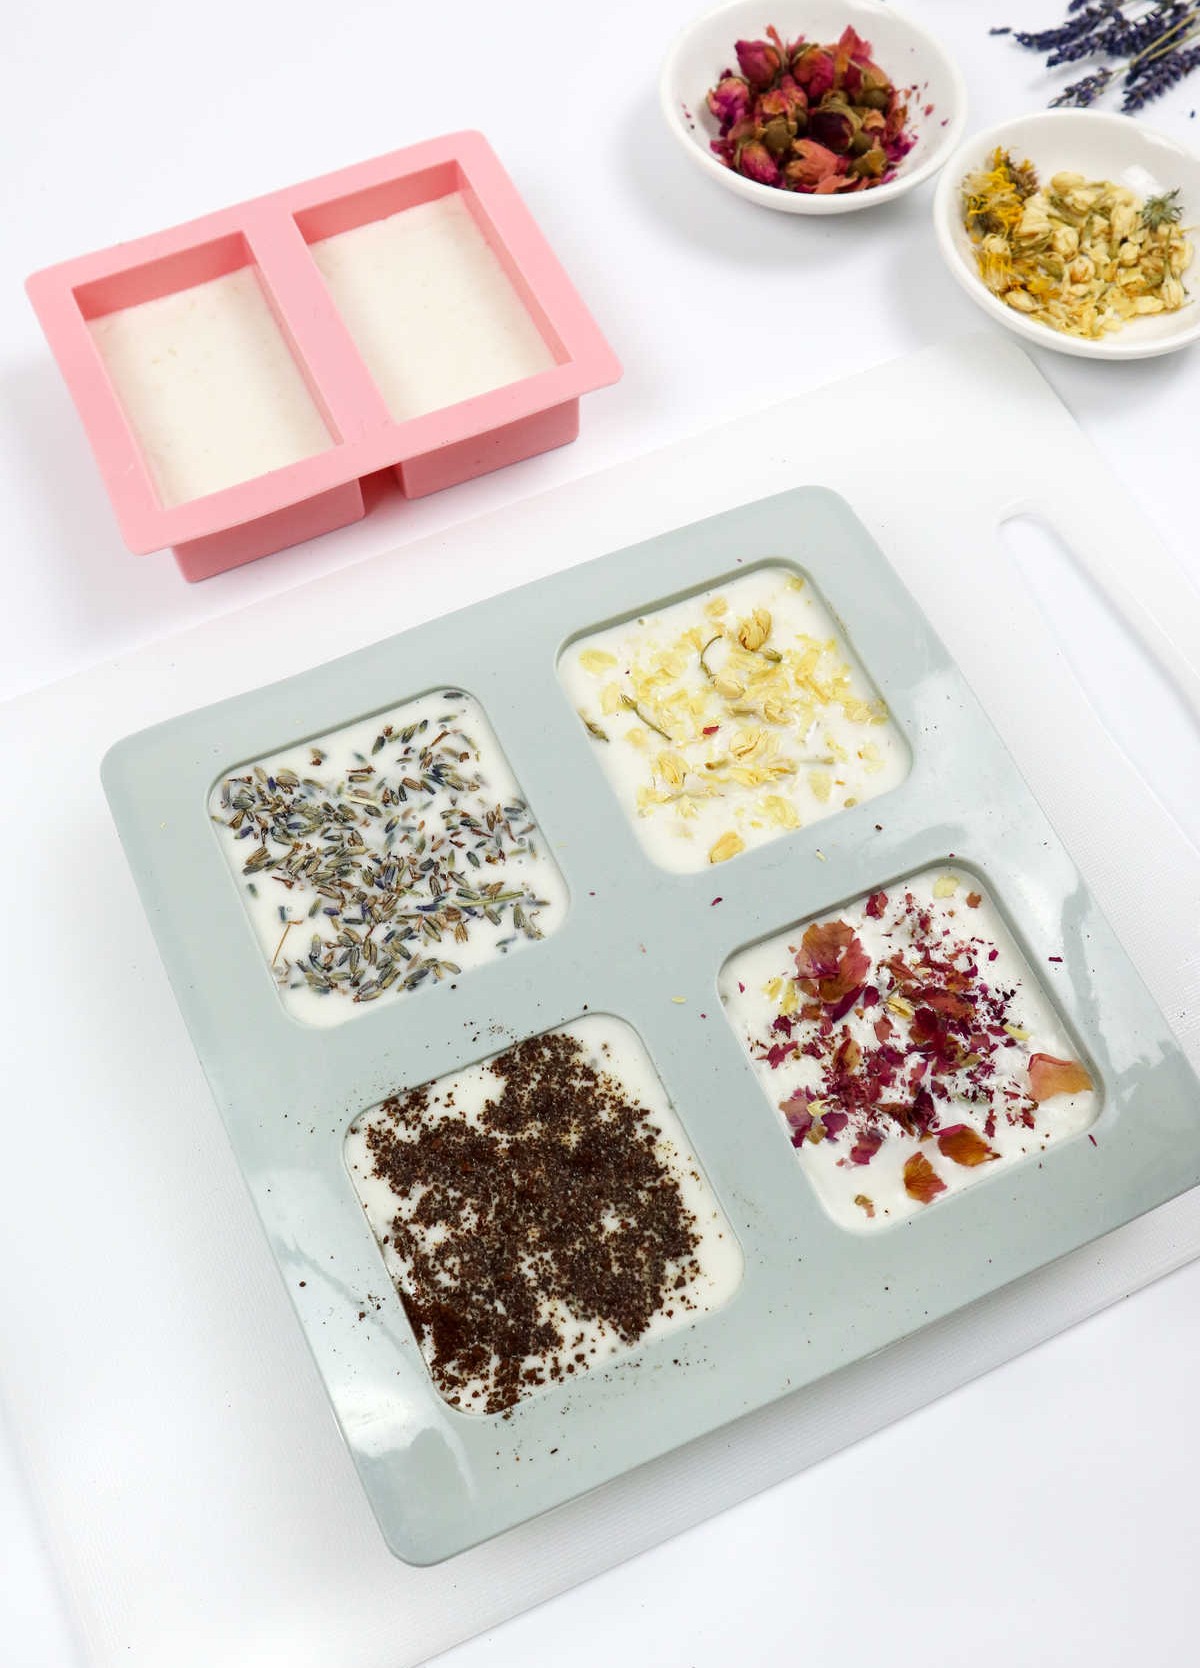
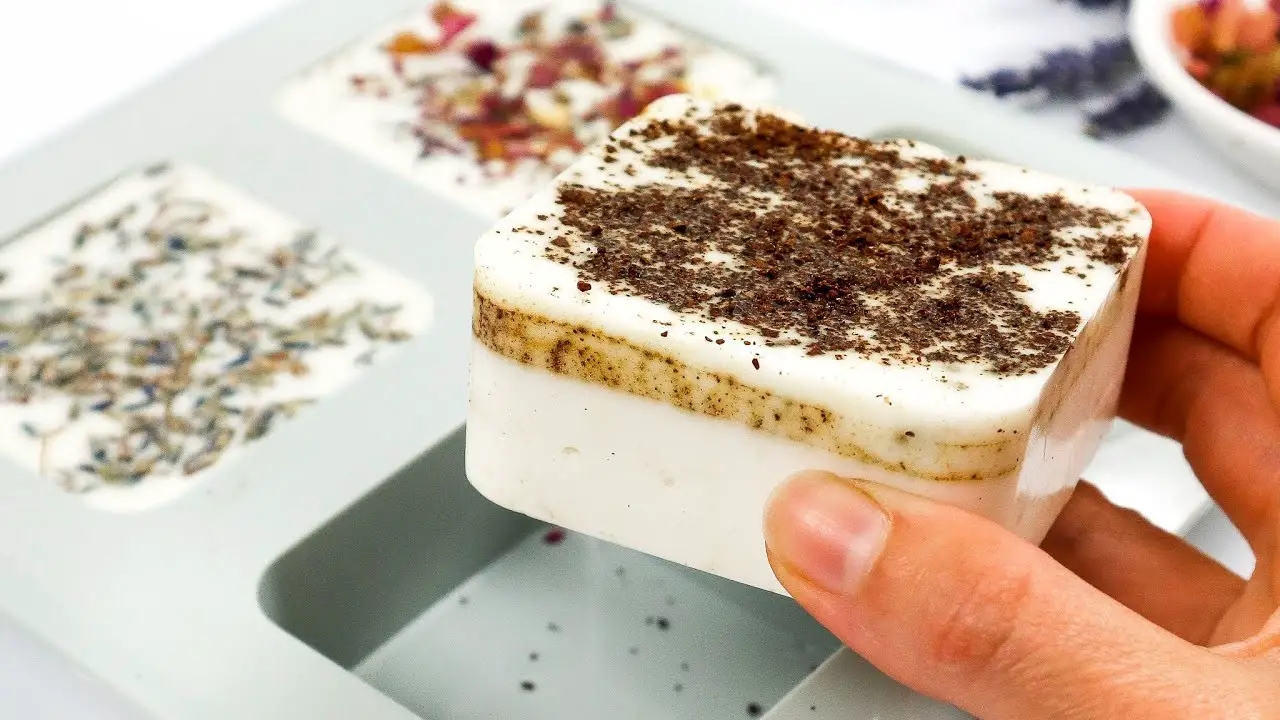
Timing is crucial when incorporating dried flowers or herbs into your soap design.
As soon as you pour the melted soap mixture into the mold and spritz it with alcohol, the herbs and flowers will immediately follow suit. You can either stir them in to create a visually appealing pattern or layer the bottom of the mold with them before pouring the soap for added depth.
If you’re looking to create unique soap shapes or don’t have silicone molds at your disposal, everyday items like paper cups or plastic containers can serve as excellent substitutes.
The possibilities are endless!
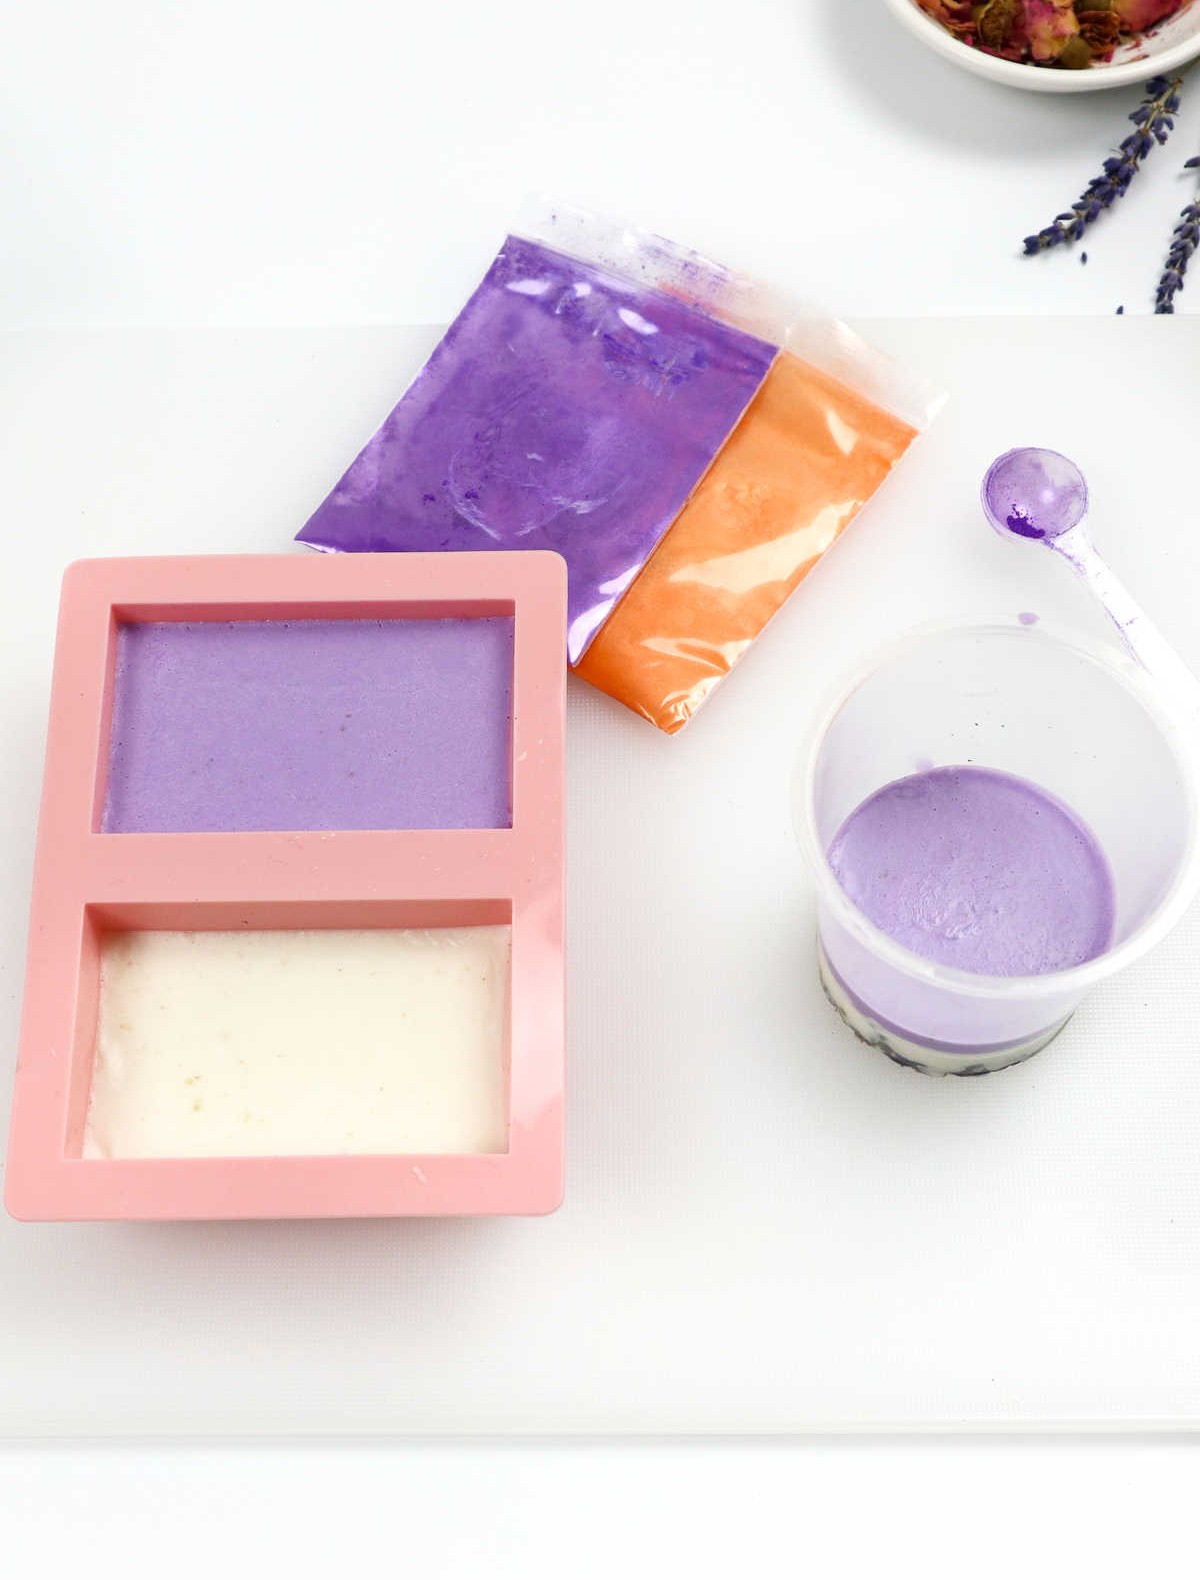
Coloring your soaps is another exciting aspect of this process. You can either layer colored soap over a white base or dye the entire soap. When layering colors, be sure to wait for each layer’s surface to harden before proceeding. To prevent blending, spray the surface with isopropyl alcohol before pouring in the next layer.
Step 6
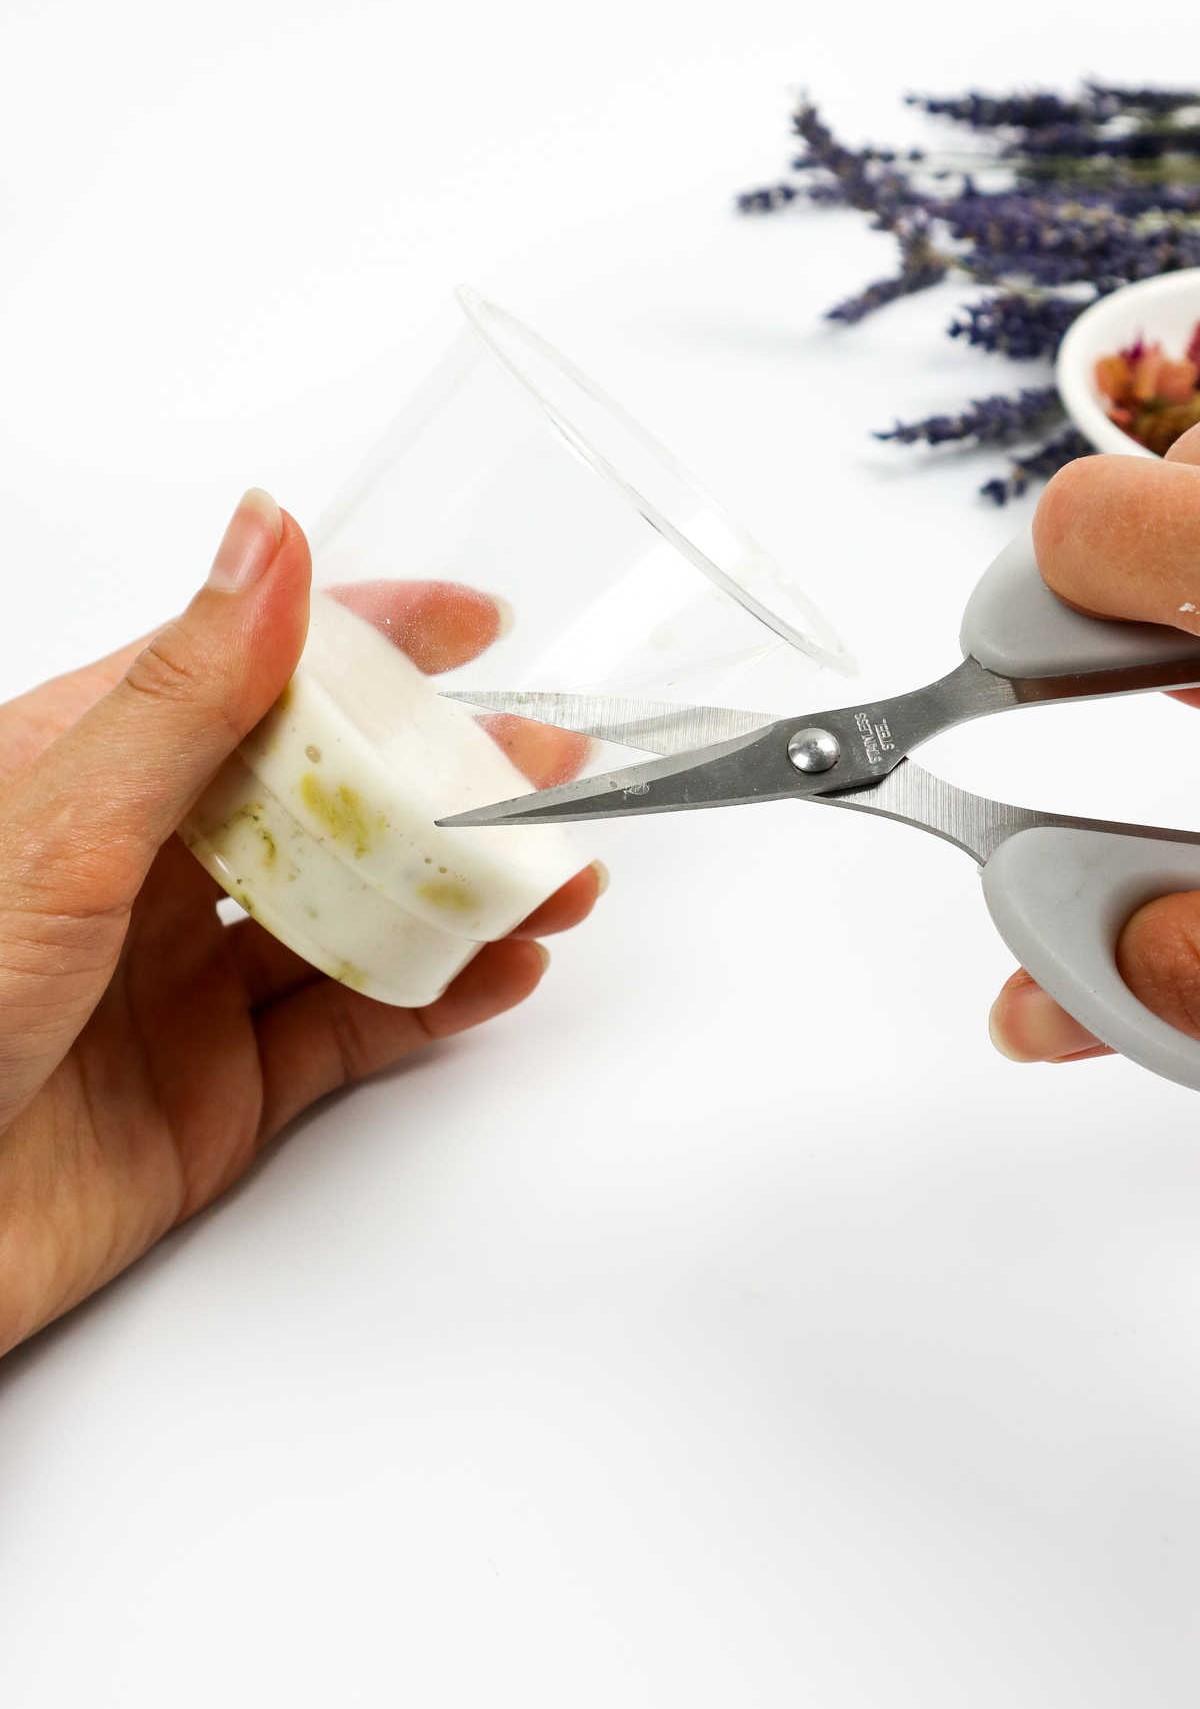
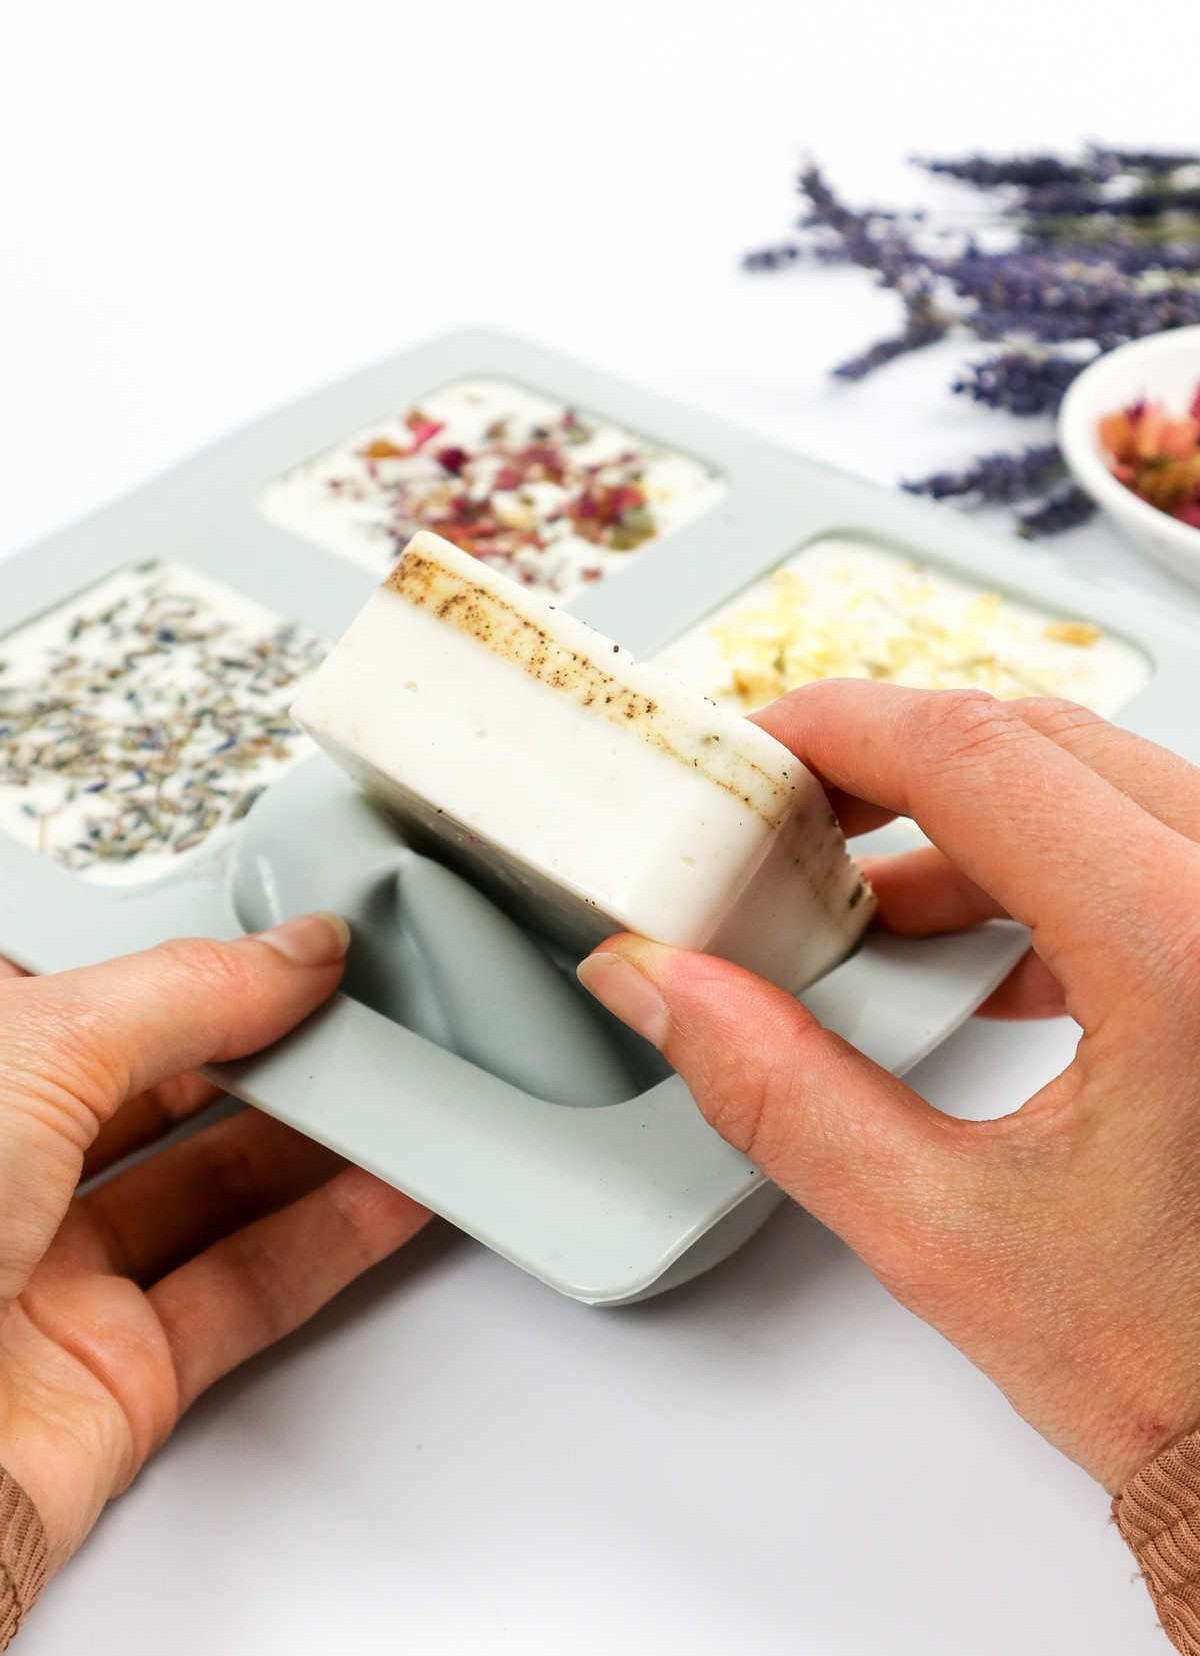
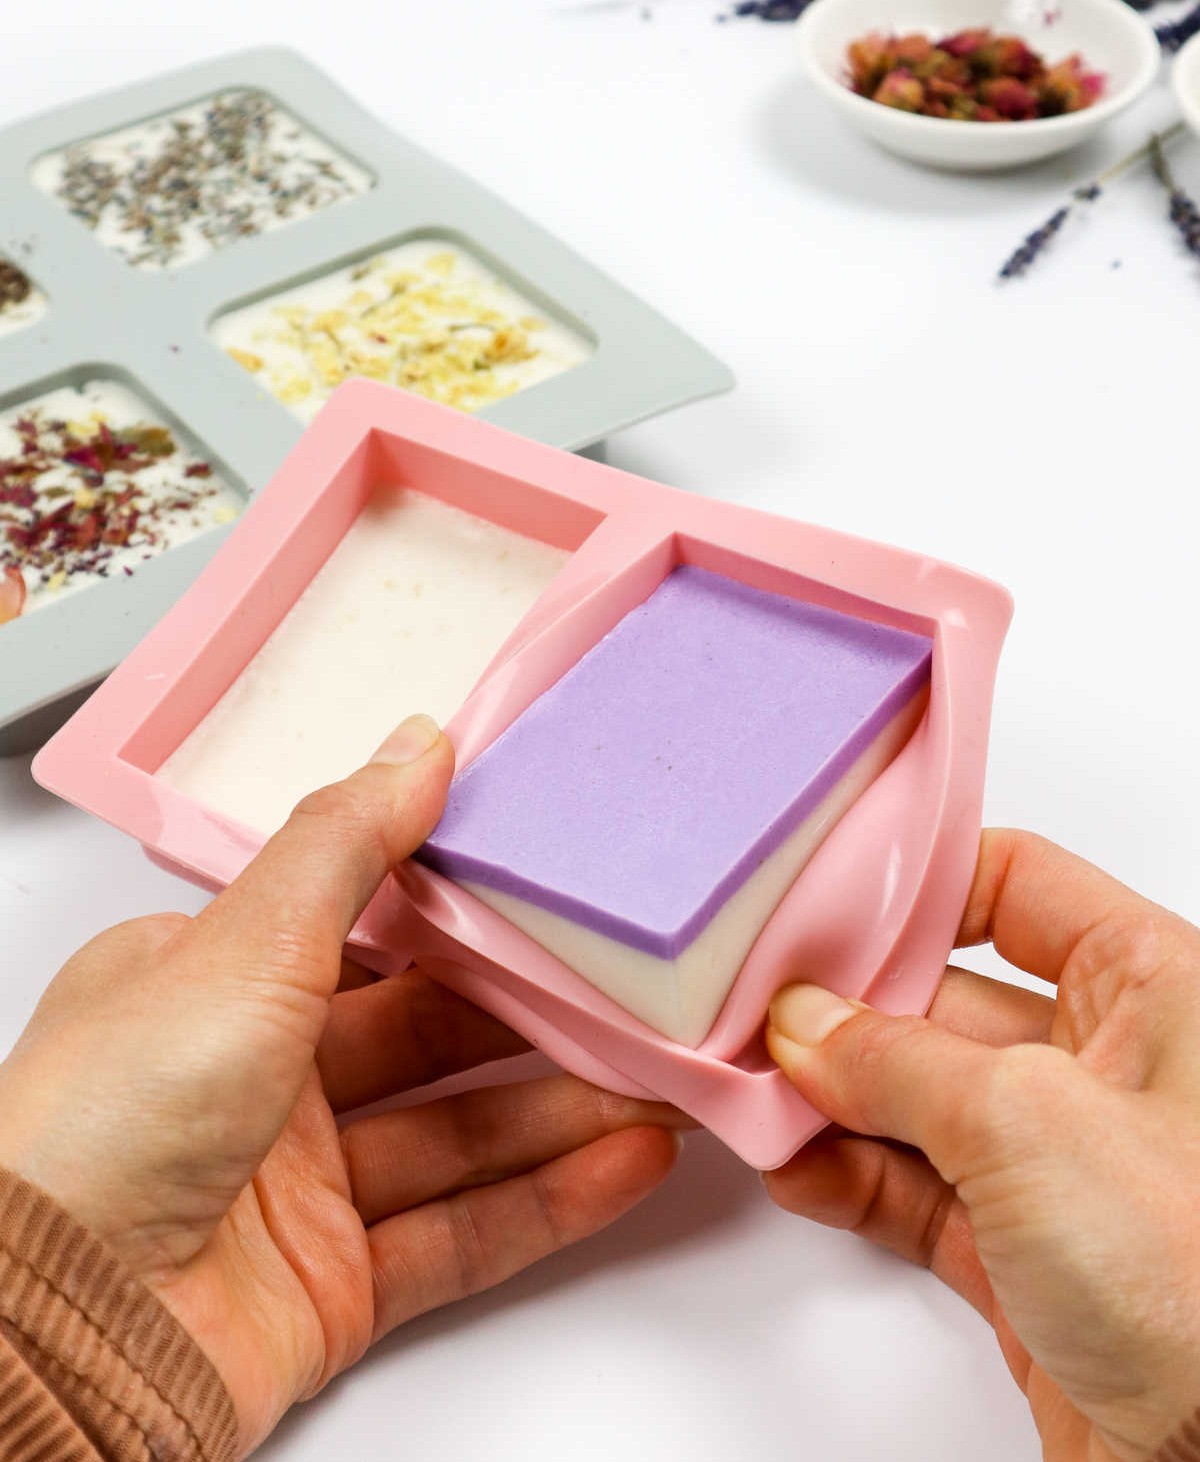
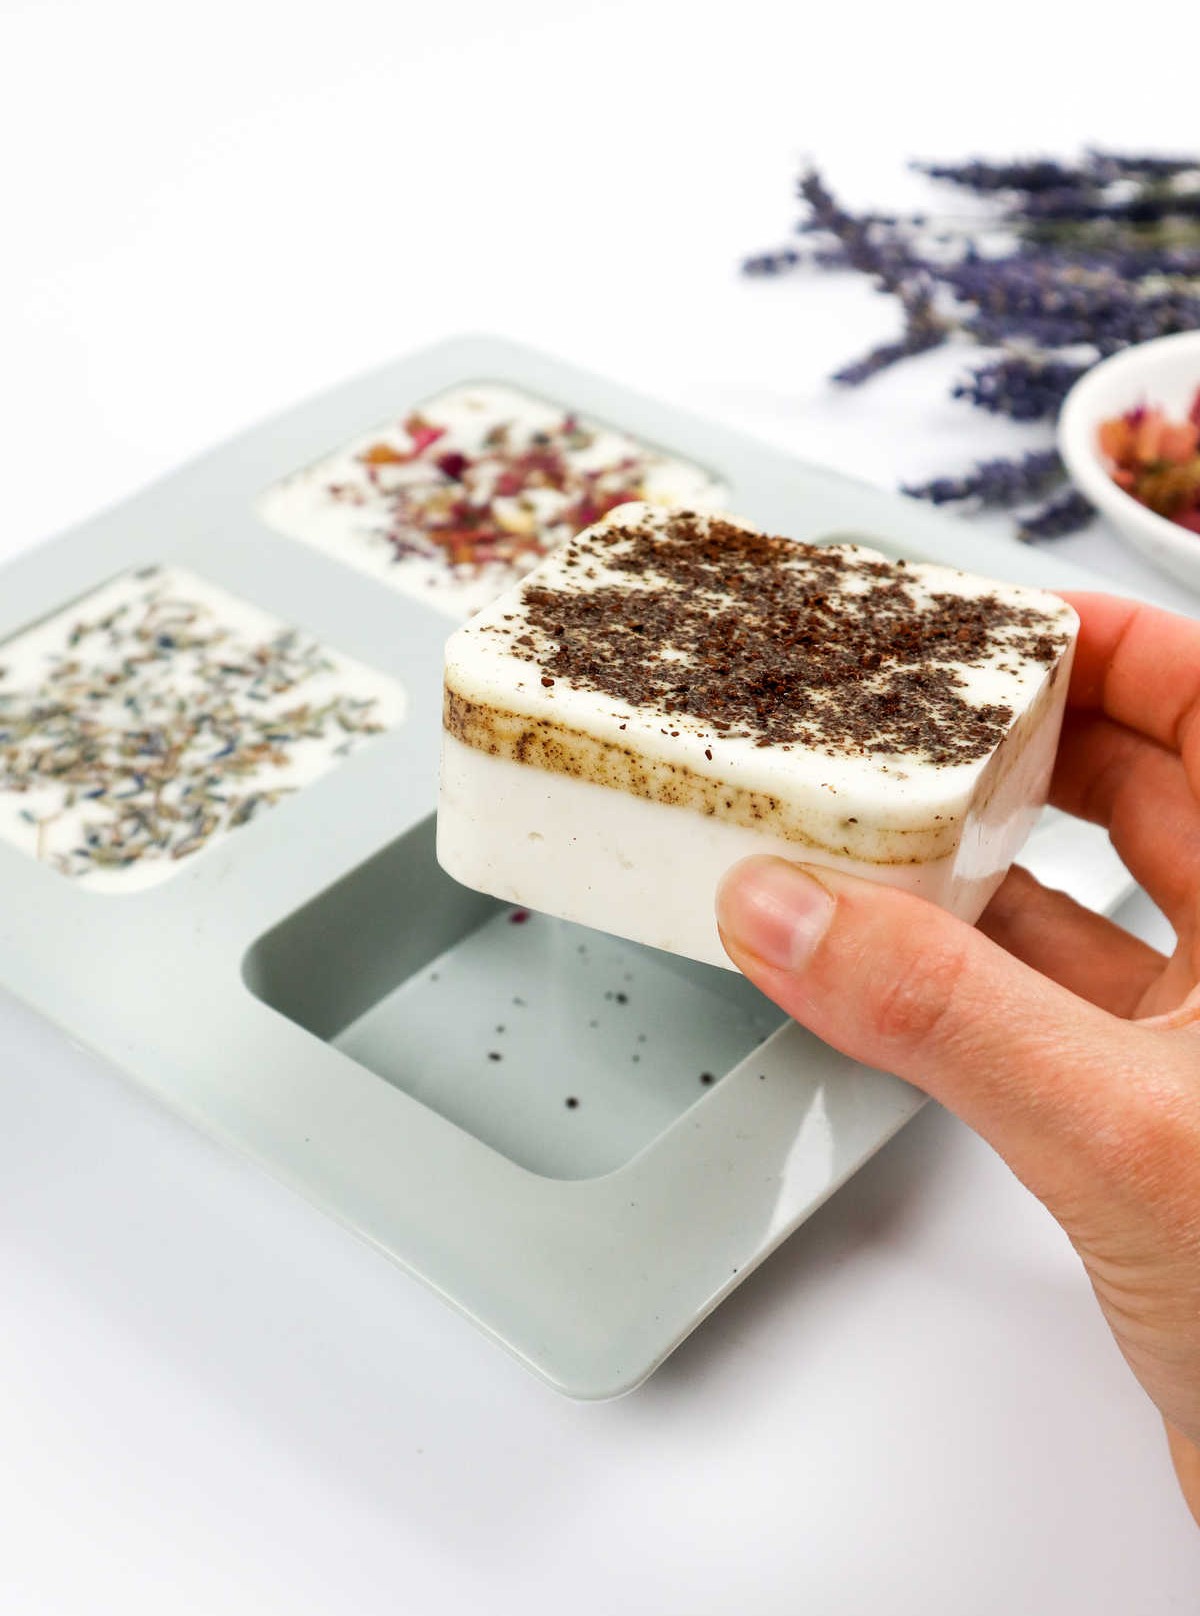
When your soap has reached its desired consistency and you’re satisfied with the final product, it’s time to release it from its mold. If you employed paper or plastic containers, a simple snip with scissors will allow you to carefully pry the soap free. For silicone molds, removal is a breeze – simply push the mold inward and watch as your soap pops out effortlessly.
Step 7
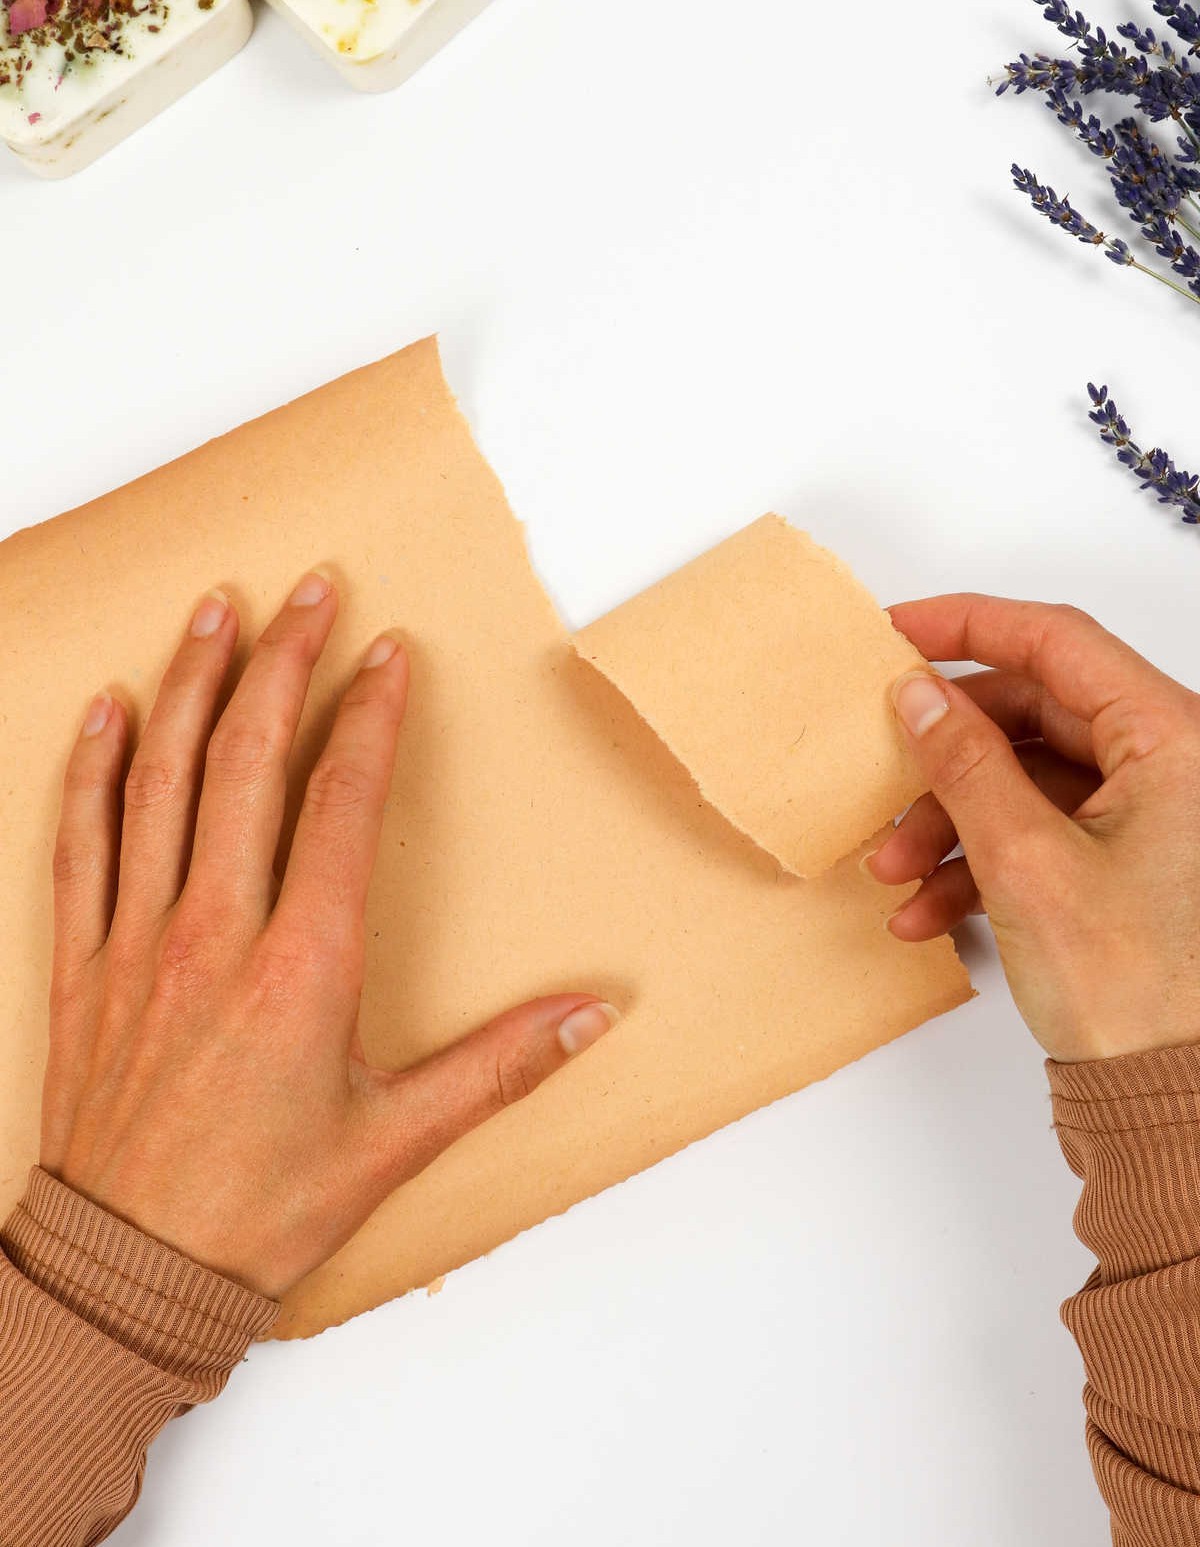
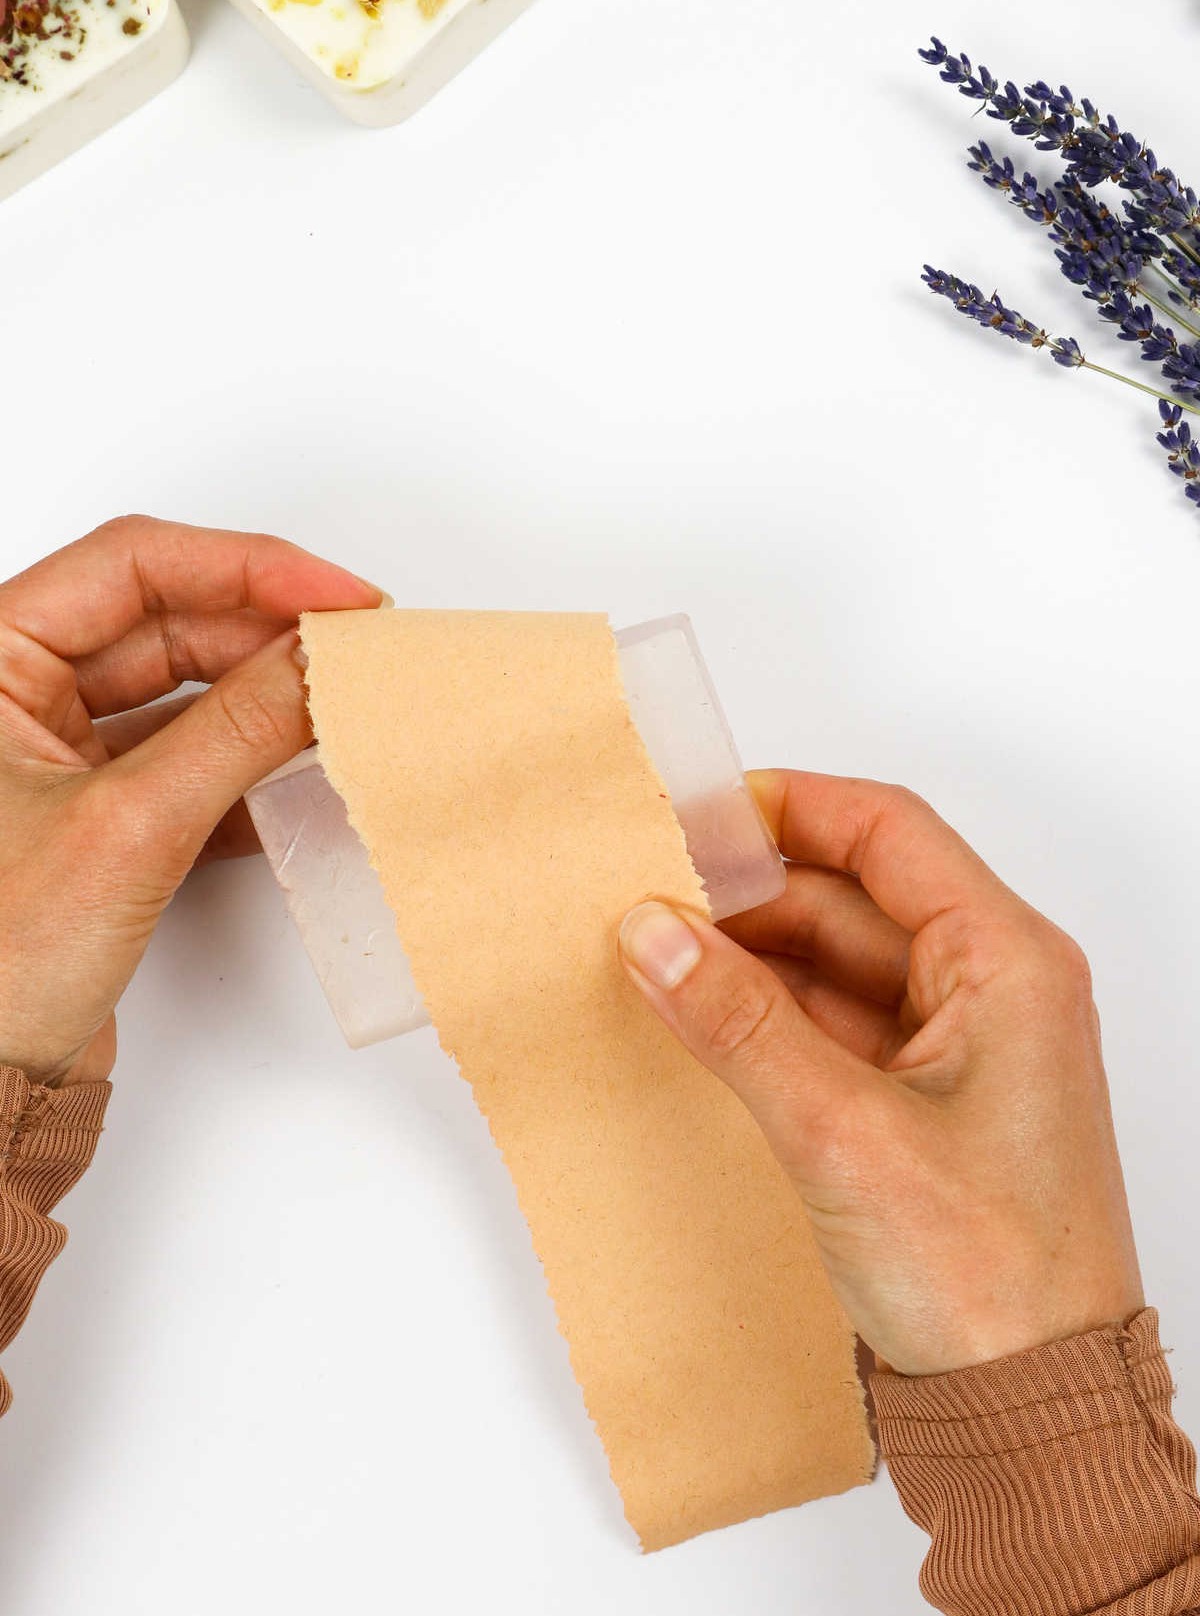
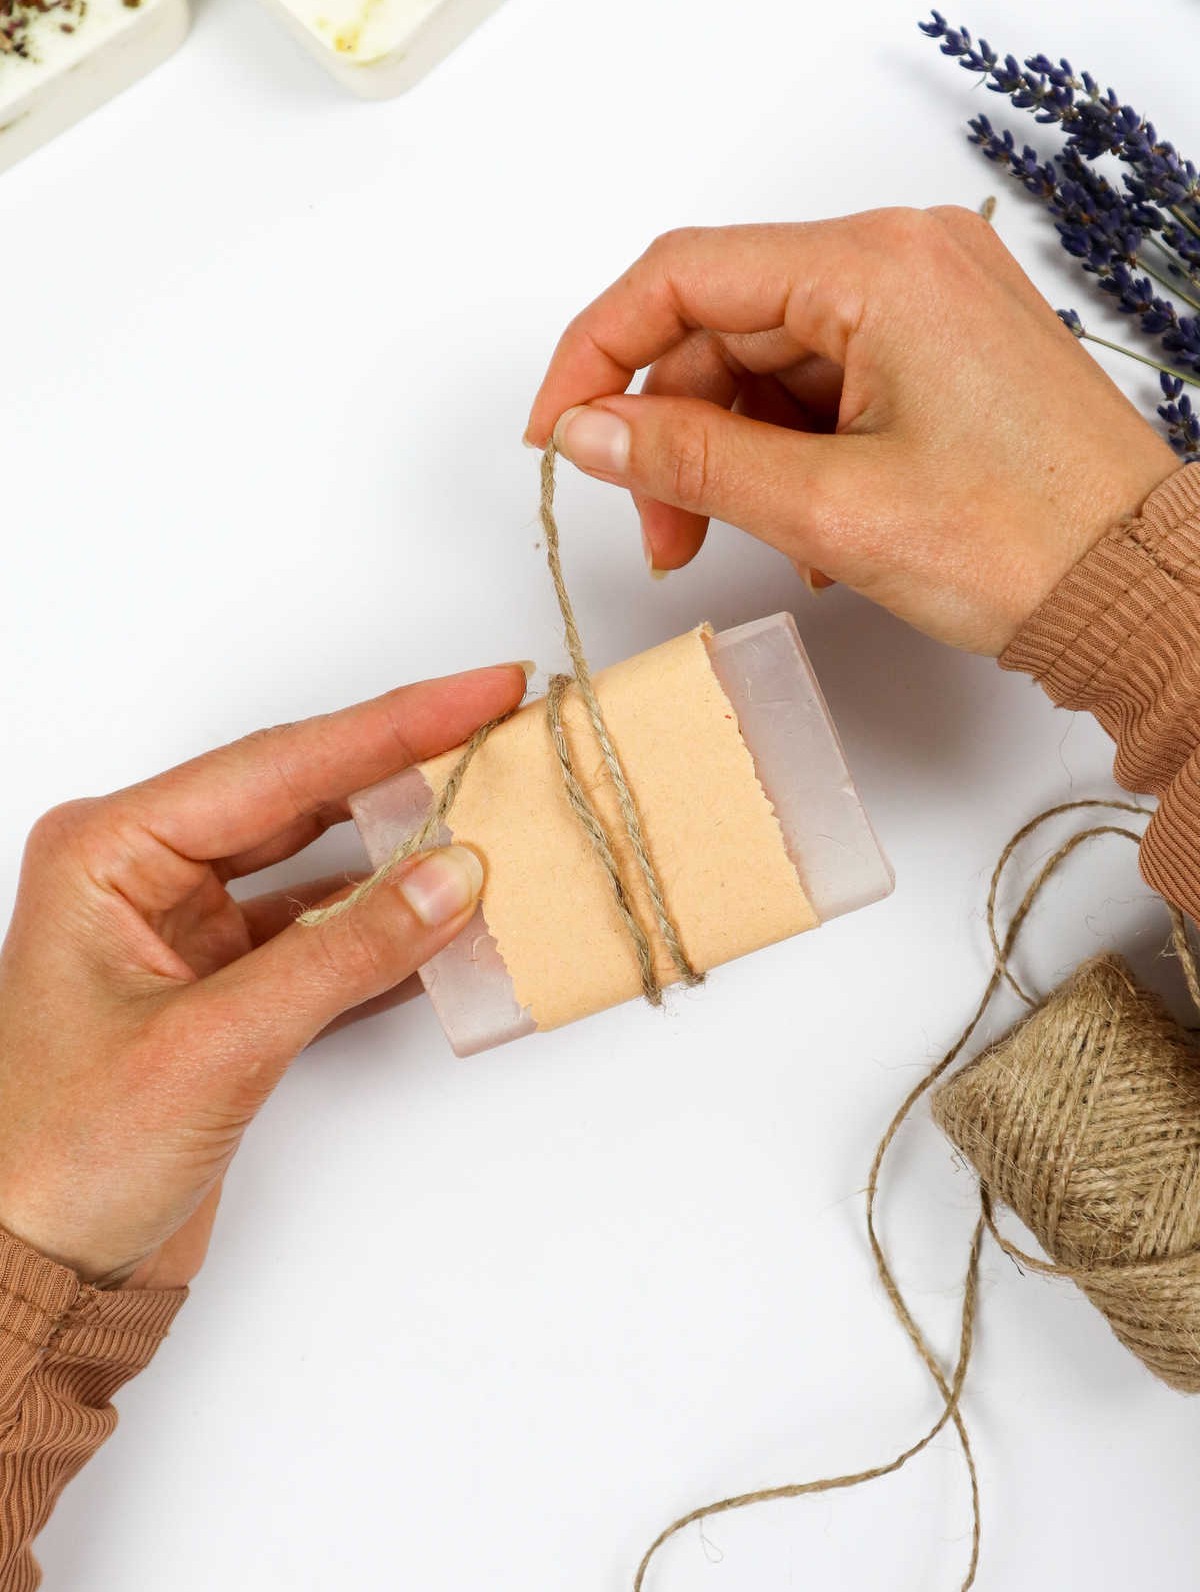
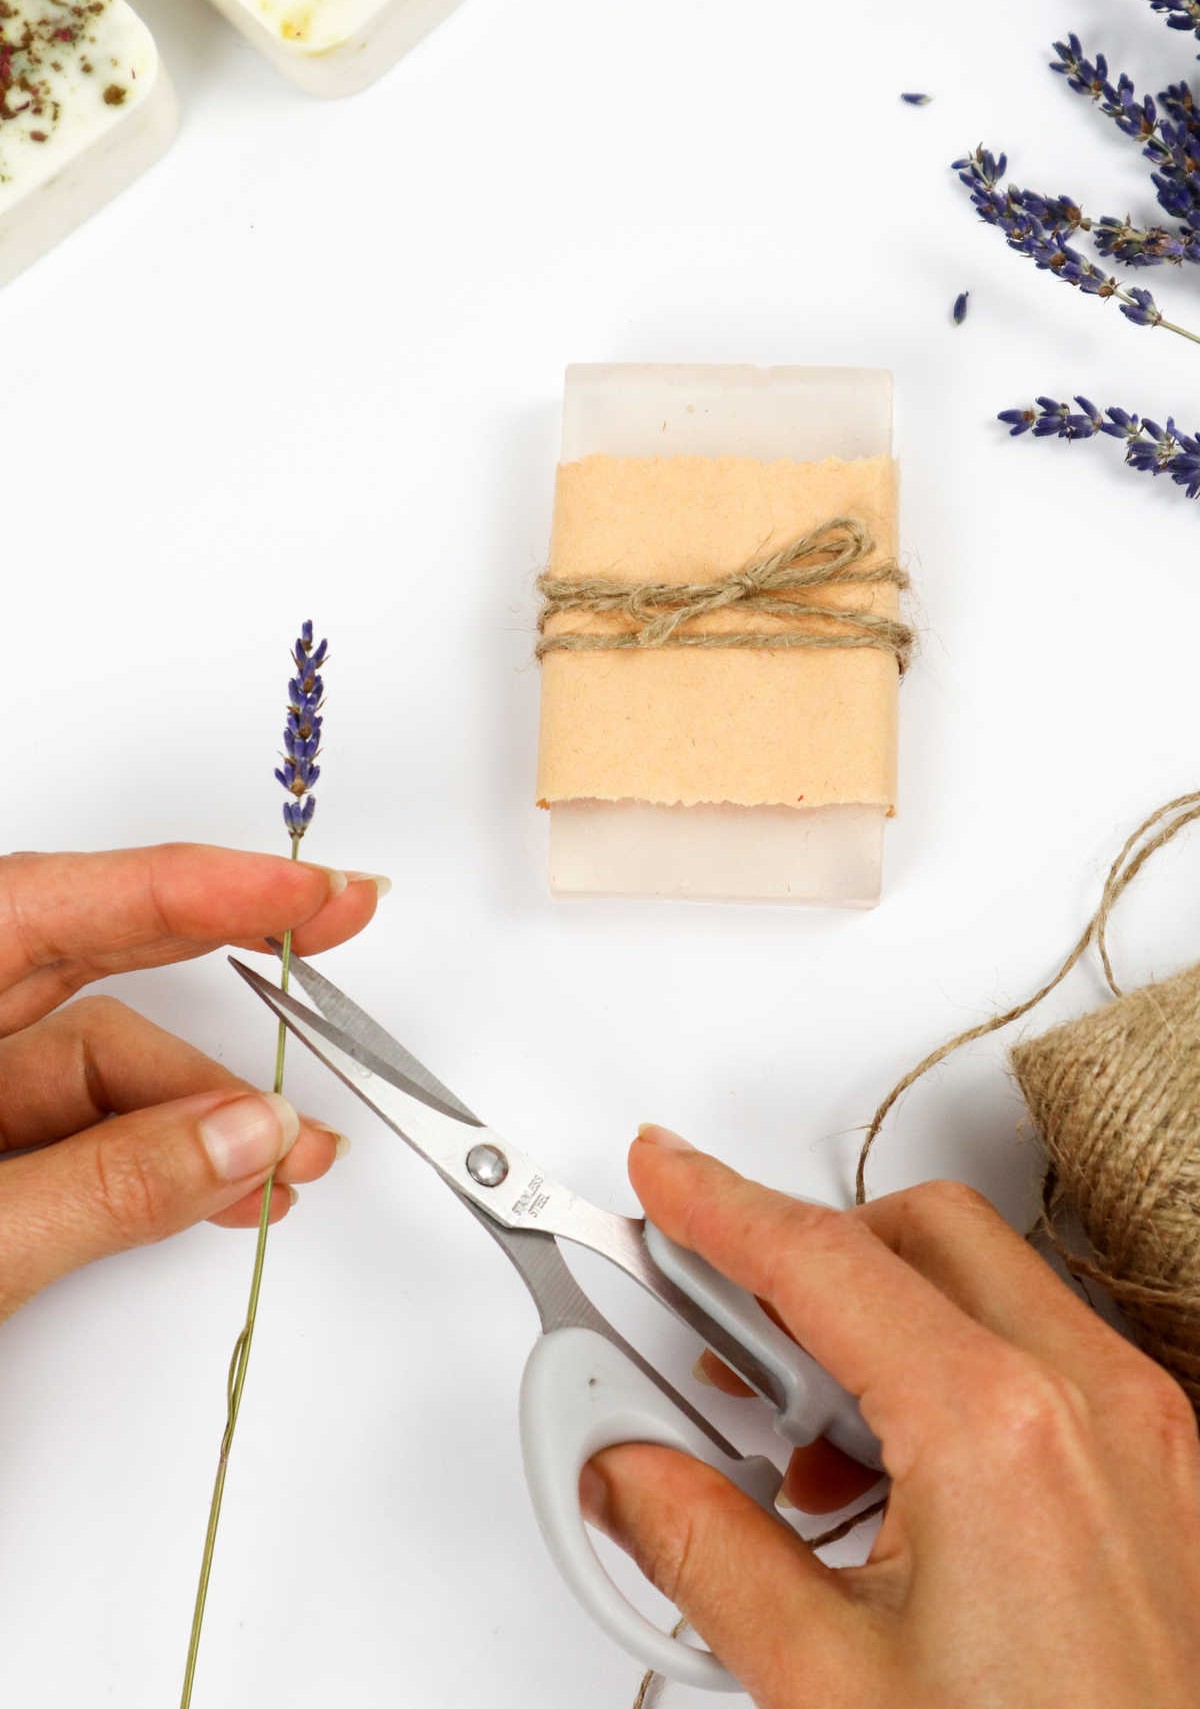
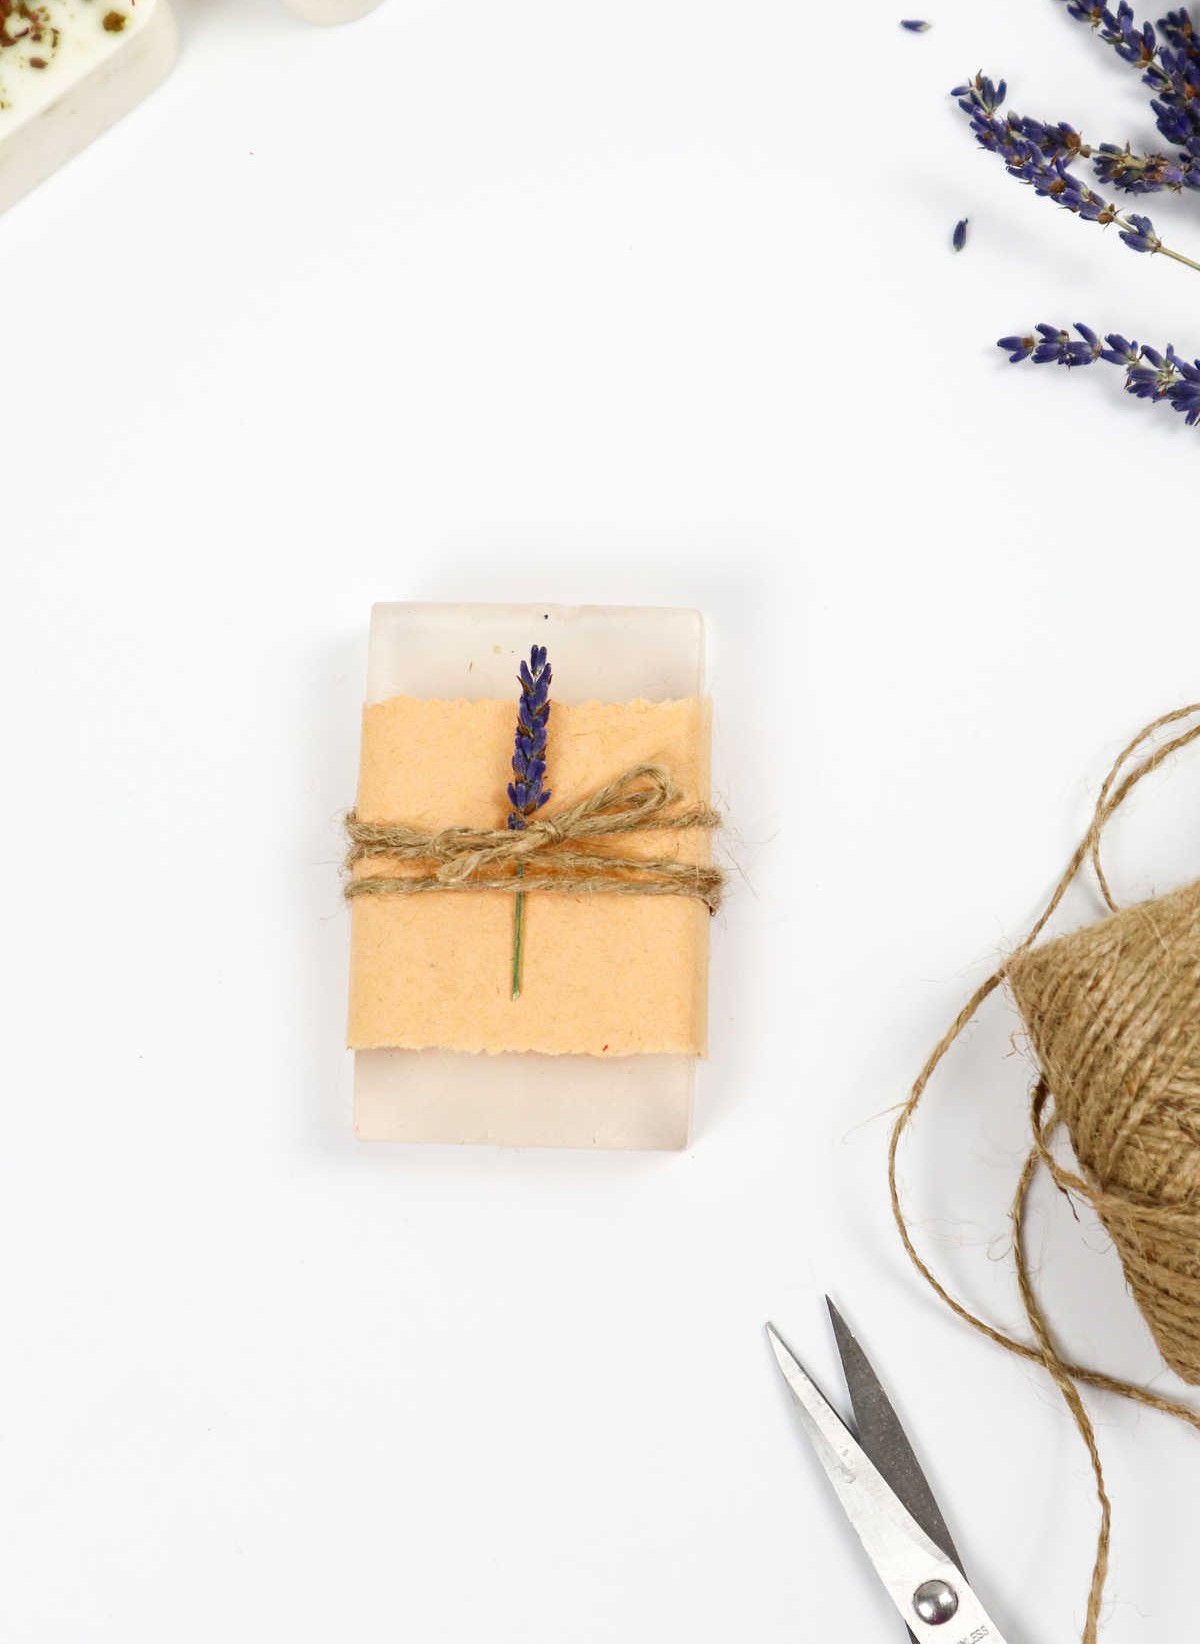
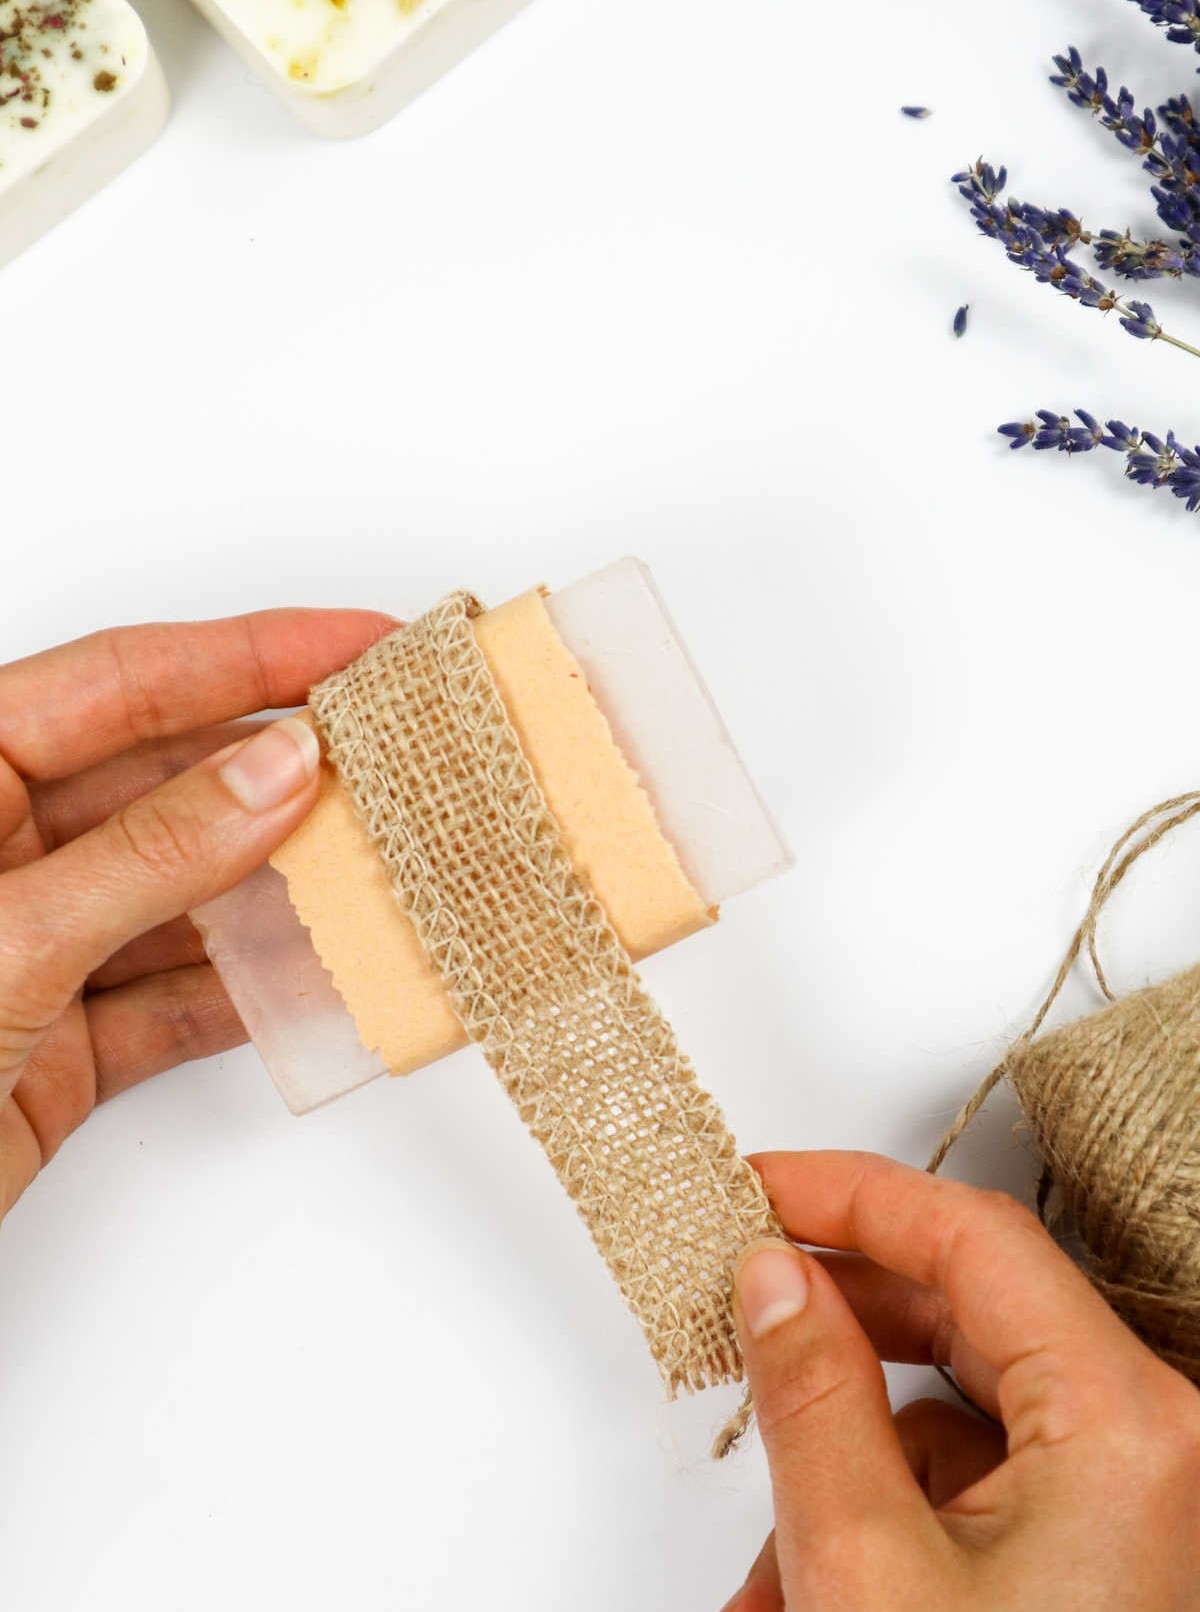
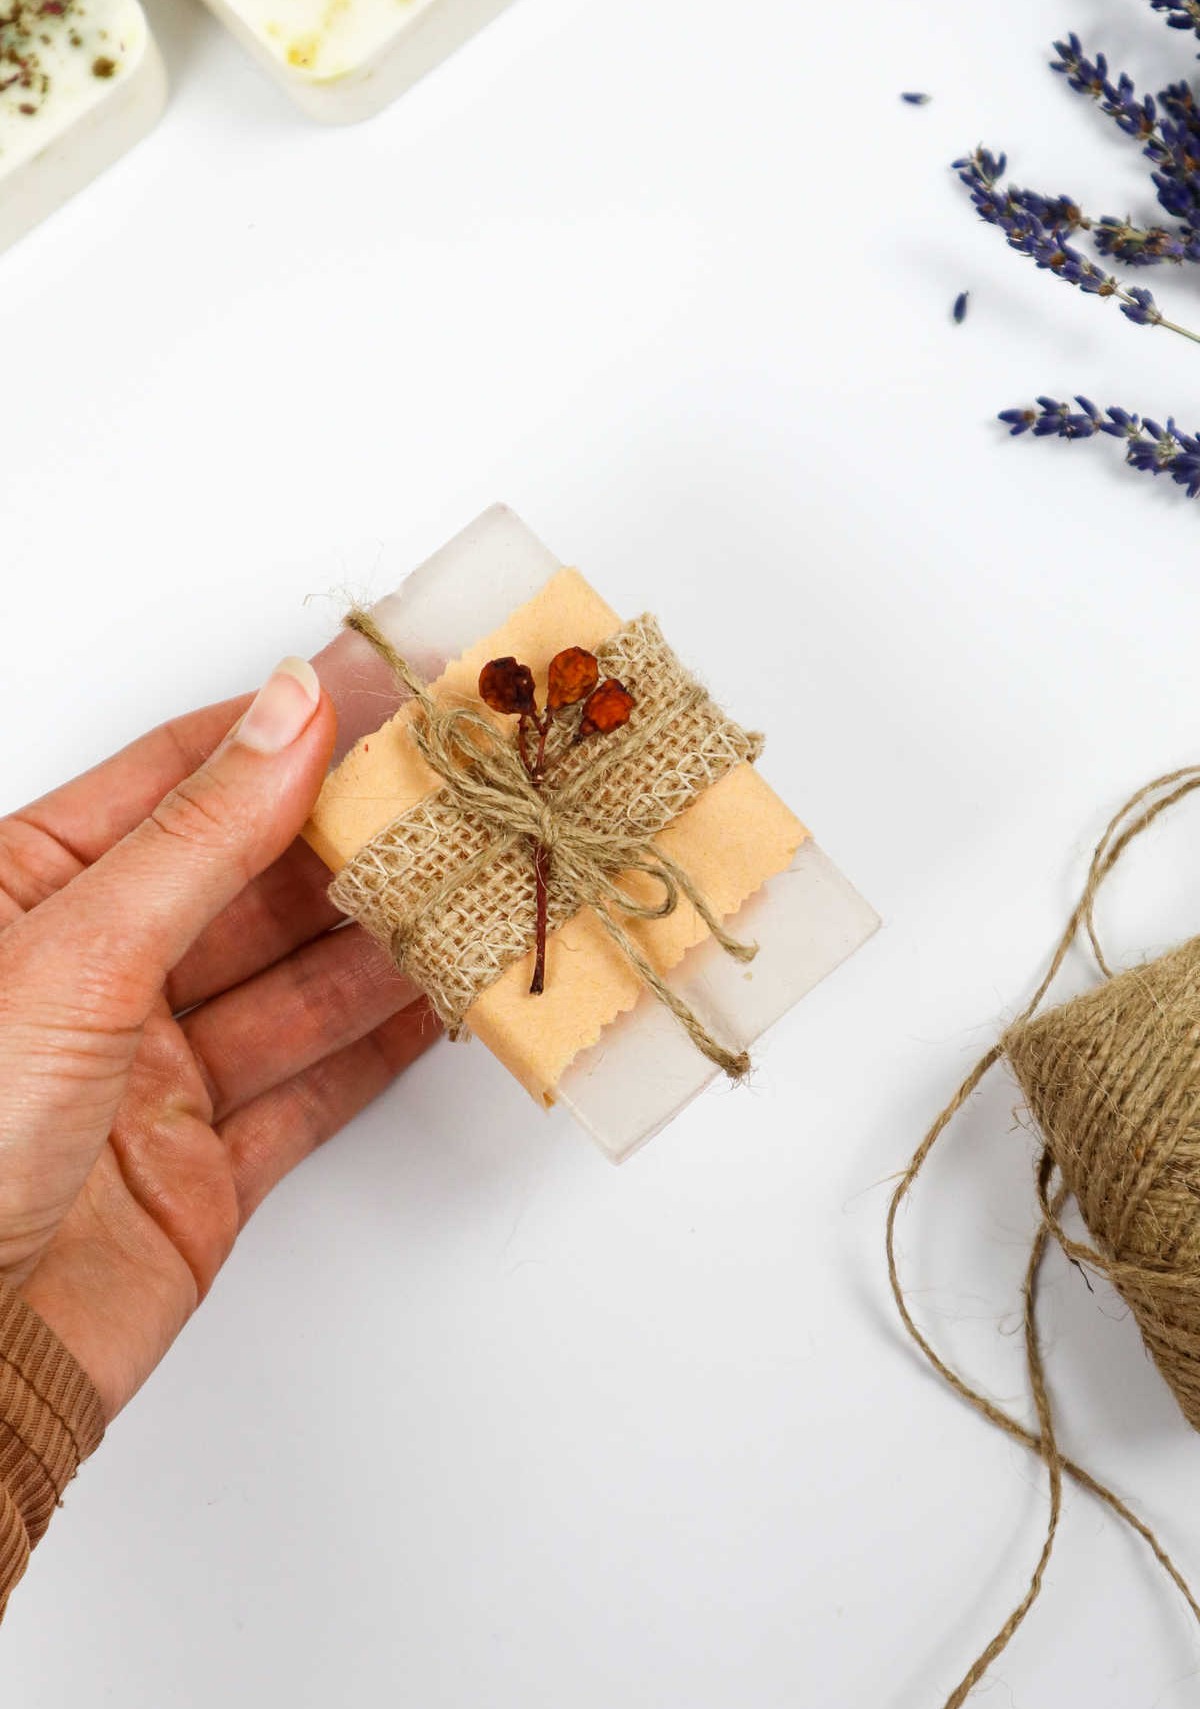
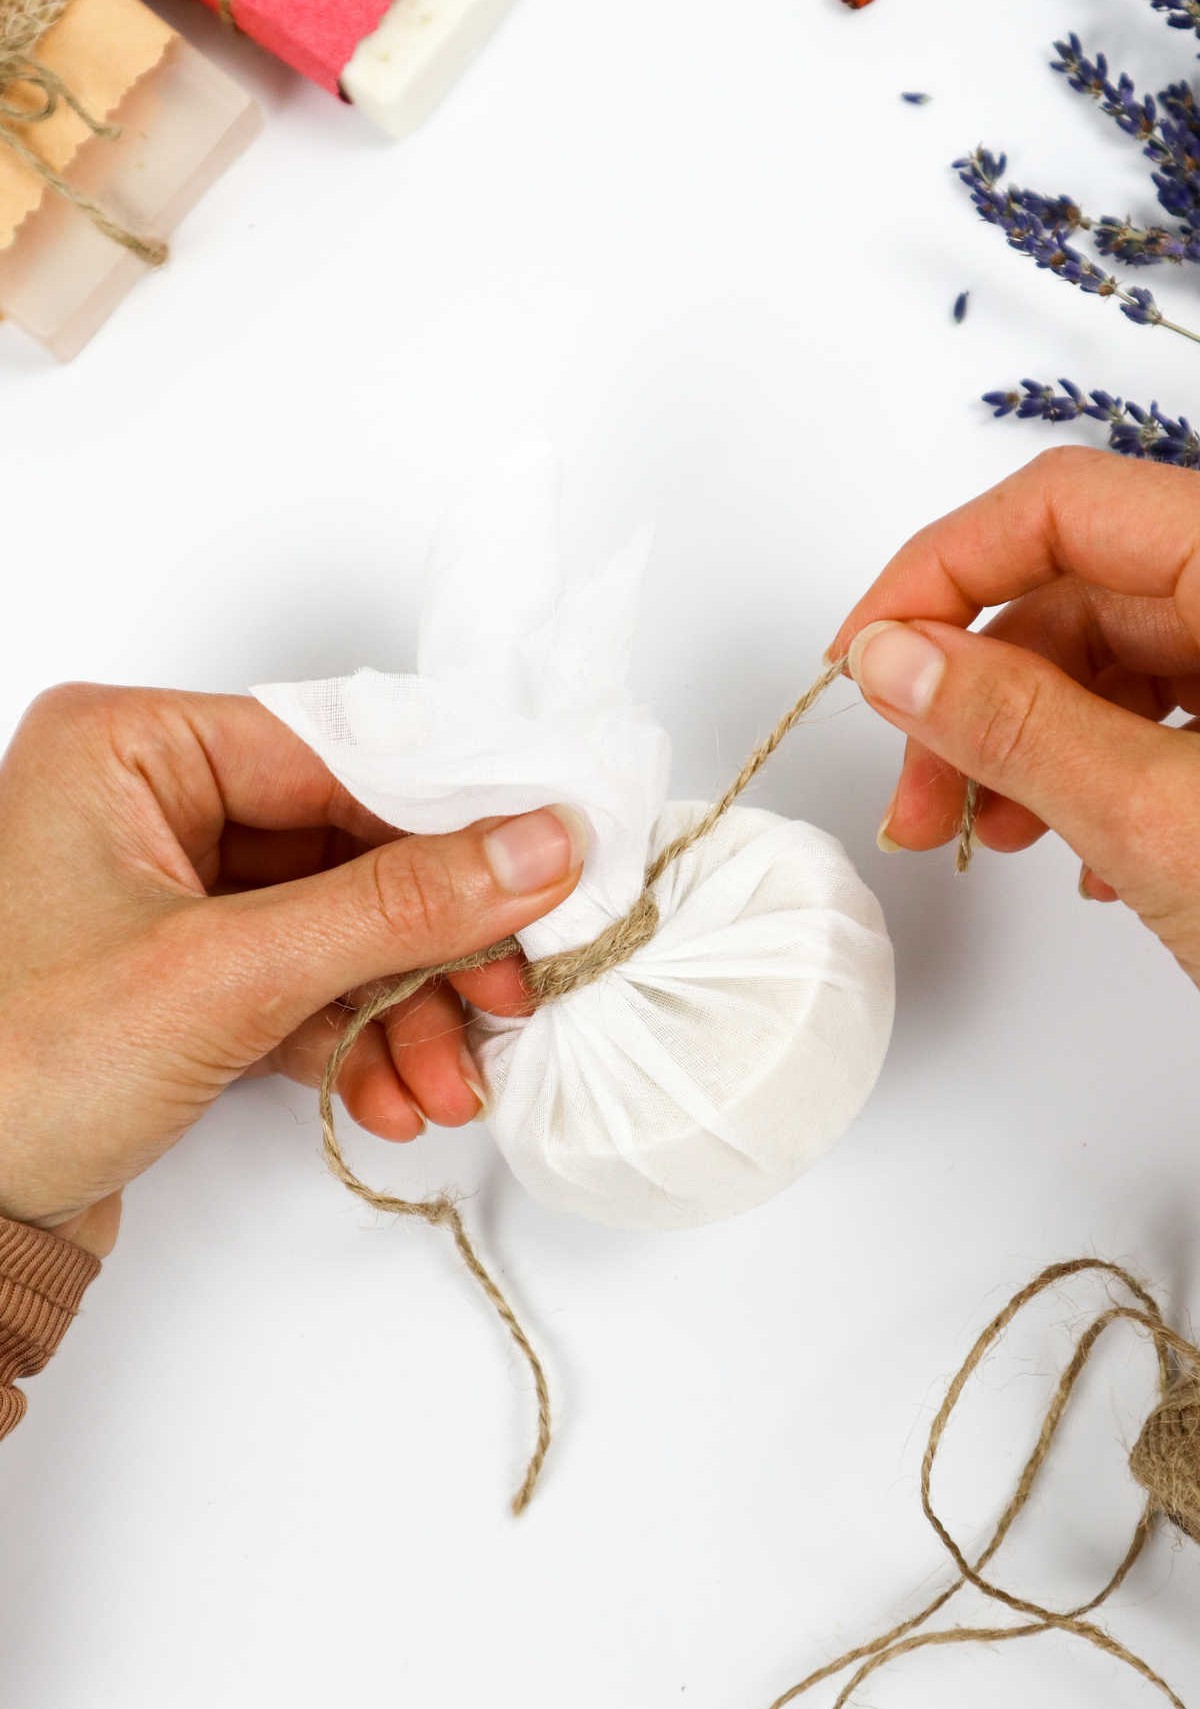
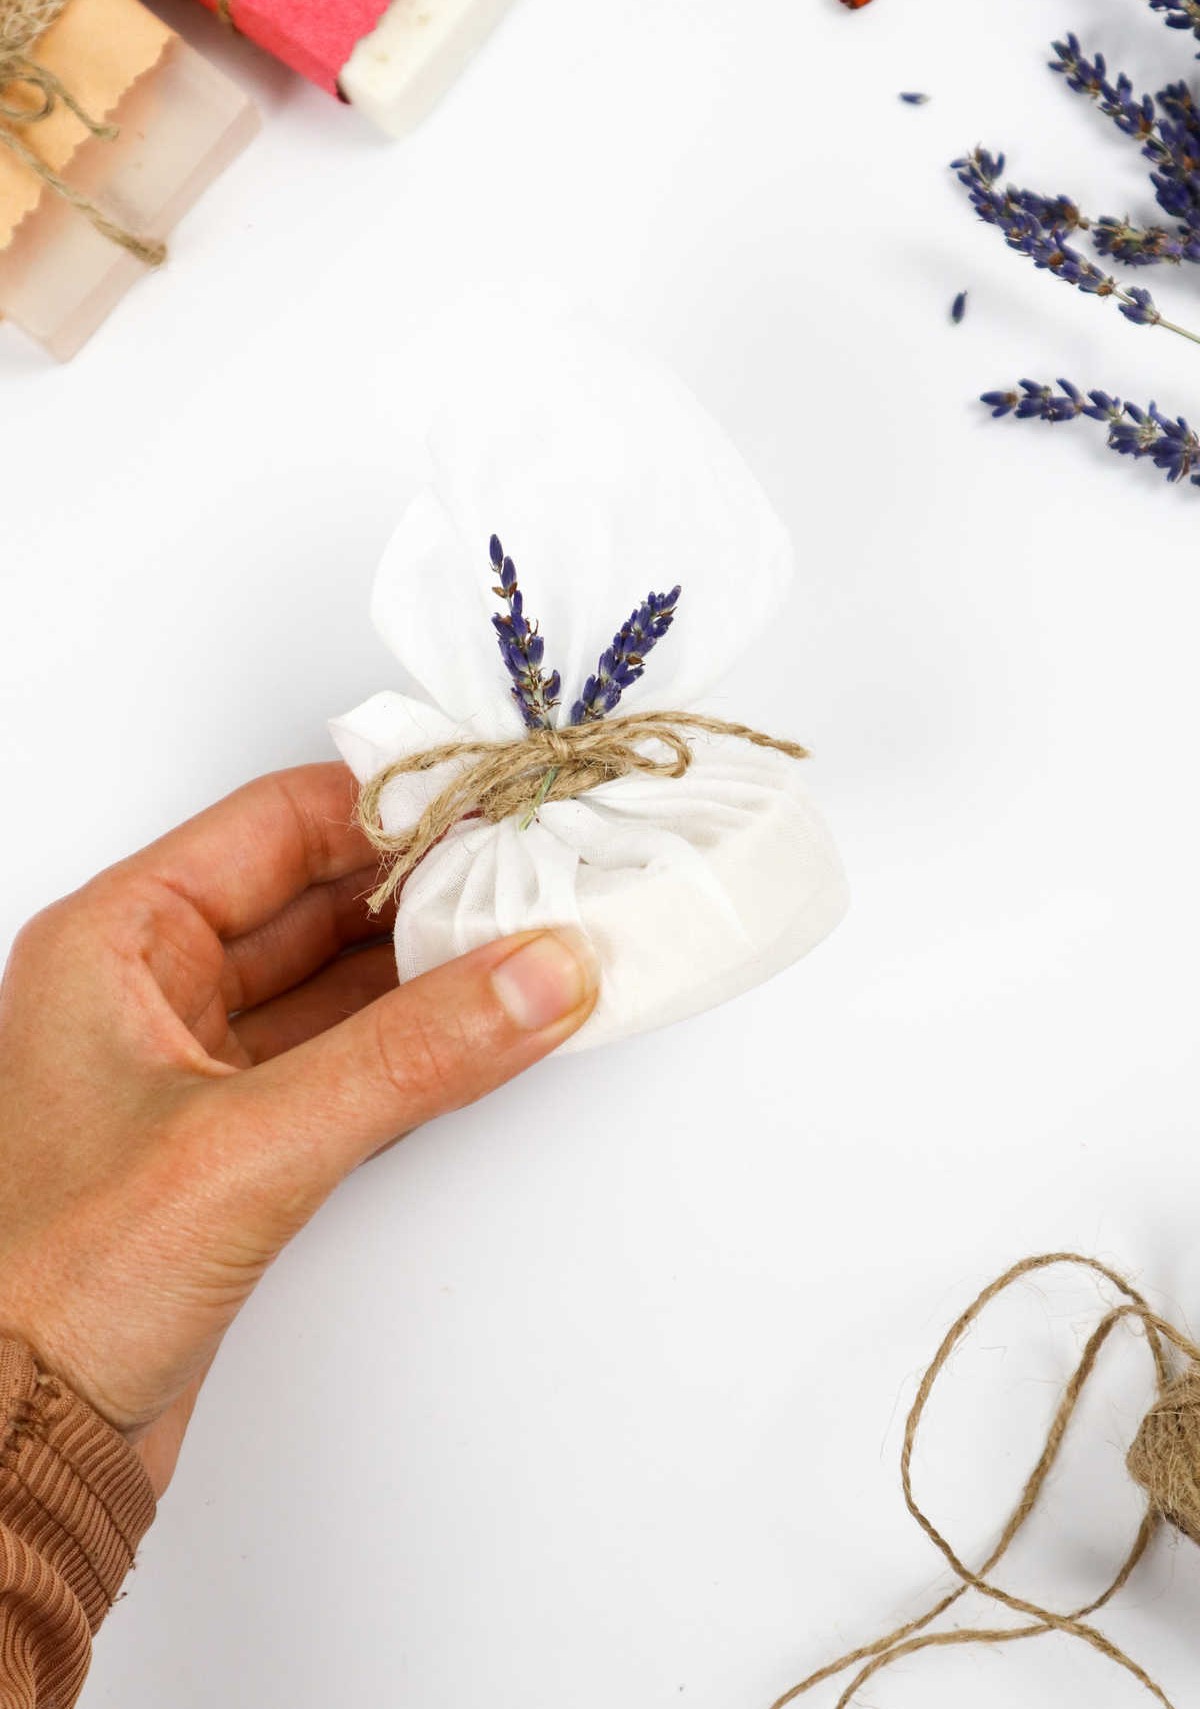
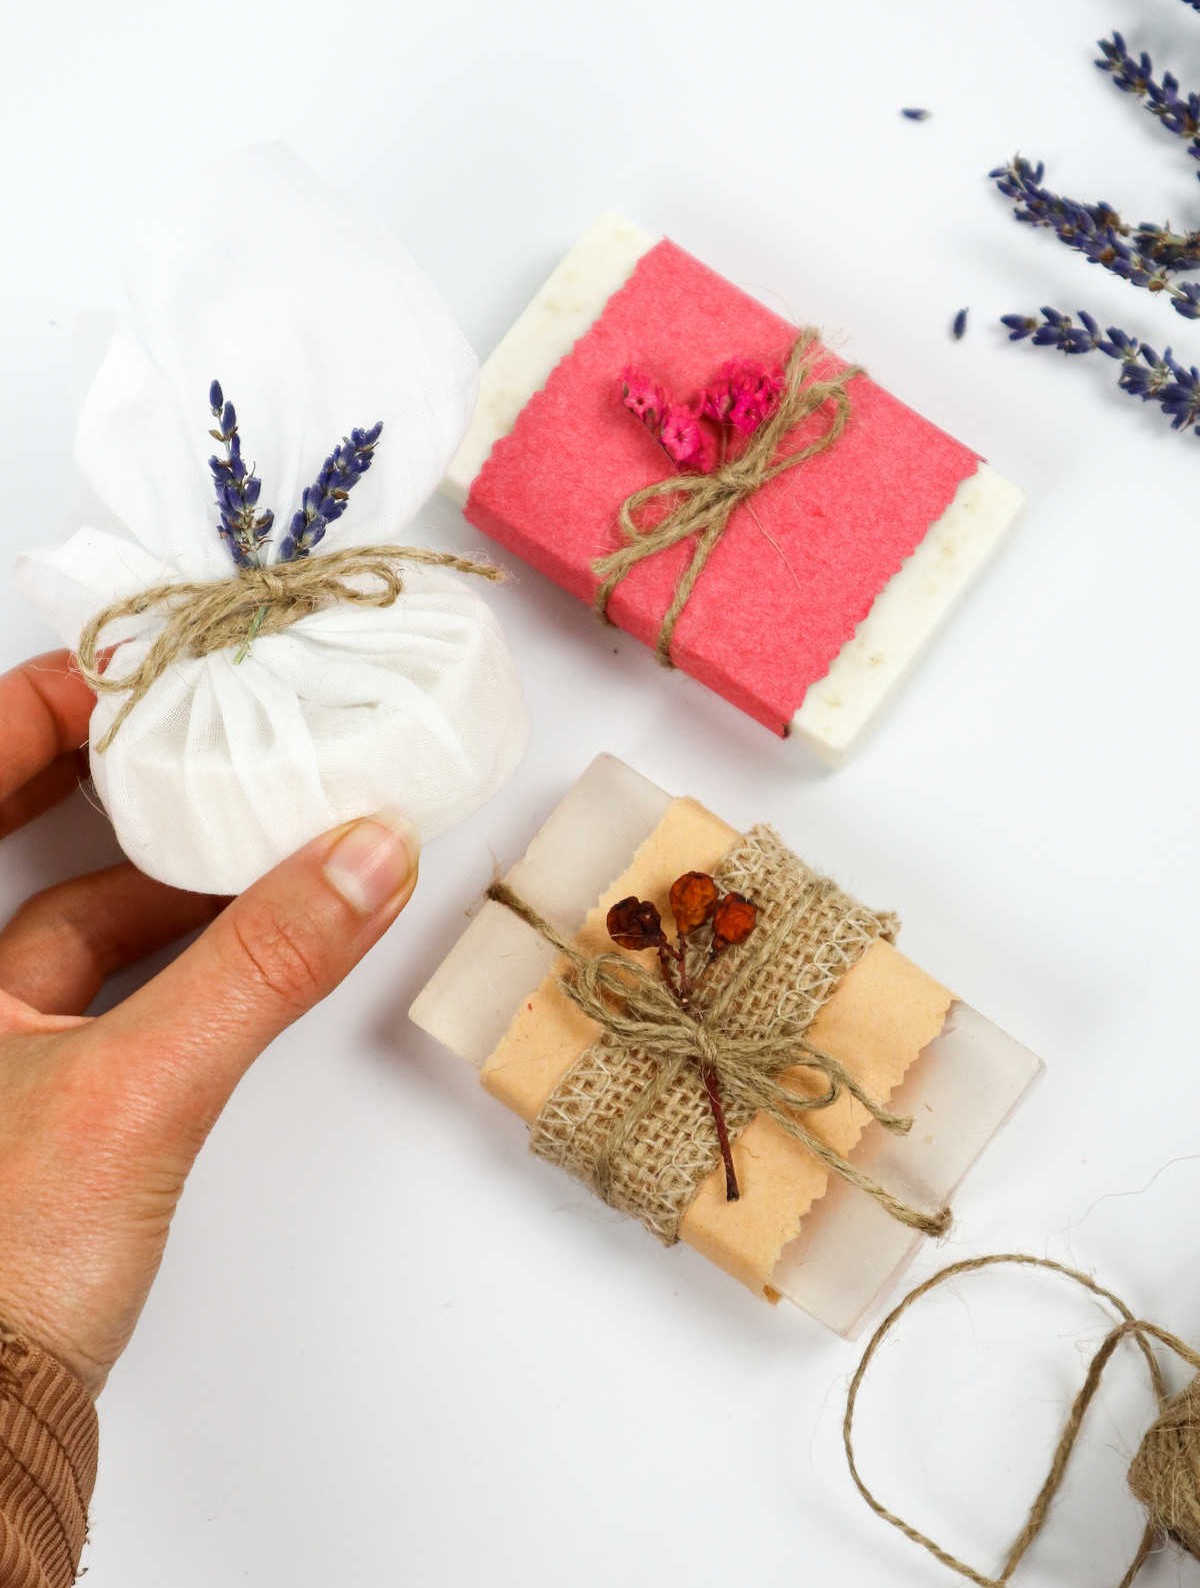
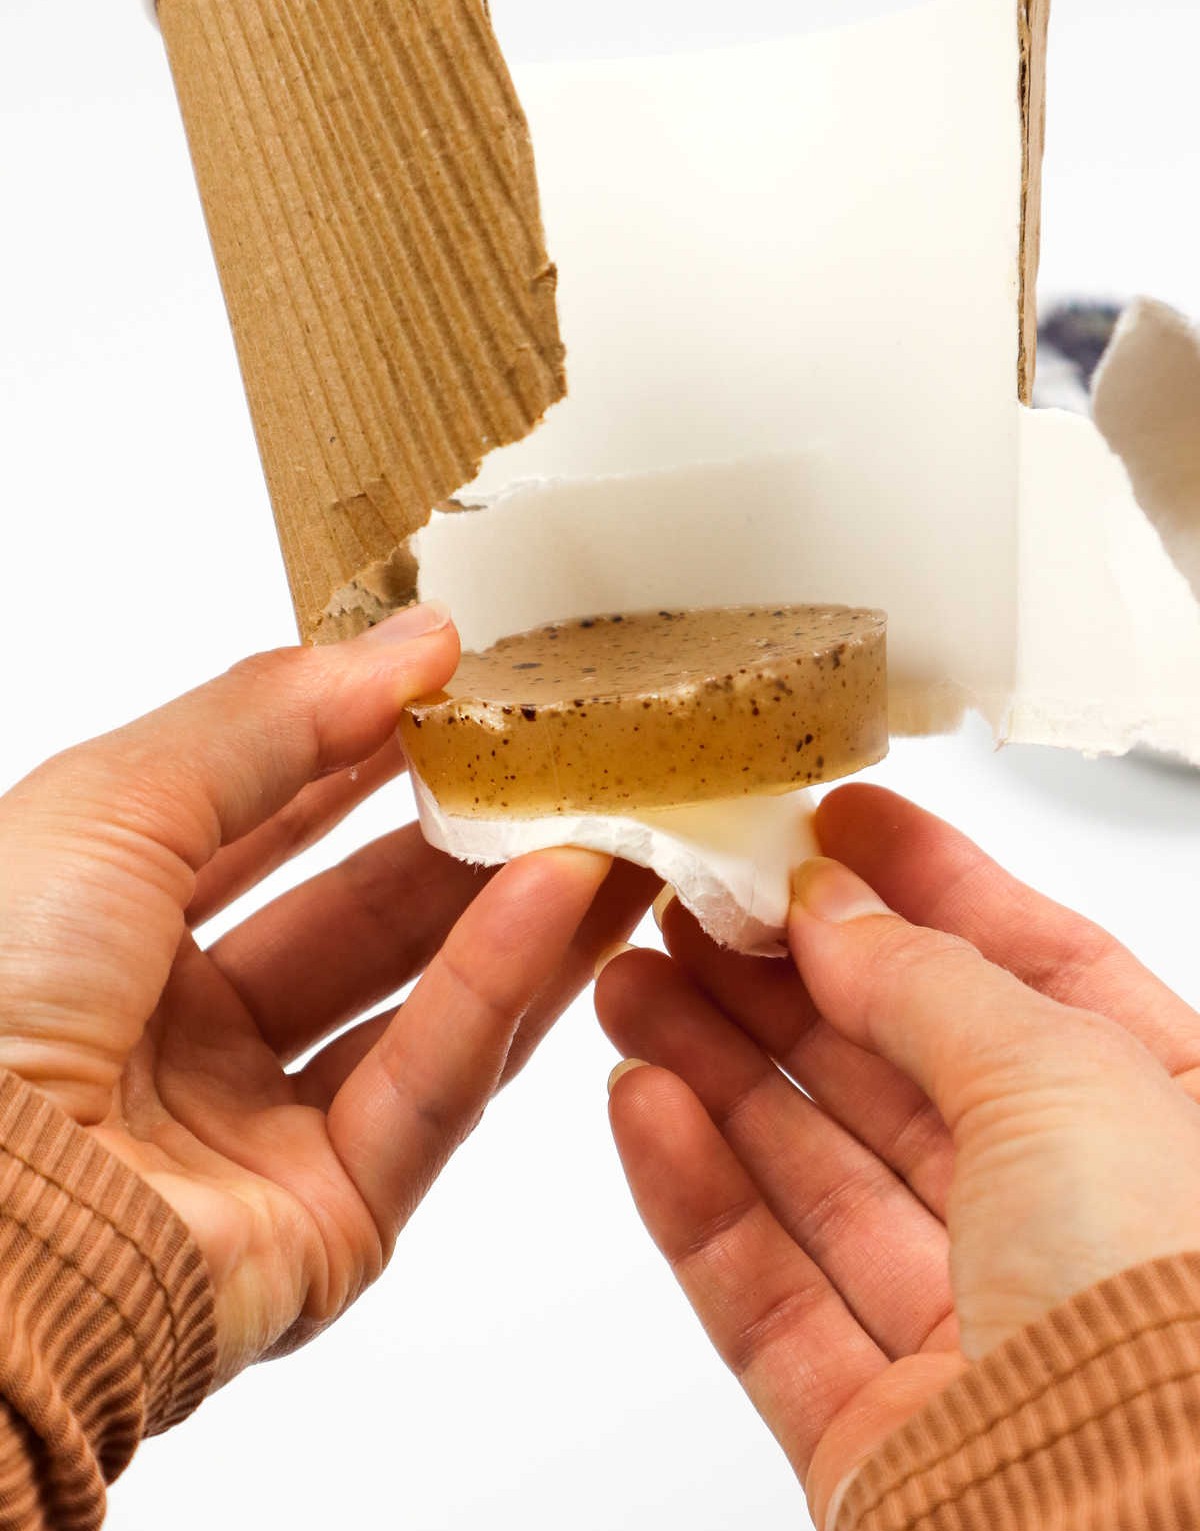
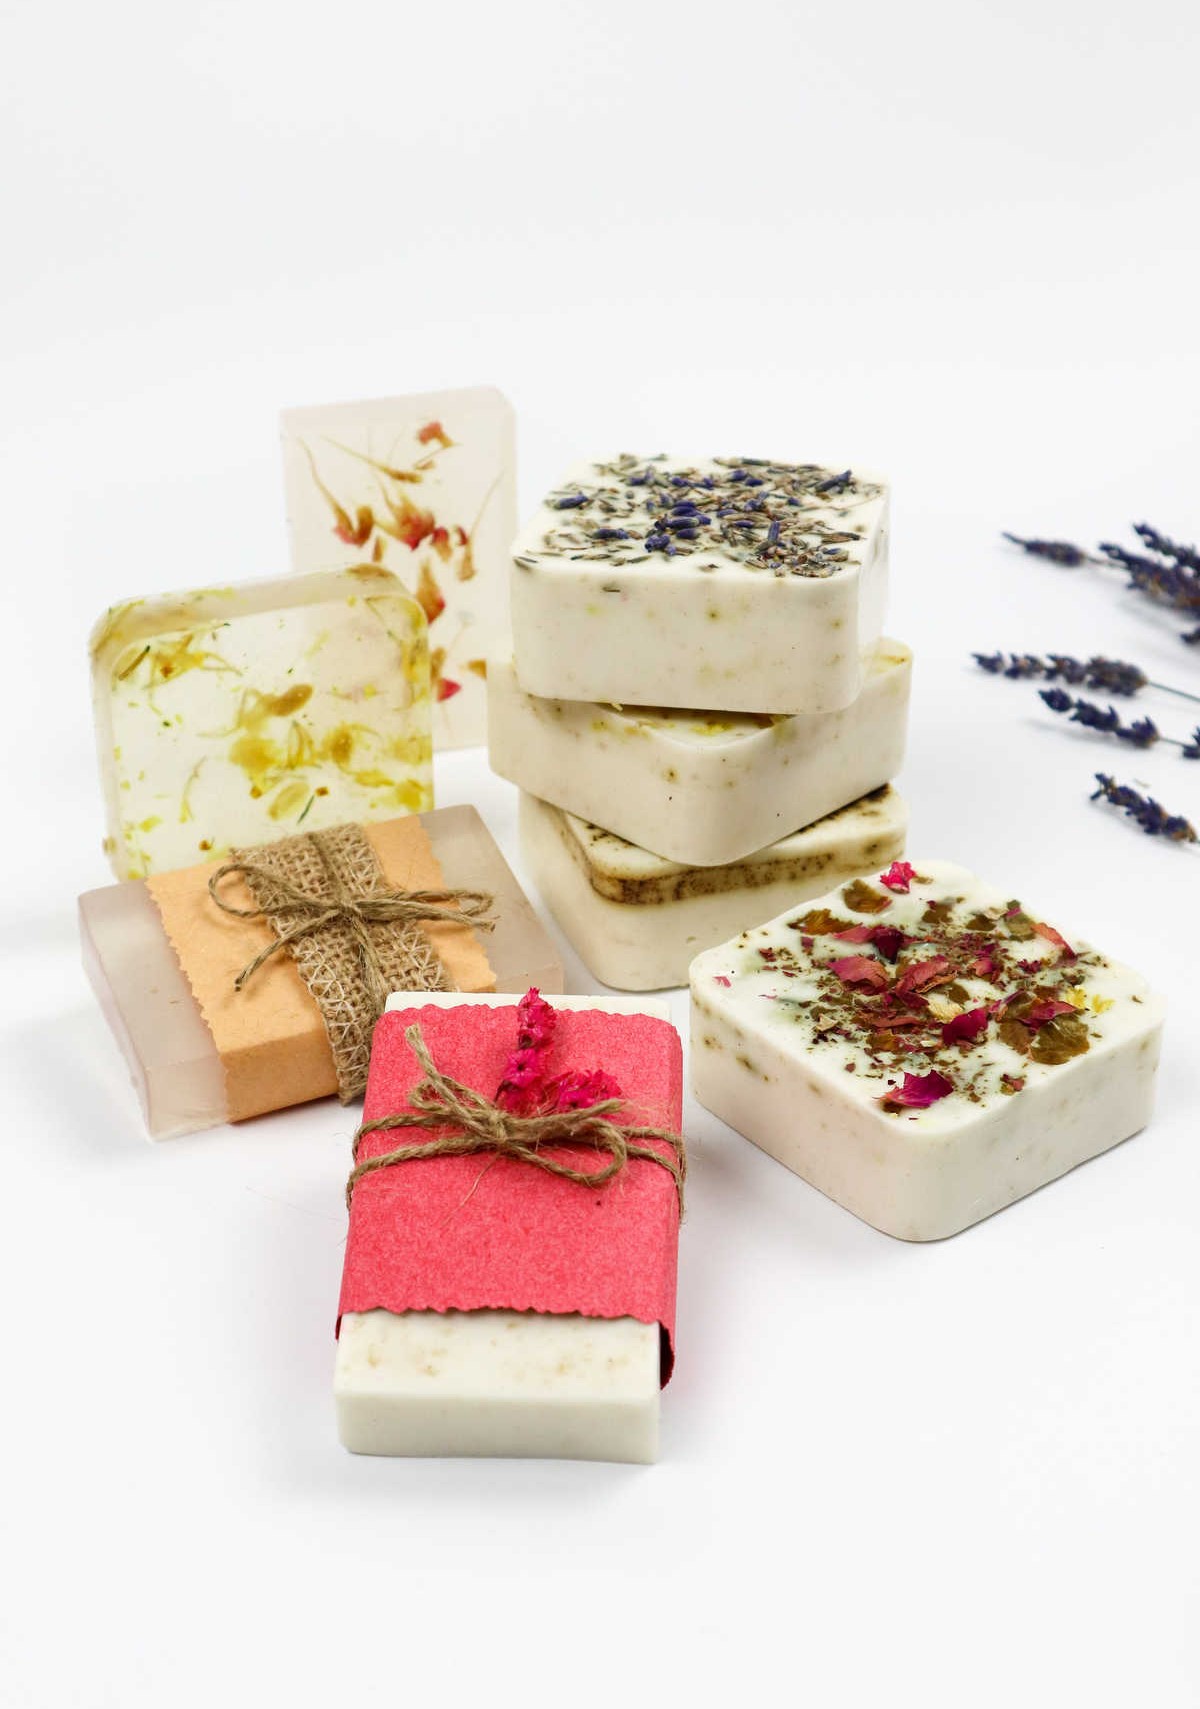
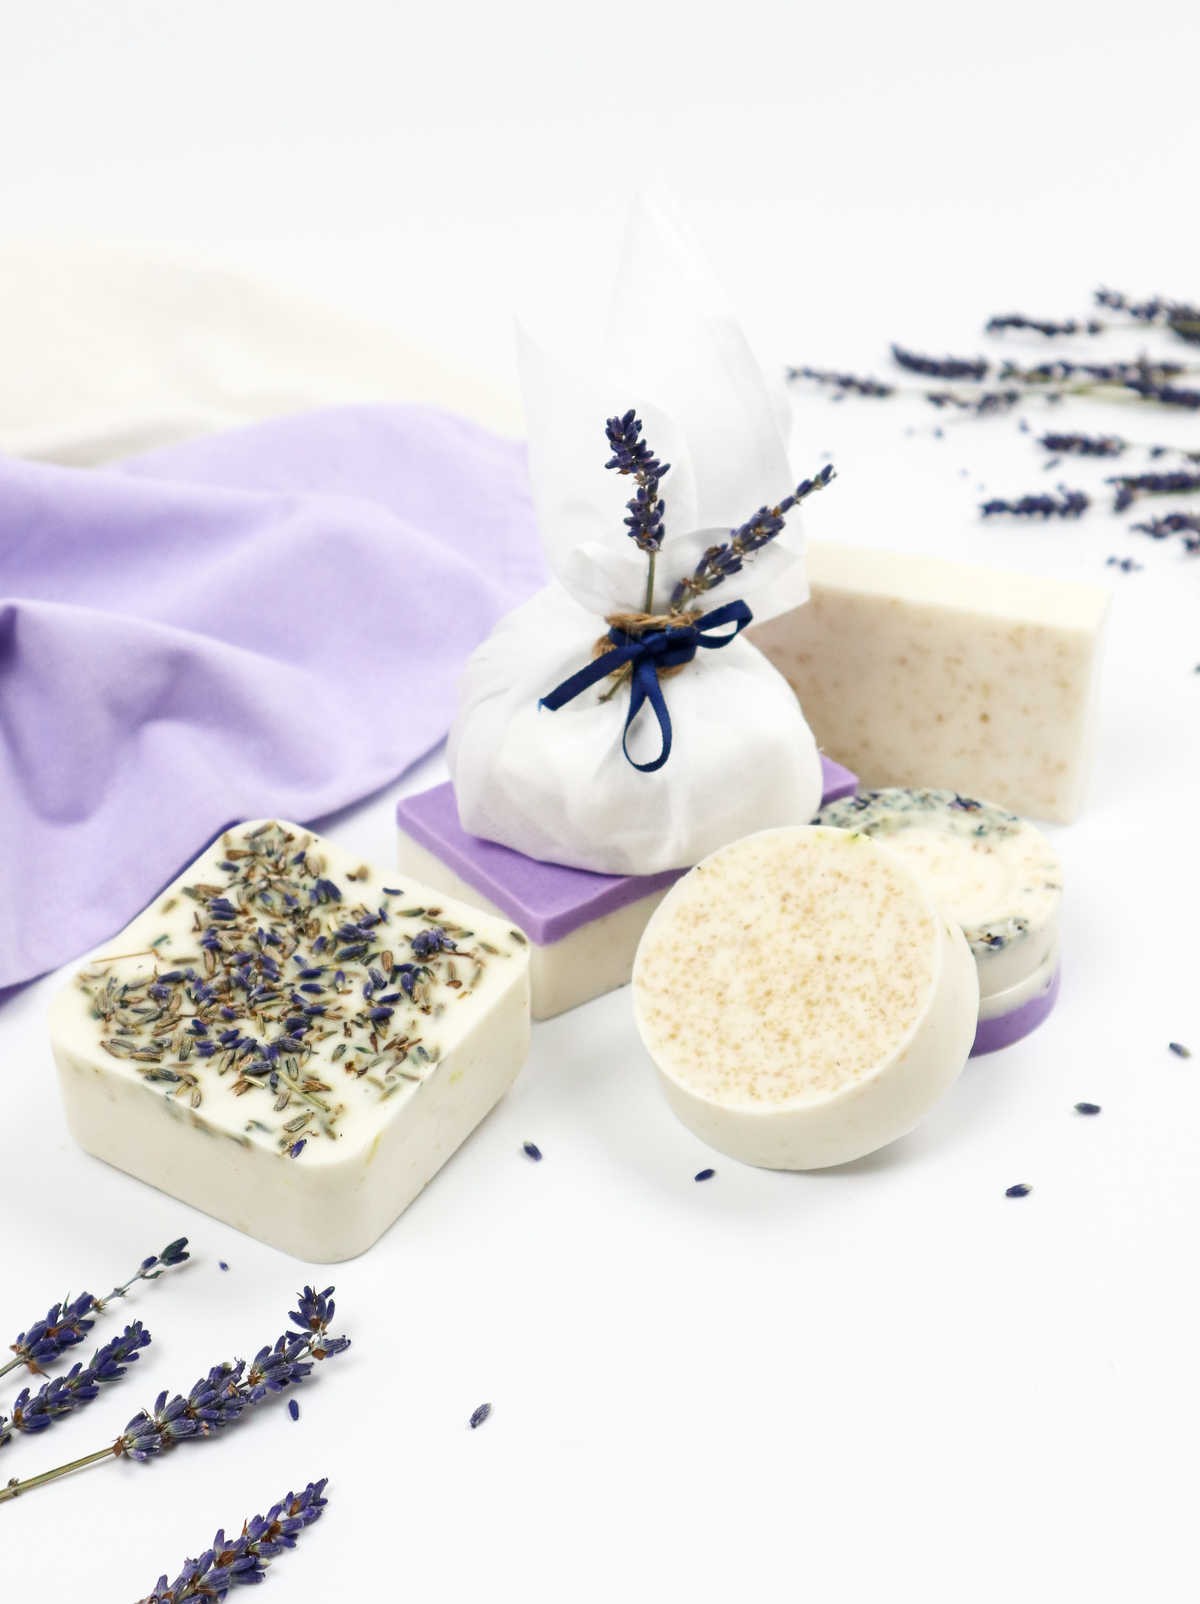
When it comes time to store or present your handmade soap bars, proper packaging is crucial. A simple yet elegant approach is to wrap the soap in craft paper, taking care to arrange it artfully within the folds. For added security and a touch of rustic charm, consider adding a twine, jute, or burlap ribbon closure. To further elevate the presentation, you can incorporate a sprig of lavender, dried flower, or herbs into the packaging.
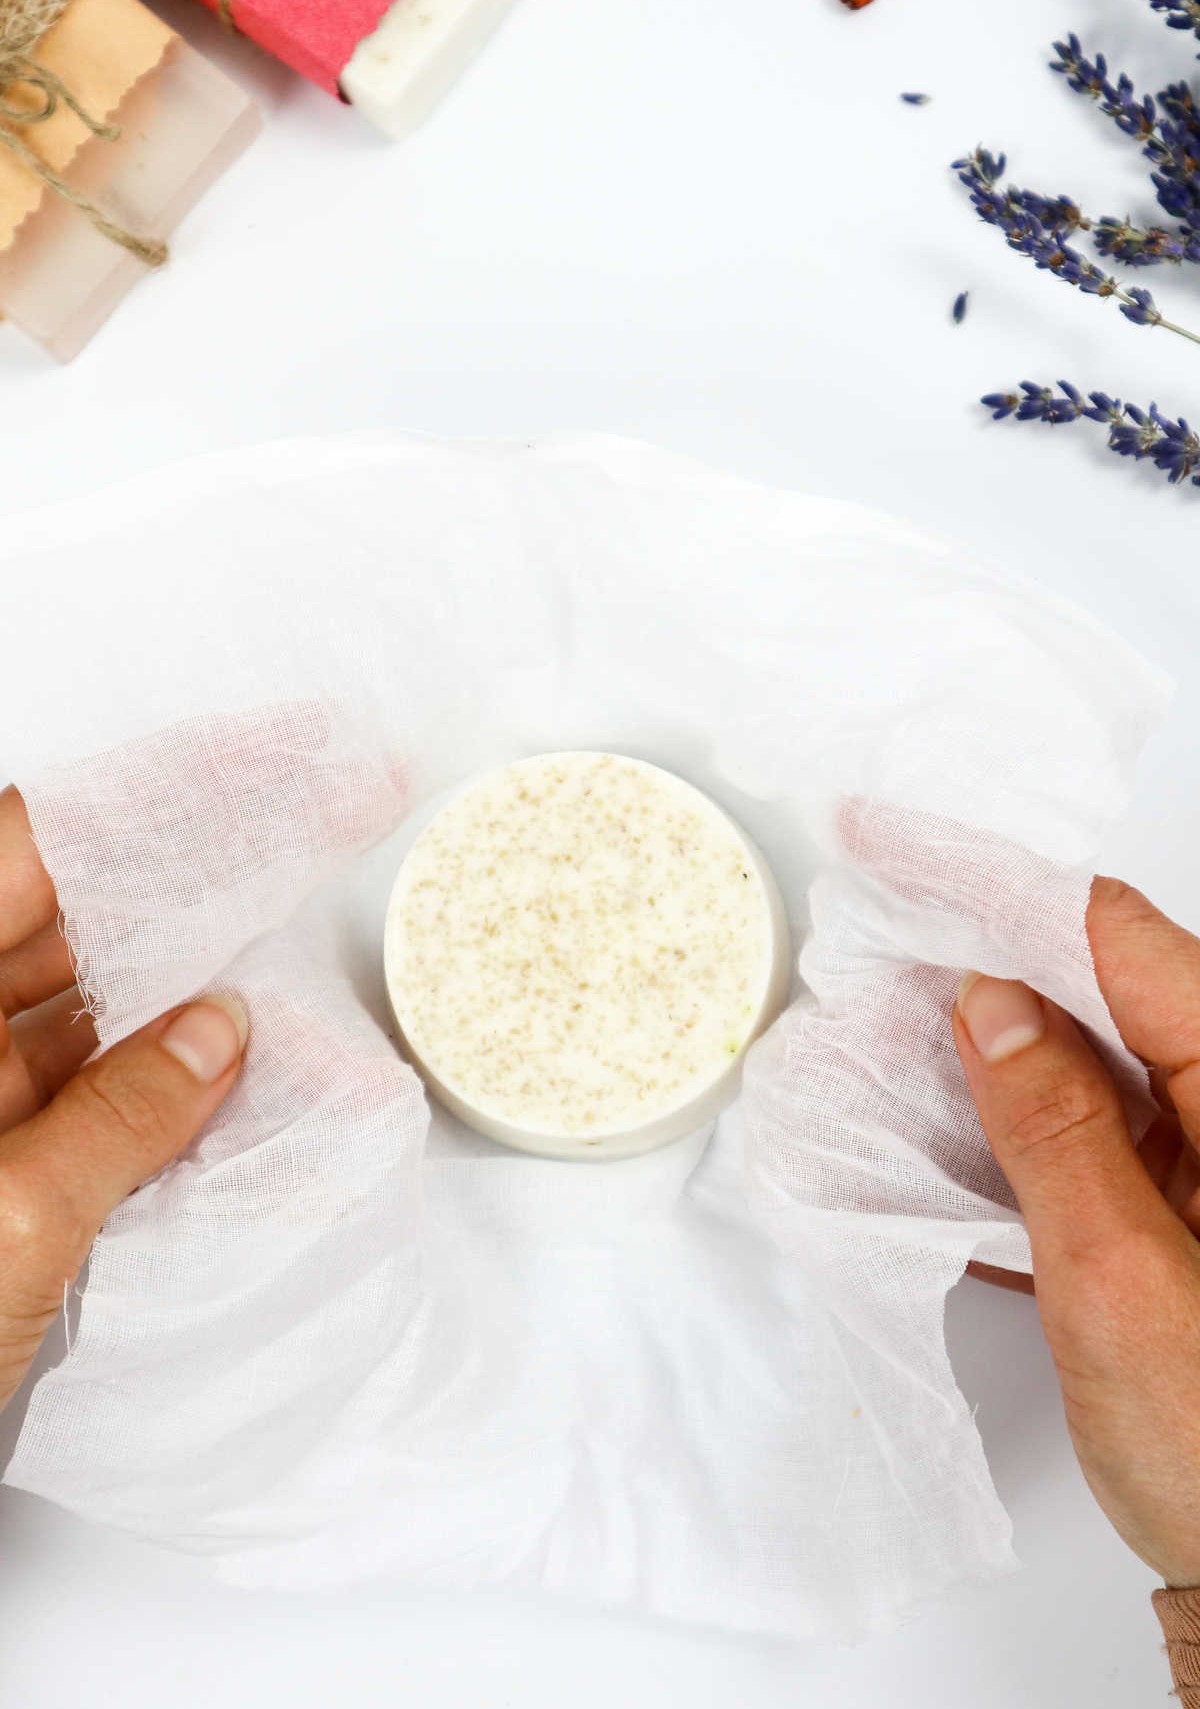
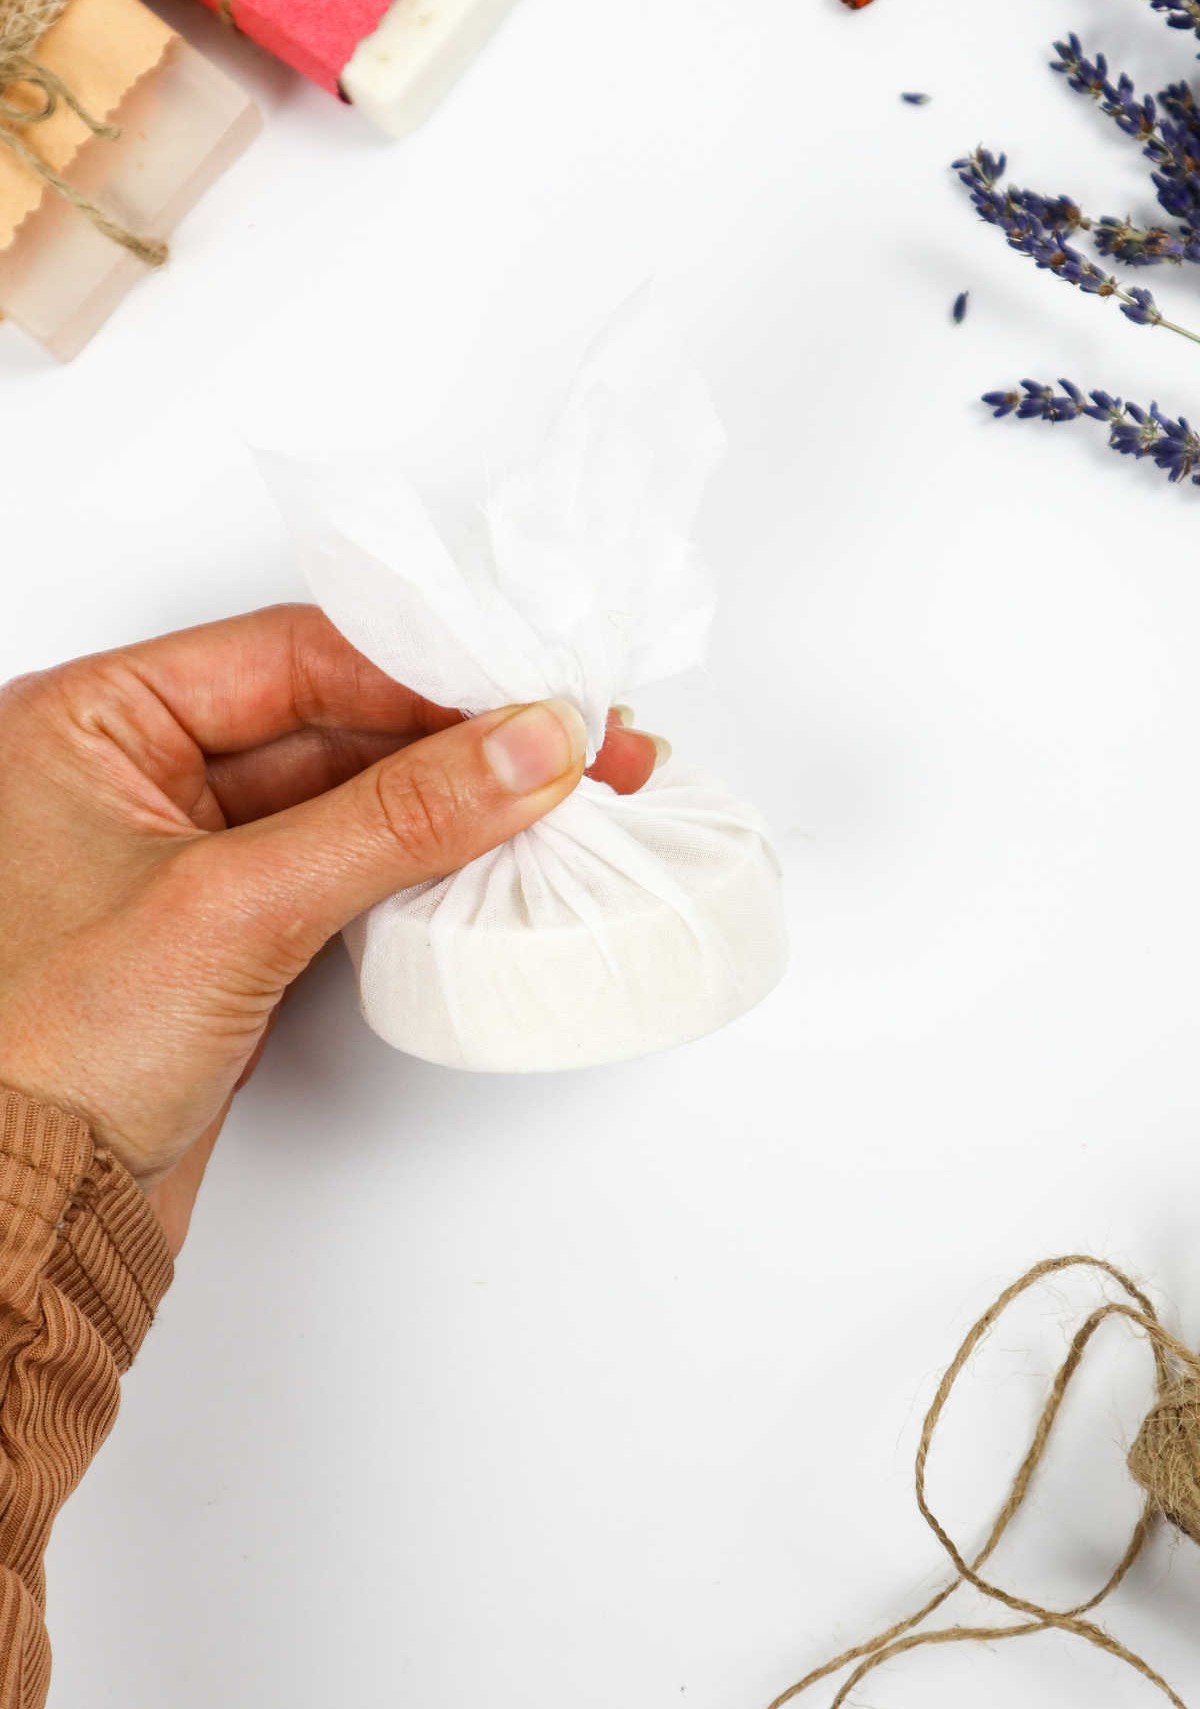
Alternatively, you can opt for a more earthy look by wrapping the soap in cheesecloth. Once packaged, your homemade soaps are now ready to be used or gifted to friends and loved ones.
Watch: How to Make Your Own Soap
For individuals who absorb information more effectively through visual aids, I recommend supplementing your learning experience by watching a comprehensive video tutorial on crafting homemade soap. This resource provides a step-by-step guide that mirrors the process outlined below.
Fragrances You Can Use to Make Soaps
With the vast array of fragrances available for soap-making, selecting the perfect scent can be a daunting task. To help you narrow down your options, here are some popular fragrance categories and suggestions:Consider citrus-based scents like lemon balm or lemongrass, coffee, or invigorating combinations such as orange-grapefruit. For a floral touch, opt for rose, sandalwood, lavender, or jasmine. Fruity flavors abound with strawberry and other sweet options.
Vanilla and mint provide a classic, soothing aroma. Finally, explore earthy scents like eucalyptus, bergamot, or tree oil to add depth to your soap.
What Else Can I Add to These Soaps?
When crafting your own soaps, you have the creative freedom to incorporate a variety of natural ingredients that not only enhance the scent but also add texture, color, and nourishing properties to the final product. This holistic approach allows soap-making to transcend mere aesthetics, instead becoming a therapeutic and rejuvenating experience for the skin.
By combining essential oils with an array of natural additives, you can create soaps that hydrate, smooth, exfoliate, and condition your skin. The possibilities are endless, and the benefits are multifaceted.
Some popular ingredients to consider include coconut flakes, oatmeal, chia seeds, apricot seeds, Himalayan pink salt crystals, coffee grounds, cocoa powder, loose tea leaves, shea butter, coconut oil, apricot oil, almond oil, avocado oil, olive oil, and oat milk.
Additionally, you can incorporate honey, thyme, rosemary, lavender, chamomile, mint, calendula, dried flowers like rose, jasmine, and lavender buds, as well as cornflower and marigold petals.
Other natural ingredients worth exploring include vitamin E and C oils, activated charcoal, citrus peels and zest (lemon, grapefruit, lime, or orange), beetroot powder for added color, dried berries, and even scraps of loofah to create a gentle exfoliant.
The key is to experiment with different combinations to find the perfect blend that suits your skin type and preferences.
How to Make Soaps into Nice Gifts
Presenting your homemade soaps in an attractive package is crucial to making them look like a million bucks. When it comes to gifting, the packaging plays a vital role in elevating the overall experience.
One way to add visual appeal is to wrap your soap in colored craft paper, either completely or just around the middle for a more rustic finish. Alternatively, you can place the soap in cheese cloth and artfully fold it over or bunch it up around the soap for a charming effect.
To secure the soap within its packaging, consider adding a touch of rustic charm with jute twine, burlap, lace trim, or a length of ribbon. You can also adorn the twine with dried flowers, lavender, or herbs for added texture and fragrance.
Seasonal touches can further enhance the presentation by incorporating elements like cinnamon sticks, dried orange slices in autumn, or holly, dried cranberries, and frosty baby’s breath during winter.
With a little creativity, you can create unique and visually appealing packaging that reflects your soap’s handmade charm.
How to Make Homemade Soap (Step-by-Step)
Making your own soap can be a fun and creative experience, especially when you’re looking for unique gifts. To get started, let’s dive into the process of crafting homemade soap. This comprehensive guide will walk you through every step, ensuring that your final product is not only beautiful but also effective. Whether you’re an experienced crafter or just starting out, this tutorial has got you covered.
Equipment
When it comes to preparing and portioning your homemade treats, having the right tools at hand can make all the difference. A few essentials to keep in your kitchen arsenal include silicone molds or plastic cups for shaping and storing, a trusty chopping board for prepping ingredients, a heat-safe container for keeping delicate items warm, a spatula for scraping and serving, a knife for cutting and trimming, and scissors for adding decorative touches and efficiently packaging treats.
Materials
When it comes to crafting unique melt and pour soap creations, having the right ingredients and tools at your disposal is essential. While many crafters swear by a 99% isopropyl alcohol solution as their go-to for creating a smooth, even consistency, you can also achieve great results with a 91% mixture. In addition to the soap base itself, consider incorporating a variety of natural elements into your design.
This might include essential oils for their therapeutic properties and unique fragrances, mica powder to add a touch of shimmering color, dried herbs and flower petals for decorative purposes, or even ground coffee for its earthy aroma and textured appearance. Finally, don’t overlook the importance of presentation – consider using jute twine or ribbon to add a rustic touch, or craft paper and cheese cloth for a more delicate look.
Instructions
To begin creating your unique soaps, start by preparing the necessary materials. Begin by breaking down a block of soap into smaller pieces and melting it using either a microwave-safe container in short intervals, stirring between each interval, or by placing the blocks in a heat-proof bowl set over a pot of boiling water, stirring constantly to ensure even melting. Once melted, you can add a few drops of your preferred essential oil for fragrance.
Be quick about pouring the soap mixture into your mold of choice – silicone, plastic, or paper cups and containers work well – before it has a chance to harden. To remove any air bubbles that may have formed, lightly spray the surface with isopropyl alcohol. From here, you can get creative with decorating your soap. Try layering herbs and dried flowers within the mold, pouring in the soap mixture and allowing it to set.
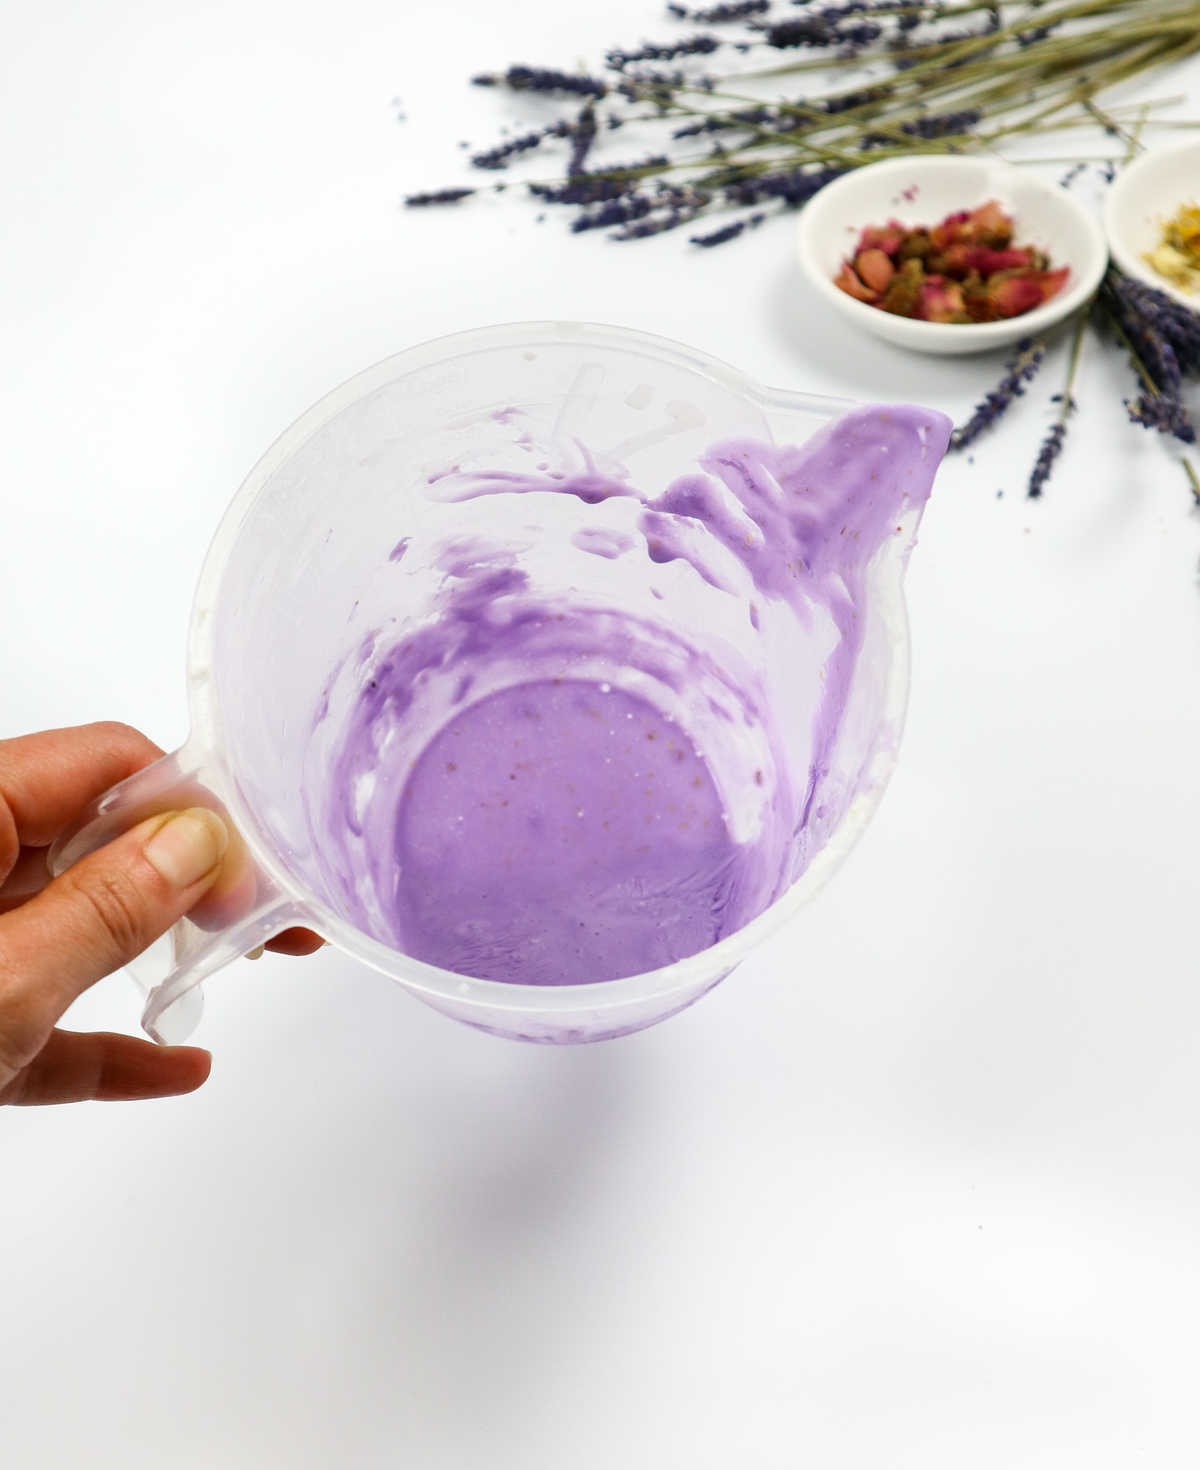
Alternatively, mix the flowers and herbs into the soap itself before pouring it into the mold. To add a pop of color, introduce a few drops of liquid soap colorant or mica powder to the mixture, stirring thoroughly to ensure even distribution. If you desire distinct, marbled layers, allow each layer to harden, then lightly spray with isopropyl alcohol and pour in the next color.
Finally, let your creations dry for 4-6 hours before wrapping them individually in cling film, paper, or cheesecloth and embellishing with twine or ribbon for a thoughtful gift.