While there’s no shortage of ways to capture memories with kids, few activities are as endearing as crafting together. The tactile nature of DIY projects allows us to create lasting mementos that can be treasured for years to come – whether it’s a clay impression of their tiny foot or the first scribbled smiley face. For me, this particular project stands out because it beautifully merges art and functionality.
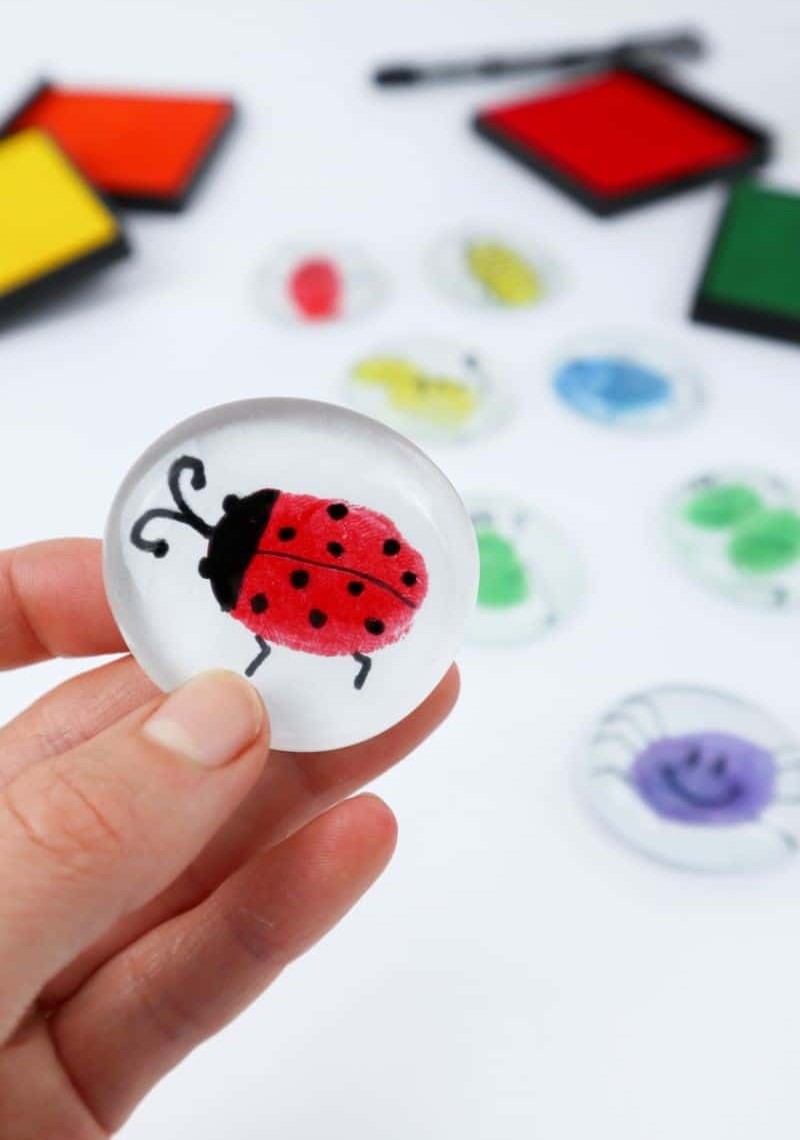
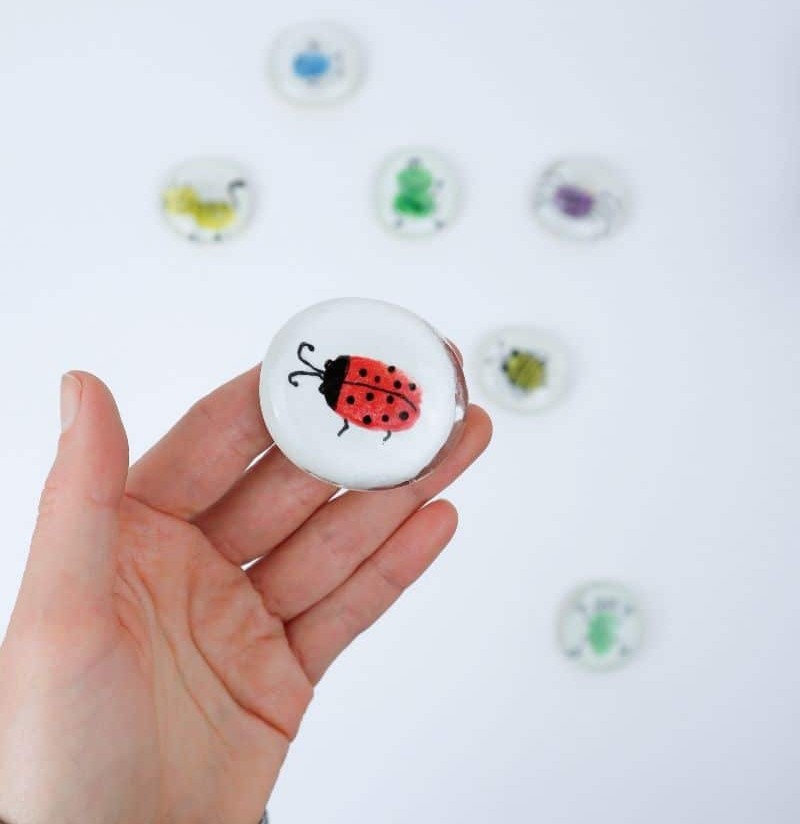
By using their unique fingerprints to craft glass magnets, you’ll end up with a personalized and long-lasting decoration that not only showcases your little one’s creativity but also adds a touch of whimsy to your kitchen’s fridge.
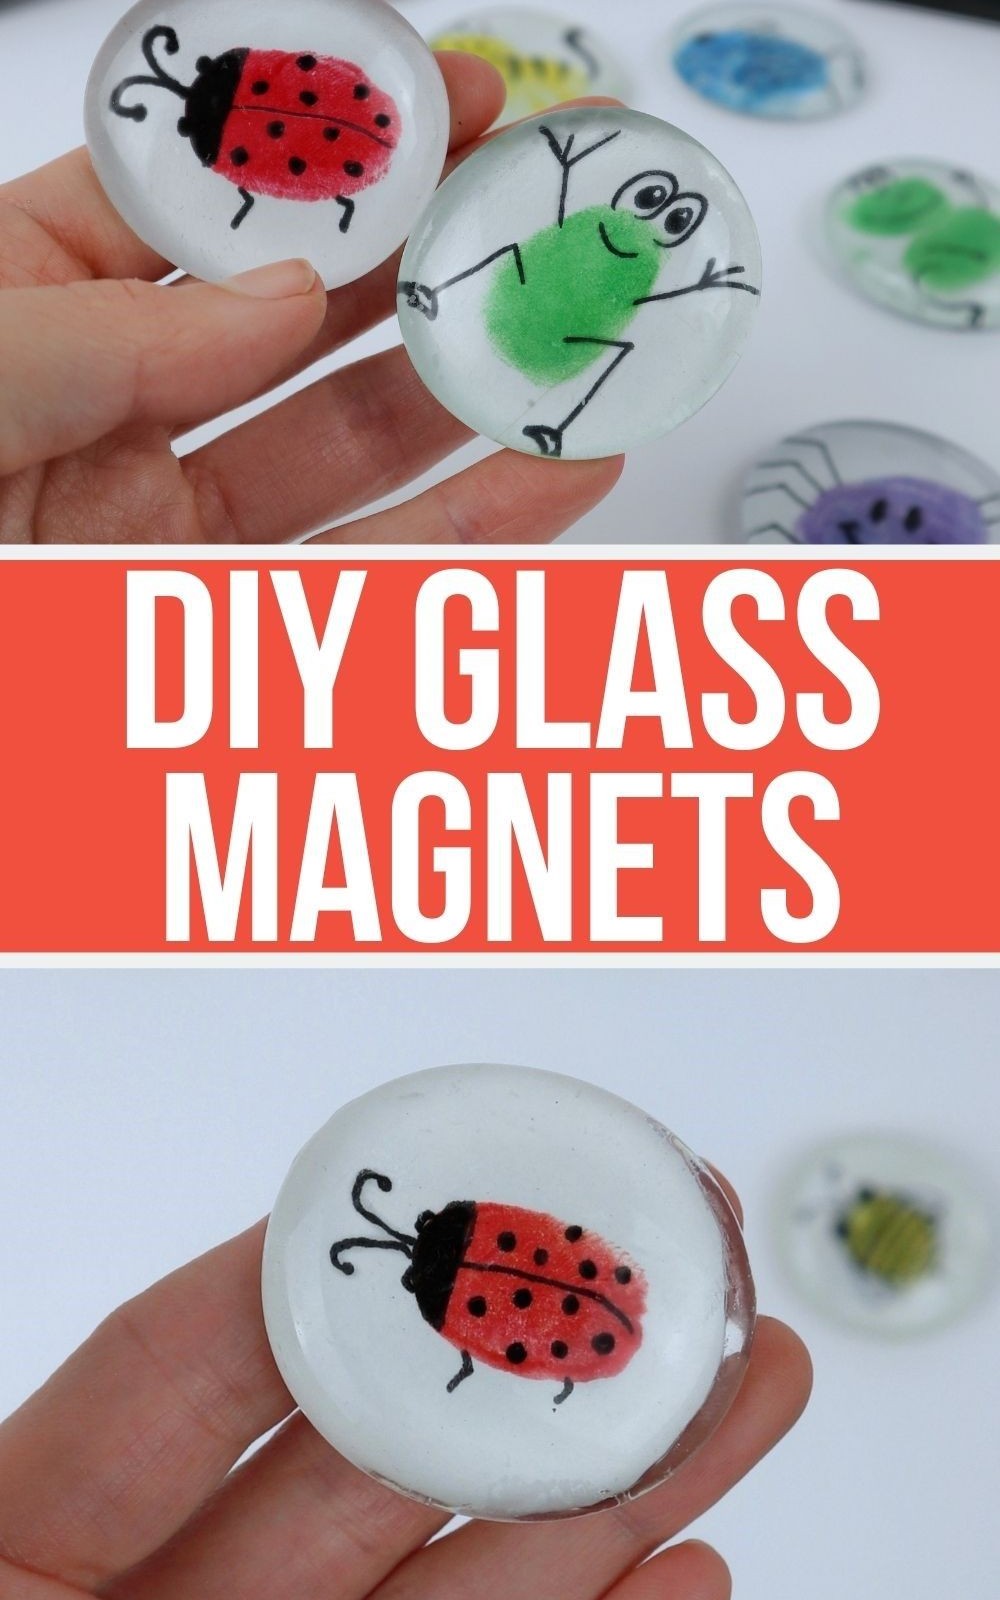
DIY Fingerprint Glass Magnets – A Fun Family Activity
While traditional family activities often cater to older children, this creative project is accessible even to toddlers. In fact, preschool teachers can use it as a unique way to send kids home with a special memento that their parents will treasure. The end result is not only a fun and engaging experience but also a beautiful keepsake that can be displayed proudly in the home.
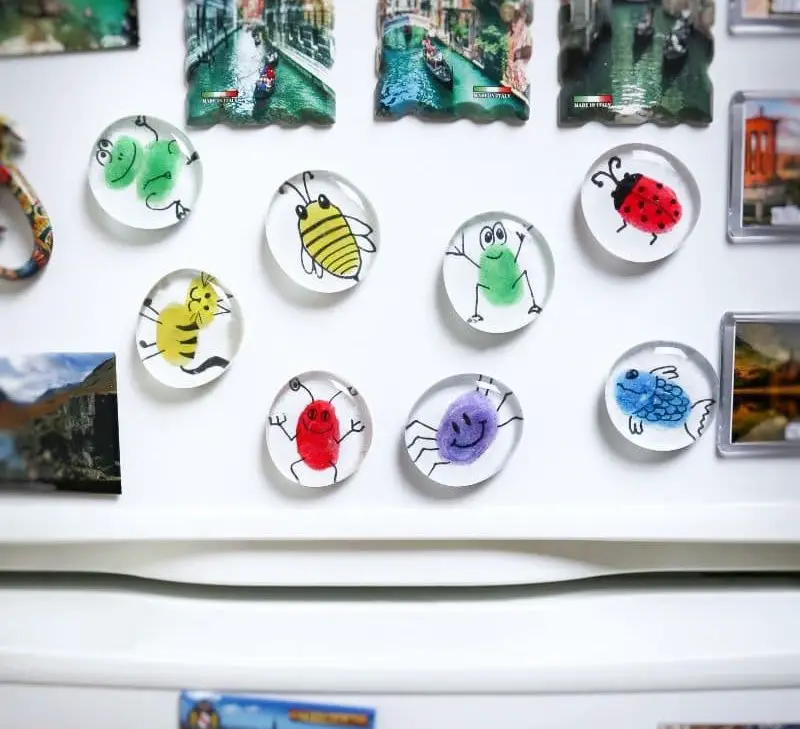
What I love most about these fingerprint art glass magnets is how vibrant they look on a refrigerator.
They’re an affordable, adorable, and practical way to add some personality to your kitchen decor. If you’re curious about the process for creating these charming magnets, keep reading and let’s dive in together!
Supplies for Magnets
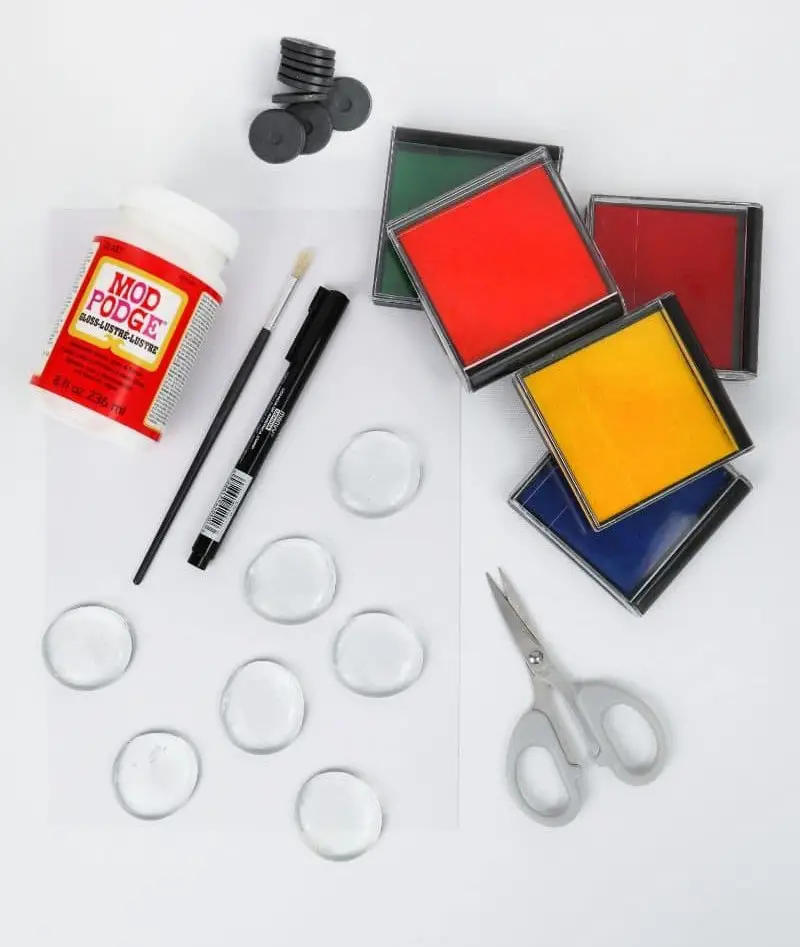
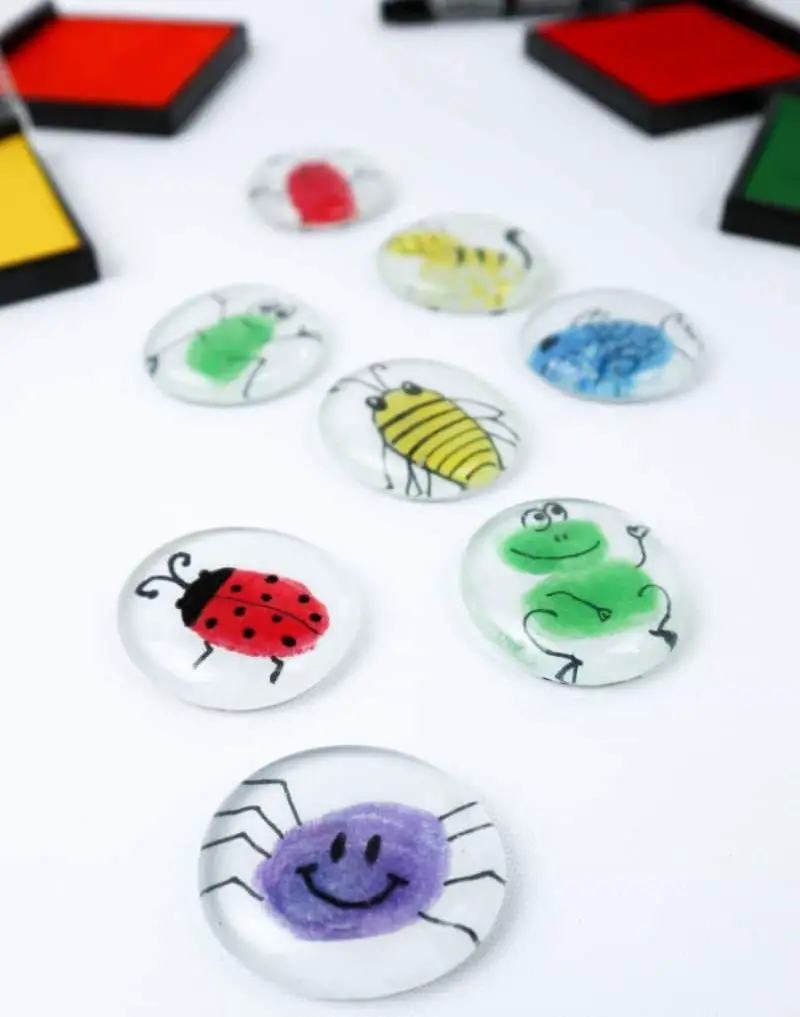
To create a stunning mosaic piece, you’ll need to gather the following materials. Start with some strong magnets that will help hold your design in place while it dries. You’ll also require large glass cabochons, which will add a touch of elegance and depth to your artwork. For the background, use thick white paper that can be easily cut into shapes or torn into strips for added texture. A permanent marker is necessary for making any final touches or adding details to your design.
Ink pads come in handy when you want to add some vibrant color to your mosaic. To seal and protect your work, have Mod Podge or a similar clear drying glue on hand, along with a brush for even application. Finally, don’t forget the scissors, which will be used to cut your paper or other materials into the desired shapes.
How to Make Glass Magnets
To breathe new life into your glass magnets, follow this straightforward, step-by-step guide. It’s easier than you think!
Step 1
Before diving into this creative activity, take a moment to prepare by gathering all necessary supplies and assembling your family. While you won’t require a vast array of materials, the ones you do need may be prone to causing messes. To avoid any unnecessary cleanup, consider relocating the fun outside! Set up an outdoor space where everyone can unleash their creativity with fingerpaints, ensuring your rug remains safe and stain-free.
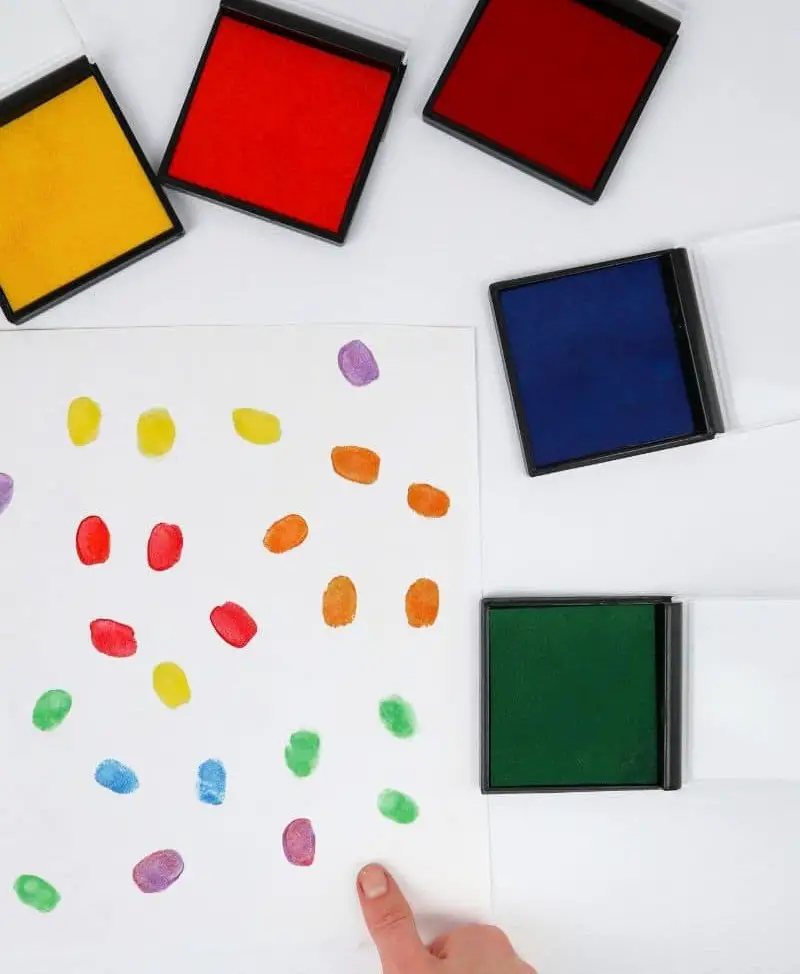
Step 2
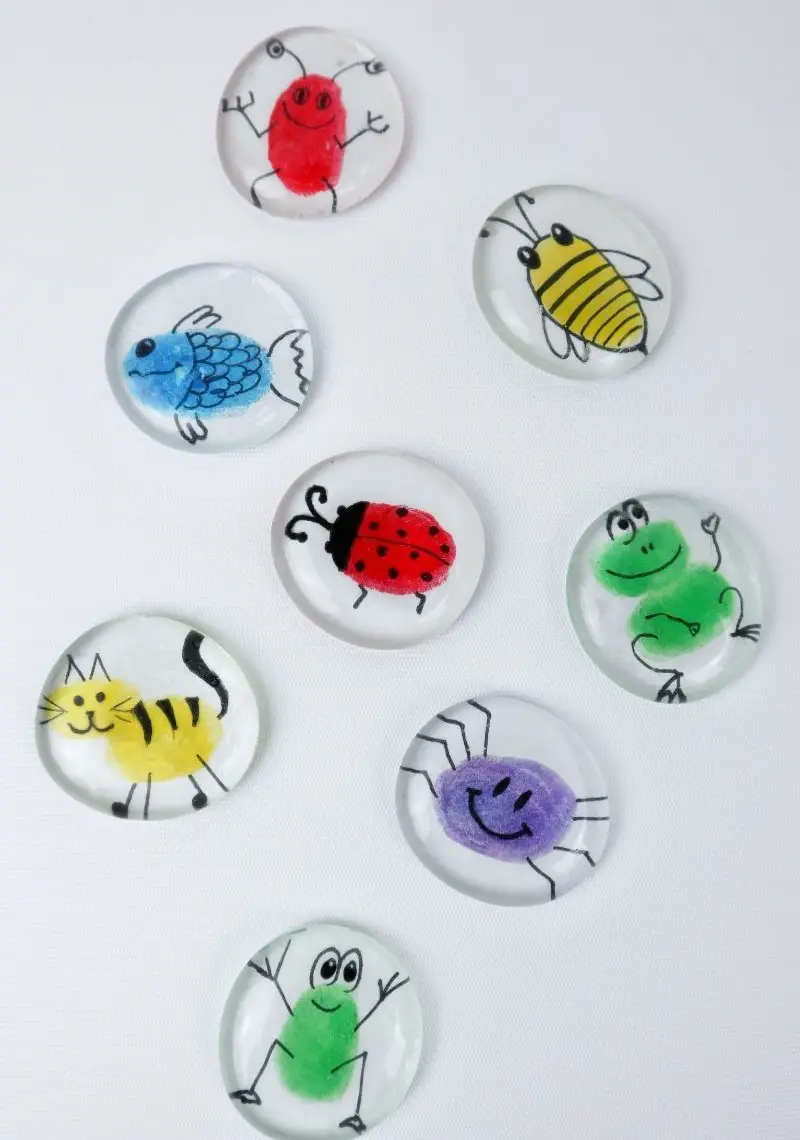
Get creative and let the fun begin! Start by embracing a bit of unstructured playtime with some fingerpainting – or should we say, finger inking? Let your little ones’ imagination run wild as they experiment with different shapes, colors, and even multi-finger techniques. The more creative freedom you give them, the more unique and varied their final magnets will be.
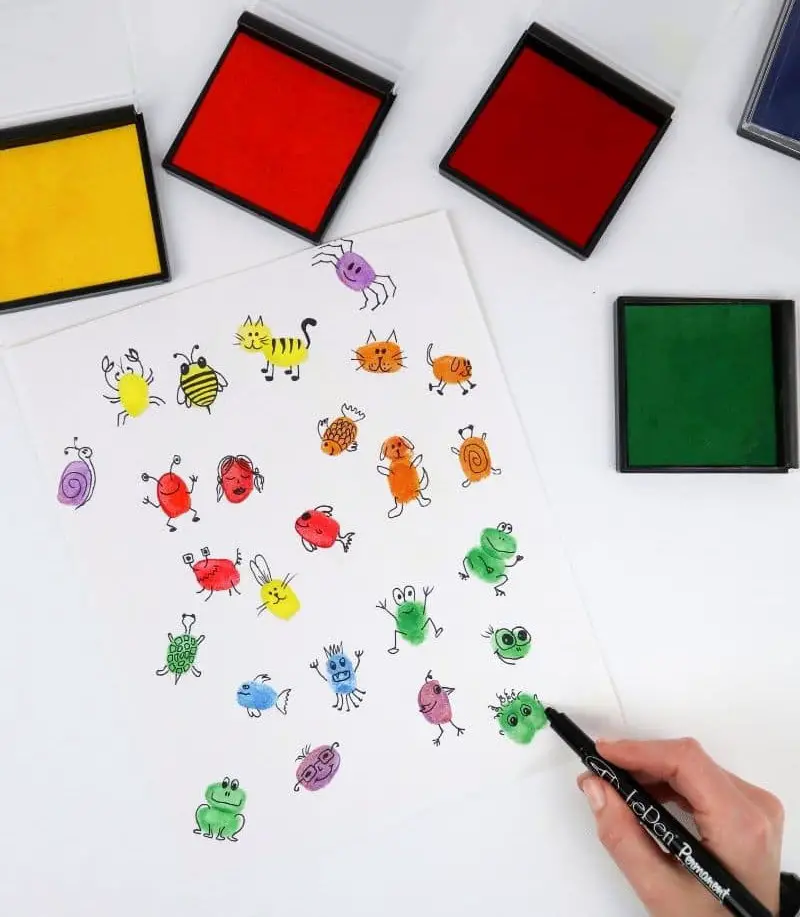
Step 3
To give your child’s fingerprints an extra layer of creativity, it’s time to bring them to life! For this step, you’ll need a high-quality black marker (feel free to experiment with other colors if you’re feeling adventurous). Make sure the marker is smudge-proof and will withstand repeated use. By transforming these simple prints into animals, aliens, or any other imaginative creature, you’re not only encouraging your child’s artistic side but also their problem-solving skills and creativity.
The possibilities are endless!
Step 4
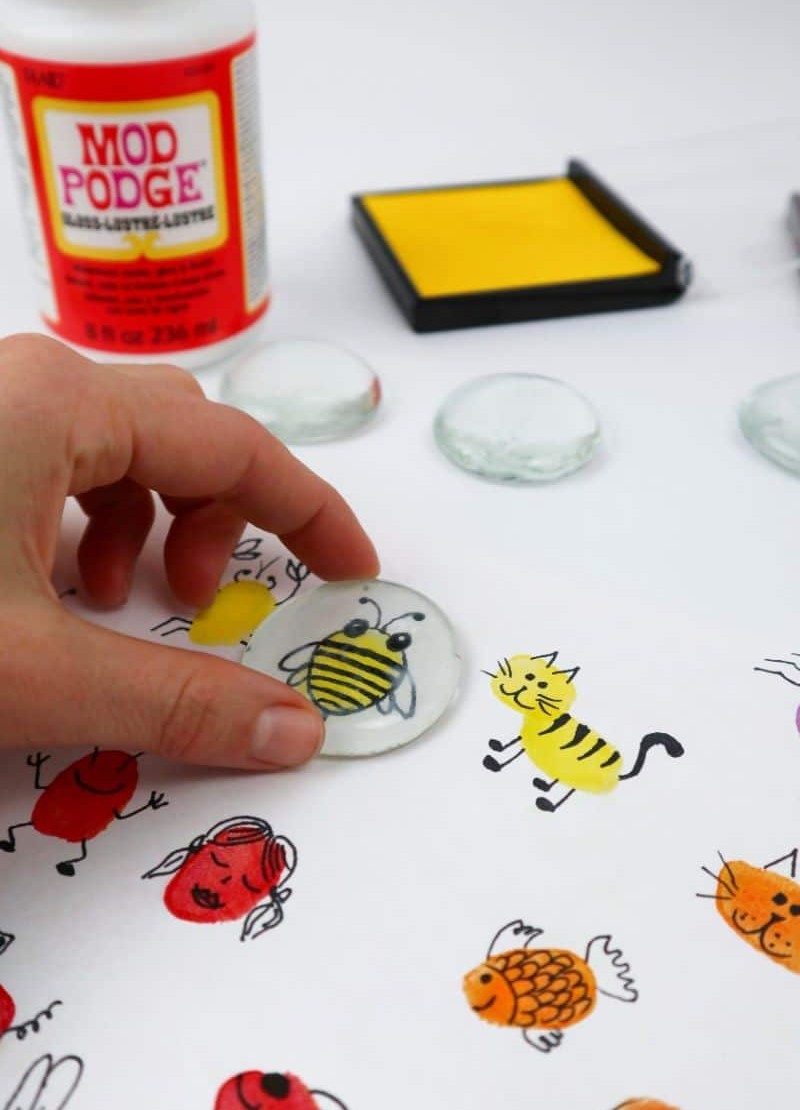
As you’ve completed sketching your animals onto the prints, it’s now time to assemble the magnets. Start by applying a thin and even layer of Mod Podge to the base of each glass gem using a brush. Make sure to cover the entire surface, but avoid applying too much, as this can cause bubbles to form in the adhesive.
Step 5
To secure your glass gem onto the page, place it in the center and press down firmly. Allow the Mod Podge to dry completely, indicated by its transparent appearance. It’s essential to use a high-impact permanent marker for this technique, as inferior pens may produce blurry results due to the adhesive properties of the glue.
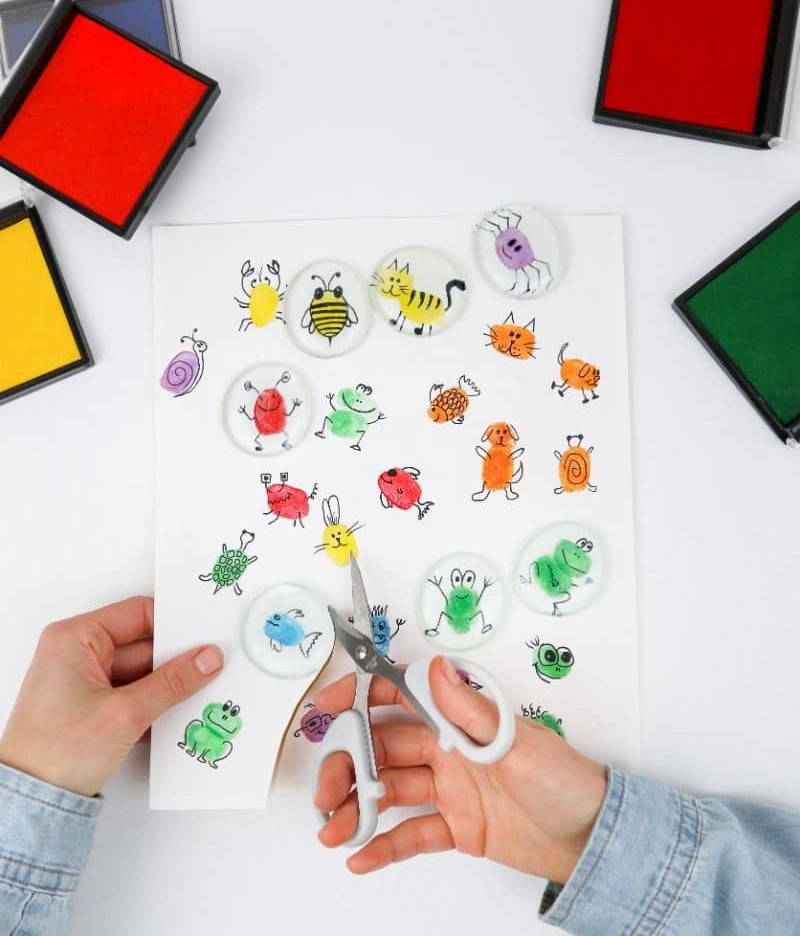
Step 6
As the final step before crafting your unique piece, it’s essential to carefully cut out the shapes. To achieve a clean finish, start by tracing the perimeter of the glass gem’s base with scissors, being mindful not to leave any stray paper fibers. This attention to detail will ensure a seamless and polished outcome.
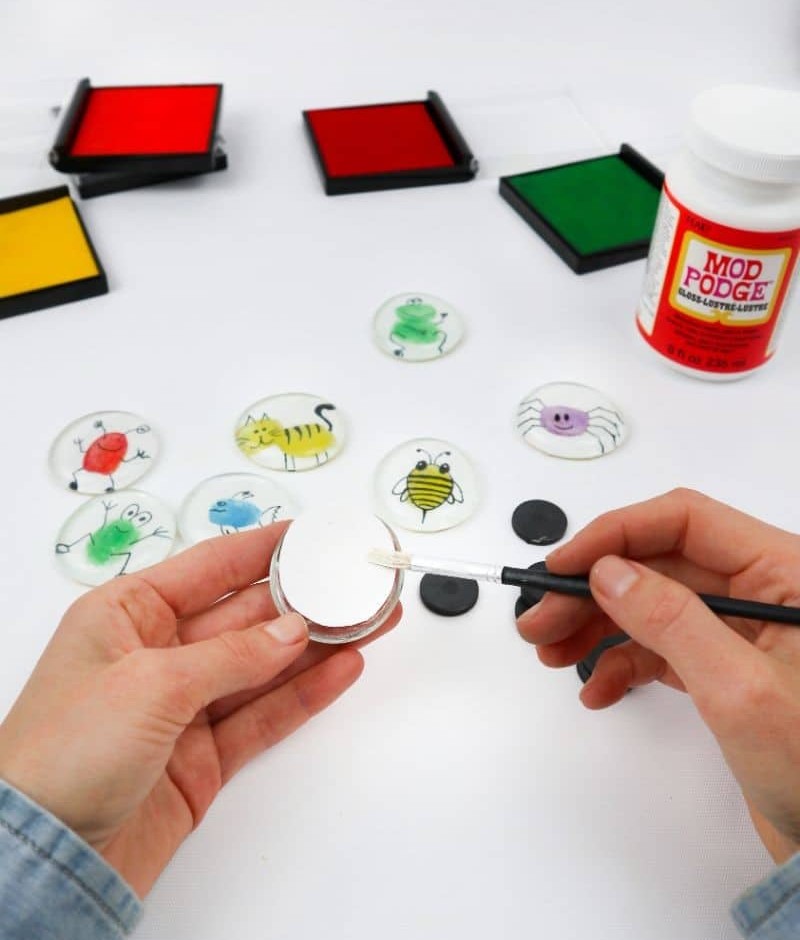
Step 7
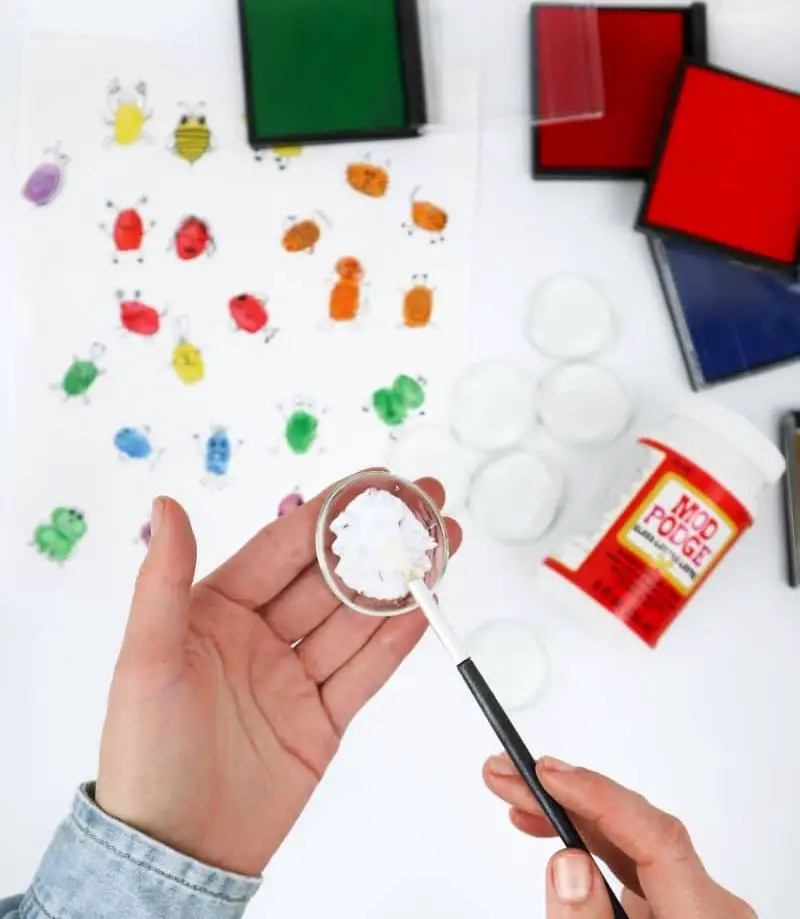
Next, take your Mod Podge brush and apply a small circular layer to the reverse side of the paper, directly behind where you secured it with glue. This will ensure a strong bond between the magnetizable backing and your adorable animal creations.
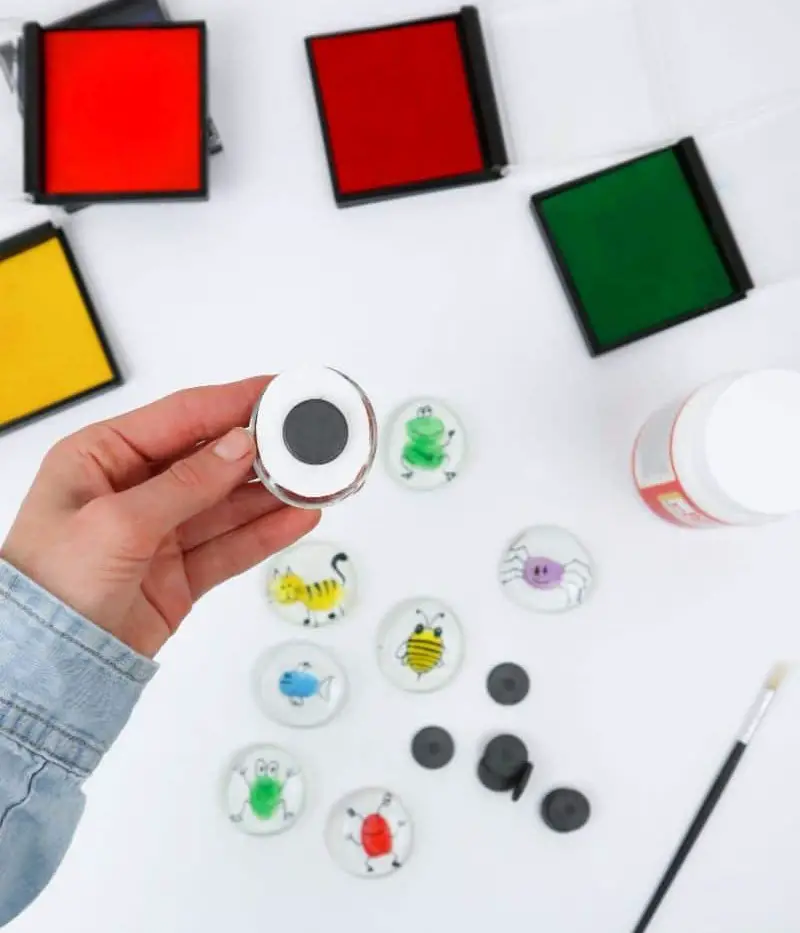
Step 8
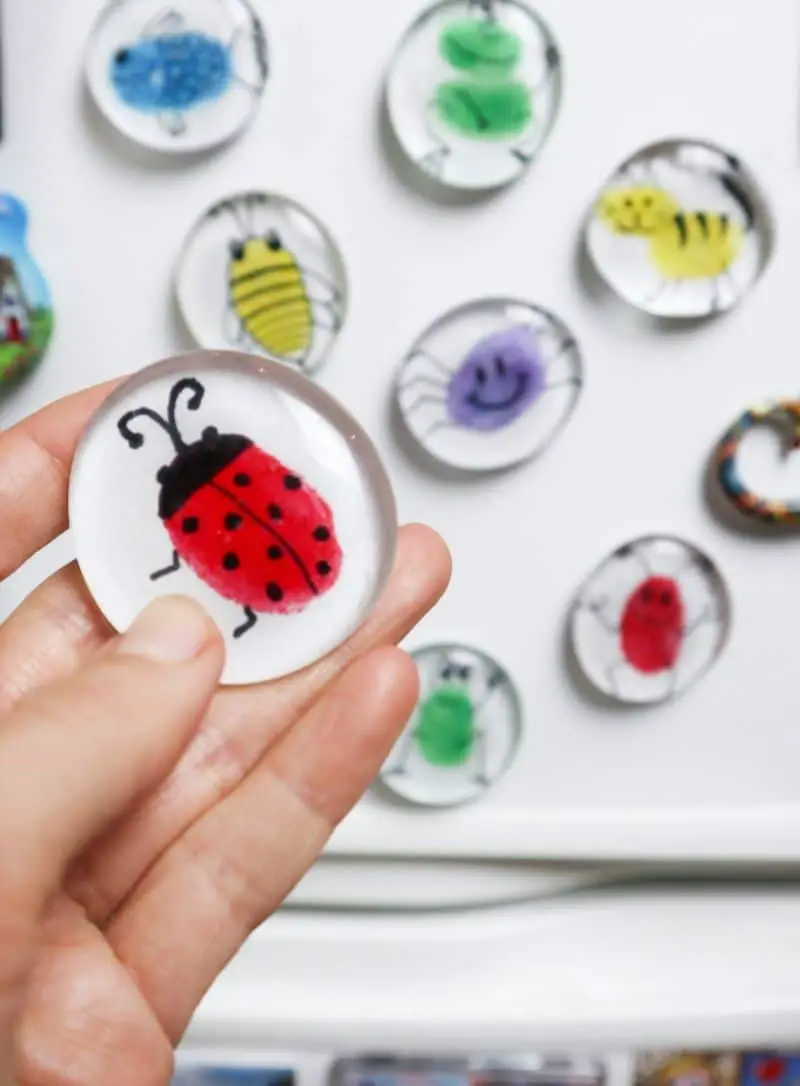
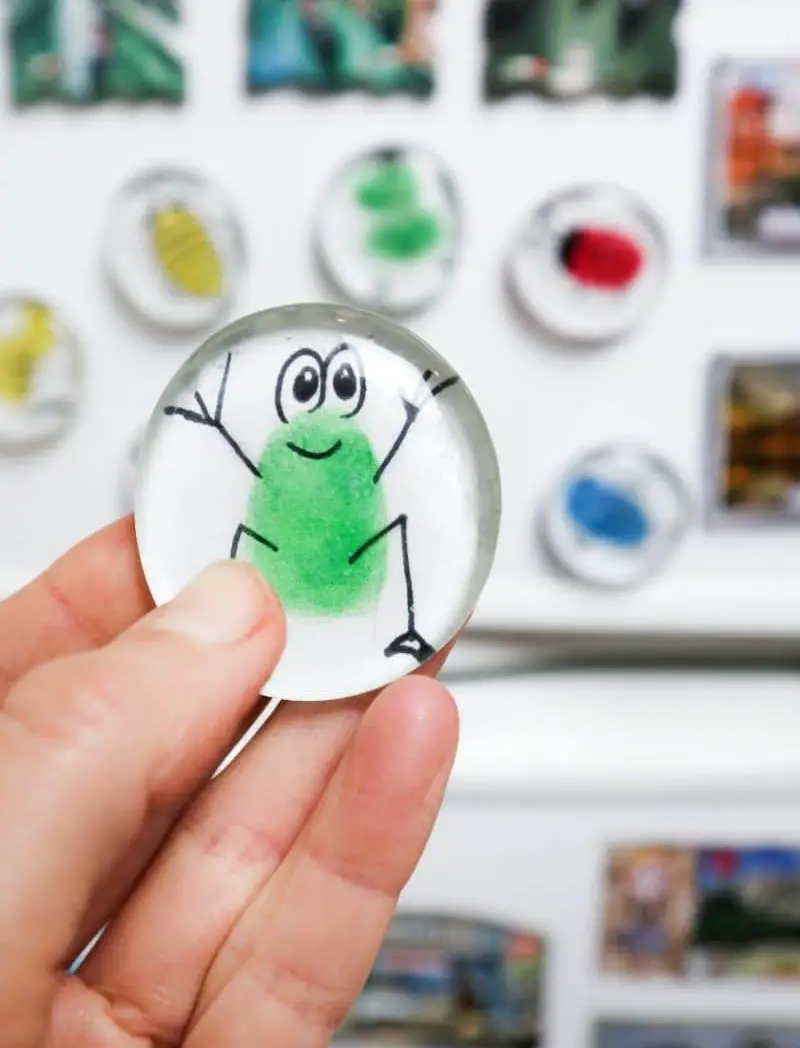
To ensure the magnet adheres properly to the Mod Podge, secure it in place and allow the adhesive to dry completely before placing it on your refrigerator. Choose a paper thickness that effectively conceals the magnet’s presence. Once the Mod Podge is fully set, you’re ready to display your masterpiece on your fridge for years to come. These personalized crafts make thoughtful gifts, particularly for grandparents, and are remarkably easy to create.
The preserved fingerprints of your child behind glass will serve as a heartfelt reminder of their childhood, allowing you to cherish those moments forever. There’s something truly special about having a tangible piece of your child’s history right at your fingertips.
Ideas for Decorating These Glass Magnets
While encouraging children to draw various shapes with their fingers provides a plethora of creative opportunities, it’s also essential to note that the versatility of this activity can be taken a step further. By incorporating printed photos, small sketches of personal creations, or patterned tissue paper, parents and caregivers can easily customize this craft into a unique set of magnets.
This approach not only fosters creativity but also allows for a personalized touch, making it an ideal way to engage children in a fun and interactive learning experience.
Why Make Magnets of Your Own?
These magnets are perfect for families with little ones or teachers looking for an engaging activity. The best part? They’re incredibly easy to create. Once you’ve completed them, you can use them in various ways. You could gift a set to a family member, use them to display photos on the fridge, draw attention to important school documents in your child’s room, or add a touch of whimsy to metal shelves and frames. Alternatively, you could utilize them as checkmarks for a fridge chore chart.
Whatever you choose, the memories and fun you’ll have along the way will be treasured for years to come.
DIY Fingerprint Glass Magnets
In just 45 minutes, you can create a unique and fun DIY project with your kids. These fingerprint glass memory magnets are not only easy to make but also make for great decorations on your fridge. With only $1 in costs, this activity is perfect for a budget-friendly family day. Here’s what you’ll need: prep time is just 5 minutes, active time is 30 minutes, and additional time is 10 minutes.
Equipment
Materials
When crafting your own jewelry, you’ll need some essential supplies to get started. Magnets are a crucial element for creating pendants and charms that can be worn or attached to bags. Large glass cabochons provide the perfect base for showcasing colorful resin or epoxy designs. Thick white paper is useful for creating custom shapes and forms, while Mod Podge or other clear drying glues help bind your creations together securely.
Instructions
Transform your home decor with a fun and creative DIY project that involves kids! Start by gathering ink pads and paper, and let the kids fingerprint the paper in various colors. Allow the ink to dry completely before moving on to the next step. Once dry, use a permanent marker to draw shapes within the fingerprints. Next, apply an even layer of Mod Podge to the base of a cabochon and press it onto one of the drawings.
Repeat this process for as many magnets as you’d like, letting each layer dry before adding another. Once all the layers are dry, carefully cut around the base of each cabochon. Finally, apply a small amount of Mod Podge to the back of each paper piece, then attach a magnet to the center. Allow everything to dry completely before displaying your colorful magnets throughout your home.