Crafting your own DIY copper wire rings is a delightful activity for adults that won’t break the bank! Not only do you end up with a beautiful piece of jewelry, but you also gain a sense of pride and accomplishment every time you glance at it. The best part? You can customize it to fit your personal style or give it as a thoughtful gift to someone special.
Rather than scouring stores for the perfect accessory, why not create it yourself?
With minimal supplies and straightforward instructions, these DIY rings are the epitome of accessibility. Feel free to experiment with different shapes, stones, and wire colors to make your creation truly one-of-a-kind.
In this tutorial, I’ll be guiding you through the process of crafting stunning DIY wire rings. So, grab those pliers and let’s get started! It’s time to unleash your creativity and create something that reflects your unique taste.
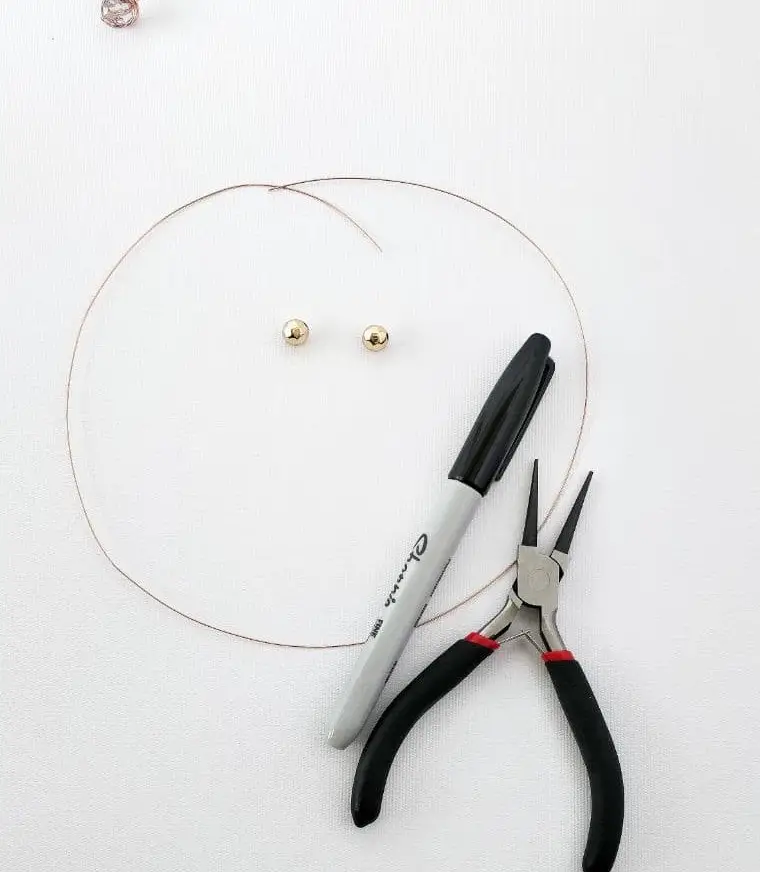
What You’ll Need
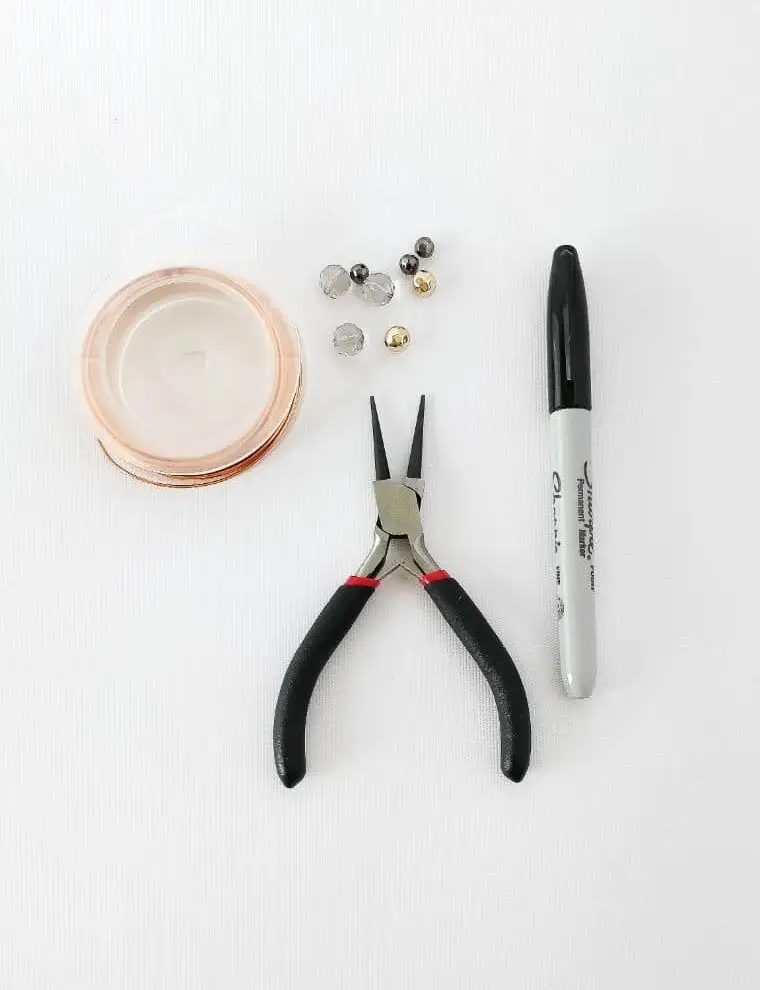
To craft this unique piece, I relied on a few essential tools and materials. A trusty marker – specifically, my go-to black Sharpie – played a crucial role in marking the copper wire as needed. Next, I selected my favorite beads, which added a touch of personal flair to the design. The foundation of the project was built upon 6mm copper wire, carefully cut into manageable lengths and shaped using long-nose pliers.
How to Make Copper Wire Rings
Step One
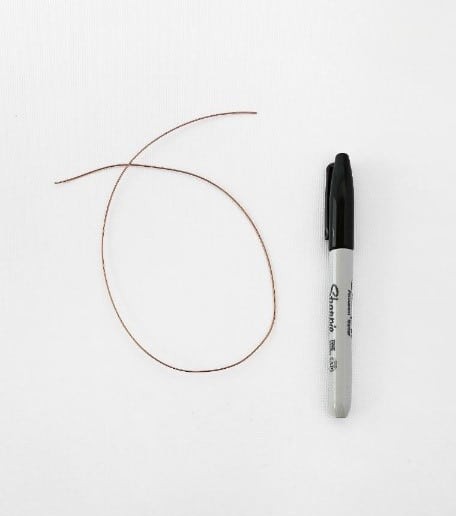
To begin, take the necessary materials and proceed by cutting a segment of copper wire. The length you’ll need will depend on the size of your finger, as I cut a piece approximately six inches in length. It’s essential to keep in mind that this wire will undergo significant twisting, resulting in a final product much longer than initially anticipated.
Step Two
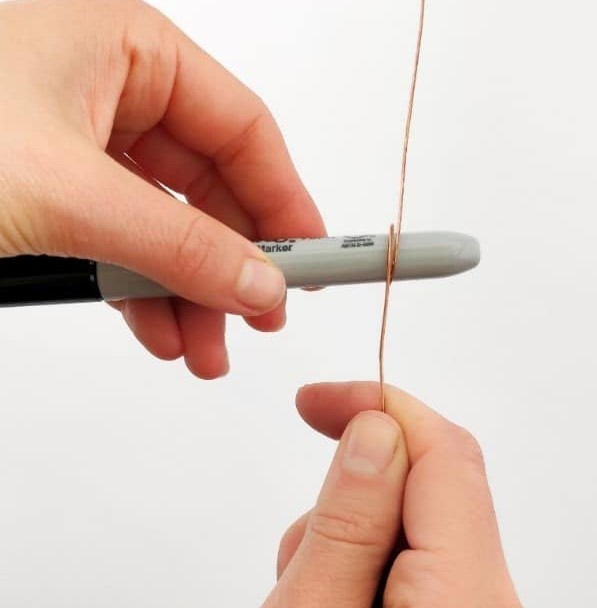
Begin by positioning your marker at the midpoint of your wire length, ensuring it’s proportionate to the size of your finger. This will help you create a ring that fits comfortably. Next, thread the wire below the marker and wind both ends upwards and over, so they’re facing in opposite directions. This initial loop is crucial in setting the foundation for the rest of your design.
Step Three
To reorient your ponytail’s tail ends, perform the following step: wrap one loop around the other in a counterclockwise direction, allowing them to converge and ultimately face away from their original position.
Step Four
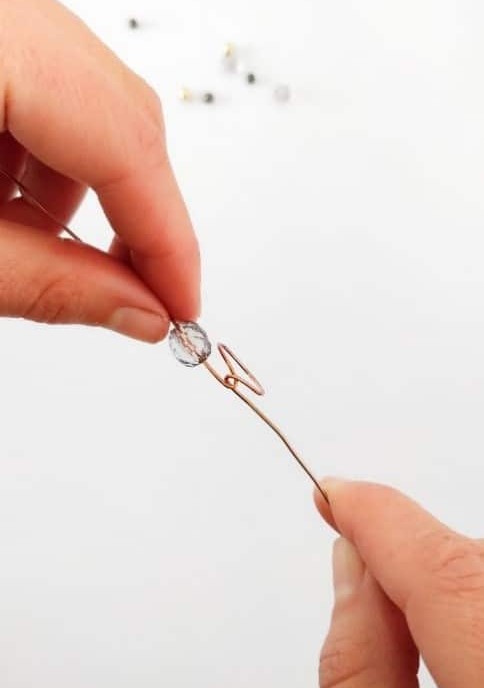
With the twisty portion of the loop now freed from the marker, it’s time to introduce the bead into the equation. Holding the bead in place with one hand, use your other hand to gently guide it onto one side of the loop, making sure it reaches the base of the twisted section.
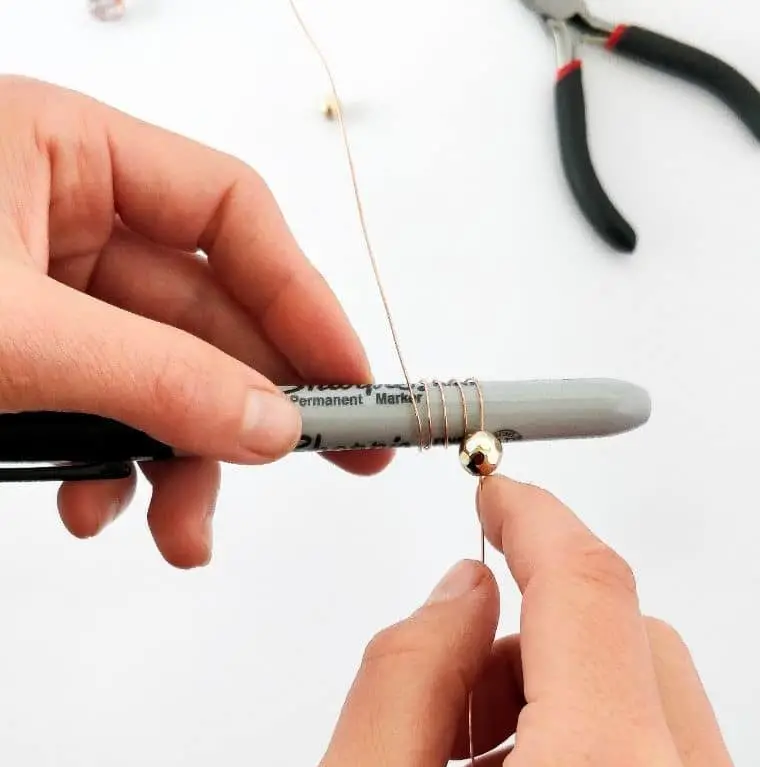
Step Five
As we progress with the jewelry-making process, a crucial step involves manipulating the wire and bead combination. To achieve this, begin by grasping the left piece of wire and initiate a winding motion around the bead. It’s essential to start at the topmost point of the bead, which is the side facing you, and gradually work your way down towards the base. Be mindful of maintaining tight, even circles throughout the process.
Step Six
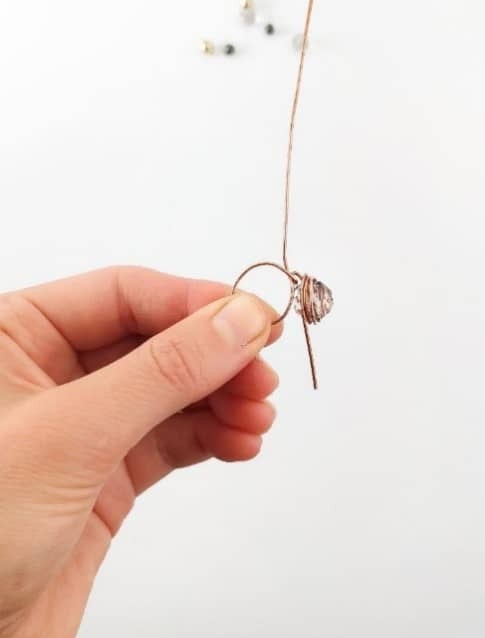
As you near the end of the wiring process, maintain the tight, concentric coil formation by continuing to wrap the wire around its axis. Just before exhausting the remaining wire, intentionally leave a small portion extending from the main mass. This deliberate protrusion will later facilitate easy access with pliers when shaping or adjusting the final form.
Step Seven
As a finishing touch, use your long-nose pliers to securely wrap the remaining wire piece around the bead. This crucial step not only adds a polished appearance to your final design but also safeguards against any accidental finger pokes or discomfort for the wearer. The unique shape of these pliers allows for precise handling and twisting of small objects, making them an essential tool in this craft.
Step Eight
To complete the ring, simply mirror the process on the other side of the wire. As you work, ensure that your wraps are snug and even, gradually building up the shape of the ring. If necessary, begin winding back up along the bottom of the bead to accommodate any excess wire, effectively fortifying the structure and giving it a fresh appearance.
Step Nine

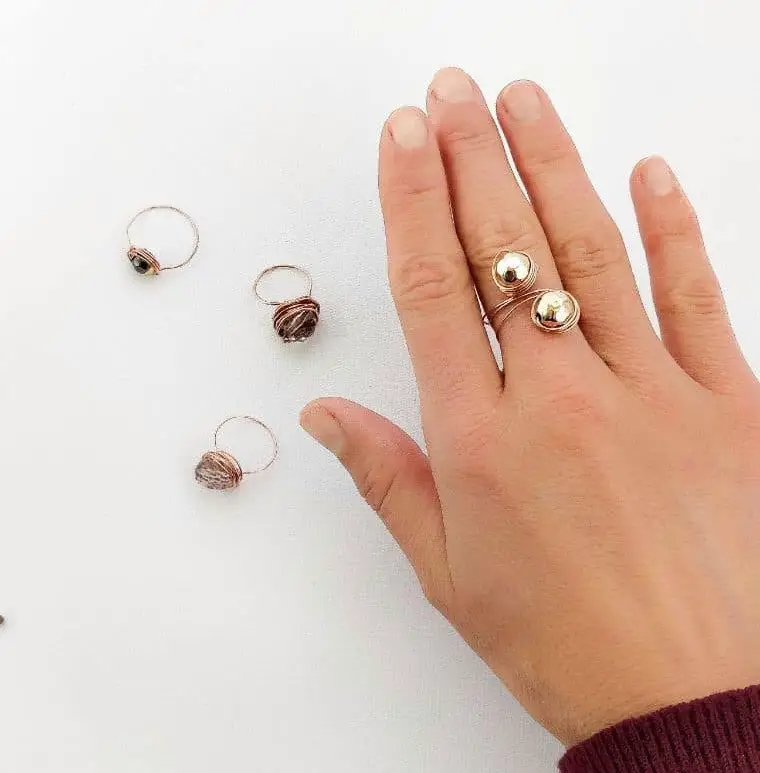
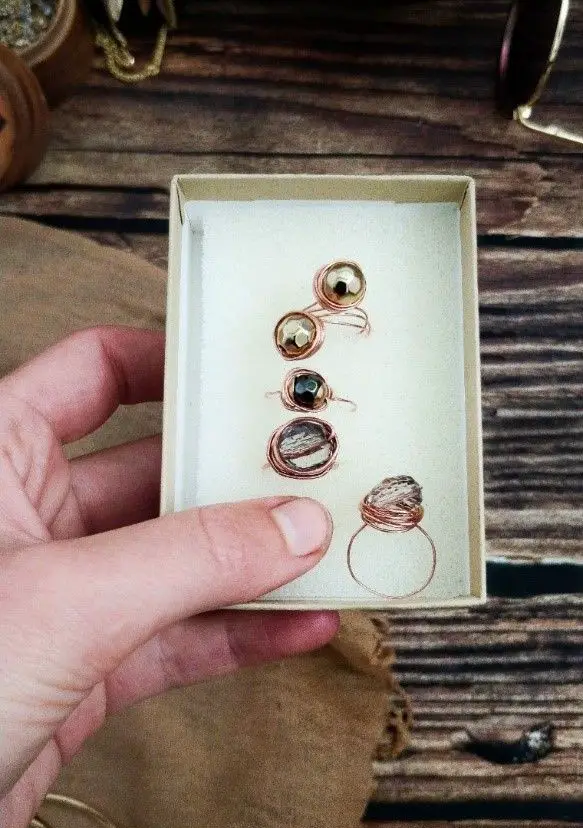
With your newly crafted wire ring complete, you’re now free to enjoy its delicate charm. Consider wearing it daily as a subtle accent or reserving it for those extra-special moments when you want to add a touch of elegance. The best part? This beautiful little creation didn’t require a significant time commitment – just a few hours and some creative energy!
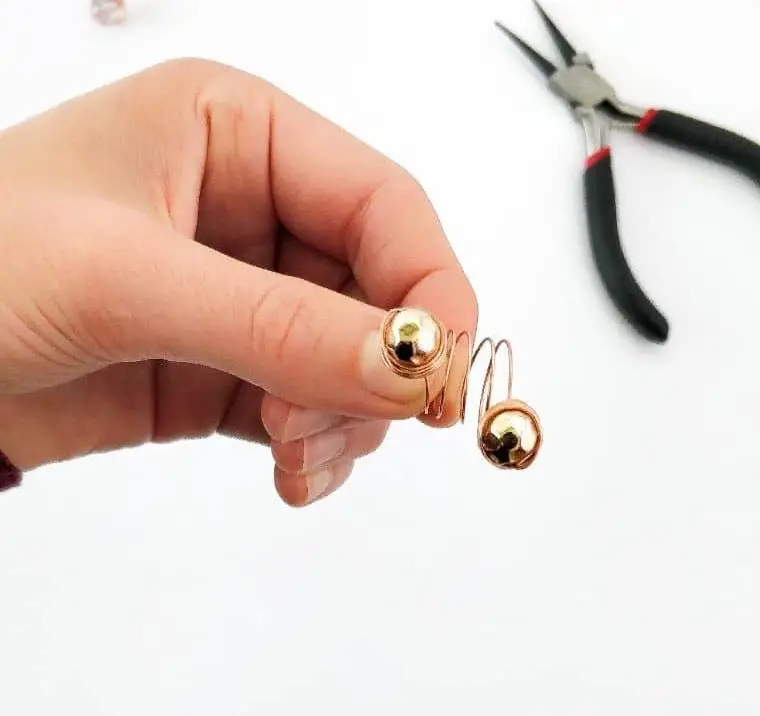
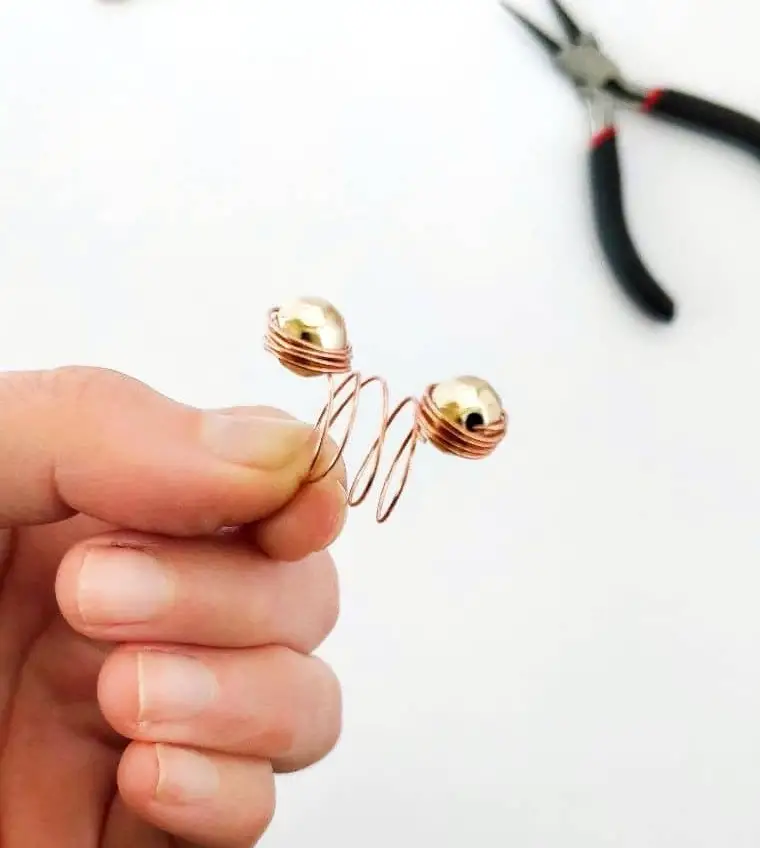
How to Make a Dual-Ended Wire Ring
When it comes to wire rings, there’s another design that stands out from the crowd: the dual-ended ring. This show-stopping accessory takes up a bit more real estate on your finger, making it perfect for those who like to make a statement. The good news is that it’s just as easy to create as its single-beaded counterpart – you’ll simply need to swap out the one crown bead for two matching ones.
Step One
To begin, measure out a length of wire that’s slightly longer than its predecessor. This one will wrap around your finger a few more times, so it needs to be a bit more extensive. Next, place the marker above the wire and then carefully wrap both ends of the wire around the marker in a double layer, creating two complete loops and two partial loops with tails pointing in opposite directions. The resulting configuration should resemble a series of interconnected rings.
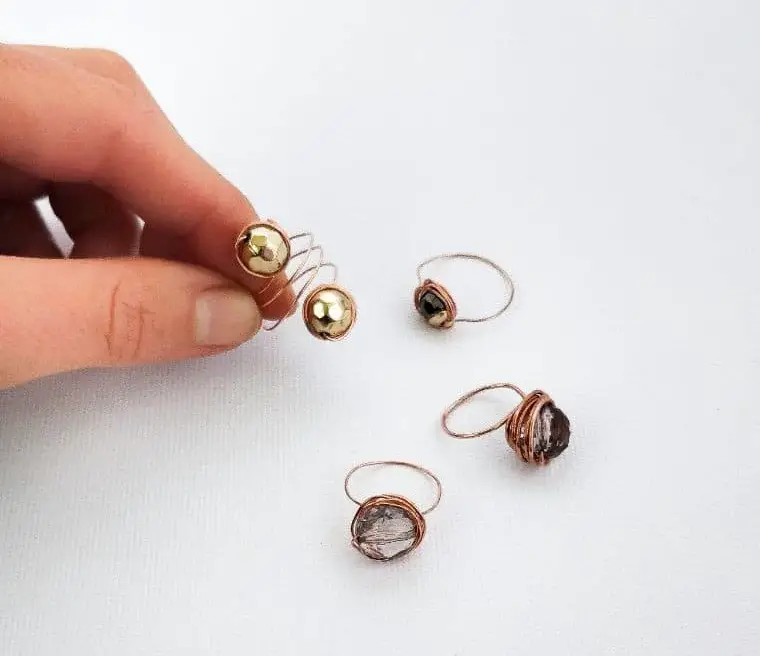
Step Two
As we dive into the creative process, let’s start by working with the beads themselves. Take the first bead from your collection and carefully thread it onto one end of a tail, ensuring it remains in place while still attached to the marker. Once satisfied, gently slide the entire assembly off the marker, freeing the bead to begin its journey on your jewelry.
Step Three

To complete the beading process, begin by wrapping the piece of wire around your bead, commencing from the topmost point and gradually moving downwards. This ensures a secure and even hold for the wire as it forms the foundation of your jewelry design.
Step Four
As the process comes to a close, you’ll likely be left with a small remnant of wire protruding from the assembly. To complete the task, simply use your pliers to carefully manipulate the remaining wire into a secure position, effectively tidying up any loose ends.
Step Five

As you complete the second half of the wire, be mindful not to manipulate the midsection excessively. This ensures a harmonious and symmetrical final product.
Congratulations, you now possess a stunning piece that deserves a prominent display in your very own Etsy shop.
What is the Best Wire for Making Rings?
When discussing wire gauge, it’s crucial to understand that thicker wires have a lower gauge number and a larger diameter. For instance, 22-gauge wire measures 6mm in diameter, while 21-gauge wire is slightly larger at 7mm. As the gauge increases (wire becomes thinner), the wire becomes softer, making it easier to work with. However, this also means it may be more susceptible to damage or distortion when worn or manipulated.
For beginners, opting for a thicker wire like 8mm can be beneficial, as it provides more stability and is less prone to camber or buckling. On the other hand, experienced wireworkers might prefer the versatility of thinner wires with higher gauge numbers, such as 6mm or 7mm.
Who Can Make These Wire Rings?


What sets these rings apart is their remarkable customizability. With this craft, you can create a unique piece for anyone on your list – whether it’s a thoughtful gift or a personal treasure. While suitable for all ages, they’re particularly well-suited for teenagers and adults looking to express their individuality. For teens on a budget, these rings offer an affordable way to give a meaningful present with impressive results.
Meanwhile, adults seeking a one-of-a-kind accessory that reflects their unique style will find these rings to be the perfect fit. So, who comes to mind when you think of gifting one of these special pieces? What personal touches would you add to make it truly yours? Share your thoughts in the comments below!
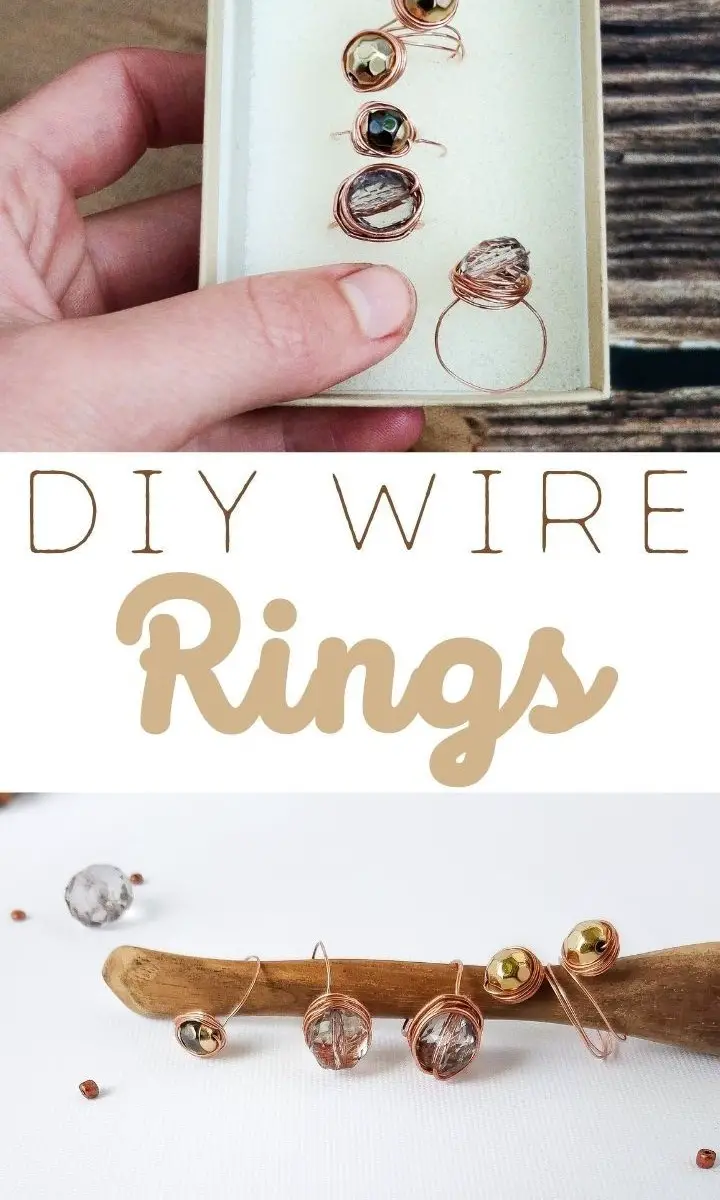
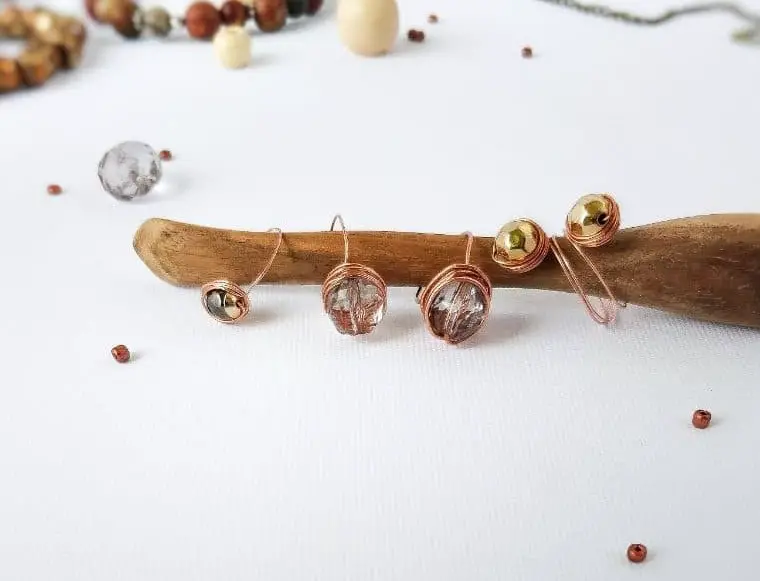
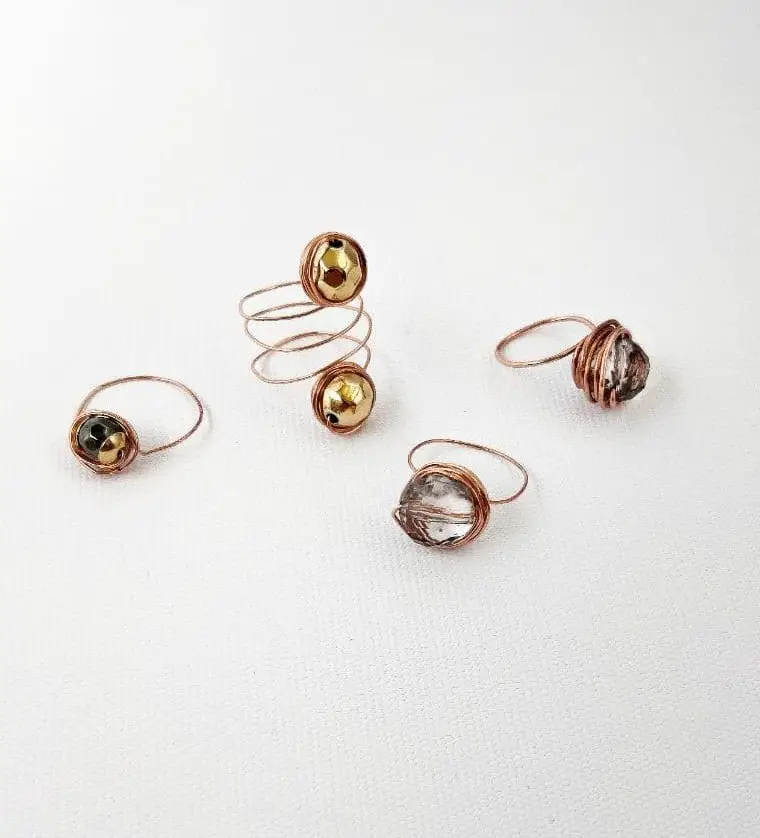
DIY Wire Rings
Transforming a simple DIY wire ring with beads into a stunning piece of jewelry can lead to a fantastic gift-giving opportunity or even a profitable craft to sell. With just 2 minutes of preparation time, you’ll be amazed at how quickly you can create this beautiful accessory. The actual crafting process takes around 15 minutes, bringing the total time required to just 17 minutes.
Whether you’re looking for a fun DIY project or seeking inspiration for a unique handmade gift, this endeavor is sure to satisfy your creative cravings. With a cost of only $4, it’s an affordable and enjoyable experience that’s waiting to be explored.
Equipment
Materials
Instructions
To begin crafting your ring, start by cutting a length of wire to fit comfortably around your finger and the bead. I found six inches to be the ideal length. Next, place a marker in the center of the wire and wrap both ends up and over once, forming a small gap. Twist the tails in an anti-clockwise motion to create this opening. Then, thread a bead onto one end of the wire, positioning it at the base of the loop.
Take the same end and wrap it around the bead, starting from the top and winding down in tight, close circles. Be sure to leave a small amount of wire exposed to prevent injury while bending. Instead, use pliers to secure the final piece by wrapping it around the ring. Repeat this process with the other side of the wire, resulting in a stunning ring that’s uniquely yours. For an added touch, try out the dual-sided variation above for a fresh twist.