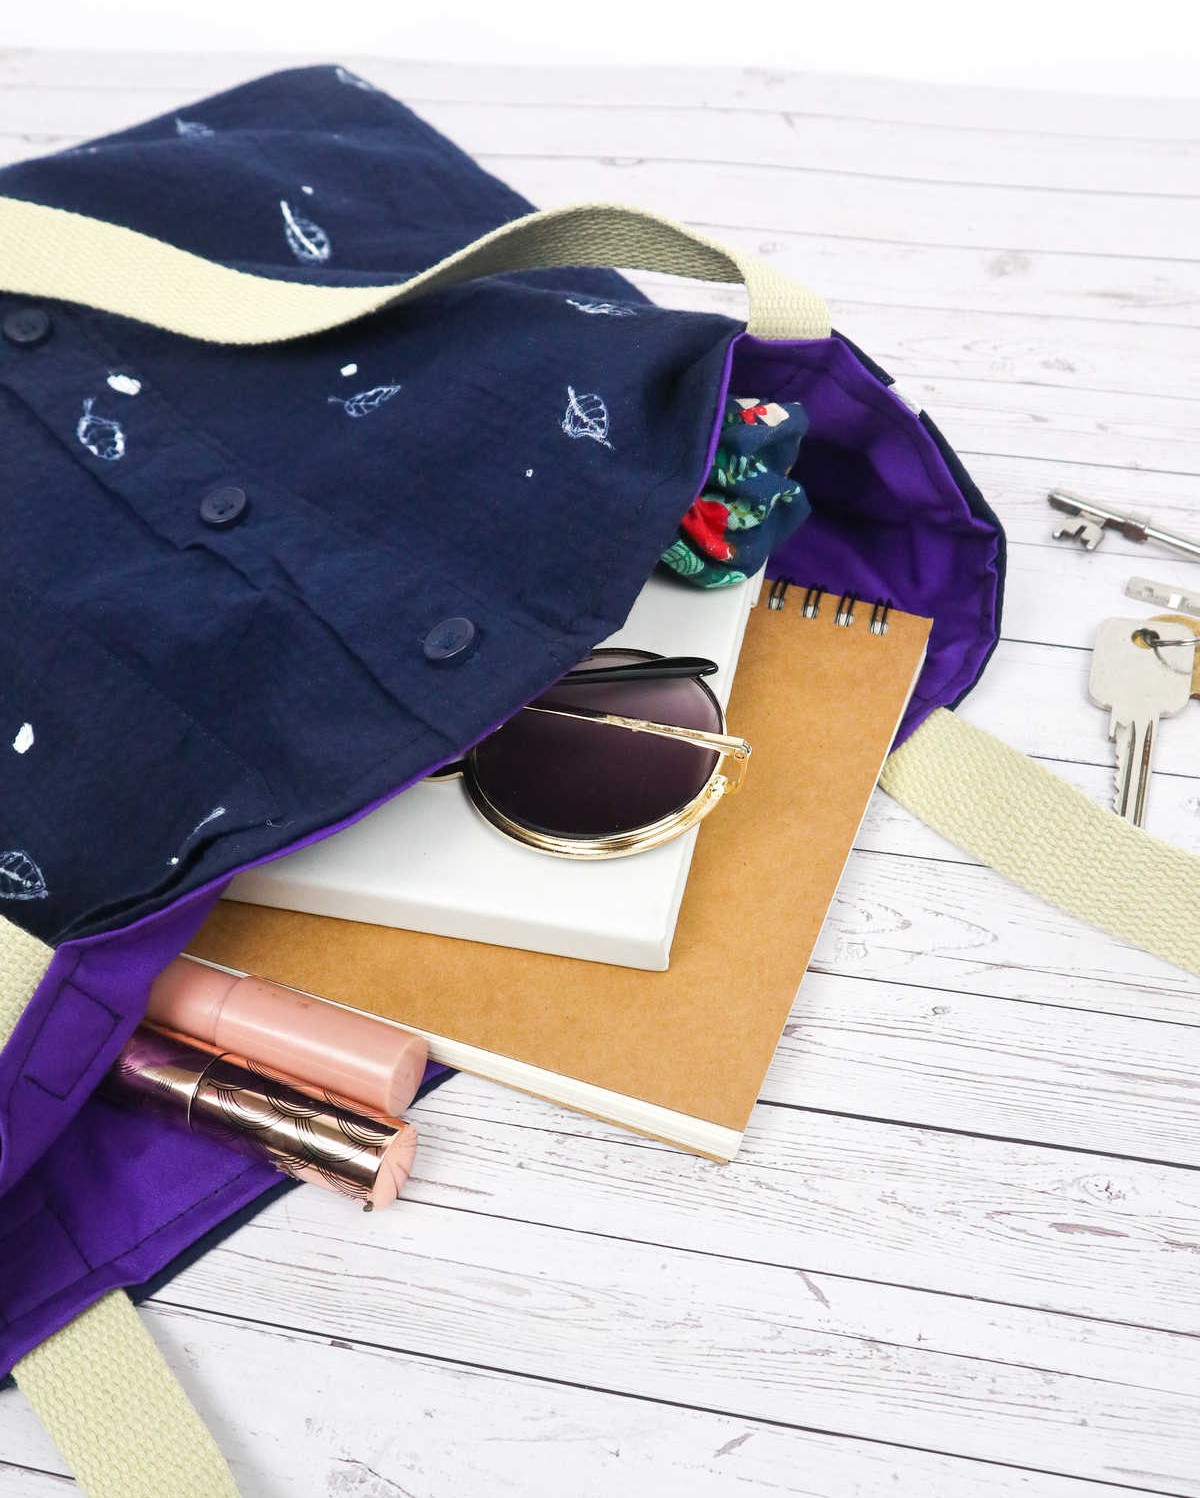
Transforming an old shirt into a functional and stylish DIY tote bag is a fun and empowering project that sewing enthusiasts of all levels can enjoy. If you’re like many of us, you likely have a stash of gently used shirts collecting dust in your closet. Maybe they no longer fit, or perhaps you’ve been meaning to donate them but haven’t found the time. Fear not, because this DIY project is just what you need to breathe new life into that old shirt!
With its versatility and practicality, a tote bag is an essential accessory for anyone who likes to stay organized and on-the-go.
Watch on Youtube: DIY Tote Bag


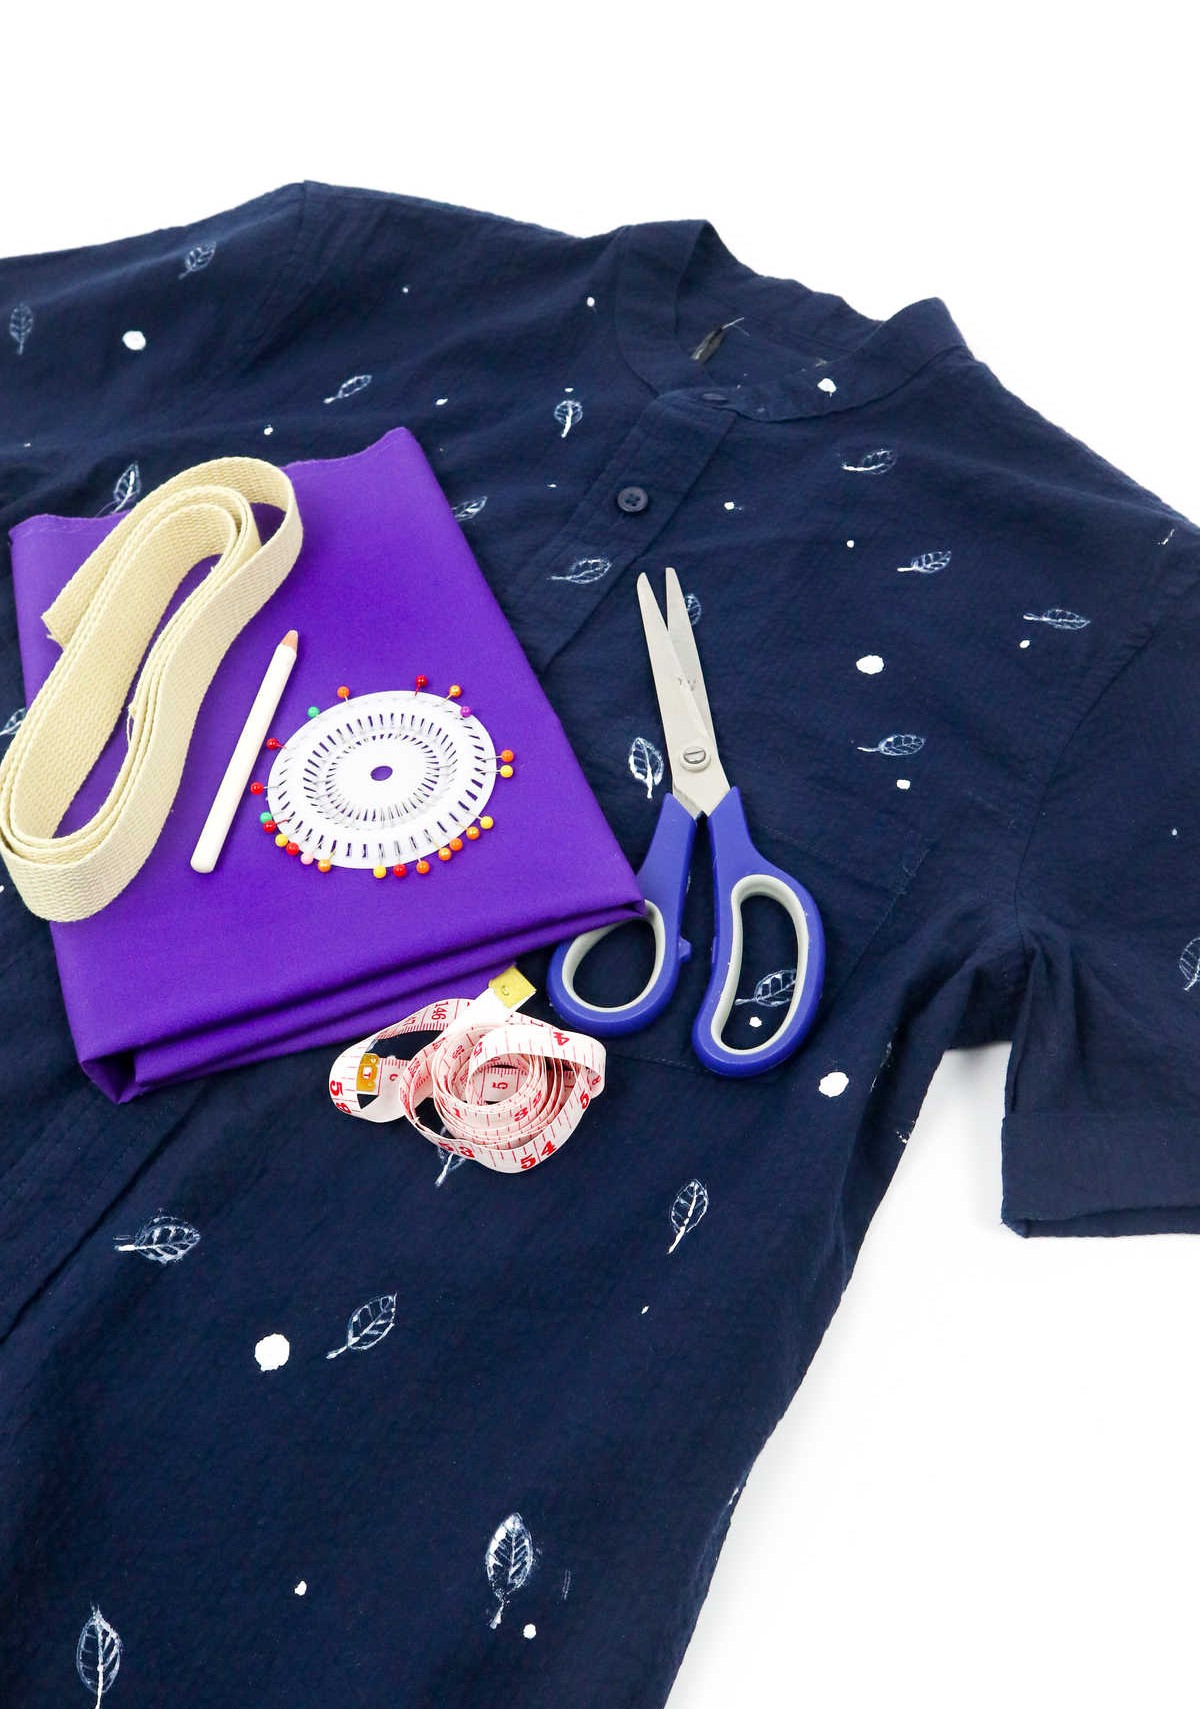
Supplies and Tools You’ll Need

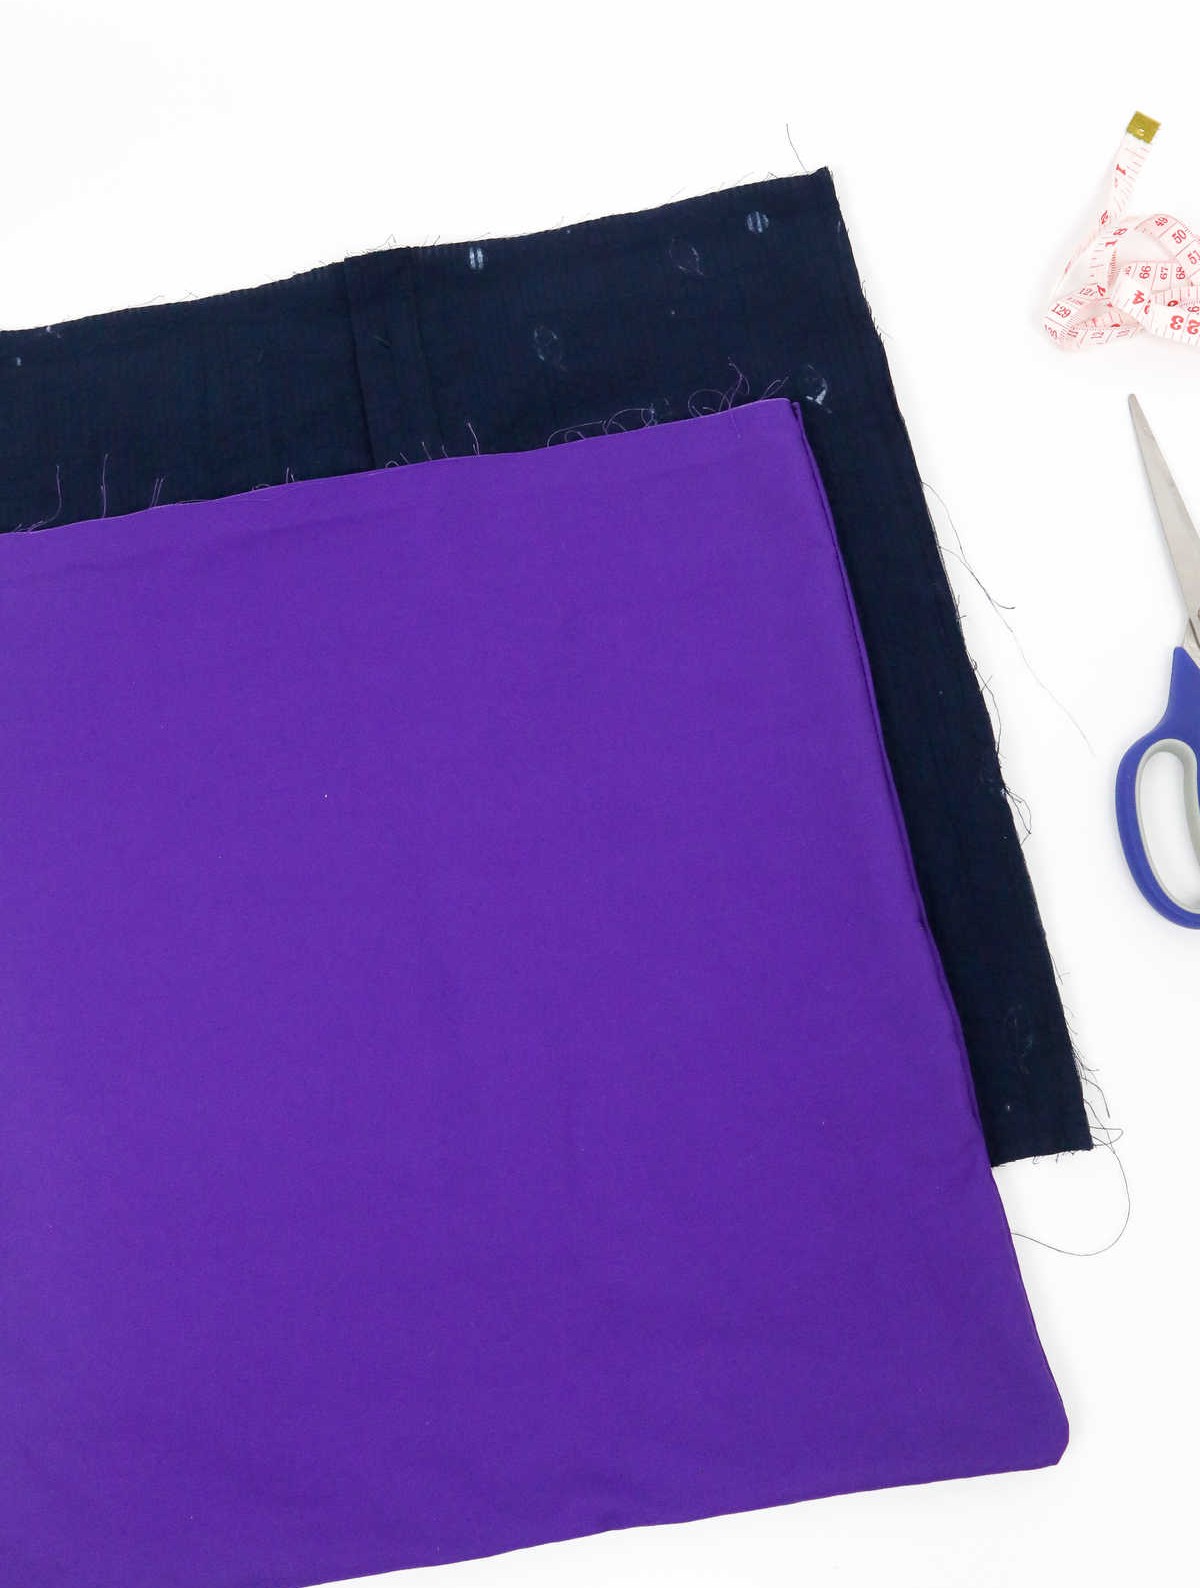
To get started, make sure you have the following essential supplies: Begin by gathering a cotton shirt, which will serve as your foundation. You’ll also need a polycotton fabric measuring 40 inches by 40 inches to create your desired design.
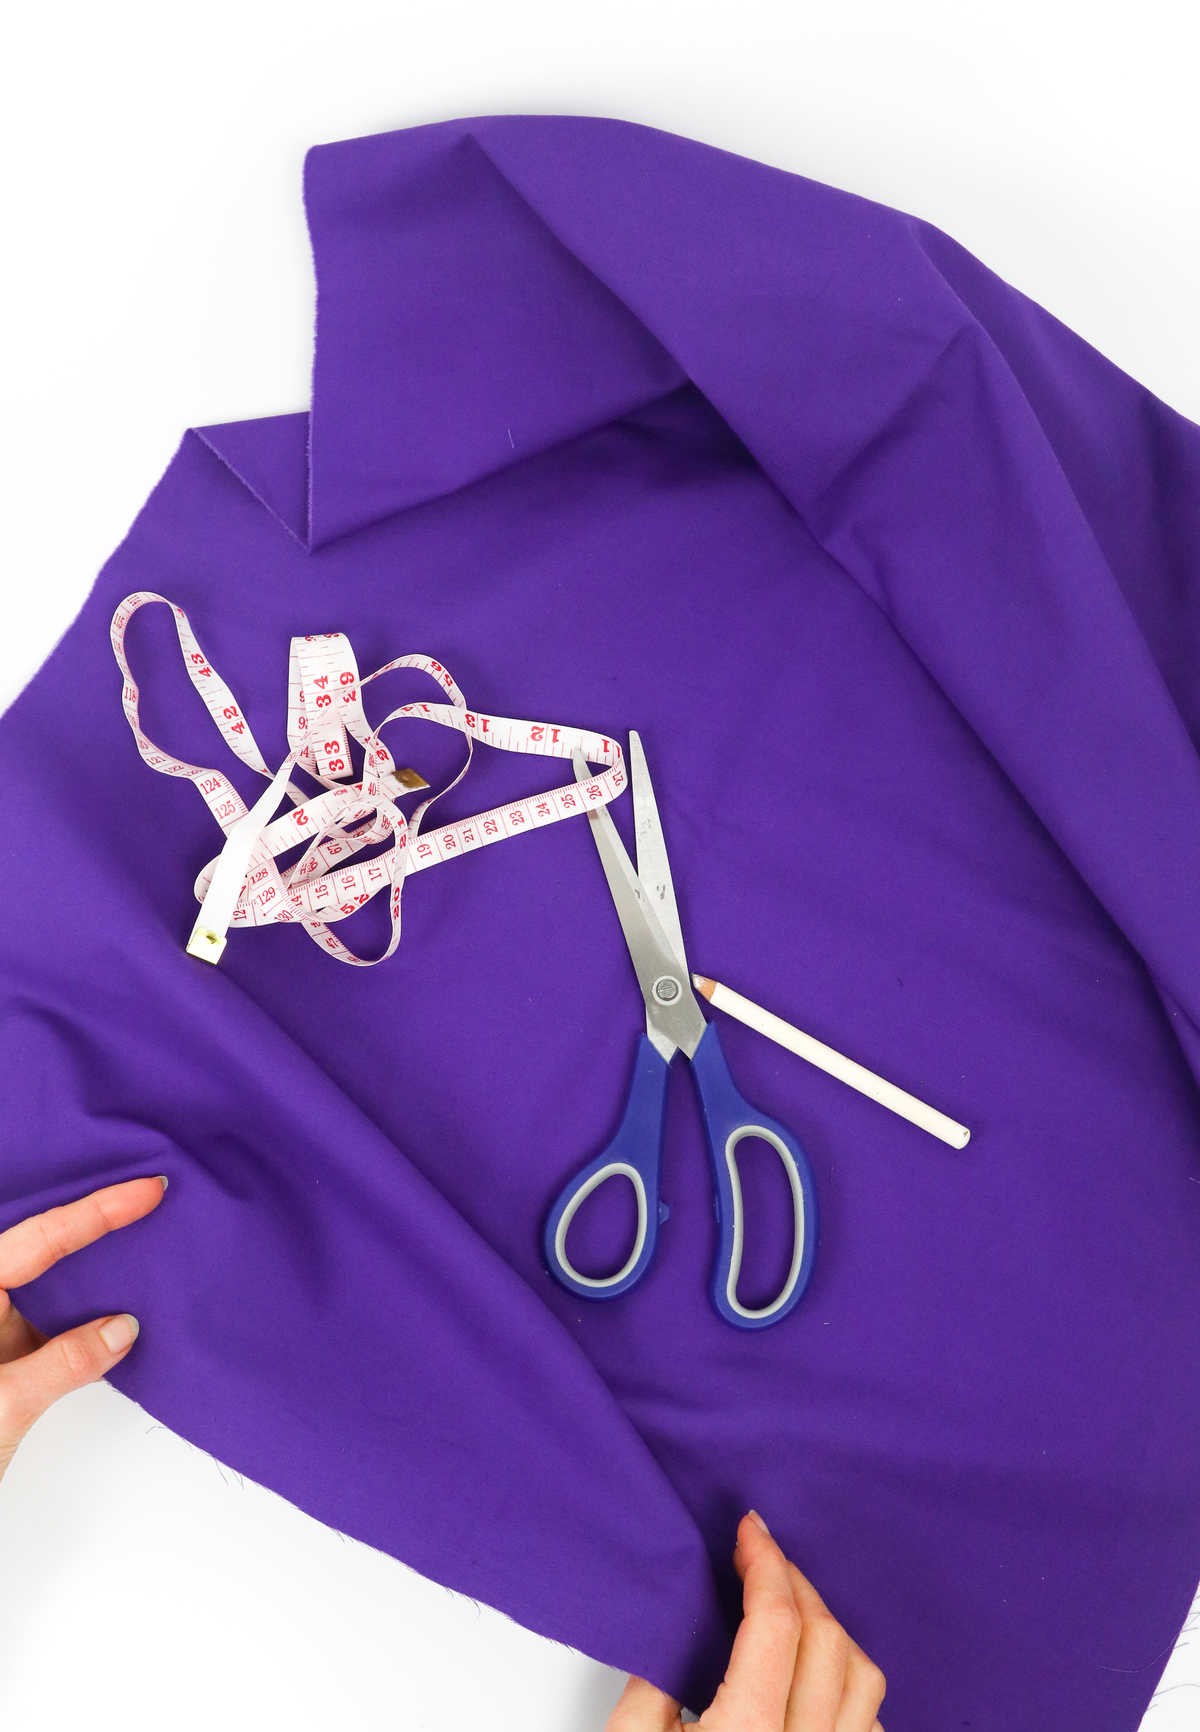
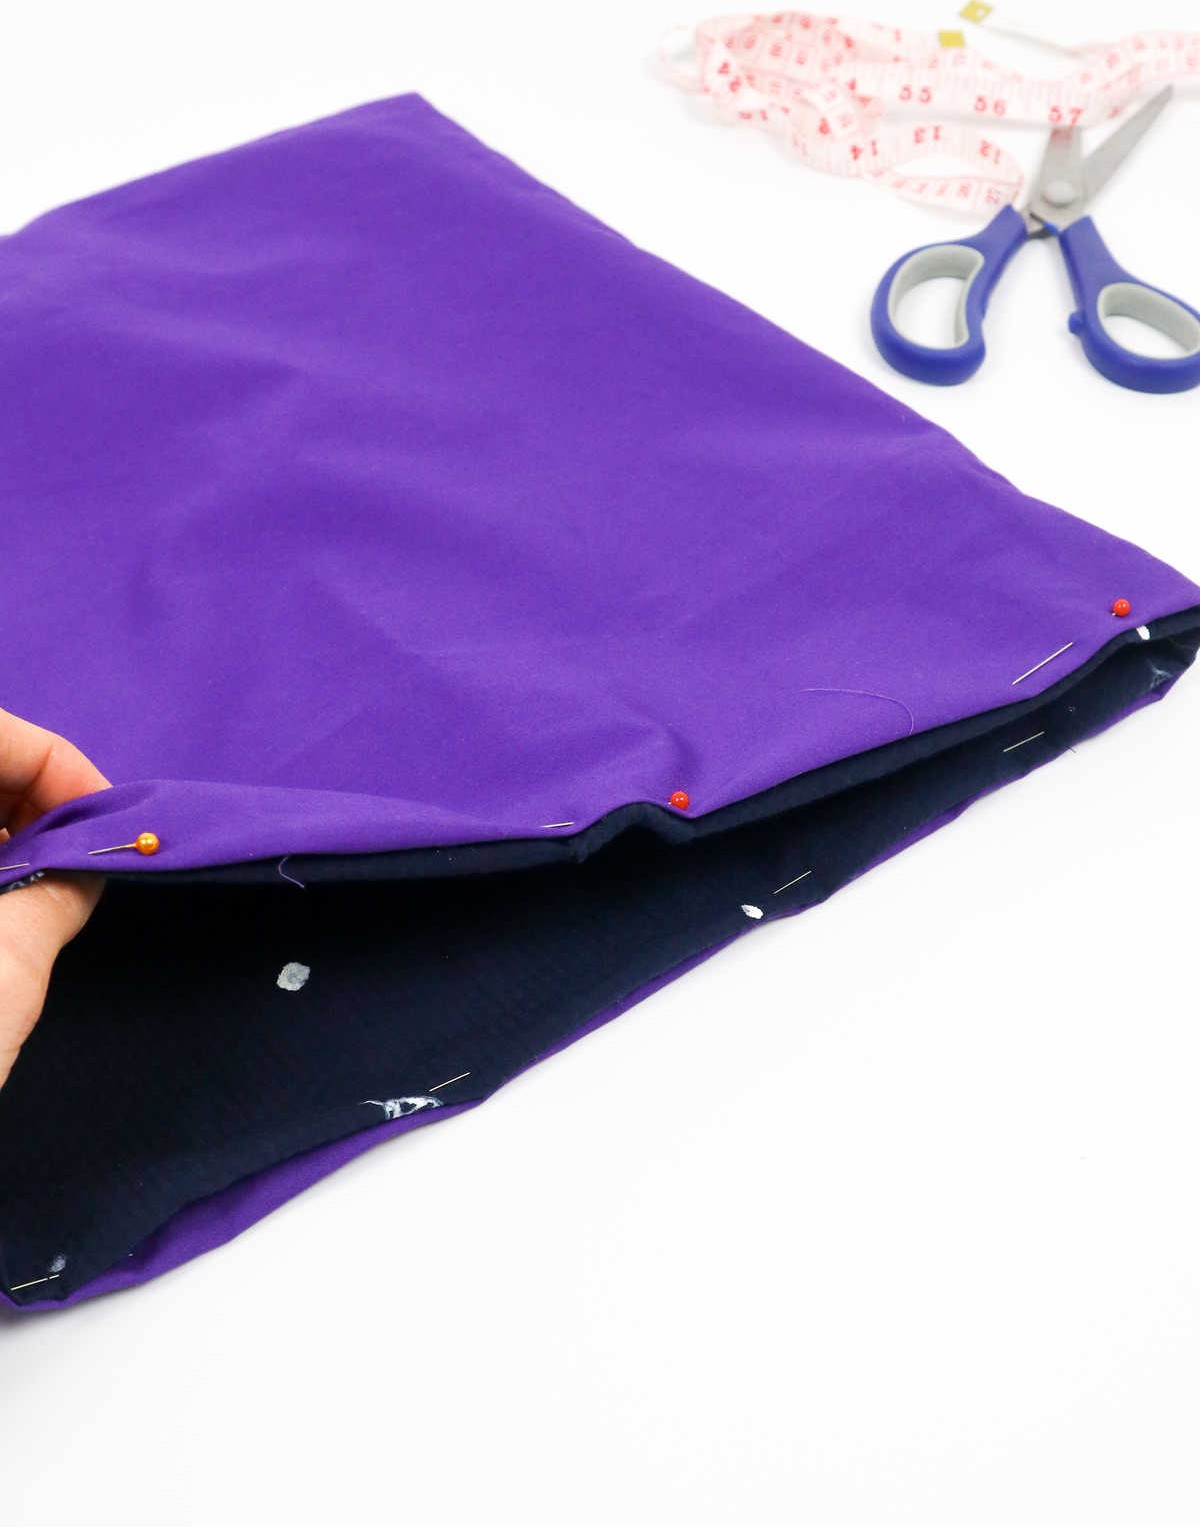
In addition to these primary materials, be prepared with scissors for cutting and trimming, sewing pins to secure your fabric in place, a tape measure to ensure accurate measurements, a fabric pencil to mark your design, and finally, 52 inches of cotton webbing for any additional support or embellishments you may desire.
How to Make a DIY Tote Bag
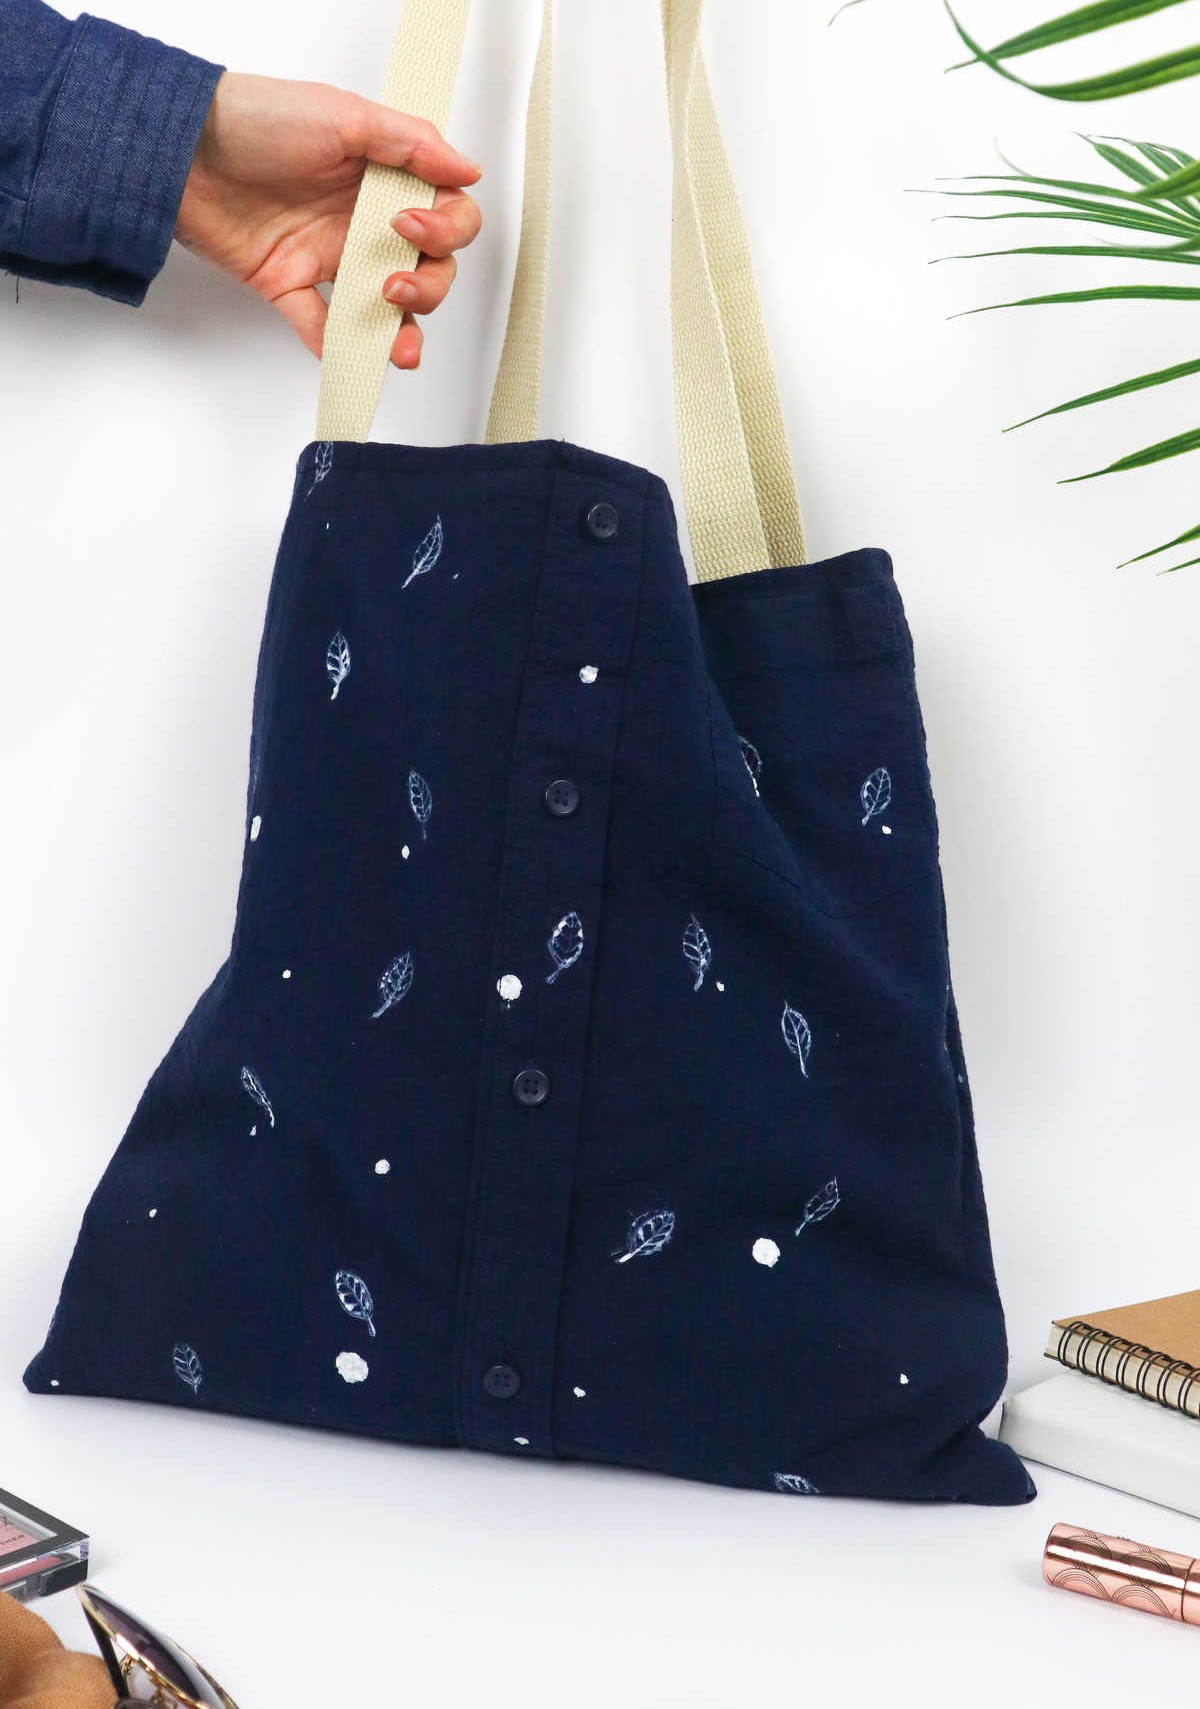
When selecting a shirt to adorn your tote, consider button-down shirts or those with eye-catching decal work, embroidery, or trendy designs. This will add an extra layer of visual interest and make your bag stand out. Simply choose a shirt from your collection that speaks to you. Interestingly, the size of the bag will be determined by the distance between the sleeves of your chosen shirt – a fun fact to keep in mind as you curate your unique tote design.
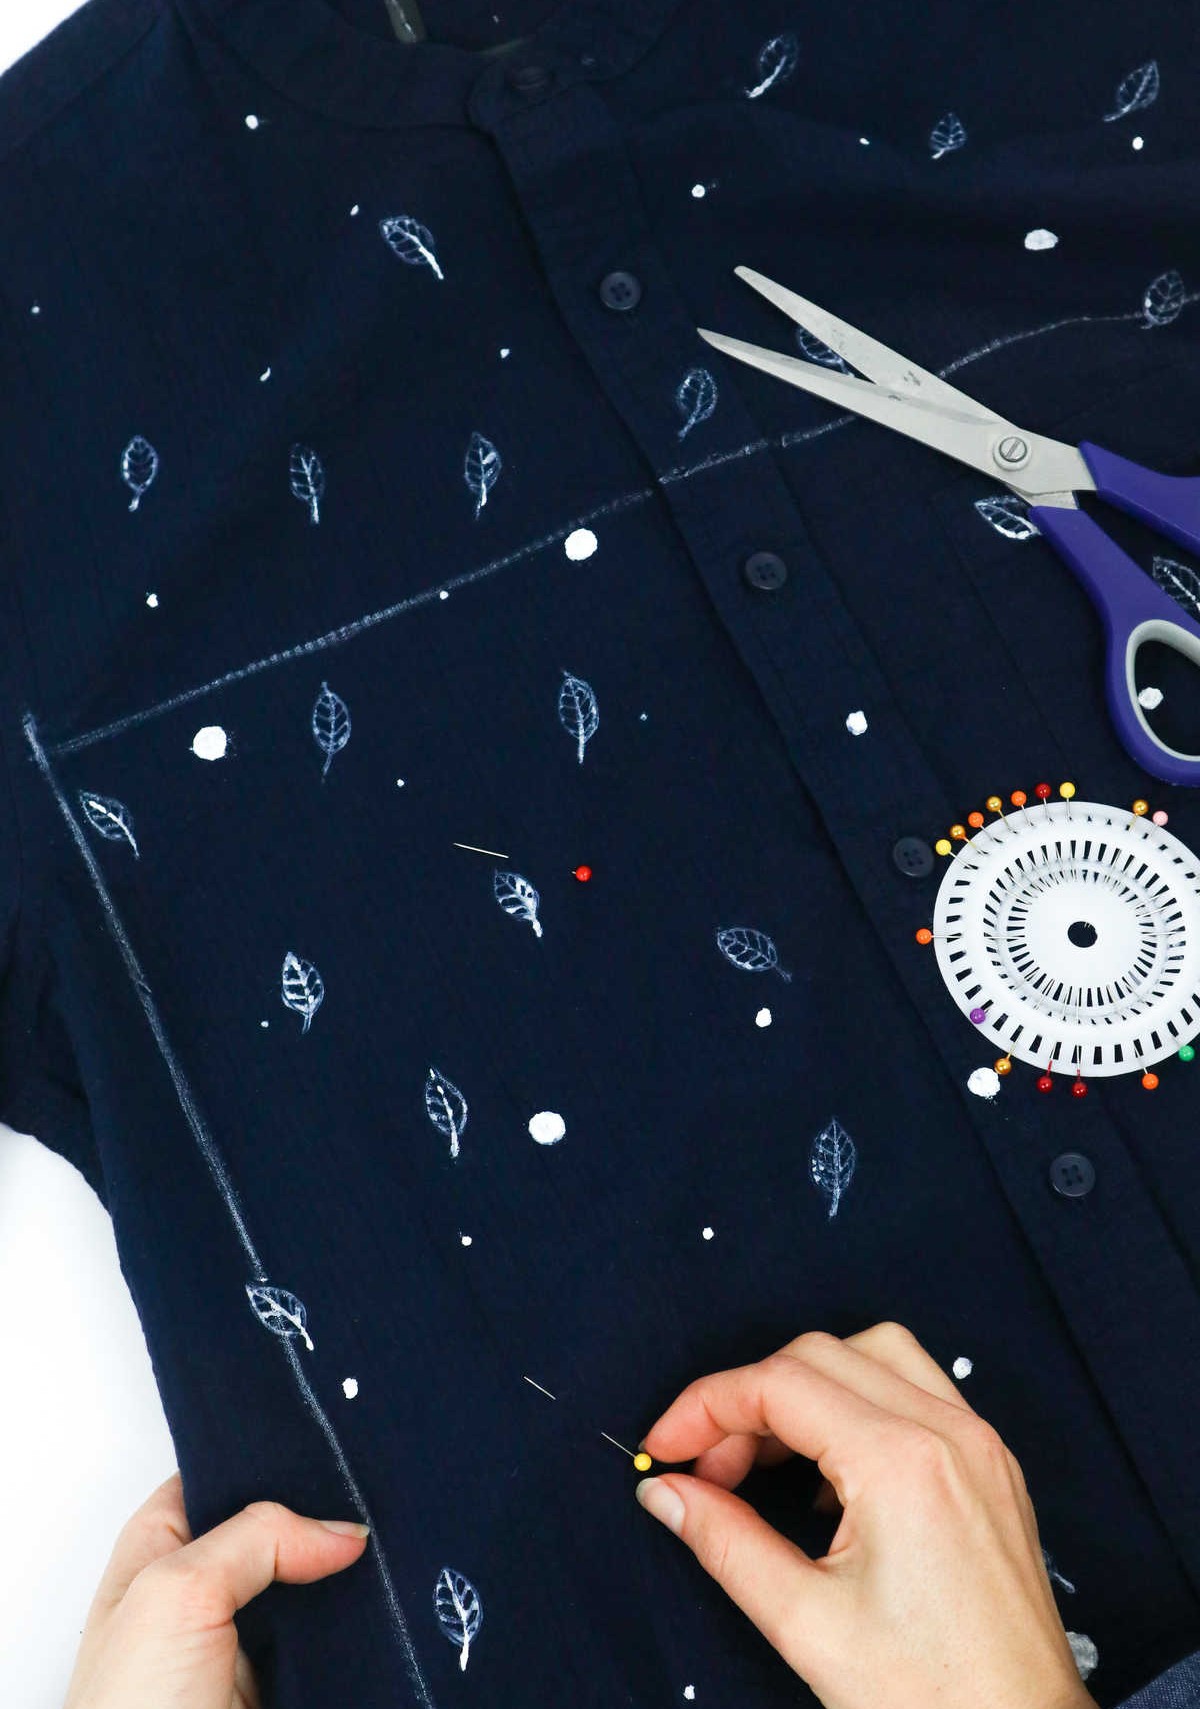
Step 1


Once you’ve selected your shirt, start by pinpointing the spot just below the sleeve on both sides. This marks the beginning of the process for creating a custom bag pattern. Next, determine the desired length of your bag and measure out the corresponding proportions onto the shirt using tailor’s chalk or a fabric pencil. As you work through these steps, you’ll be able to visualize the dimensions of your final product.
Finally, connect all four dots to reveal the precise measurements needed for your unique bag design.
Step 2
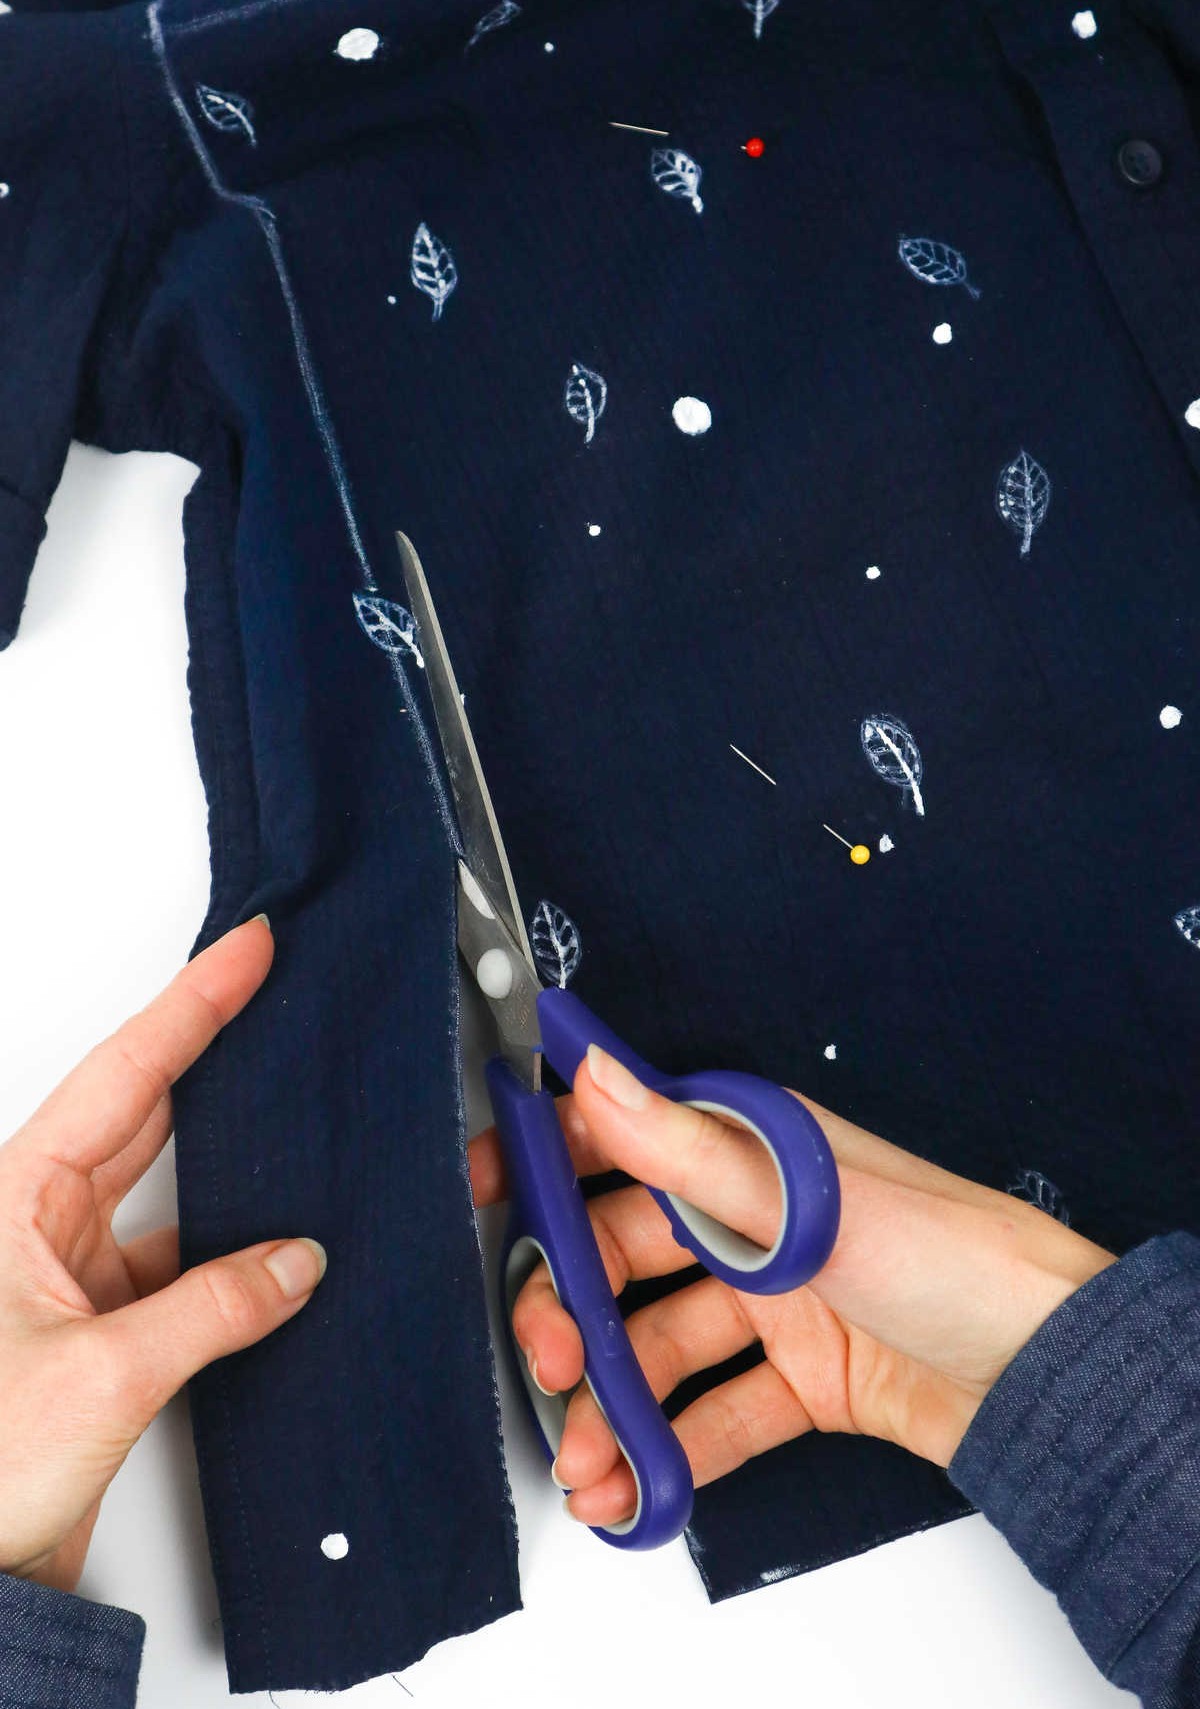
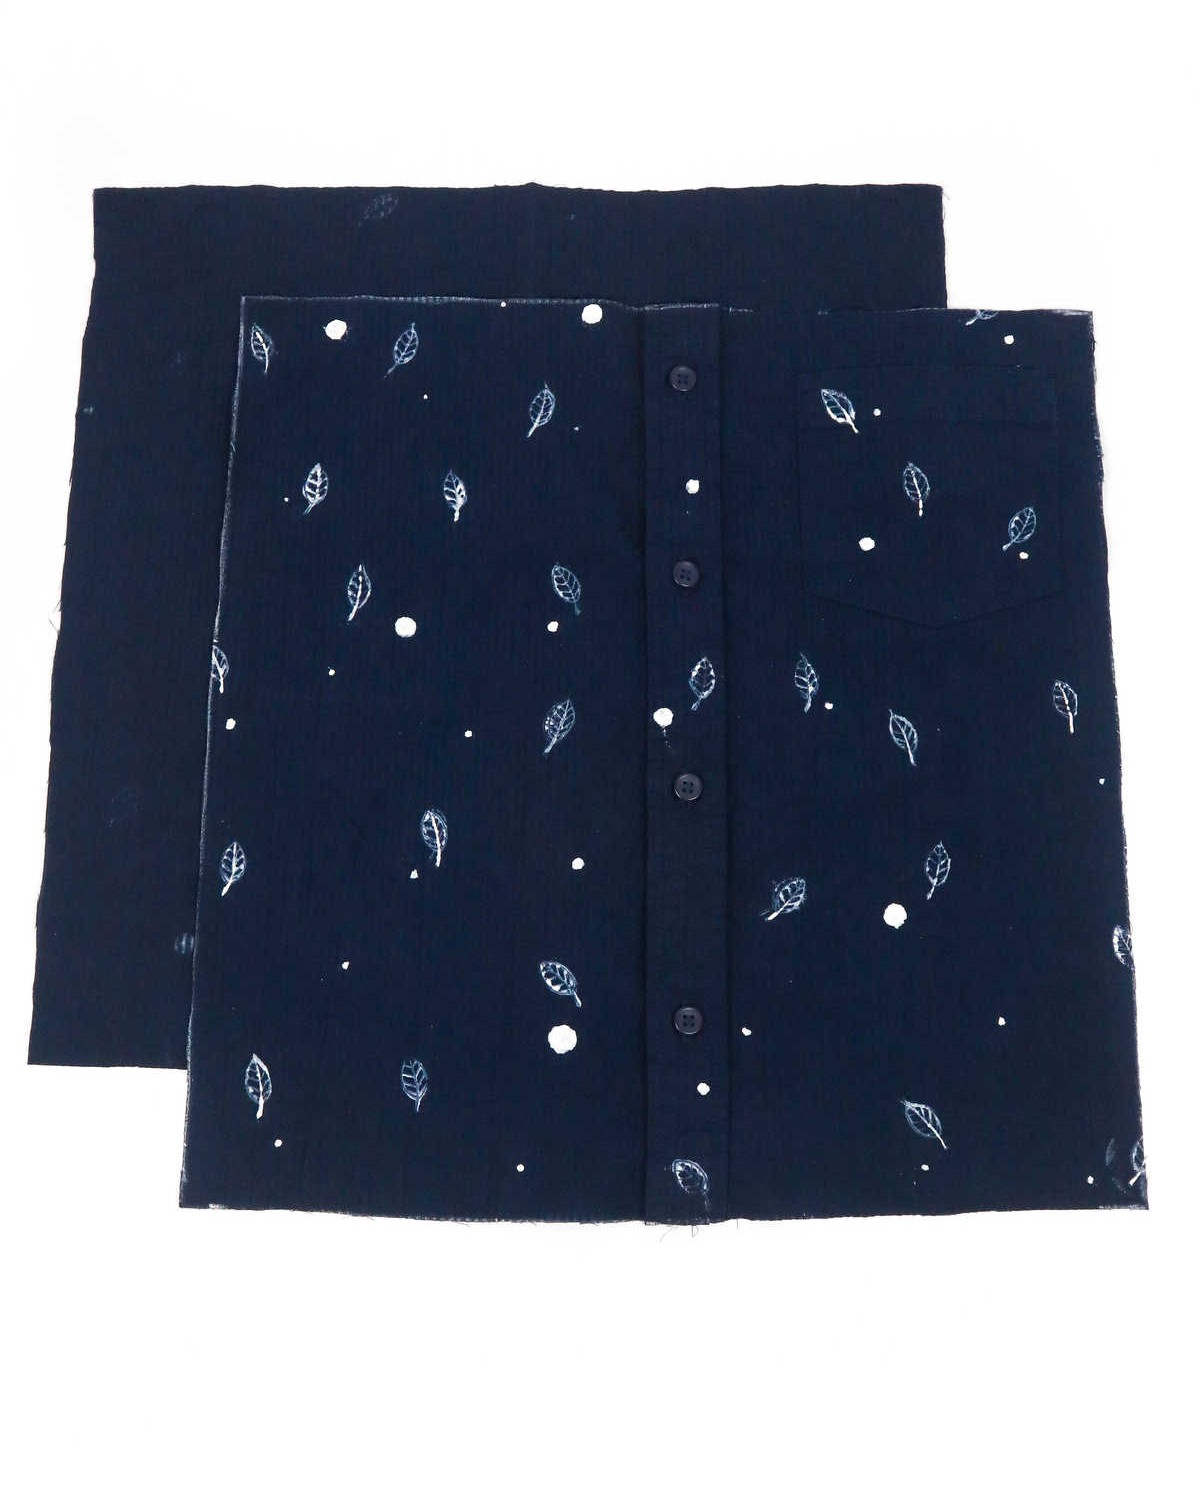
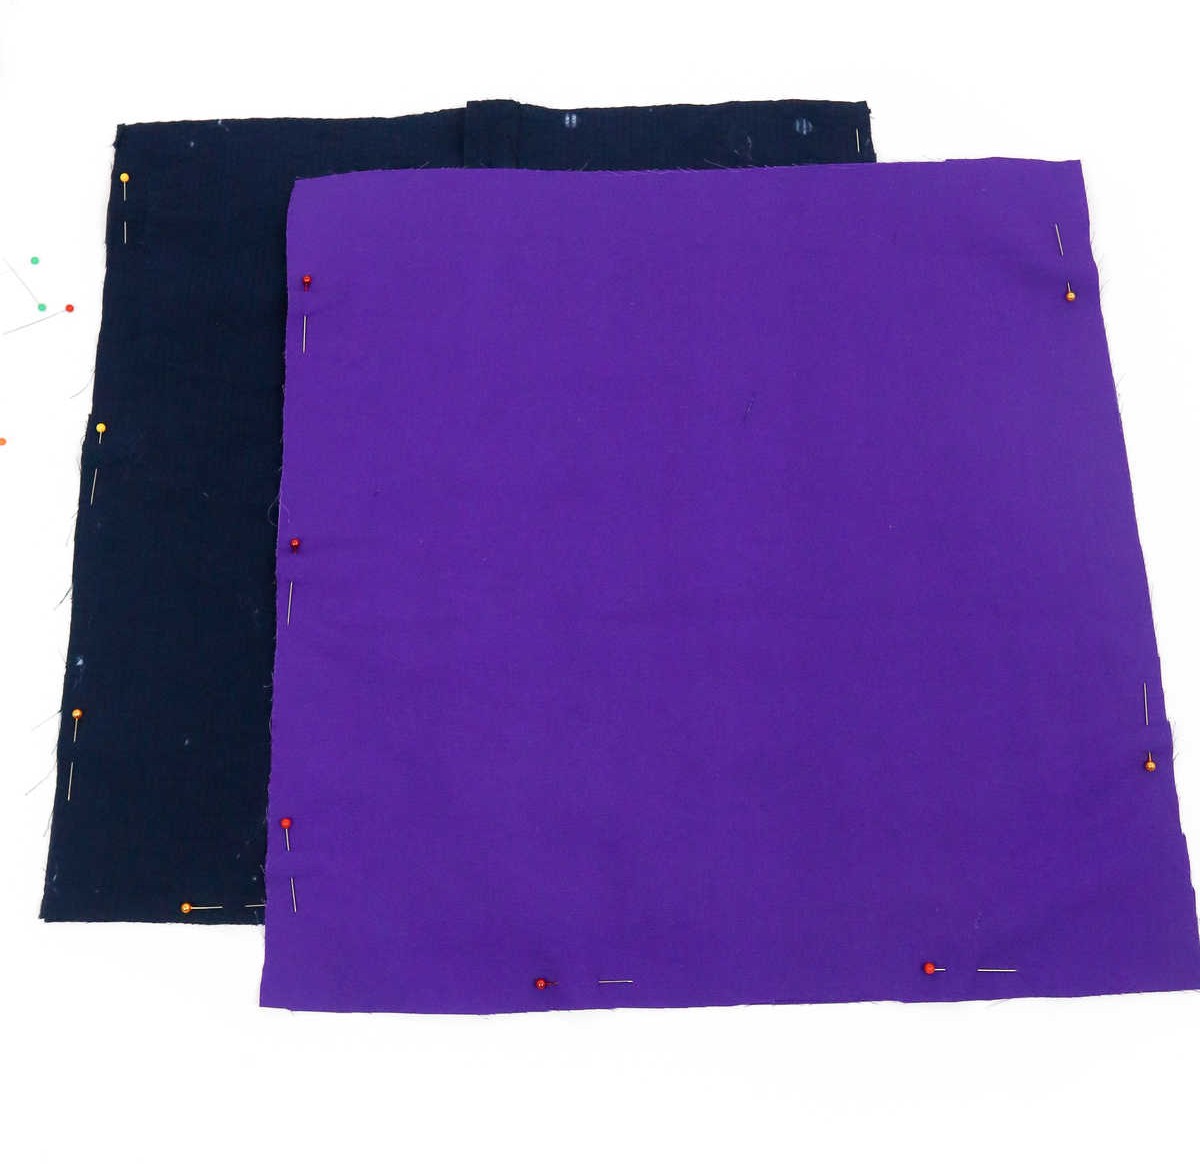
Before beginning your project, it’s essential to secure the two layers of fabric in place using sewing pins. This ensures that they remain stable and don’t shift around while you’re cutting them, which can lead to inaccuracies and waste. As you work through this process, keep in mind that proper preparation is key to achieving a professional-looking finish. Once your fabric is prepared, you’ll be left with two distinct swatches, each representing the cut sections of your original shirt.
These swatches will serve as the foundation for the rest of your project.
Step 3
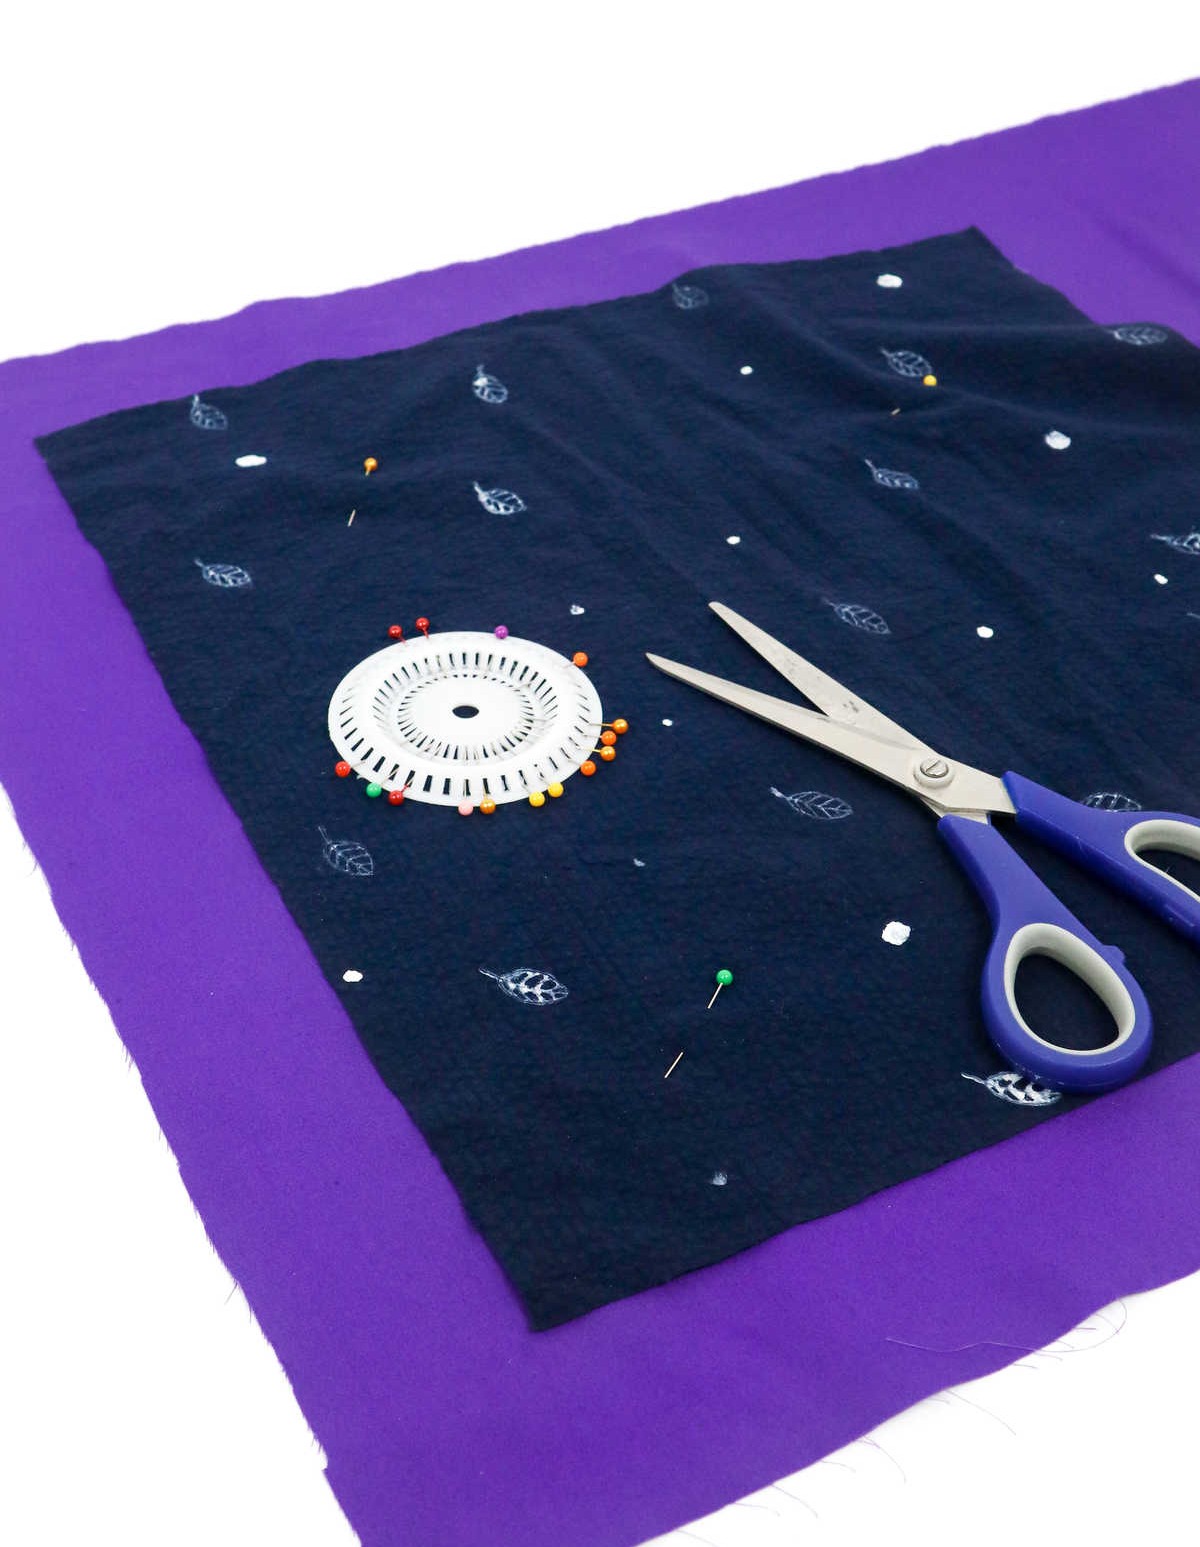
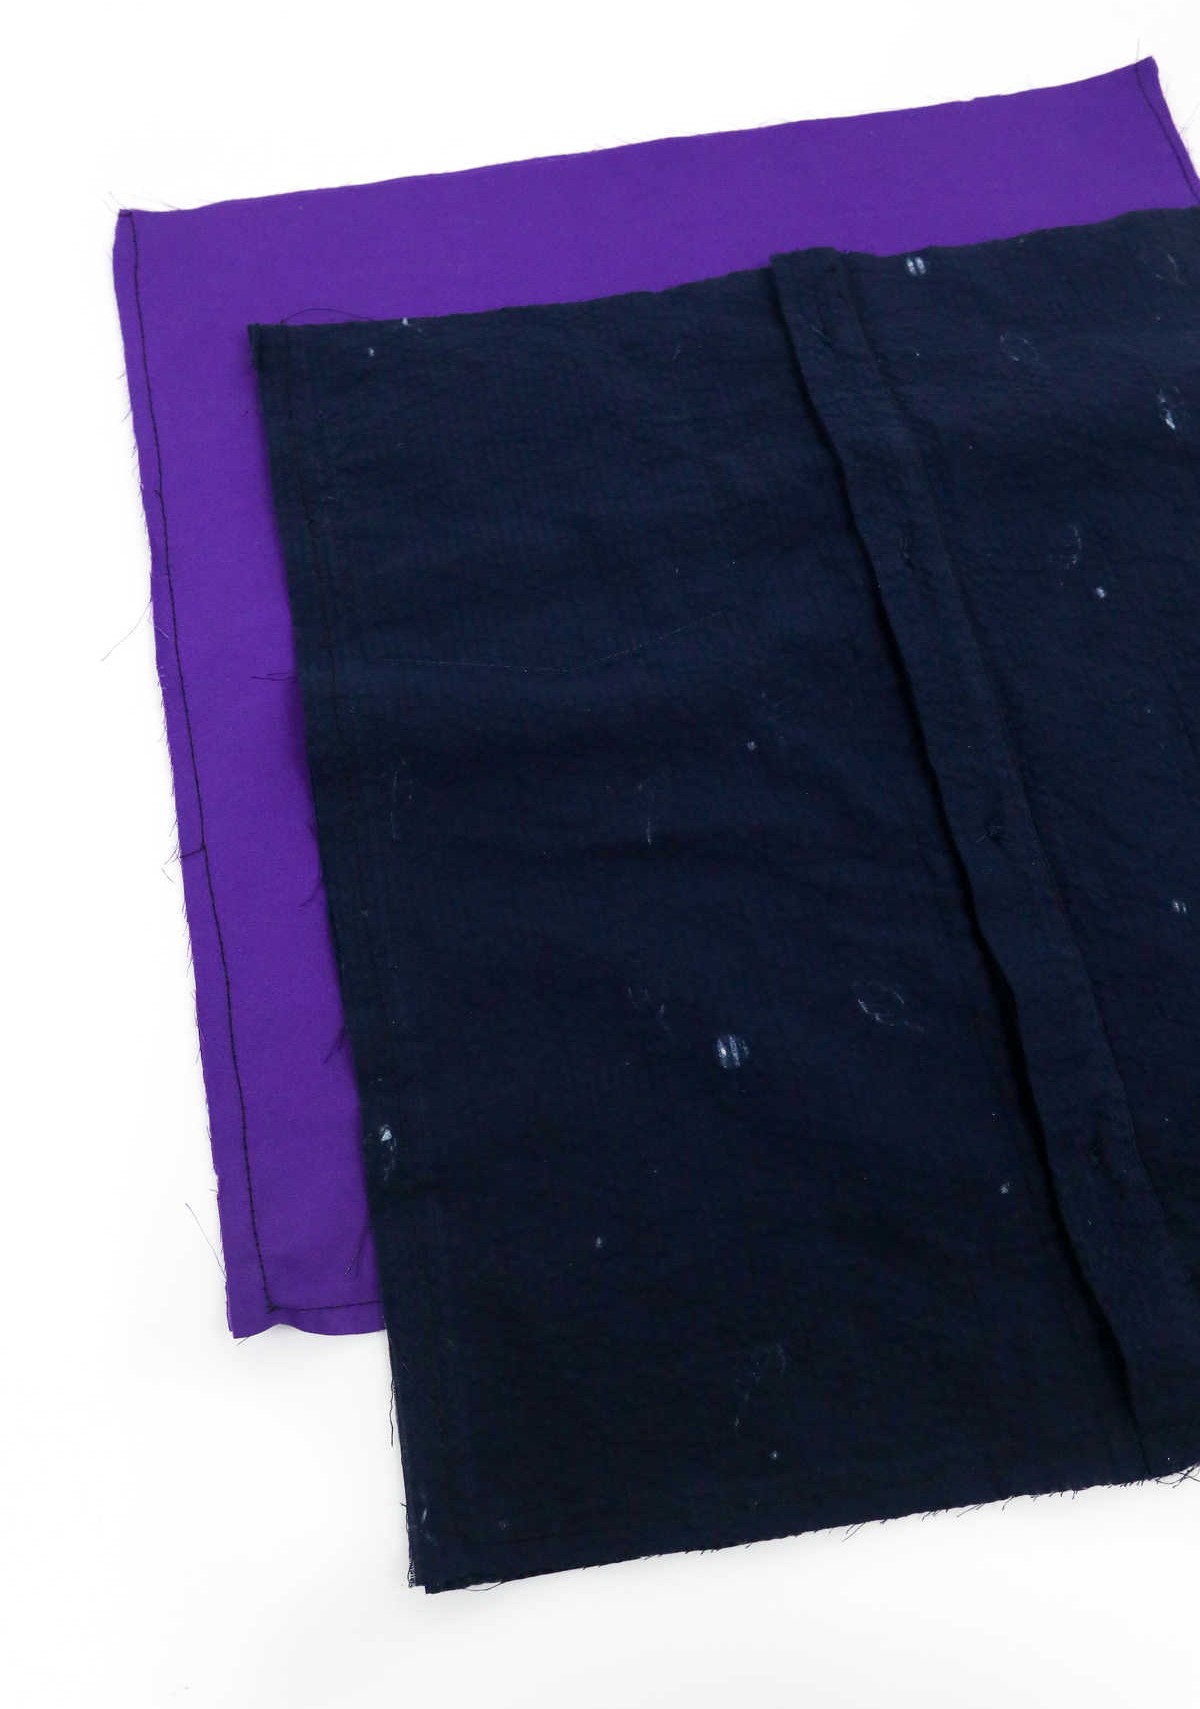
When it comes to creating a sturdy bag, lining is an essential step that shouldn’t be overlooked. Even if you’re working with a durable outer fabric, adding a lining will not only provide an extra layer of protection but also enhance the overall structure of your bag. To begin, measure and cut out another piece of fabric that’s identical in size to your outer fabric. This will form the lining of your bag, which will work in tandem with the outer material to create a more robust construction.
Once you’ve prepared your lining, simply pin it to the outer fabric along the edges, taking care to align them precisely. From there, use scissors to carefully cut out both the lining and the outer fabric, resulting in four swatches of fabric that will ultimately become the foundation of your bag’s interior.
Step 4
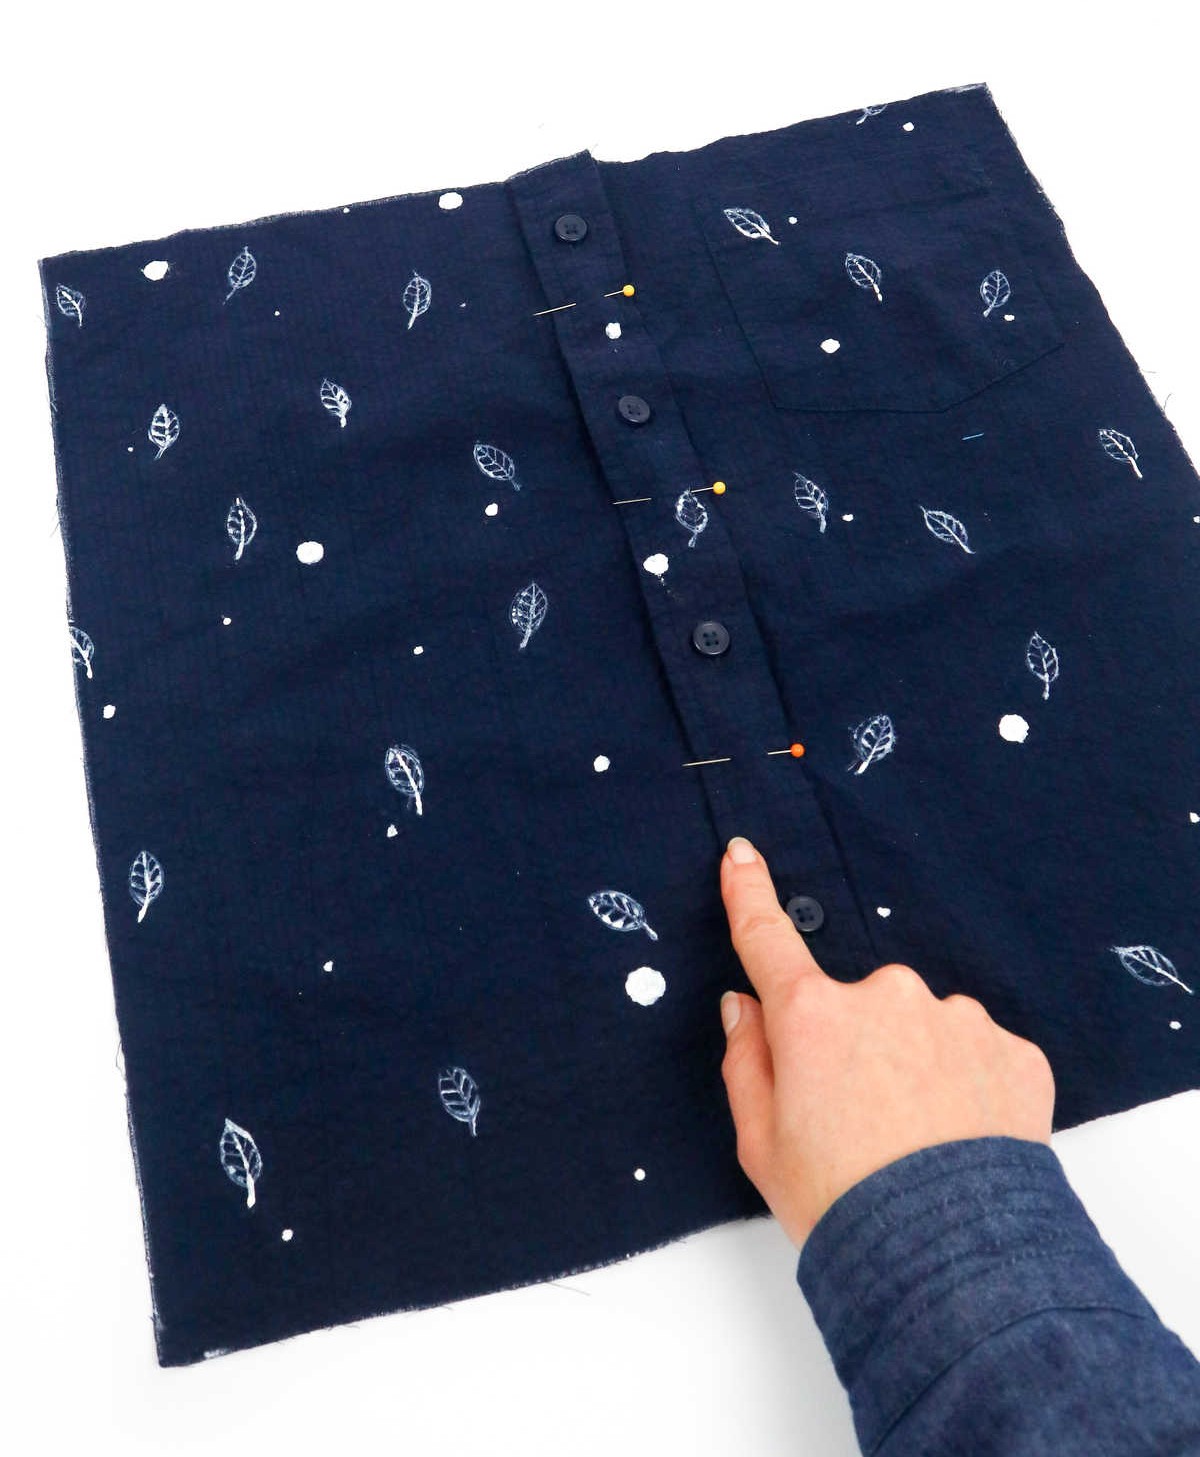
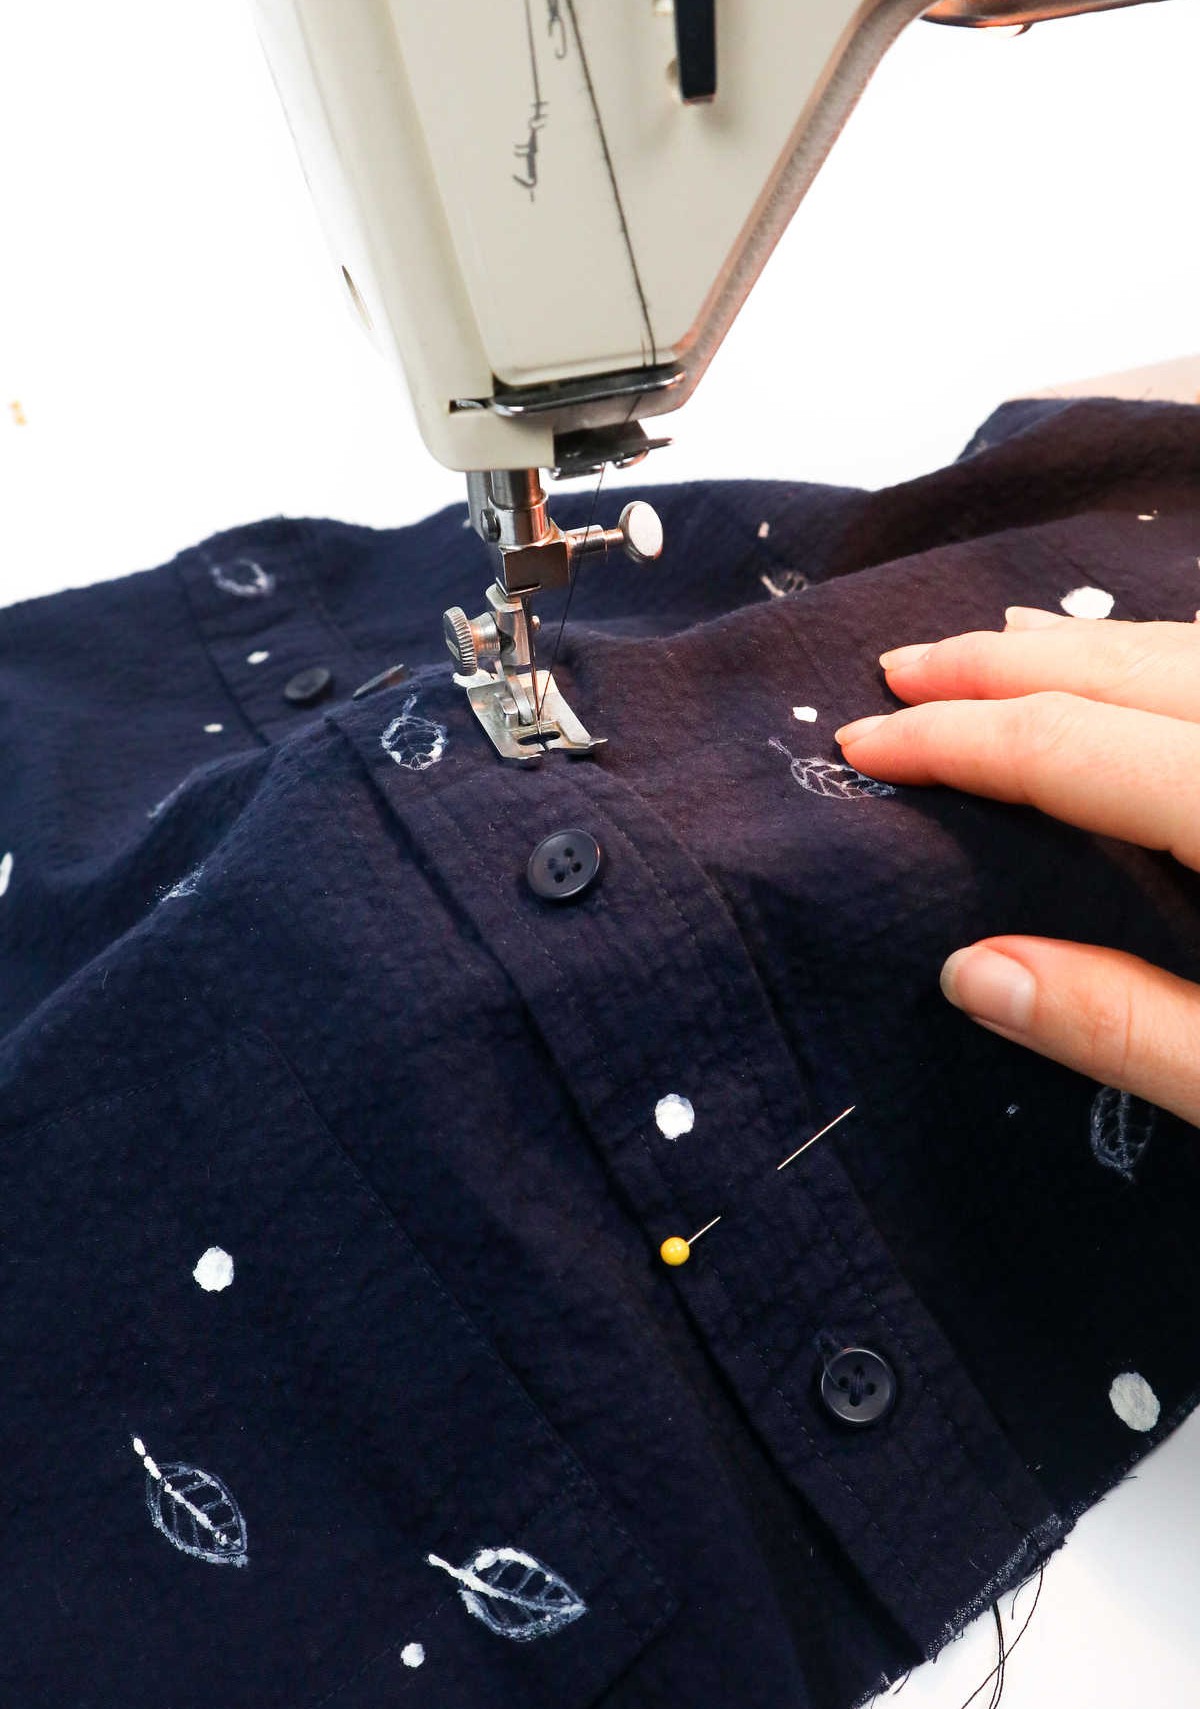
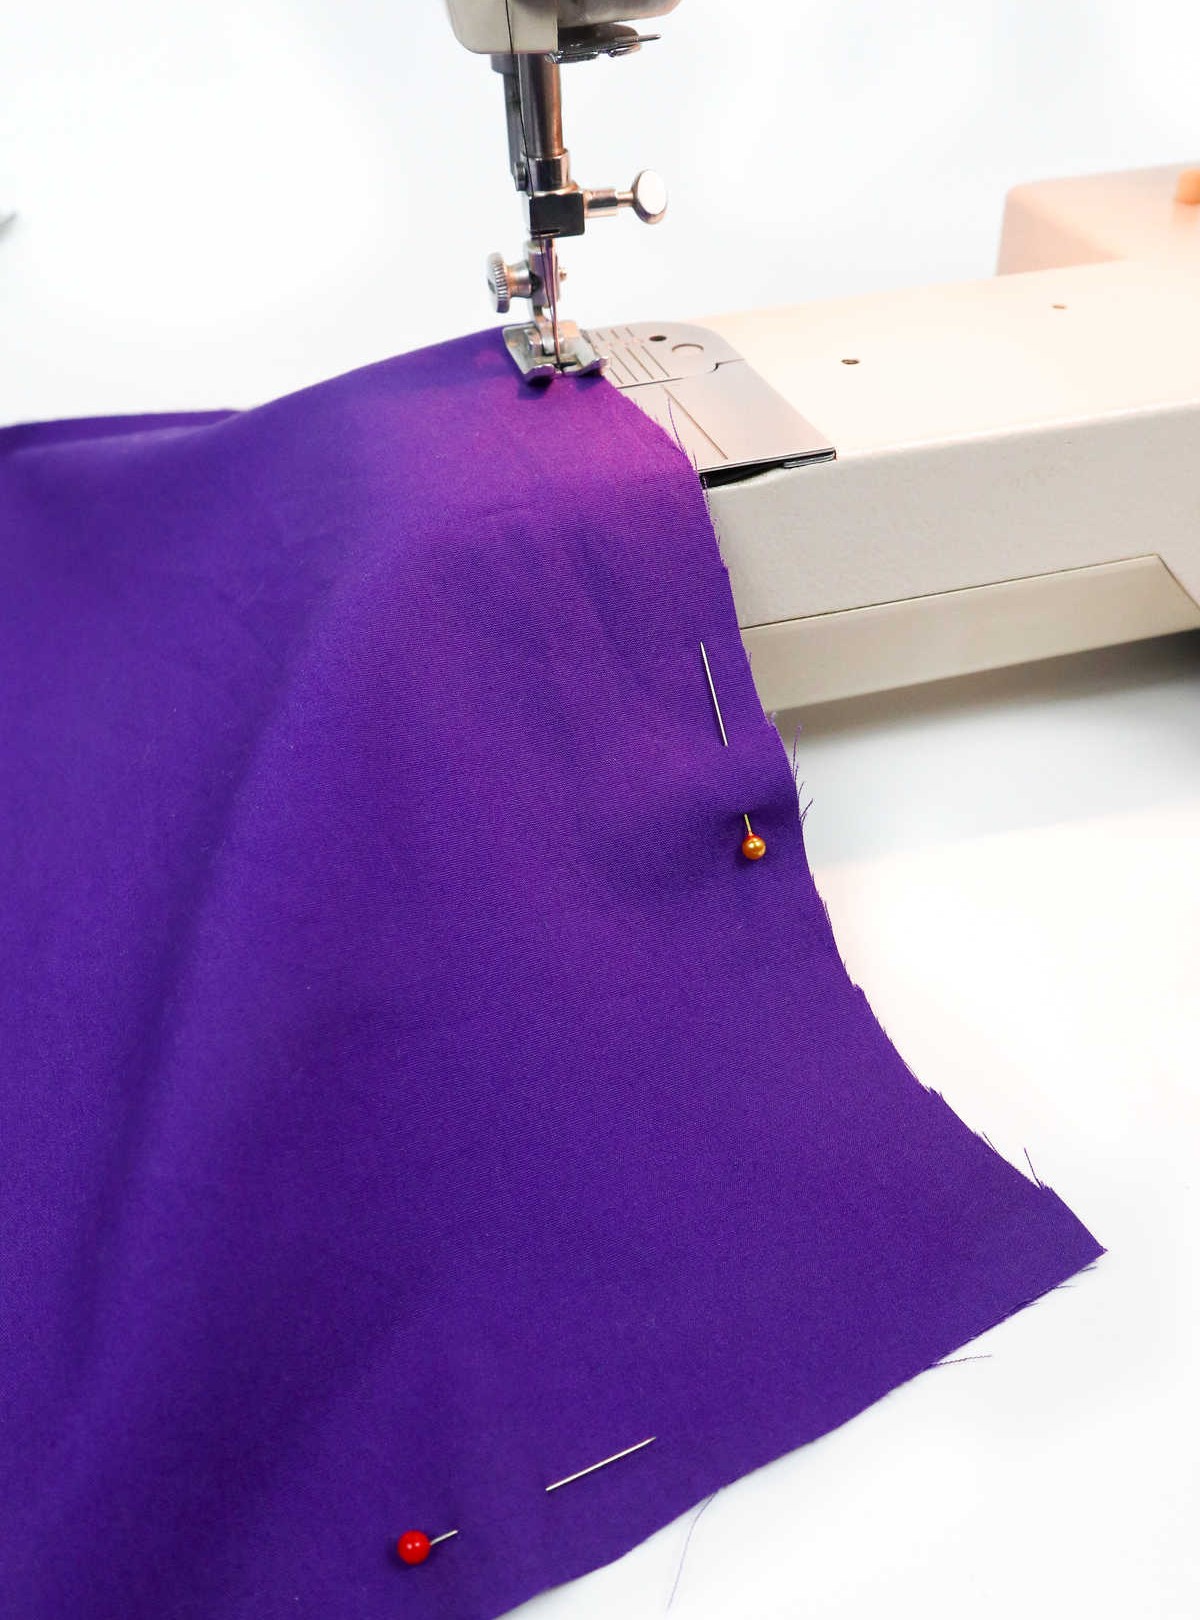
Before diving into the actual sewing process, it’s essential to address any gaps between the buttons on your button-down shirt. A simple yet effective solution is to use a few sewing pins to secure these openings. This will ensure that your fabric remains stable and prevents any further shifting or bunching as you sew. Once you’ve taken care of this preliminary step, bring out your trusty sewing machine and carefully stitch along the button gaps, effectively closing them off.
Step 5
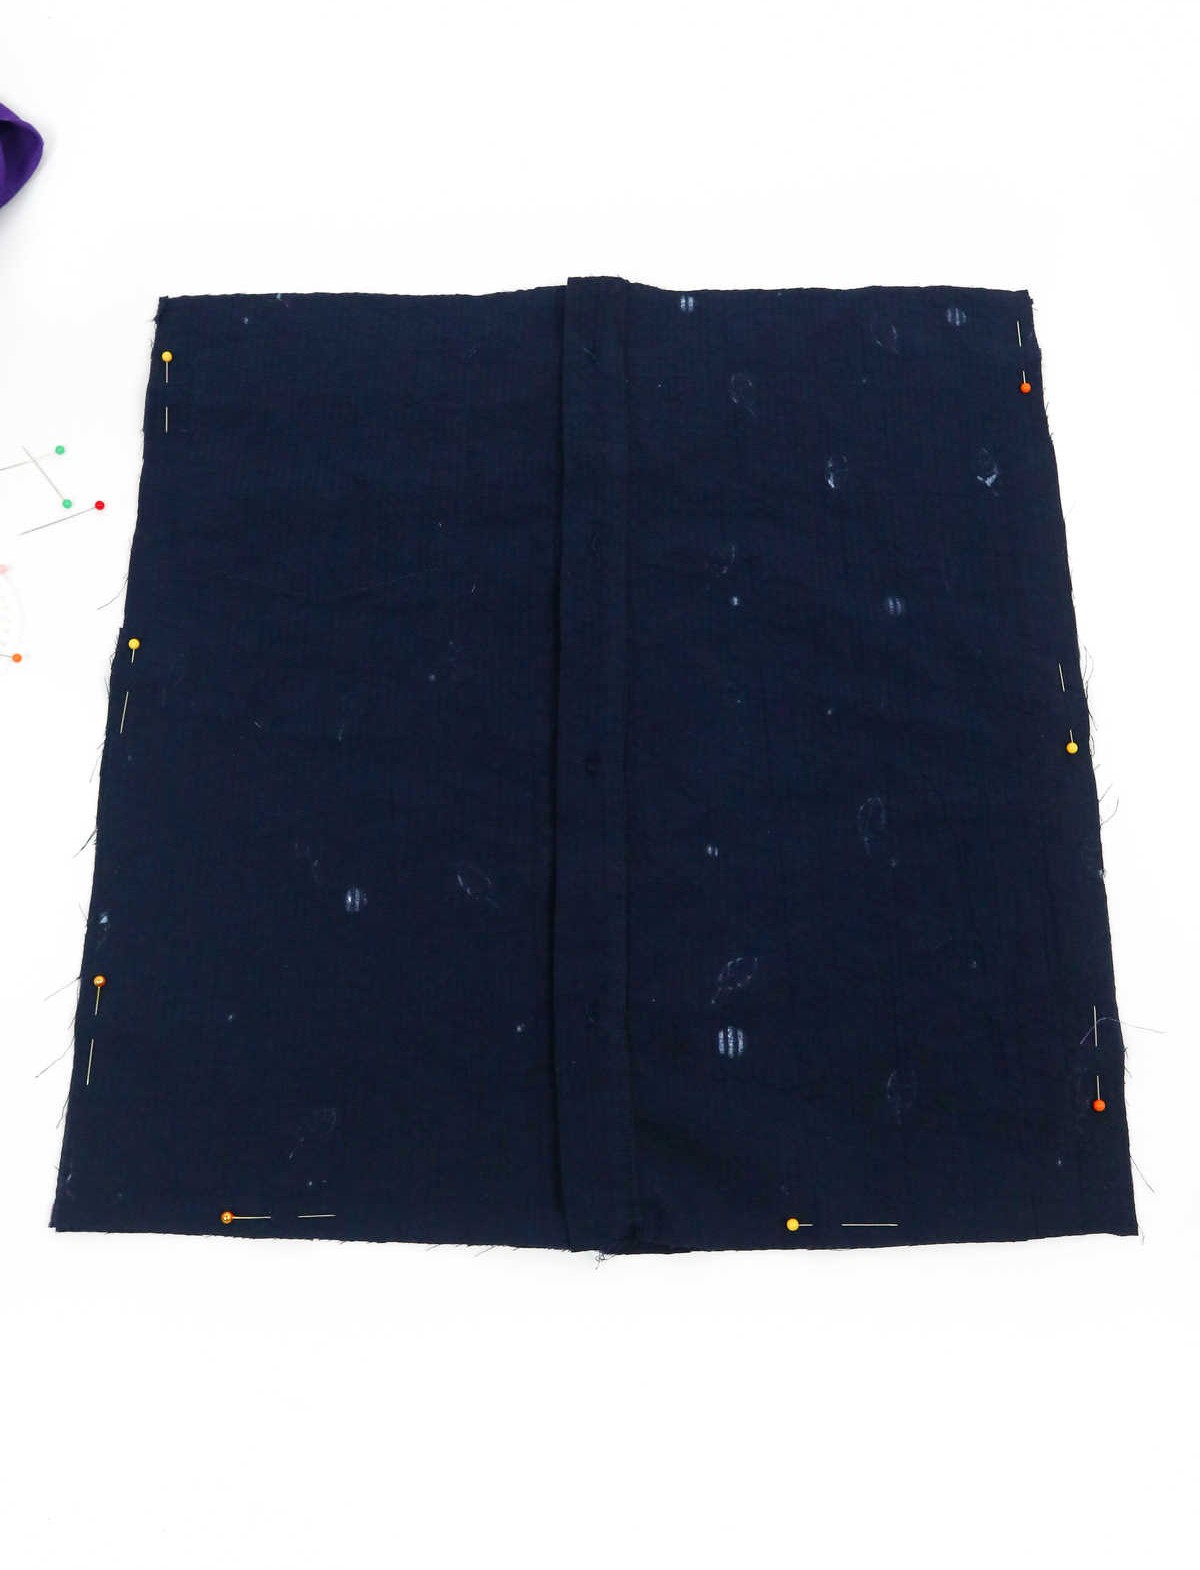
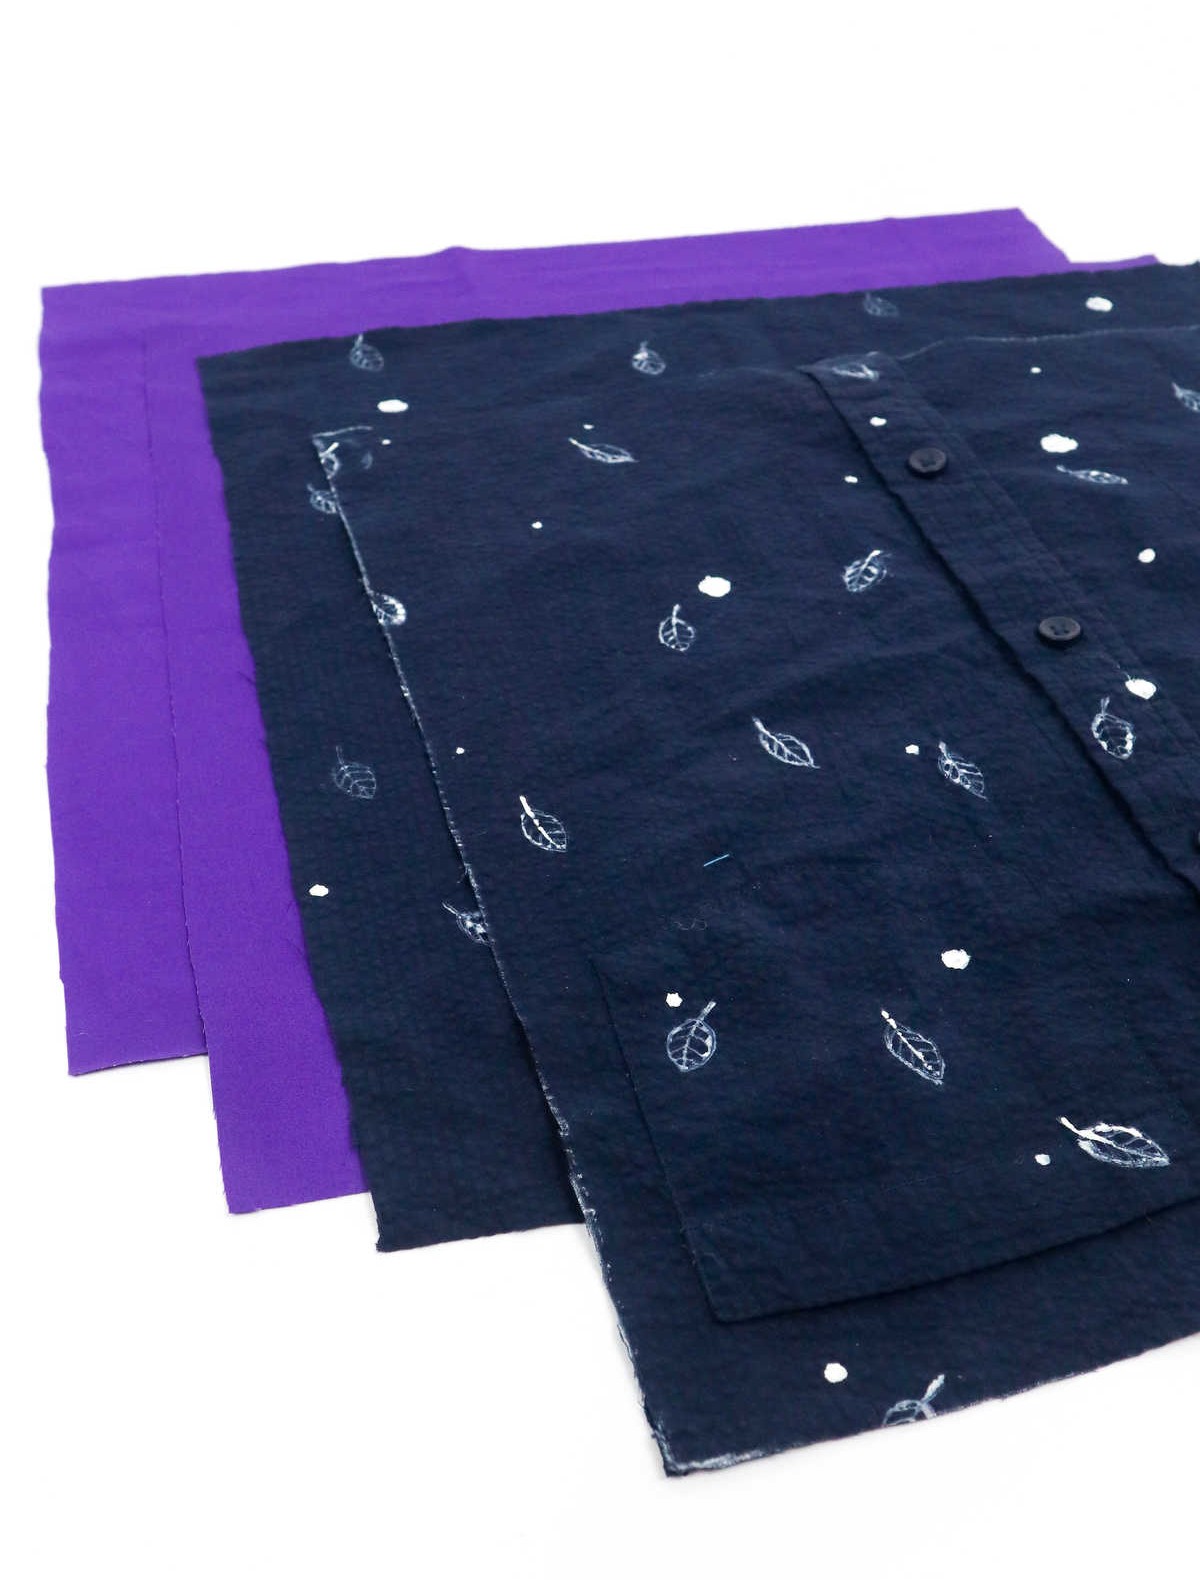
Before you start sewing your bag, take some time to arrange the fabric swatches in the correct order. This crucial step sets the stage for a perfectly constructed tote. To begin, place the two outer fabric squares on top of each other, ensuring that the right sides are facing inward and aligned at the ends.
Step 6
For a seamless finish, repeat this process with the remaining lining fabric swatch, carefully pinning it into position. Once both lining pieces are secure, proceed to sew the three sides of each lining piece together, ensuring a crisp and professional finish. If desired, you can also sew the outer fabric in a similar manner, taking care not to compromise the integrity of the seams.
Step 7
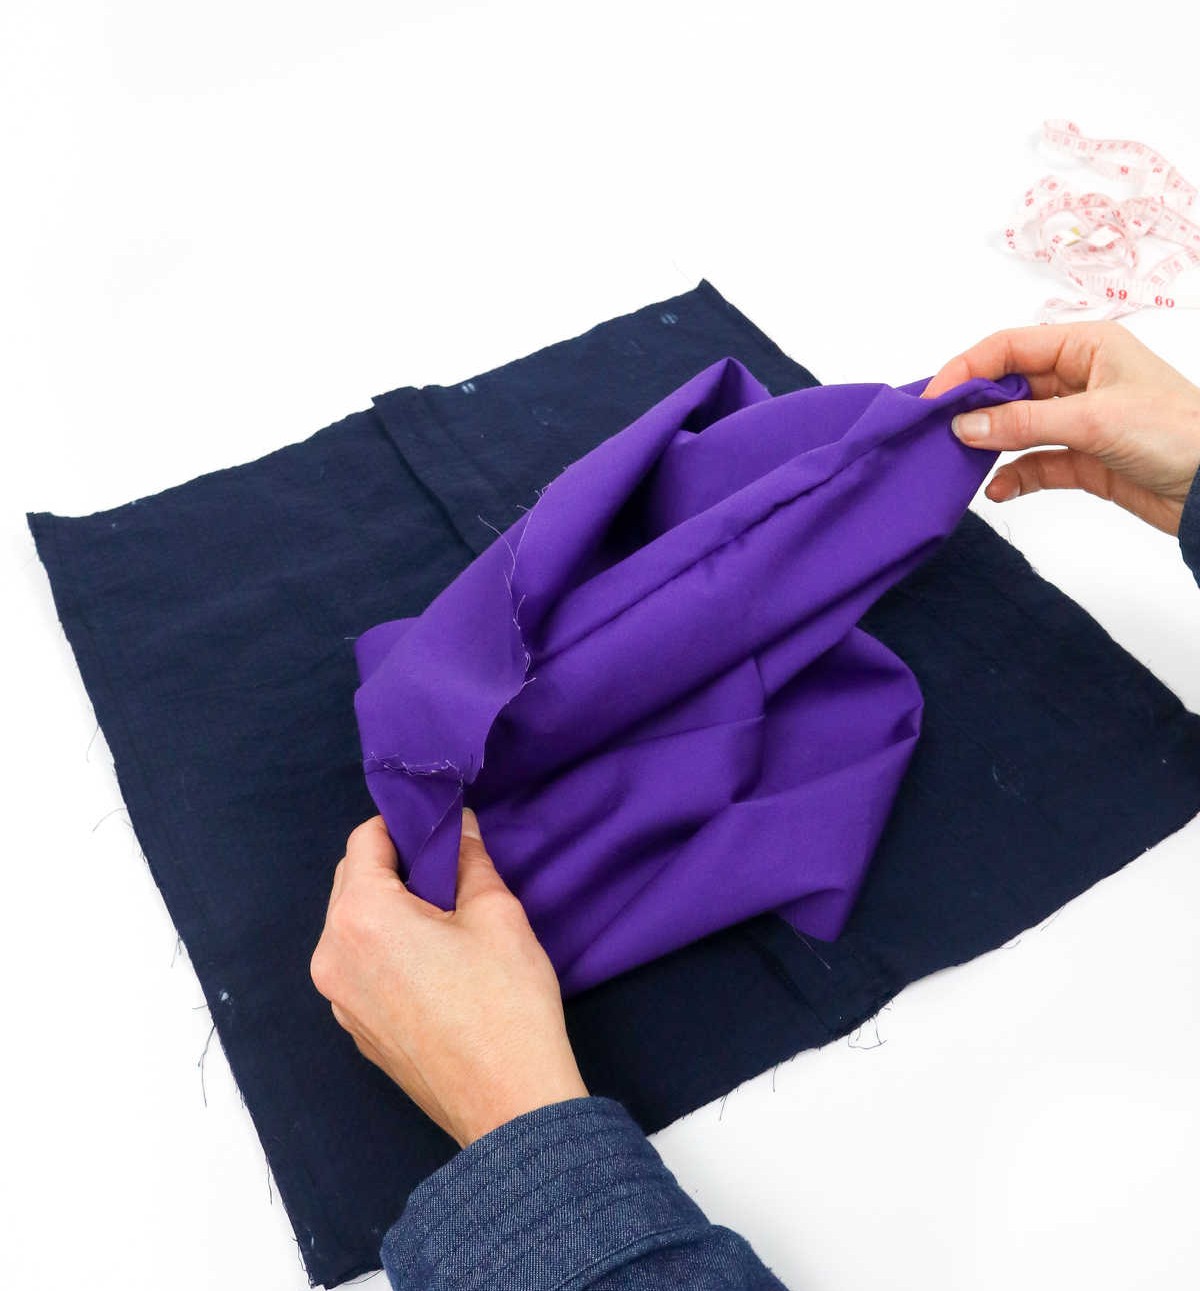
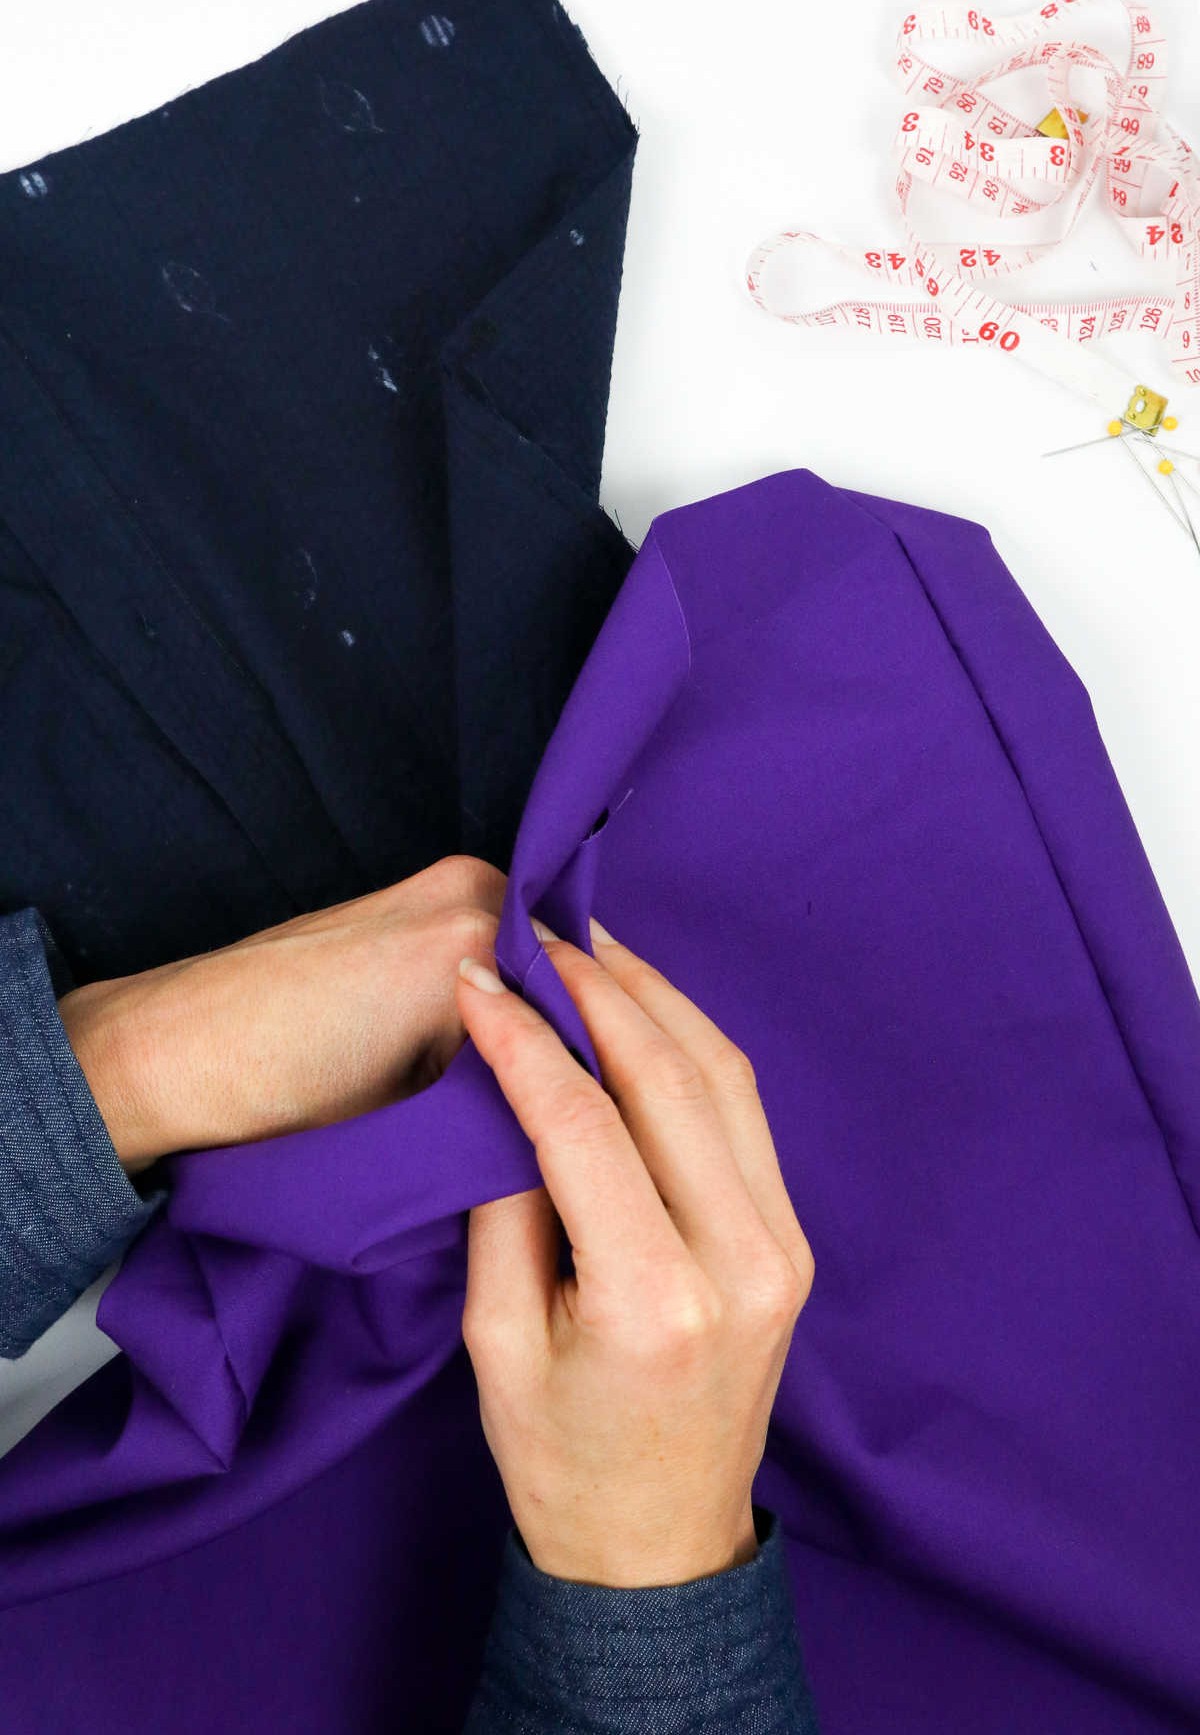
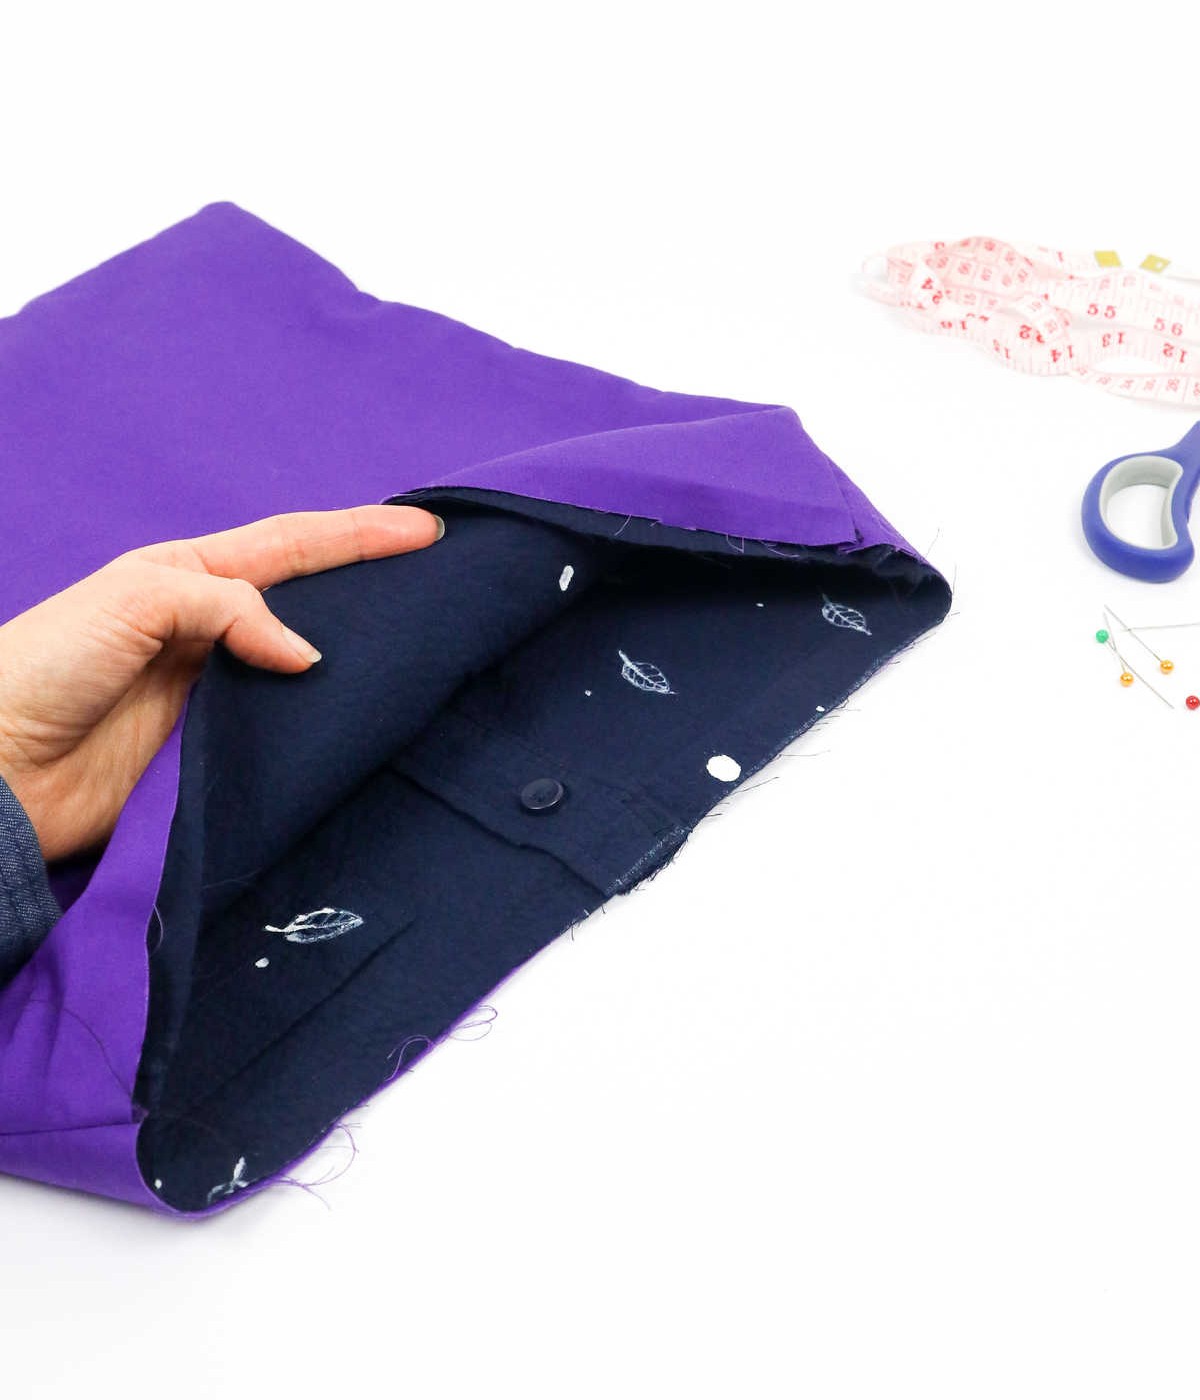
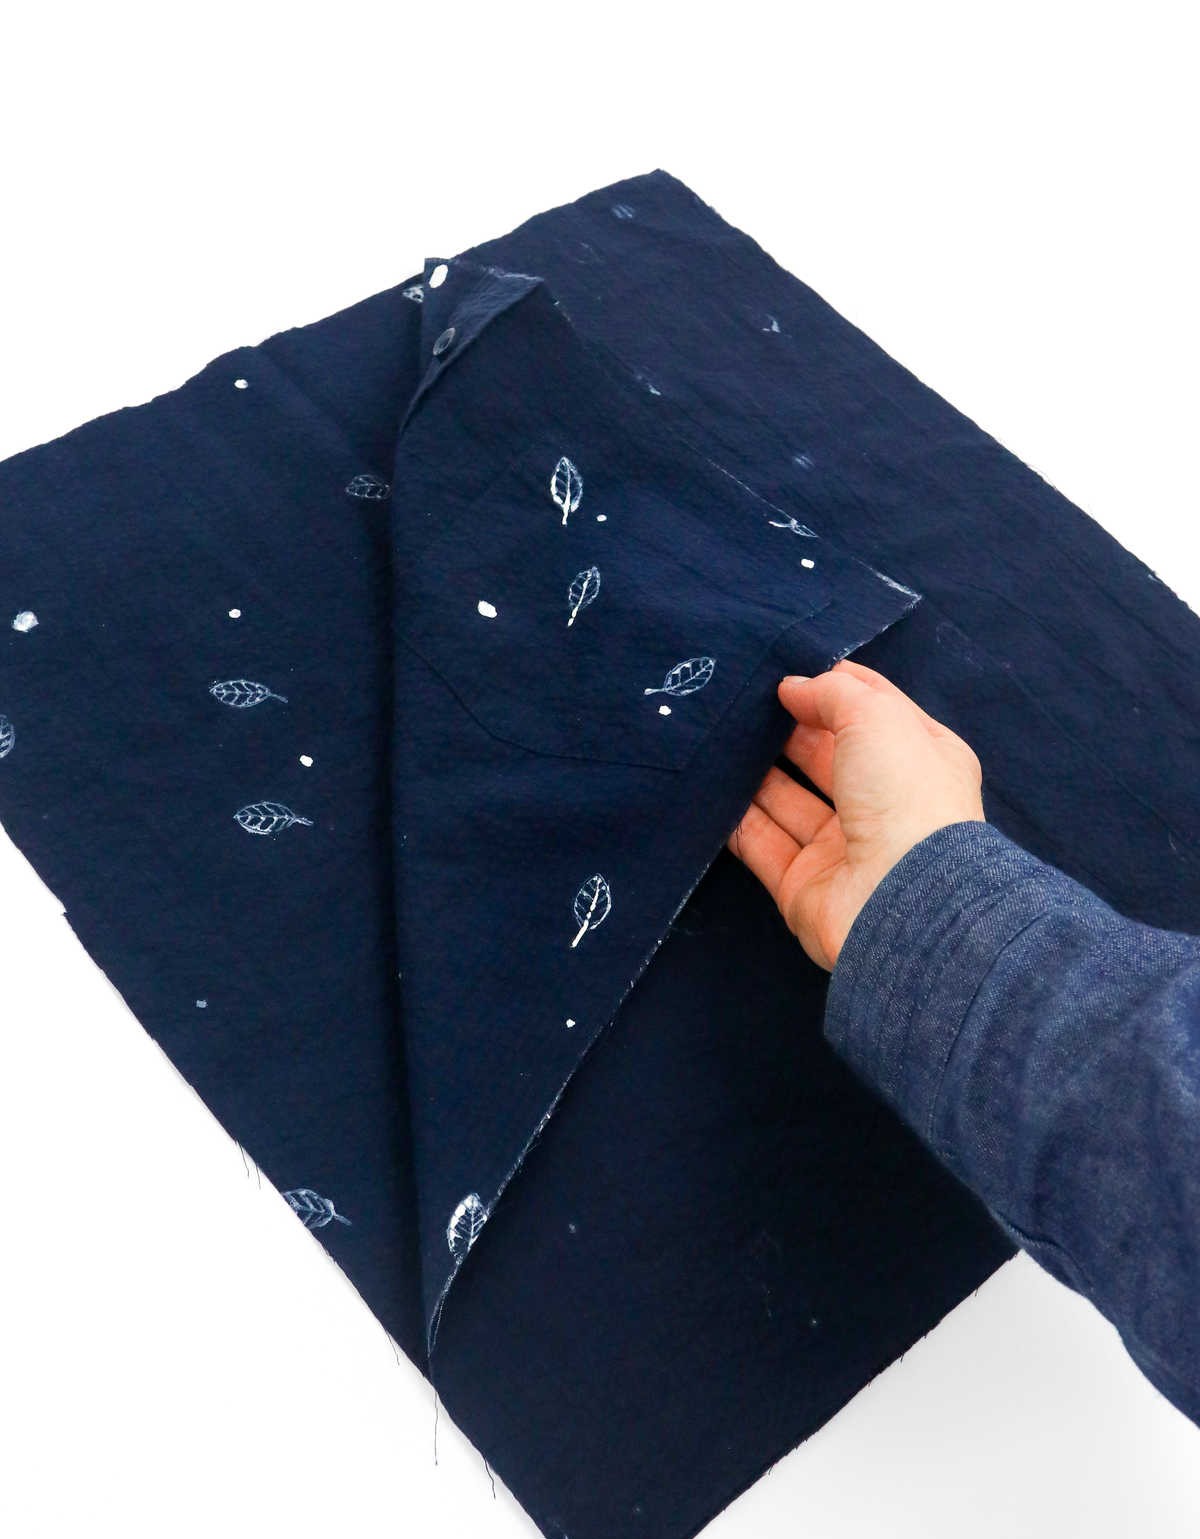
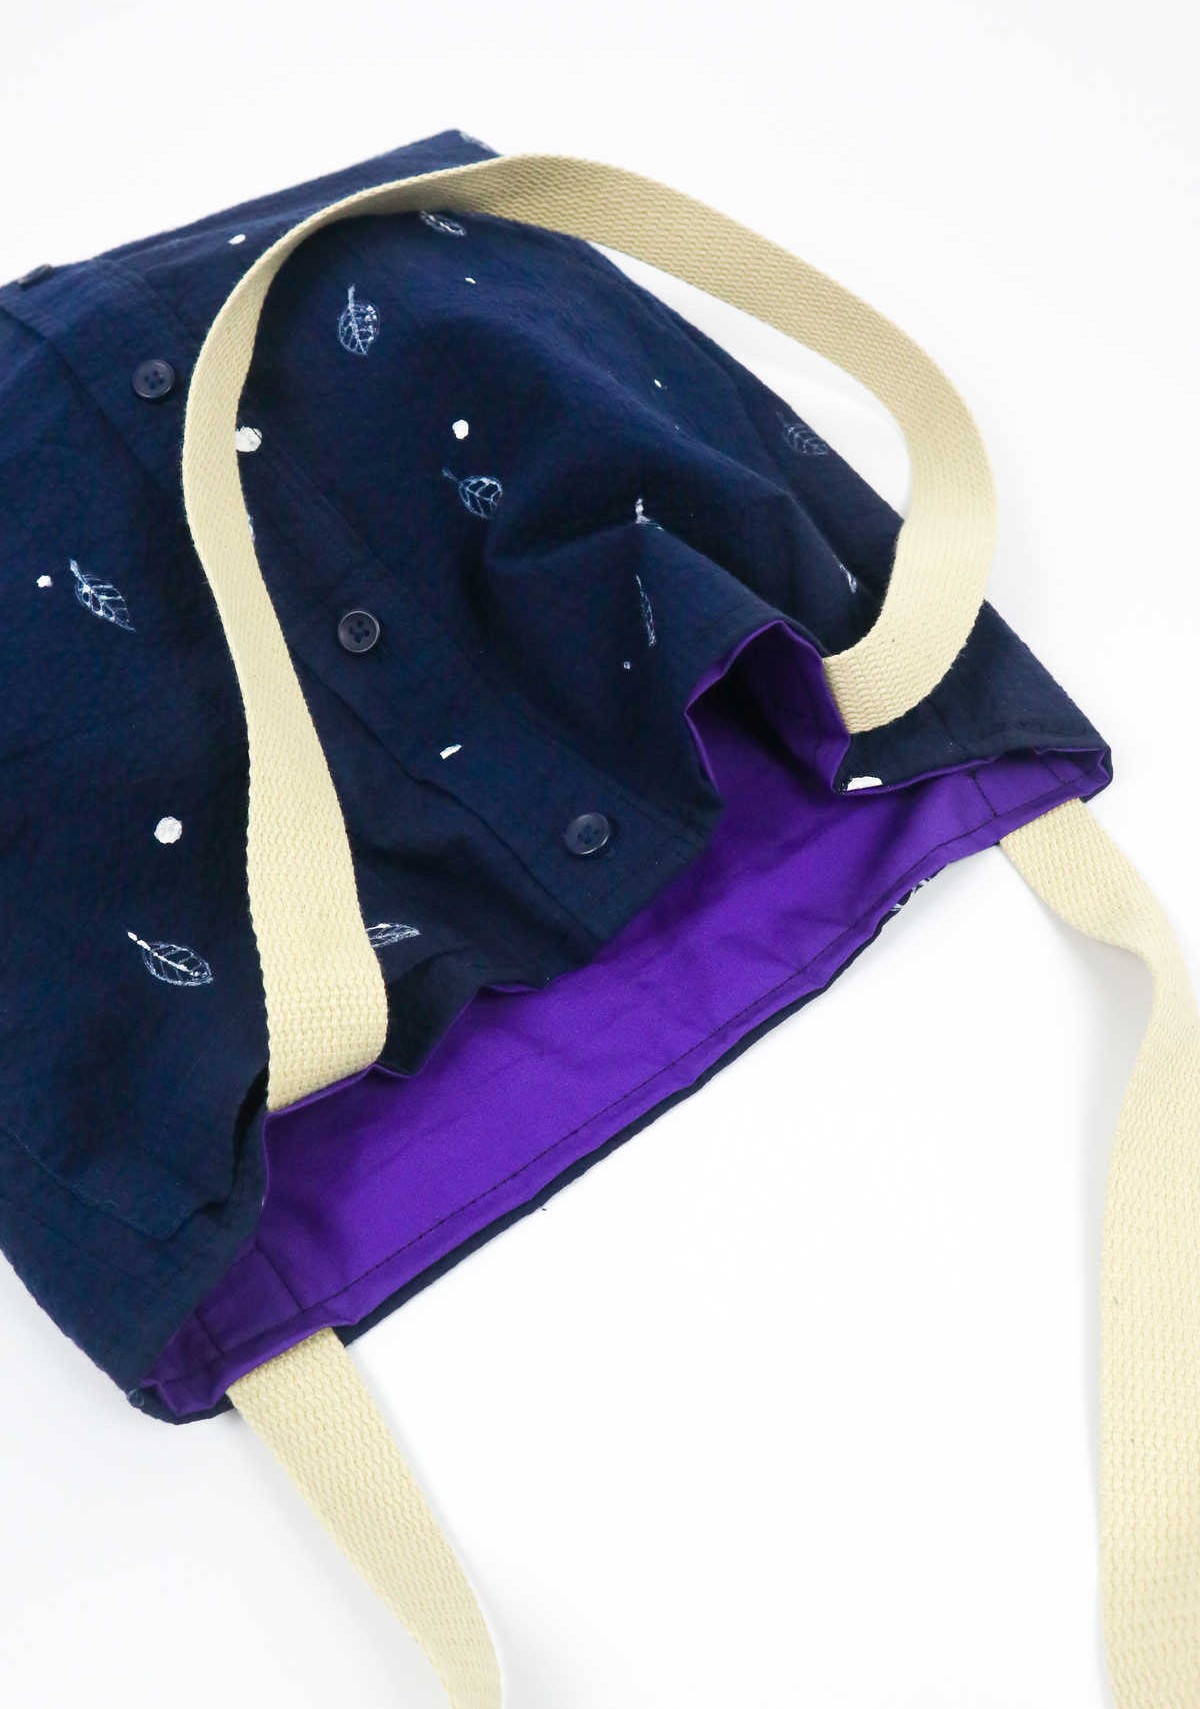
To begin, turn your lining fabric right side out, using your fingers to gently press the edges away from you. Keep the shirt fabric in its current state, with the wrong side facing outward for now.
Next, carefully insert the shirt fabric into the lining fabric, ensuring the bottom edges of both fabrics are properly aligned. Use your hands to smooth out any wrinkles or creases as you work, making sure the outer fabric is evenly situated inside the lining.
Step 8

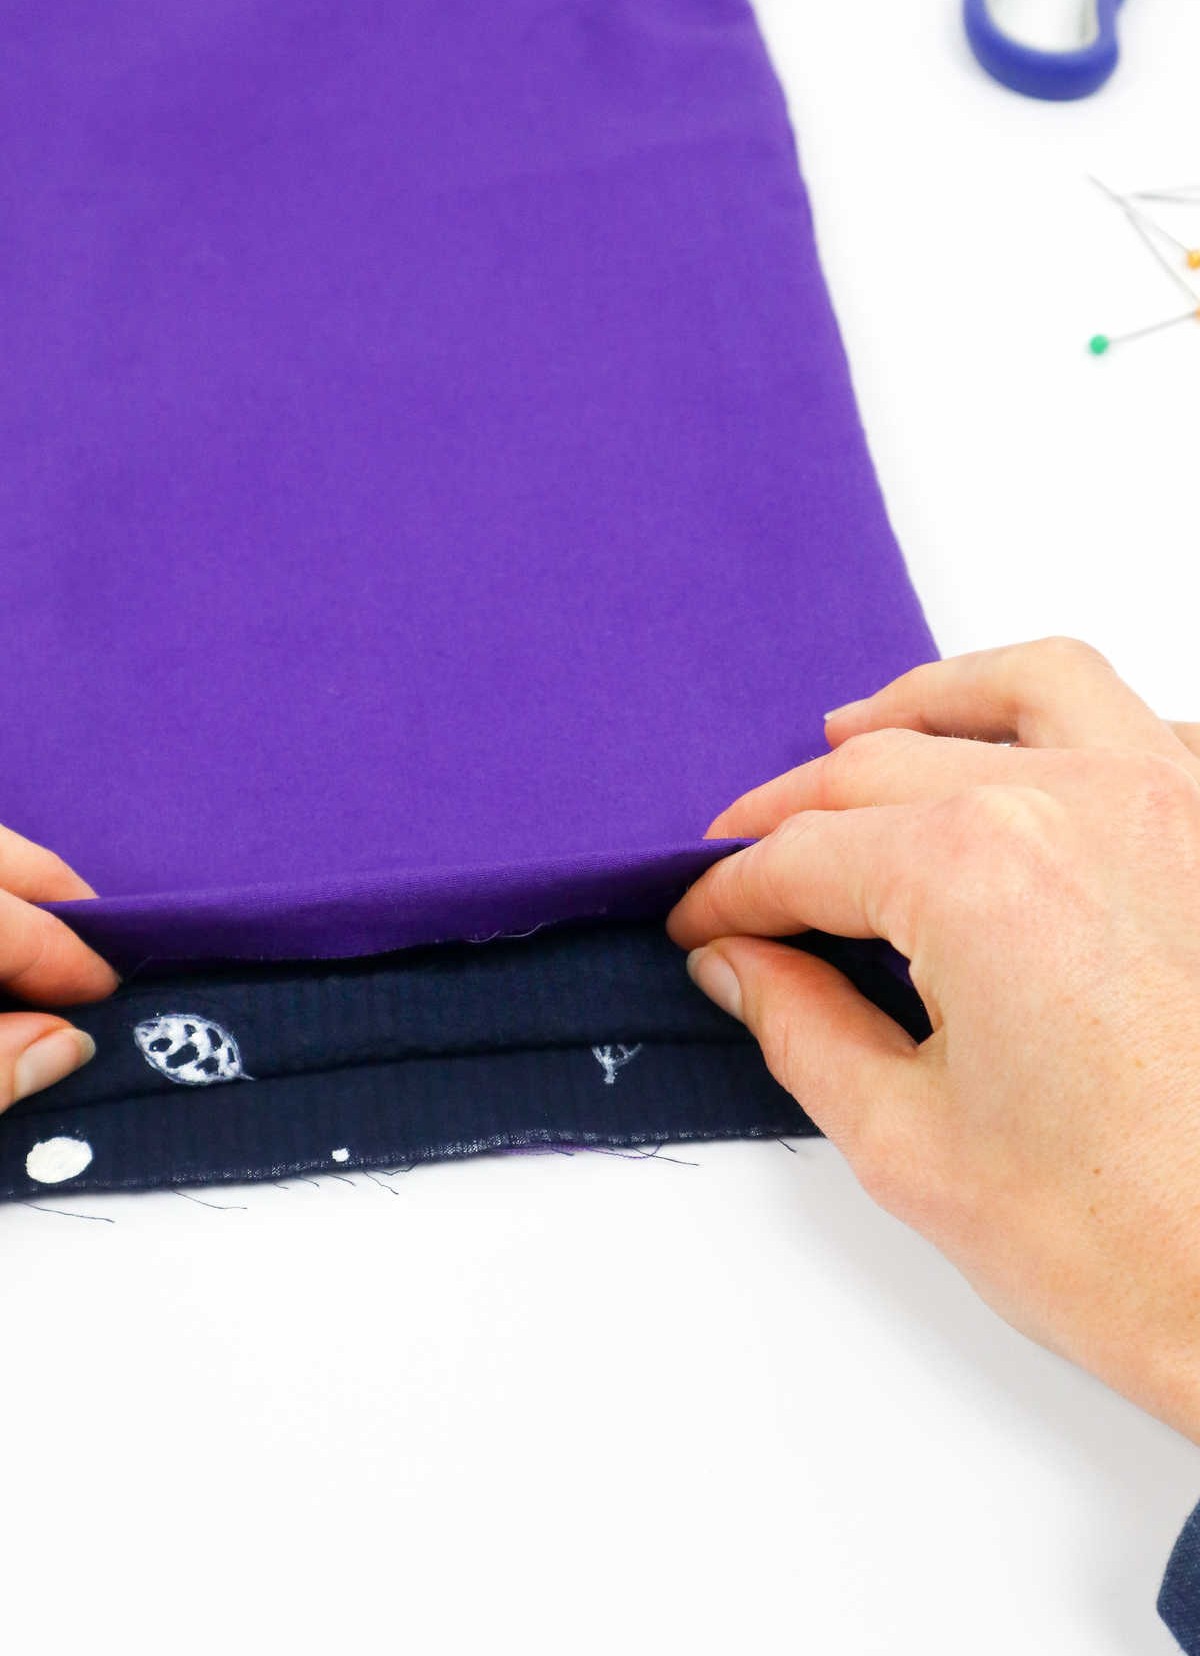
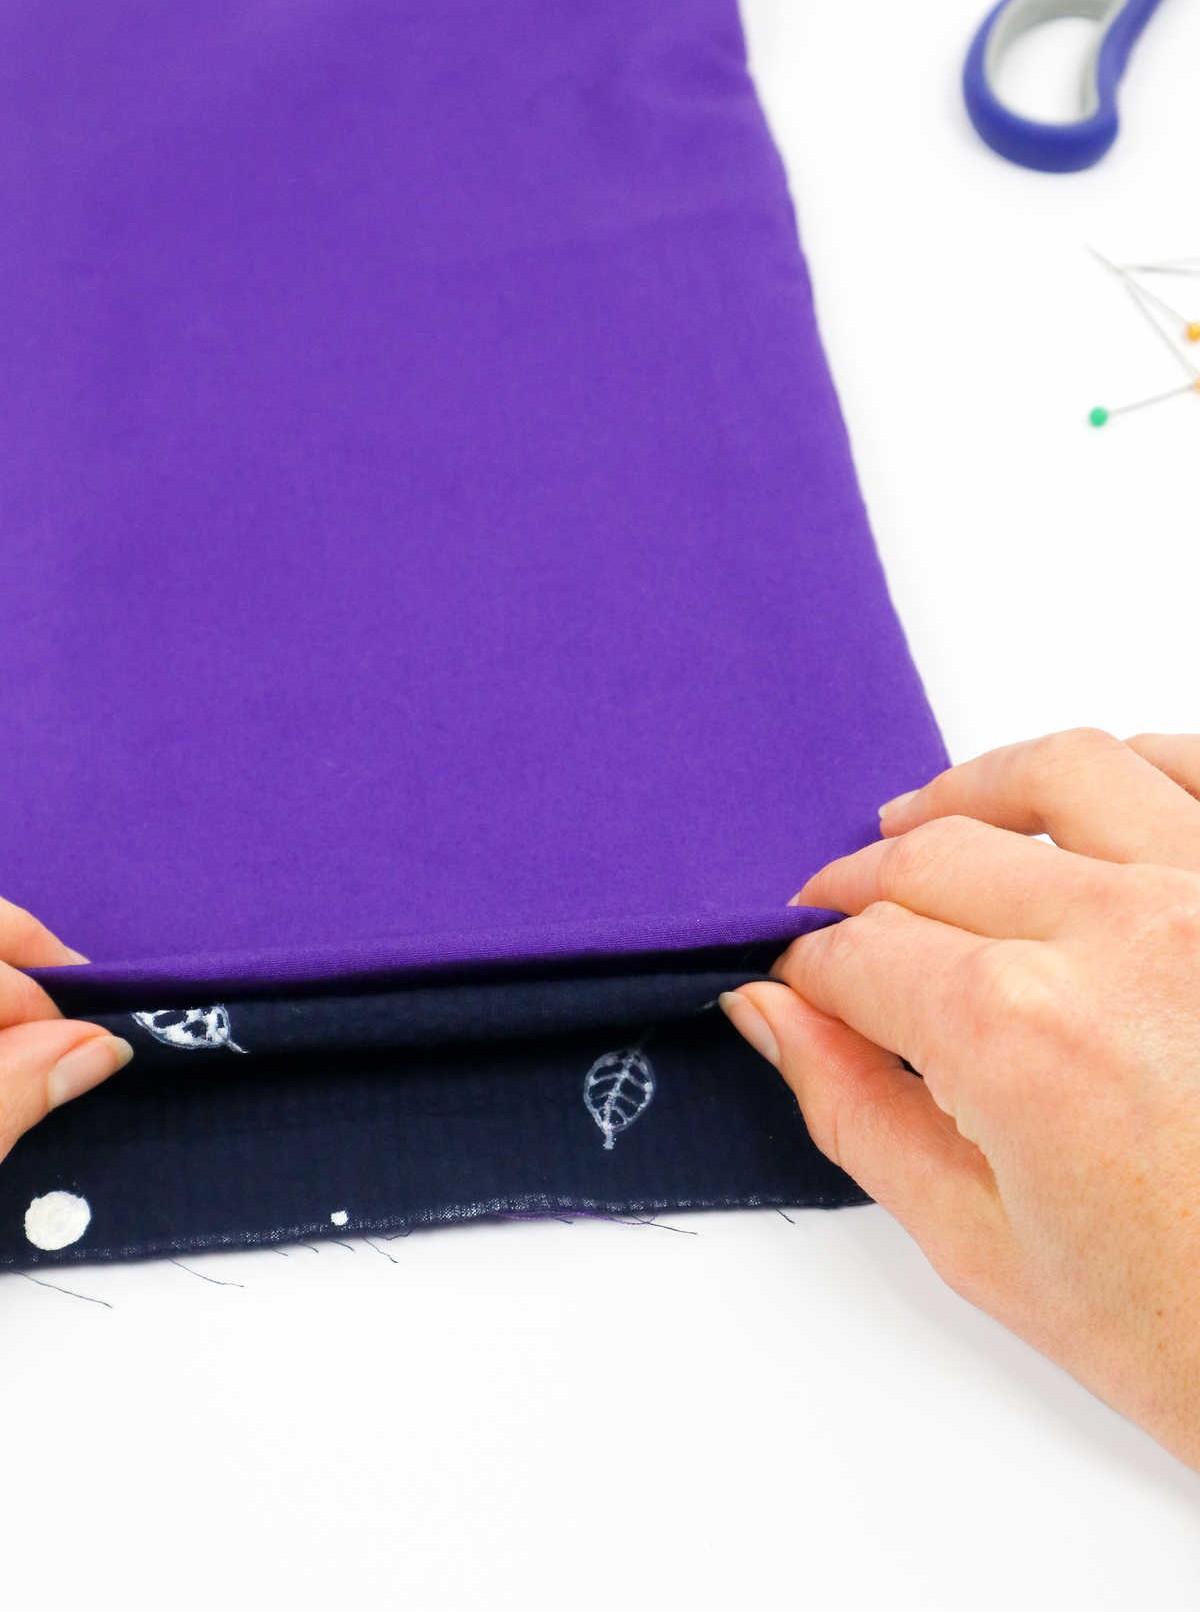
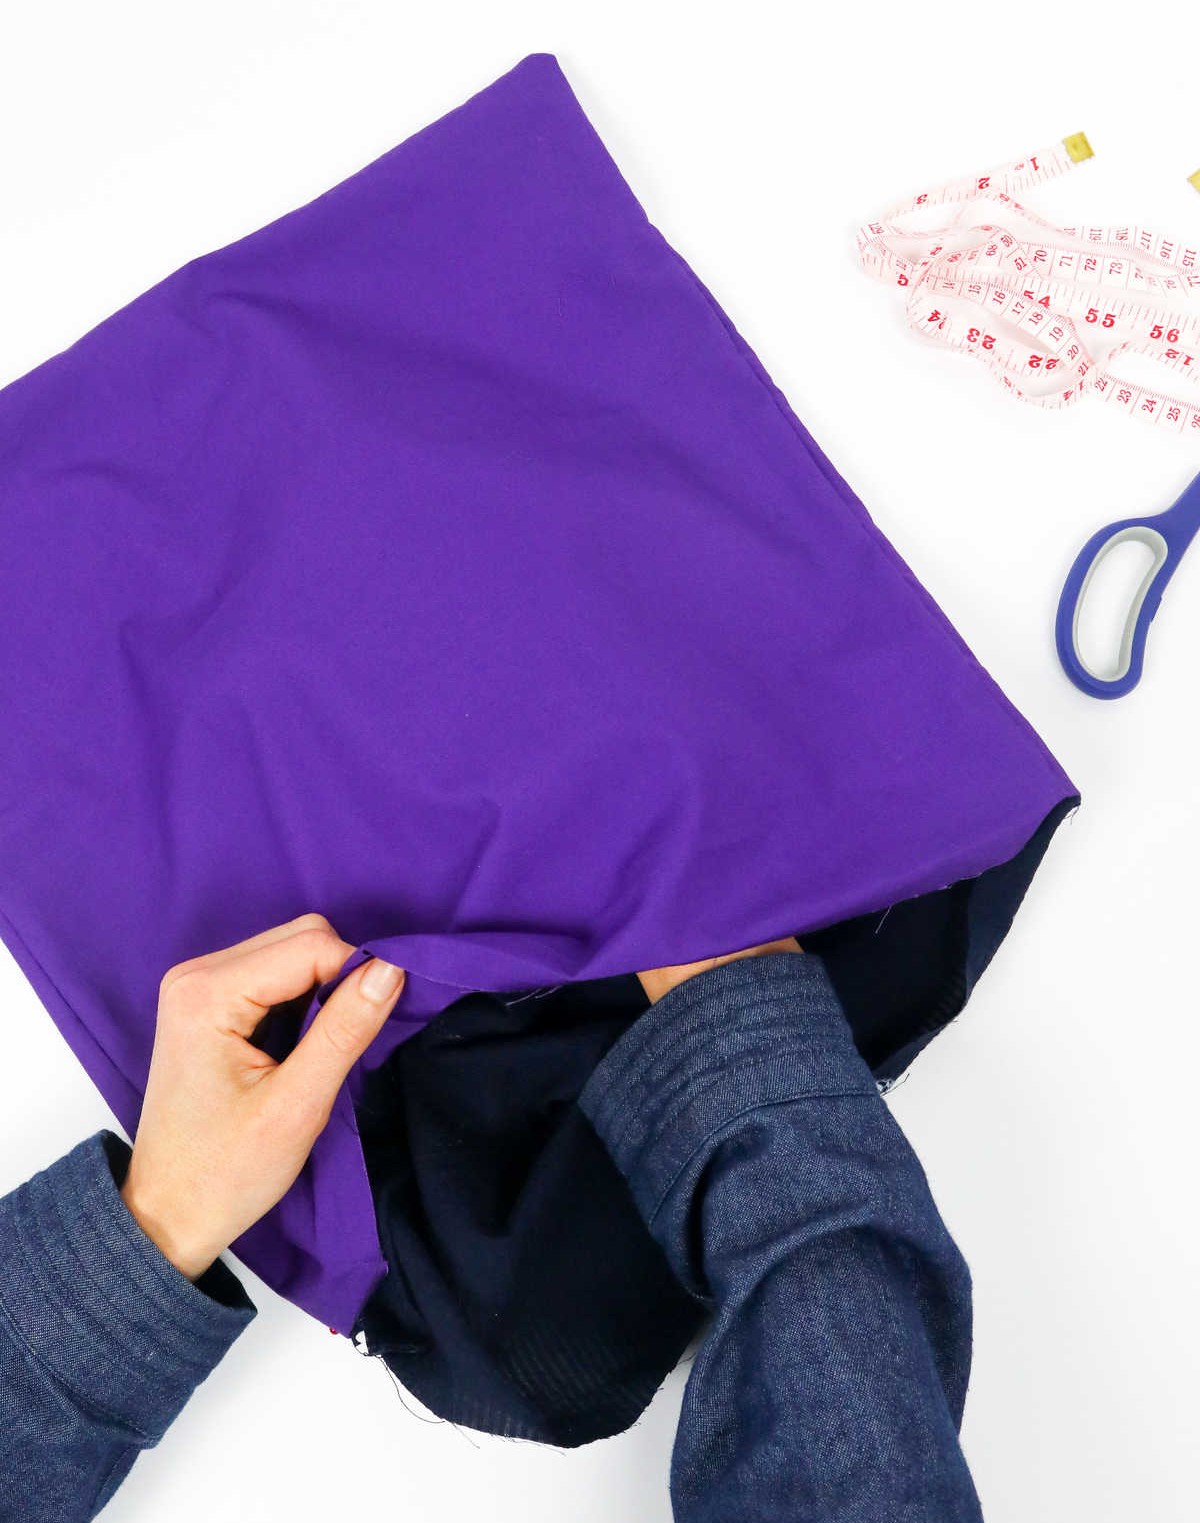
When tackling those pesky uneven edges at the mouth of your bag, it’s essential to tackle them head-on. Start by folding the lining and shirt inward towards the interior of the bag, ensuring a smooth and seamless finish.
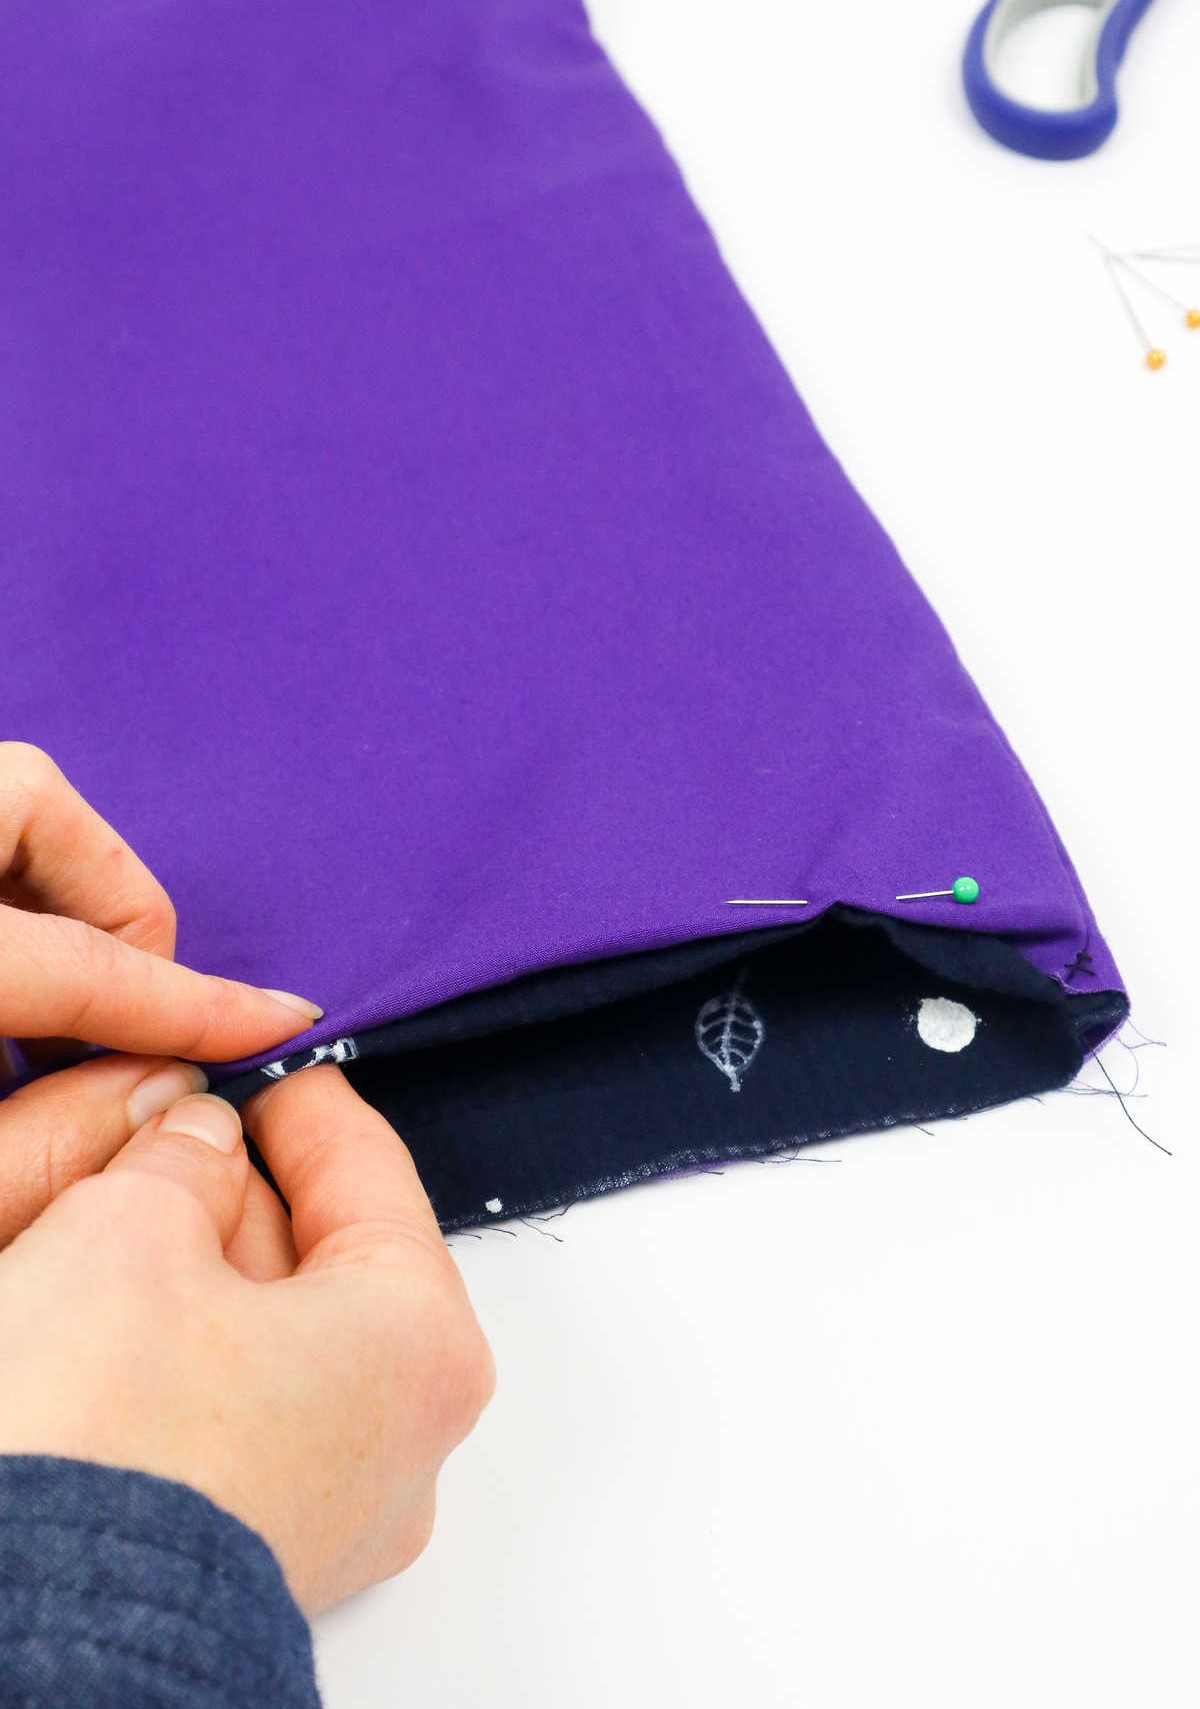
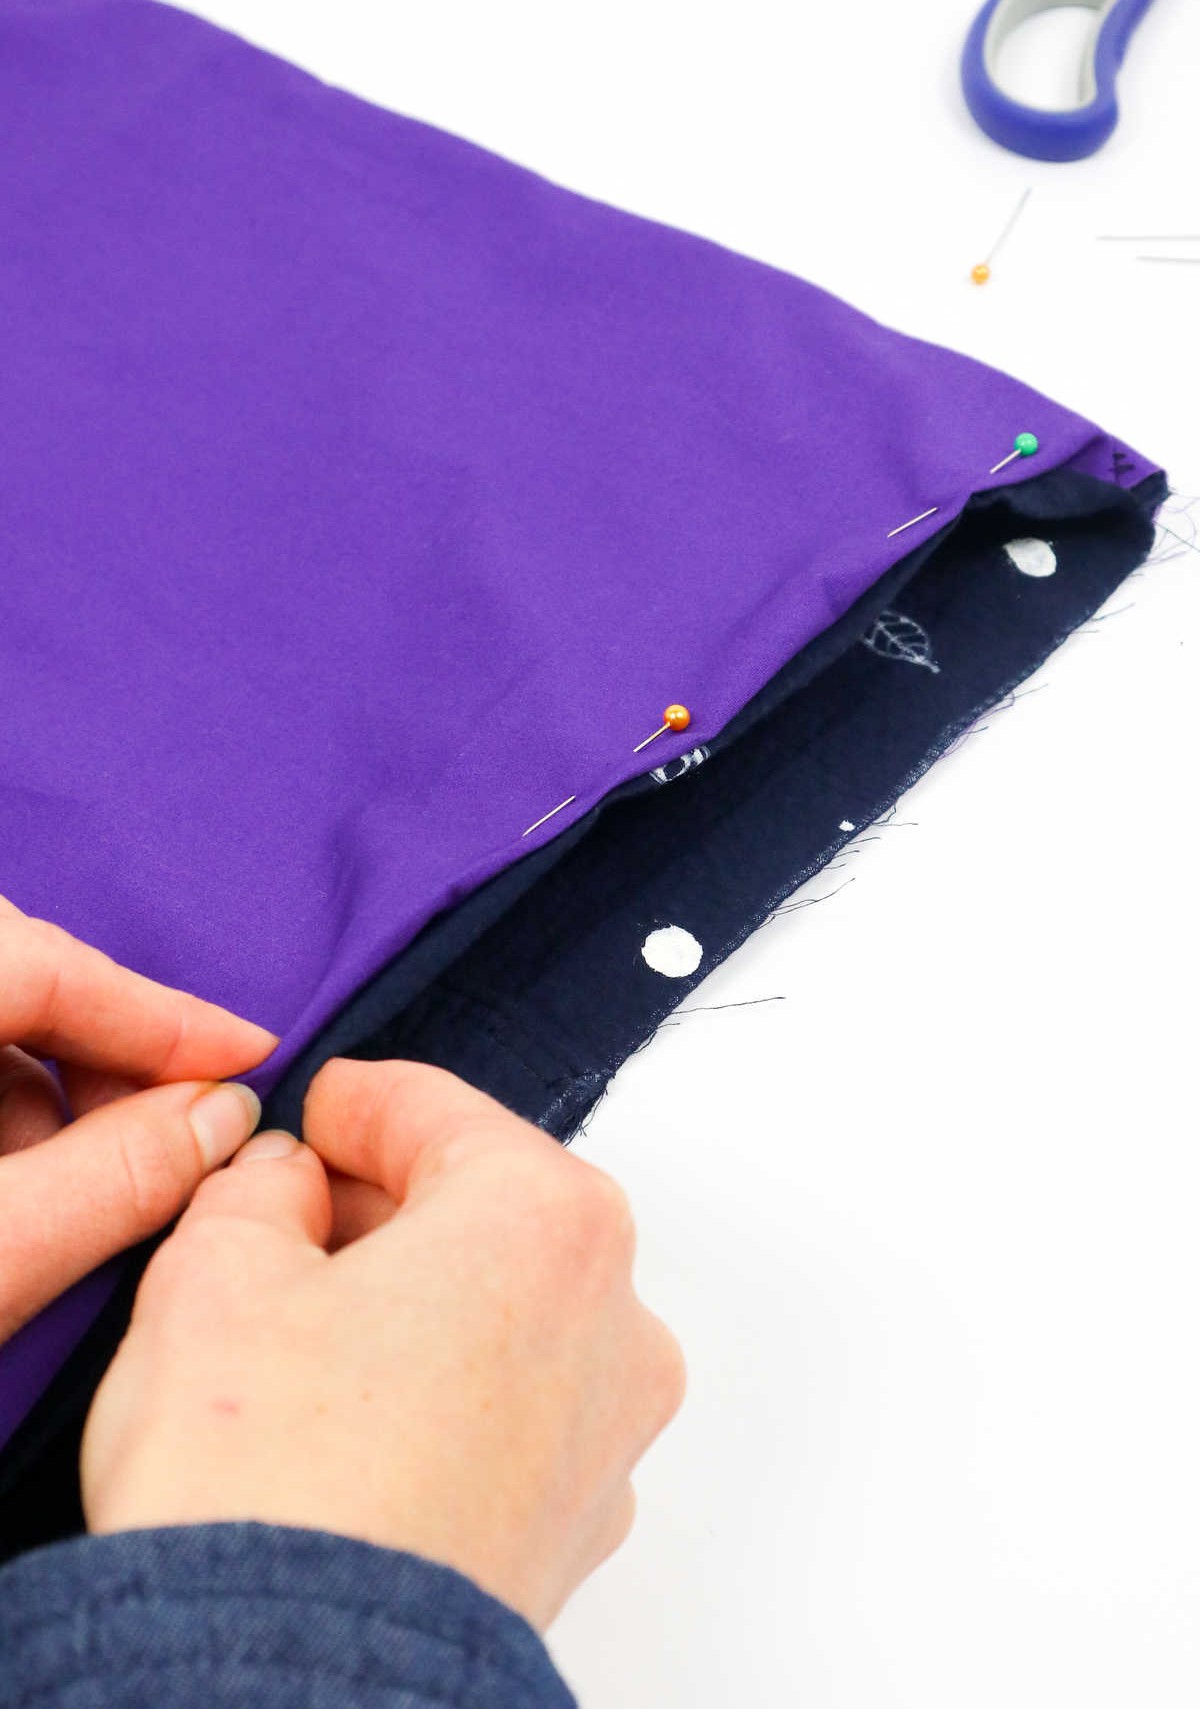
To achieve a crisp and even edge, carefully align the fabric hems before securing both with sewing pins. This meticulous step is crucial in creating a uniform rim around the mouth of your bag.
As you work your way around, repeat this process until you’ve successfully eliminated any remaining irregularities, leaving you with a polished and professional-looking finish.
Step 9
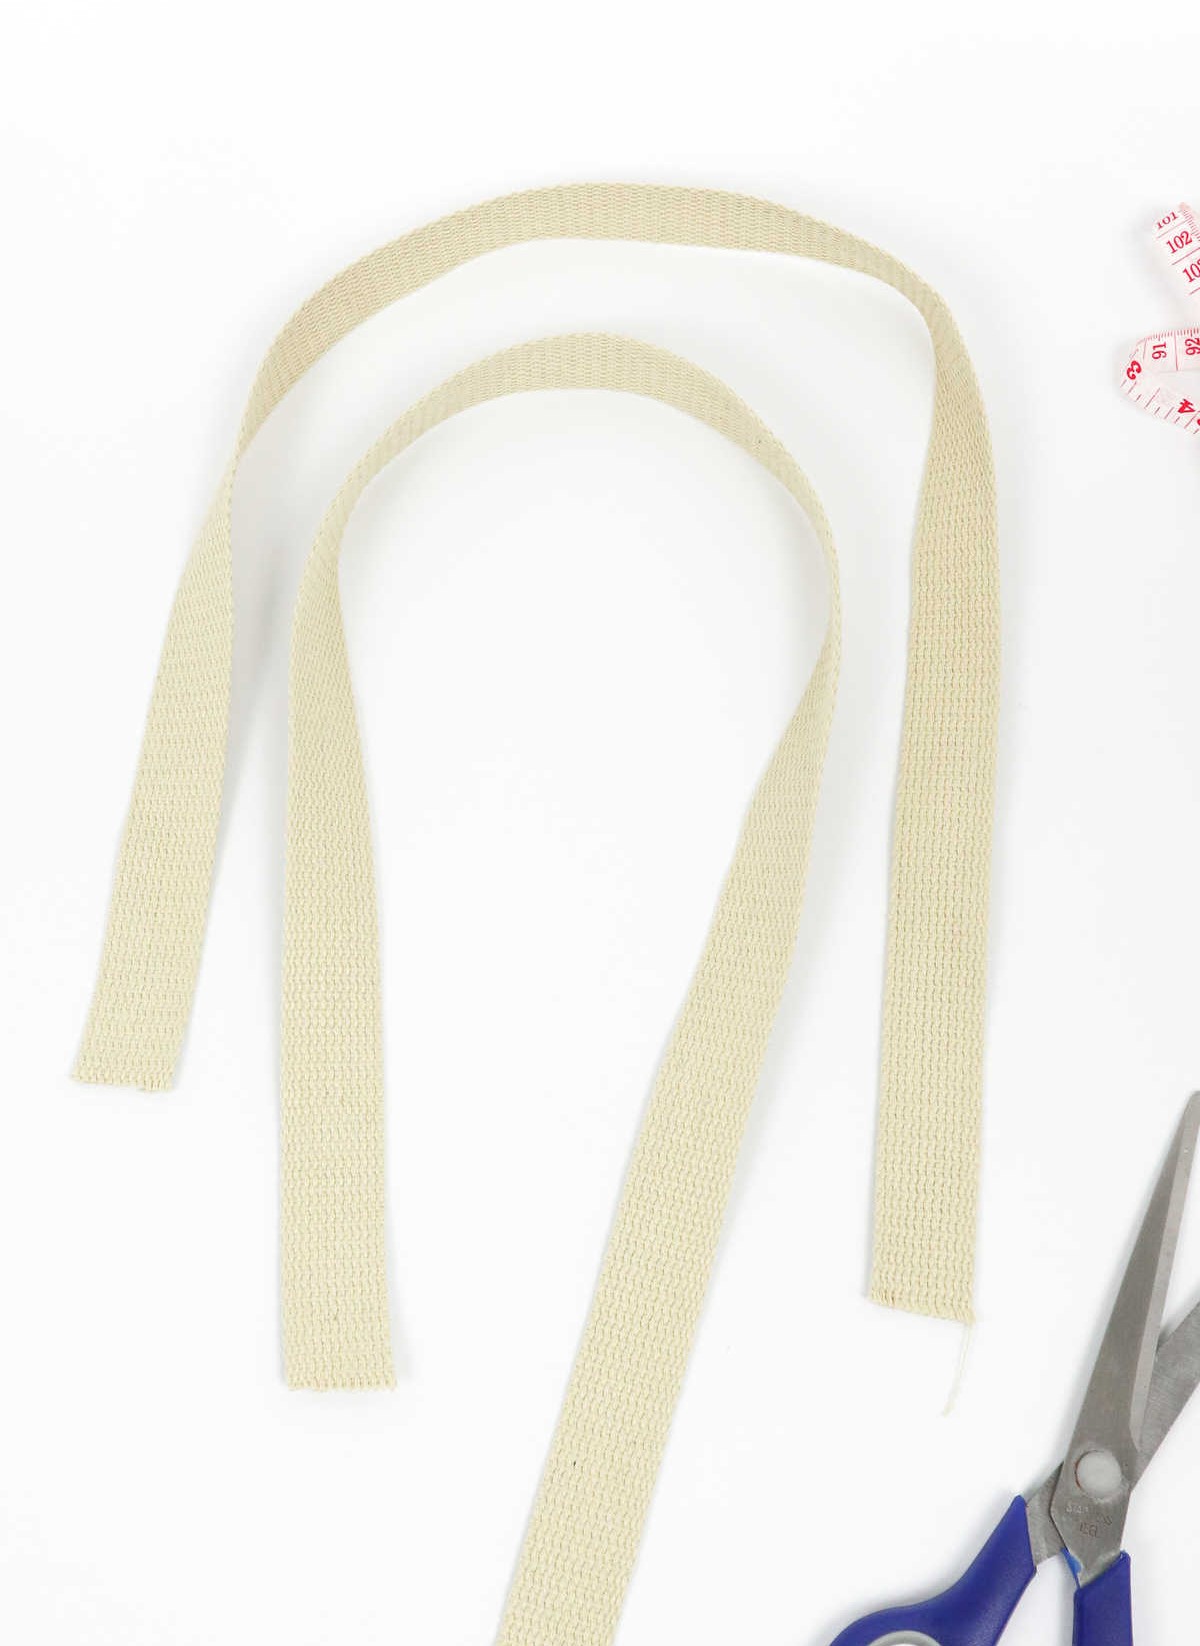
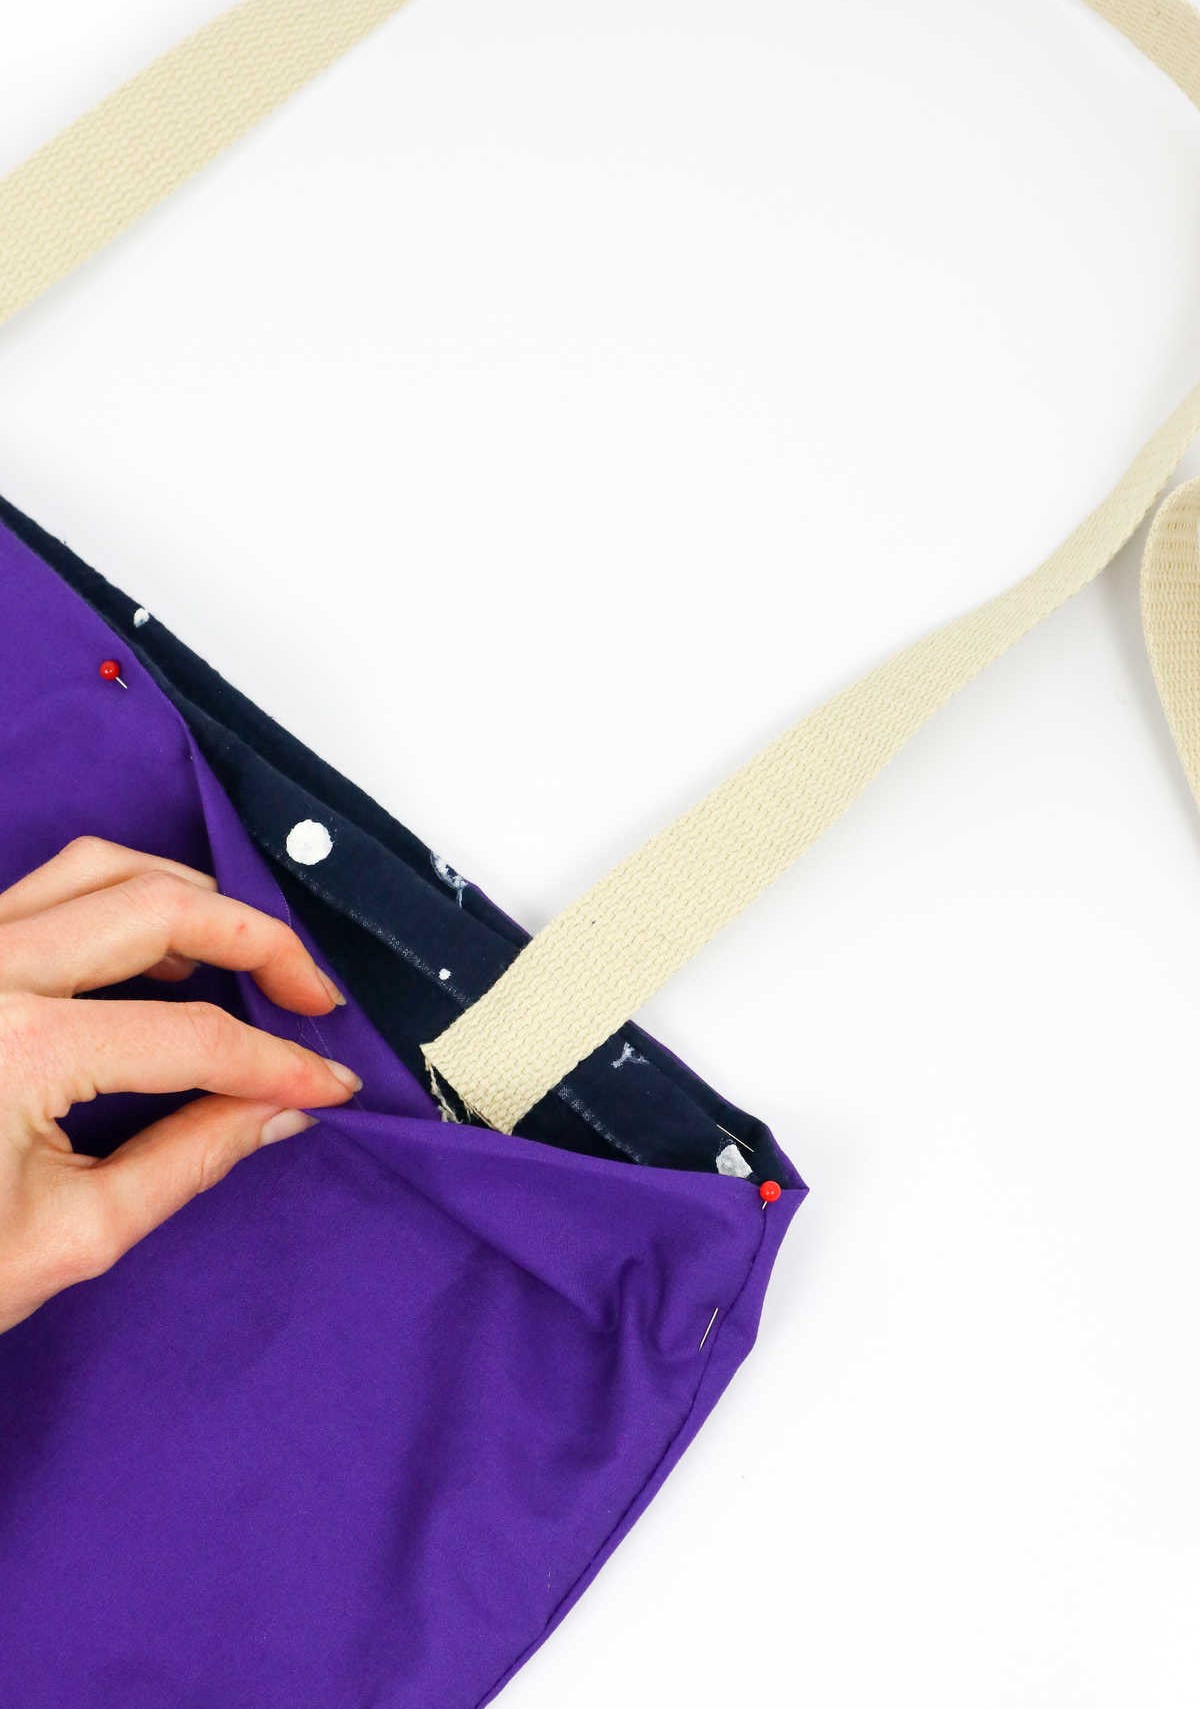
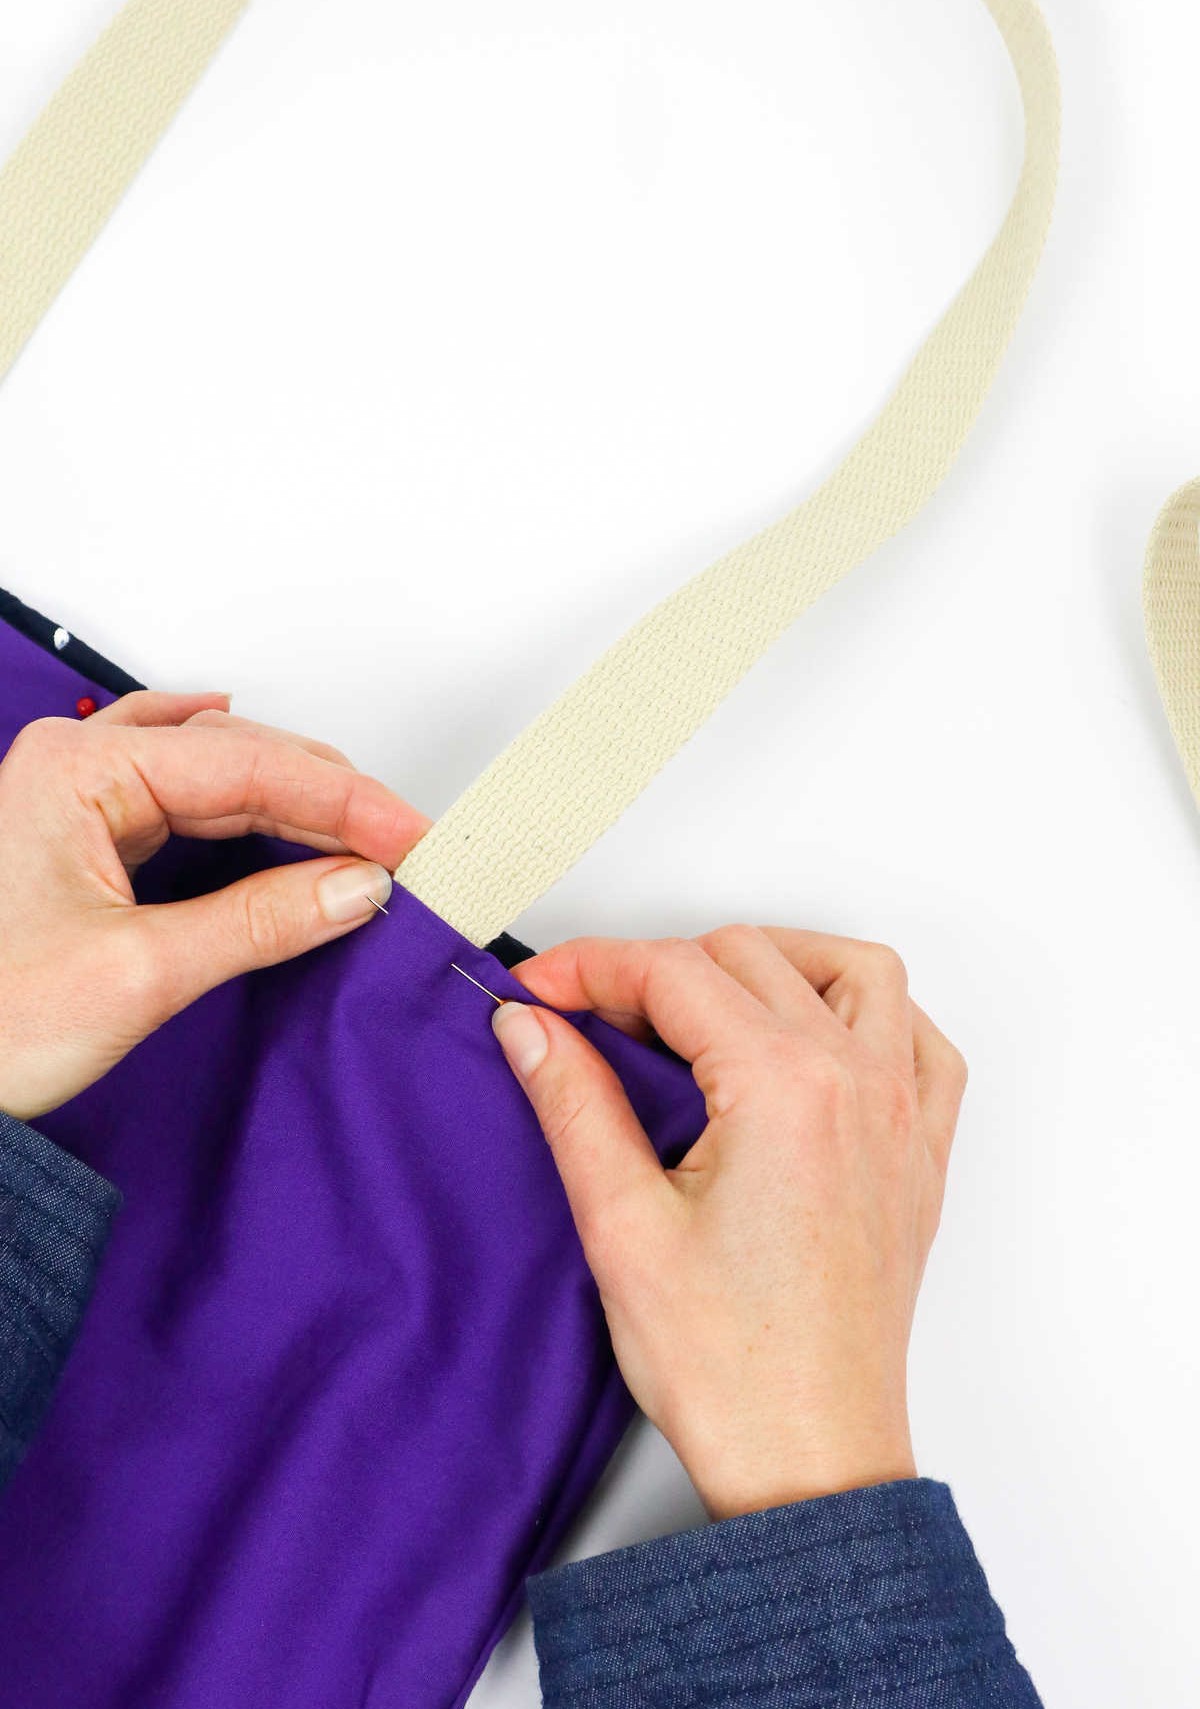
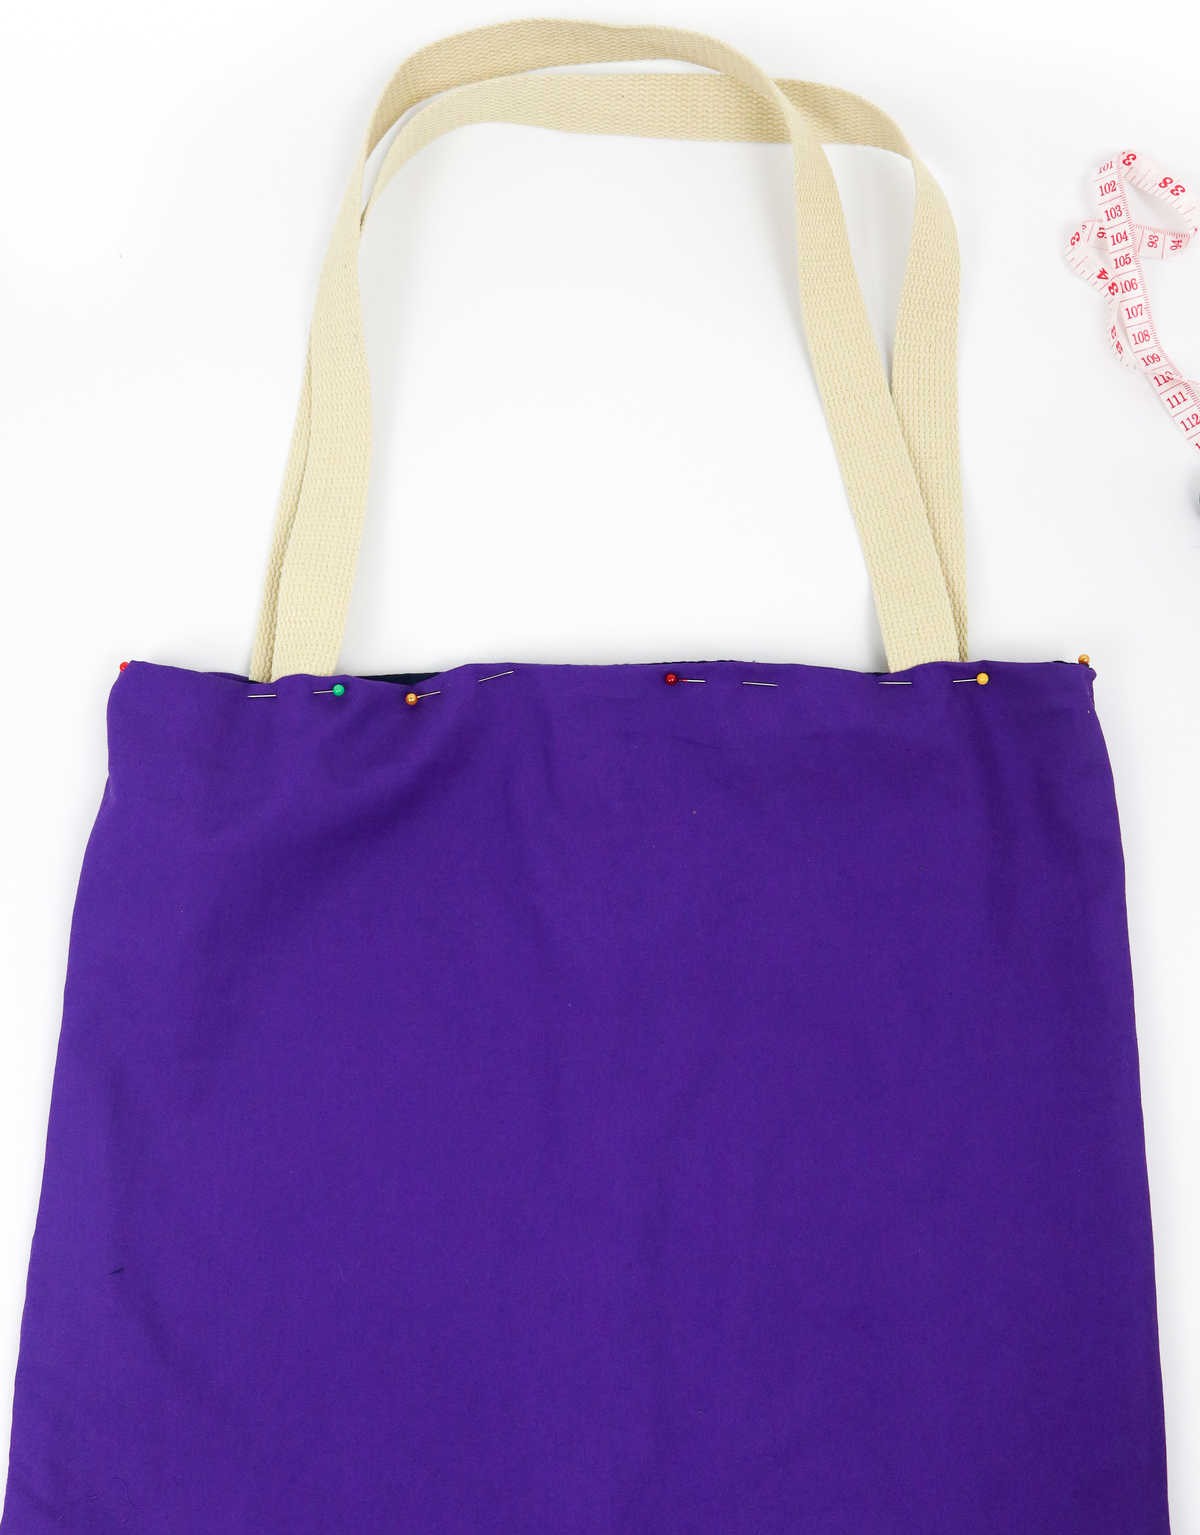
To complete your tote bag’s straps, begin by cutting two strips of cotton ribbon or webbing, each approximately 36 inches long. While you can always adjust the length to suit your preferences, this initial length provides a good starting point. Once cut, take one strip and gently tuck its ends between the lining and outer fabric of the bag, as depicted below. To secure the straps in place, use a sewing pin, ensuring they are evenly spaced and consistent in height.
Step 10
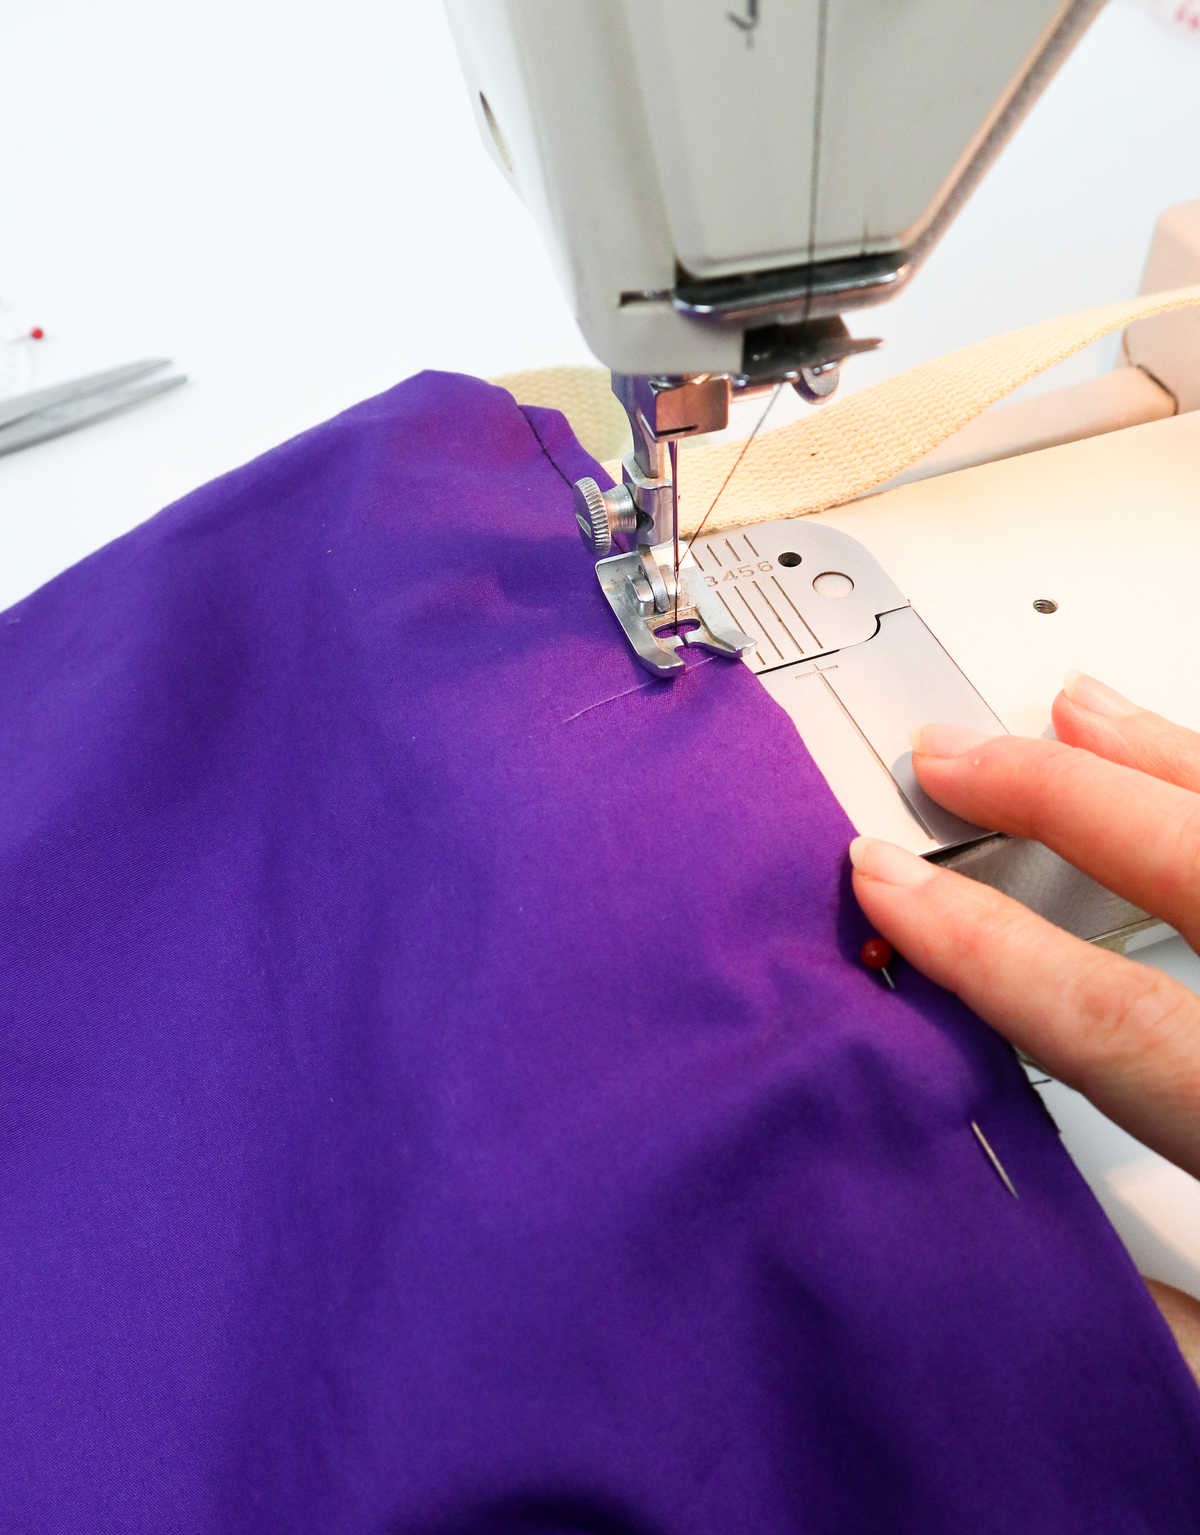
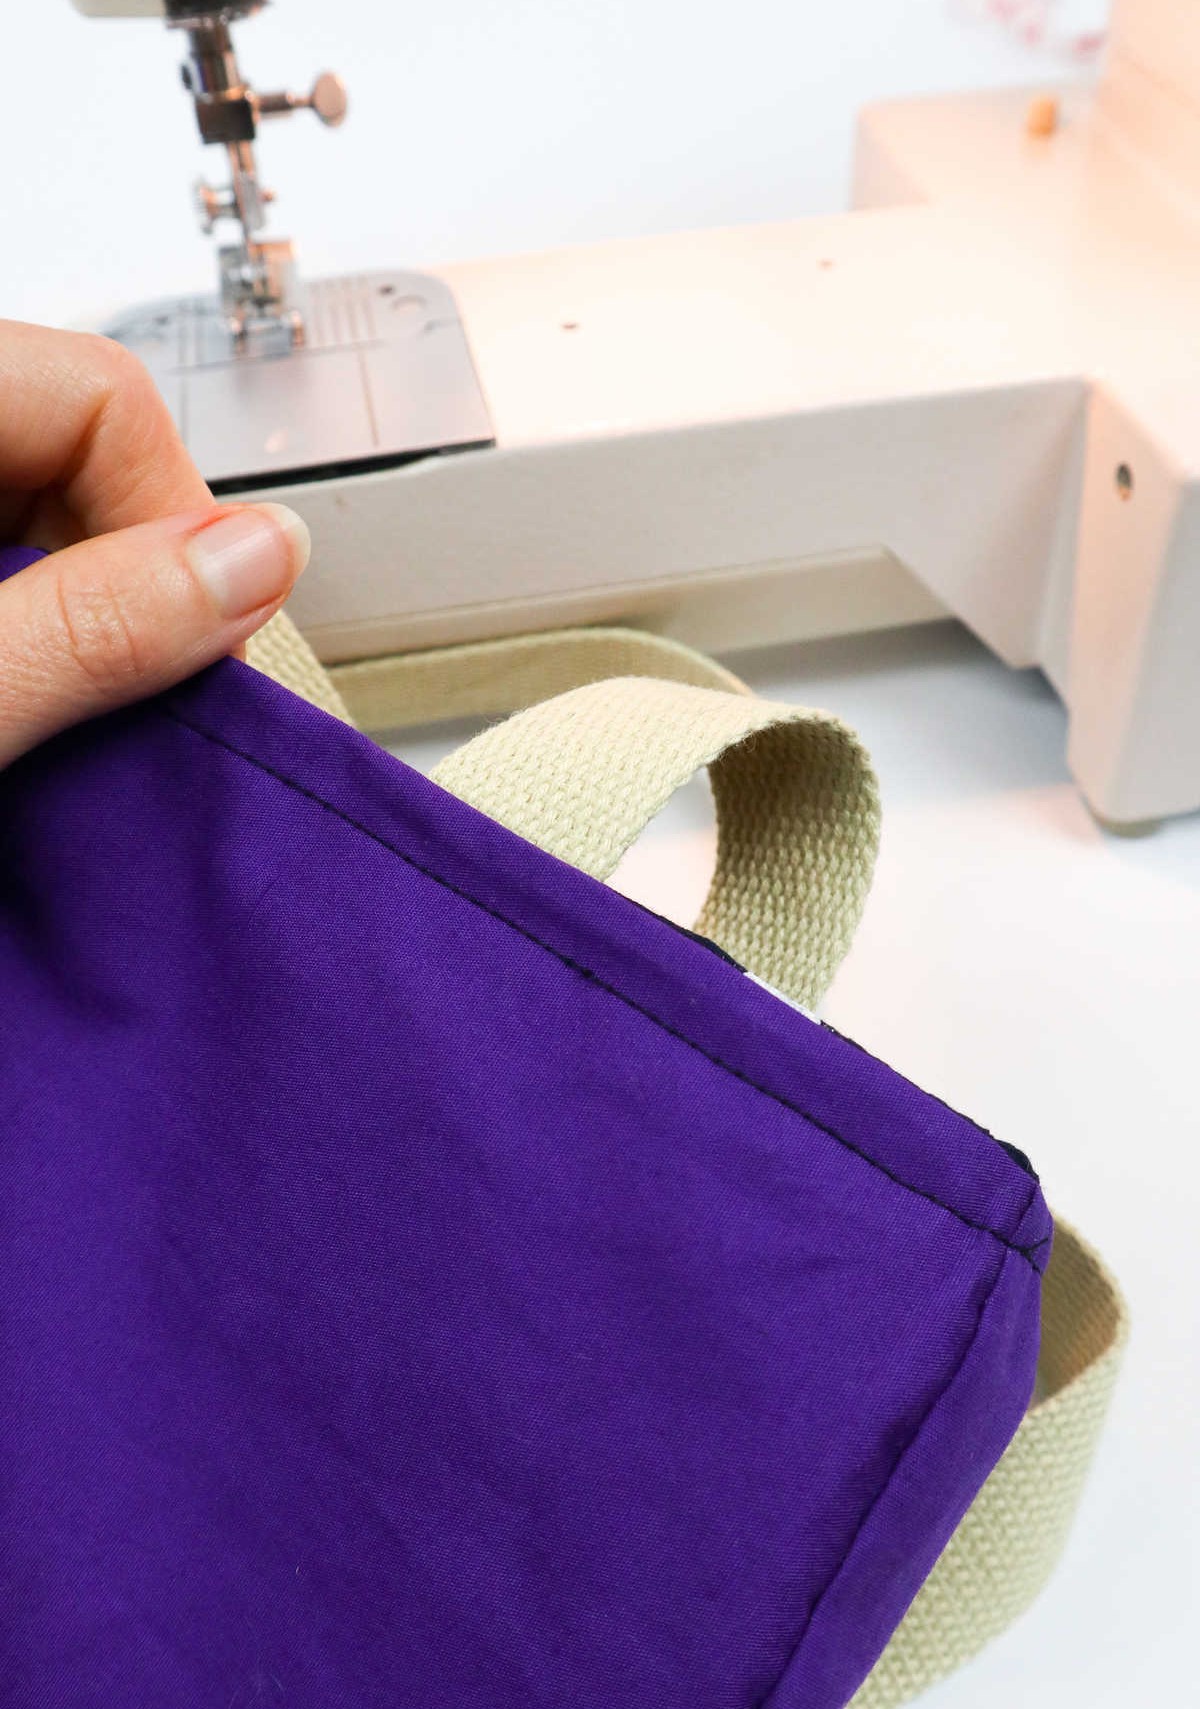
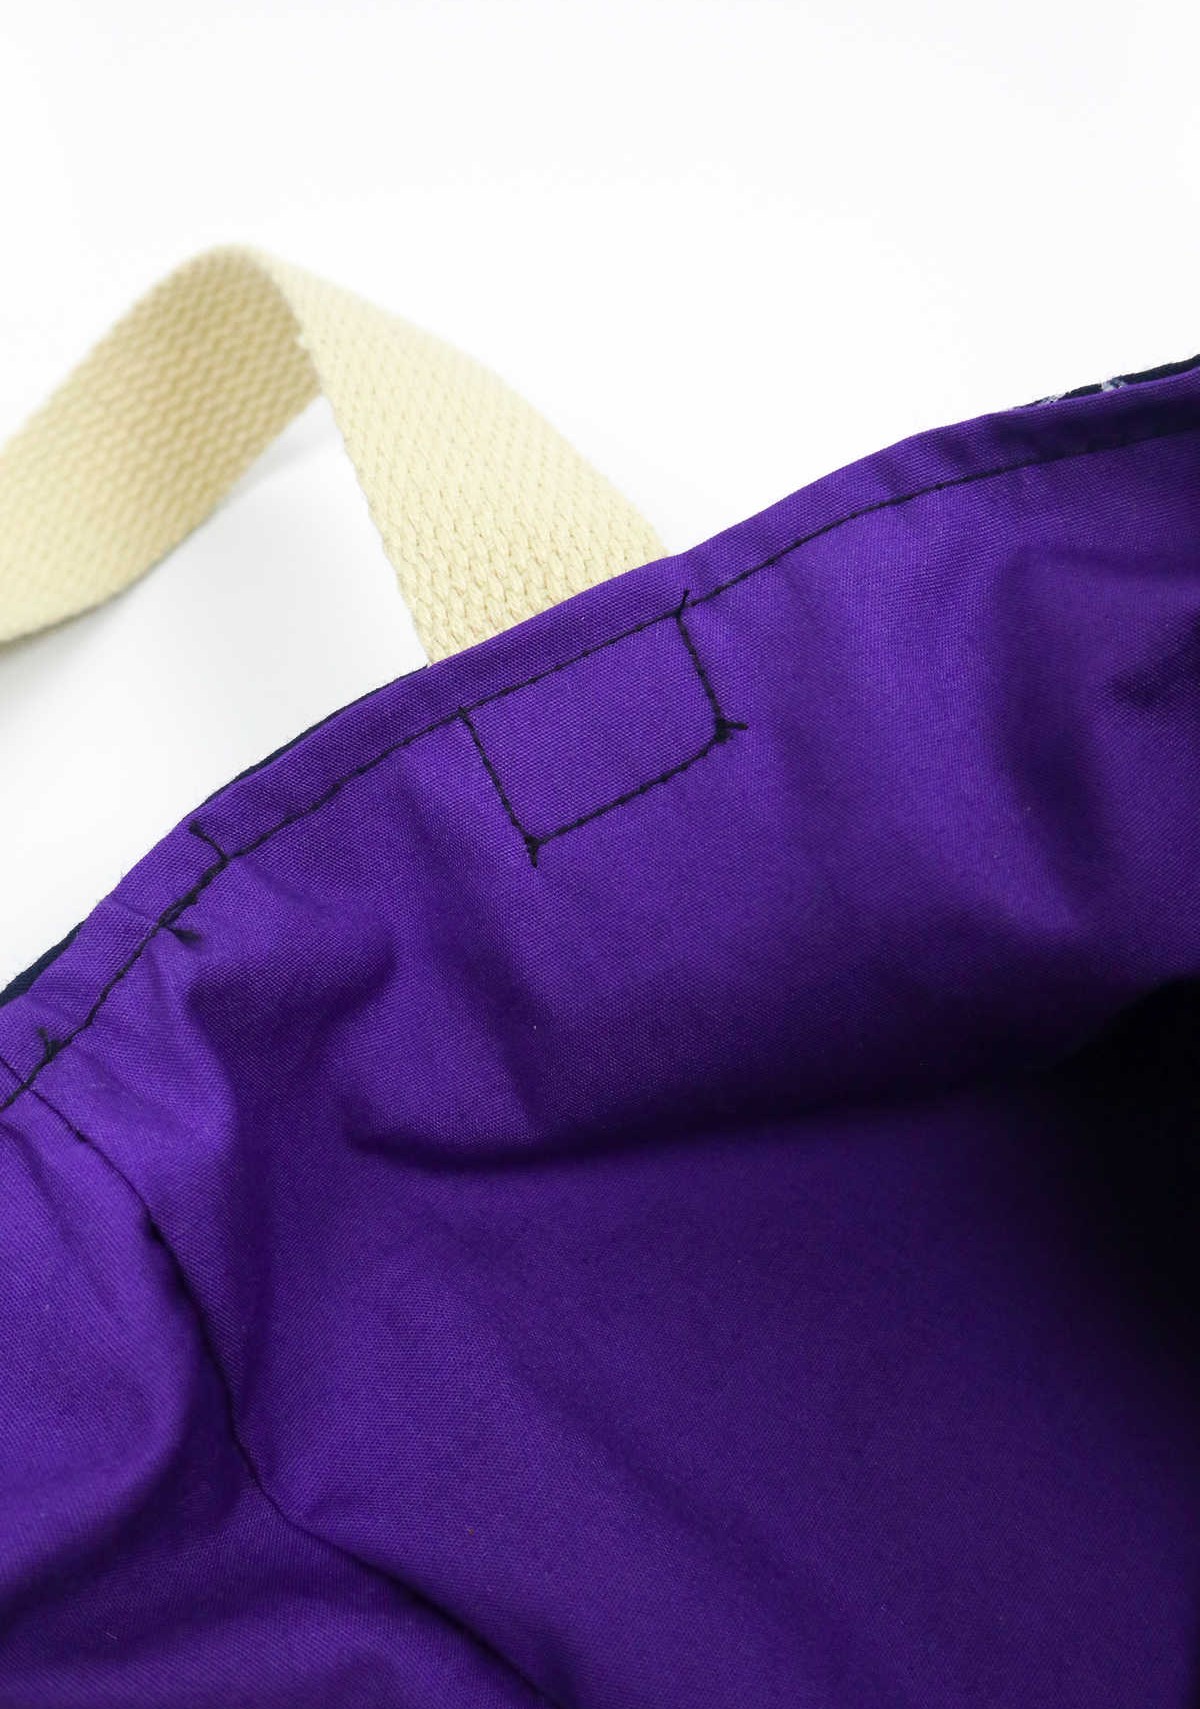
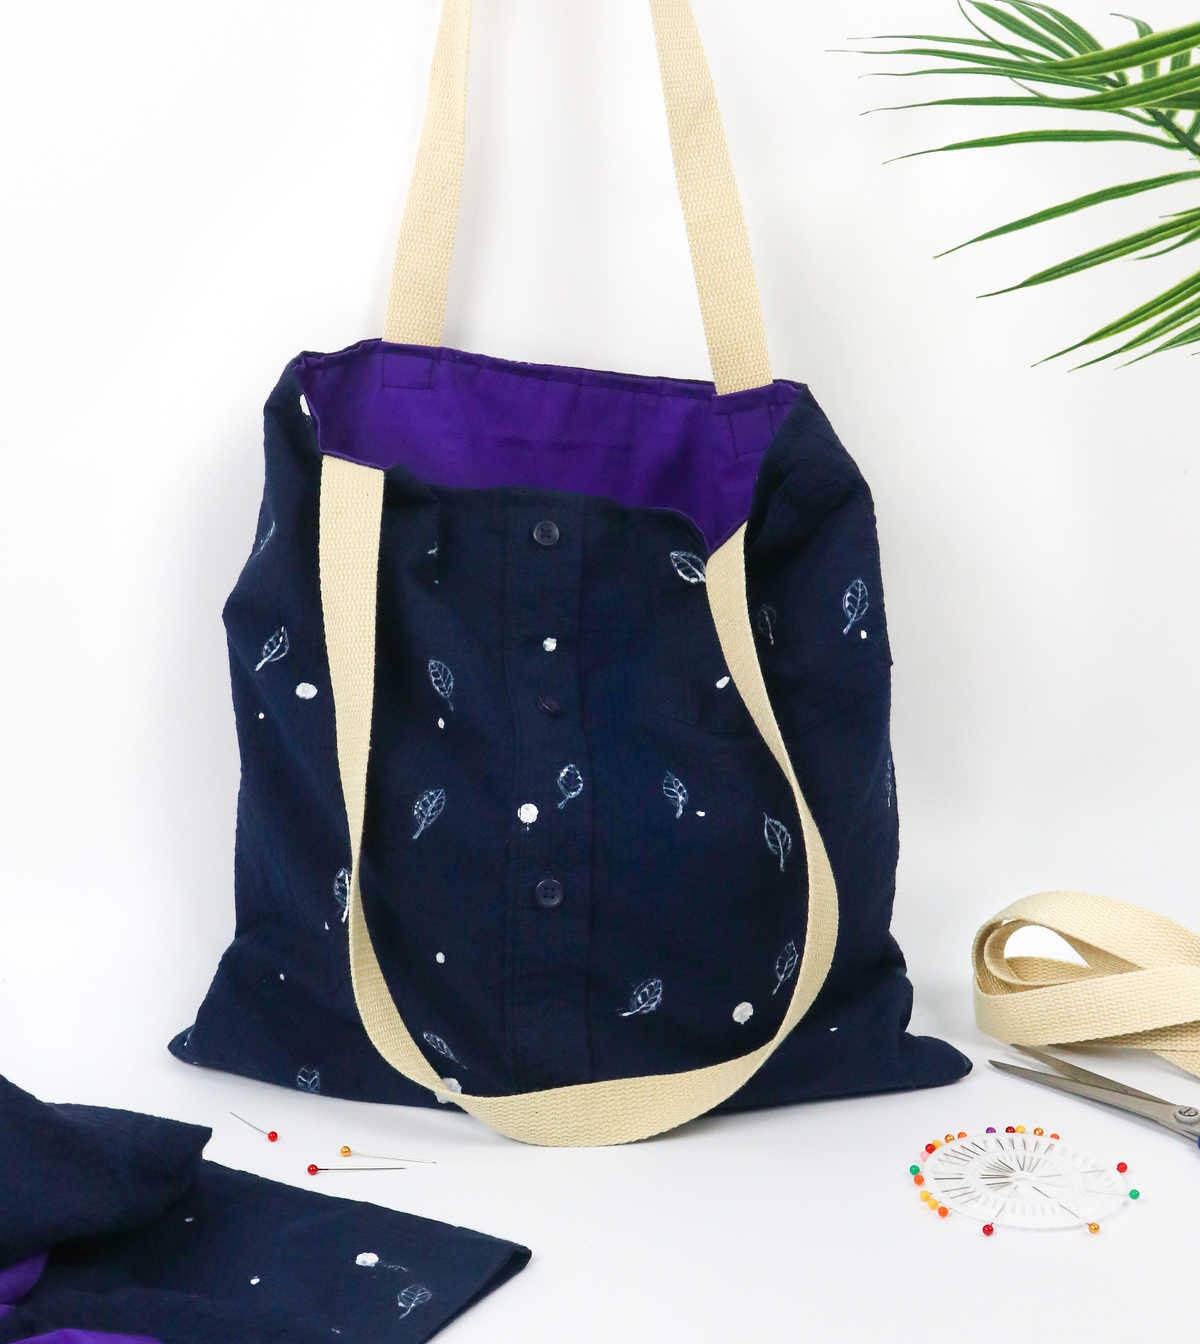
Before diving into the sewing process, take a moment to set up your machine and get comfortable. As an added precaution, consider taking extra time to secure the straps by sewing around their ends in a square shape. This will help keep everything in place as you work. Once you’ve completed this step, flip the bag inside out and you’ll be ready to start using your tote.
How Much Fabric Do I Need for a Tote Bag?
When creating a tote bag, the amount of fabric required is directly tied to the desired size of the bag. The type of shirt used will also impact the final dimensions of your tote. To produce larger bags that require more fabric, I often opt for men’s shirts as they provide ample material. Keep in mind that you previously cut the shirts from sleeve to sleeve, a useful reference point for estimating the total amount of fabric available and how much additional lining material may be needed.
How Do You Make a Tote Bag Without a Sewing Machine?
While it may require more time and effort, it is indeed possible to create a tote bag without the use of a sewing machine. One approach is to opt for hand-sewing, which will undoubtedly be a longer process. This method necessitates making multiple passes around the fabric to ensure your stitches are secure. Alternatively, you can choose from a range of adhesive solutions that enable a no-sew DIY project.
Fabric tape, bonding tape, iron-on fusible appliqué, and fabric glue are all viable options for attaching your bag’s components together. This method eliminates the need for a sewing machine altogether, making it an attractive choice for those seeking a quick and easy solution.
DIY Tote Bag from Old Shirt (Step-by-Step Tutorial)
Elevate your love for sewing with a unique DIY tote bag crafted from an old shirt. With just 10 minutes of prep time, you can transform a discarded piece of fabric into a functional and stylish accessory that reflects your personal taste.
Equipment
Materials
The featured product consists of a classic cotton shirt made from a blend of natural fibers and synthetic materials, specifically polycotton fabric. Measuring in at 40 inches by 40 inches, this item offers ample space for whatever design or message you wish to convey. Additionally, the sturdy cotton webbing provides a secure and durable foundation for your creative expression.
Instructions
To embark on this DIY tote project, gather all the necessary supplies and tools. Begin by laying your shirt flat on a work surface and marking the areas just under the sleeve, as well as the desired length of the bag. Use fabric pens to make clear markings and connect the four dots. Secure both the front and back of the shirt with sewing pins while you cut the fabric. Next, take another piece of fabric for use as lining, place your shirt swatch over it, aligning them and pinning in place.
Cut two identical swatches for the lining, each matching the size of the outer fabric. If using a button-down shirt, additionally secure the gaps between buttons by sewing down the length of the fabric to close those buttonholes. When preparing to sew the swatches, lay both shirt fabrics face-to-face and pin them in place. Repeat this process for the lining. Proceed to sew both fabrics, remembering to leave one side open as the bag’s opening.
Then, turn only the lining pocket outwards with the right side facing outward. Carefully place the shirt fabric inside the lining, aligning all edges. Smooth out any wrinkles by hand. Fold the ragged ends of both the lining and shirt inward and towards the bag’s interior. Ensure the folded ends are neatly aligned and even before pinning the hem in place. Next, create the shoulder straps by cutting two cotton webbing strips, each approximately 26 inches long.
Tuck the strap ends into their designated spots between the lining and shirt fabric, securing with pins. Sew your bag on all three sides, using a box-shaped pattern to secure the strap ends when sewing them. Finally, turn the bag outwards, and it’s ready for use.