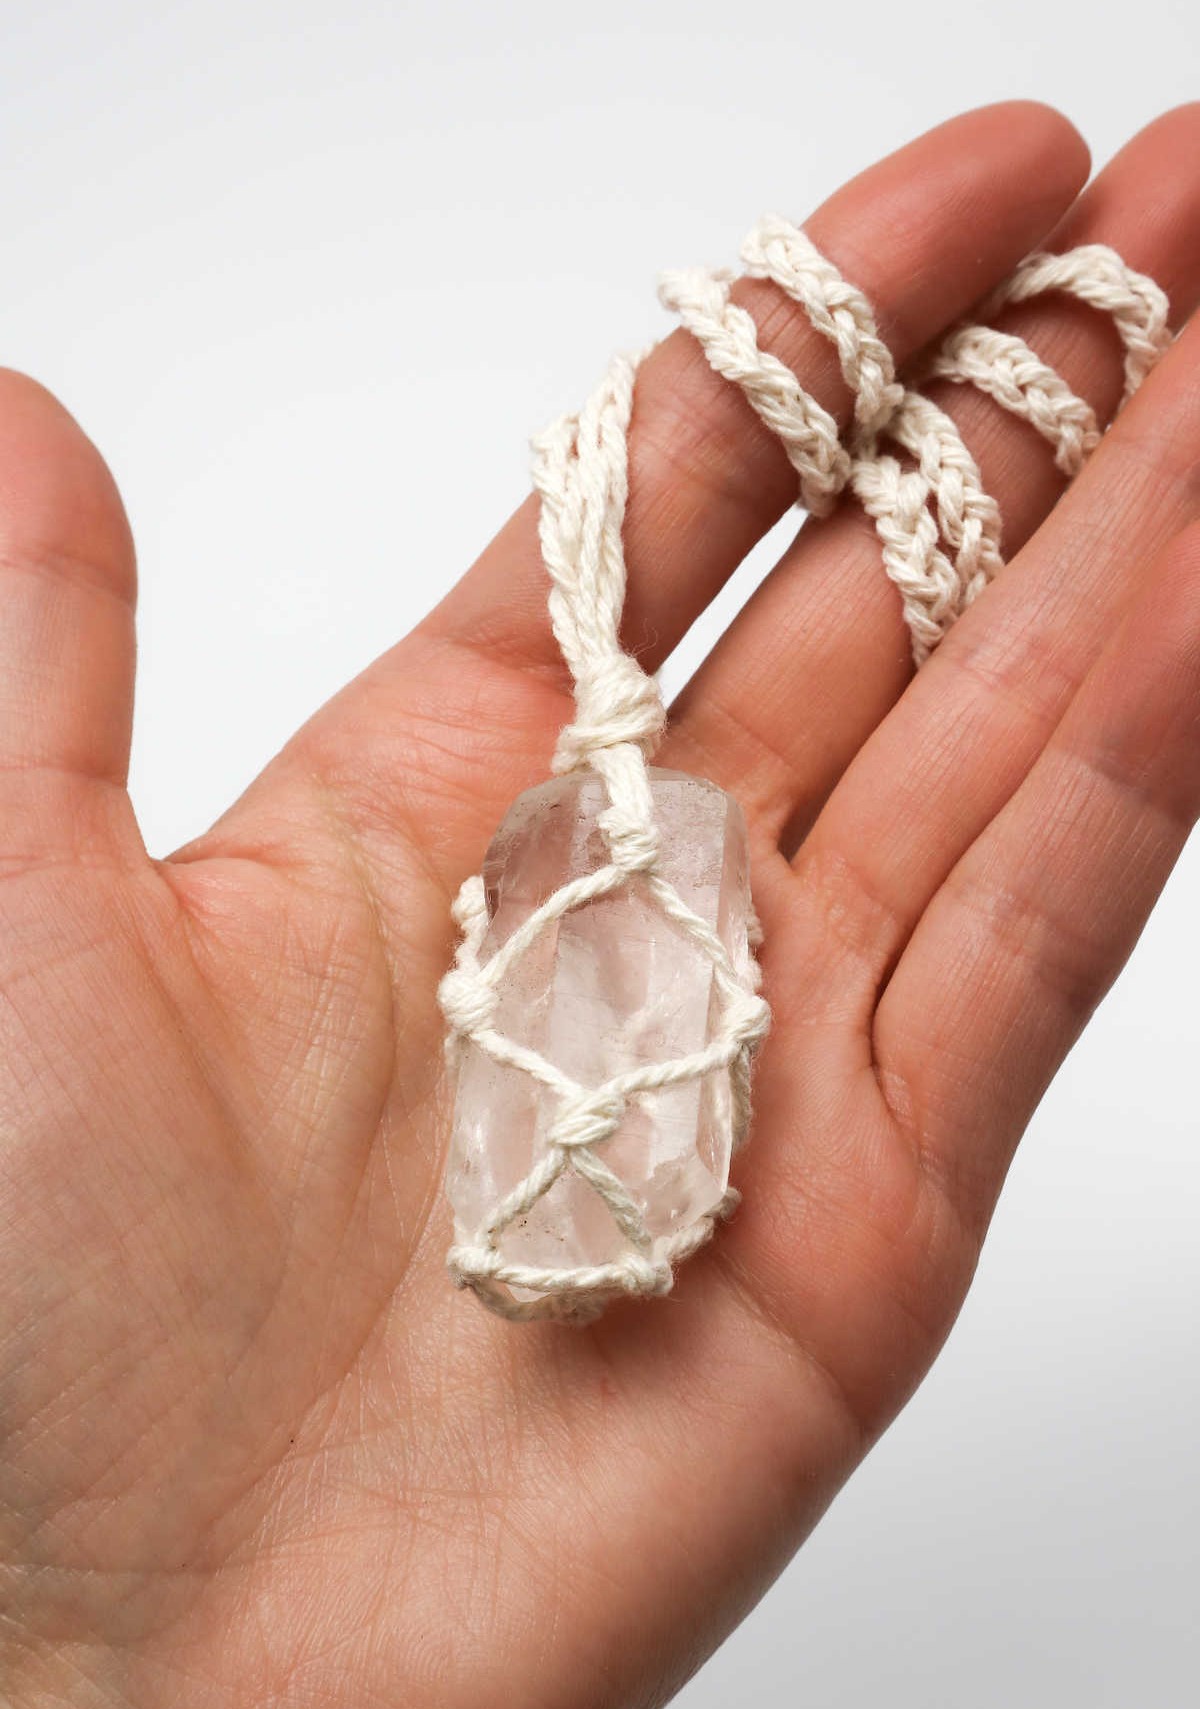
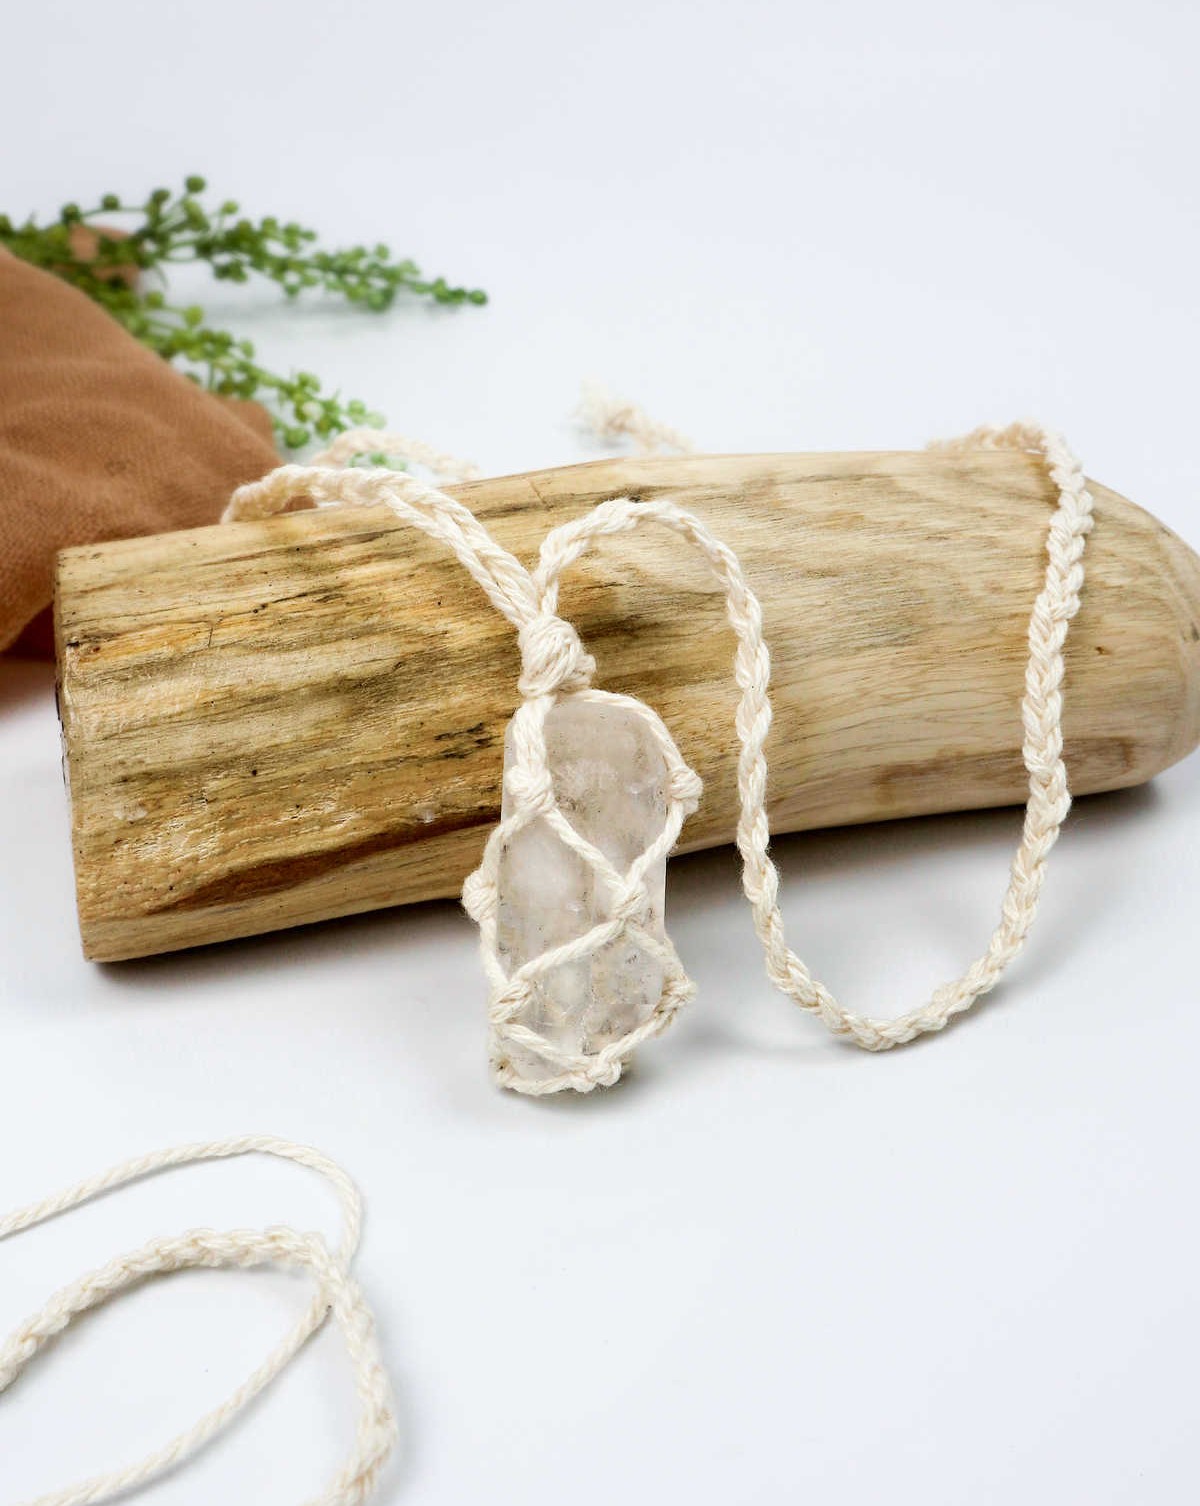
Looking for a simple yet stunning DIY macrame project? Look no further than this beautiful necklace, perfect for gifting or self-love. I’m always excited to share my favorite macrame creations with you, whether we’re crafting wall hangings, decorative pieces, coasters, or this lovely necklace featuring an earthy-toned crystal. The best part? It’s remarkably easy to make, making it a great option for last-minute gifts or personal treats.
To take it up a notch, simply swap the crystal for a personalized touch that resonates with your loved ones. Now, let’s dive into what you’ll need and how to bring this project to life.
Supplies and Tools You’ll Need for the Necklace
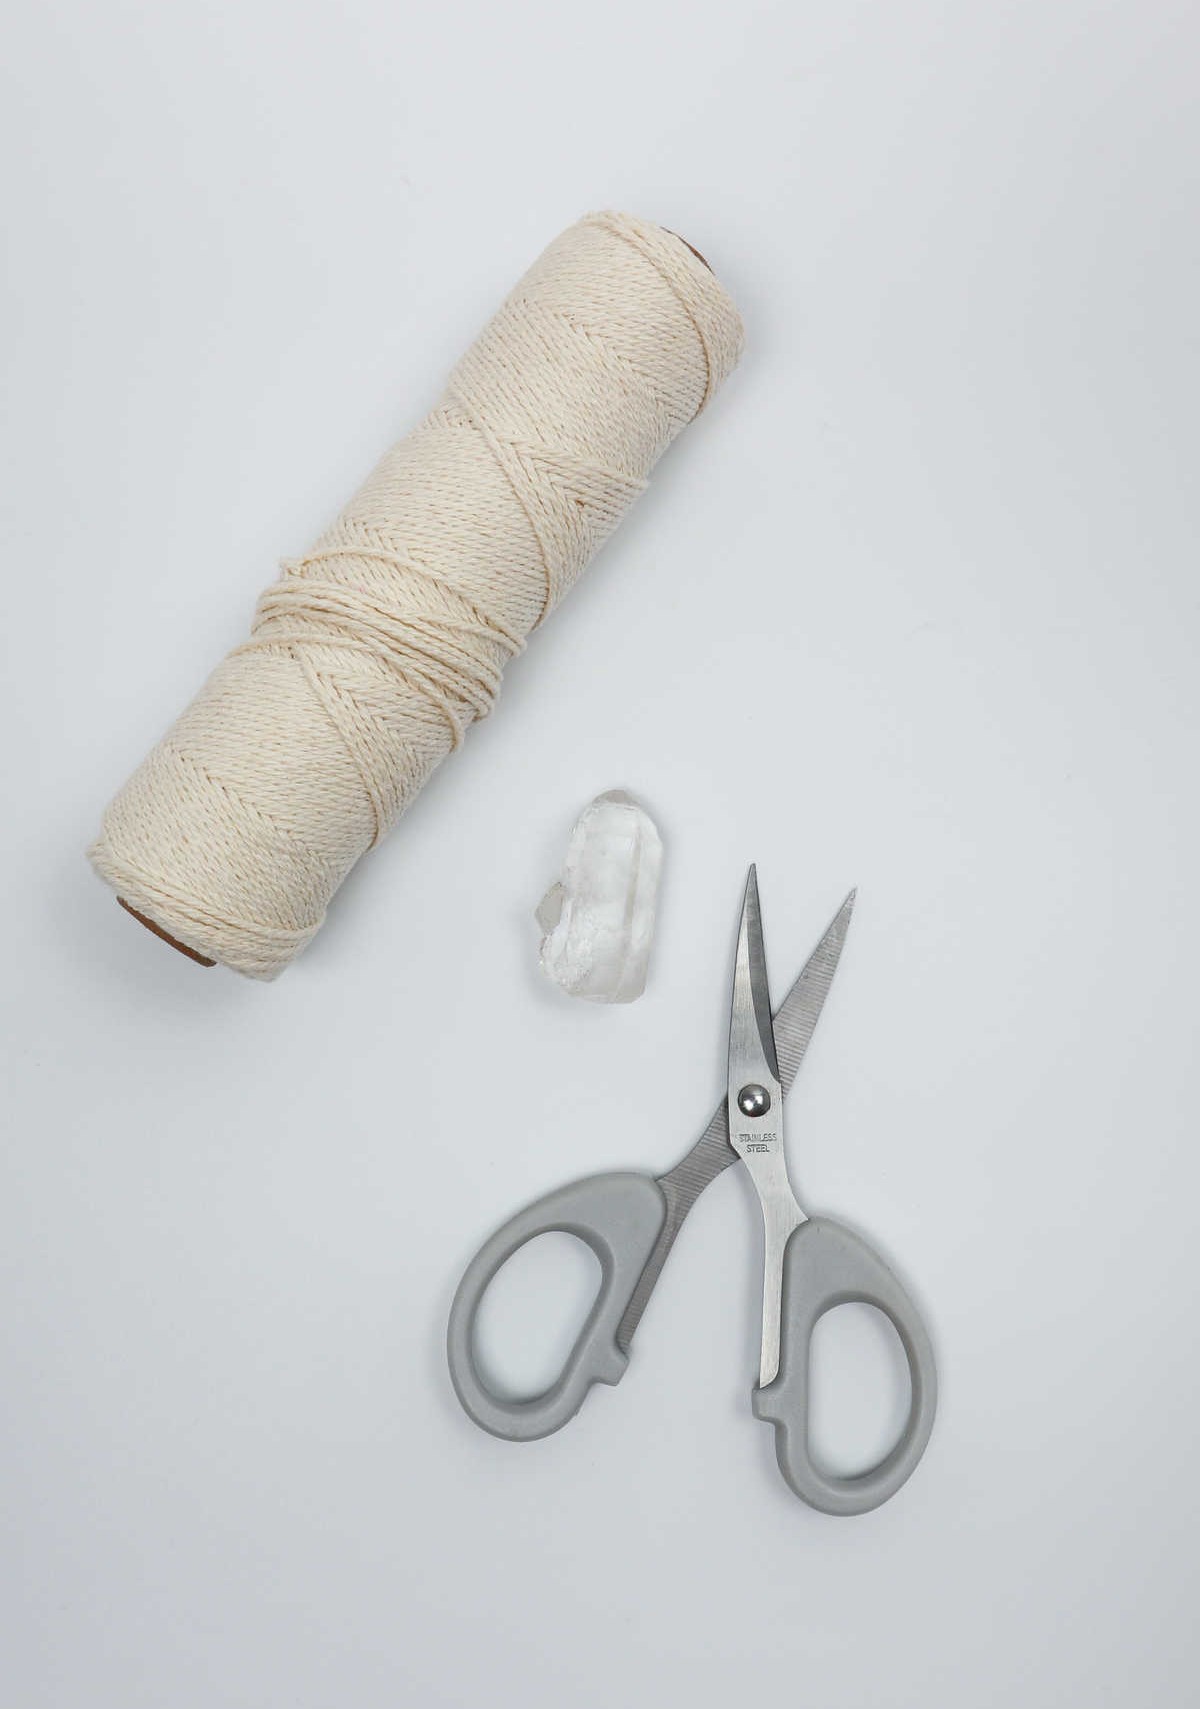
To kick off your crystal-encouraging journey, all you need are three fundamental elements. Let’s take a closer look: First, you’ll require a beautiful rock, crystal, or gem to serve as the focal point of your project. Next, 1mm cotton twine will provide the necessary framework for your design. And finally, a good pair of scissors will allow you to shape and trim the twine to your desired length.
Watch: DIY Stone Necklace
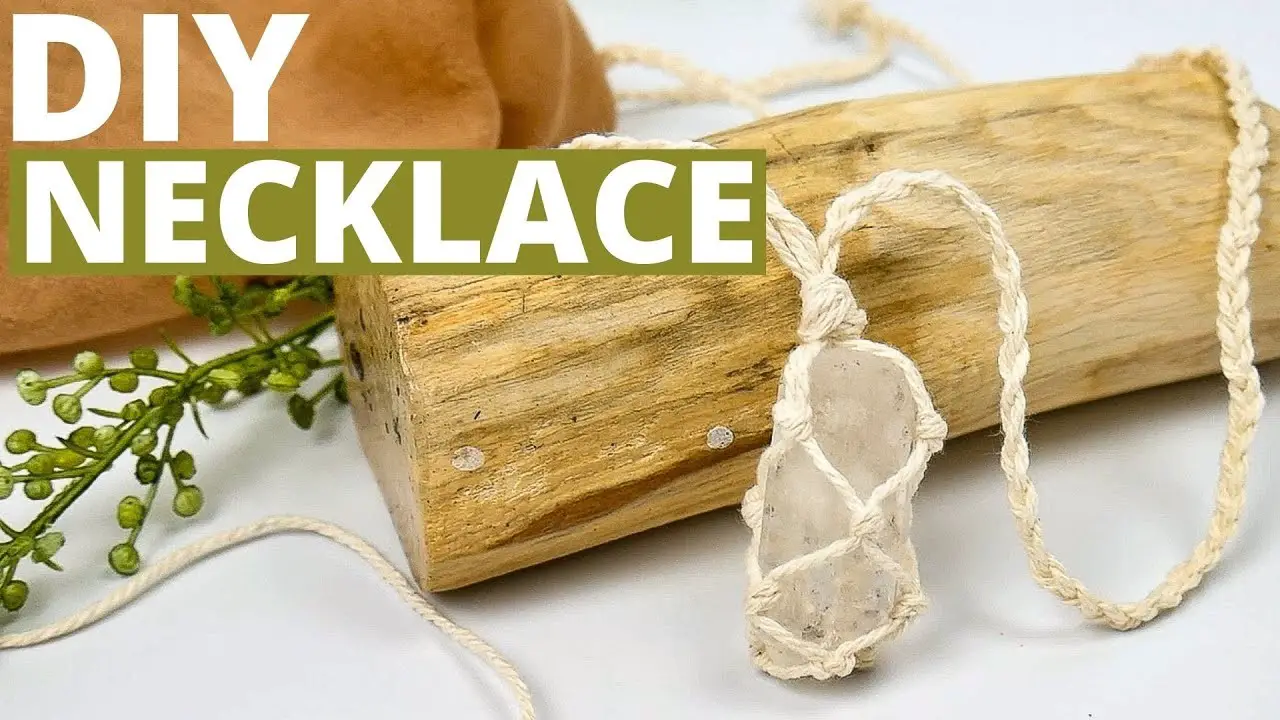
Having trouble finding the time to sit down and read through a lengthy tutorial? No problem! Instead, why not try watching our step-by-step video guide on creating a stunning necklace? It’s a quick and easy way to get started, even if you’re short on time or prefer learning visually.
How to Make a Stone Necklace
Now that you’ve gathered all the necessary materials, you’re prepared to begin. The choice of colored cord is entirely yours, so pick the one that suits your style or simply use what’s available, ensuring you have sufficient length to complete the task as instructed.
Step 1
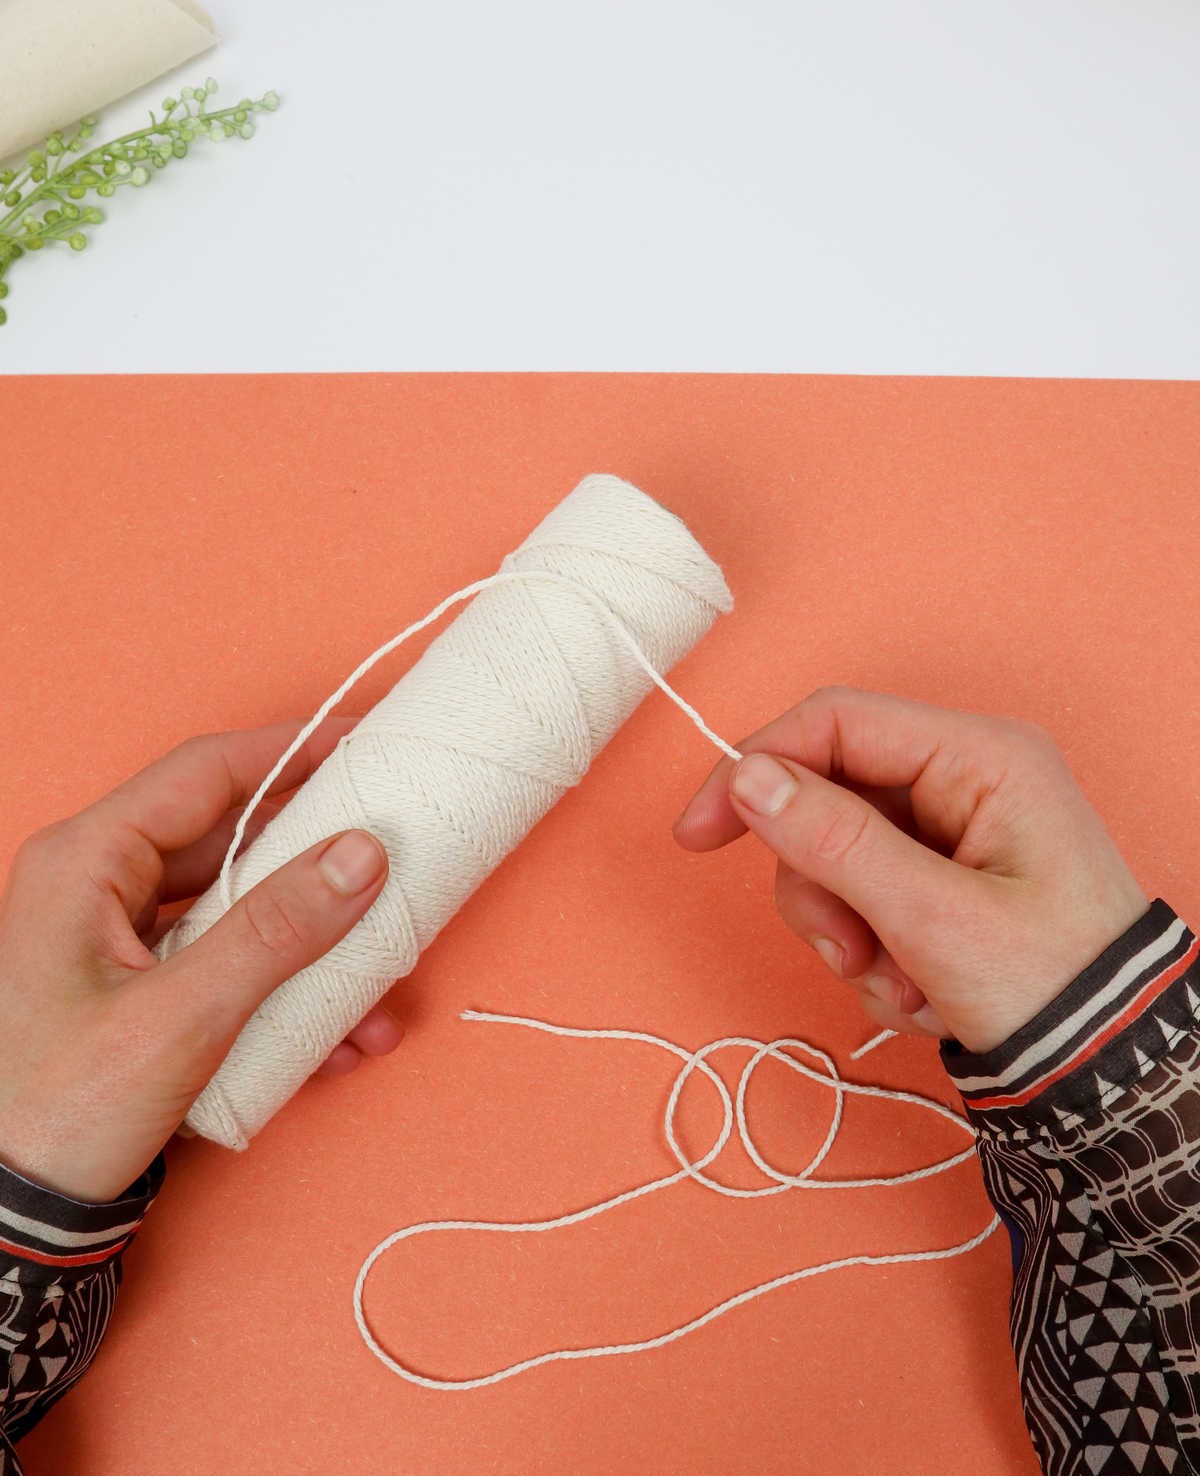
To initiate the process, start by carefully unwinding the cord and trim it to a length of approximately 32 inches. It’s essential to consider two crucial factors when determining this measurement: the desired overall length of the necklace and the size of your stone. The optimal length will vary depending on these variables, so be sure to take both into account as you work.
Step 2
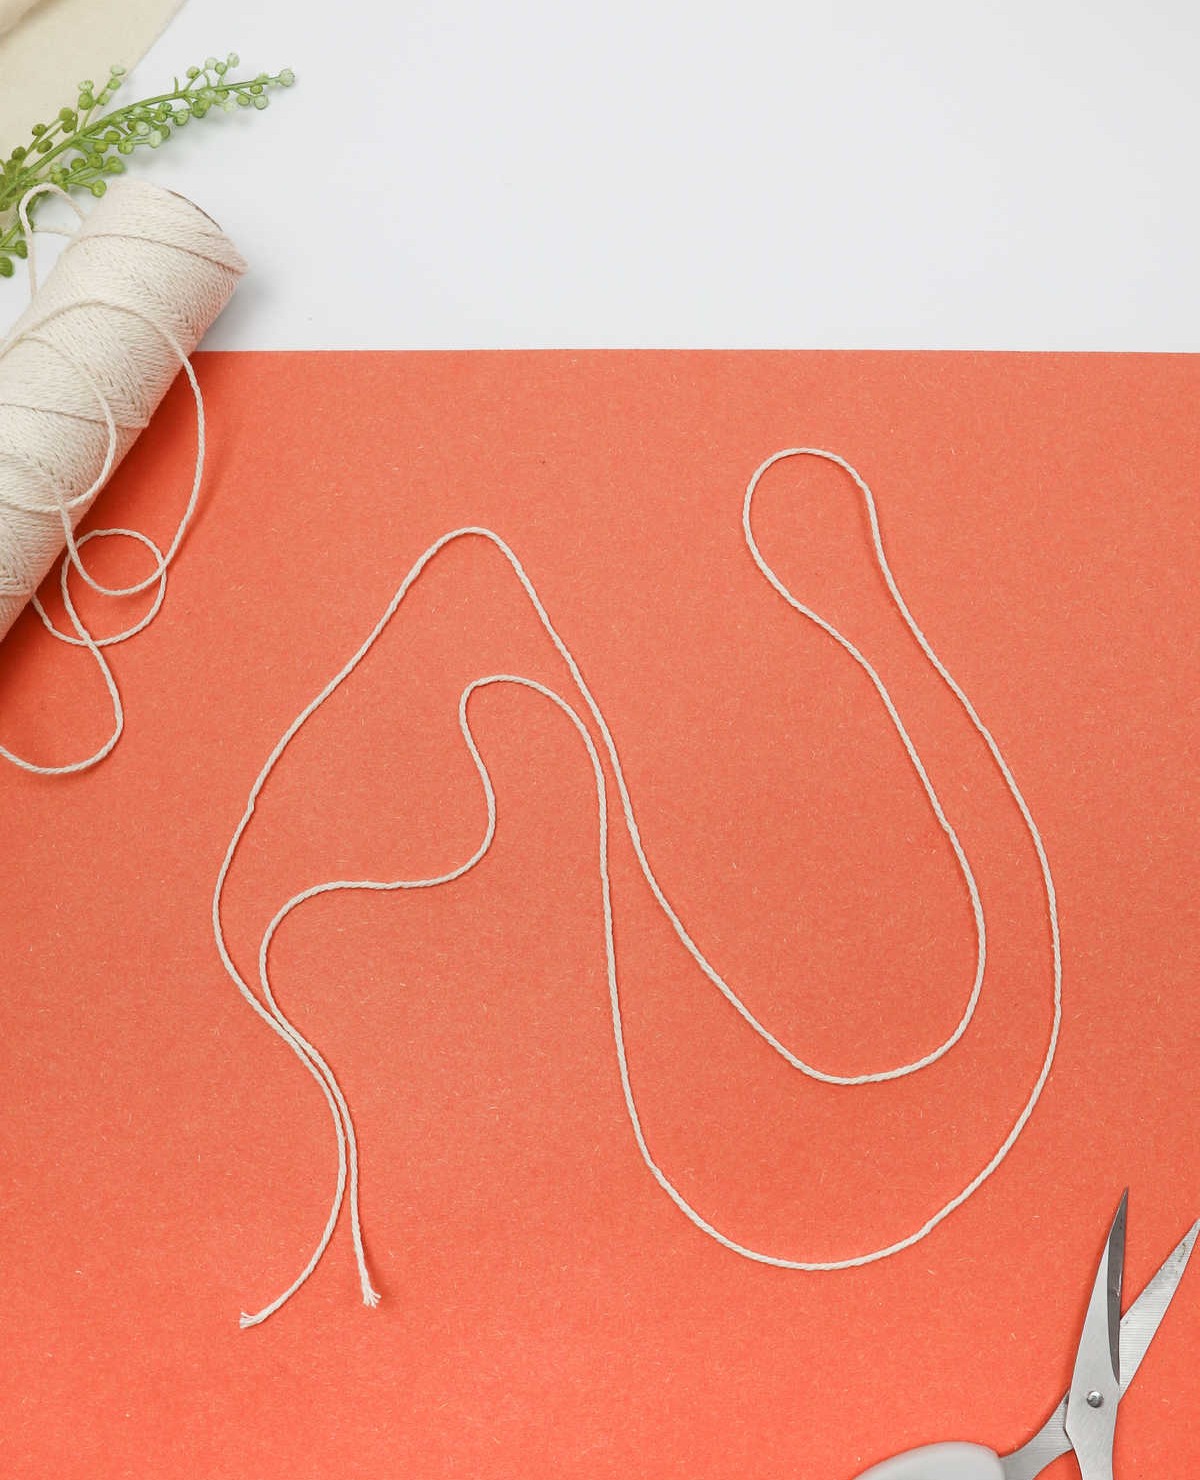
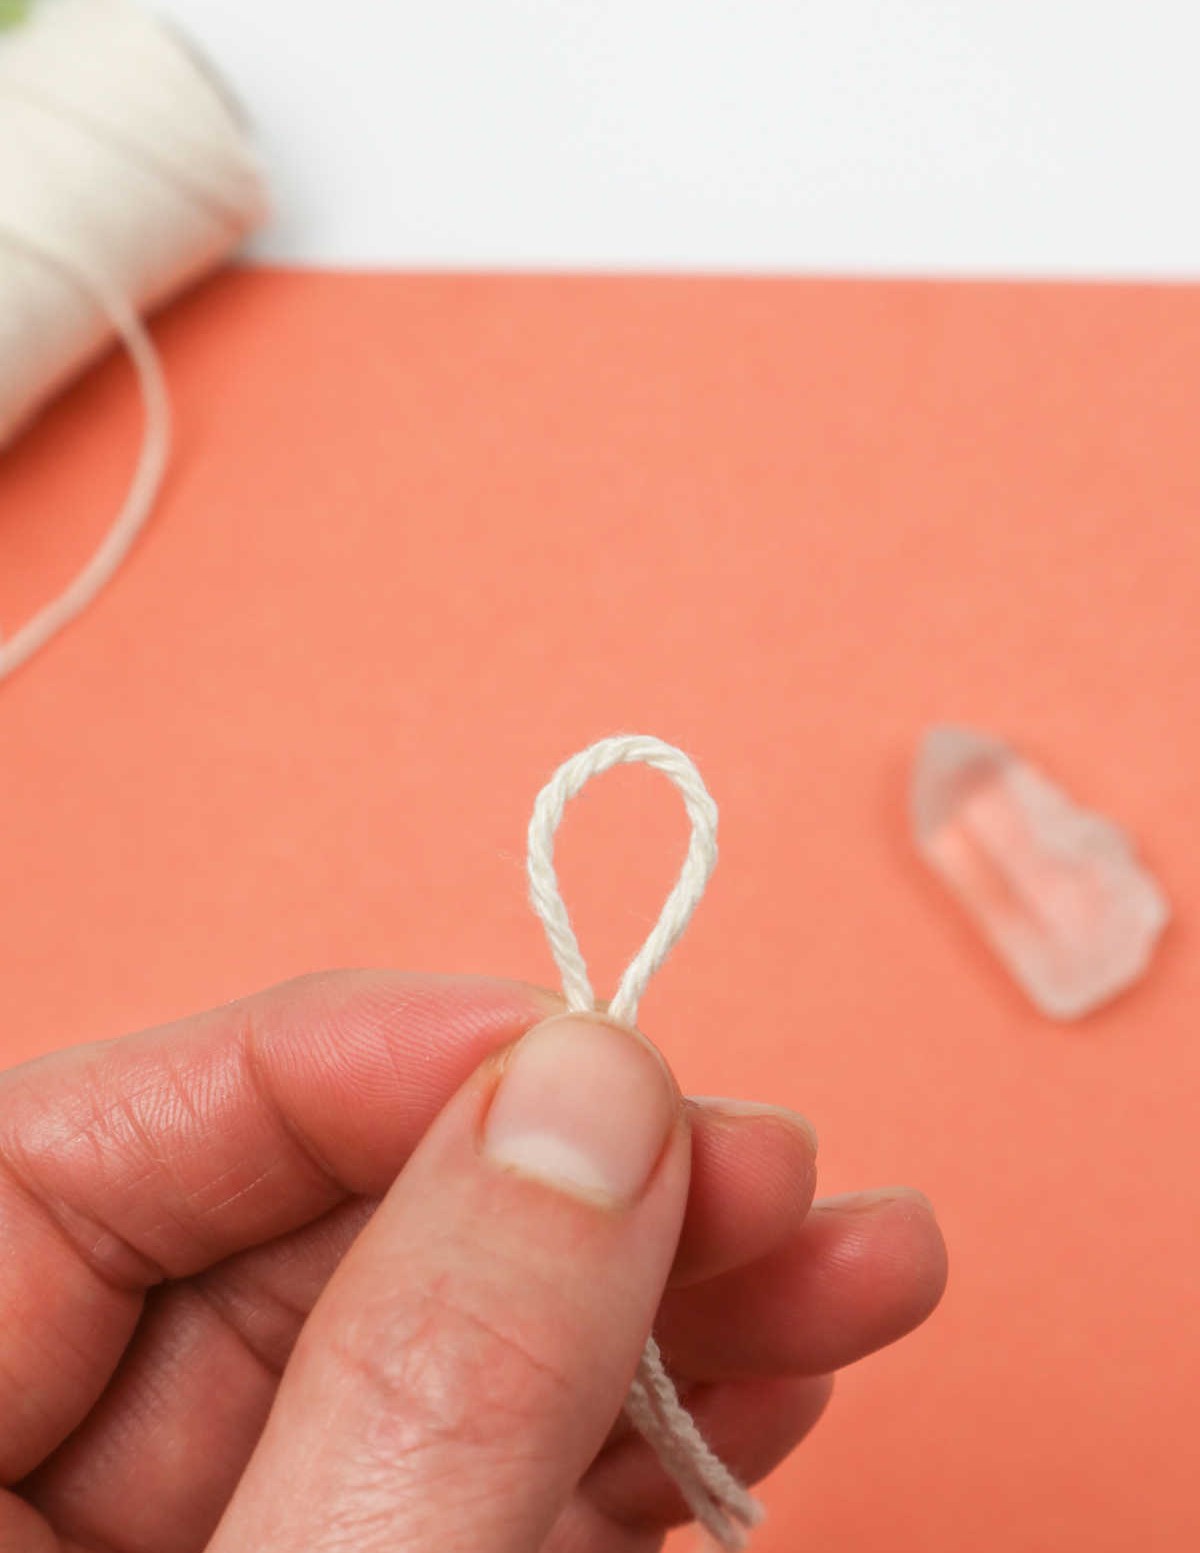
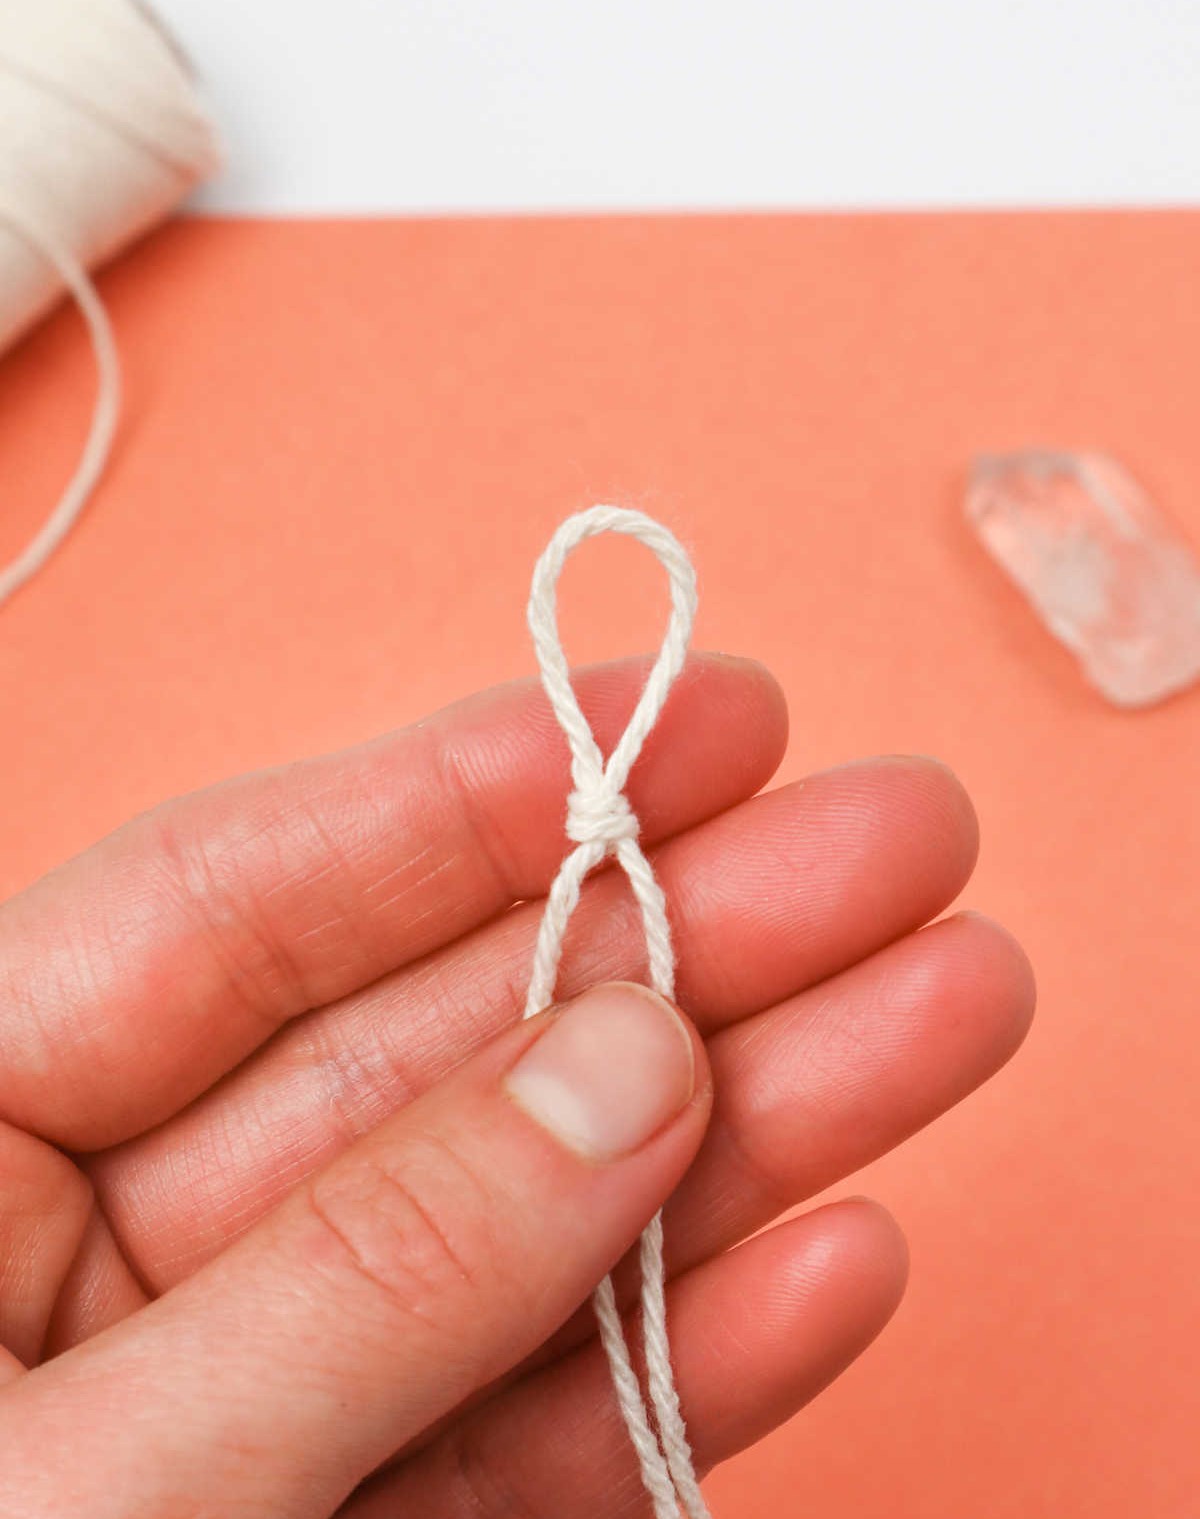
To begin, take the cord and carefully fold it in half, ensuring the loop remains at one end while the excess cord lies at the opposite end. This simple manipulation will set the stage for the subsequent steps.
Step 3
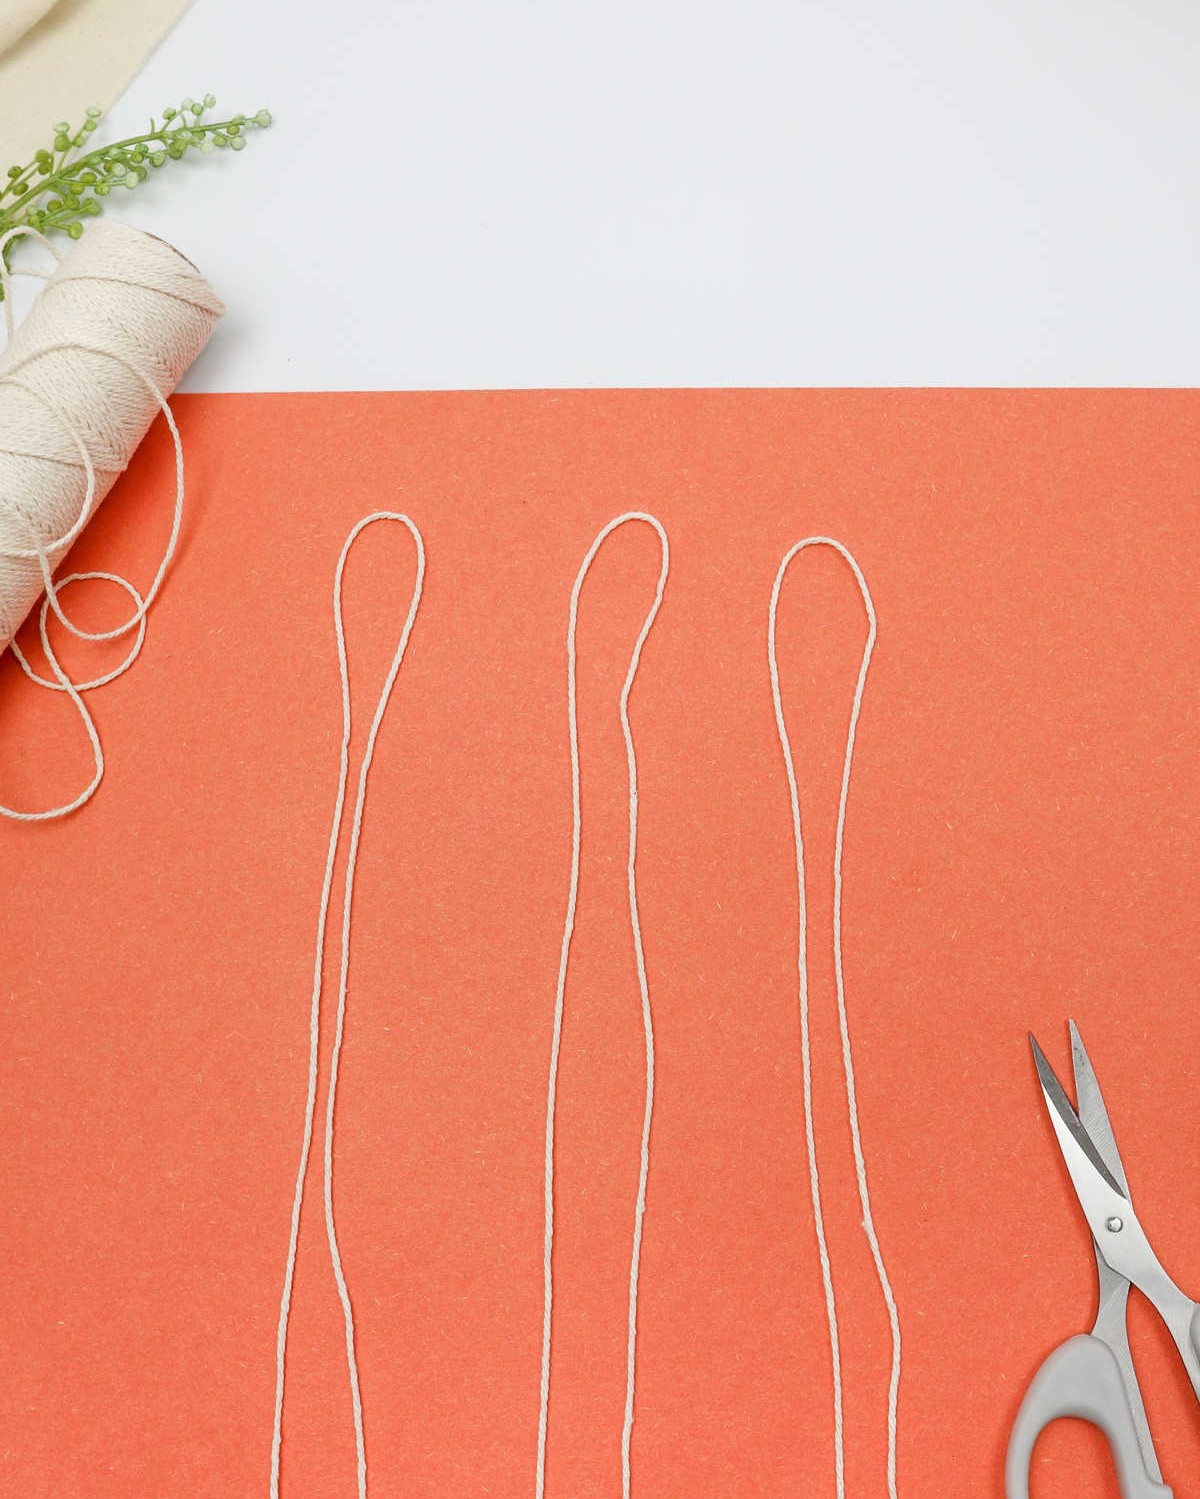
Now that you have cut and laid out three identical cord strips, it’s time to move on to the most exciting part – tying the knots! Before you begin, make sure each strip is still aligned and parallel to one another. This will ensure a sturdy and visually appealing final product.
Step 4
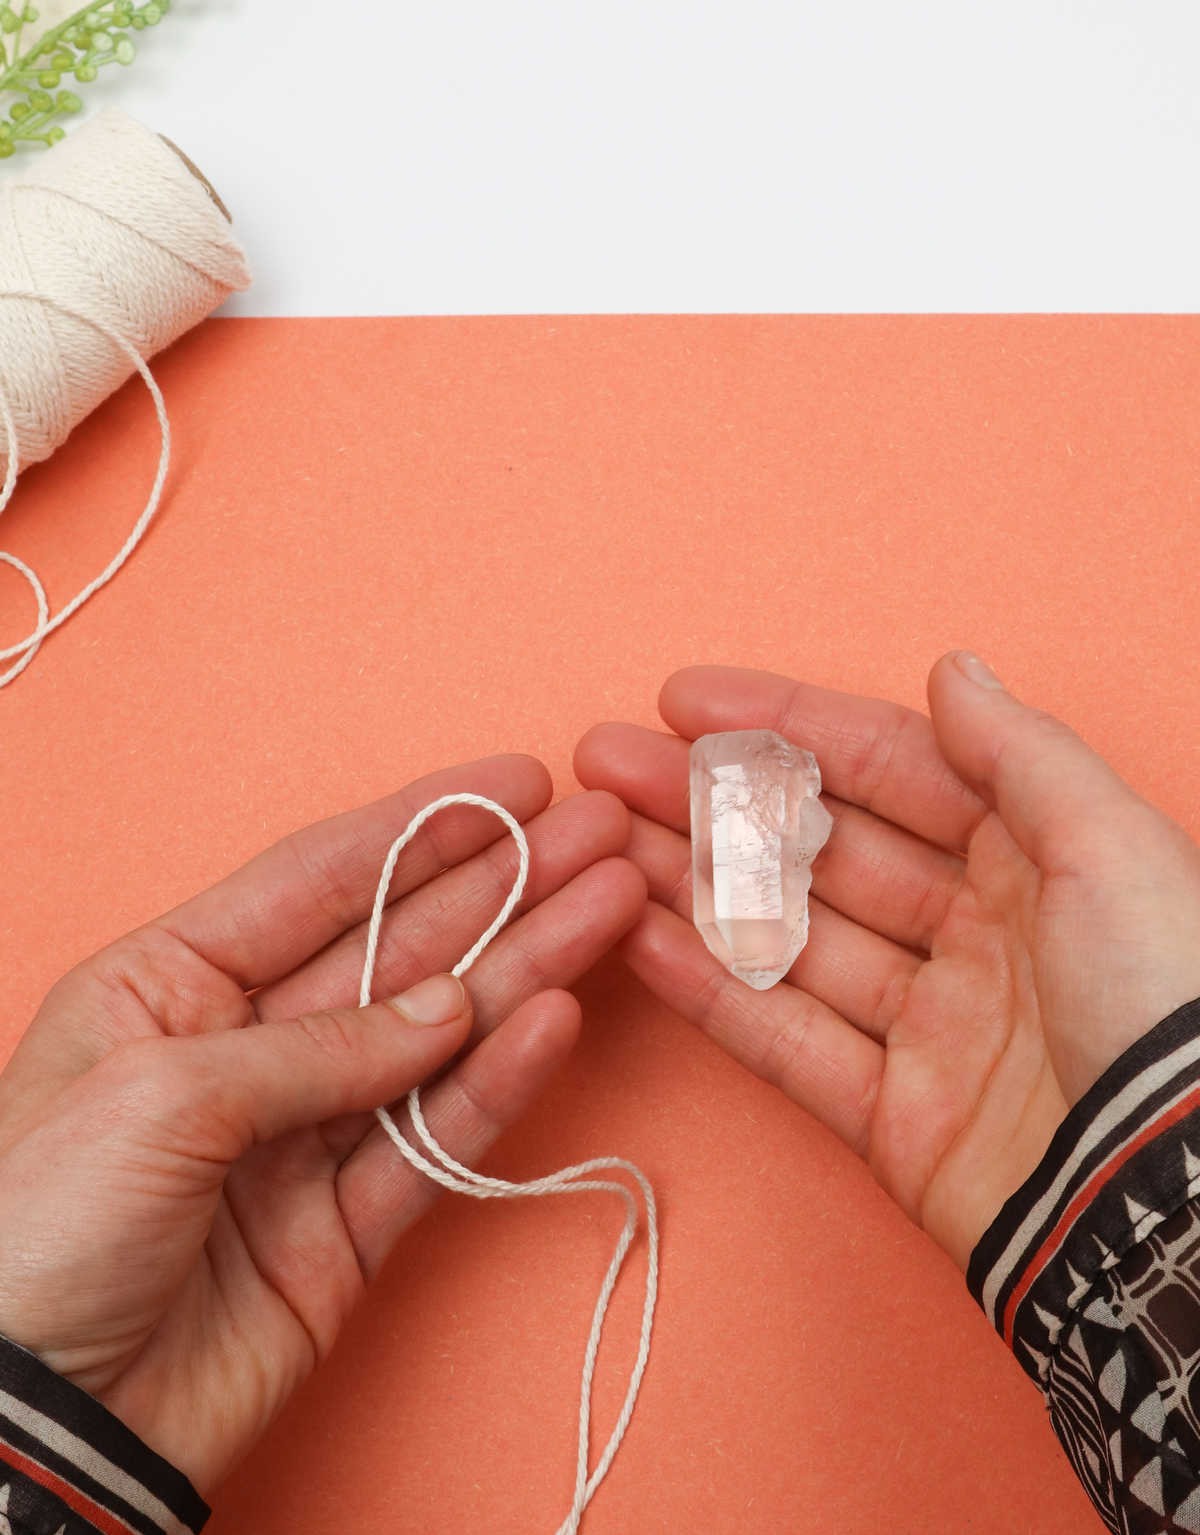
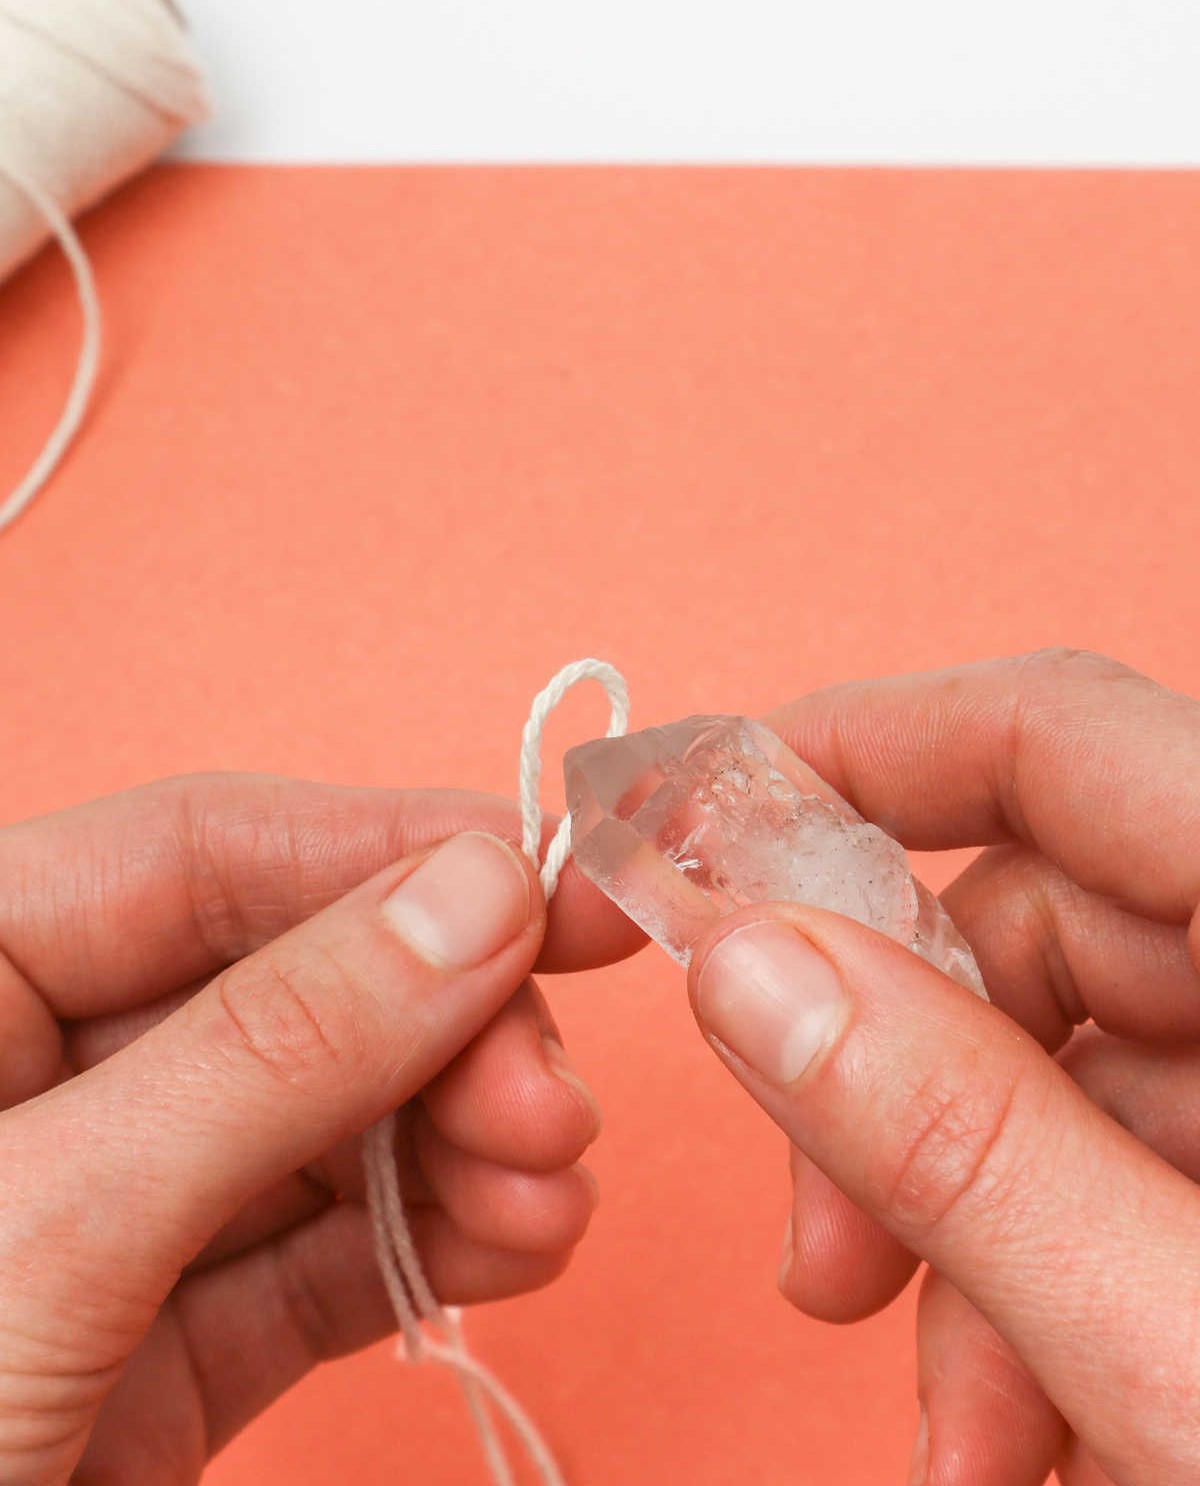
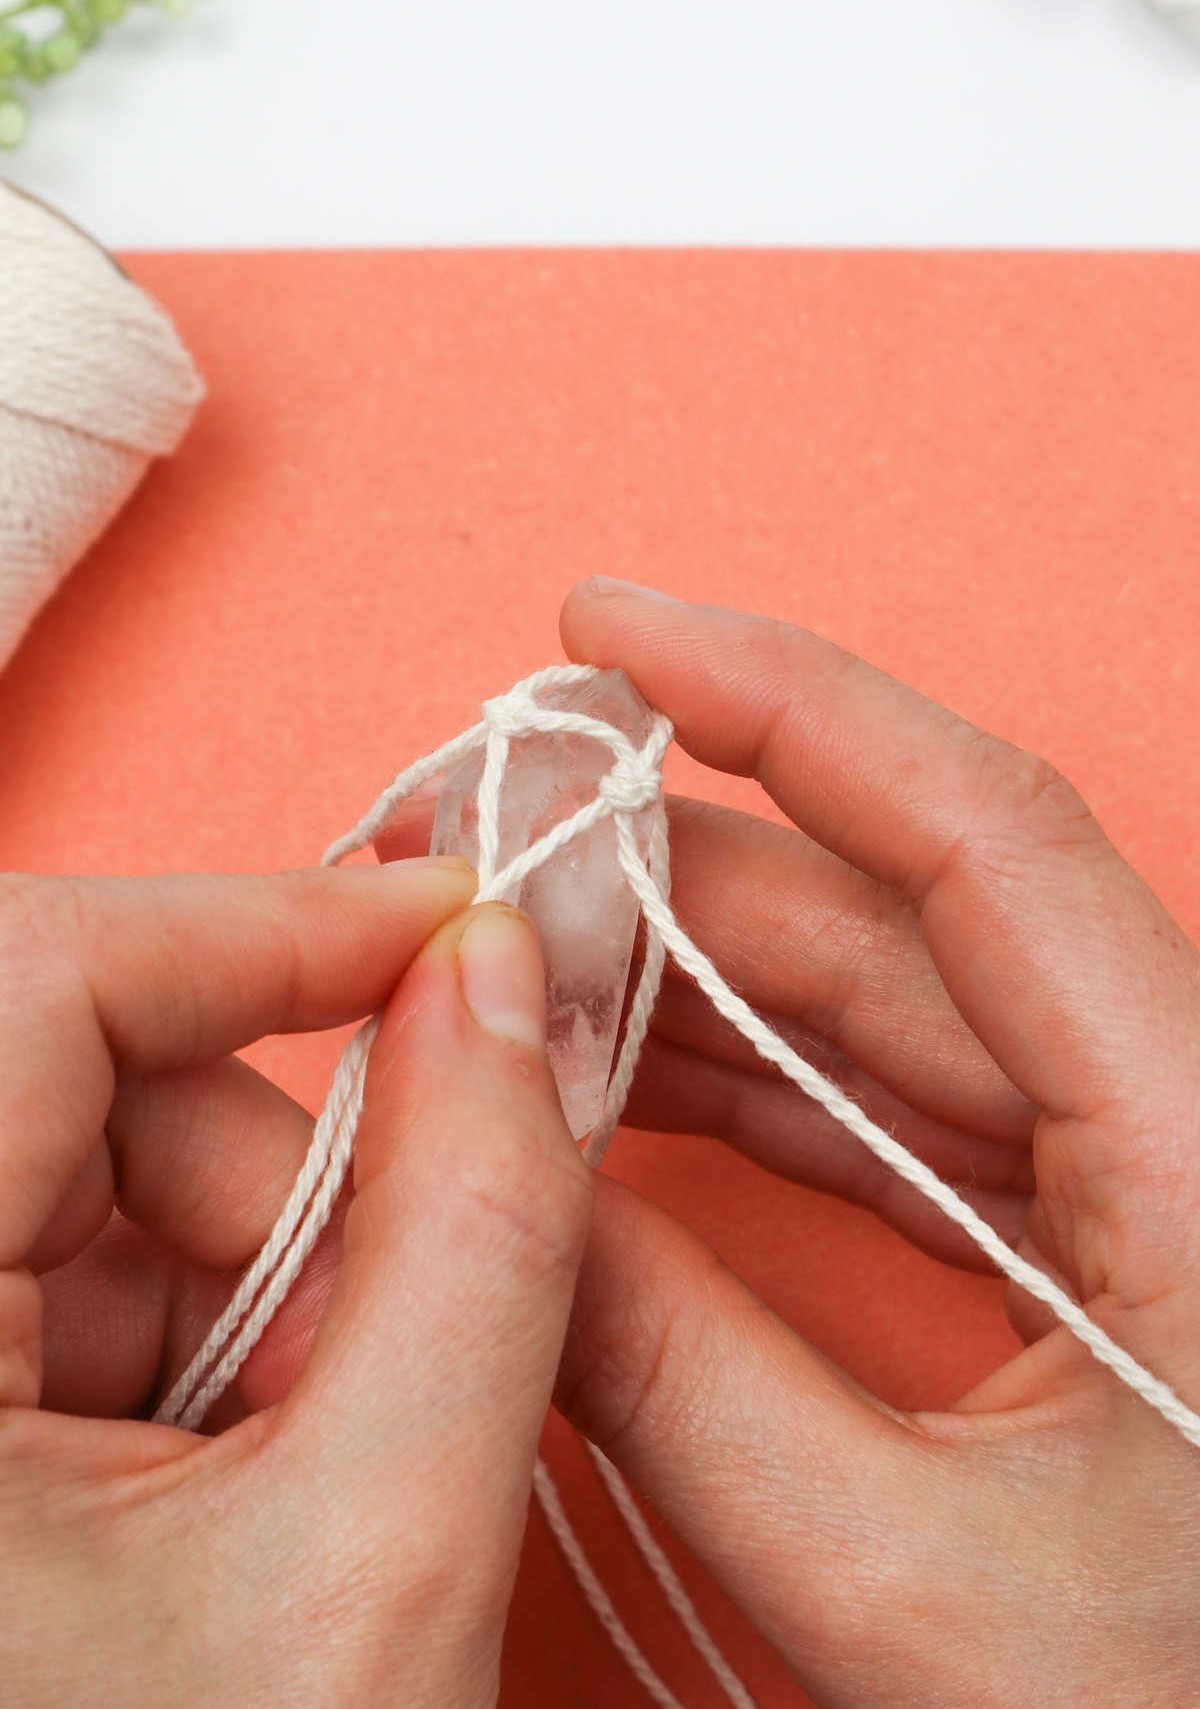
The next step is to thoughtfully position your chosen stone, rock, or crystal, taking into consideration which aspect you’d like to face downwards. This decision will ultimately determine how you proceed with the cord and loop process.
As you finalize your placement, grab the cord and carefully wrap it around the base of the crystal. It’s essential to strike a balance between creating a snug fit without restricting movement or compromising stability.
Throughout this process, exercise caution when sizing the loop, ensuring it’s neither too generous nor too constricting. The goal is to achieve a harmonious union that allows for free flow while maintaining secure attachment.
Step 5
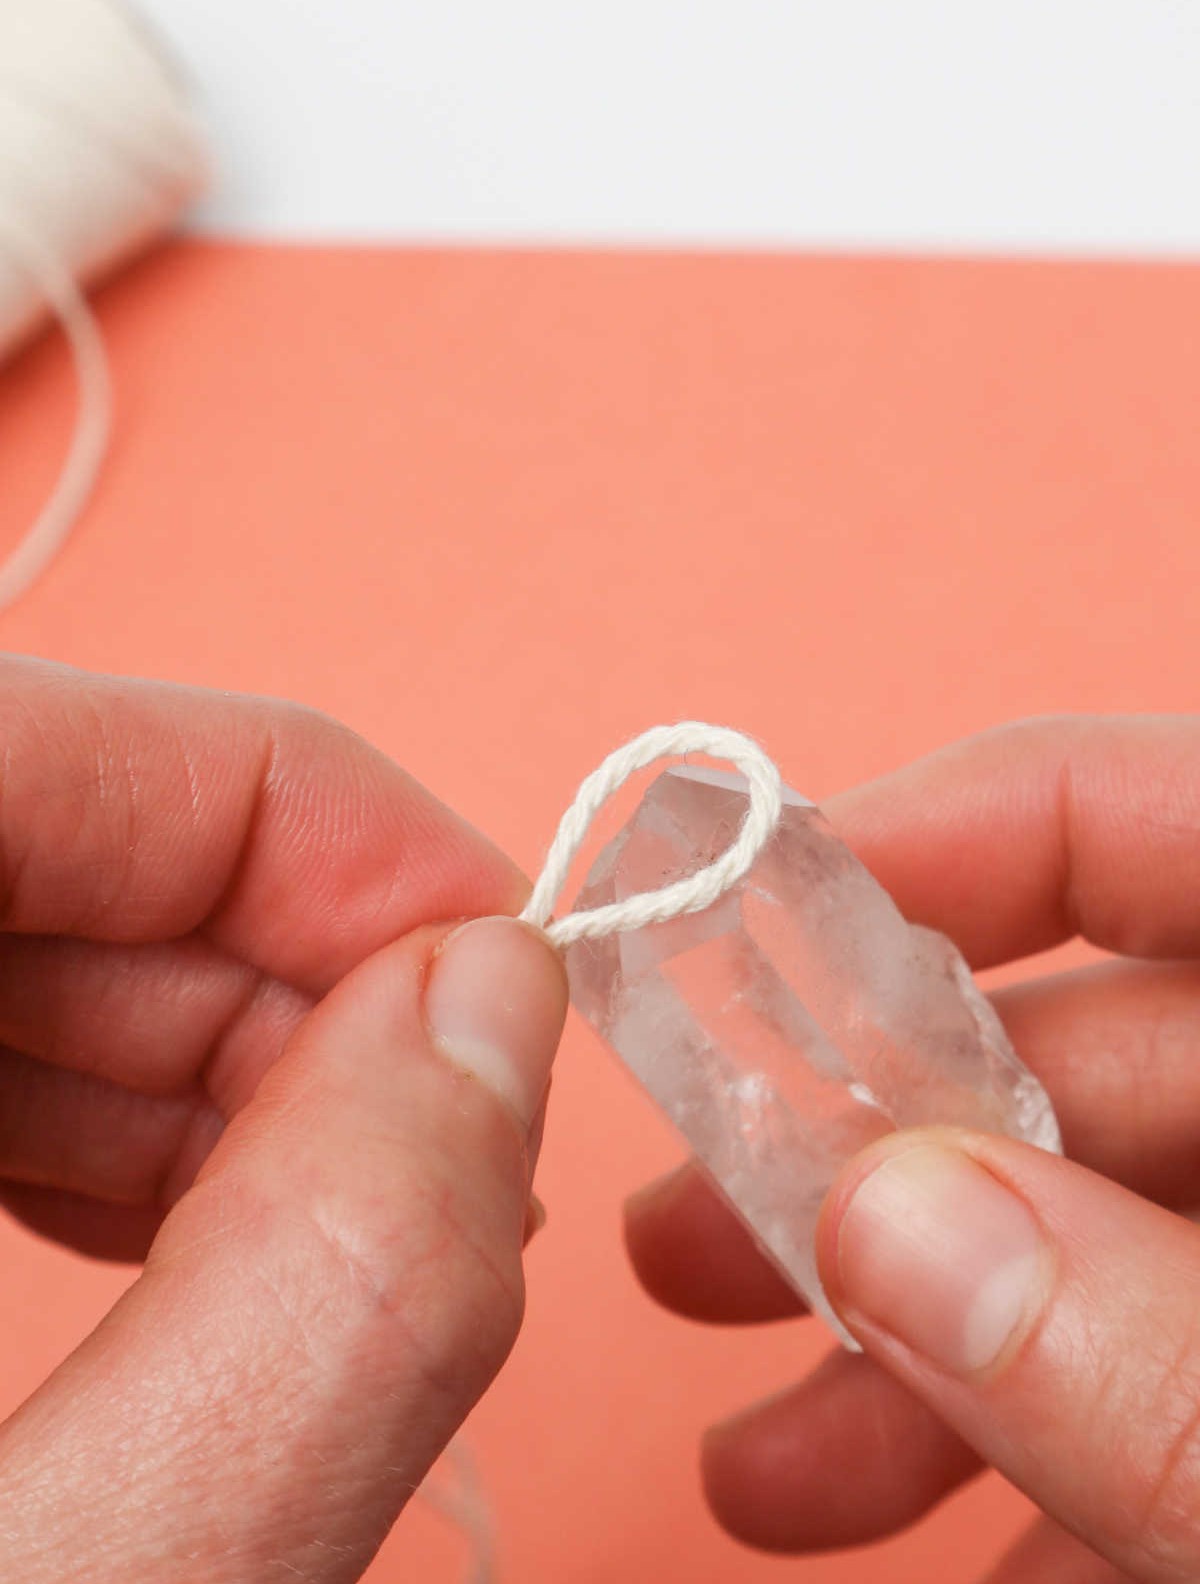
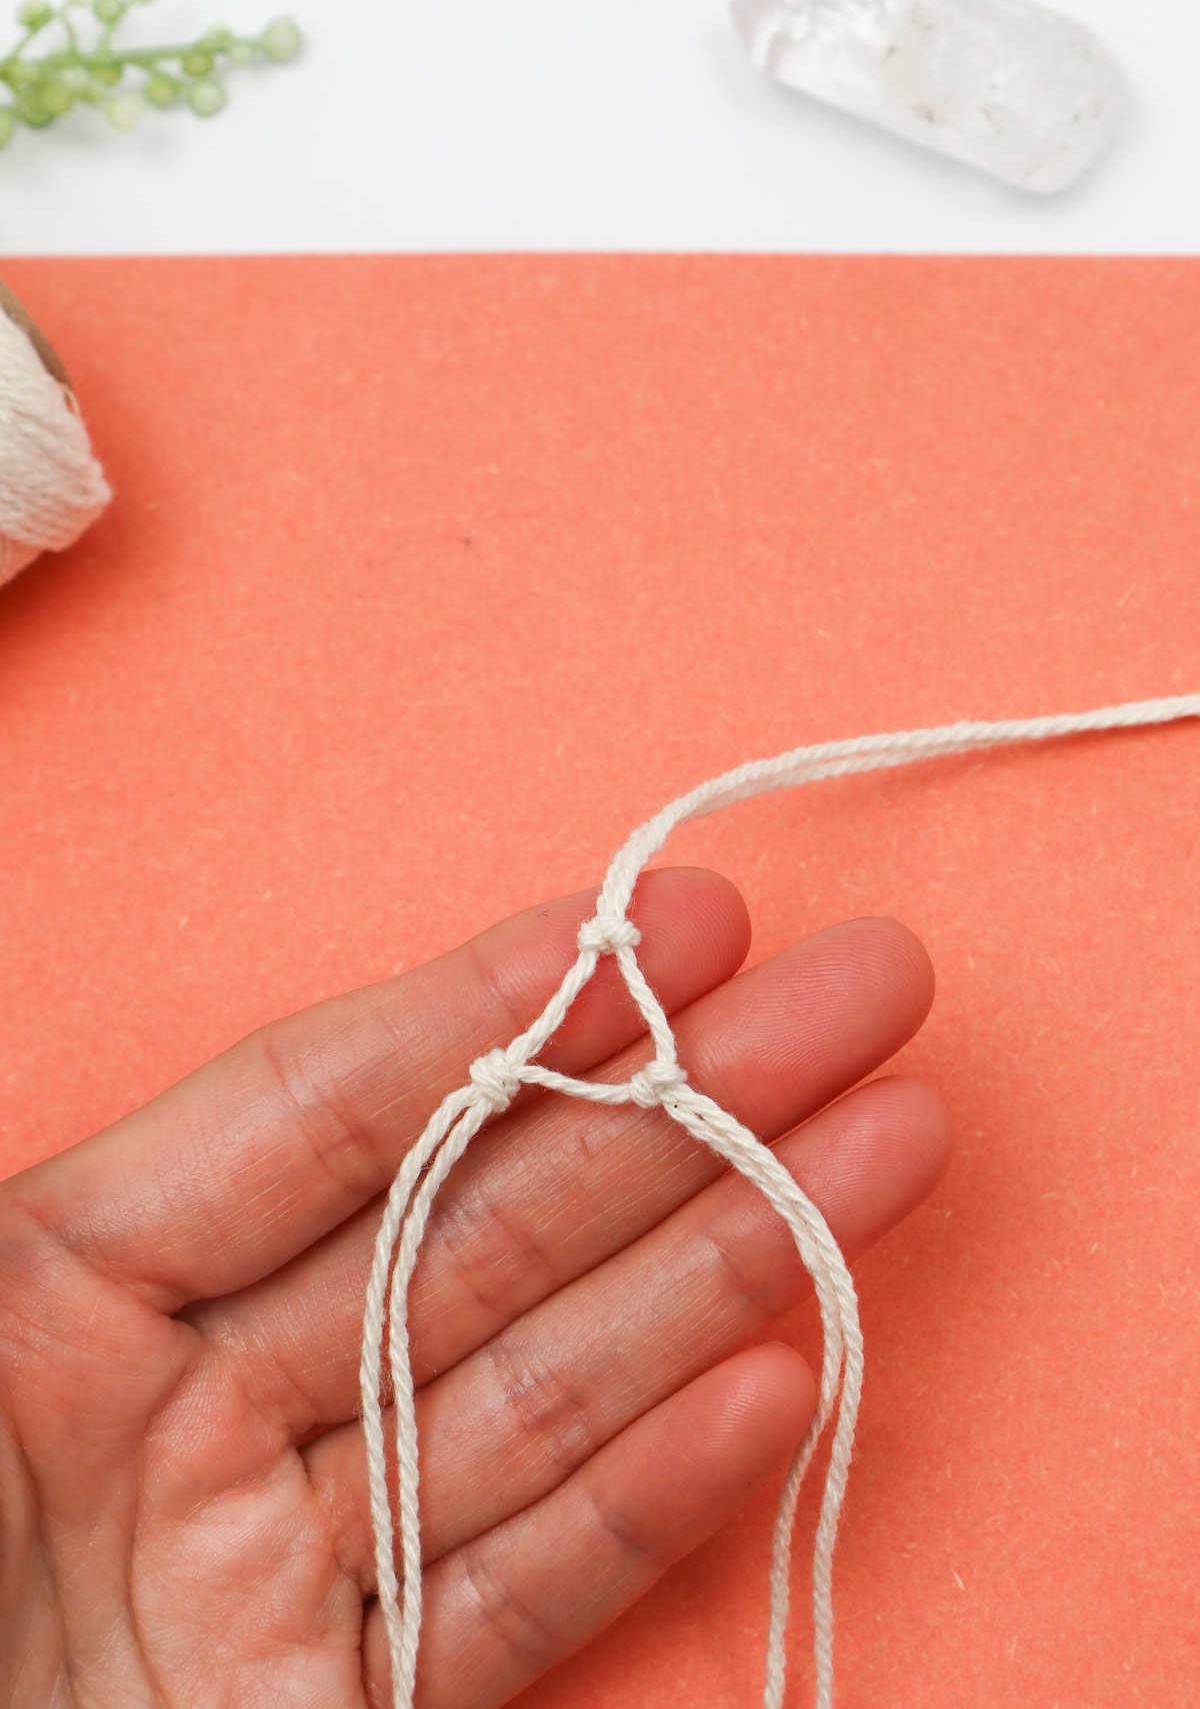
To create a foundation for your crystal’s setting, start by tying an overhand knot using both cords together, just as you would with a single cord. Ensure that the knot is snug against the crystal to ensure accurate measurement. Once complete, set the combination aside for future use.
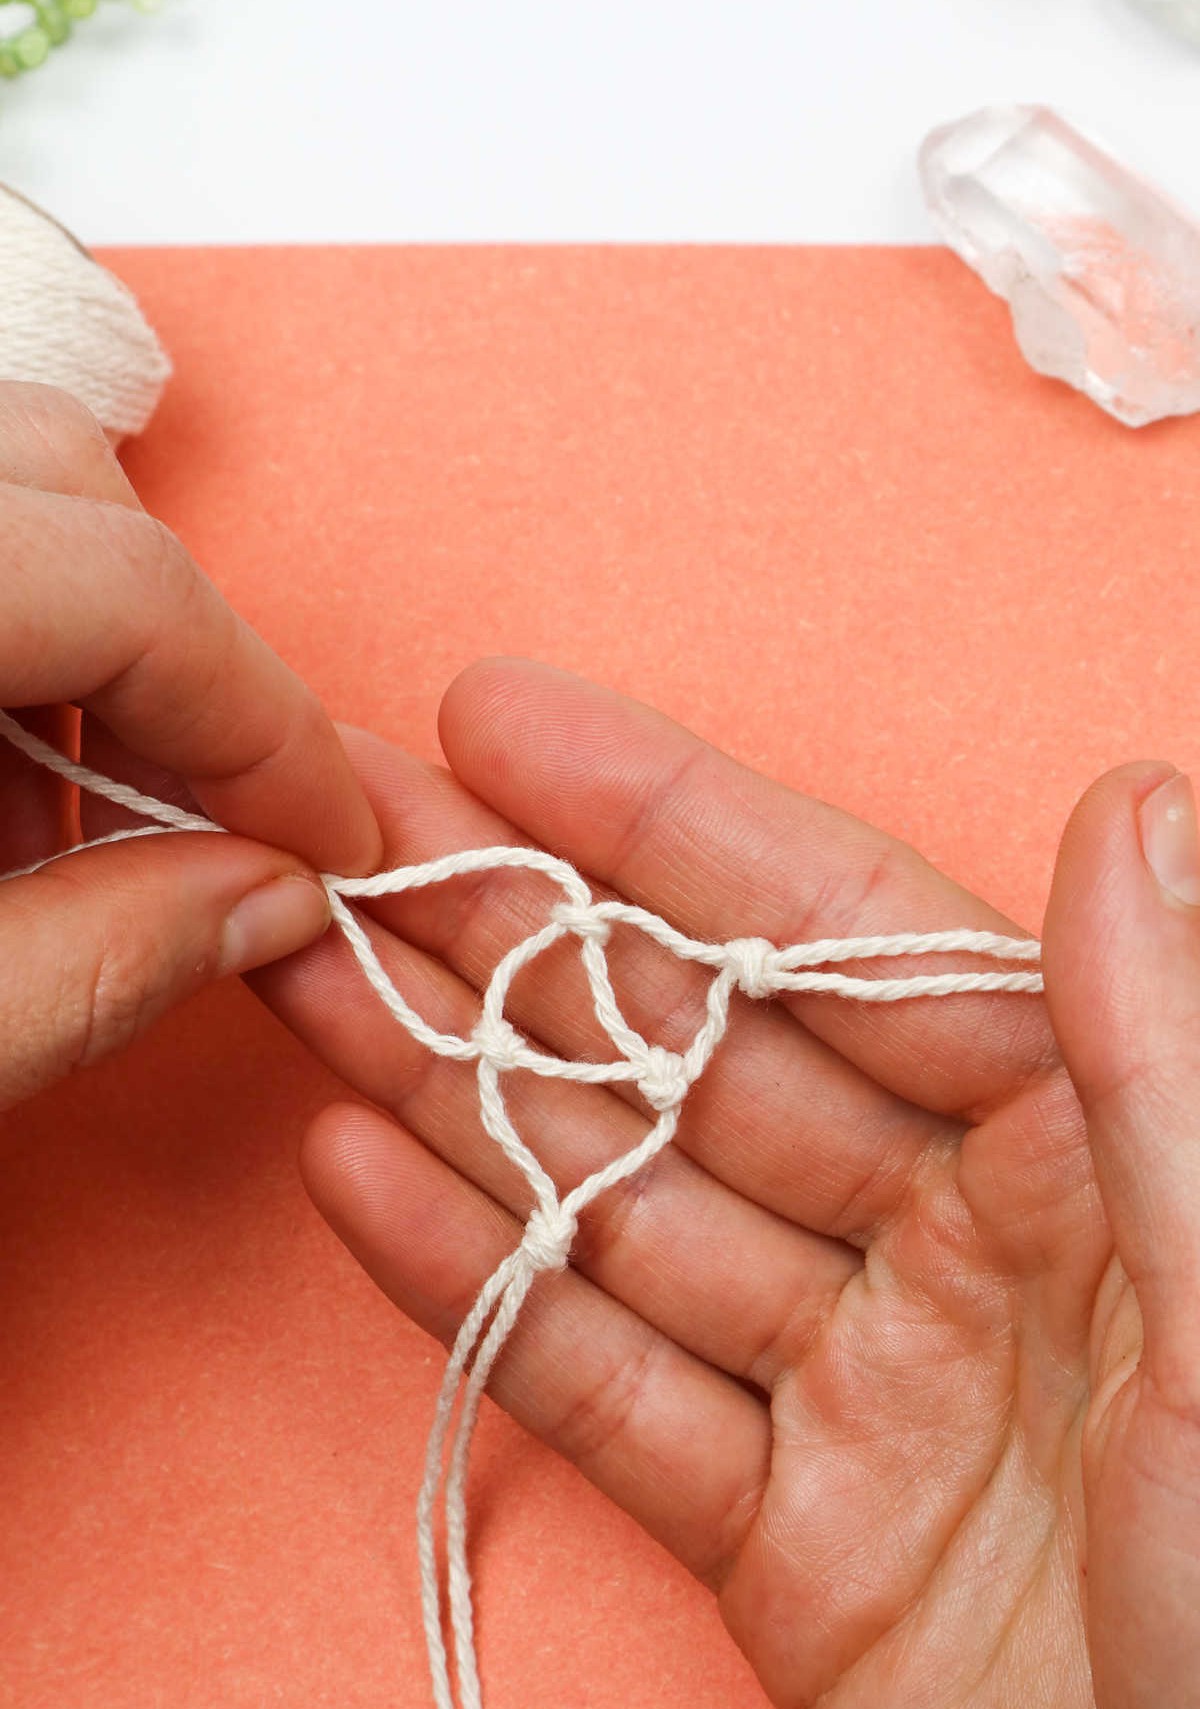
Step 6
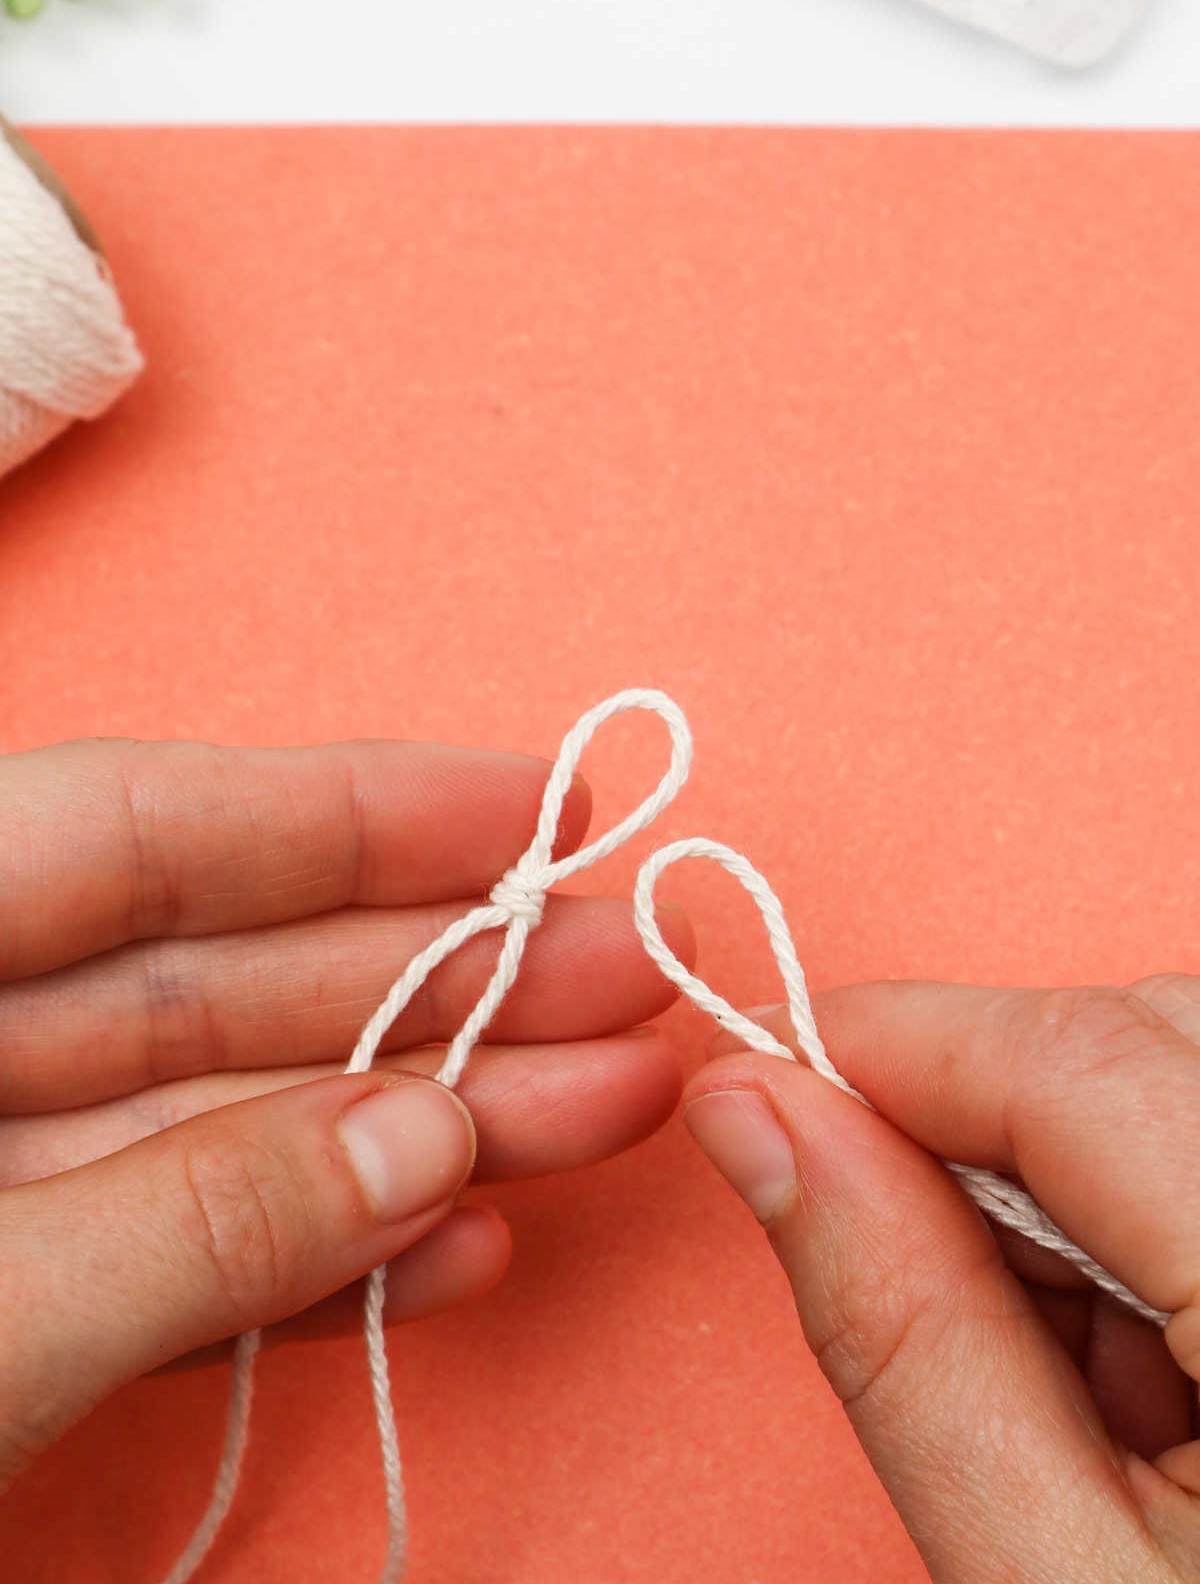
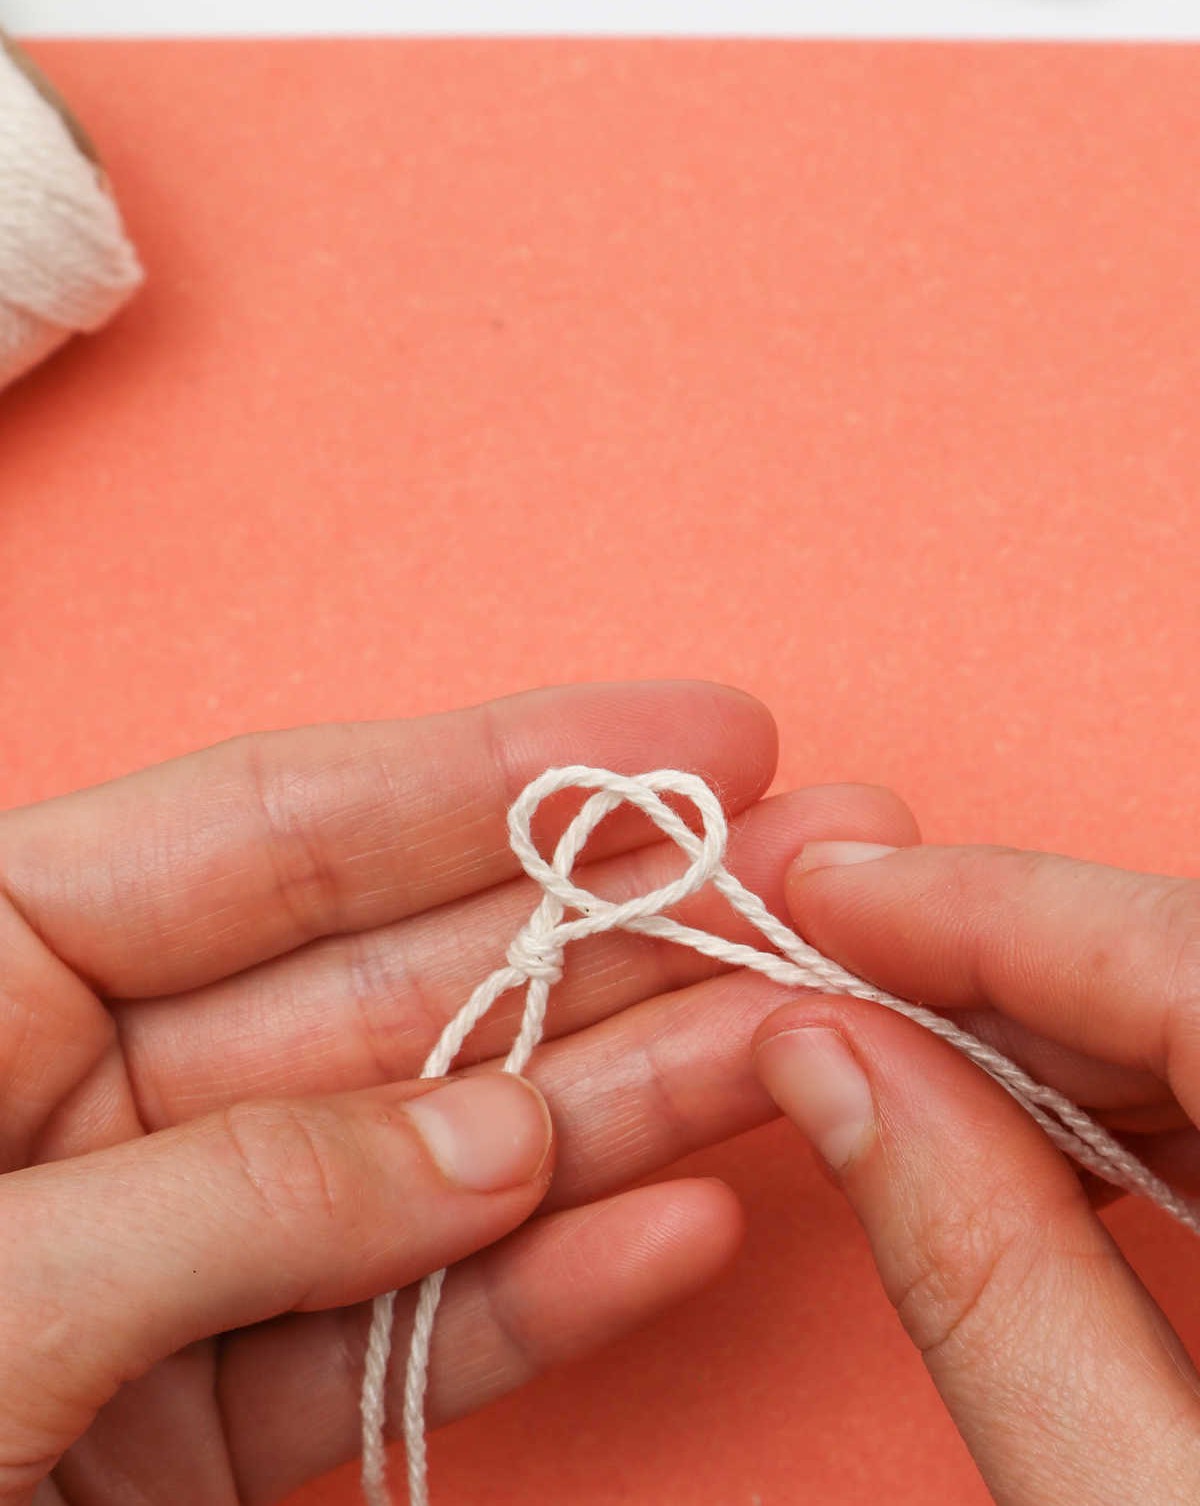
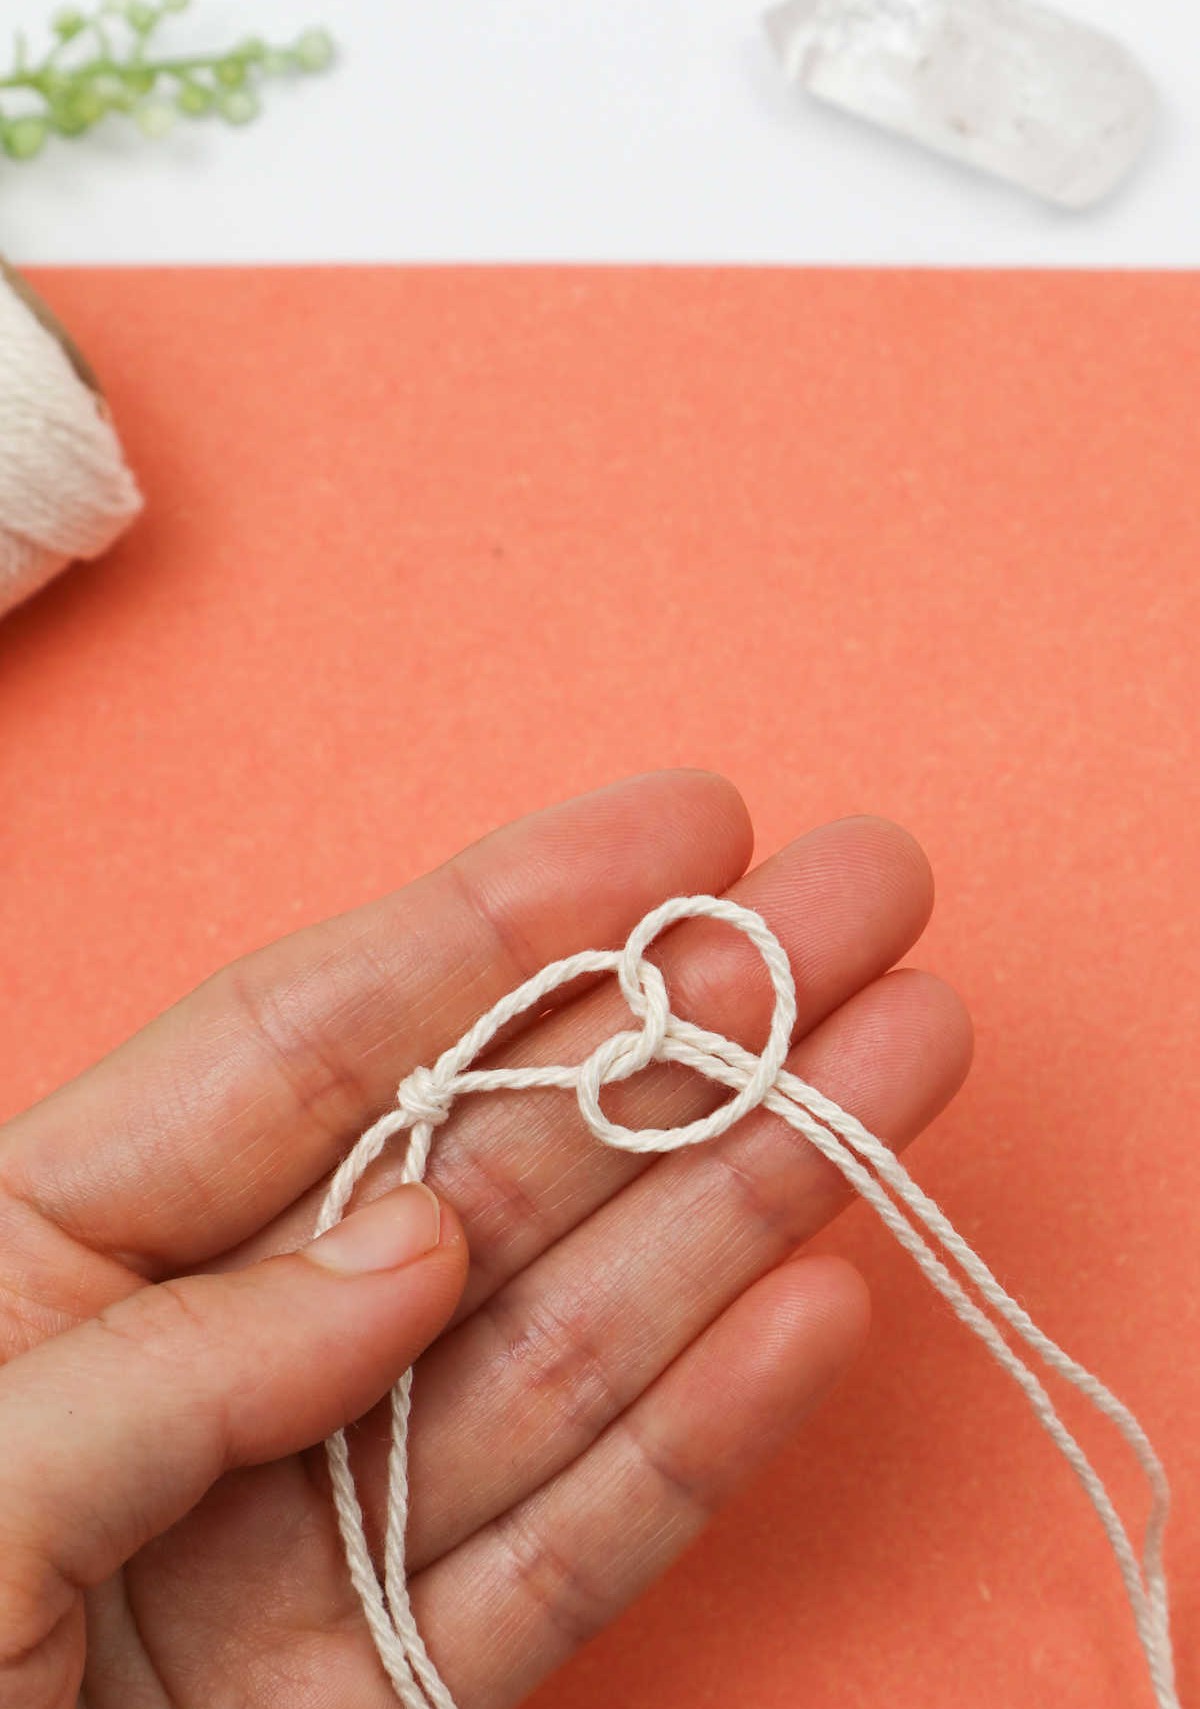
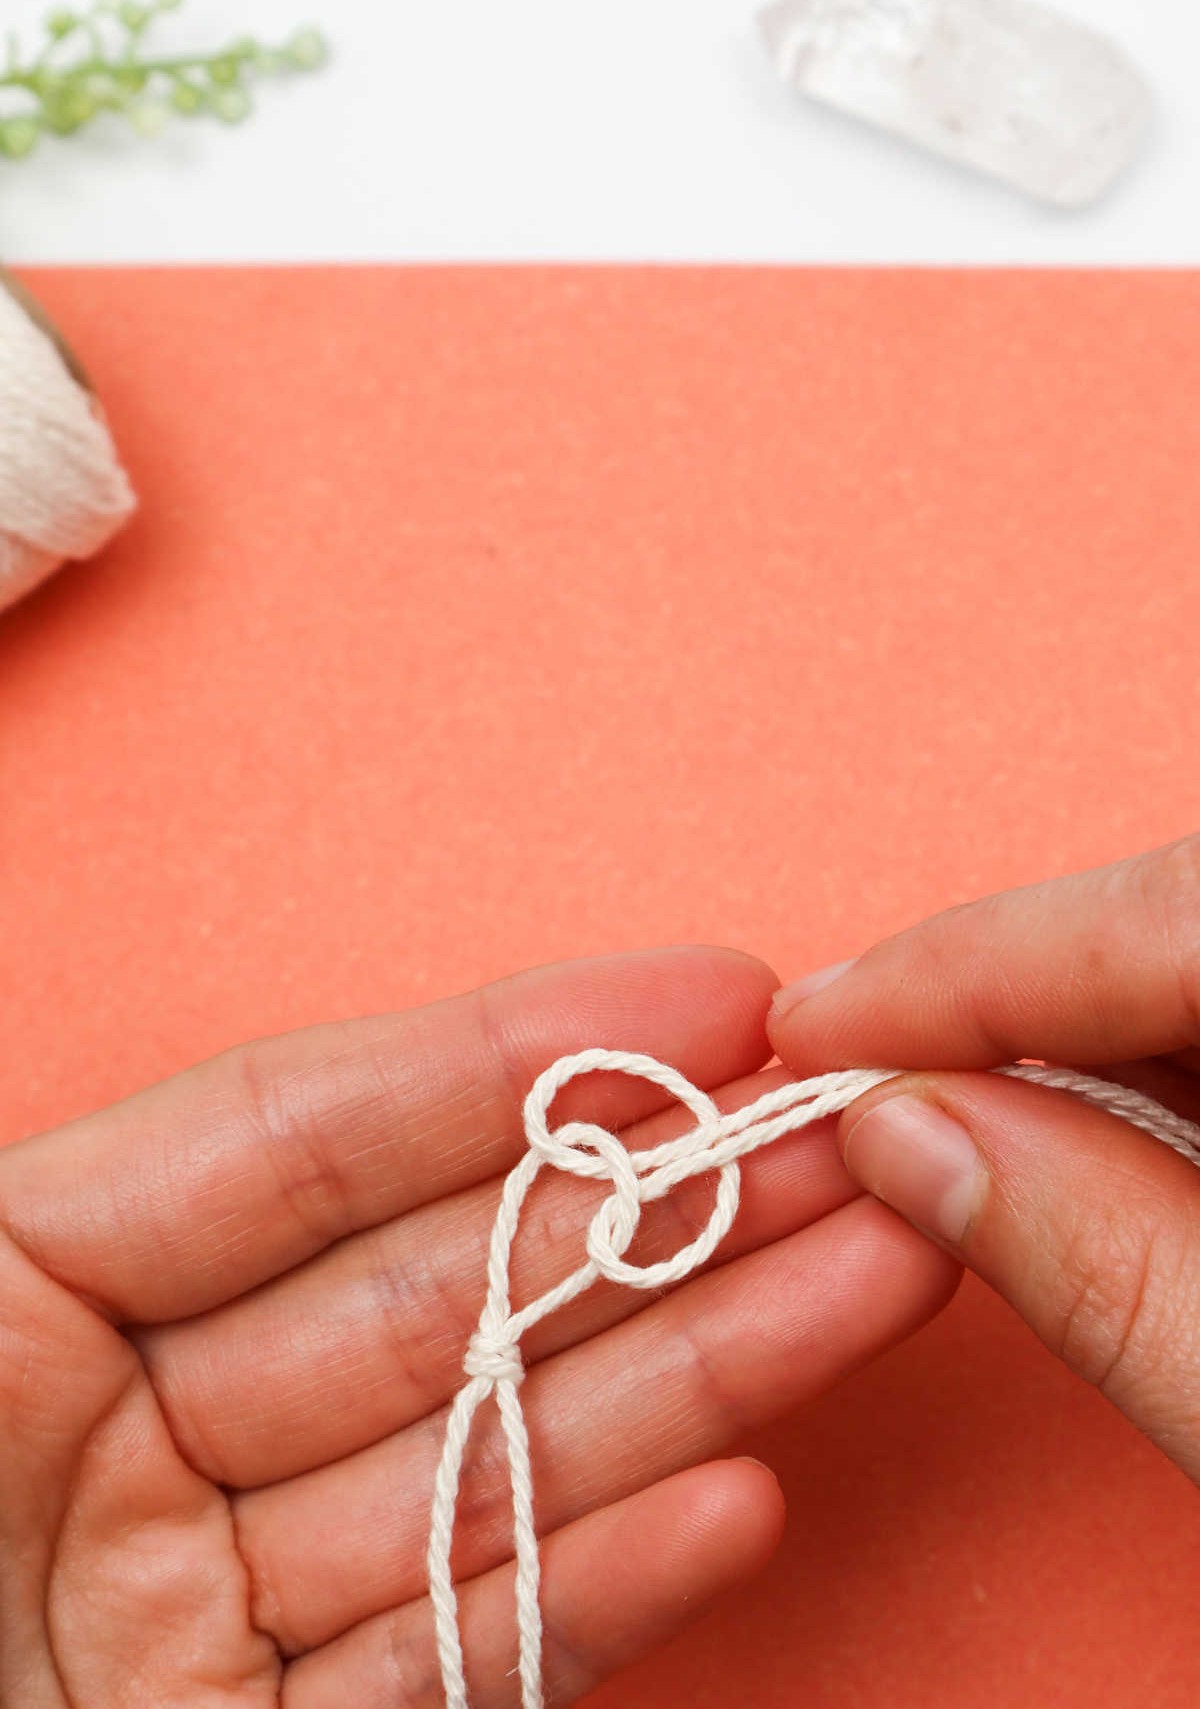
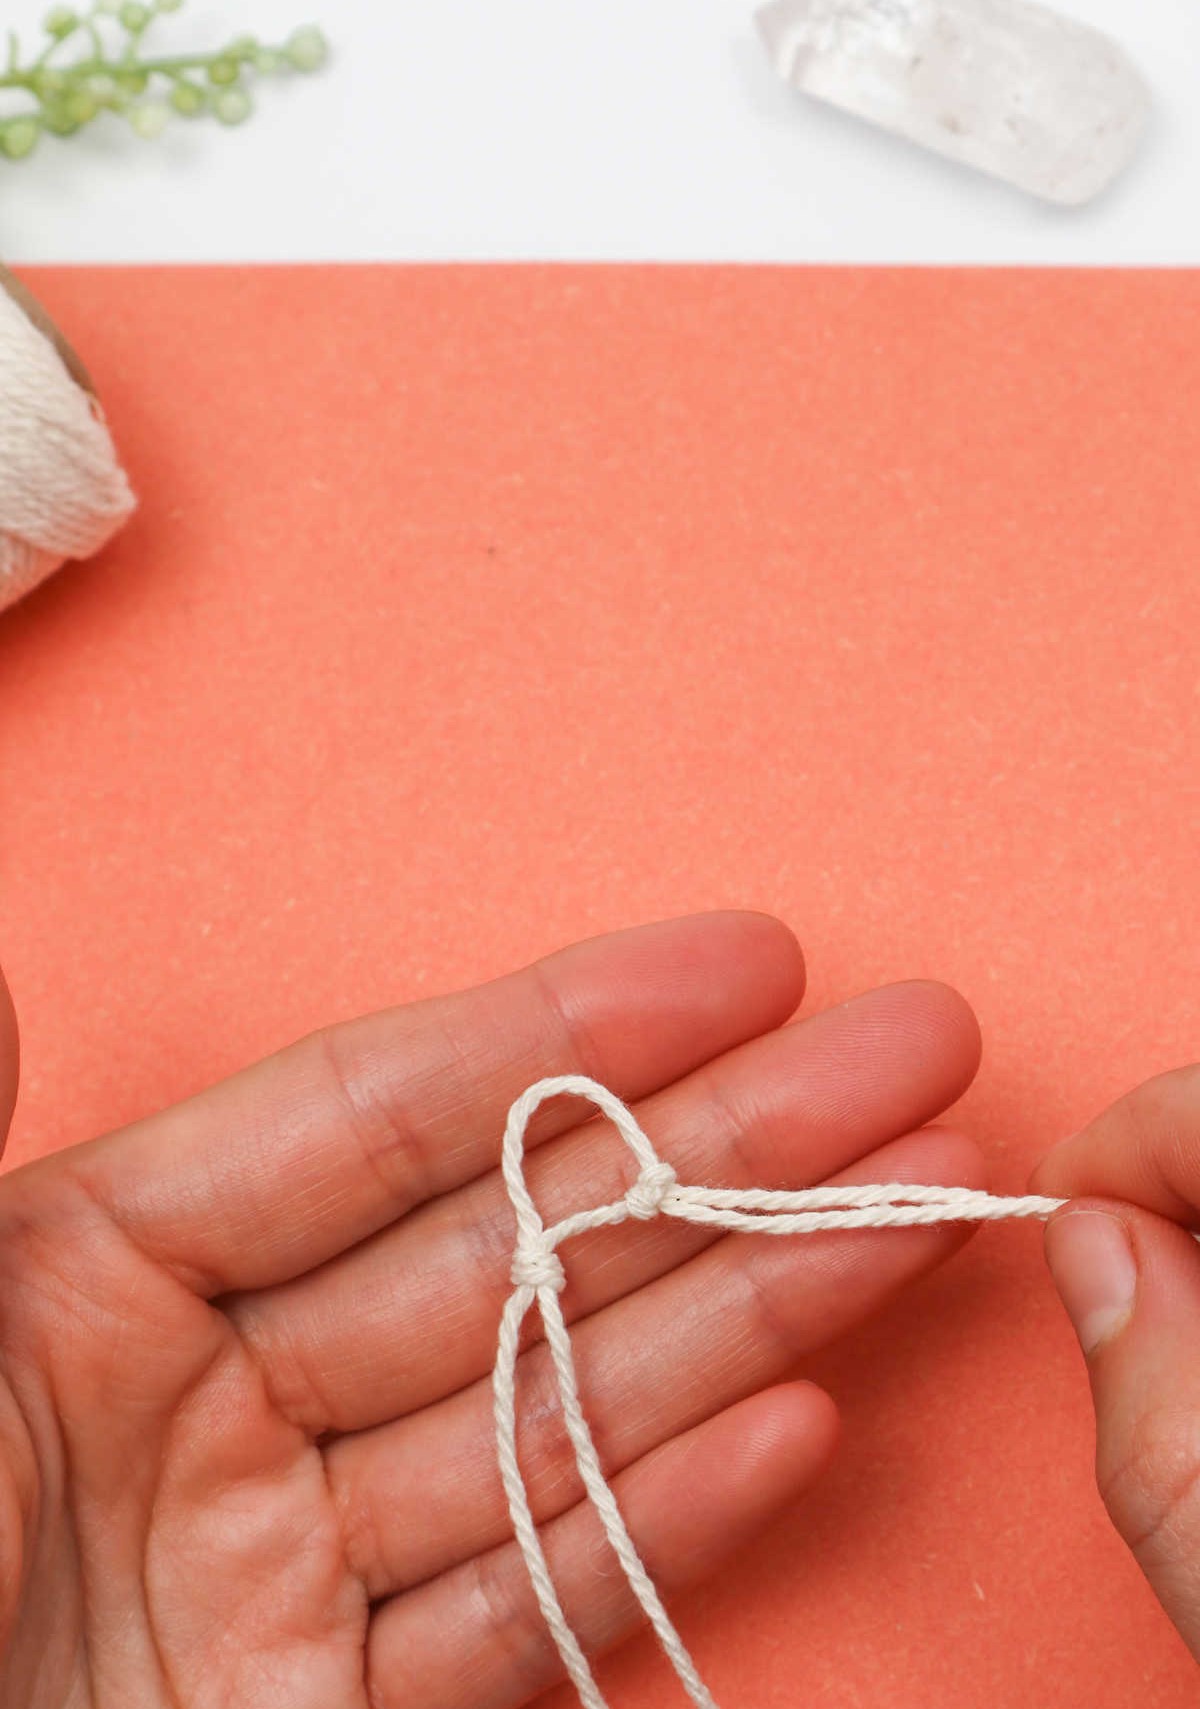
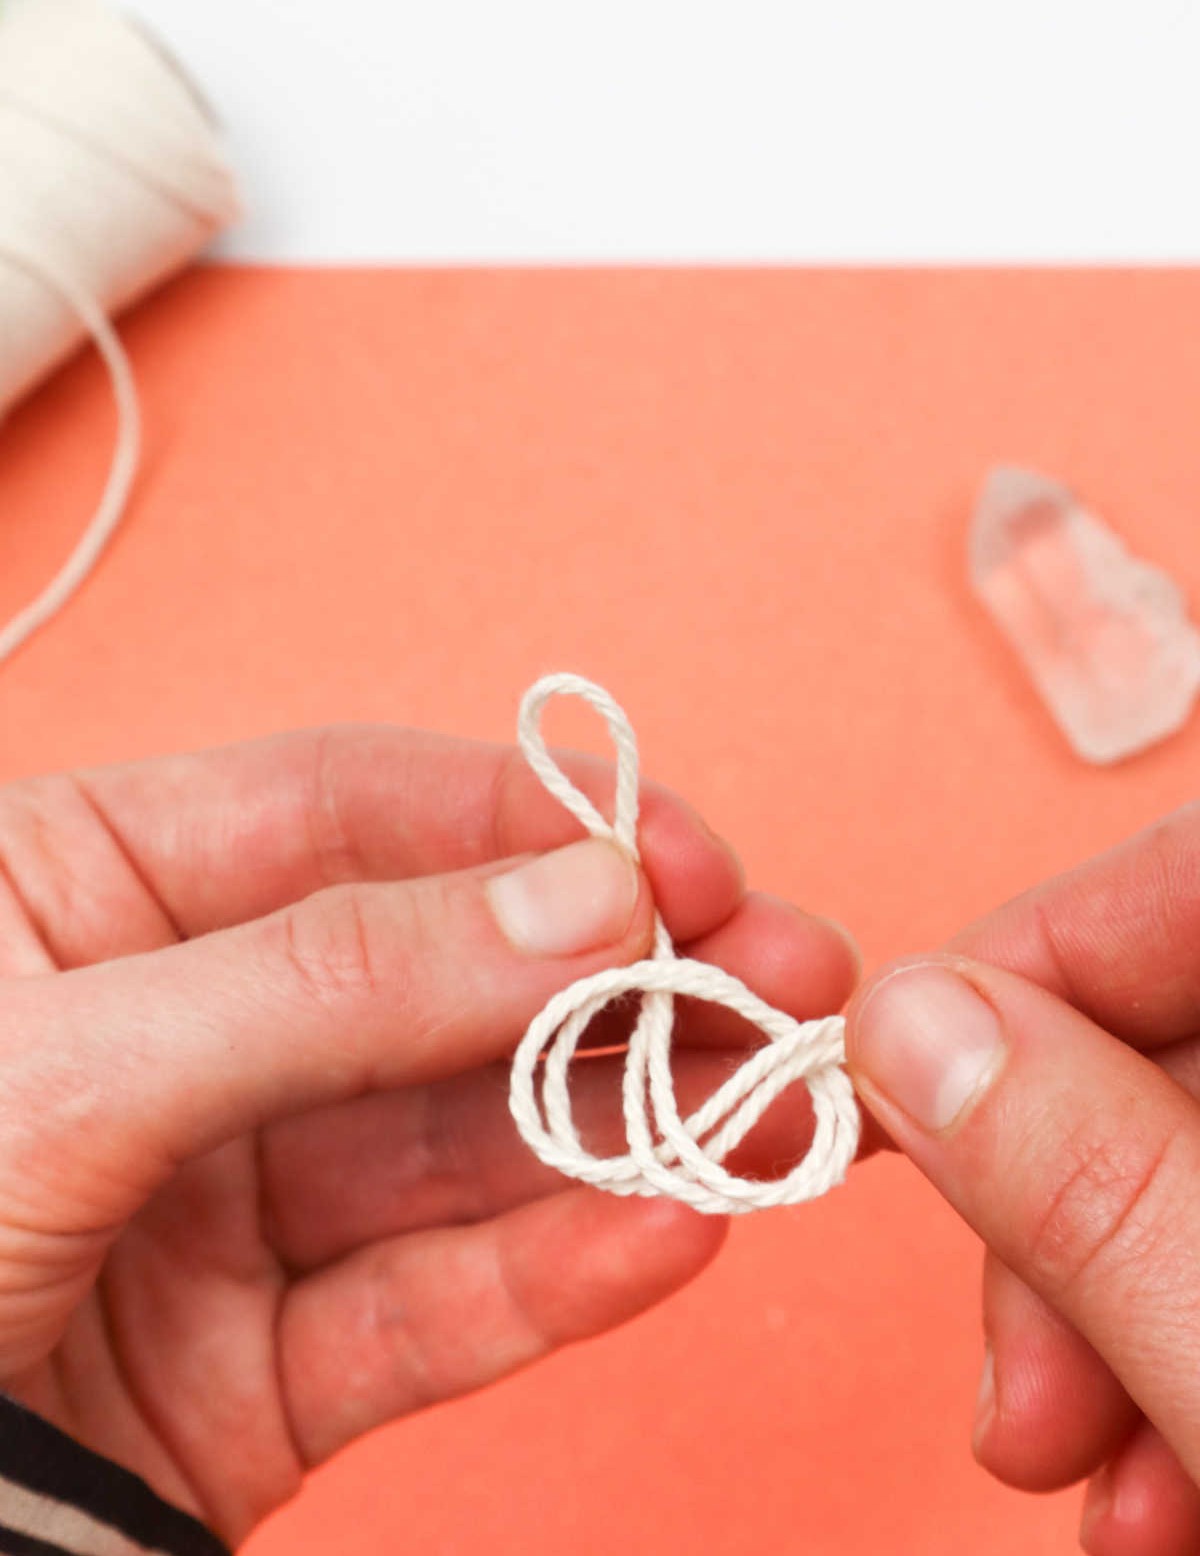
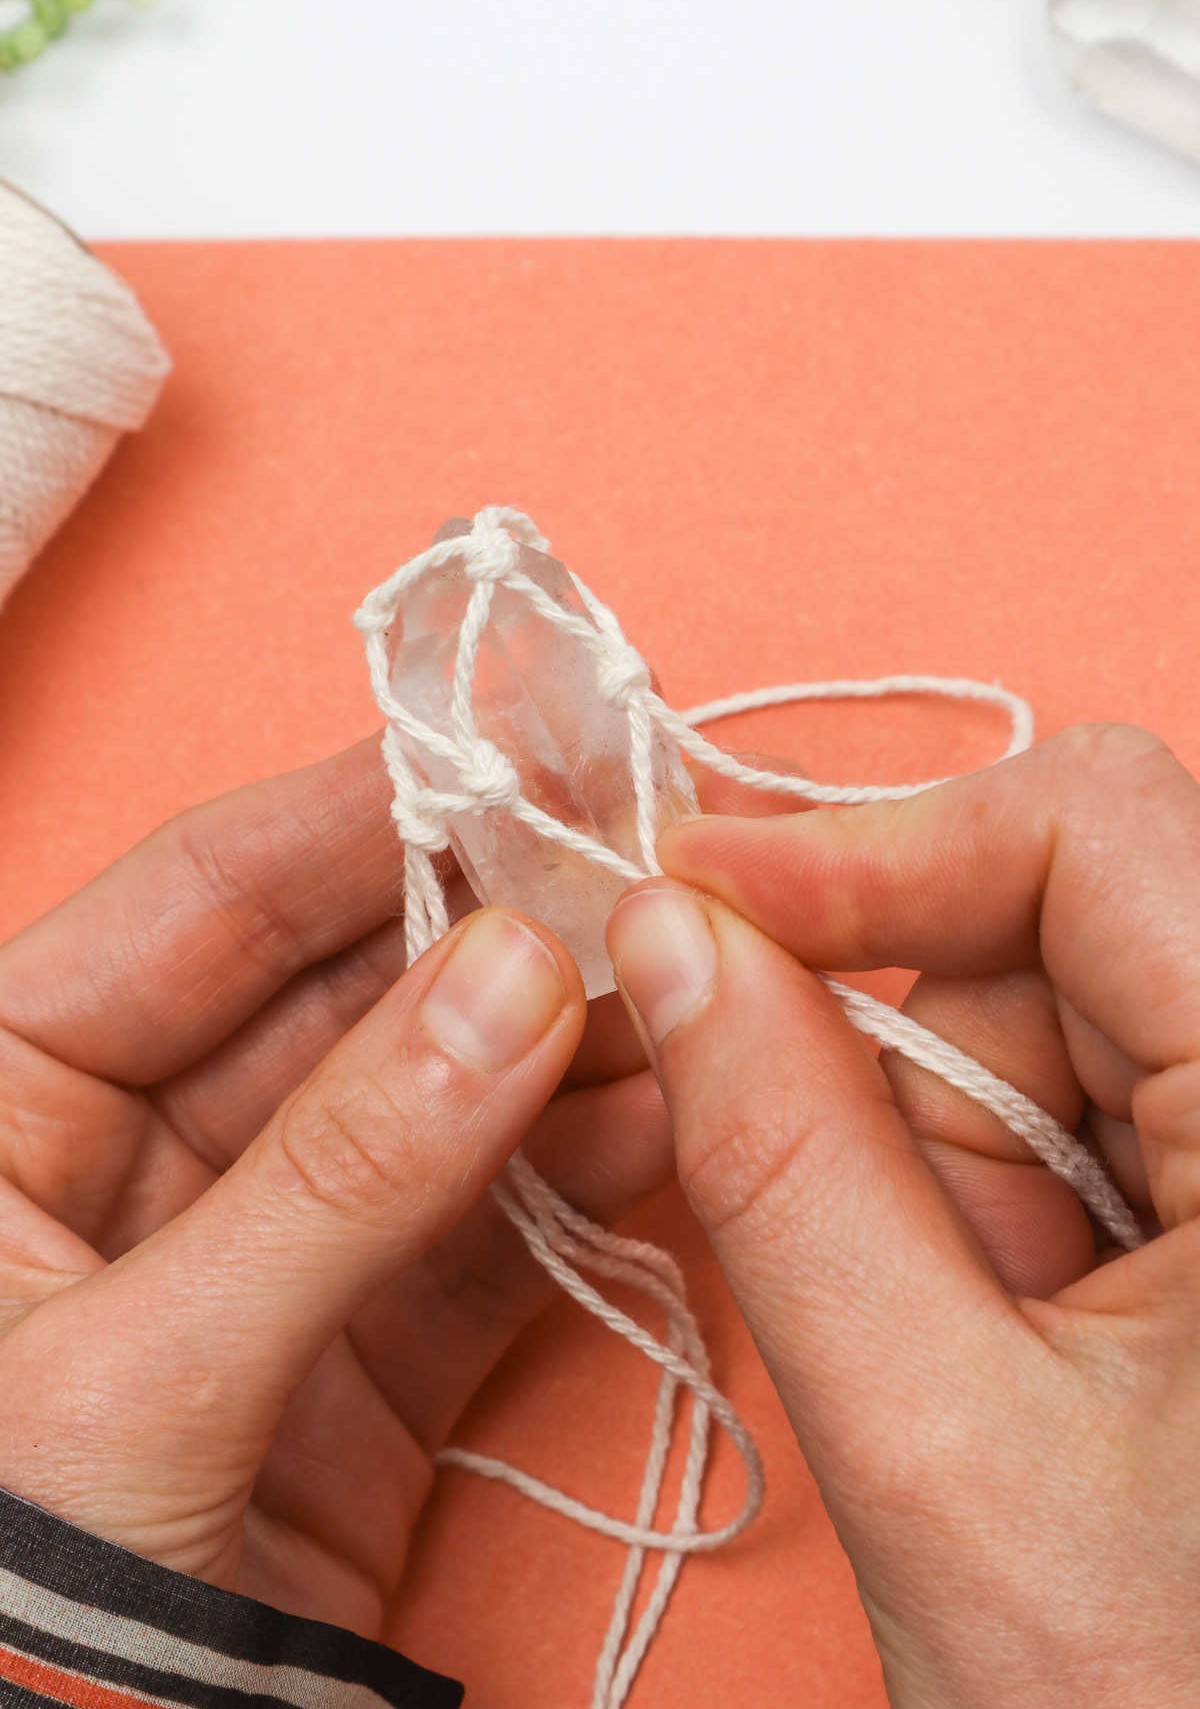
Take the second cord and slide its loop through the initial knot, as depicted below. Next, thread the free ends of the second cord through the newly formed loop to create a secondary knot. As you work on securing the second knot, maintain an even gap between the three knots to ensure a balanced look. Finally, tug firmly to set the first knot in place, resulting in a visually appealing arrangement akin to the image shown.
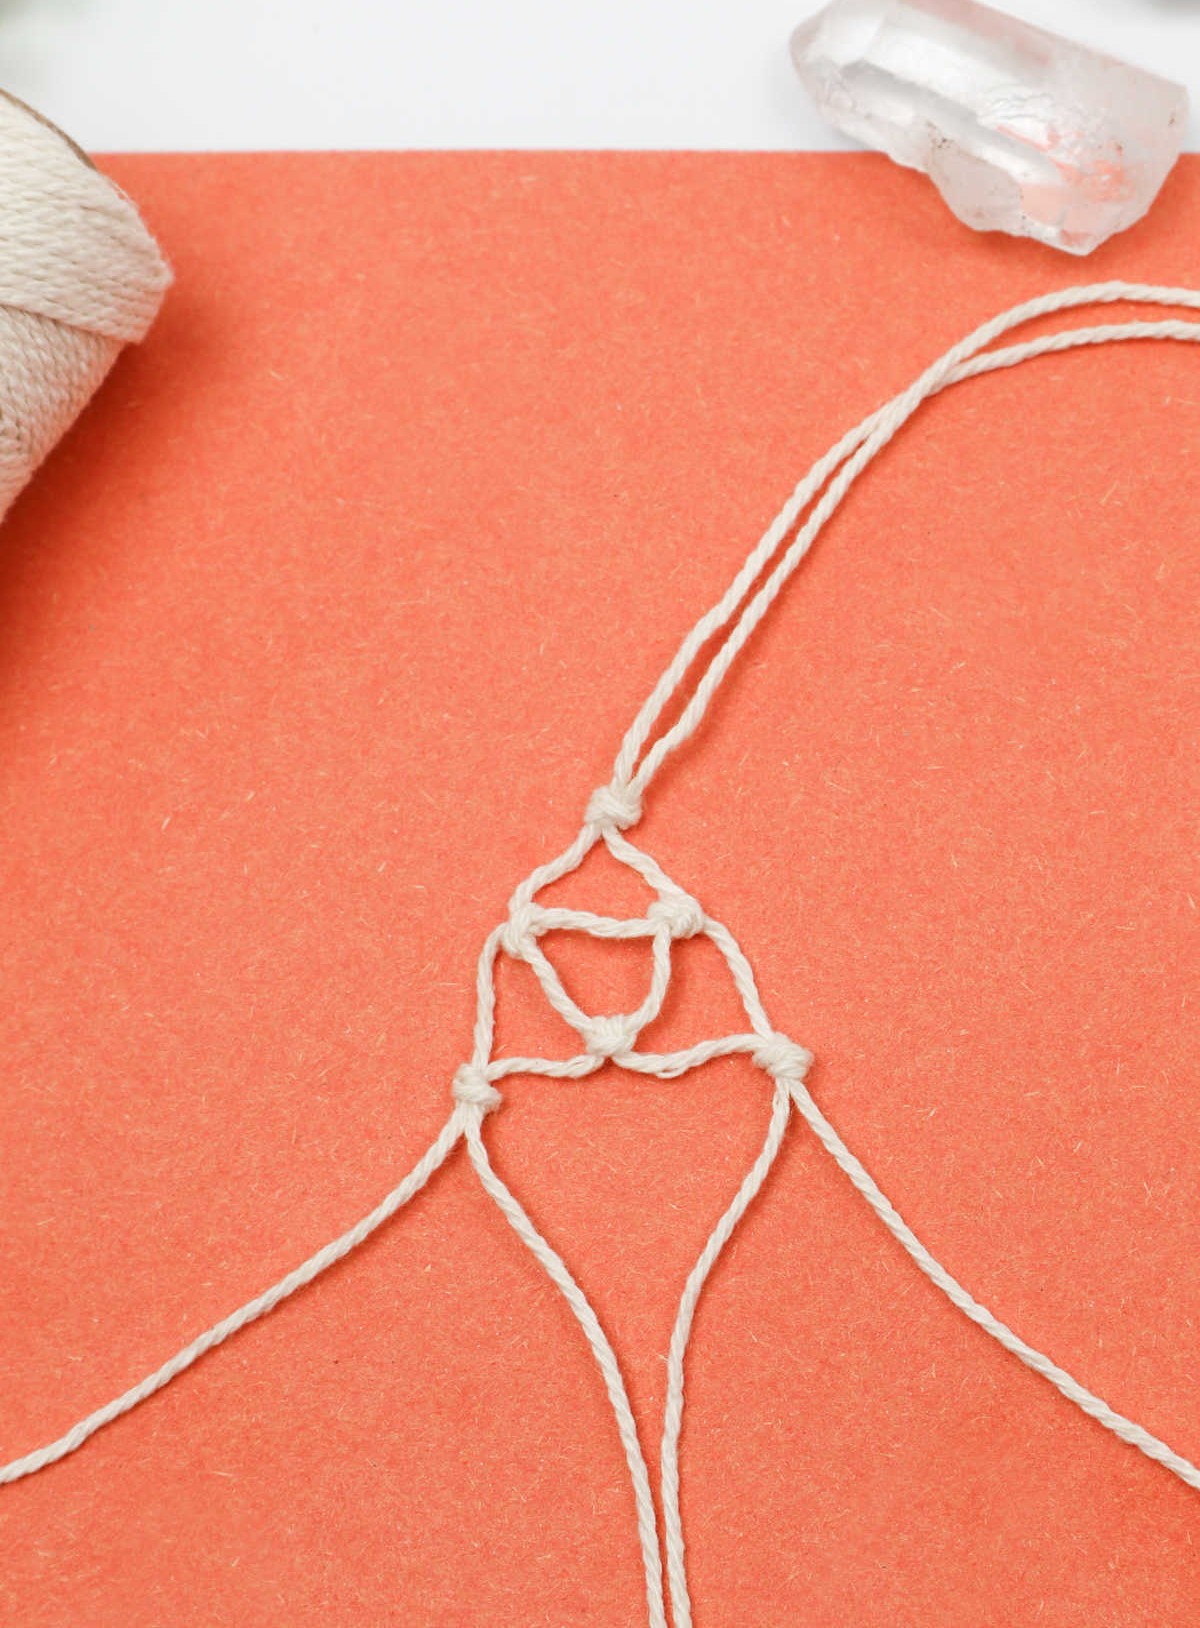
Step 7
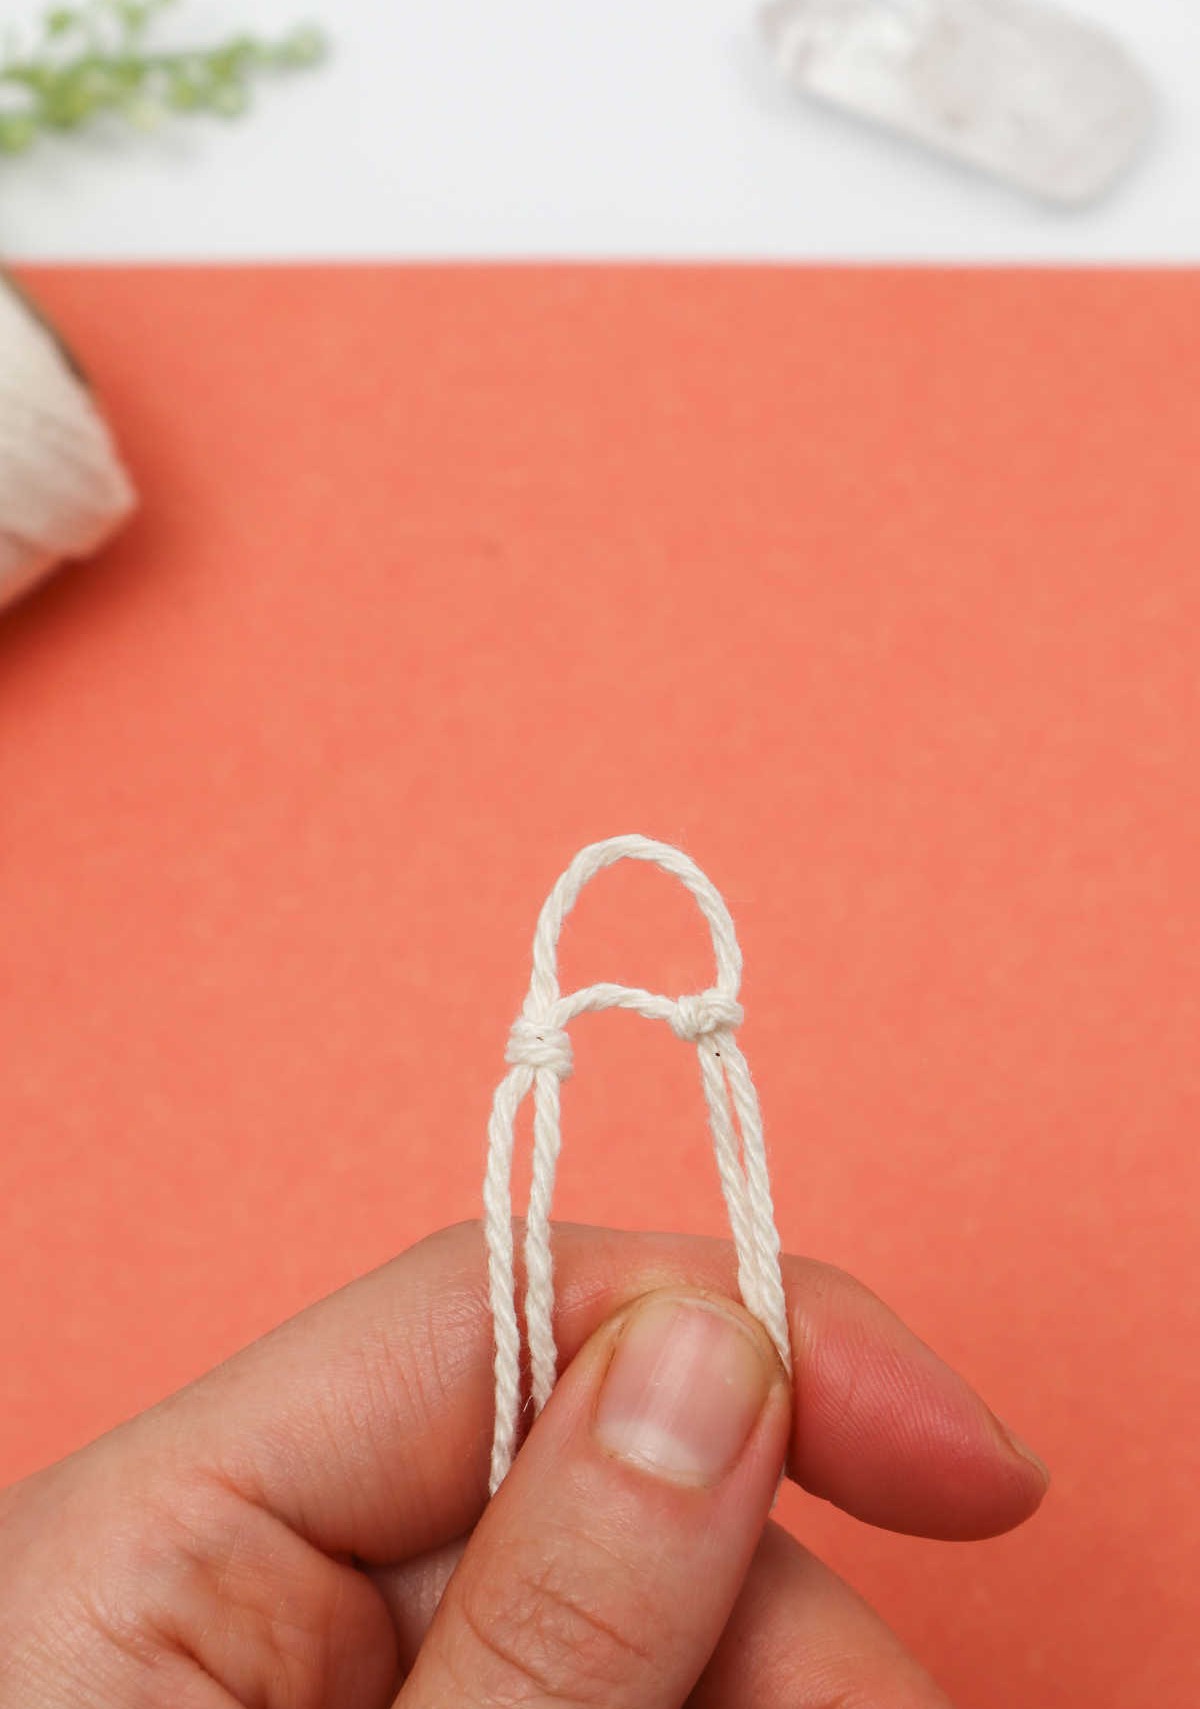
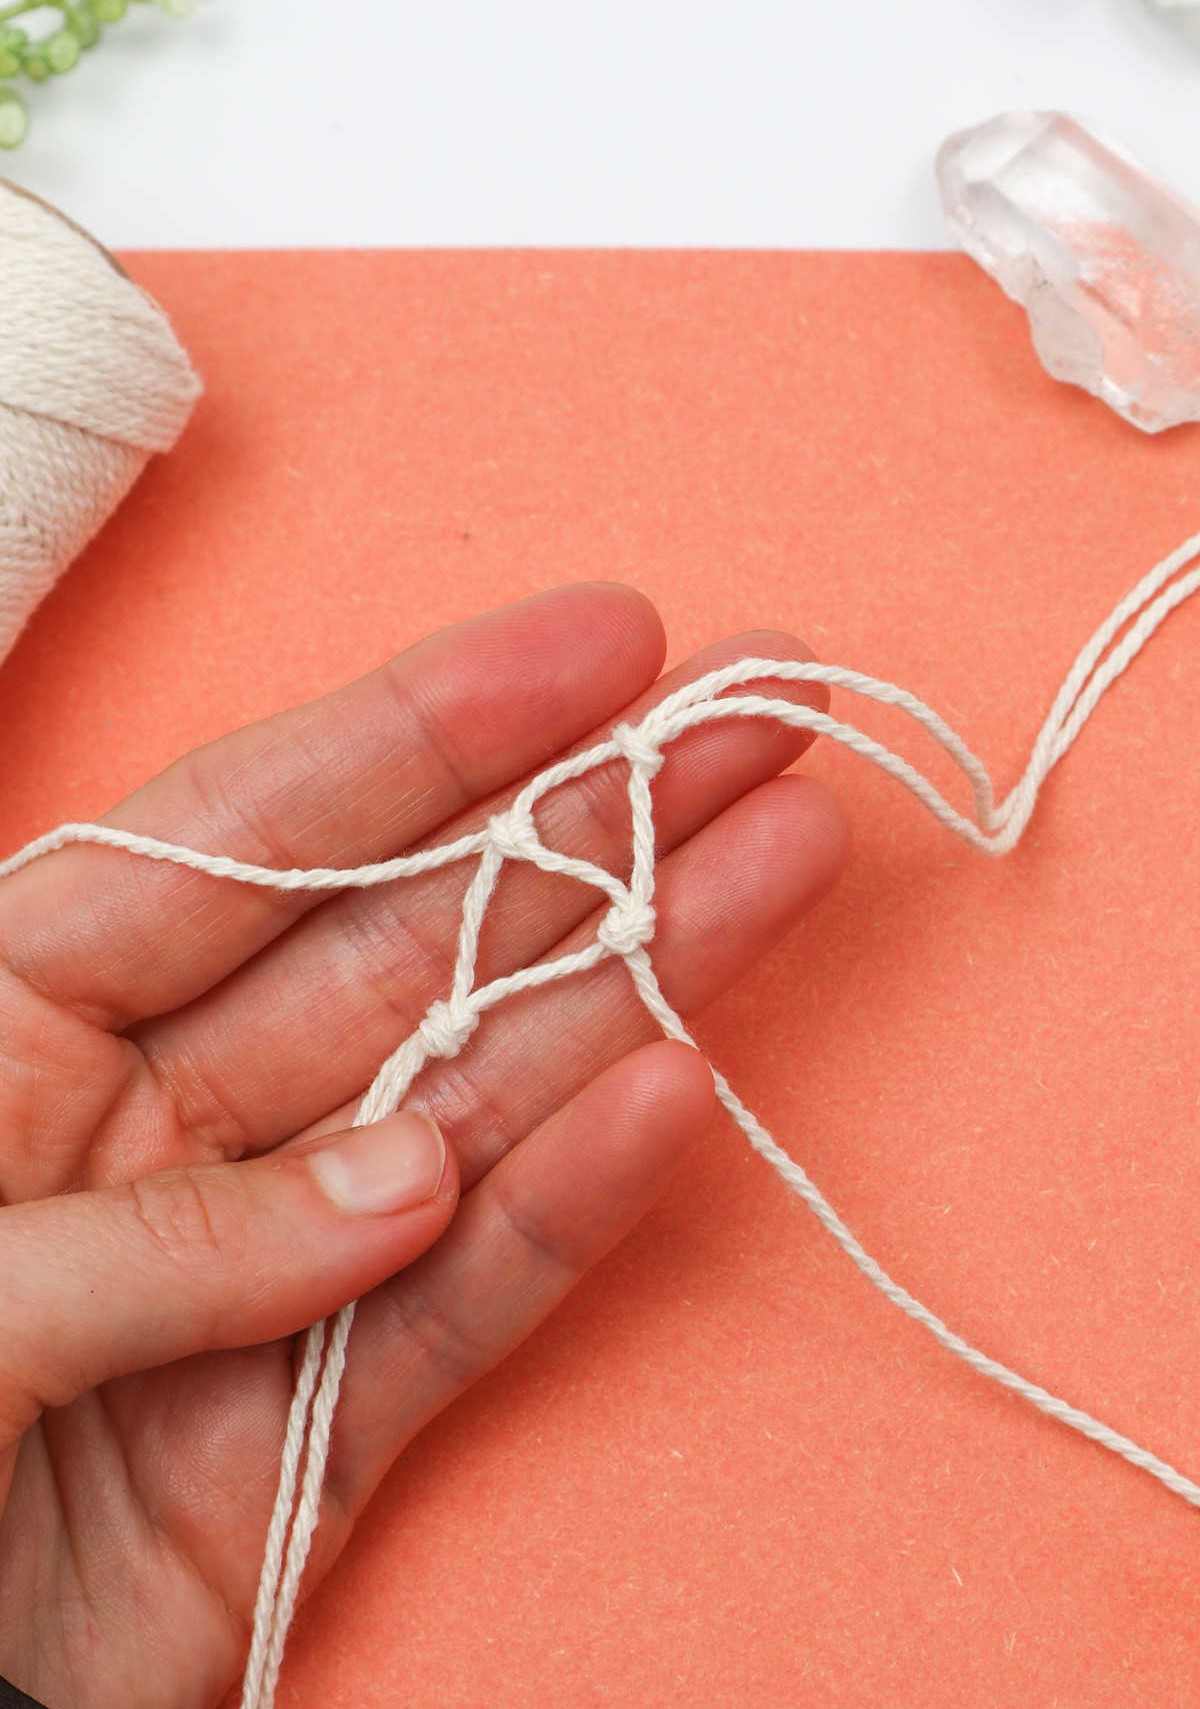
As you move on to the final stage, grasp the third cord and recreate the process outlined in step six, allowing the newly formed knot to seamlessly integrate into the foundation of your crystal structure. The trio of knots you’ve so far created should now be arranged in a triangular pattern, serving as the sturdy base for your crystal’s ultimate form.
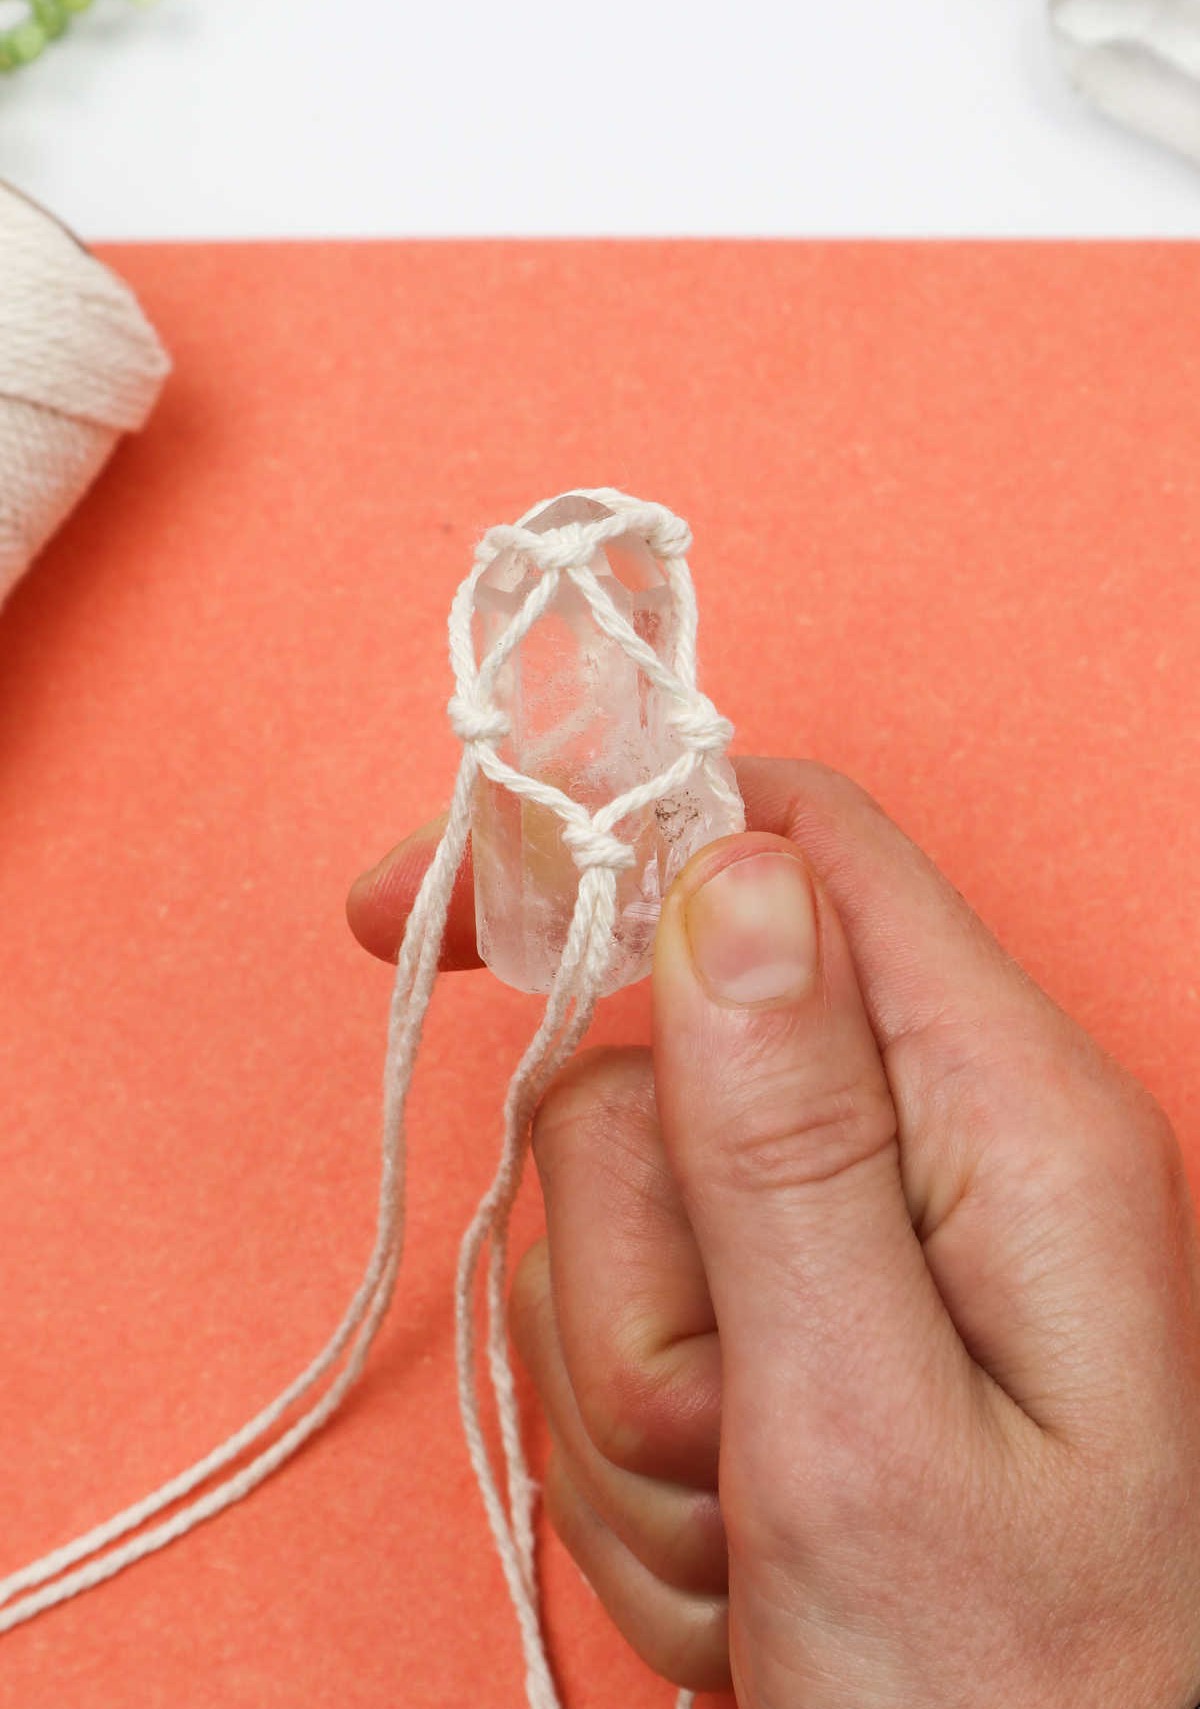
Step 8

As you tie the final knot, carefully slide the crystal into the loop, ensuring a secure fit. It’s essential to periodically inspect the positioning of the crystal to guarantee a comfortable and stable placement throughout the process.
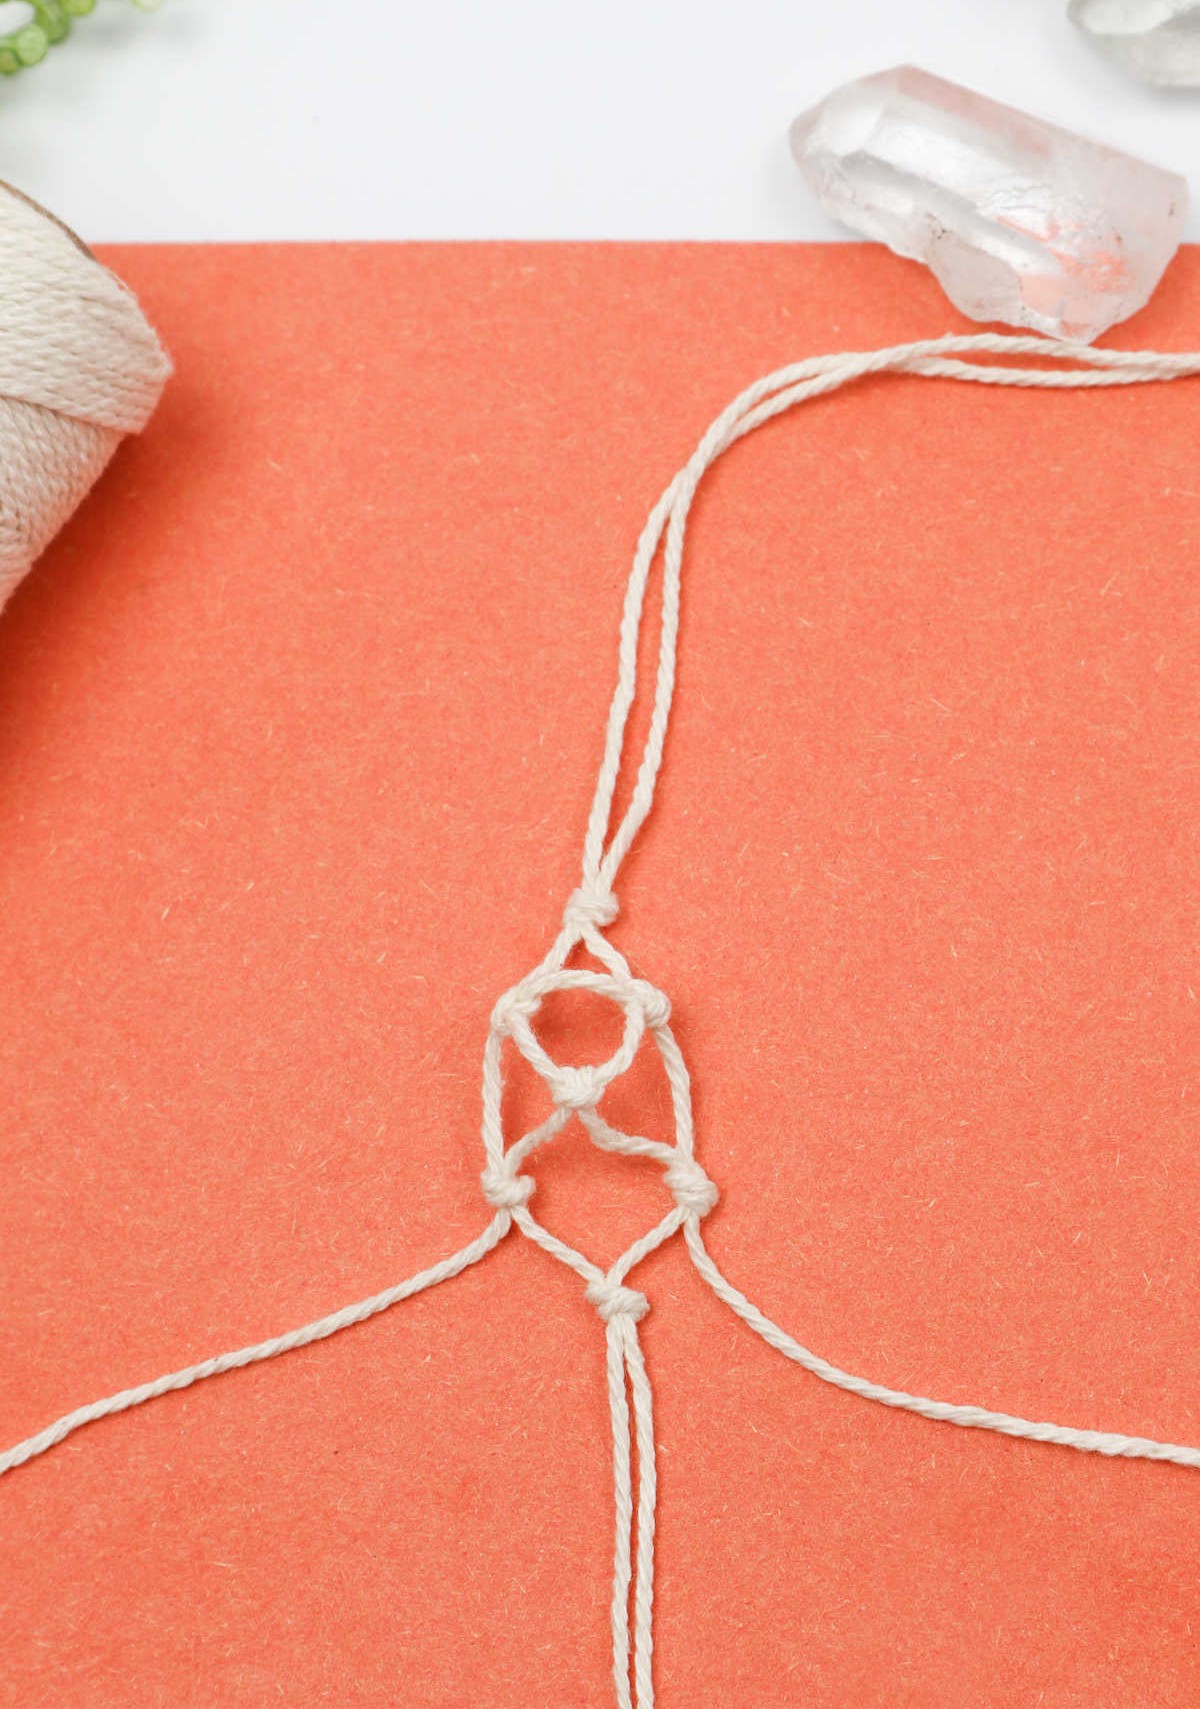
Step 9
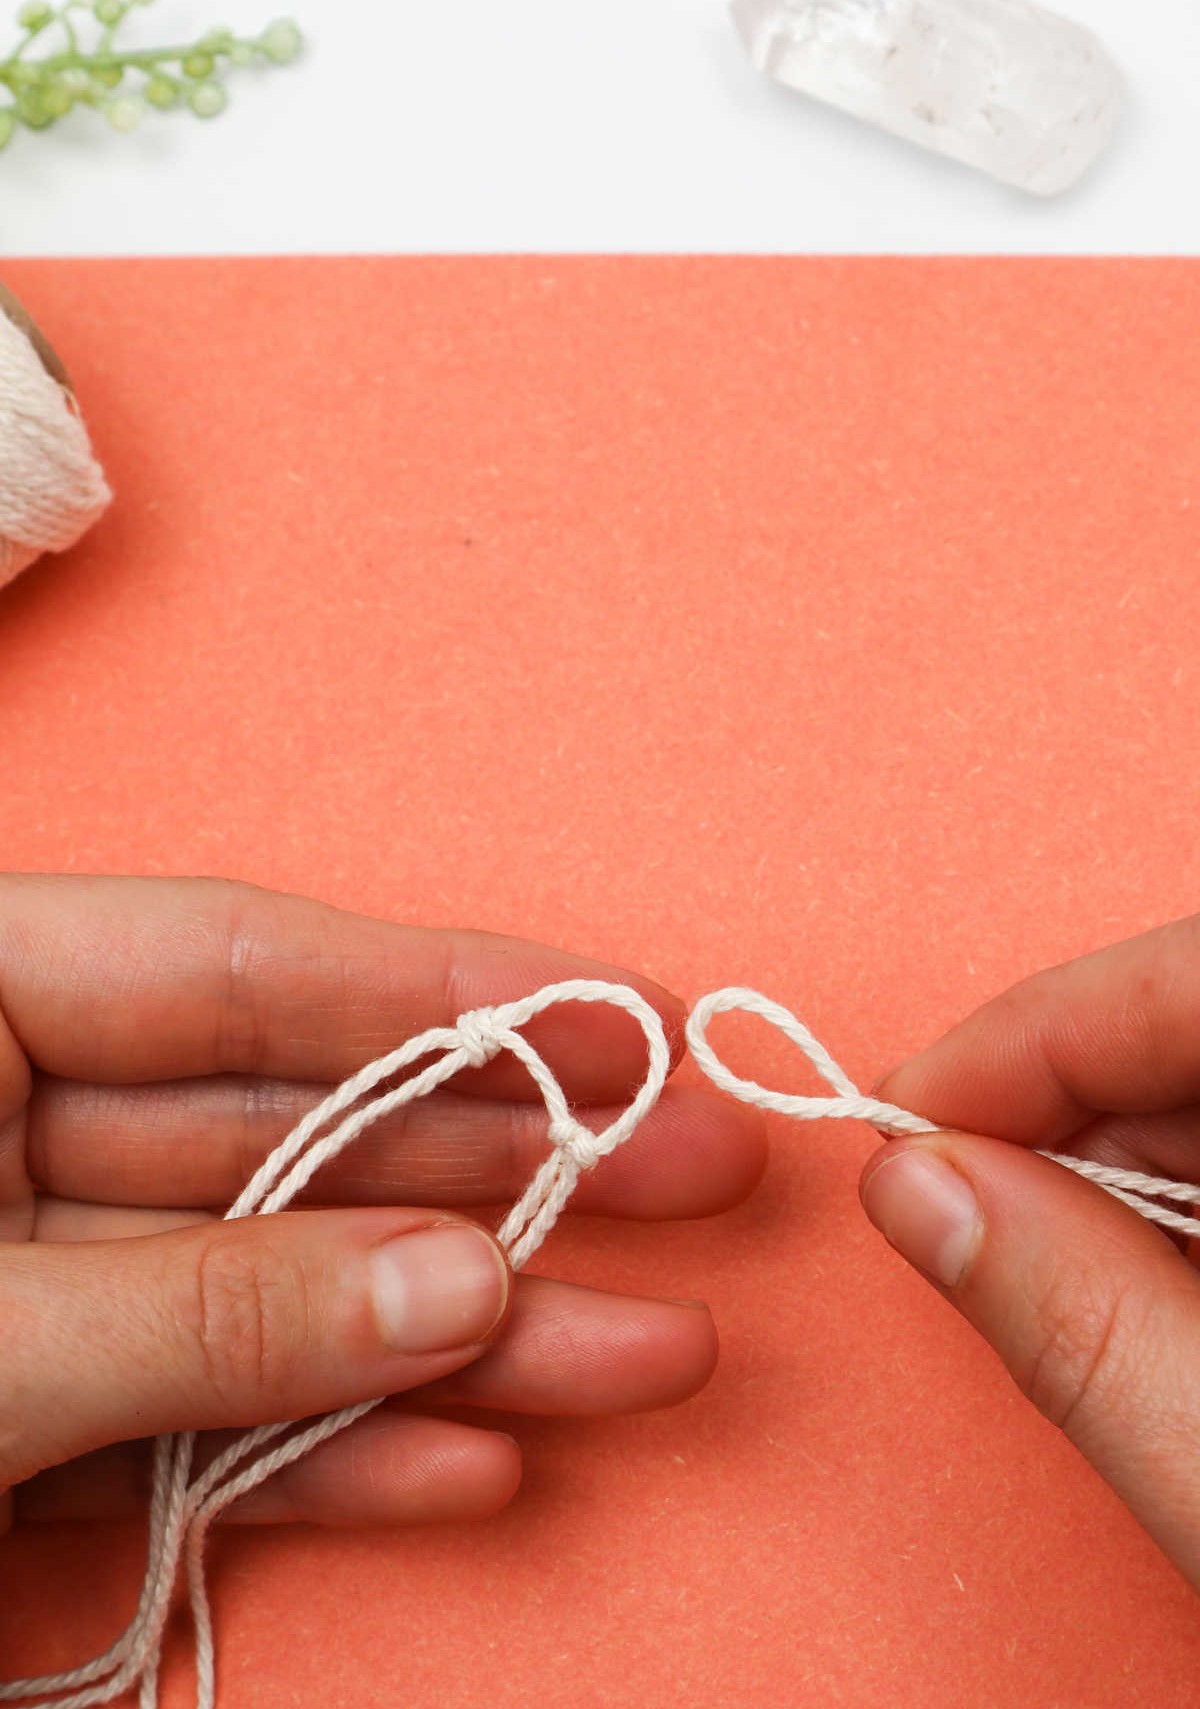
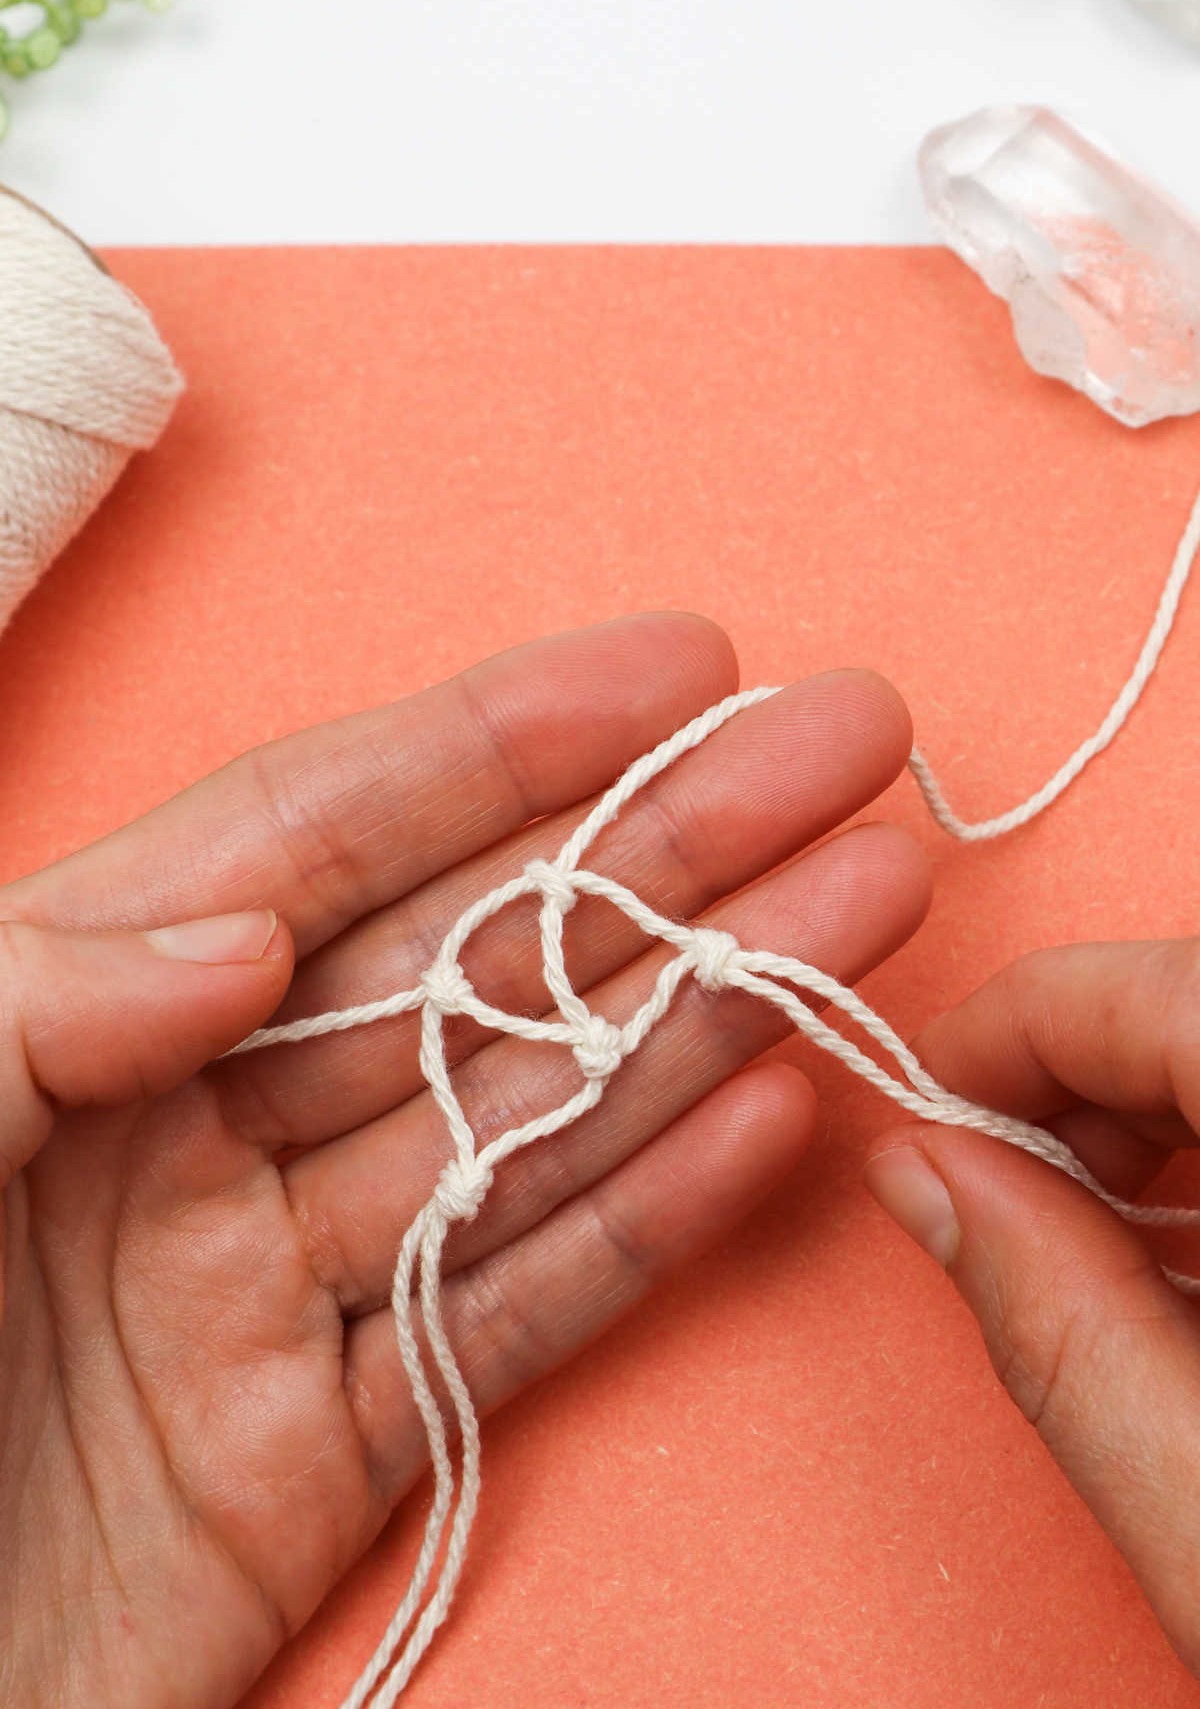
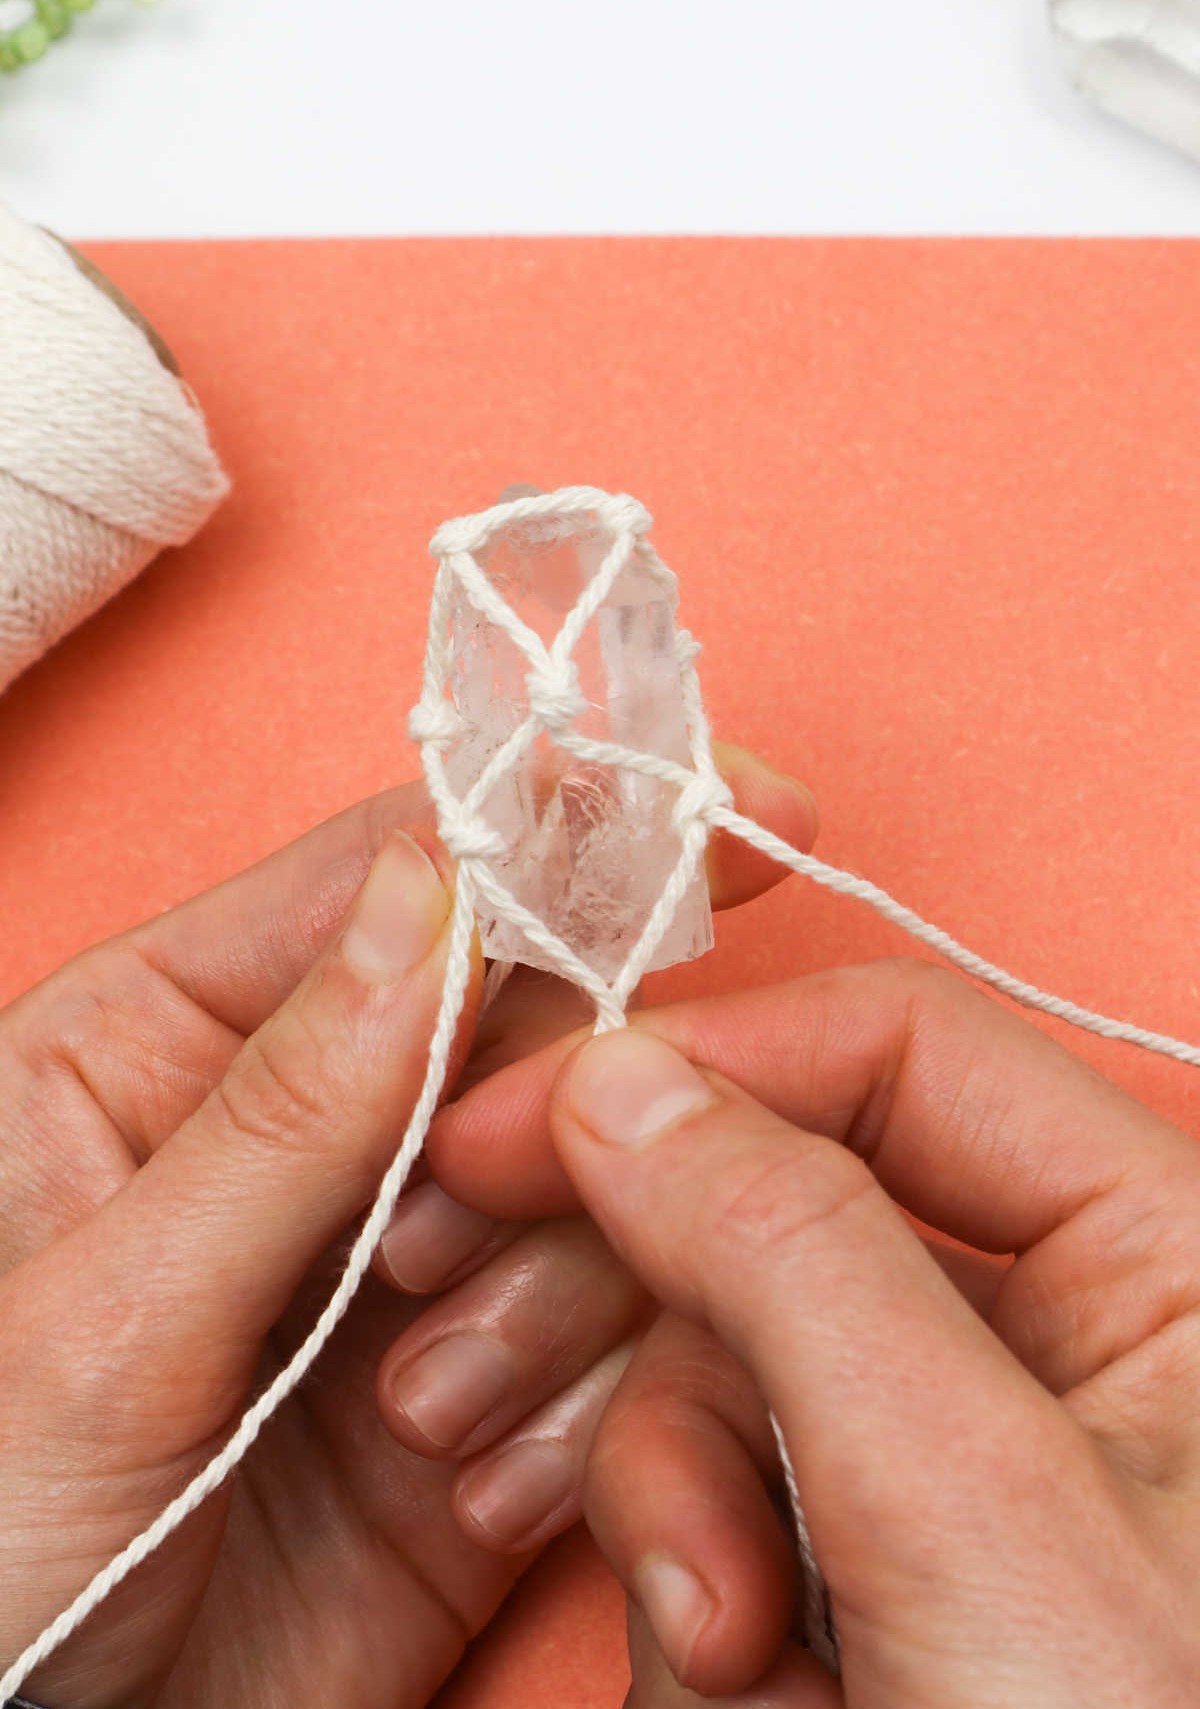
Now it’s time to create the netting structure around the crystal. To start, take one strand from the primary cord and another strand from a neighboring cord. Bring these two strands together, forming a precise connection.
Next, tie the two cords into an overhand knot, similar to those you’ve been creating throughout this process. The resulting triangle should be identical in size to your initial triangle.
Ensure the knot is positioned roughly midway between the base knots of the two combined cords. For a visual reference, refer to the accompanying image and periodically check the crystal’s size to maintain accuracy.
Step 10

As you move forward with the project, don’t forget to keep track of your starting point – the original triangle that served as the foundation for your work. This will be crucial when creating the next step in the process, which involves combining cords from subsequent sections to form a new, knotted triangle.
Step 11

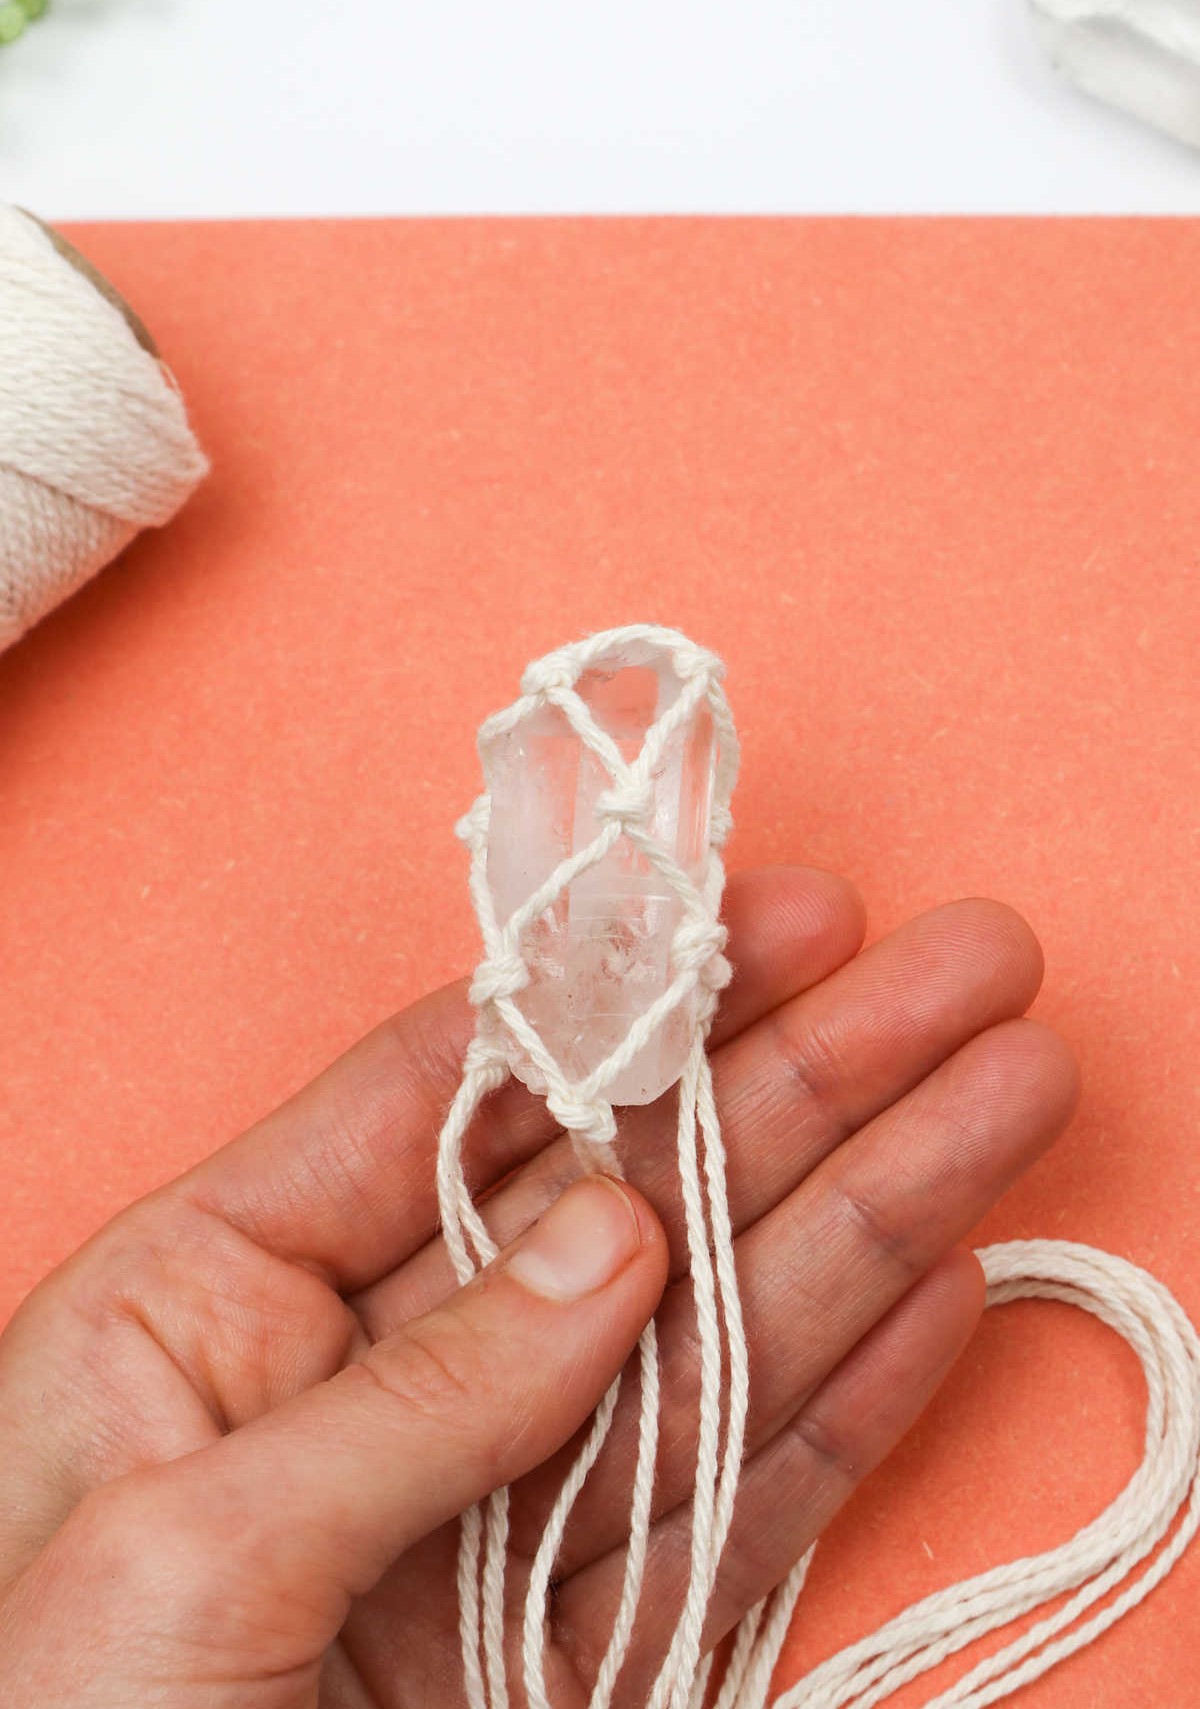
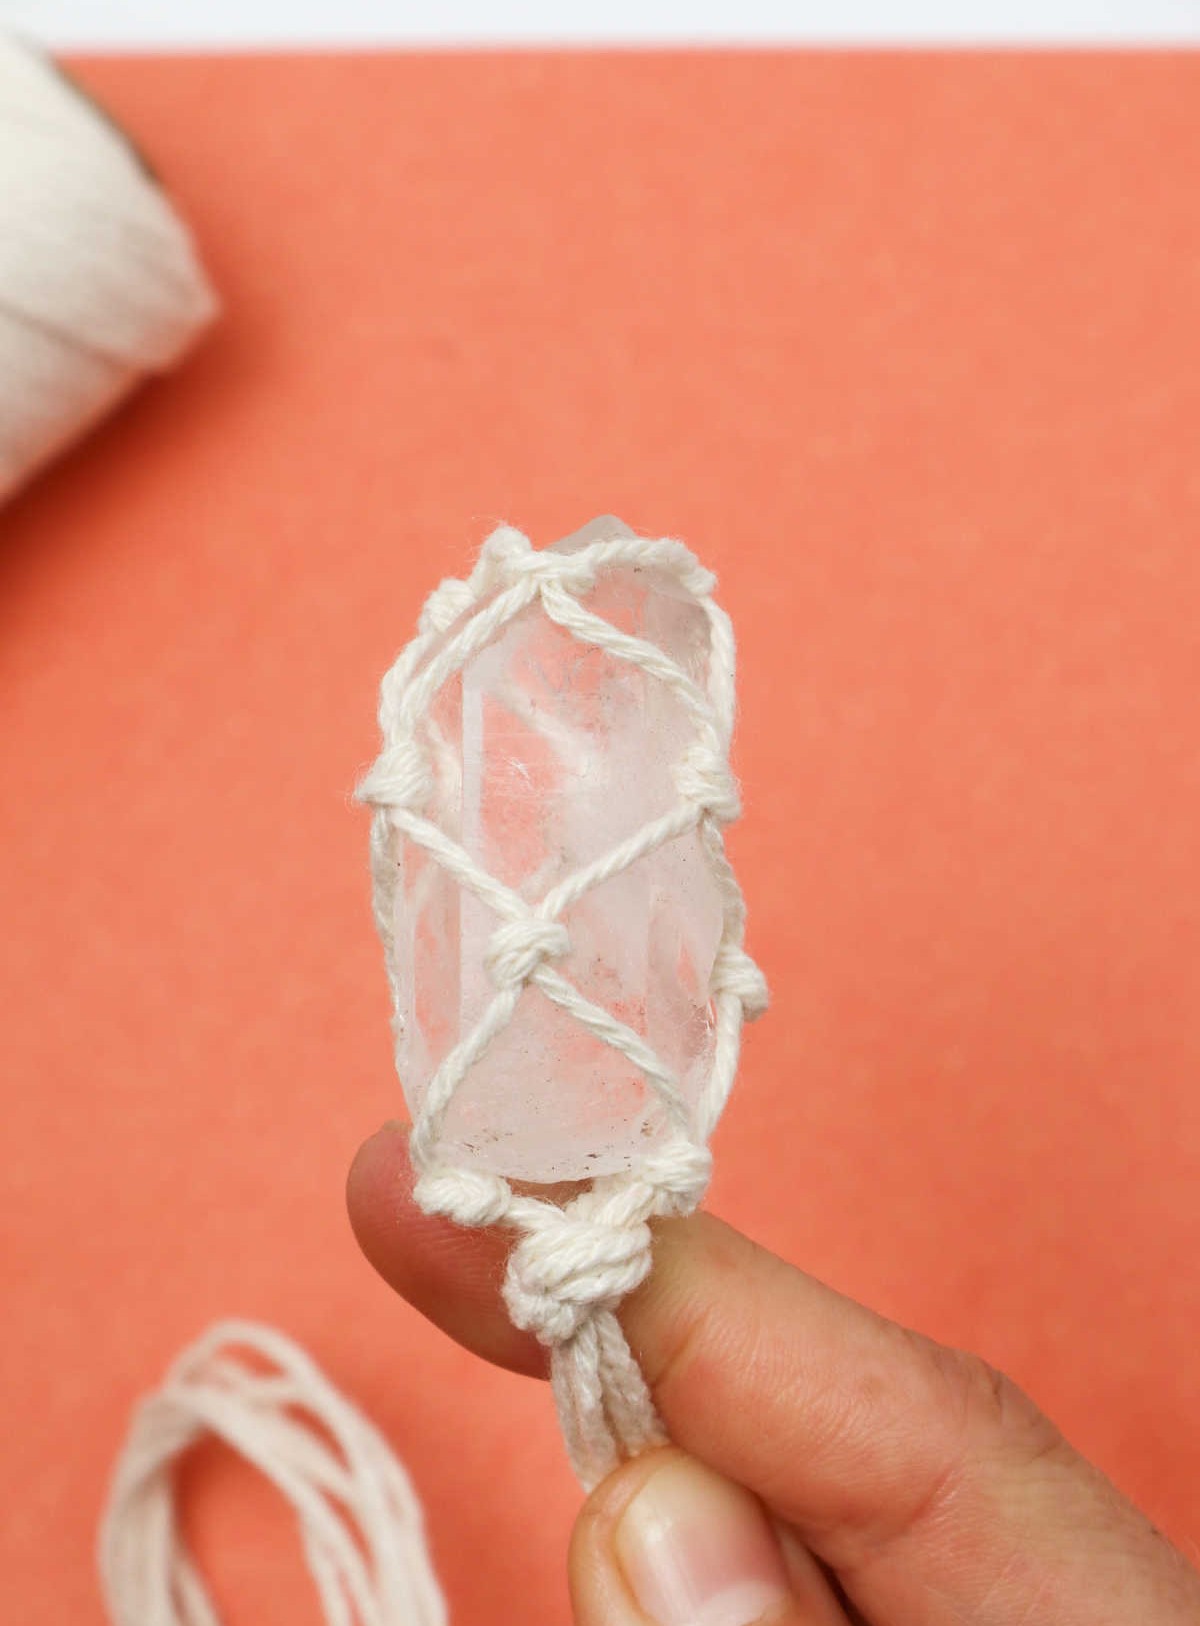
As you continue working on your design, remember to incorporate step 9 into each section. To facilitate this process, work on a flat surface to ensure each triangle remains visible. This approach also simplifies cord sectioning. While your pattern may not remain flat throughout, it’s normal for the design to gradually rise as you progress up and around the crystal. To avoid overly tight or loose cords, maintain steady placement of the crystal.
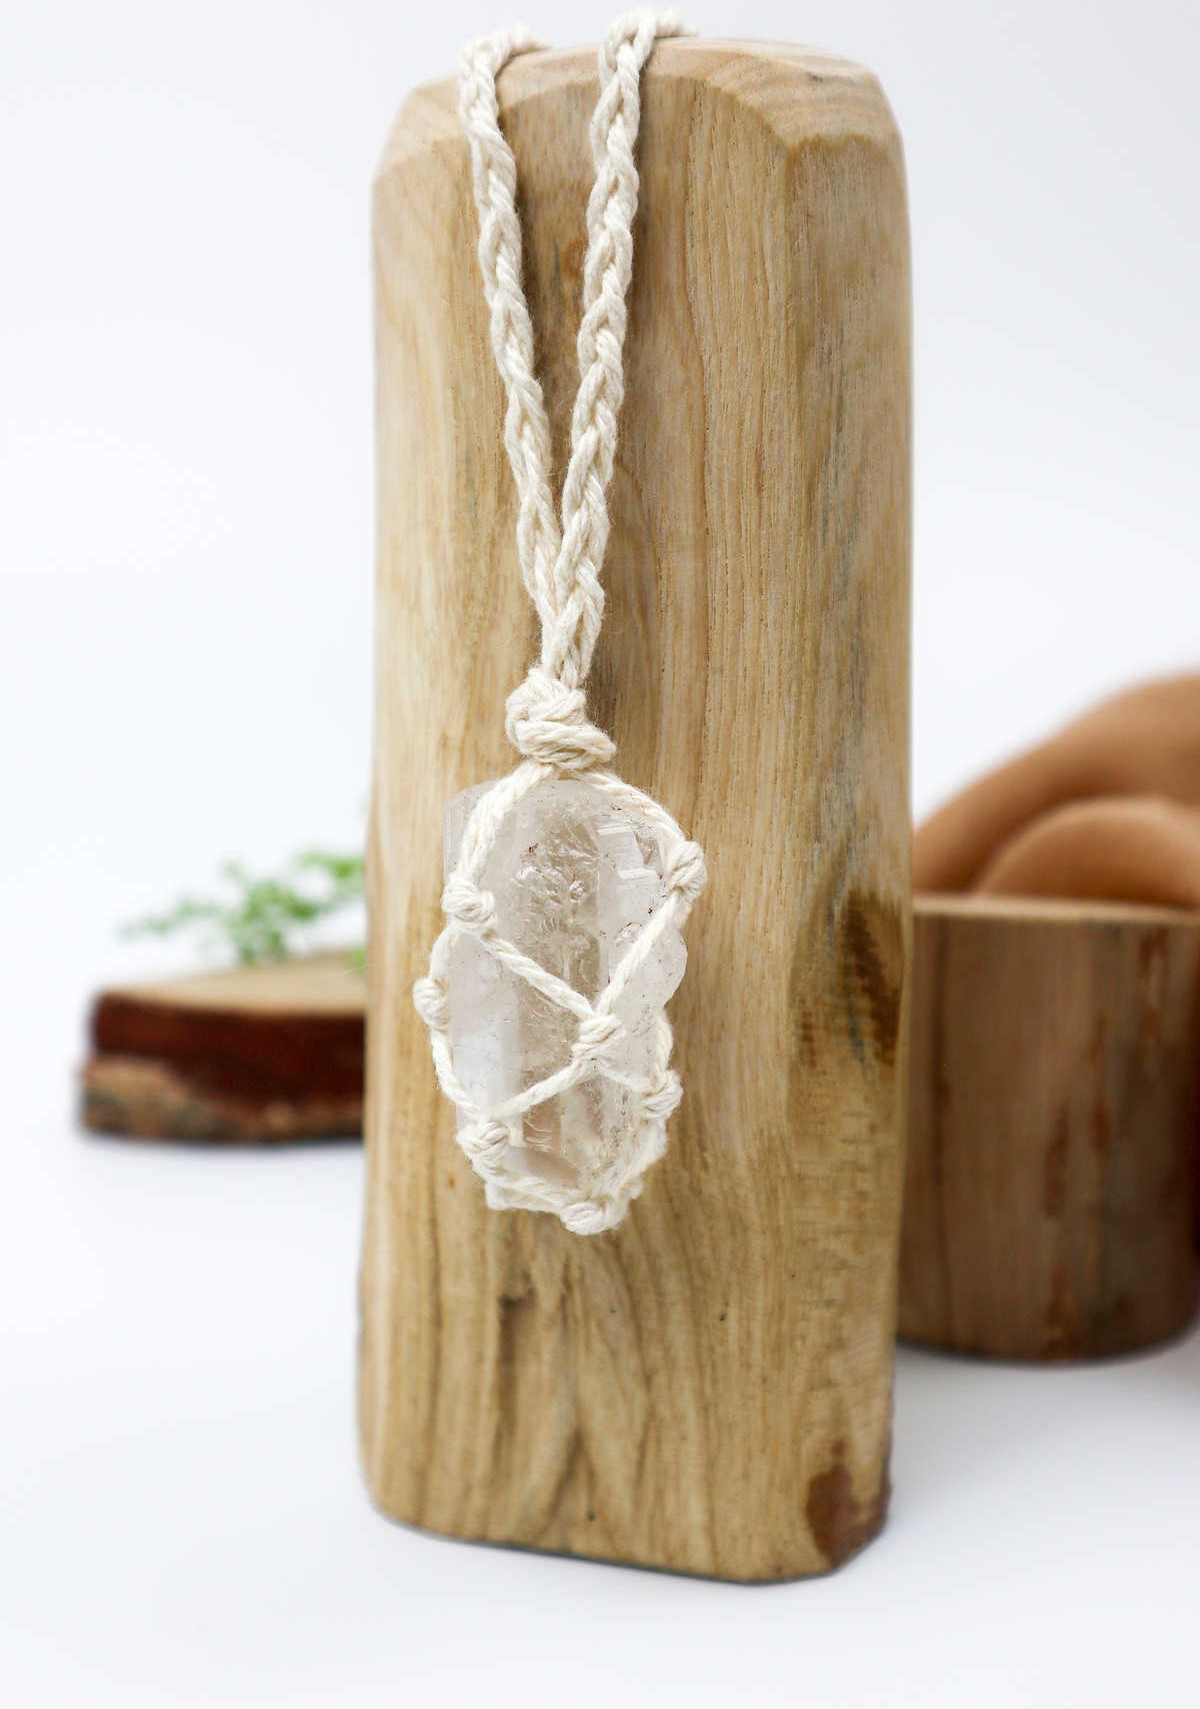
If needed, hold the crystal in position while working knots around it, allowing you to focus on one section at a time. With each round complete, you’ll find subsequent sections become increasingly easier to manage. The finished product will resemble this when you’ve reached the top of your design.
Step 12
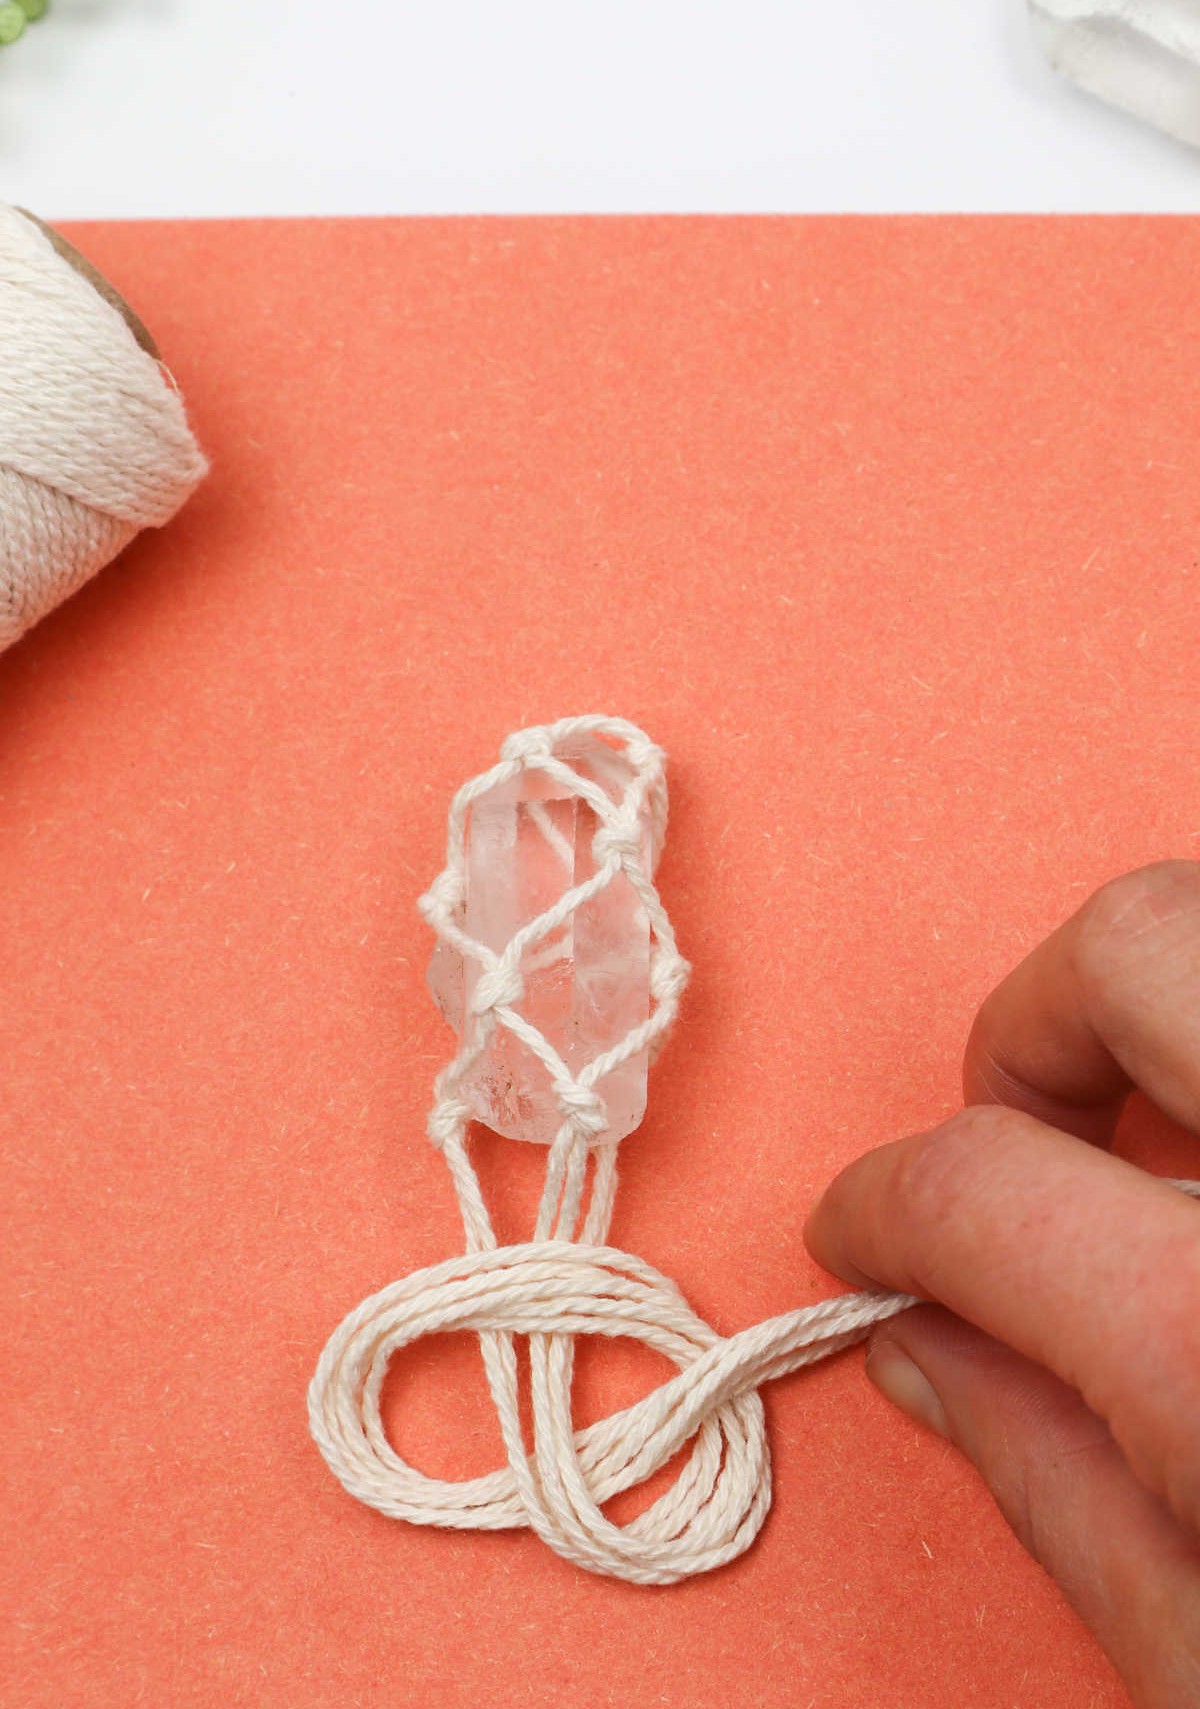
As you near the completion of the crystal wrapping process, secure all the cords by tying an overhand knot precisely at the top center of the crystal. Next, gently push the knot towards the heart of the stone and carefully manipulate each cord to achieve a balanced and snug fit. As you tug on each strand, ensure that the knot remains evenly tightened, effectively binding all the cords together in a harmonious union with the crystal.
Step 13
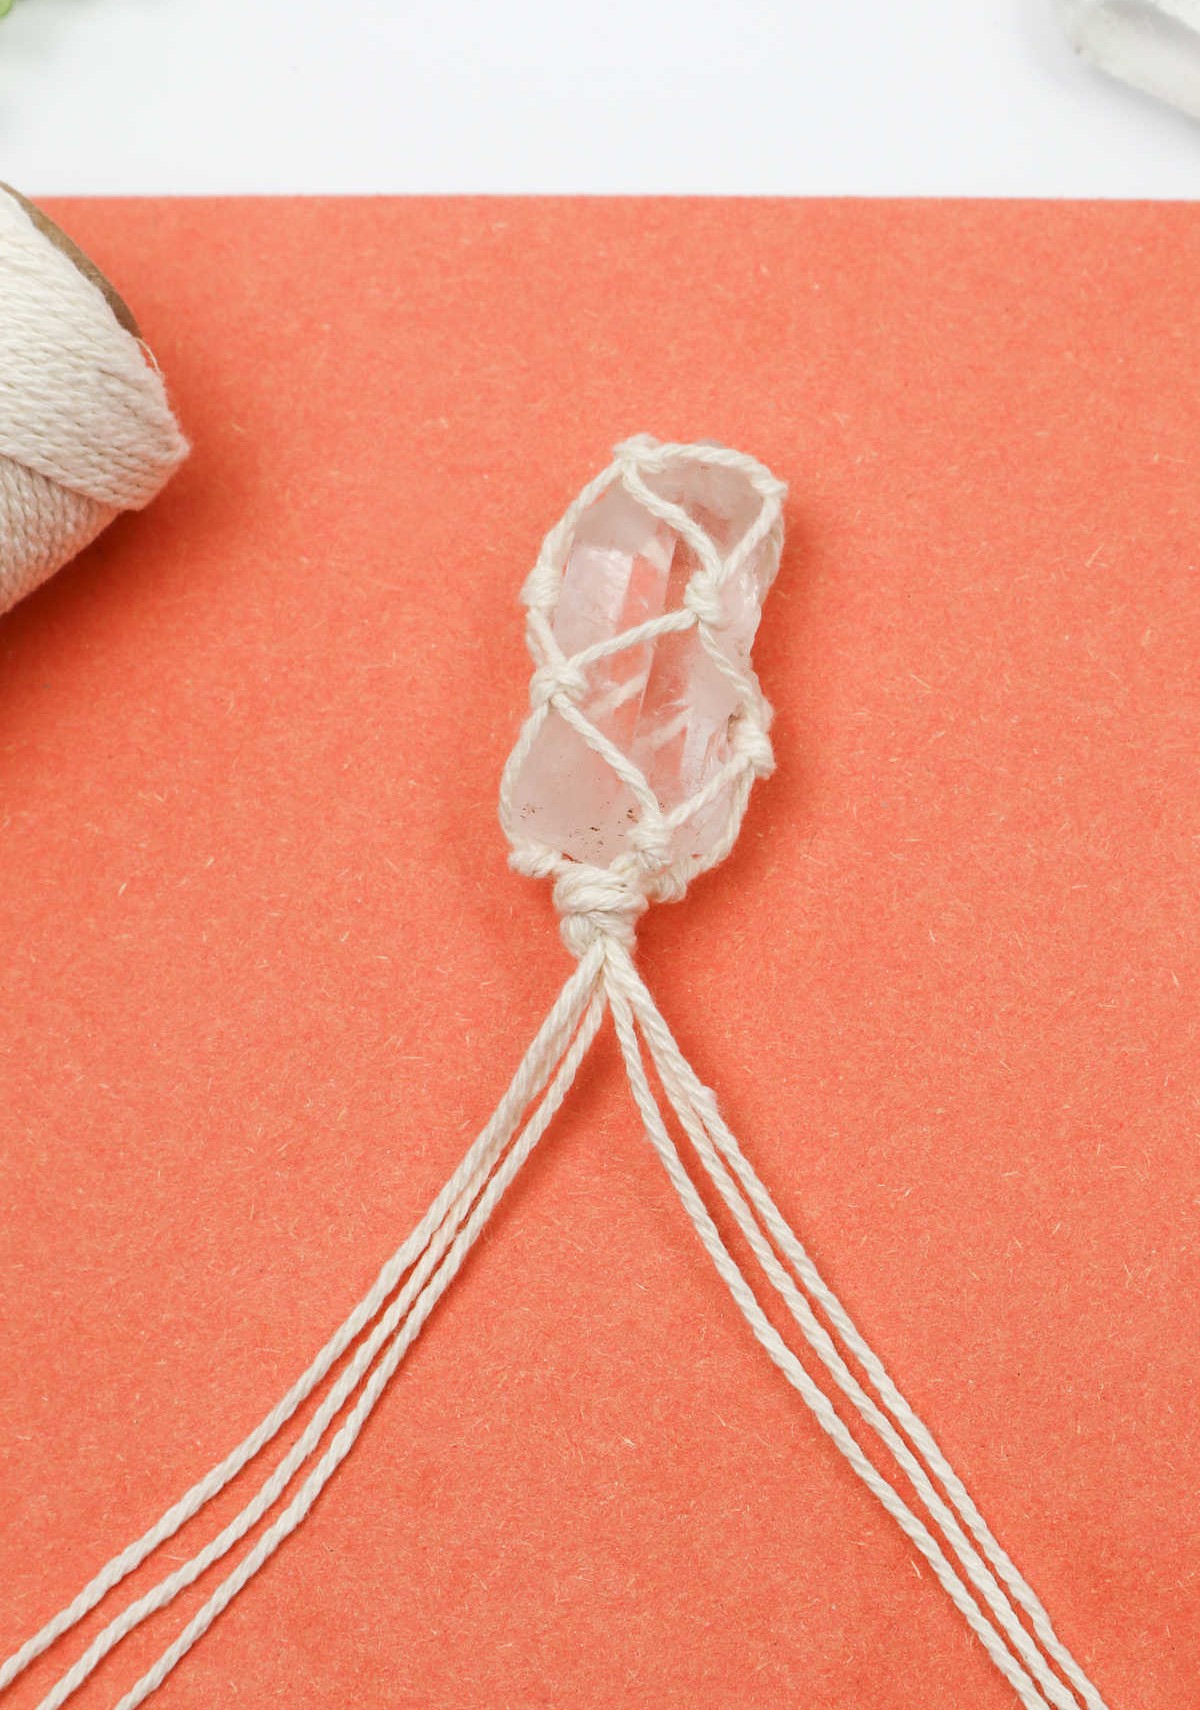

To move forward with the project, begin by dividing the six cords into two equal groups of three cords each. From here, initiate a braiding process on each group, working your way down both sections simultaneously. This will help you create a cohesive and balanced design for your necklace.
Step 14
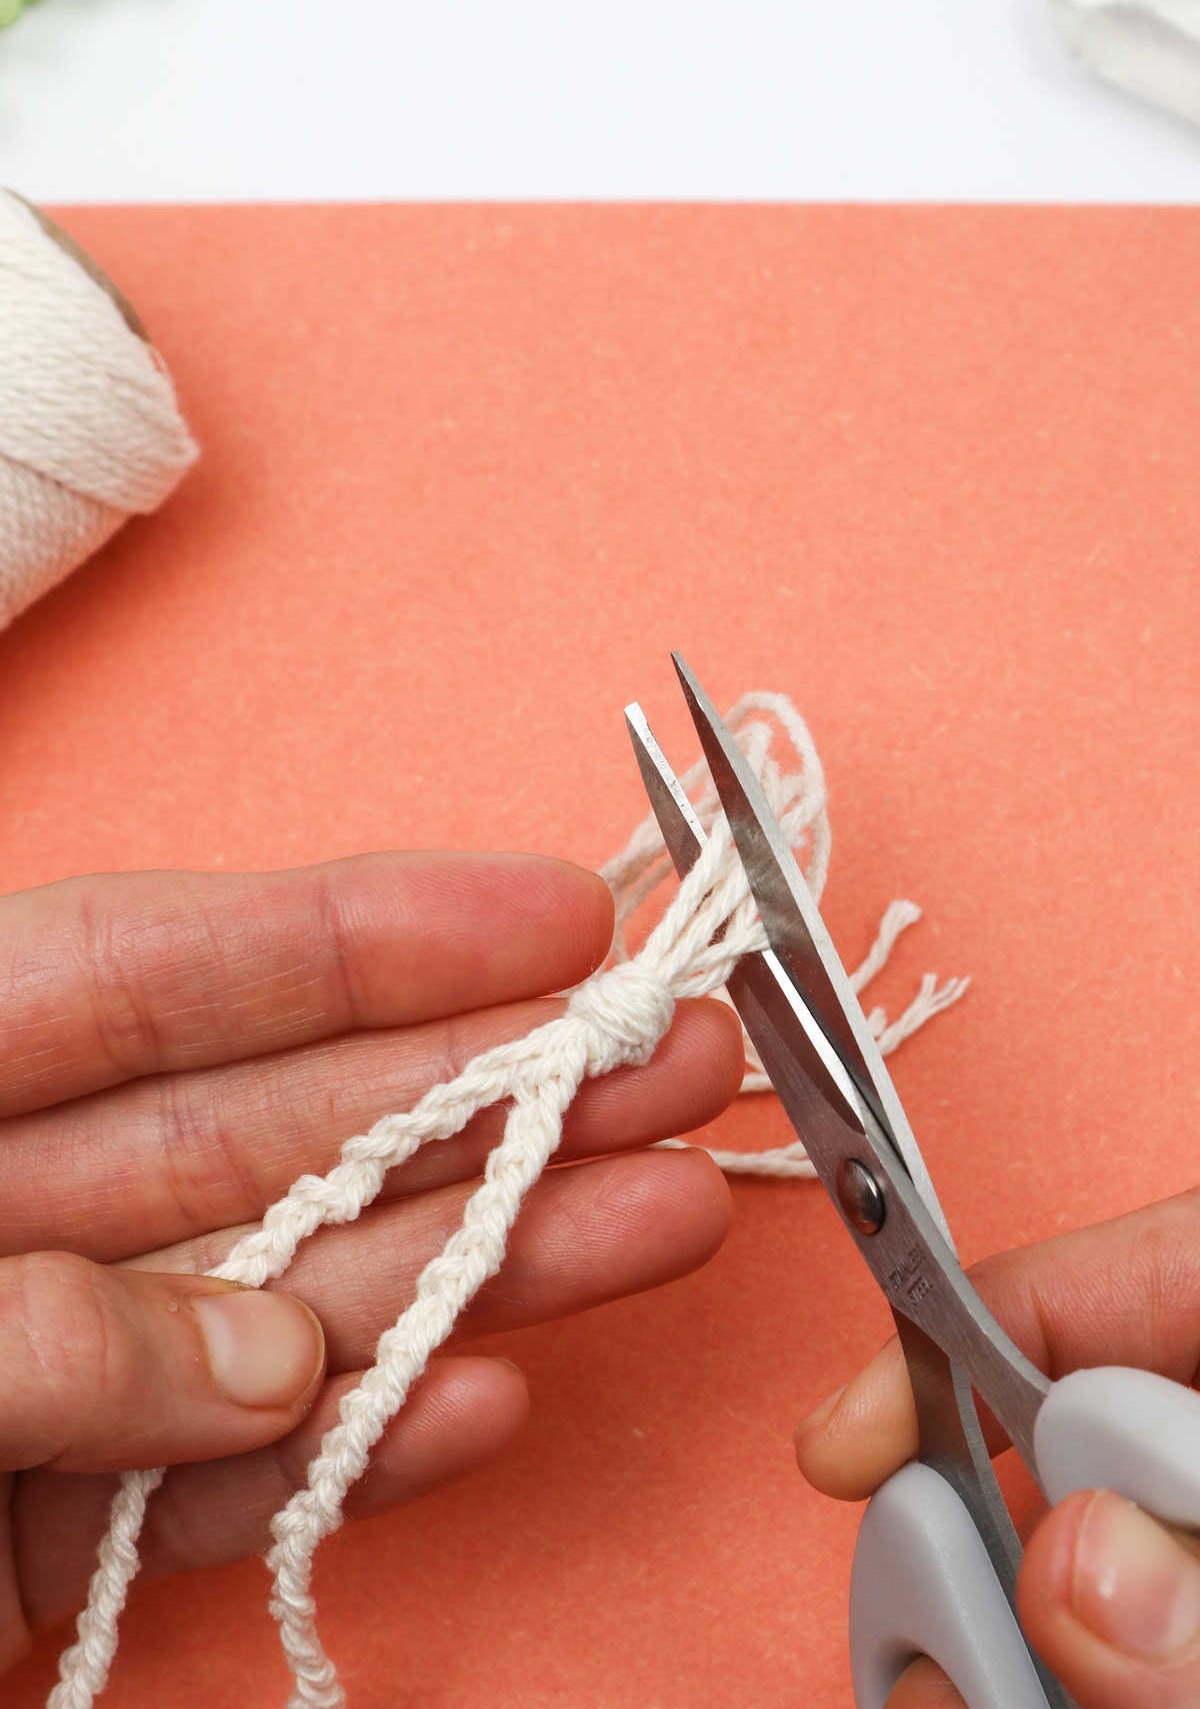
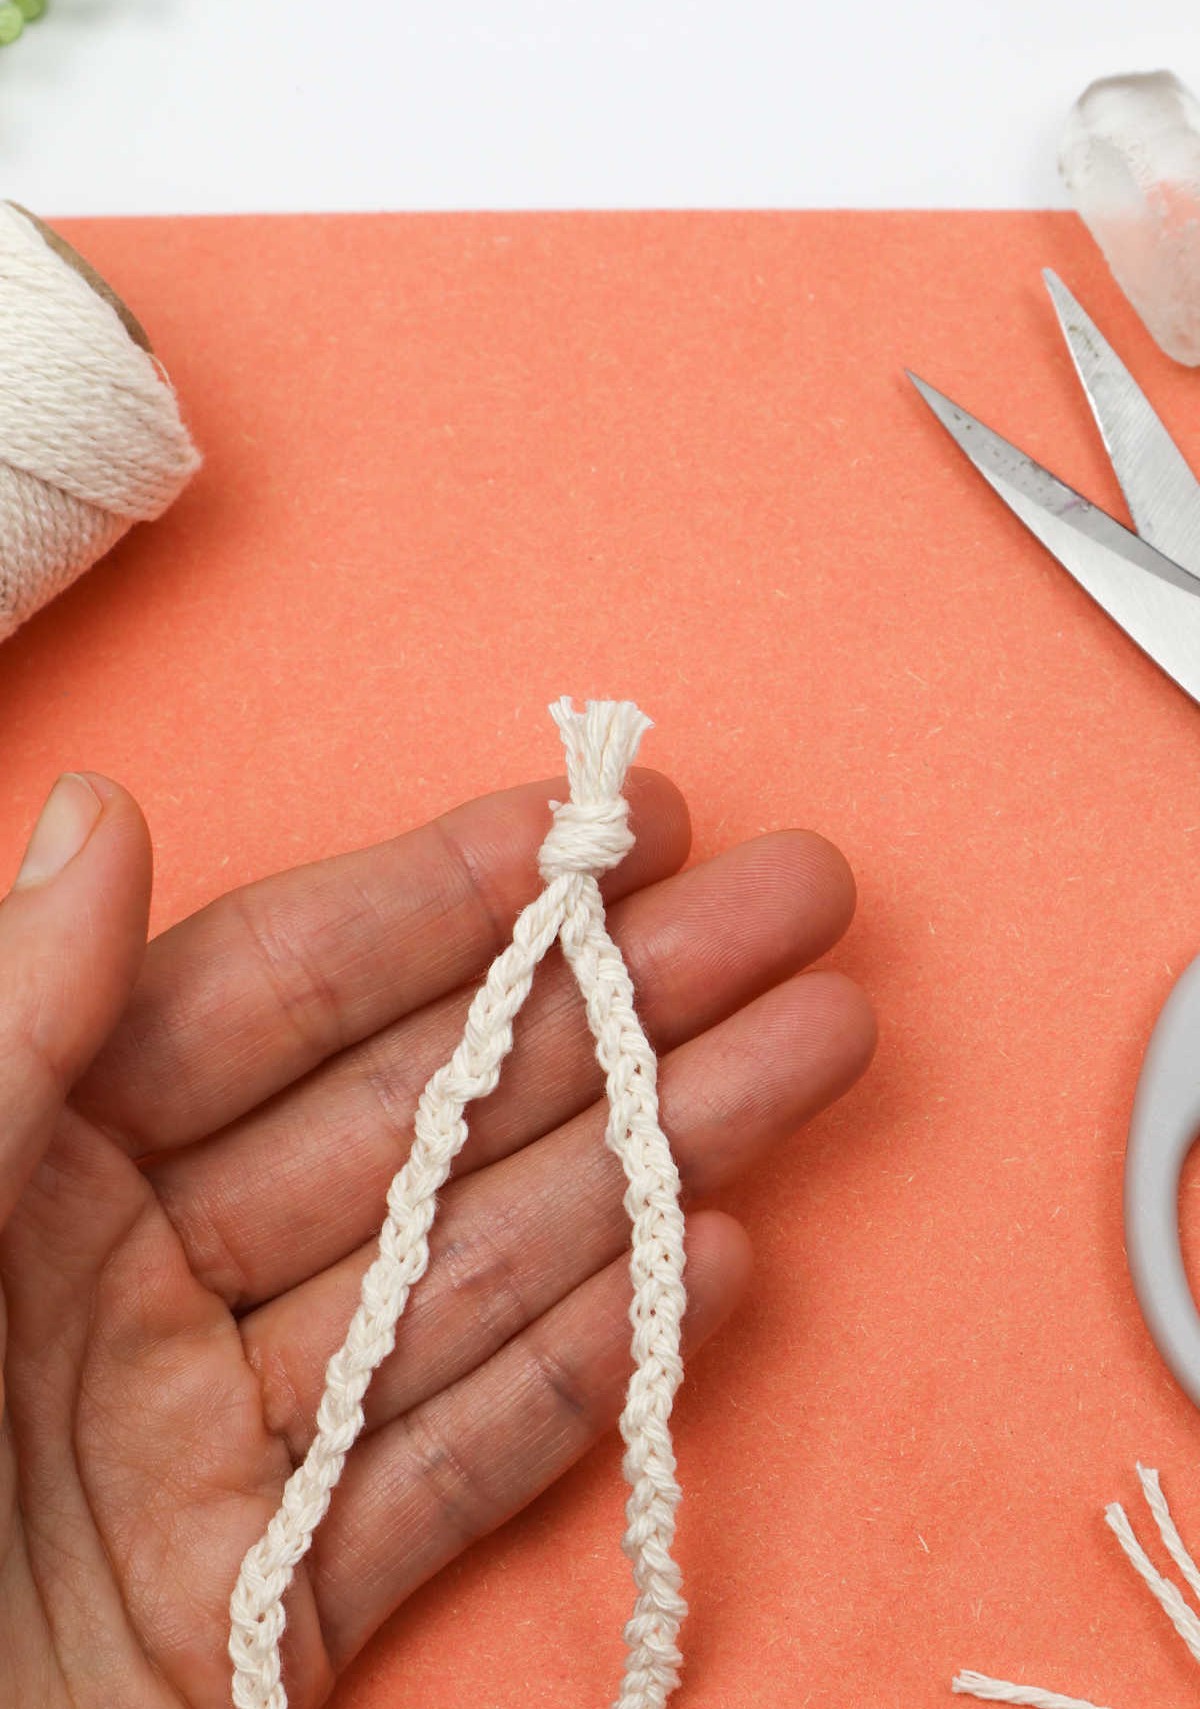
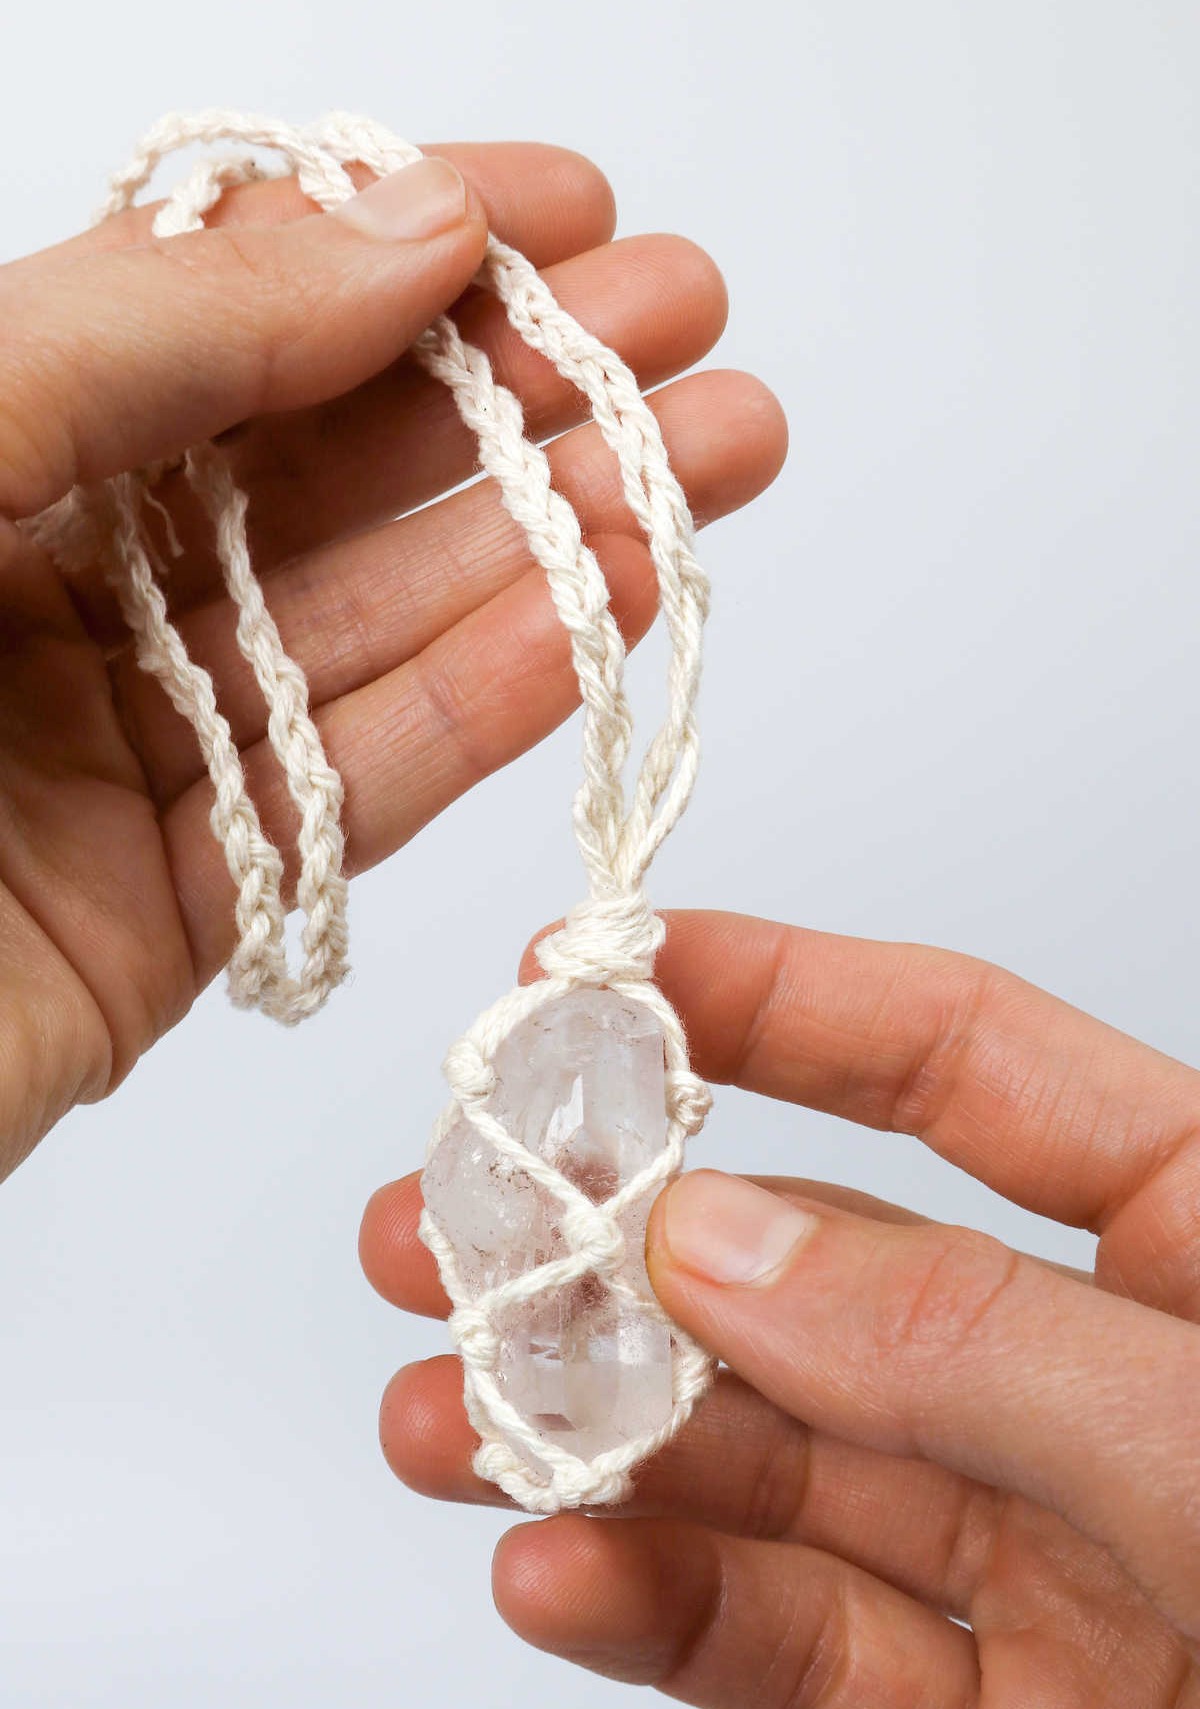
Once you’re satisfied with the length of your braided sections, join them together by creating a knot that securely fastens the two strands. Before trimming the excess ends, gently tug on them to ensure the knot is secure and adjust as needed. With a final snip, you’ll be left with a beautiful DIY macrame necklace.
Who Can Make This Macrame Stone Necklace?
While the simplicity of creating this necklace may lead one to believe that it’s exclusively suited for seasoned crafters, I’d argue that its ease of assembly makes it an accessible project for a wide range of ages. With some guidance, I’m confident that both teenagers and adults can master the process with minimal effort. Moreover, with careful supervision, even younger children can grasp the concept and produce a beautiful piece in no time.
A Perfect Craft to Sell and Gift
One of the most exciting aspects of this project is its incredible customizability. It’s not just about choosing the right size for an adult or child – you can also personalize the necklace in various ways. For instance, you can select from a wide range of crystals and stones, each with unique colors and sizes. If you’re looking to make it extra special, you can even create birthstone necklaces or opt for crystals with specific healing properties.
Additionally, you can add beads and embellishments to give the necklace an extra touch of personality, while also experimenting with different colored and textured cords. This level of customizability not only makes this project a fantastic gift idea but also opens up opportunities for crafting and selling unique pieces online or at local events.
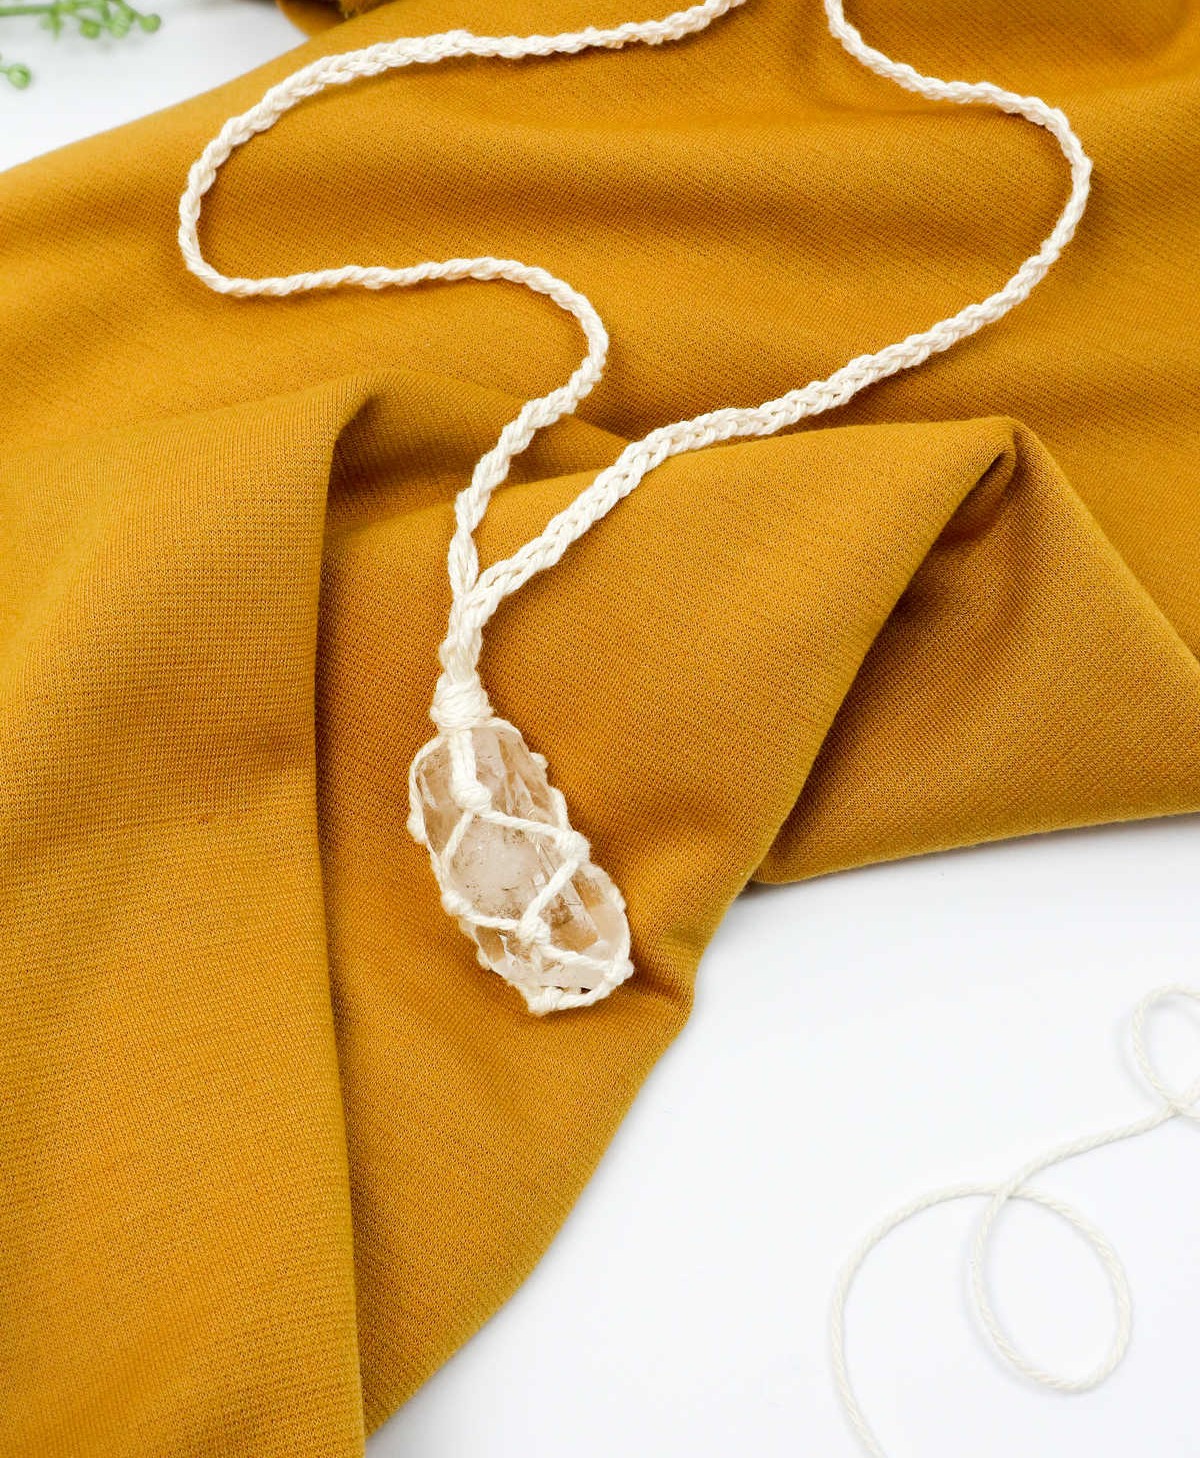
Easy DIY Stone Necklace (Step-by-Step)
Embark on your DIY adventure with this charming stone necklace, a delightful accessory that’s perfect for everyday wear. With just 30 minutes of active time and no expertise required, you can easily create this lovely piece that exudes simplicity and charm. Author Karo at CraftsyHacks.com shares the secrets to making this stunning creation.
Equipment
Materials
Instructions
To begin, prepare the necessary materials by measuring out 32 inches of cord and cutting three identical lengths. The exact measurement may vary depending on the size of the stone or crystal you’re working with, as well as the desired length of the necklace. Next, fold each cord in half and create a loop at one end. Place the stone or crystal into the first loop and adjust it so that the bottom sits snugly within the confines of the knot.
Move on to the second looped cord and pass it through the first loop, then pull the ends of the second cord through and secure them with an overhand knot around the base of the first loop. Leave enough room for the third knot to be made, ensuring that the three knots are evenly spaced throughout the design. Repeat this process for each successive loop, working your way up in a triangular pattern.
Once you’ve established the base triangle, focus on adding subsequent triangles by combining two cords and securing them with an overhand knot at their base. Continue this process around the entire circumference of the crystal, periodically adjusting the stone to ensure it remains centered within the knots. As you near the top of the crystal, gather all the remaining cords and tie a central knot to secure the crystal in place.
To finish, divide the remaining cords into two sections and begin braiding each group separately. When you’ve reached your desired length, fasten off with an overhand knot and trim the excess cord. Finally, feel free to customize your design by adding beads or embellishments as desired.