
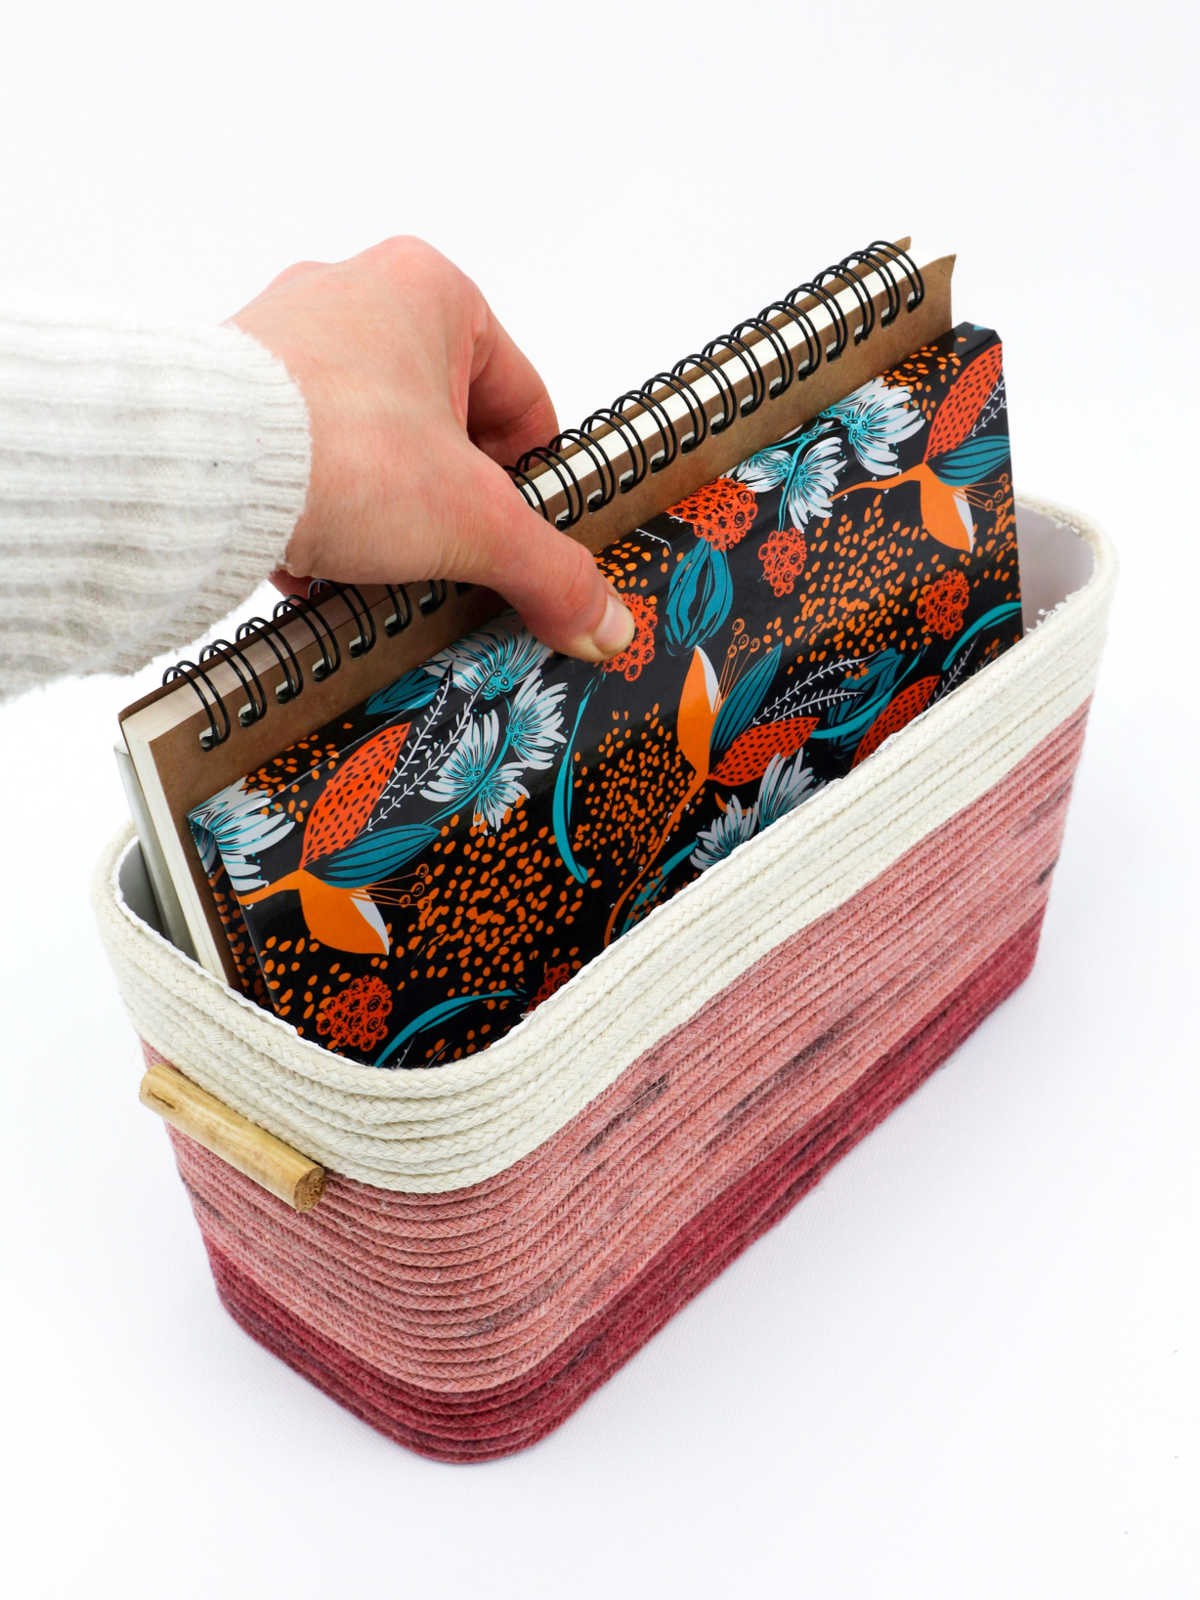
Transform plain boxes into functional works of art by crafting a DIY rope basket. This charming organizer not only boosts storage space but also adds a touch of style to any room.
If you’re enchanted by the art of macrame, you’ll love how a simple rope can be transformed into a stunning piece with just a few twists and turns. But even those without extensive macrame experience can create this beautiful basket in under an hour.
This easy-to-make DIY rope basket is perfect for repurposing as a gift basket or organizing your crafting supplies, including sewing notions, knit and crochet hooks, needles, and yarn. Its versatility also makes it an ideal folding basket for carrying small items.
What You’ll Need to Make the Basket
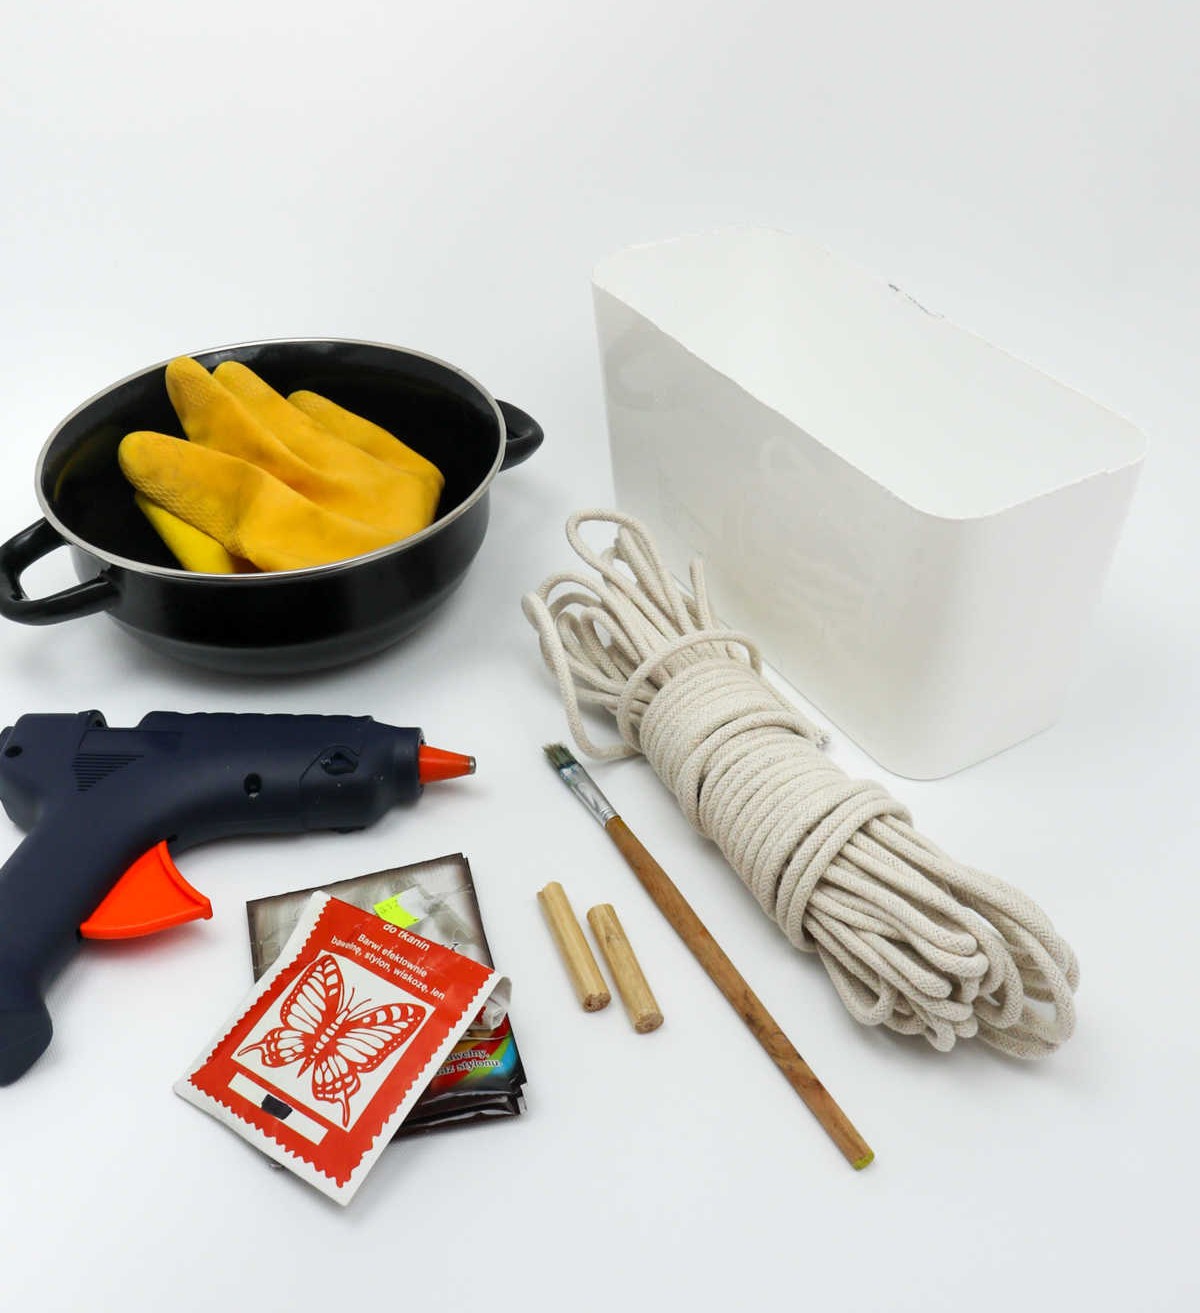
To begin creating your DIY rope basket, gather the following essential materials: A plastic box or any other suitable container – cardboard or even a wooden one will do. Clothesline rope, which will form the foundation of your basket. Fabric dye powder, if you want to add some color and character to your project. A hot glue gun for binding the ropes together. Scissors for trimming and shaping your materials as needed. A paintbrush for applying any finishing touches or decorative flourishes.
An old pot or other circular container – this will serve as a mold for your basket’s shape. Gloves to protect your hands from any glue, rope, or dye residue. Wooden sticks (optional), which you can use to add some extra support and structure to your basket.
How to Make DIY Rope Basket
The key to success lies in the quality of the rope you plan to work with. While it may be tempting to opt for a generic option, taking an extra step to create your own customized rope using run-of-the-mill material and food dye can lead to a truly unique and personalized outcome. By starting from scratch, you’ll have the opportunity to experiment with different colors and patterns, adding an extra layer of creativity and satisfaction to the crafting process.
Step 1
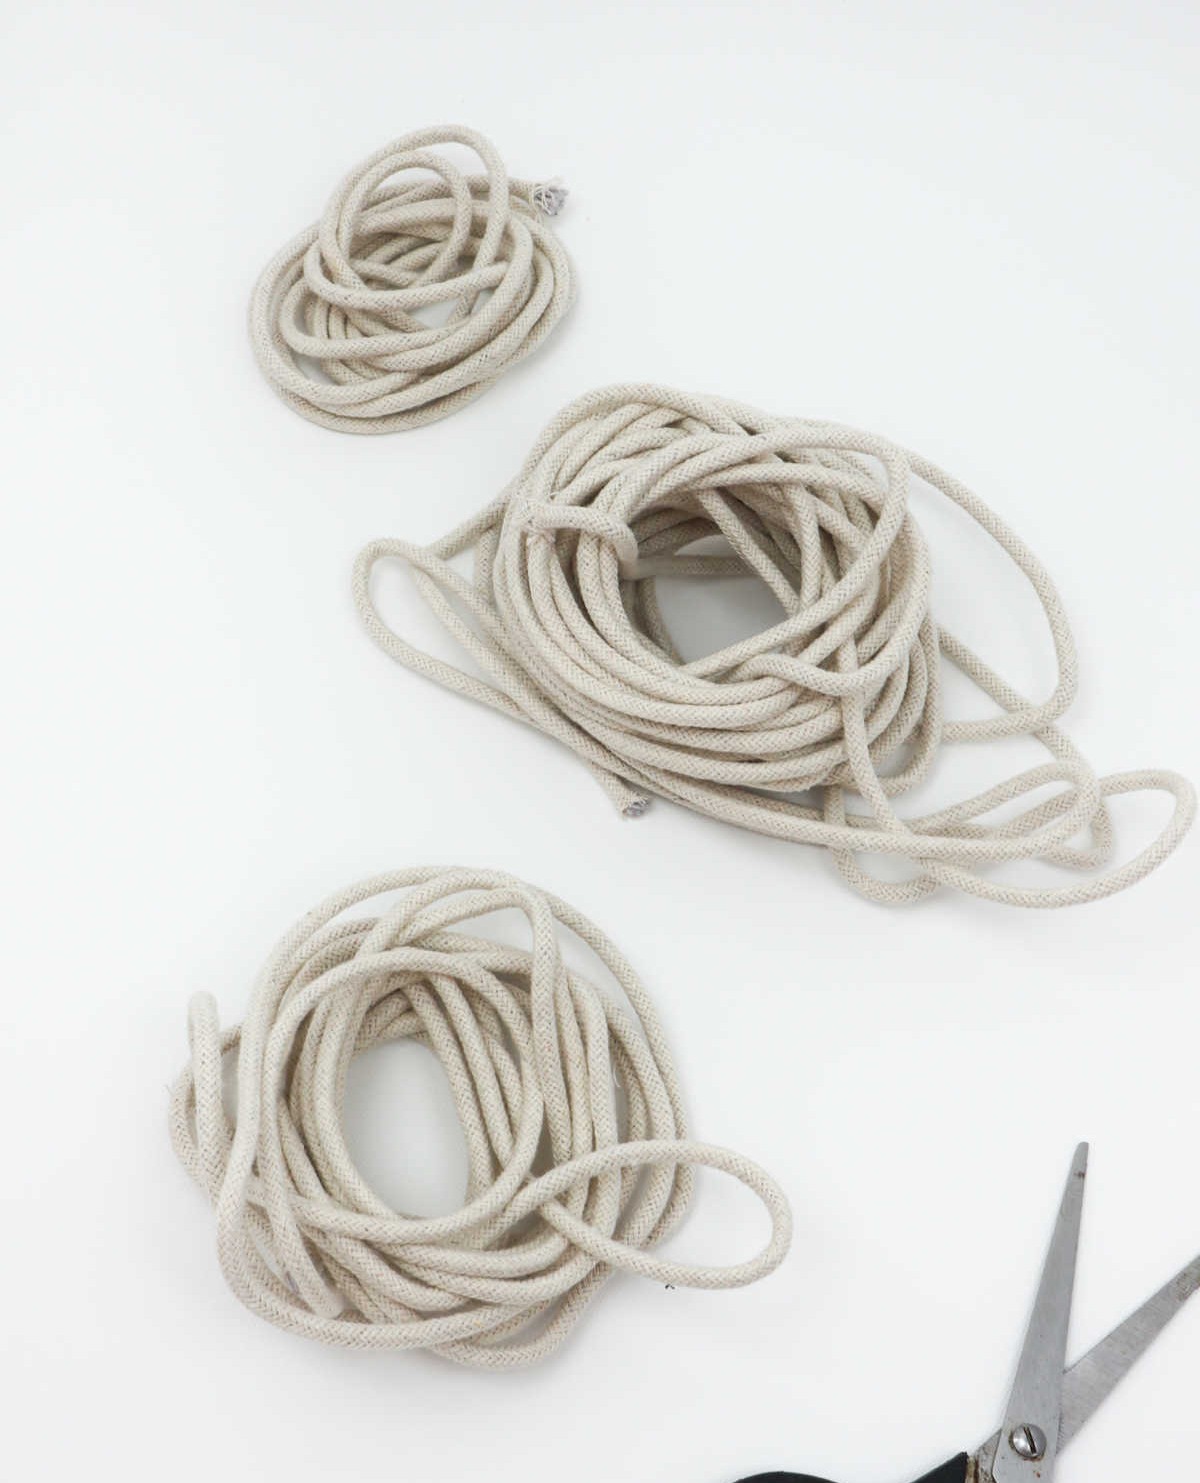
To begin, you’ll want to carefully measure out the exact length of rope needed for your project. This initial step might seem straightforward, but it’s crucial in ensuring that you don’t waste any materials or struggle with excessive slack later on.
Step 2
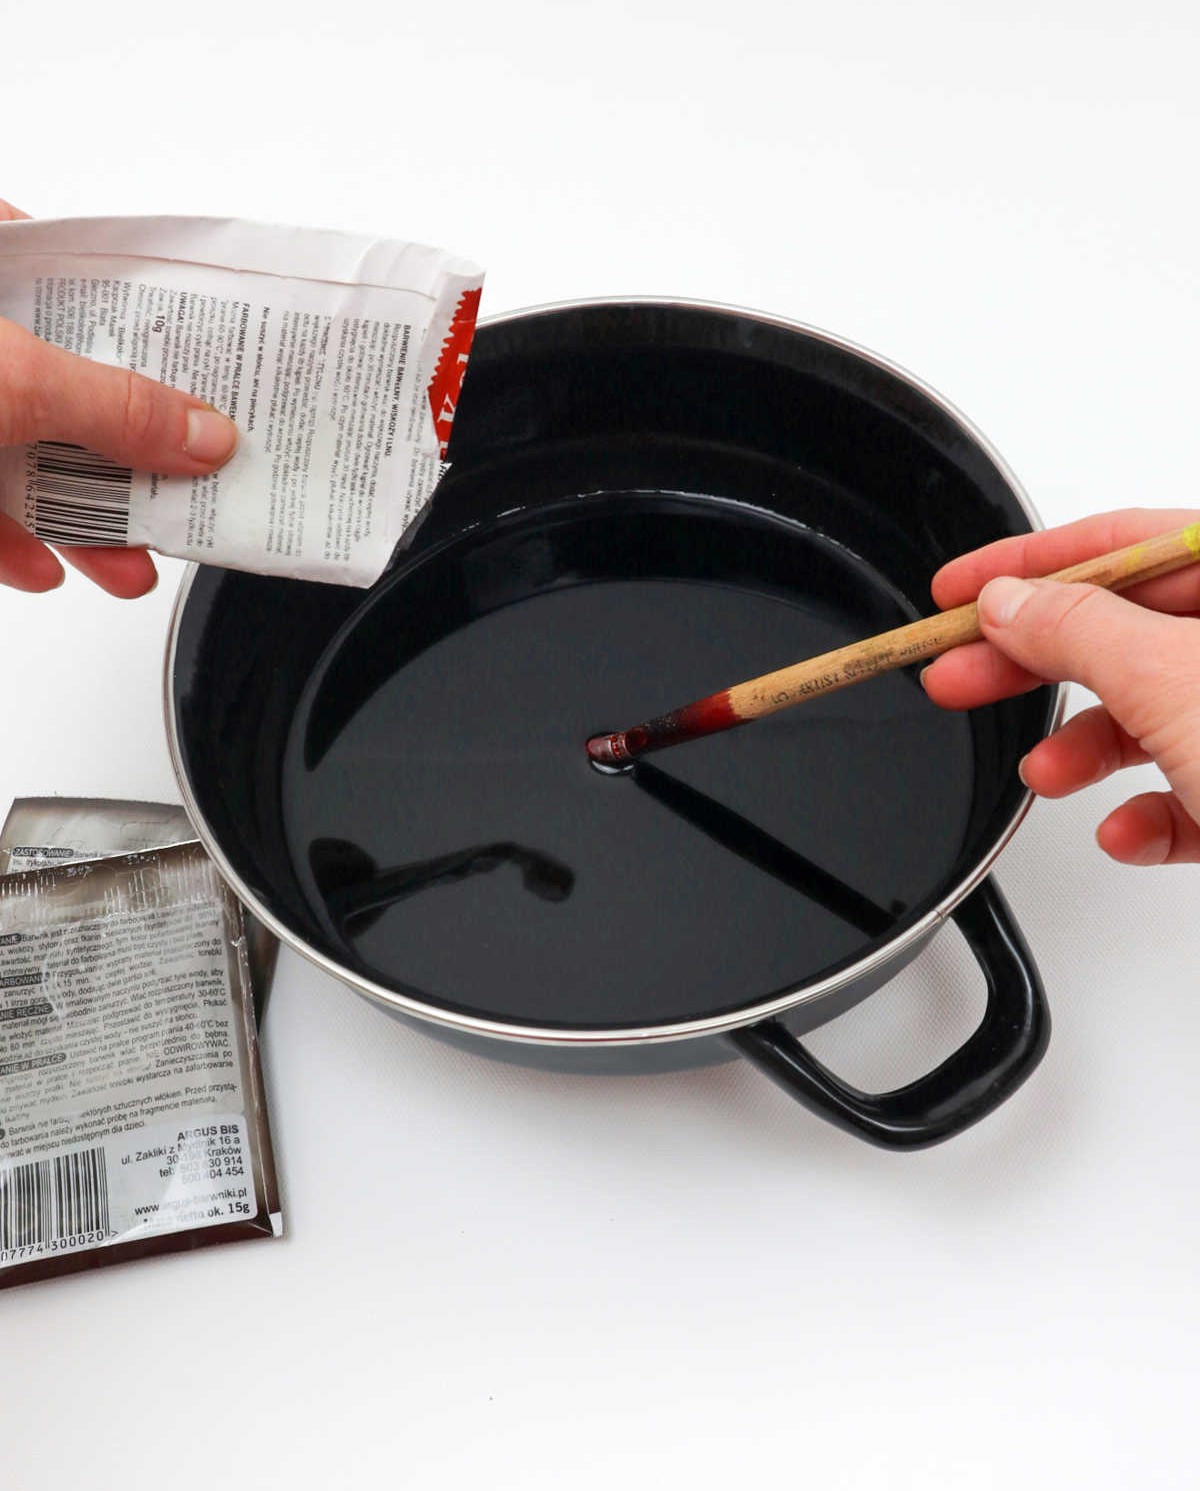
Before embarking on the dying process, make sure to lay down a protective layer of newspapers to catch any stray drips or spills that might occur. This will save you from dealing with unwanted stains. When preparing your food coloring, don’t forget to add water and wear protective gear such as gloves to prevent unsightly stains on your fingers and nails. A simple wooden stick, stirrer, or chopstick can be used to blend the mixture into a smooth paste.
As an added tip, consider cutting small sections of rope – roughly an inch in length – and dipping them into the dye to gauge how effectively it absorbs the color and what hue it will ultimately take on.
Step 3
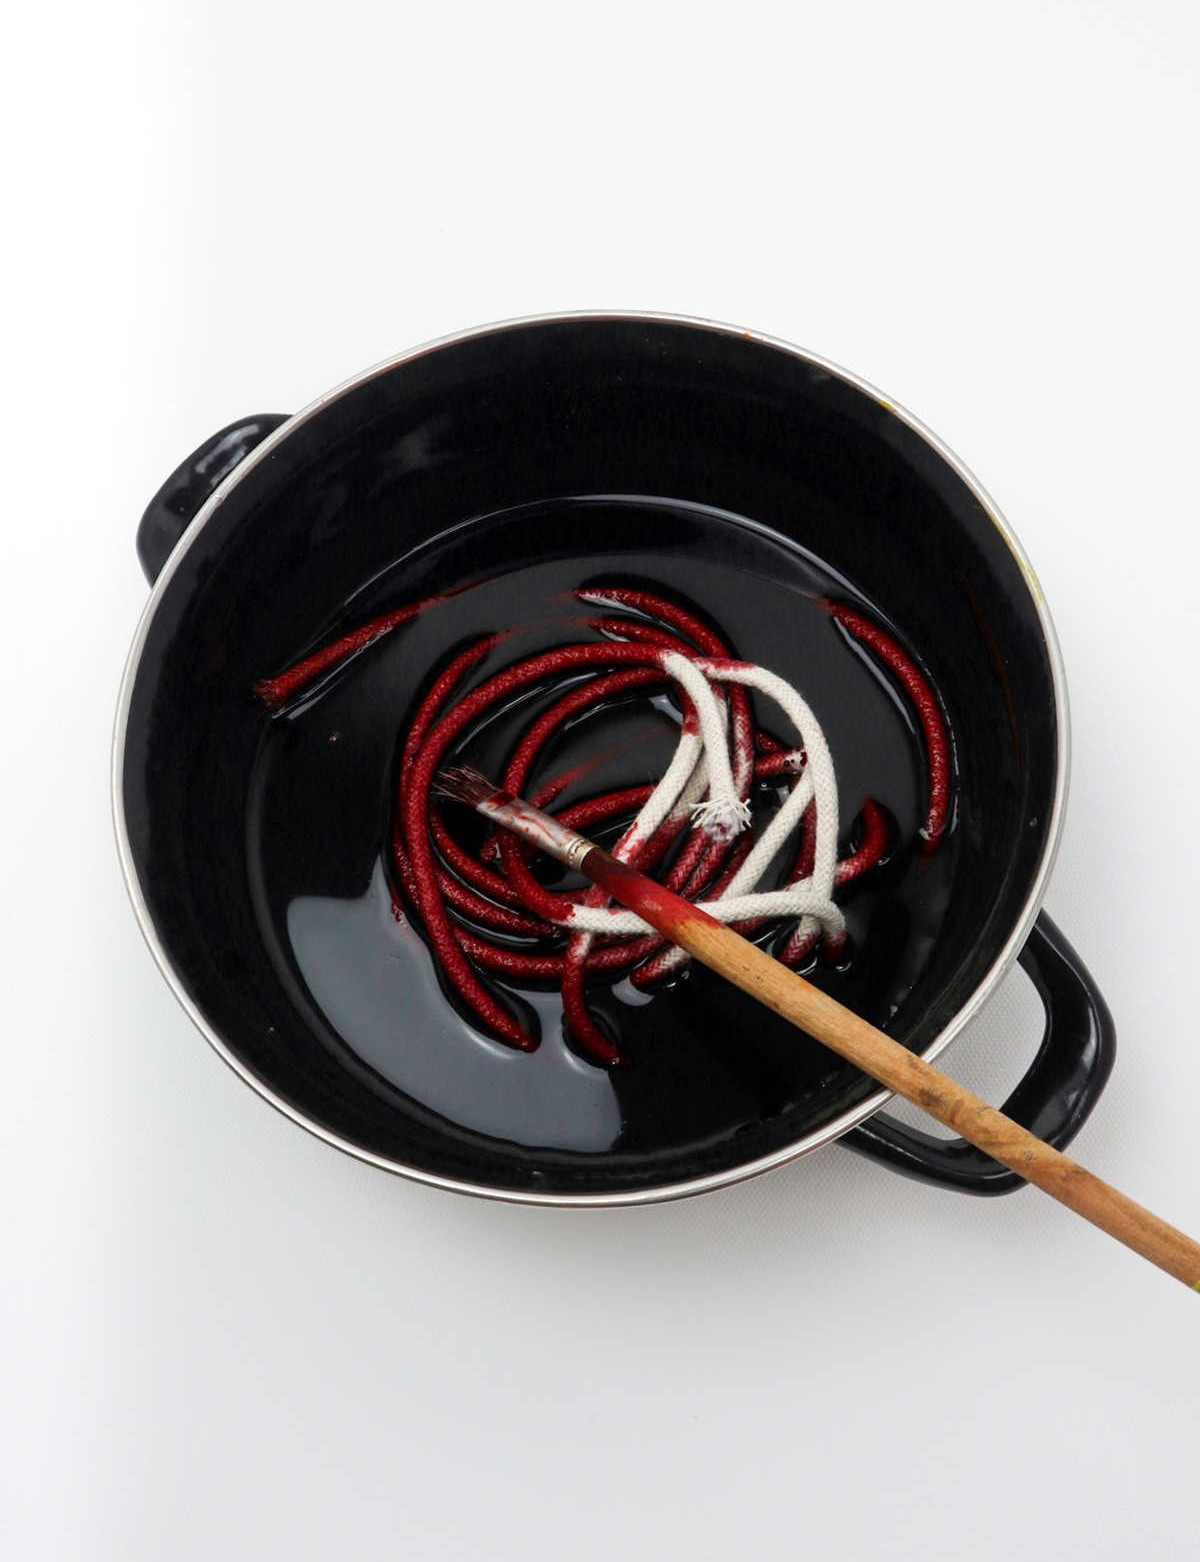
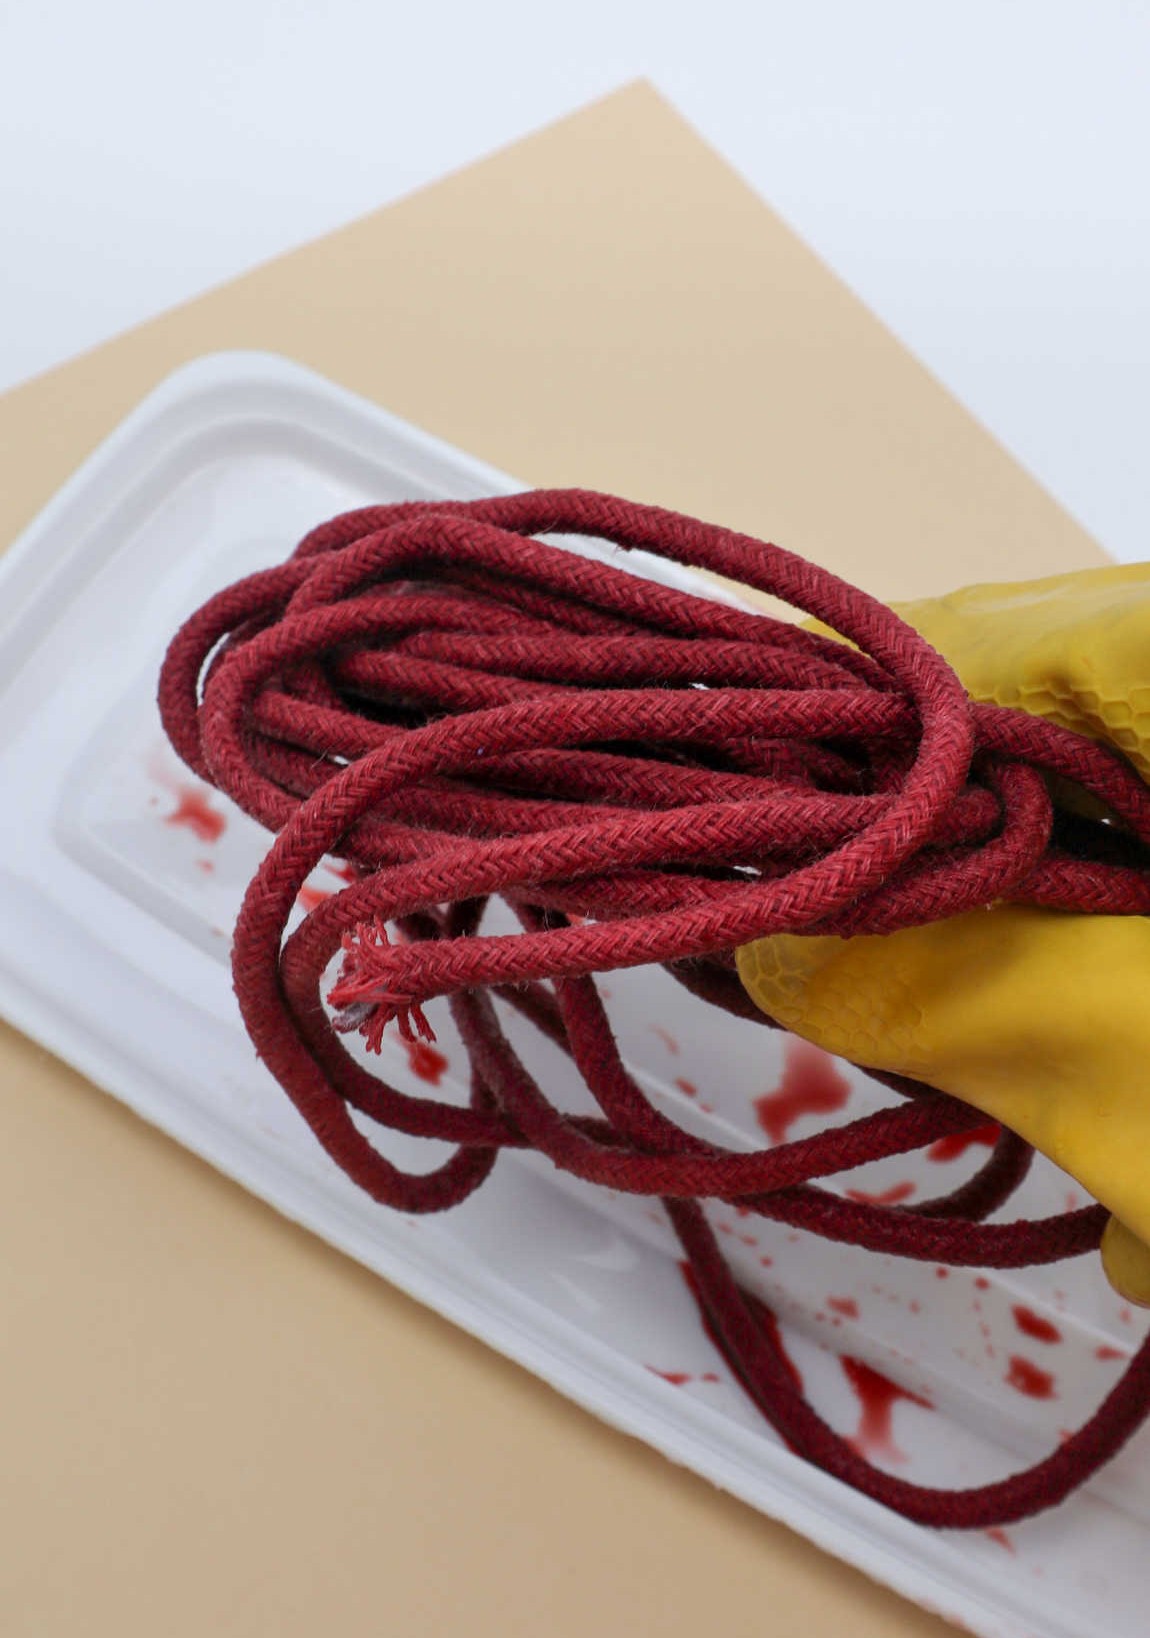
Submerge the actual rope in the dye, using the wooden sticks to agitate the mixture and ensure even coating. Continue stirring until the rope is fully saturated and no white patches remain. Once the desired color is achieved, set the rope aside to air dry. This process should be repeated for each rope, resulting in a complete set of colored ropes that can be used in your craft project.
Step 4
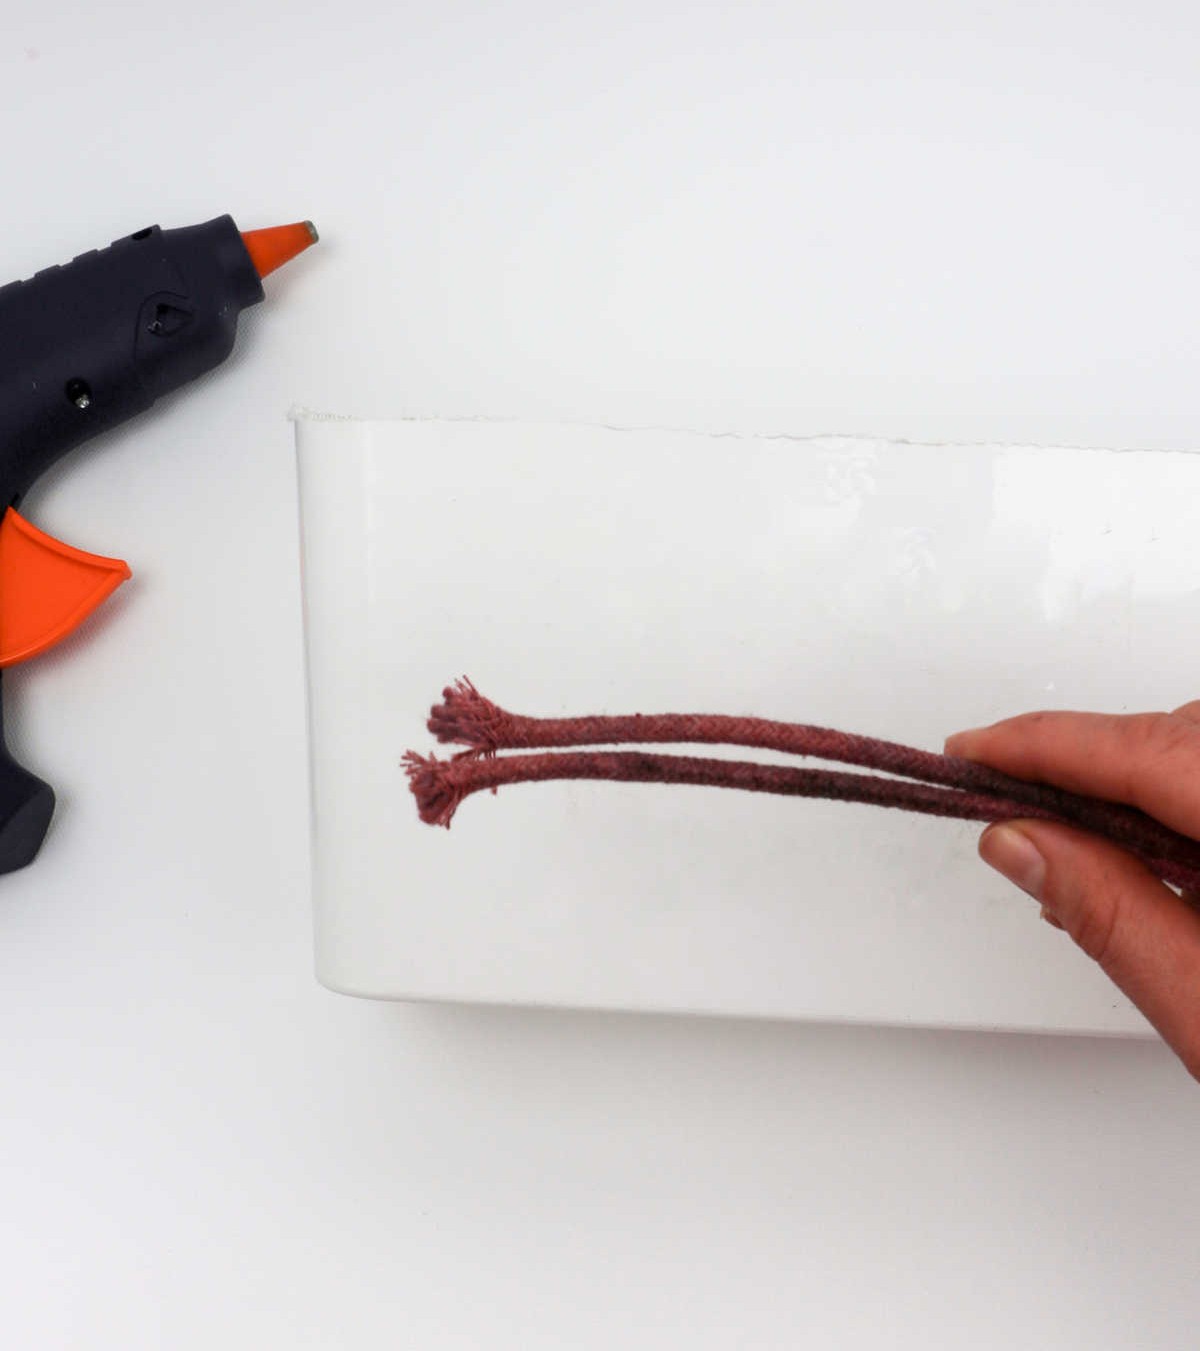
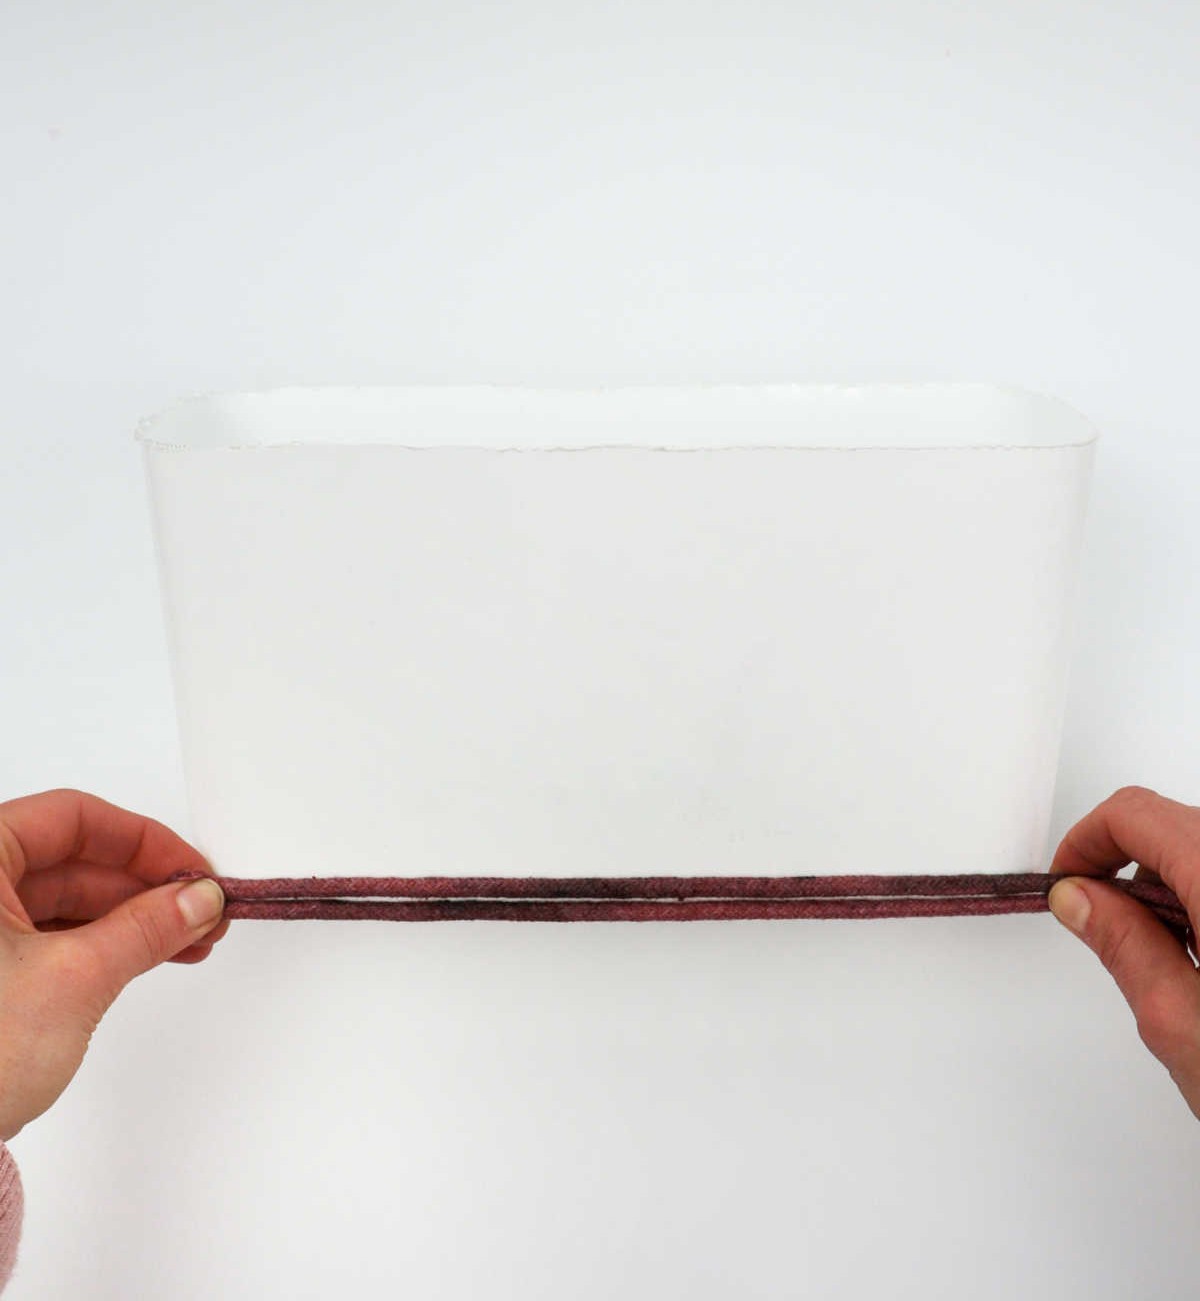
As you prepare to complete the project, gather your materials, including a reliable hot glue gun. This essential tool will be instrumental in securing the rope to the basket. Next, take hold of two ends of the rope and carefully position them so that they are precisely aligned with each other.
Step 5
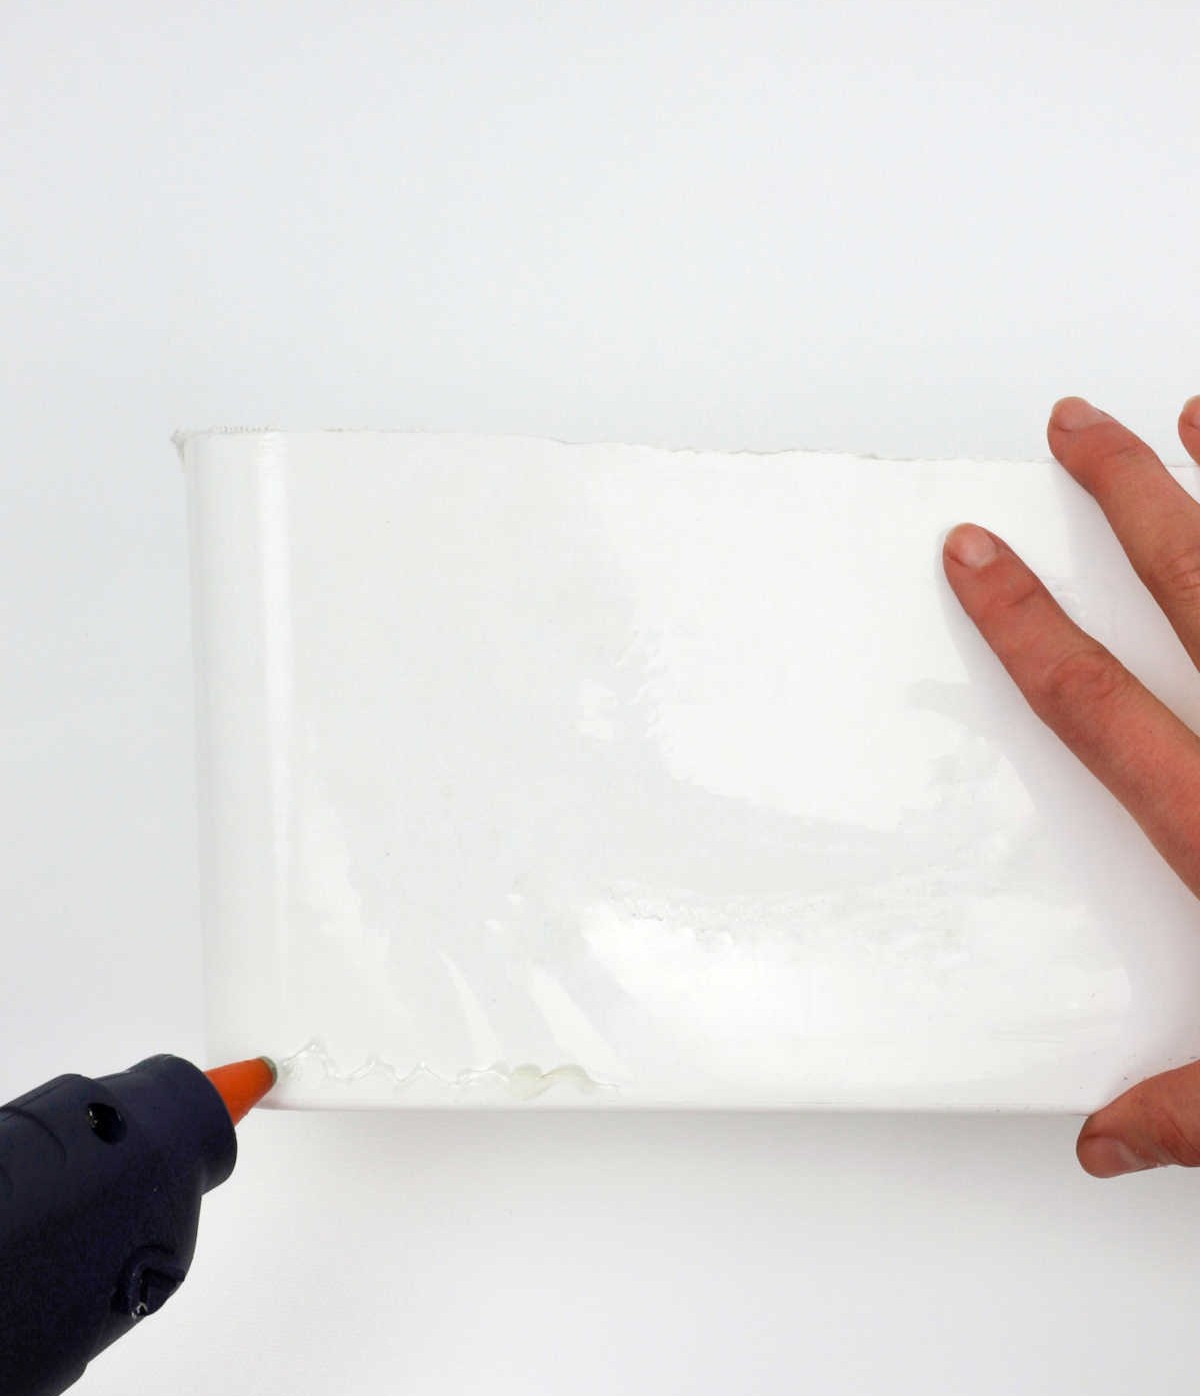
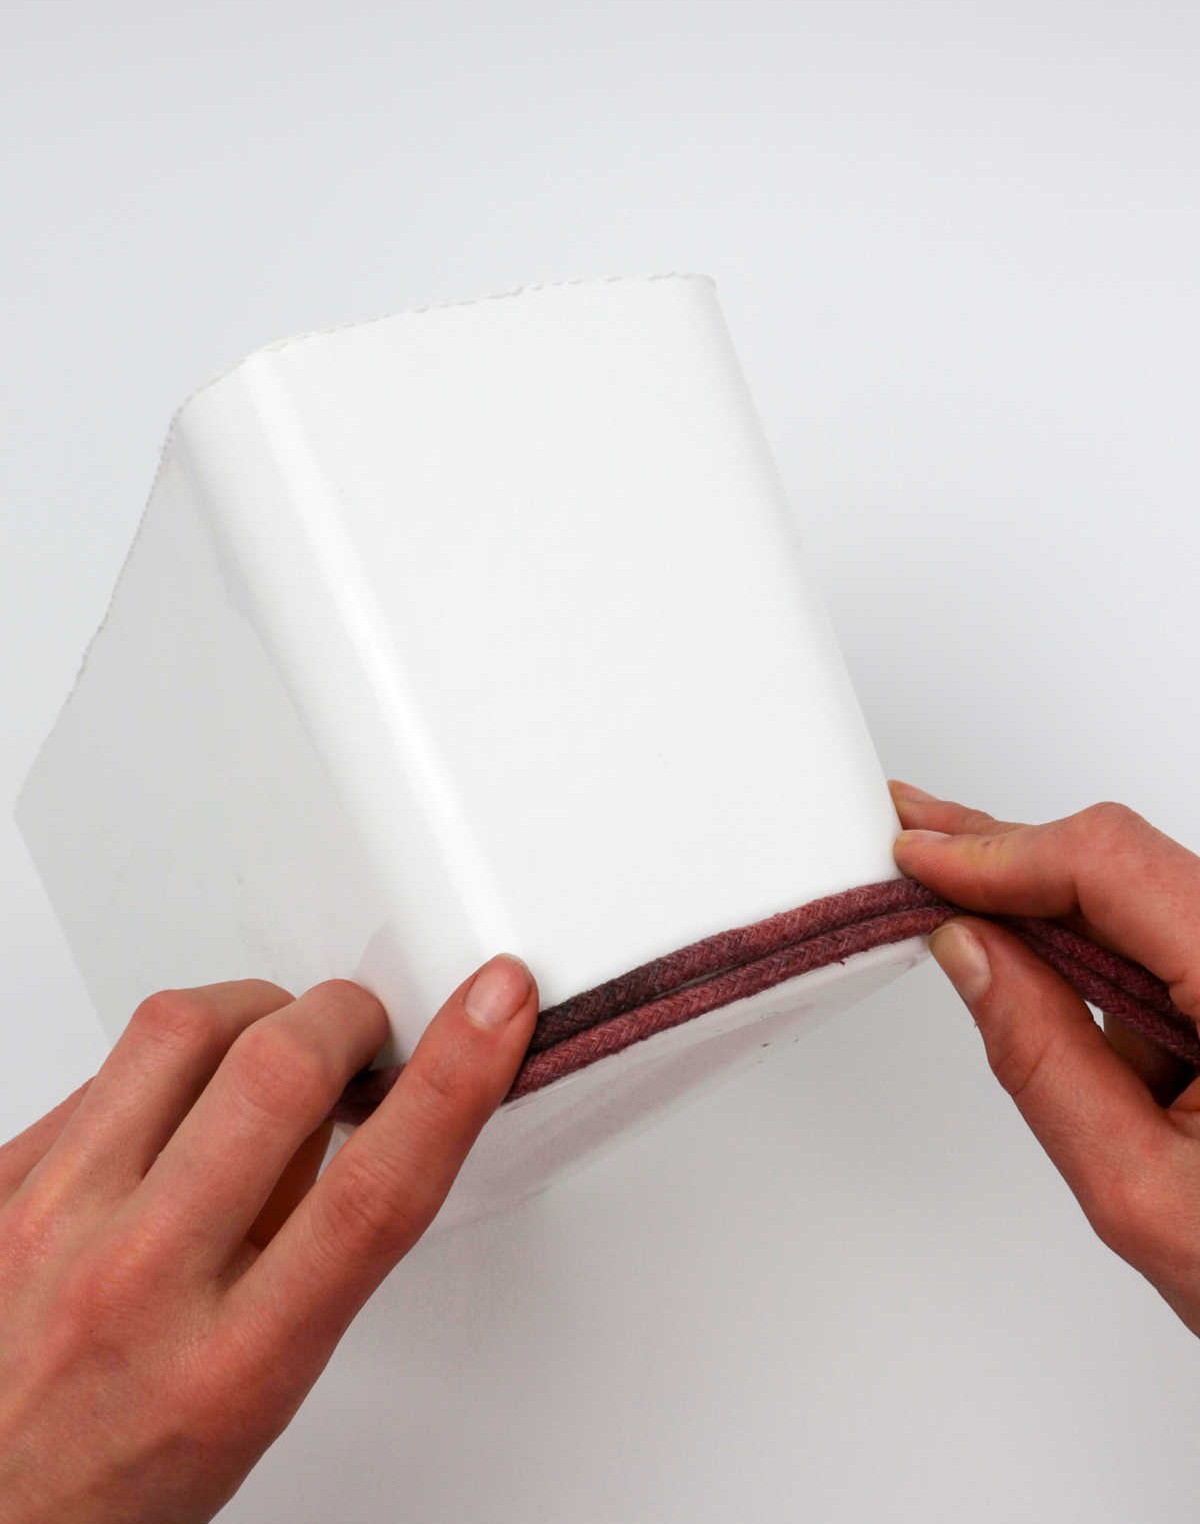
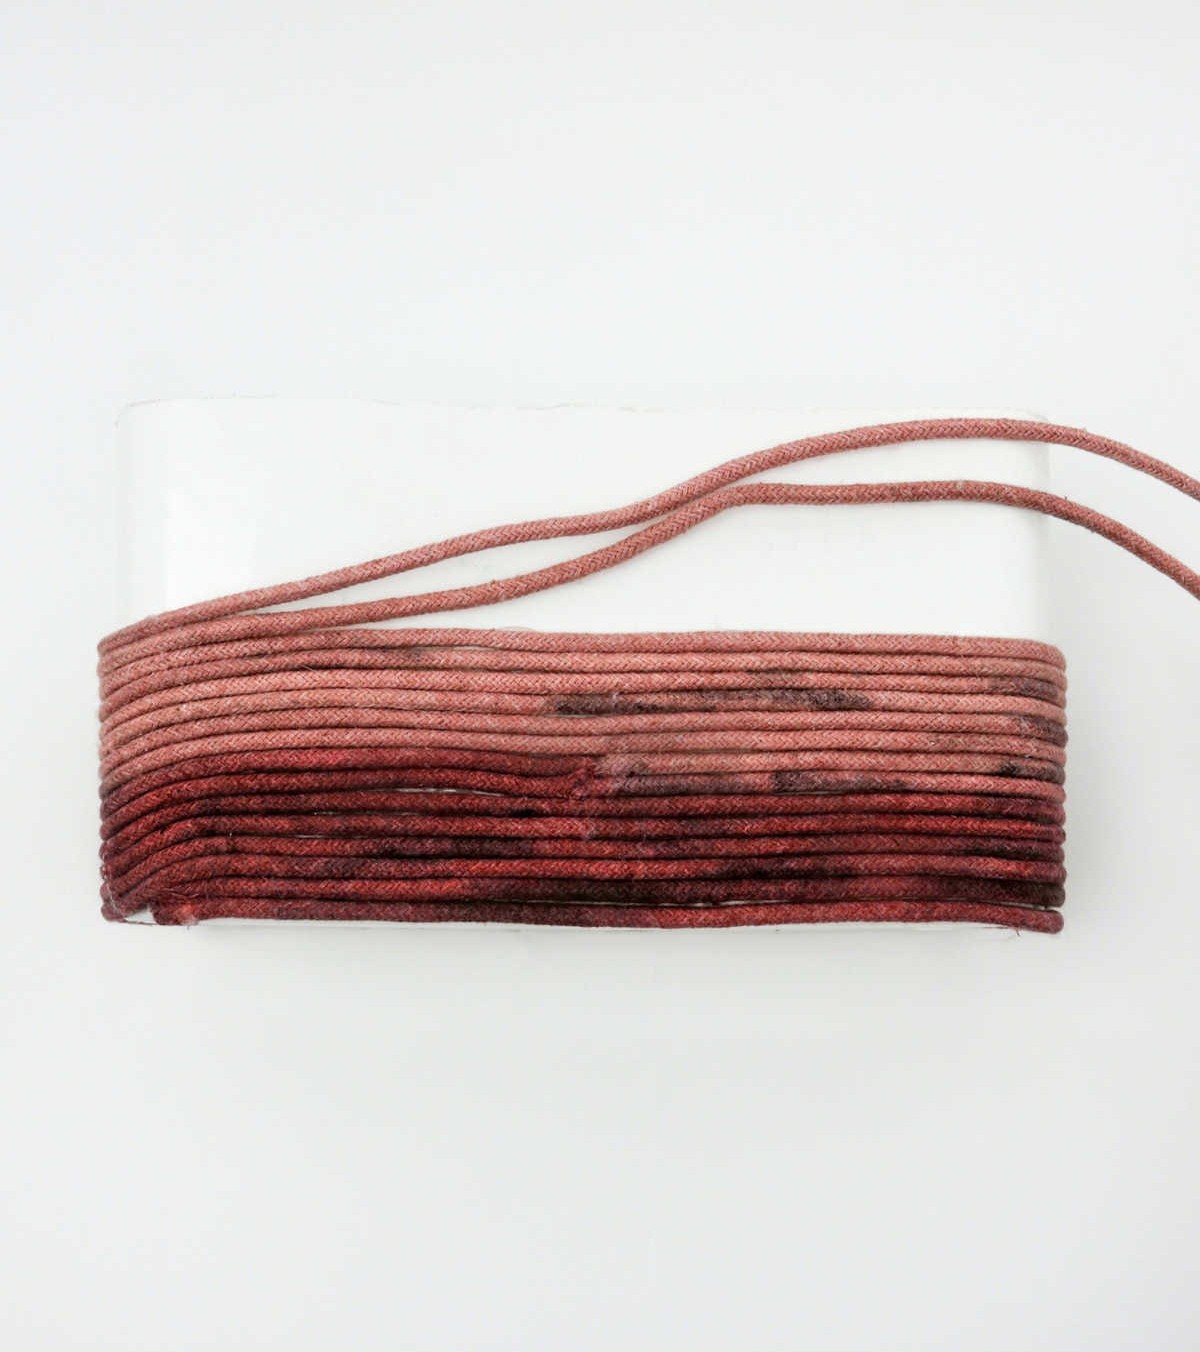
To secure the basket’s base, begin by applying a consistent strip of hot glue along its perimeter using your trusty glue gun. Continue this process until the entire circumference of the base is covered with a uniform layer of adhesive.
Next, take hold of your rope and initiate the wrapping process around the glue-encased area. As you wind the rope around the base, make sure to smooth out any wrinkles or creases that form at the edges.
Additionally, maintain a steady tension on the rope as you wrap it to ensure a snug and secure fit.
Step 6
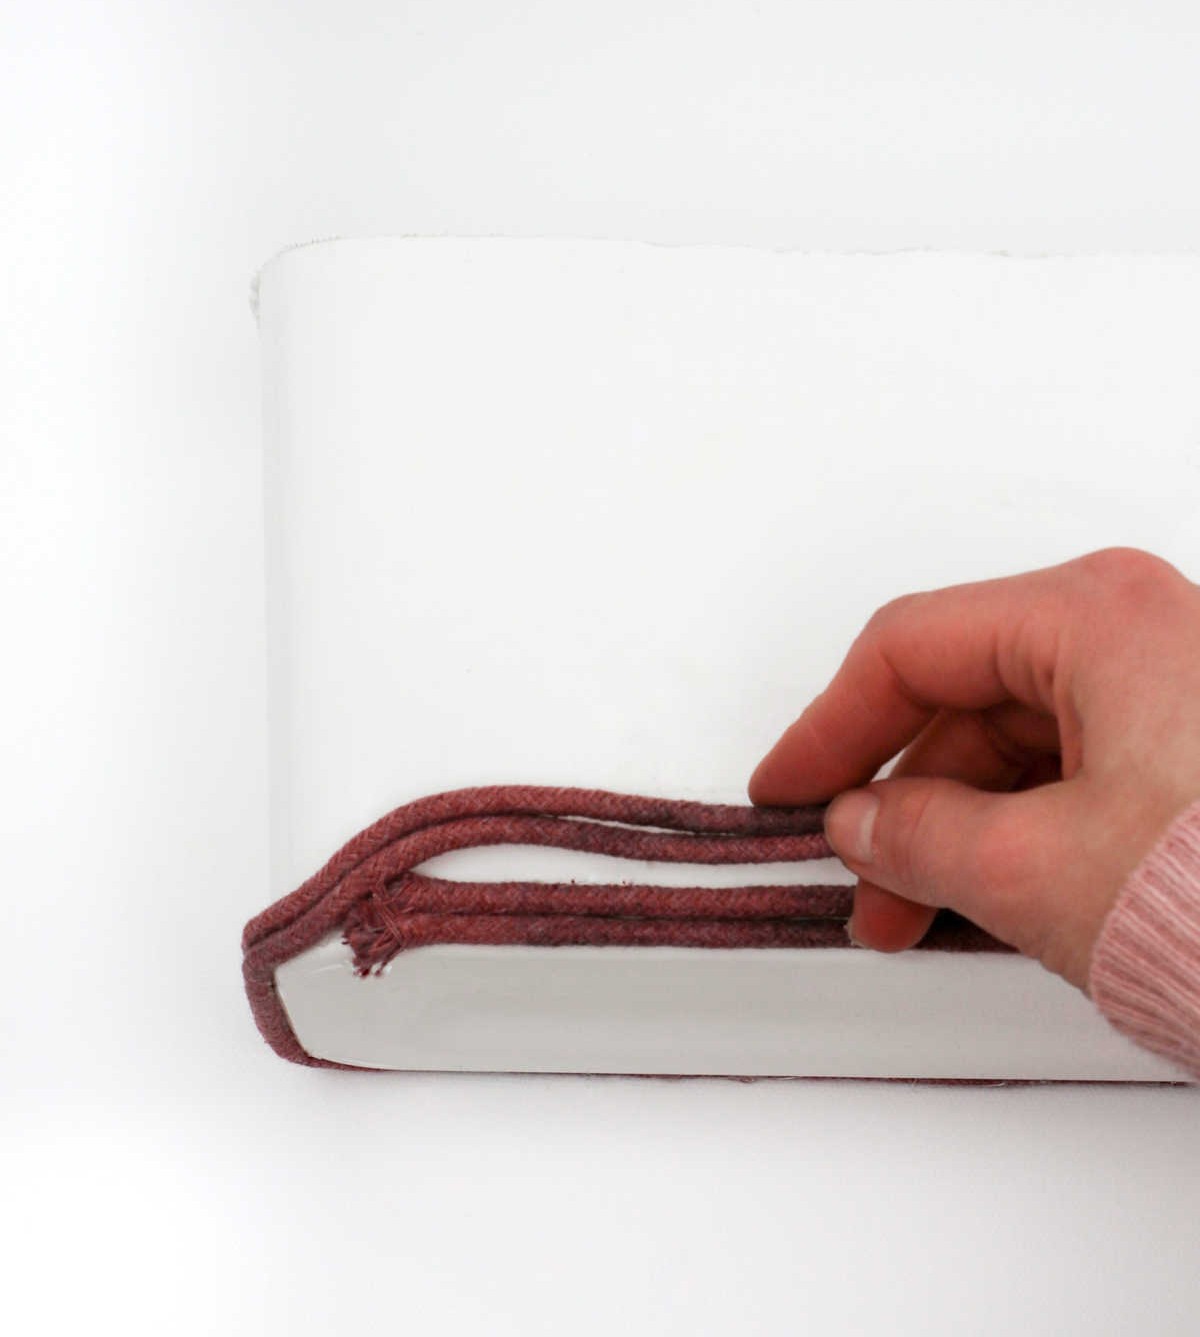
As you near the end of your initial pass, simply maintain momentum by applying hot glue as needed and then seamlessly integrating the rope into the design.
Step 7
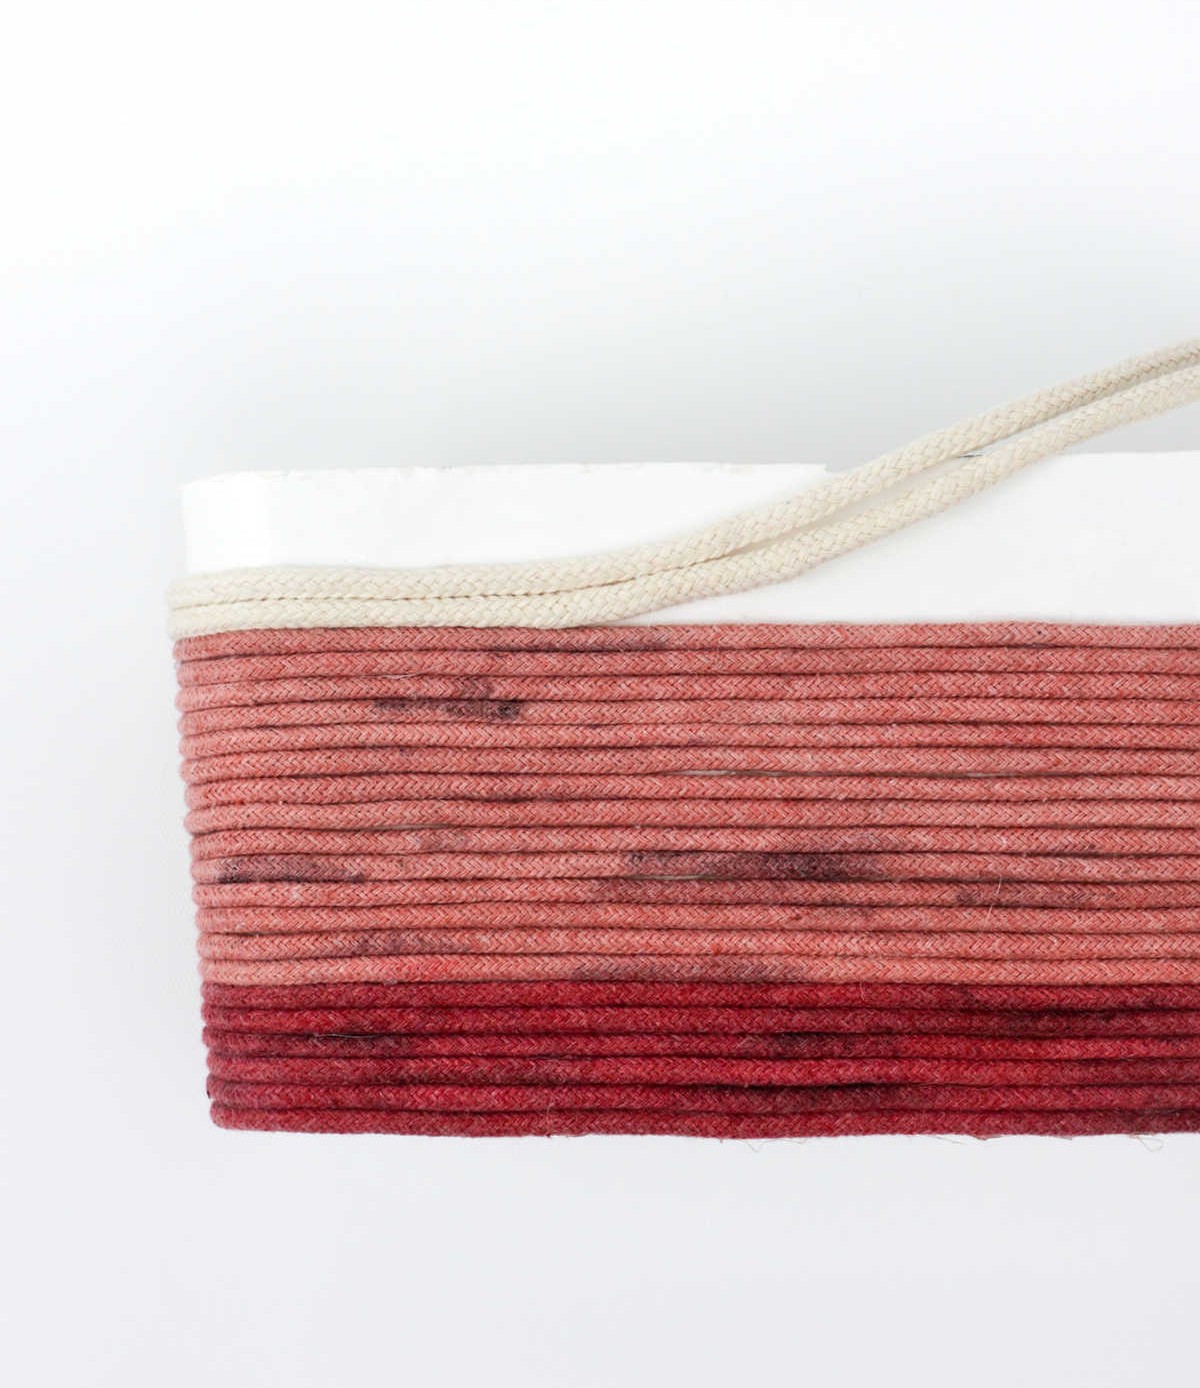
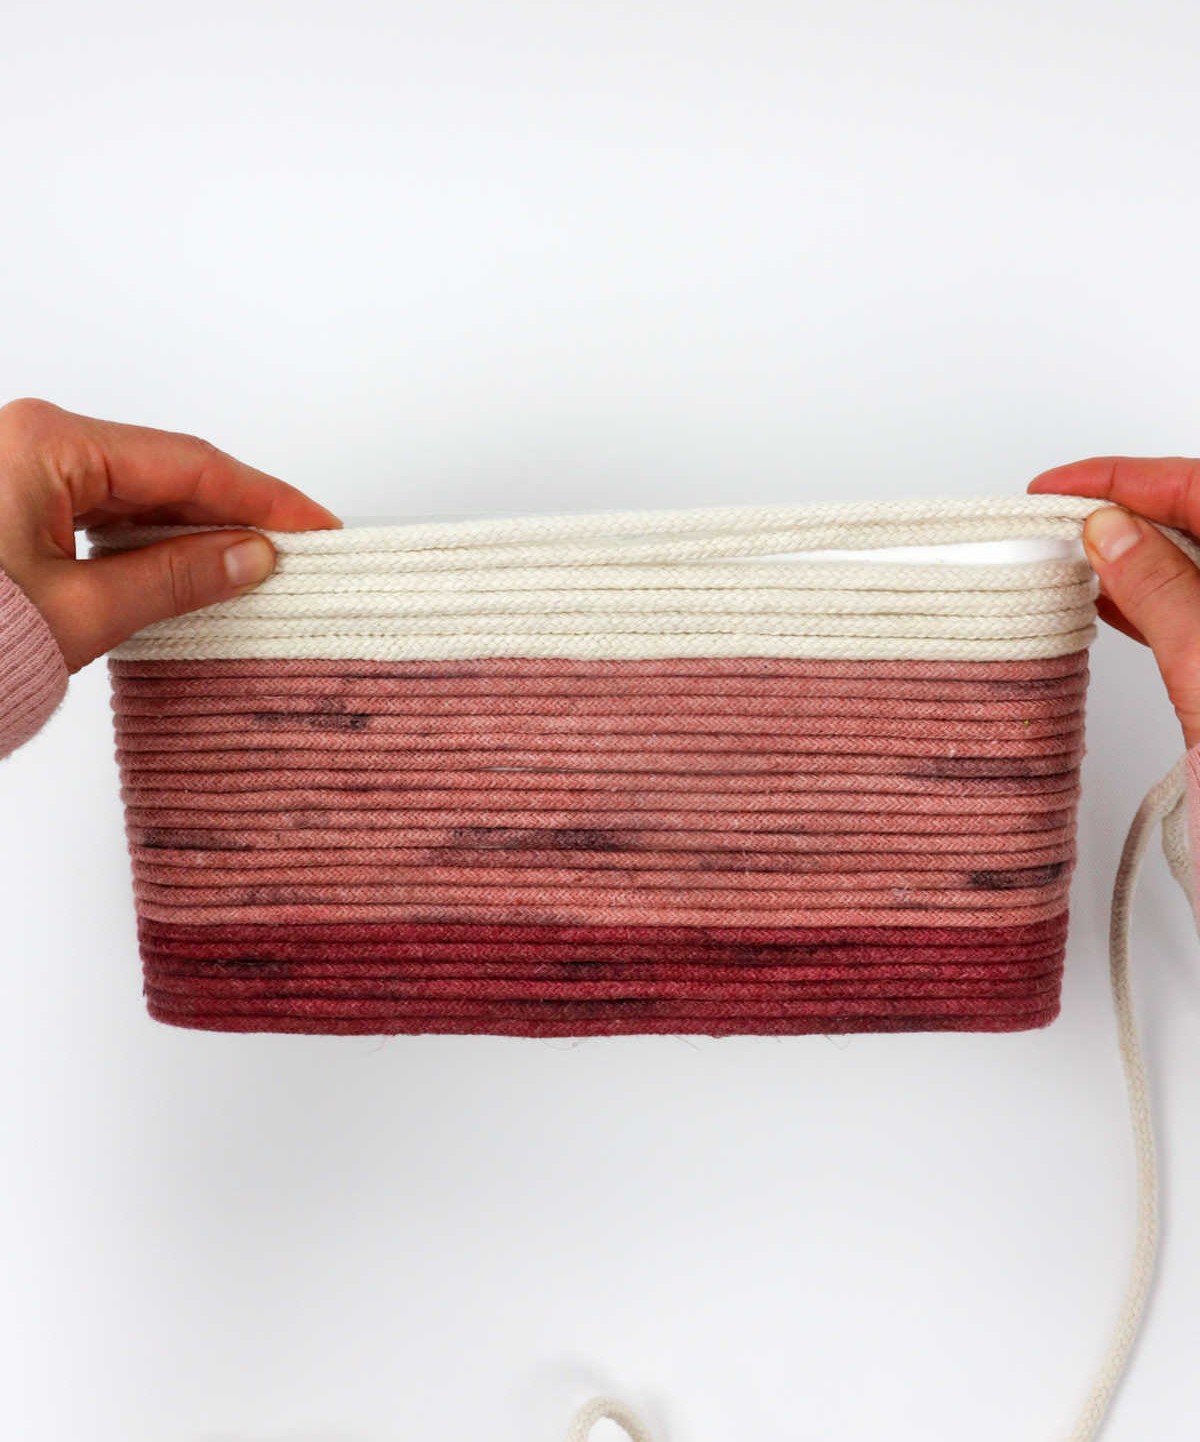
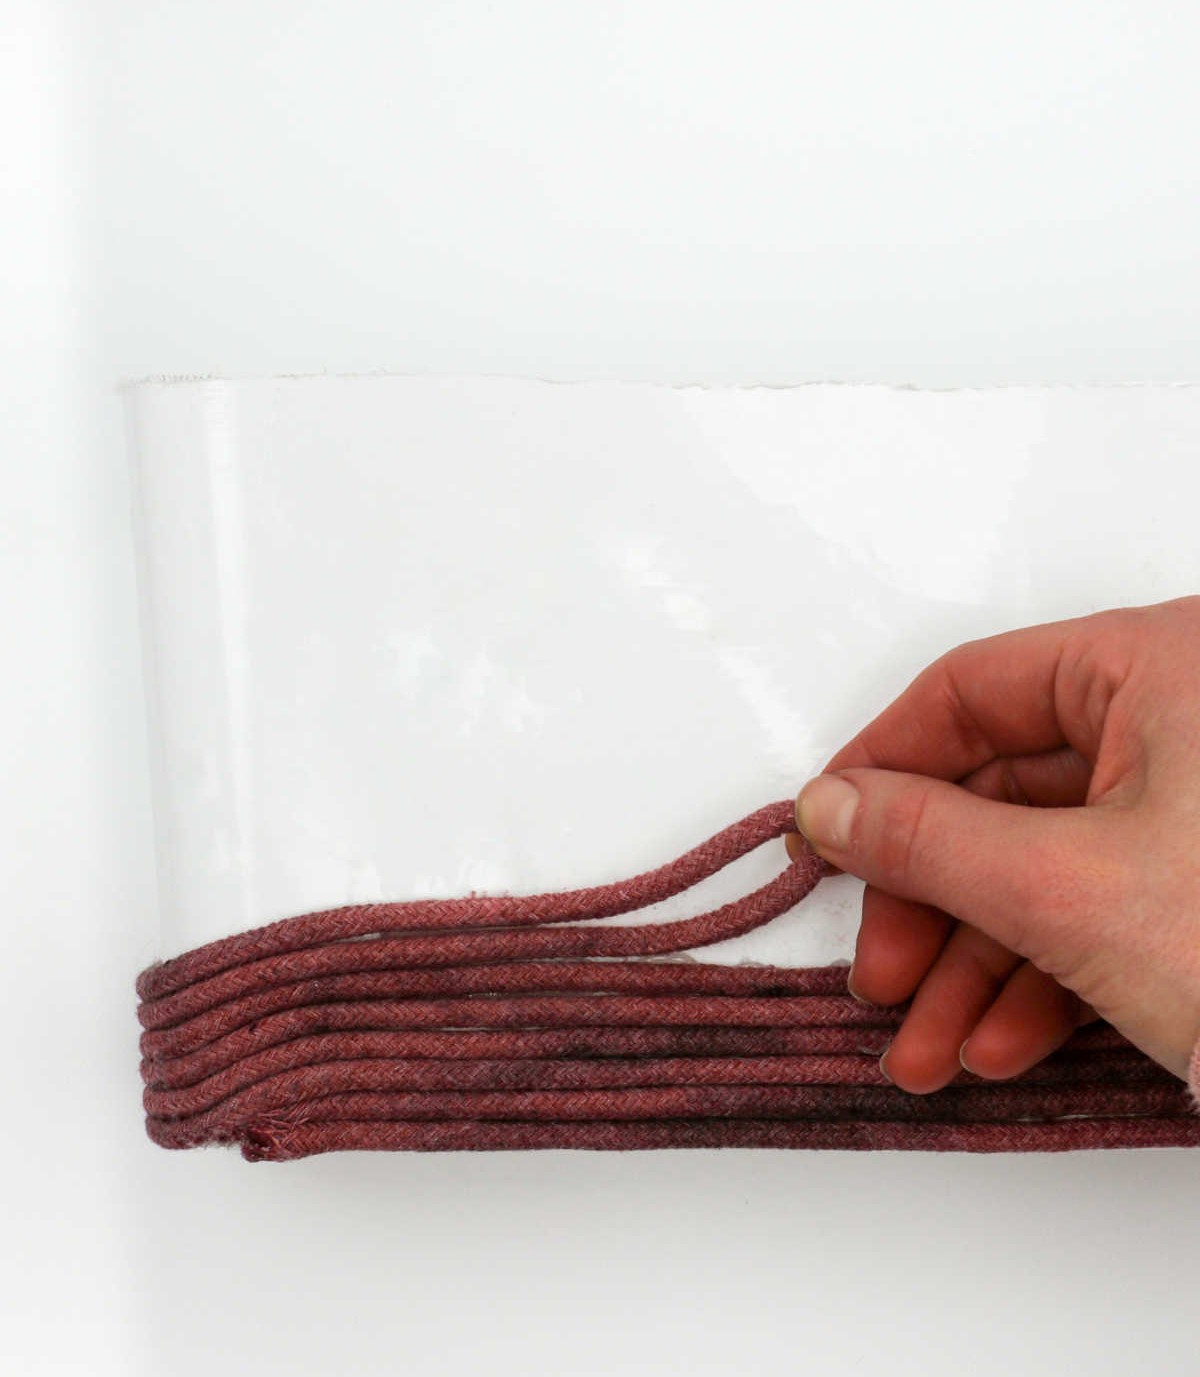
When working with multiple colors, seamlessly merge the edges of each new color with a small amount of glue before winding the rope around the base shape. This process allows for a seamless transition between hues and creates a beautiful, intricate design. As you work through this step, take a moment to appreciate the meditative quality of the task—many people find the repetitive motion to be surprisingly calming.
Step 8
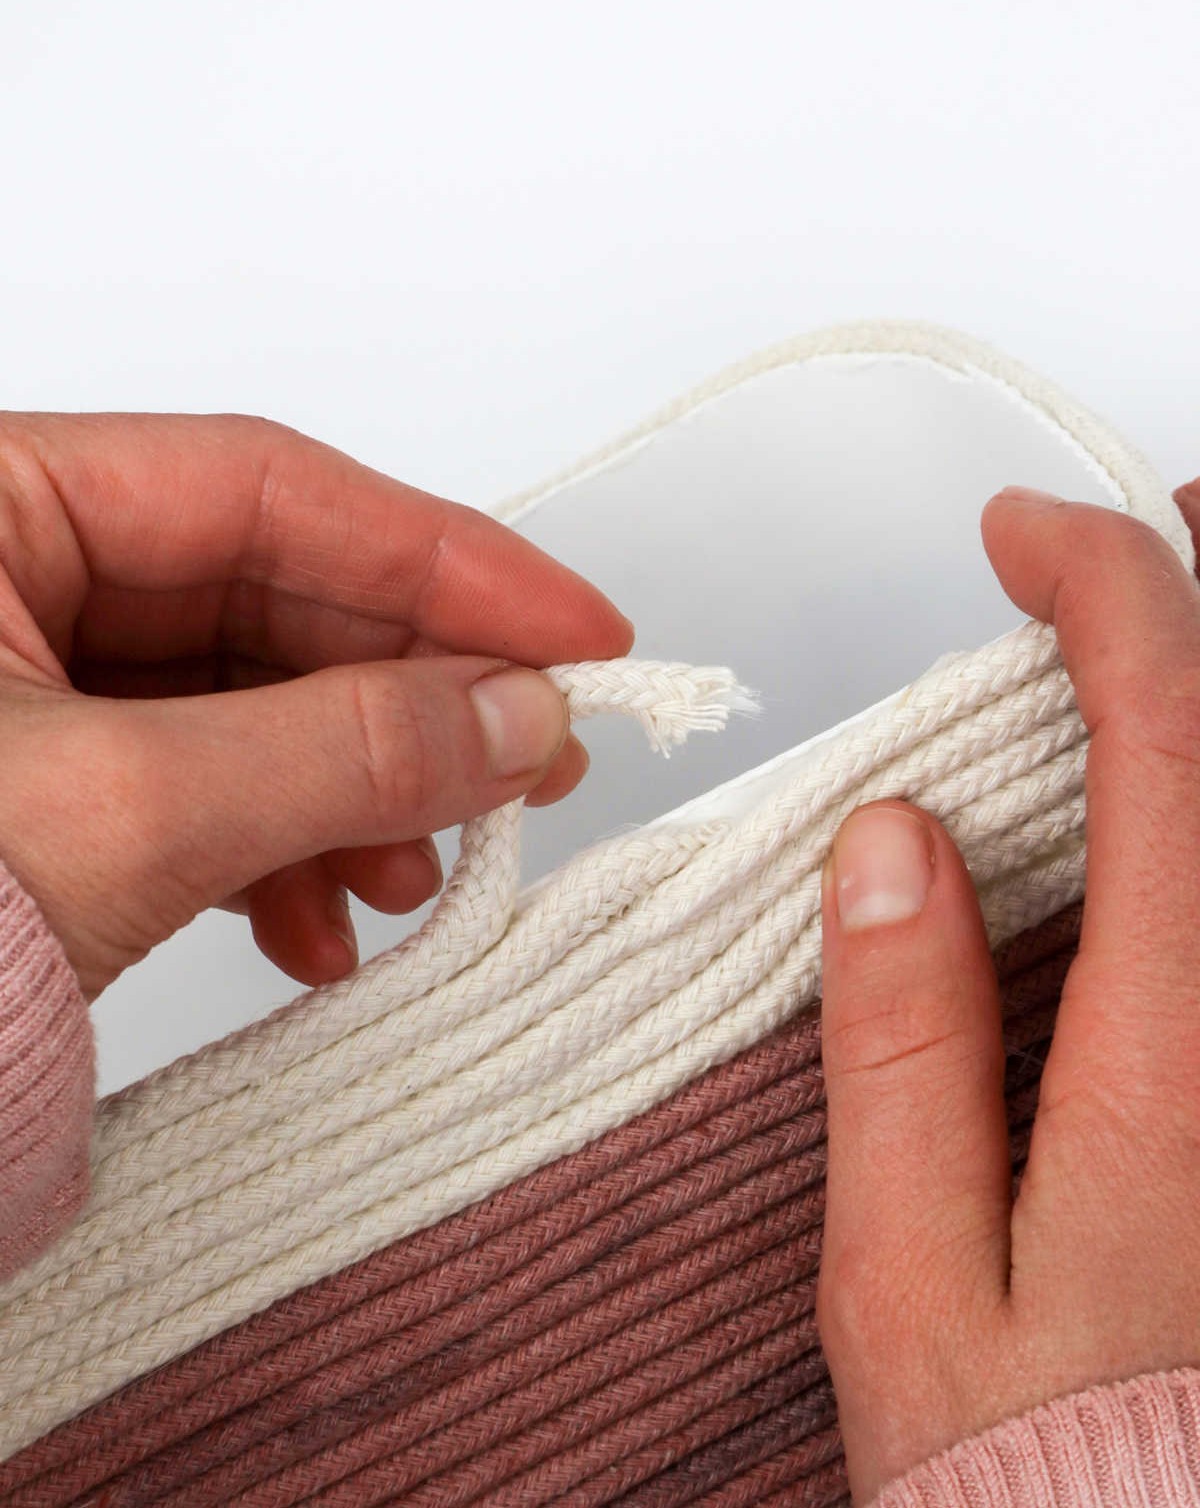
Once you’ve finished securing all items to your rope, take a moment to tidy up by trimming away any excess material. This will give your arrangement a clean and polished appearance. To achieve this, simply snip off the loose ends, then use a small amount of heat-activated adhesive to tuck them neatly into place, ensuring a secure fastening.
DIY Rope Basket
Transform your space with a personalized DIY basket, perfect for storing and showcasing your favorite items. Not only will this project enhance your storage capacity, but it’ll also add a touch of elegance to any room.
Active Time: 40 minutes
Additional Time: 30 minutes
Total Time: 1 hour 10 minutes
Yield: 1 rope basket
Author: Karo @ CraftsyHacks.com
Cost: $10
Equipment
Materials
To get started, you’ll need a few basic materials. You can use a plastic box or repurpose any box you have lying around – even a cardboard one will do. For the actual weaving process, you’ll want to have some clothesline rope on hand. If you’re looking to add some color to your creation, don’t forget to grab some fabric dye powder. And while wooden sticks are optional, they can come in handy if you need to create any additional support structures for your woven design.
Instructions
To begin, prepare your materials by planning the color pattern for your project. Cut the rope into separate batches, each containing a specific hue, at the desired length. Next, mix food dye powder with water, stirring it thoroughly with a wooden stick to ensure an even consistency. Don’t forget to don protective gloves and lay down newspapers to prevent any stains!
Dye the rope by dipping it into the mixture and using the stick to coat it evenly, taking care to eliminate any white spots or patches. Repeat this process for each color. Once complete, allow the rope to dry fully before proceeding. To attach the rope to the basket, start applying hot glue around the base, alternating between adding glue and securing the rope in place as you work your way up.
When it’s time to switch to a new color of rope, simply join the ends together using hot glue and secure them firmly. Continue winding the rope around the basket until you’ve reached the top, then tuck the ends away and add a small amount of hot glue to finish. Finally, attach the small handle stubs to the sides and your project is complete! Load it up with your desired contents and take pride in your crafting skills.