Are you tired of living amidst cluttered chaos? You’re not alone! The perpetual struggle to keep your home organized can be overwhelming, especially when storage solutions seem to multiply like rabbits. The never-ending quest for more containers, baskets, and bins is a constant reminder that the war on clutter is far from over. But fear not, fellow decluttering warriors!
Today, I’ll be sharing my DIY solution for turning ordinary cardboard boxes into extraordinary organizers that will keep your home tidy without breaking the bank.
Supplies for the Basket
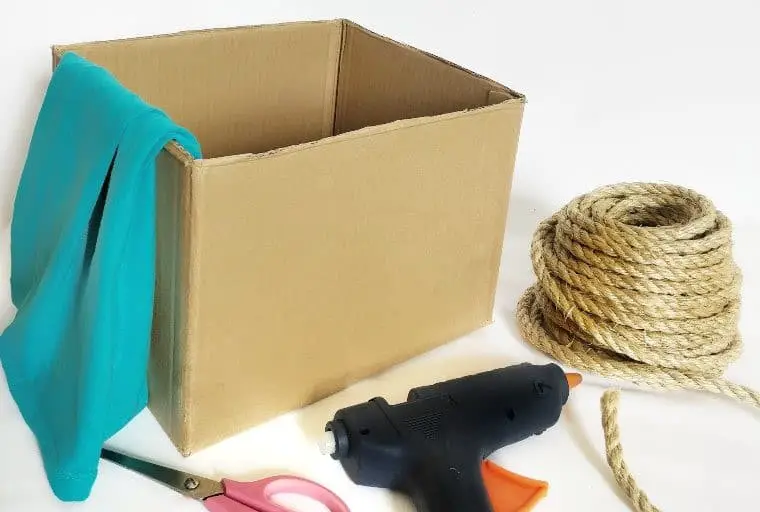
To create a DIY birdhouse, you’ll need a few basic materials. Start by gathering a cardboard box, which will serve as the base of your birdhouse. You’ll also require some sturdy twine, such as manilla hemp rope, to hang the structure from a tree branch. A glue gun and some glue sticks will come in handy for securing any loose edges or pieces together. Additionally, you’ll need a pair of scissors to trim any excess material or cut notches in the cardboard box as needed.
Finally, have some fabric or an old shirt on hand to use as a roof or to add some extra insulation to your birdhouse.
How to Make a Rope Basket?
With minimal expertise and basic crafting tools, creating these charming rope baskets is a breeze. Simply possessing the necessary materials and fundamental skills in cutting and gluing will equip you for this project. By following the simple steps outlined here, even the most novice DIY enthusiast can quickly assemble another storage basket from scratch.
STEP 1
Before diving into the creative process, begin by inspecting your cardboard box and preparing it for upcycling. Start by removing any flaps that might be obstructing your workspace. Next, apply adhesive tape to mend any punctures or cuts you may find on the box’s surface. For added strength and durability, opt for duct tape instead. As you work on repairing any imperfections, take a moment to preheat your glue gun.
This will ensure it’s ready to go when you’re ready to start wrapping the rope with your carefully crafted design. To prevent any potential issues down the line, apply a small amount of extra glue to the starting corner of your project.
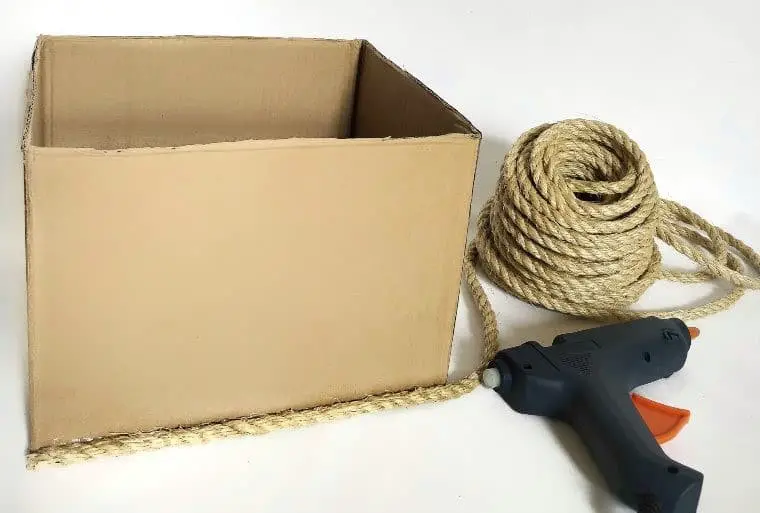
STEP 2
Securely attach the rope or twine to the box by wrapping it around the perimeter, beginning from the bottom edge. Employ a consistent and neat pattern as you work your way up, applying just enough glue to guarantee a strong bond without leaving behind unsightly drips or blobs. As you wrap, ensure the cardboard remains concealed and the rope doesn’t create any unwanted folds or double-backs.
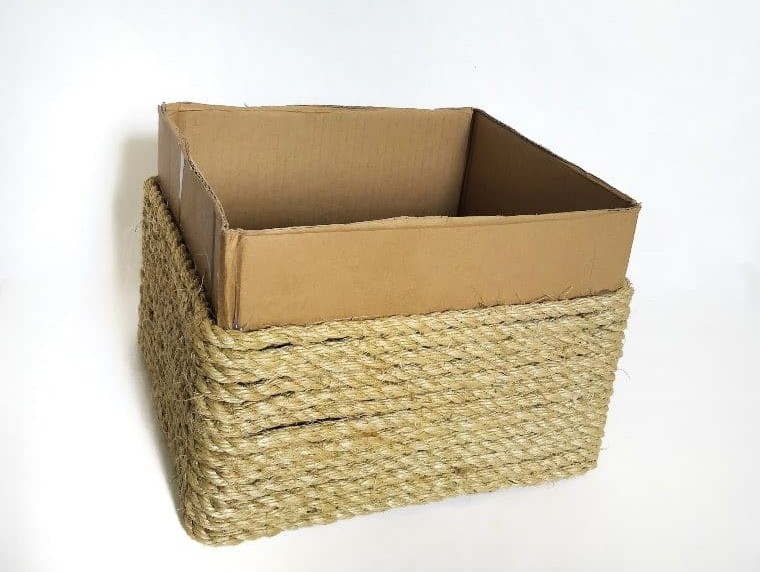
STEP 3
To complete the makeshift rope wrapping, continue circling the cardboard box with the rope until approximately two-thirds of its surface is covered. Once you’ve reached this milestone, cut the rope and reinforce the corner by applying a slight excess of glue. This additional adhesion will prevent the rope from loosening over time.
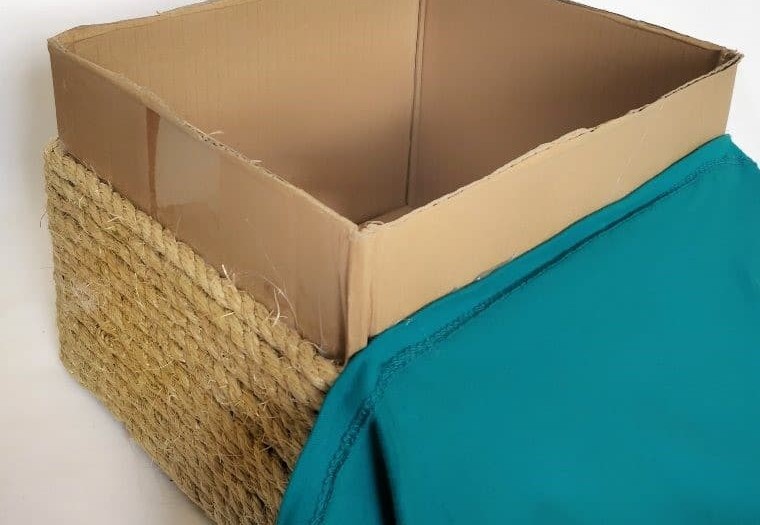
STEP 4
To complete the process, start by covering the exposed portion of the cardboard box with a clean section of the fabric or discarded shirt. This is crucial if you’re using an old shirt, as any stray threads or debris can compromise the overall appearance. Begin by wrapping the hem of the fabric around the box, ensuring it covers the area where the rope wrapping ends. Secure this covering in place with glue, taking care to apply a consistent and even layer.
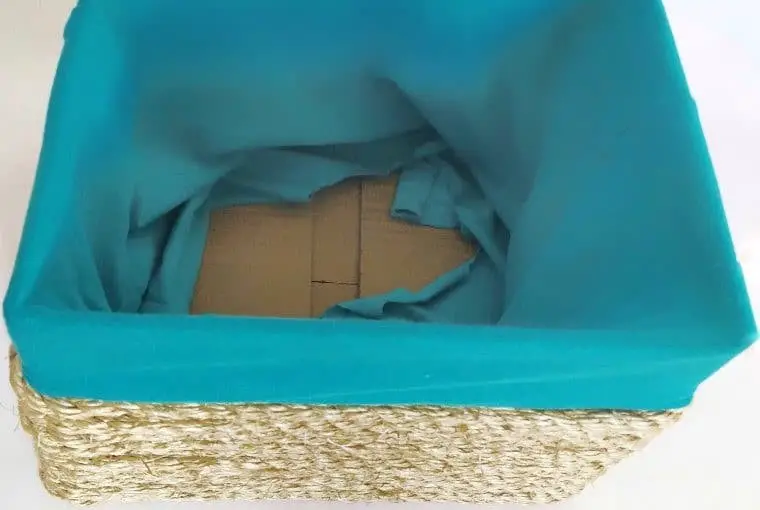
STEP 5
Once you’ve completed gluing the fabric around the exterior of the box, you can simply flip the excess material inward to line the interior. If necessary, trim any remaining fabric to achieve a snug fit within the cardboard confines. Your goal is to strike a balance between coverage and containment, leaving just enough room inside the box without overwhelming it.
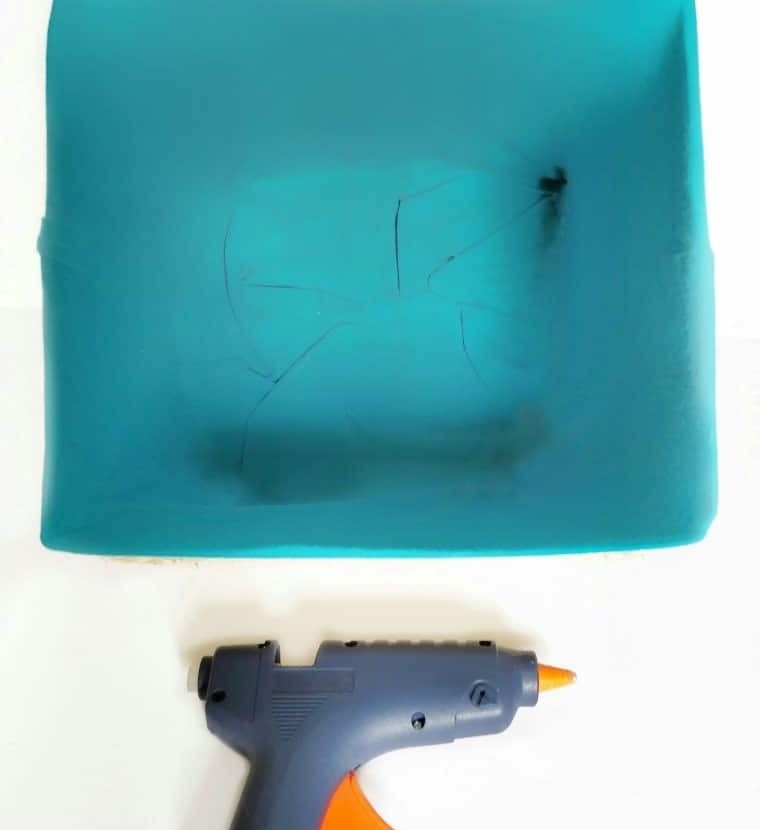
STEP 6
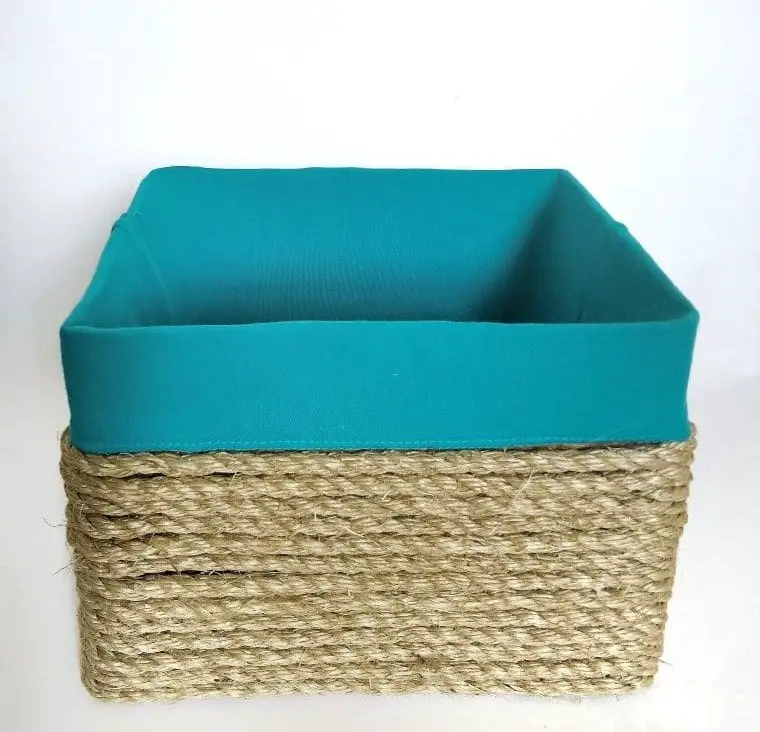
To achieve a snug and secure interior, employ the strategic application of glue, coupled with thoughtful consideration and creative problem-solving. Once you’ve successfully crafted the inside of your box, take a moment to inspect for any lingering imperfections that require attention. With these minor tweaks in place, your DIY rope storage basket is now ready for prime time!
As a finishing touch, consider embellishing your creation with decorative elements like buttons or ribbons – allowing your personal style and creativity to shine through.
What You Can Use This Rope Storage Basket For
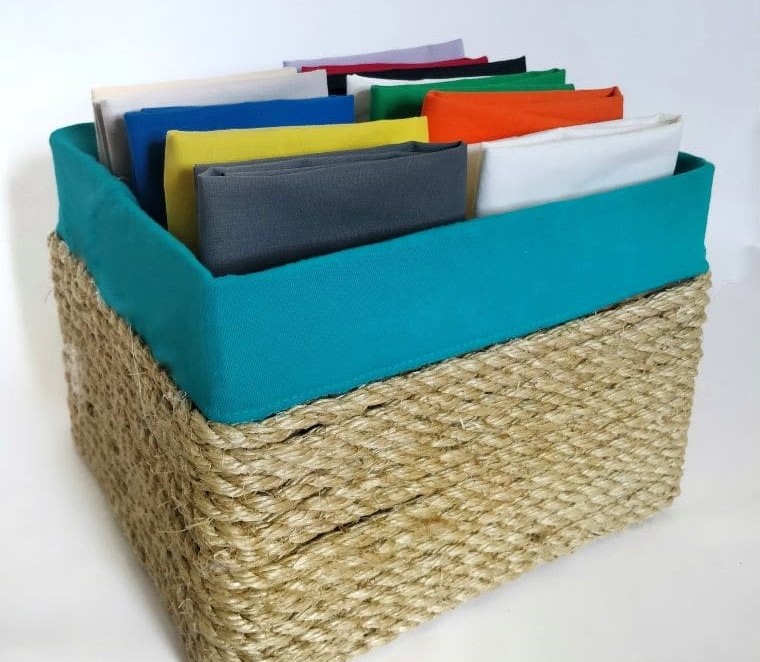
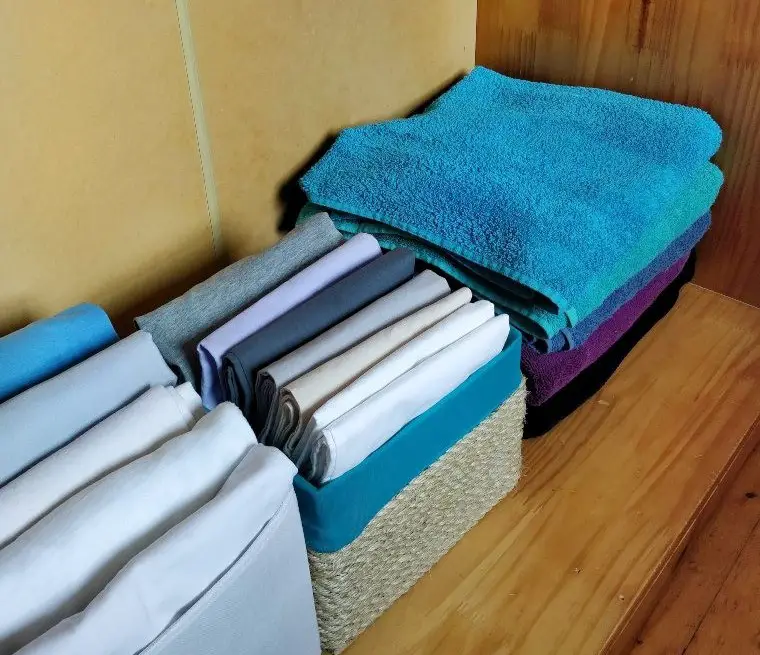
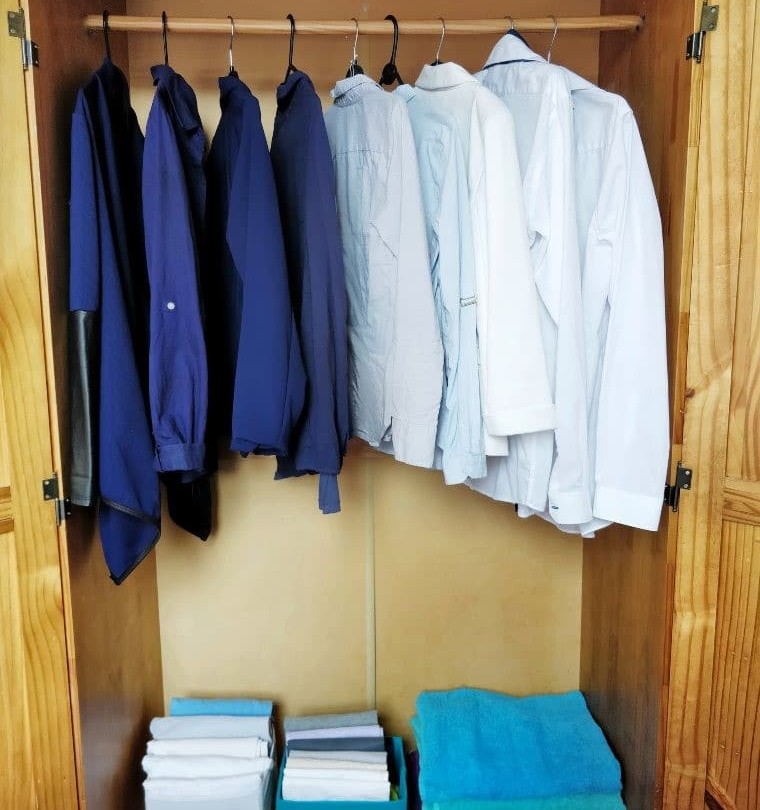
These versatile DIY rope storage boxes are perfect for tidying up various spaces. Initially, I used one to keep pillowcases organized in my linen closet. However, their practicality makes them ideal for closets as well. They can efficiently store items like shirts, scarves, underwear, or ties – essentially anything that requires additional storage space.
The larger sizes are particularly useful for keeping kids’ toys organized or stashed away for the night, ready to be pulled out again the next day. Additionally, they’re great for maintaining order in craft rooms or offices. The possibilities are endless, as these baskets can accommodate almost any item you want to neatly store.
Why You Should Turn Your Cardboard Boxes Into Baskets
By repurposing cardboard boxes into storage baskets, you can reap numerous benefits. For one, you’ll be able to save a significant amount of money that would otherwise be spent on purchasing storage containers from stores. Additionally, you’ll finally find a practical use for the cardboard boxes that have been accumulating in your garage or elsewhere, awaiting recycling day.
This upcycling approach also enables you to contribute to environmental conservation by reducing waste and minimizing the need for new materials. Ultimately, transforming cardboard boxes into storage baskets will help you achieve a more organized living space with reduced clutter, giving you a sense of control and serenity.
DIY Rope Basket Out of Cardboard Box
Transform your closet’s storage space by crafting a functional and stylish DIY rope basket to organize linen and other essentials. This project is surprisingly easy, requiring only a cardboard box as the base material – making it an affordable and creative solution for maximizing closet space.
Equipment
Materials
The essential toolkit for any DIY enthusiast includes a few humble yet versatile items that can help turn your creative ideas into reality. At the top of this list are cardboard boxes, which offer a sturdy foundation for various projects. Next, consider investing in manilla hemp rope, which provides a natural and durable material for crafting and knot-tying. A glue gun with an assortment of glue sticks is another must-have for any DIY enthusiast, allowing for quick and easy bonding of materials.
Finally, no DIY arsenal would be complete without some fabric or even an old shirt on hand, providing a flexible canvas for creative expression.
Instructions
To transform a cardboard box into a unique storage container, begin by removing any flaps that may still be attached. Next, apply glue to the perimeter of the box and wrap rope around it, starting from the bottom edge and working your way up to about two-thirds of the way up. This will provide a sturdy foundation for your upcycled creation. From there, cut a piece of fabric to size and use it to cover the remaining one-third of the box, including the interior surfaces.
You can leave this wrapped container as is, or add any embellishments you like to give it a personalized touch. With minimal effort and no significant expense, you’ll be left with a functional and eye-catching storage solution that’s all your own.
Conclusion
With a little creativity, decluttering doesn’t have to break the bank. In fact, this DIY rope basket made from a cardboard box is a testament to the power of repurposing and reusing materials. By leveraging items you likely already have at home, you can create as many storage solutions as you need, without sacrificing style or functionality.