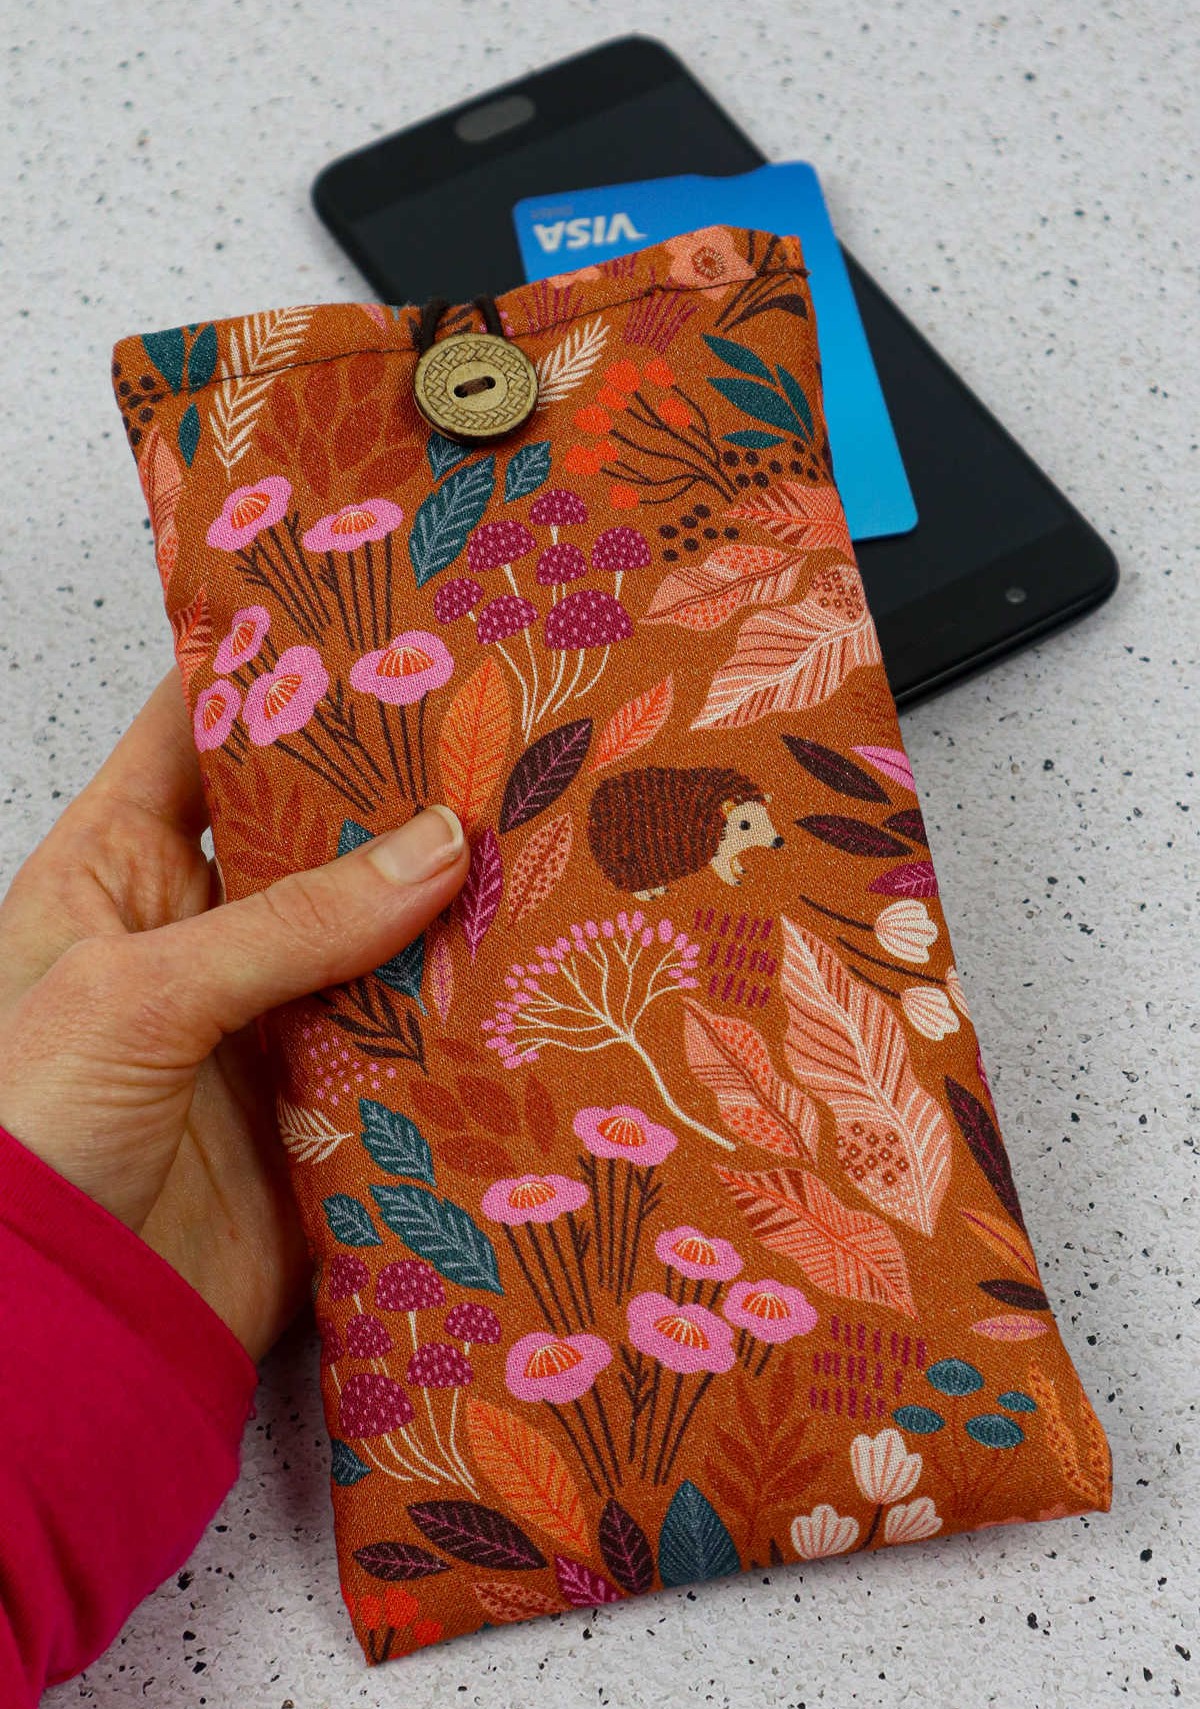
Are you tired of the hassle of searching for your phone in your bag? Make a DIY fabric phone case and take control! As a beginner, this project is an excellent way to start your sewing journey. The slim design of modern phones means they can easily slip down into your purse, making it frustrating to find them when you need to answer a call or respond quickly. But what if you could personalize your phone with a vibrant fabric case that matches your style? Now’s the chance!
To get started, gather these essentials and unleash your creativity:
Supplies You’ll Need
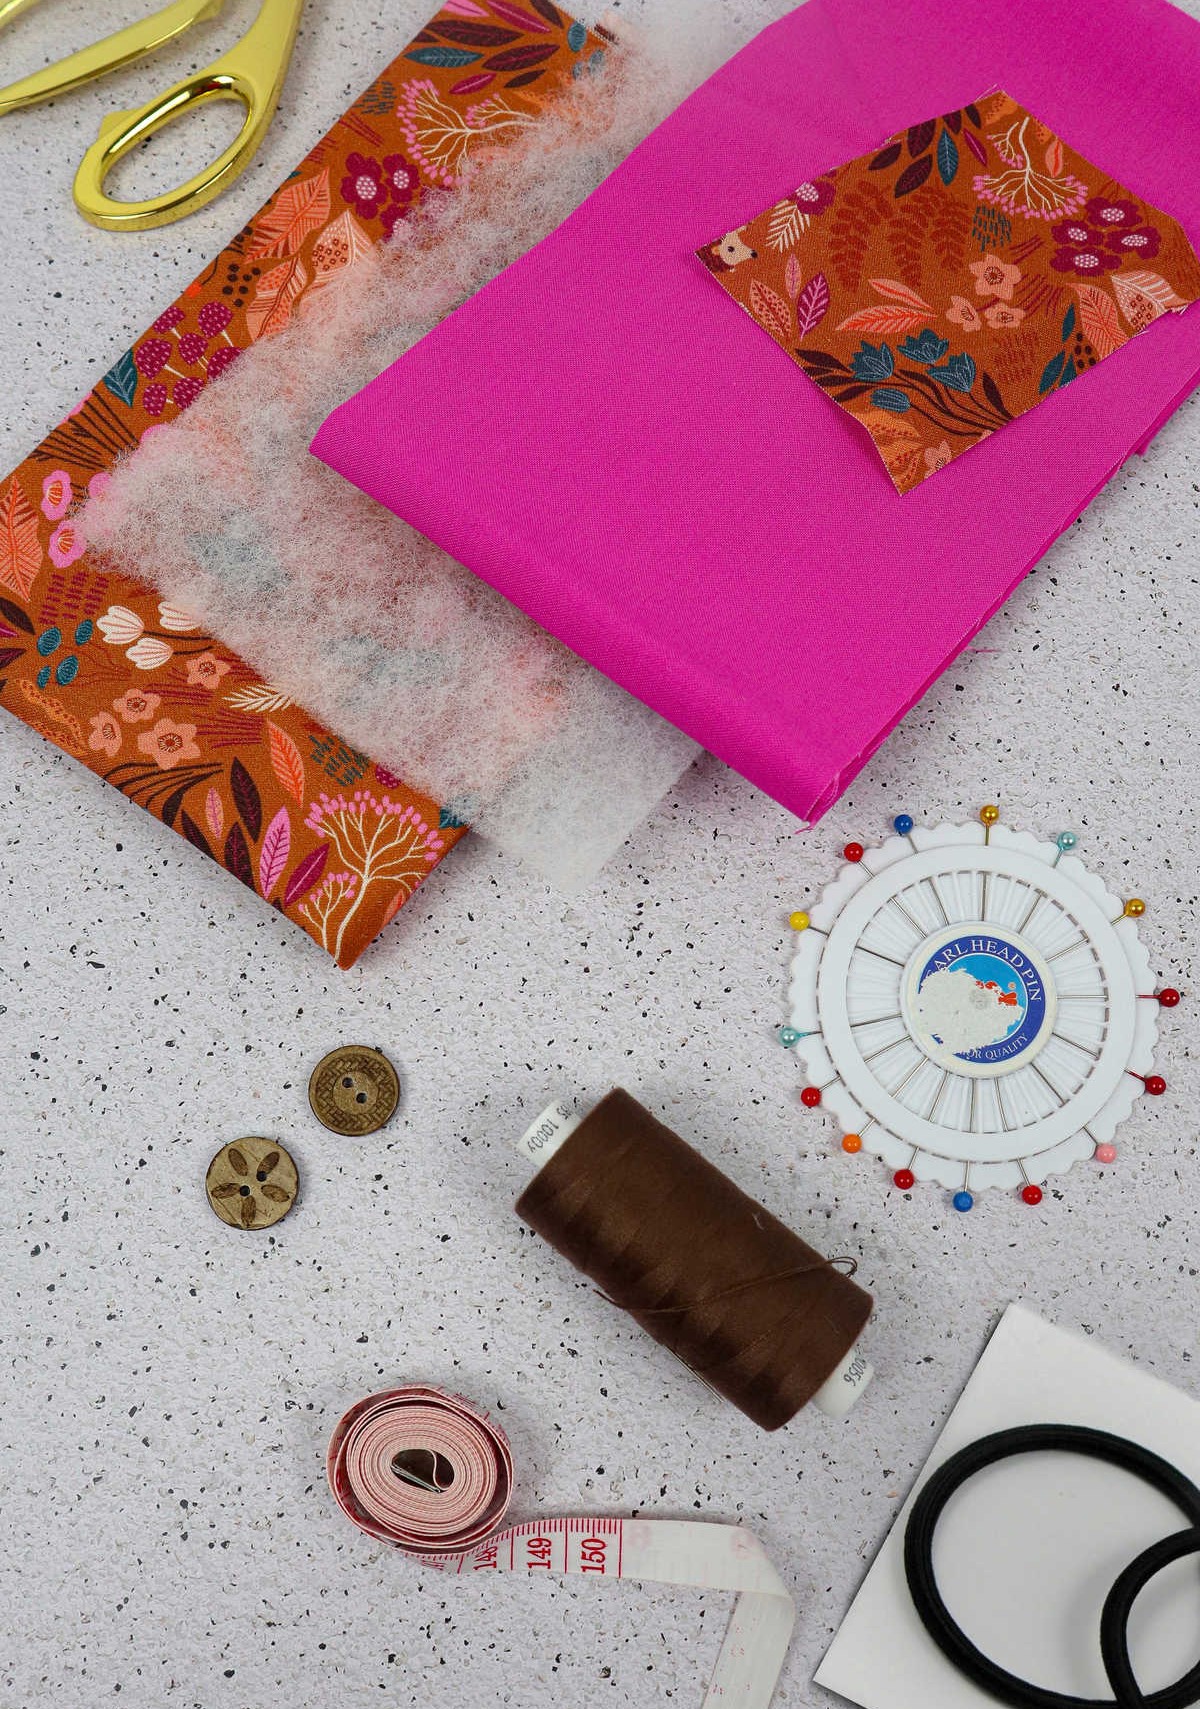
A list of essential materials required to complete the project includes scissors, which will be used to cut through various fabrics and other materials. Cotton fabric is necessary for the main components of the project, including a 16×5.5 inch piece for the front, as well as another piece with the same dimensions for the lining. Additionally, there needs to be a smaller 3.5×5 inch piece of cotton fabric for a pocket. Wadding, in this case 1oz, is also required and should be cut into a 15×5.
5 inch piece. To add some finishing touches, two buttons will be needed, as well as thread, a needle, and sewing pins for any necessary stitching. A measure tape will also come in handy to ensure accurate measurements are taken throughout the project. Finally, an elastic hair band is required for the completion of the project.
How to Make Fabric Phone Case
With the essential materials accounted for, it’s time to focus on the fabric of your choice. Was it a vibrant hue that caught your eye, a unique texture that adds depth, or a design that simply makes you smile? Whatever your selection, it’s now ready to form the foundation of your project.
Step 1
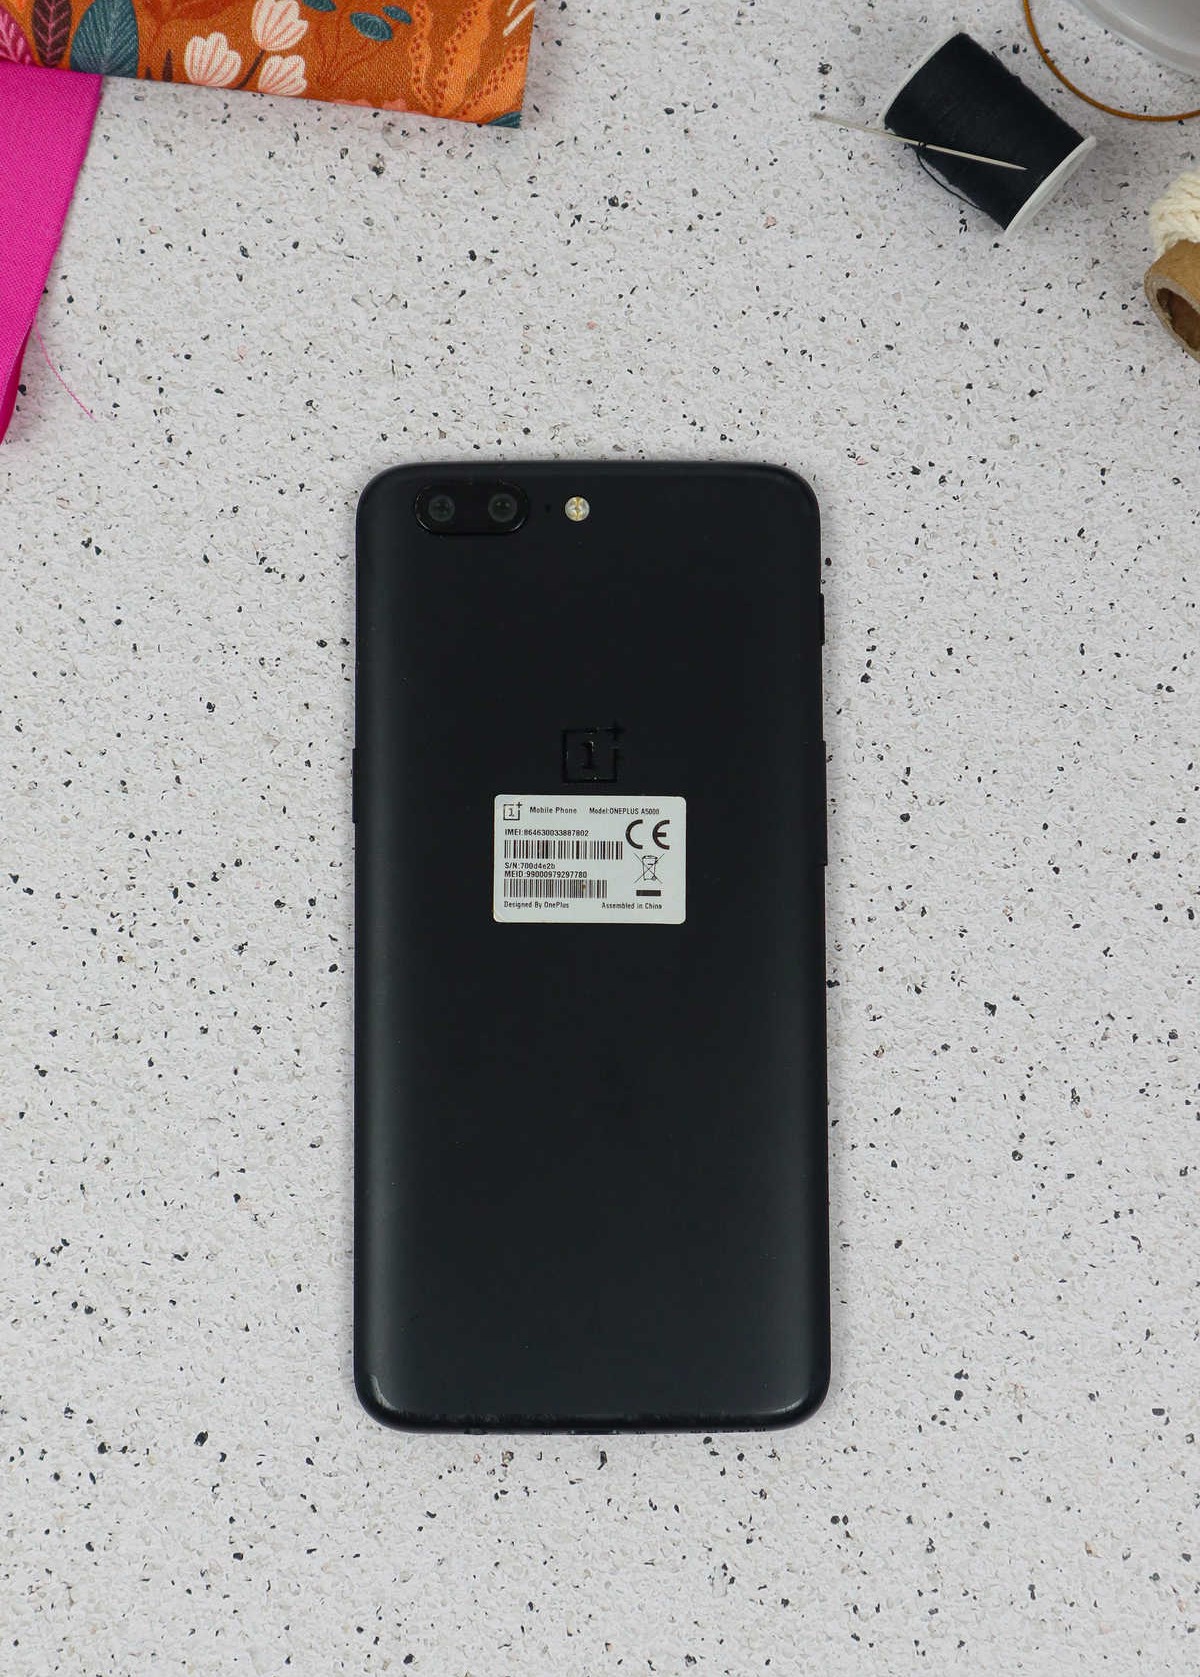
To embark on this DIY adventure, it’s crucial to start by capturing the precise measurements of your phone. Record each dimension carefully, as you’ll rely on these figures to cut your fabric swatches, wadding, and lining to size. This initial step lays the groundwork for a successful project, ensuring that every component fits together seamlessly.
Step 2
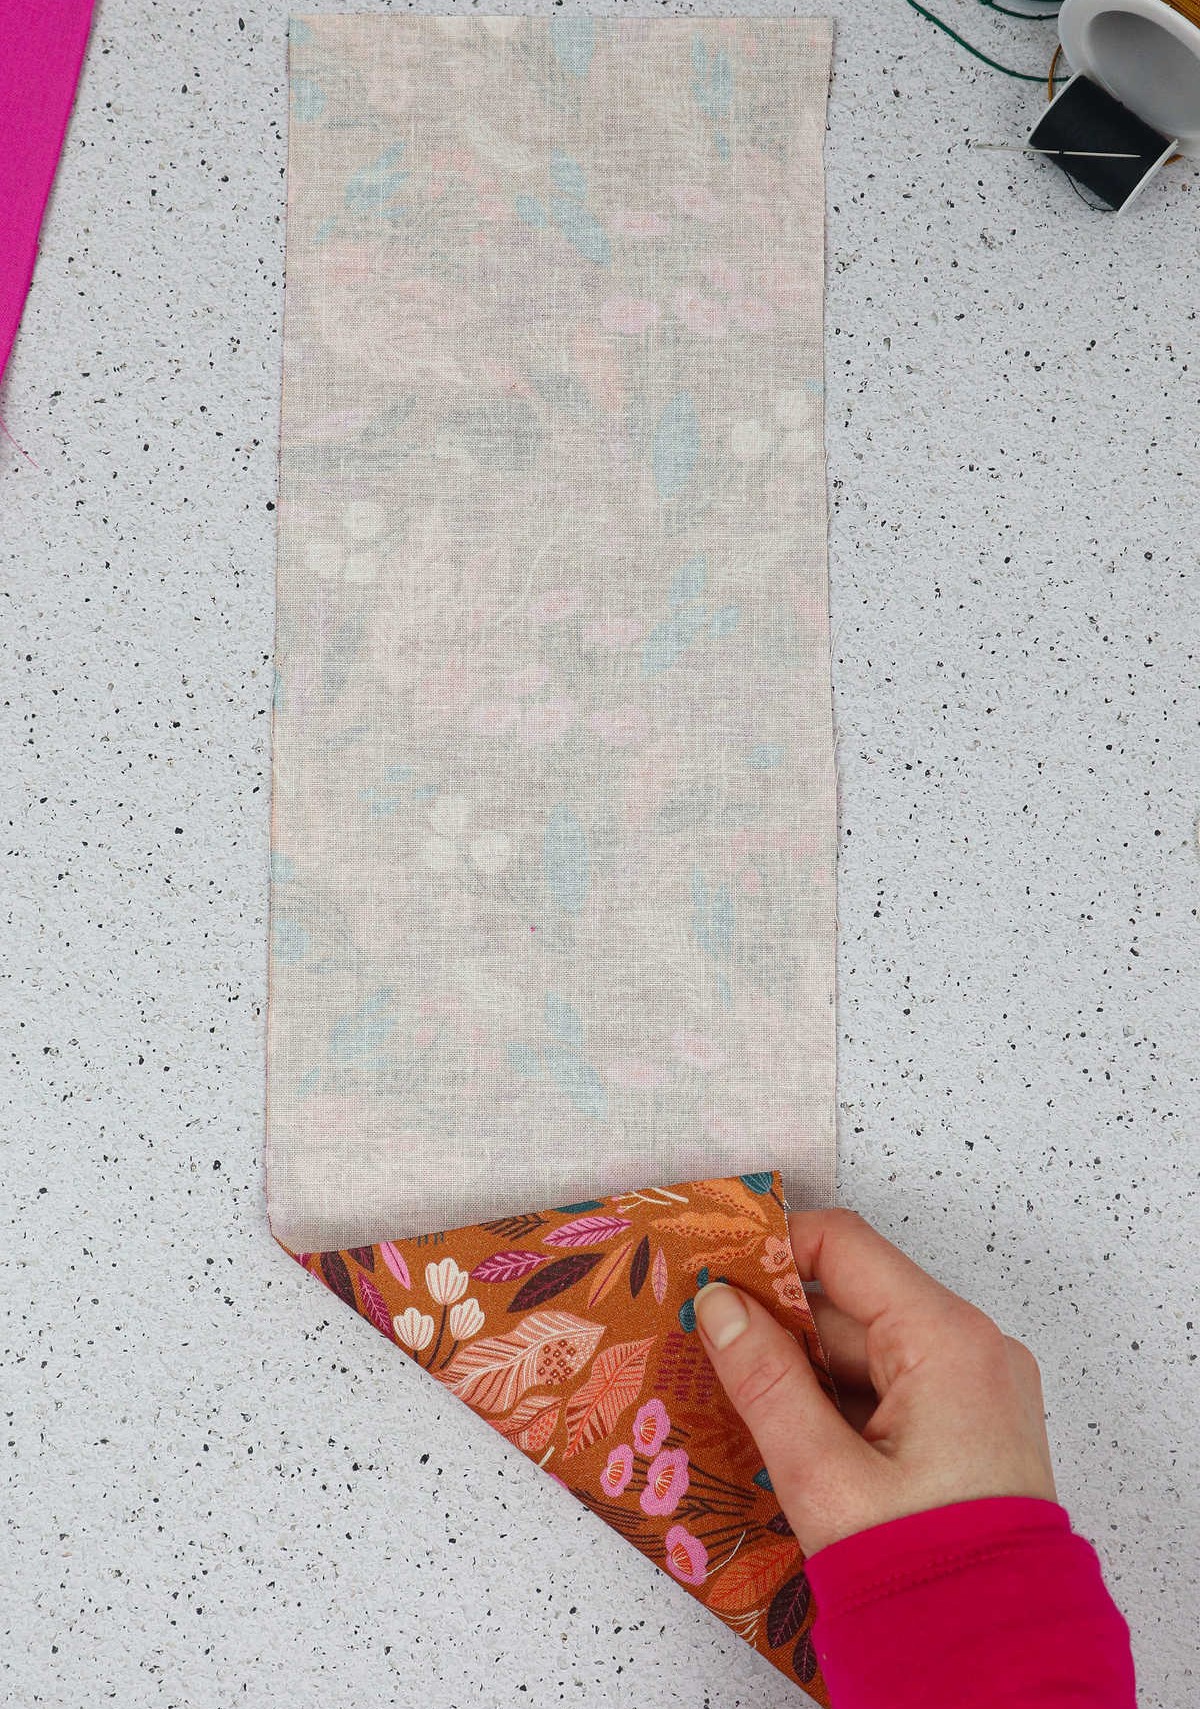
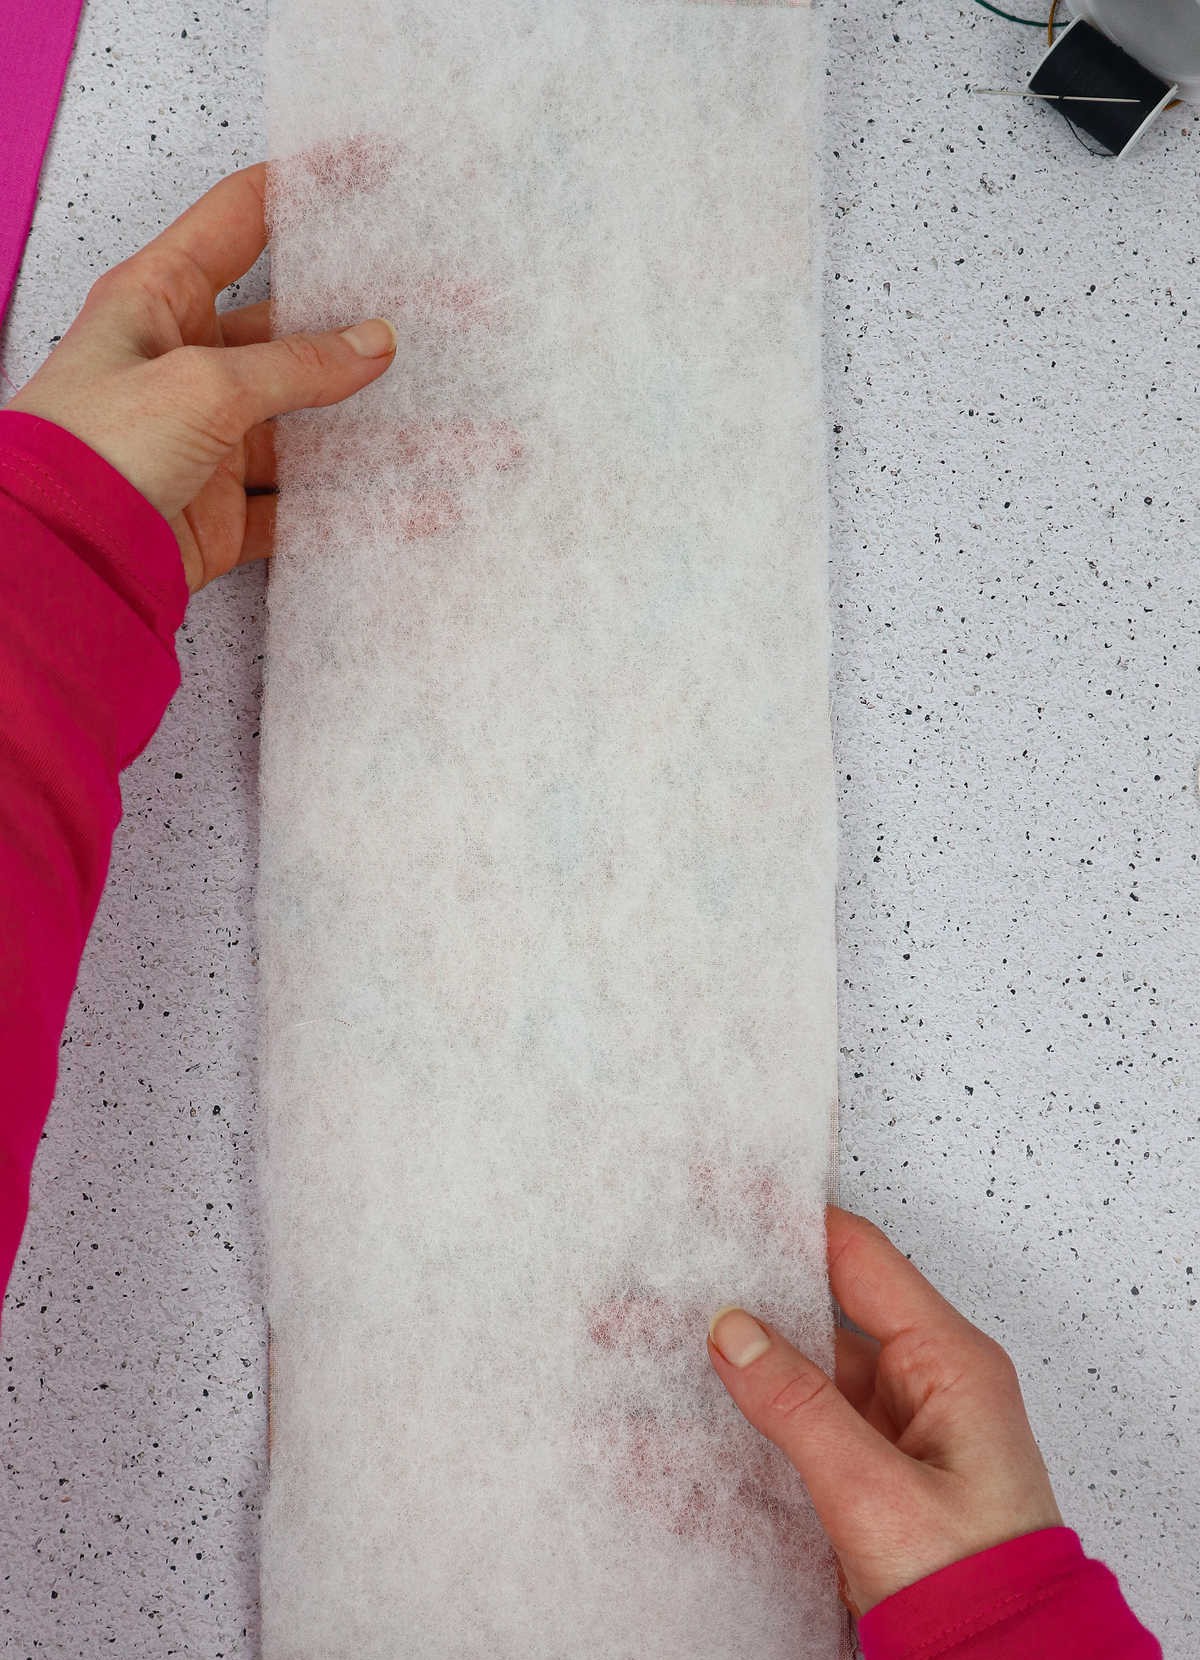
To begin, position your cut fabric strip on your work surface with the printed side facing downwards. Subsequently, carefully lay the wadding on top, ensuring that it is slightly smaller in measurement than the outer fabric. Notably, maintain a half-inch gap between the edges of the wadding and the fabric on both the top and bottom. Secure the wadding to the fabric using sewing pins, taking care to distribute them evenly across the surface to prevent any shifting during the quilting process.
Step 3
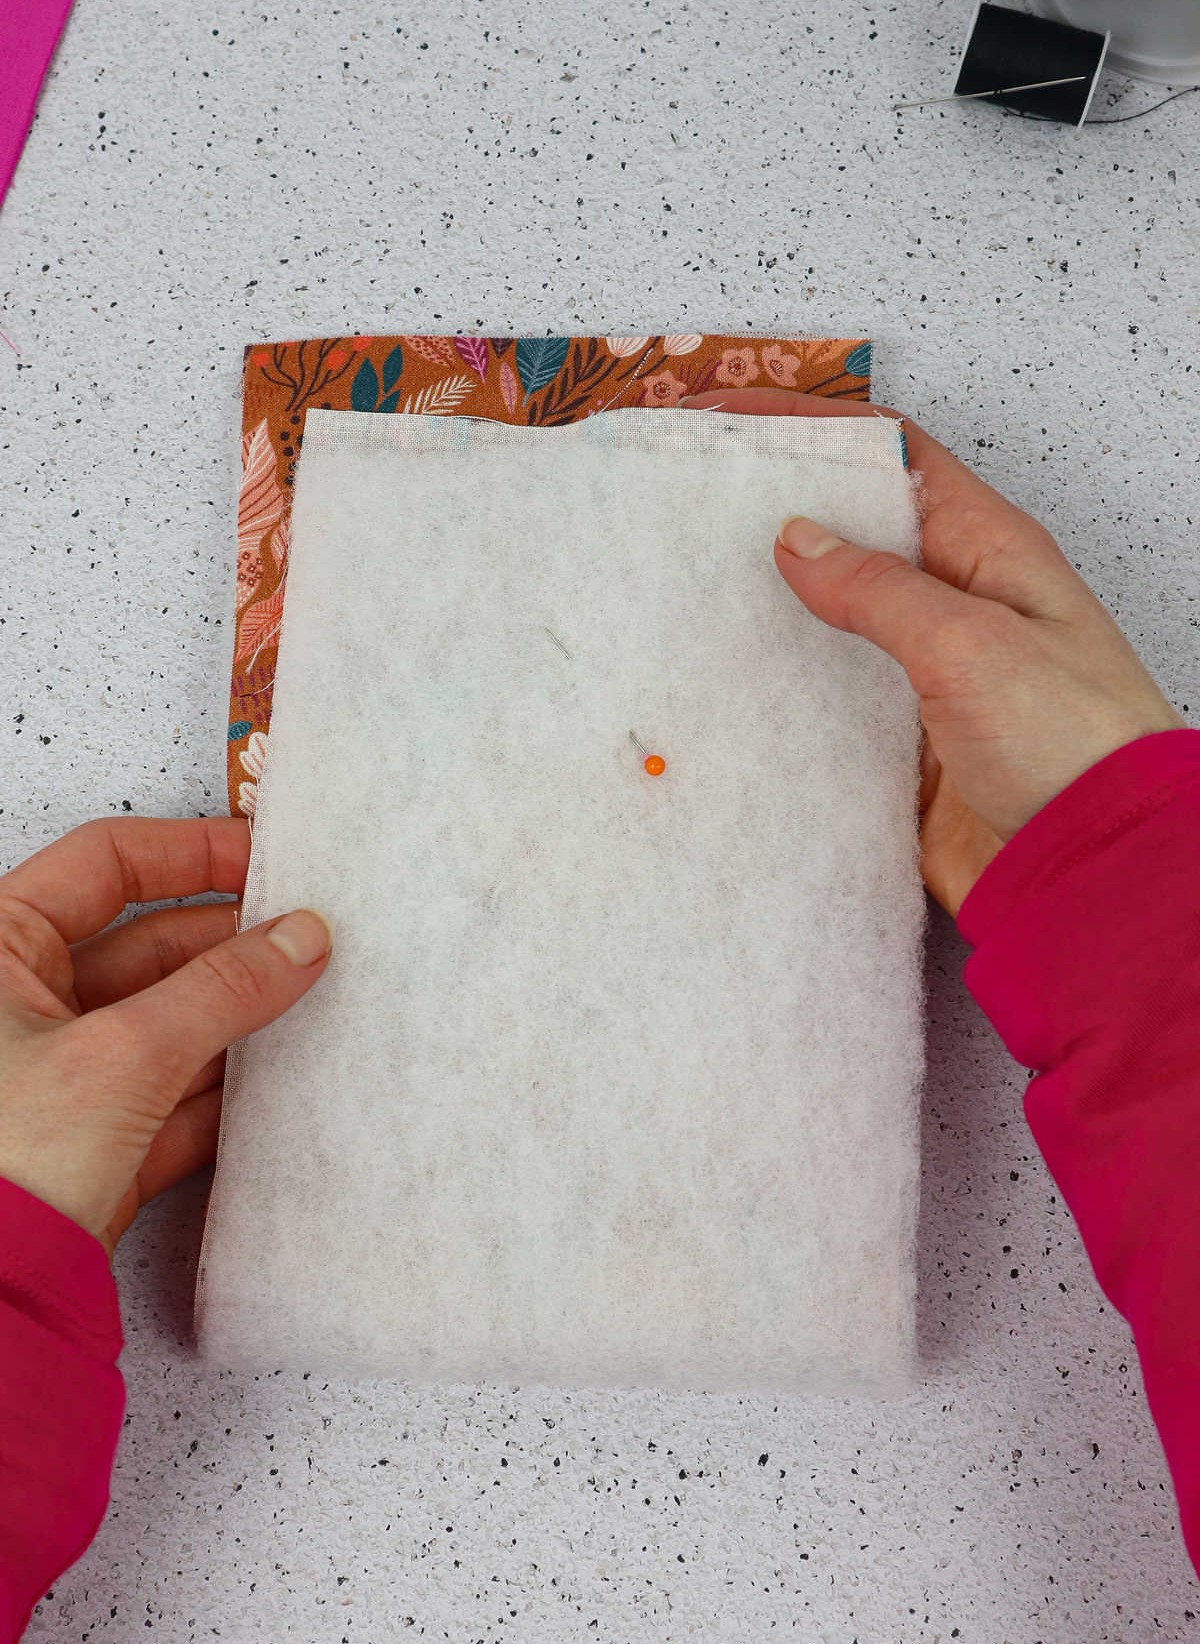
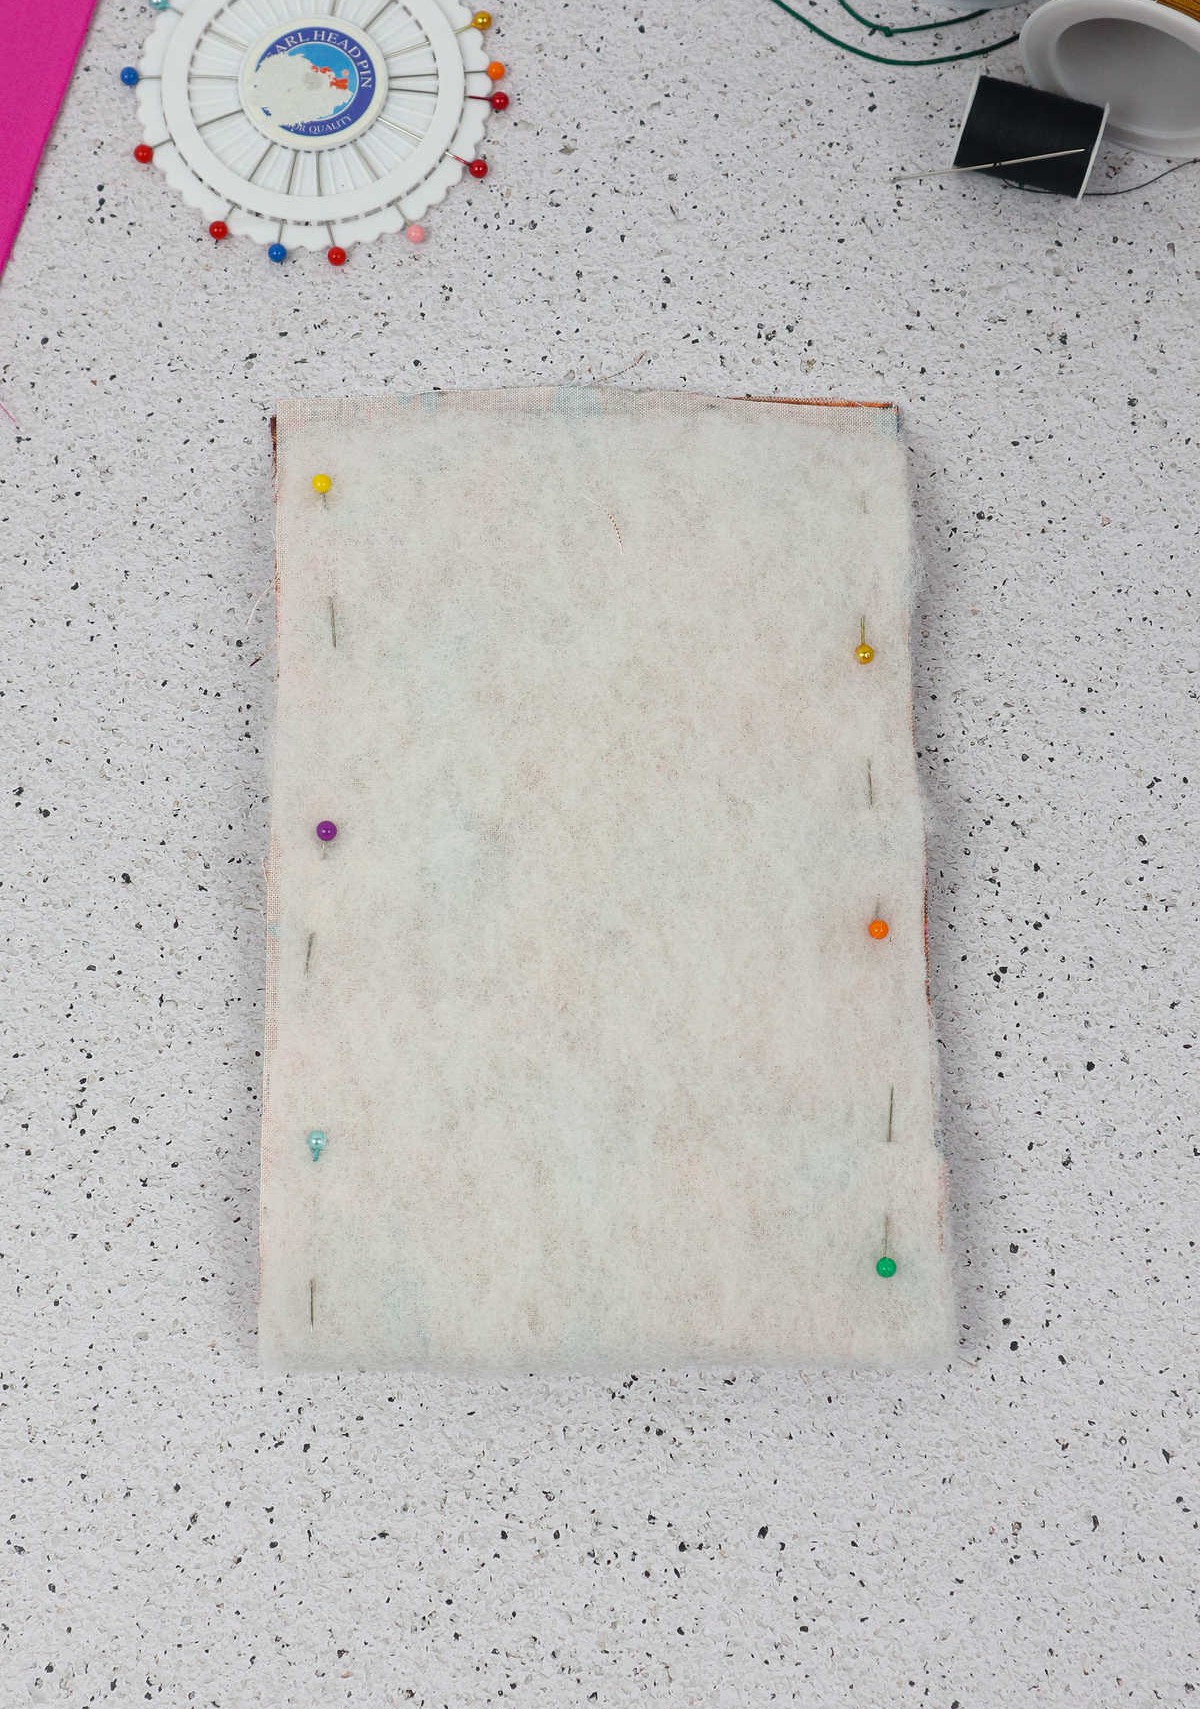
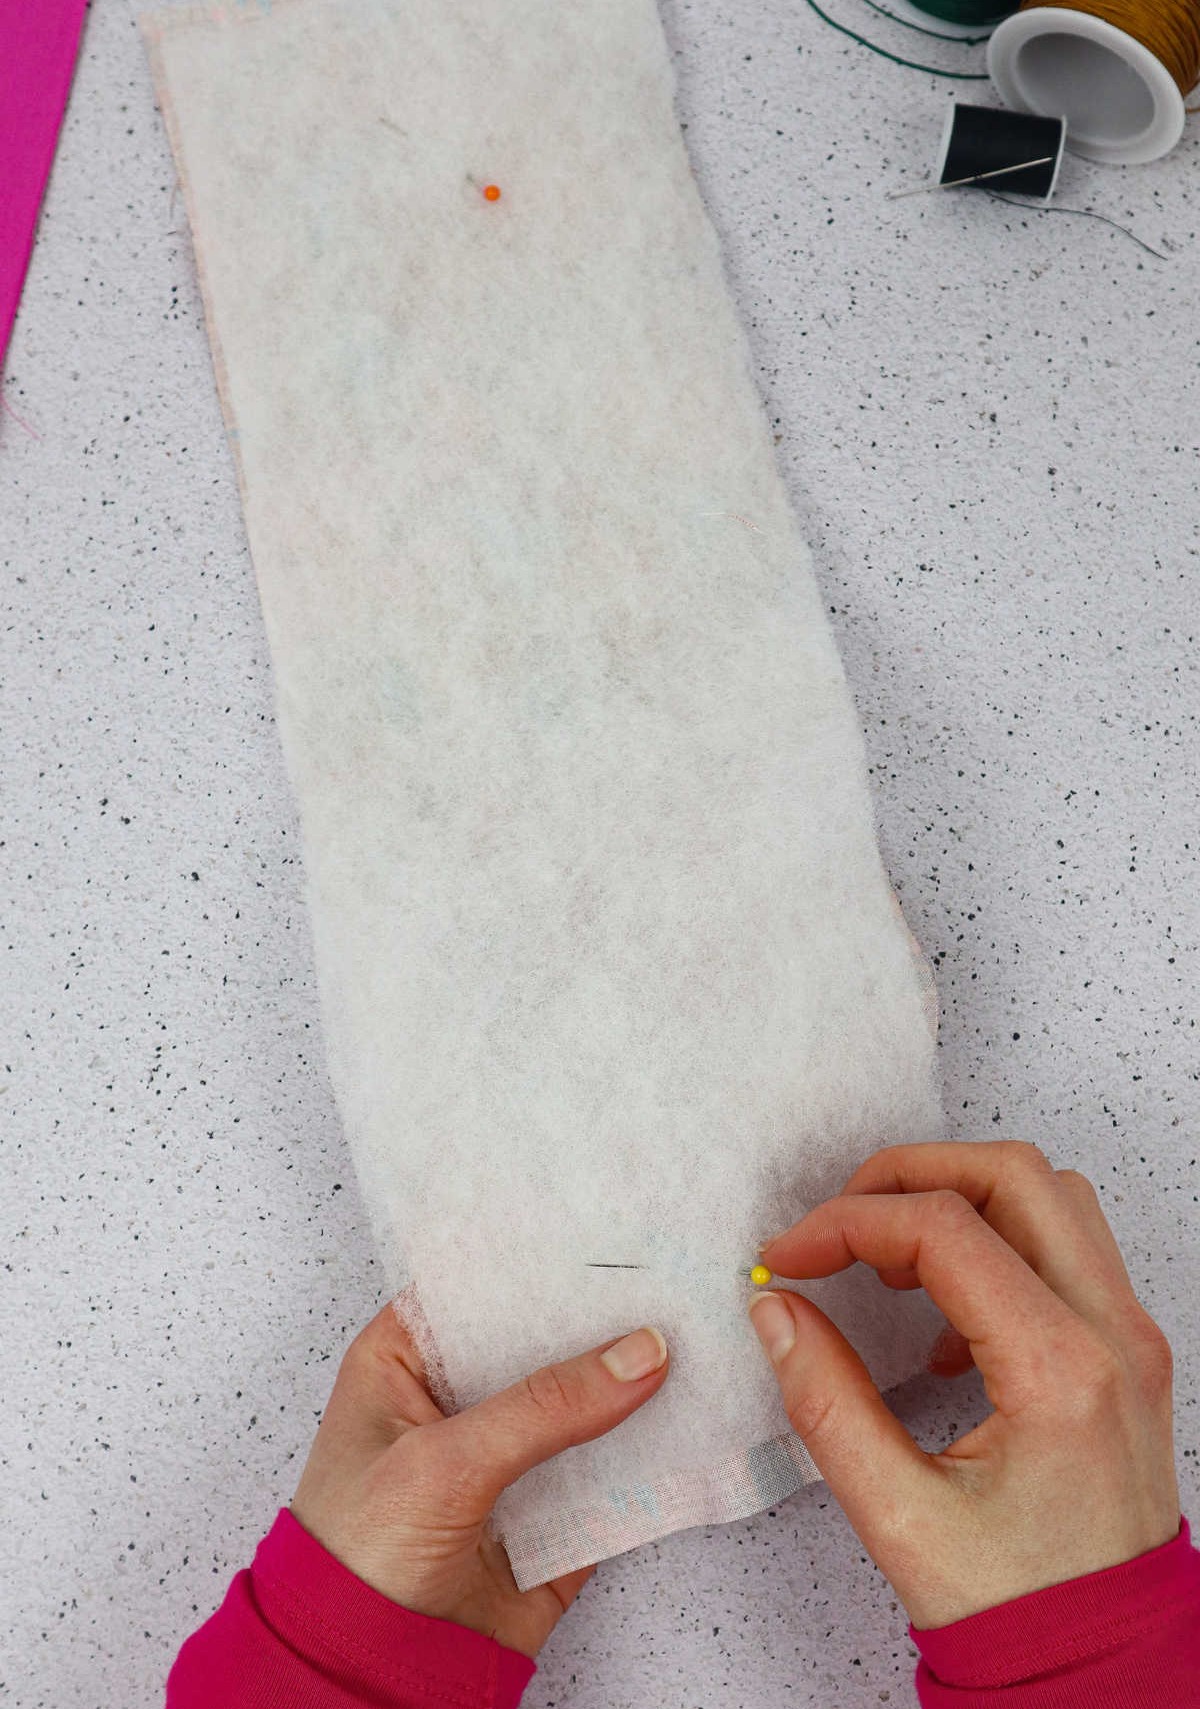
As you work on your quilt, carefully fold the fabric and wadding in half, creating a precise crease that will guide your subsequent steps. This initial step is crucial in ensuring a smooth and even finish. Once you’ve achieved this, use sewing pins to secure all the edges, taking care not to pull or distort the fabric. With everything firmly in place, it’s time to head to the sewing machine, where you’ll be able to tackle the next phase of your project.
Step 4
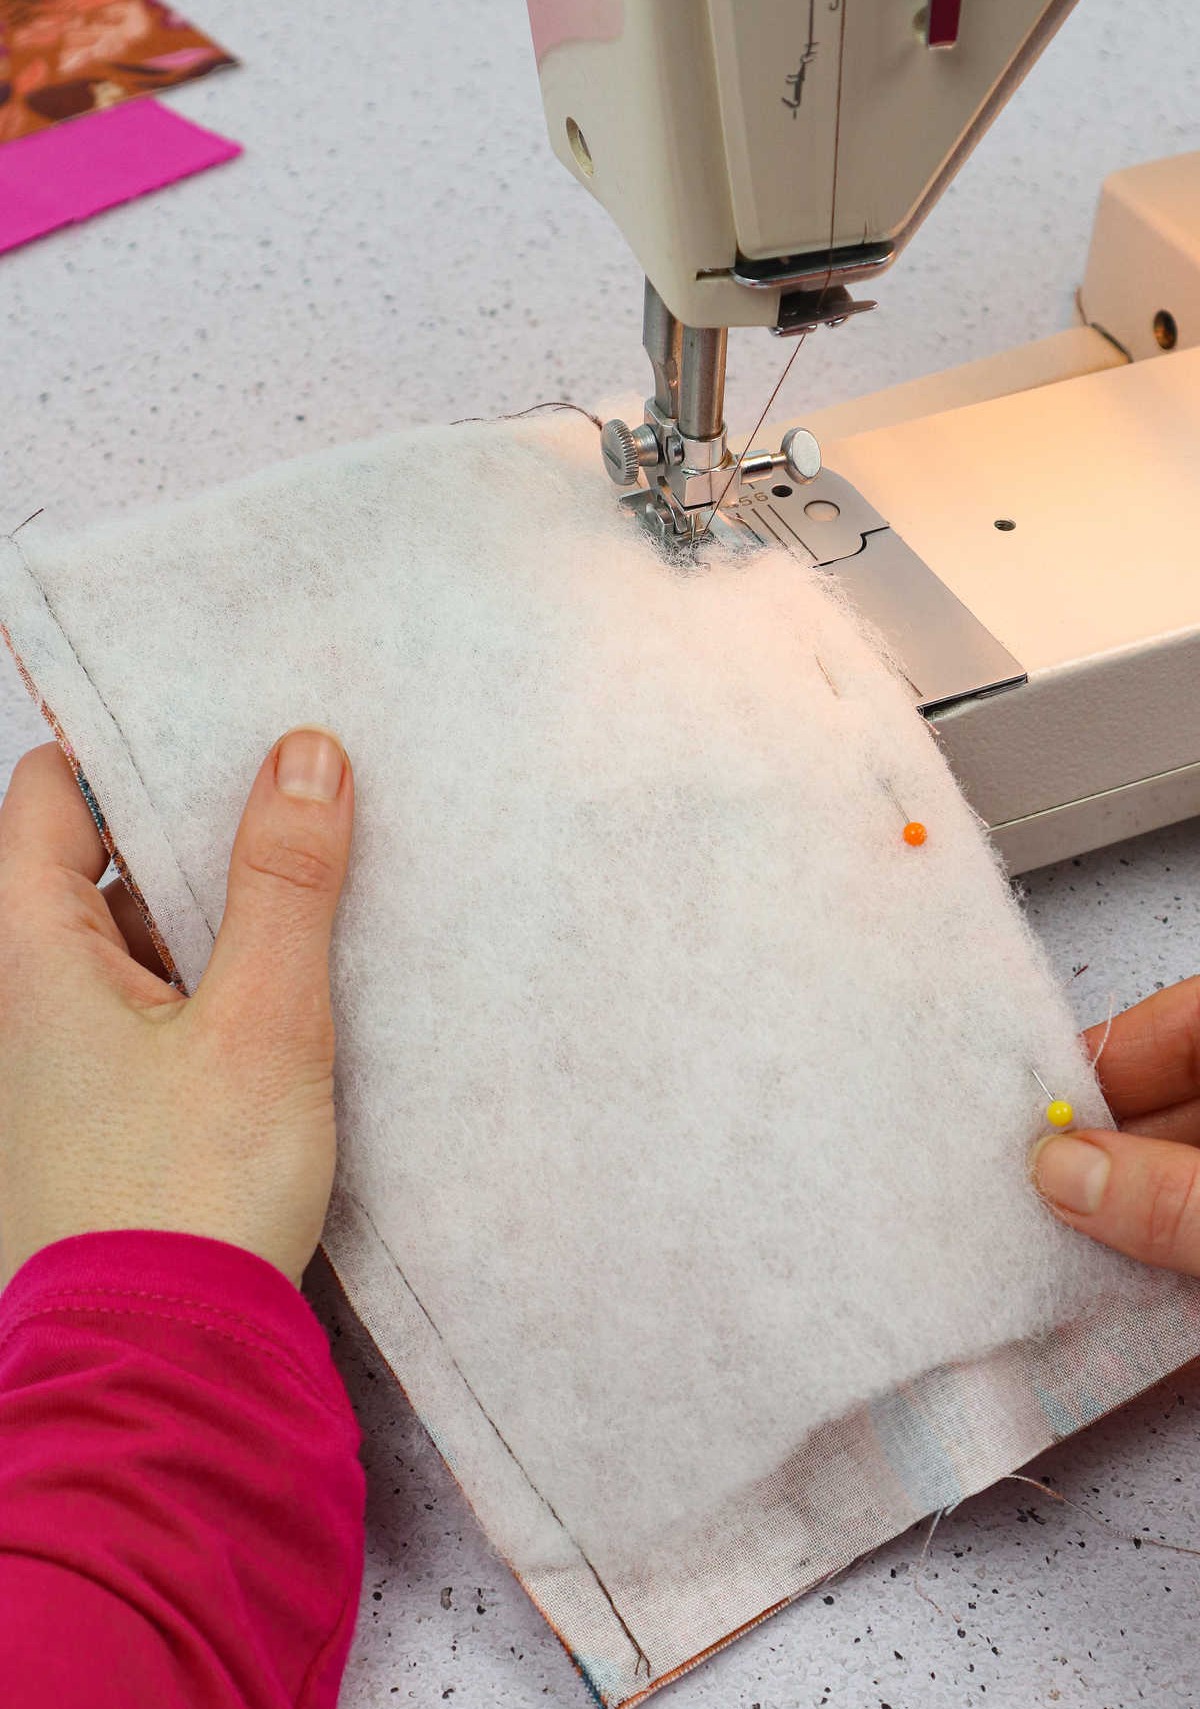
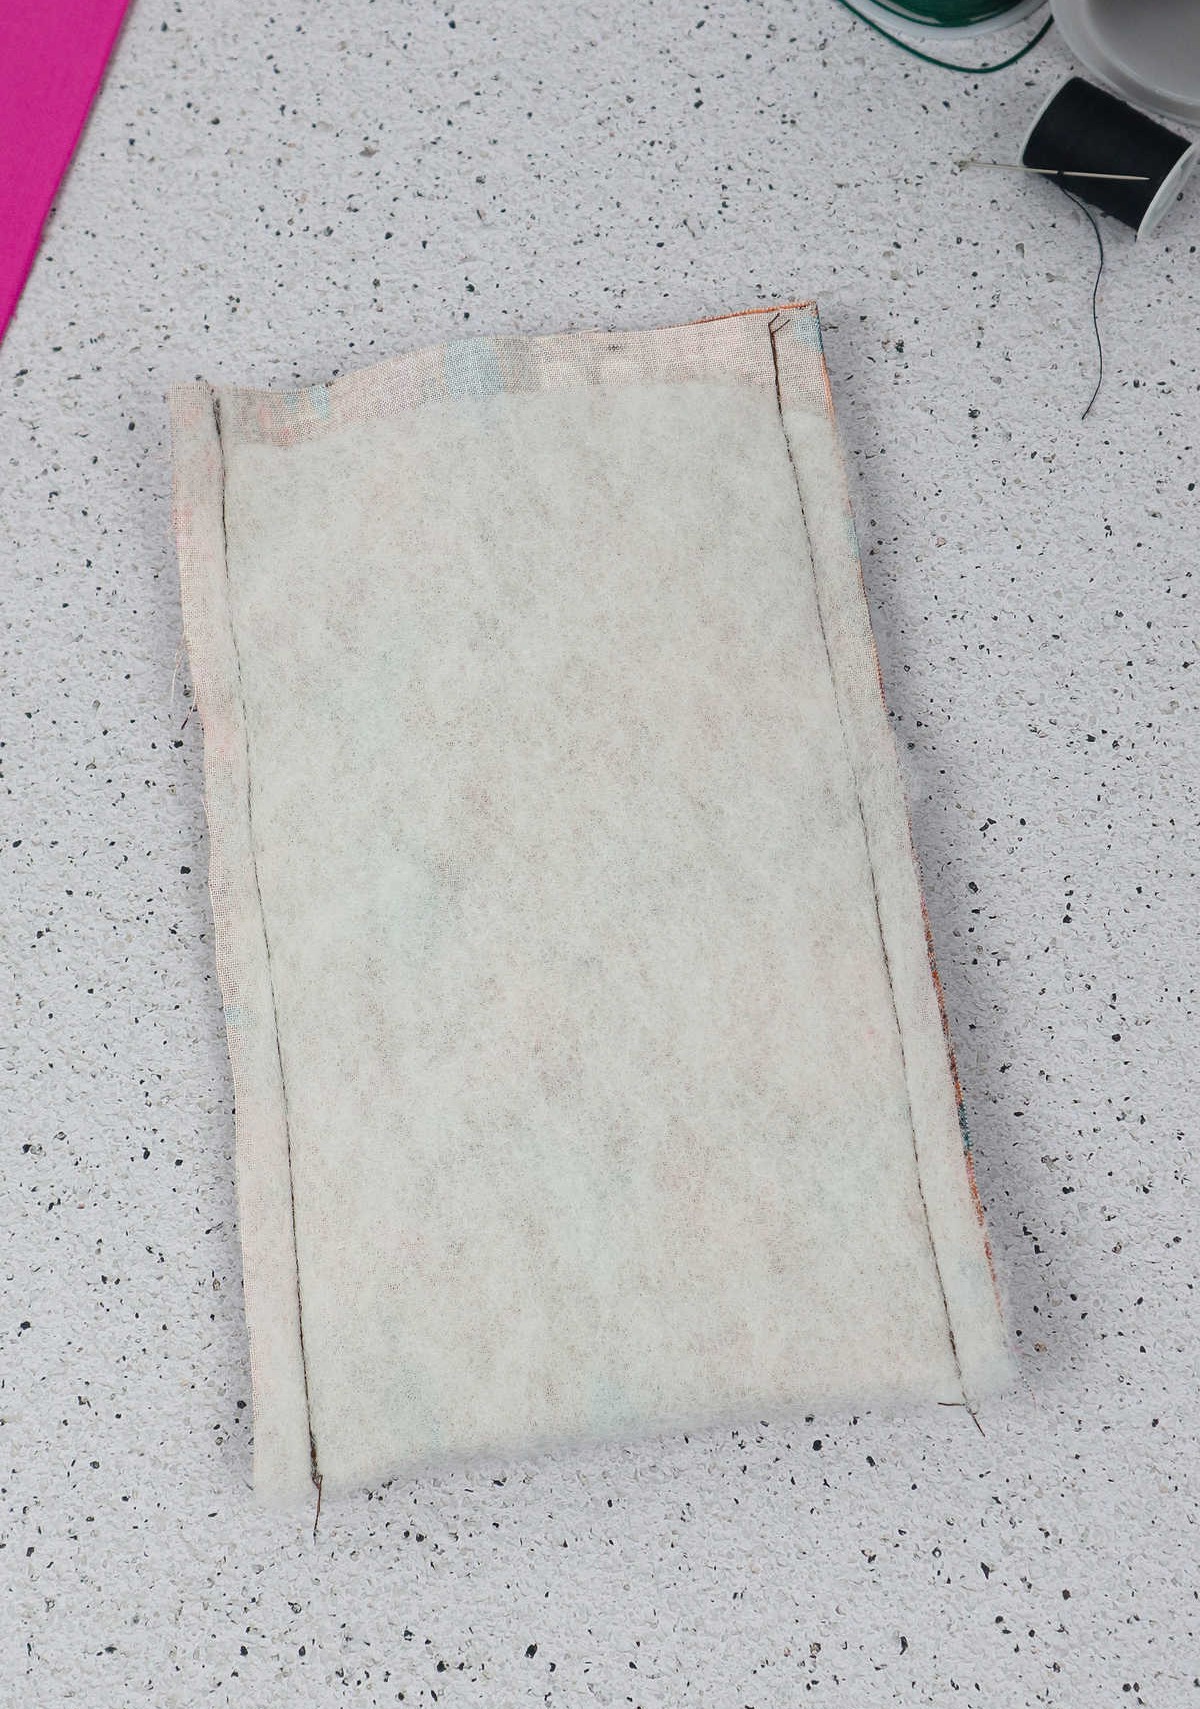
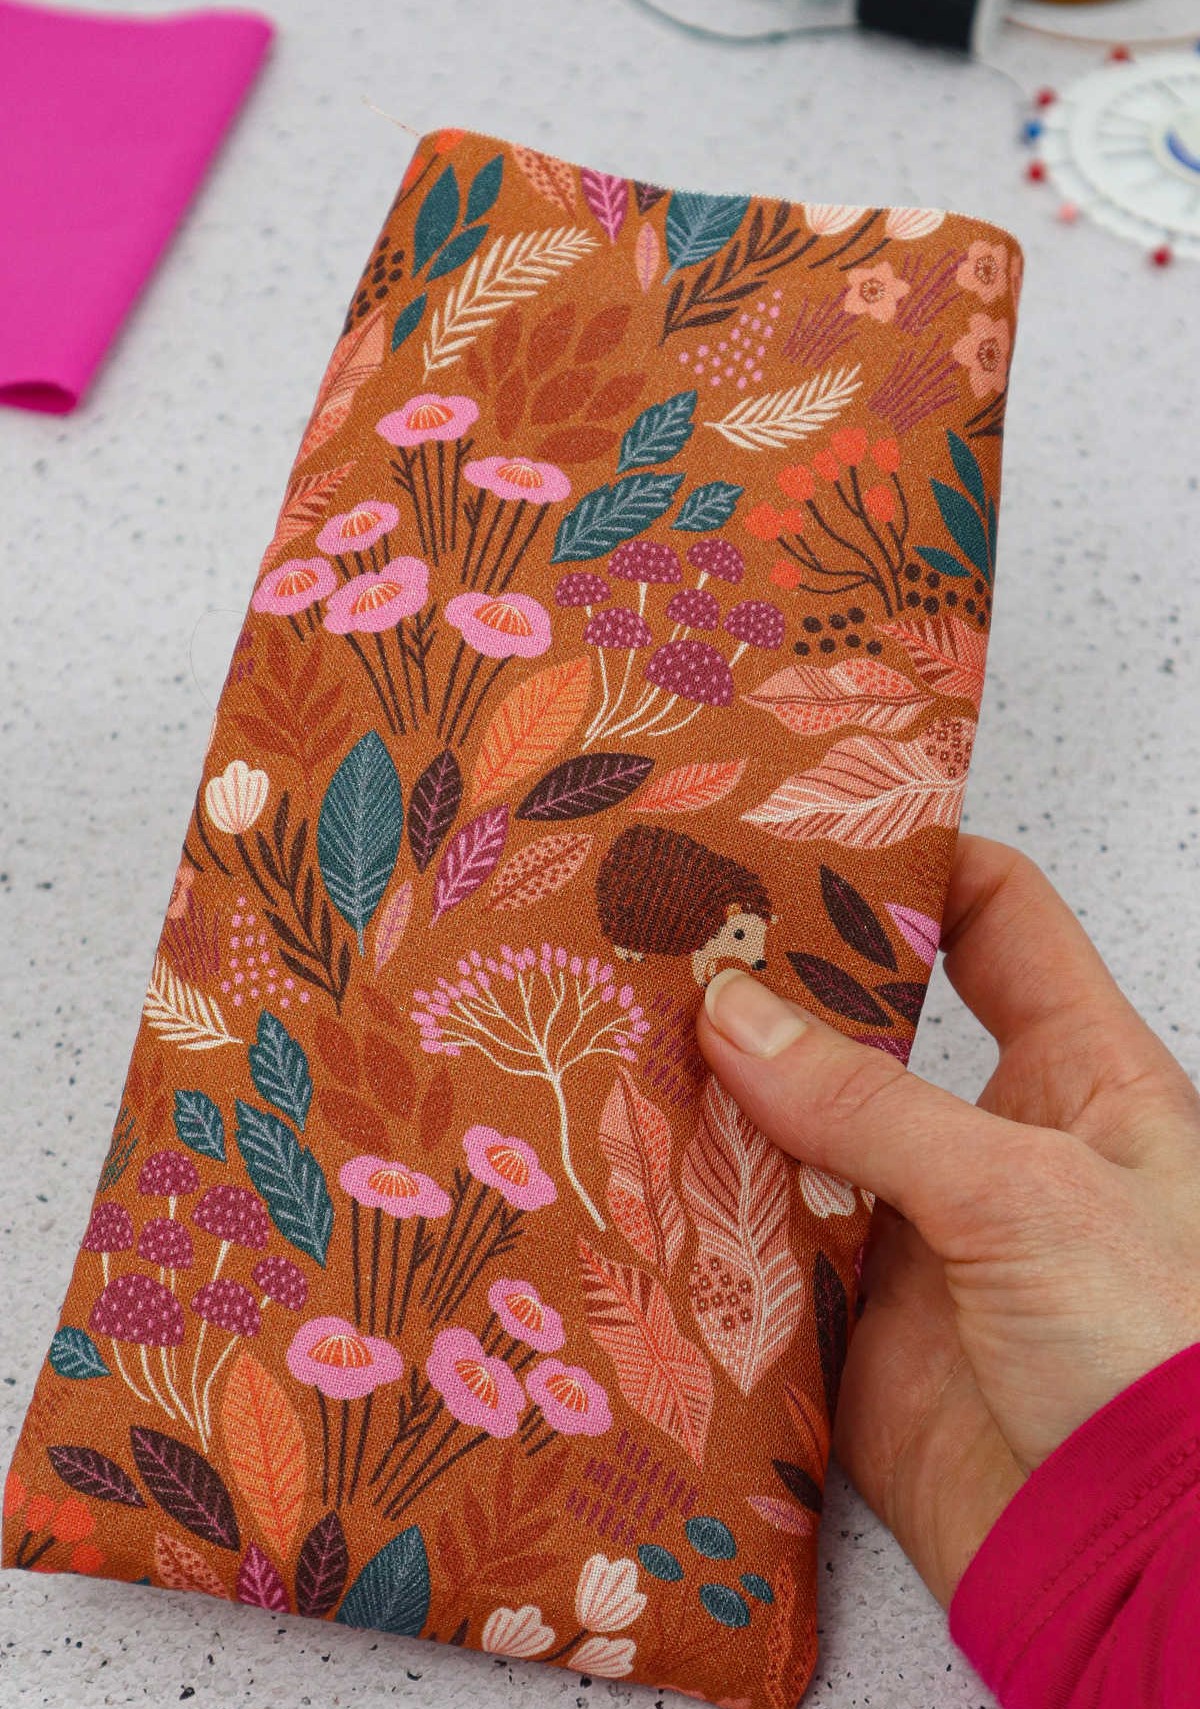
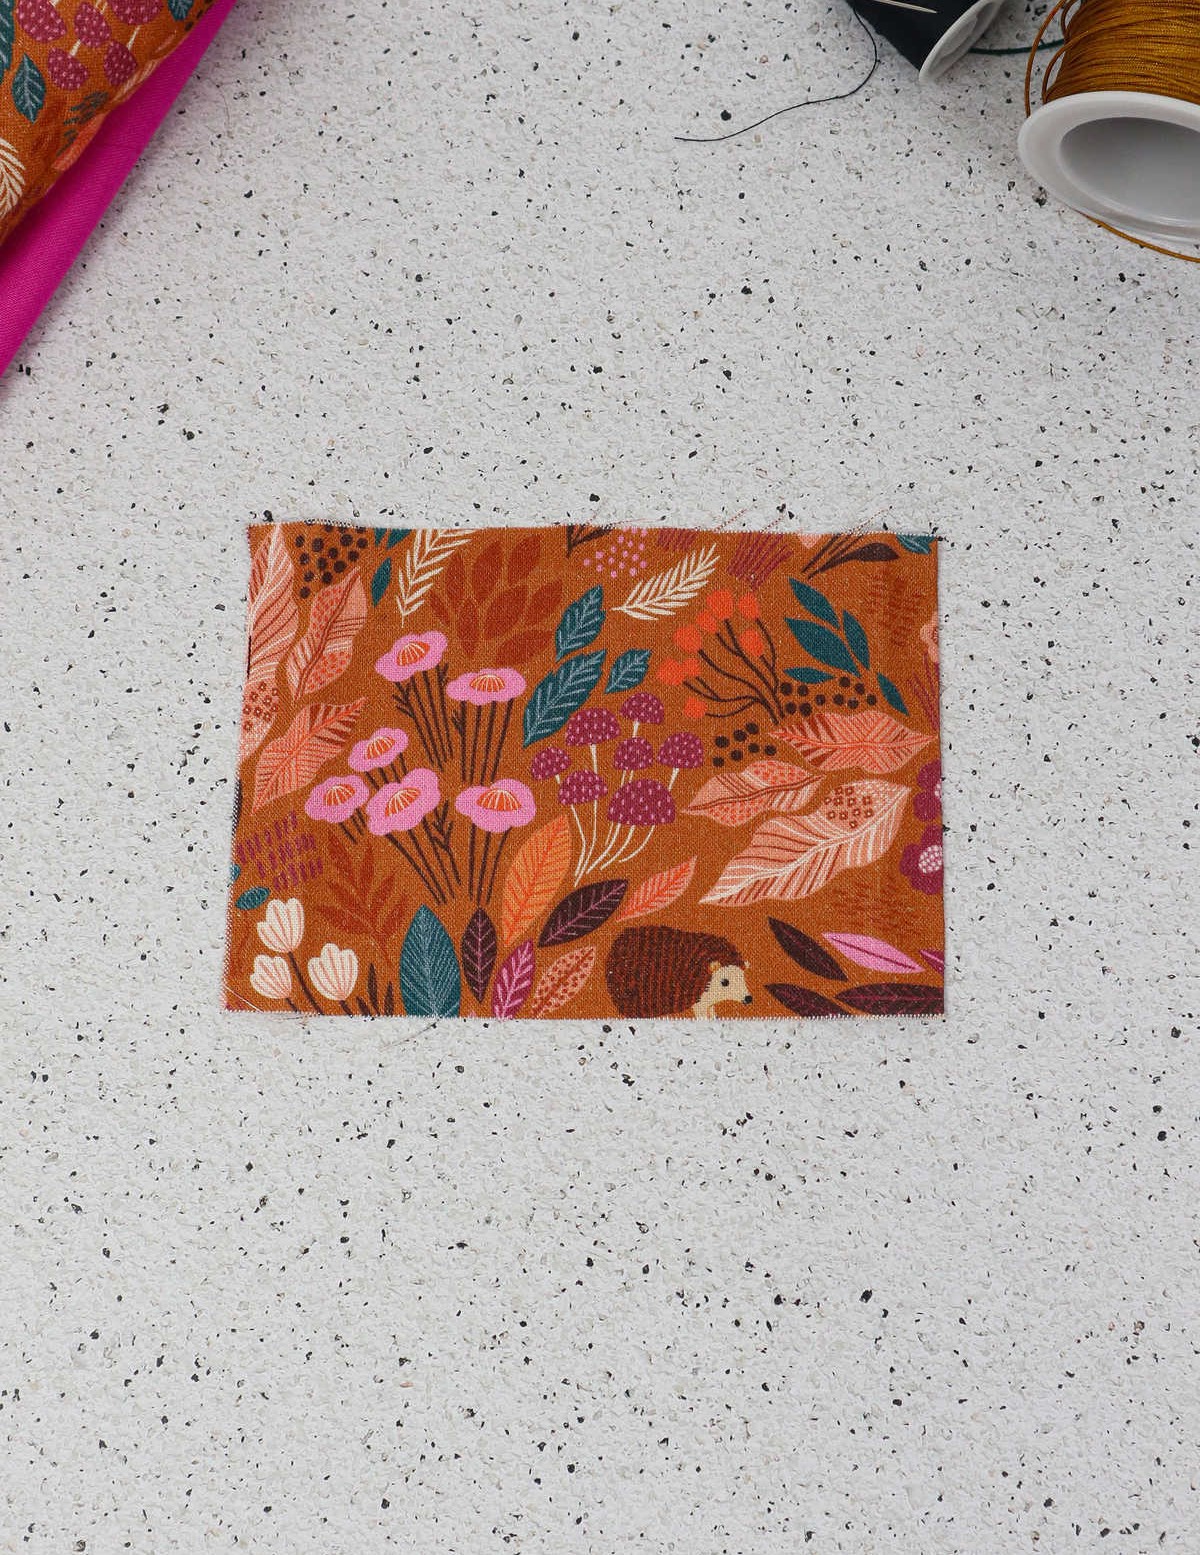
To complete the fabric stitching, you’ll want to secure both edges with an even and consistent stitch. As you finish this step, keep in mind that the next part of the process requires flipping the swatch over, so that the printed side is facing outwards. Set the flipped swatch aside for a moment while you focus on crafting the pocket.
Step 5
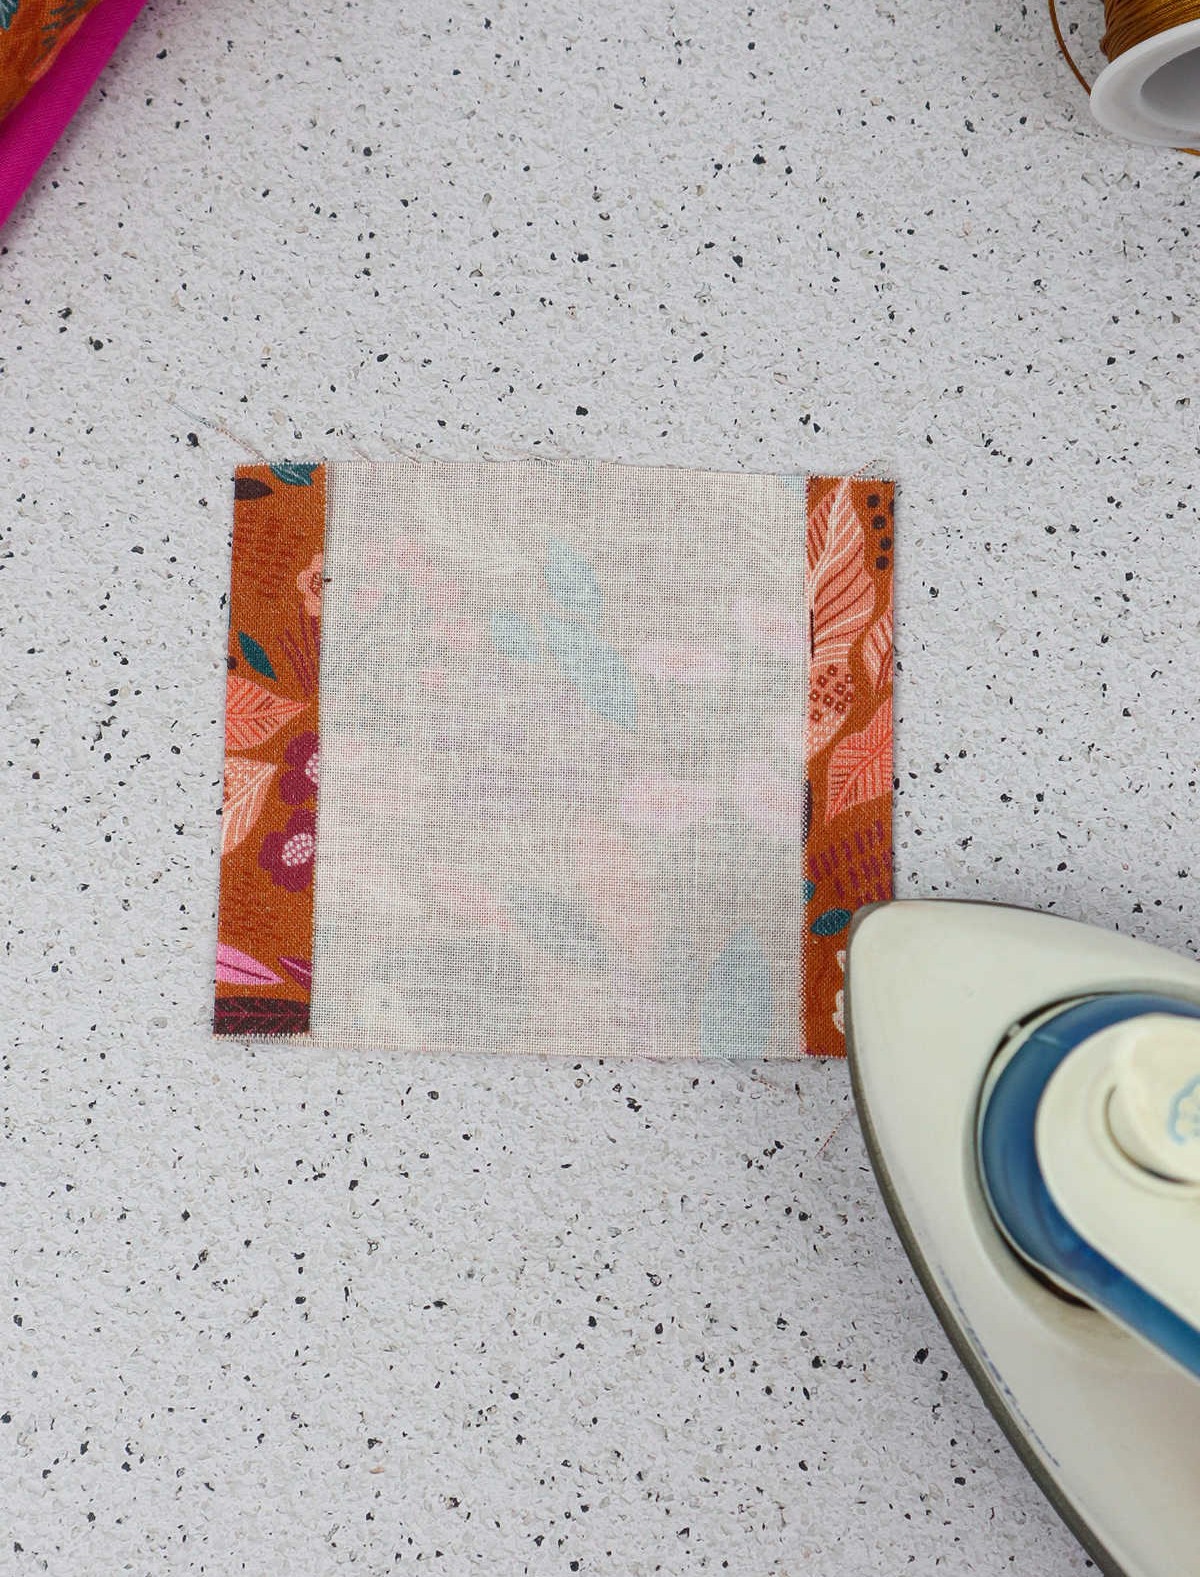
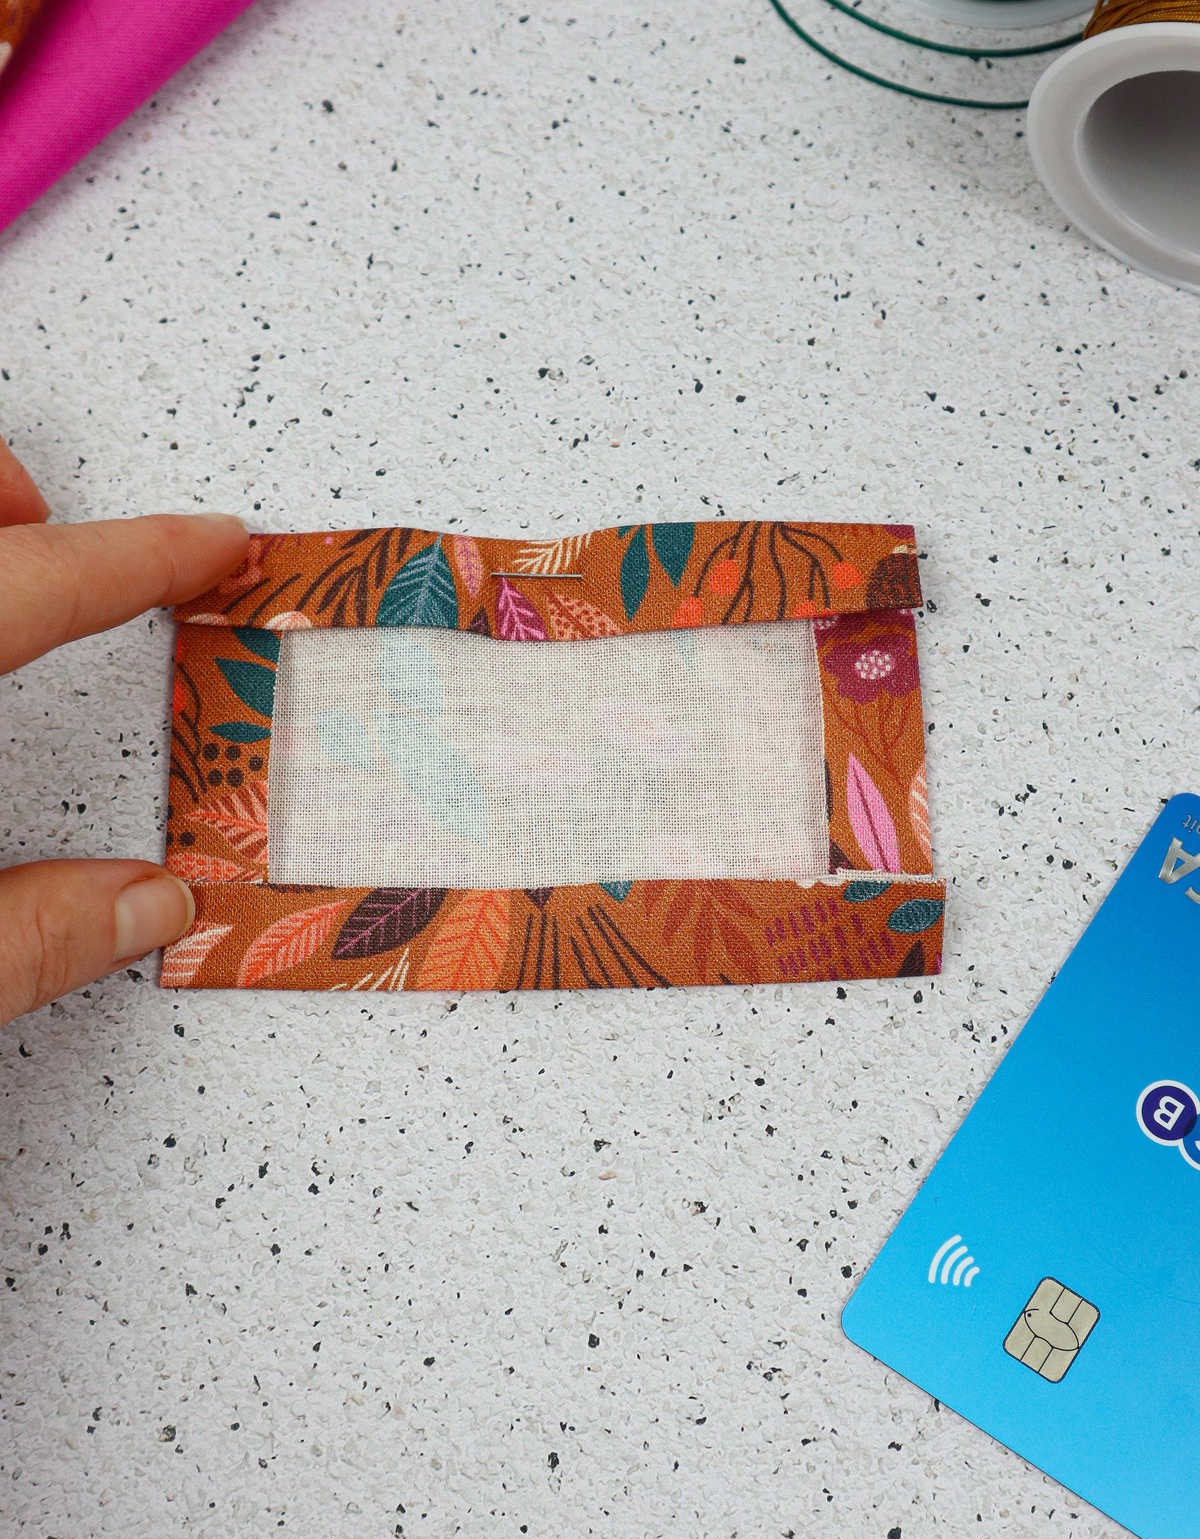
To begin shaping the pocket fabric, place the cut piece on your work surface. Then, fold in the left and right sides of the swatch until they meet at approximately half an inch from the edges. You can use a hot iron to set these folds in place, ensuring a crisp crease.
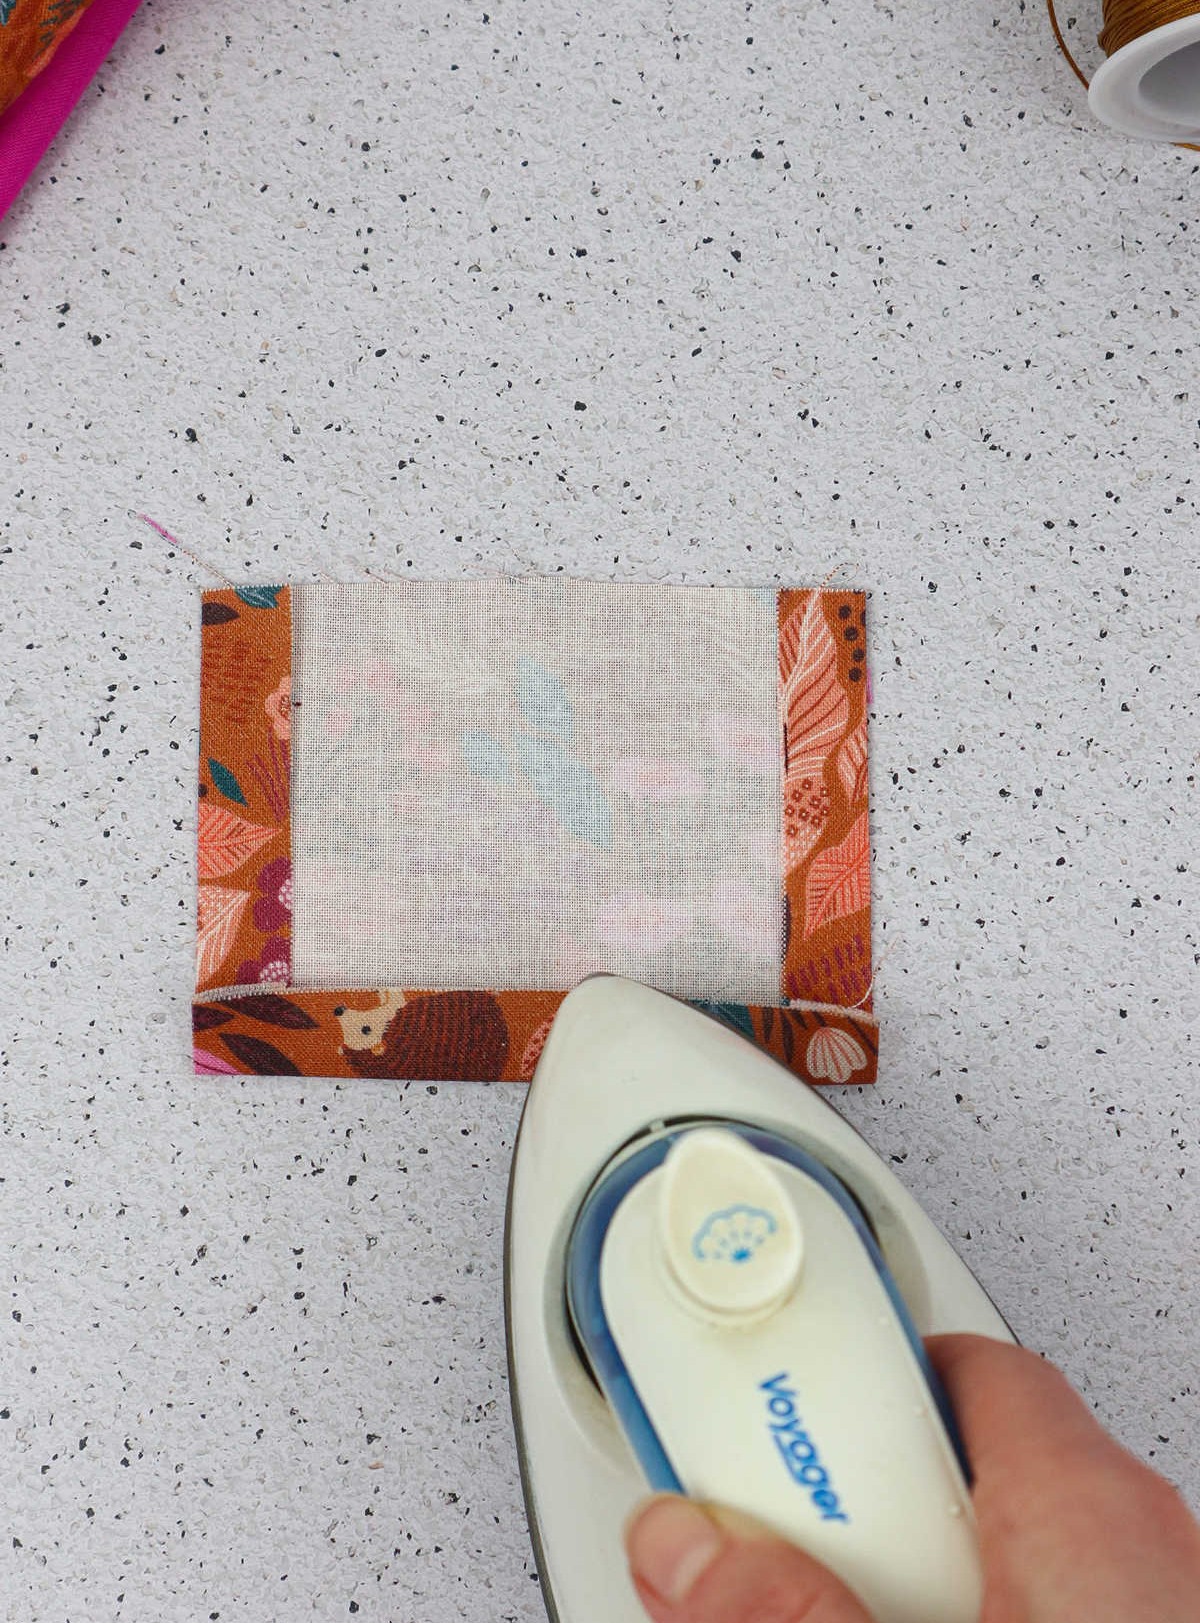
Next, move on to the bottom edge and fold it up towards the top. Iron this fold as well to maintain its shape.
Finally, bring the top edge down to create a clear boundary between the folded edges.
As you do so, insert a sewing pin at the point where the fold meets the fabric’s surface, serving as a visual indicator of the pocket’s top side.
Step 6
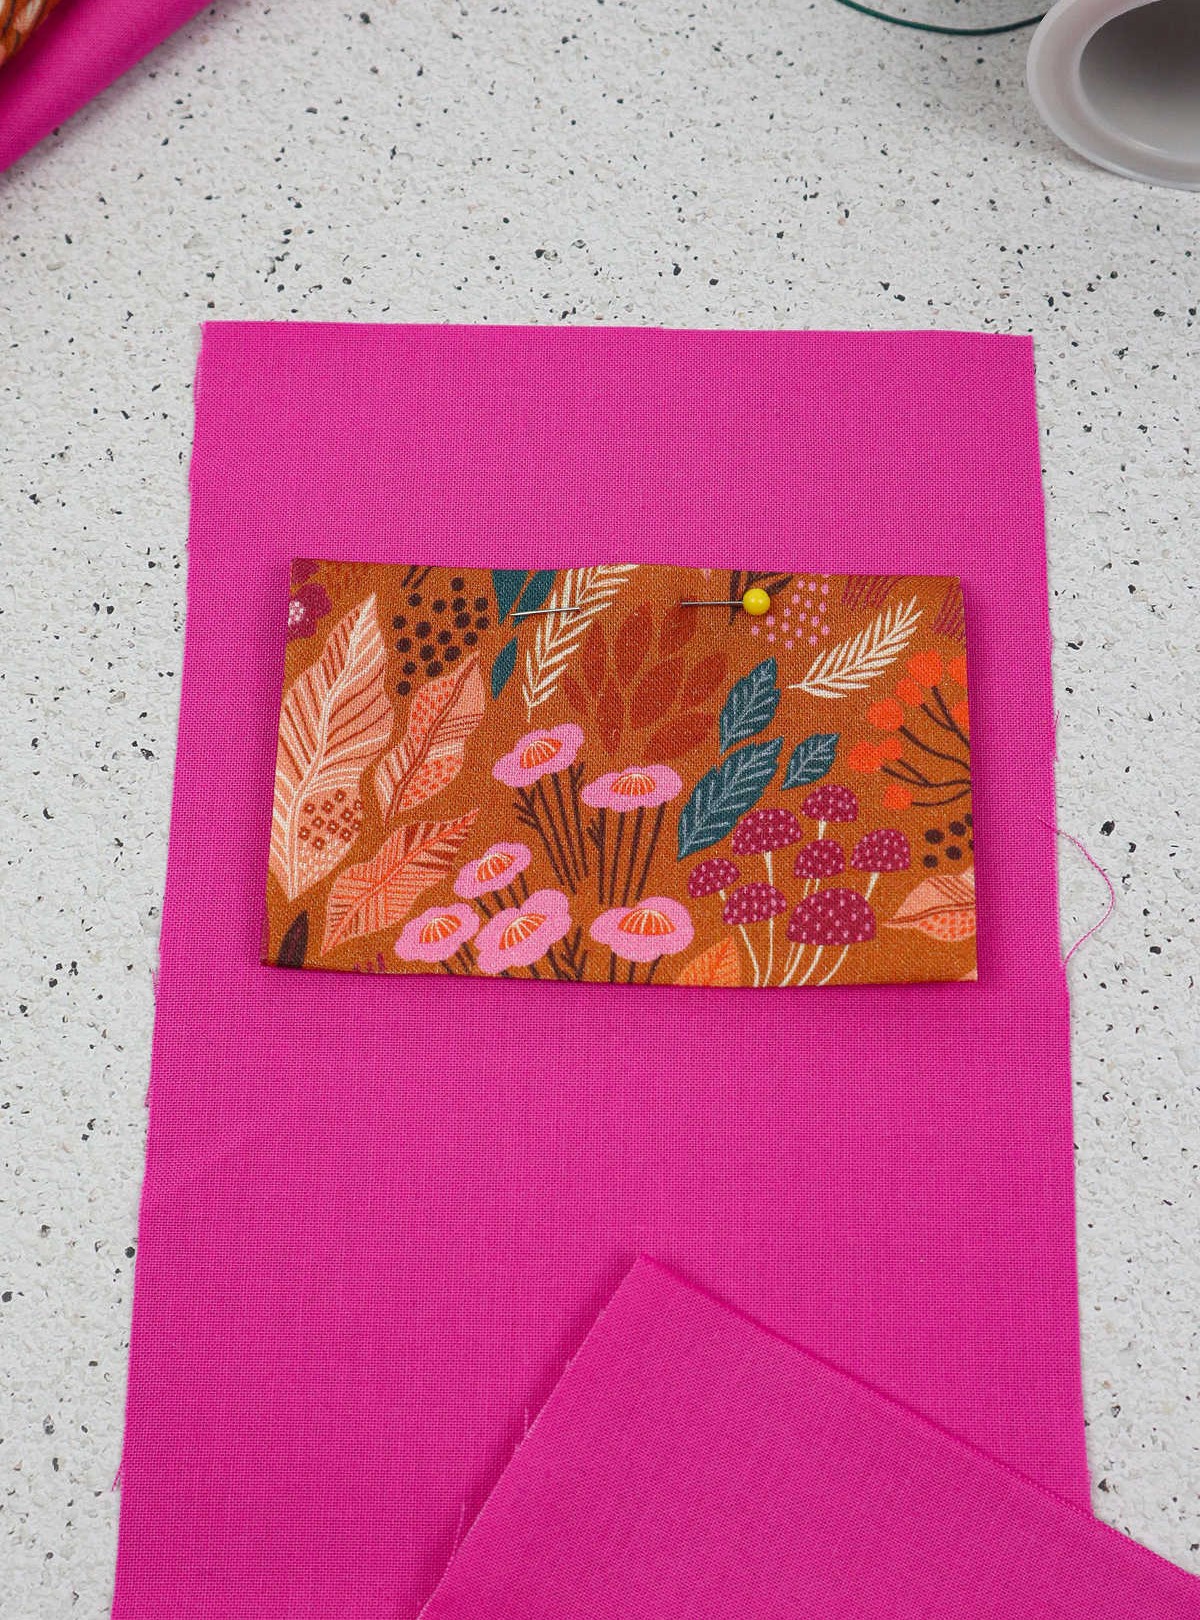
Position your lining fabric on your work surface and align the pocket swatch on top, with the printed side facing downwards. Ensure the pocket’s top edge is approximately 1.5 inches from the top of the fabric, and maintain equal distances between the pocket and the edges of the lining. If desired, secure the swatch in place using pins for added stability.
Step 7
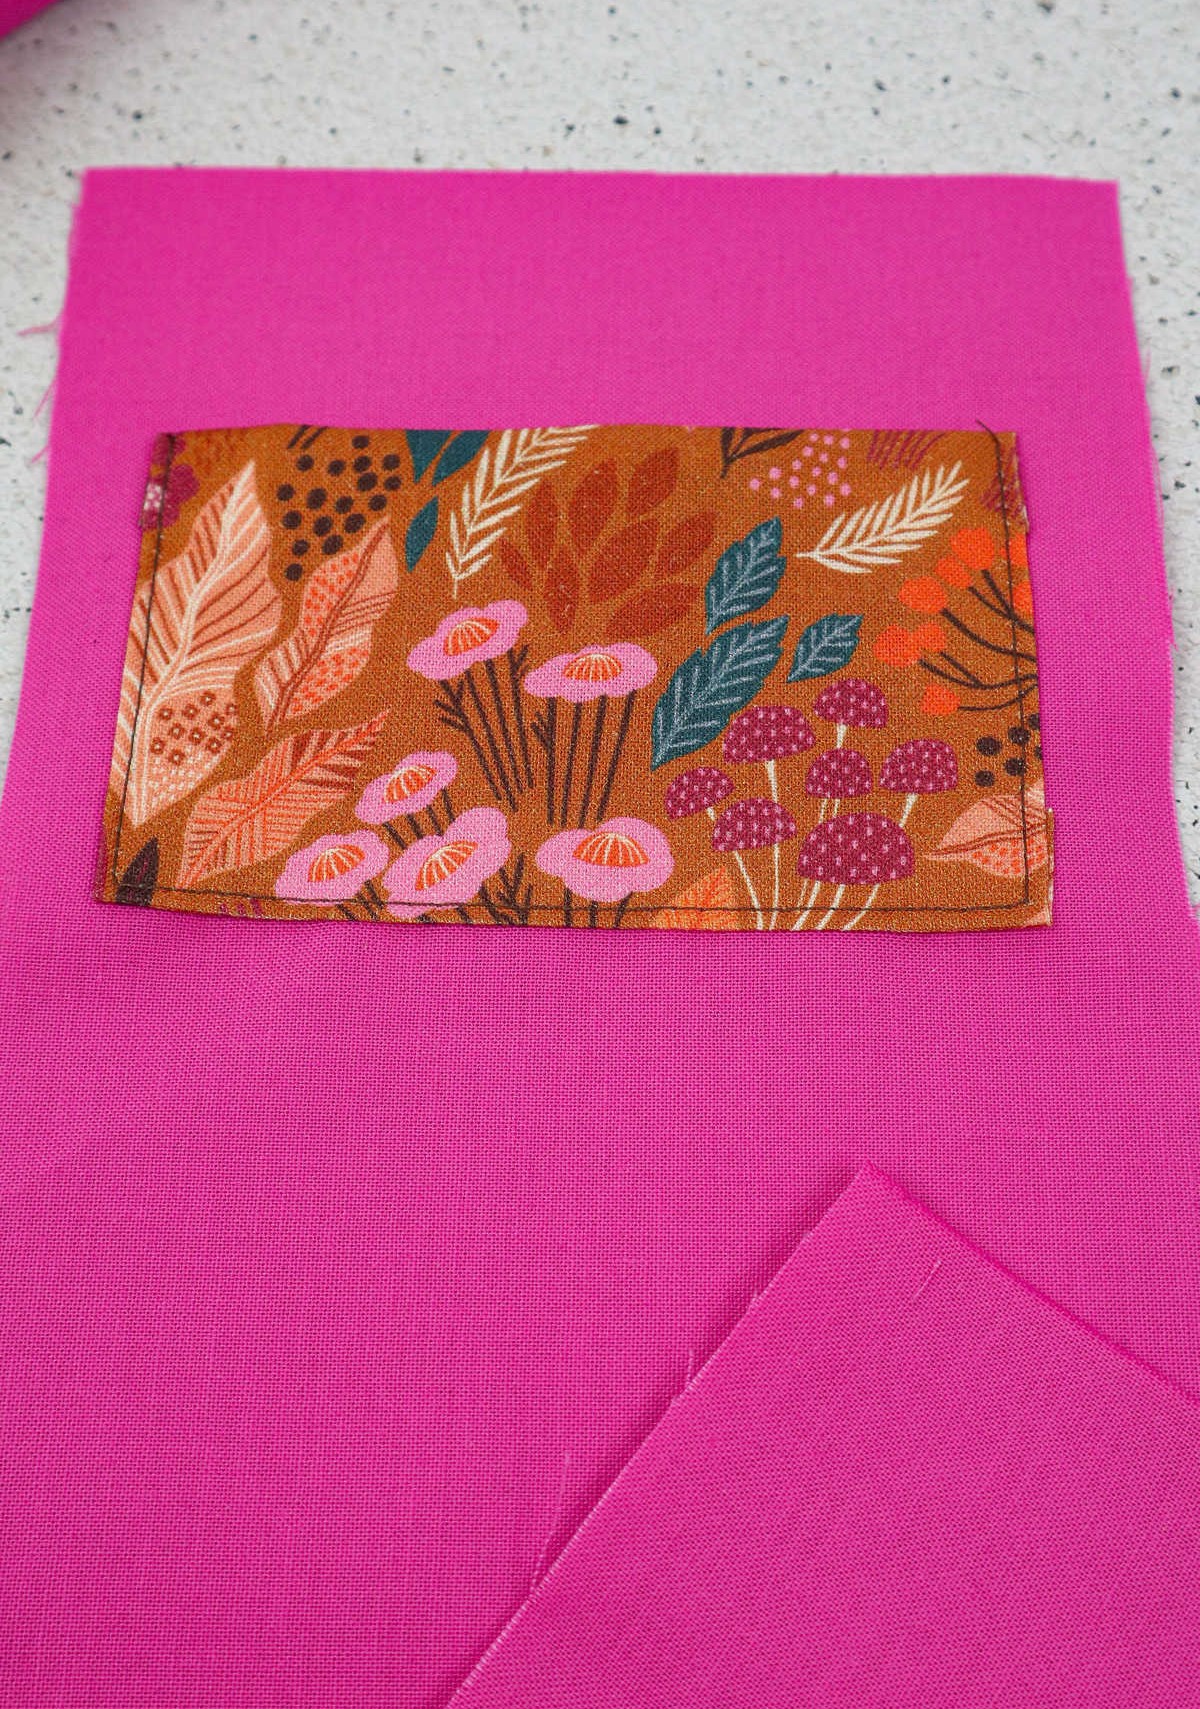
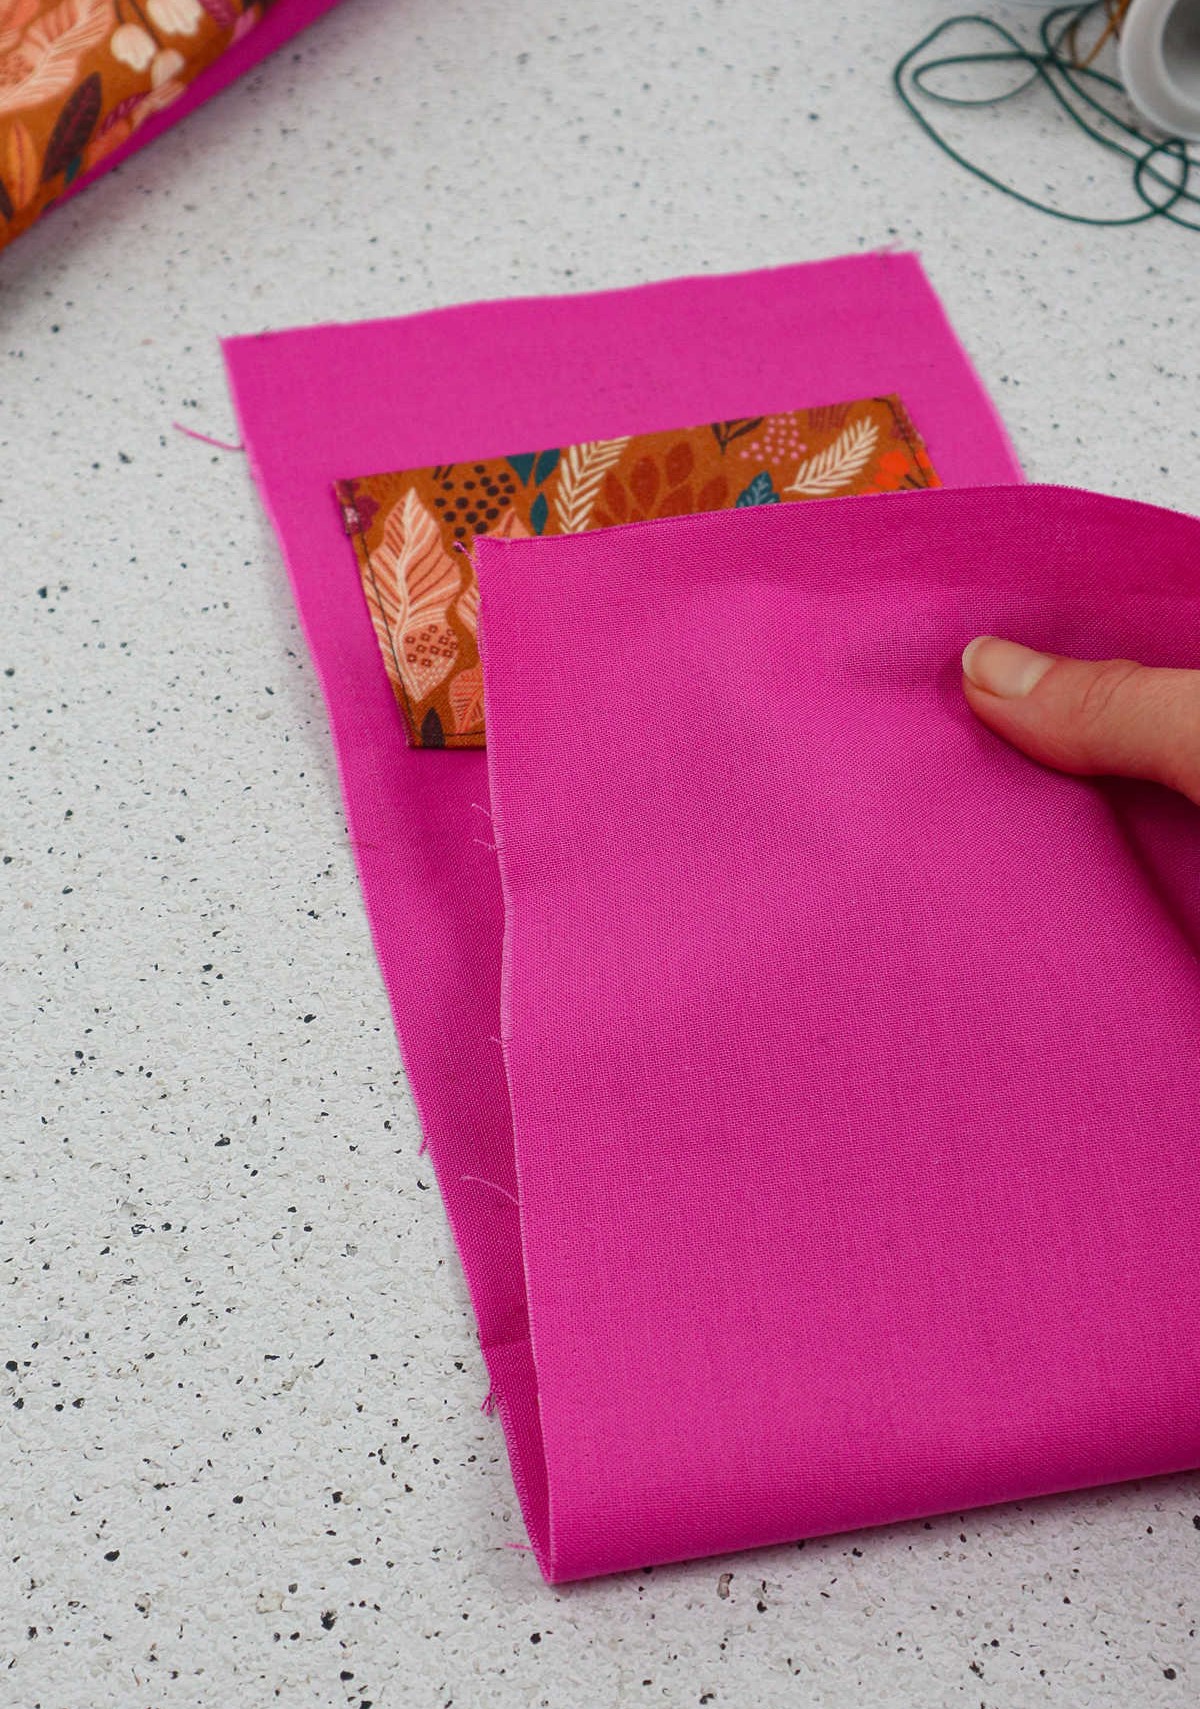
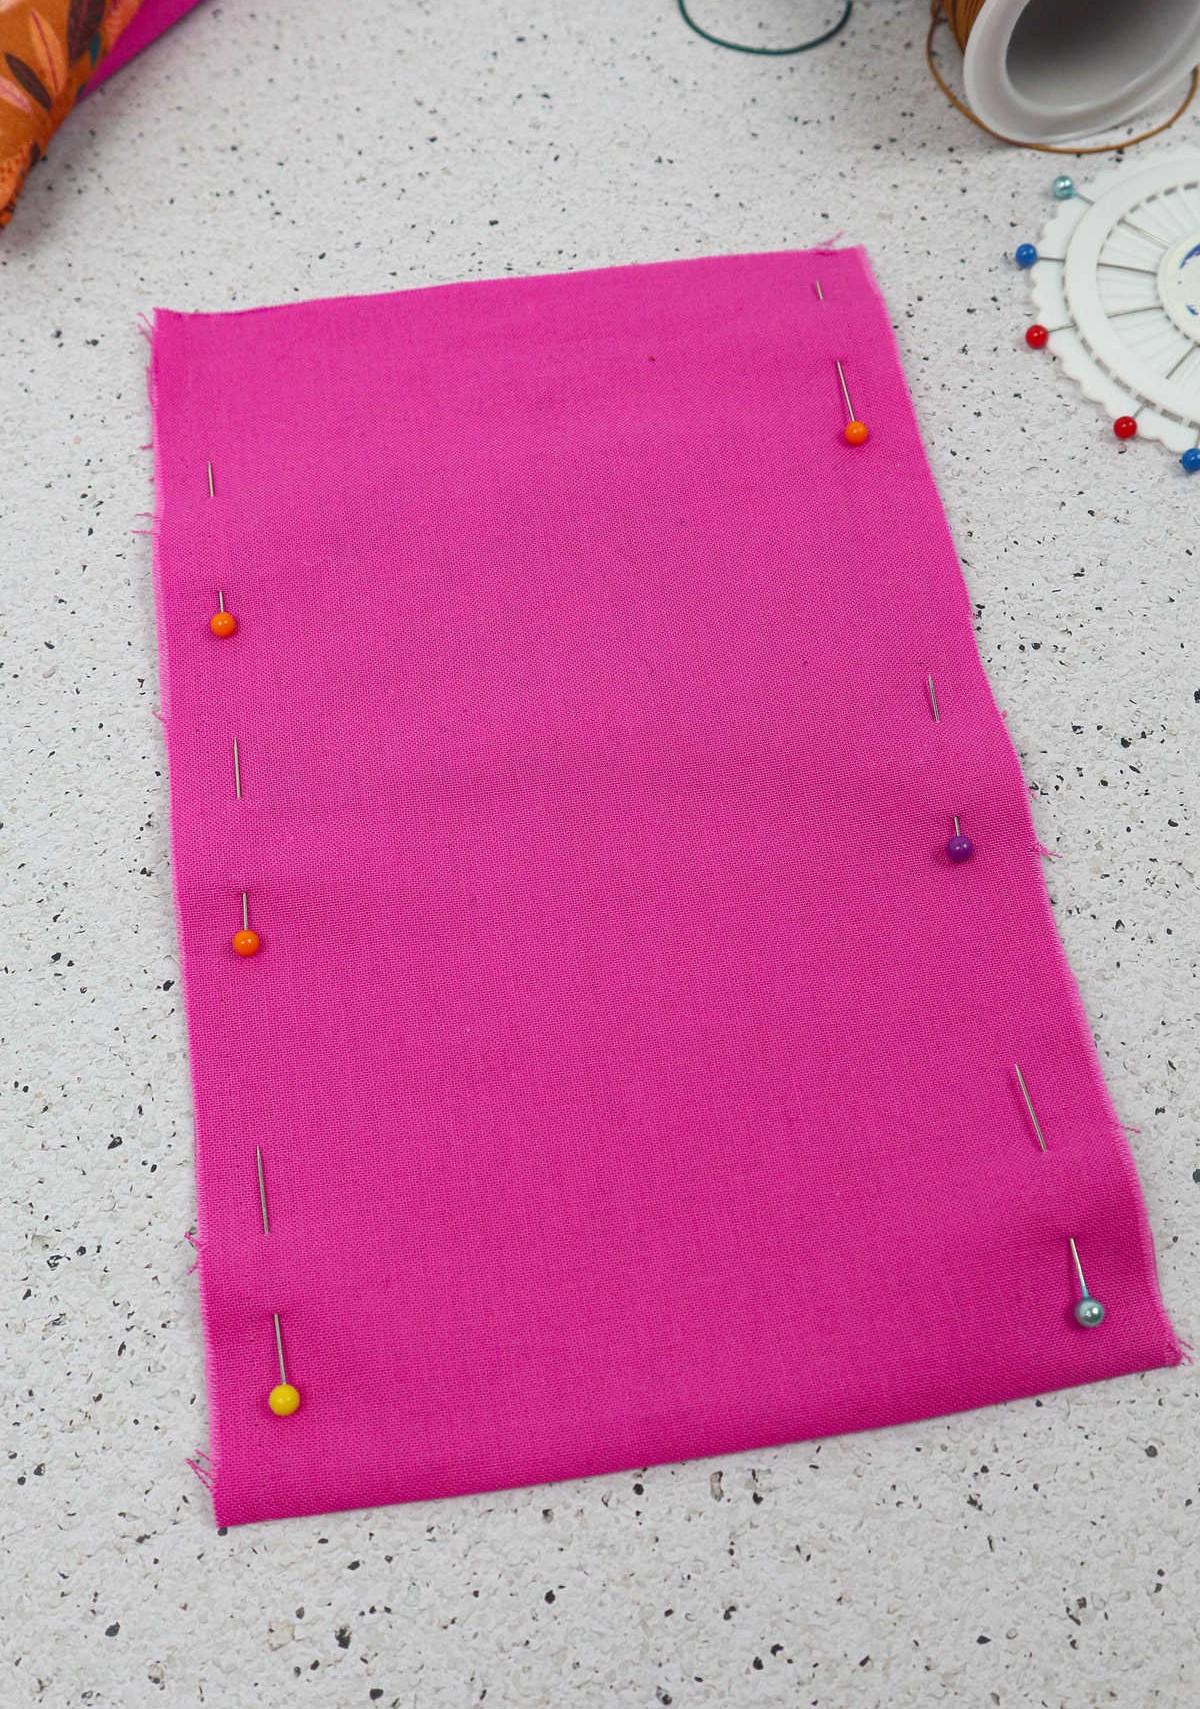
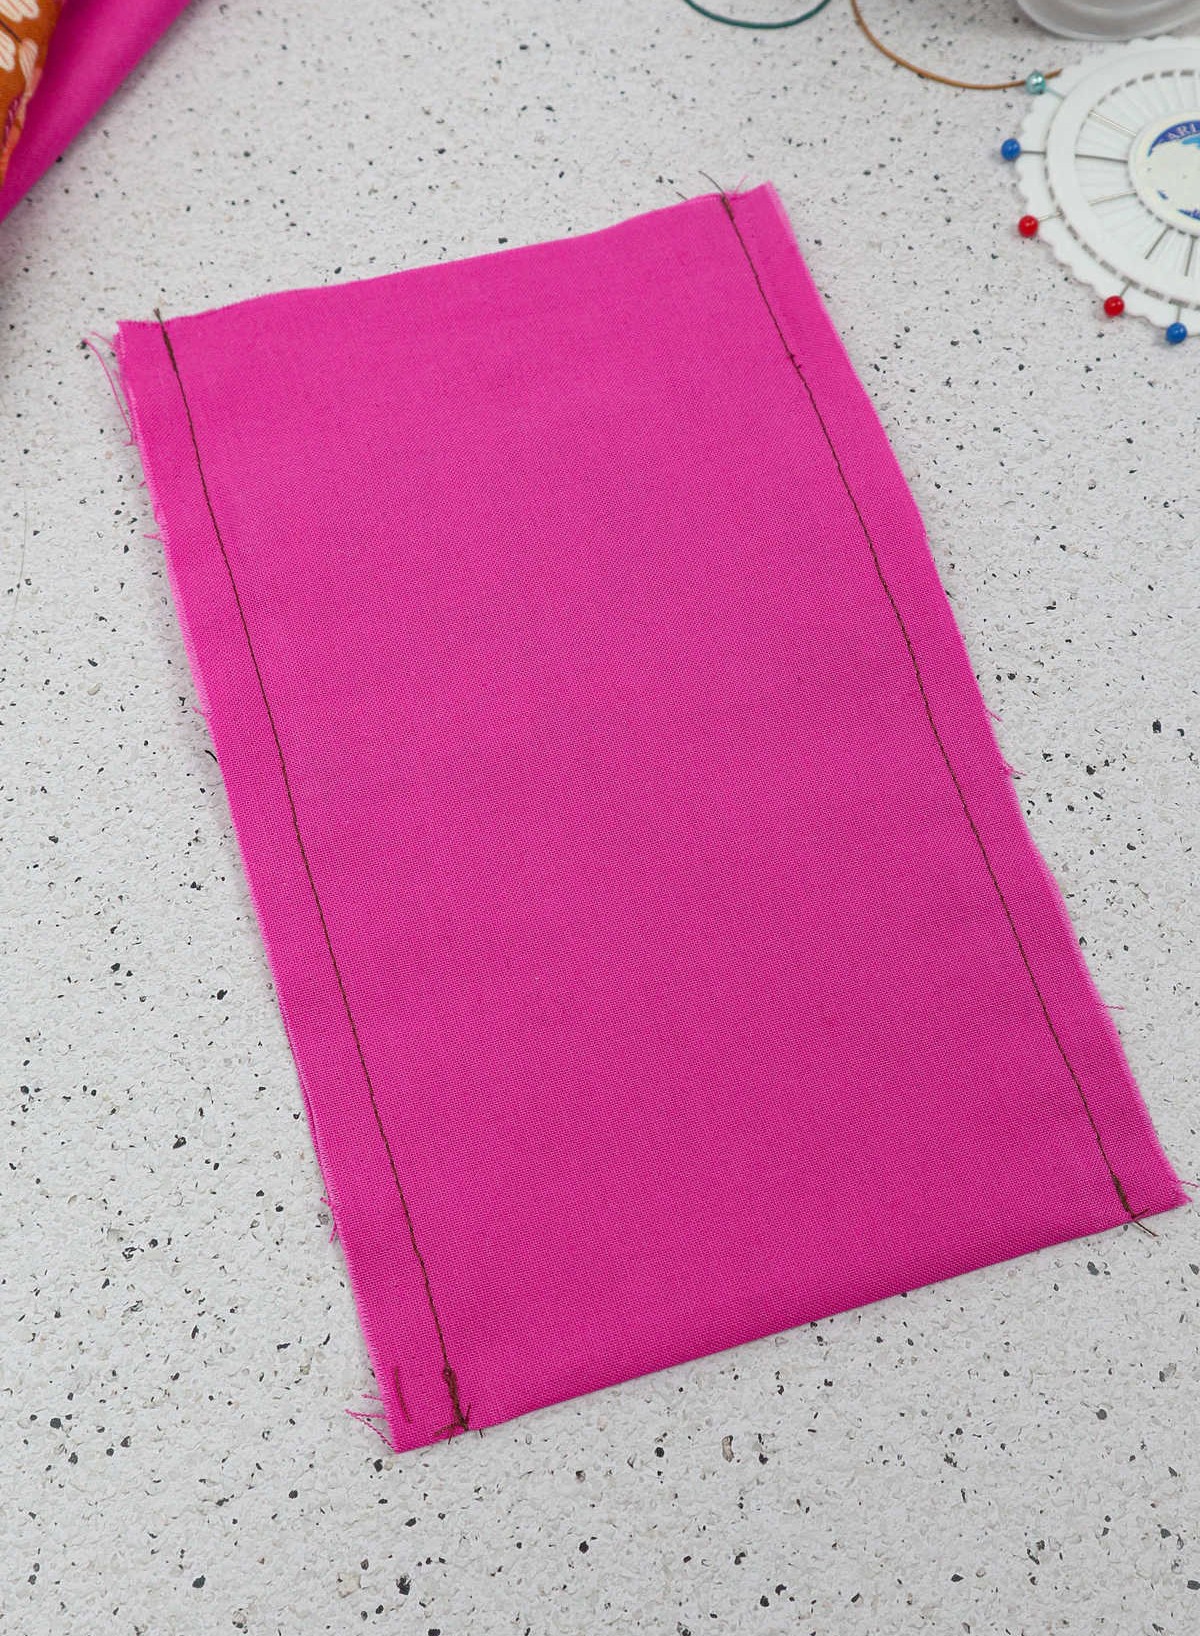
To complete the pocket attachment, first sew the three sides of the pocket onto the lining fabric, leaving the top open. Next, fold the entire lining in half and secure it with pins, ensuring they are placed a quarter inch away from the edges. This will create a neat and tidy foundation for your stitching. When you’re ready to close the opening, stitch up both sides, leaving a quarter inch allowance on either side.
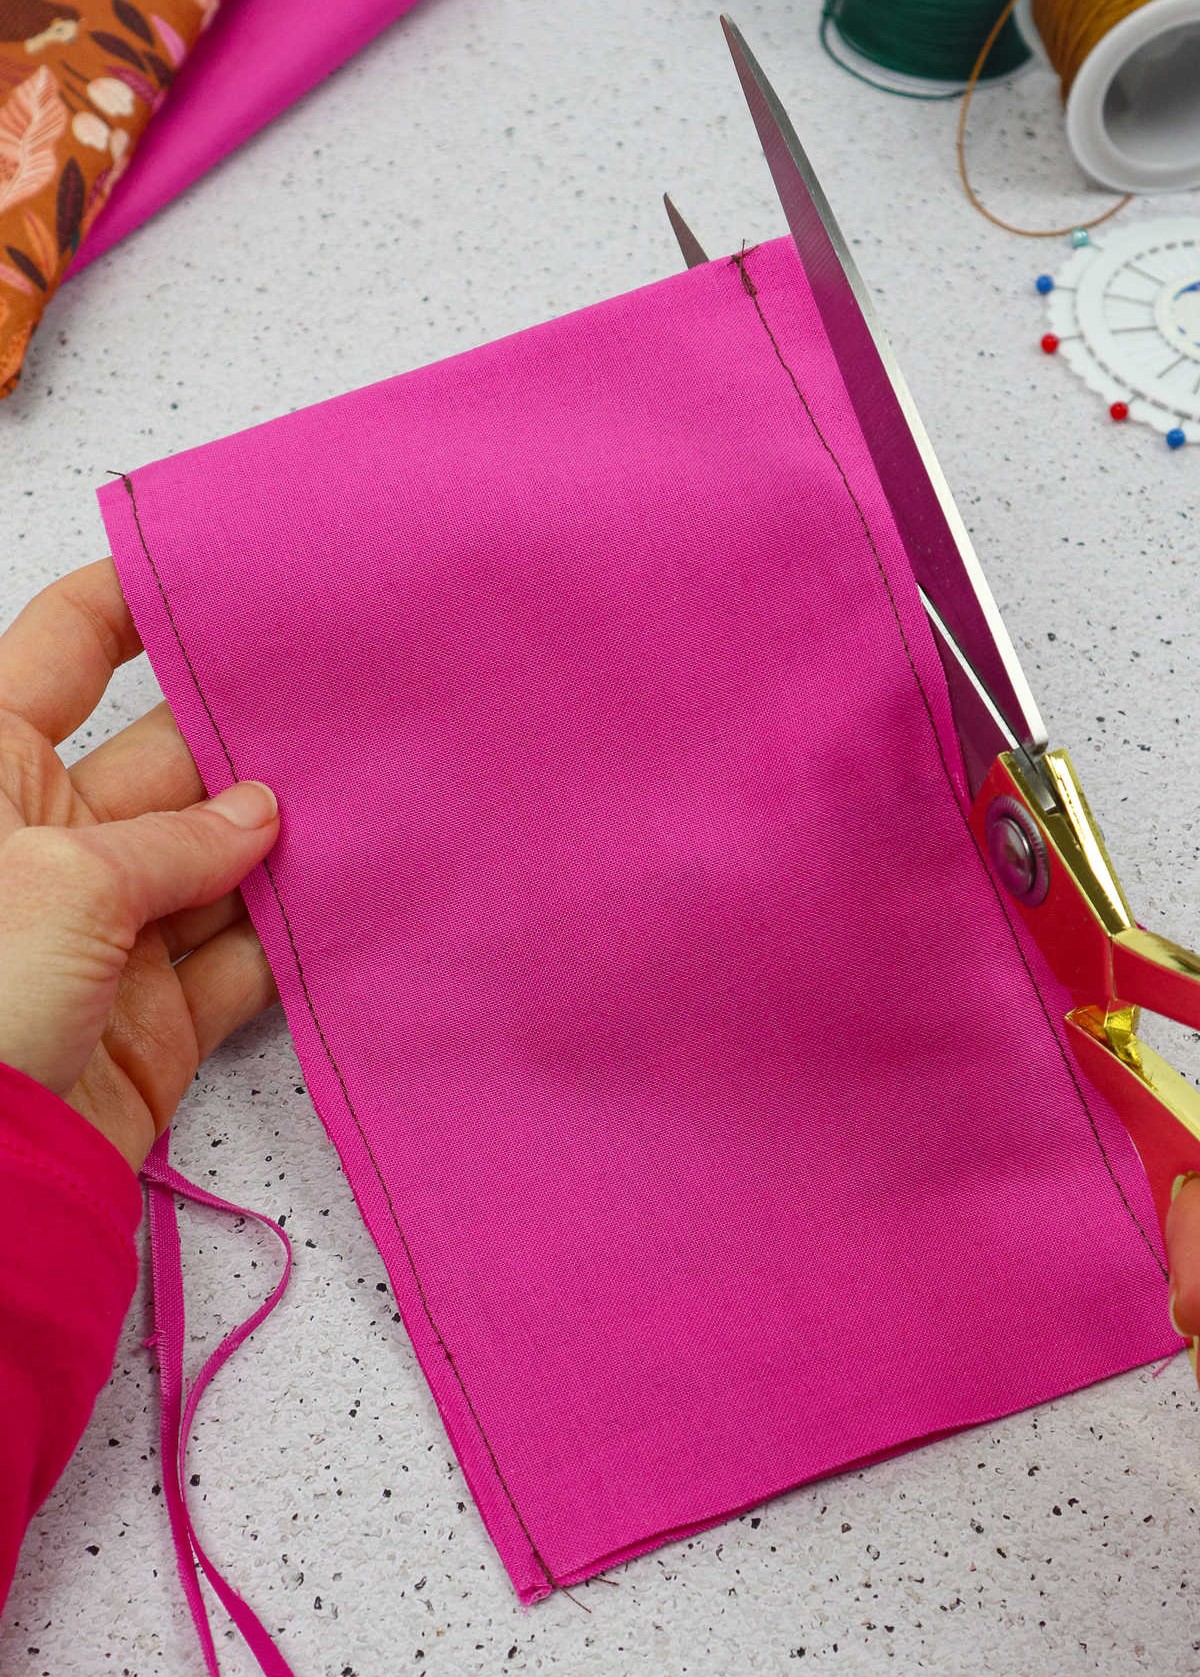
If necessary, feel free to trim any excess fabric to help fit the lining smoothly into the main fabric.
Step 8
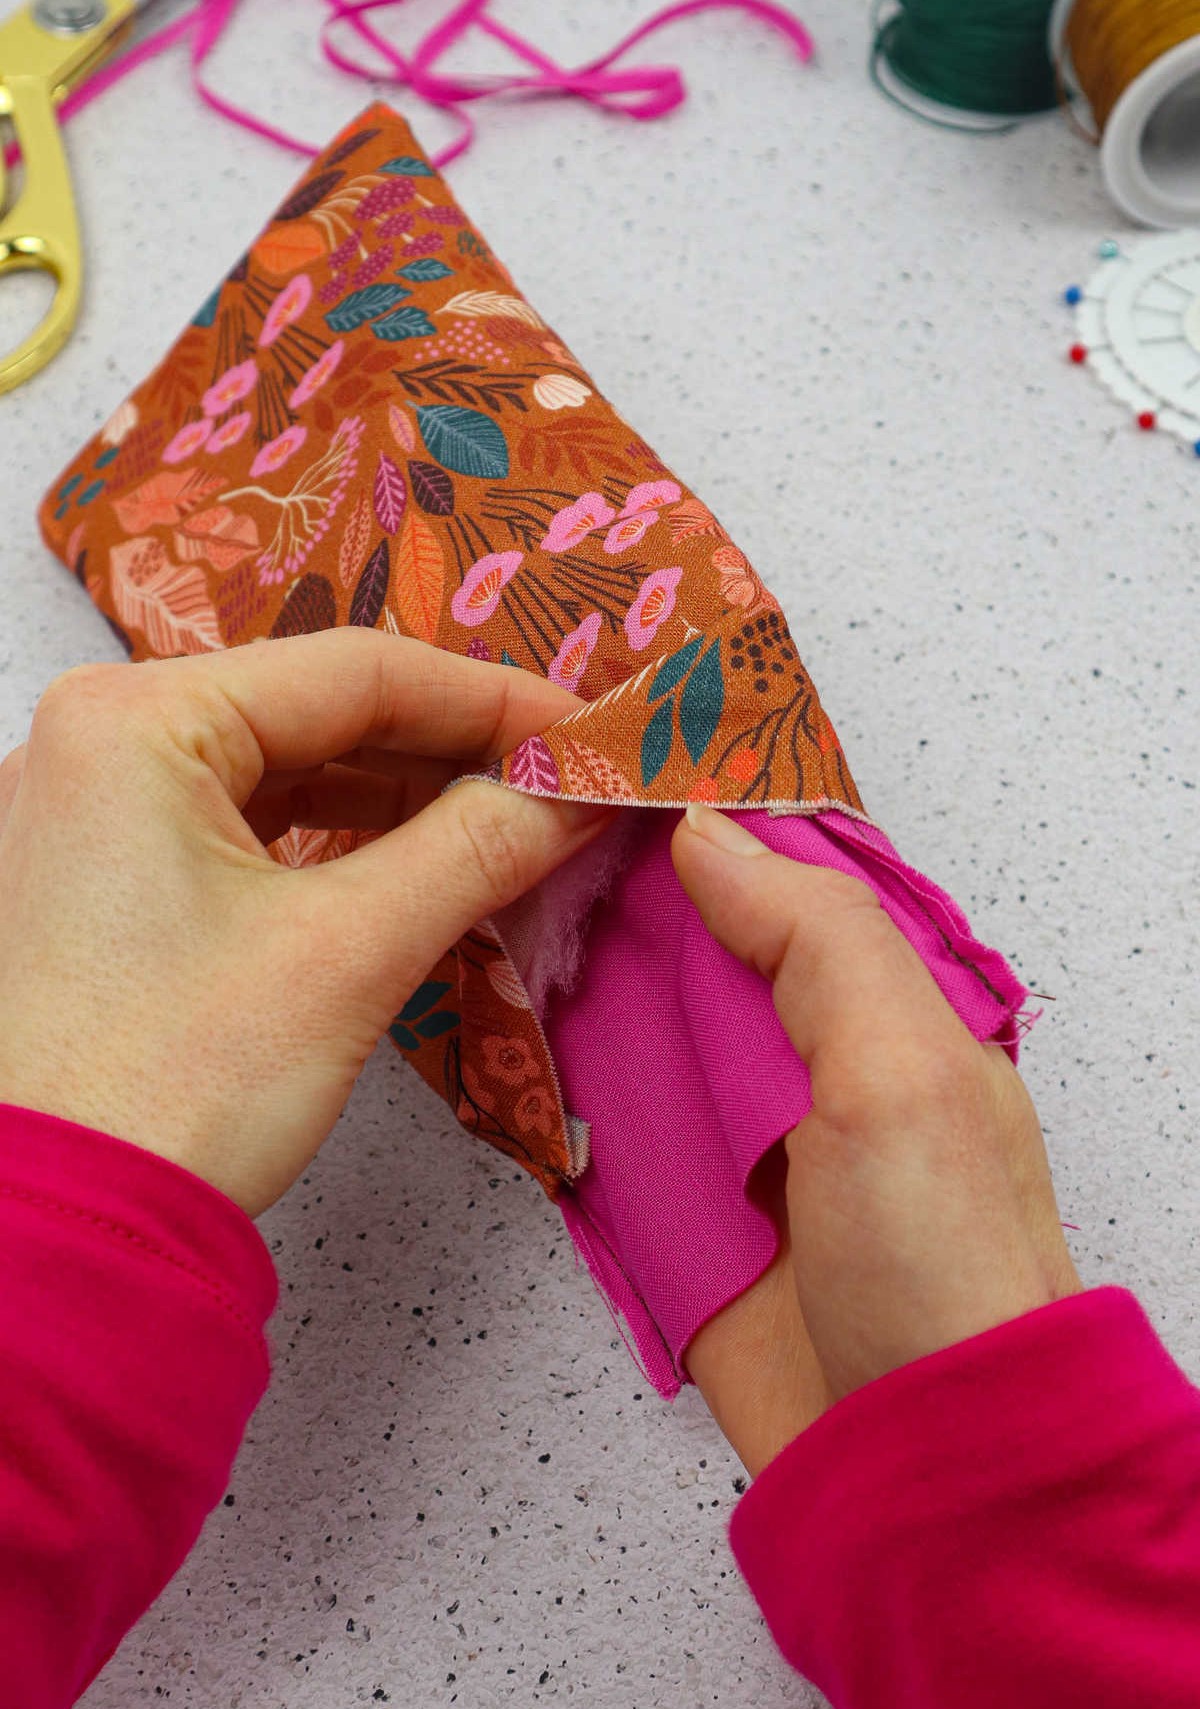
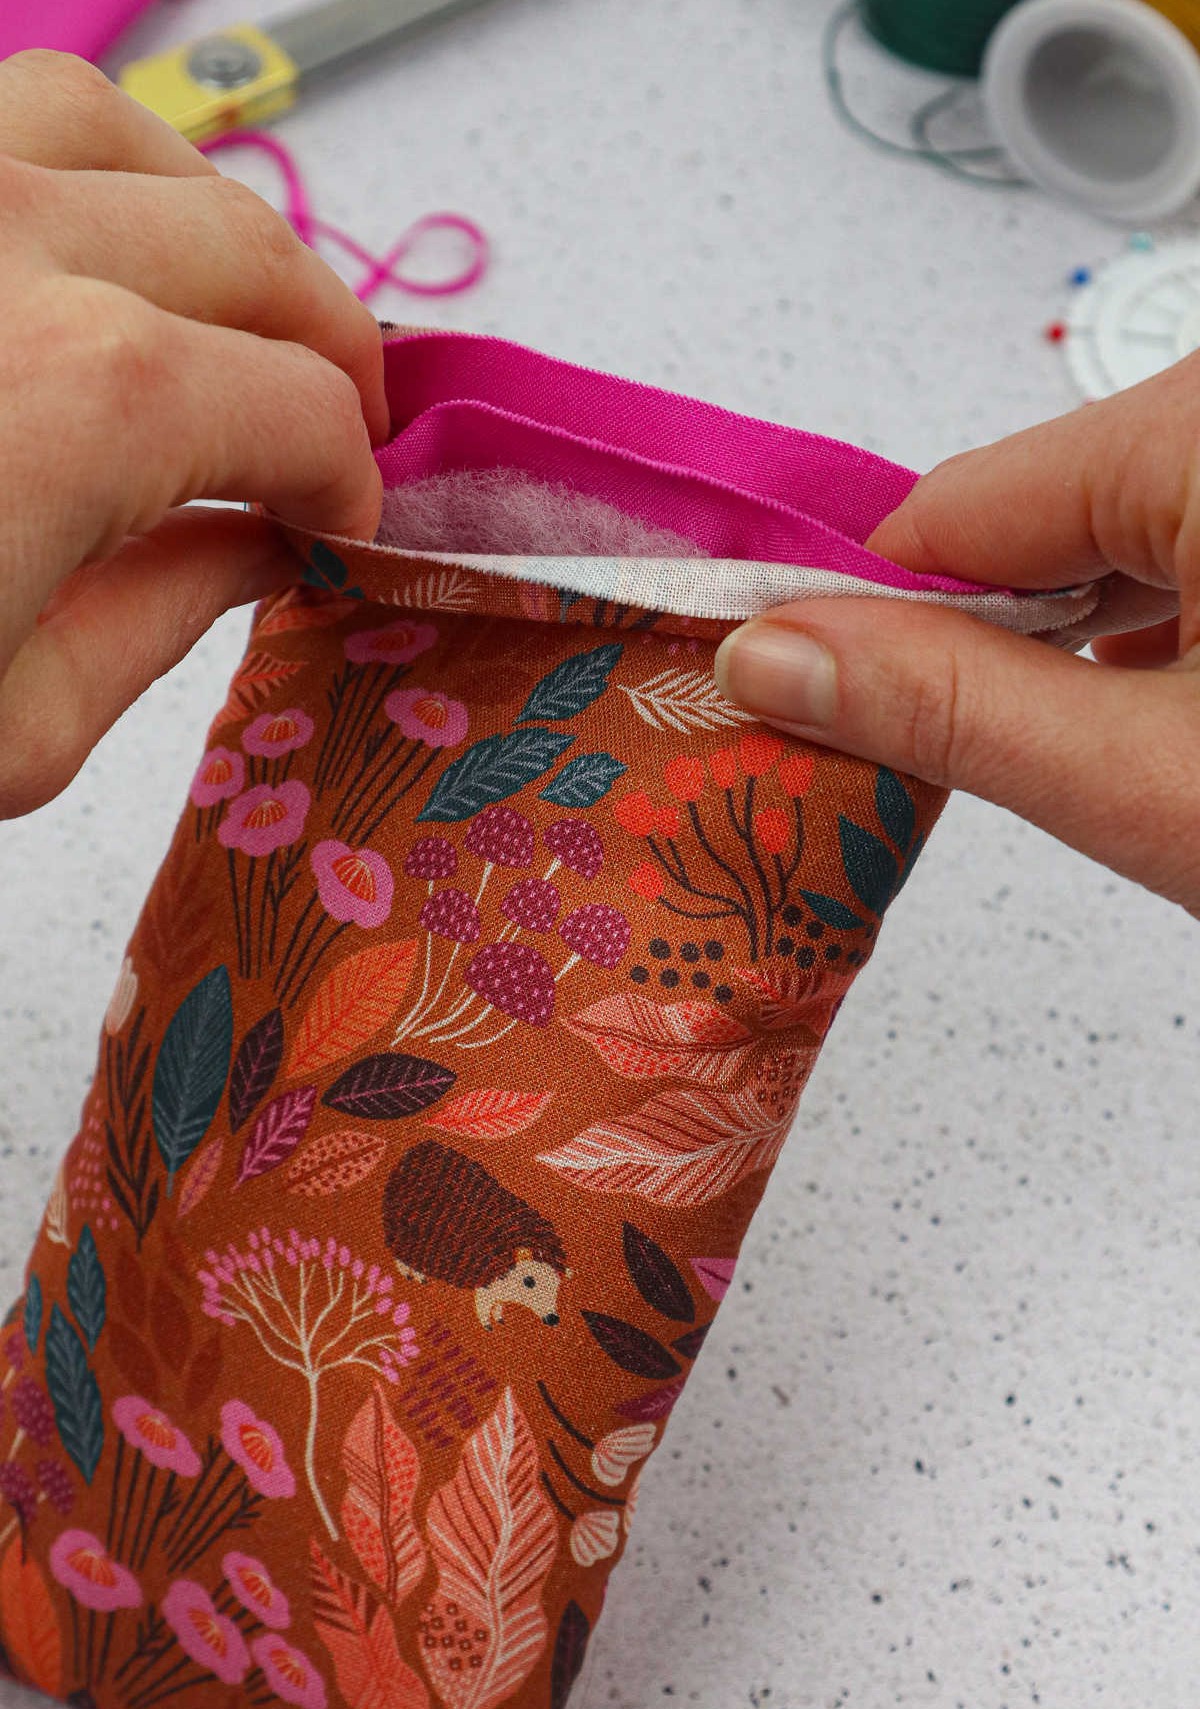
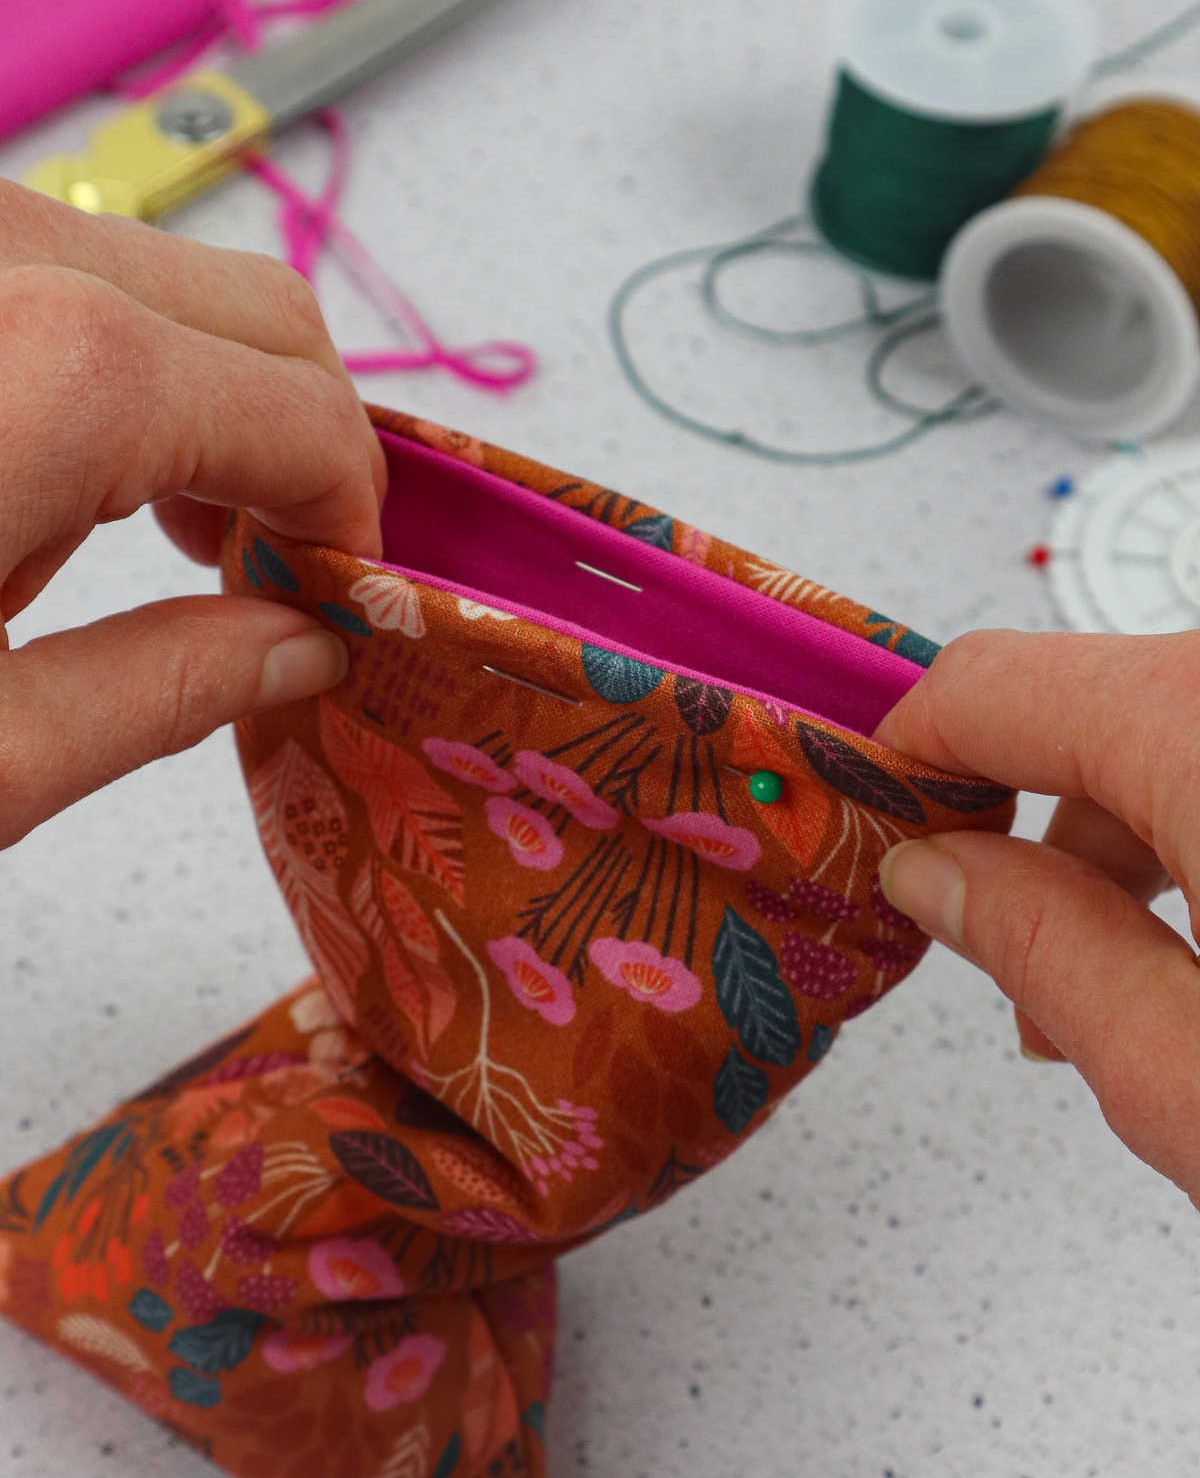
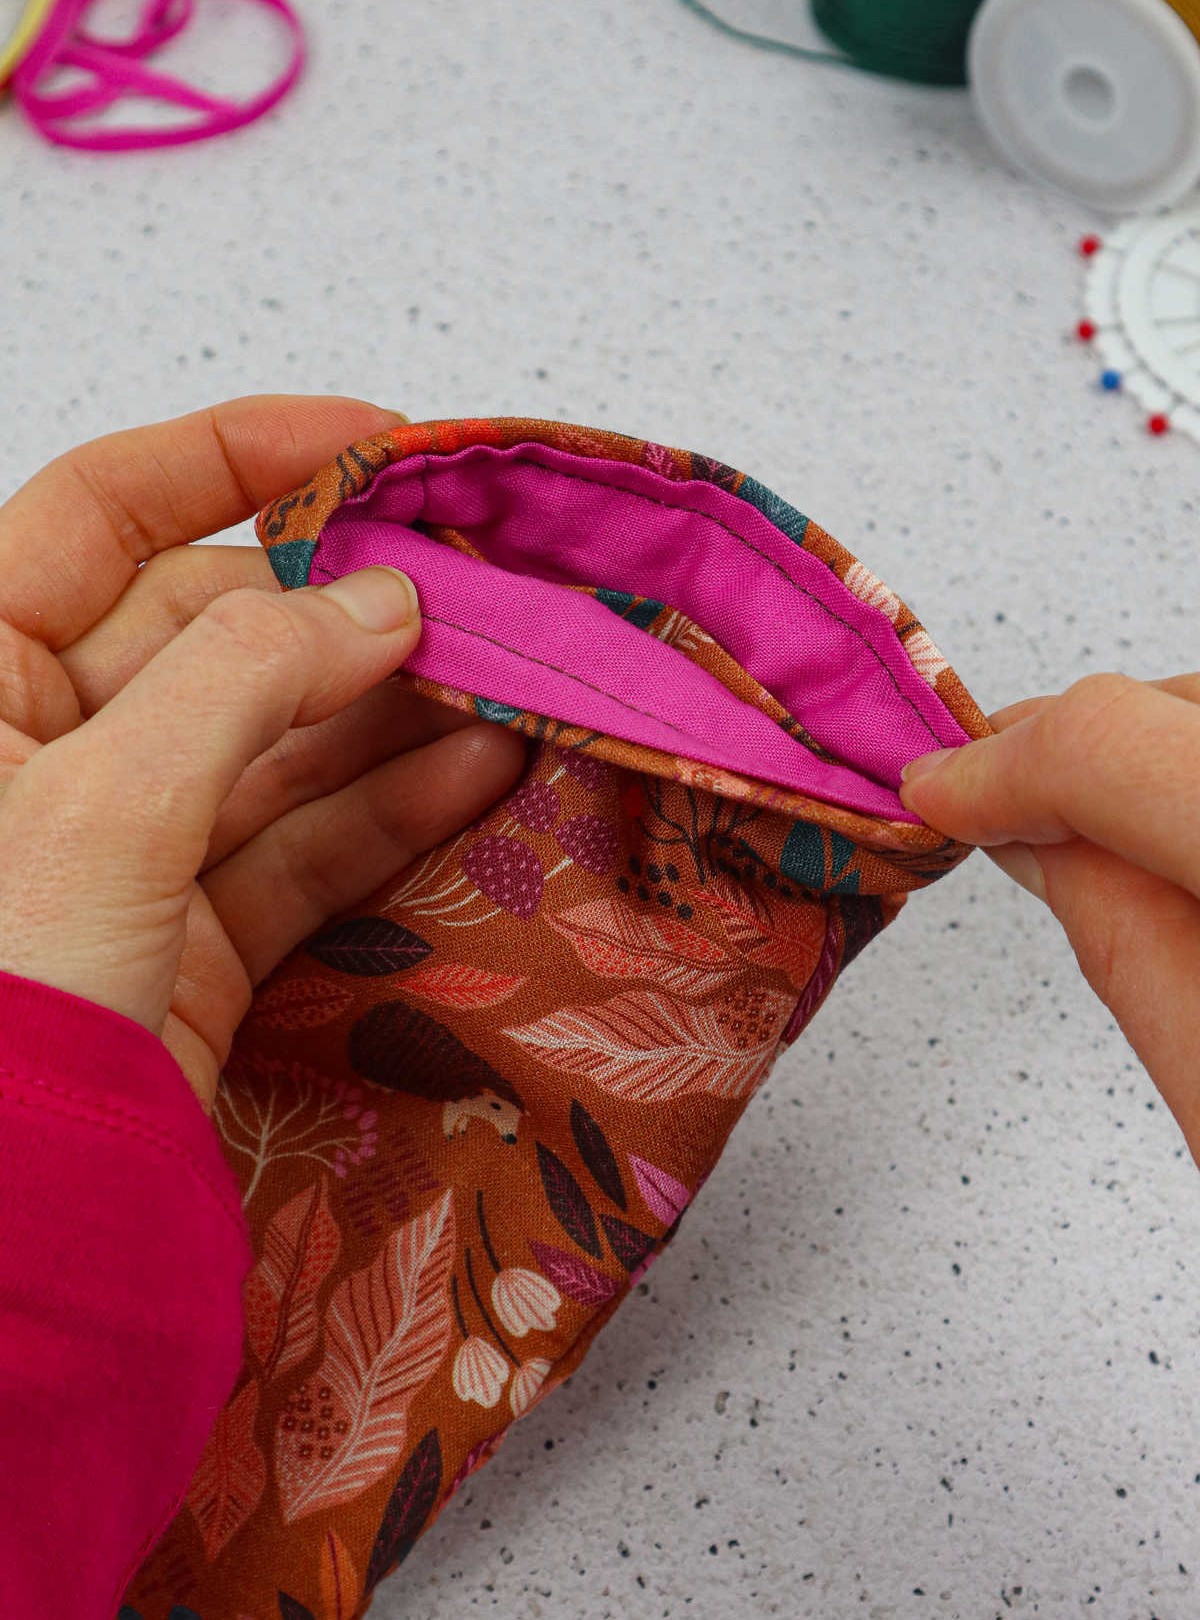
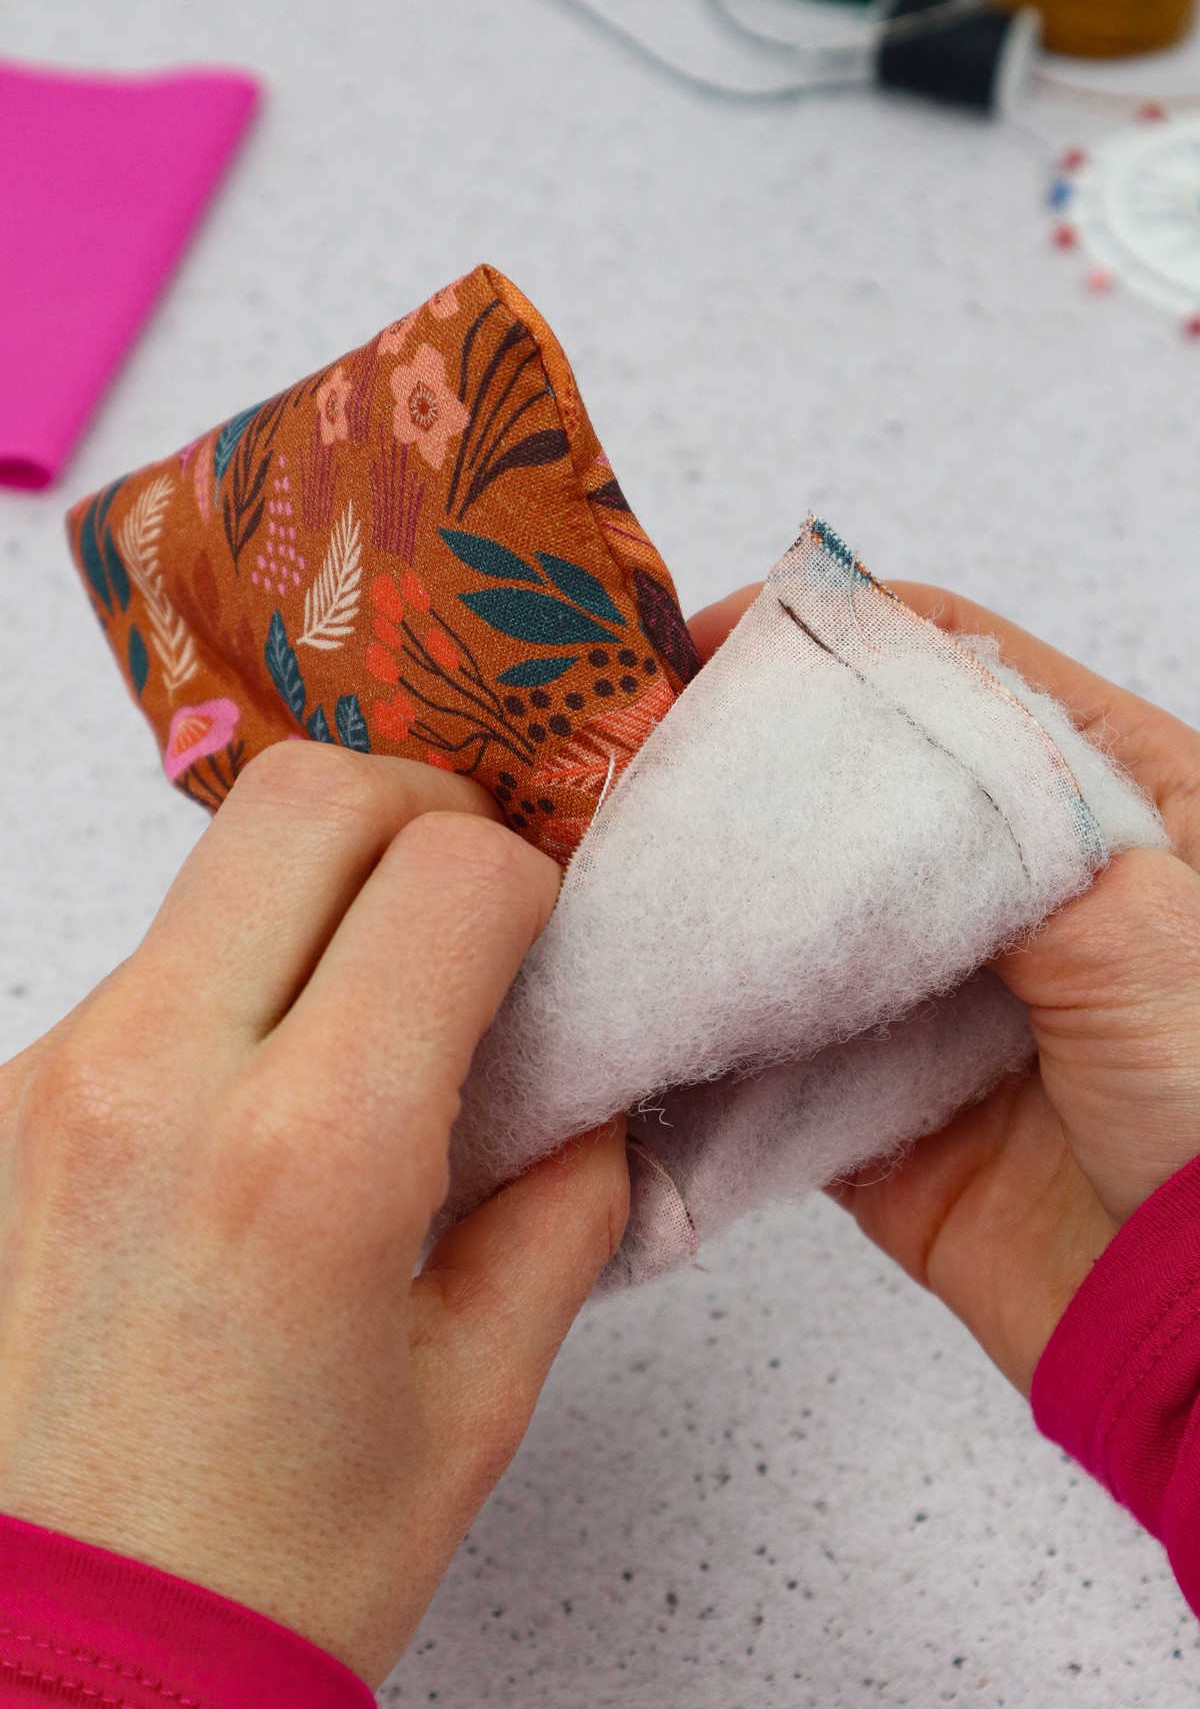
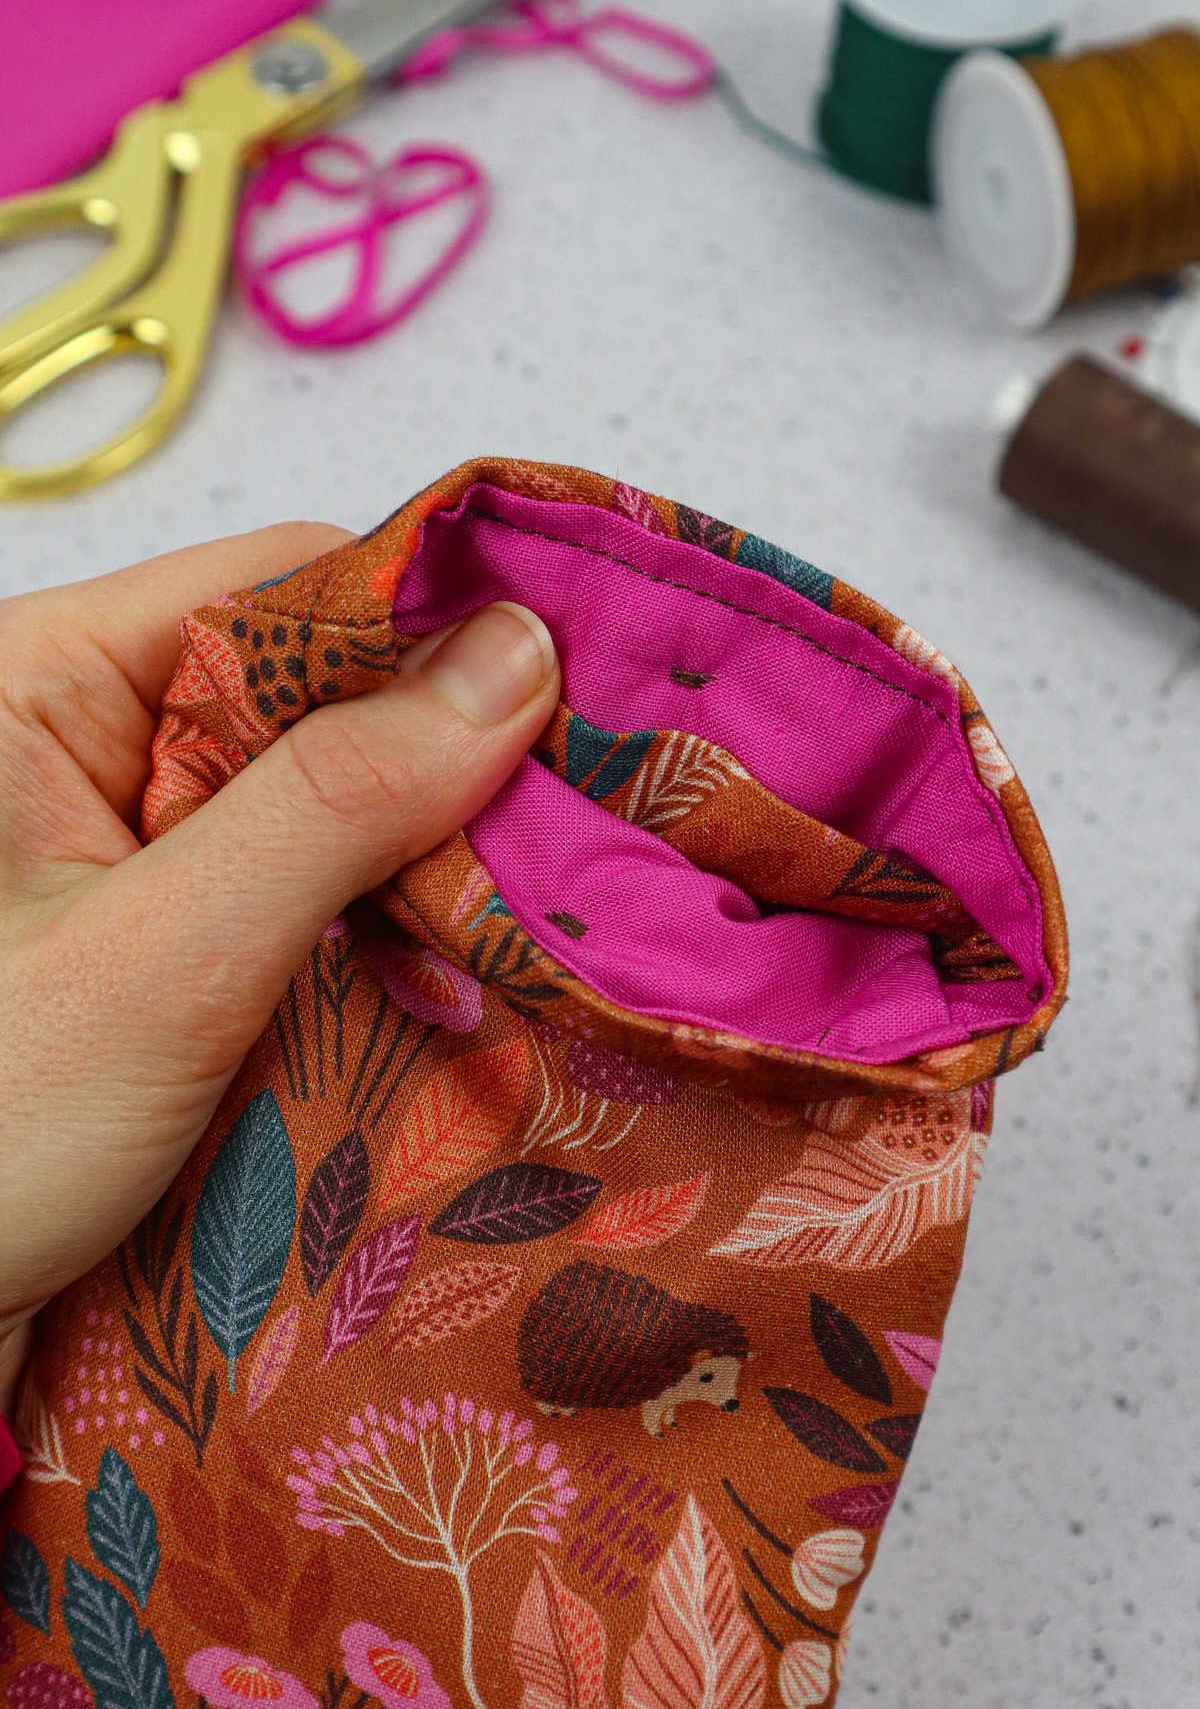
To insert the lining into the main fabric, use your hands to gently push the fabric inward and smooth out any wrinkles or edges. Be sure to poke out the corners of the fabric so they form a crisp point. This will ensure that the wadding is snugly fitted between the lining and outer printed fabrics, with no visible edges. Once you’ve achieved this, fold the printed fabric inward to cover the lining, securing it in place with a pin.
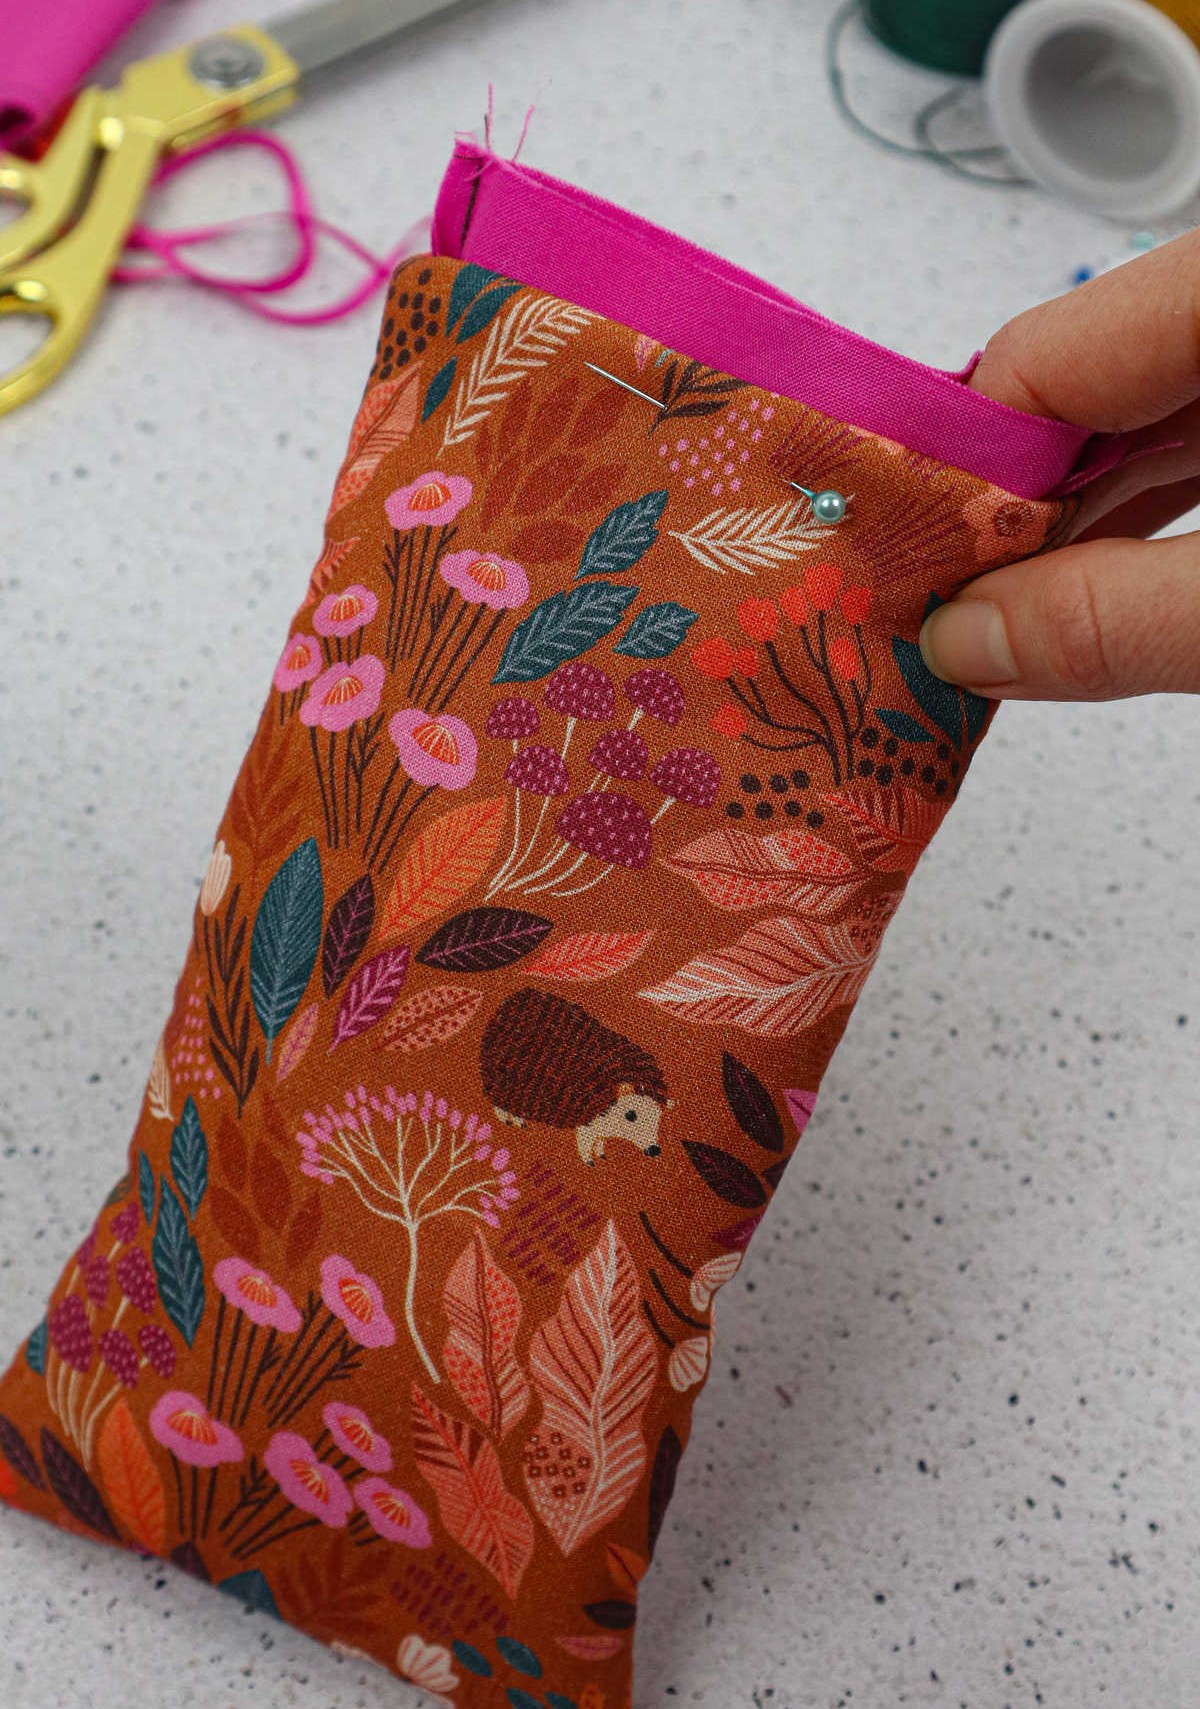
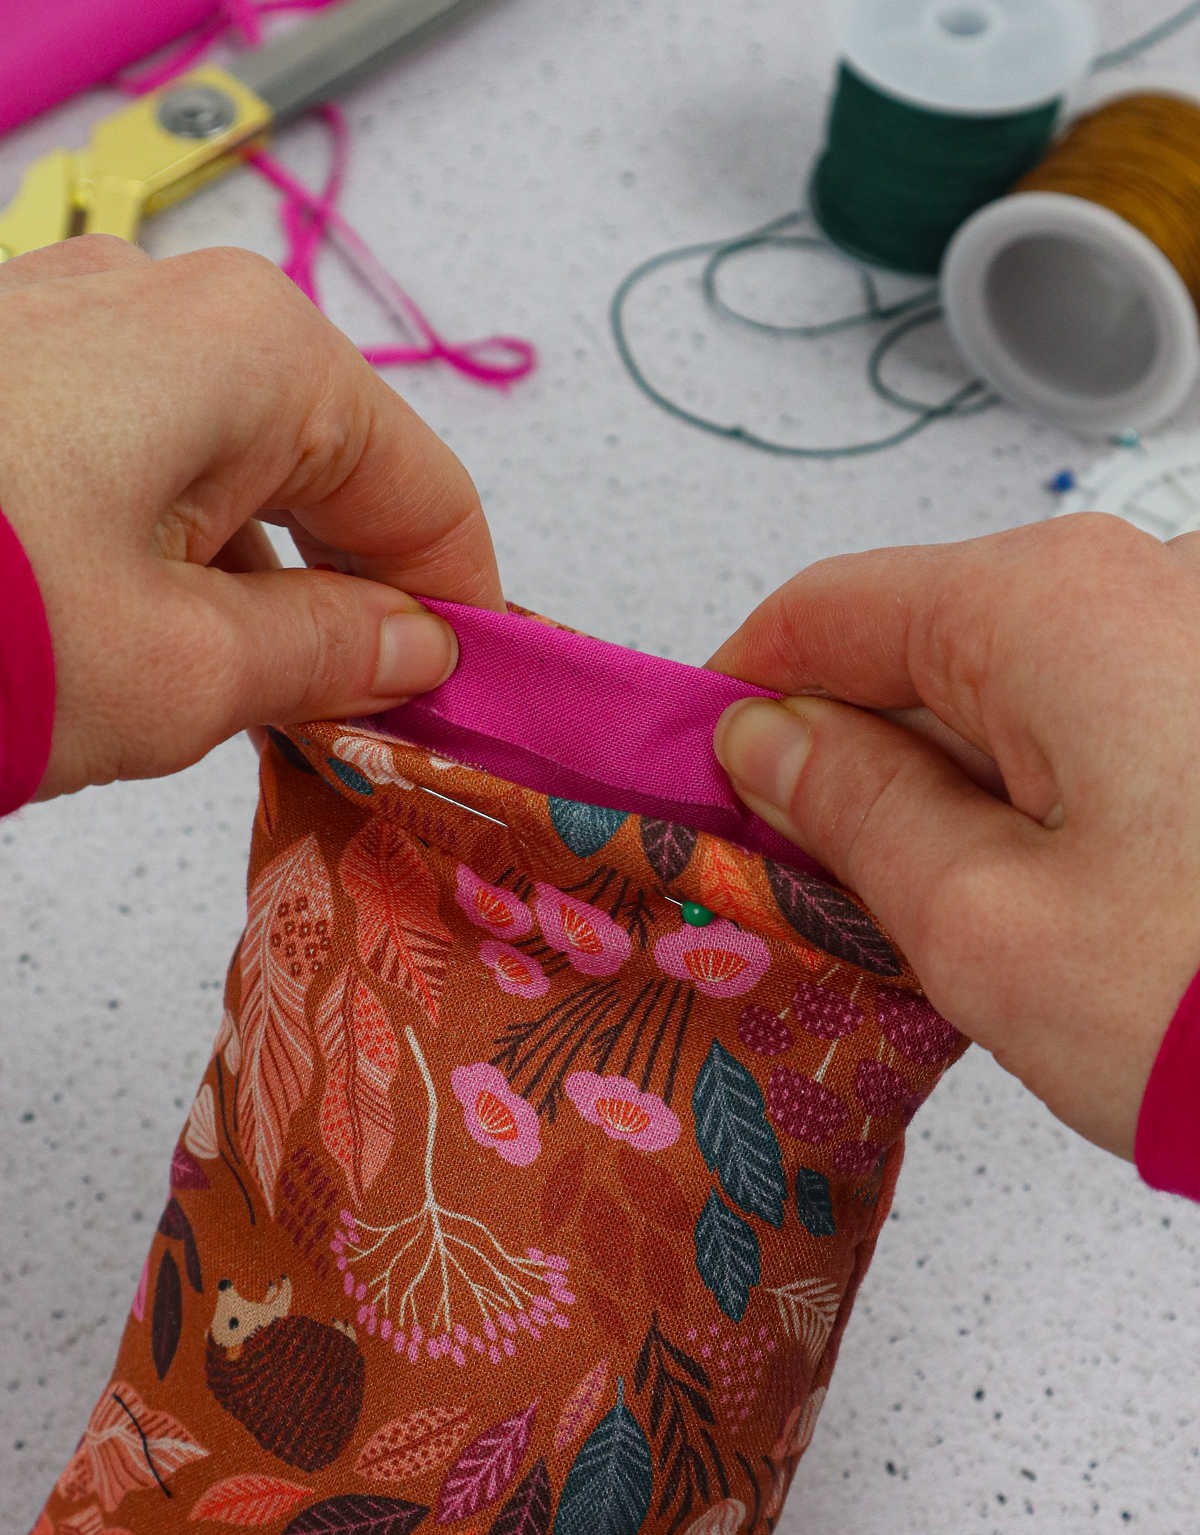
Next, align the lining fabric so it’s even with the printed fabric on both sides. Finally, pin all three layers – lining, wadding, and printed fabric – in place on both sides. Then, head to your sewing machine and sew along the edges of the pouch, working from one side to the other.
Step 9
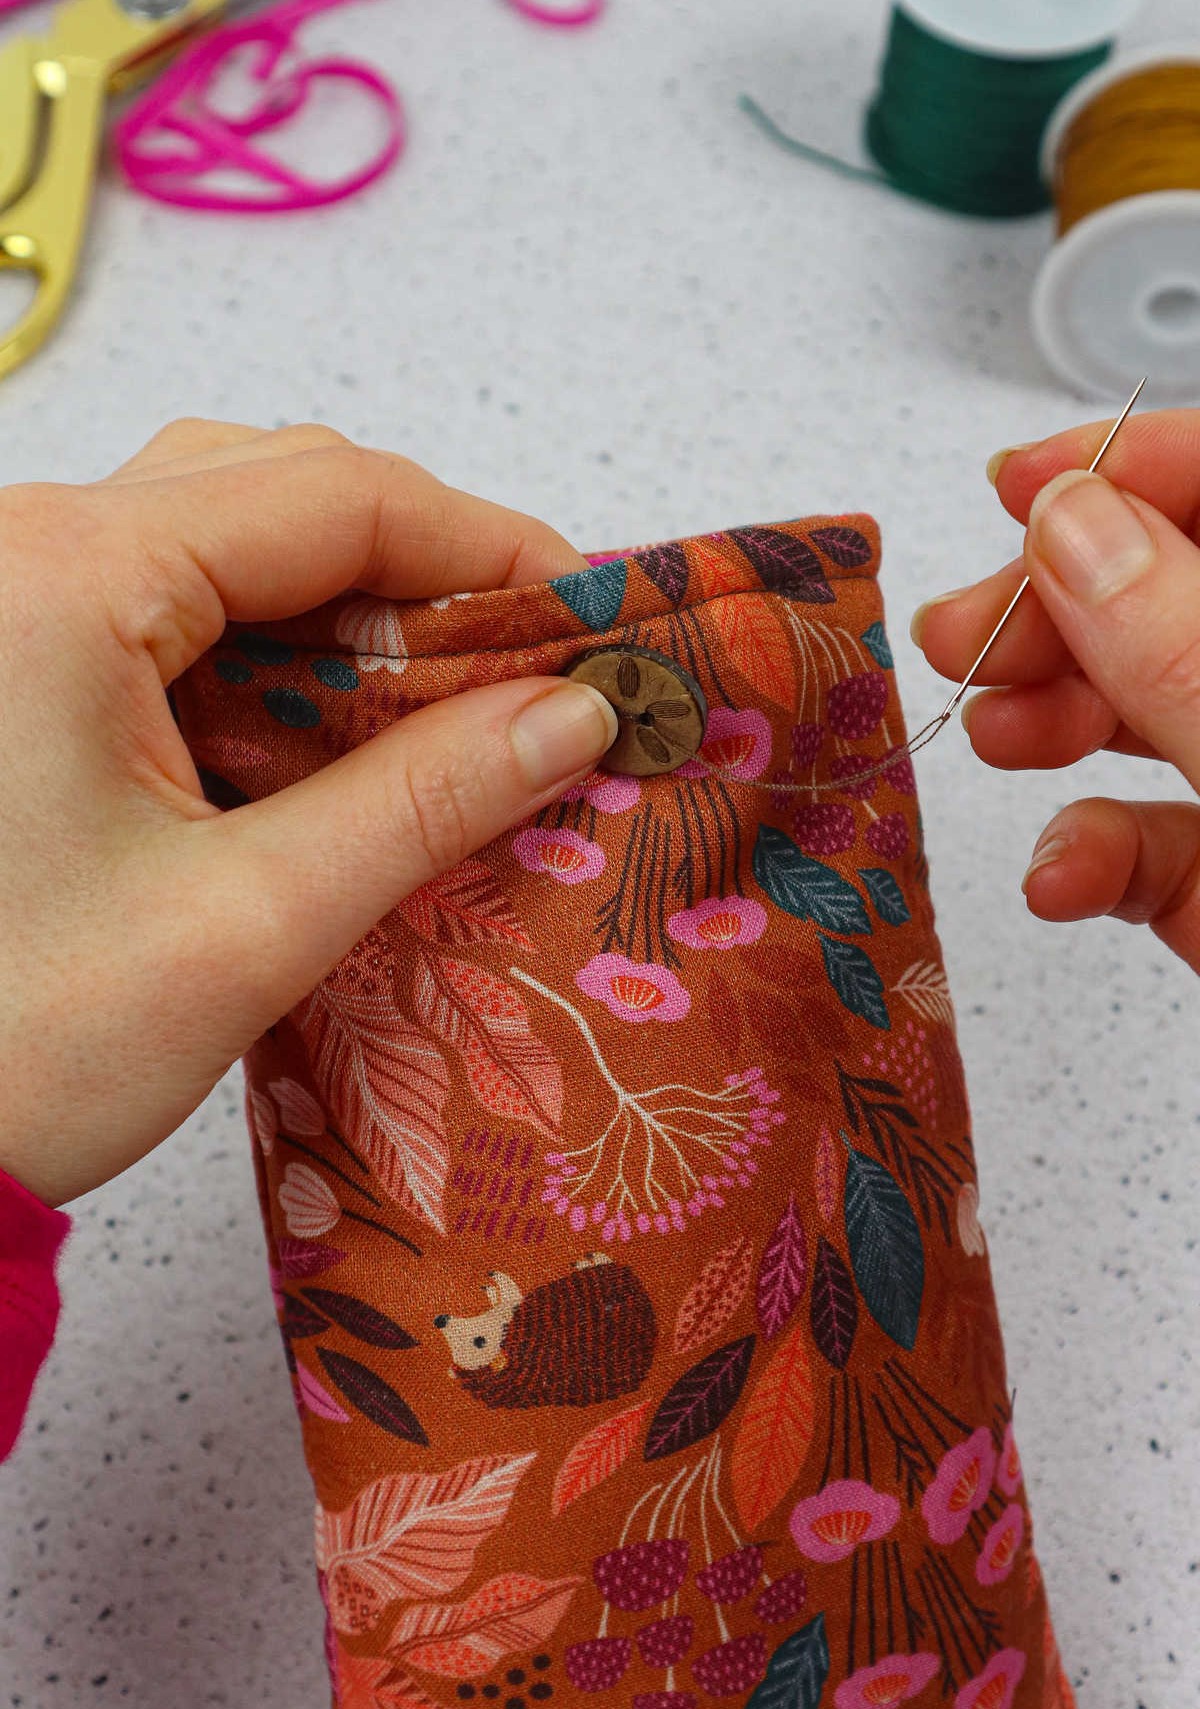
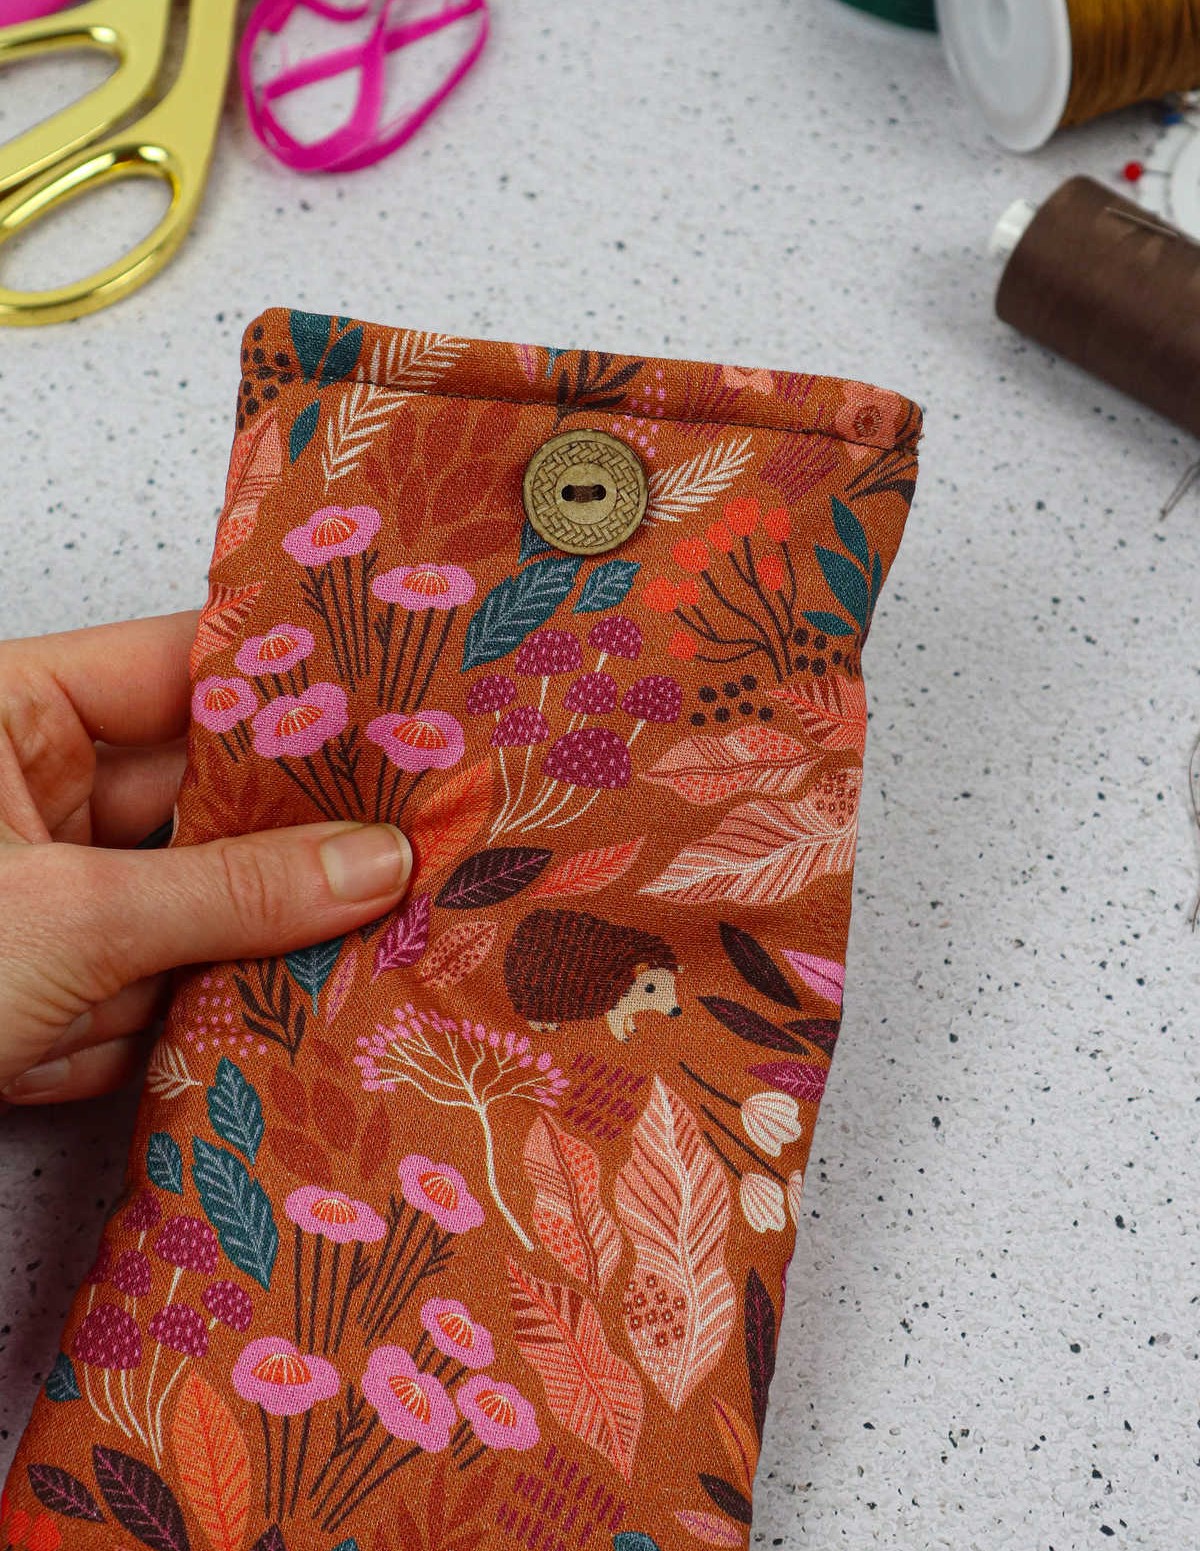
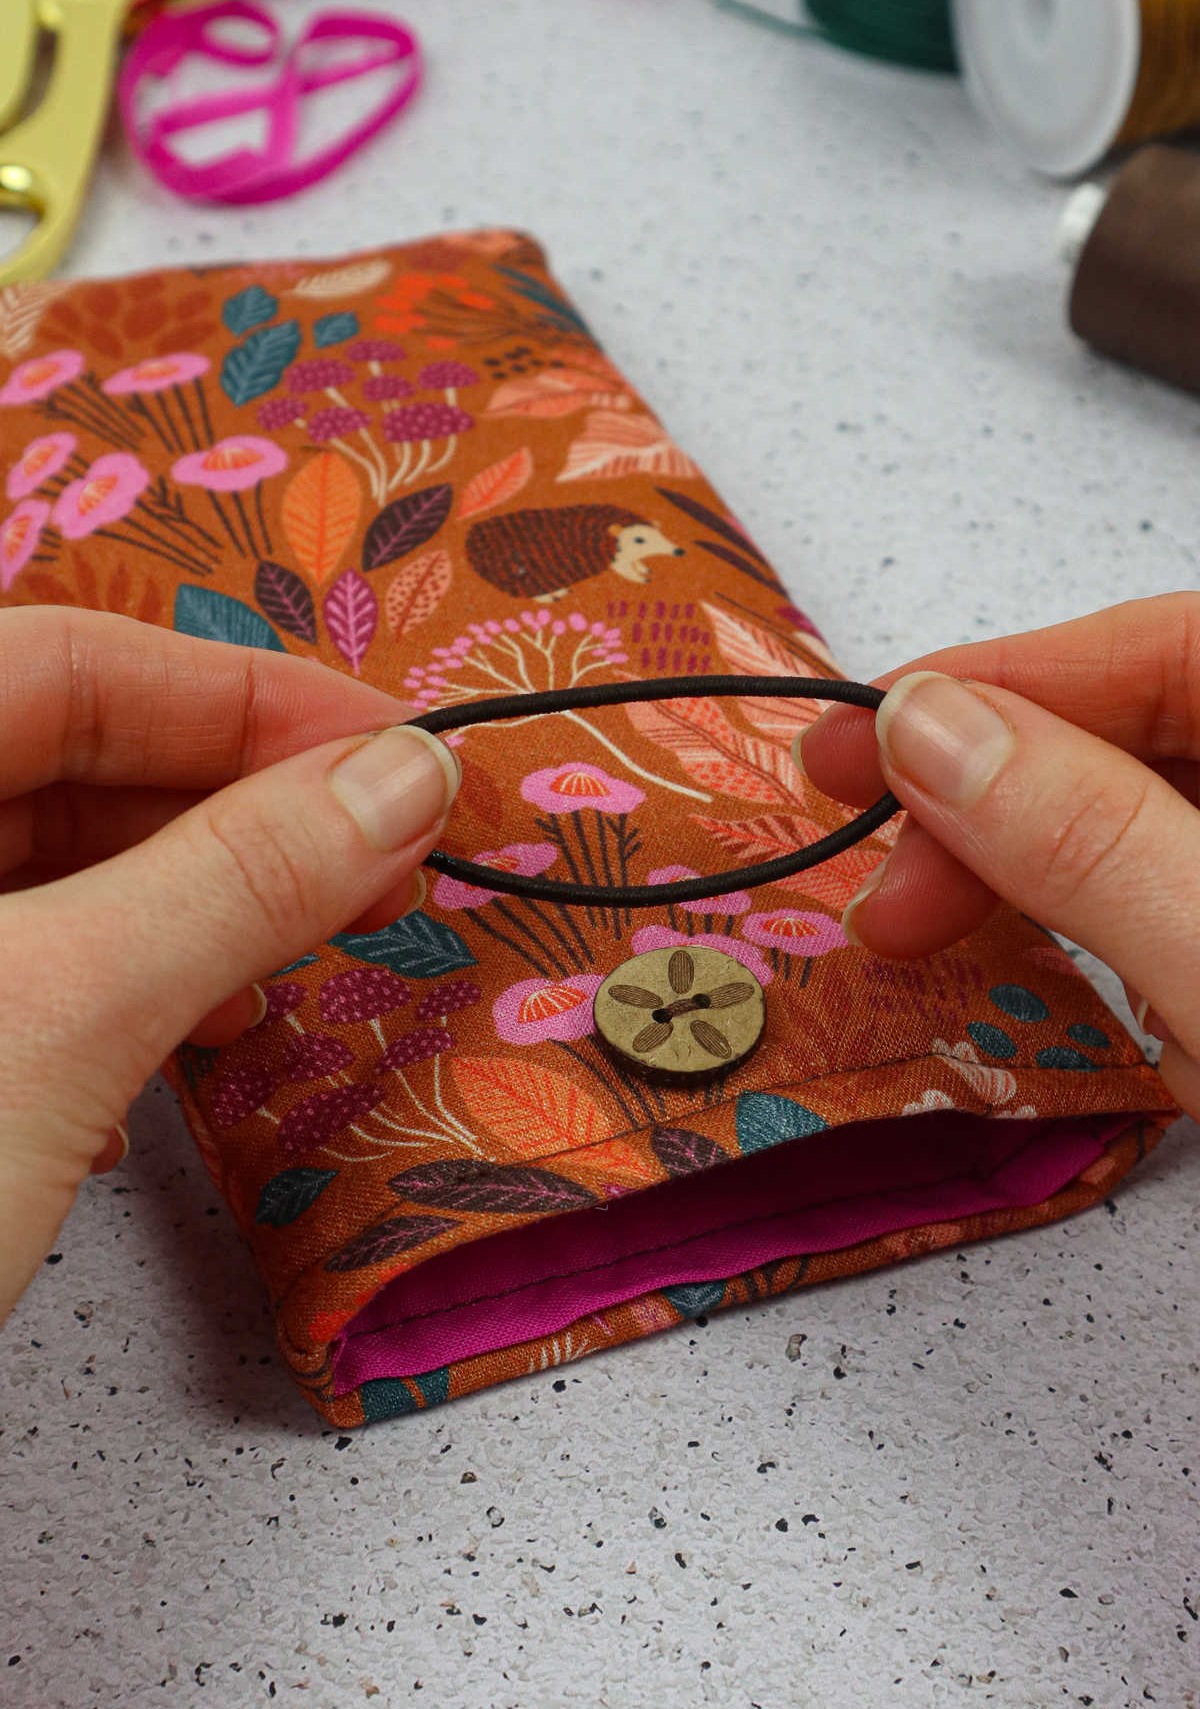
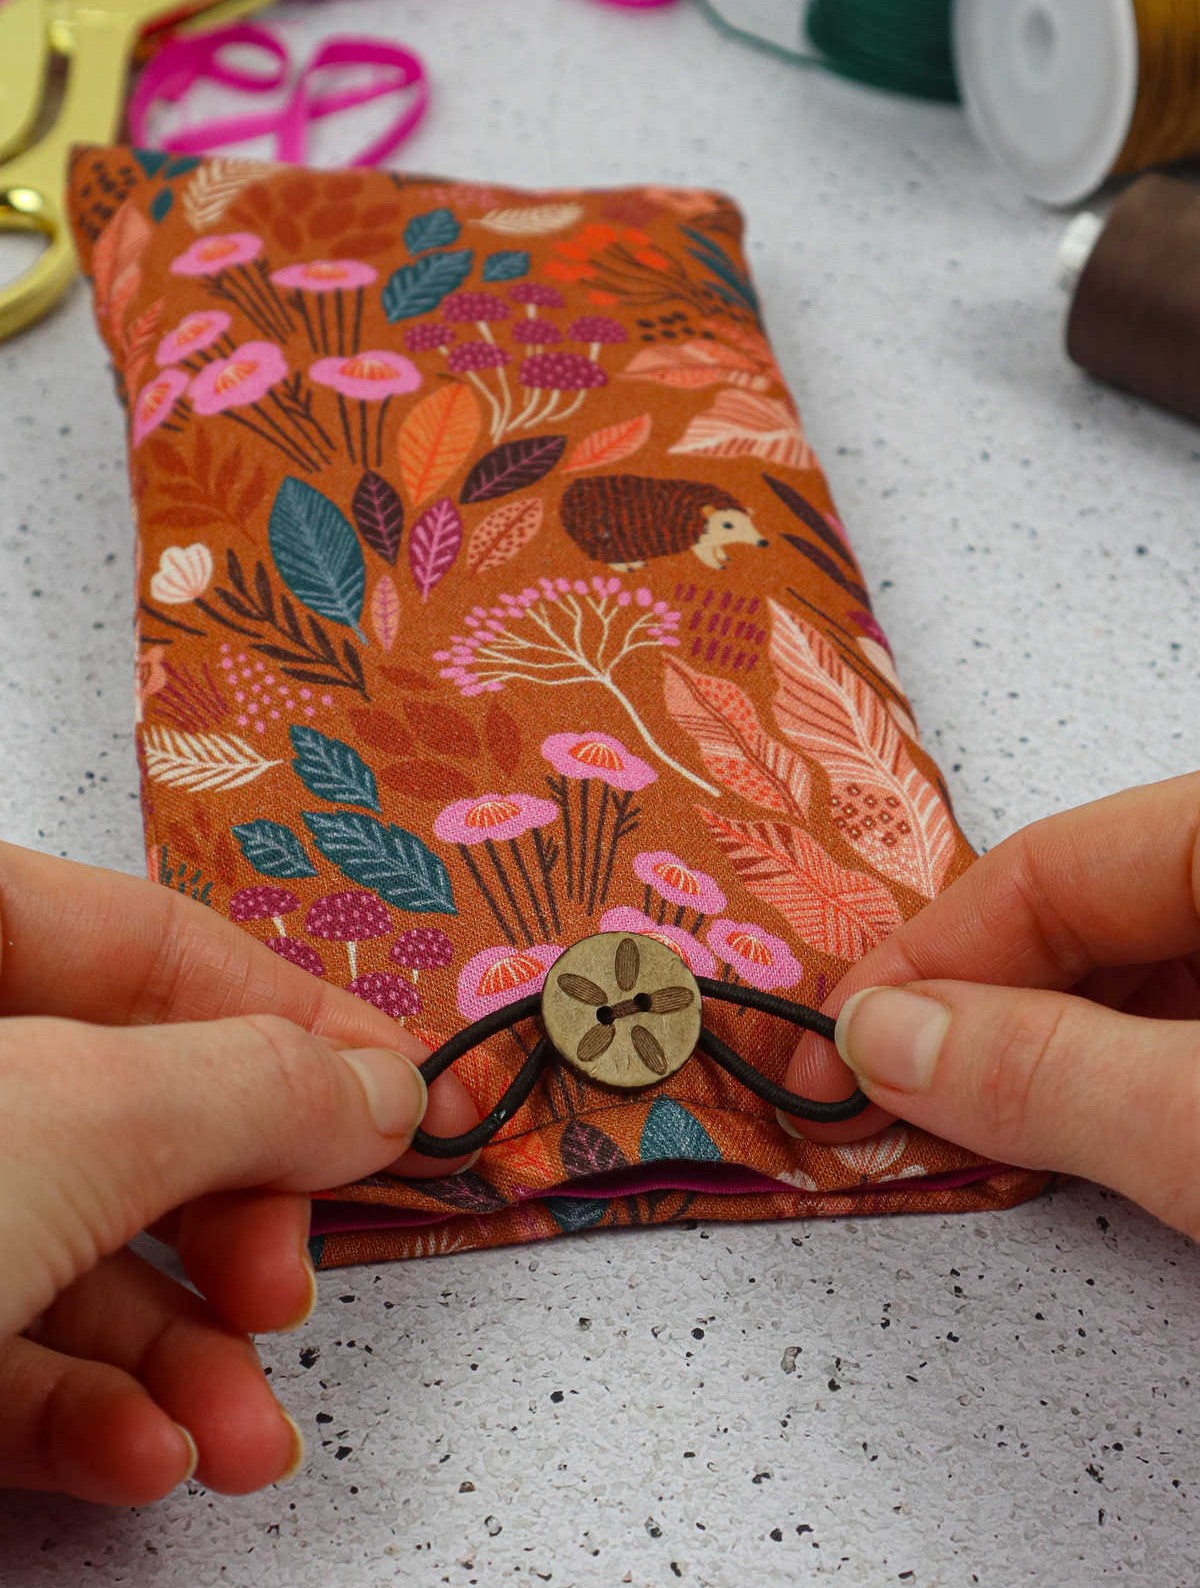
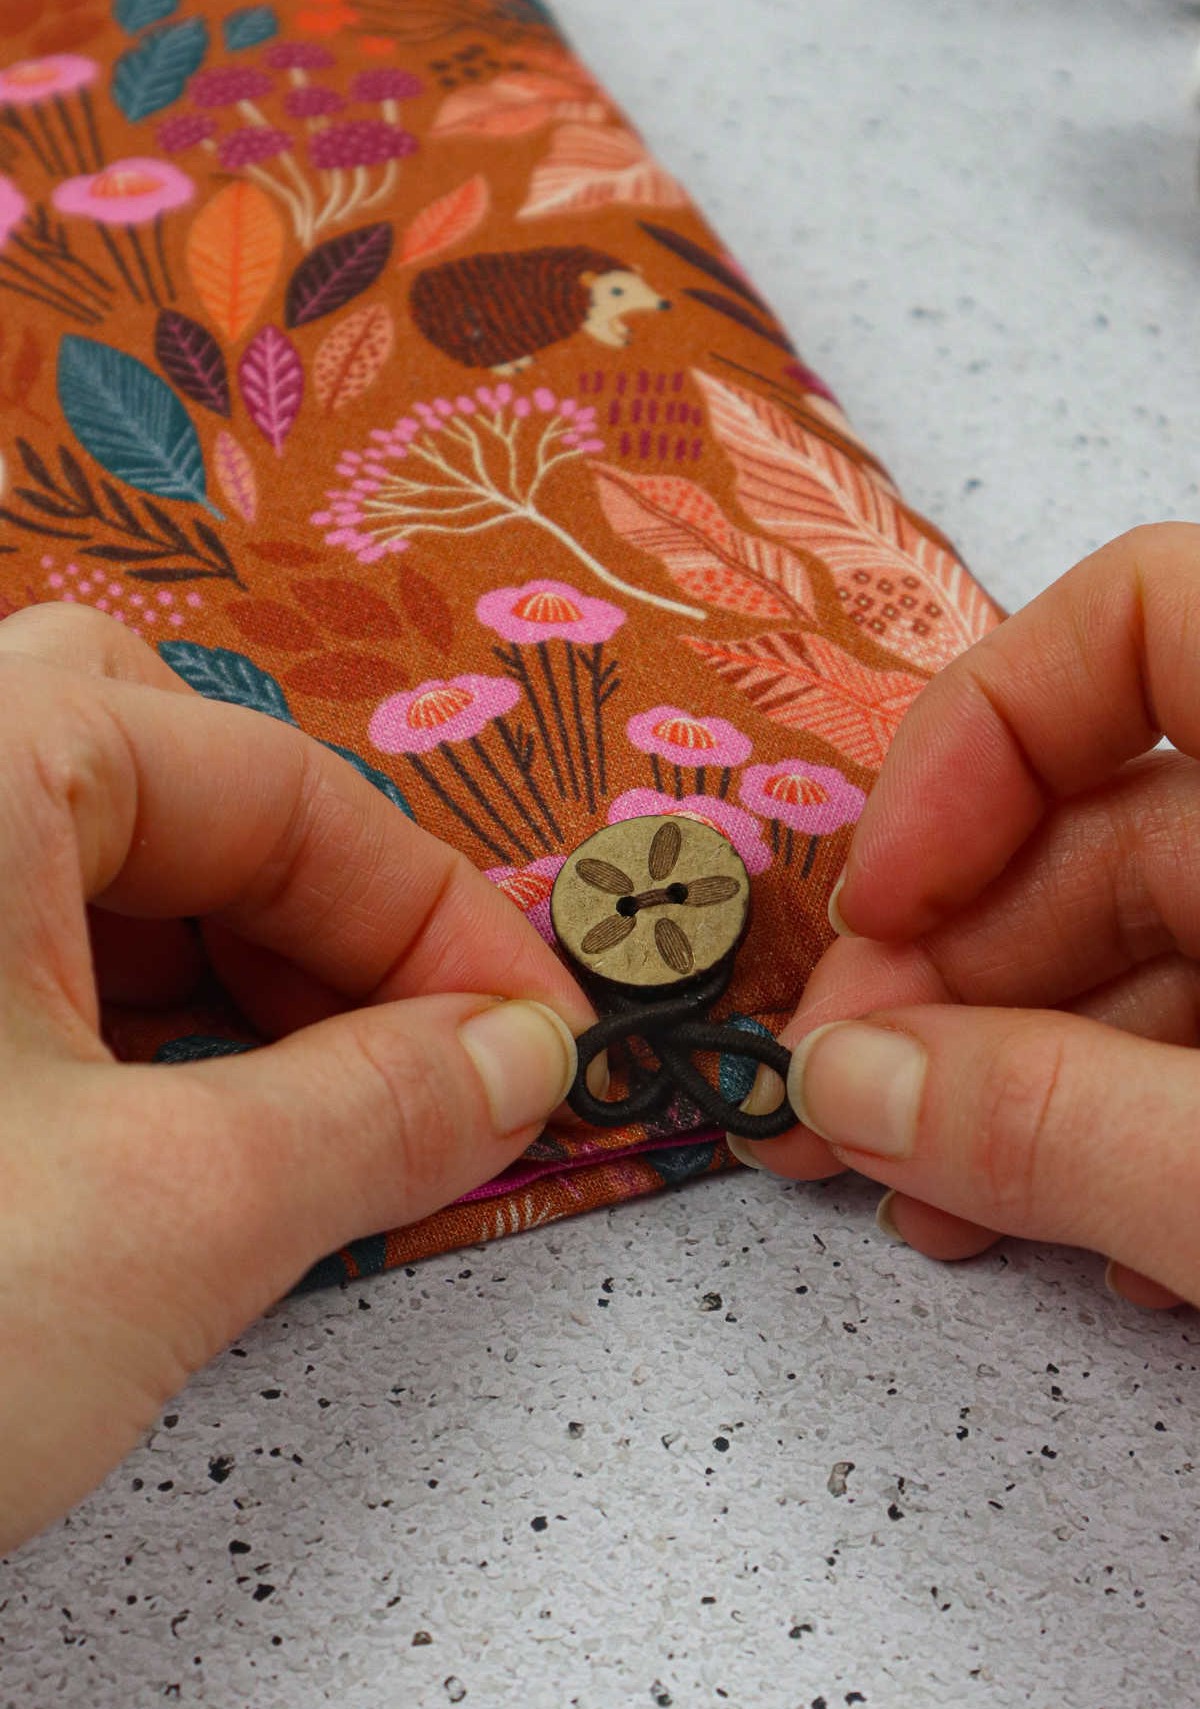
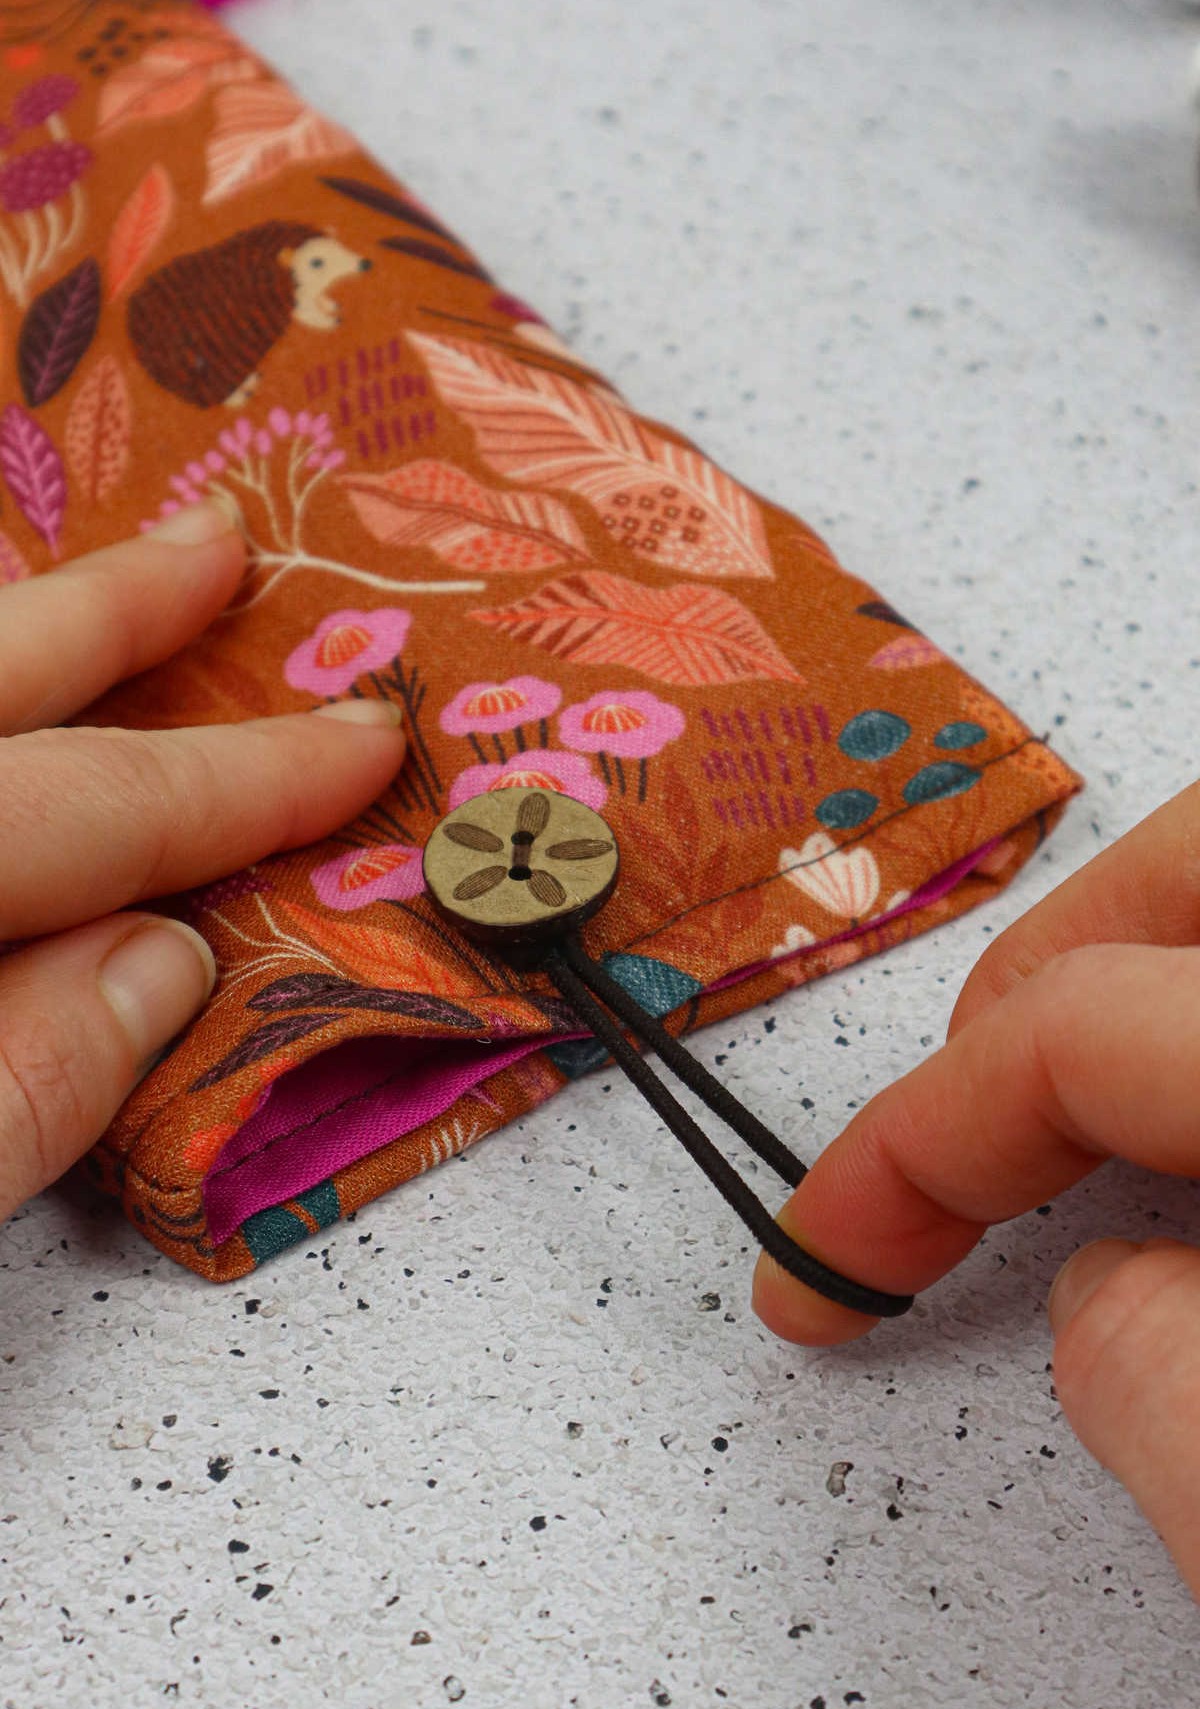
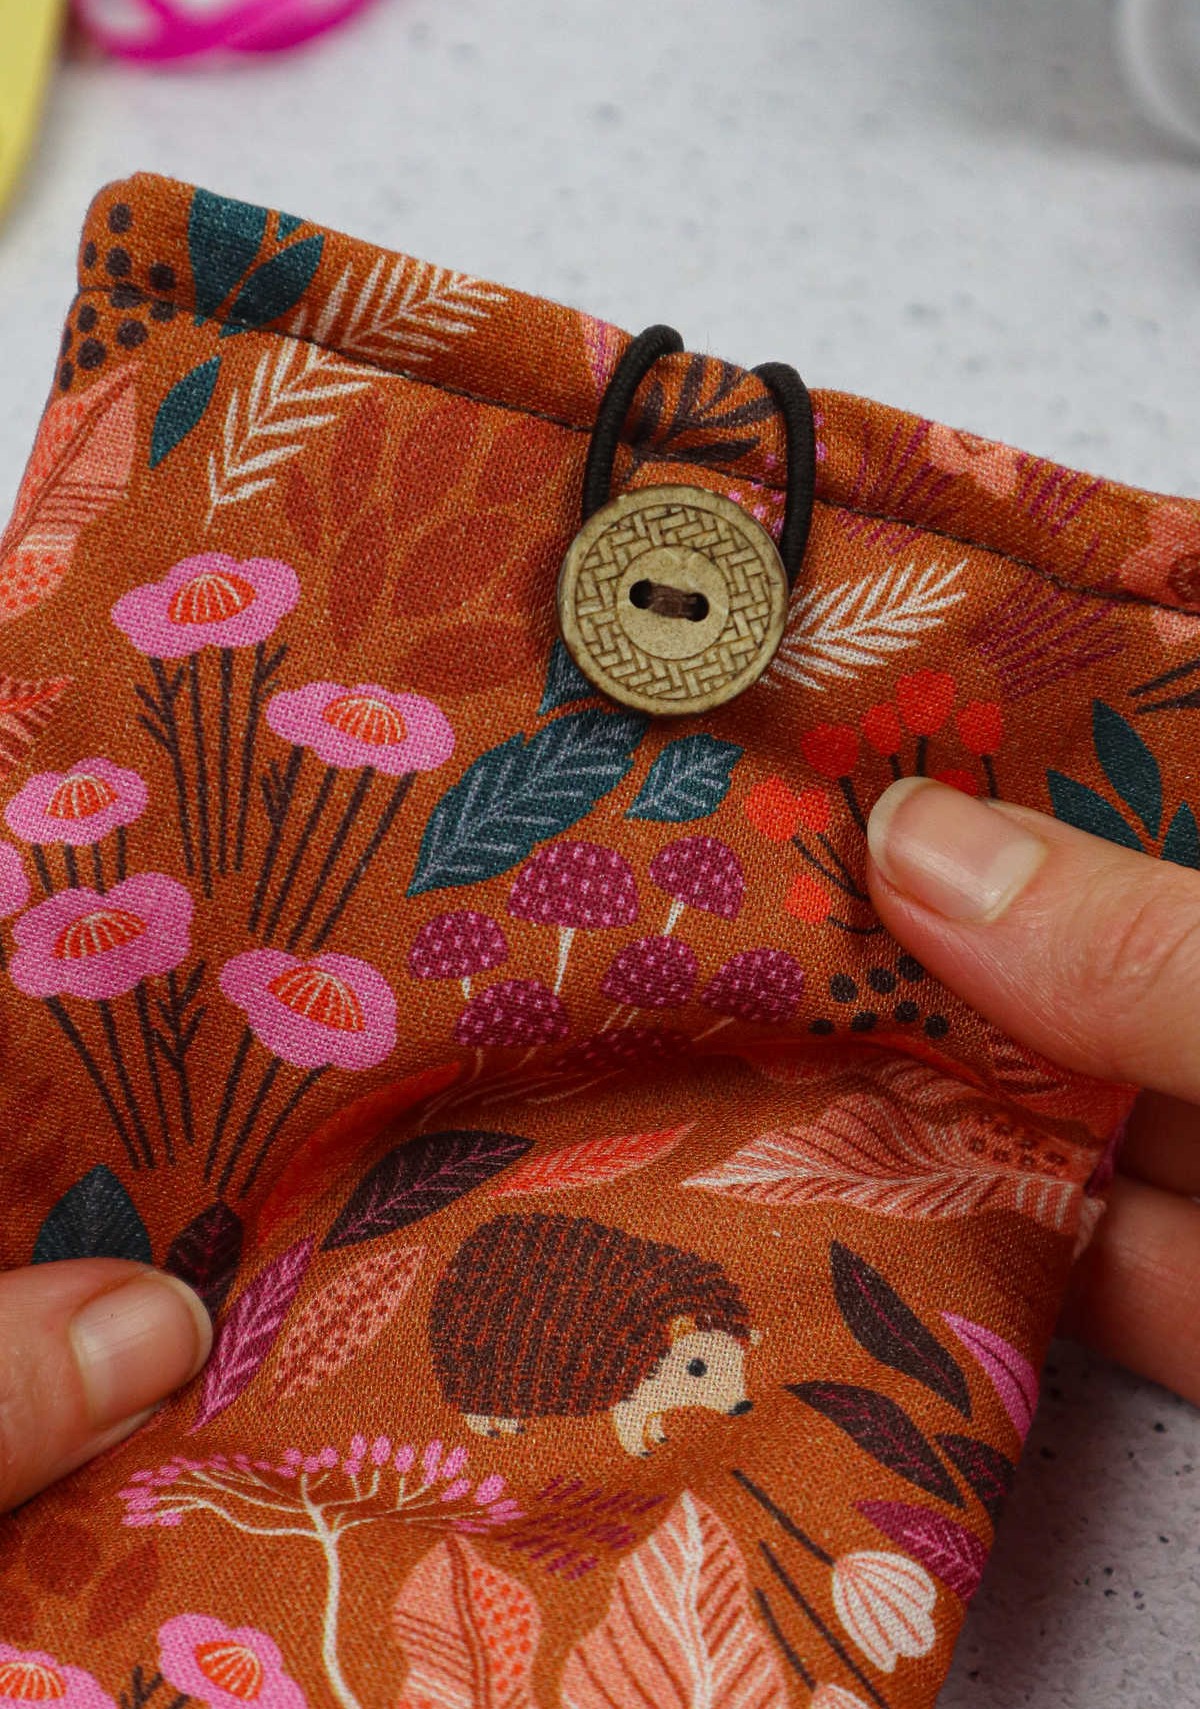
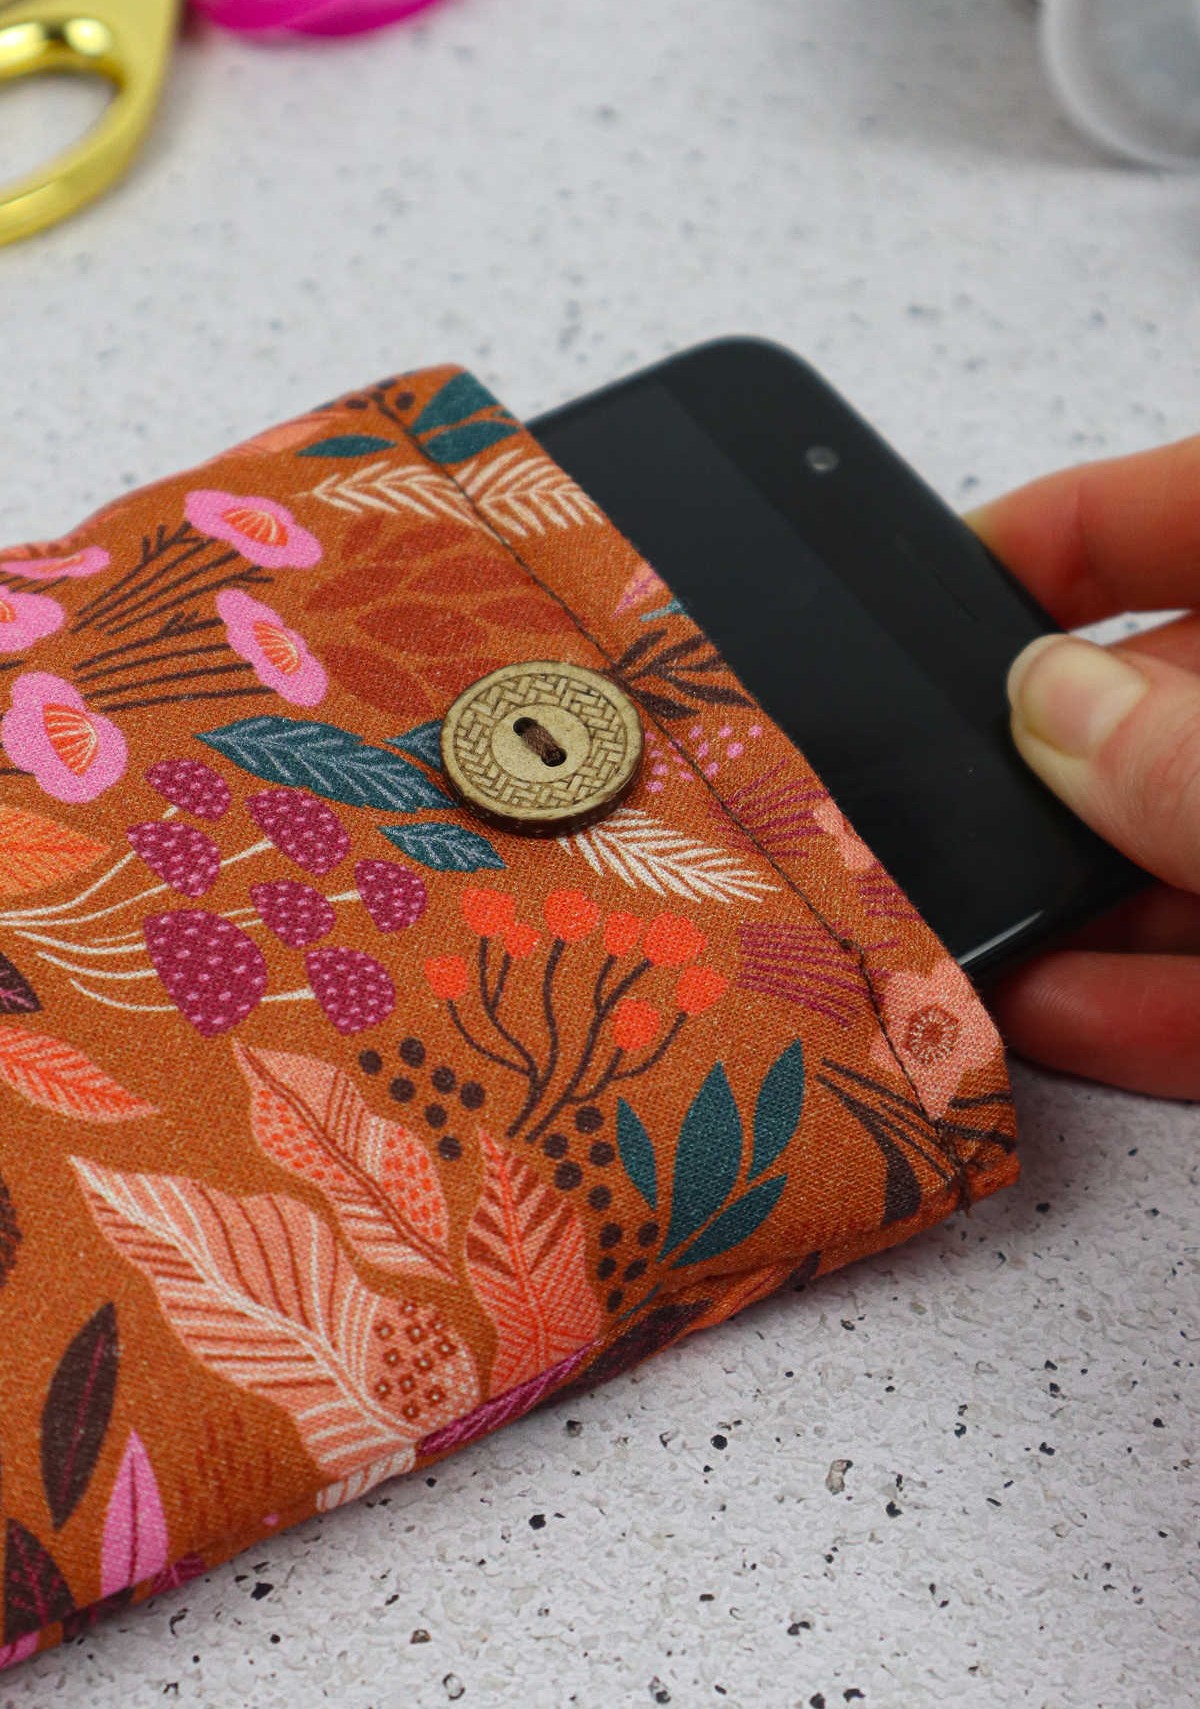
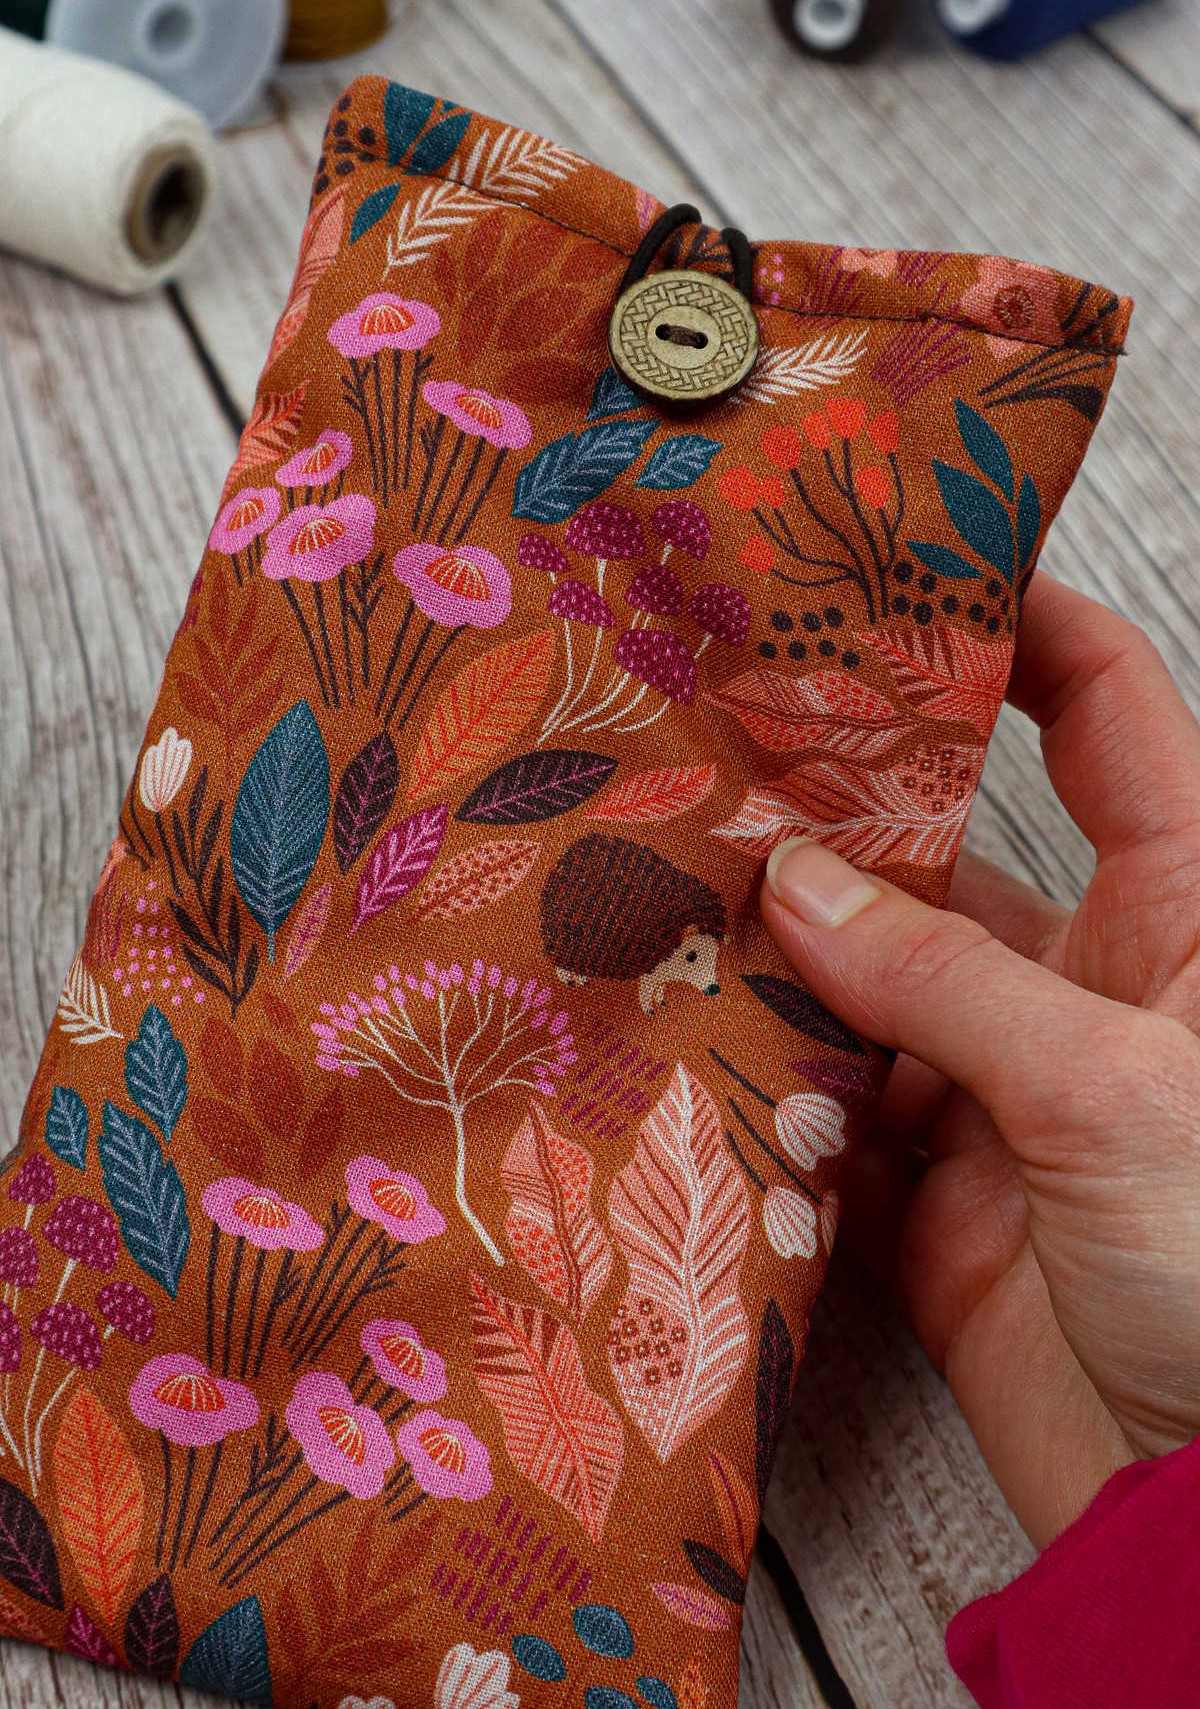

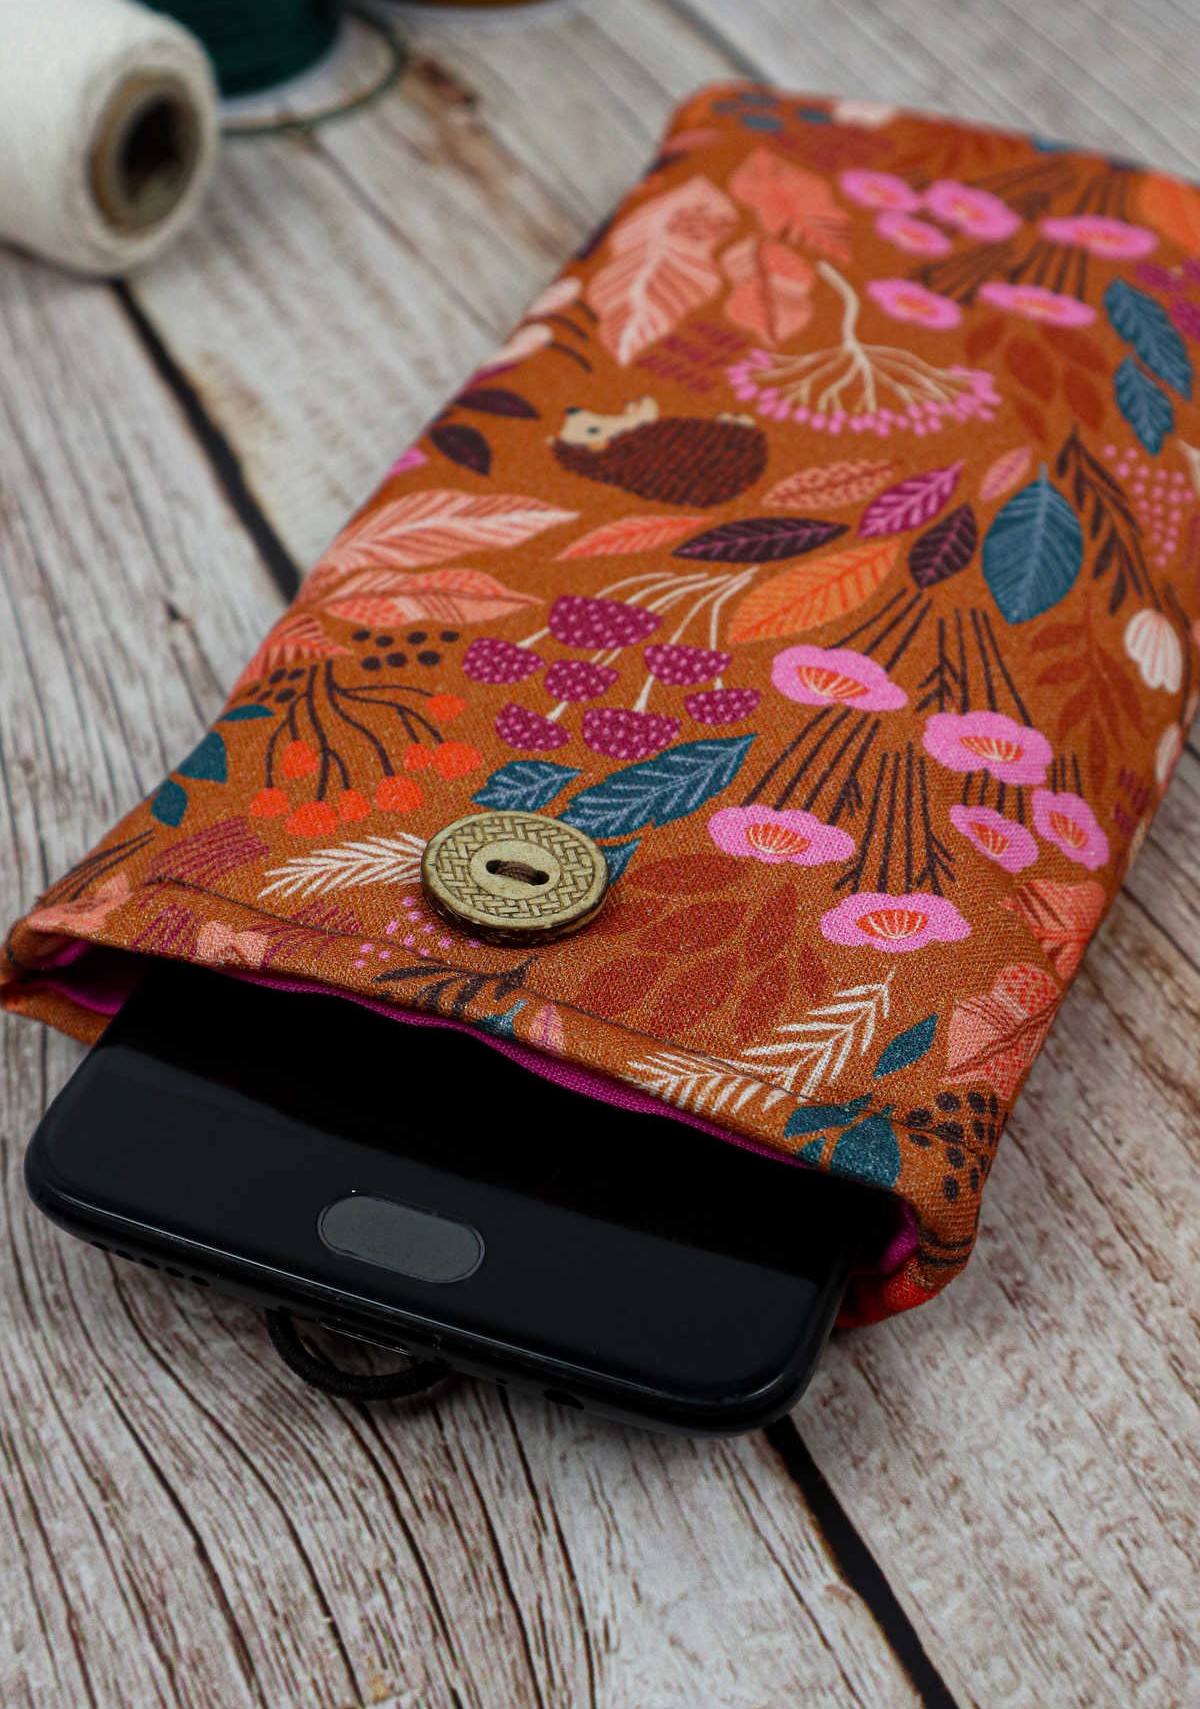
If you want to add some flair to your pouch, consider sewing a button enclosure. Start by attaching a bold button about an inch from the top using a hand-sewing technique. Next, add another button on the opposite side for symmetry. Once you have your buttons in place, secure an elastic band around one of them to create a closure system. Simply pull the band over to the other button to seal the pouch. Now, test it out by slipping your phone inside to ensure a comfortable fit.
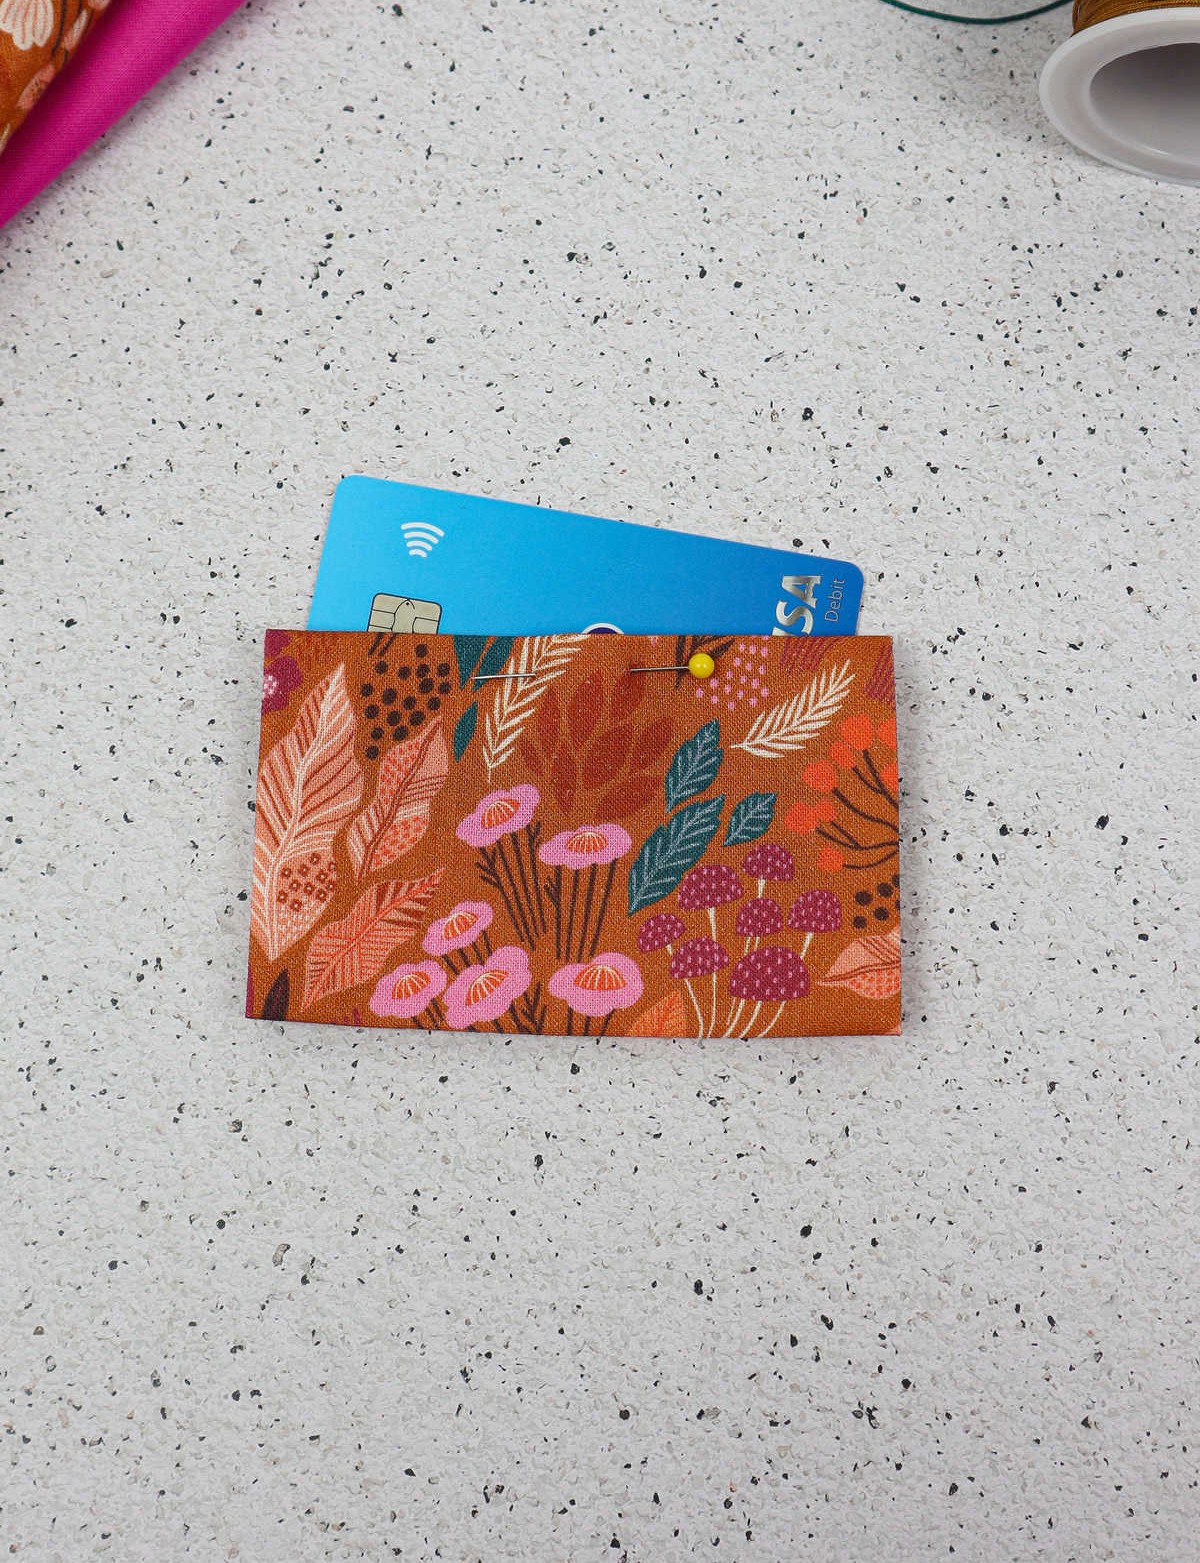
You can also use the internal pocket to stash small items like cards and cash.
DIY Phone Case Out of Fabric
Starting a sewing adventure? Kick it off with this easy DIY fabric phone case project, perfect for beginners! With just 10 minutes of prep time and an hour and 10 minutes spent actively creating, you’ll have a unique and functional accessory in no time. And the best part? It only costs $4 to make. Get started with author Karo @ CraftsyHacks.com!
Equipment
Materials
The essential components of this project include a 16-inch by 5.5-inch piece of cotton fabric for the front, a 15-inch by 5.5-inch wadding piece, and another 16-inch by 5.5-inch piece of cotton fabric for the lining. Additionally, you’ll need a small piece of cotton fabric measuring 3.5 inches by 5 inches for the pocket, as well as two buttons to secure it. Finally, an elastic hair band will be used to complete the overall design.
Instructions
To begin this project, collect all necessary supplies. First, lay your wadding over your printed fabric, ensuring a half-inch gap at both the top and bottom. Fold the wadding in half and secure it with sewing pins. Next, stitch along both sides, leaving a quarter-inch gap as seam allowance. Turn the fabric right side out and set aside for now. To create the pocket, position it over your lining fabric, leaving a 1.5-inch gap from the top and equal gaps on either side.
Mark the top of the pocket with a sewing pin to indicate its orientation. Then, sew three sides of the pocket onto the lining, leaving the top open. Afterward, fold the lining in half and secure both left and right sides with sewing pins, approximately a quarter inch from the edge. Sew along these sides, then trim excess fabric with cloth scissors. Once your lining is complete, insert it into the printed fabric, smoothing out any wrinkles as you go.
The wadding should now be sandwiched between the two fabrics. Fold the printed fabric inward to cover the wadding and align the ends of both layers. Secure with a pin before sewing around the mouth of the pouch. Next, attach two buttons on either side of the pouch. Take an elastic strip and secure it to one button. Then, thread the elastic over the pouch to the opposite button and slip it into place to fasten.