
If you’re searching for a creative back-to-school activity that’s both practical and eco-friendly, look no further than this DIY pencil case project. Not only will it keep your stationery organized, but it’ll also make a unique addition to your school or university supplies.
There’s something special about starting the year with fresh, new stationery – the excitement is palpable! But let’s be real, buying new supplies can be a significant expense.
Plus, you risk ending up with the same set as someone else in class.
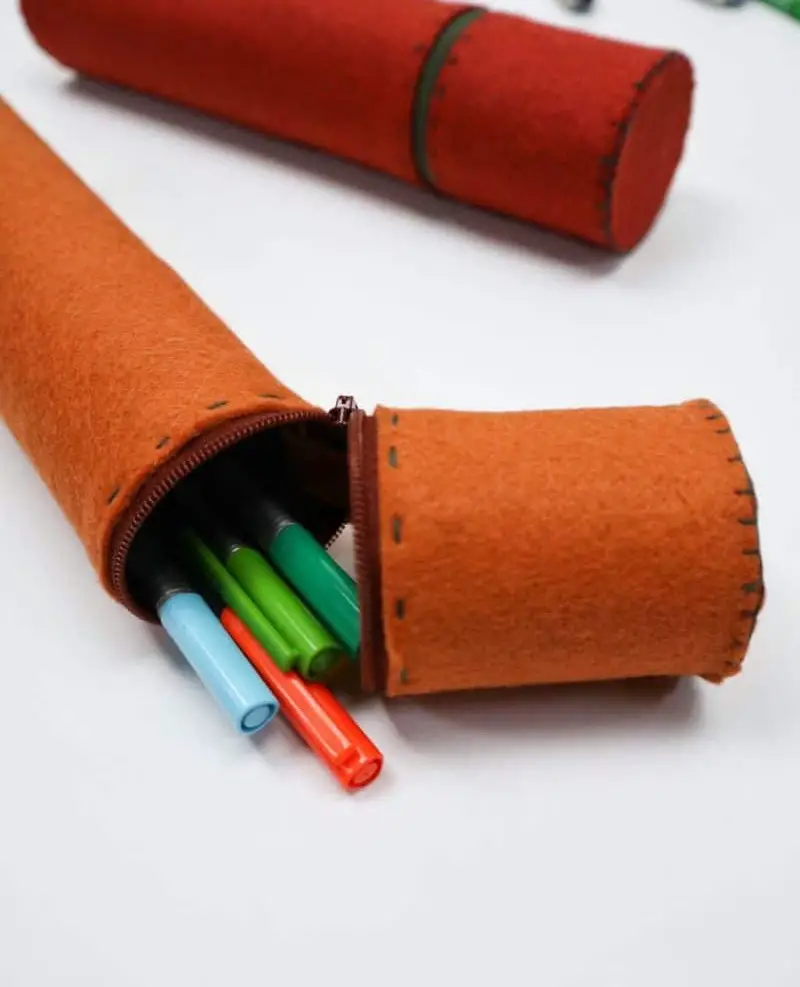
That’s why we’ve come up with an ingenious solution: a sustainable, easy-to-make pencil case that won’t break the bank. And the best part? You wouldn’t even guess it’s made from cardboard!
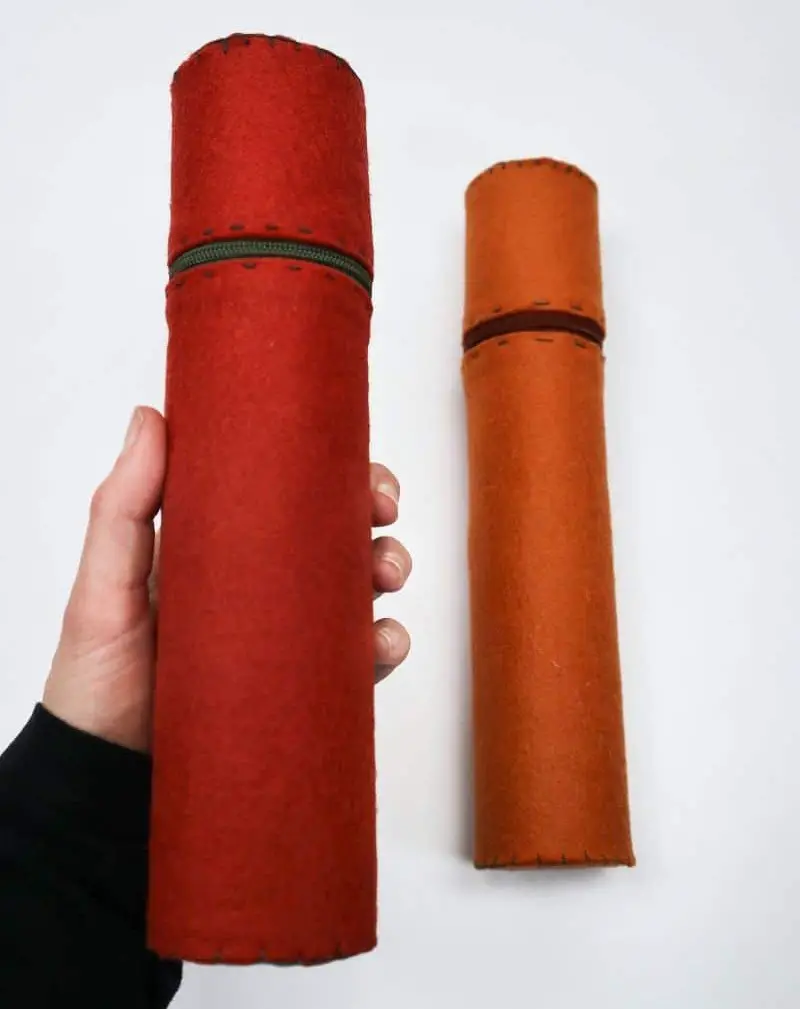
DIY Pencil Case – A Great Back to School Craft
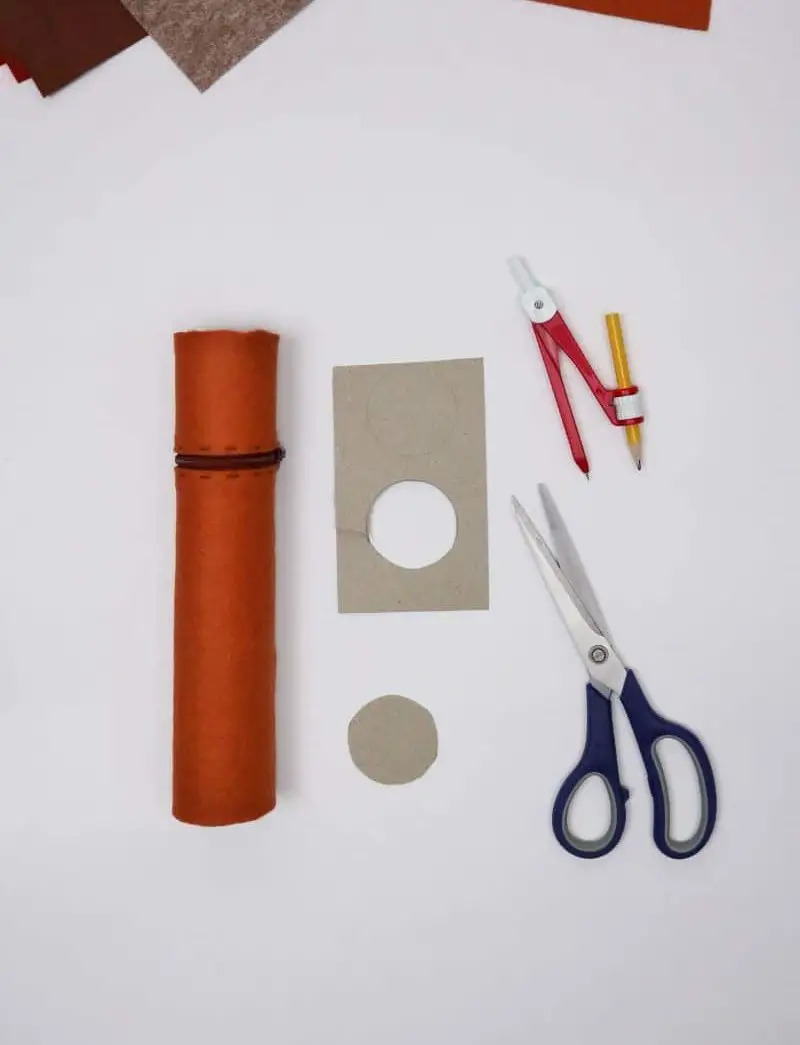
Supplies for a Pencil Case
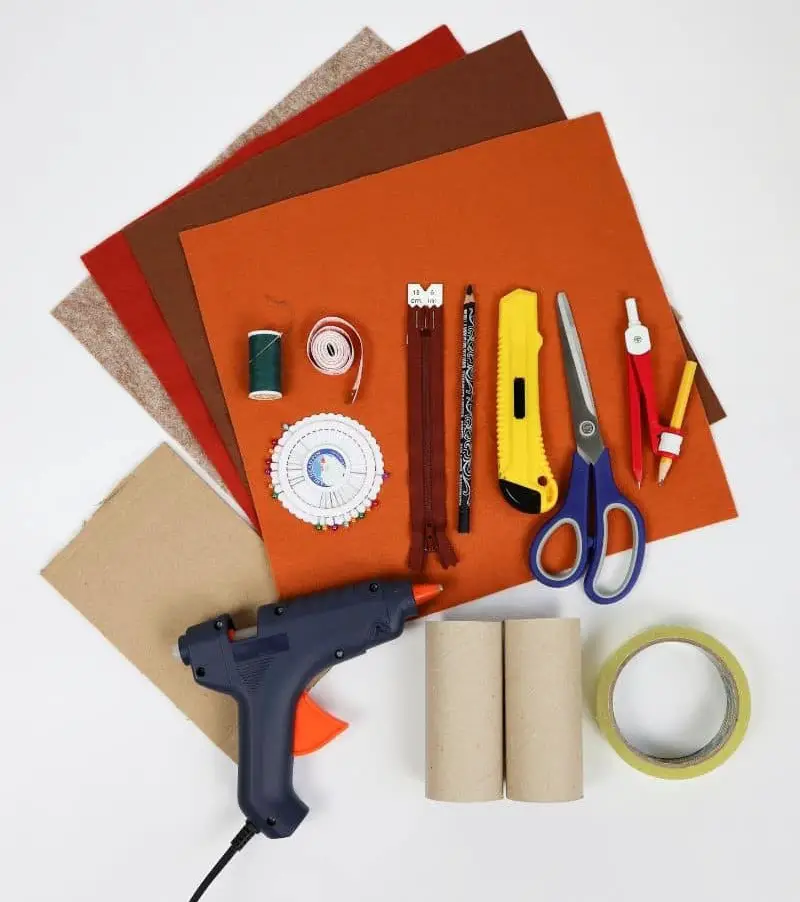
The essential toolkit for crafting DIY creations includes a variety of materials, ranging from everyday items to specialized tools. Colored felt sheets provide a pop of color and texture, while toilet rolls offer a unique base for creative structures. Nylon zippers, approximately 6 inches (15cm) in length, add an element of flexibility and closure. Cardboard provides a sturdy foundation for various projects. Hot glue guns and Scotch tape serve as reliable bonding agents.
Pins and needles enable precise stitching and manipulation. A measuring tape allows for accurate measurements, while a pencil is necessary for sketching out designs. Finally, a retractable knife ensures safety and control when cutting materials. For navigation and precision, a compass paired with a pencil proves invaluable.
How to Make a Pencil Case
To craft a one-of-a-kind upcycled pencil case, follow this comprehensive guide that breaks down the process into manageable steps. Get ready to breathe new life into an old material and create a unique accessory for your writing essentials.
Step 1
To begin crafting your pencil case, gather the necessary supplies. A 15cm long zip is recommended for wrapping around a standard cardboard tube. If you’re working with a thicker tube, opt for a longer zip instead. Additionally, prepare at least two felt pieces – one for the main body of the case and another for the wings. Don’t be afraid to get creative by experimenting with color blocking techniques to give your case an extra touch of uniqueness.
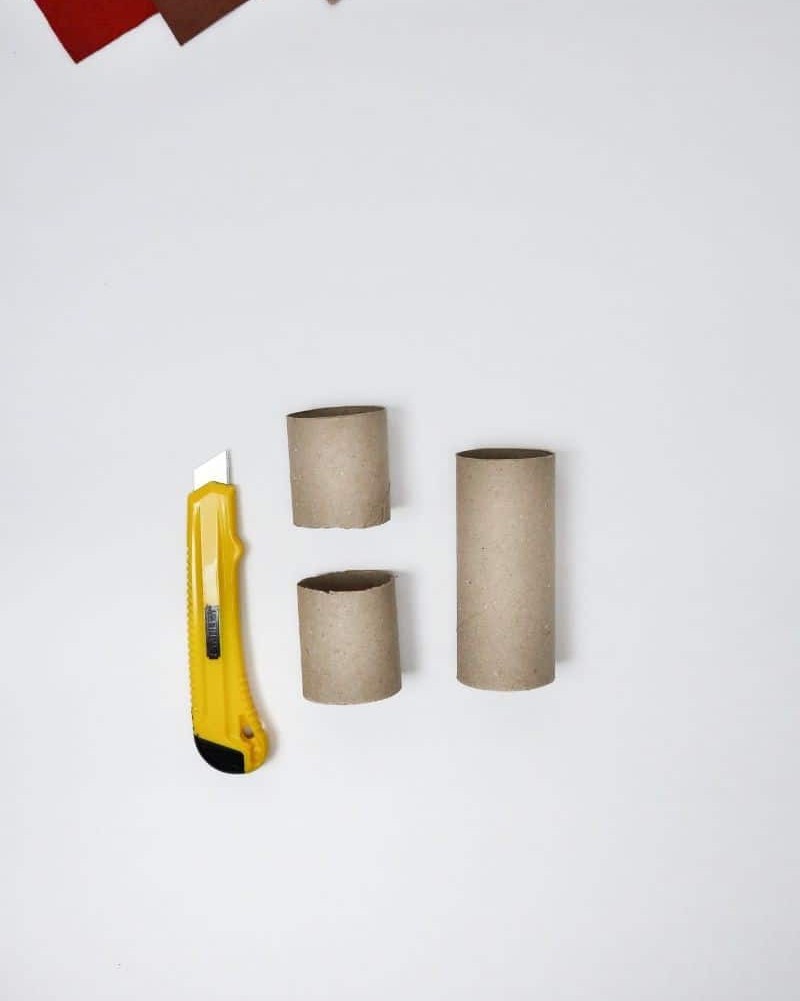
Step 2
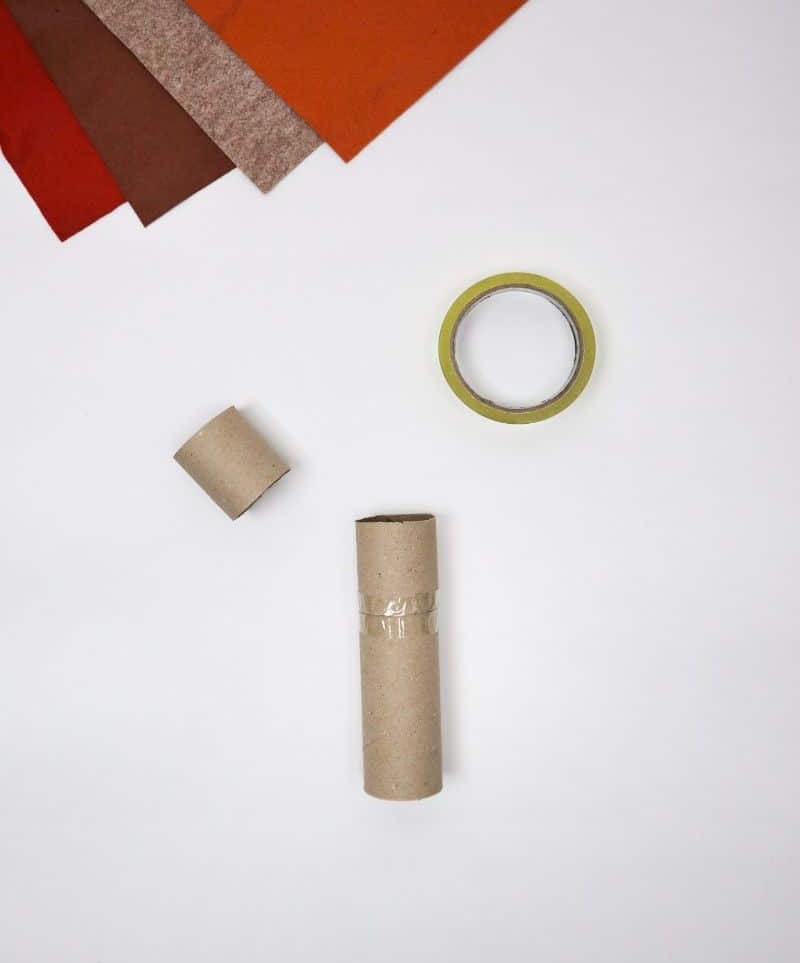
To initiate the crafting process, start by shaping the interior structure. Begin by splitting a cardboard roll into two halves using a craft knife, leaving the remaining piece untouched. This will yield a total of three distinct components.
Step 3
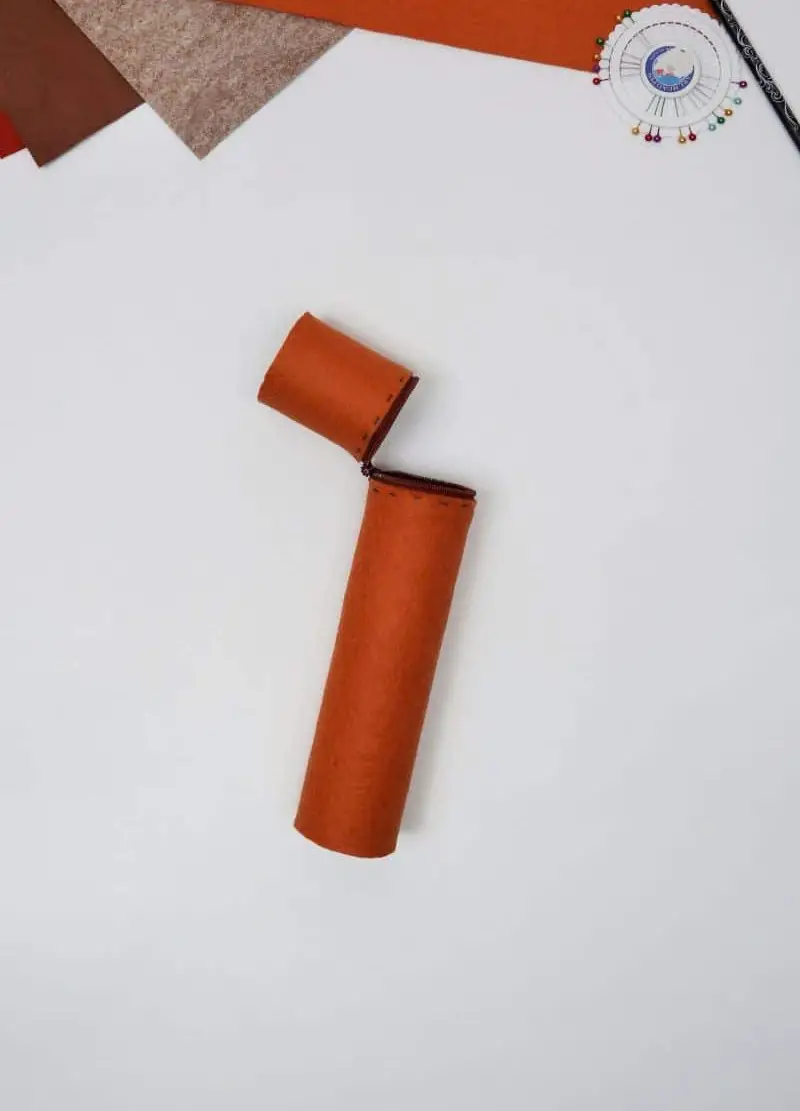
To create a sturdy base for your craft project, secure one of the small cardboard pieces to the top of the toilet paper tube using some tape. This will result in a single longer cardboard tube and a smaller half-sized piece remaining, ready to be used in subsequent steps.
Step 4
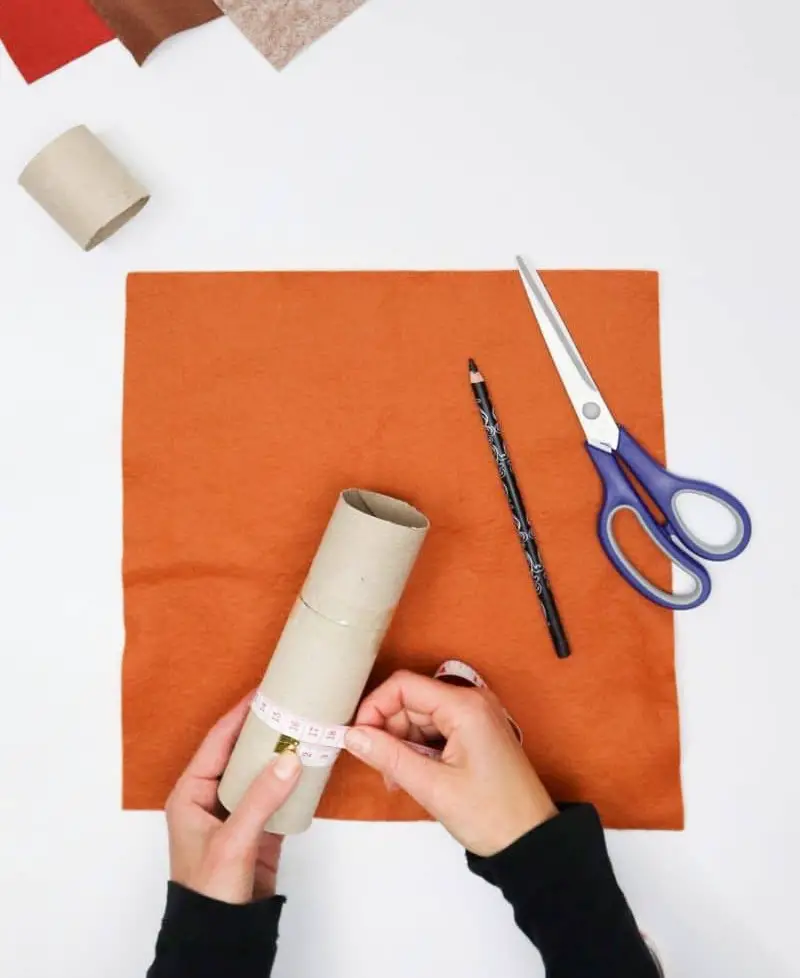
To get started with creating your own paper bead roll, begin by measuring the circumference of the large paper roll. Record this measurement and use it as a guide for cutting a piece of felt that will serve as the foundation for your roll. For my project, I used a piece of felt that was 15cm wide.
Step 5
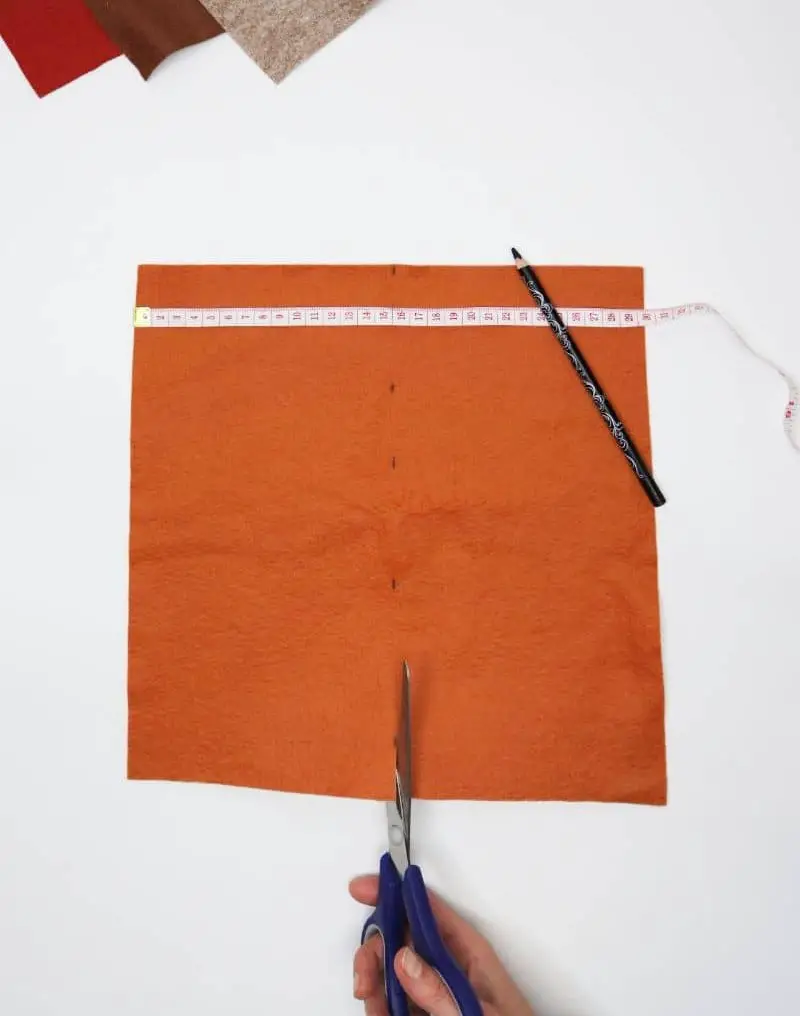
To create the precise shape needed for your project, draw a straight line along the felt where your measurement mark is located. Once the line is drawn, carefully cut along it to produce a symmetrical piece that will perfectly fit around your cardboard tube.
Step 6

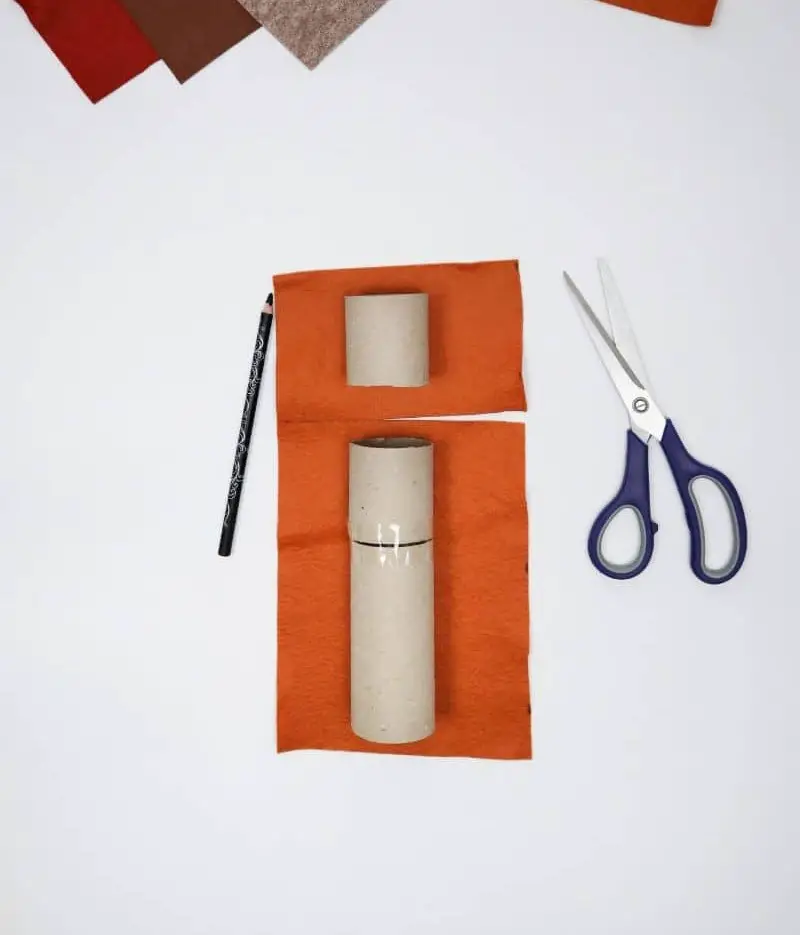
To complete the assembly, begin by trimming the felt horizontally to ensure a proper fit for the cardboard components and zipper attachment. Align the smaller and larger sections of felt alongside each other, carefully cutting along the edge to create a seamless joint.
Step 7
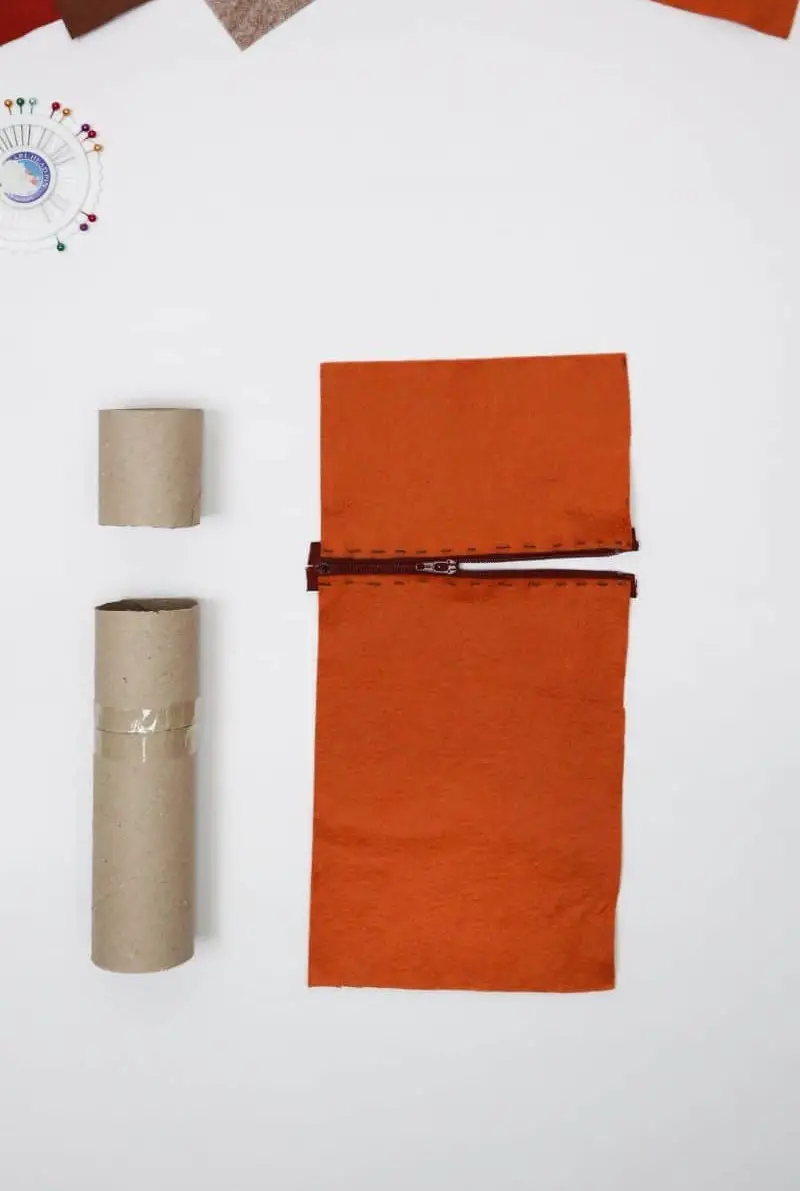
Now it’s time to bring everything together by attaching the zipper. To do this, lay your felt piece out flat and secure the zipper along its entire length using pins. Make sure the felt’s edges align perfectly with the zipper’s teeth to ensure a seamless joint.
Step 8
Gather your sewing supplies, including your trusty sewing machine or a humble needle and thread, as we dive into the next step of our project. With precision, guide your machine’s straight stitch along both sides of the zipper, ensuring that the backing is securely captured in the process.
Step 9
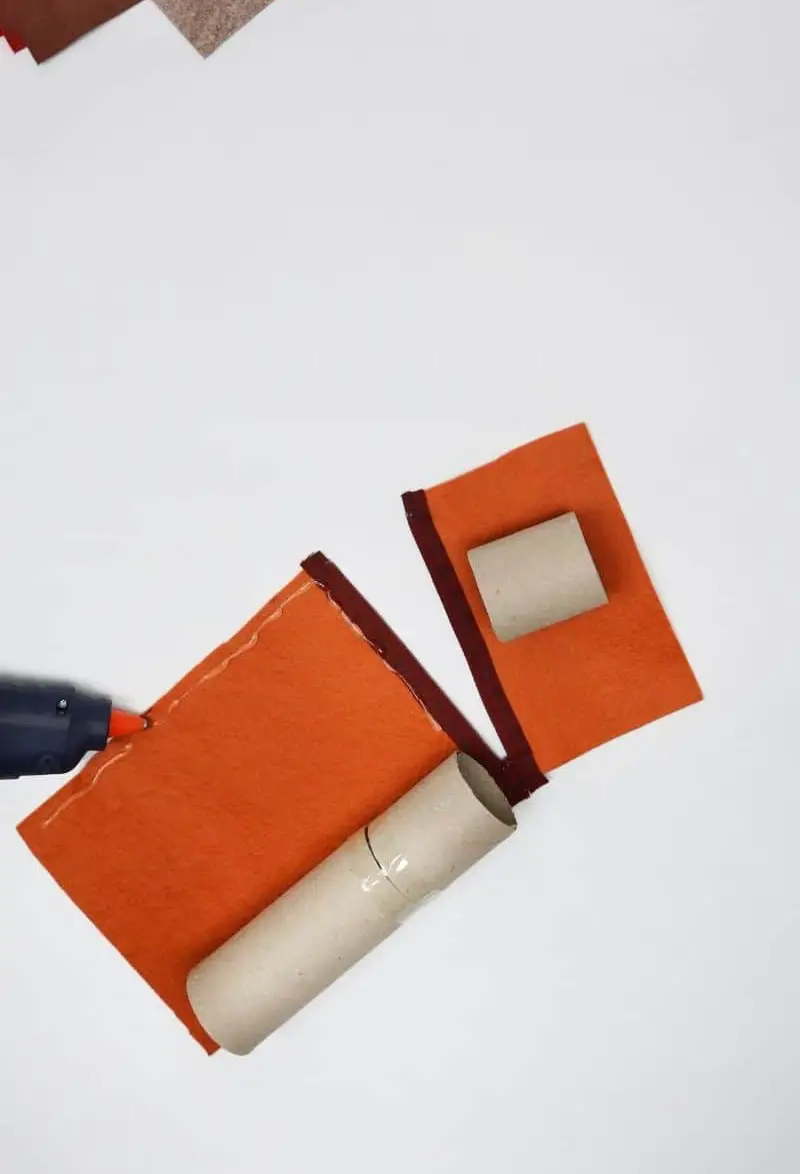
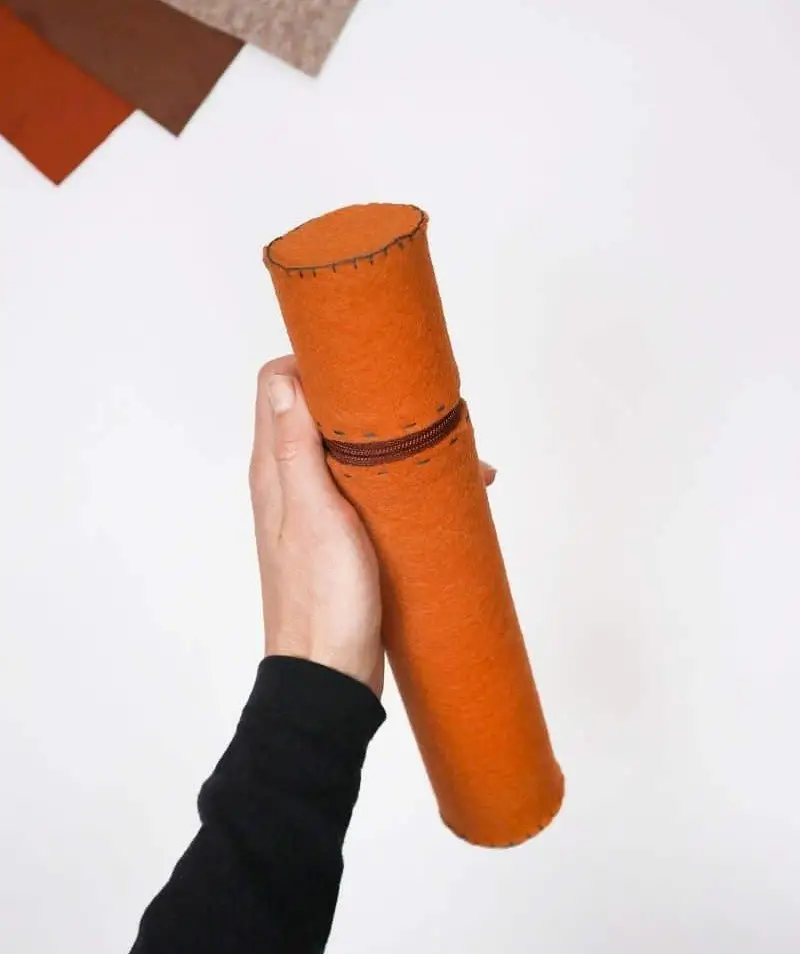
As the foundation of your handmade pencil case is now complete, it’s crucial to secure the felt cover in place. For this step, I relied on a hot glue gun for its reliability and speed. Starting from one edge, apply a consistent line of adhesive along the felt’s perimeter. Then, using gentle yet deliberate pressure, slowly roll the tube across the glue line, ensuring the entire surface is evenly coated. This process should yield a seamlessly wrapped cover.
To put your creation through its paces, immediately test the zipper’s integrity by fully opening and closing the pencil case, verifying that the attachment remains secure throughout.
Step 10
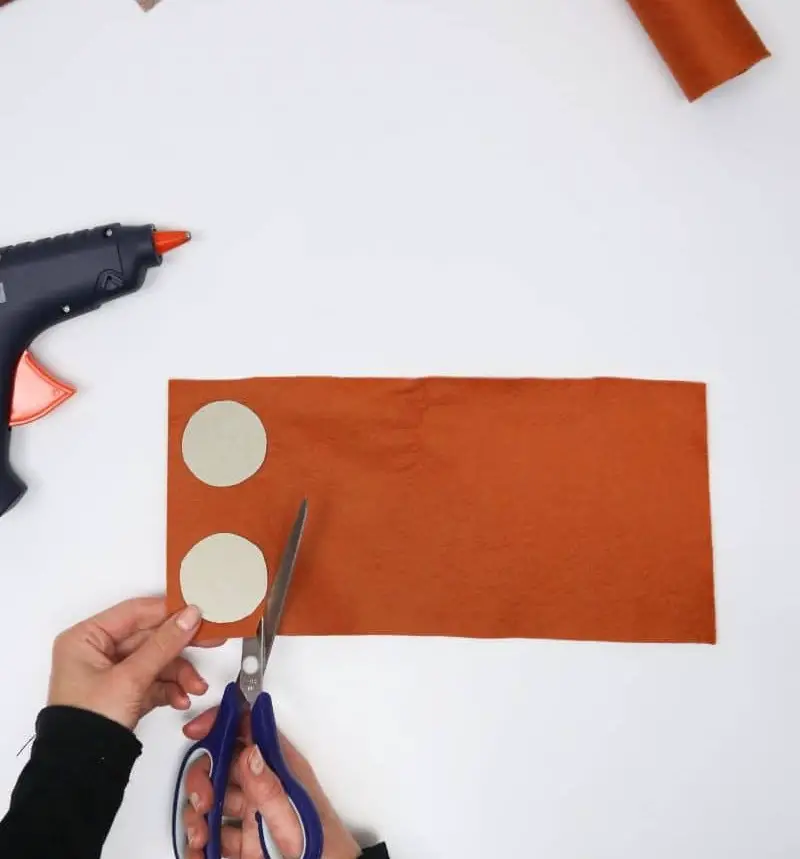
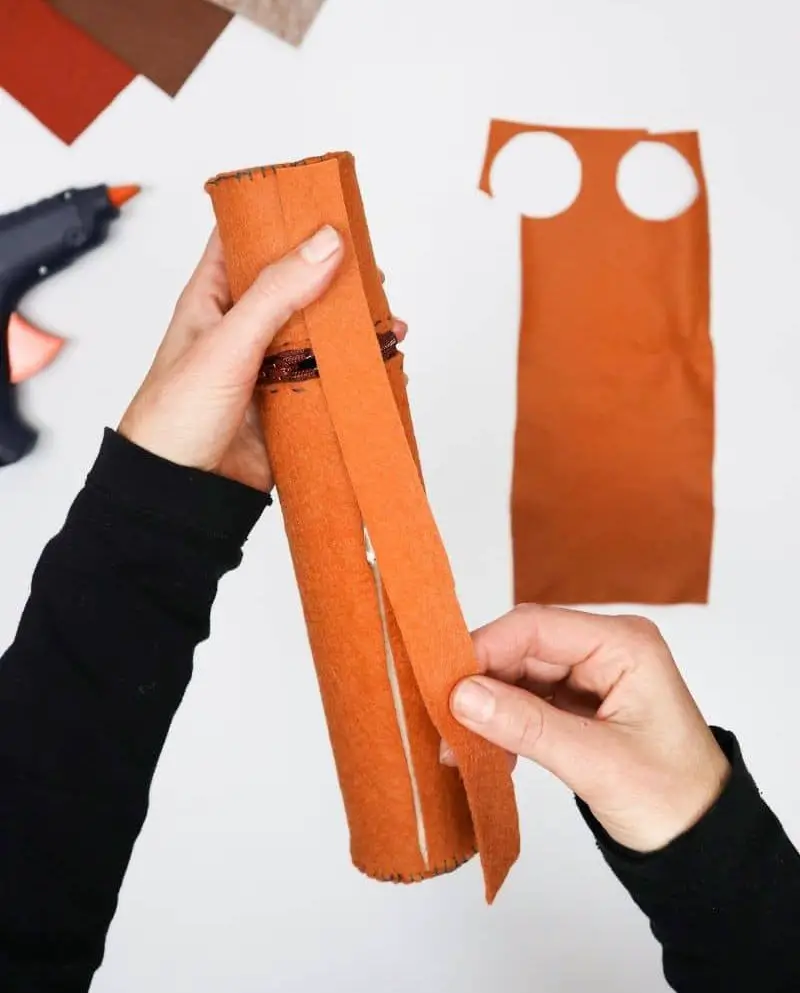
To complete the look of your pencil case, we’ll now create a cardboard felt patch for either end of the tube. This is an opportunity to add a pop of contrast with a different color if you’d like. Begin by measuring the circular gaps on your pencil case using a compass, then draw two identical circles onto some cardboard. If you don’t have a compass, you can use another same-sized tube as a substitute.
Step 11
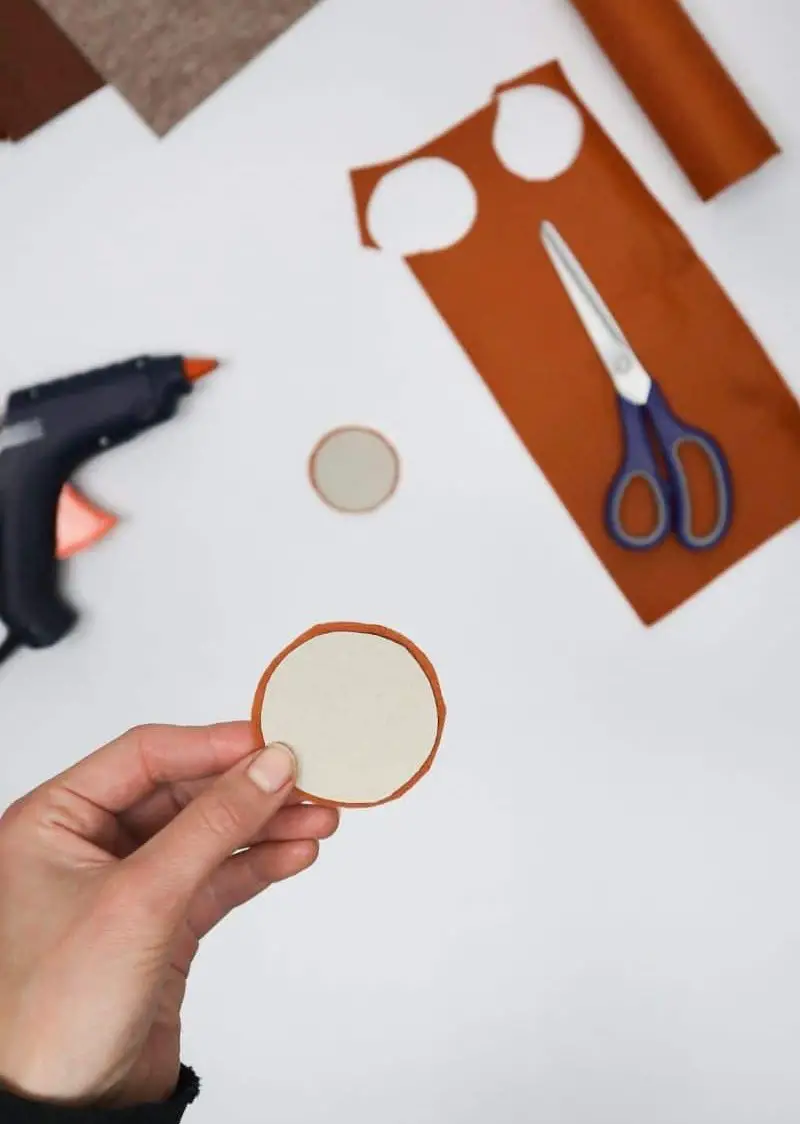
To add the finishing touches to your project, start by removing any excess cardboard from the pre-cut circles. Next, employ a hot glue gun to securely attach these circles to your felt material. Be meticulous as you work, using fabric scissors to carefully trim around the edges of the cardboard and felt, ensuring a seamless joint.
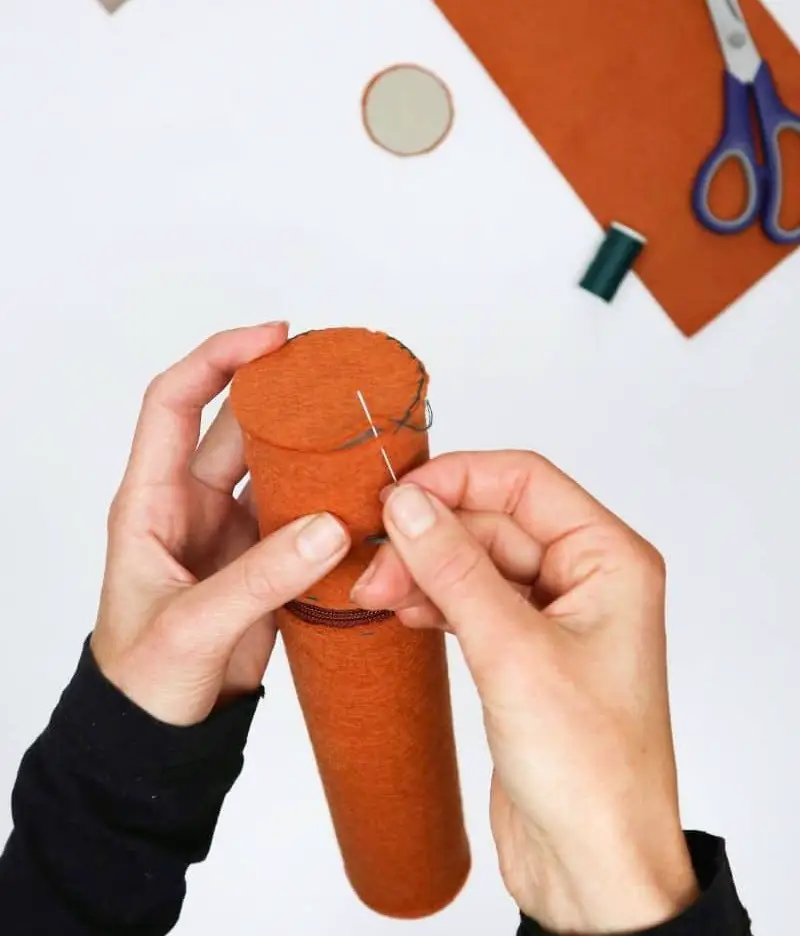
Step 12
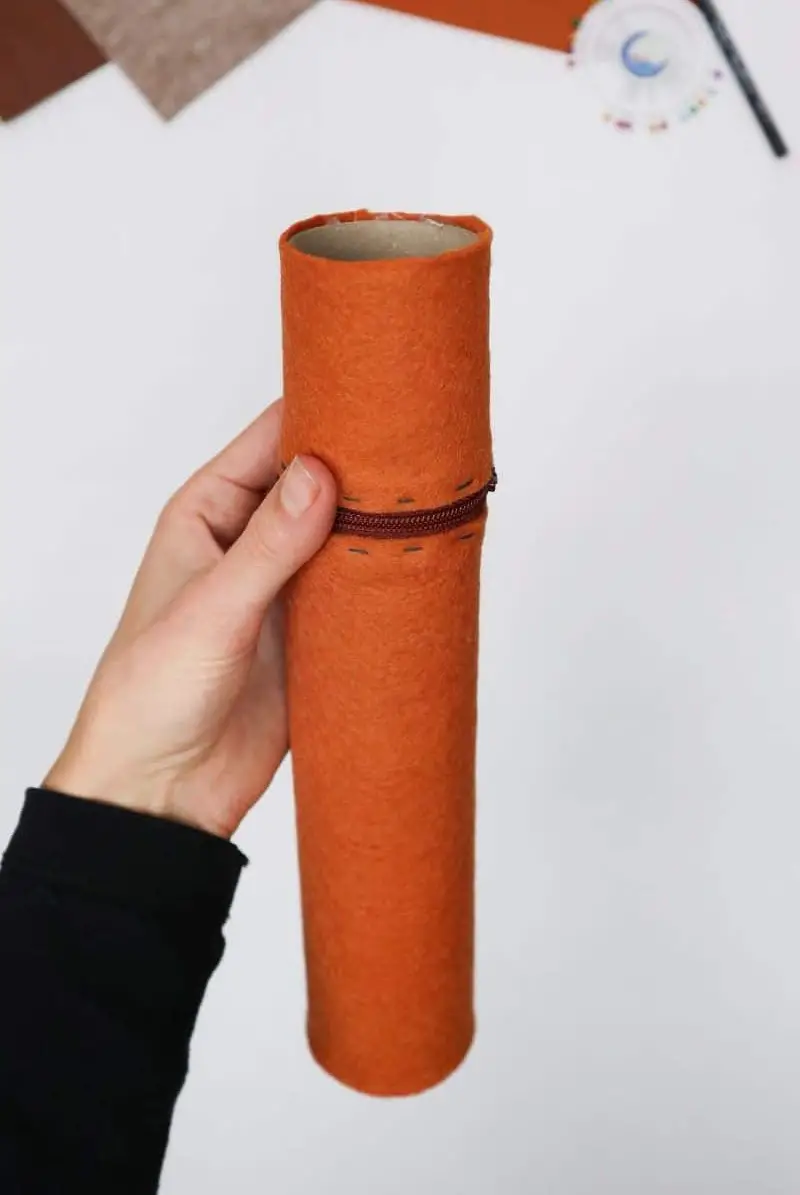
To complete the construction of your pencil case, take the prepared felt circles and place them over the gaps on your case, ensuring the cardboard edges align properly. Then, using a needle and thread, perform a secure mattress stitch around the perimeter of each circle to effectively seal the opening, creating a finished product that is both functional and visually appealing.
Step 13
The final touch involves concealing any visible seams on the back of your case. To achieve this, cut a narrow strip of felt and secure it over the join using a strong adhesive. This simple step can make all the difference in transforming the appearance of your case from basic to bespoke.
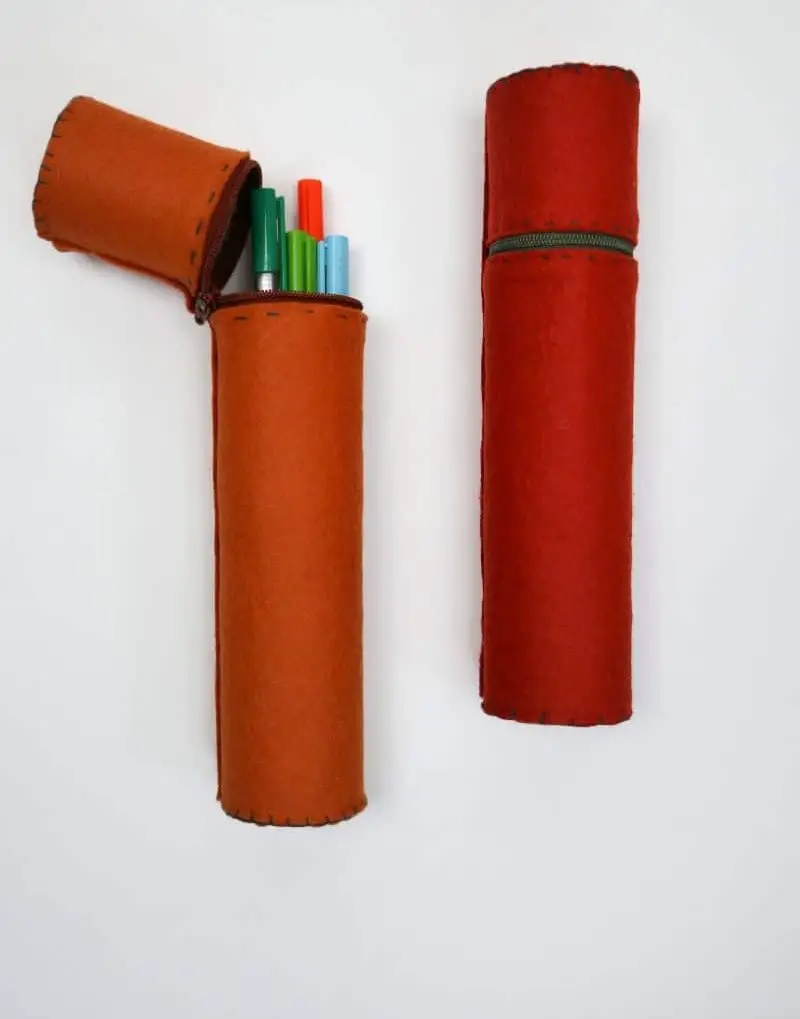
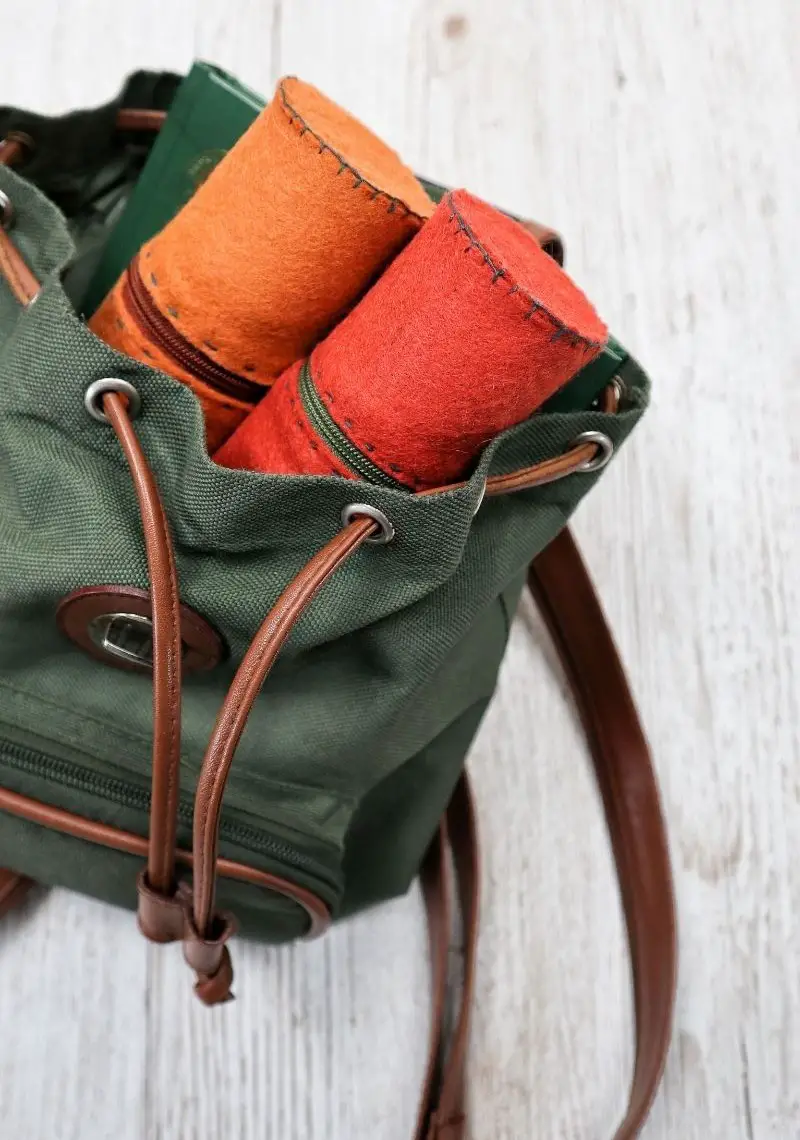
With these DIY cases now complete, you’re free to unleash your creativity. Add some personal flair with markers, pins, or other embellishments to give each one its unique character.
The best part?
You can create as many custom cases as you need to stay organized and stylish. Consider making a few extras as thoughtful gifts for friends at the start of a new academic year.
How Much Might This Upcycled Craft Cost?
When it comes to gathering materials for your cardboard toilet paper tube crafts, there are several options to consider. One of the most cost-effective is to simply repurpose what you already have at home – those humble cardboard tubes that would otherwise end up in the recycling bin. You won’t need to spend a dime to get started. For felt, you can opt for a bulk pack from Amazon or a craft supply store. This will ensure you have a steady stockpile on hand for future projects.
Alternatively, if you’re looking for an ultra-budget-friendly option, check out your local dollar store for affordable sheets of felt. But why not take sustainability to the next level? If you have some old or ruined clothing with a zipper that’s seen its better days, consider ripping it out and reusing it as felt instead. Not only will this reduce waste, but it’ll also give your craft project a unique, eco-friendly twist.
Check out more toilet roll crafts for inspiration and to take your creative skills to the next level.
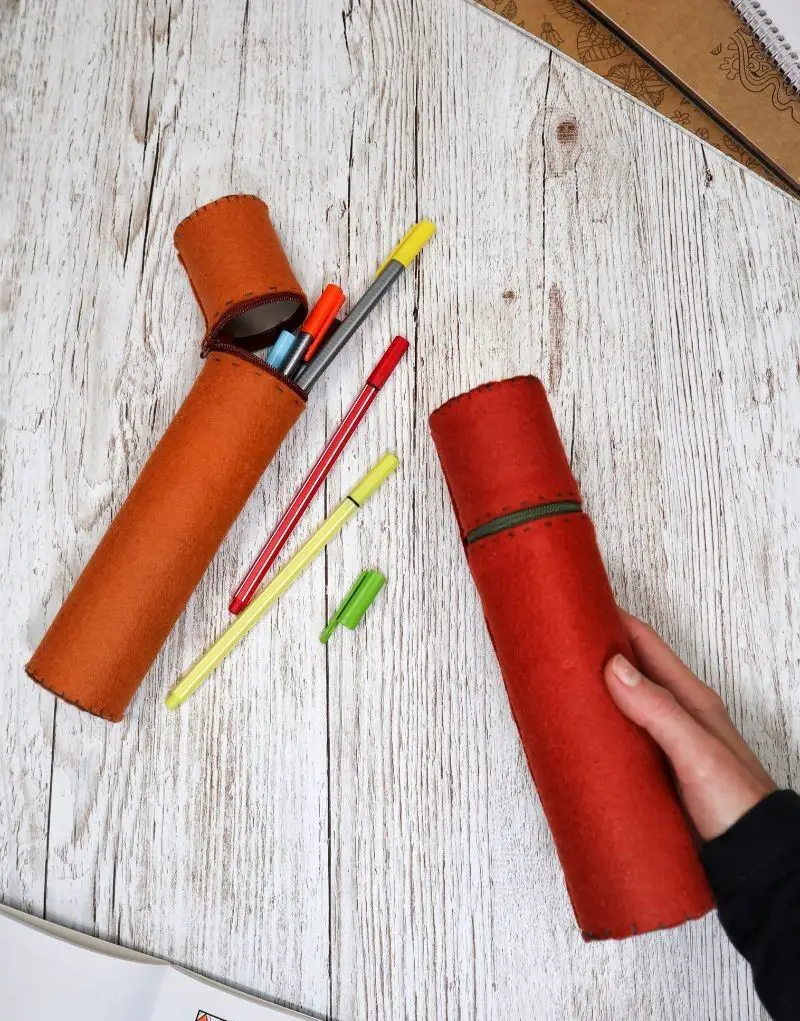
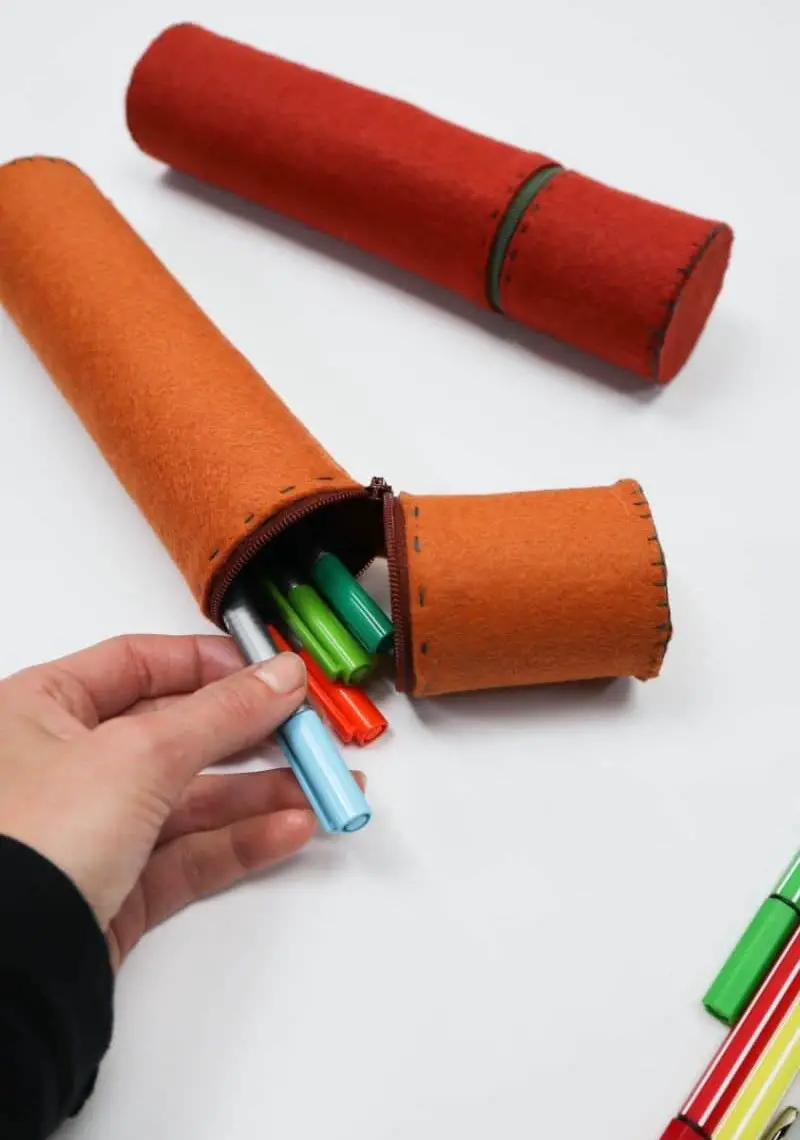
DIY Pencil Case Out of Toilet Rolls
Transforming toilet rolls into a functional and affordable pencil case is an innovative way to reuse and recycle household items. In just under an hour, you can create a unique storage solution for your school supplies or office essentials. With only a few simple materials and tools, this DIY project requires minimal investment, with a total cost of approximately $7. The process itself takes around 40 minutes, leaving you with some extra time to relax or tackle other creative endeavors.
Once the initial crafting phase is complete, the entire process will take around 50 minutes from start to finish. As a result, you’ll be left with one fully functional and reusable pencil case.
Equipment
When preparing for a DIY project, it’s essential to have the right tools at your disposal. A hot glue gun is often a staple in many crafty endeavors, while Scotch tape and pins can be useful for temporarily holding things together. For sewing or crafting projects, having a needle, thread, and pencil on hand can make all the difference. Additionally, a measuring tape and retractable knife can come in handy for making precise cuts and measurements.
And, of course, a compass with a pencil is always a valuable asset when working on a project that requires precision and accuracy.
Materials
A collection of unconventional materials has been gathered to create a unique assortment. Among these, colored felt sheets offer a soft and vibrant addition, while toilet rolls provide an unexpected yet functional element. Nylon zip around pouches measuring 6 inches (15cm) in length bring a touch of modernity, complemented by the humble cardboard component.
Instructions
To craft a functional pencil case from paper rolls and felt, begin by cutting one roll in half and attaching it to the top of another. Measure the circumference of the tall roll and transfer that measurement to a piece of felt, which should be approximately 15cm. Cut out the felt according to your measurement. Next, place both the long and short rolls onto the felt piece and cut between them to create two separate felt pieces.
Insert a zipper into the gap, then sew along the edges using either a sewing machine or needle and thread. Apply a line of glue along the felt’s edges and roll both tubes inside the felt to complete your pencil case. To finish the ends, draw two circles on cardboard using a compass, cut them out, and glue them to a piece of felt before cutting around the edges. Sew these circles onto either end of the pencil case. Finally, apply a thin felt strip over the join to give your case a finished look.
With these steps completed, you’ll be ready for the school year with a handy and eco-friendly pencil case.