
Want to create a simple yet stylish DIY project? Look no further than this easy-to-make macrame bracelet. Perfect for both teens and adults looking to dip their toes into the world of macrame. This beginner-friendly craft is an excellent way to kickstart your creative journey. There’s something undeniably charming about crafting unique jewelry pieces at home.
With a little imagination, you can upcycle everyday items and transform them into one-of-a-kind masterpieces – just like this beautiful macrame bracelet. Take it to the next level by adding beads, metal links, chains, or other embellishments to give your creation a personalized touch. Plus, these bracelets make for thoughtful party favors if you’re planning ahead. Ready to get creative and start making your own macrame bracelets? Let’s get started!
Supplies You’ll Need
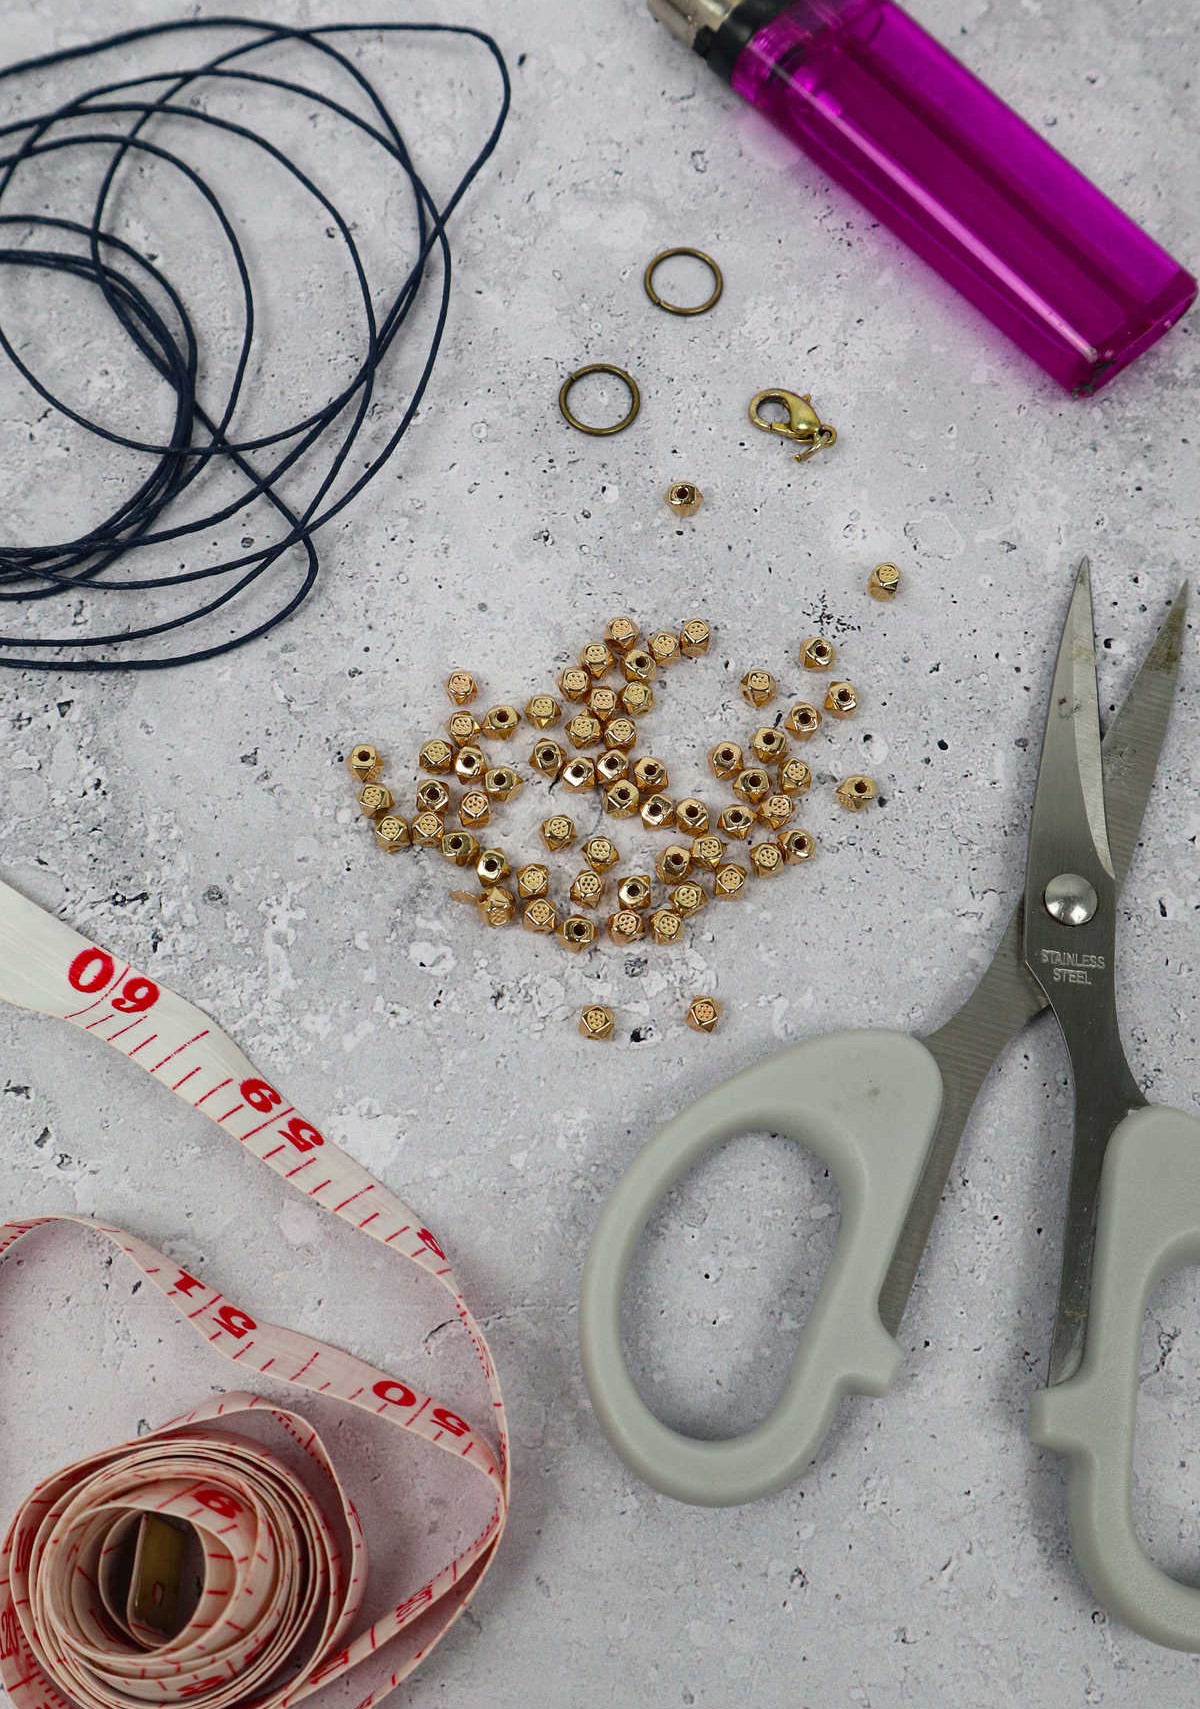
To begin, gather the following essential items: a 72-inch length of nylon cord with a thickness of 0.8 millimeters, scissors for precise cutting, a measuring tape to ensure accurate measurements, two lobster clasps to secure your design, two jump rings measuring 0.9 millimeters in diameter, three-millimeter beads to add visual interest, a lighter for any necessary flame-working, and clear tape as an optional but useful addition.
How to Make Macrame Bracelet
As you’ve assembled the necessary materials and selected the perfect hues for your cord, beads, and charms, it’s time to embark on crafting your unique piece. With your creative vision in mind, dive into bringing your design to life.
Step 1
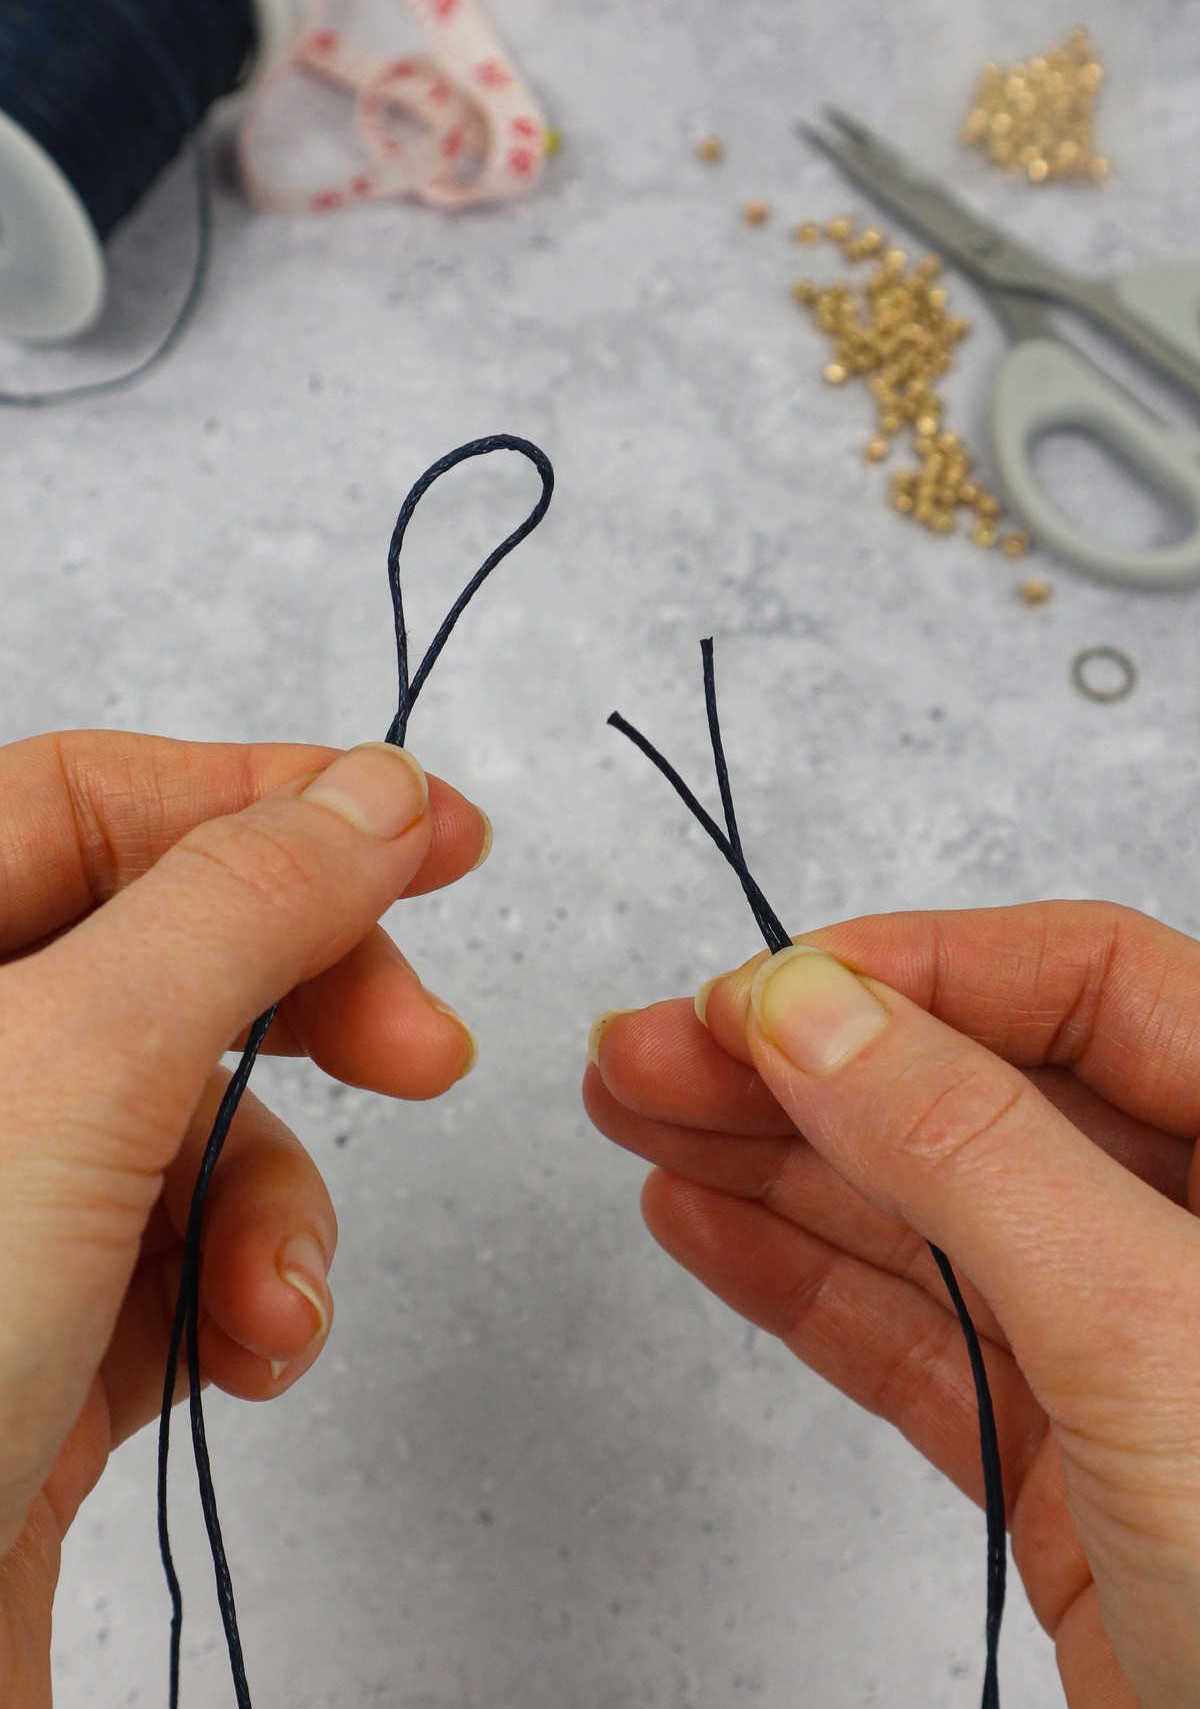
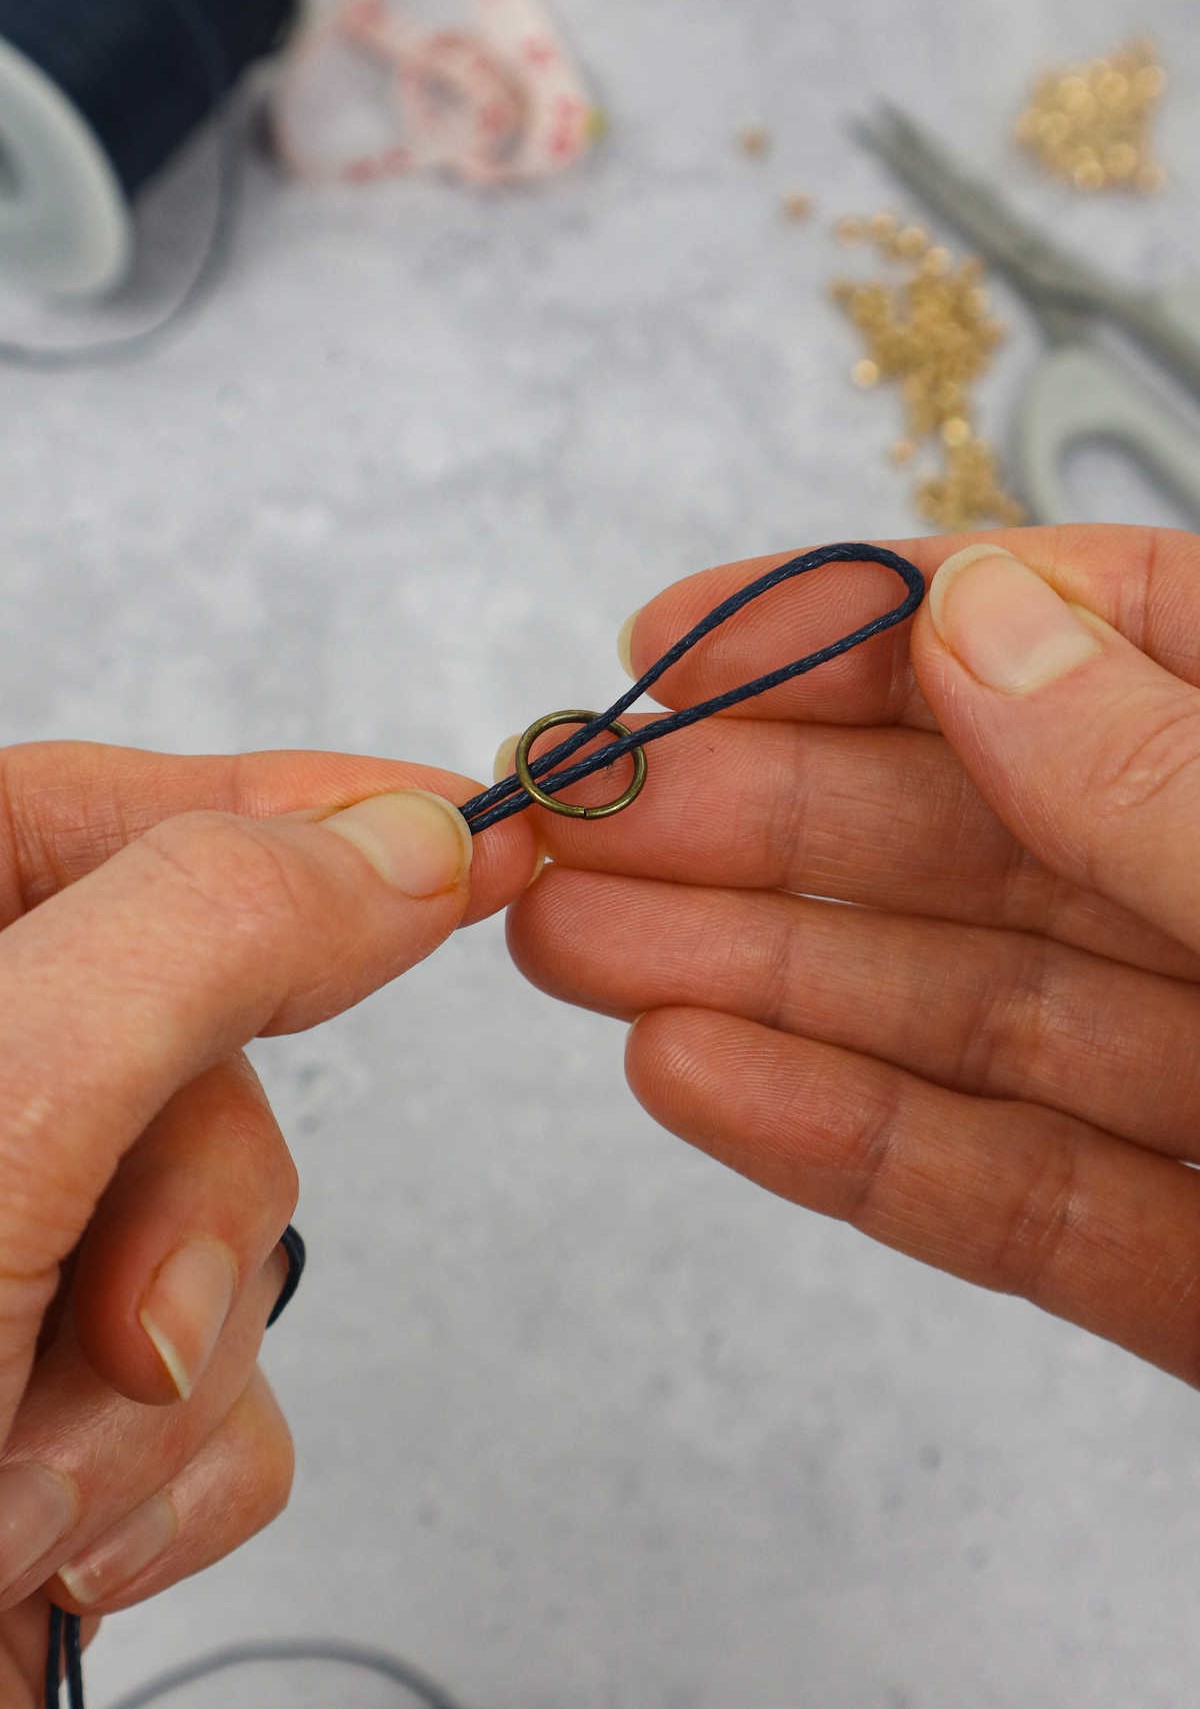
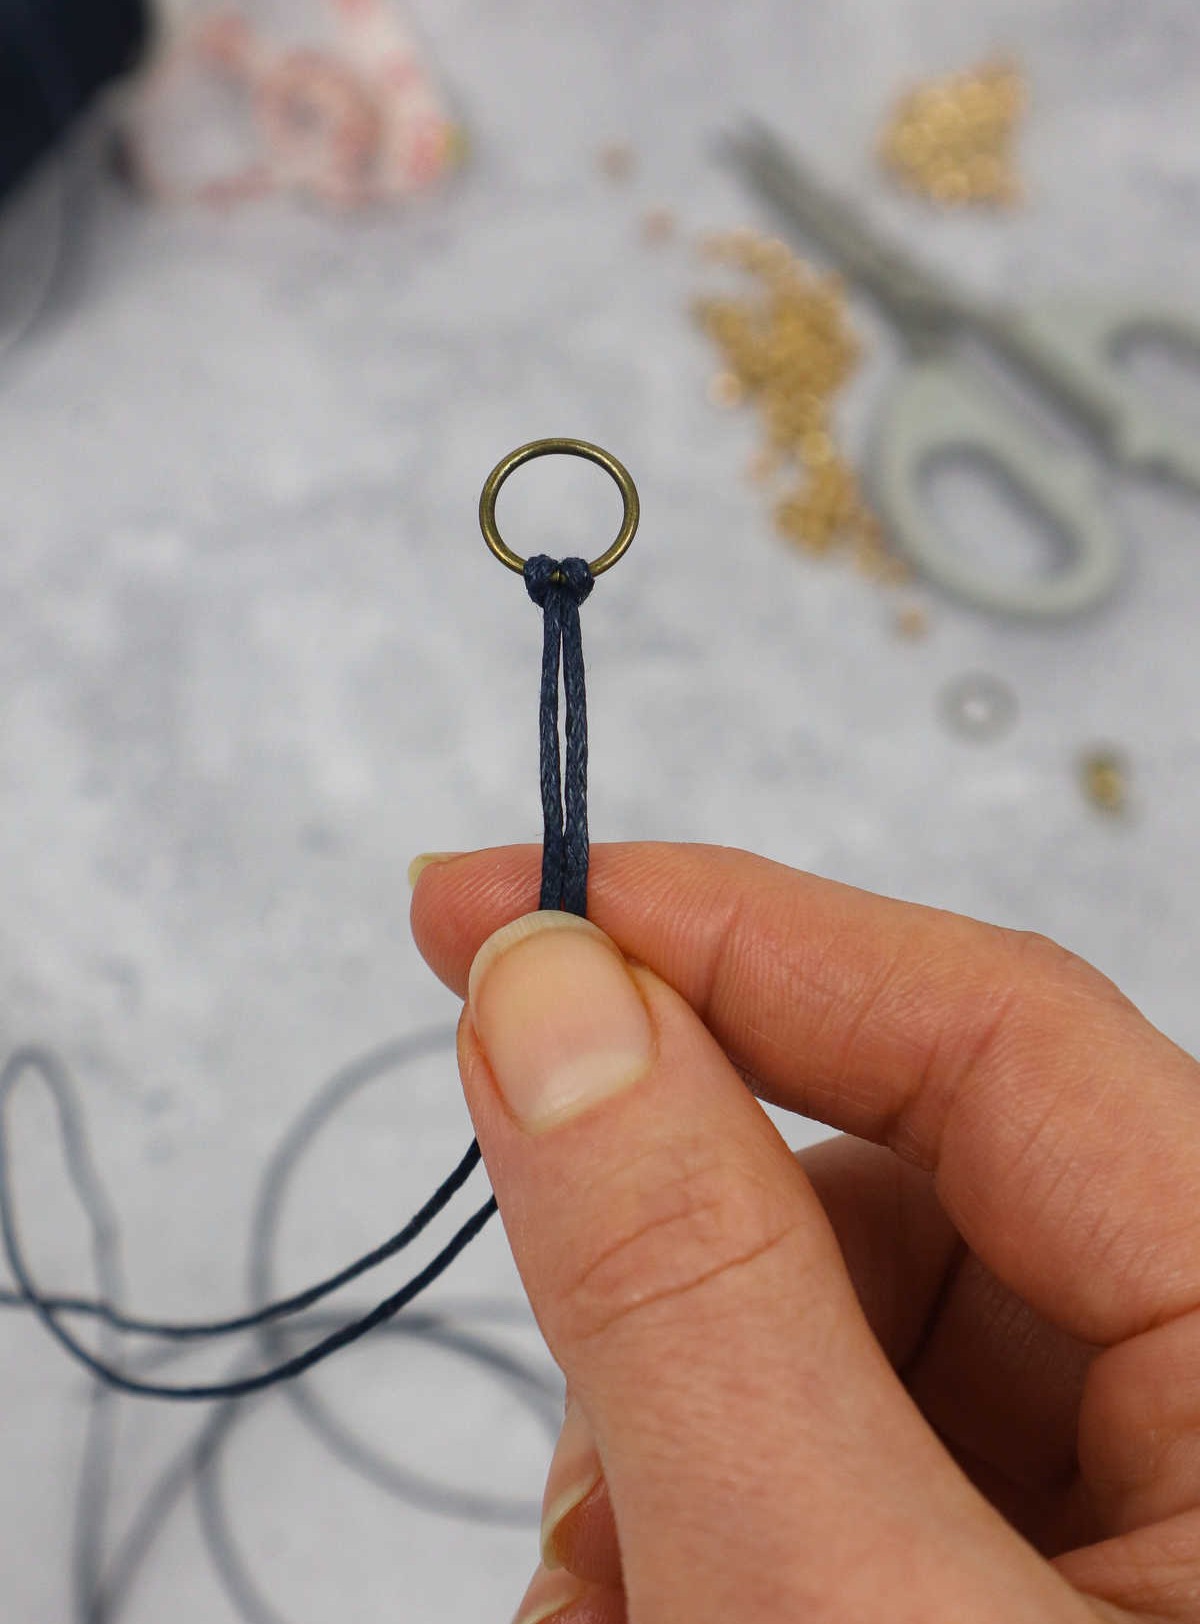
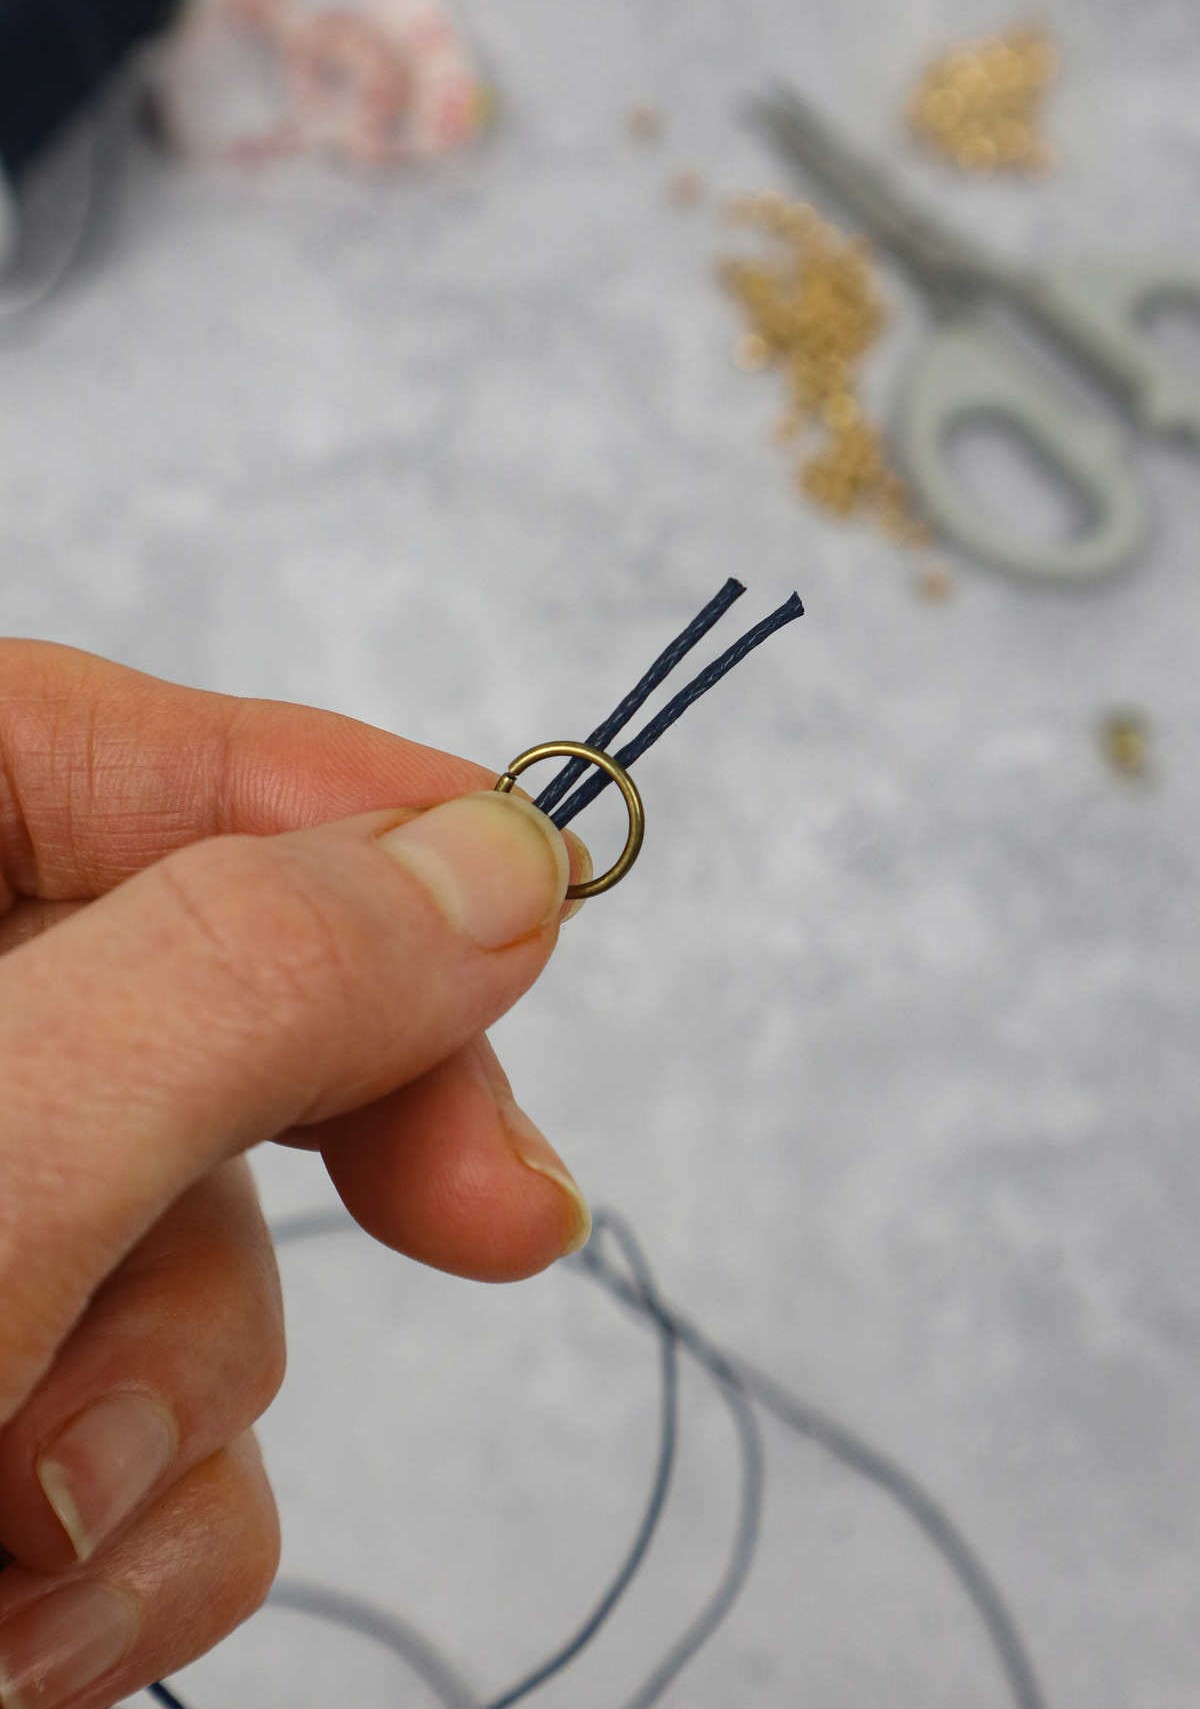
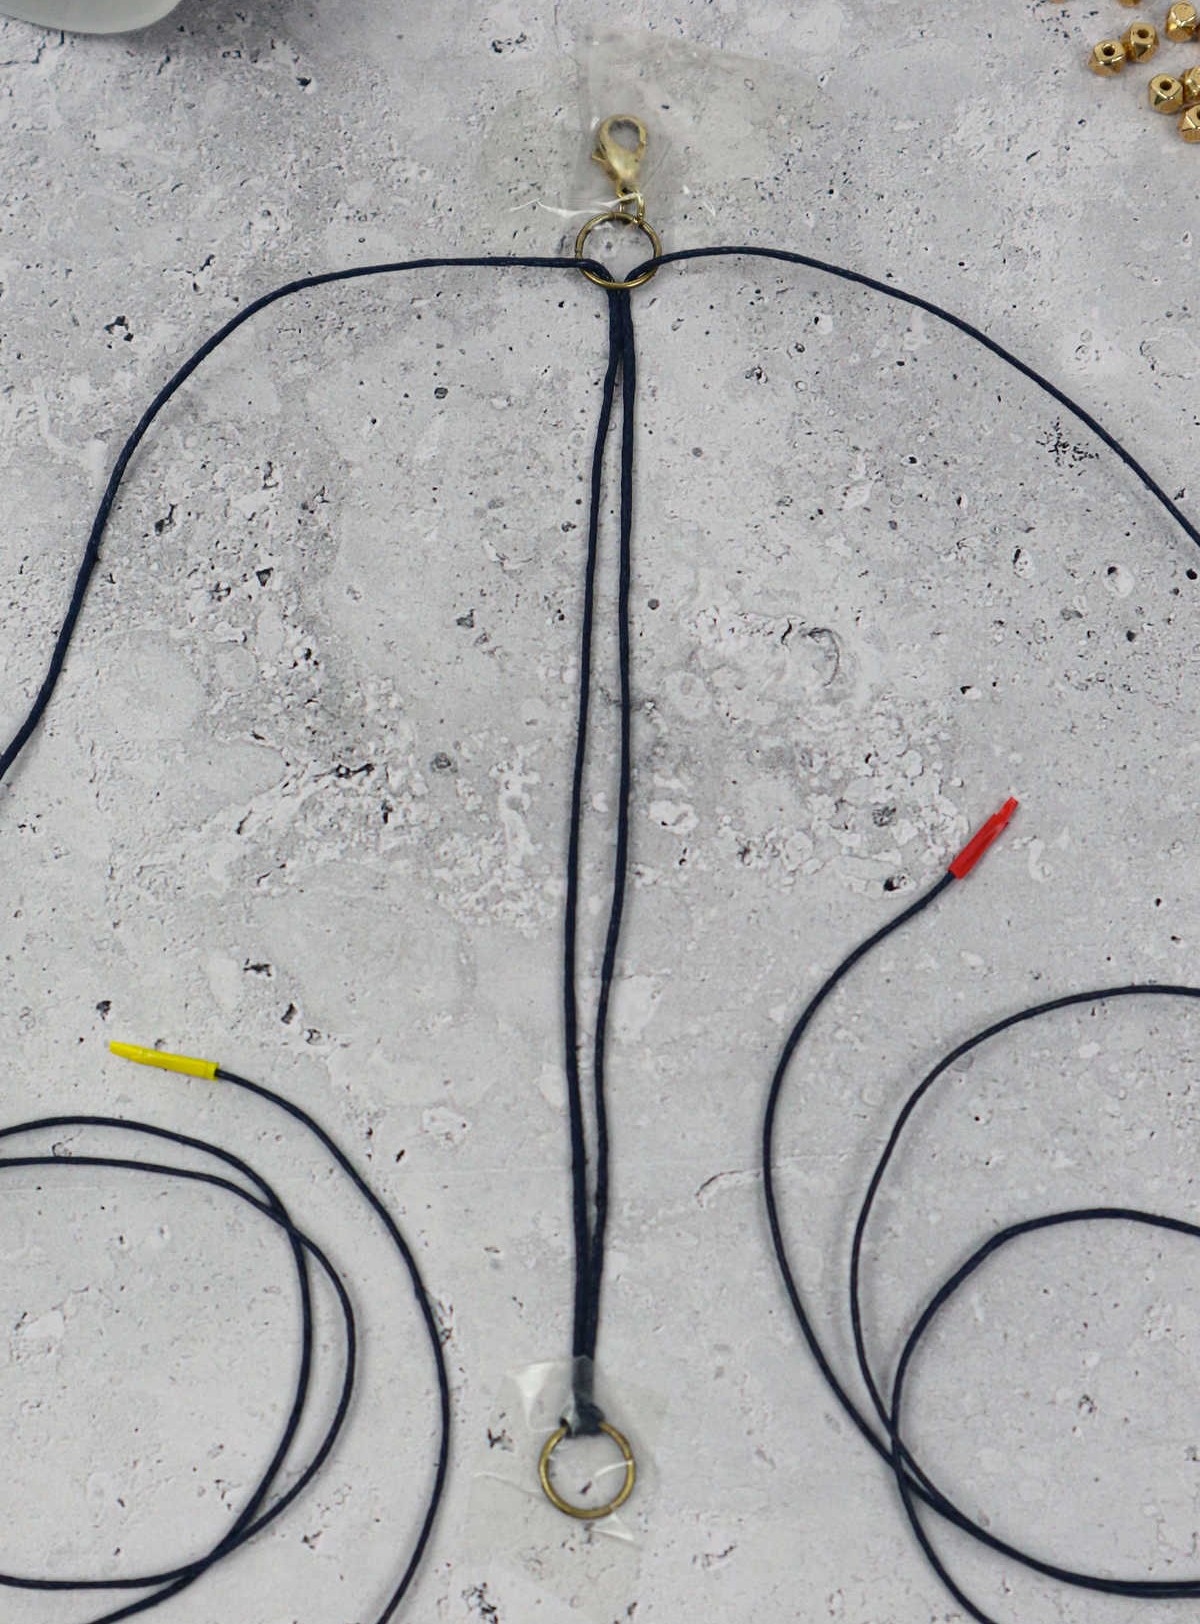
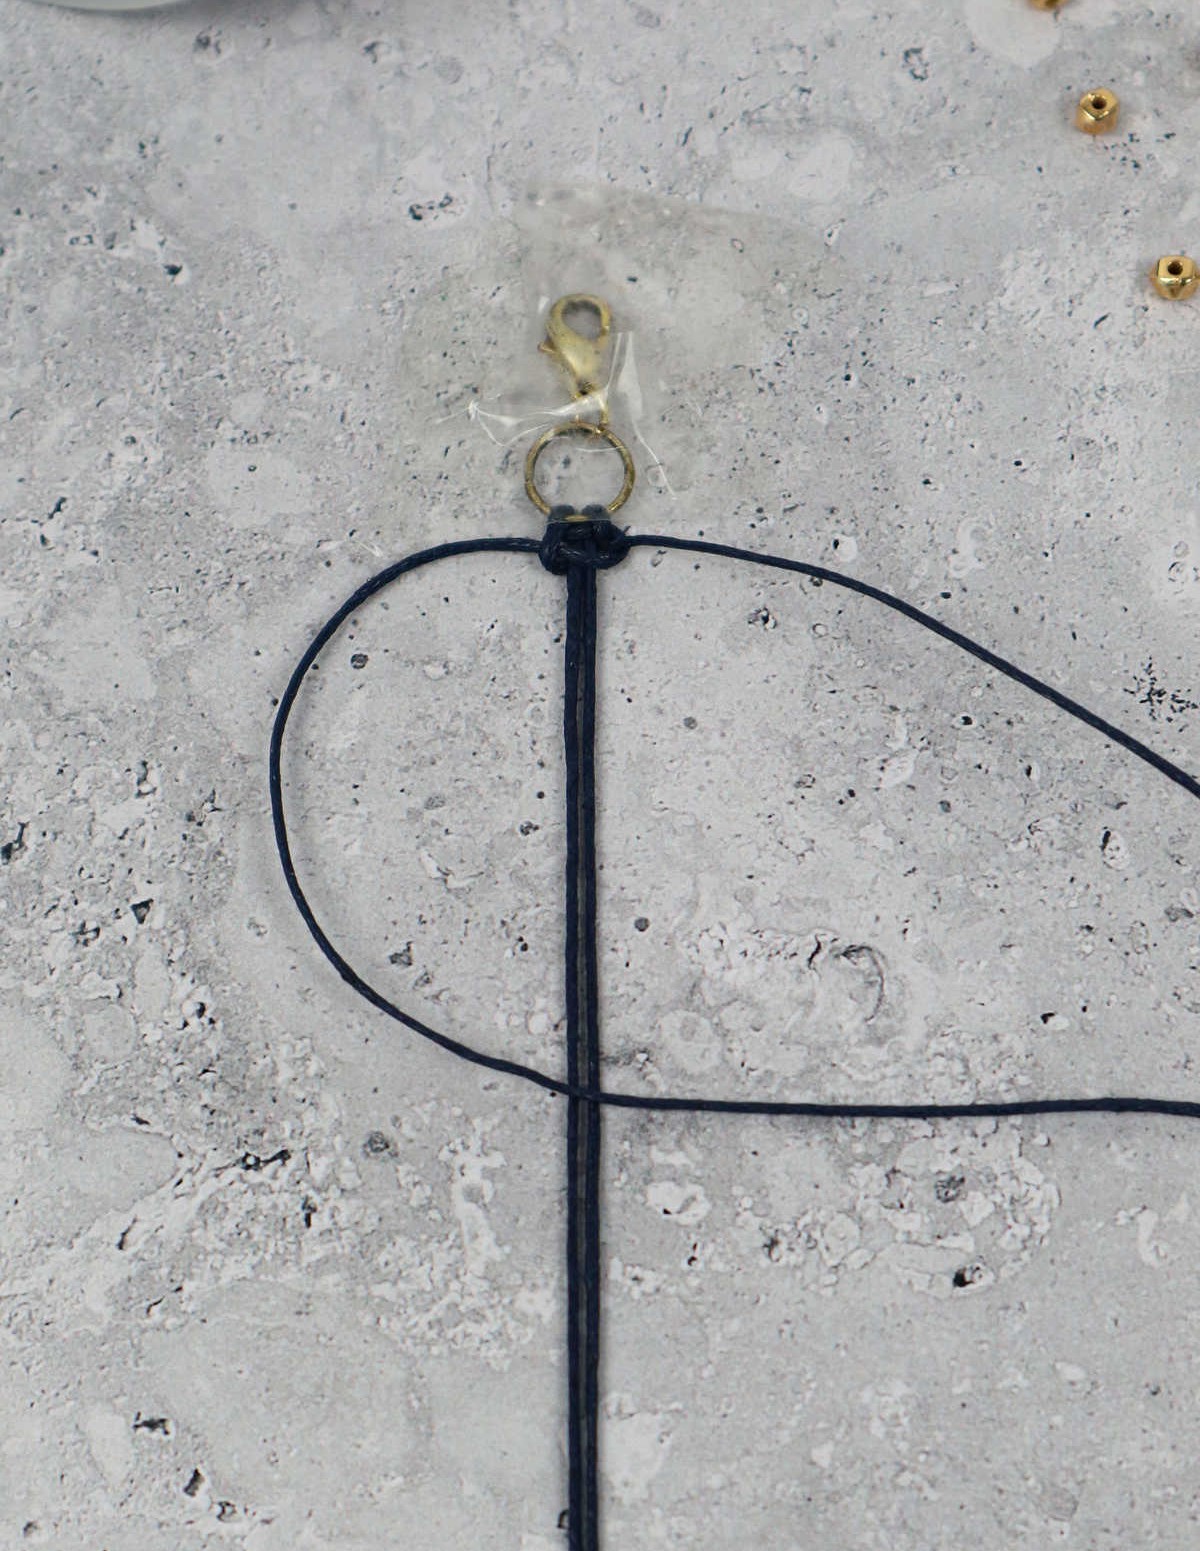
To initiate the process, fold your nylon cord in half, resulting in a loop on one side and two ends on the other. This setup will serve as the foundation for the subsequent steps.
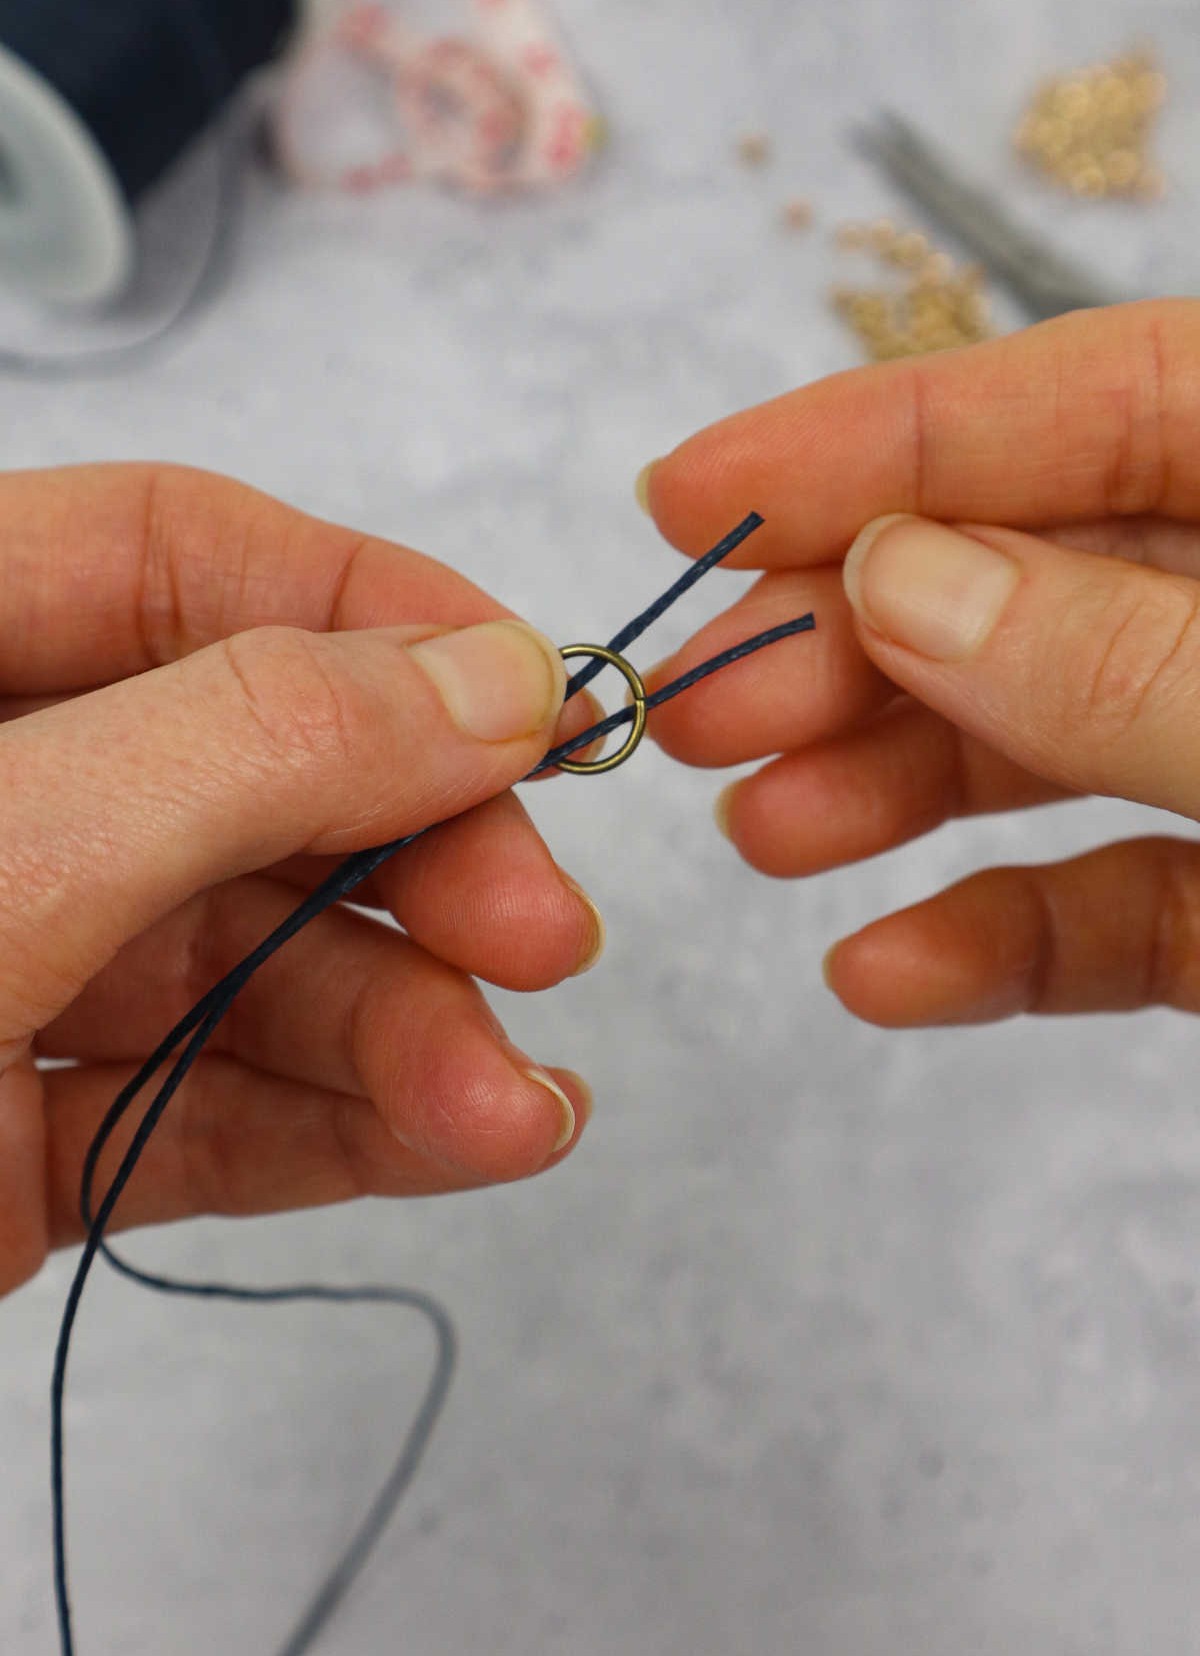
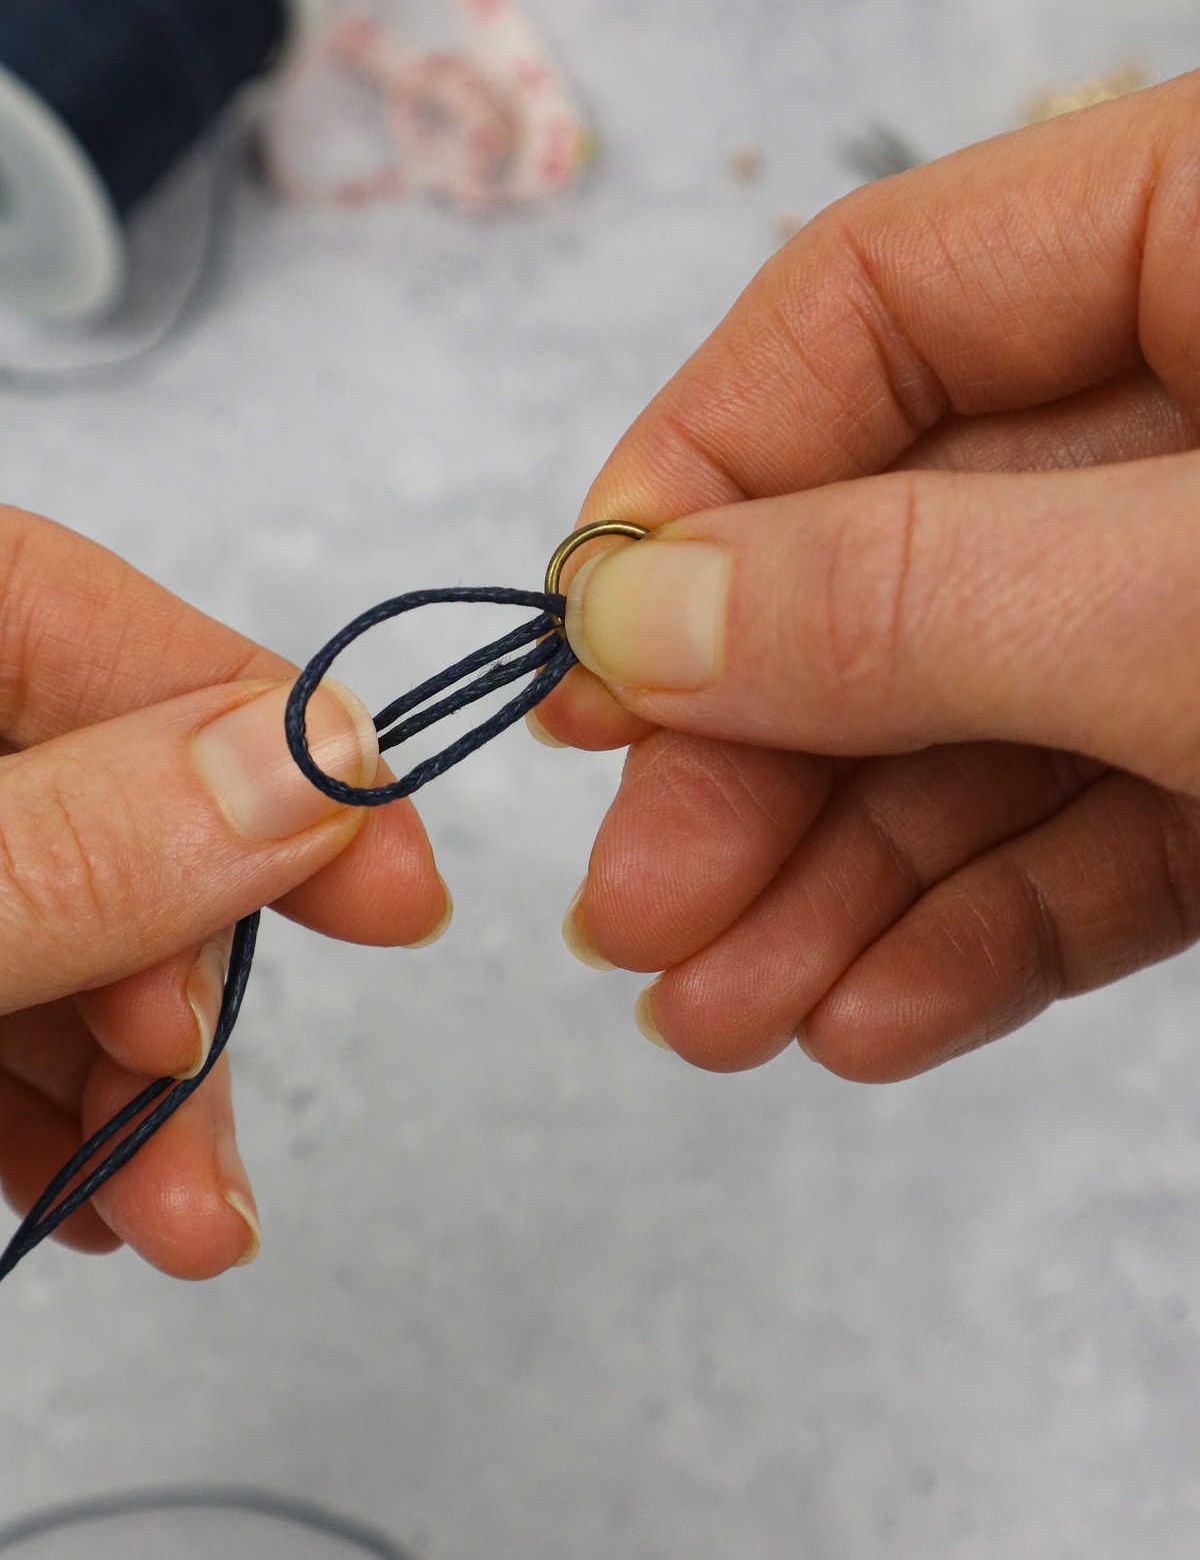
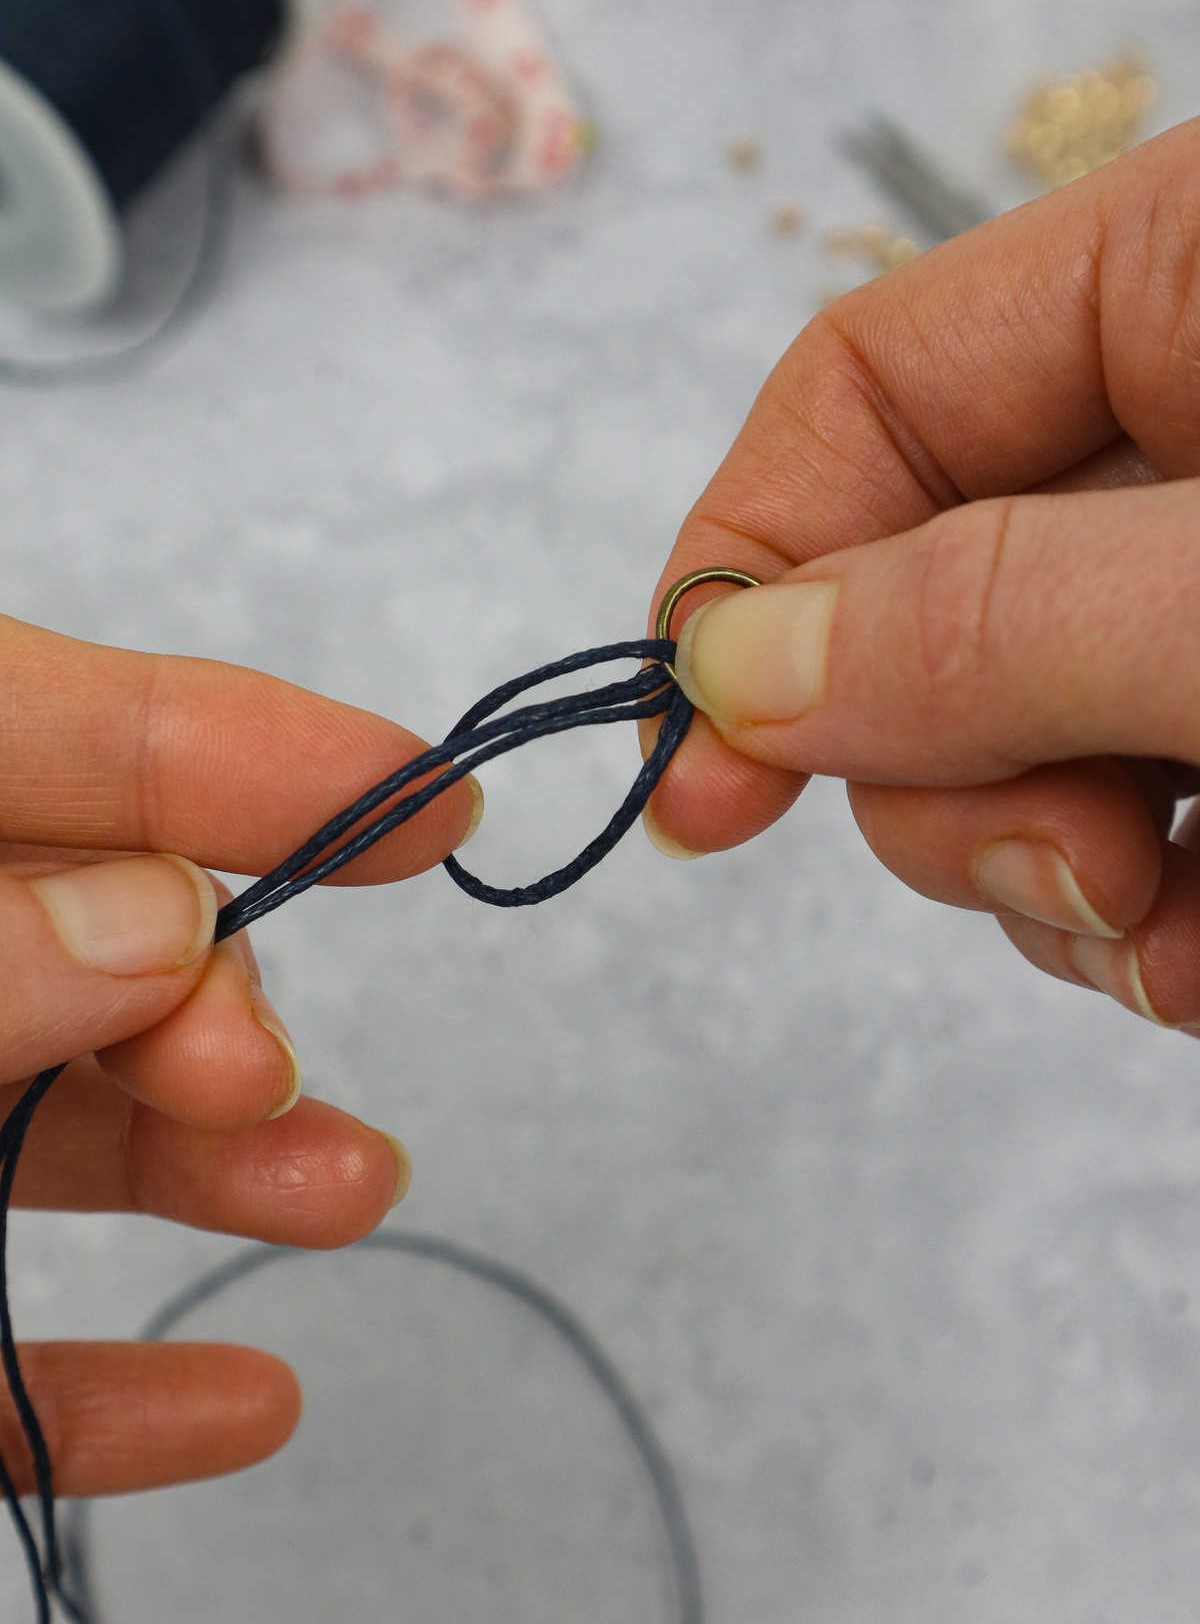
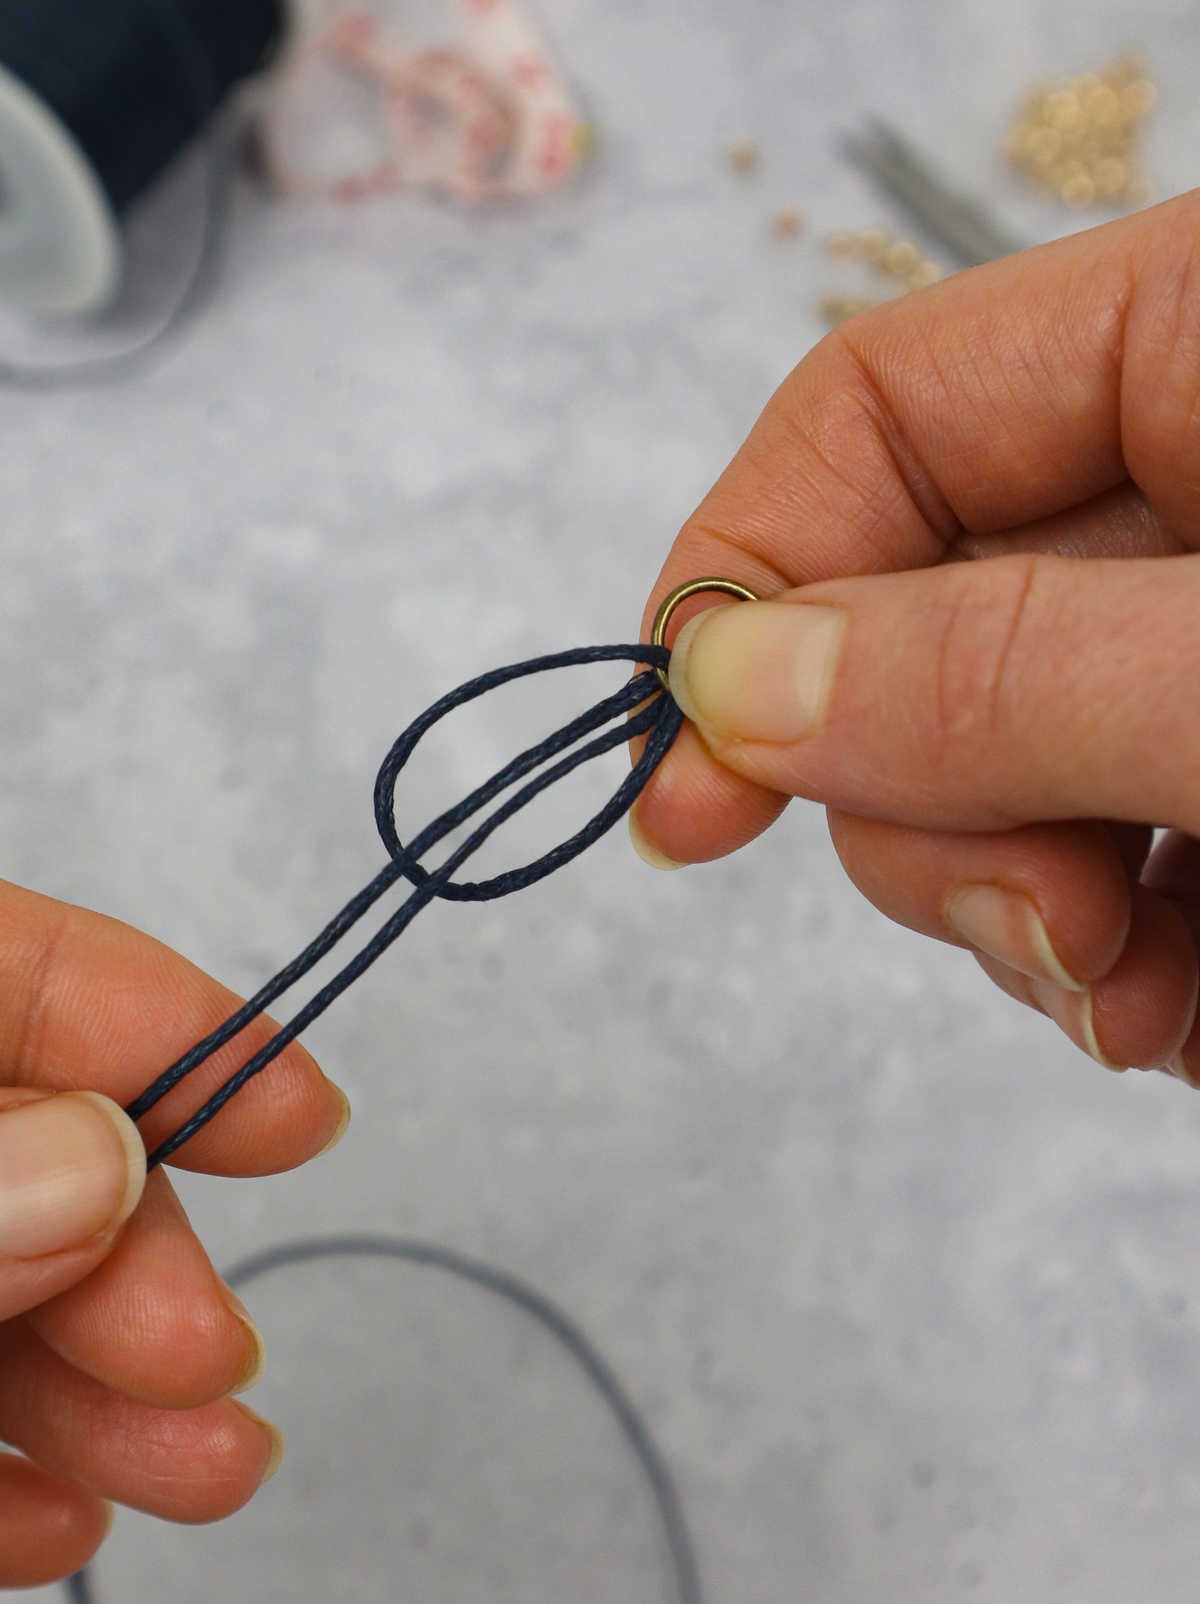
Next, take a jump ring and gently pull the two ends through it until they’re fully seated within the ring, with the looped ends nestled comfortably inside. Following this, bring the ends back into the looped end to form a lark’s head knot, a technique familiar to those well-versed in macrame terminology.
Upon completion, your lark’s head knot should resemble a tidy bundle.
Step 2
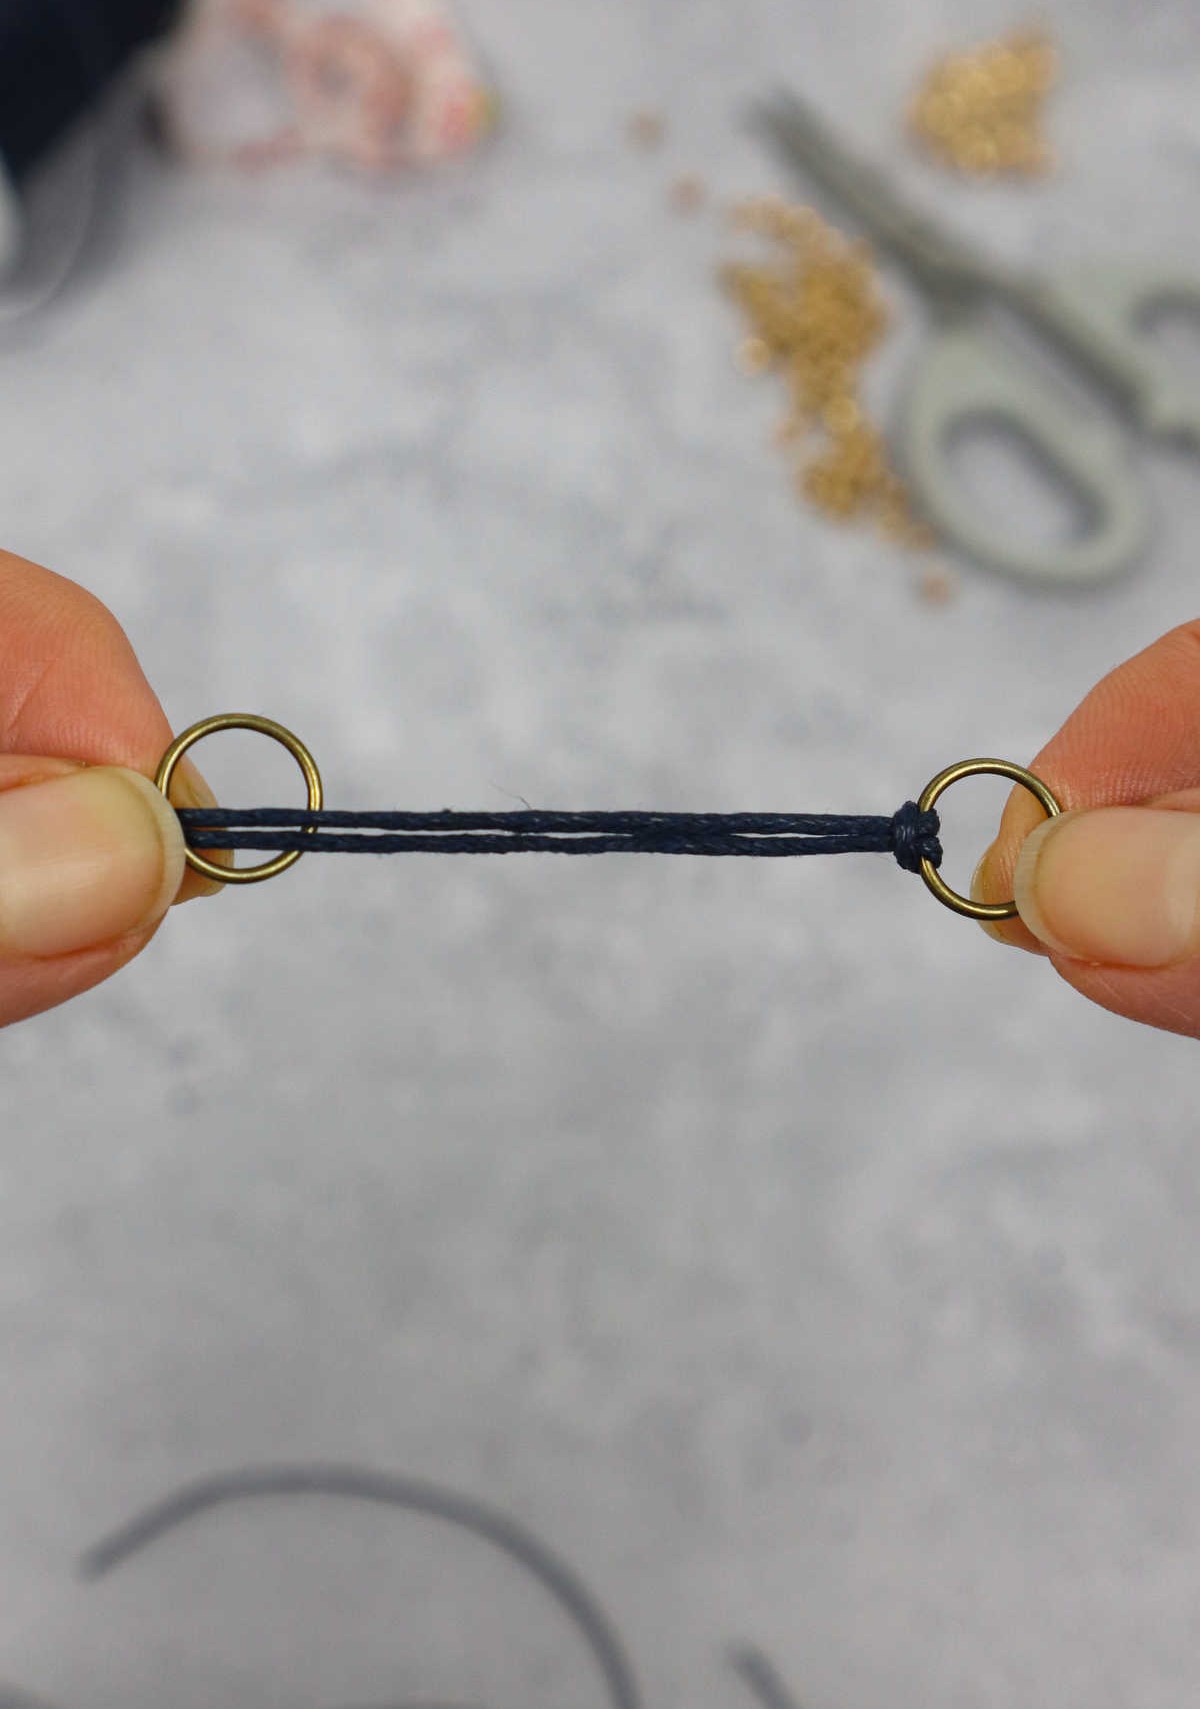
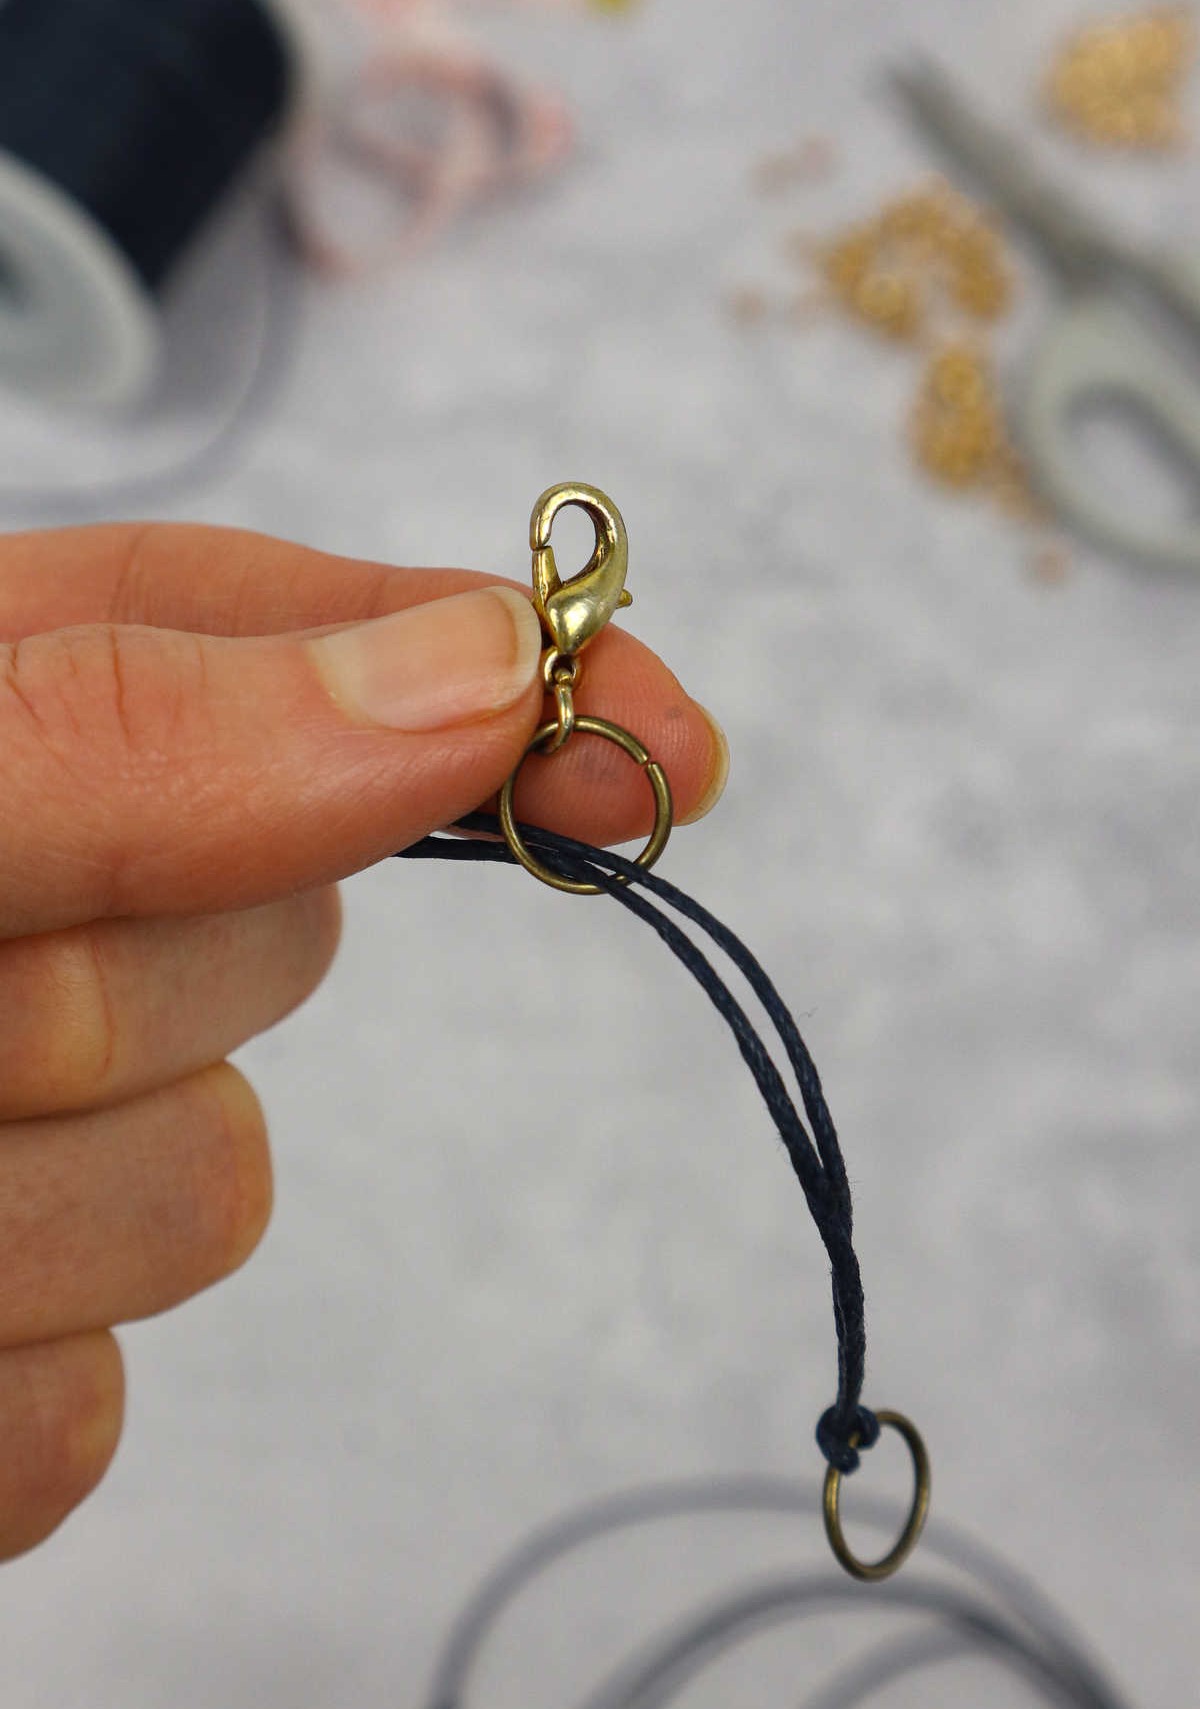
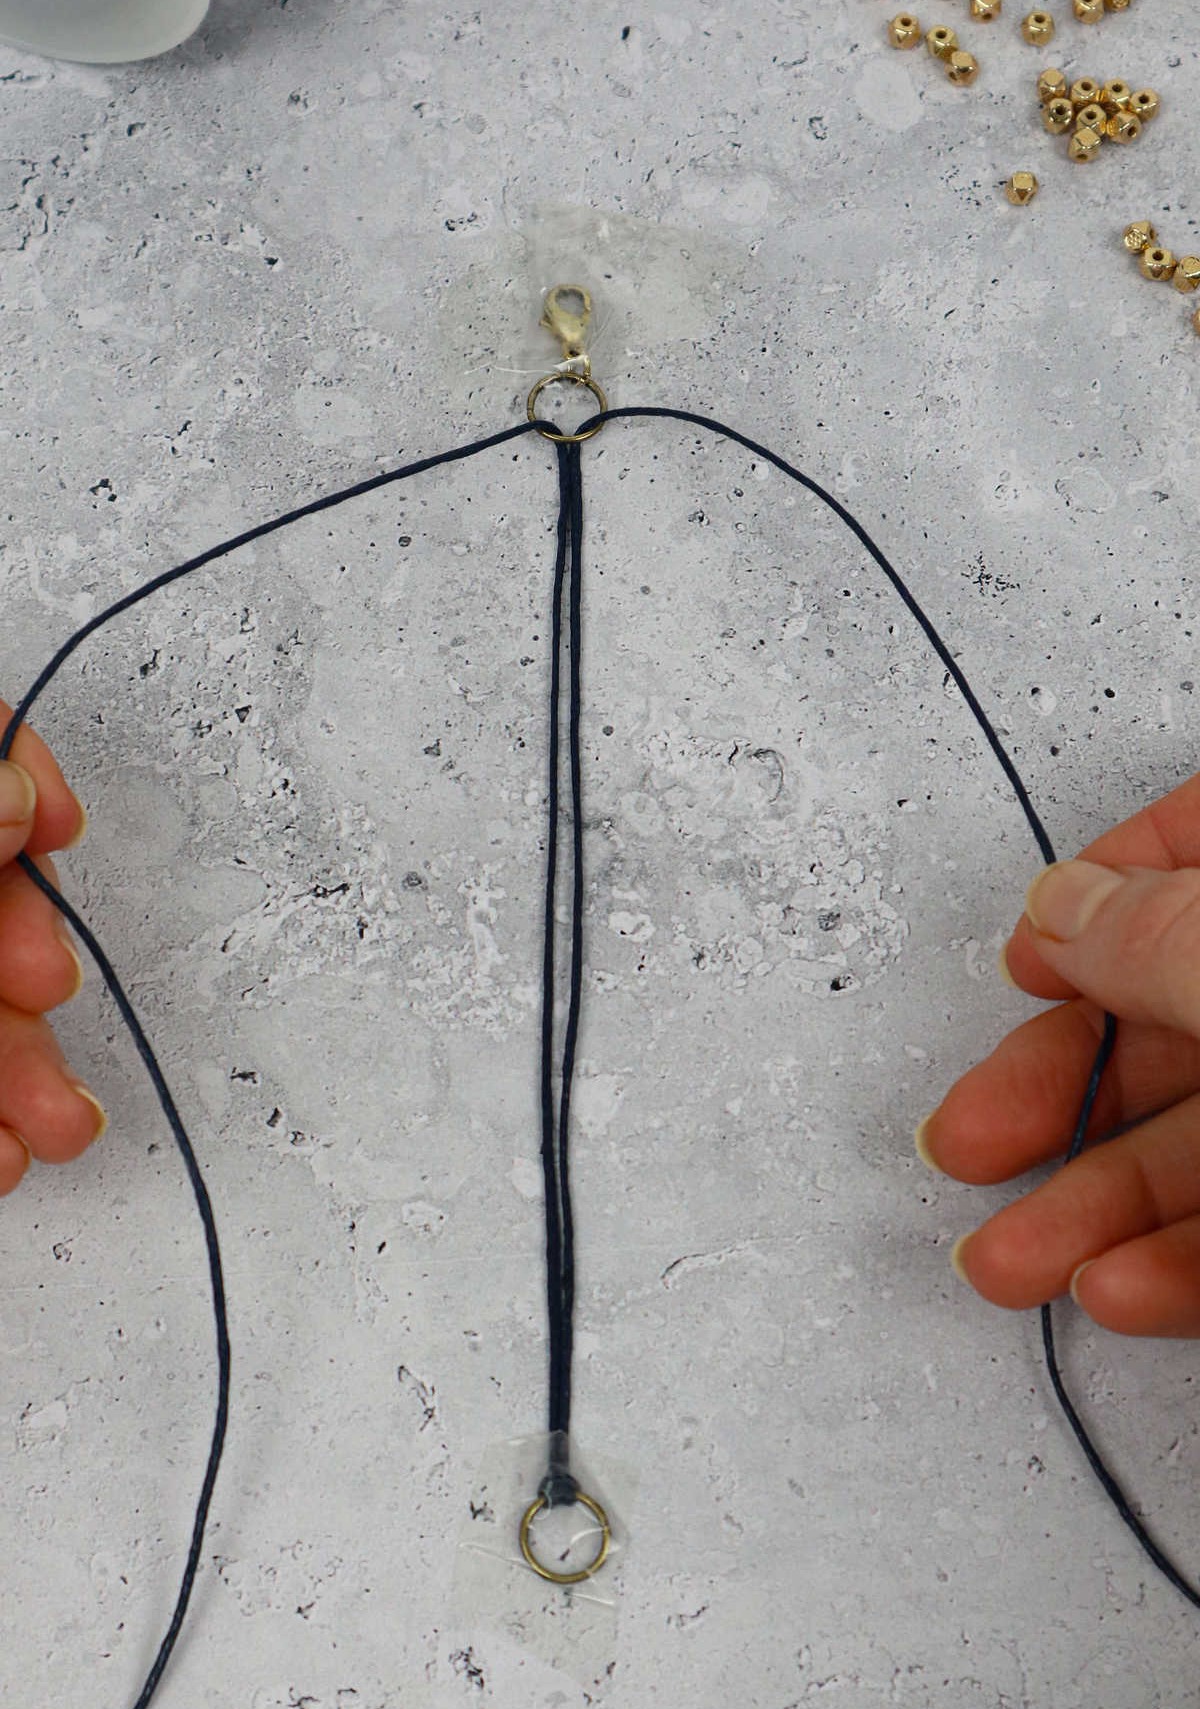
Next, take an additional jump ring and guide the two ends through its opening. This jump ring serves as a crucial anchor point for your lobster claw clasp, ensuring a secure fastening. If the clasp hasn’t been previously attached, now is the ideal time to connect it, guaranteeing a sturdy and reliable hold.
Step 3
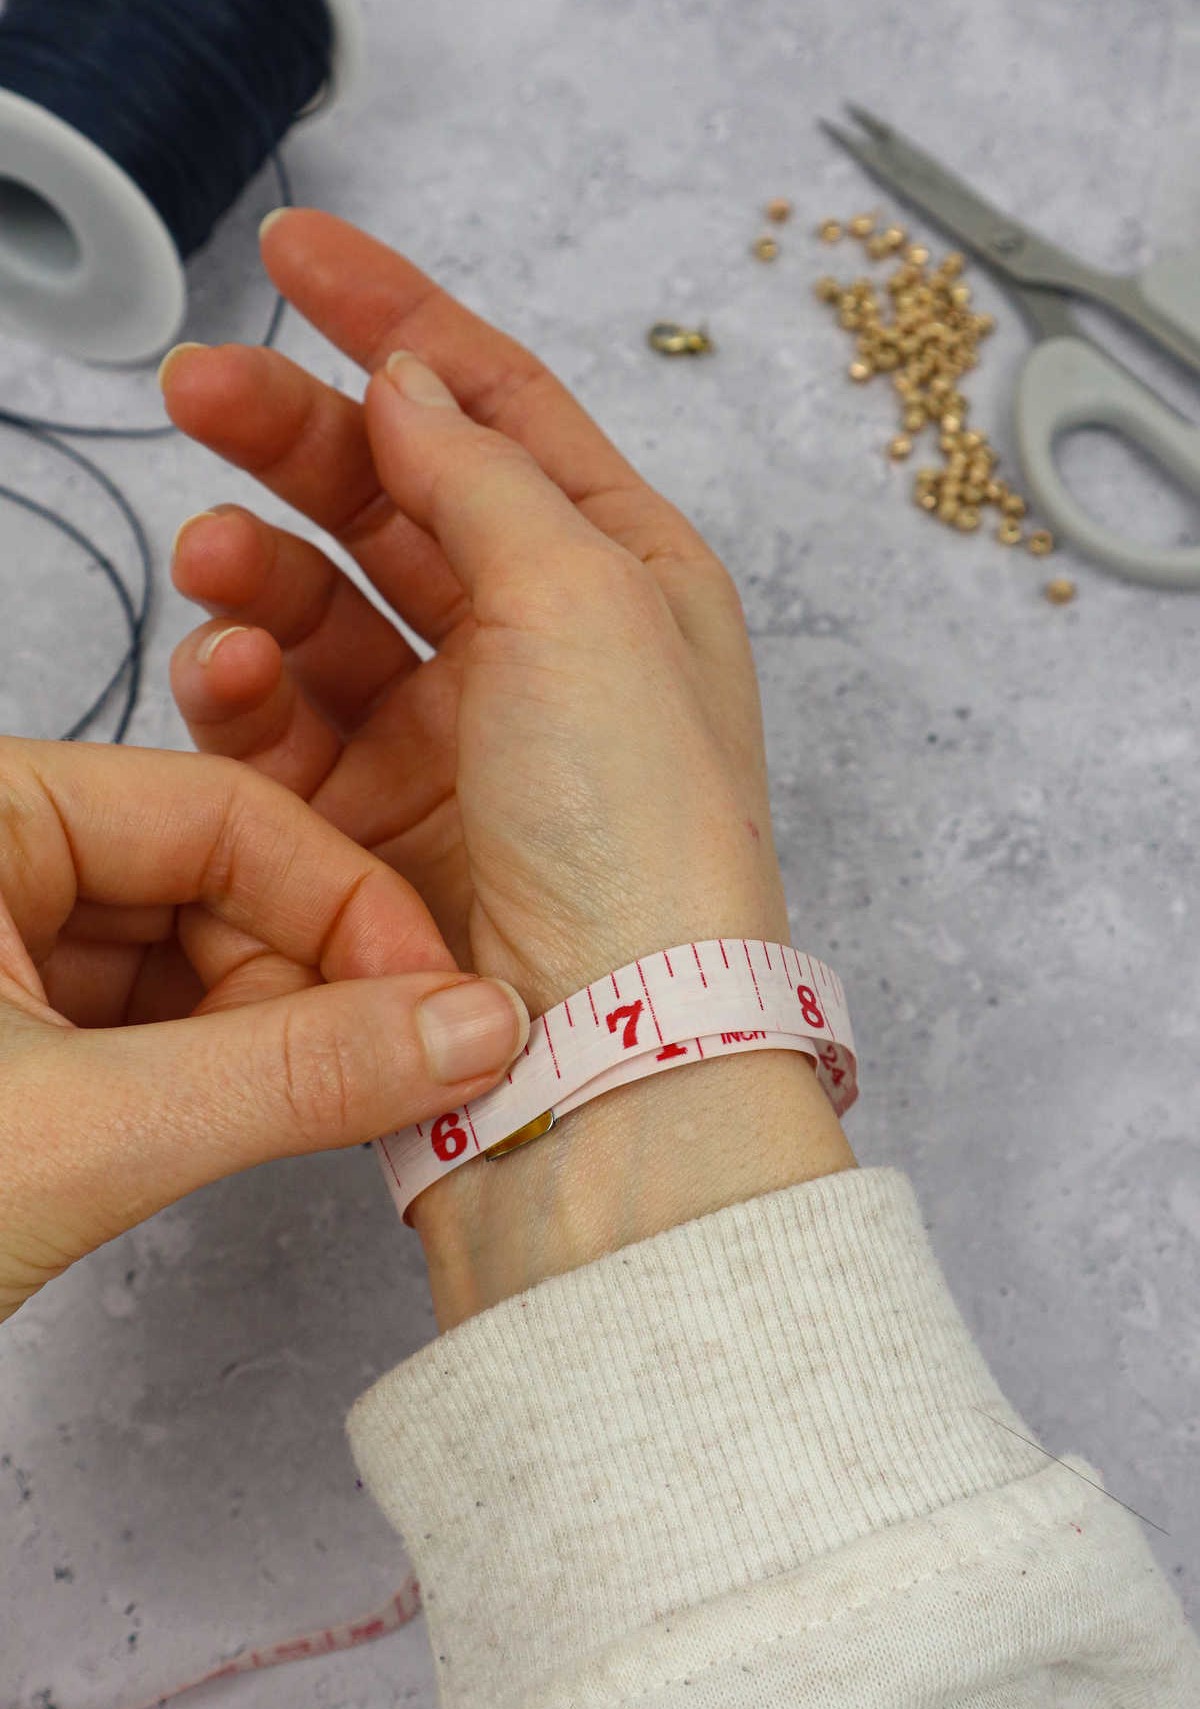
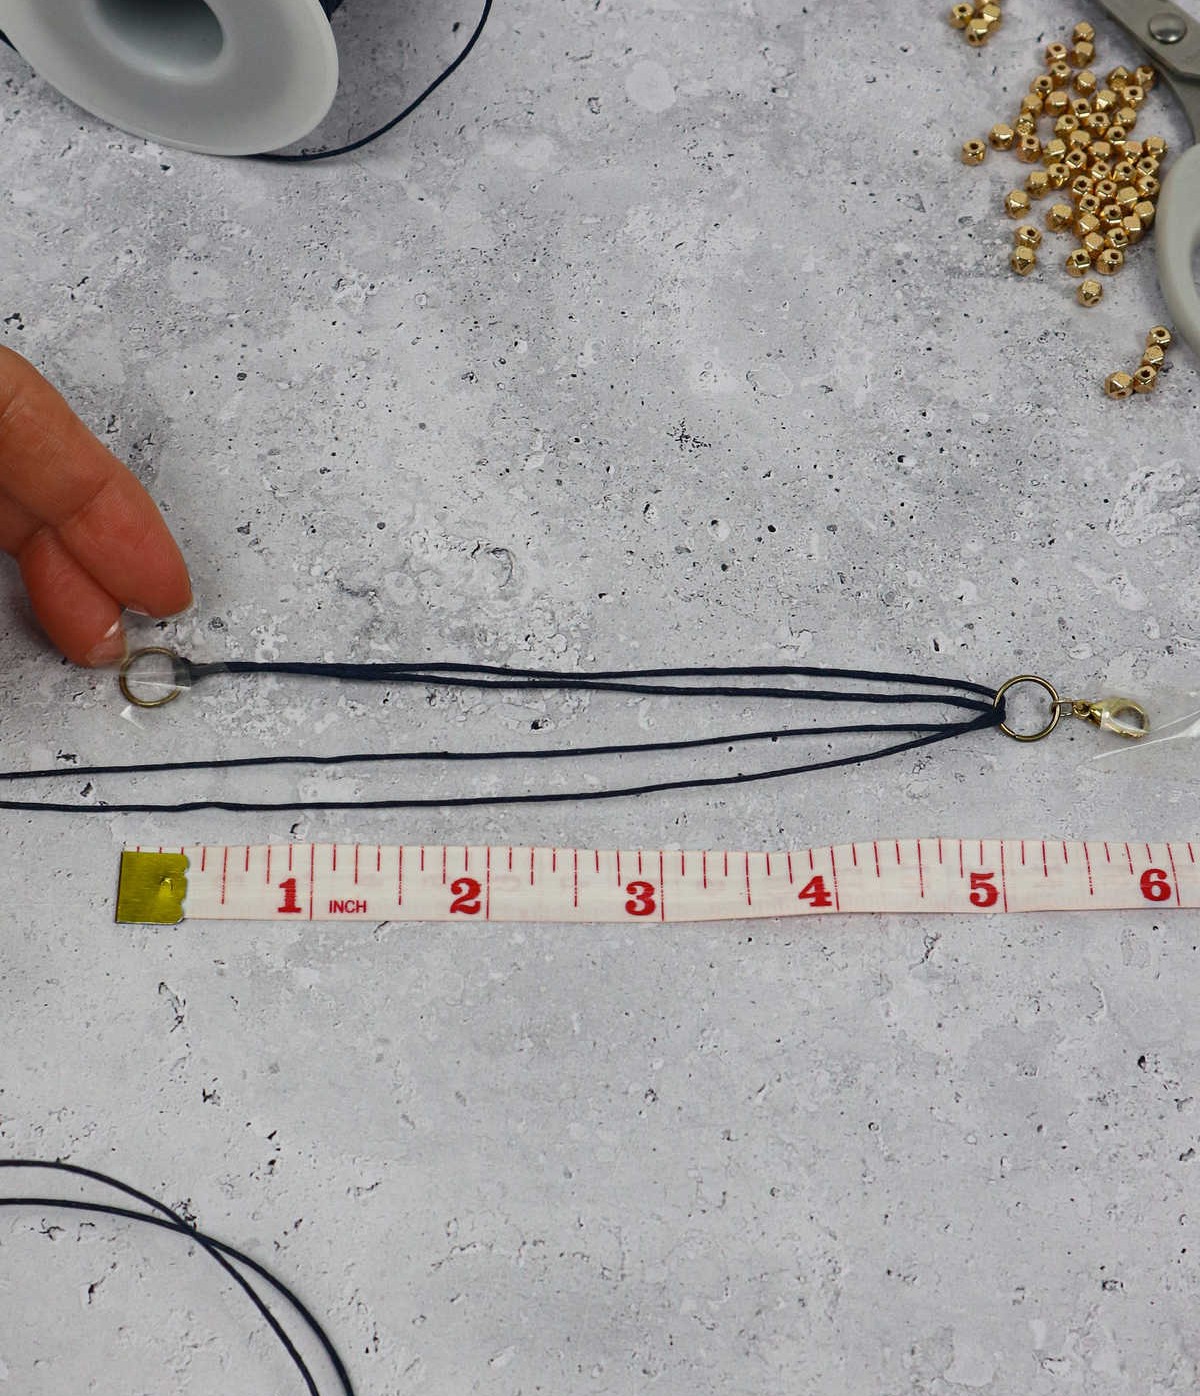
Measure your wrist using a measuring tape, taking care not to allocate too much or too little space when marking the width. This is crucial for ensuring a comfortable fit. The measured length should account for the inclusion of the jump rings, which will add a few extra inches to the total circumference. For instance, if you measure 6 inches around your wrist, the finished bracelet will be approximately 6 inches in diameter, including the jump rings.
Step 4
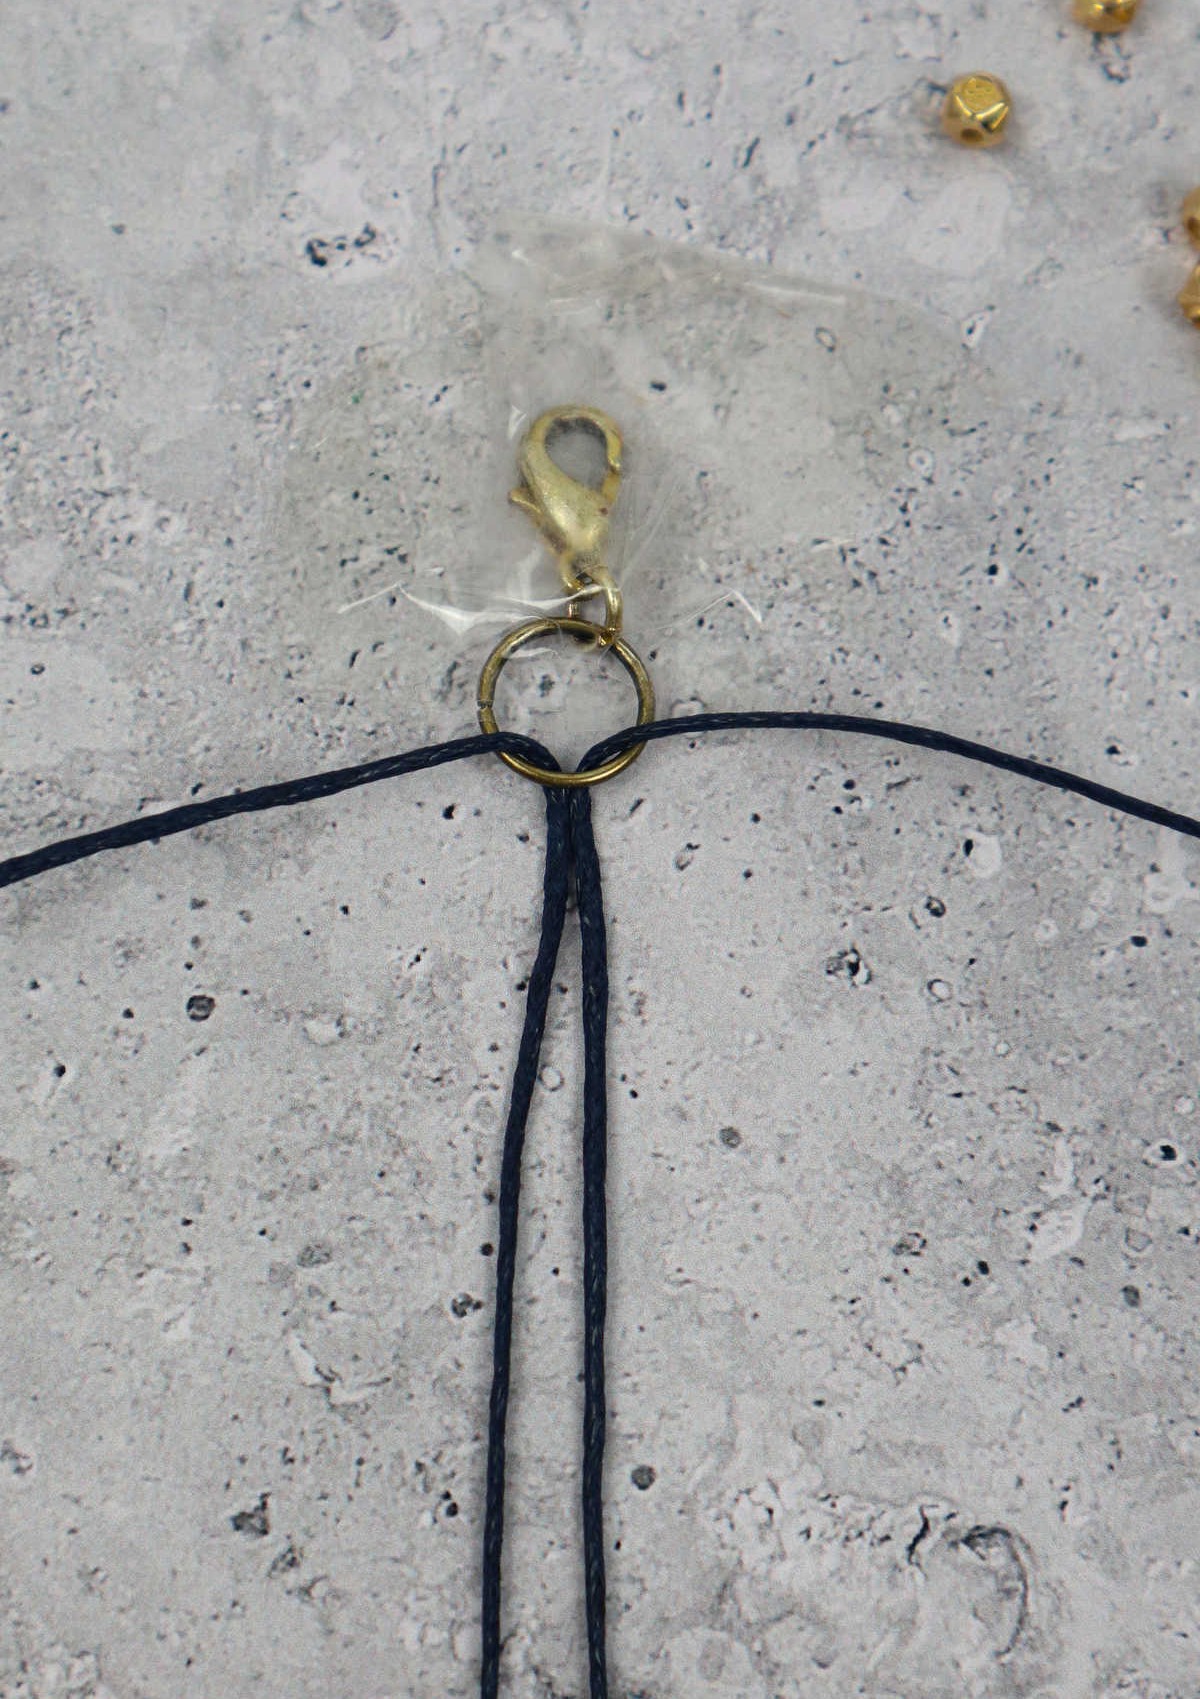
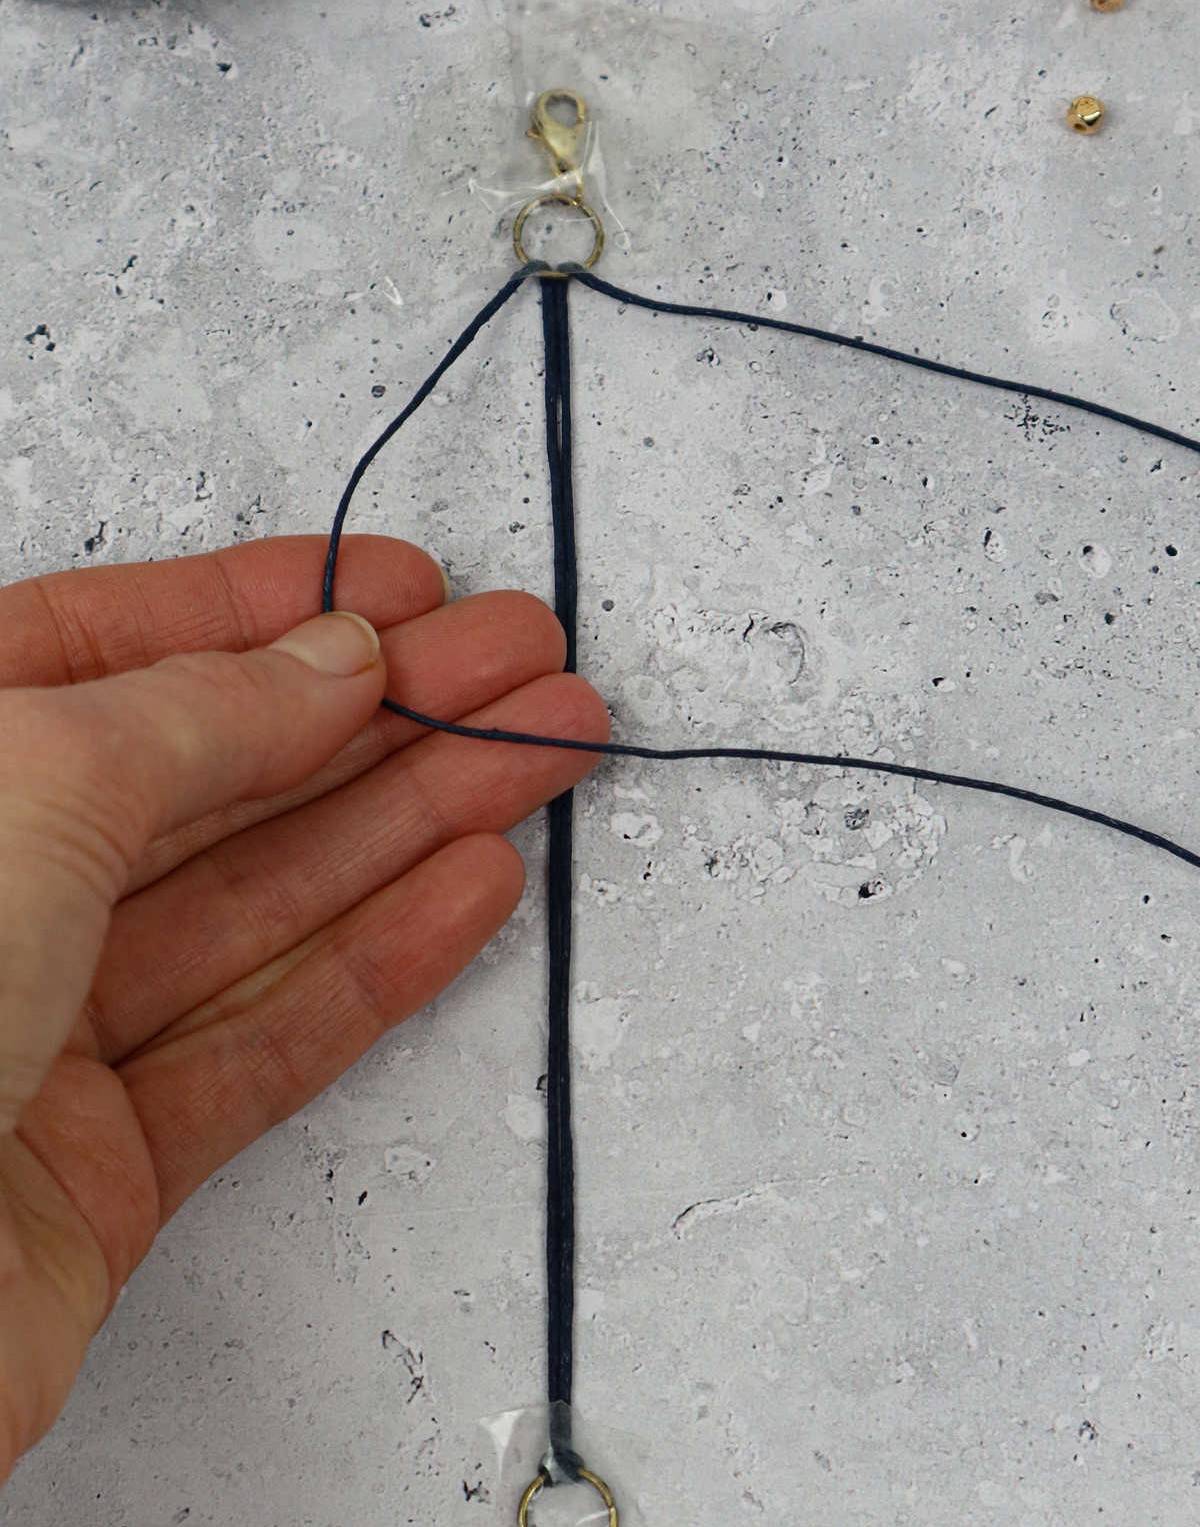
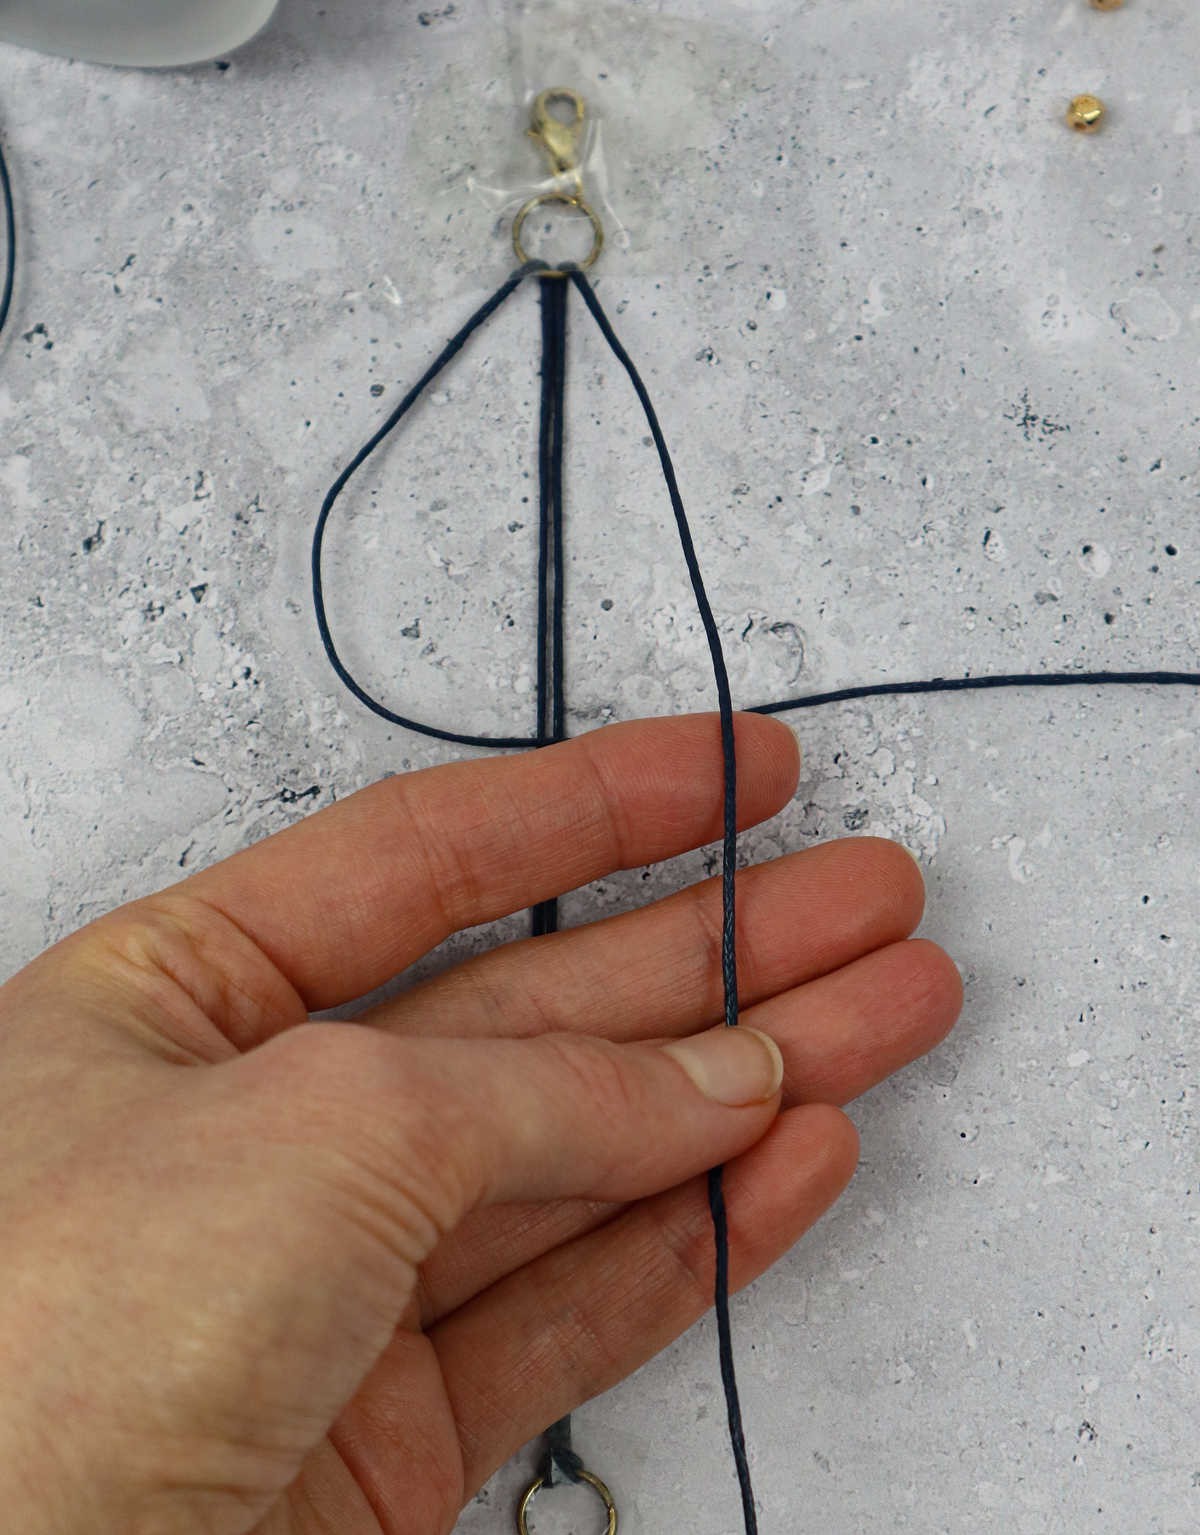
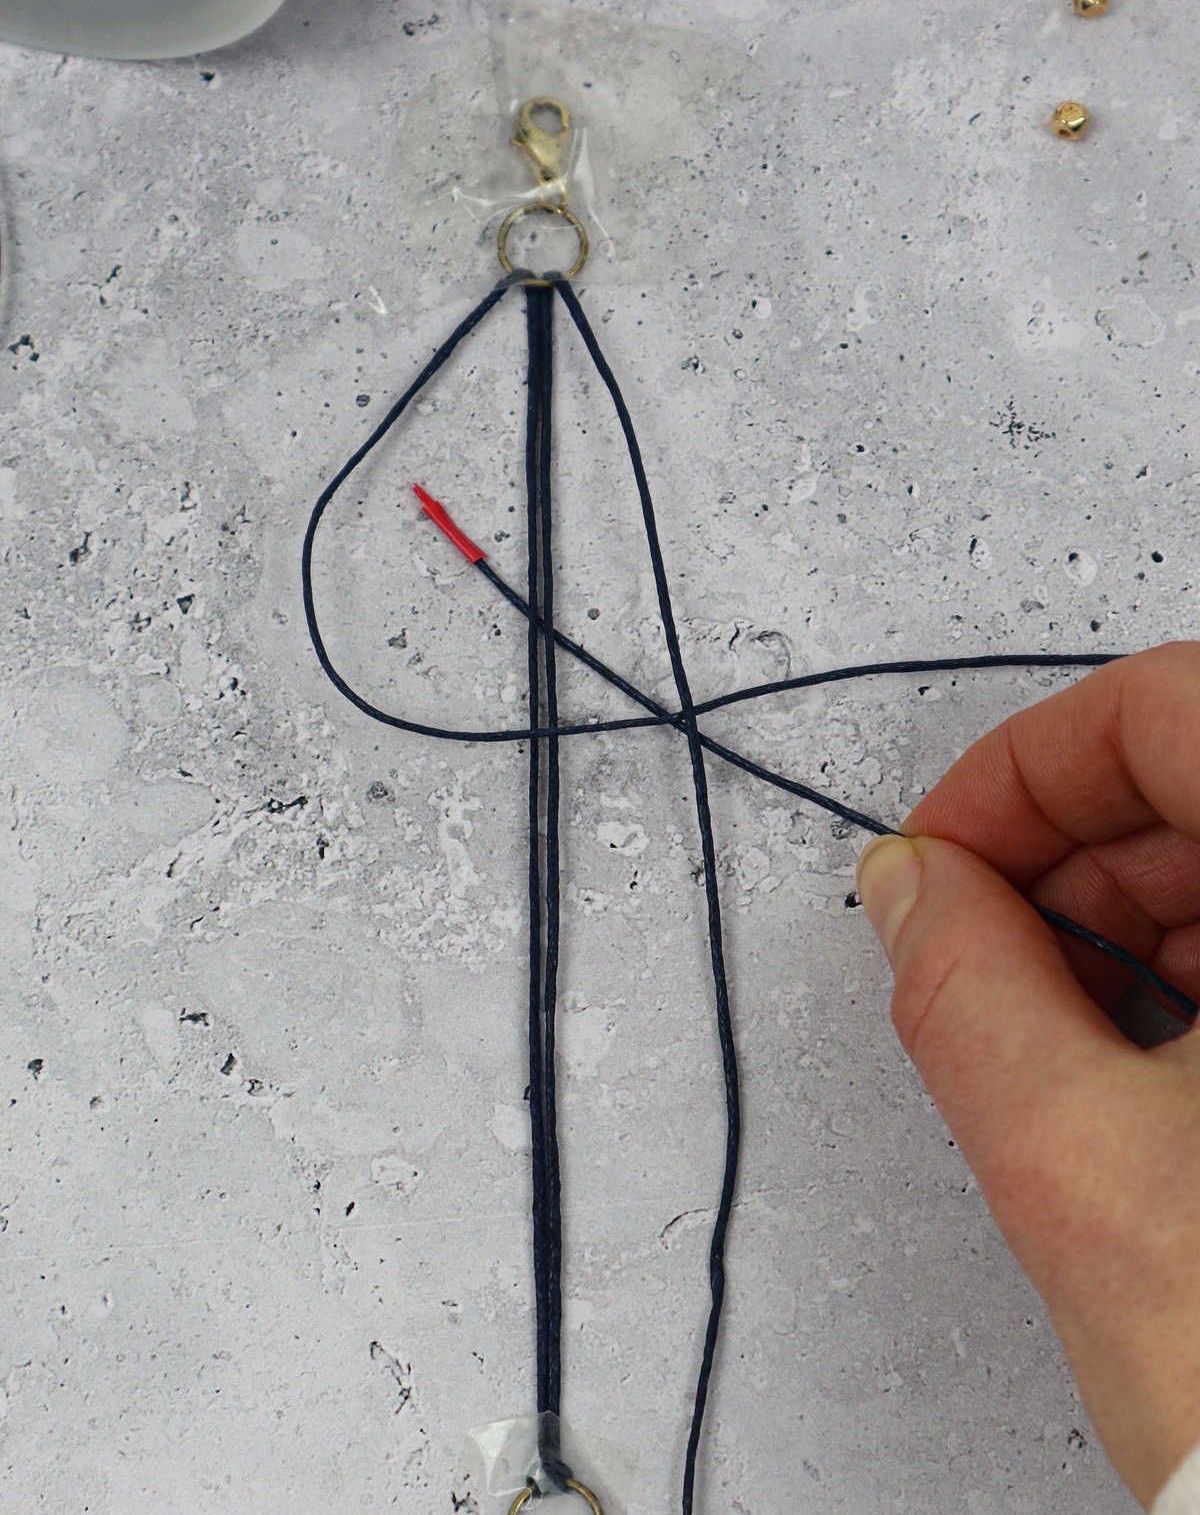
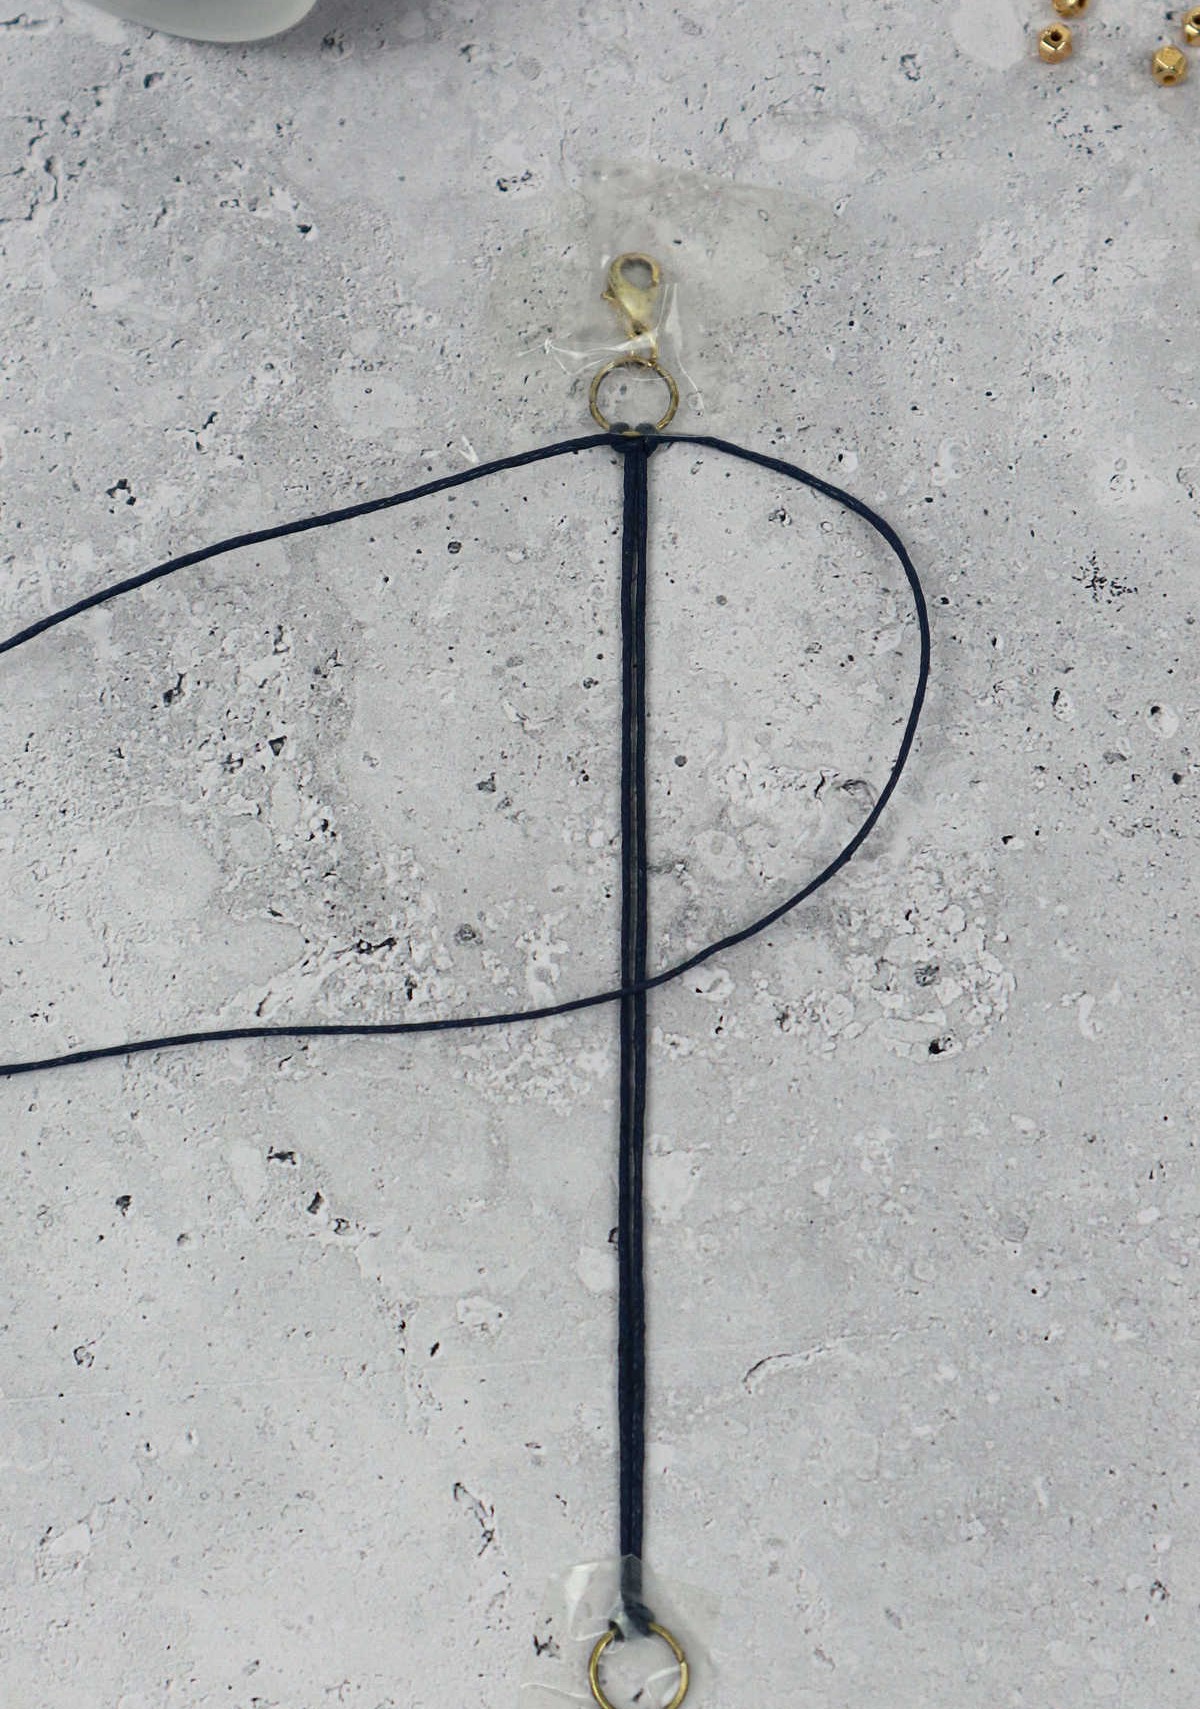
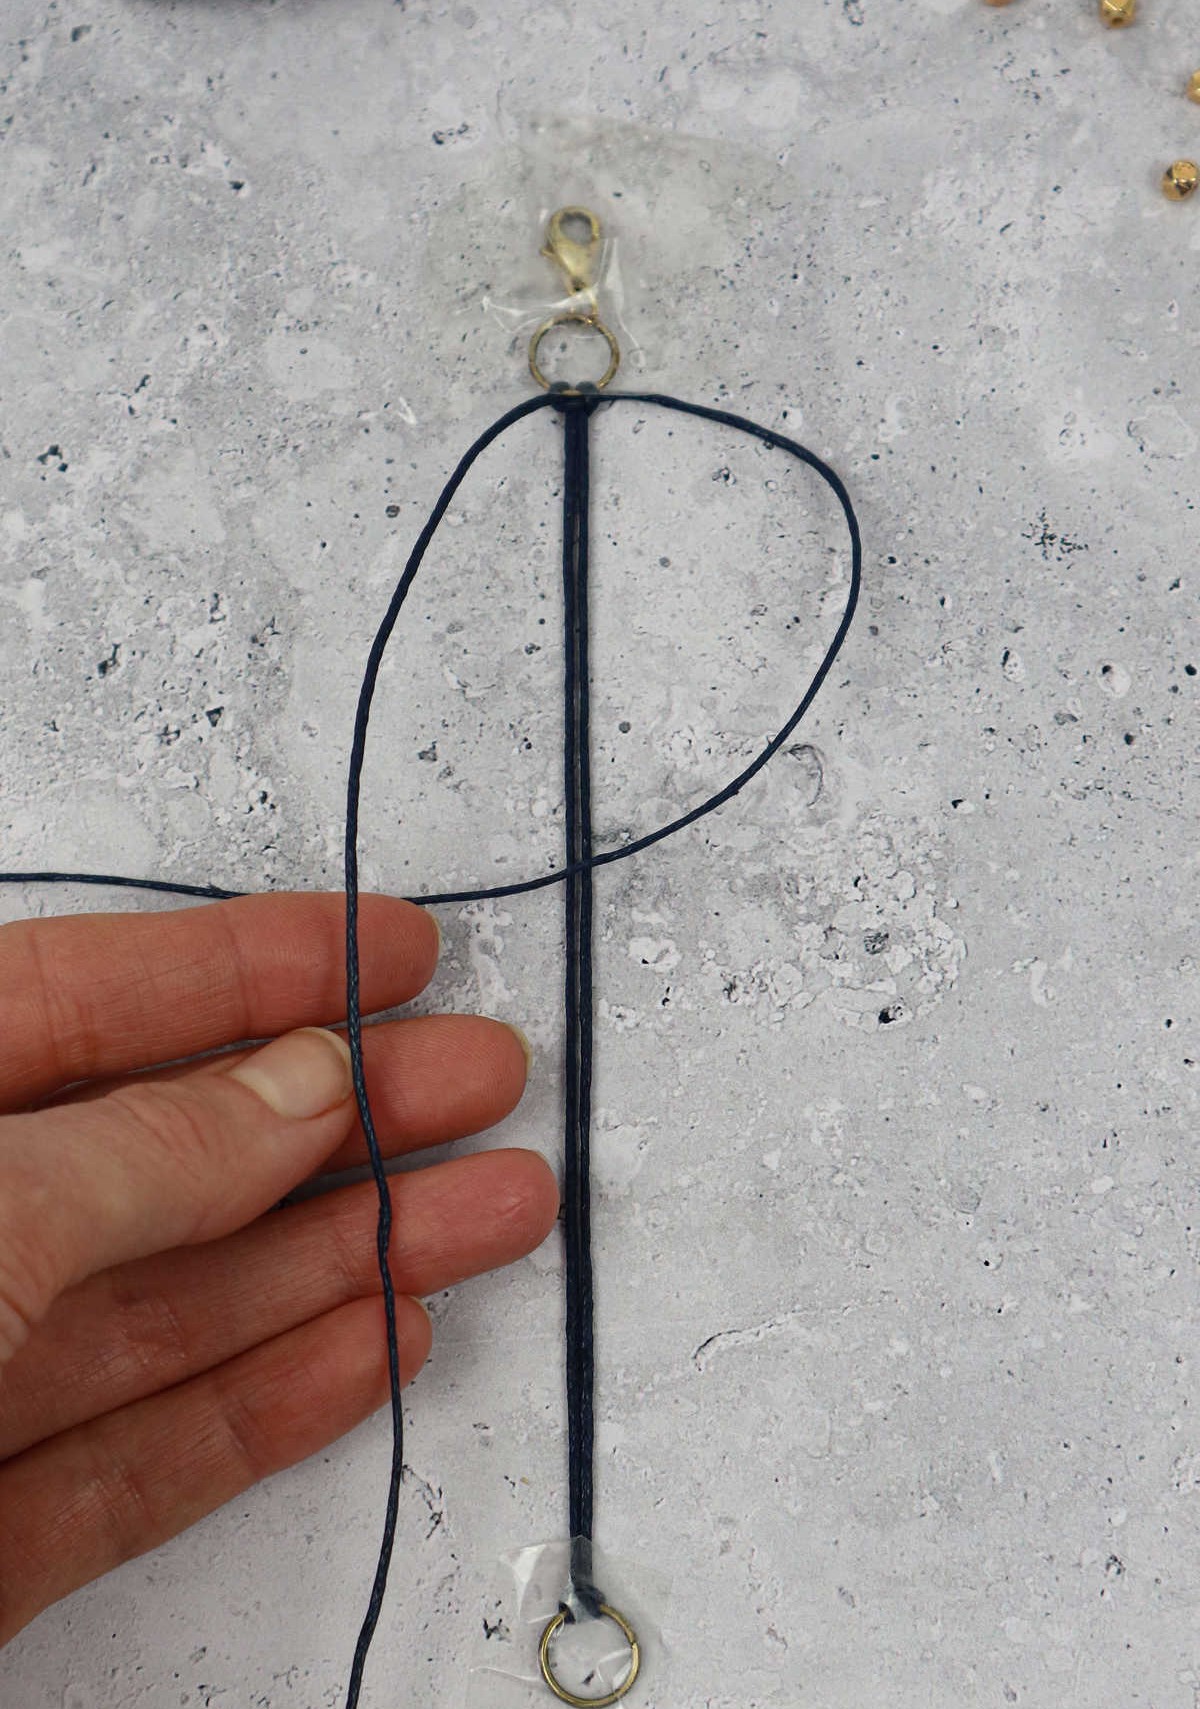
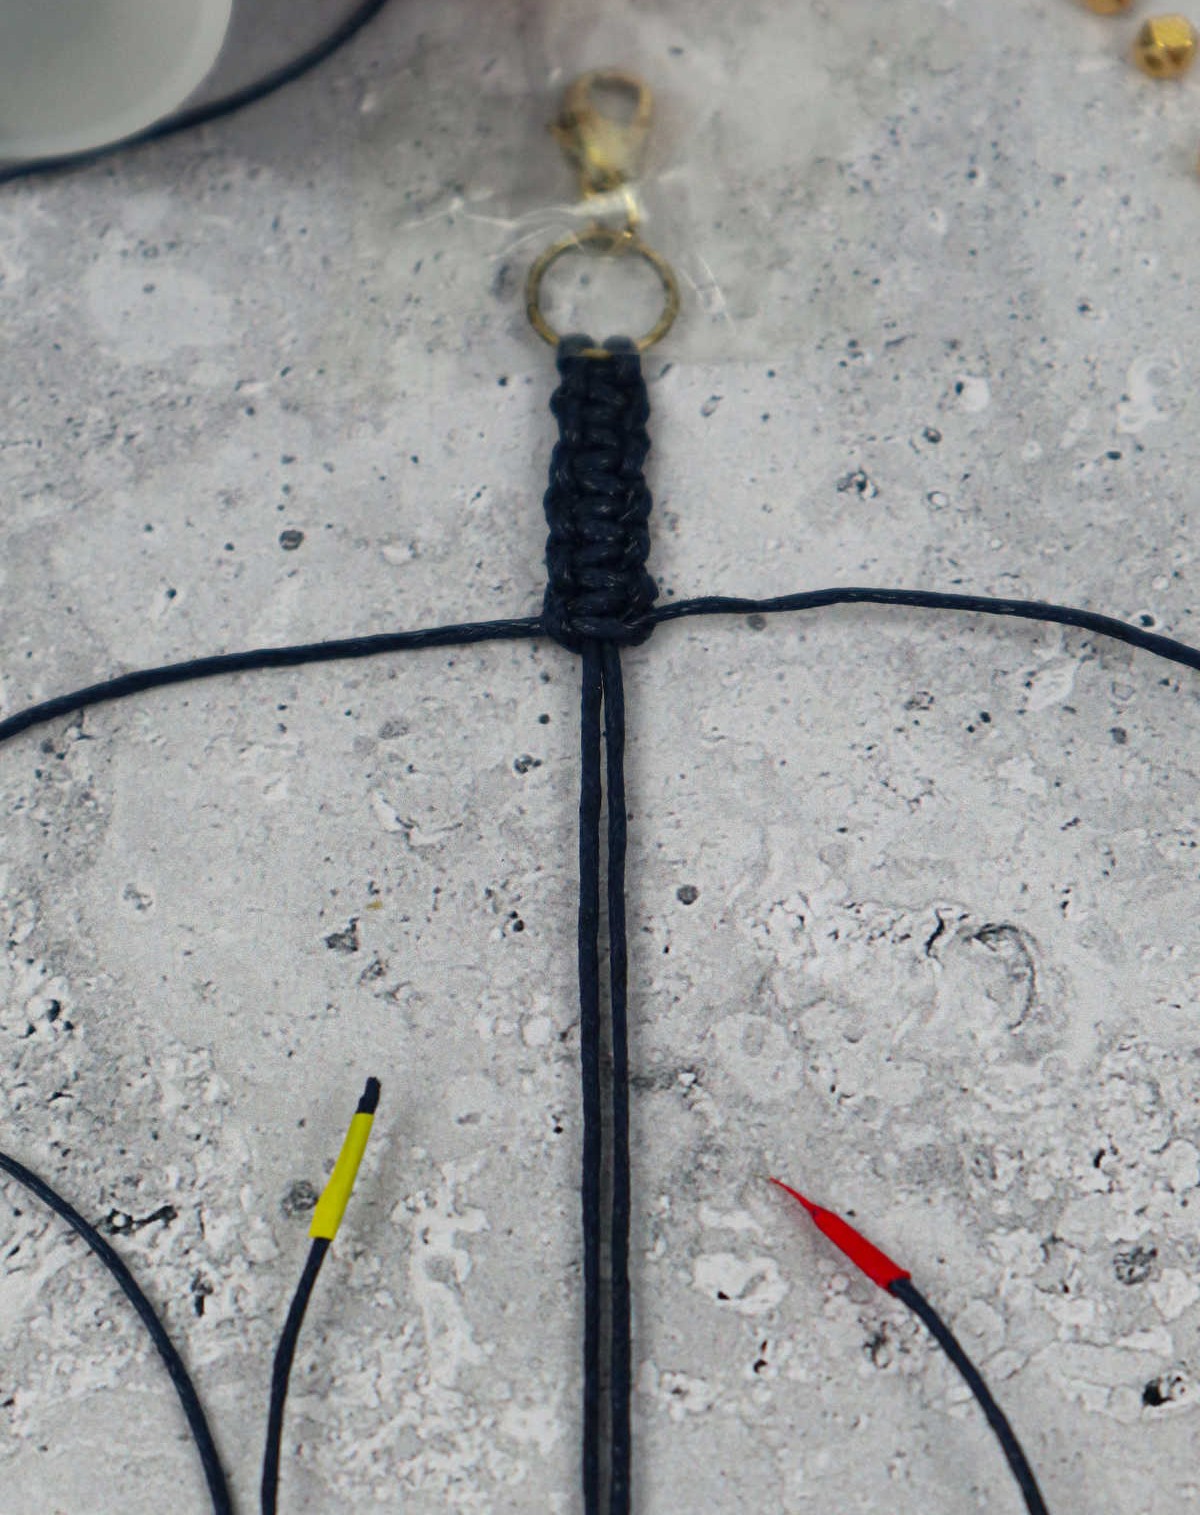
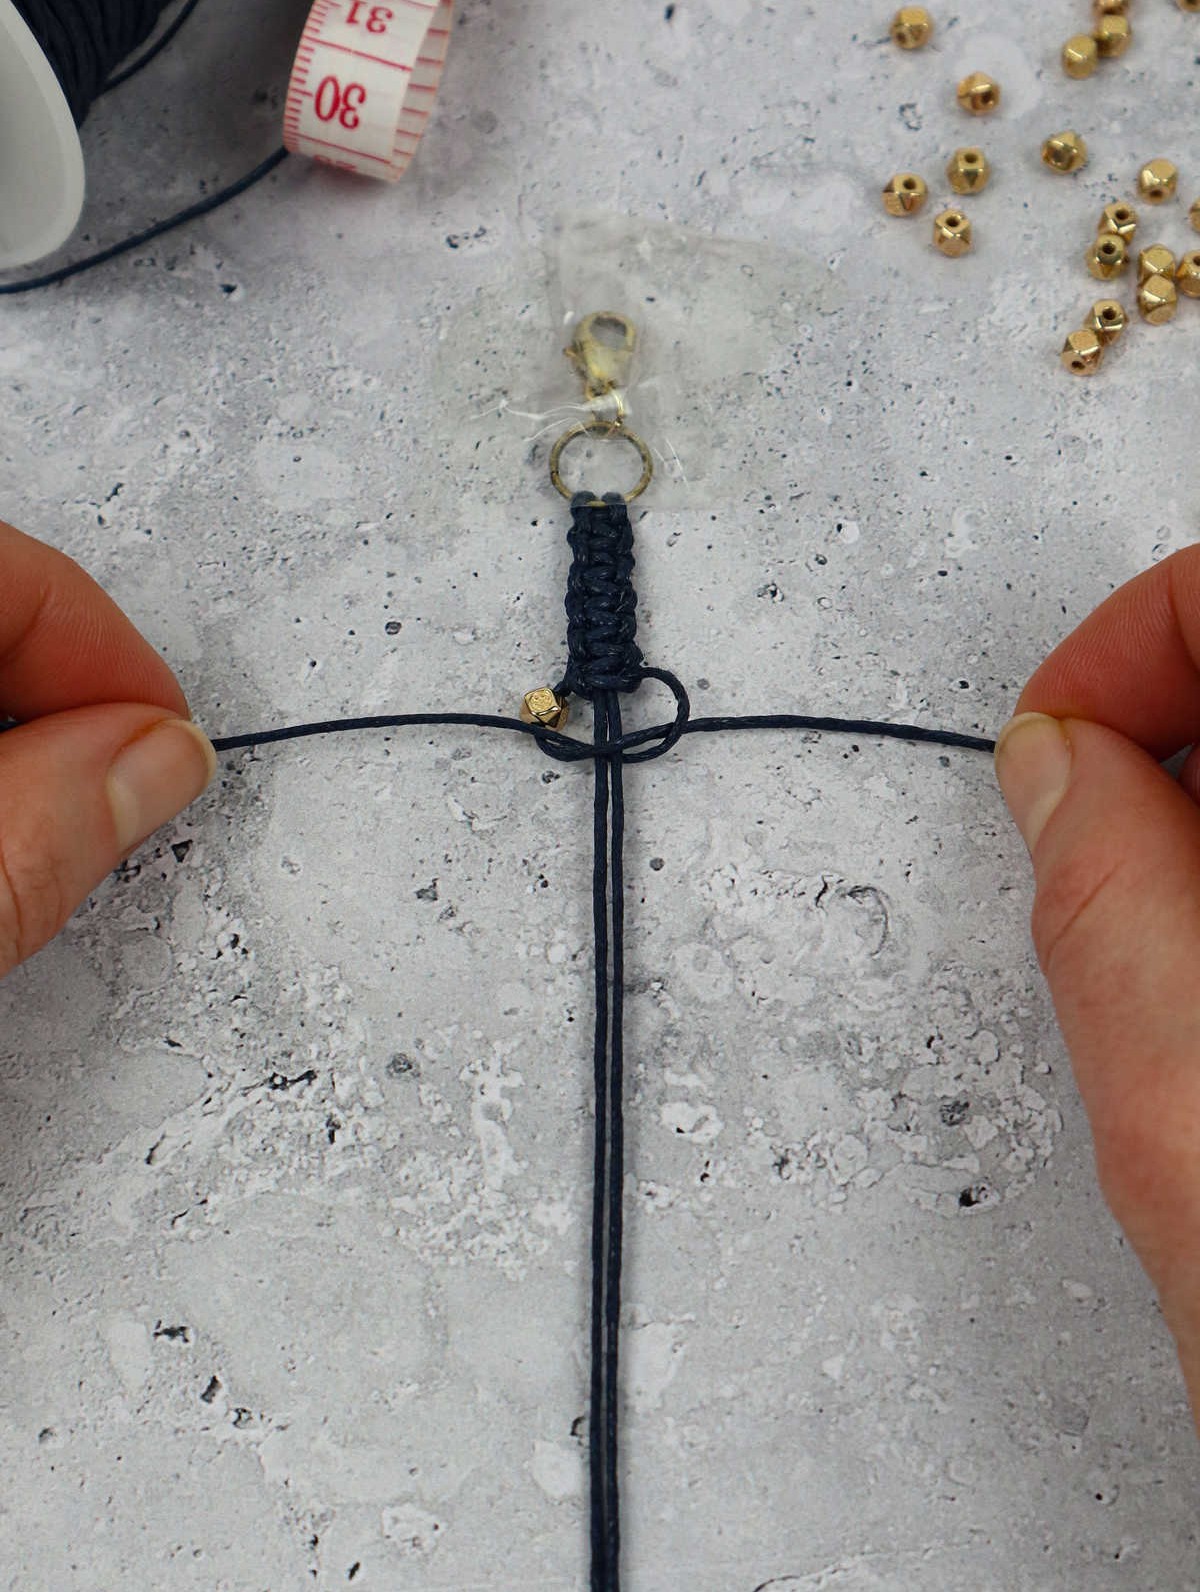
To secure the lobster claw, use a bit of tape to attach it to your worktable. Ensure the cords are correctly positioned – you’ll need one on each side and two in the middle. Once you have this arrangement, you can begin creating your first square knot. Start by taking the left cord and crossing it over the two central cords to form a shape resembling a four.
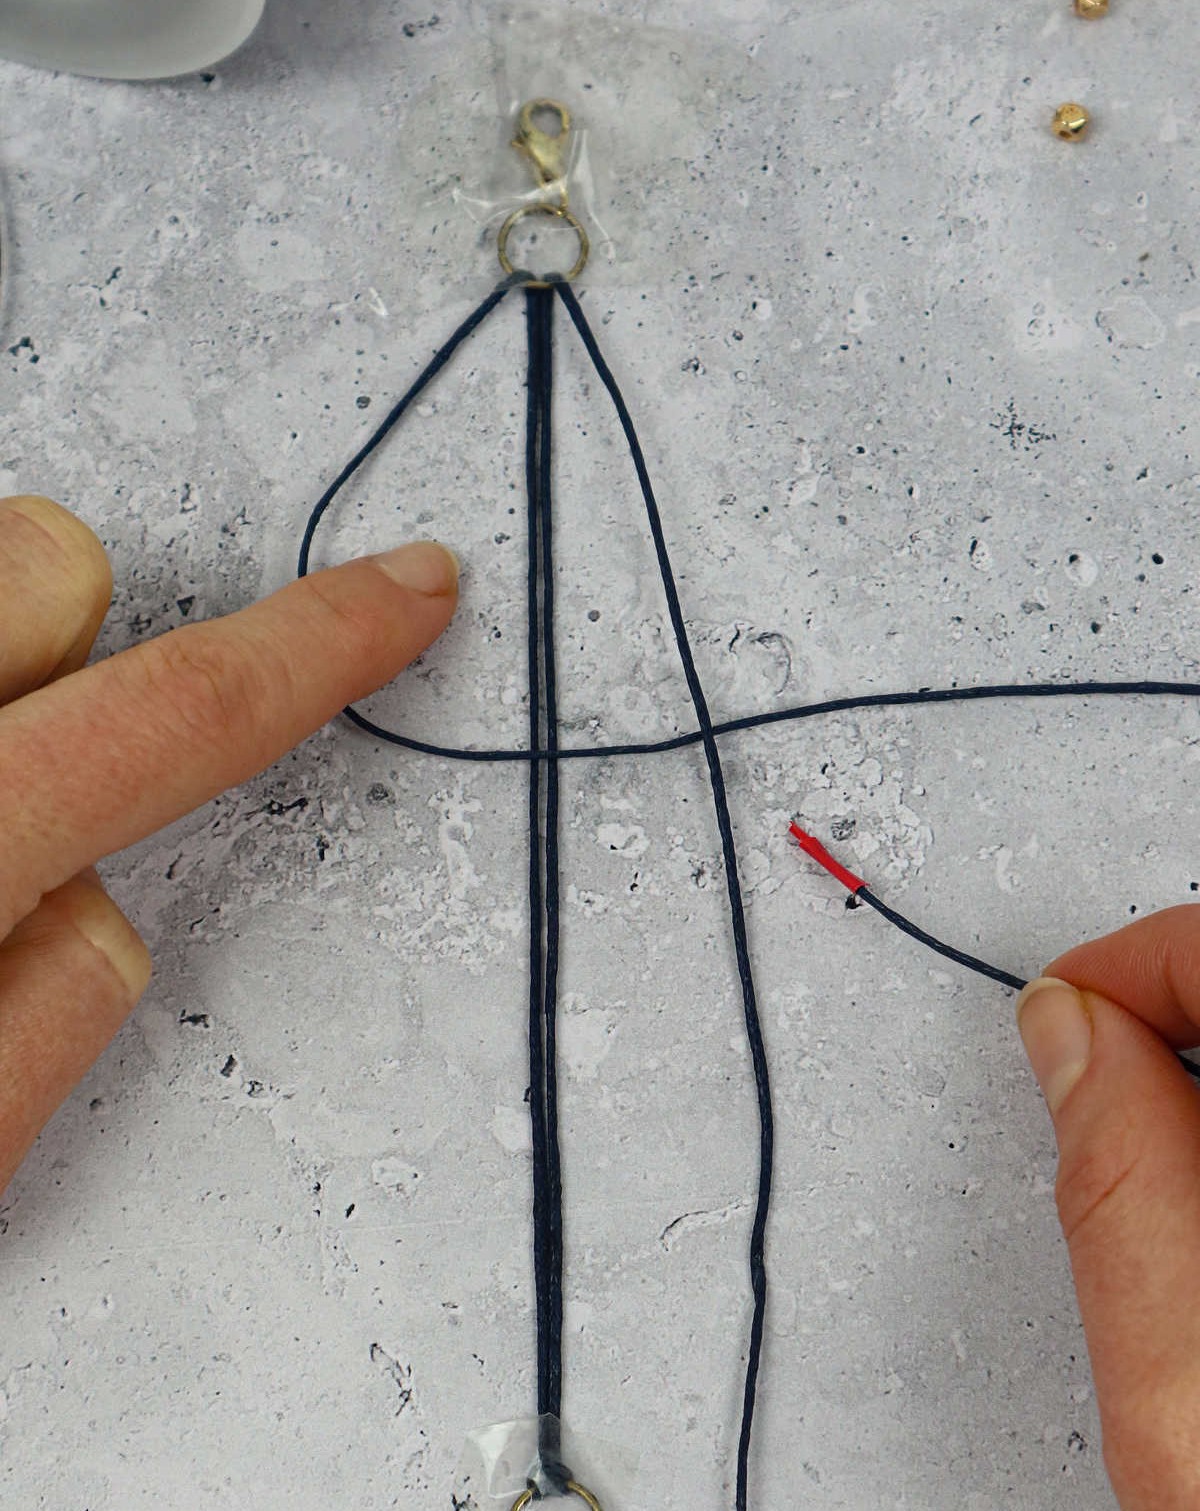
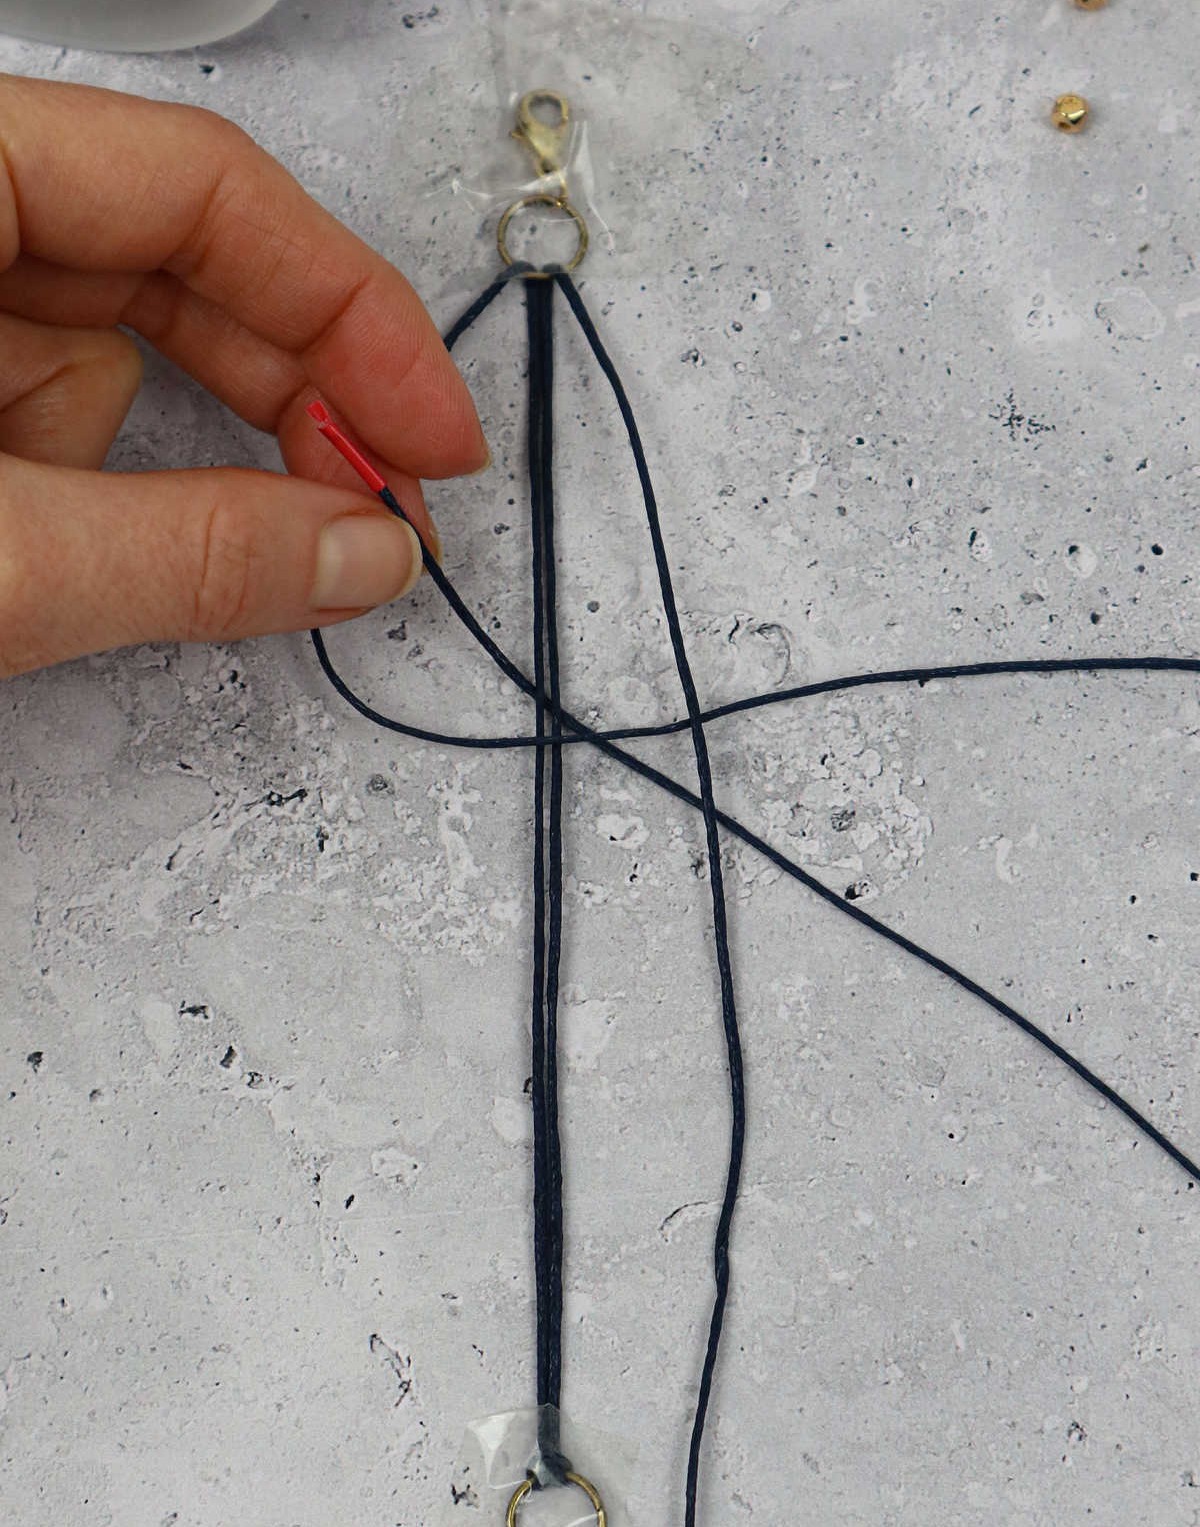
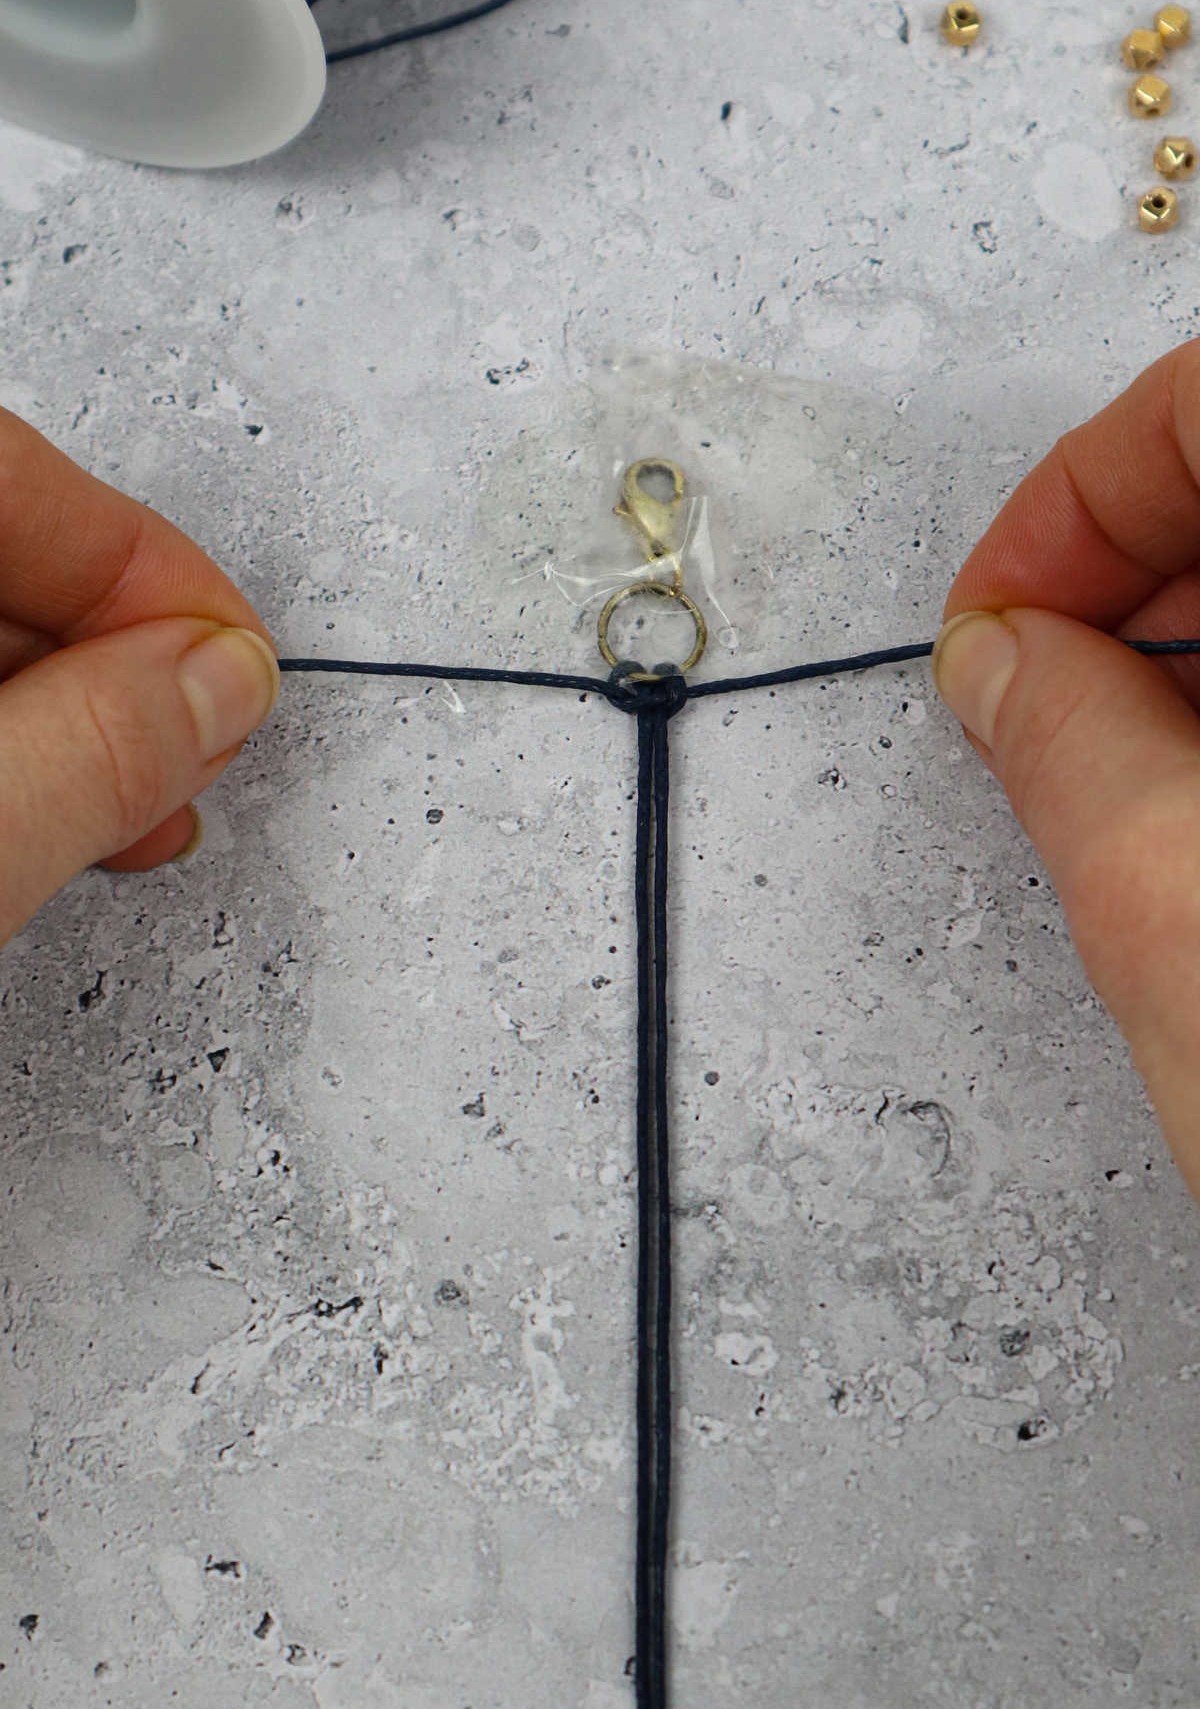
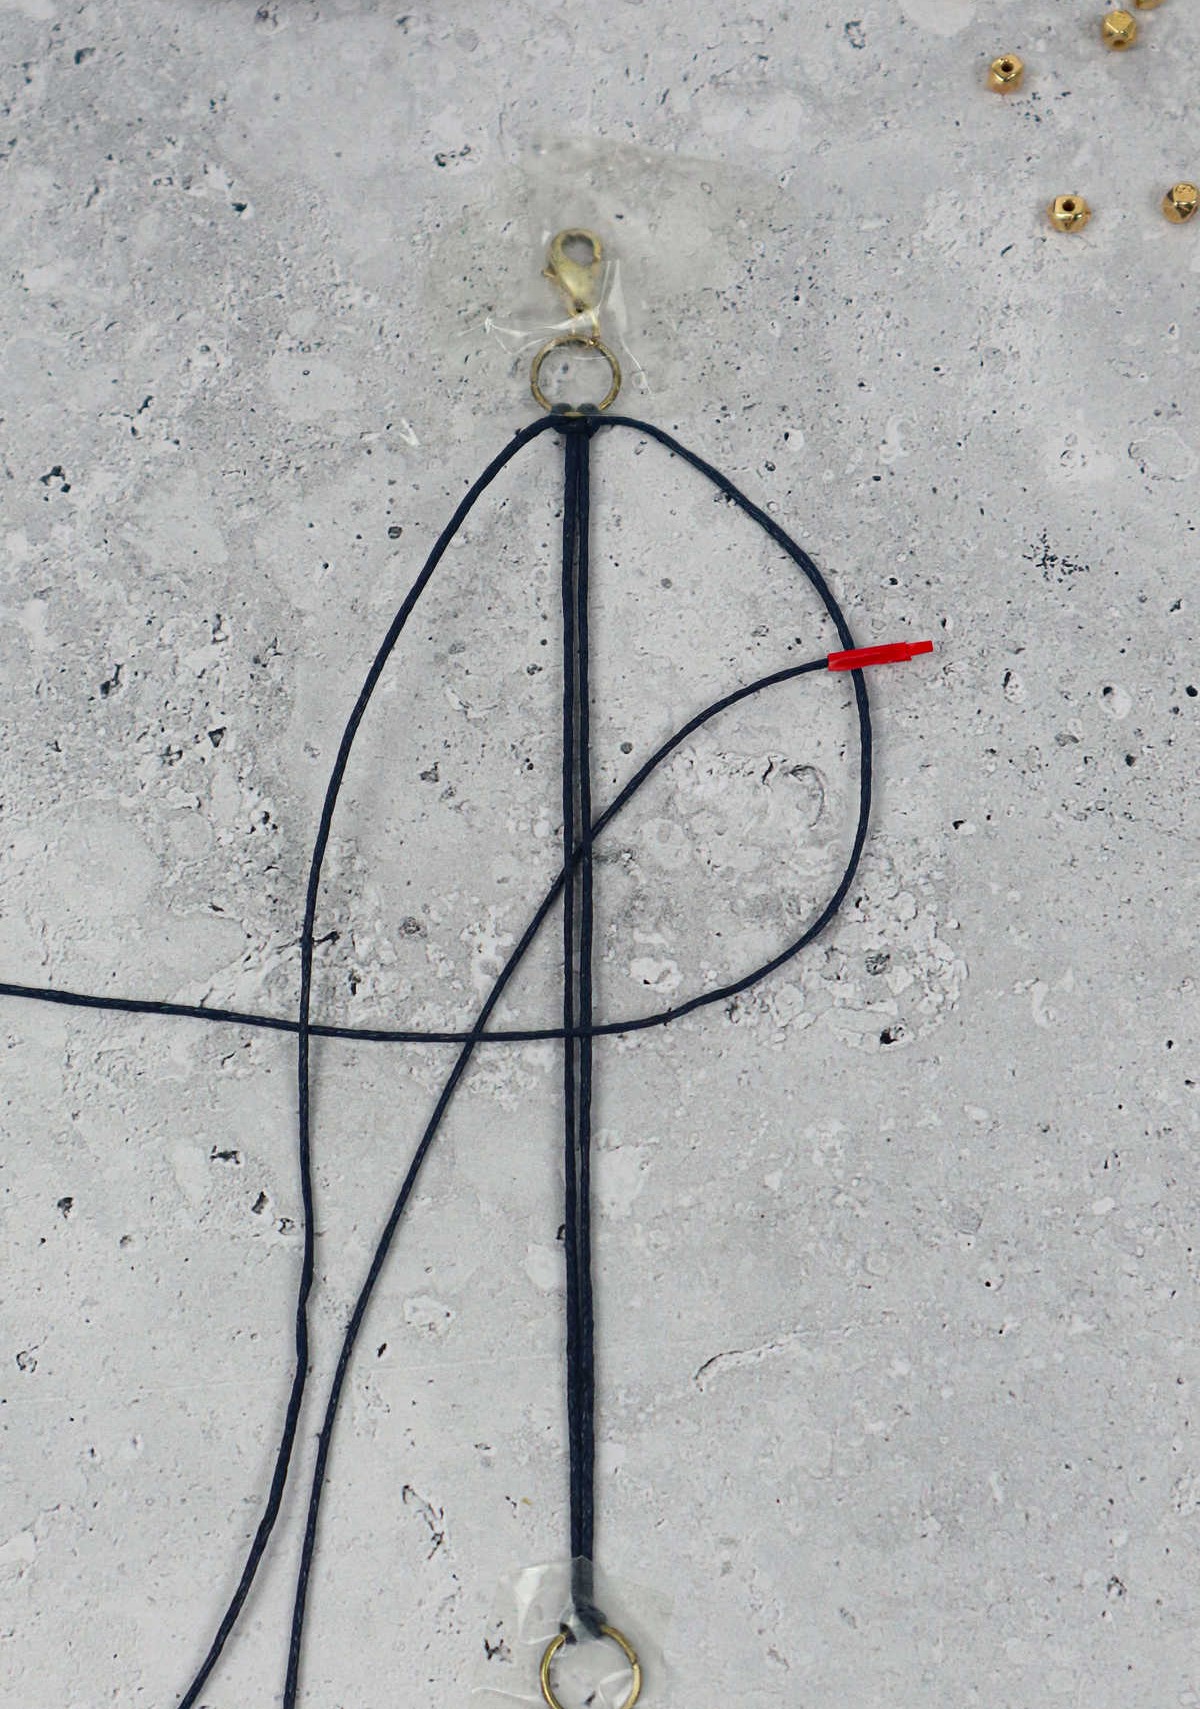
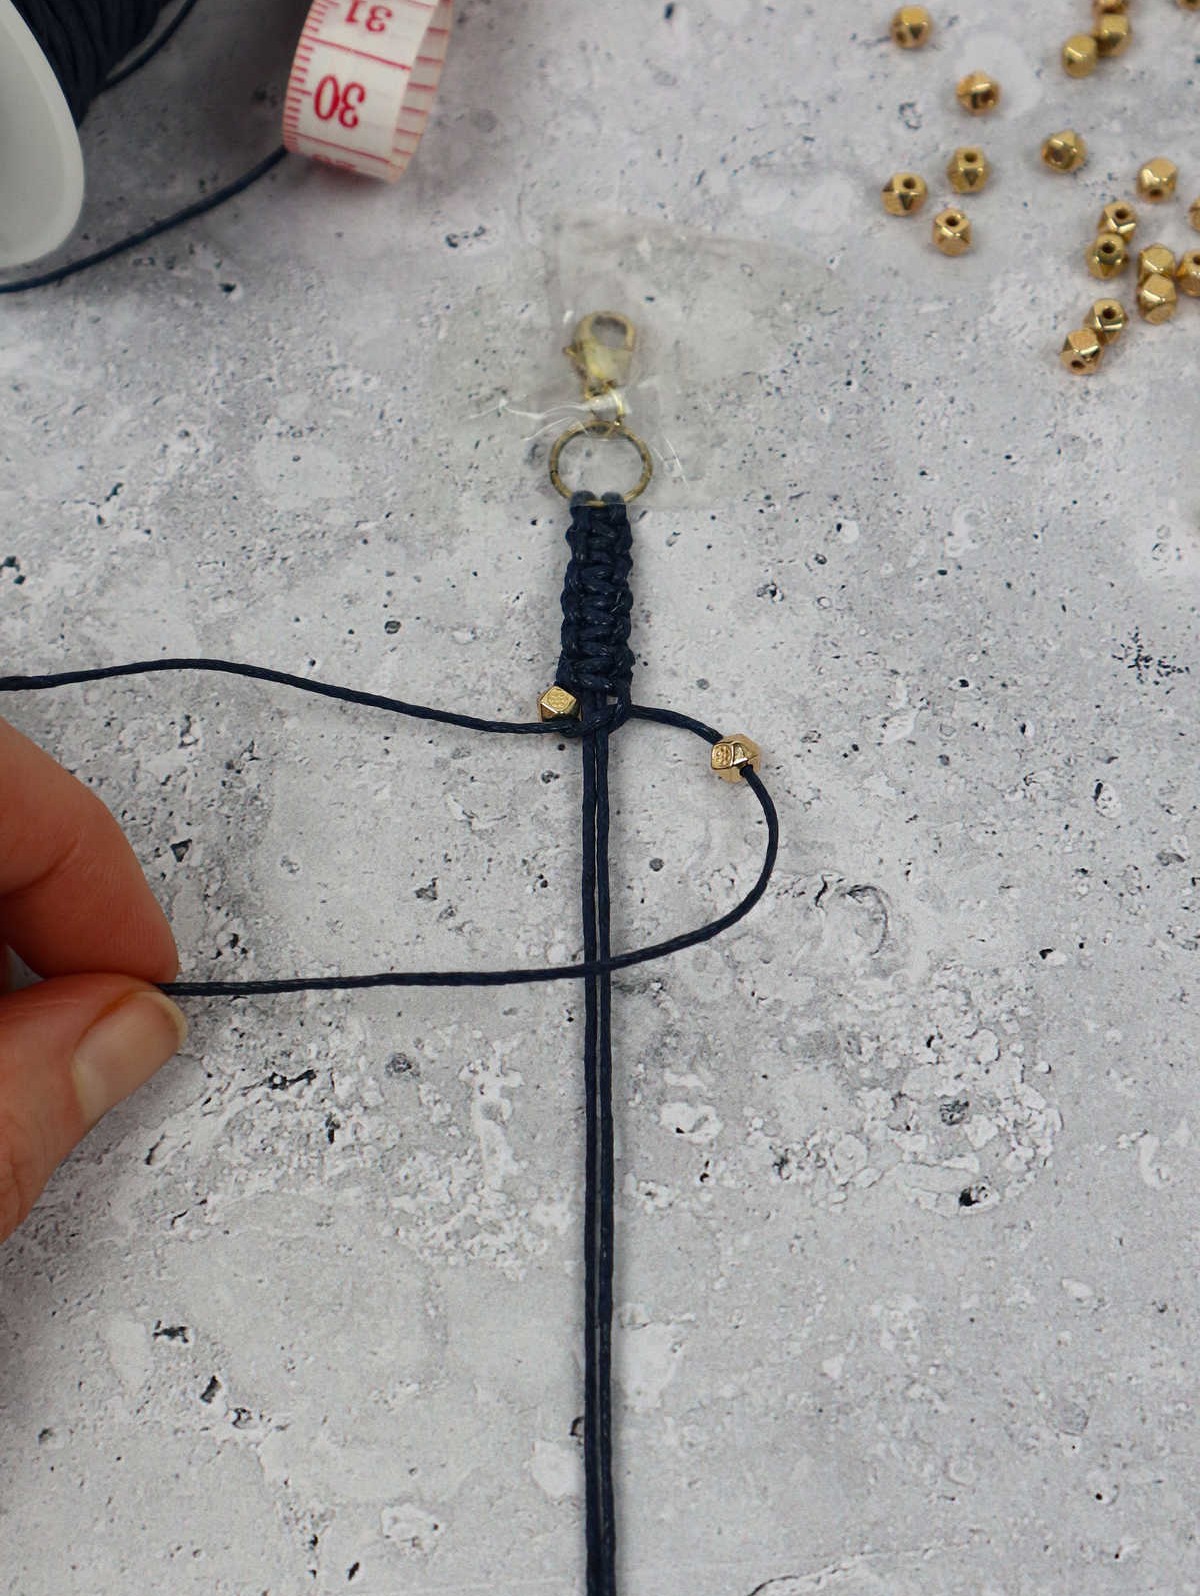
Next, take the right cord and bring it over the left cord before sliding it under the middle cords and pulling it through the loop from below. As you become more comfortable with this process, you’ll find that macrame becomes second nature! The first half of the square knot is now complete, but to secure it further, gently tug on both cord ends to tighten the knot at its base. This will create a stable foundation for your jump ring.
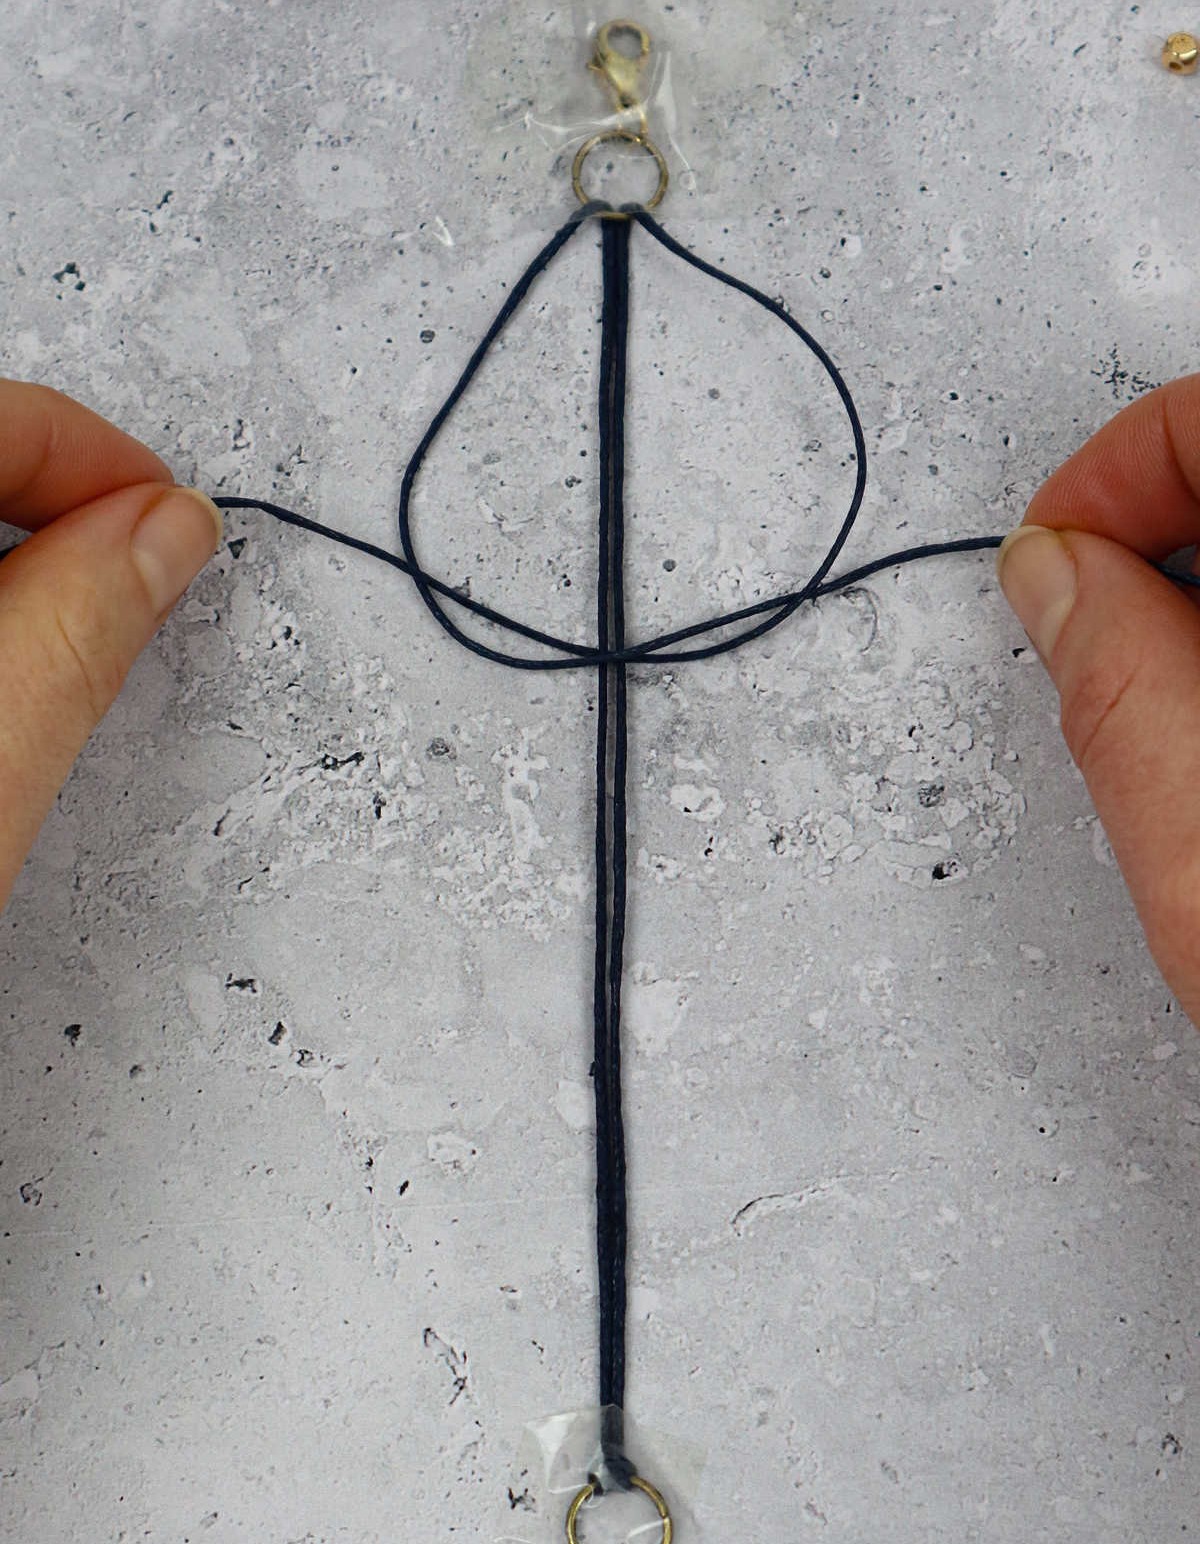
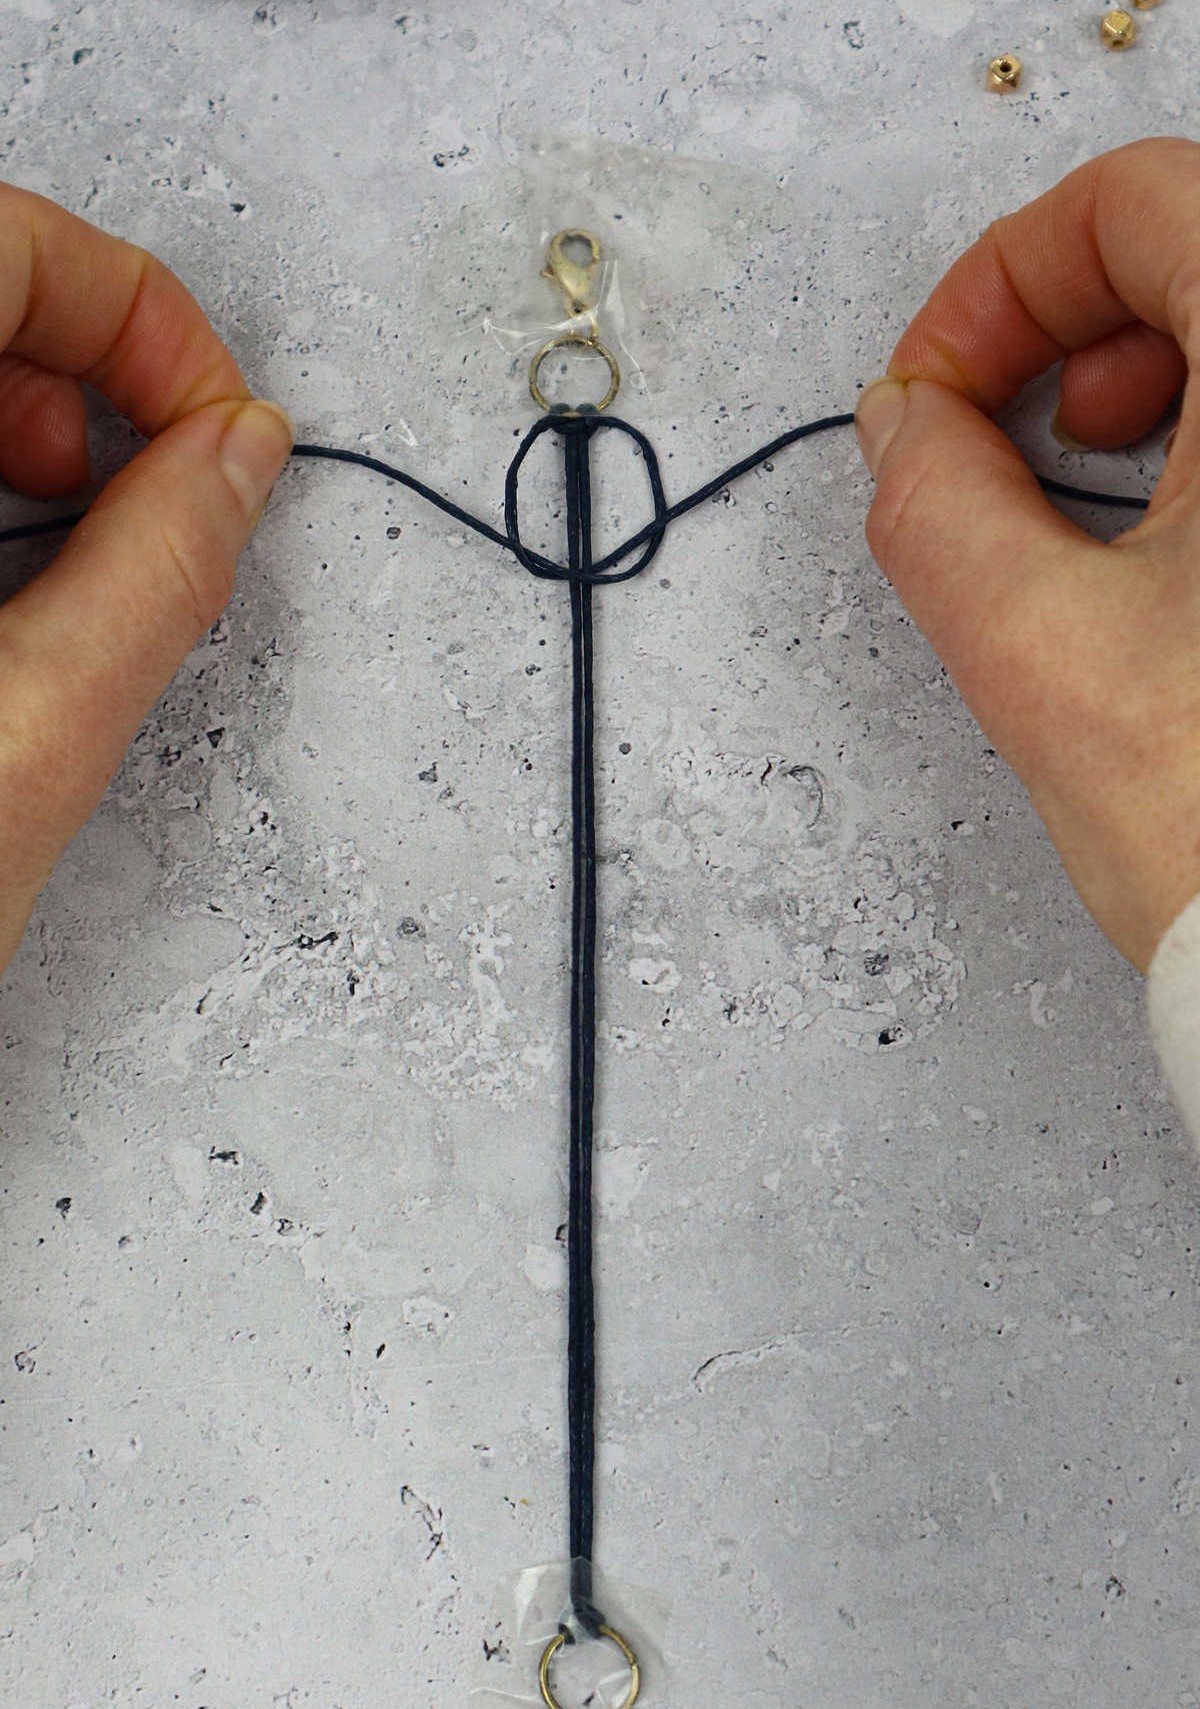
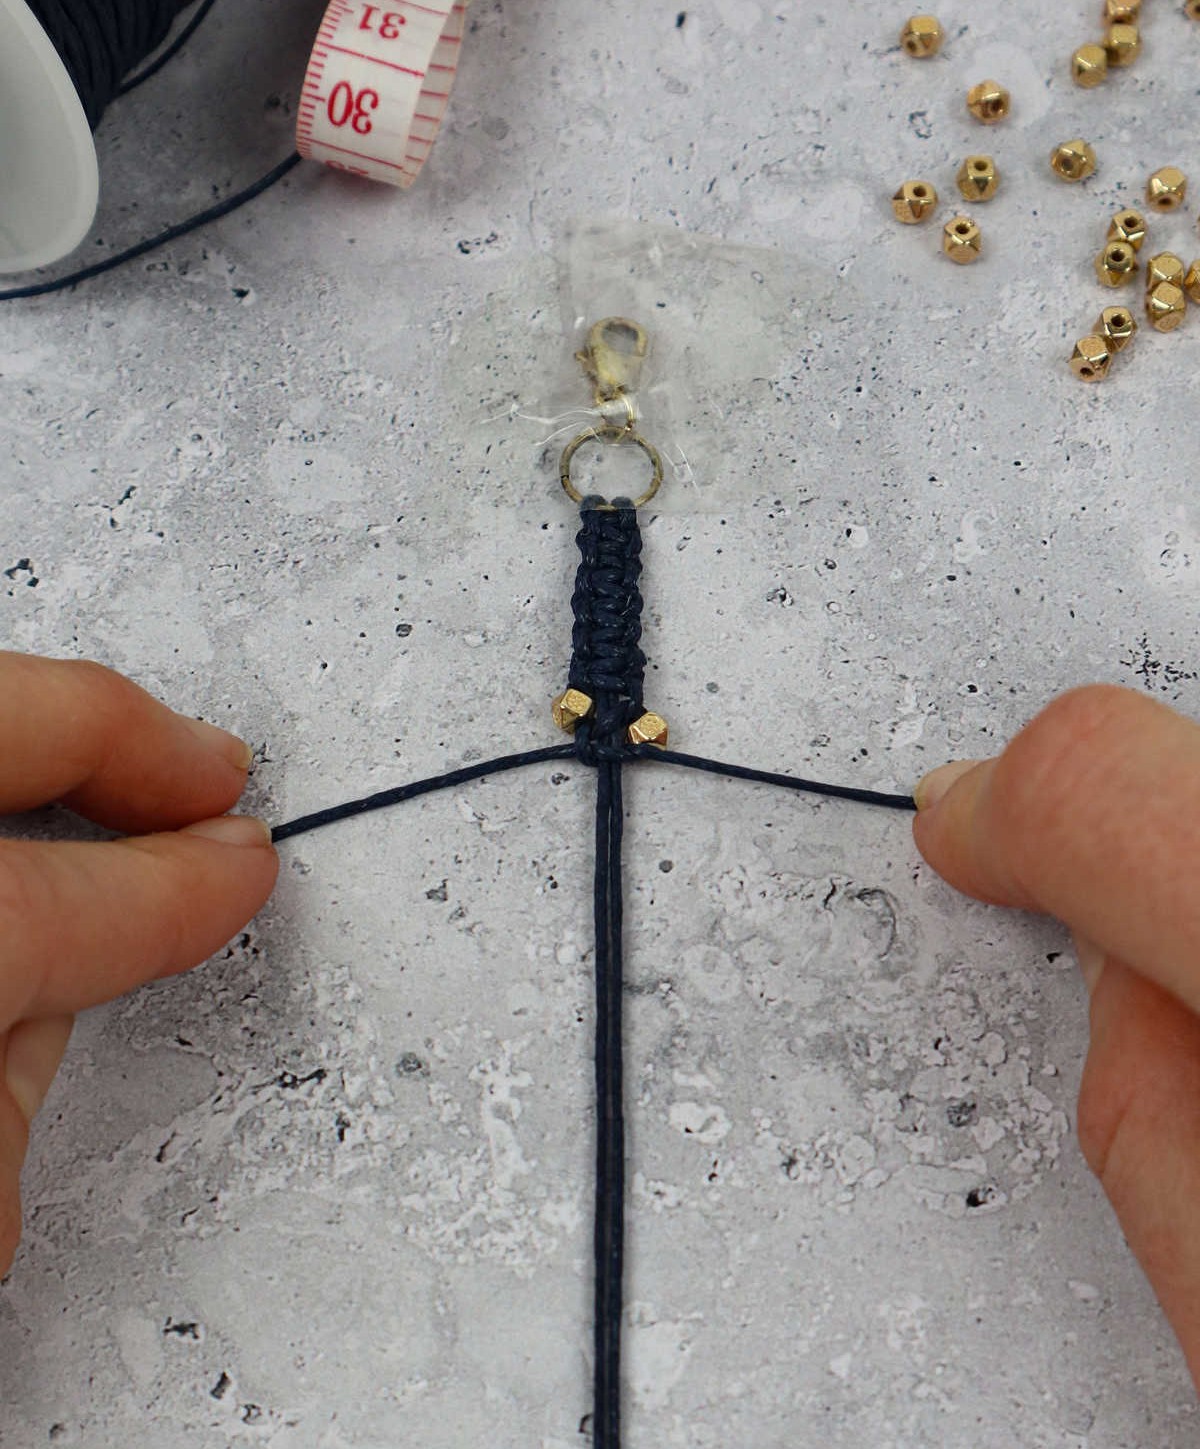
To finish the square knot, repeat the process, starting with the right cord this time. Cross it over the middle cords before taking the left cord and crossing it over the right. Then, bring the left cord under the middle cords and through the loop from below on the right. Finally, tug both cord ends to secure the second half of the square knot. With these steps complete, you’ll have successfully created a macrame square knot.
Step 5
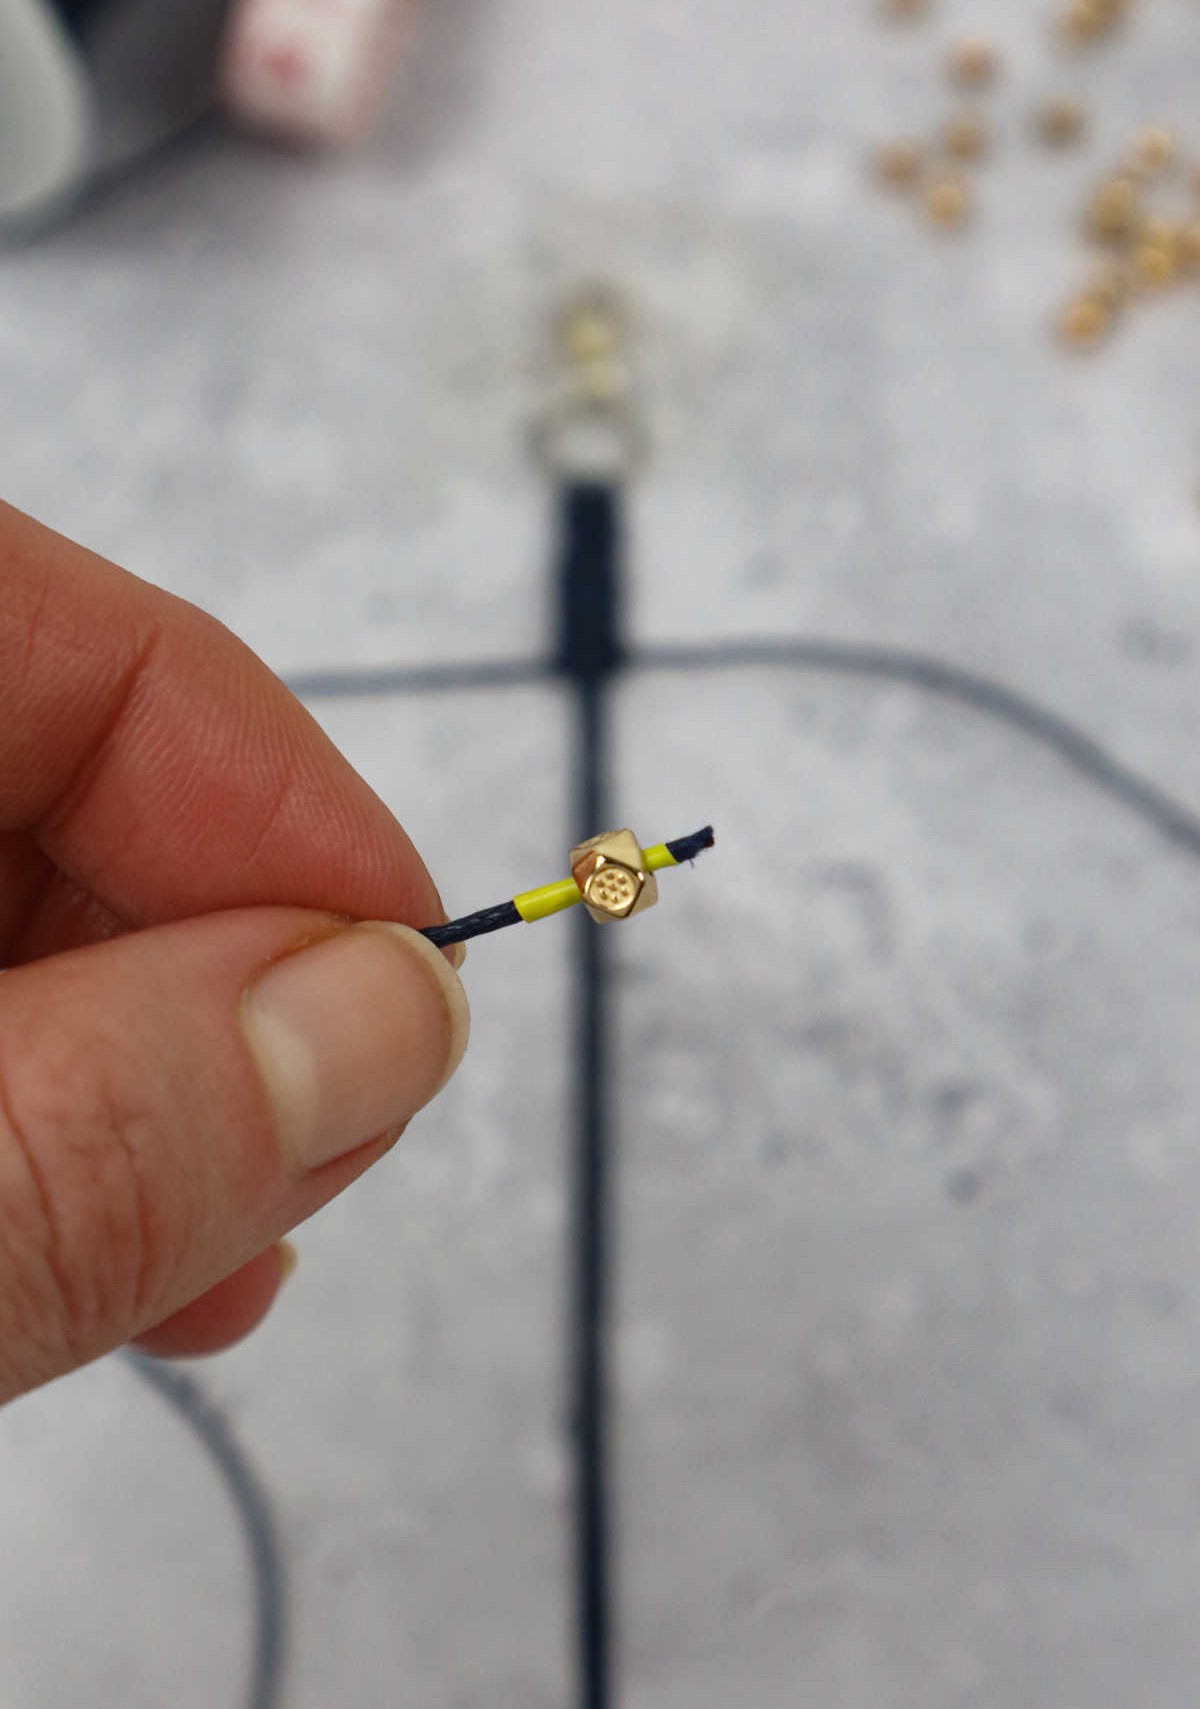
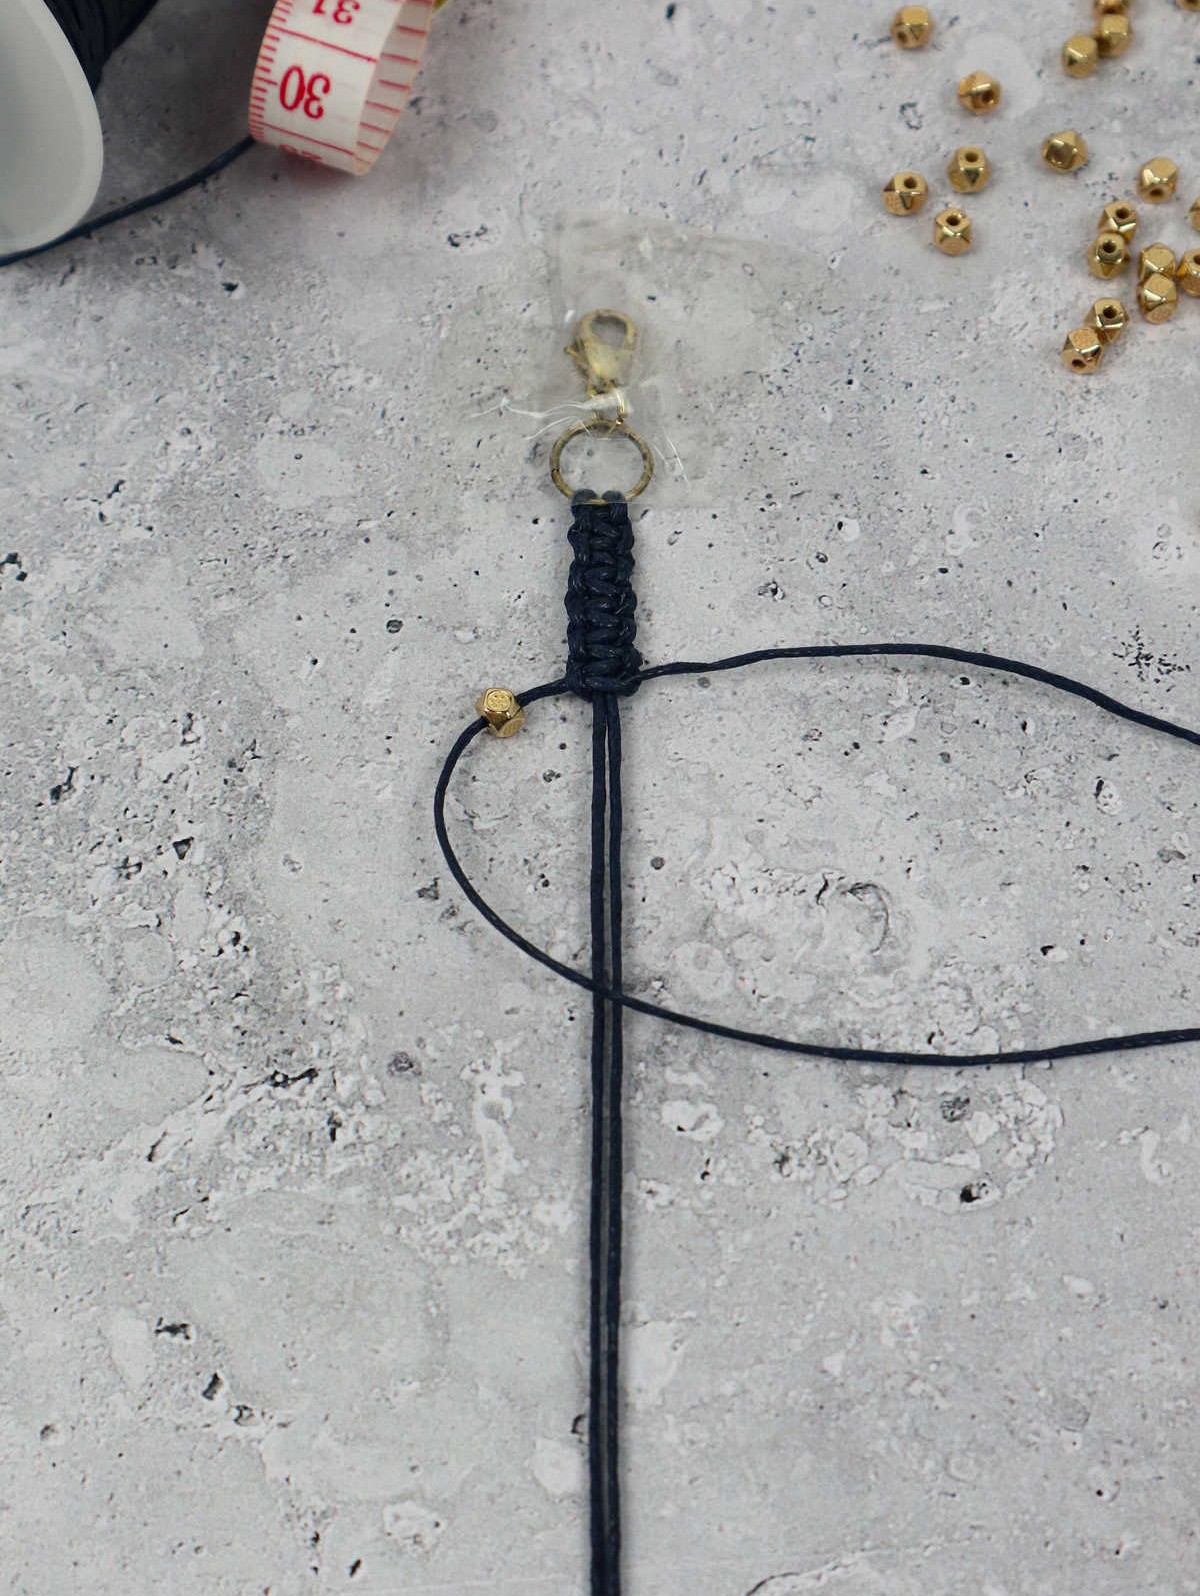
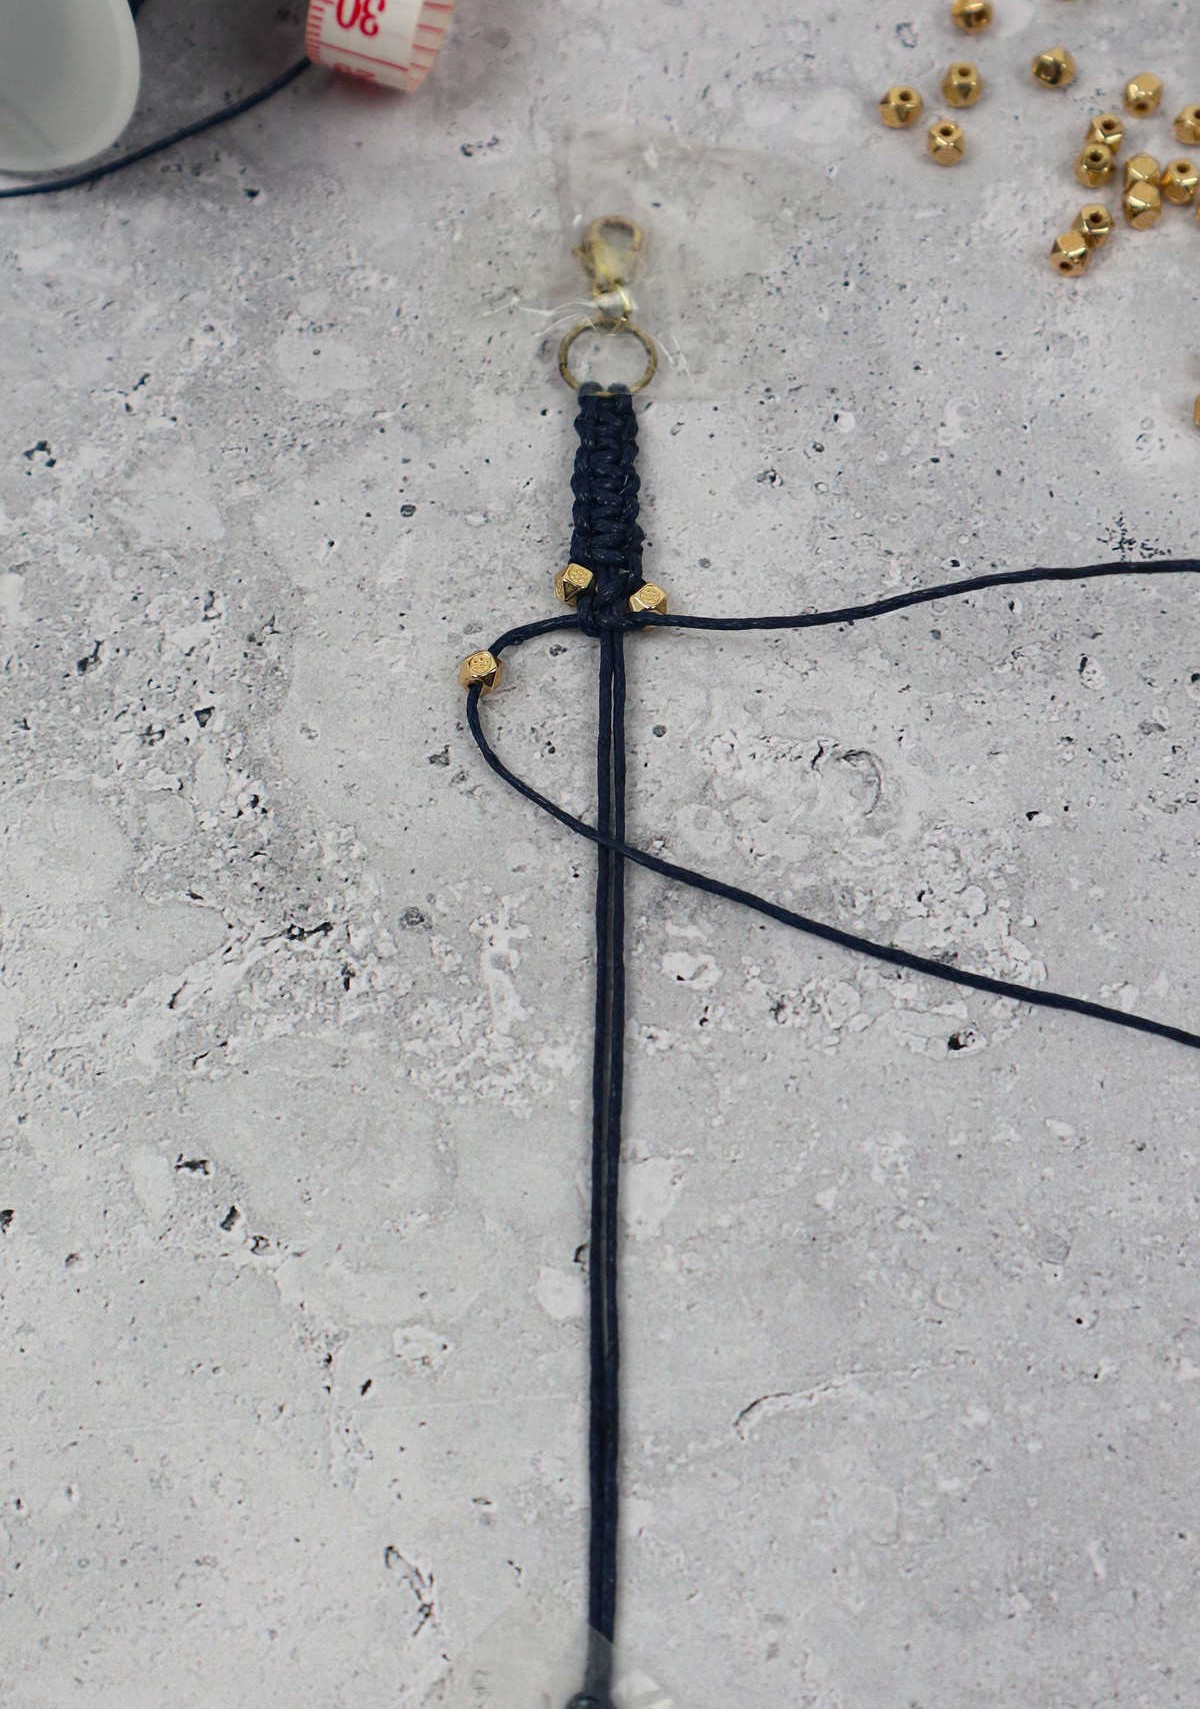
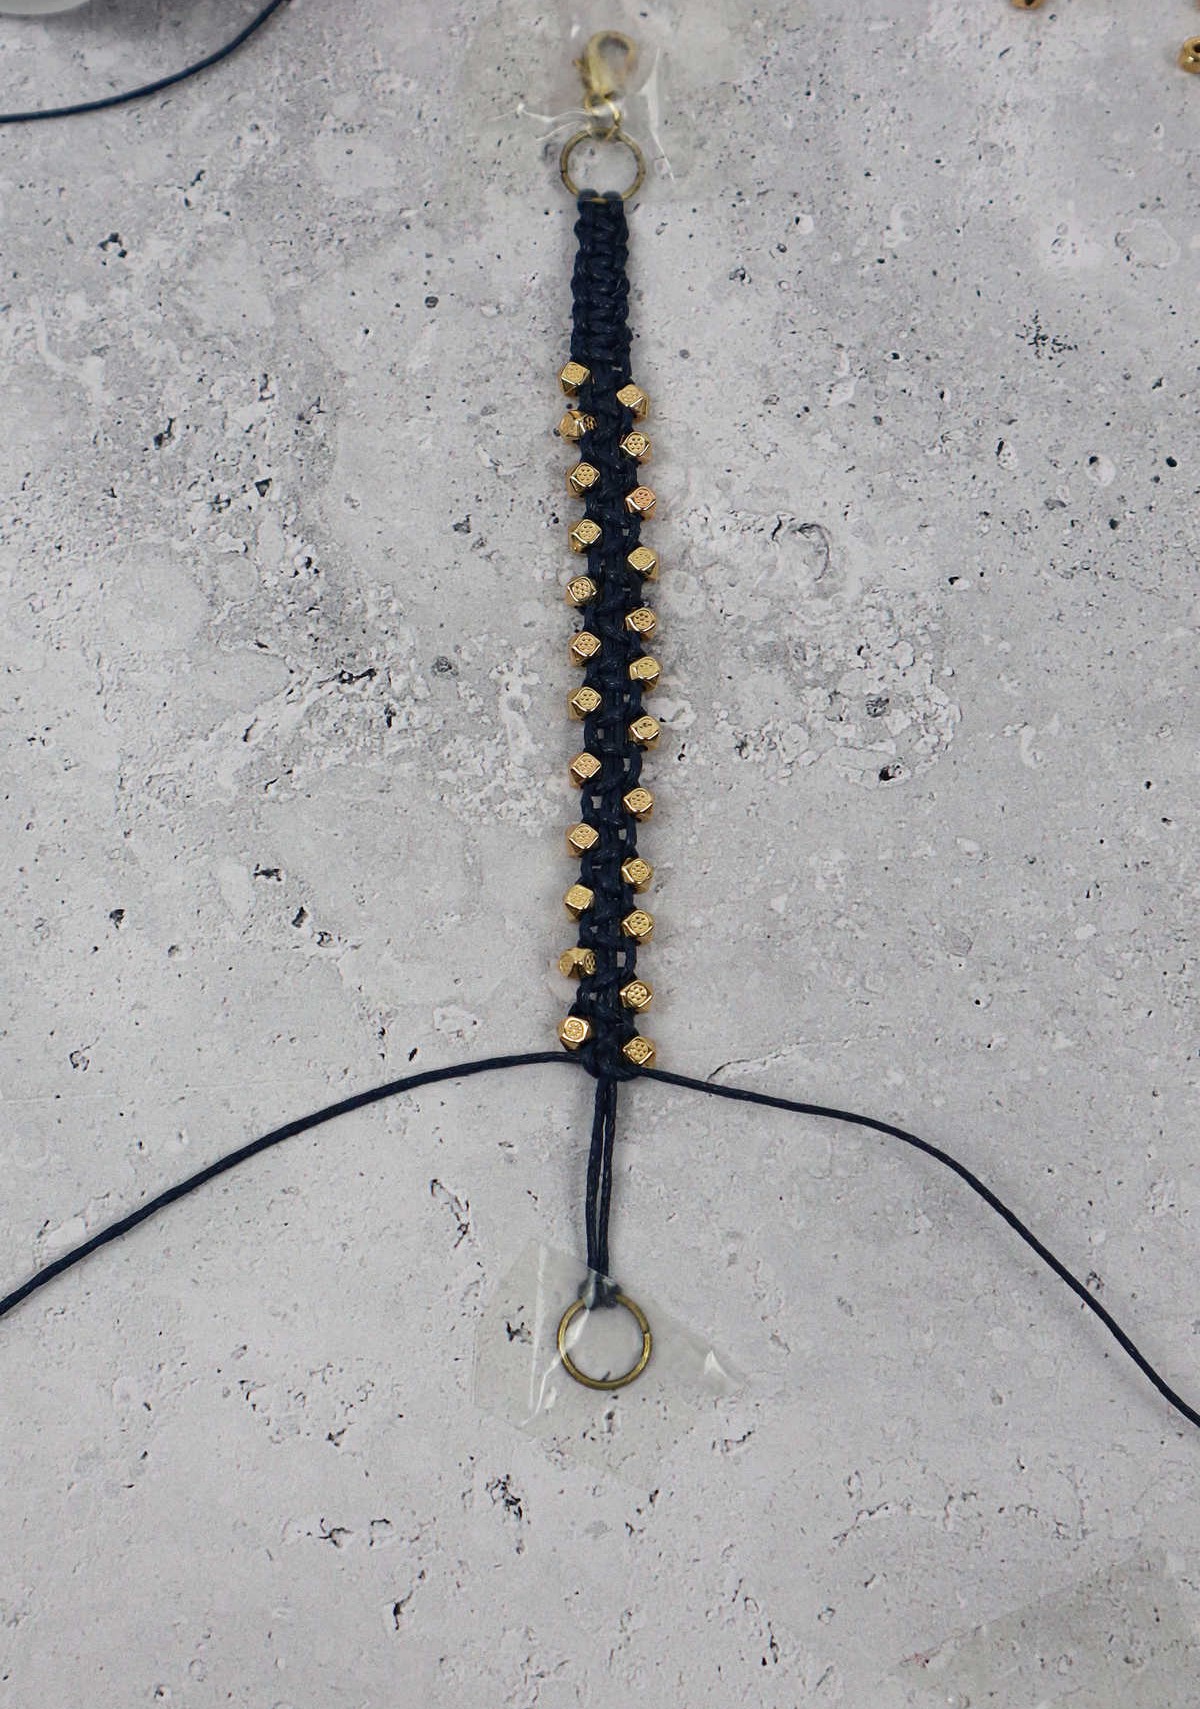
To add dimension to your bracelet, create a series of square knots along its length. This will provide a comfortable fit for wearers. If you’re incorporating beads into your design, now’s the ideal time to do so. To thread beads onto the cord, pull them through either the left or right side. For added convenience, tape the ends of the cord to facilitate easy insertion. Secure each bead by weaving it into the first and second halves of a square knot.
Continue this process all the way down the length of your bracelet, allowing you to evenly space out your beads and create a visually appealing design.
Step 6
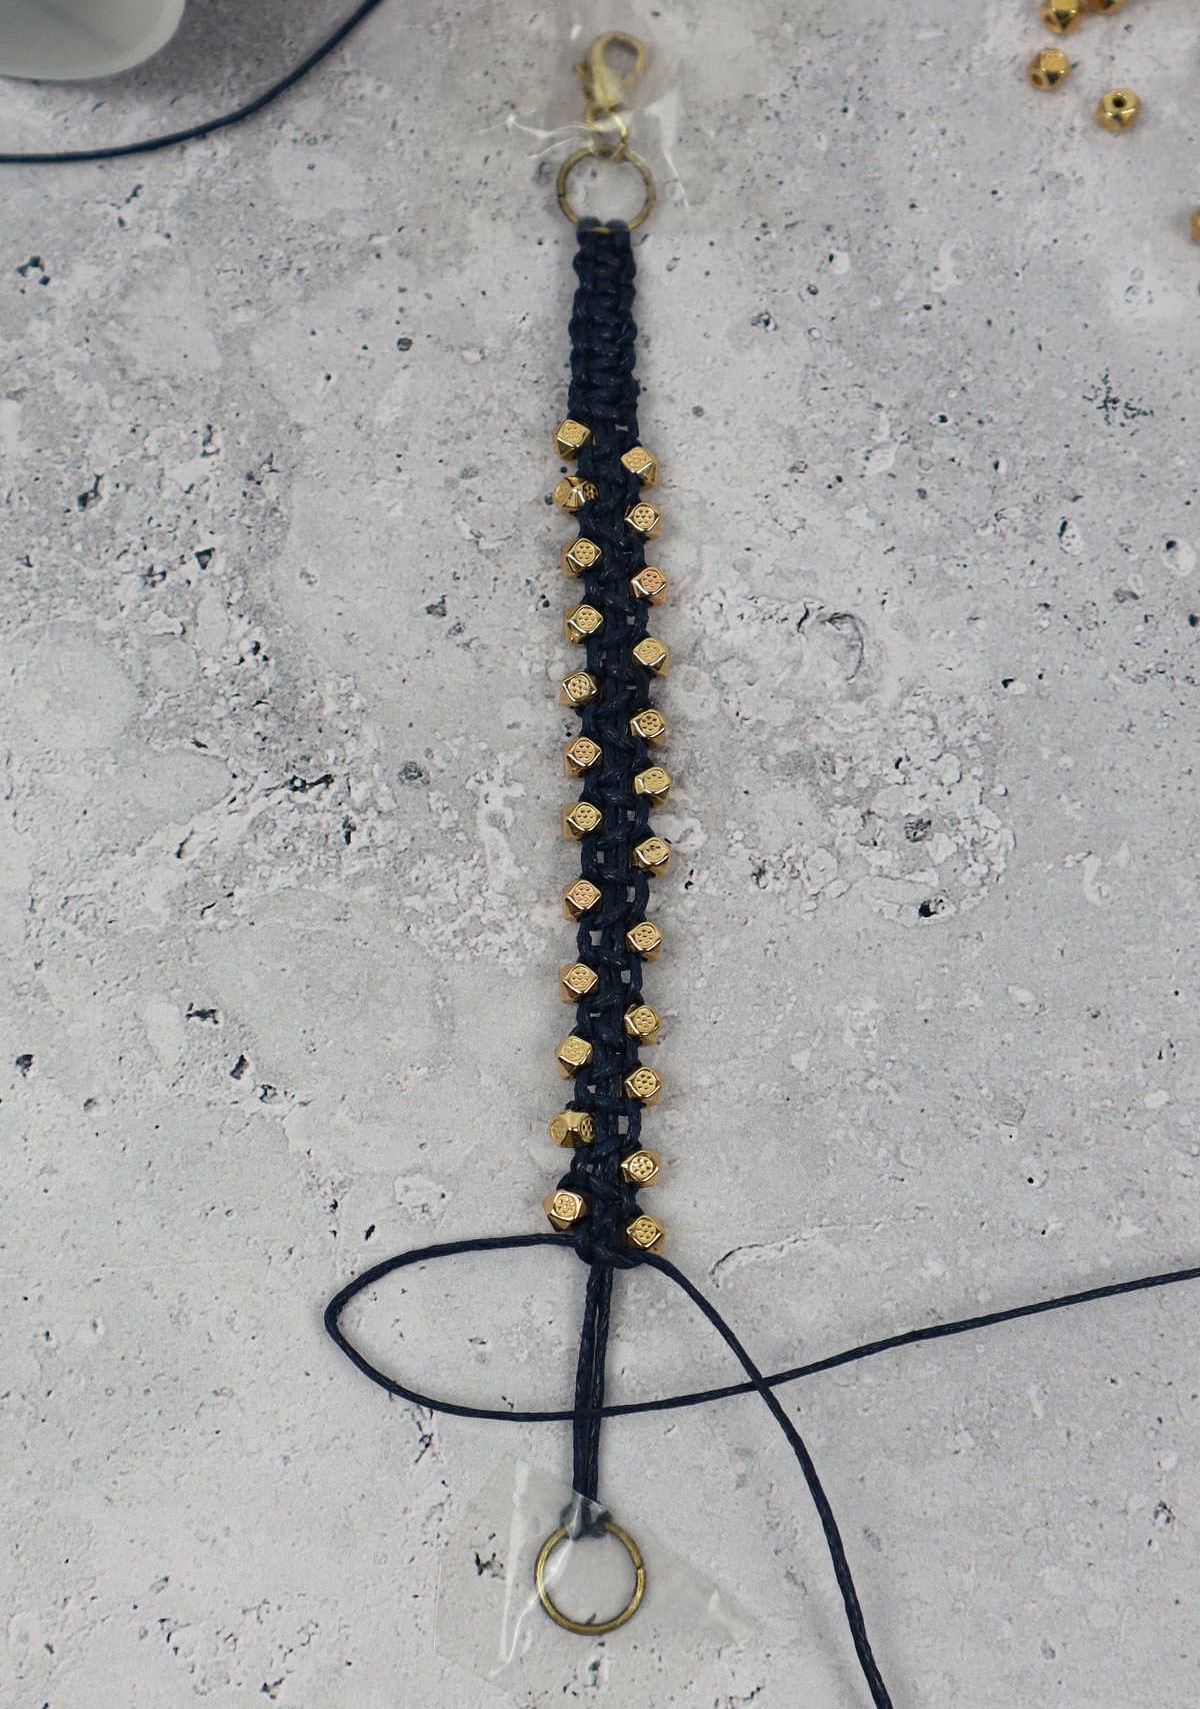
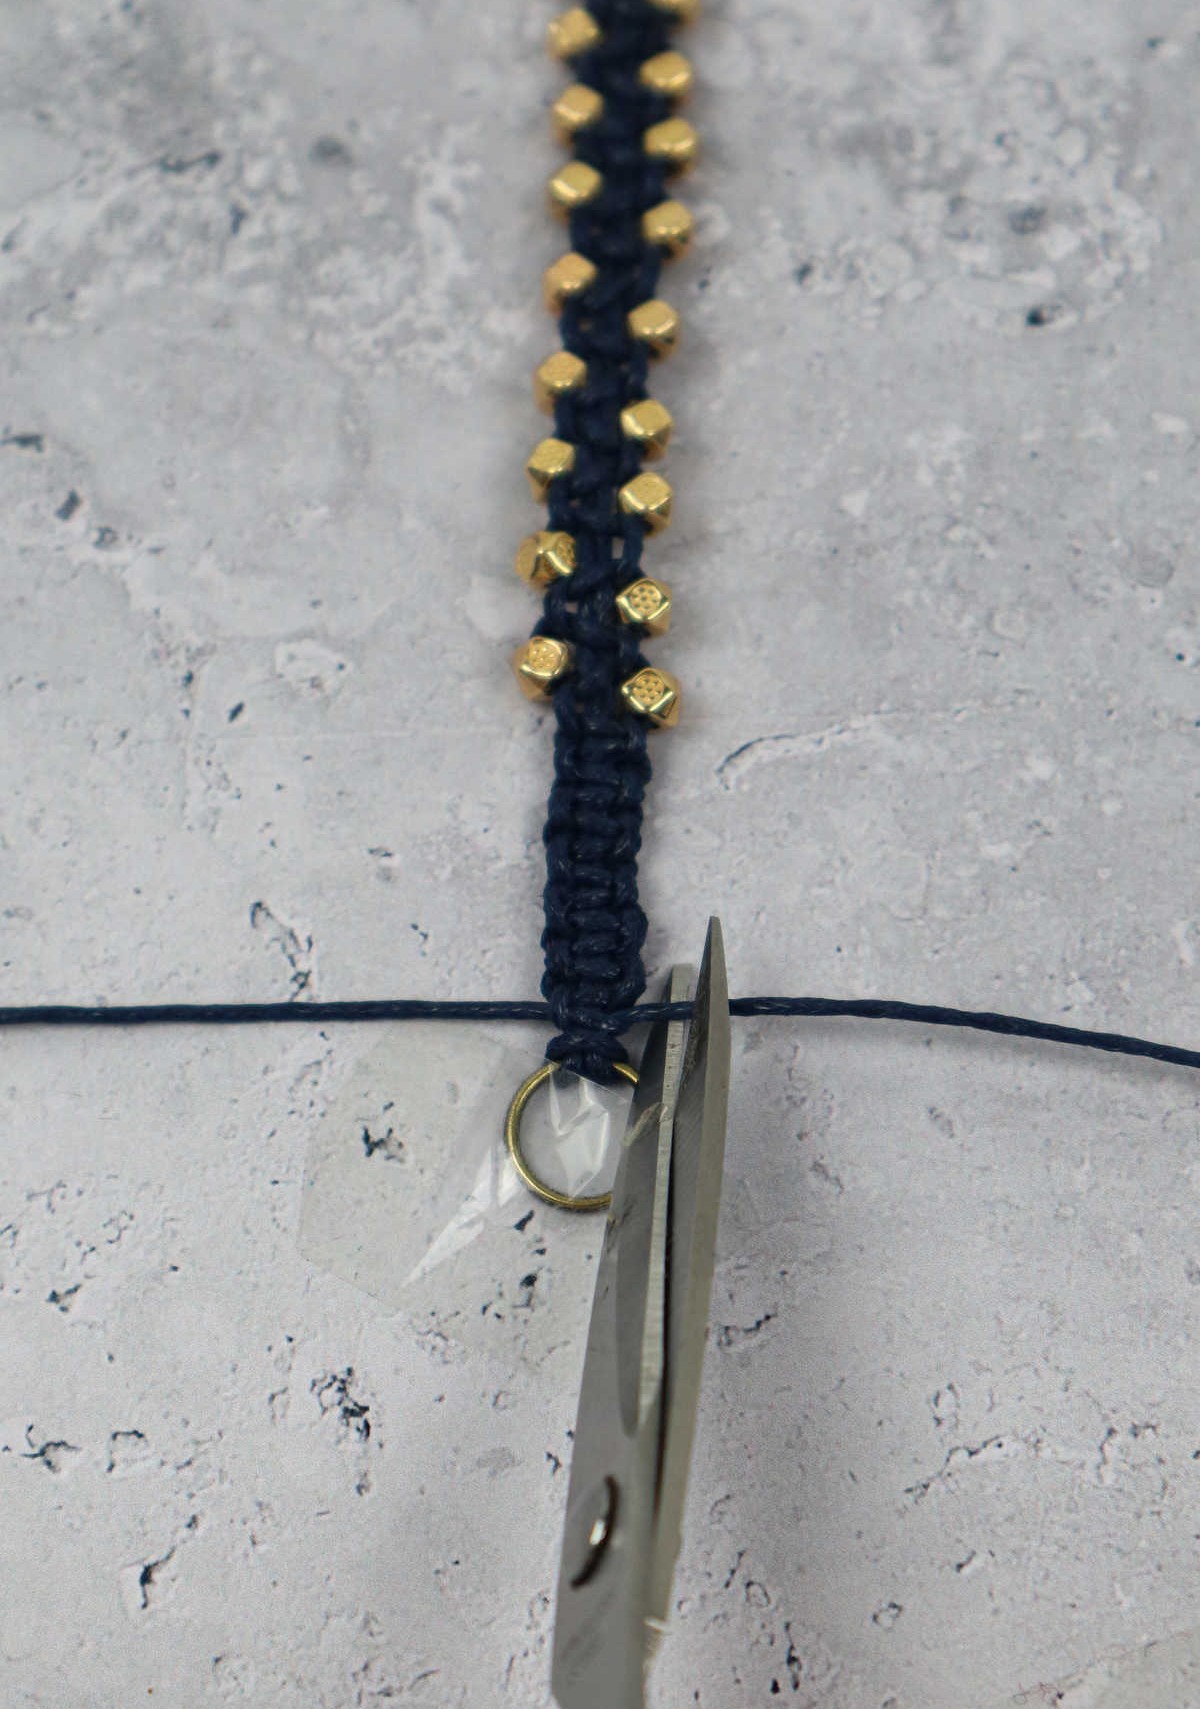
As with any craft project, it’s essential to maintain symmetry by creating an identical number of square knots on both ends of your macrame piece before securing them. In this case, you’ll want to replicate the process you used at the beginning of your bracelet, making sure to work the exact same number of knots on the opposite end just prior to fastening off. This attention to detail will ensure a polished and professional-looking finish once you’ve trimmed away any excess cord.
Step 7
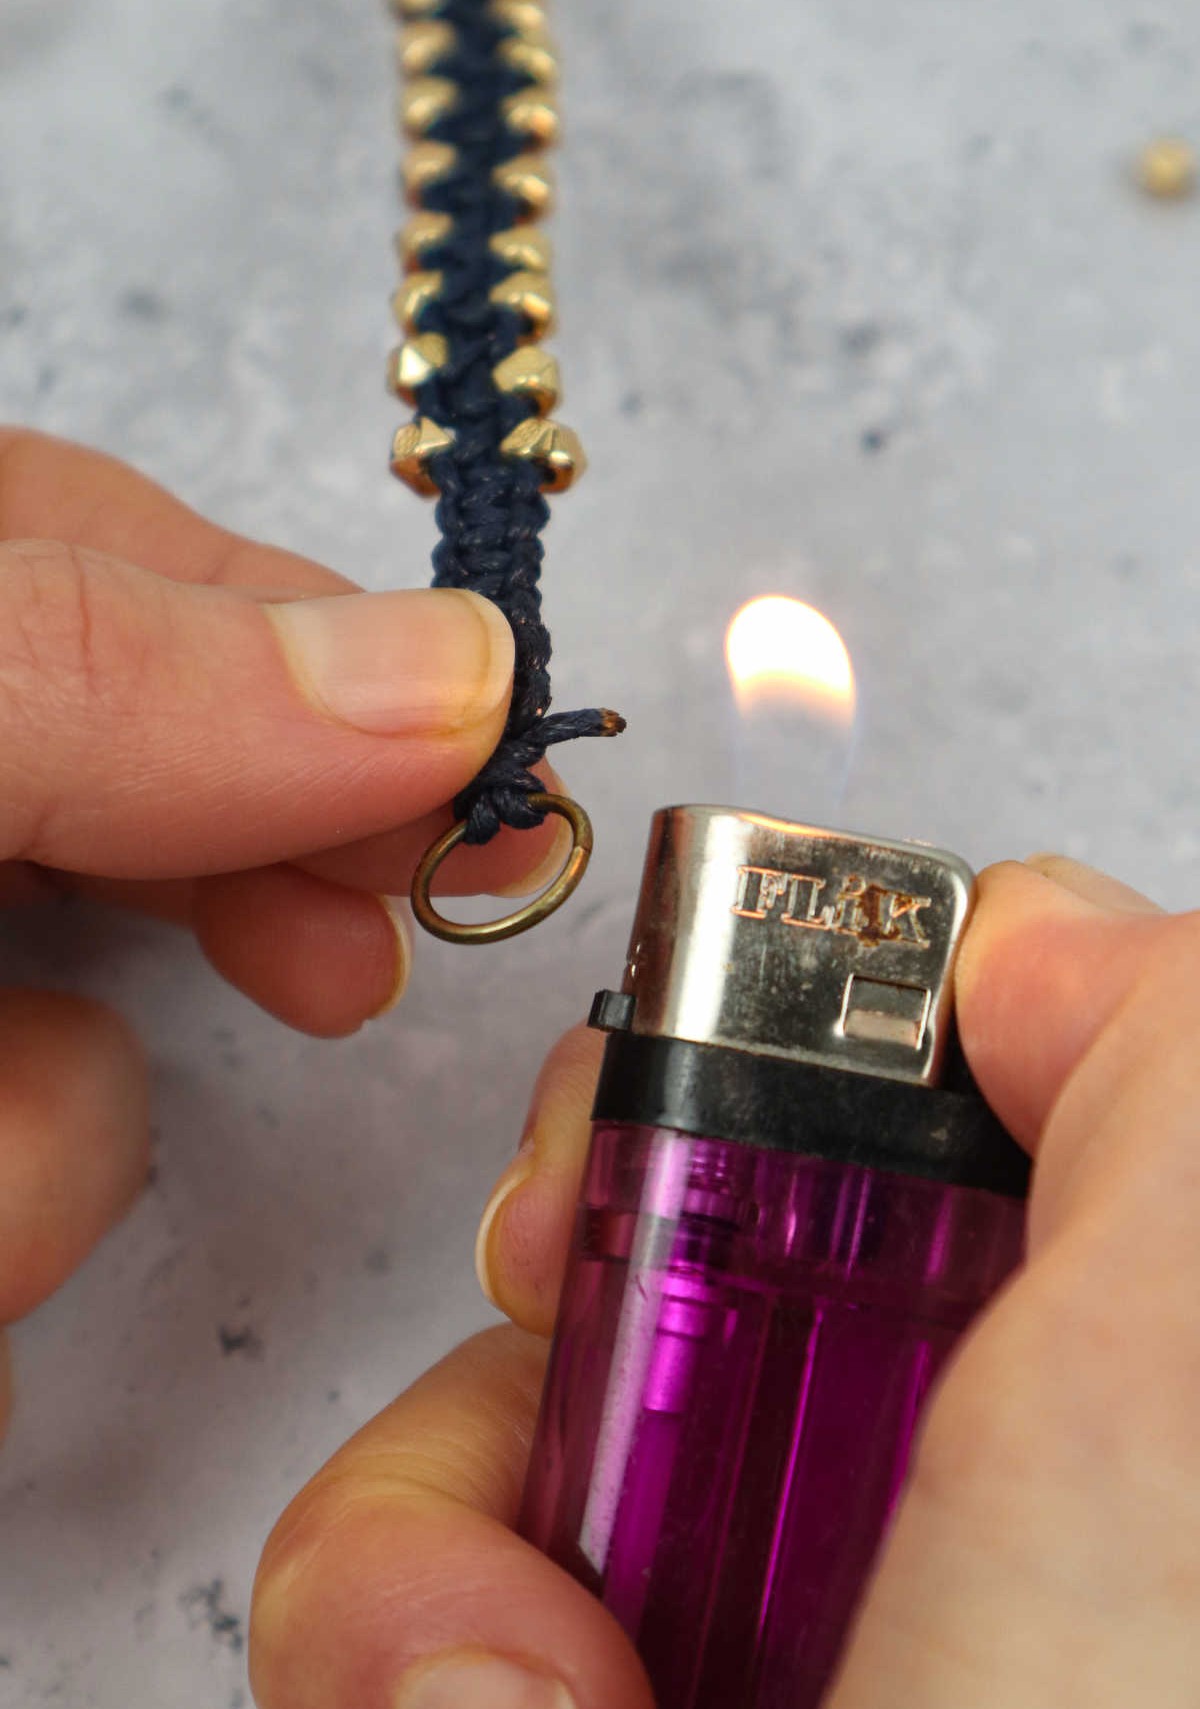
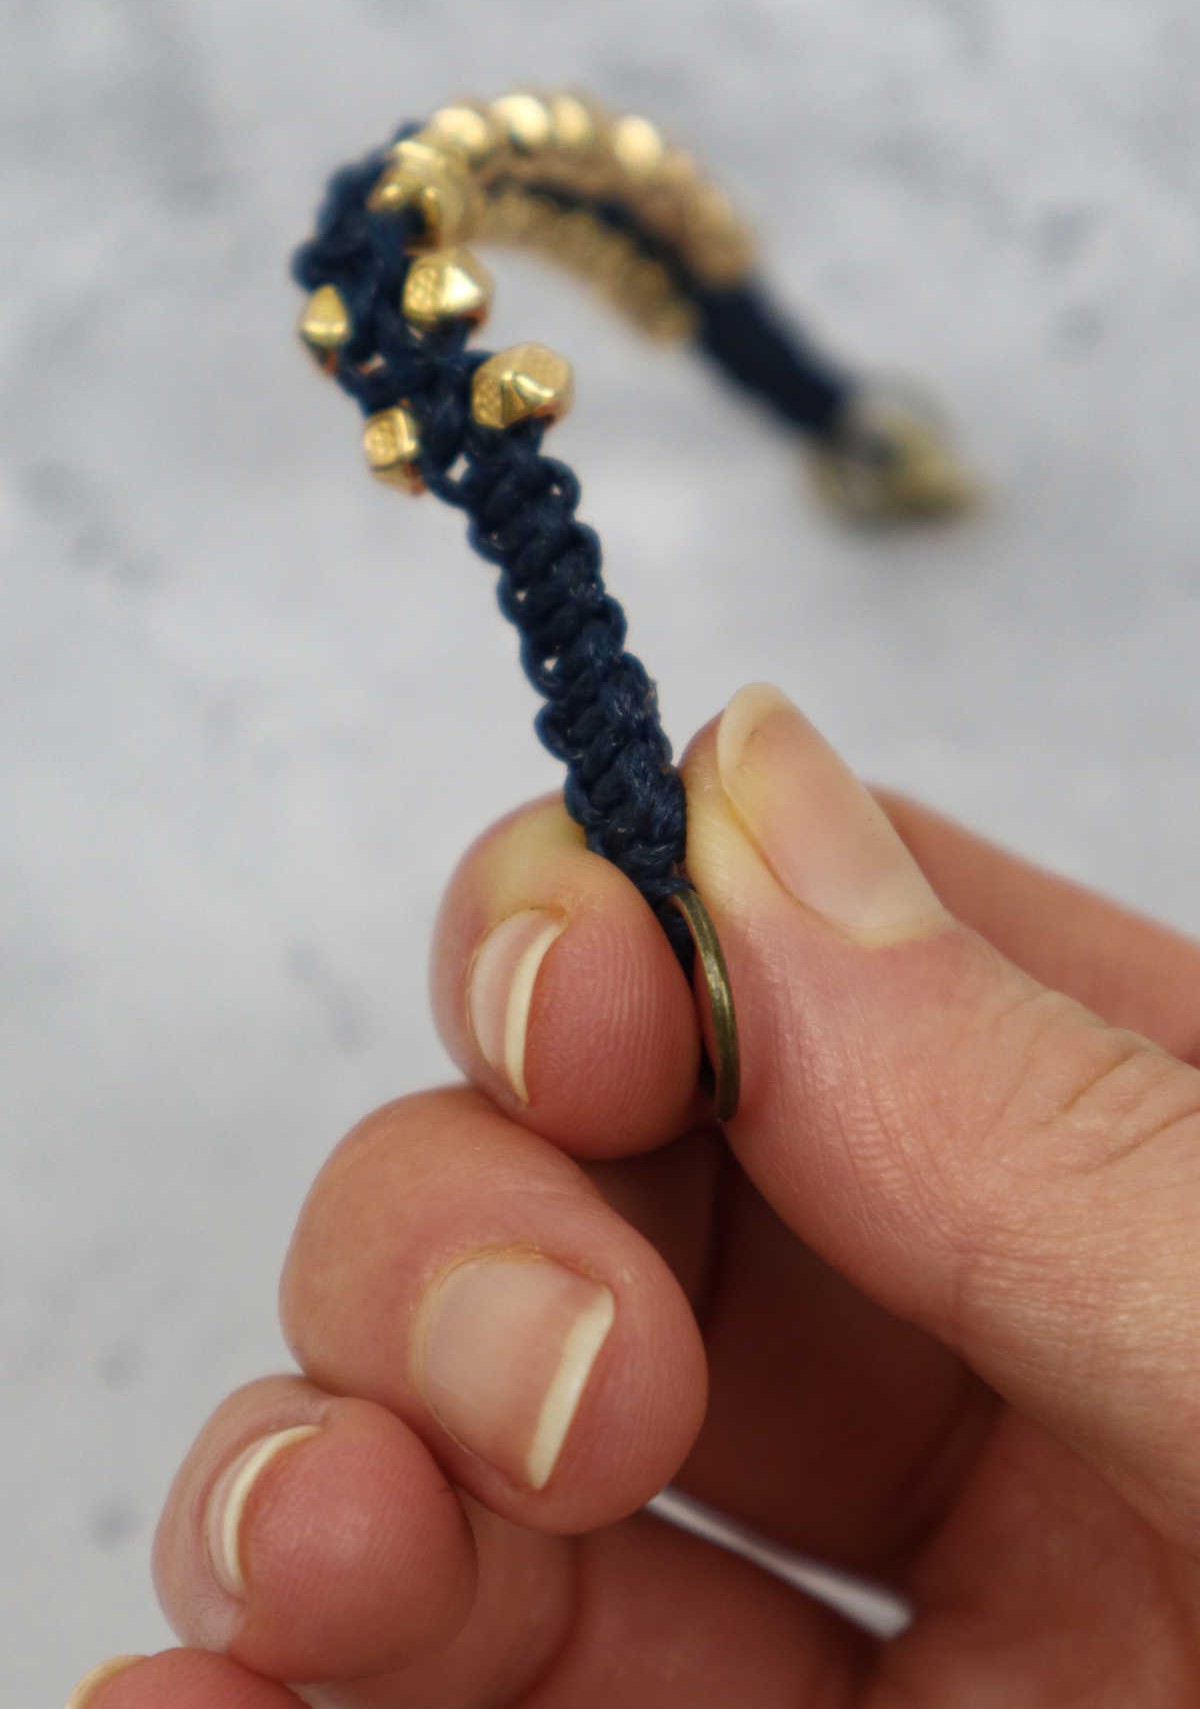
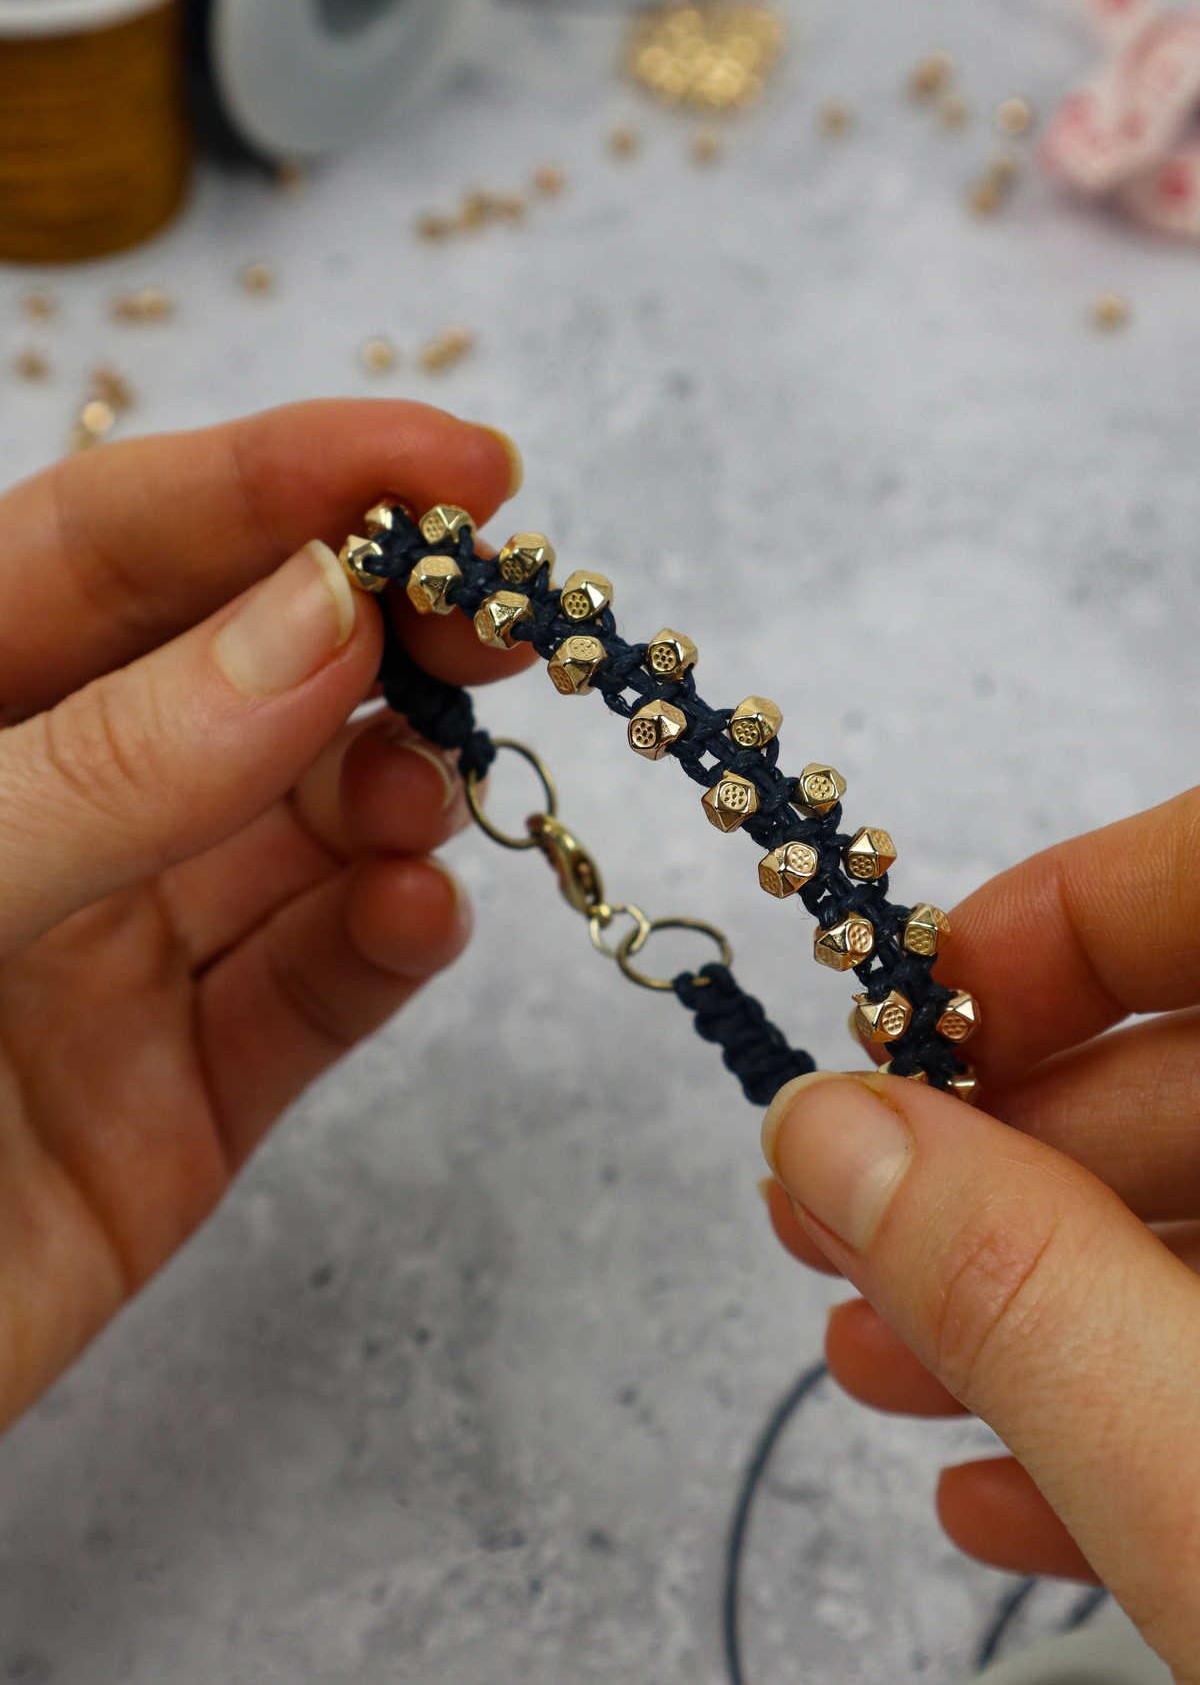
To complete your macrame bracelet, you’ll want to ensure that the cut ends don’t fray. A simple solution is to use a lighter to carefully melt the ends of the cord, effectively securing them in place. Once this step is complete, you can move on to attaching the clasp and voila! Your finished macrame bracelet will be ready to wear.
DIY Macrame Bracelet (Step-by-Step)
Embark on a creative adventure by starting with this delightful macrame DIY bracelet project. With only 5 minutes of prep time and 55 minutes of active crafting, you’ll be enjoying your handiwork in just one hour. This endeavour is perfect for beginners, offering an accessible introduction to the world of macrame. And the best part? It won’t break the bank, with a total cost of just $1.
Equipment
Materials
To complete your jewelry-making project, you’ll need a few essential components: nylon cord with a thickness of 0.8 millimeters, two lobster clasps to secure the ends, and two jump rings measuring 0.9 millimeters in diameter. You’ll also require three millimeter beads to add some visual interest. While clear tape can be useful for temporarily holding things in place during assembly, it’s not strictly necessary.
Instructions
To begin, collect all necessary materials and prepare them for your project. First, fold the nylon cord in half with a loop on one side and two end cords on the other. Then, insert the cord into the ring, pulling the looped side up and over it. Next, pull the end cords through and tug gently to form a lark’s head knot around the base of the ring. Once this is secure, take another jump ring and thread the ends through it.
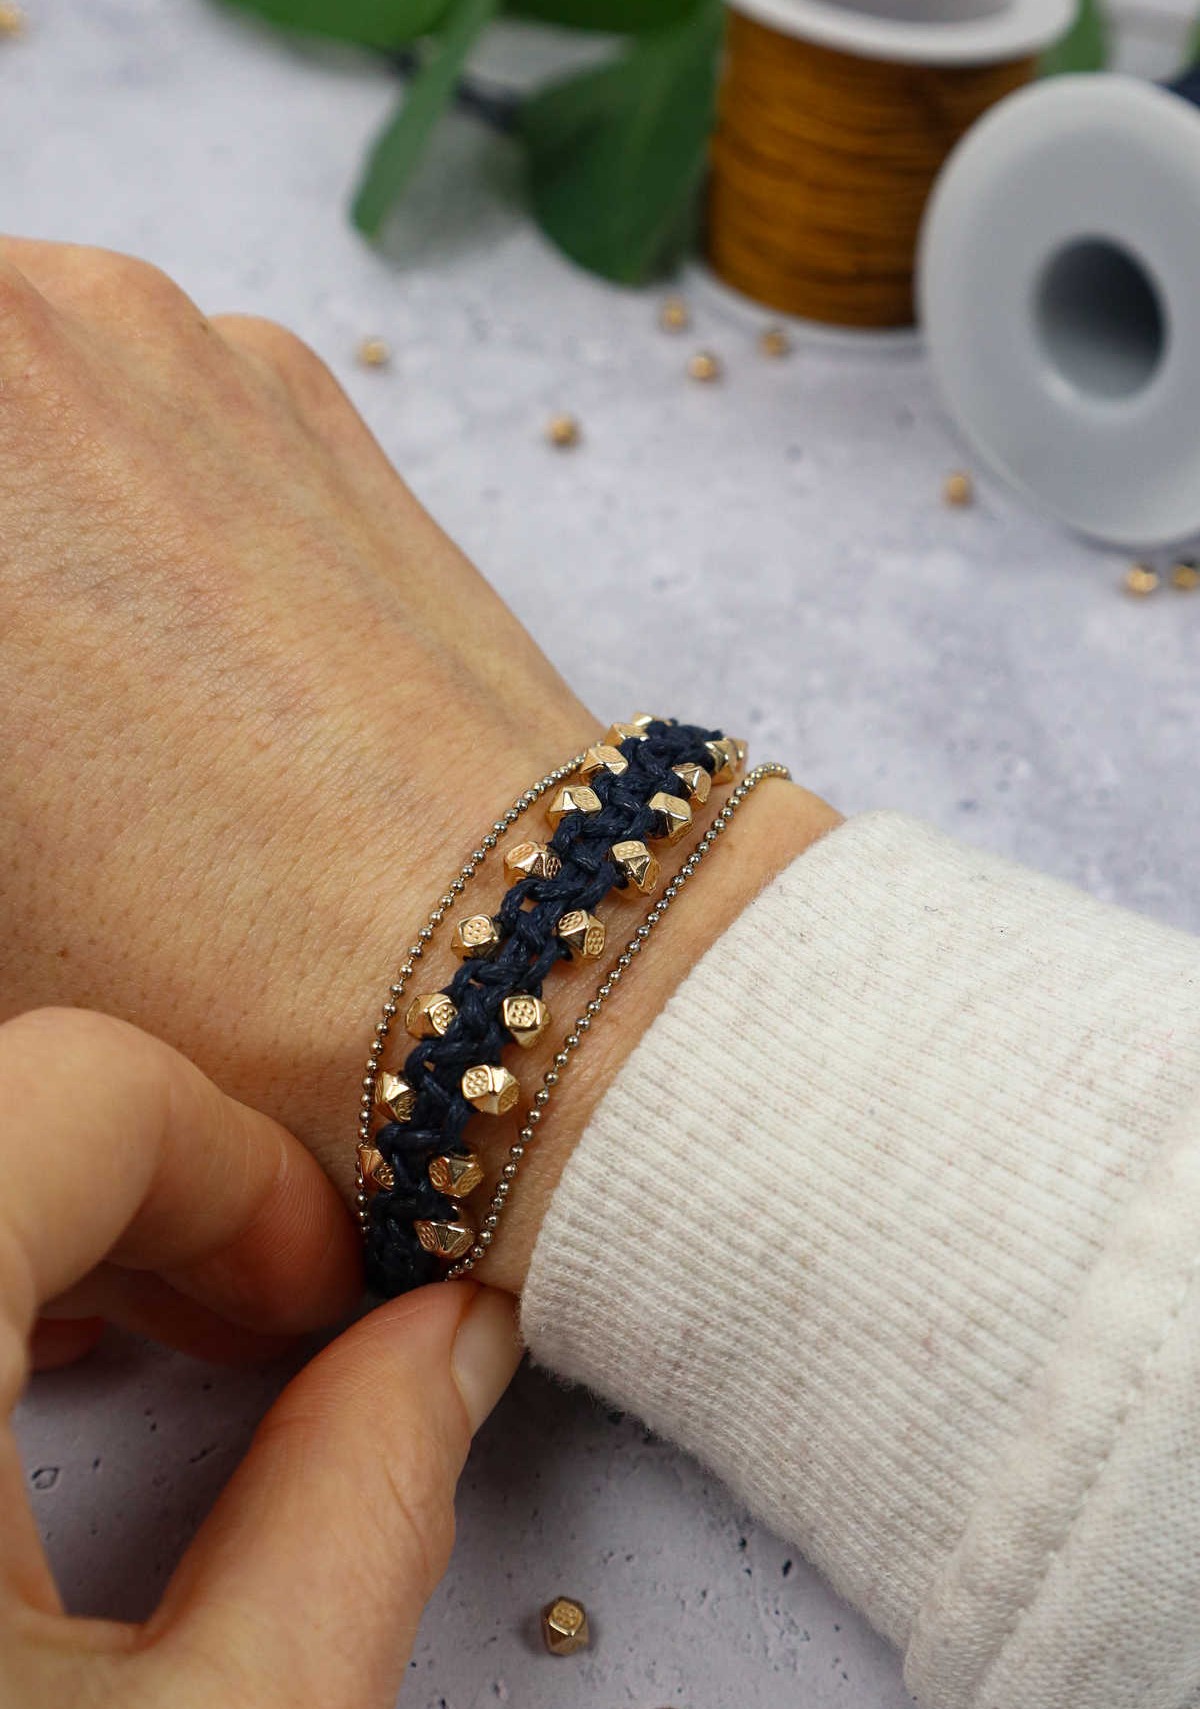
Attach the lobster claw clasp to the ring, making sure it’s securely fastened. Measure your wrist width to determine the length required for the bracelet, including the two jump rings. Mark the correct position on the second jump ring and secure it temporarily with tape. Create a series of square knots starting at the base of the jump ring, working your way up to the top. Next, thread beads and charms onto either side of the cords, repeating the process until you reach the end of the bracelet.
Repeat the square knot pattern up to the second jump ring’s edge. Finally, trim excess cord ends and use a lighter to melt and secure them in place, preventing fraying. Your macrame bracelet is now complete and ready to wear.
