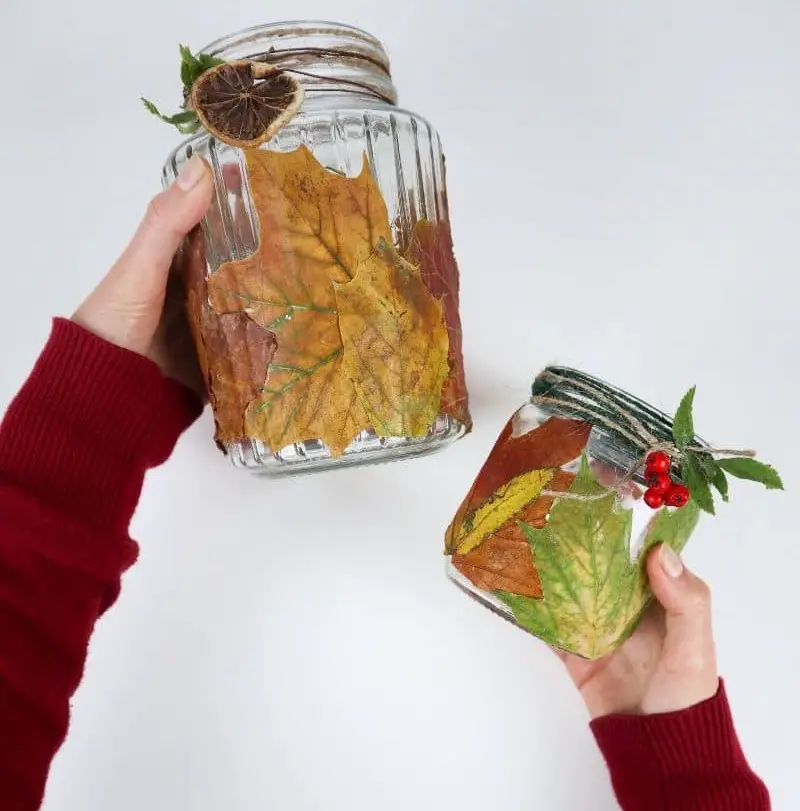
Want to craft the perfect DIY candle holder? Look no further! This simple and stunning piece not only provides a warm glow but also serves as a beautiful autumnal décor accent. As fall approaches, many of us can’t help but feel a sense of excitement and nostalgia. The season’s vibrant colors and cozy atmosphere make it the ideal time to bring the outdoors in. And what better way to do so than by creating your own DIY leaf jars?
These charming vessels have a natural, earthy quality that evokes the feeling of crunching leaves beneath your feet. Whether you choose to place them on your nightstand or use them to add a touch of autumnal charm to your kitchen, they’re sure to become a favorite fall decoration. And the best part? These DIY leaf jars are incredibly affordable and easy to make, making them the perfect project for teenagers looking to get creative. So why wait?
Follow along with our simple steps to create these delightful decorations and let the warm glow of autumn inspire you.
Supplies You’ll Need
To create a visually appealing jar arrangement, start with the foundation: a jar. For the leaves, aim for ones that are flat, flexible, and malleable, as this will make it easier to shape them around the jar’s contours. Ideally, choose real or textile leaves, but if using plastic leaves, ensure you remove any stiffening veins first. Meanwhile, consider the moisture level of your chosen leaves – too dry and they may become brittle or crack apart.
Once you have your leaves prepared, use a suitable adhesive like Mod Podge to secure them to the jar. For added flair, incorporate decorative elements such as ribbons, strings, tags, beads, or dried flowers to create a truly unique and eye-catching arrangement.
How to Make This Candle Holder
To create your own candle holder from scratch, follow these simple steps: first, gather the necessary materials, including a few wooden dowels, some decorative wire, and a piece of cardboard. Next, cut the dowels to the desired length for the base and sides of your candle holder. Then, shape the cardboard into the desired form and wrap it with the decorative wire. Finally, assemble all the components together and add any additional embellishments you like.
Step 1
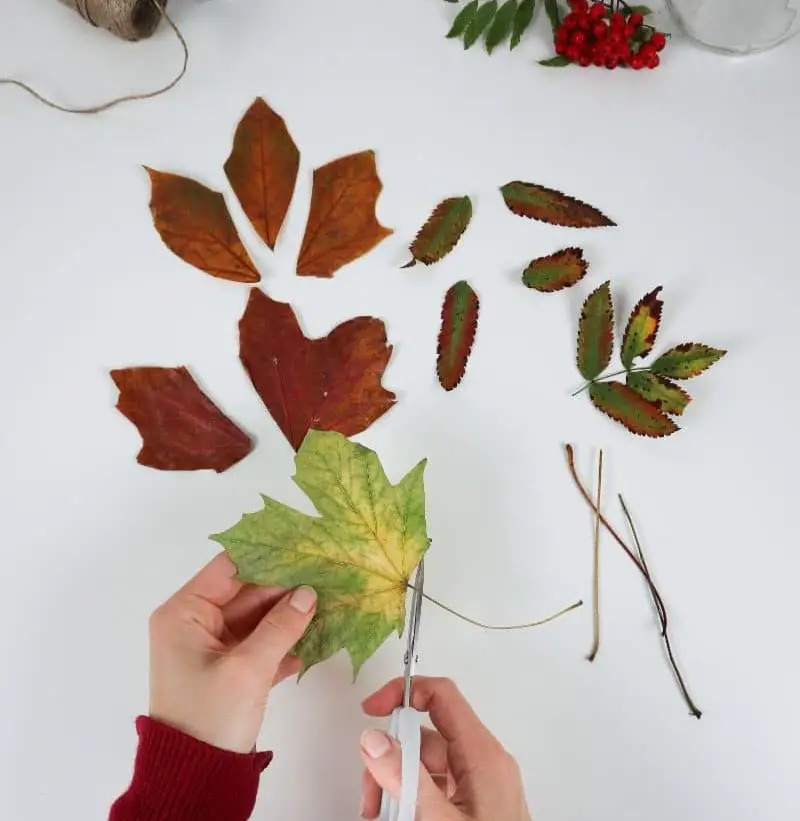
When it comes to crafting with leaves, the type of leaf material you choose is up to personal preference. You can opt for synthetic options like plastic or textile, or get creative by using real leaves from your own garden. Regardless of which route you take, it’s crucial that the leaves are flat and not too dry, as this will affect their moldability.
Step 2
Begin by preparing the foliage, either utilizing intact leaves or fragmenting them into varied pieces. It’s essential to remove the rigid stems beforehand, ensuring a smooth and harmonious blend. To add an extra layer of visual appeal, consider incorporating a mix of leaf colors for a dynamic display.
Step 3

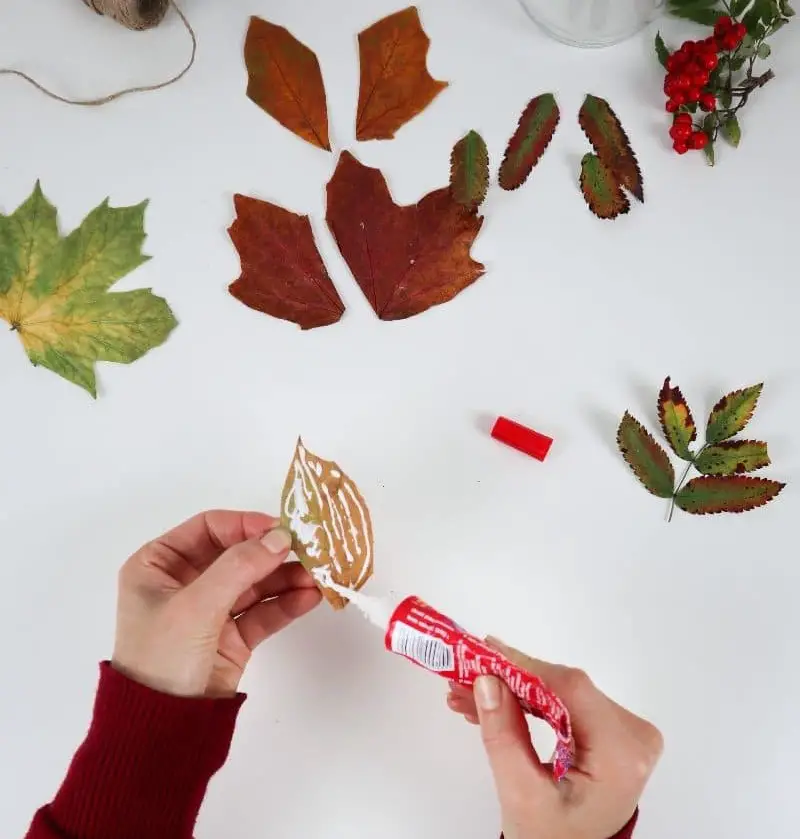
Before commencing the gluing process, it’s essential to ensure the exterior of your jar is thoroughly cleaned, completely dry, and free from any oils or greases. This crucial step helps prevent the adhesive from losing its effectiveness, which may ultimately lead to the leaves becoming dislodged over time. For this purpose, you can employ a reliable glue like Mod Podge that dries transparently, or opt for another glue that possesses similar properties.
Step 4
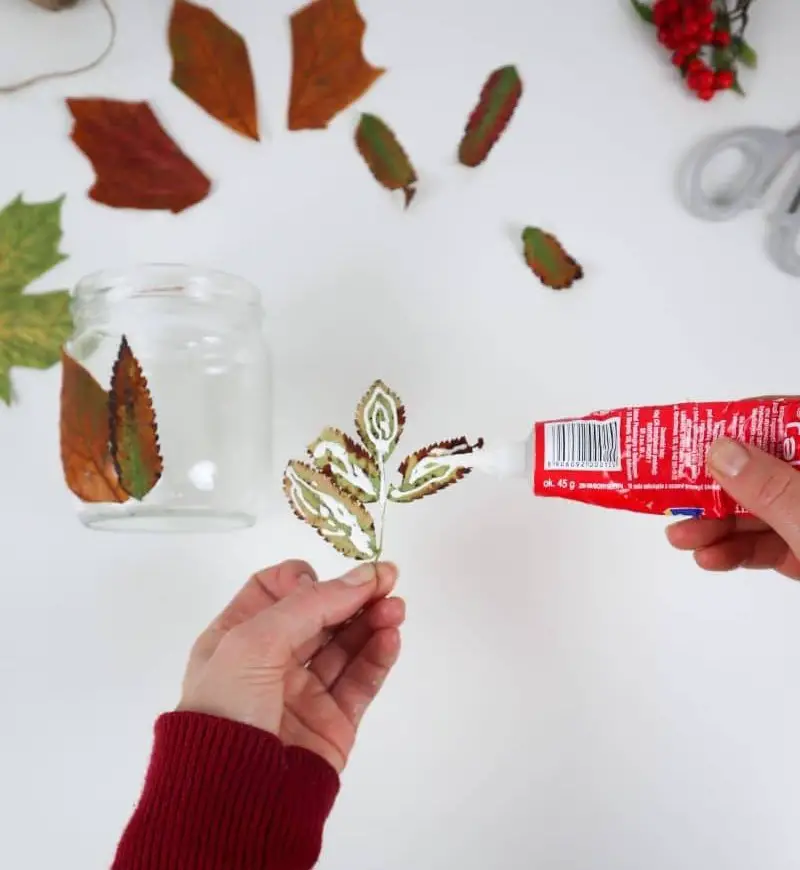
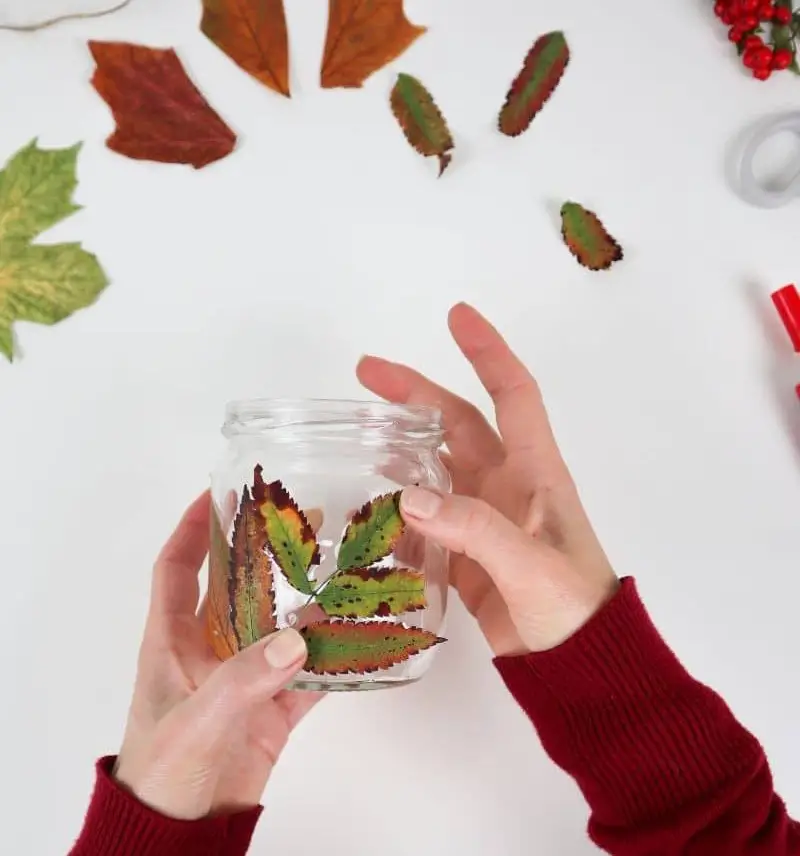
To preserve a leaf’s natural shape and prevent it from becoming misshapen, start by applying a thin layer of glue to its back using a brush or your fingers. Then, carefully press the leaf against the jar, molding it to fit snugly along the curve. Hold the leaf in place until the glue has had a chance to partially dry, ensuring it adheres securely to the surface.
To add depth and visual interest to your design, gently overlap the leaves as you go, allowing their natural textures to create a unique, layered effect.
Step 5
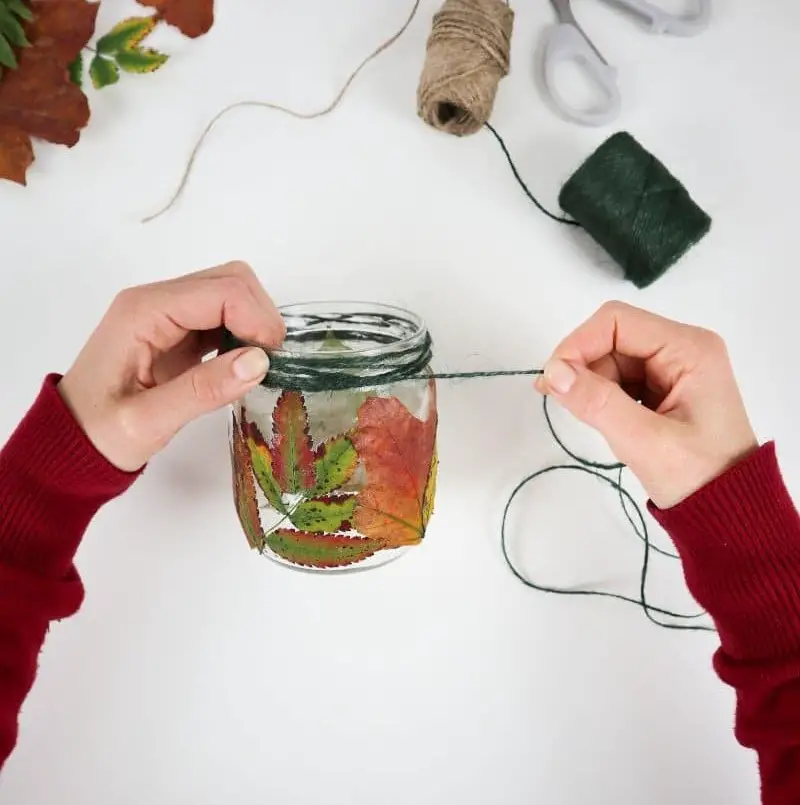
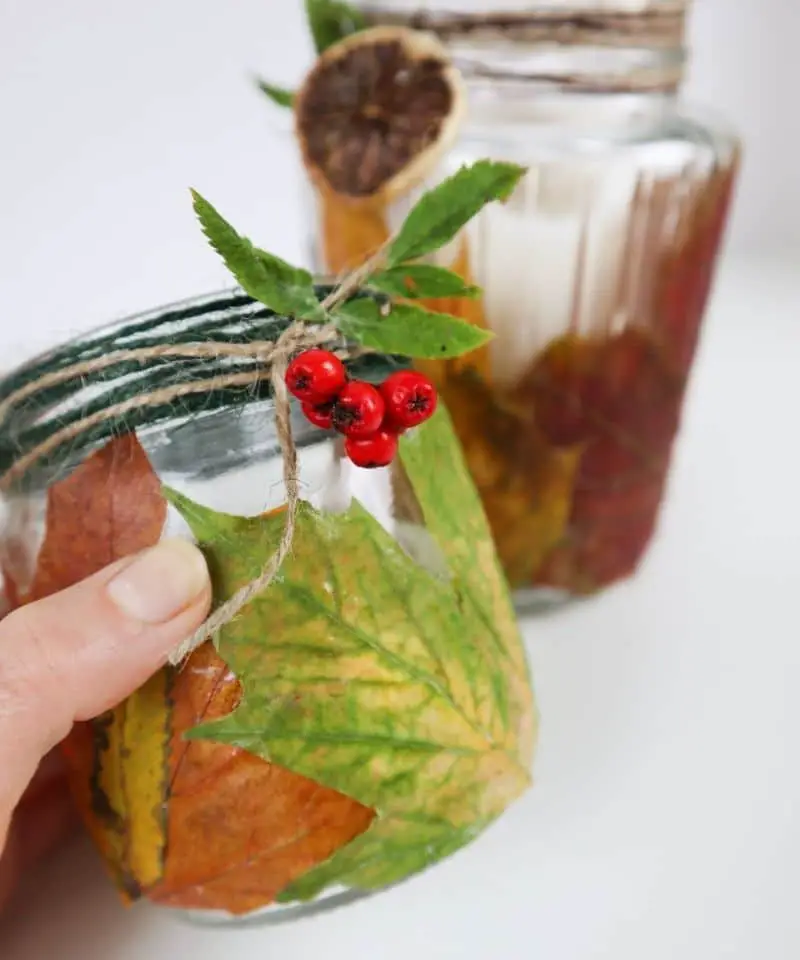
Conceal the glass thread surrounding the jar’s lid by wrapping it in a length of coloured jute twine, seamlessly blending the two elements together. The tactile quality of the twine also subtly reinforces the rustic aesthetic, creating a harmonious balance between the natural and manufactured components.
Step 6
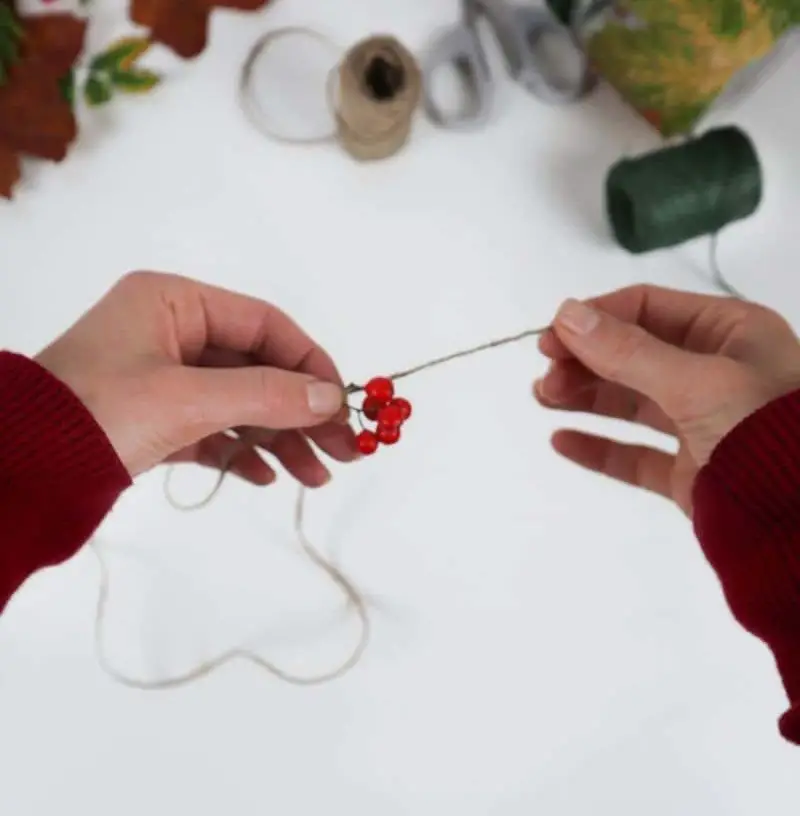
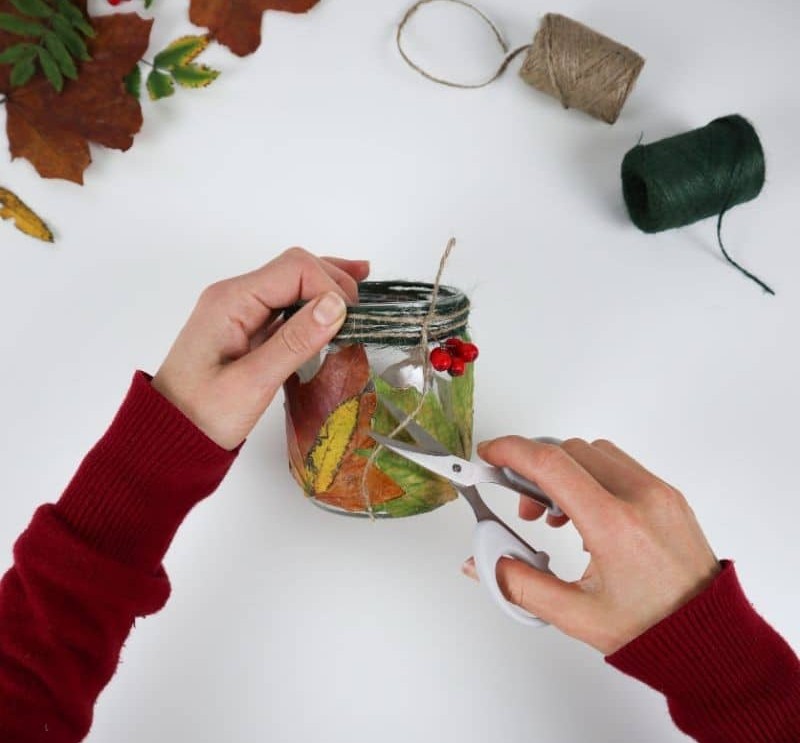
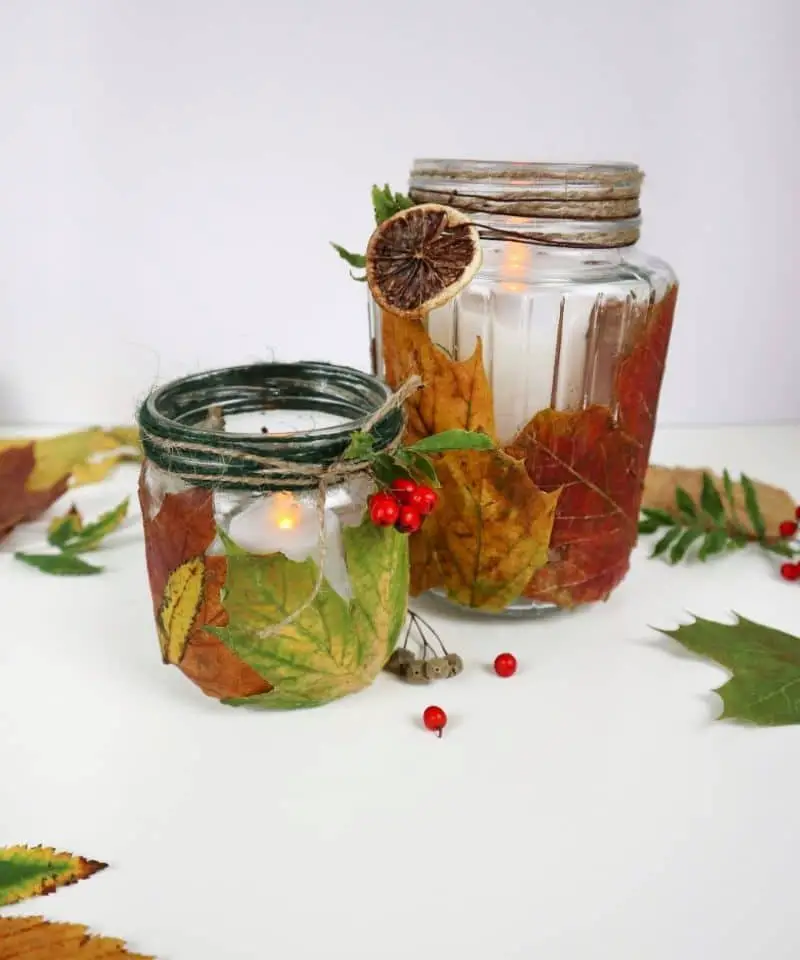
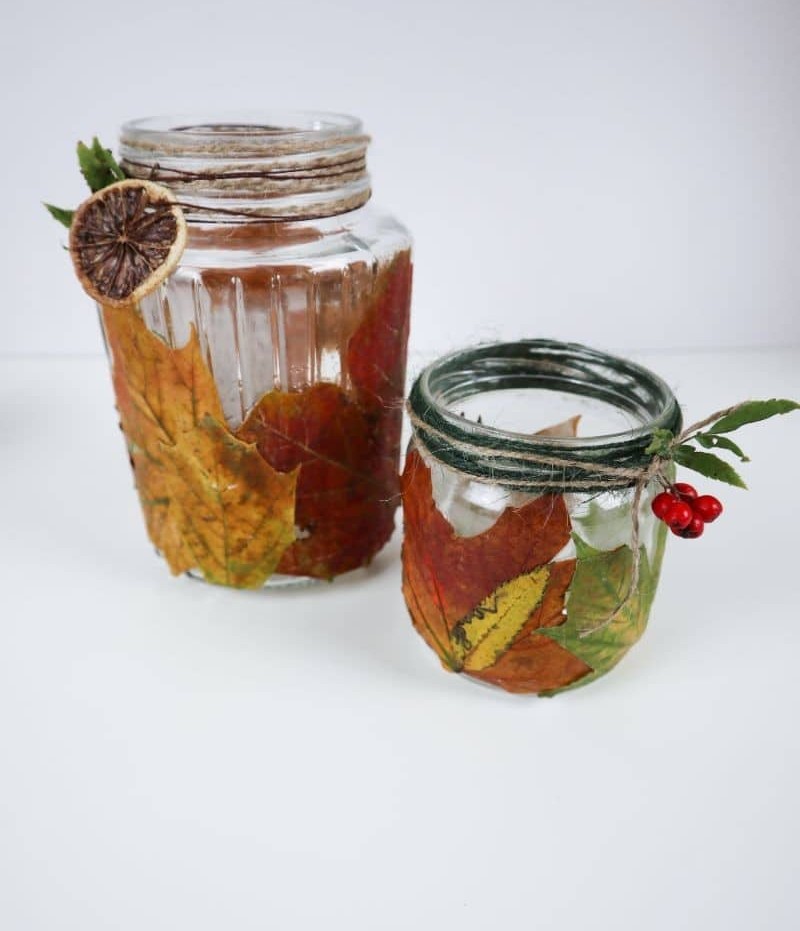
As you prepare to customize your jars, you’ll have the opportunity to infuse them with personal touches. This is where decorative elements come into play, from simple yet elegant ribbons and paper tags to more elaborate additions like beads or dried flowers. For my own jar, I opted for a charming touch by incorporating miniature glass berries that perfectly capture the essence of fall.
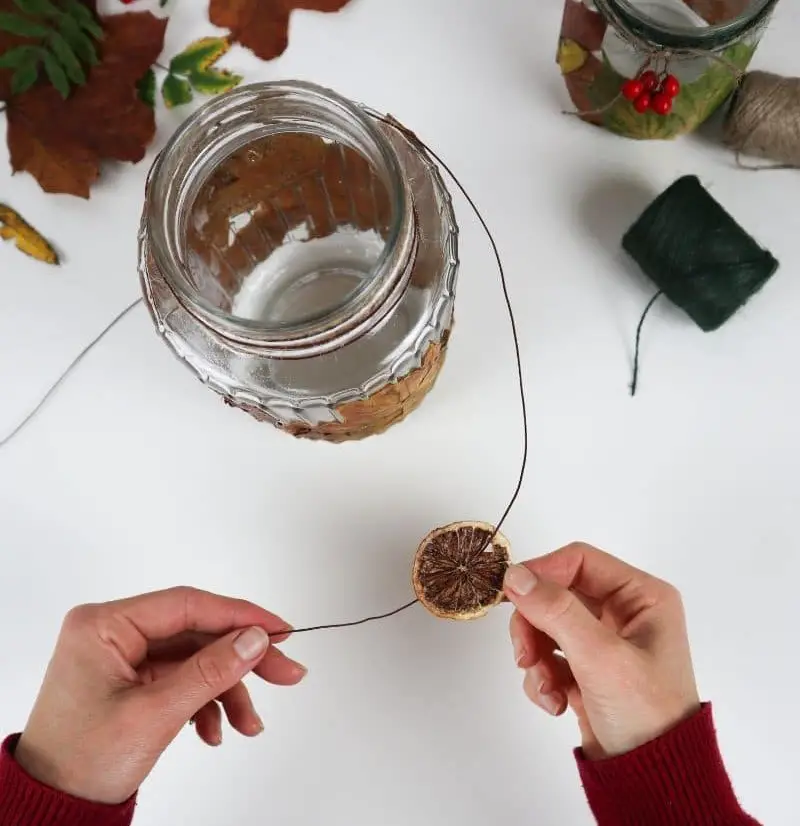
To incorporate these decorations, simply thread them onto some natural jute twine, then tie the resulting bundle around the neck of your jar. Instantly, you’ll have created a unique accent piece that adds visual interest and character to your container. I also experimented with a dried clementine slice, which not only looks lovely but also releases a pleasant aroma.
Step 7 (Optional)
Sealing your jar is an optional step, but it can add an extra layer of protection against moisture and wear. One way to do this is by spraying a clear varnish over the entire surface. Alternatively, you can apply a thin layer of Mod Podge, allowing several hours for it to dry and become crystal clear. While I chose not to seal my jar, preferring its natural simplicity, the decision ultimately depends on your personal preference.
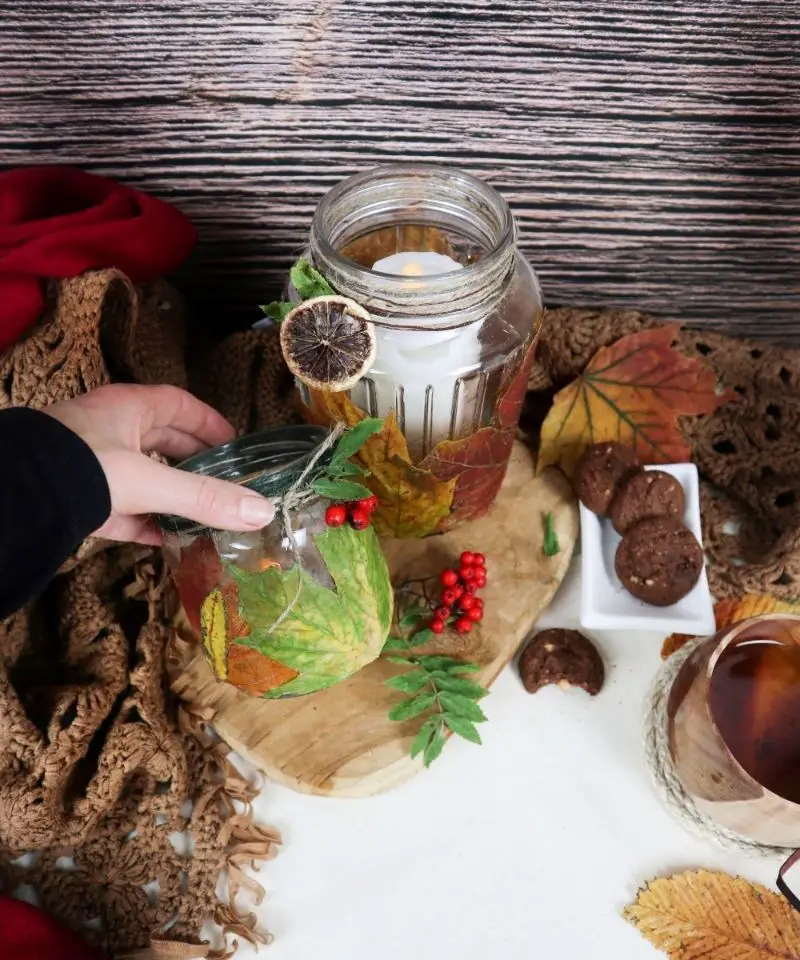
Where You Can Use DIY Leaf Candle Holders
The versatility of these jars is truly impressive! Not only are they perfect for gifting a loved one during the fall season by simply adding their name to a brown tag, but they also excel as decorative containers. Fill them with coffee, tea, and sugar for an inviting addition to your kitchen counter. When it comes to ambiance, these jars can even be used as unique candle holders, just be sure to opt for battery-powered candles for safety.
Furthermore, they make great centerpieces, nightstand decorations, toothbrush holders, or pantry storage vessels – the possibilities are truly endless!
Other Decorations You Can Use
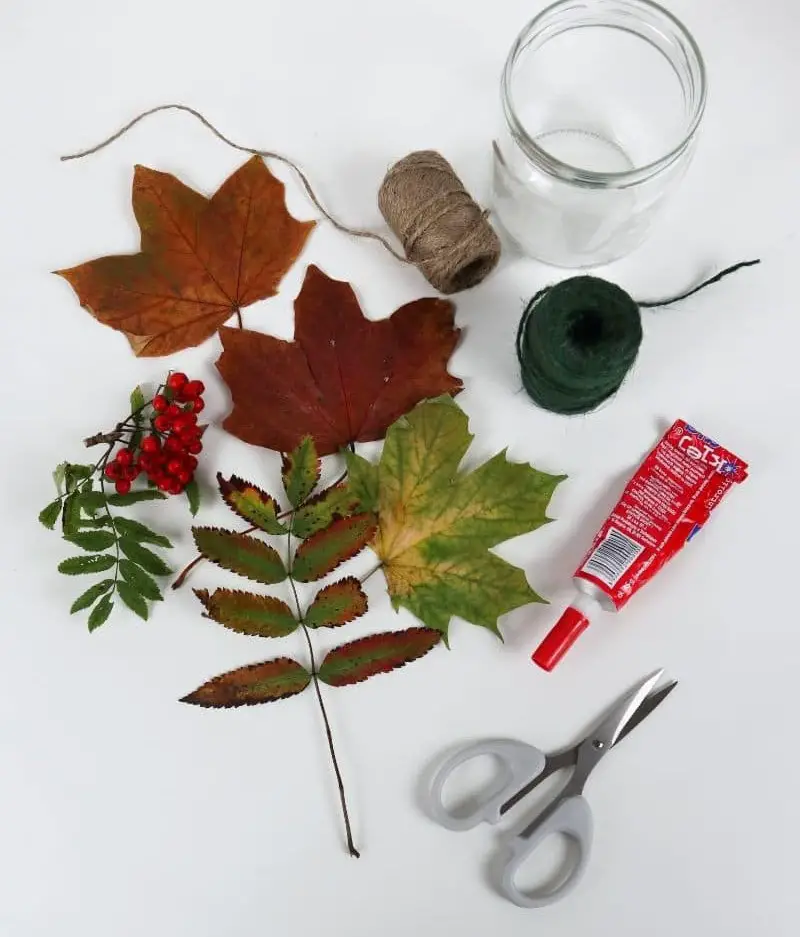
To add some extra flair to your mason jars, I chose leaves, jute twine, artificial berries, and a dried clementine. However, the possibilities don’t stop there. Here are some creative ways to give your jars an unique touch:
Add some natural charm by wrapping the base of your jars with fake moss, transforming them into lovely candle holders.
Give old washi tape new purpose by using it to create patterns on the jars.
Bring a vintage touch to your fall decor by attaching old lace to the jars using spray glue.
For a sensory experience, combine cinnamon sticks and twine to create a votive candle jar that not only looks great but also fills the air with a warm, inviting aroma.
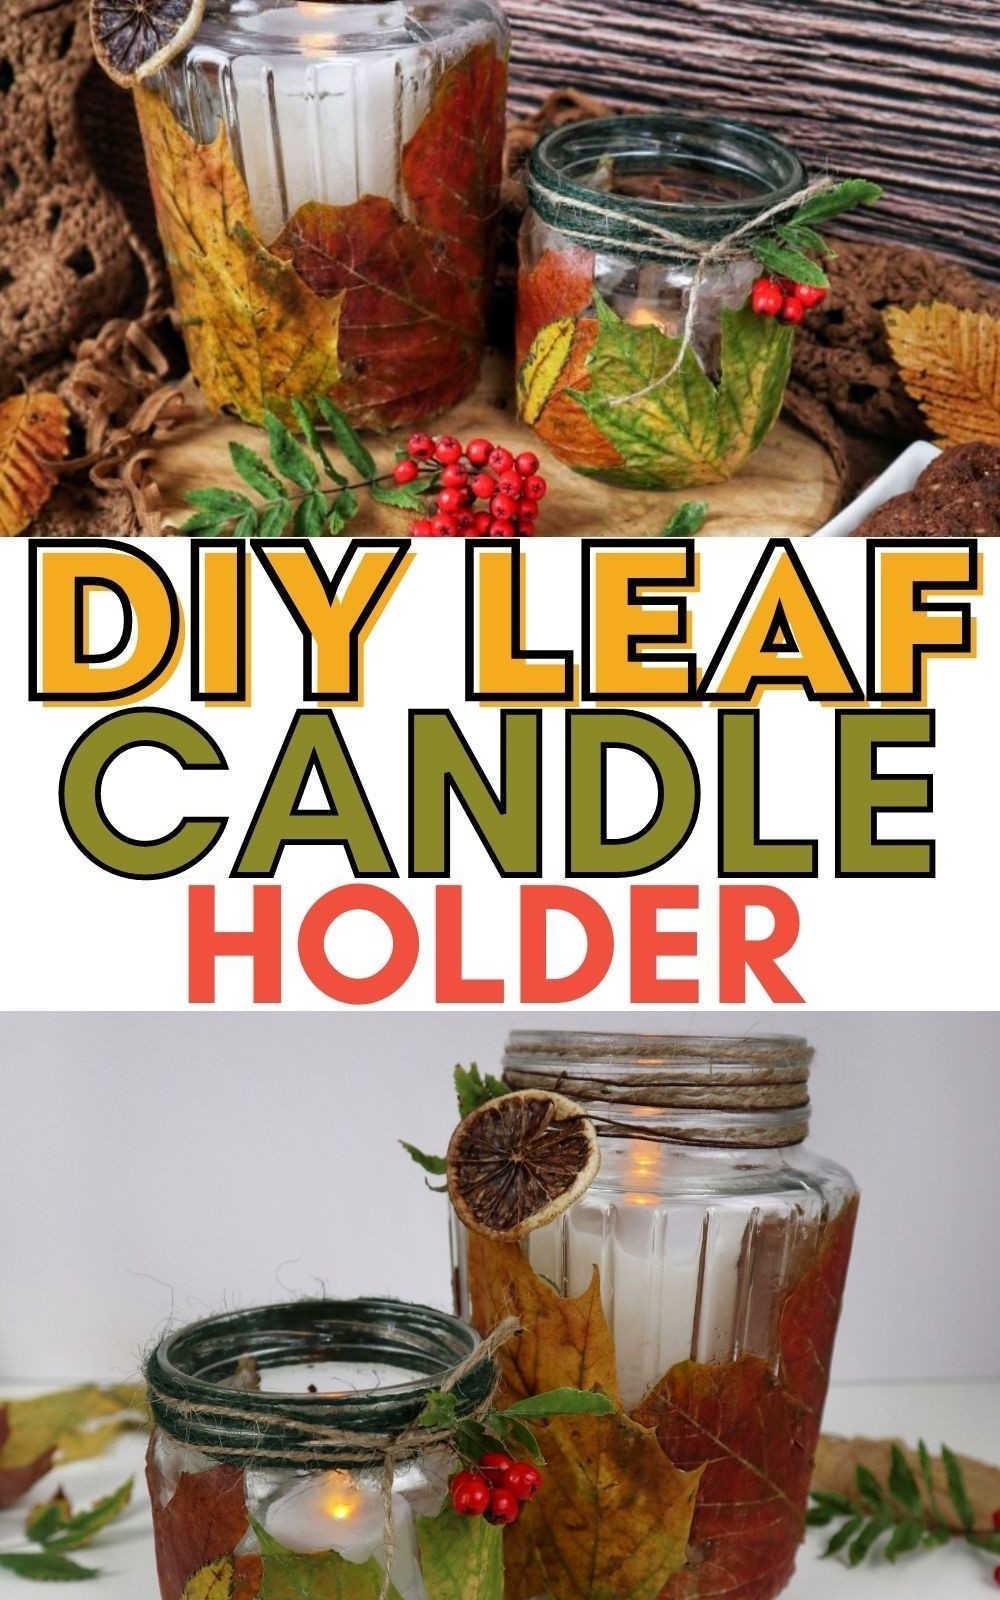
DIY Leaf Candle Holder
In just a few easy steps, you can create your own unique DIY candle holders that are perfect for anyone looking to add a personal touch to their home decor. This craft is great for both teens and adults, making it an excellent activity to do with friends or family. **Time Commitment:** You’ll need about 20 minutes of active crafting time, plus another 10 minutes to allow the glue to dry completely. In total, you’re looking at a 30-minute commitment.
**Yield:** Your hard work will be rewarded with one beautiful DIY candle holder that’s sure to become a favorite in your home. **Author:** Karo @ CraftsyHacks. com **Cost:** This project is budget-friendly, with a total cost of just $2.
Equipment
Materials
The treasure trove of creative embellishments is filled with a variety of materials that can elevate your craft projects to new heights. Real leaves, plastic embellishments, and textile items such as decorative ribbon, strings, and tags are all fair game for adding visual interest and texture. Even small details like beads and dry flowers can make a big impact when incorporated into your design.
To seal in those creative elements and add an extra layer of protection, clear spray varnish is the perfect finishing touch.
Instructions
Start by preparing your workspace and materials. Ensure the glass jar is thoroughly cleaned and dried, free from any grease or fingerprints. A gentle wipe with rubbing alcohol can help achieve a spotless finish. Next, prepare your leaves by removing any hard, woody stems. If desired, chop them into smaller pieces to create unique textures. When working with artificial leaves, be sure to remove the plastic veins to mimic their natural counterparts.
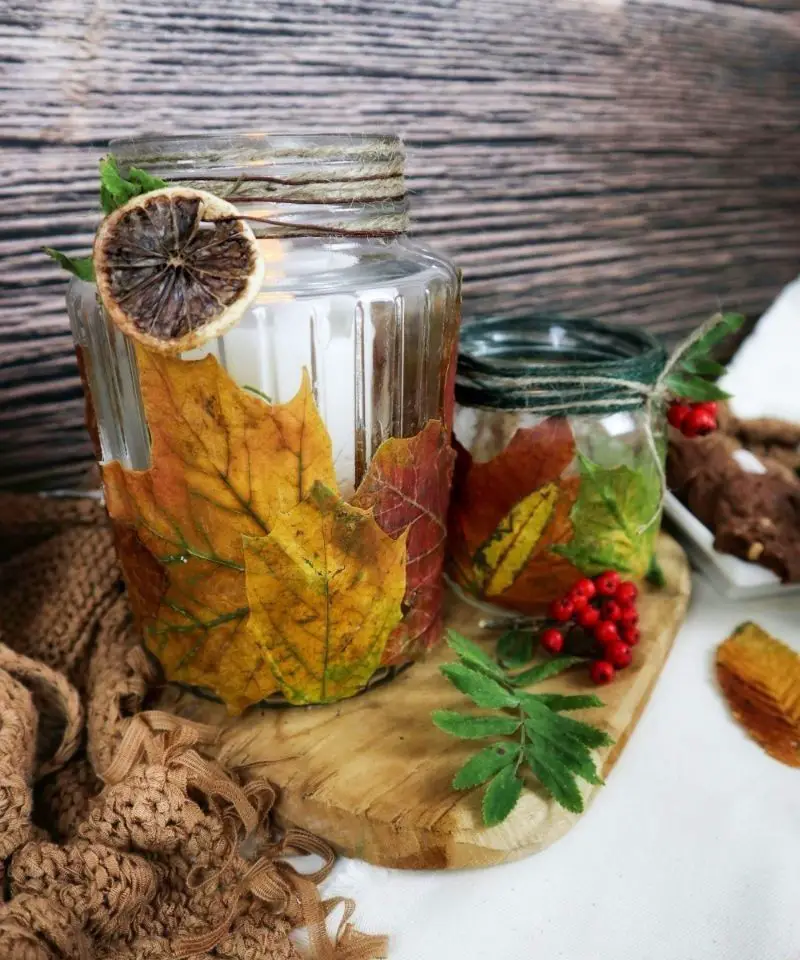
Apply a thin layer of adhesive to the back of each leaf and gently mold it to conform to the jar’s curvature. Allow the adhesive to dry before building your design. Build up layers of leaves, aiming for a natural, organic appearance. For added flair, consider incorporating other decorative elements, such as wrapping twine around the jar’s rim or attaching dried fruit for visual interest. To enhance durability and protect the leaves from moisture, apply a clear varnish coat (optional).
Your project is now complete! Display your finished jars throughout your home to bring the essence of fall into your space.