Get ready to take your journaling to the next level by creating your very own unique journal cover. This fun paper craft project is perfect for teens, adults, and even kids who love expressing themselves creatively.
As the new school year approaches, it’s time to start thinking about upgrading your stationery game. But let’s be real, finding the perfect journal can be a challenge. Maybe you’re tired of settling for one that just doesn’t quite fit your style.
Well, I’m here to tell you that there’s a solution! By making your own DIY journal cover, you can customize every aspect to match your personality and preferences.
If you’ve got a flair for the creative and enjoy drawing, doodling, or painting, then this project is sure to be right up your alley. So why not give it a try and take your journaling experience to new heights? You never know what amazing things you might discover!
Supplies for a Journal Cover
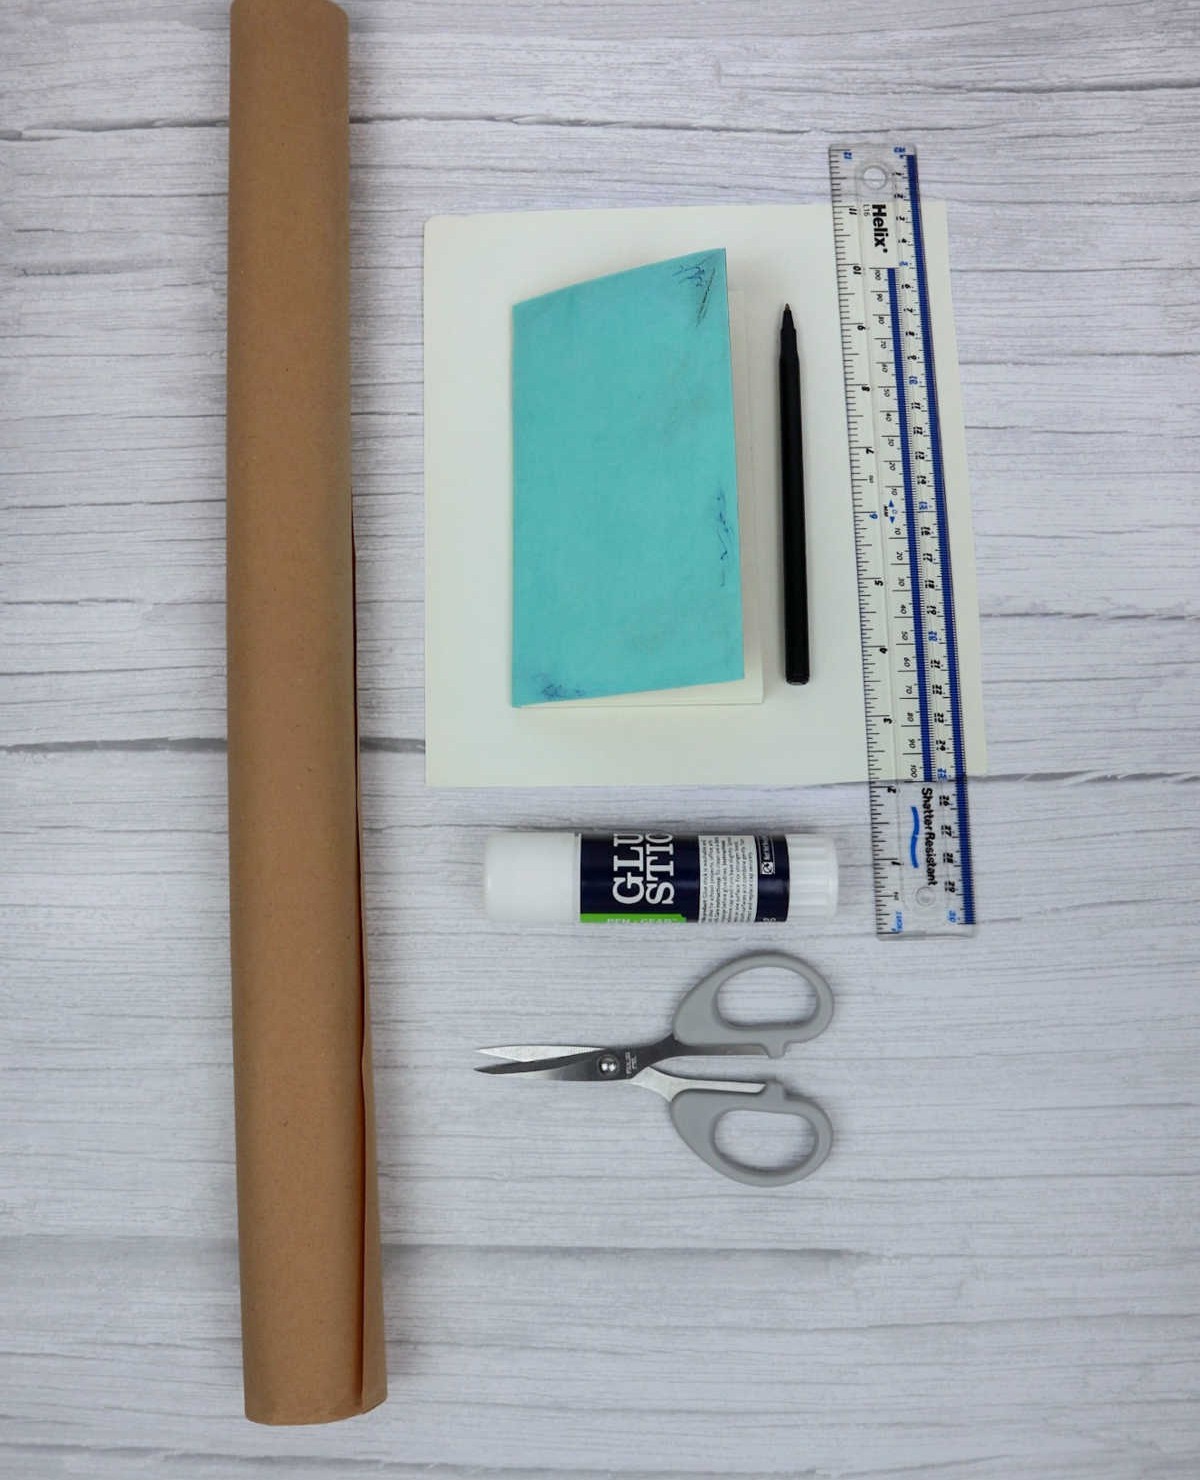
To kick-start your creative journey, gather the following essential tools:
• Kraft paper: A textured and earthy material perfect for brainstorming and jotting down ideas.
• An old notebook: Where you can scribble notes, sketch out concepts, and collect inspirational snippets.
• A plain piece of paper: For creating a blank canvas to let your imagination flow freely.
• Pen: To capture fleeting thoughts and bring your creative vision to life.
• Ruler: A precise tool for measuring, aligning, and perfecting the details in your artistic endeavors.
• Glue stick: For bonding materials together, adding dimensionality, or creating unique textures.
• Scissors: Sharp and versatile cutters for shaping, trimming, and transforming your creative expressions.
How to Make DIY Journal Cover
To embark on the journey of creating this stunning cover, follow these comprehensive steps. First and foremost, start by gathering all the necessary materials and tools at your disposal. This includes the essential crafting supplies such as fabric, thread, and any embellishments you wish to incorporate. Next, take a moment to conceptualize the overall aesthetic you desire for your finished product. Think about the colors, patterns, and textures that will bring your cover to life.
Once you have a clear vision in mind, begin by preparing your fabric of choice. Cut it into the required shape and size, ensuring a smooth and even surface. Then, thread your needle with the chosen color and start stitching the fabric together, carefully weaving in any additional embellishments as needed. As you work through each step, take time to admire your progress and make any necessary adjustments along the way.
Step 1
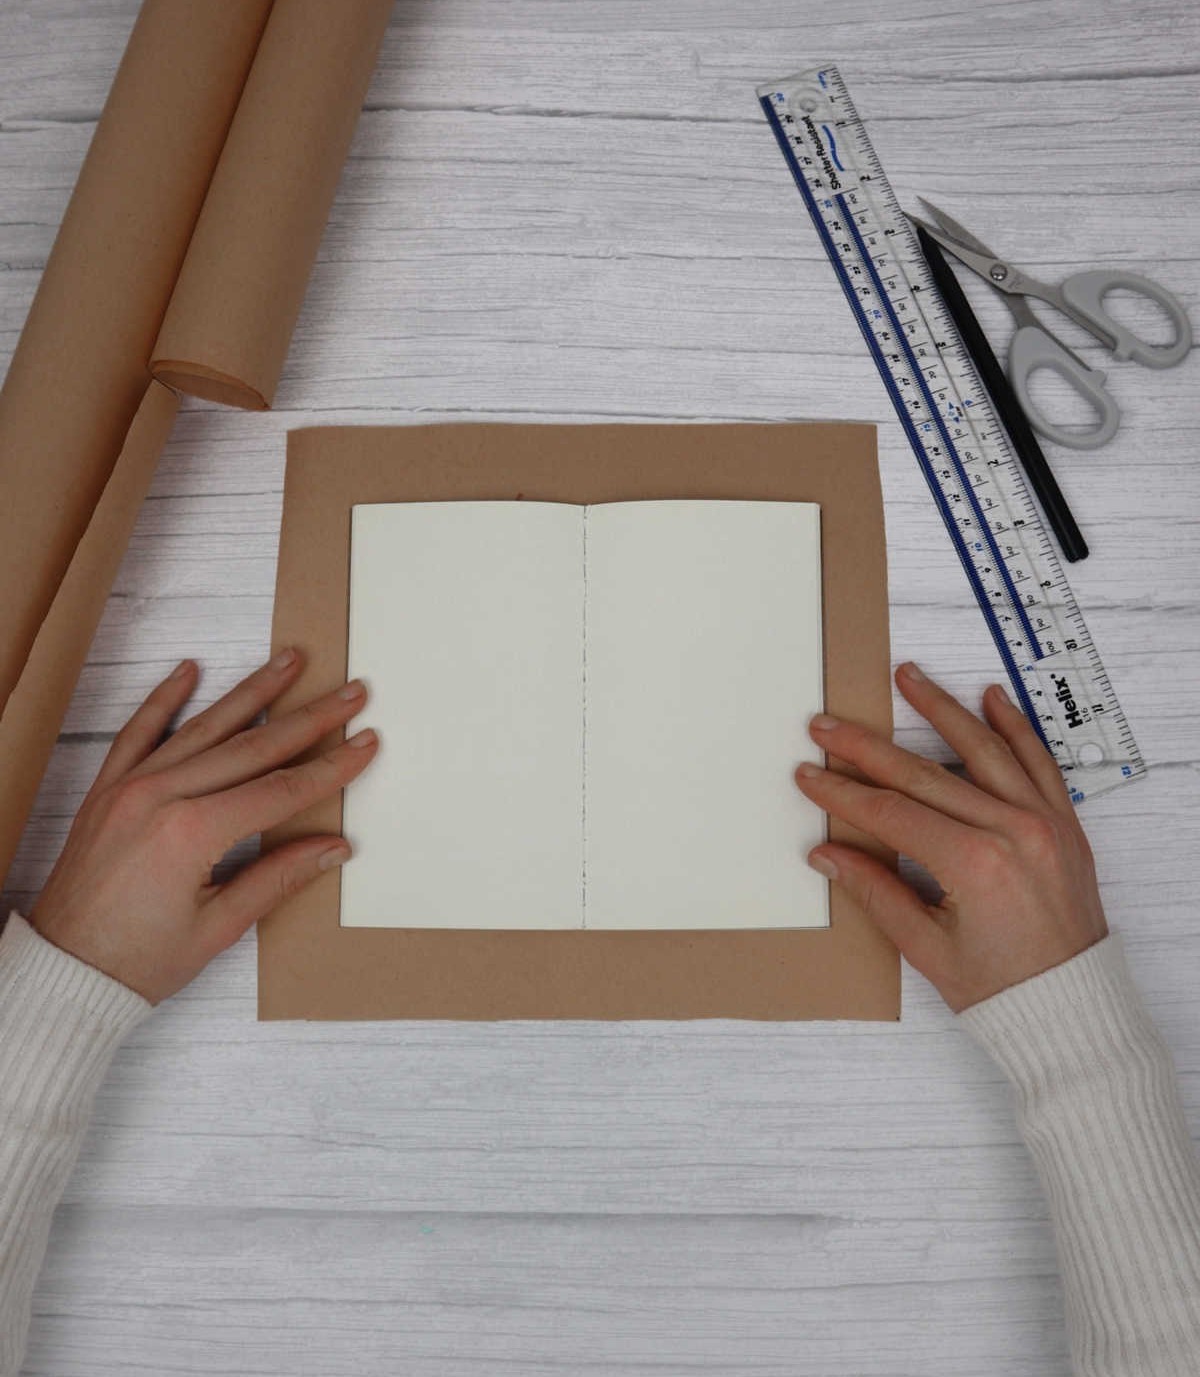
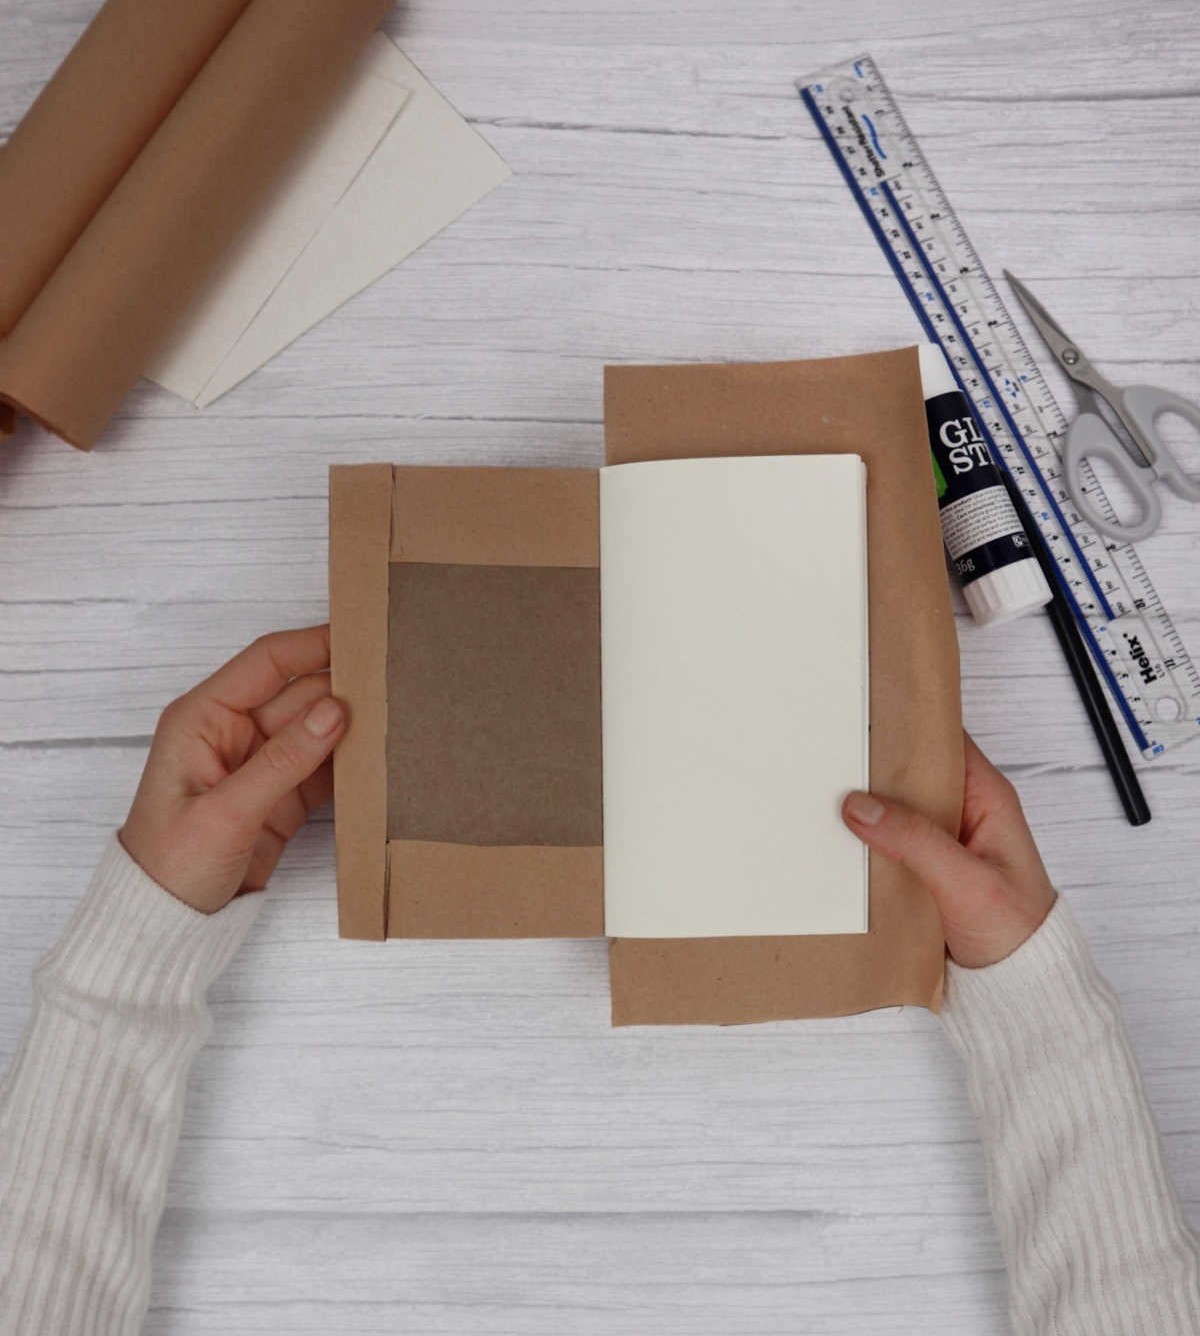
When it comes to crafting a custom notebook and cover, the possibilities are endless. To start, place your chosen craft paper on a flat surface and position your notebook on top, opening it to its widest point. This step allows you to gauge the dimensions of your notebook, ensuring that you can accurately mark the measurements for the cover. As you do this, be sure to leave at least an inch of excess paper around all sides of the notebook before trimming away the rest.
This buffer will give you room to work with as you prepare to cut and shape your custom cover.
Step 2
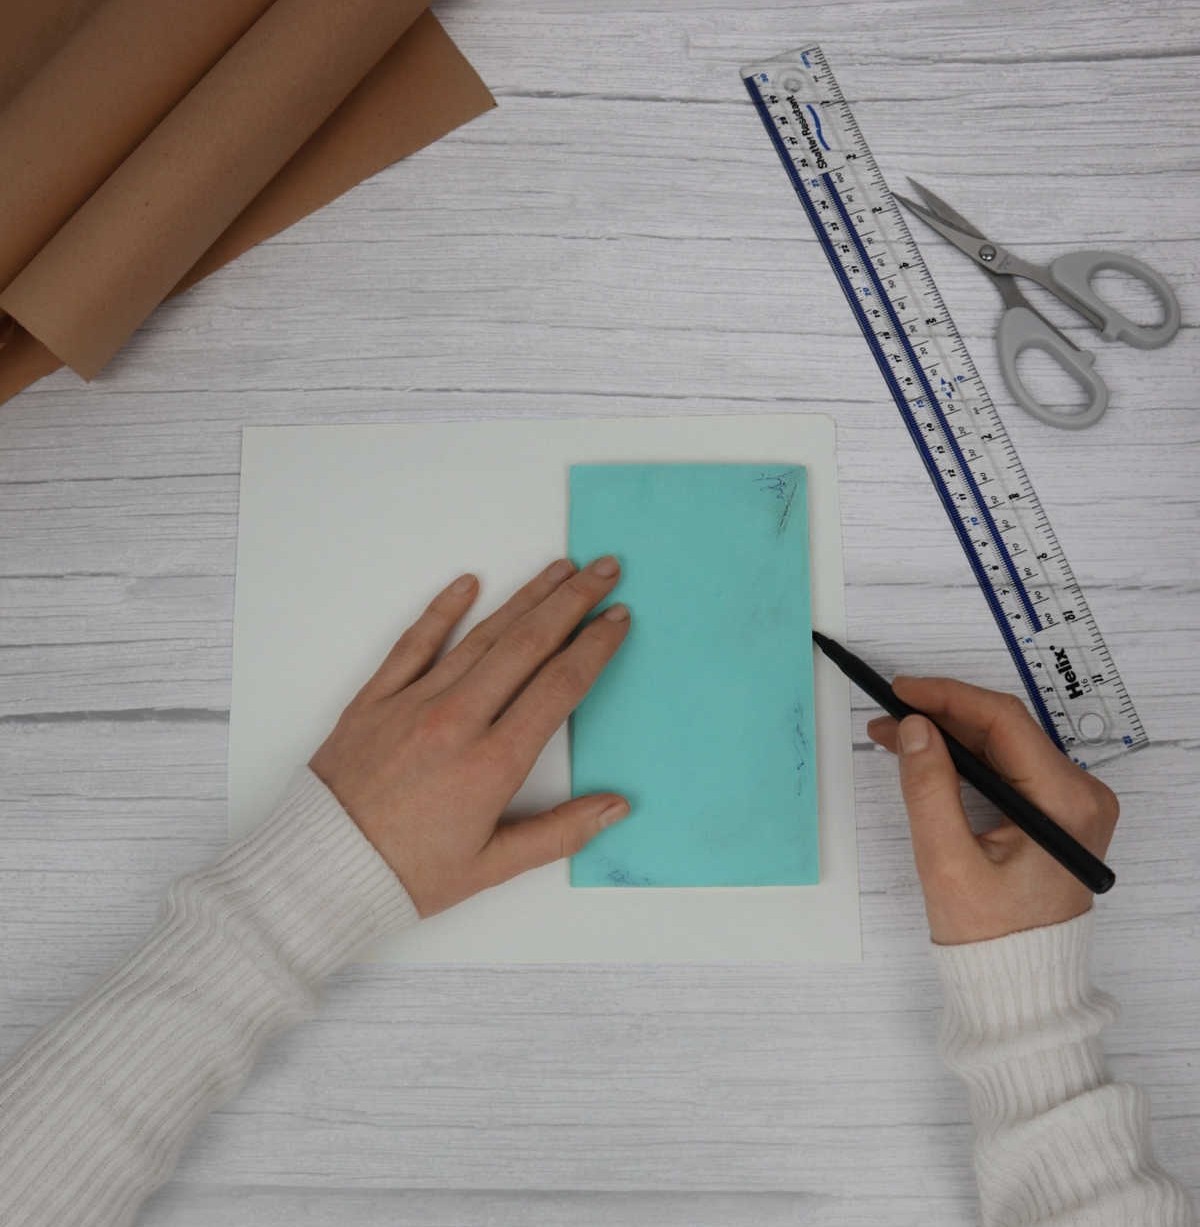
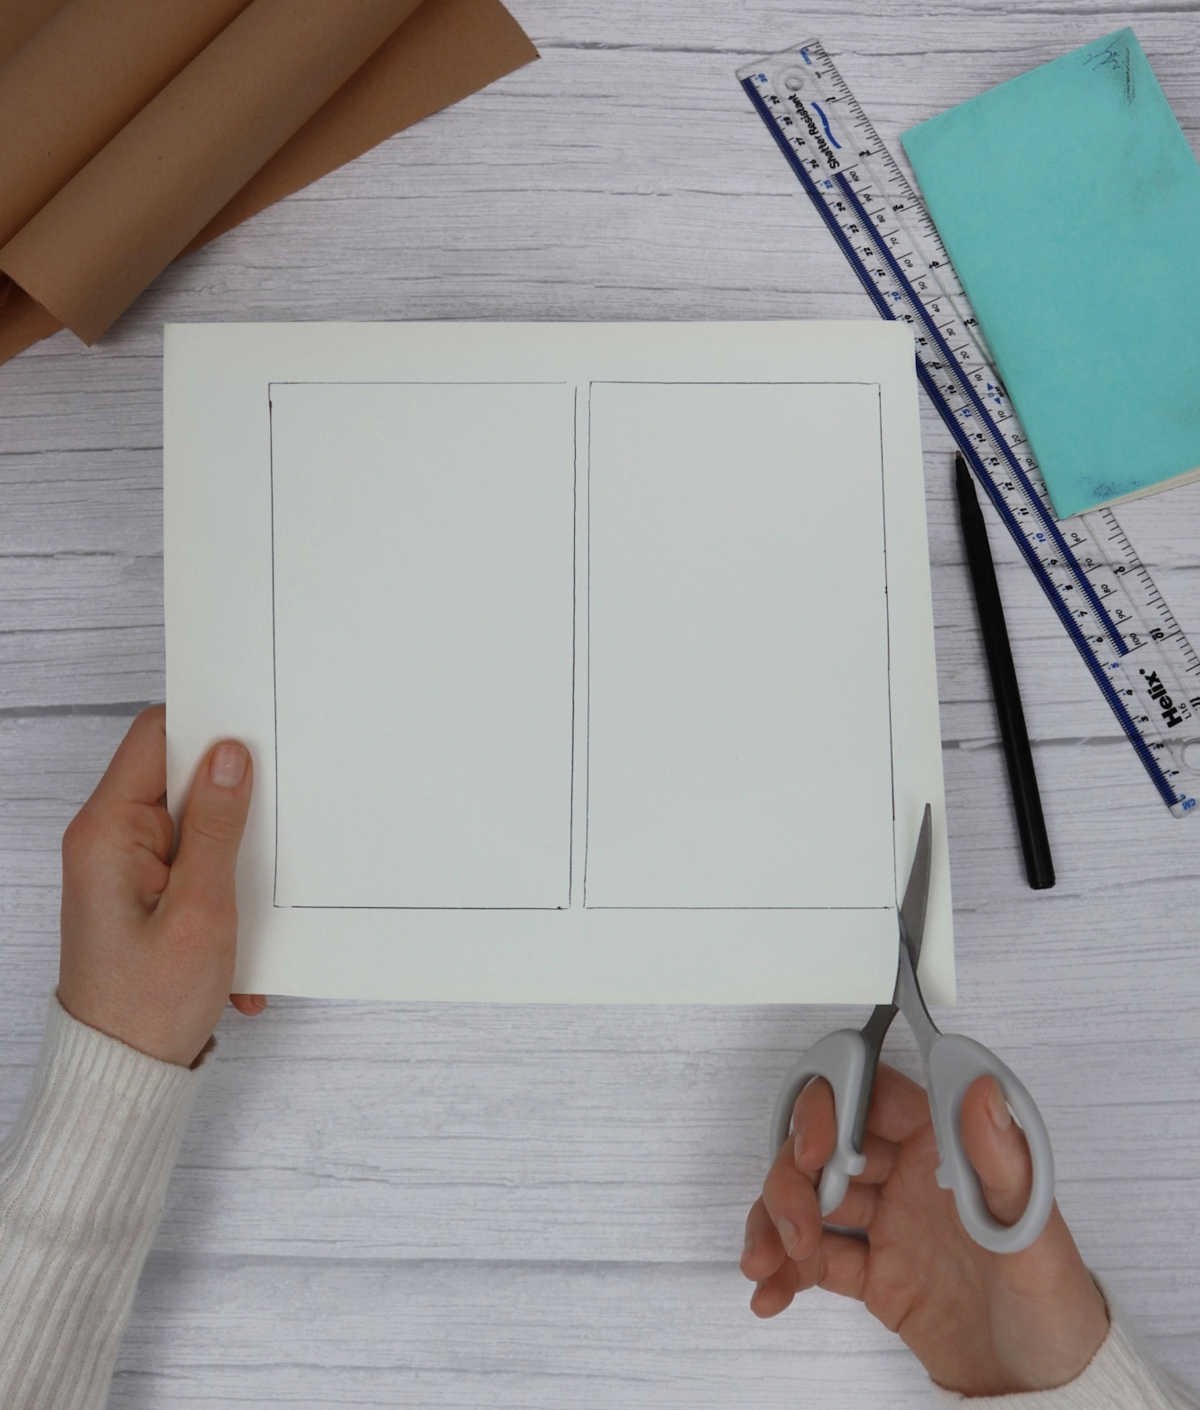
Begin by positioning a plain sheet of decorative paper flat and placing your closed notebook on top of it. Ensure the notebook’s pages remain shut as you draw a gentle outline around its edges, taking care not to disrupt the spine’s natural alignment. Once complete, repeat this process on the opposite side of the paper, creating a mirrored rectangle that mirrors the first one, leaving you with two identical shapes.
Step 3
Step 4
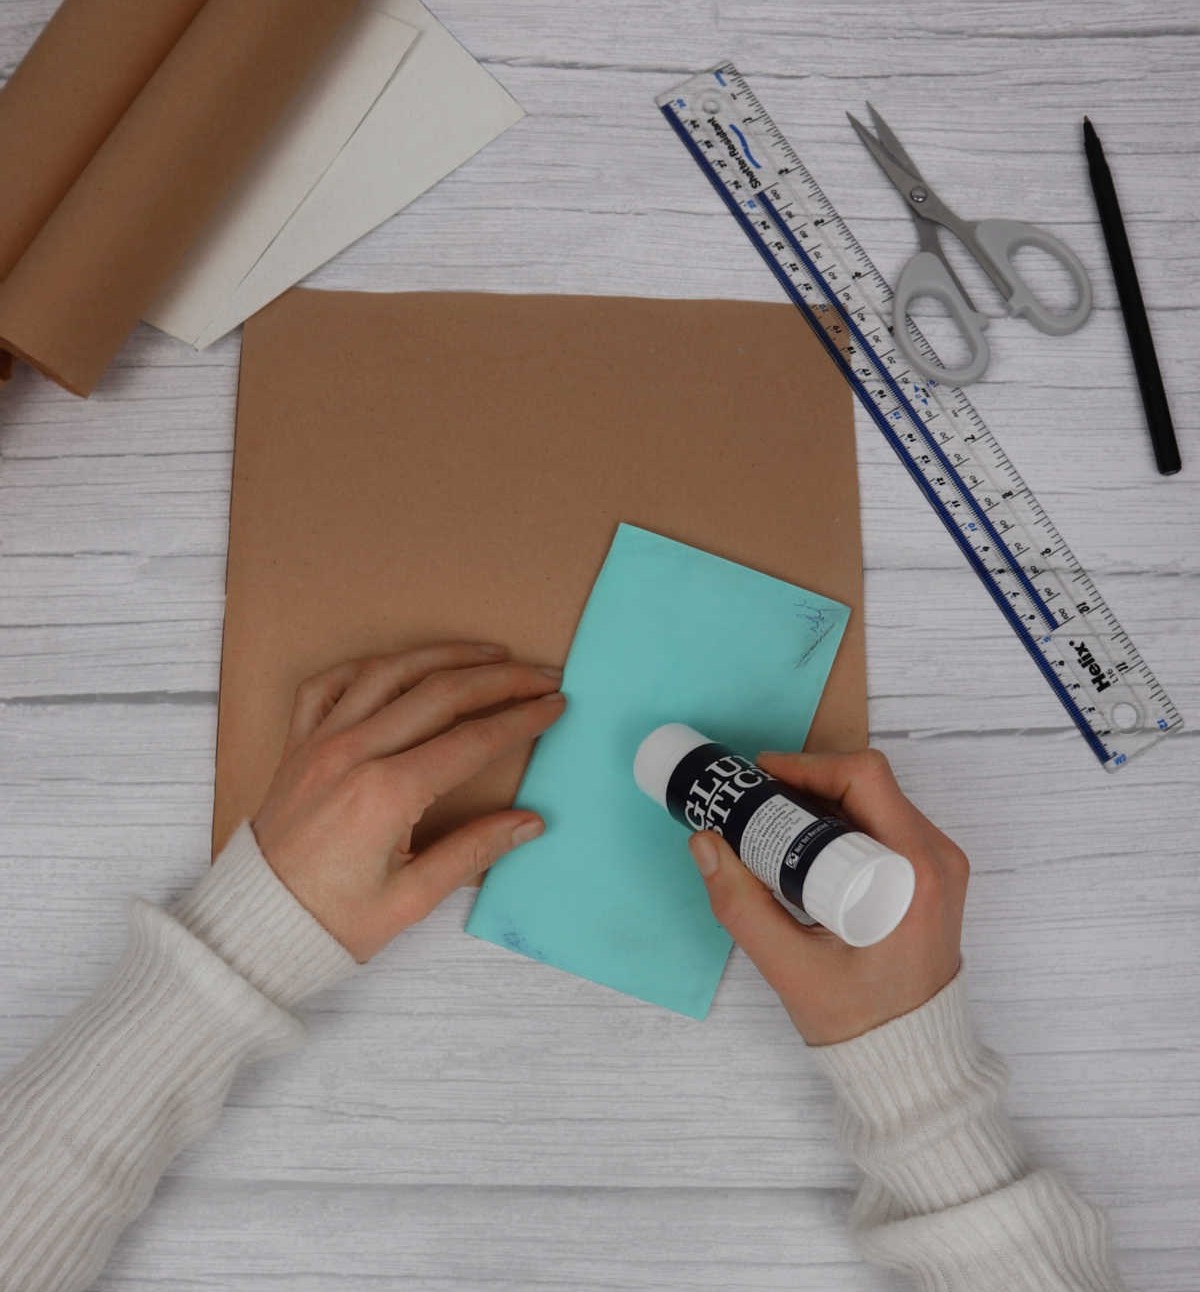
To proceed, a thin layer of liquid adhesive is applied to both the front and back covers of the notebook. With caution, the notebook is then placed onto the kraft paper, ensuring the adhesive side faces downwards. It’s essential to maintain perfect centering before applying gentle yet firm pressure to secure the notebook in its new position.
Step 5
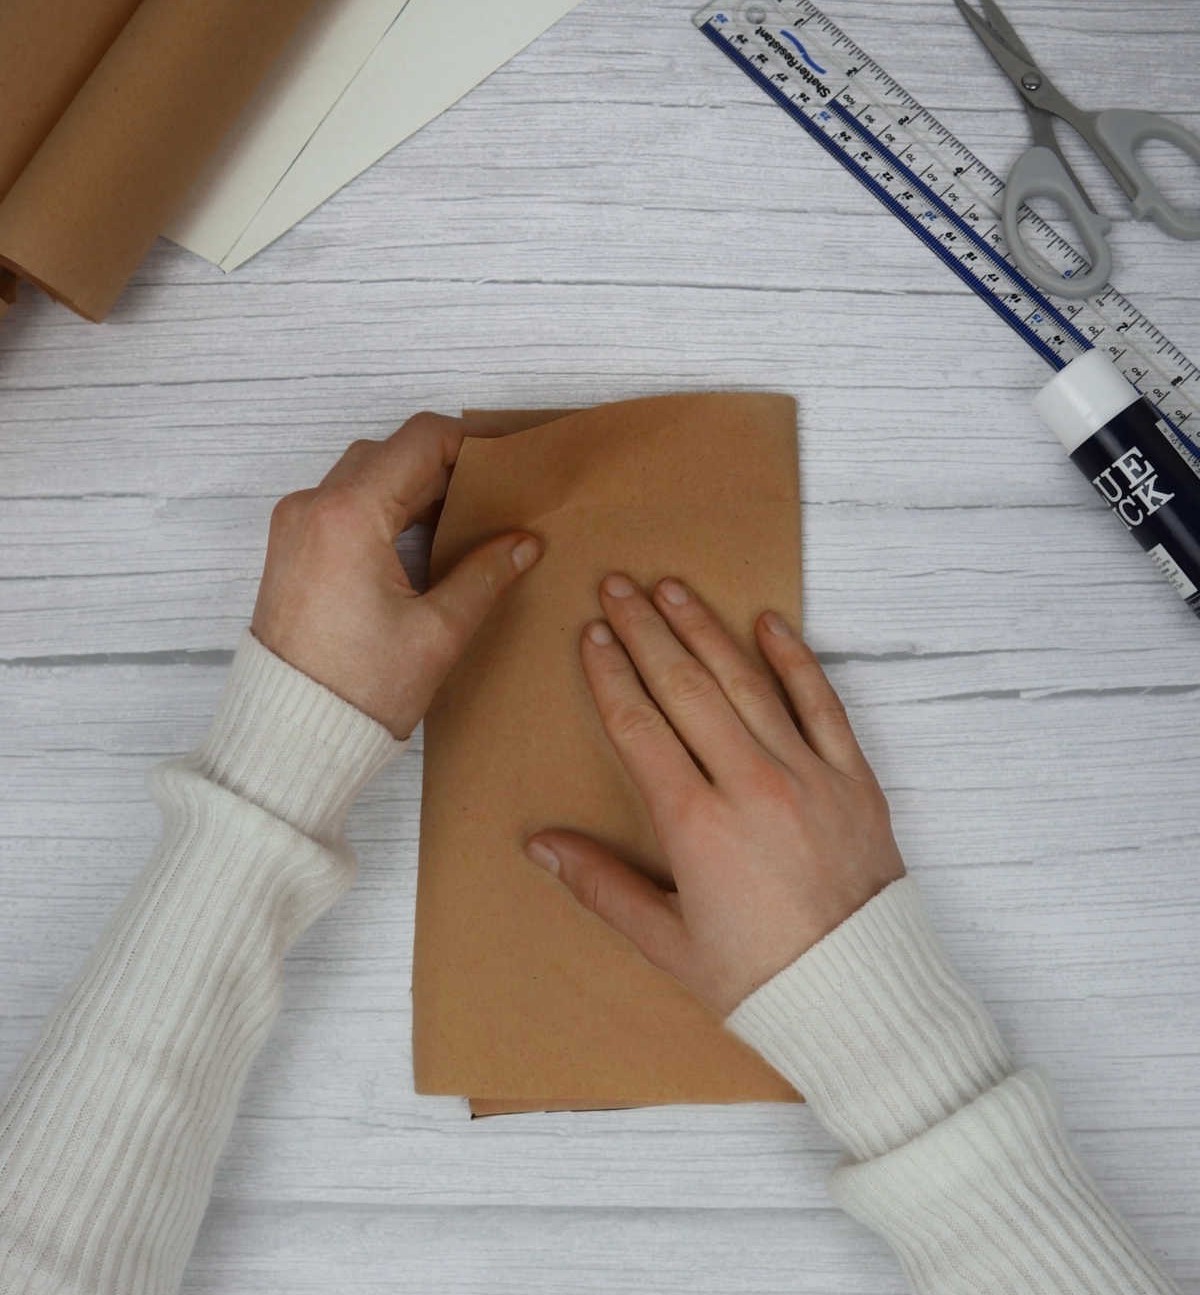
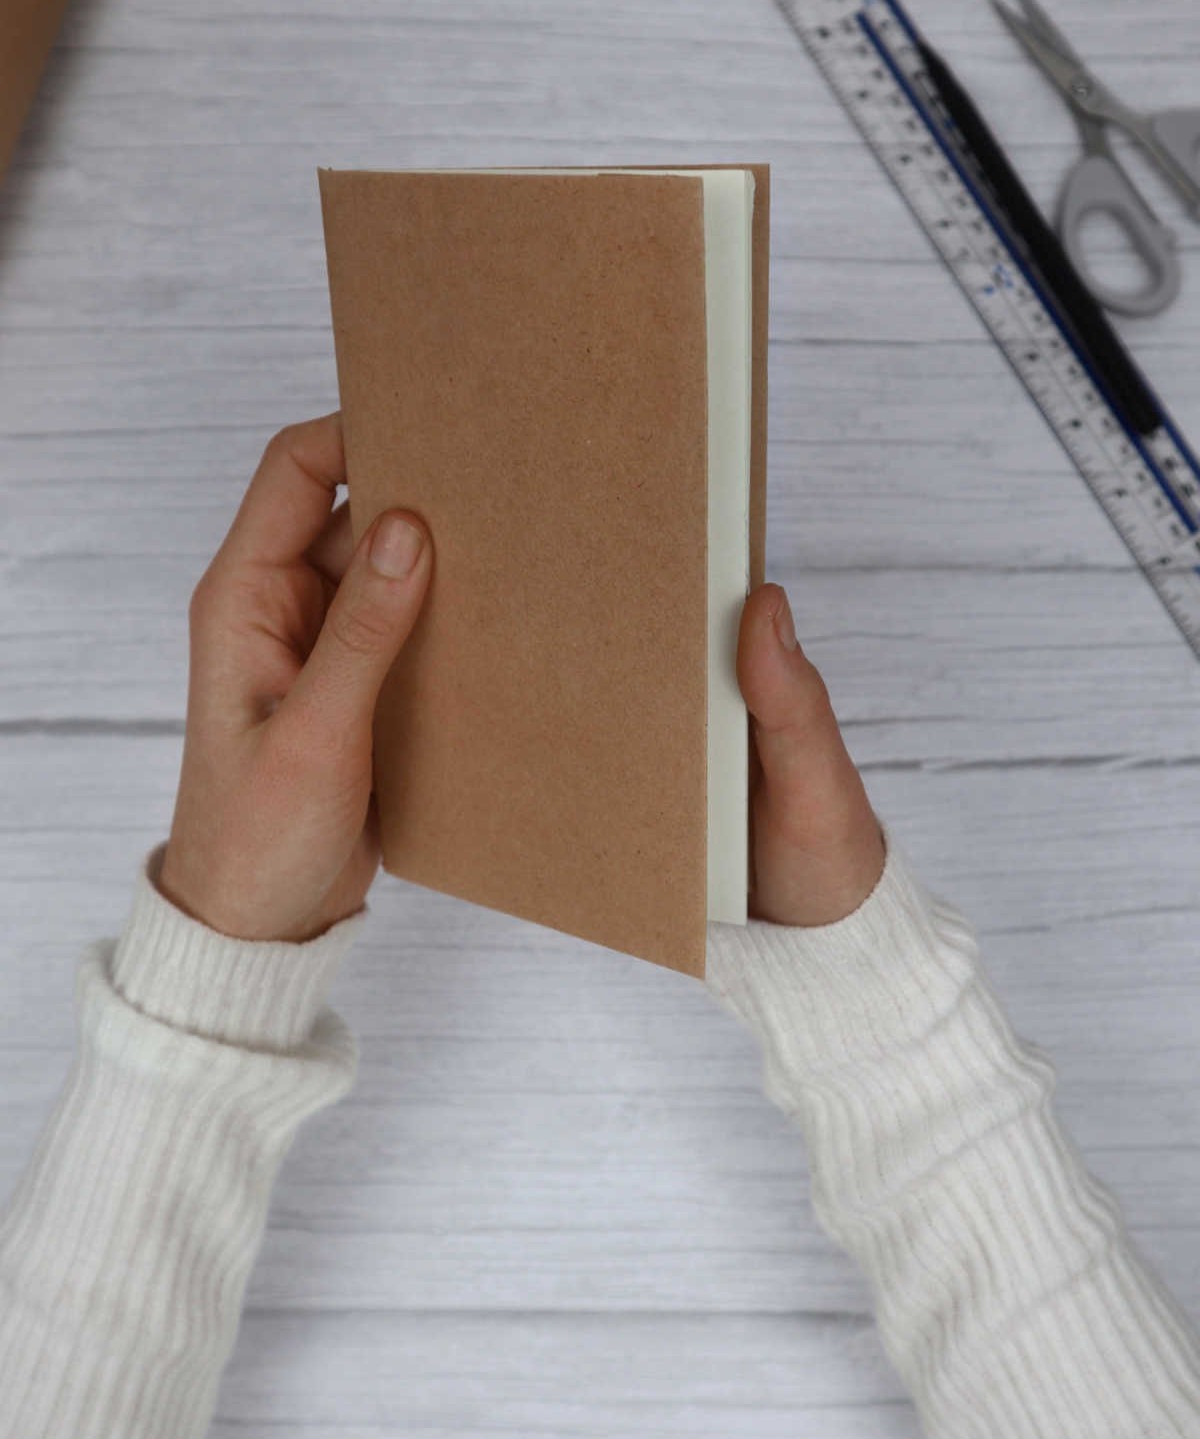
When you’re confident that your notebook is securely closed, take a gentle approach and fold its cover shut. As you do so, notice how the craft paper creases along the spine, creating a crisp and defined edge.
Step 6
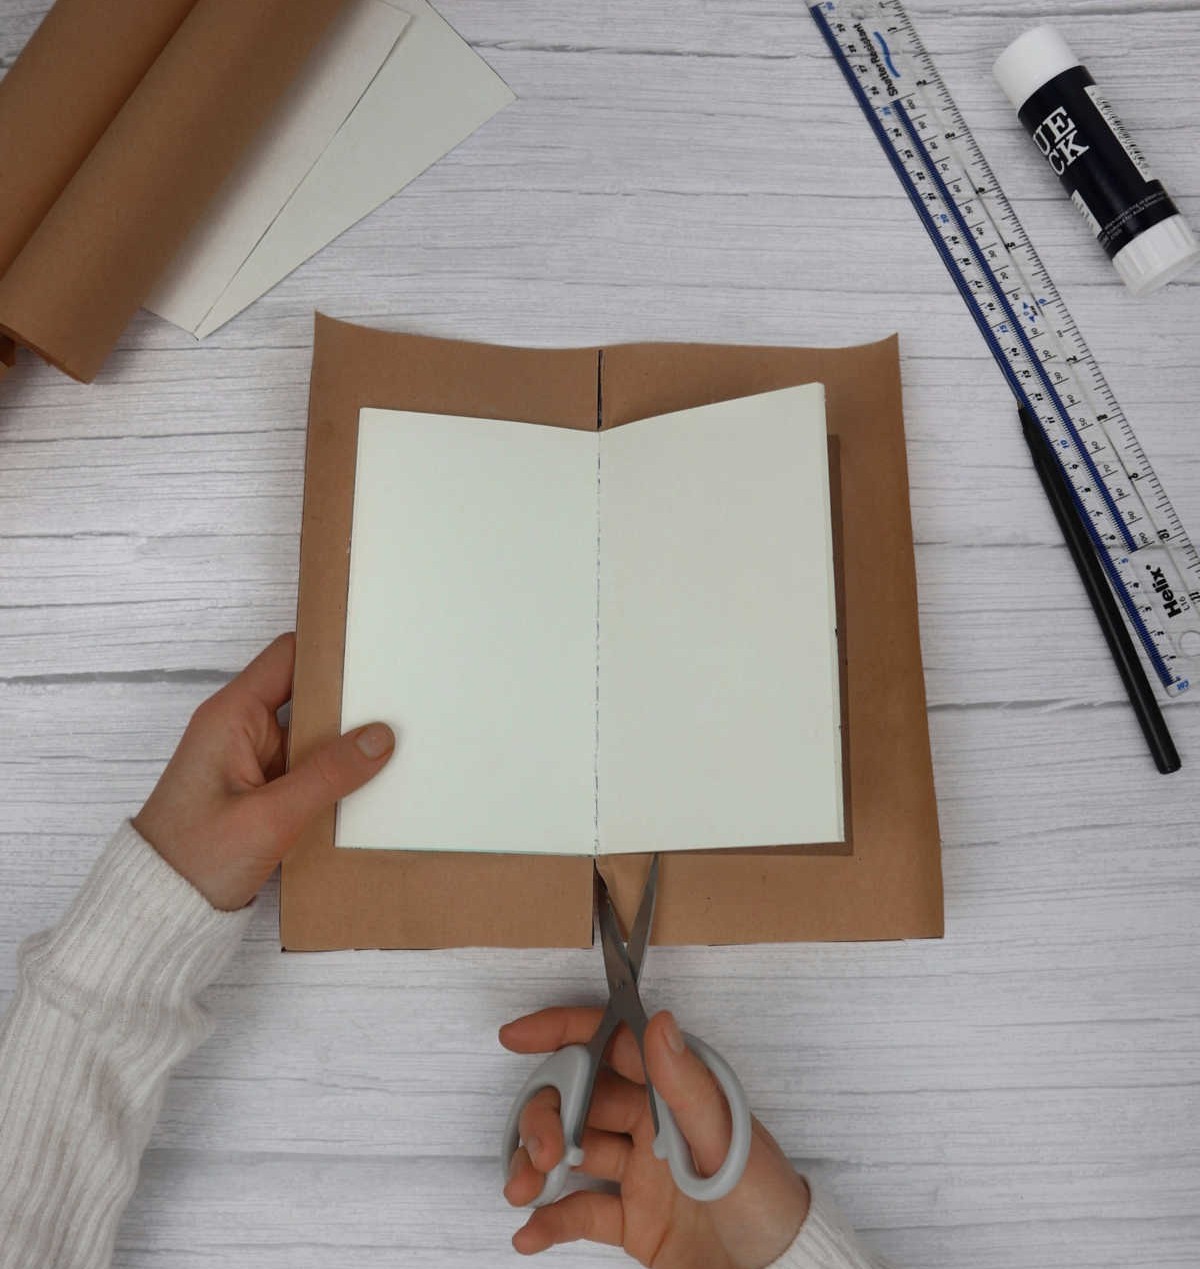
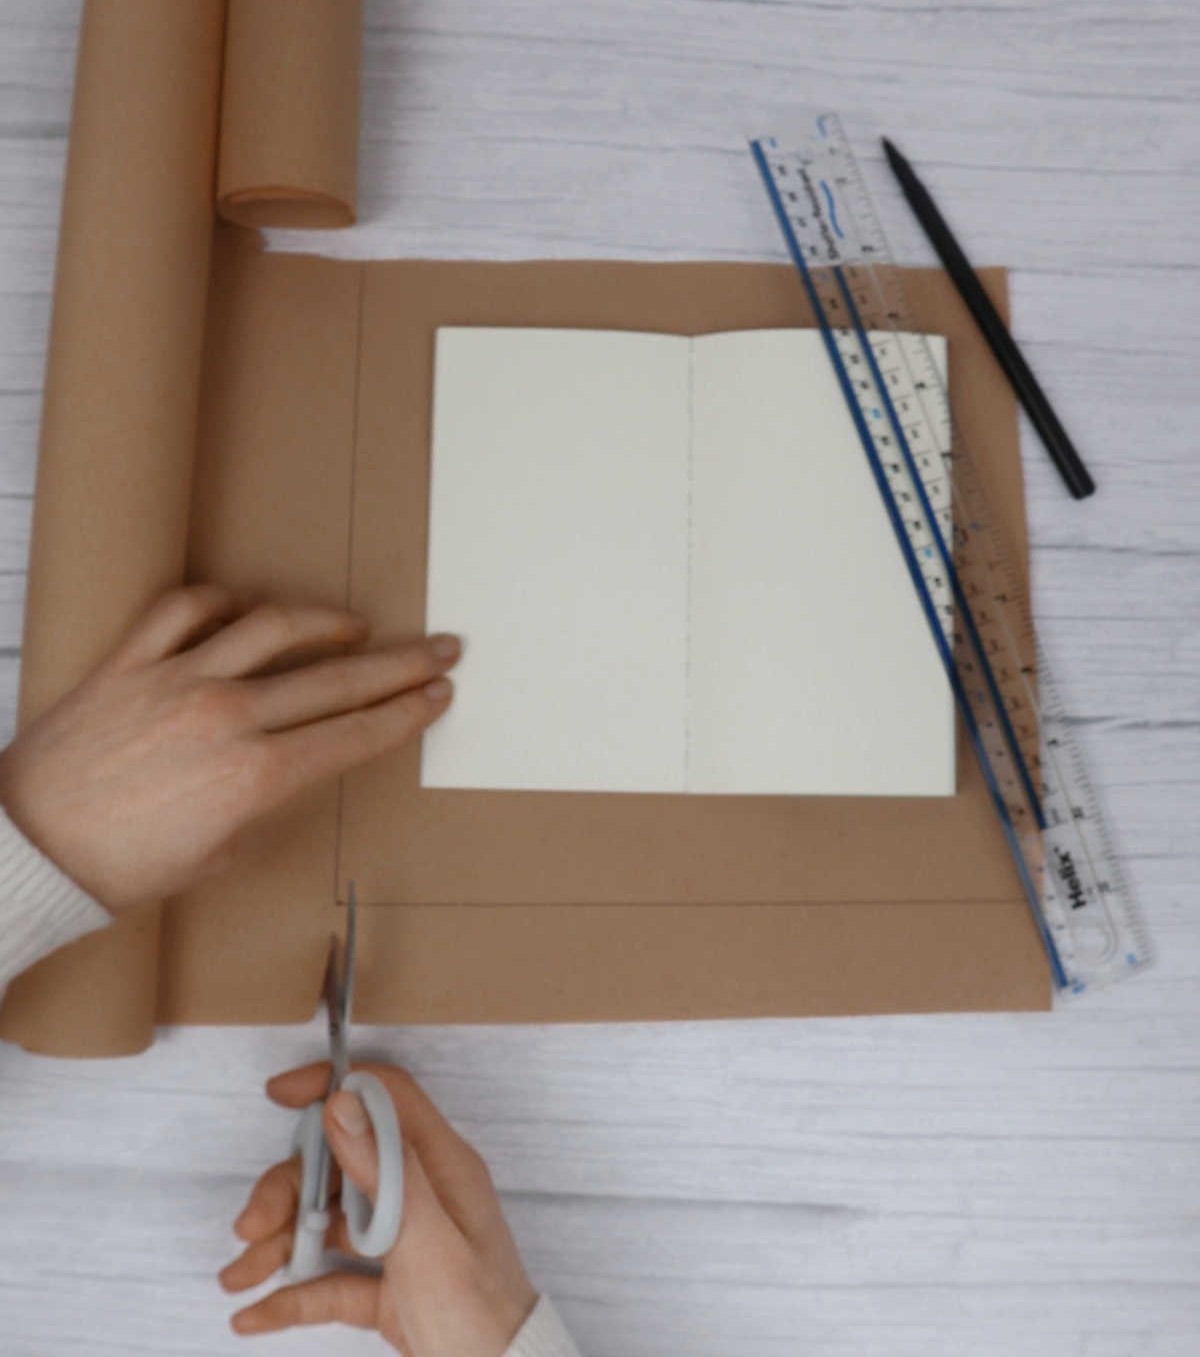
When it comes to preparing a notebook for school, many of us are familiar with the process of wrapping brown paper around its edges. While this task may seem similar, our current objective is slightly distinct. To get started, take out your scissors and prepare to make a few strategic cuts.
Begin by cutting a straight line from the bottom of the notebook all the way up to its edge.
Be sure to repeat this process on top as well, taking care not to accidentally slice through the notebook in the process.
Step 7
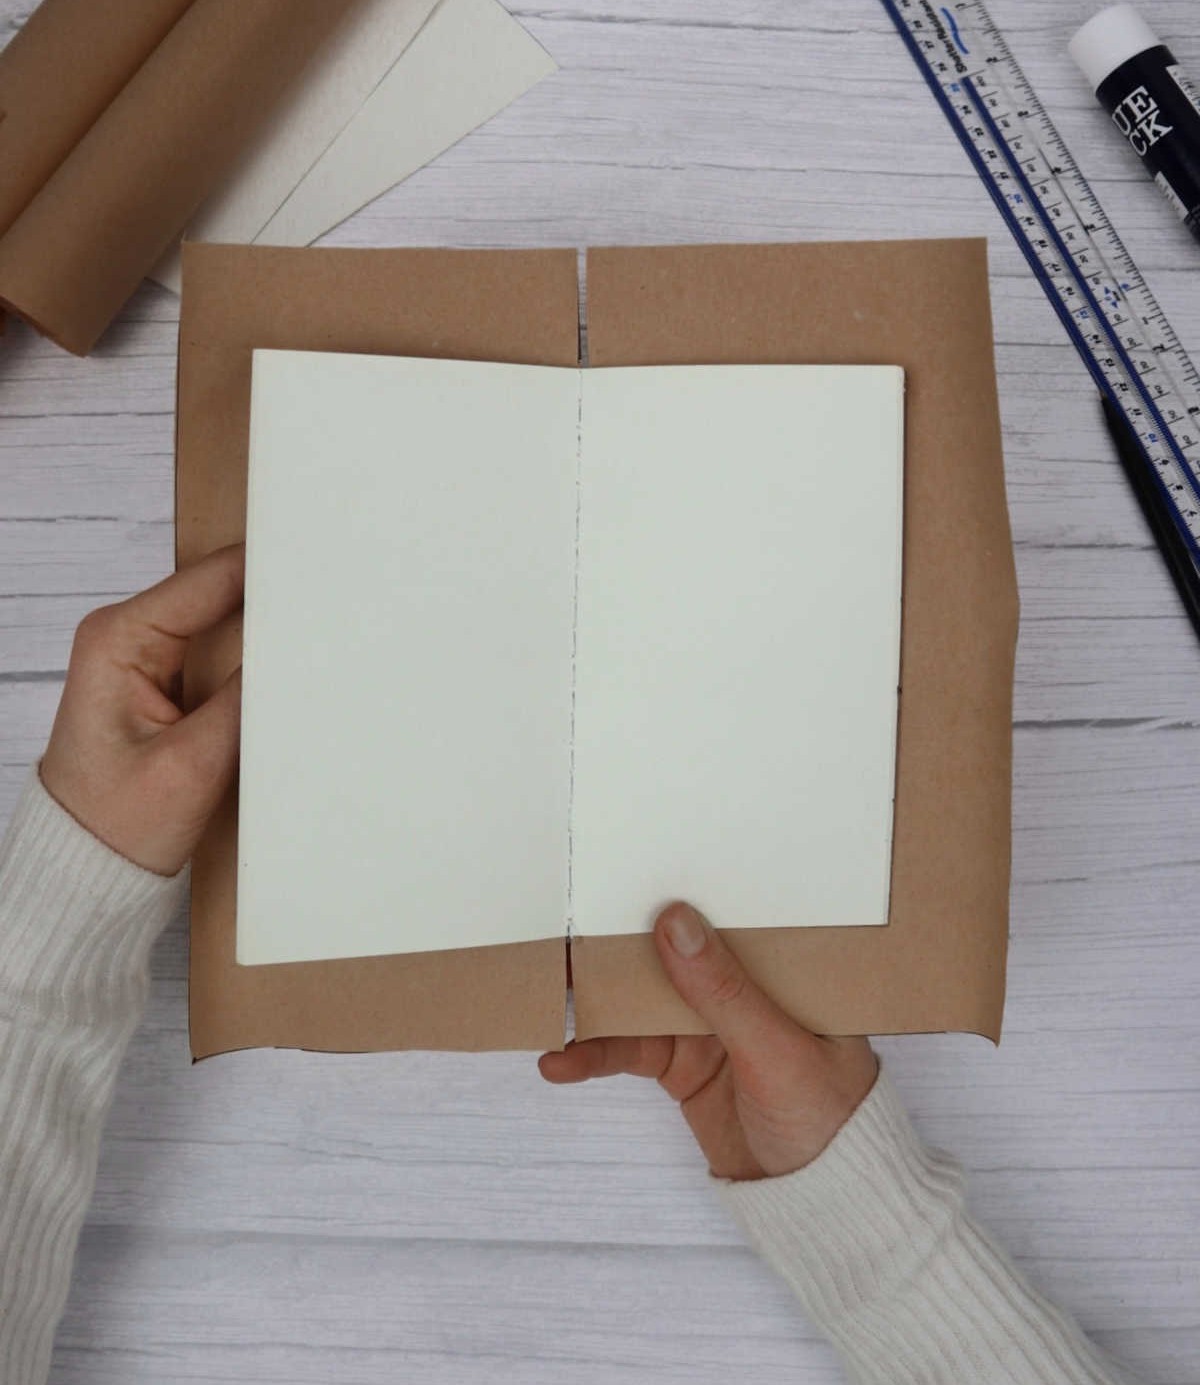
To secure the craft paper in place, apply a thin layer of adhesive along all edges. This will enable you to fold the edges inward and attach them seamlessly to the notebook cover. When folding, aim for crisp, creaseless folds that won’t compromise the smoothness of the cover. Achieve this by gently pressing the folded edges onto the notebook, allowing the adhesive to set without wrinkles or give-way.
Once complete on one side, repeat the process for the opposite side, resulting in a sleek and polished finish.
Step 8
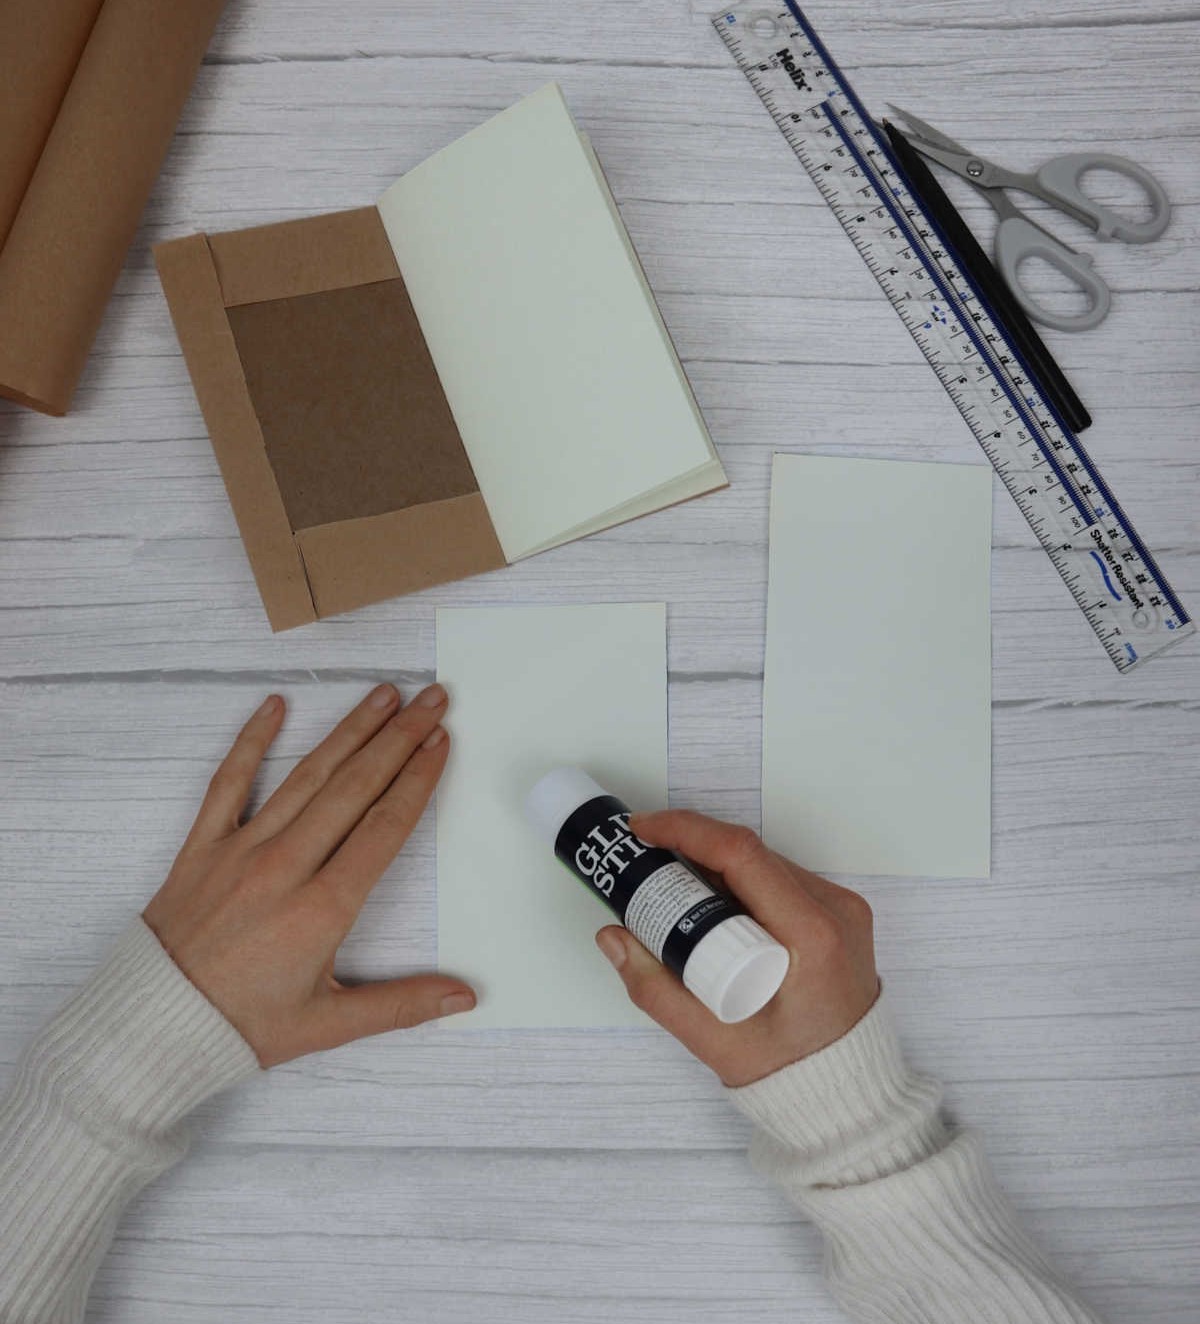

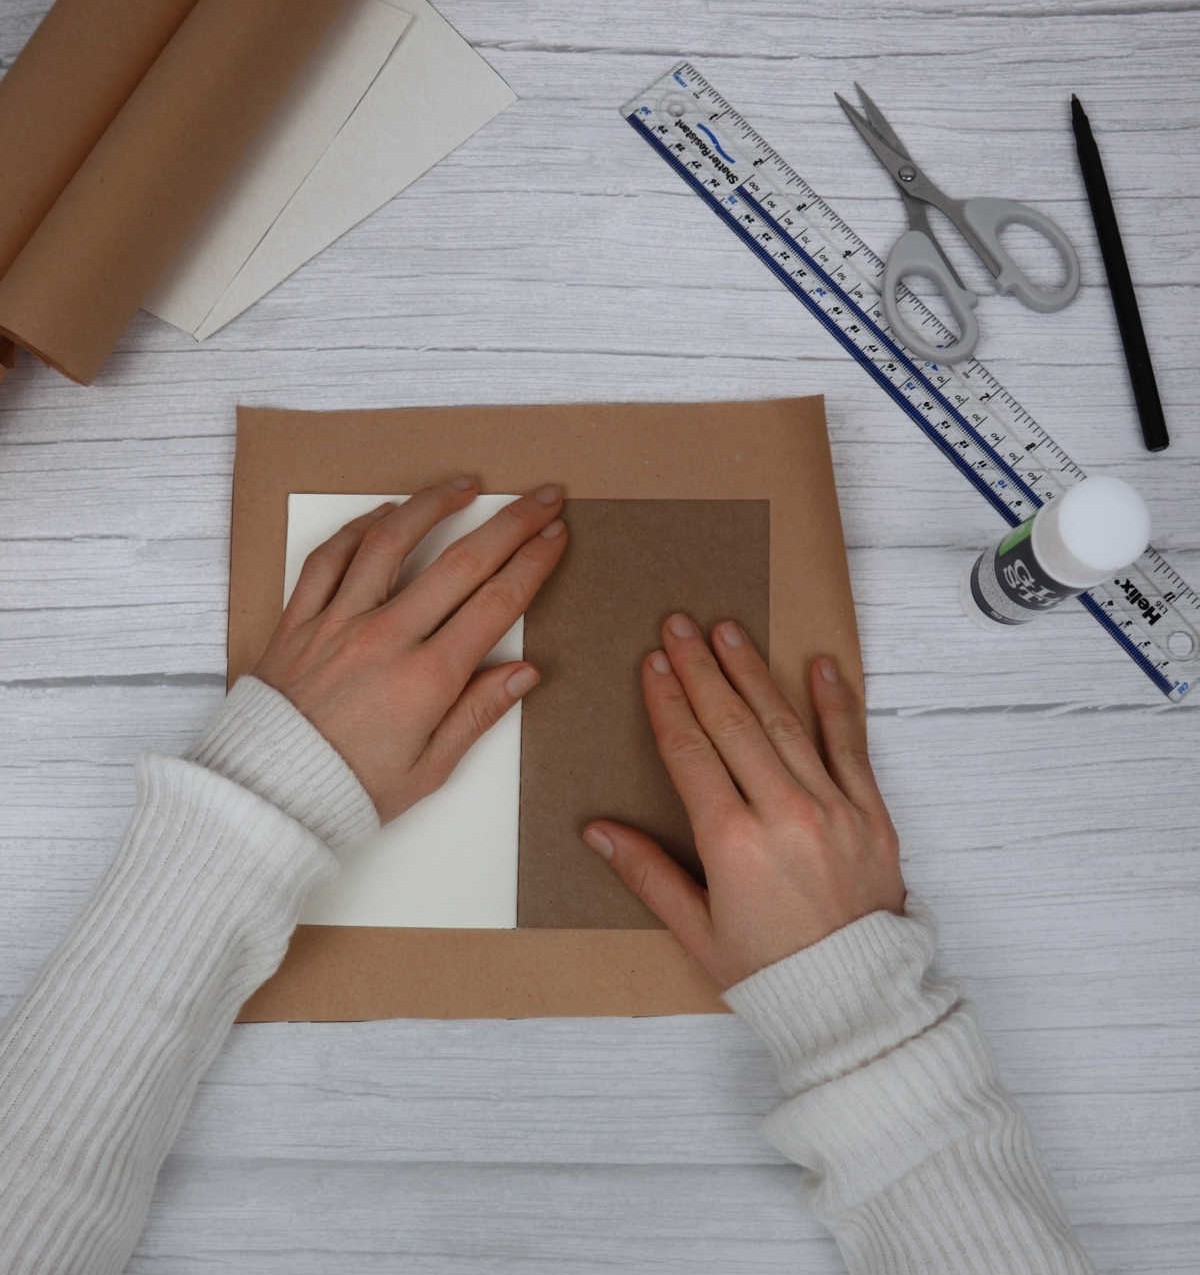
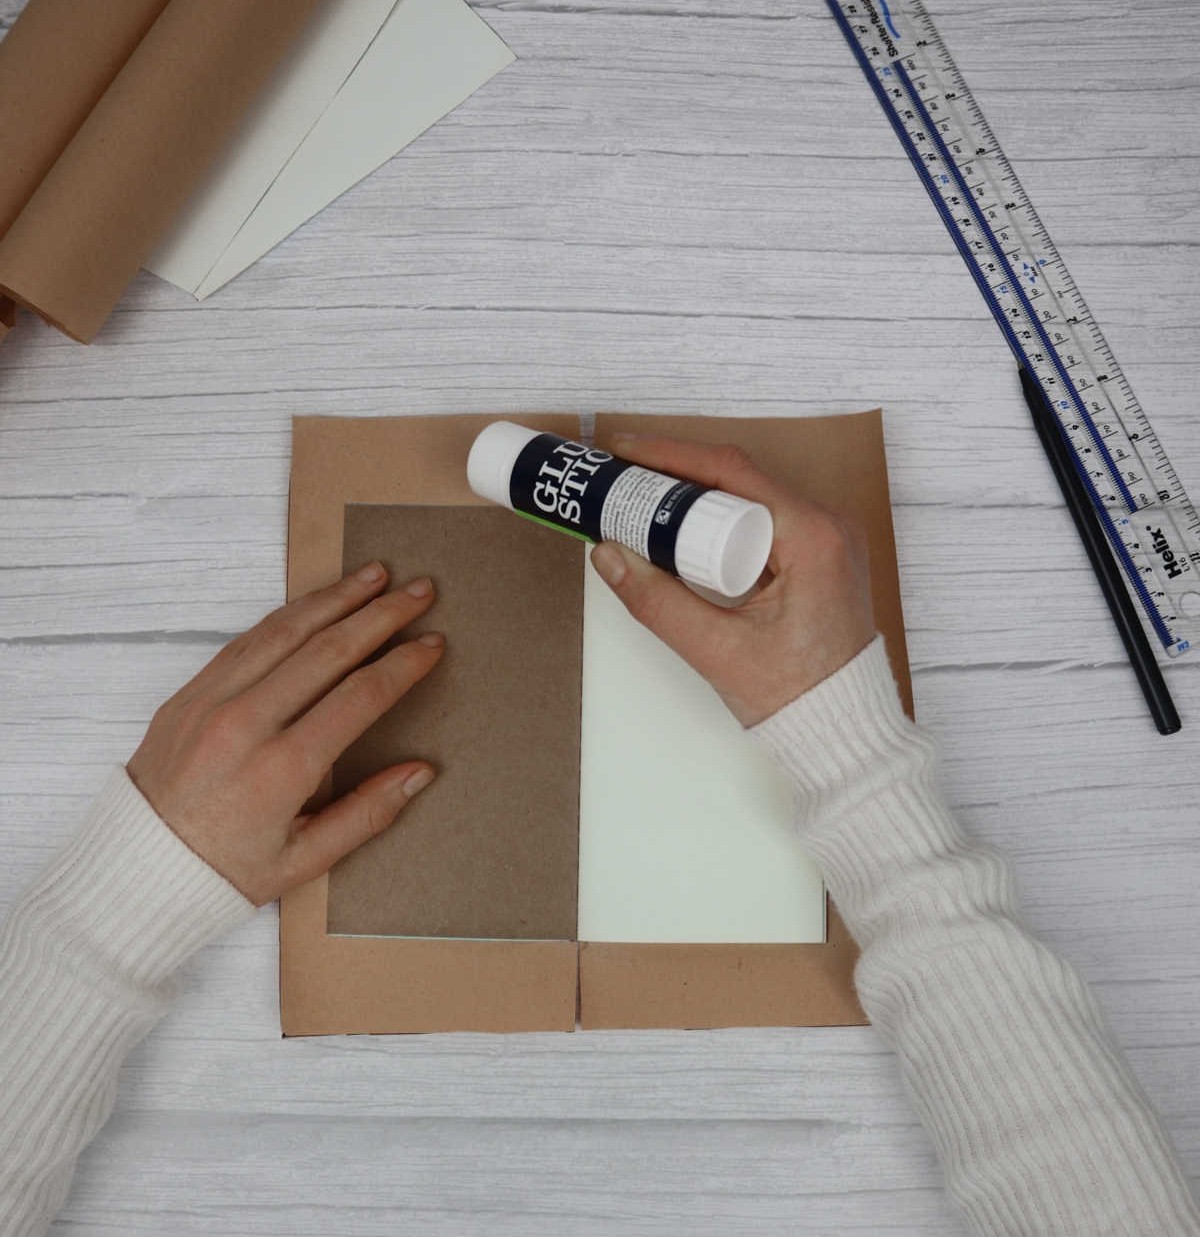
As we move forward with our notebook creation, let’s revisit the two plain rectangles that were set aside earlier. These humble pieces will now play a crucial role in enhancing the overall appearance of our notebook.
You may have initially been pleased with the finished product, but as time passes, you might find yourself growing less fond of the folded cover’s aesthetic.
The solution is surprisingly straightforward: apply some glue to one side and attach it to the notebook’s cover.
This will not only eliminate any unsightly folds but also provide a sleek finish that covers the entire craft paper flap.
Once you’ve completed this step, simply flip the other side of the notebook over, and you’ll be left with a polished result.
Tools for Decorating the Notebook
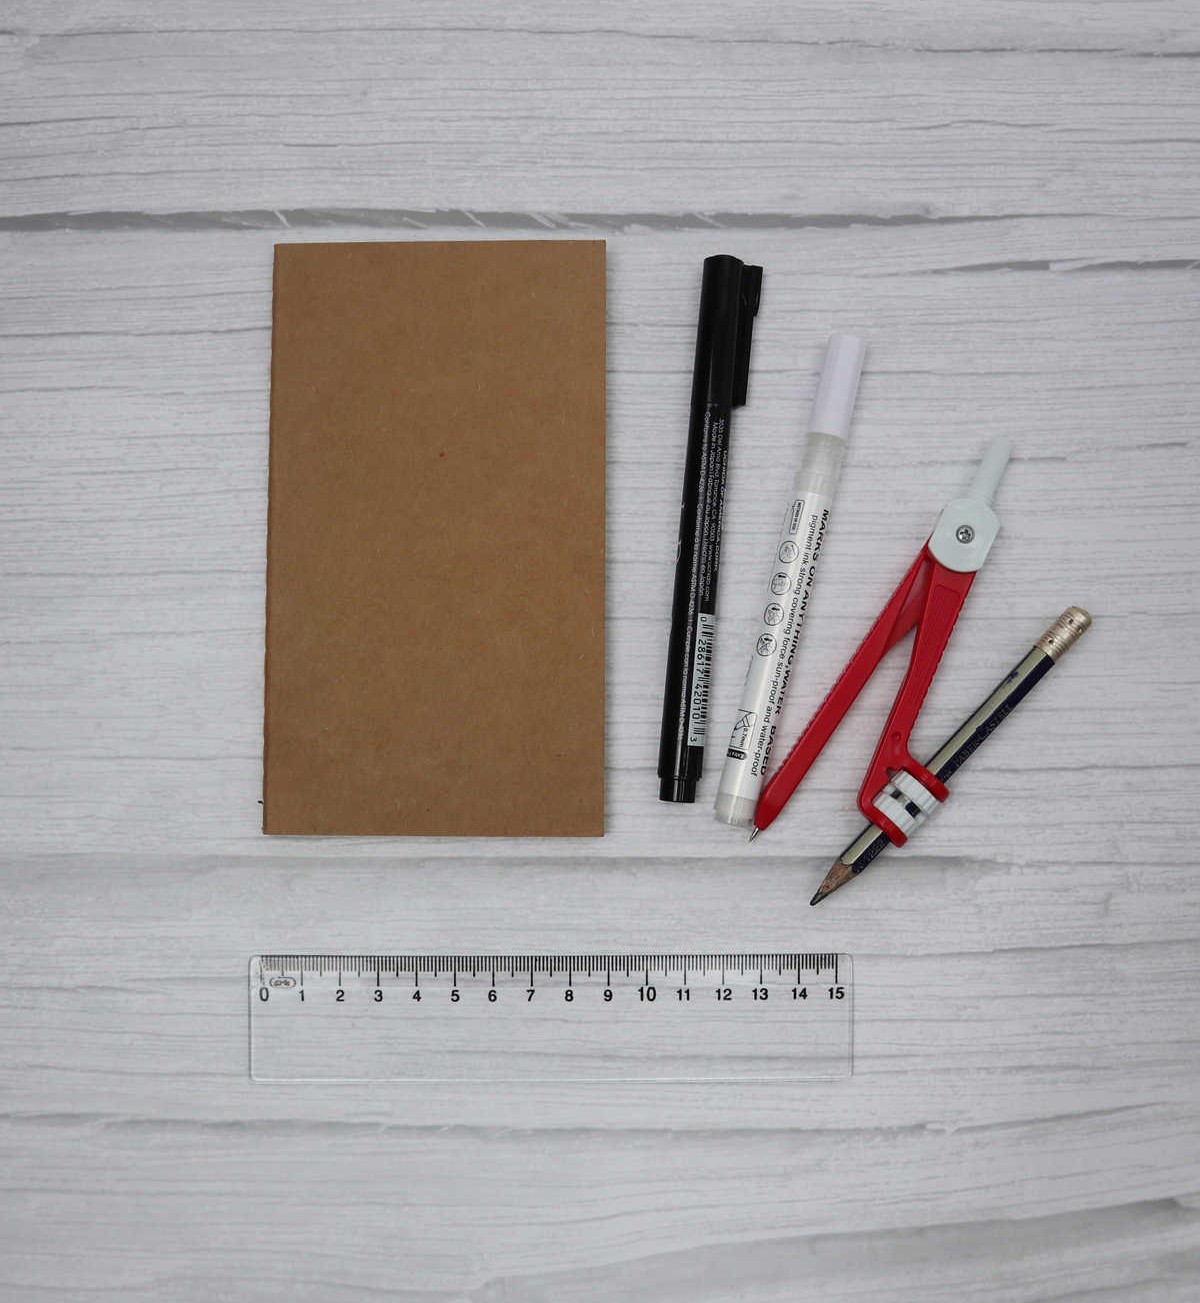
To elevate the design of your DIY journal, focus on crafting an eye-catching cover that reflects your personality. To get started, gather the following essential tools: a precision ruler for measuring and drawing straight lines, permanent markers in various colors to add bold accents, a trusty compass paired with a graphite pencil to create intricate designs or patterns.
Step 1
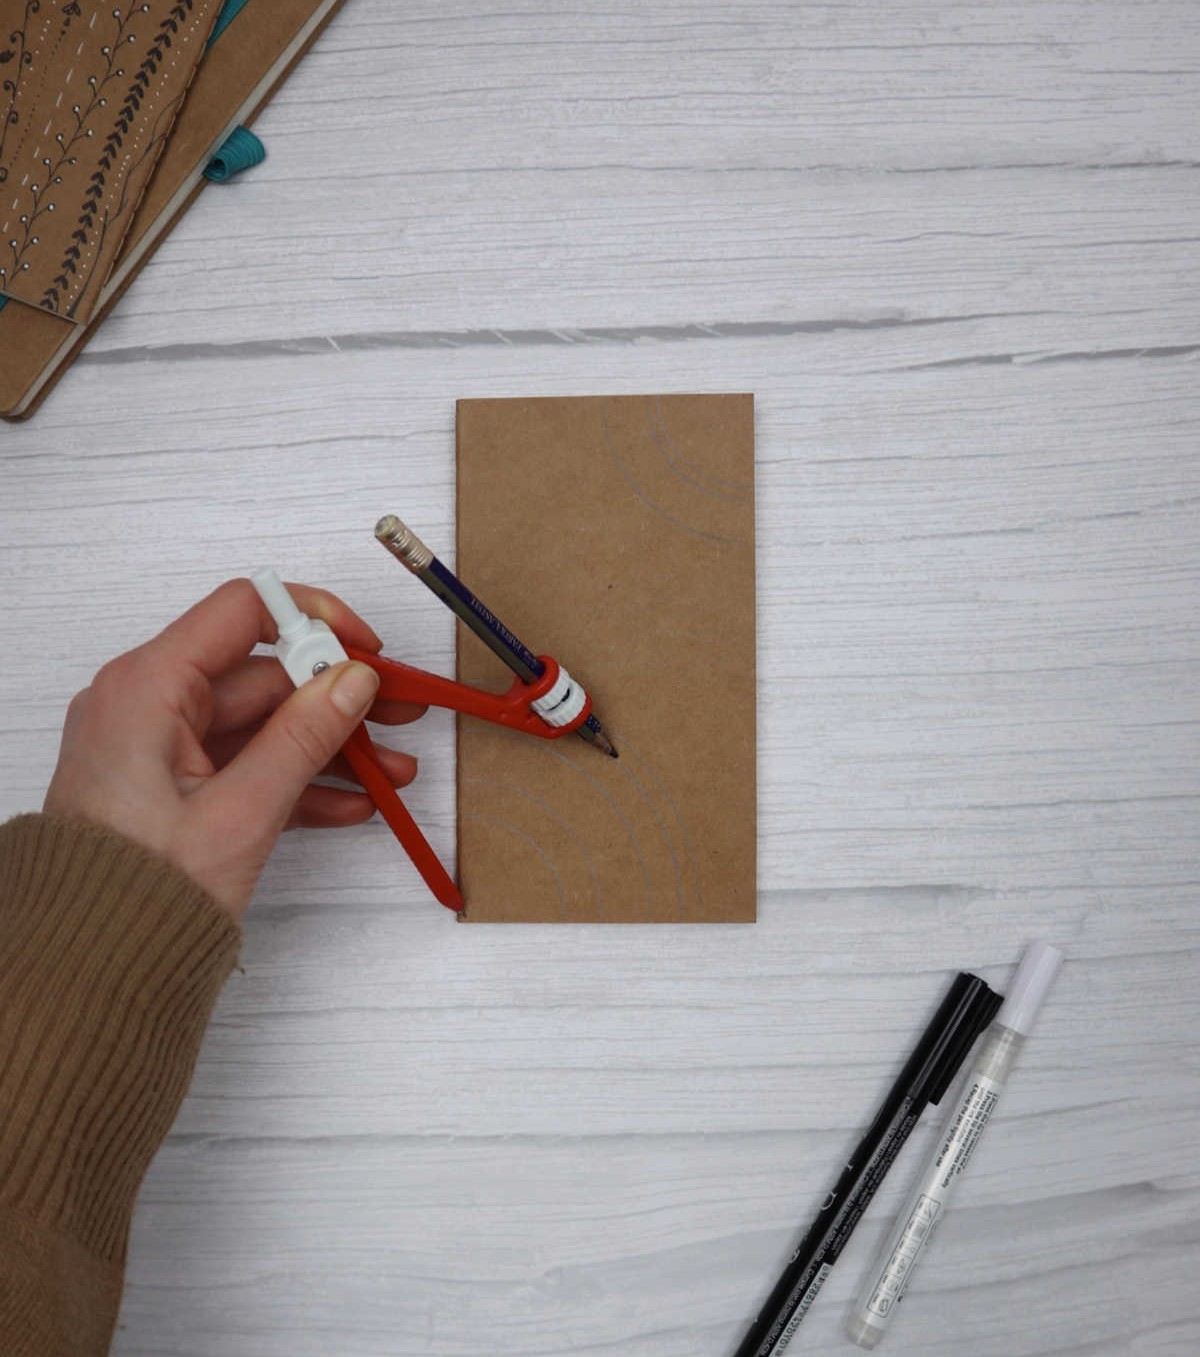
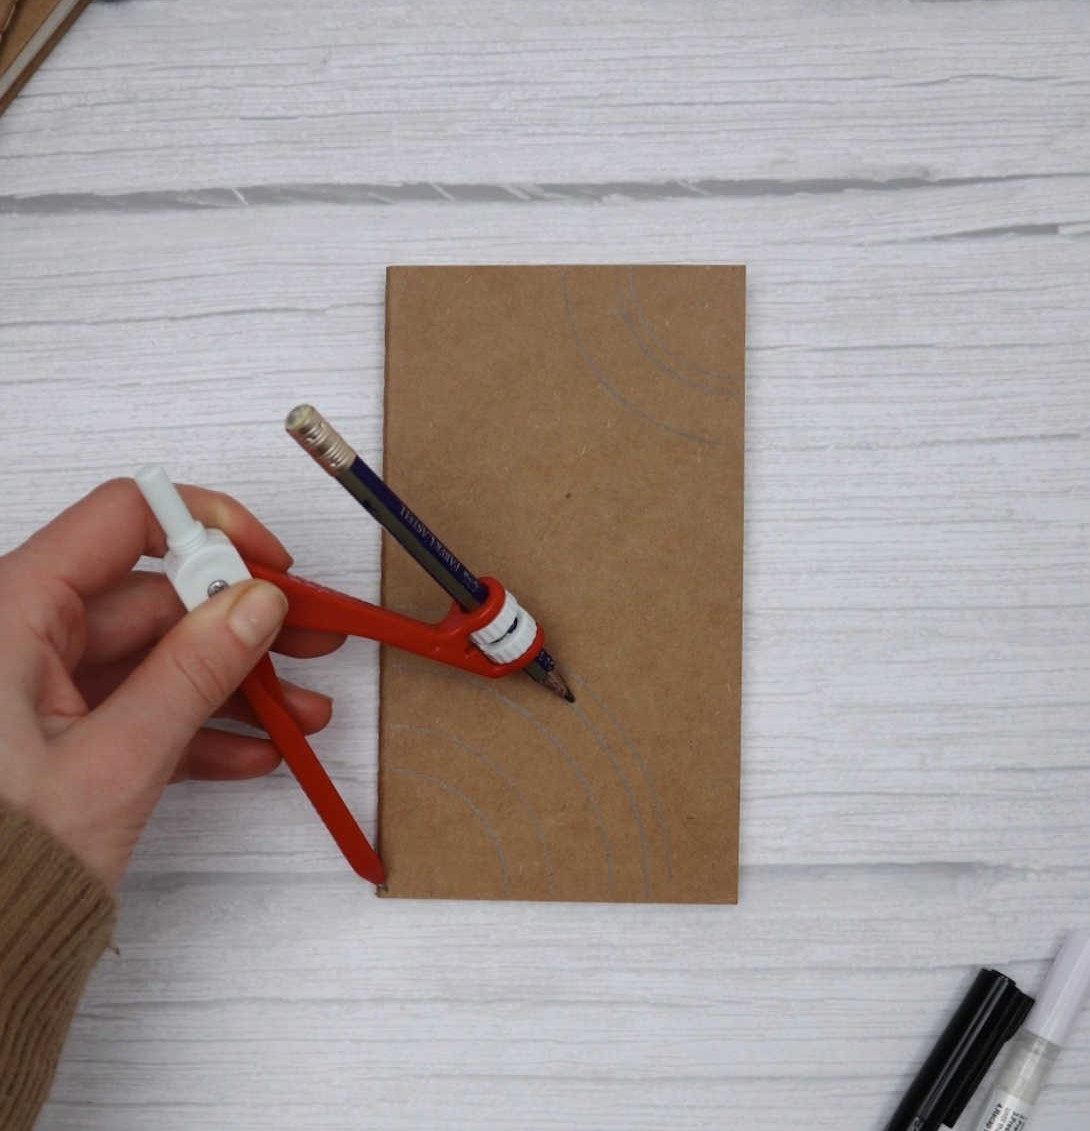
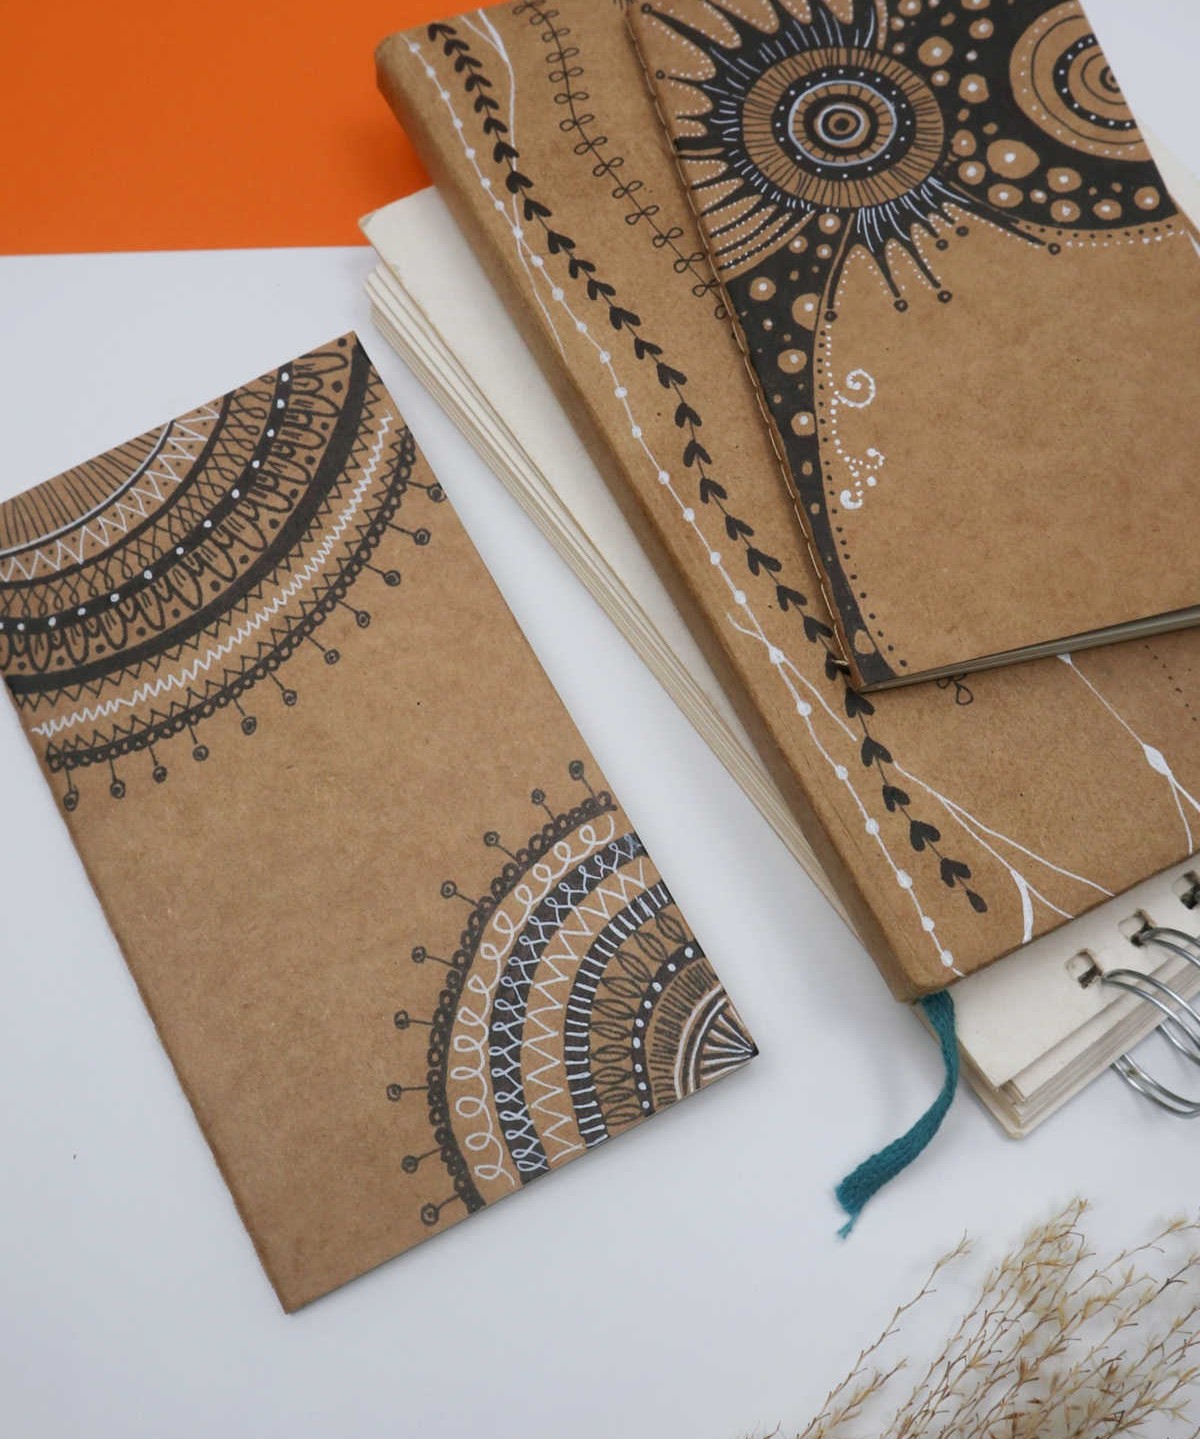
Combining traditional mandala designs with the unique flair of zentangle doodles creates a captivating visual experience. For this project, you can effectively utilize a palette of black and white markers, where white stands out particularly well in making your creations pop. Begin by using a compass to carefully mark your design according to your desired specifications, serving as the foundation for your artistic expression.
Step 2
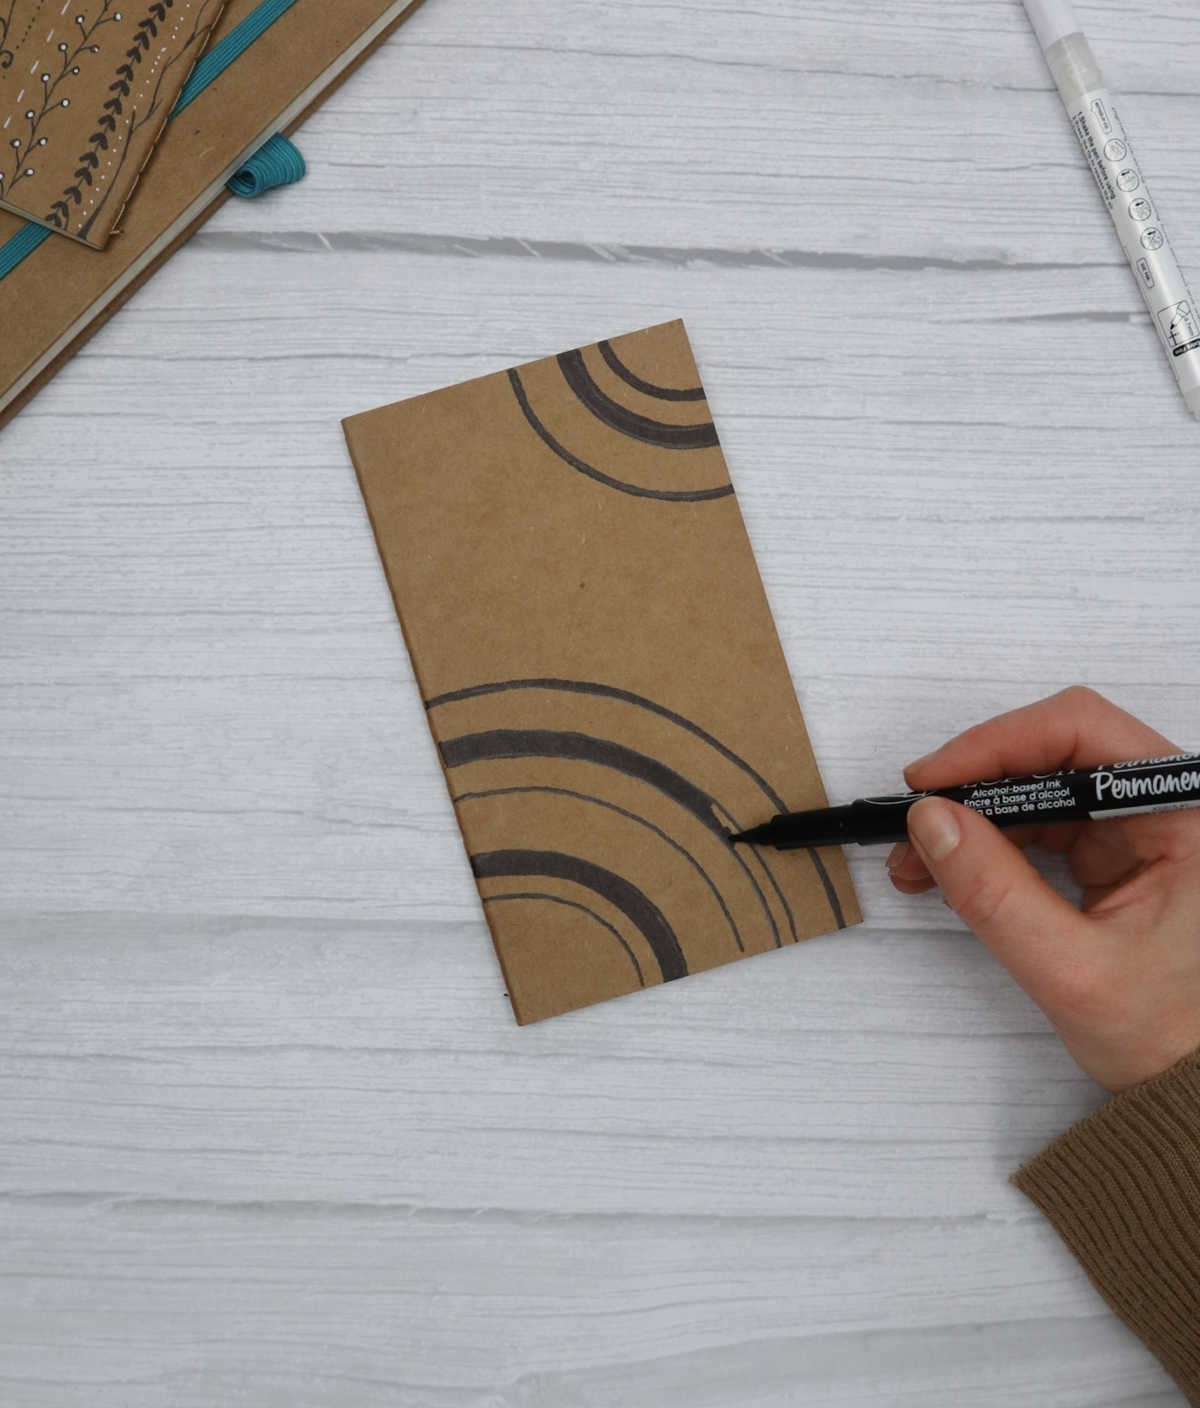
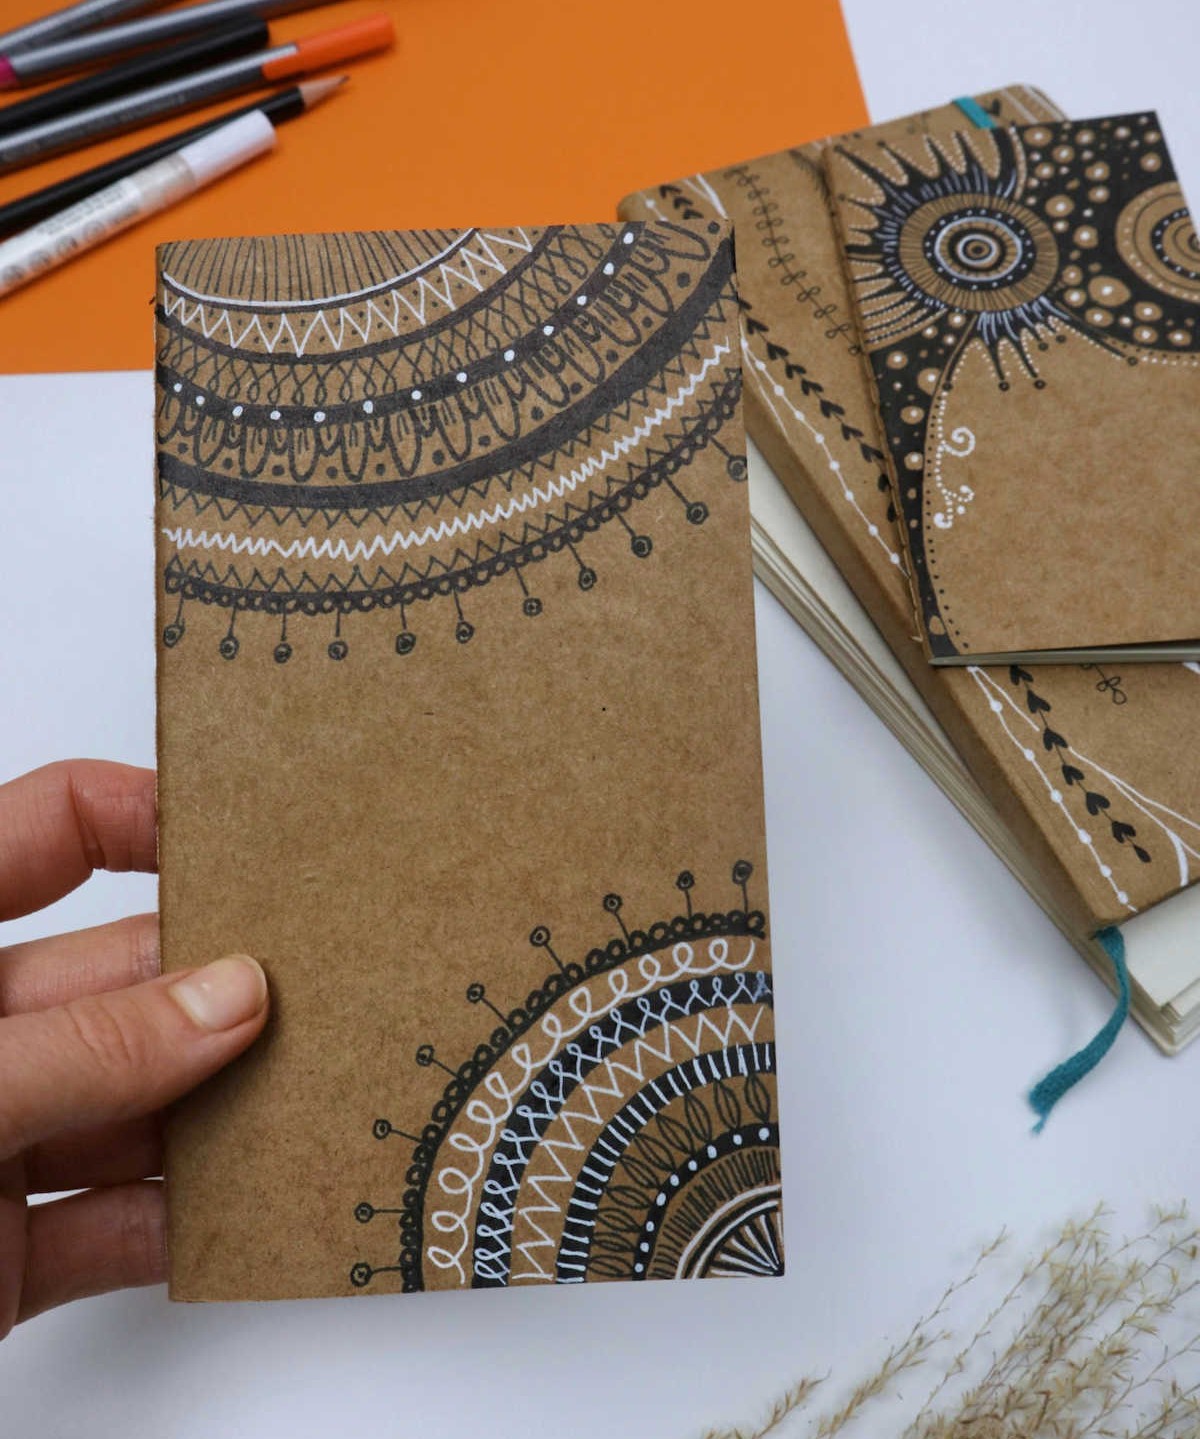
Enliven the blank covers of your DIY Journal with creative expressions using black, white, or colored markers. For an abundance of inspiration, explore Pinterest’s vast collection. Alternatively, utilize leftover craft paper for innovative adult paper crafts, like those found in this list of 31 ideas. As you complete your journal’s cover, remember that it can serve as a diary, tracker, or vessel for countless other creative endeavors – the possibilities are truly limitless!
DIY Journal Cover
With just a few simple materials and steps, you can create your own adorable DIY journal covers that will elevate the look of your writing spaces. These paper crafts are perfect for anyone looking to add a touch of personality to their journals. Whether you’re a creative enthusiast or a busy professional, these easy-to-make designs are sure to inspire your next chapter.
Equipment
To create a visually appealing and professionally finished project, having the right tools at your disposal is essential. From the humblest of pen glues to precision instruments like scissors and rulers, each tool plays a crucial role in bringing your vision to life. In addition to these staples, permanent markers offer the ability to add bold colors and textures to your work, while a compass with pencil attachment allows for precise and intricate drawing.
Materials
Instructions
To begin crafting your DIY journal’s cover, start by preparing your supplies. Cut out four rectangular pieces from brown craft paper, leaving a small margin around each side. Set these aside for later use. Next, measure and cut two rectangles from plain craft paper to match the dimensions of the notebook’s closed cover. These will serve as the base of the cover. Place the notebook on top of the brown craft paper and adhere both surfaces together, creating a sturdy foundation for your design.
Using scissors, carefully cut along the center of the paper, following the spine of the notebook up to the top and bottom edges. Fold the edges inward, much like you would wrap a package with brown paper, and secure them in place along the inside of the notebook. Be mindful not to adhere the journal’s pages to the cover during this process.
Once the cover is wrapped, cut two additional rectangles from the set-aside craft paper and apply them over the folded edges, effectively covering any creases and giving your finished journal a polished appearance. The final step is to design the cover itself, allowing your creativity to shine through as you bring your DIY journal to life.