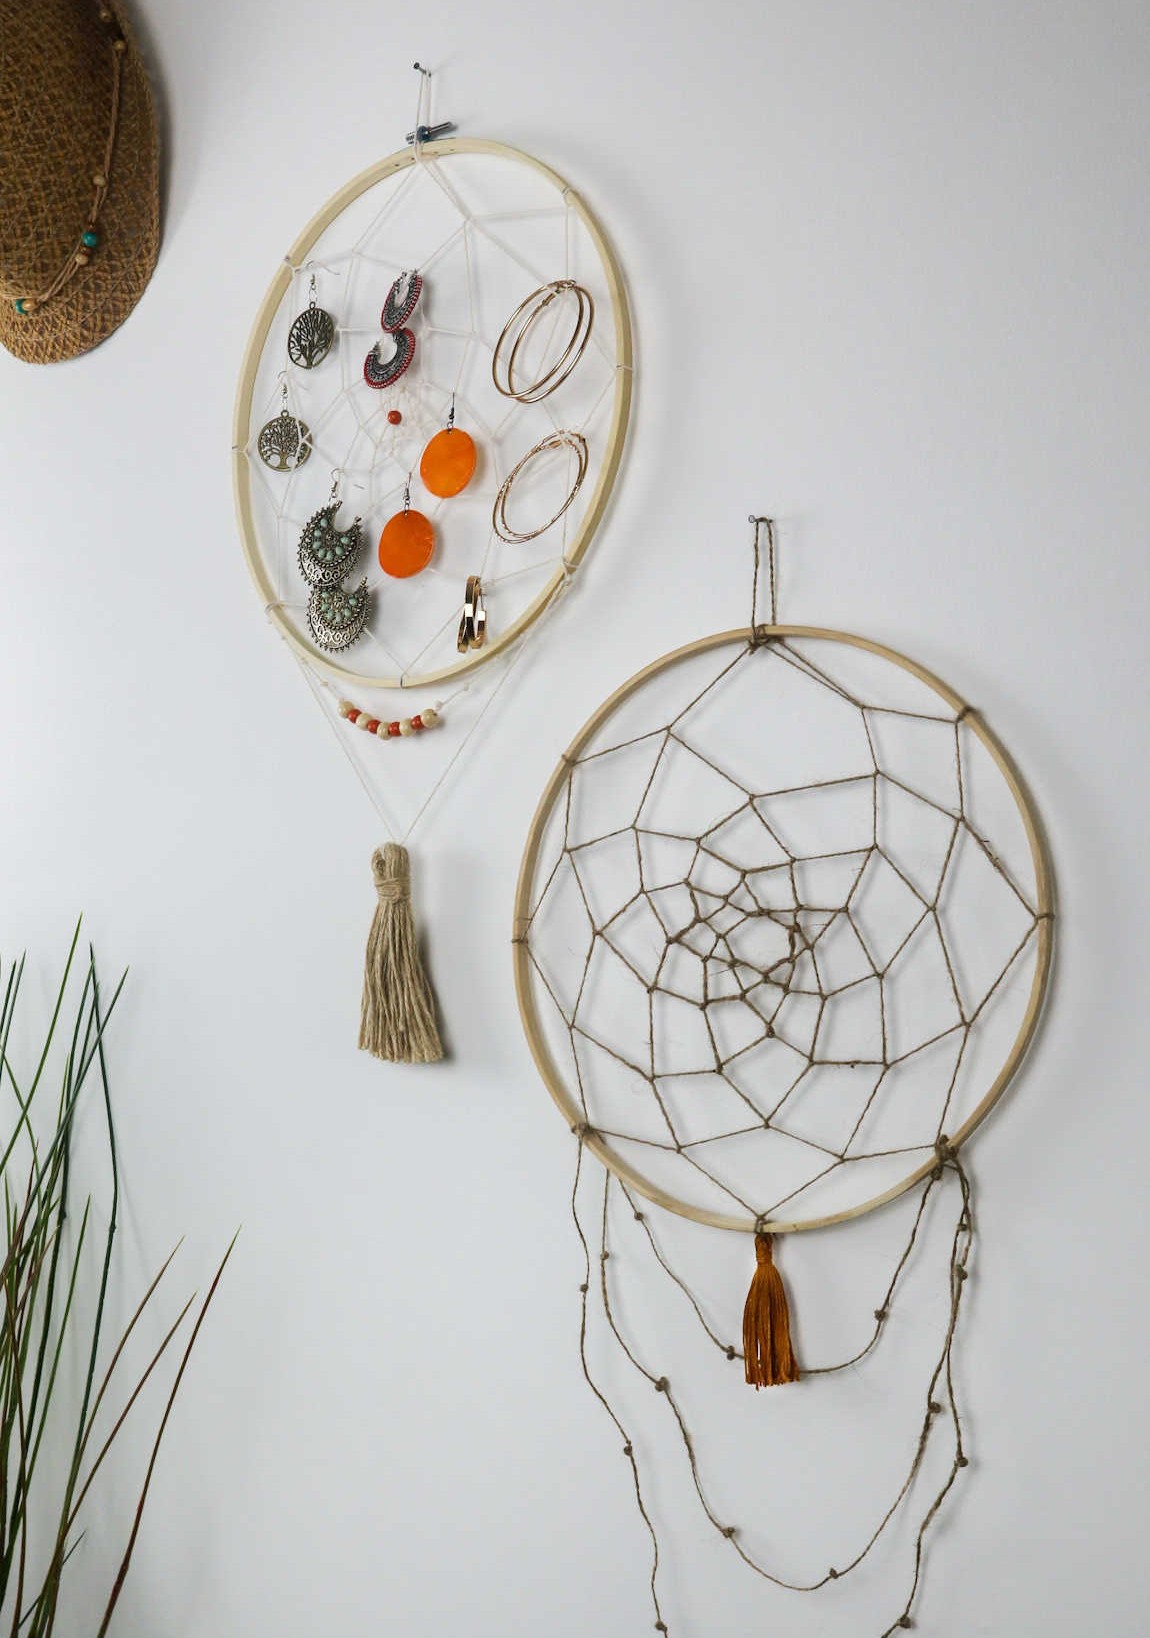
Transform your jewelry organization woes into a beautiful DIY project that’s as functional as it is fun! Remember the excitement around dream catchers back in the day? Let’s give them a new purpose – to keep our jewelry untangled and organized. Imagine having a stunning piece of handmade art that also keeps your accessories in check. That’s exactly what we’ll be creating here. This DIY project requires minimal supplies, so don’t worry if you’re not crafty or haven’t made a dreamcatcher before.
I’ve got the steps laid out for you, and with just a few simple materials, you can turn your jewelry chaos into a beautifully organized haven.
Supplies to Make the Organizer
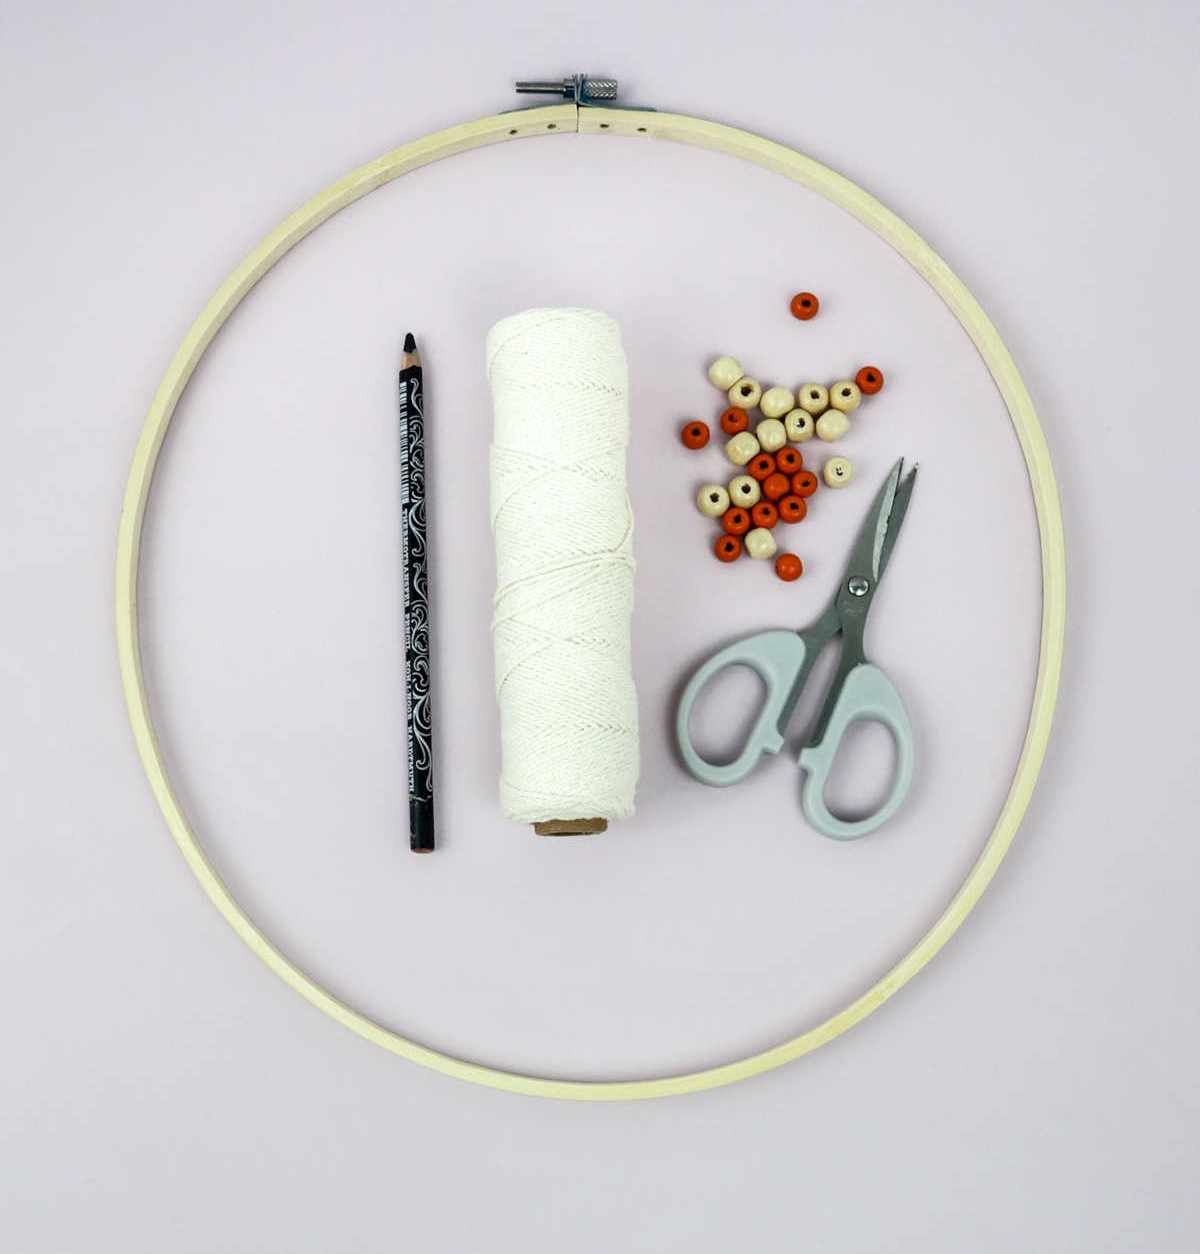
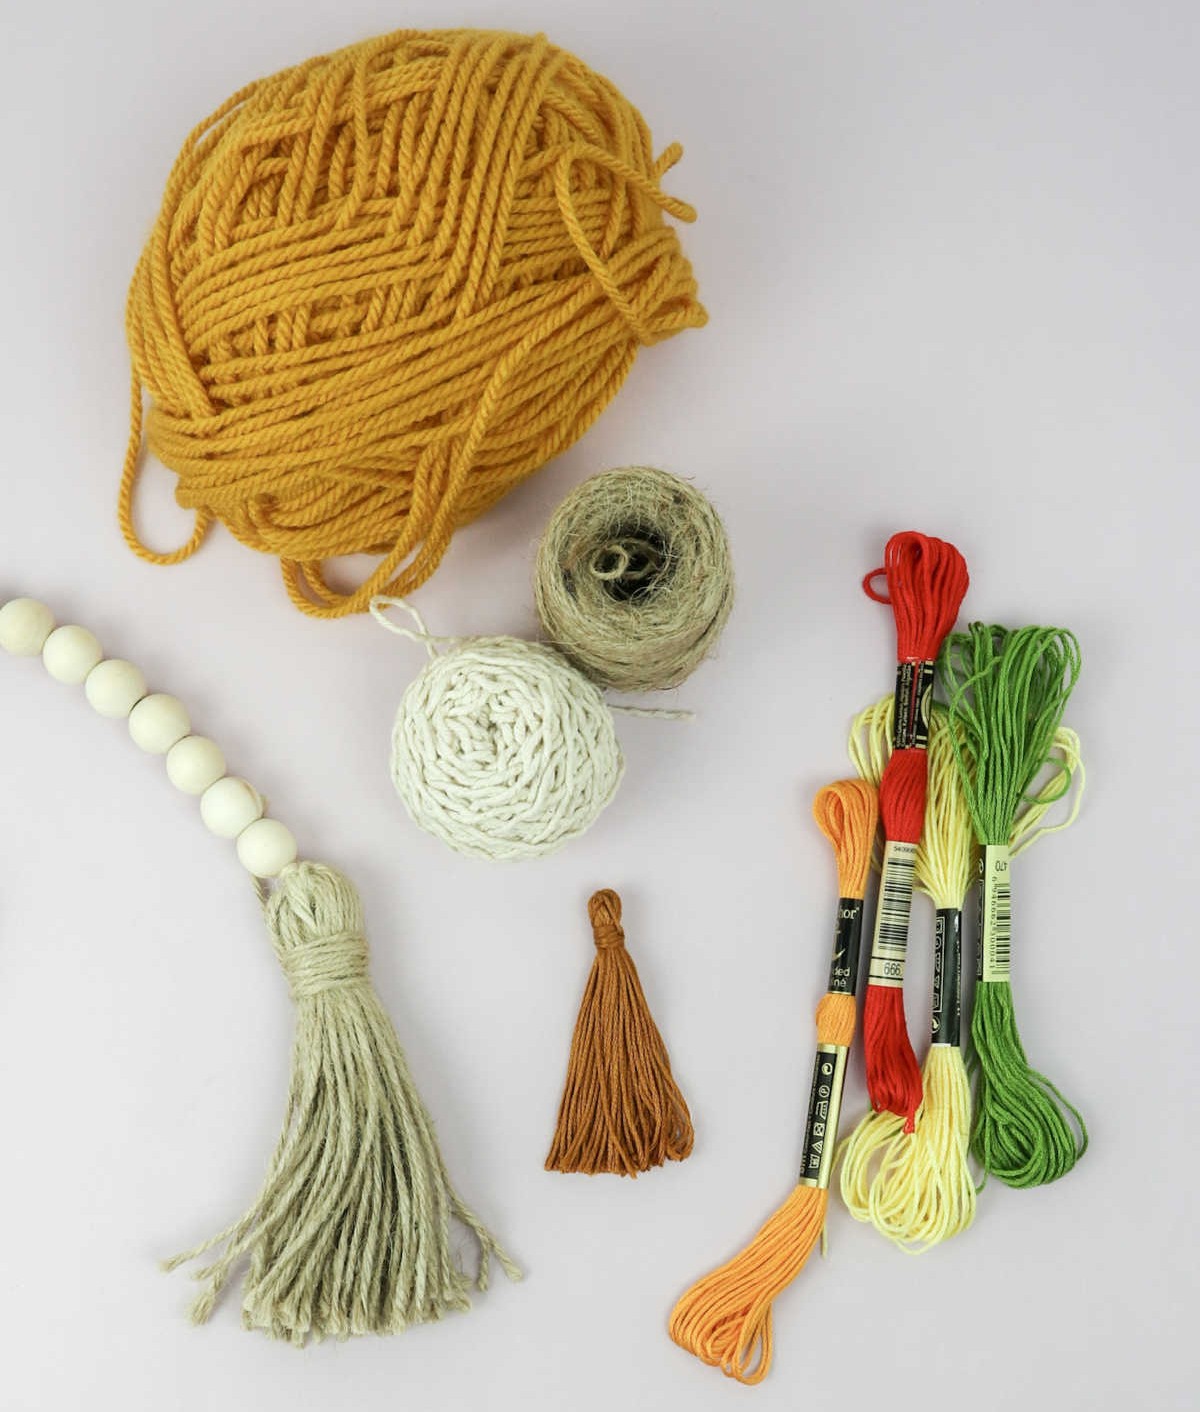
To create your dream catcher, start by gathering the essential supplies. These include an embroidery hoop, cotton string, scissors, beads, and a pencil (if you want to get creative with custom designs). While tassels and strings are not strictly necessary, they can add an extra layer of whimsy and charm to your finished project. If you’re feeling extra adventurous, consider incorporating beads, buttons, shells, or other embellishments to make your dream catcher truly one-of-a-kind.
How to Make a Jewelry Organizer
As you prepare to embark on this creative journey, it’s essential to first determine the size of your jewelry organizer. This decision will influence the choice of ring or frame you select for the project, ultimately shaping the overall design and functionality. With a clear understanding of the dimensions, you can proceed with confidence, ready to bring your vision to life.
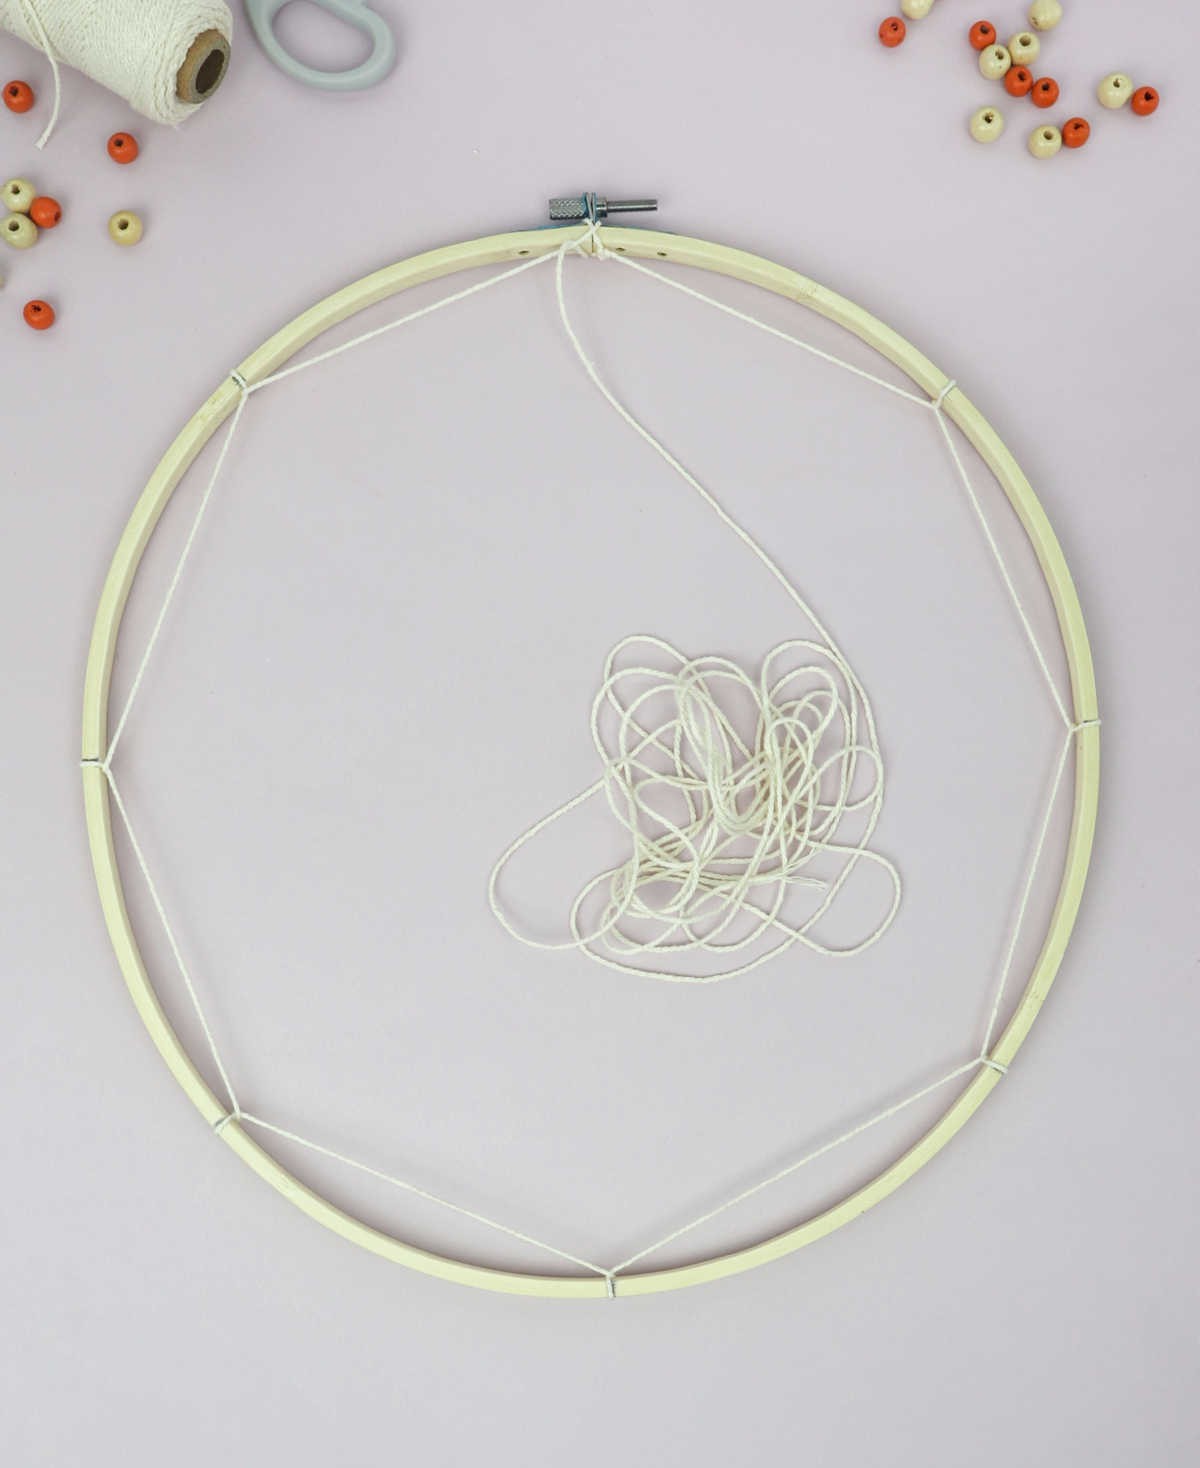
Step 1
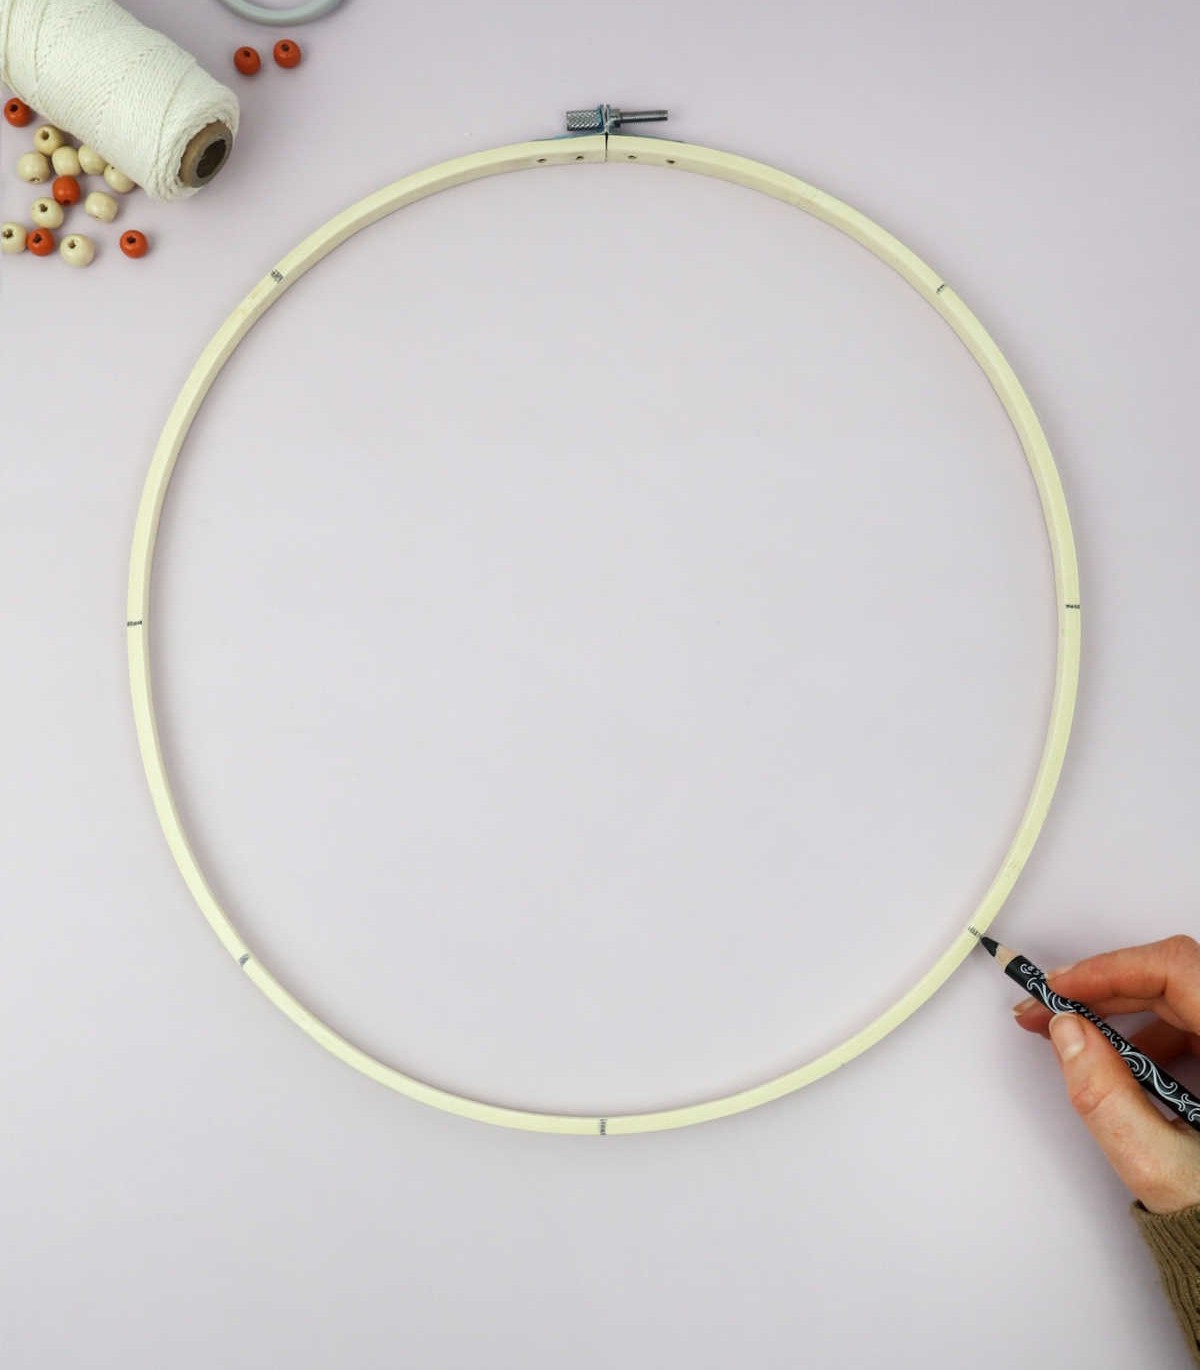
To create your dreamcatcher pattern, start by dividing the ring into equal sections. You can use a marker to draw small pointers or lines to mark the divisions. For this particular design, we’ll be working with eight equal parts. To achieve this, identify the points at 3 o’clock, 6 o’clock, 9 o’clock, and 12 o’clock on the ring. Then, add the center points between each of these marked areas. As you divide the ring in this way, your dreamcatcher pattern will begin to take shape.
Step 2
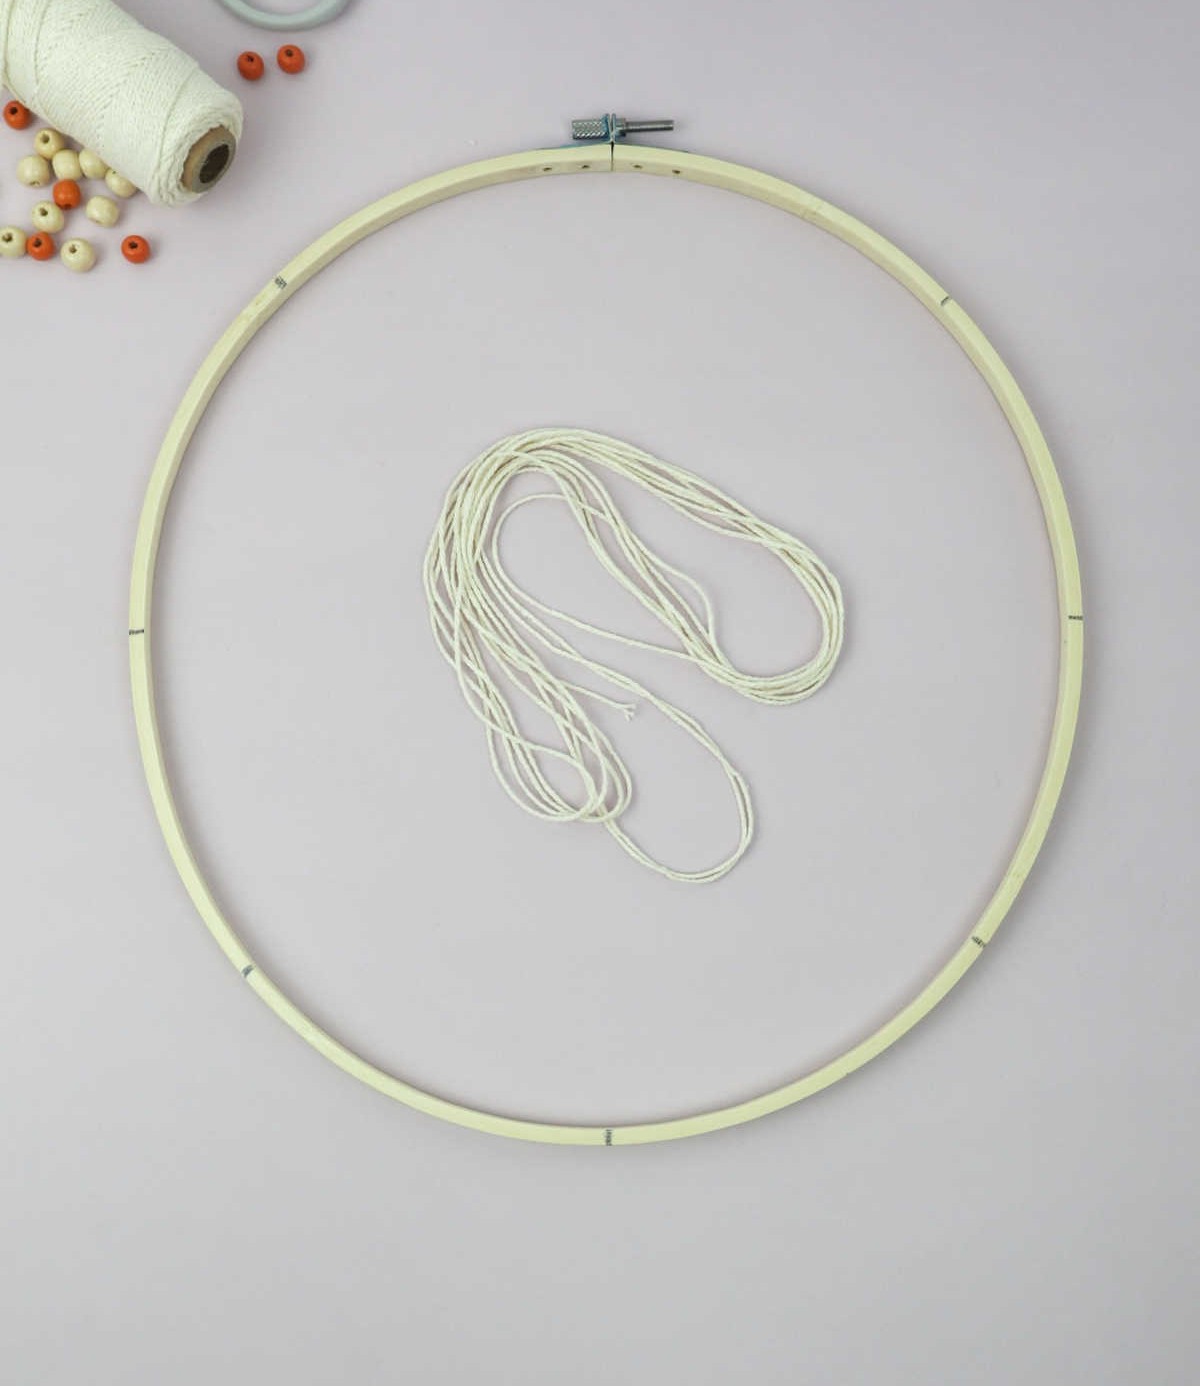
Embroidery thread selection is an exciting part of the creative process. You have the liberty to opt for understated elegance with neutral tones like beige or black, or take your design to the next level by incorporating vibrant colors that reflect your personal style.
Step 3
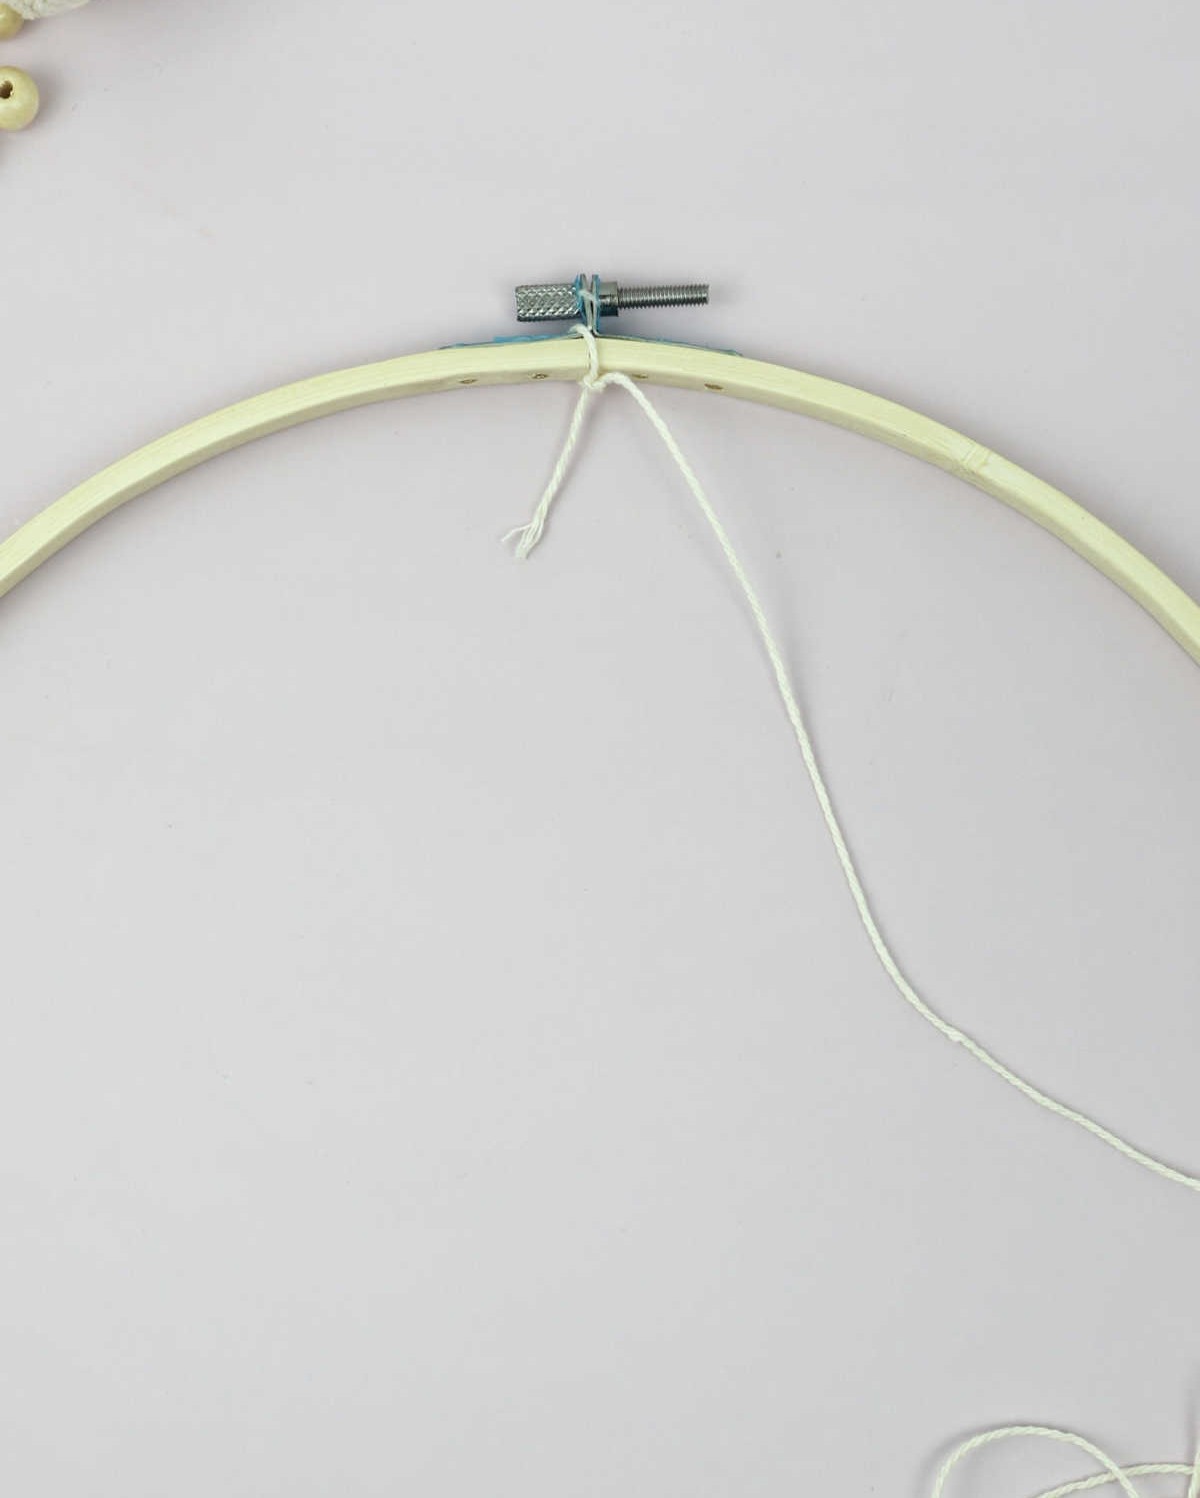
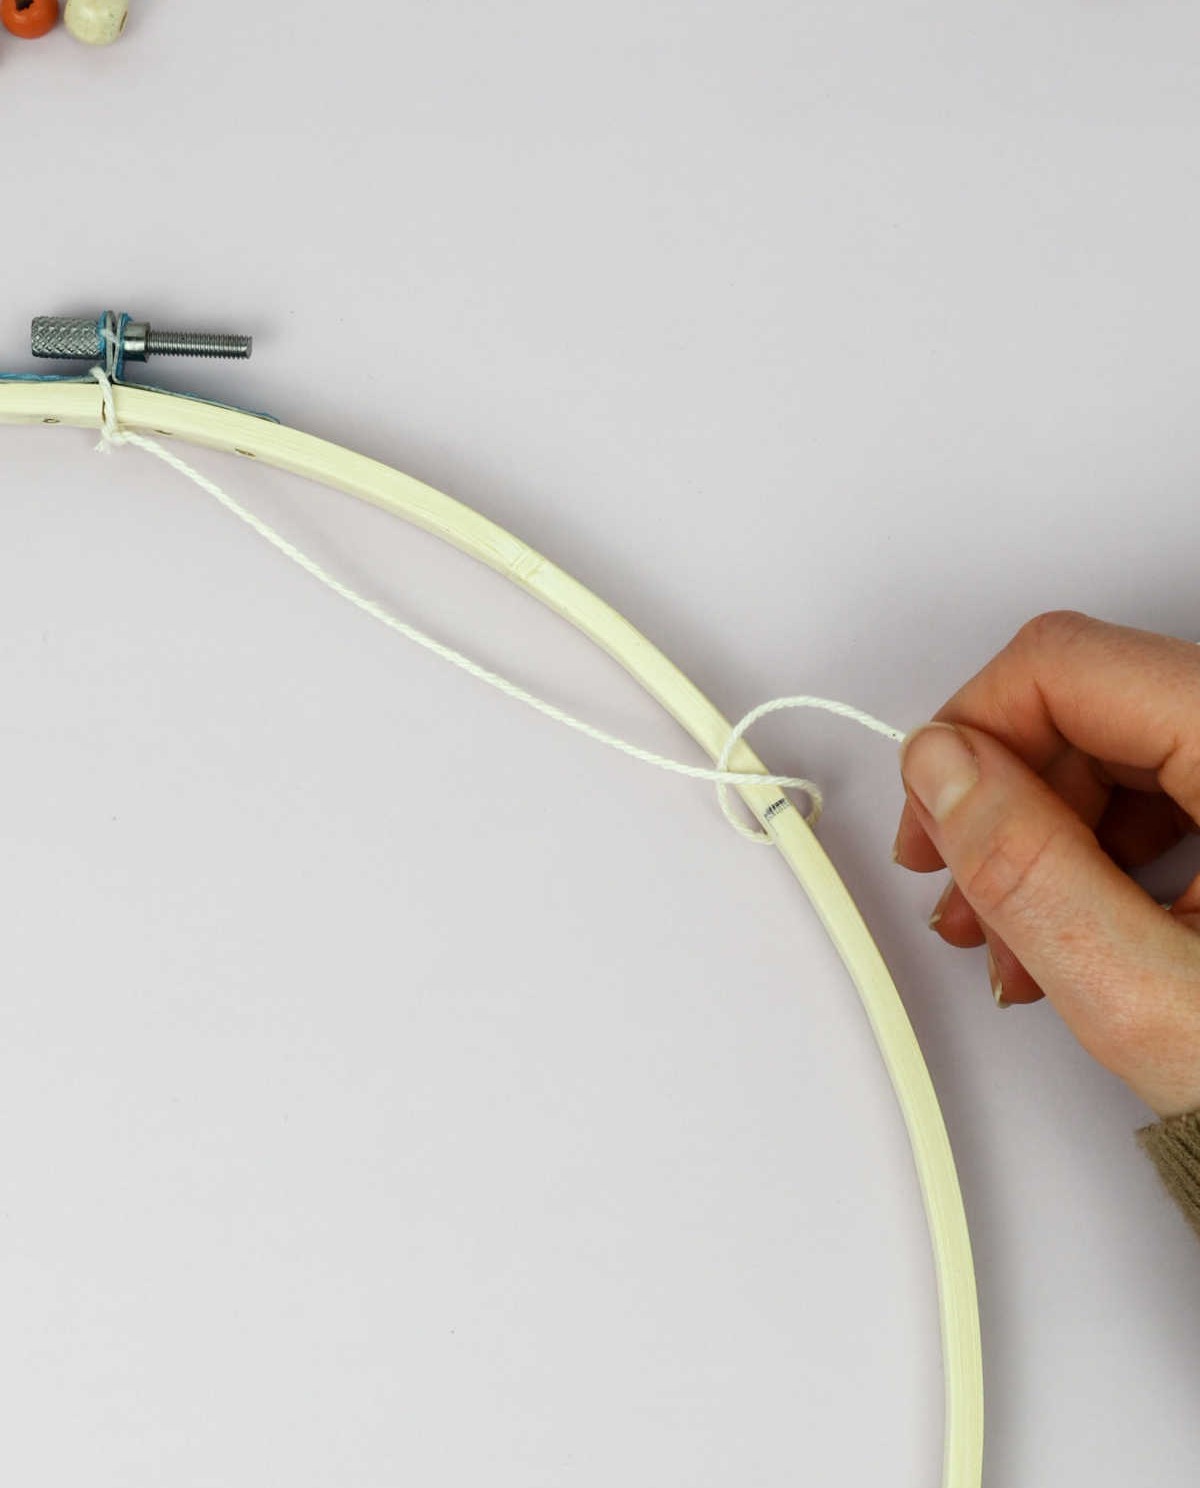
To begin the weaving process, start by creating a secure knot at the 12 o’clock position. This will serve as your foundation, so take the time to ensure it’s tightly tied and won’t shift during manipulation of the thread. If needed, a small amount of adhesive can be applied to stabilize the knot while you work with the thread, allowing for a more precise start to your weaving project.
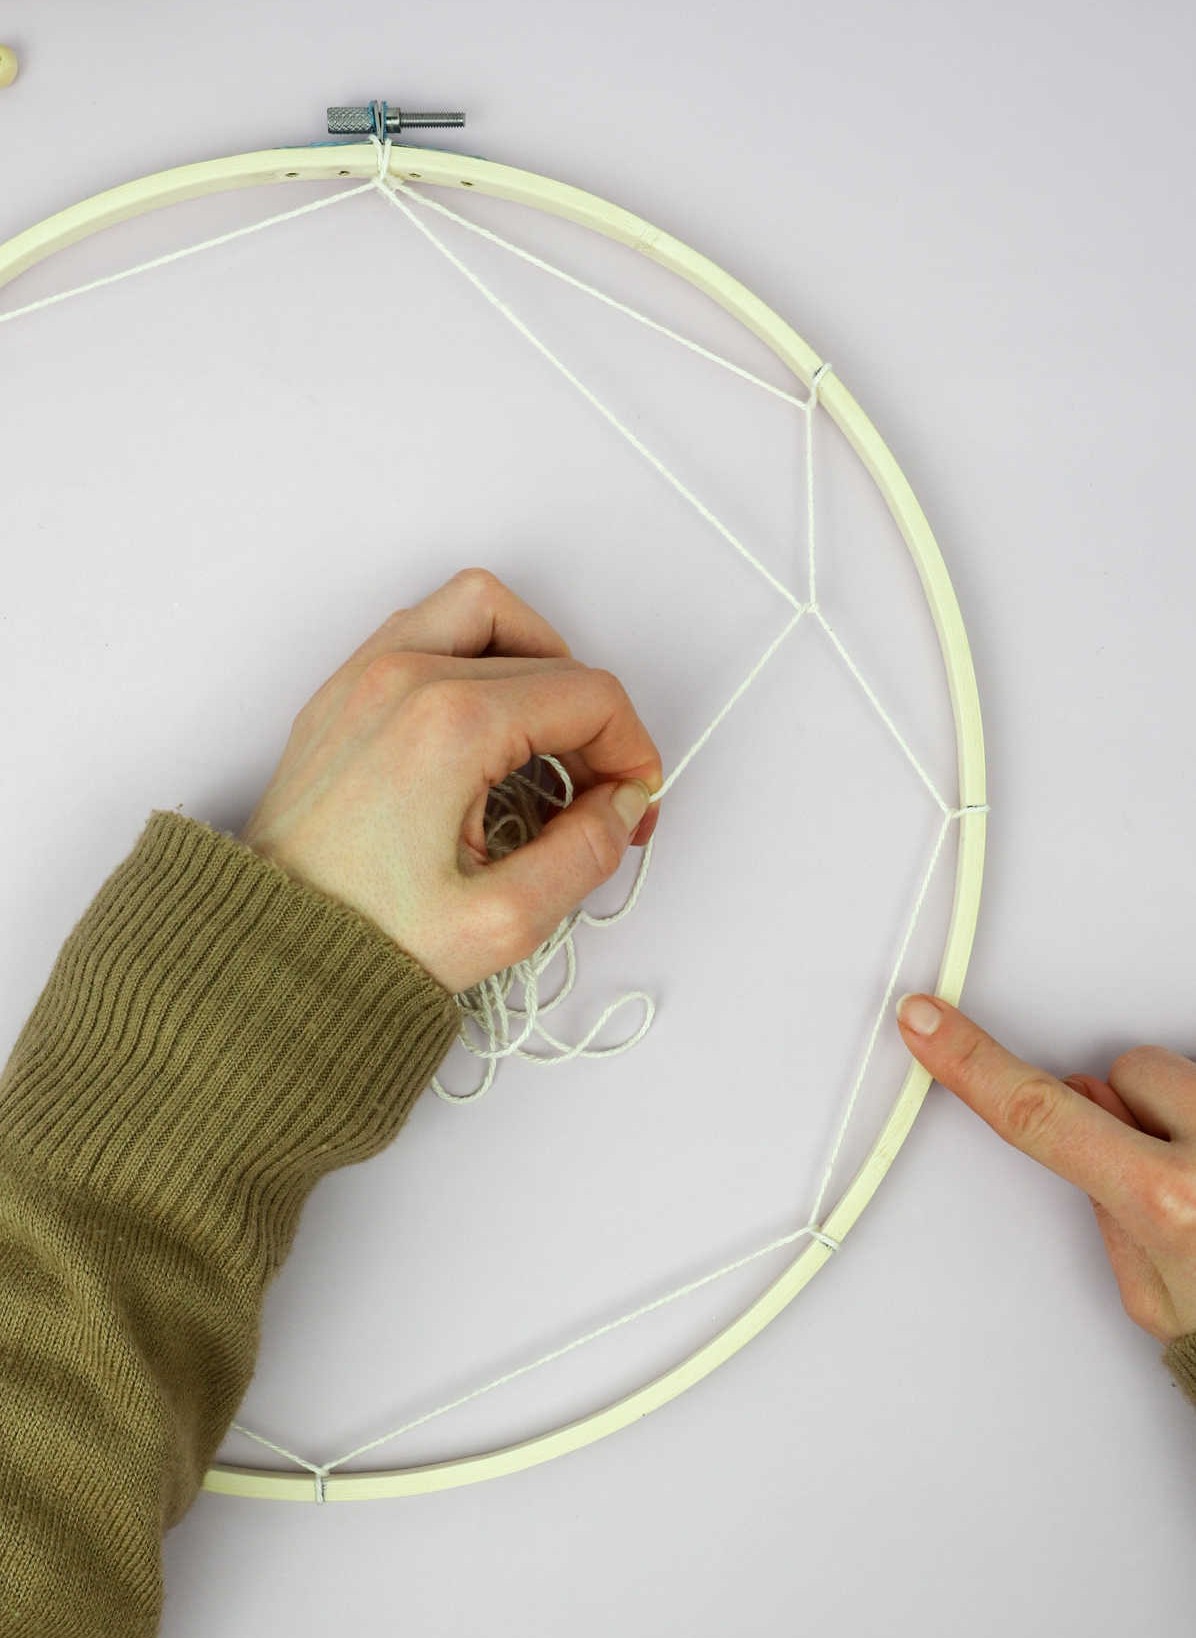
Step 4

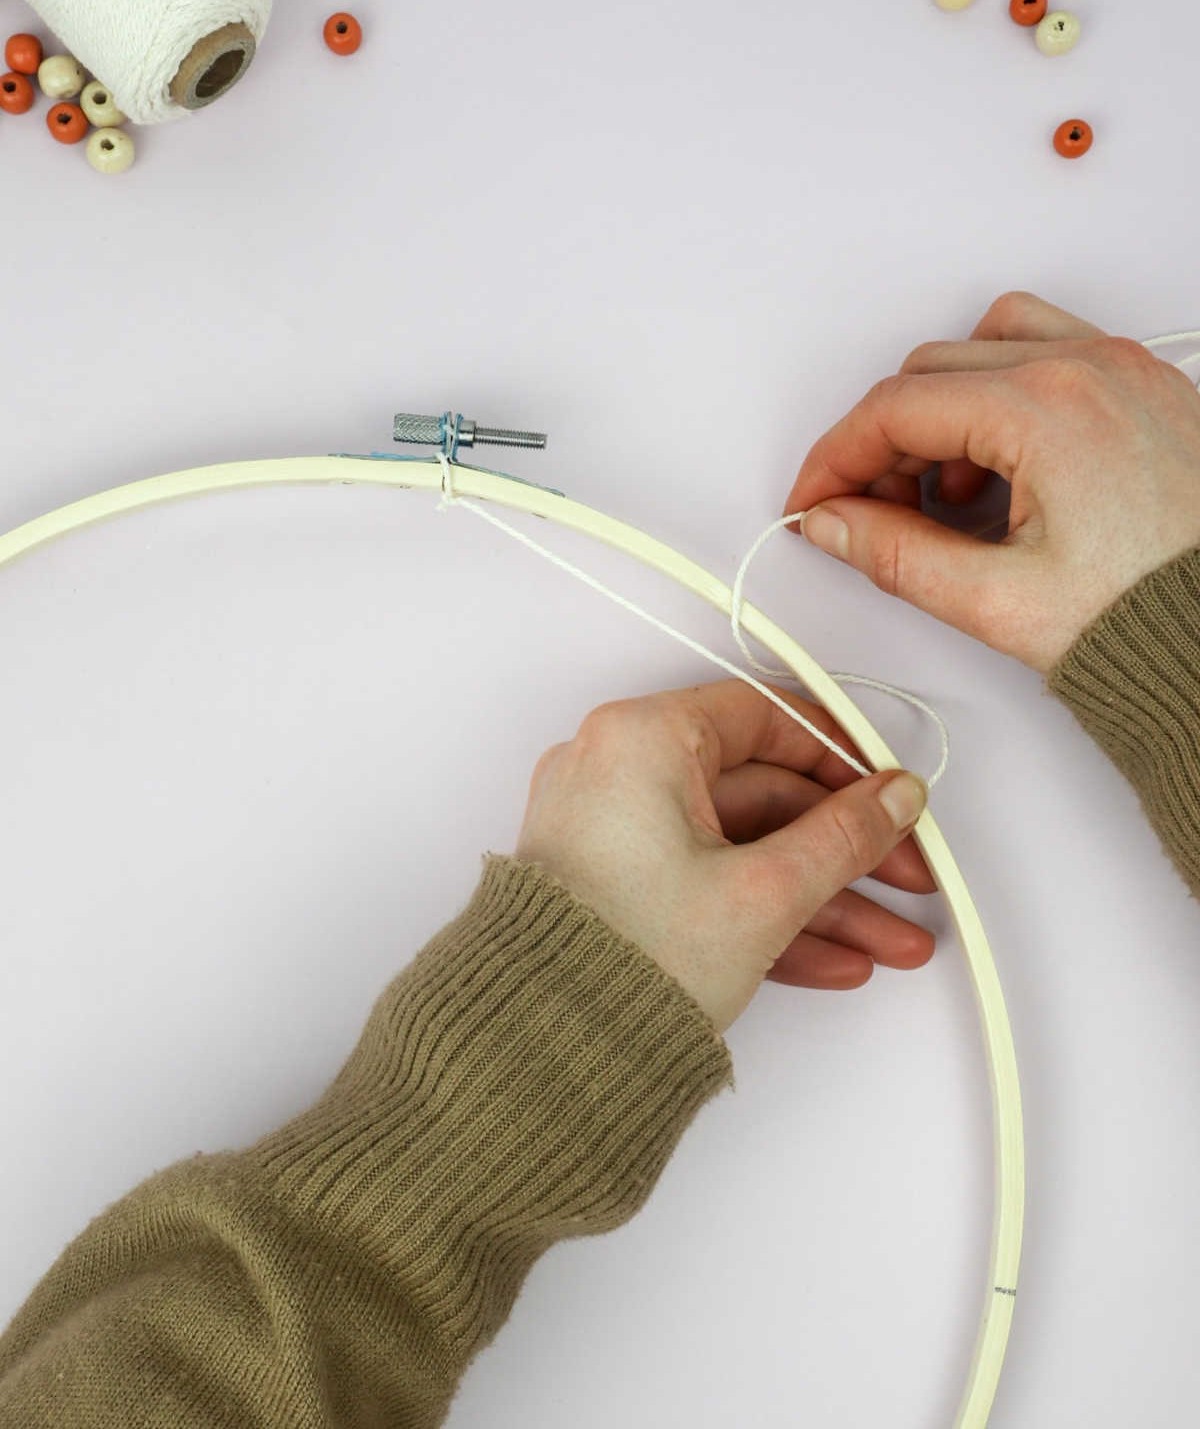
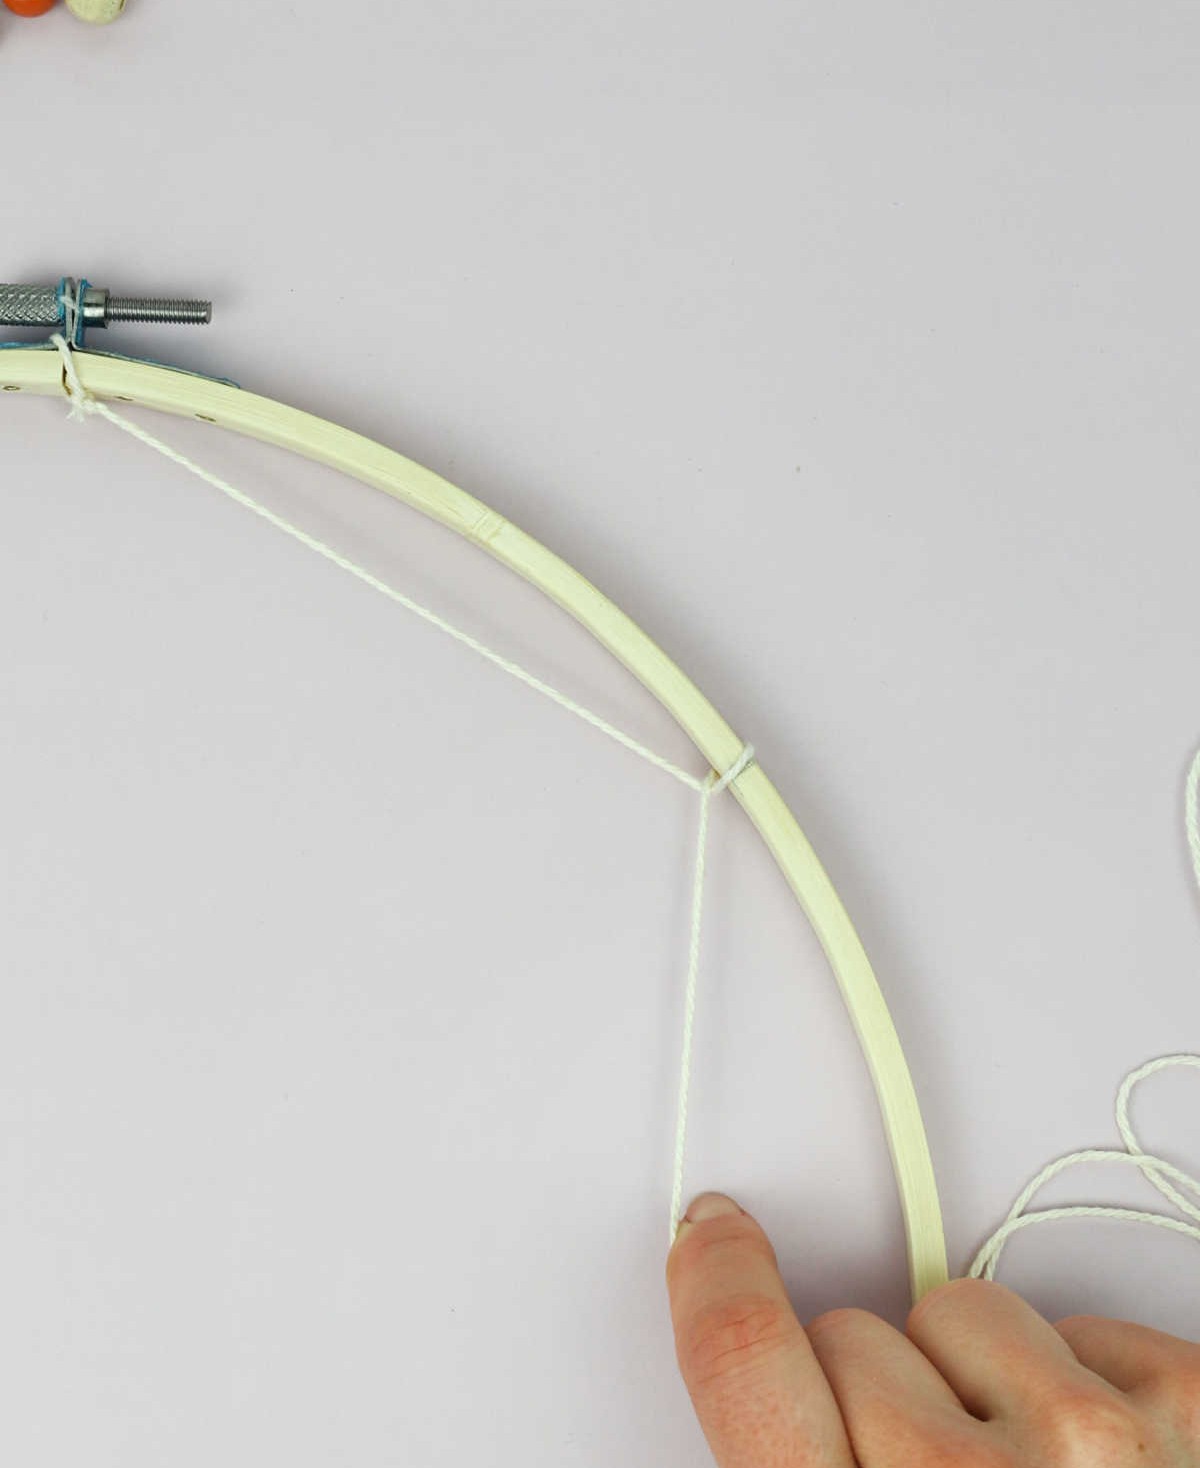
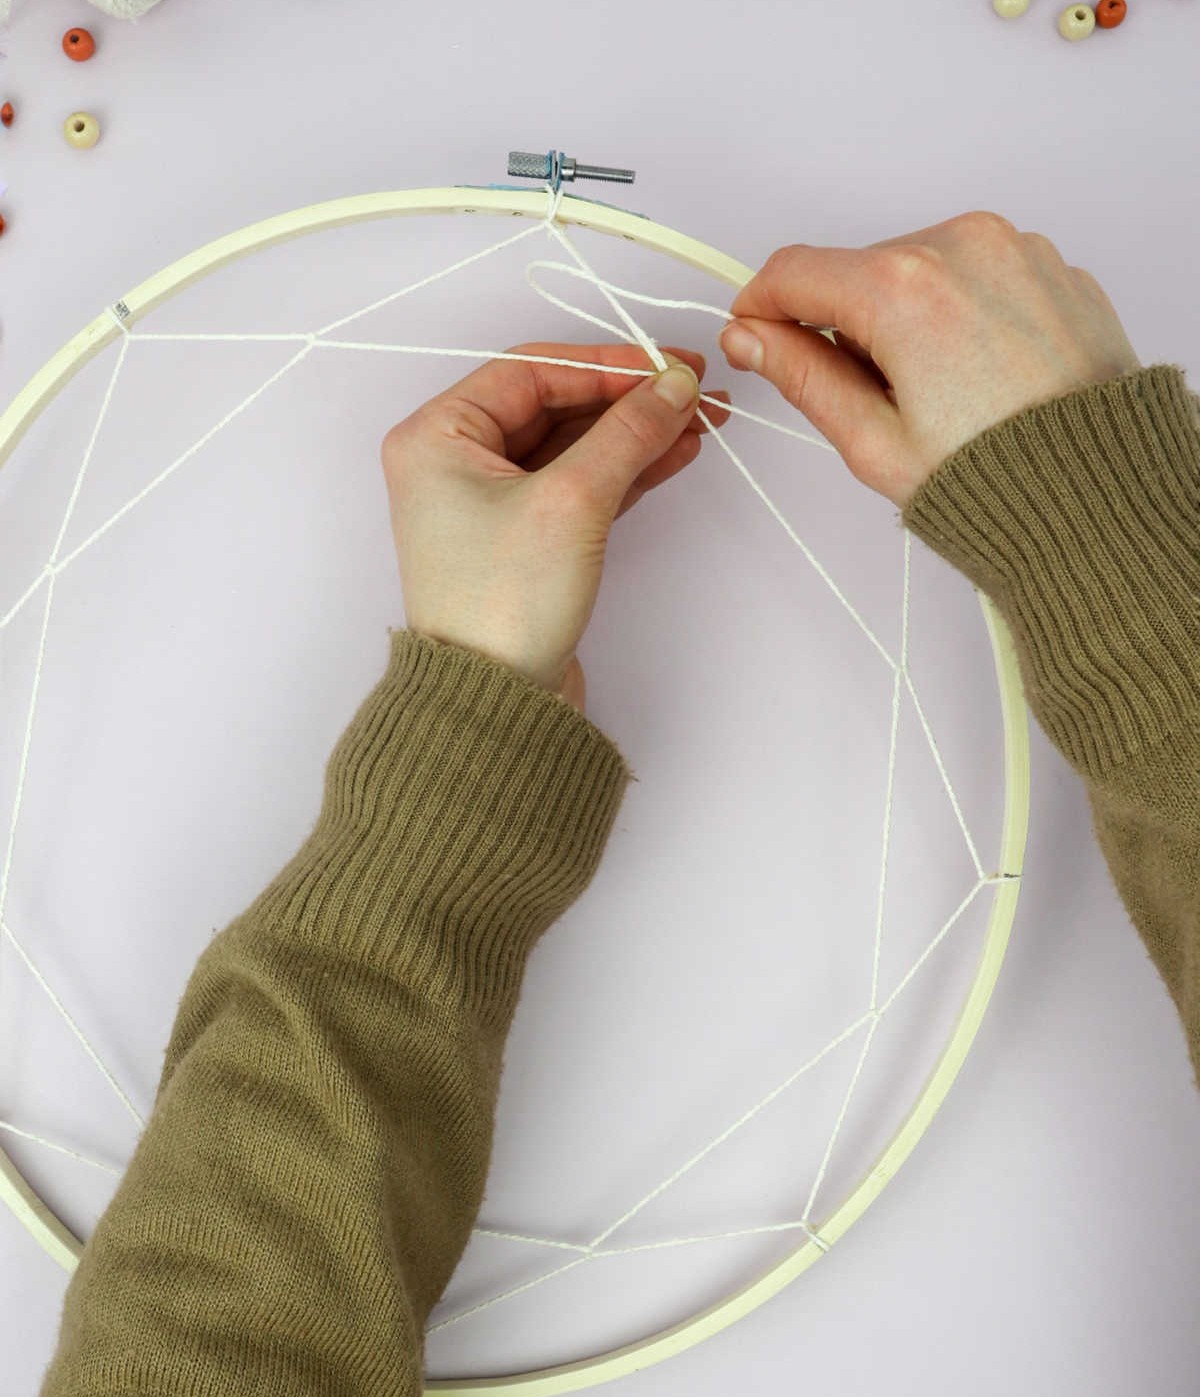
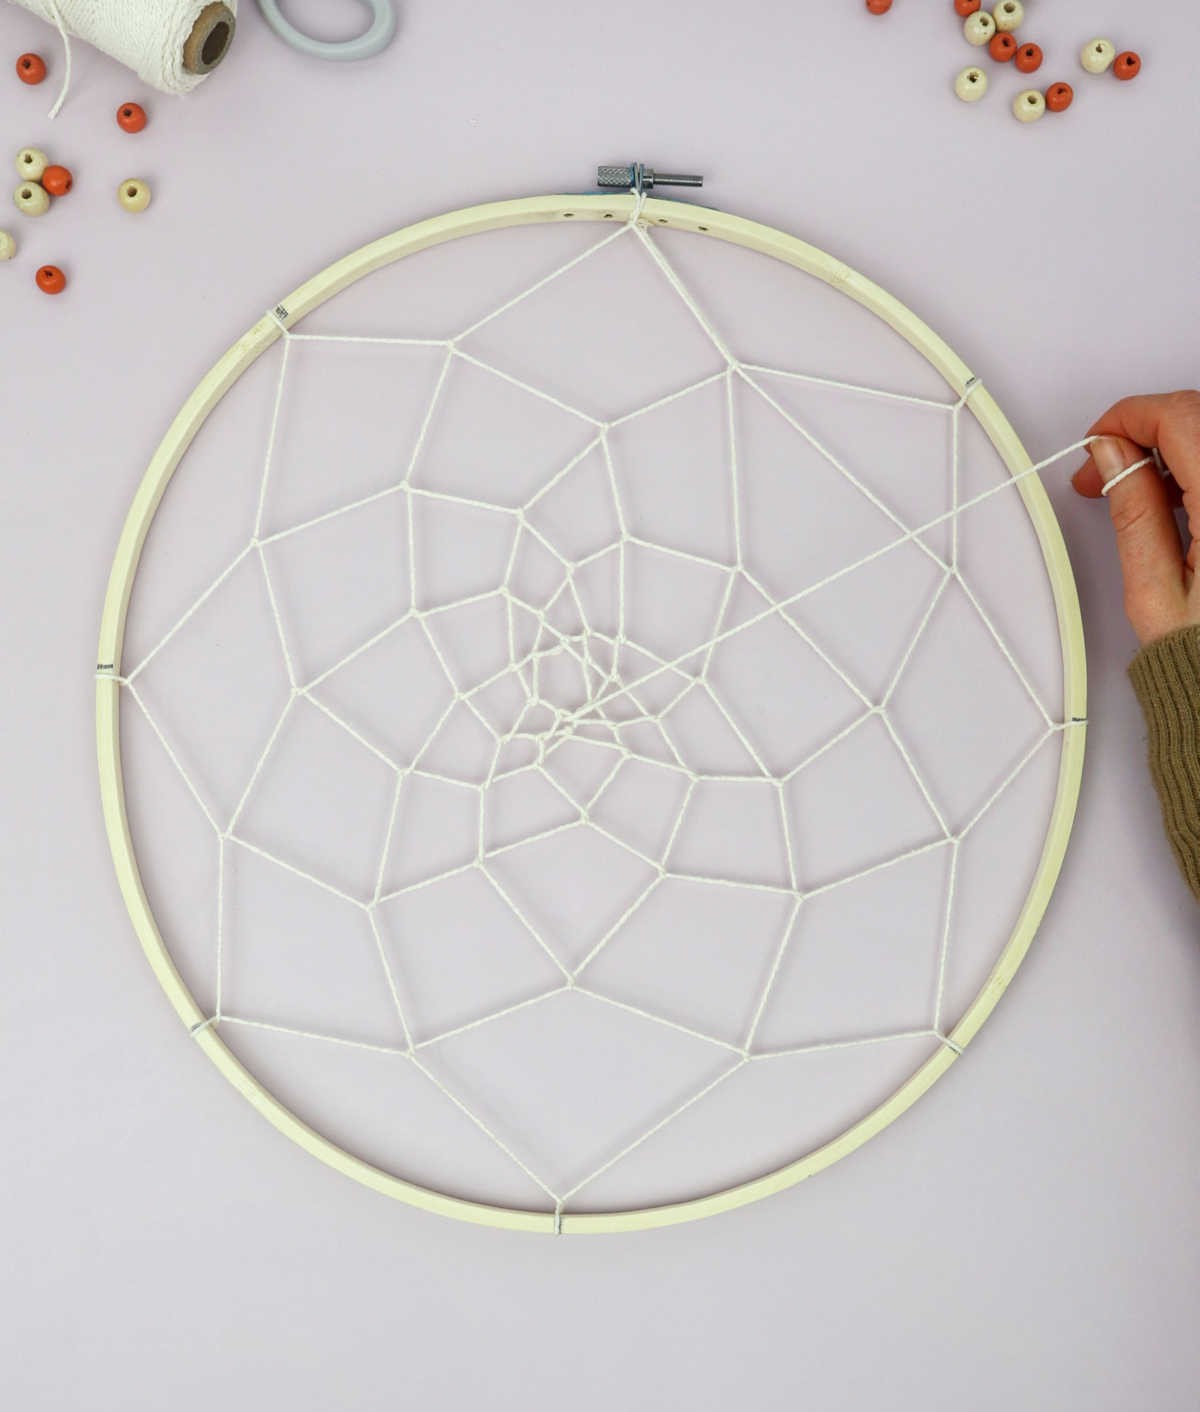
To advance the embroidery thread, carefully pull it towards the next pointer on the hoop or frame. To complete the loop, utilize your dominant hand while holding the ring steady with your other hand. This technique can help prevent any slippage and ensure a smooth, even stitch.
Step 5
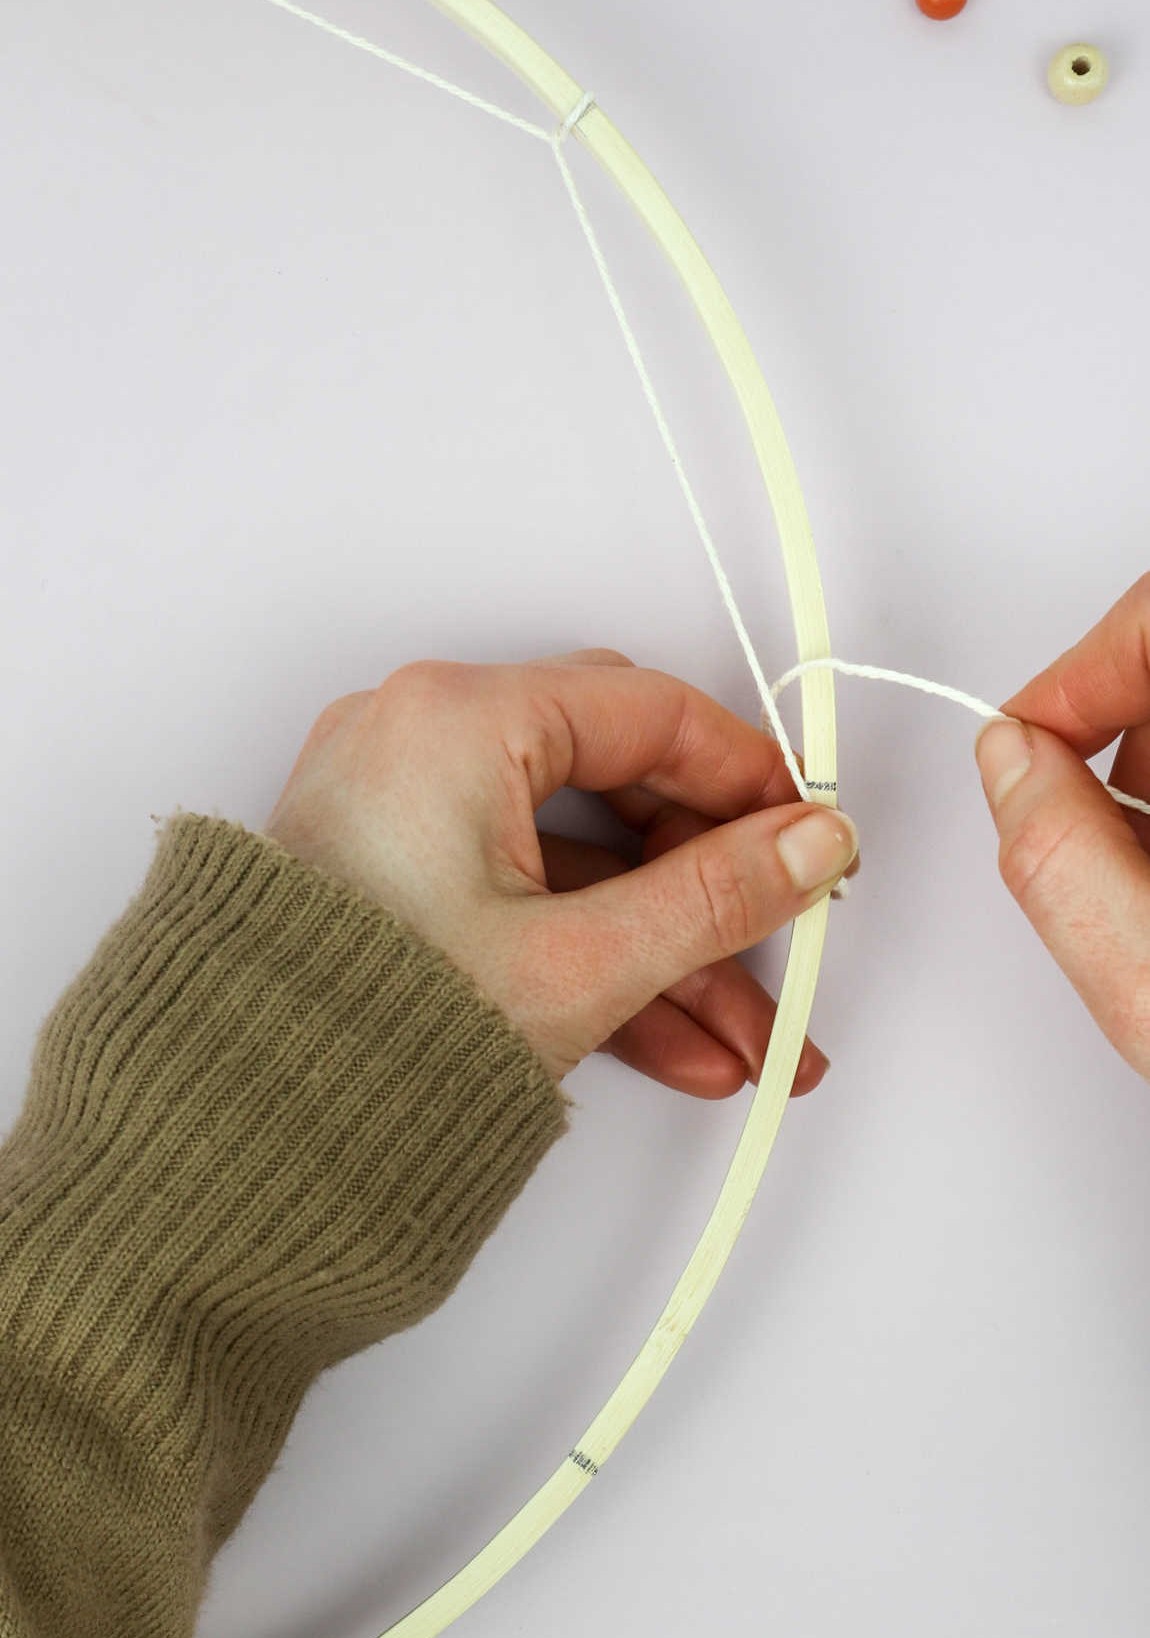
As you navigate the embroidery process, focus on creating a circular motion by working your way around the ring. To achieve this, loop the thread over each pointer until you complete one full circle. It’s essential to maintain tension on the floss to prevent it from shifting excessively and instead keep it taut and secure throughout the stitching process.
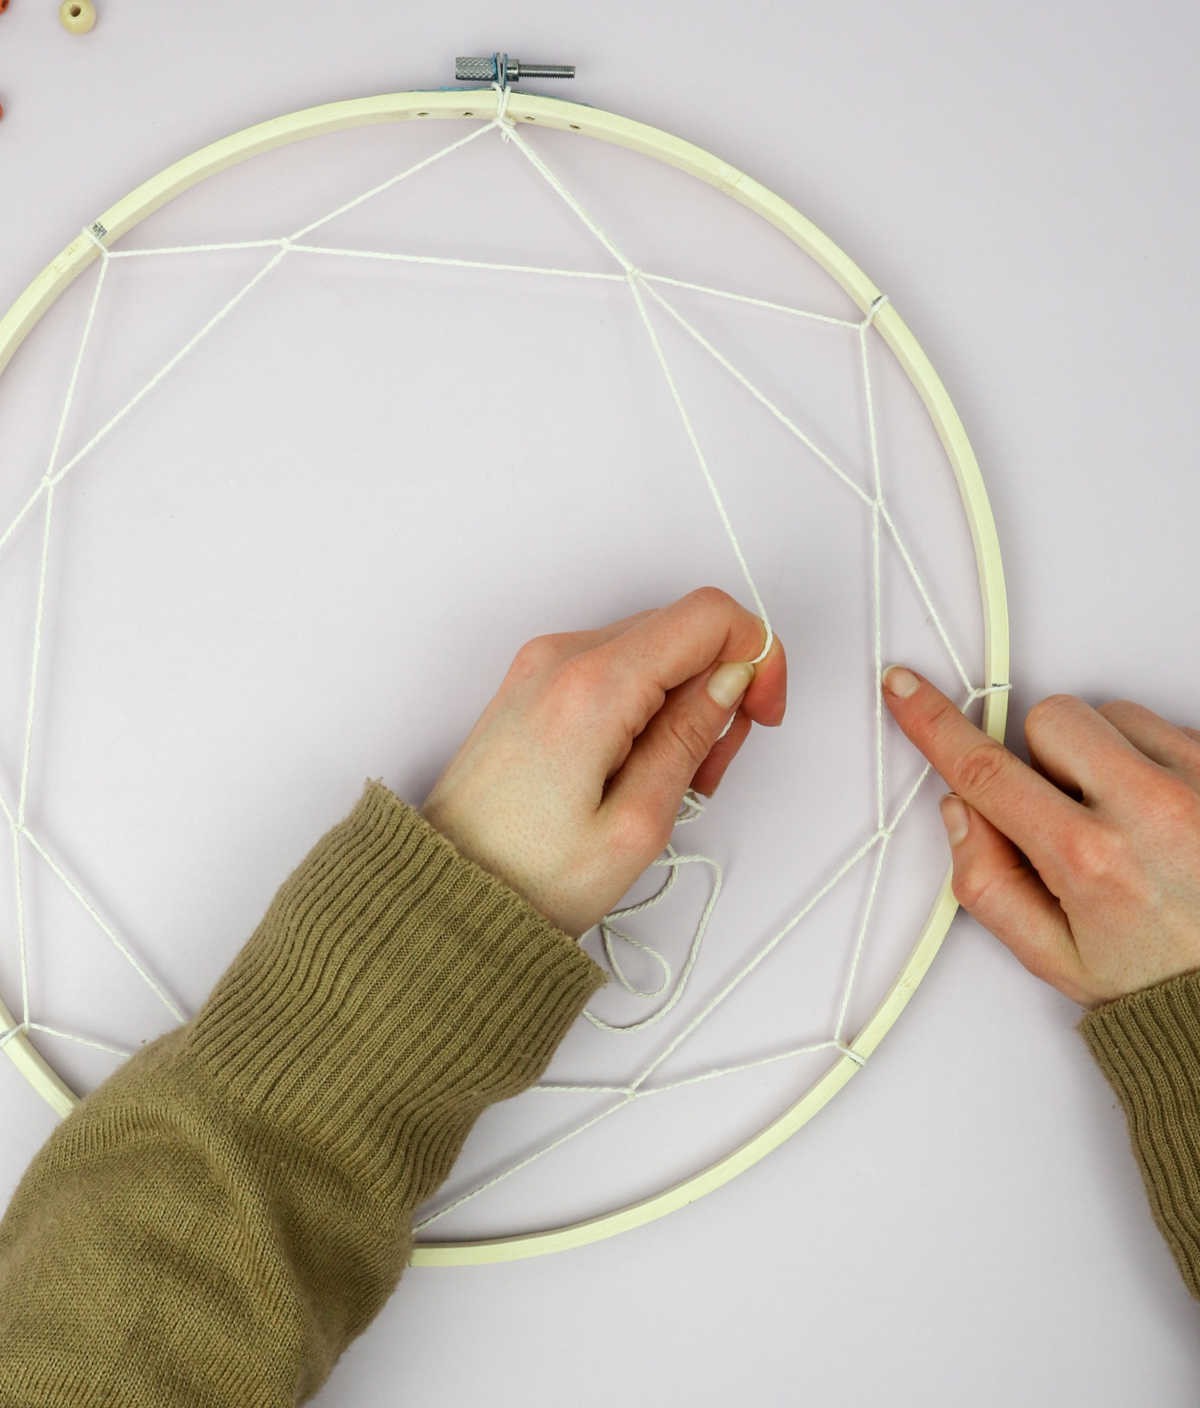
Step 6
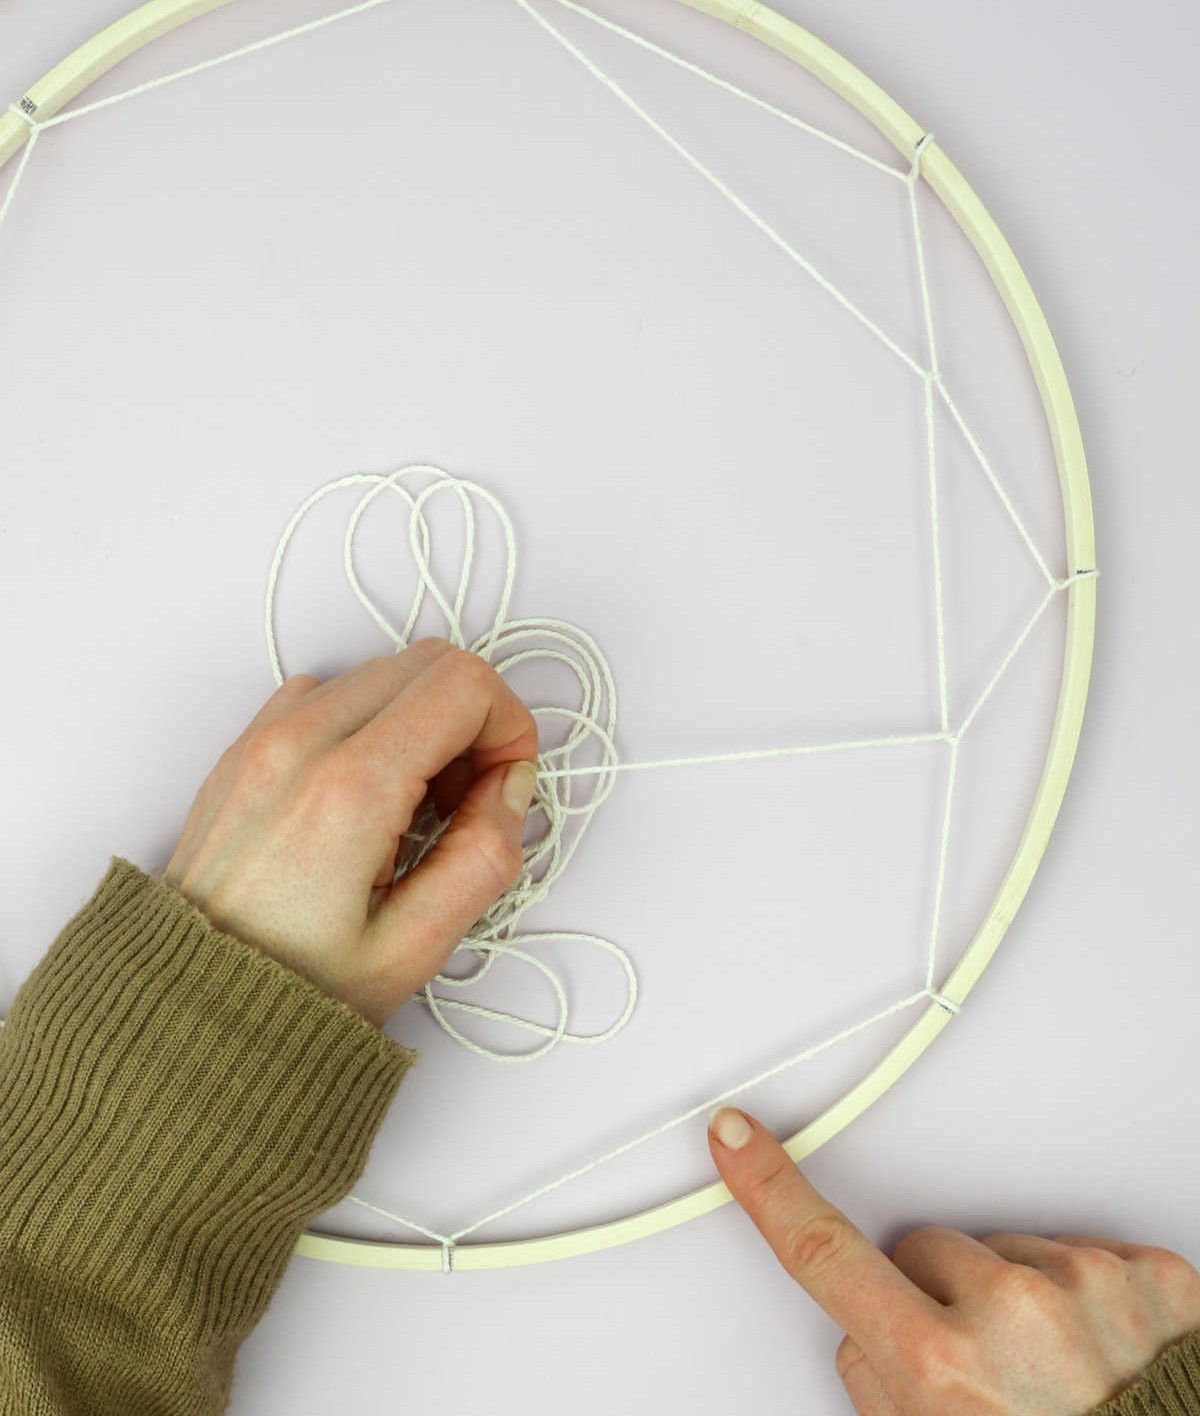
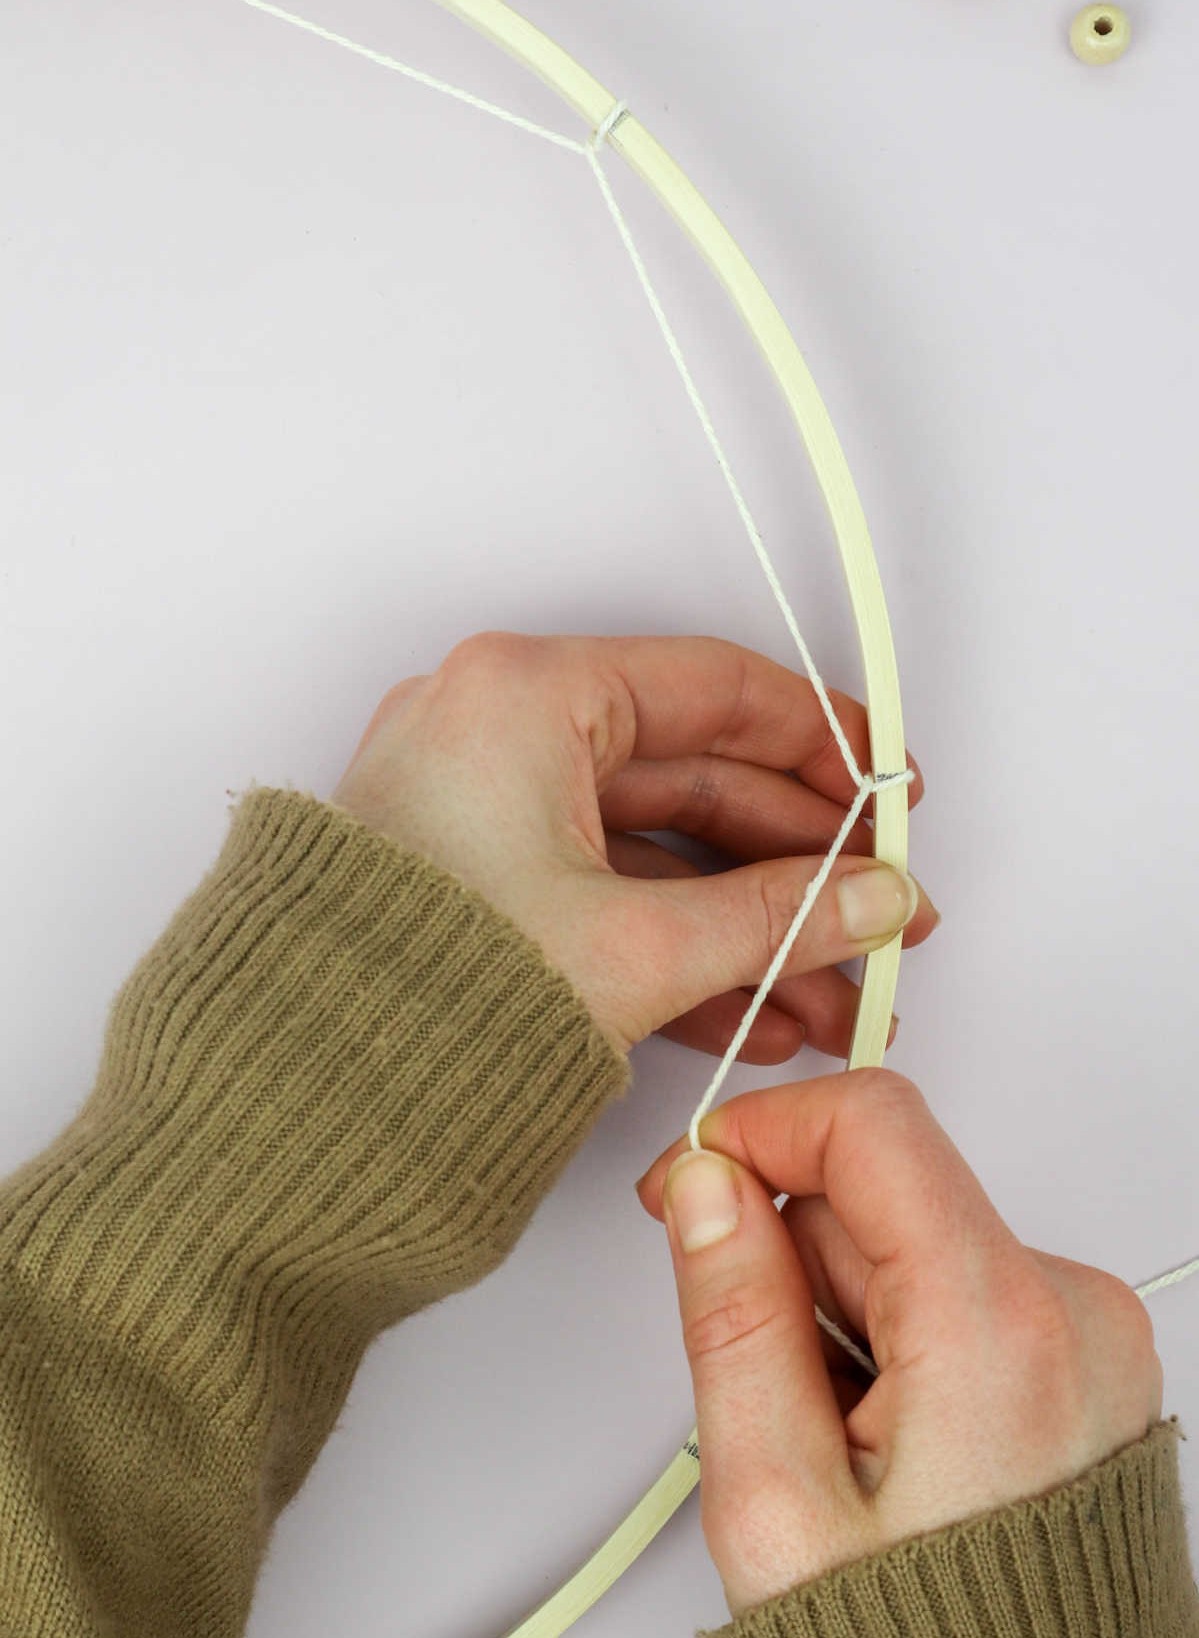
To complete the next round, you’ll need to manipulate the thread in a different way. Instead of circling the ring, guide the thread between its own loops to create an intricate pattern. Aim to center each loop as accurately as possible to achieve symmetry and visual appeal.
Step 7
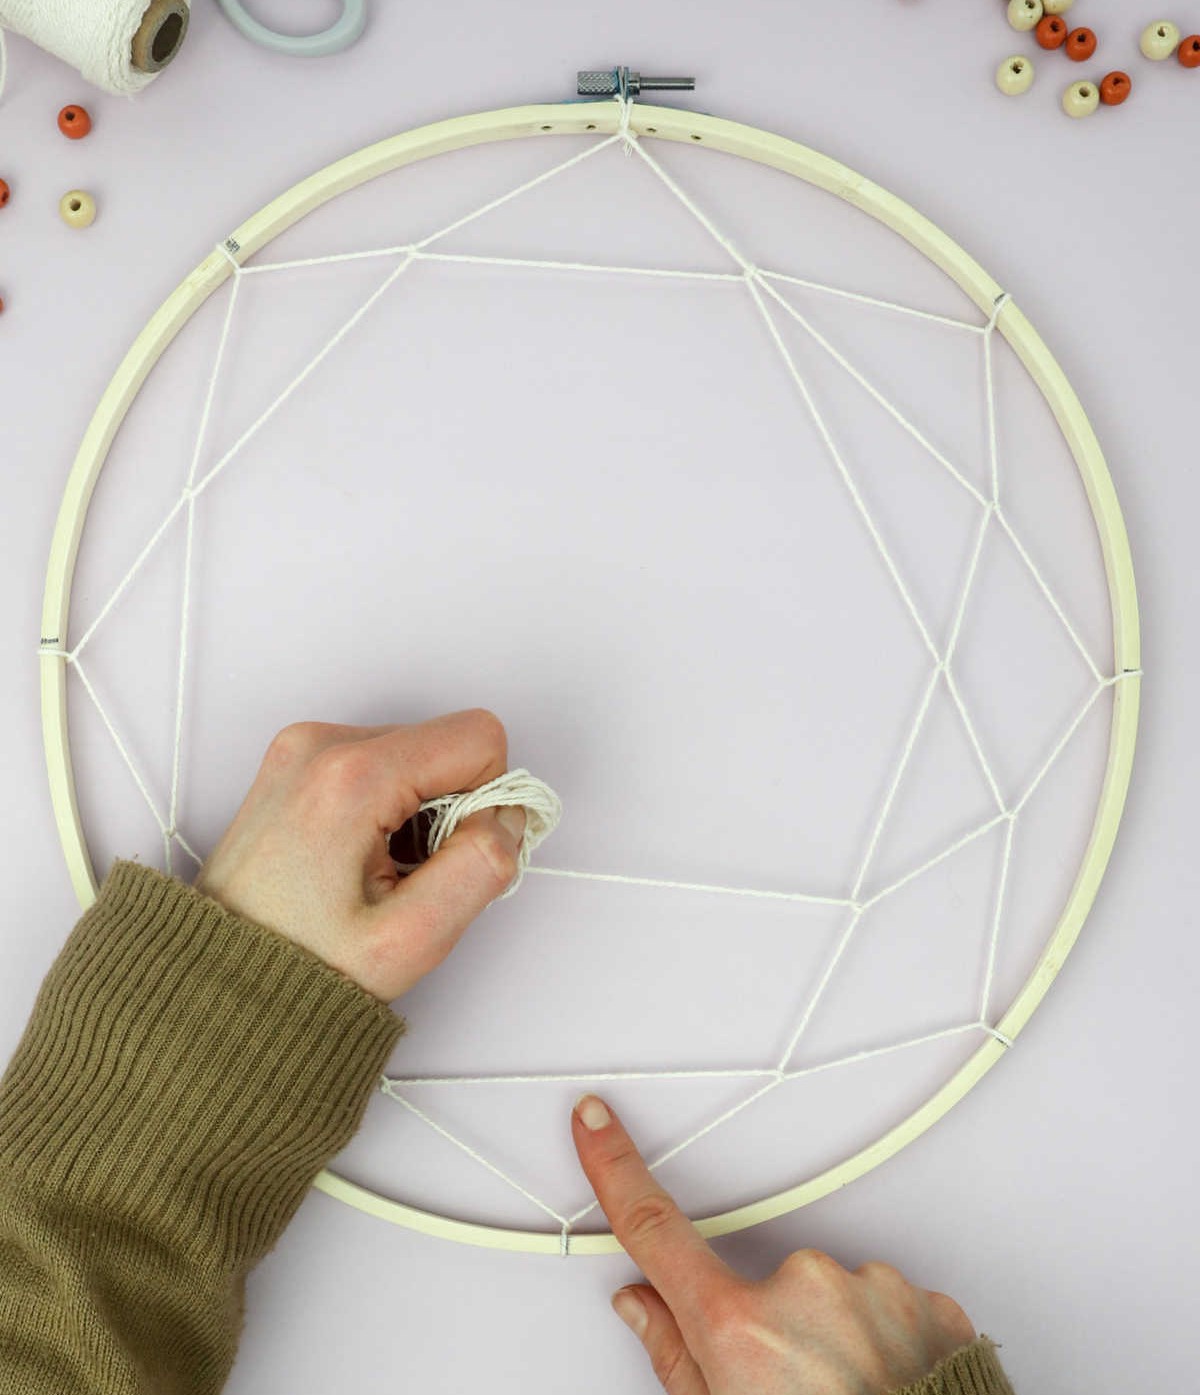
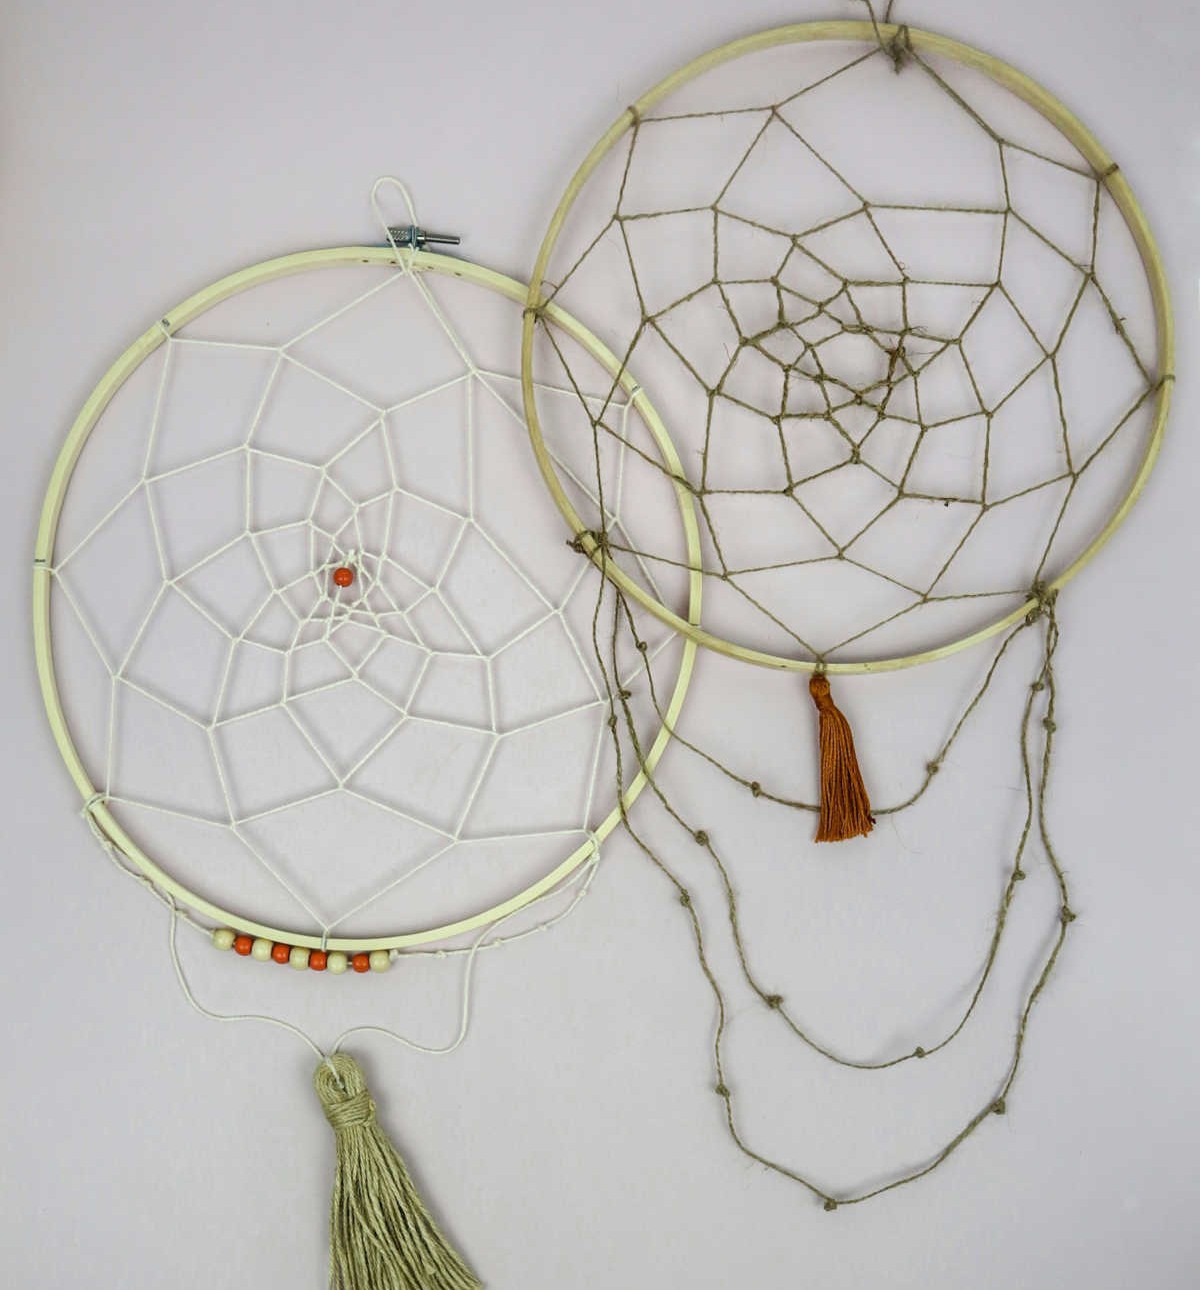
As you progress to the third iteration of the thread wrap process, maintain the tightness by keeping it consistently taut. You have two options: either modify the color scheme or stick with what you’ve established thus far.
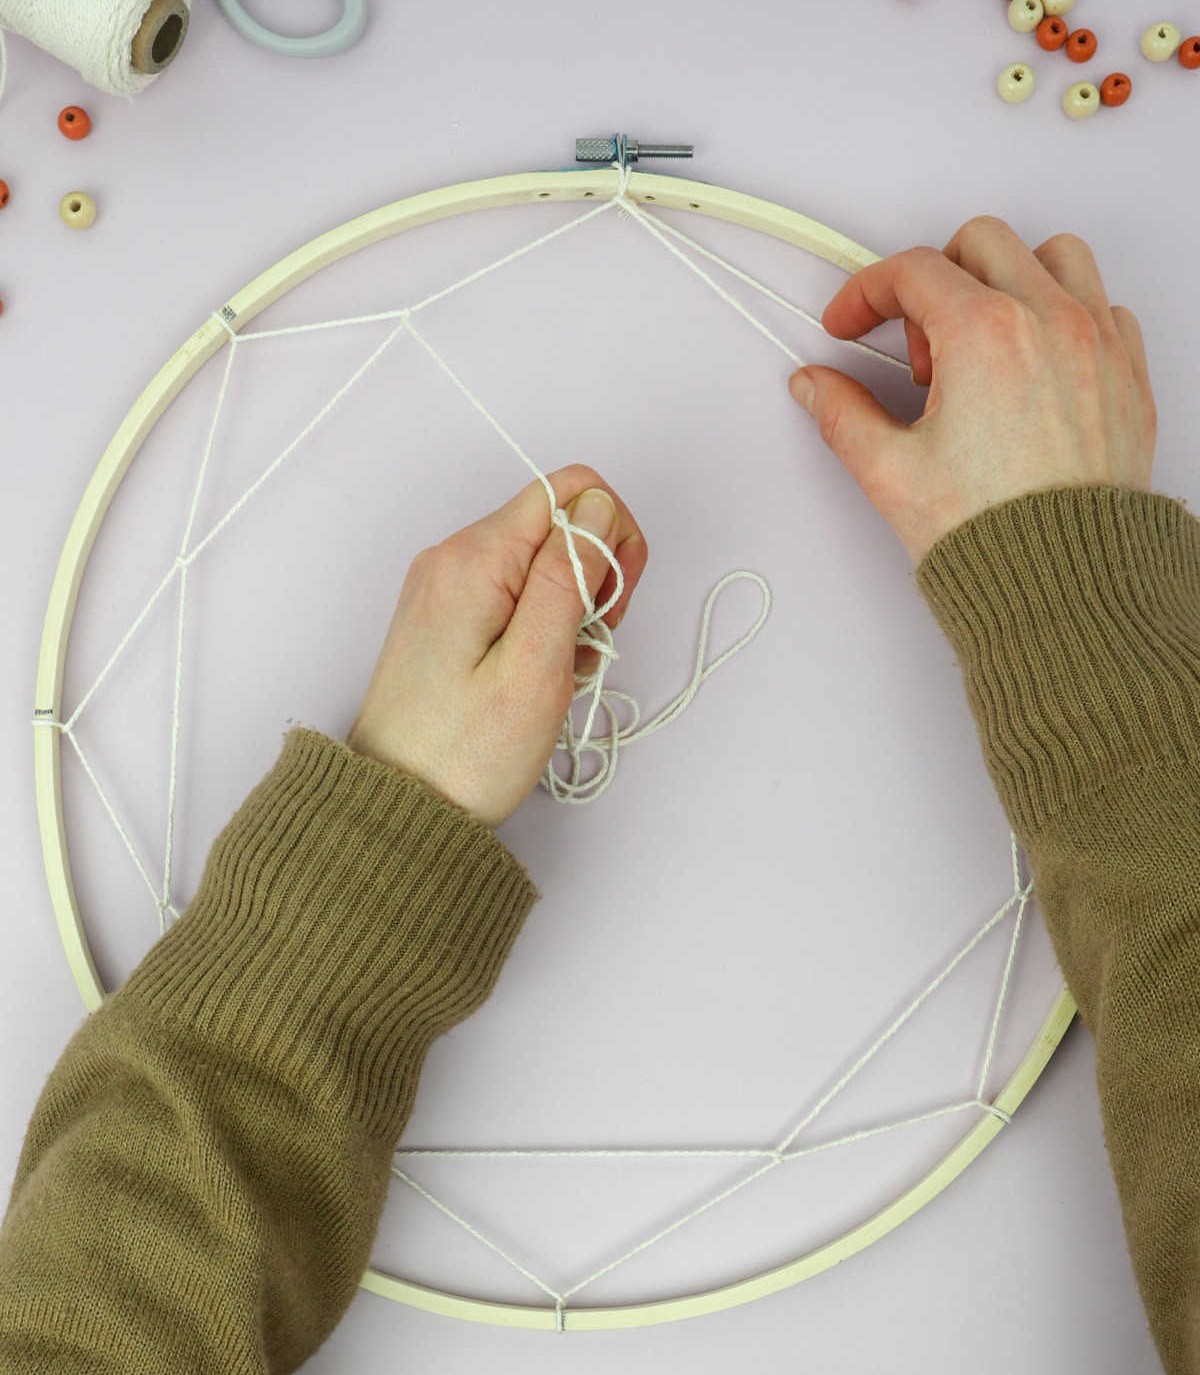
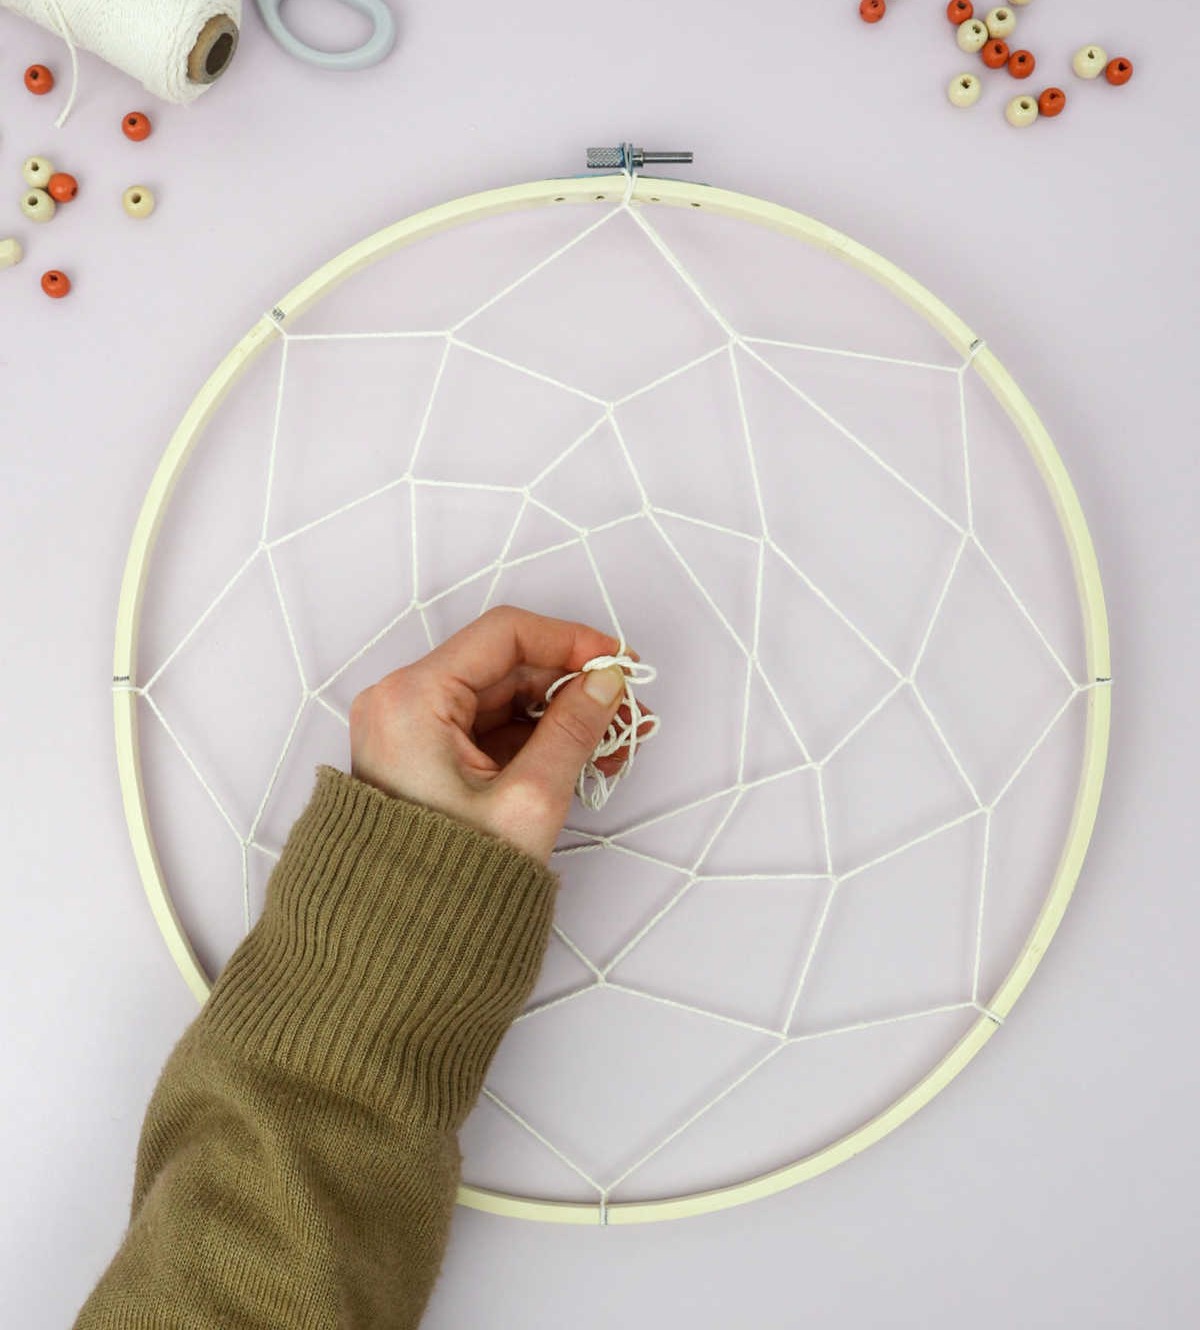
Step 8
As you near the completion of winding and looping the thread throughout the entire frame, a significant development becomes apparent – your pattern begins to contract in size. Once you’ve reached the desired proximity to the center, it’s then time to bring everything to a close by securing the thread with a knot.
Step 9
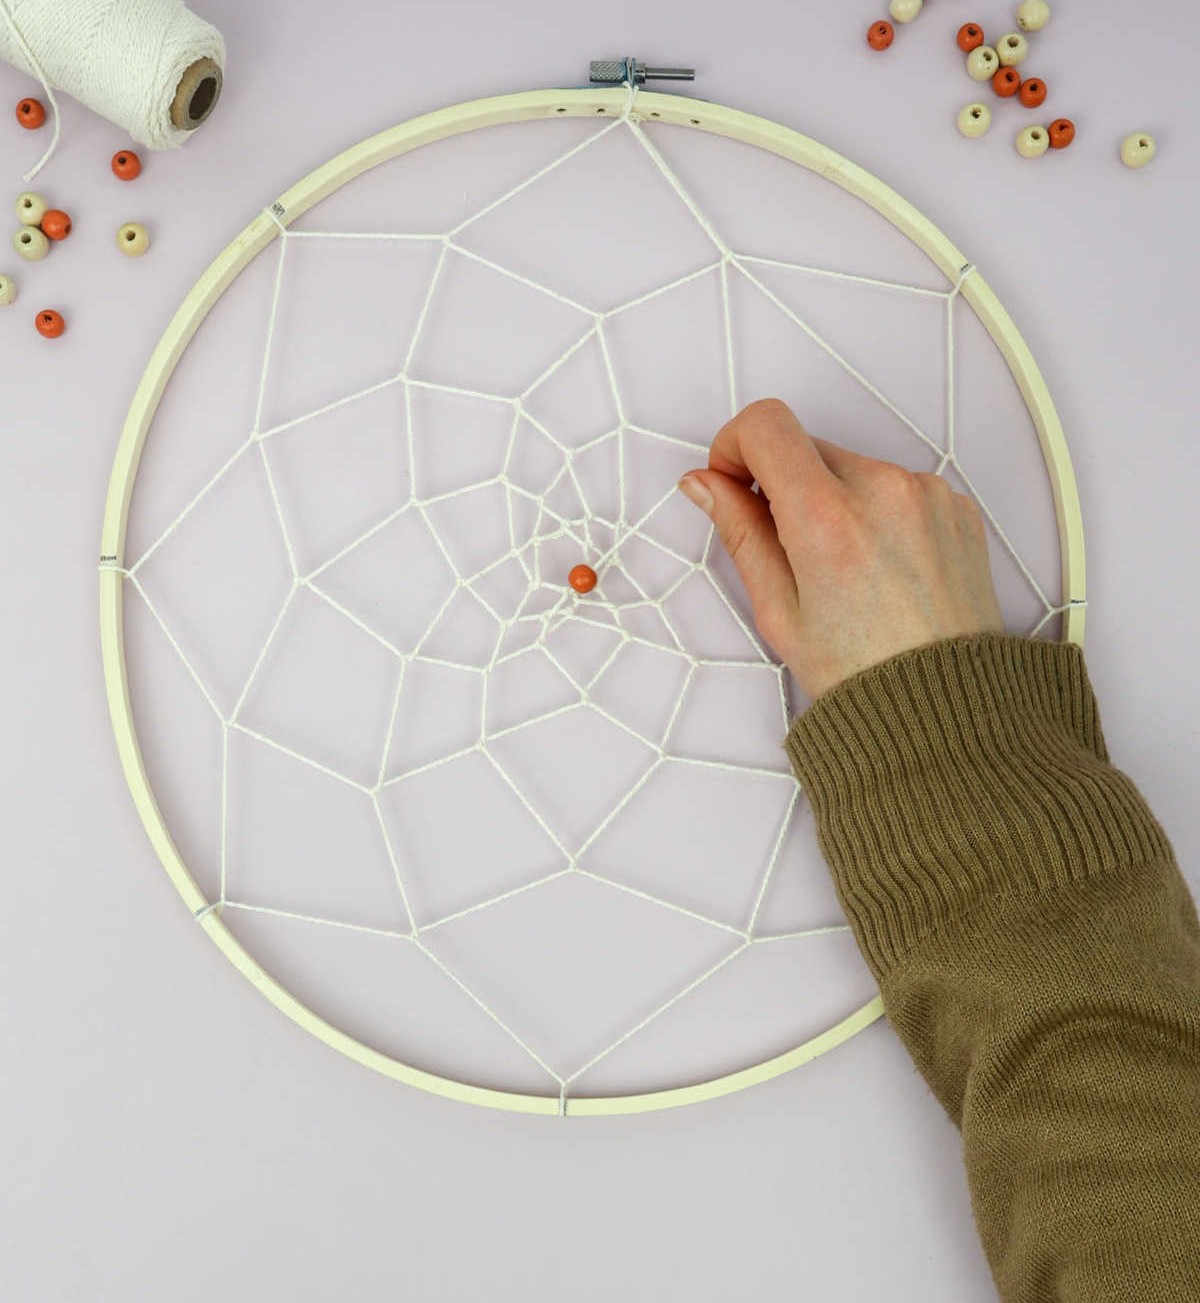
While it’s not a crucial step, adding a bead to your thread just prior to knotting it can be a game-changer. This simple trick helps ensure that the knot remains tight and secure, eliminating any slack or looseness. By incorporating this minor detail, you’ll enjoy a more refined and polished final result.
Step 10

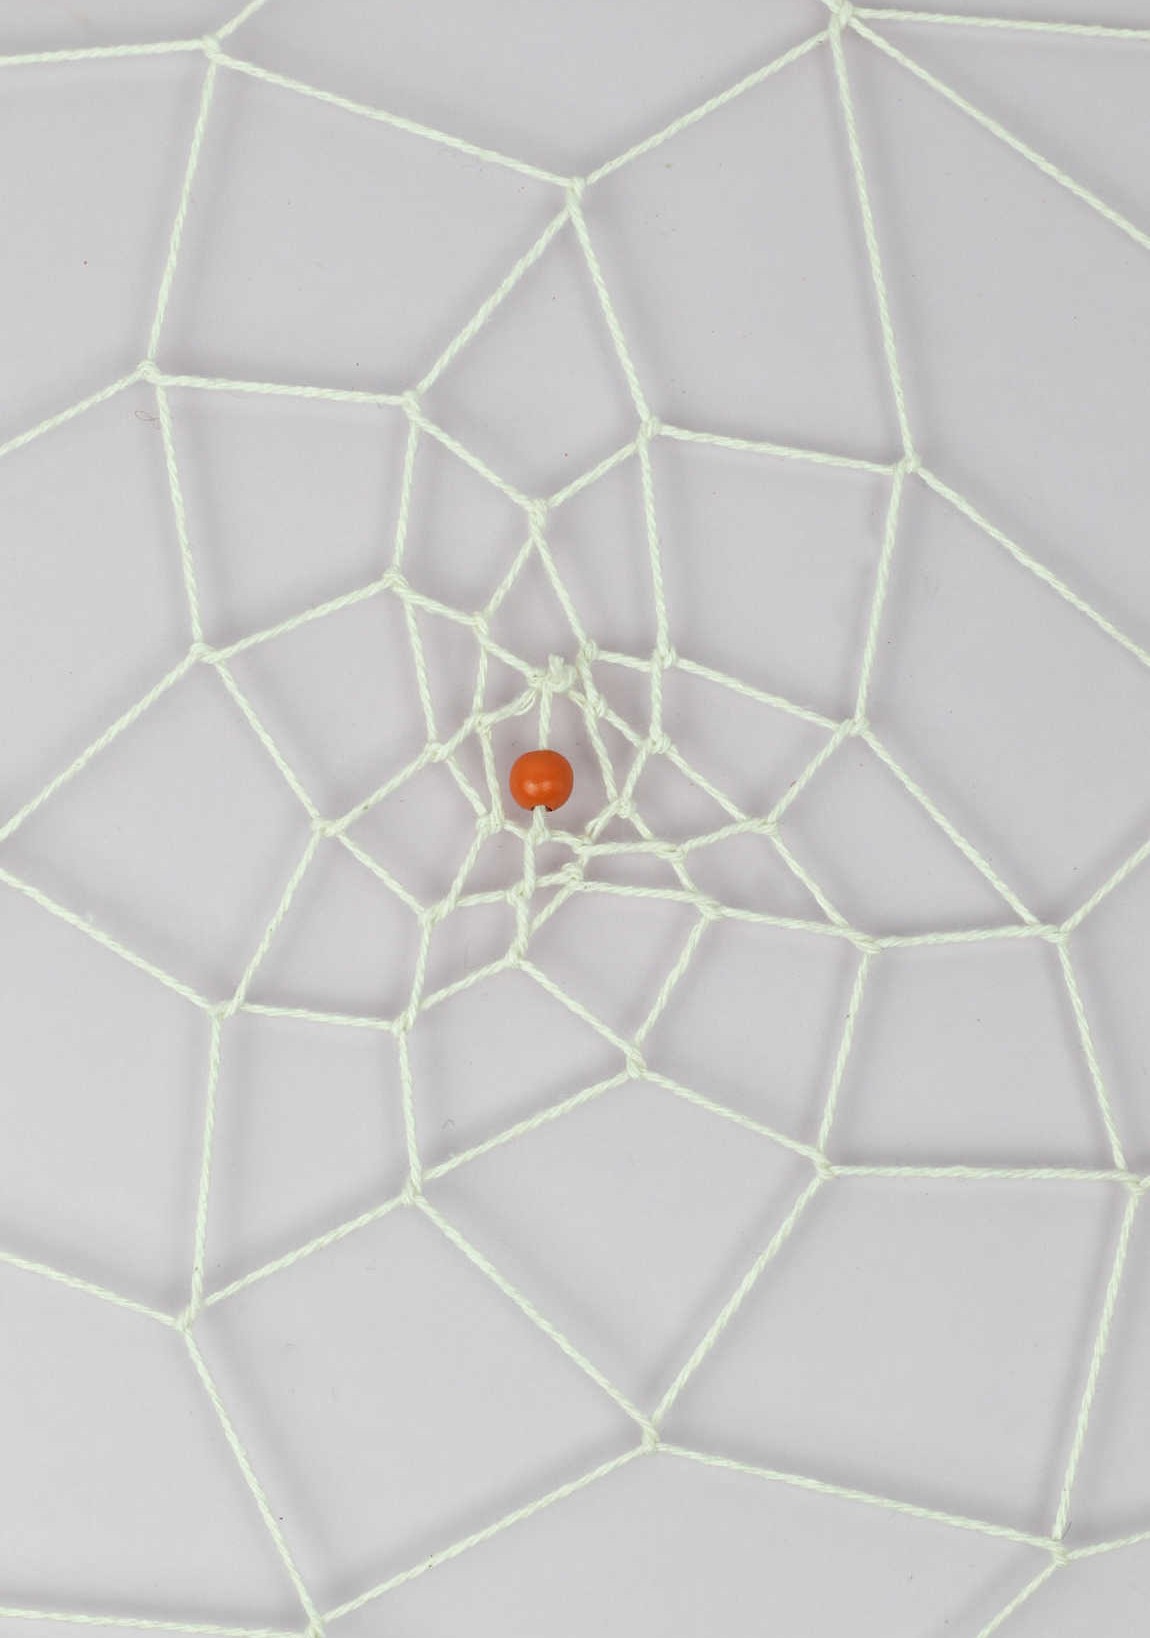
Once you’ve securely knotted the end of the thread, you have two options to tidy up the excess. You can simply snip off any remaining threads and discreetly tuck them into the surrounding beadwork. Alternatively, a small application of clear adhesive can be used to attach the loose ends to adjacent threads, ensuring a seamless finish.
Step 11
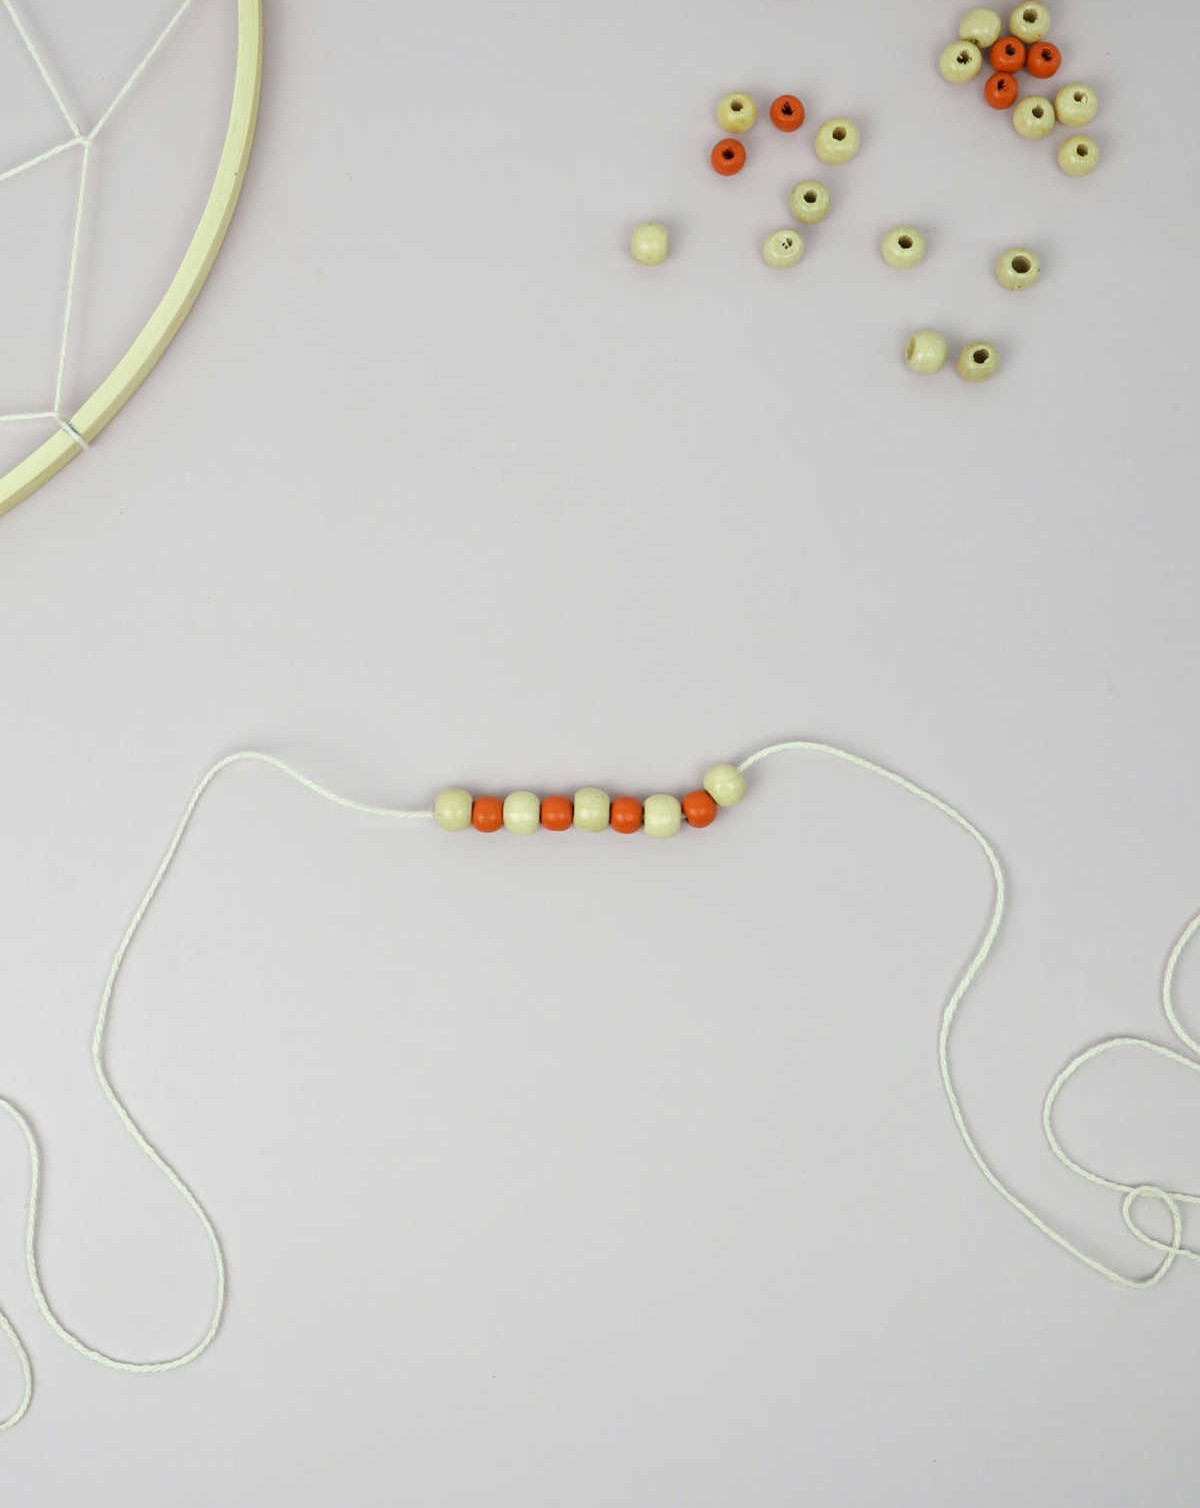
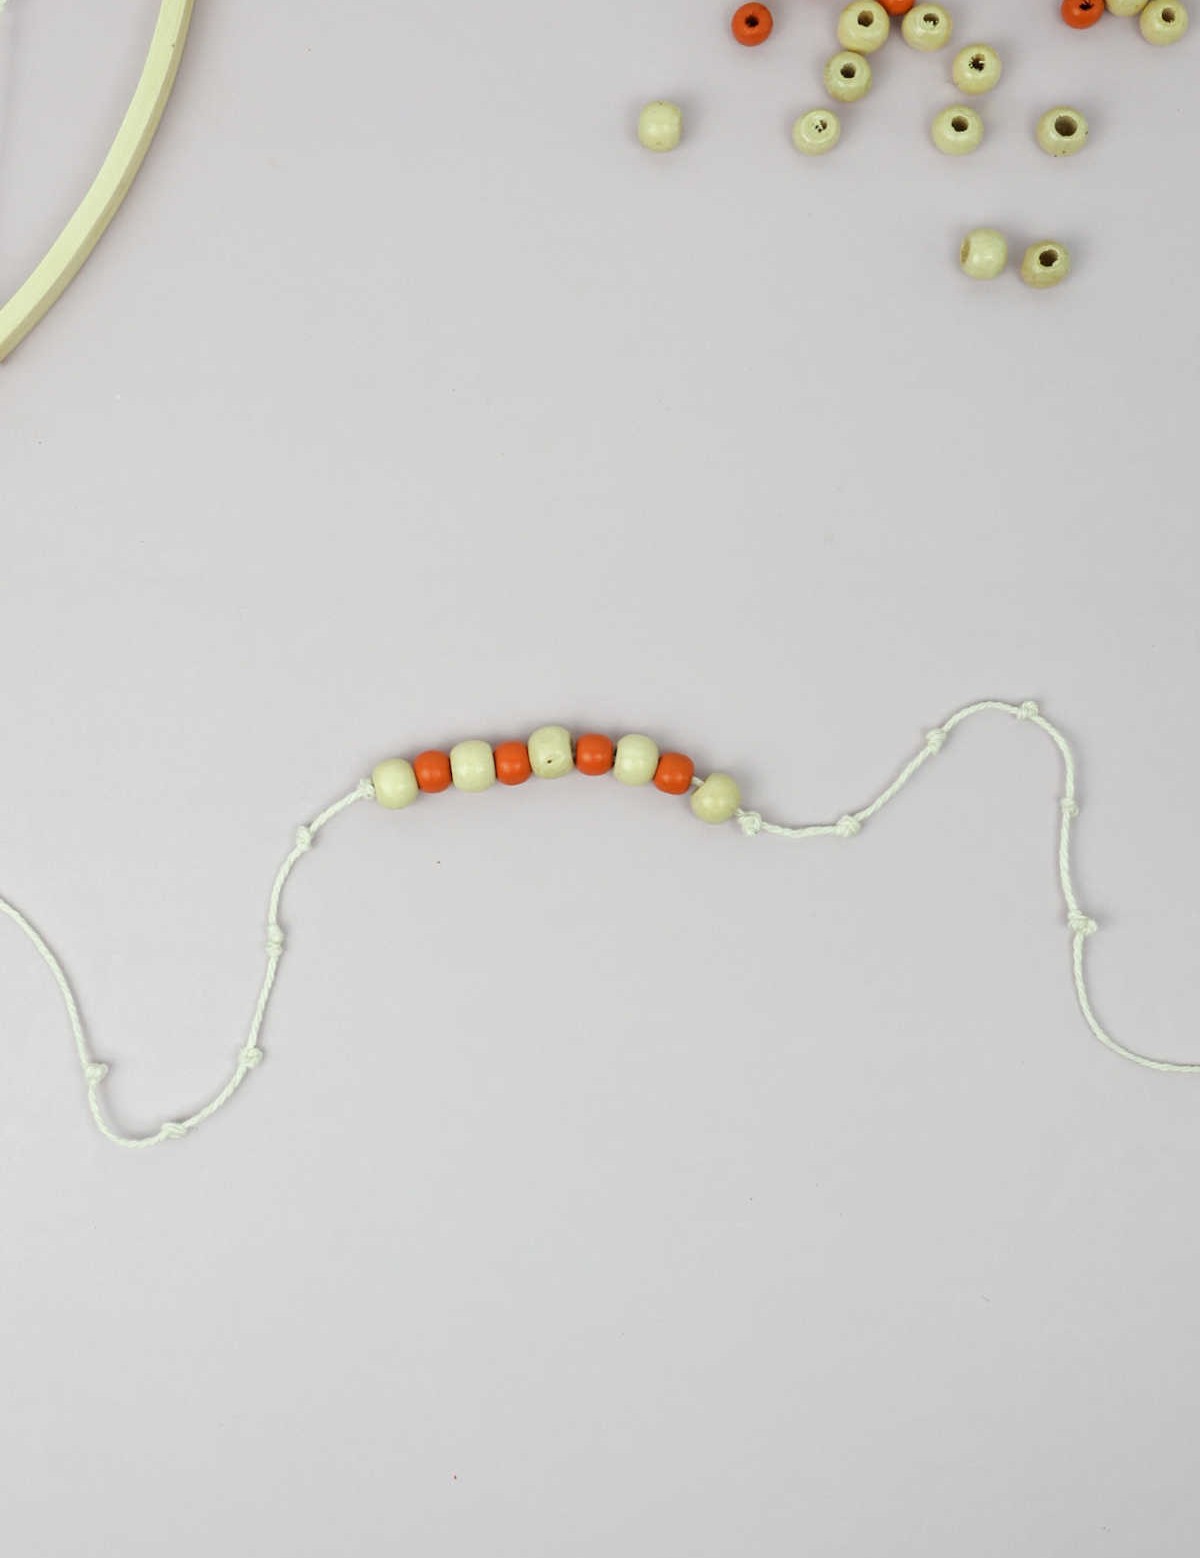
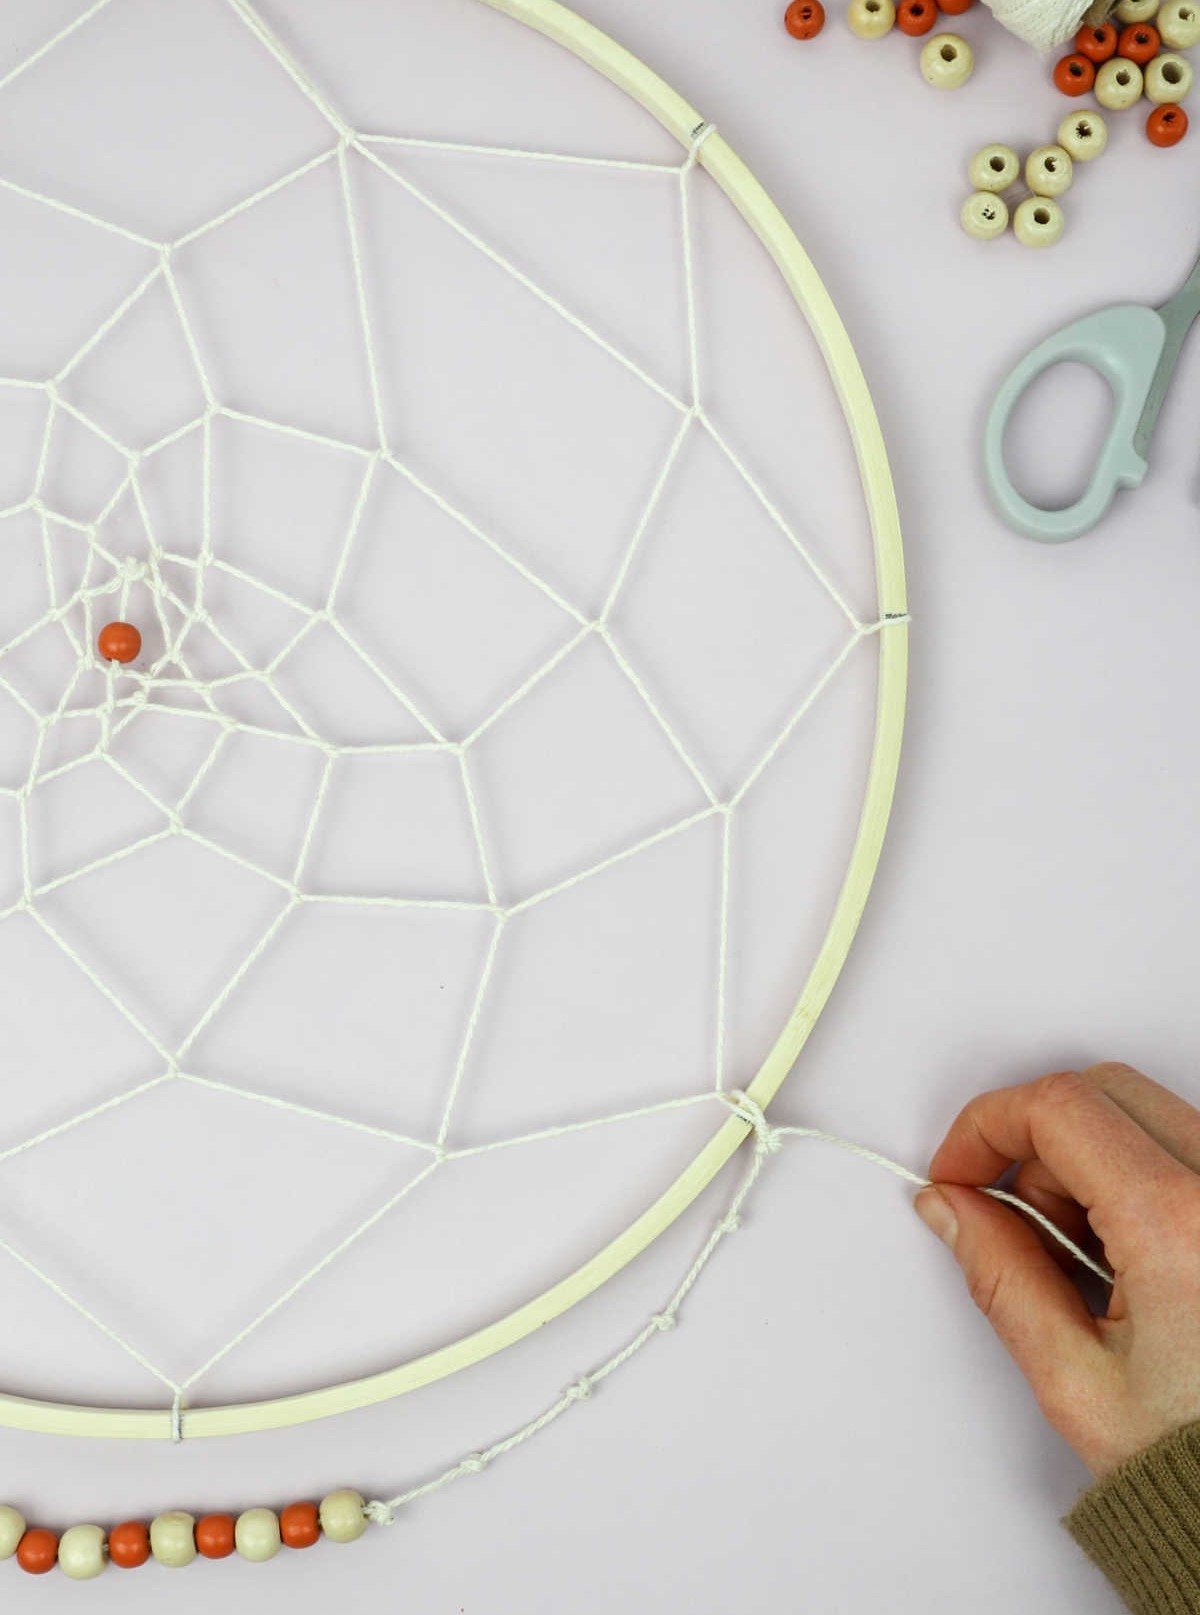

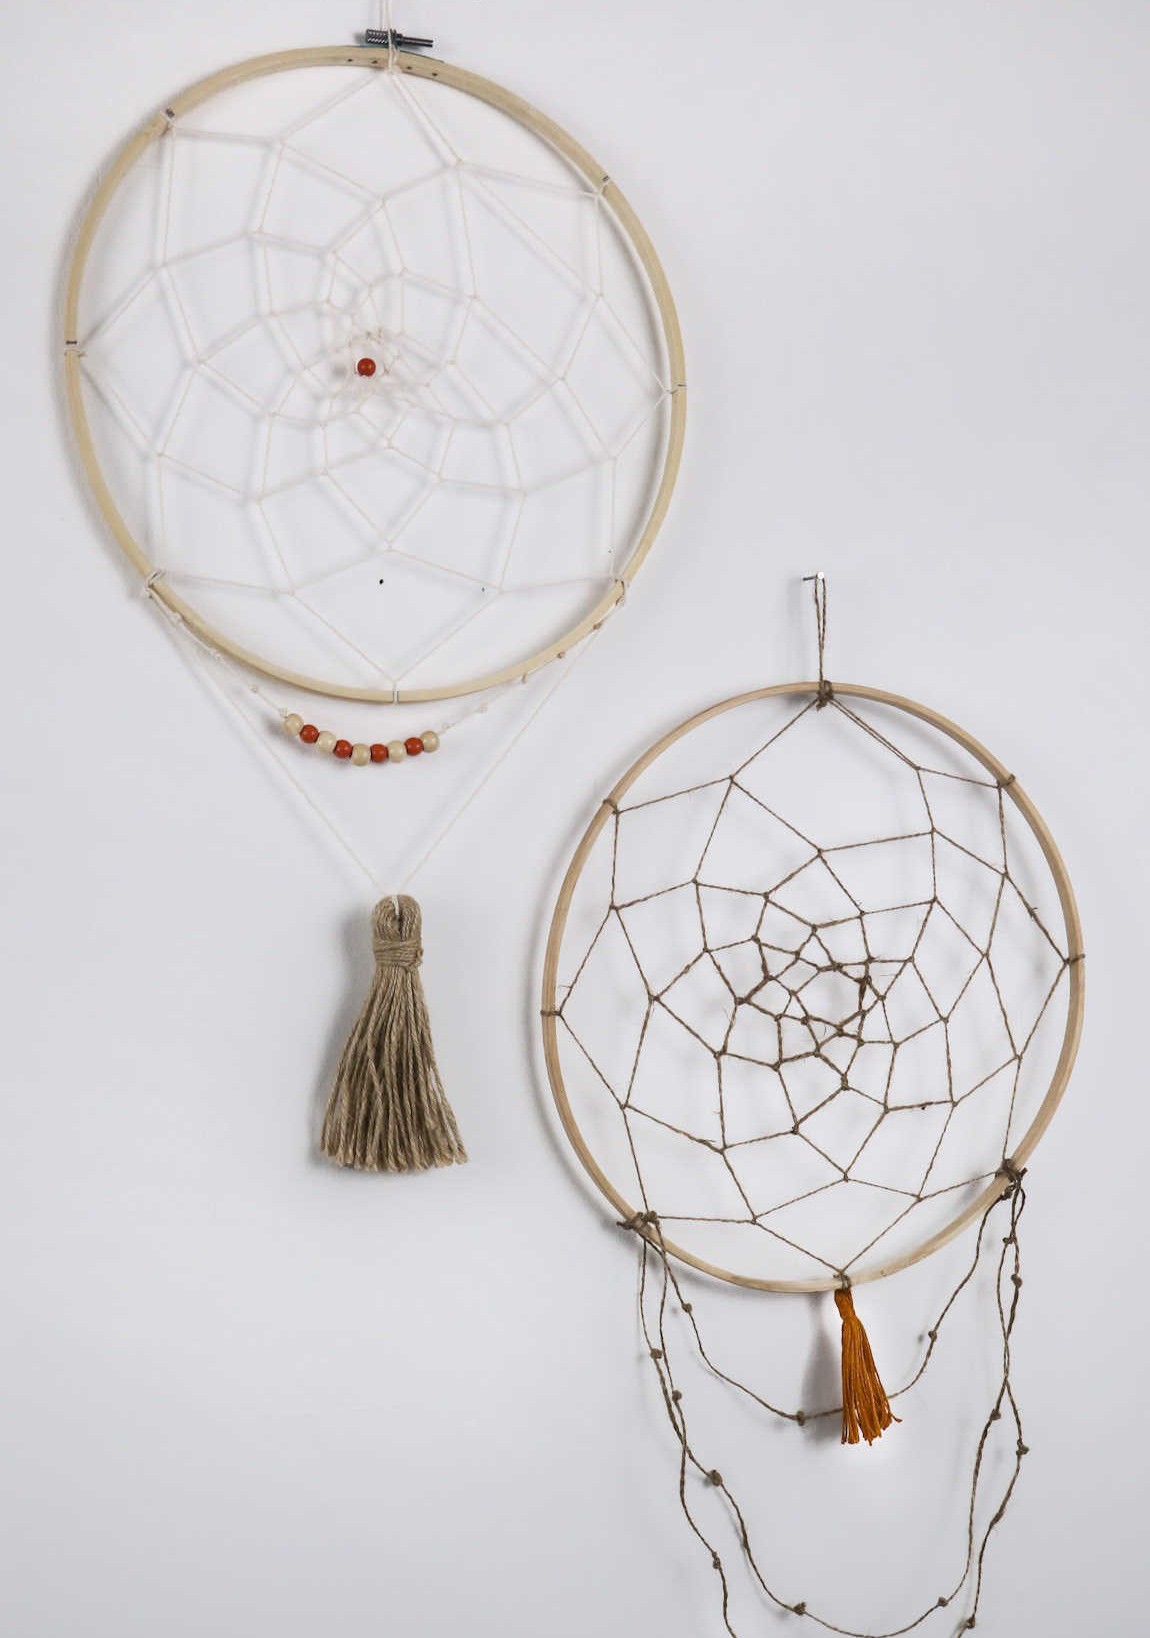
As you customize your DIY project with additional decorative elements like tassels, beads, or string, feel free to get creative with their design. When incorporating beads, be prepared to create multiple knots along the thread to secure them in place. To ensure they don’t come loose, tie the ends of the thread to the frame with a sturdy knot, as depicted below. Once you’ve finished adding decorative pieces, you can move on to any other embellishments you’d like to incorporate into your project.
Step 12
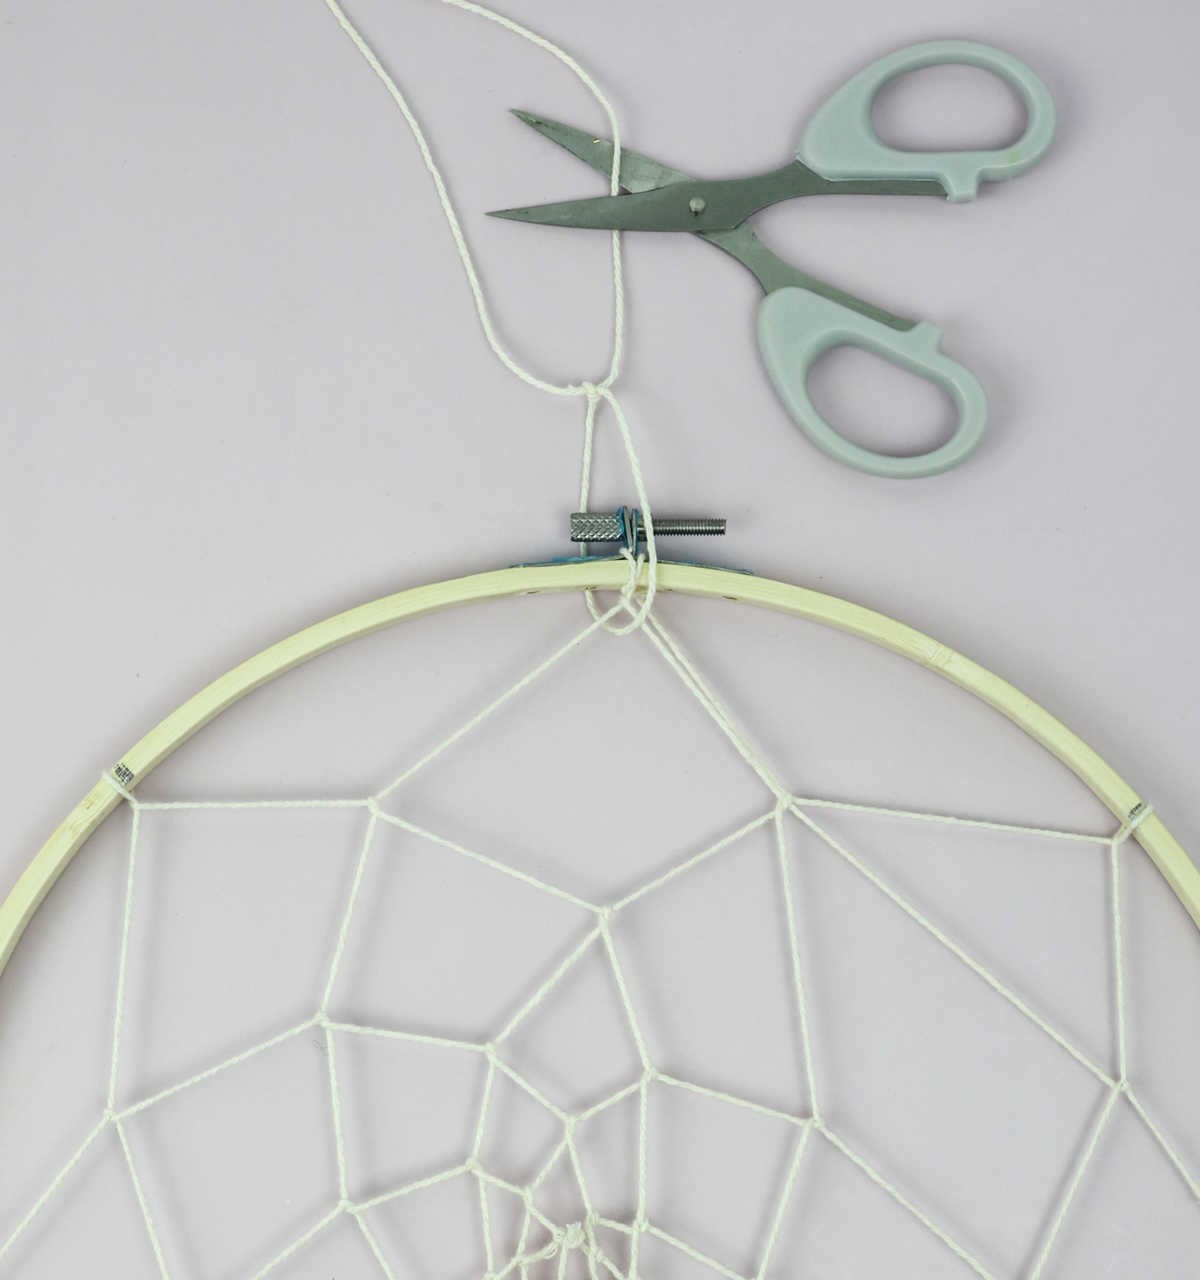
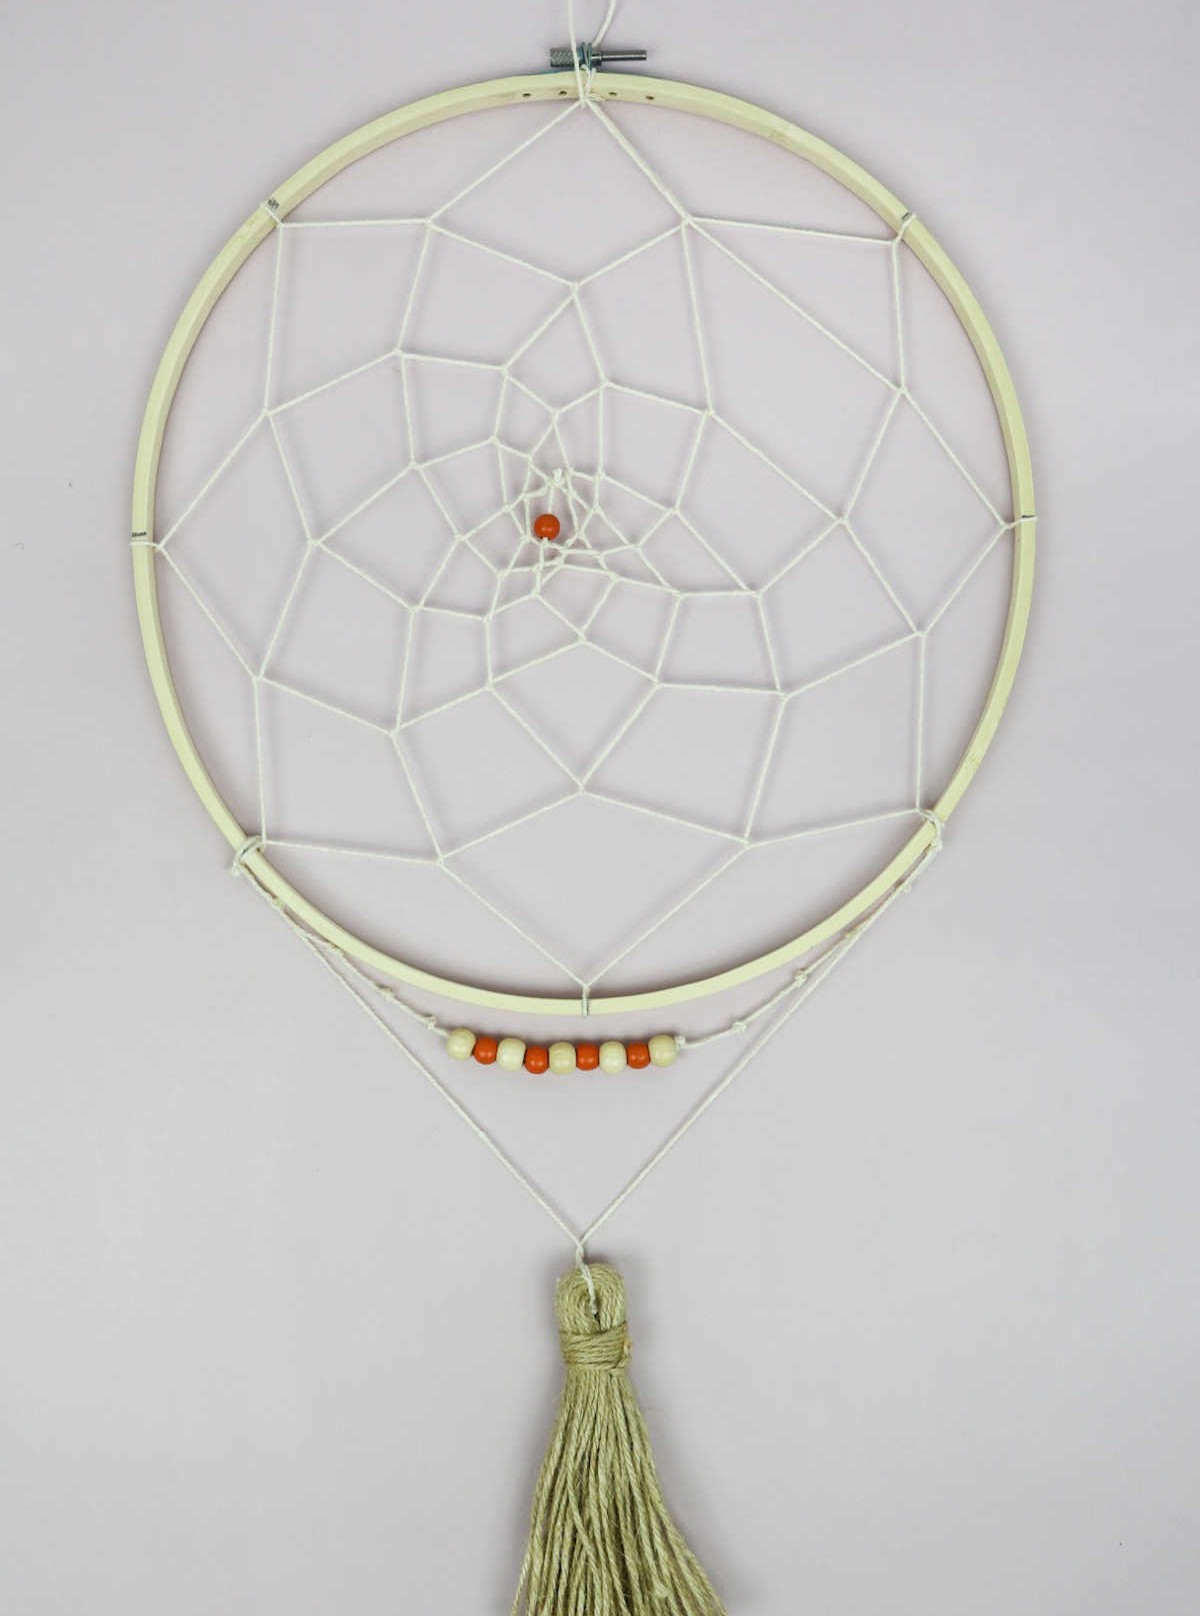
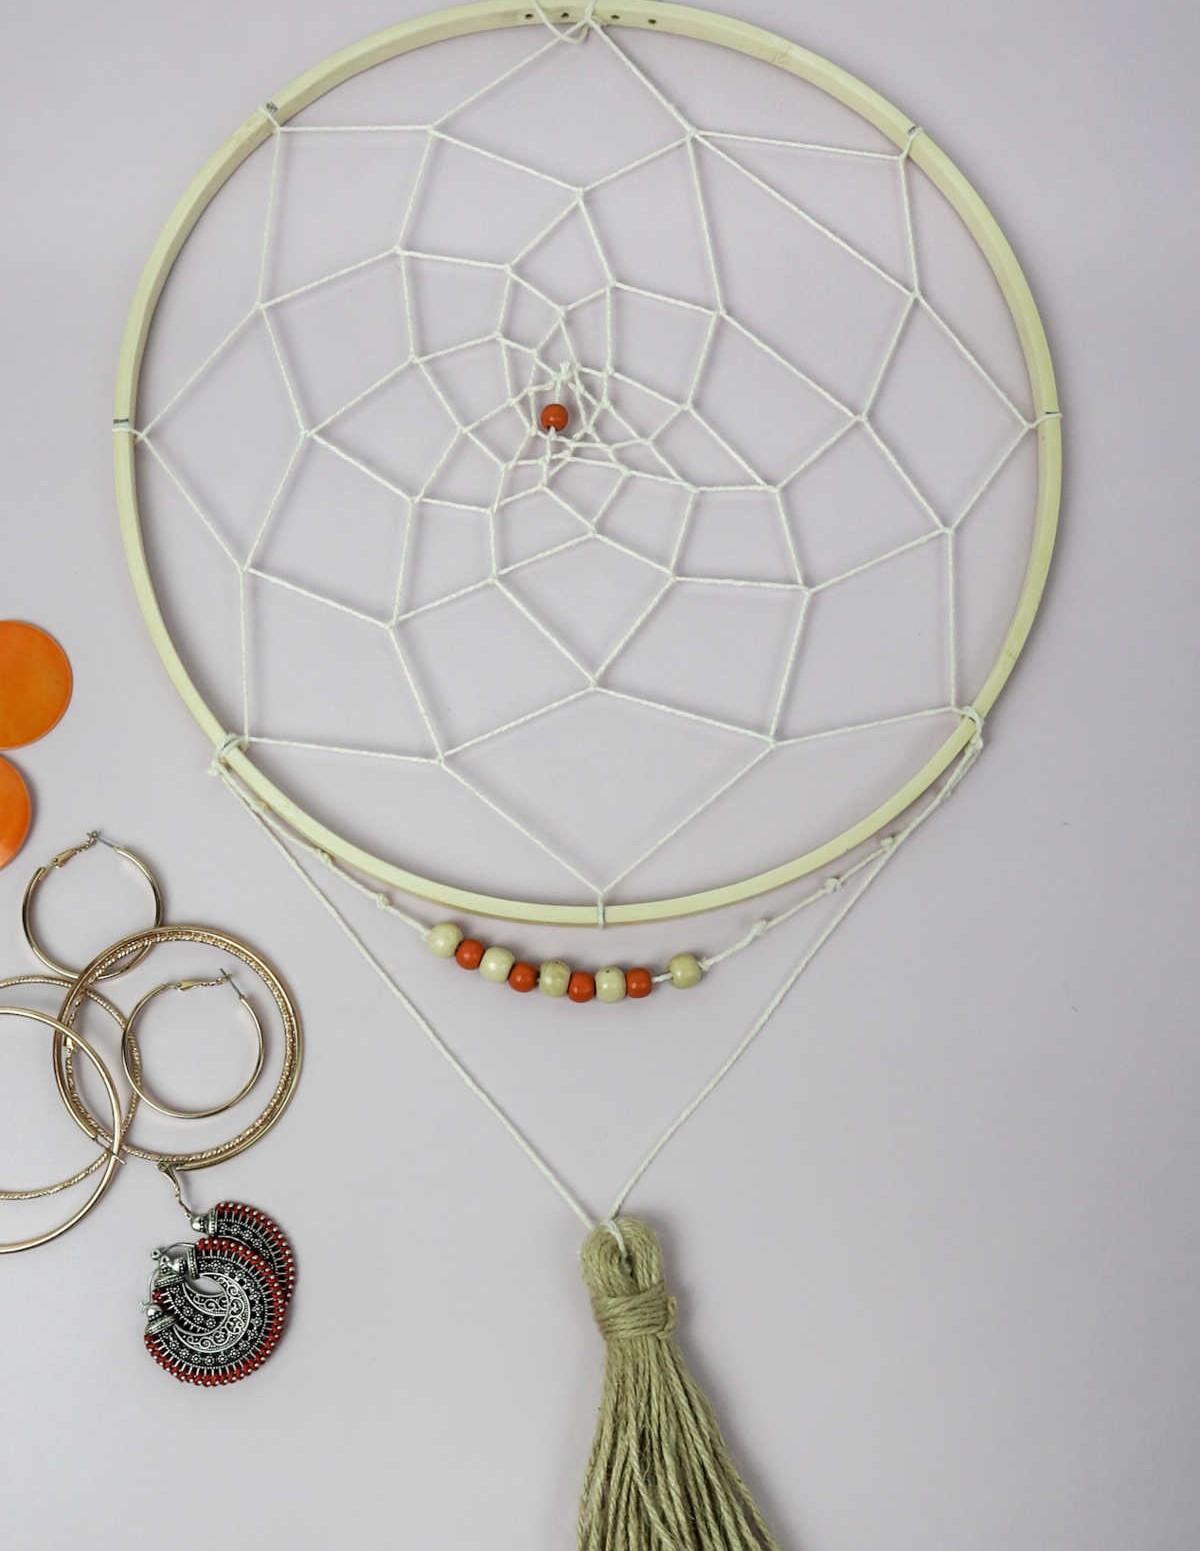
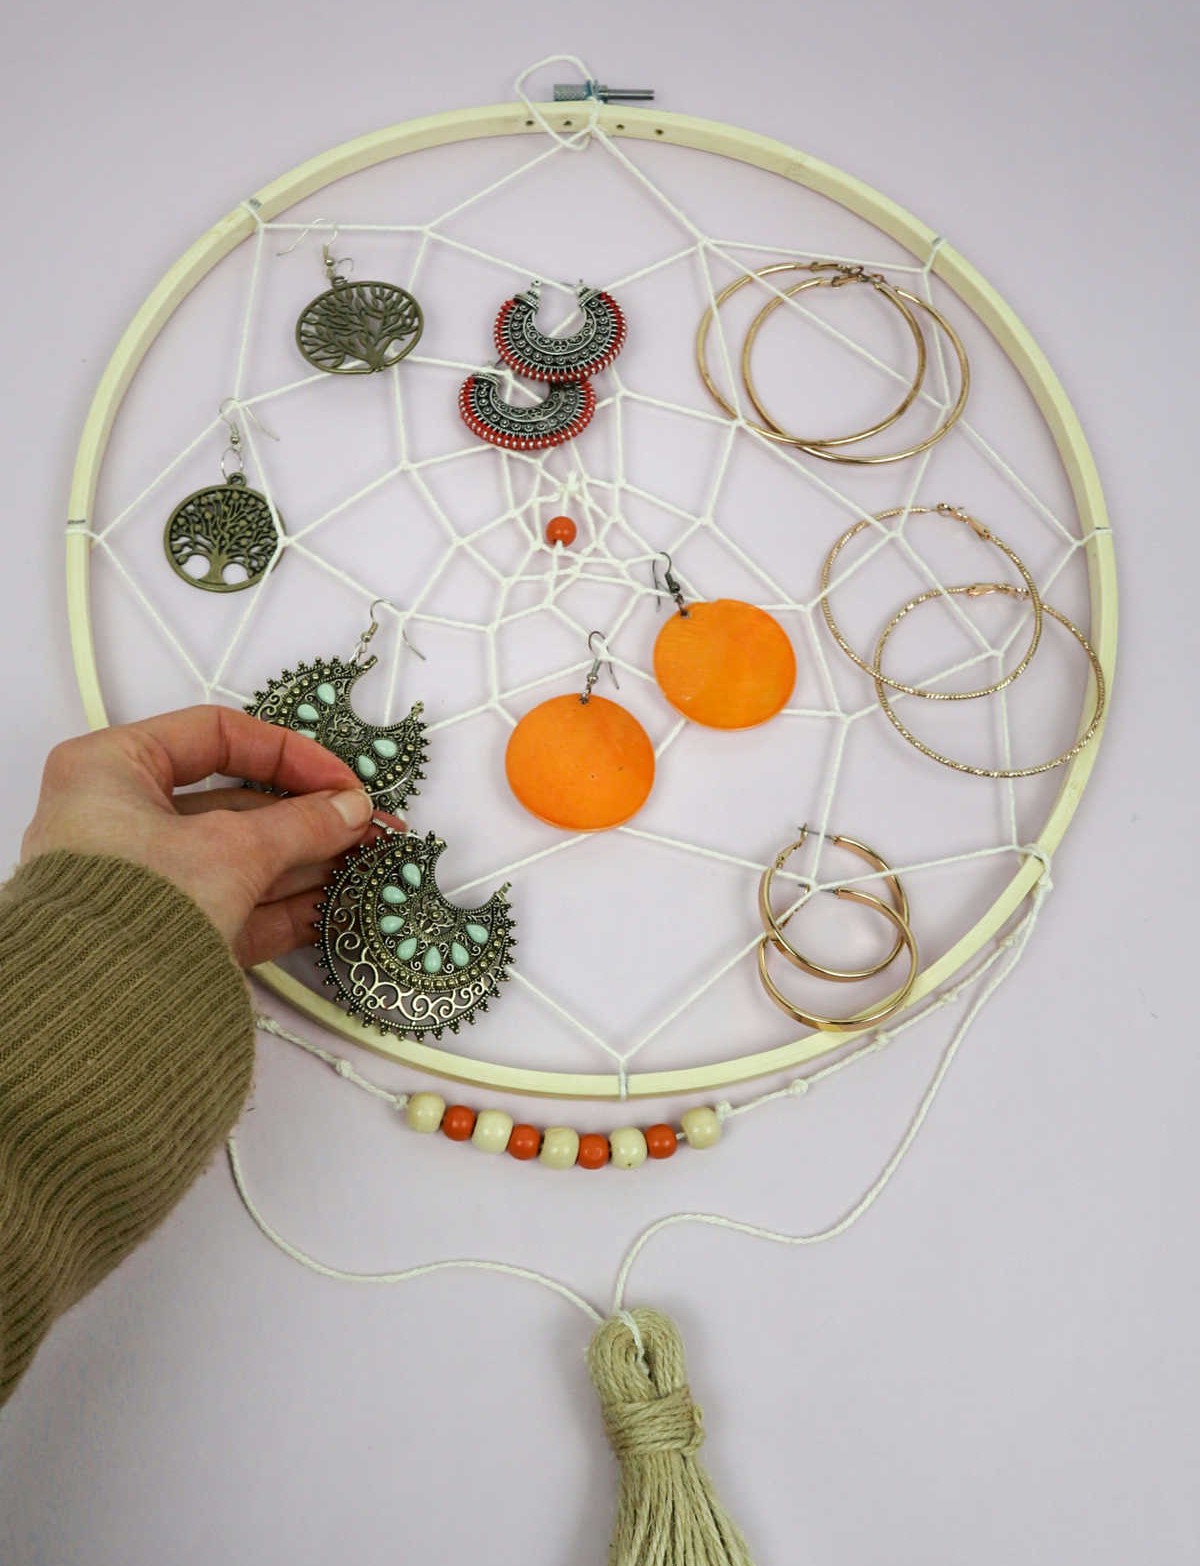
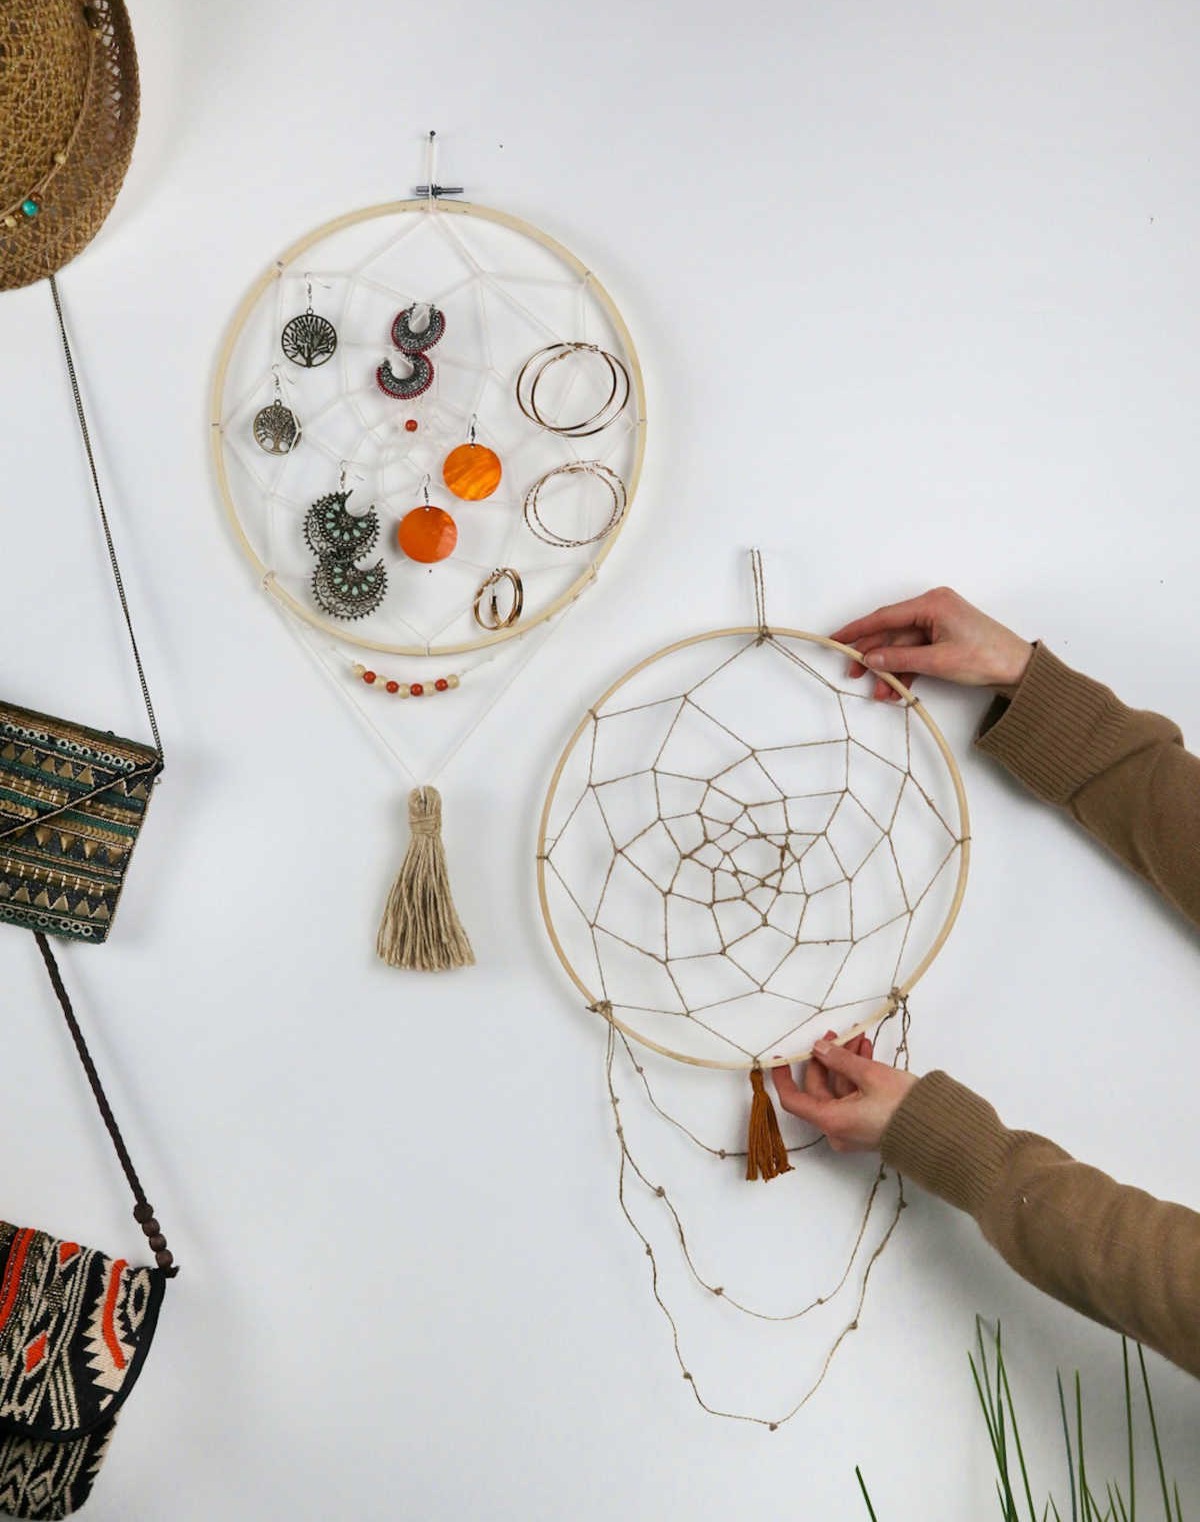
As you near completion of your DIY jewelry organizer, a final step remains: crafting a loop at 12 o’clock. This crucial element will serve as the anchor point for attaching the dream catcher and jewelry organizer to the wall. With this task complete, you’re free to adorn your newly created piece with earrings, pendants, and other baubles, allowing its vibrant hues to inject a splash of color into your surroundings.
DIY Jewelry Organizer
To tame the chaos surrounding your jewelry collection, create a personalized organizer using a simple embroidery hoop. This ingenious hack requires minimal effort and time – just 20 minutes of active hands-on time to be exact. With this clever solution, you’ll be able to efficiently store and display your favorite accessories, making it easier than ever to find what you need.
Equipment
Materials
Instructions
To begin crafting your DIY jewelry organizer, start by preparing all necessary supplies. Next, mark the ring or frame into eight equal sections using a pen or marker. Then, secure a firm knot at the top of the ring with embroidery thread and ensure it’s firmly in place. Start looping the thread over and around the ring, making sure to loop it around the center of the previous round as you begin the second round.
Continue looping the thread, working your way towards the center, and ensure that the loops remain secure and don’t sag or become loose. Once you’re ready to fasten off the knot, consider adding a bead to hold everything in place. You can either tuck the ends into the bead or use a small amount of glue to secure it. From here, you can add any decorative beads, danglers, or other embellishments as desired.
Finally, create a loop at the top of the ring and use it to hang your dream catcher organizer on the wall.