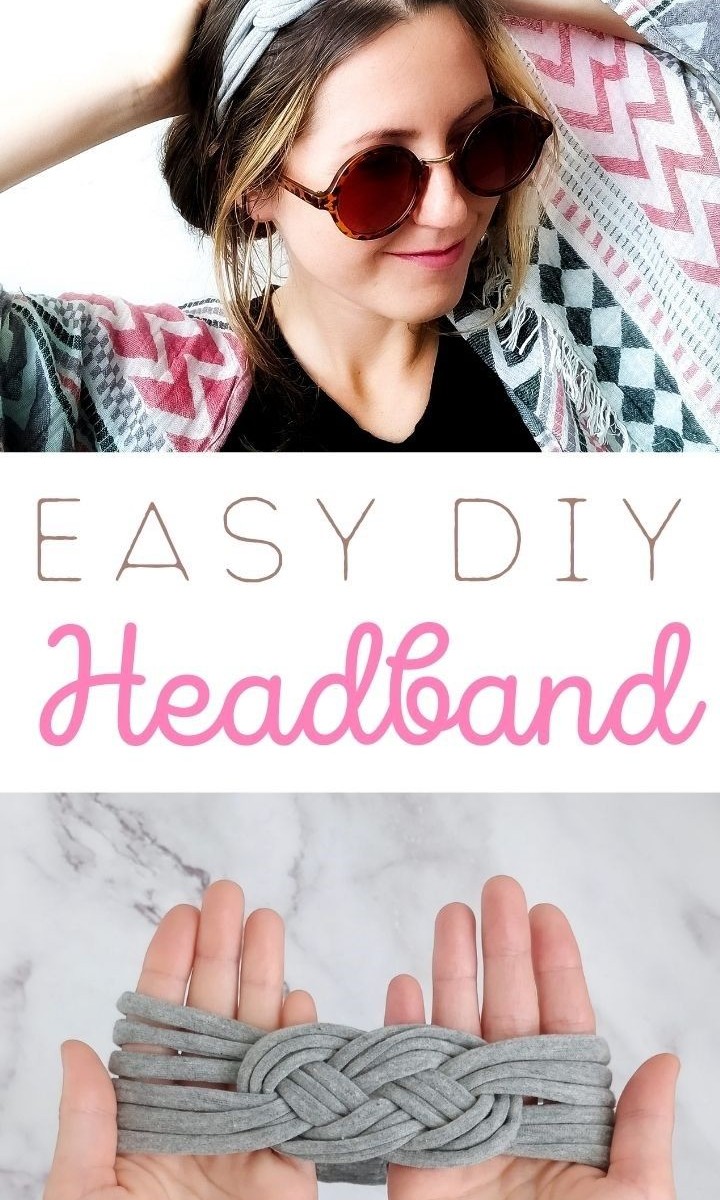
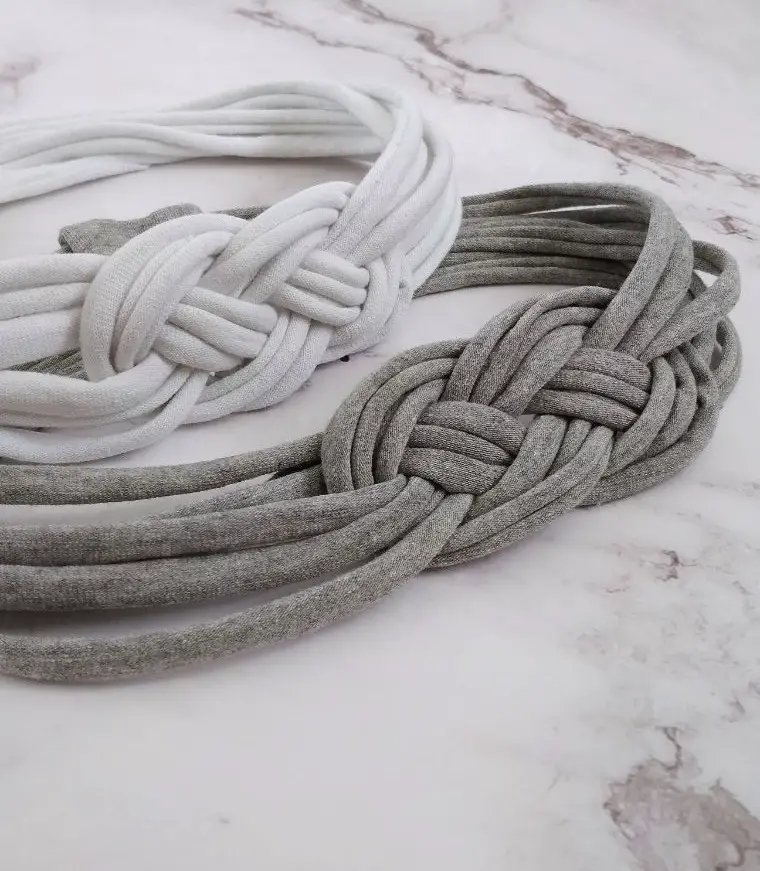
Sustainable fashion at its finest! This charming DIY headband is a perfect blend of simplicity, style, and eco-friendliness. By upcycling an old t-shirt, you’ll not only create a unique accessory but also reduce waste. And the best part? It’s ridiculously easy to make.
What Kind of Fabric Do You Use to Make Headbands?
When selecting a suitable material for your headband, consider its intended purpose. For instance, if you’re using it for physical activities, look for a fabric that can effectively absorb sweat. On the other hand, if you’re designing it as a fashion statement or a cute hair accessory, texture and color take precedence. In my case, I opted for grey as it blends seamlessly with most outfits. Furthermore, the material should be elastic to ensure a comfortable fit without feeling constricting.
T-shirt fabric is an excellent choice, boasting softness, stretchiness, and ease of manipulation.
Supplies You’ll Need
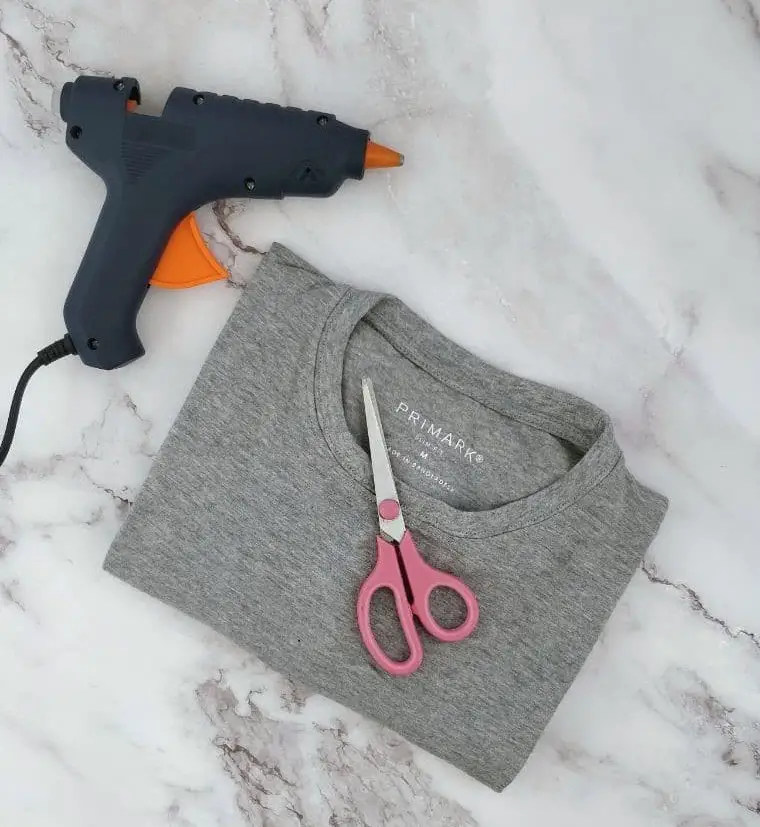
To craft a unique headband, you’ll need just a few simple materials: an old t-shirt, a glue gun, and fabric scissors. However, the true secret to success lies not in these tools, but rather in your willingness to get creative and patient. Embrace the process with enthusiasm, and you’ll be more likely to achieve a stunning outcome that reflects your personal style.
How to Make This DIY Headband
Prepare for a creative escape by clearing your living room of distractions. Grab some popcorn, settle in with your favorite show on Netflix, and get ready to unleash your inner artist.
Step One
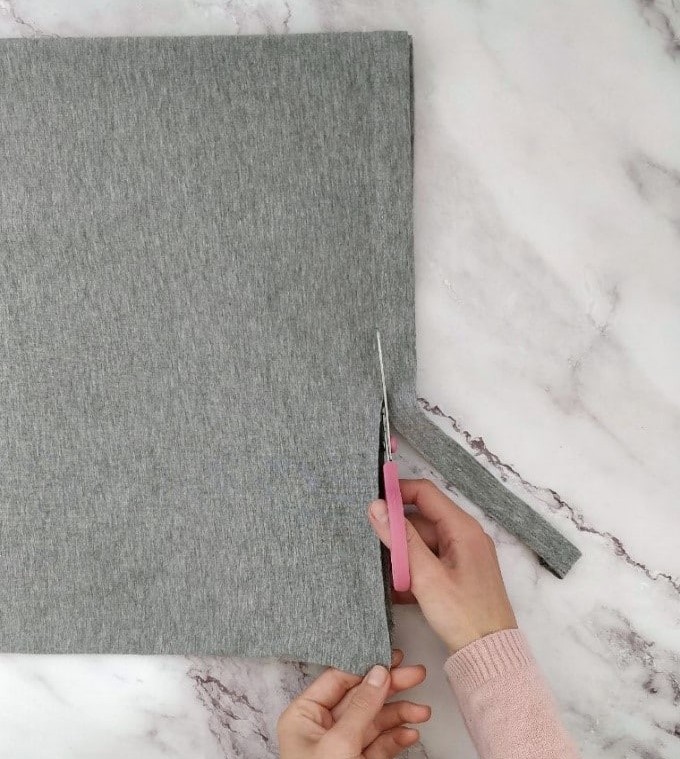
To create the headband’s foundation, begin by cutting three loops from the bottom of a size M or larger t-shirt. Each loop should be approximately 2cm wide. To ensure symmetry, fold the shirt in half down the front and cut along both the front and back sides simultaneously. This will prevent any unevenness that might occur if you cut one side more than the other.
Step Two
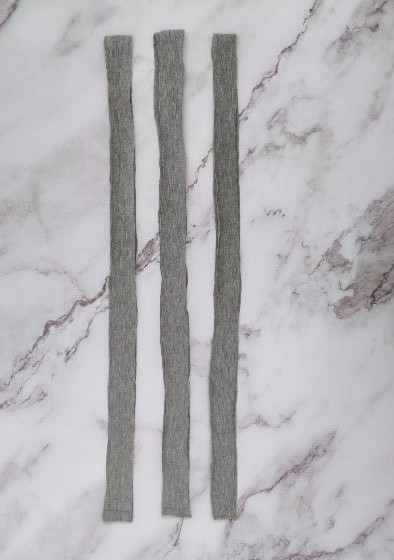
When preparing your fabric strips, you’ll want to have three identical pieces, each approximately 2cm wide. Don’t worry if they’re not perfectly uniform – a little bit of unevenness is okay and can actually add character to the finished project. As we move forward with the tutorial, we’ll be working with these strips and will make any necessary adjustments later.
Step Three
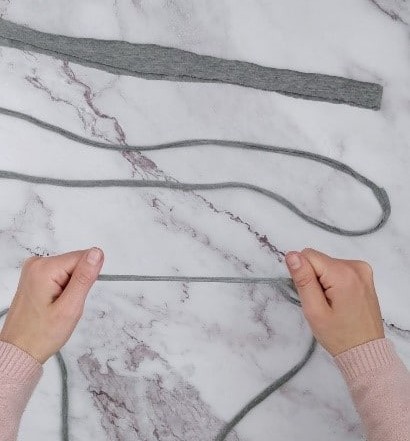
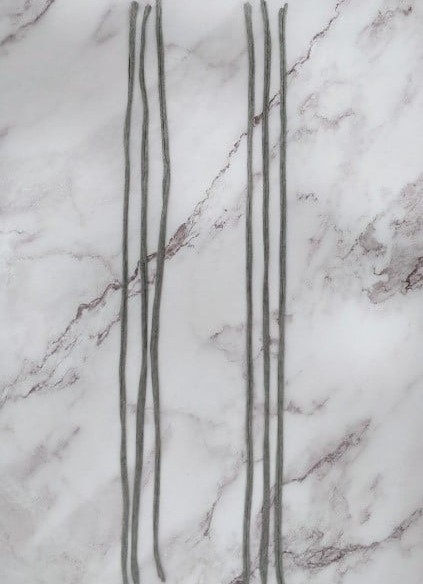
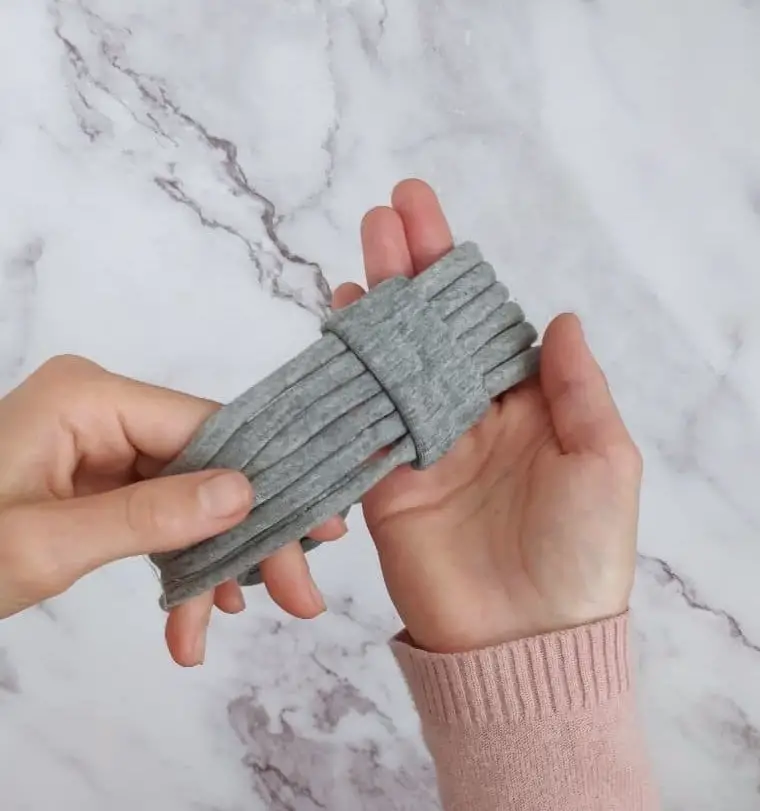
As we move on to the next stage of the process, attention turns to stretching the loops themselves. To achieve this, gently take hold of each loop and carefully stretch it in measured sections, exercising caution not to overextend or risk reducing its overall size to minuscule proportions. As you work, notice that the material begins to naturally curl inward – a common occurrence that requires no correction, as it is simply a result of the inherent properties of the material.
Step Four
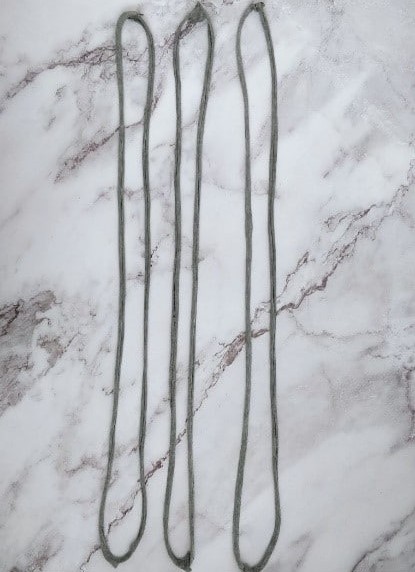
Once you’ve finished Step Three, you should be left with three extended loops. To achieve this, it’s crucial that each segment has been stretched evenly and consistently in terms of width. In fact, aim for uniformity by ensuring each section is identical to the others in terms of width.
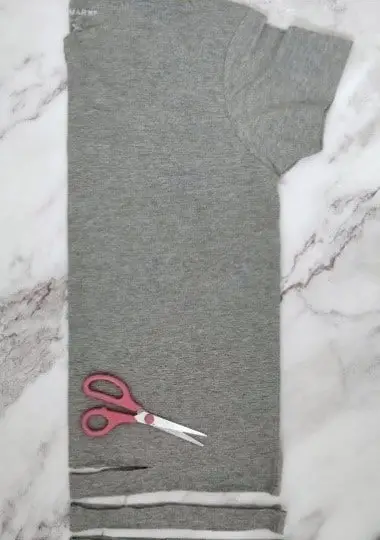
Step Five
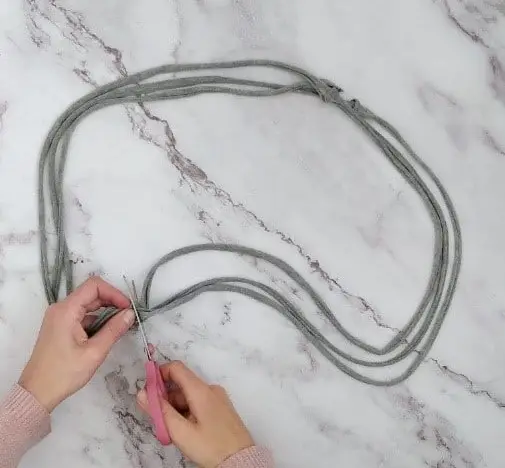
To transform our newly created loops into wearable pieces, we’ll start by identifying the edge seam locations on each t-shirt. A simple snipping process will allow us to cut through both seams, effectively releasing the loops from their original constraints.
Step Six
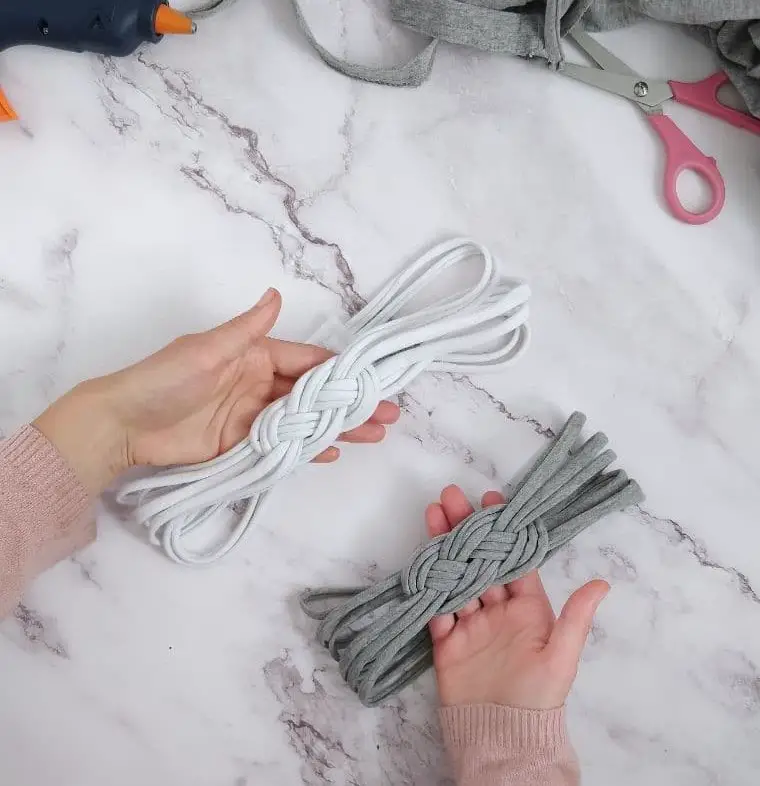
After completing the initial steps, you’ll be left with a set of six strings of uniform length. Group them into two sets of three strings each, as these will eventually comprise the foundation for your larger woven patterns.
Step Seven
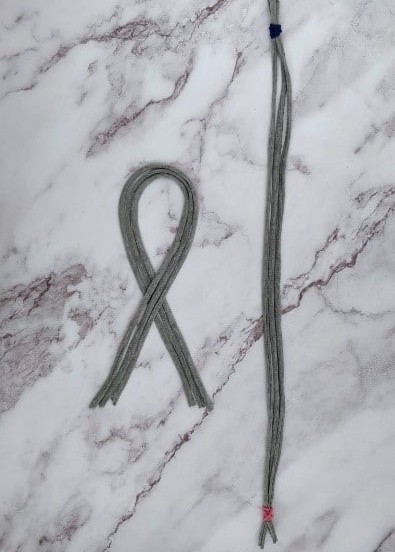
As we move forward, let’s dive into the weaving process. To simplify this part, I’ve used two vibrant hair ties on the right-hand band, making it easier for you to follow along.
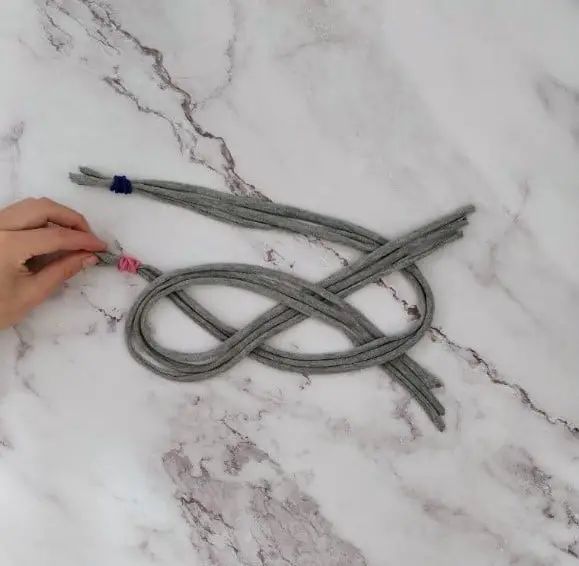
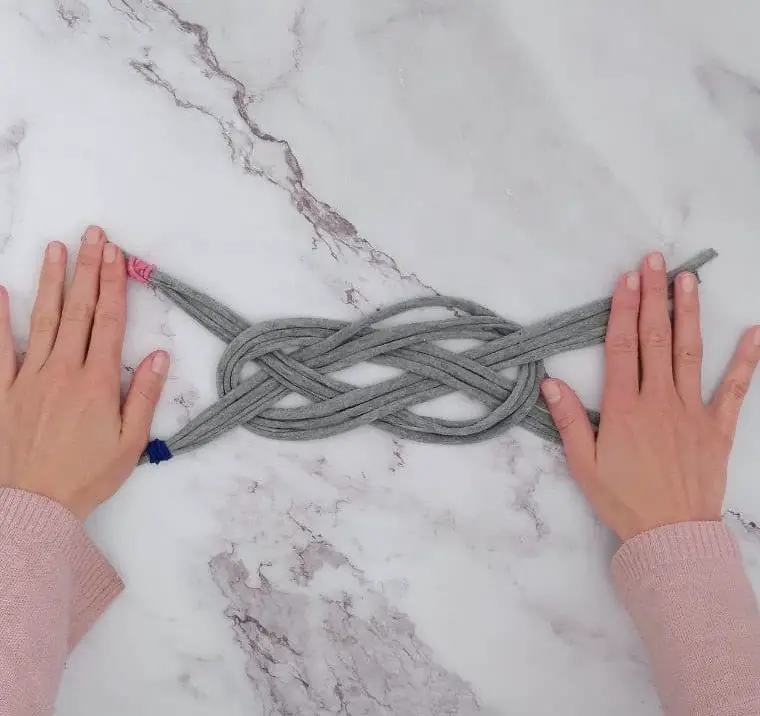
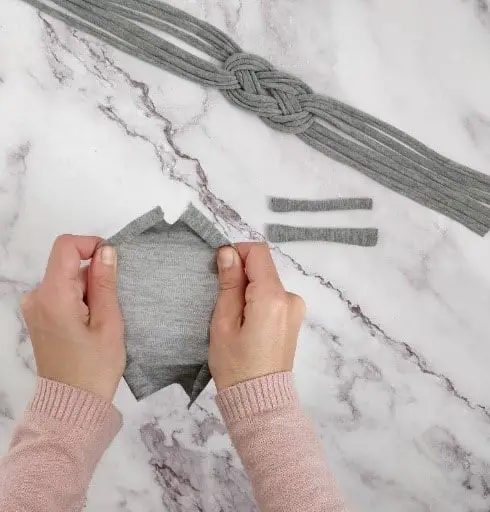
For the first set of three strings, create a fundamental ribbon shape by laying them down in a straightforward manner. Ensure the right side crosses over the left, resulting in an appearance reminiscent of a cartoon fish facing upwards.
To facilitate weaving, use two hair ties to secure the ends of the second group together. This will not only streamline your process but also aid in keeping track of your steps if you’re using distinct colored bands like I did.
Step Eight
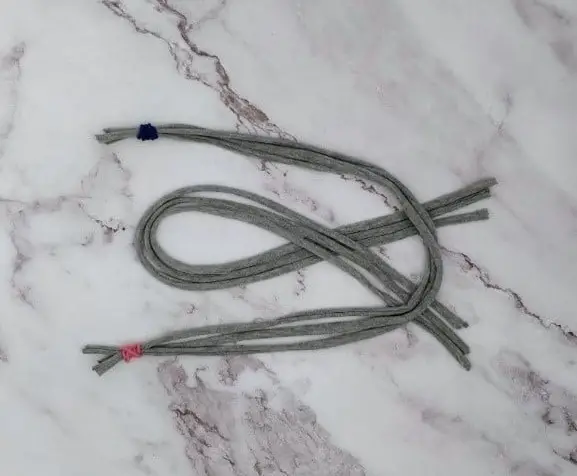
To begin the process, position the fish on its side with the head pointing to the left. Next, take the second band and place it over the tail section of the fish, forming a U-shape. Ensure that the top of the U is aligned in the same direction as the head, creating a symmetrical design.
Step Nine
Begin by gently grasping the top portion of the fish’s tail and carefully bringing it across the U-shaped curve, allowing it to rest flatly on your work surface.
Step Ten
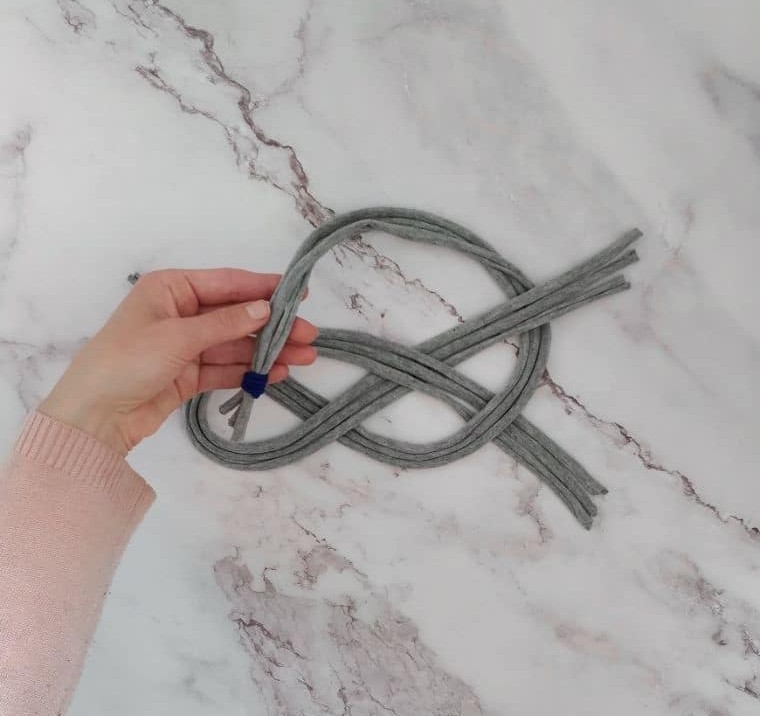
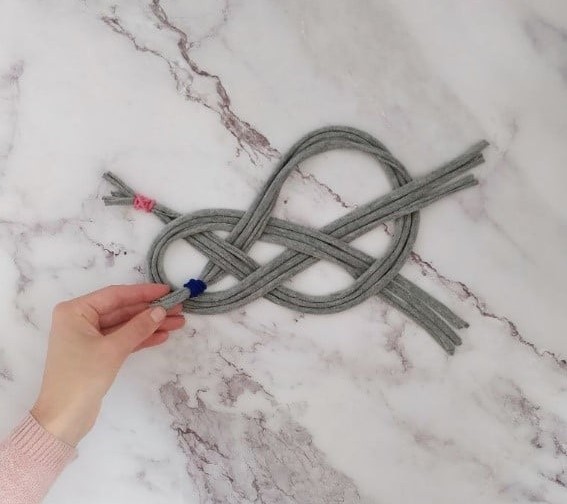
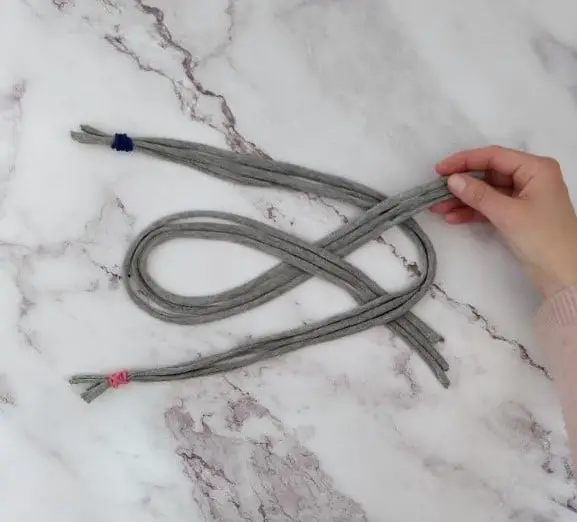
To complete the next step in this creative process, begin by manipulating the ‘pink’ end of the U-shaped structure, gently sliding it beneath the fish’s head. Once you’ve achieved this position, reach for the ‘blue’ end and skillfully weave it over the top of the fish’s head, before guiding it under the pink end.
Step Eleven
Step Twelve
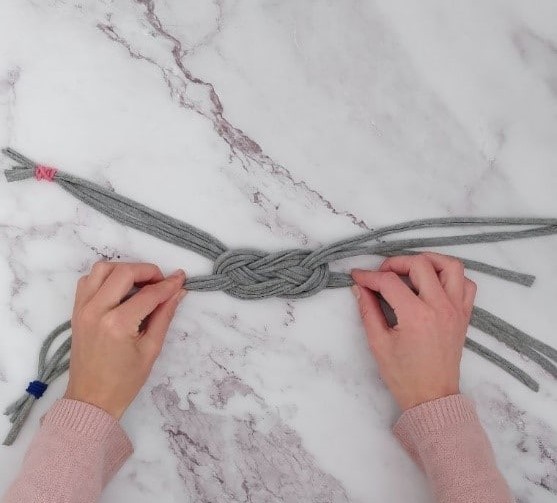
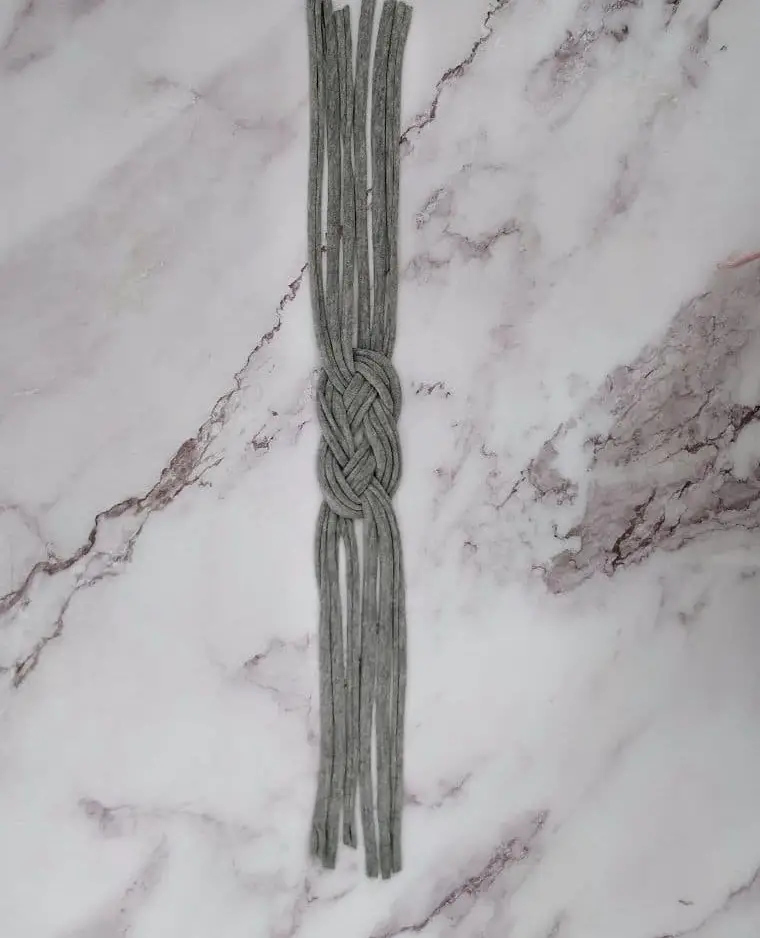
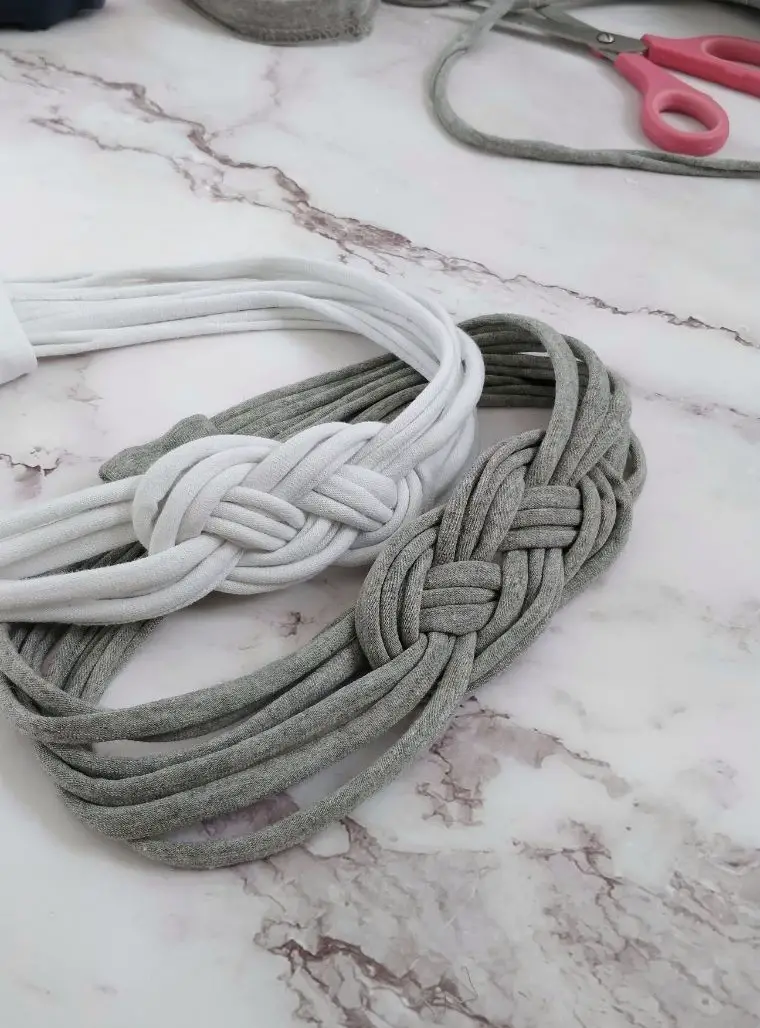
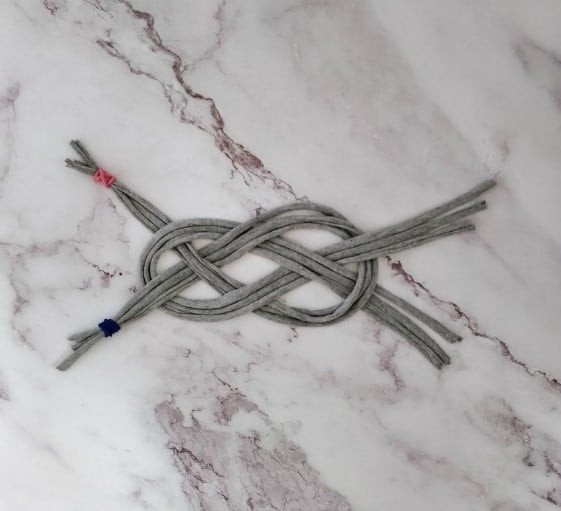
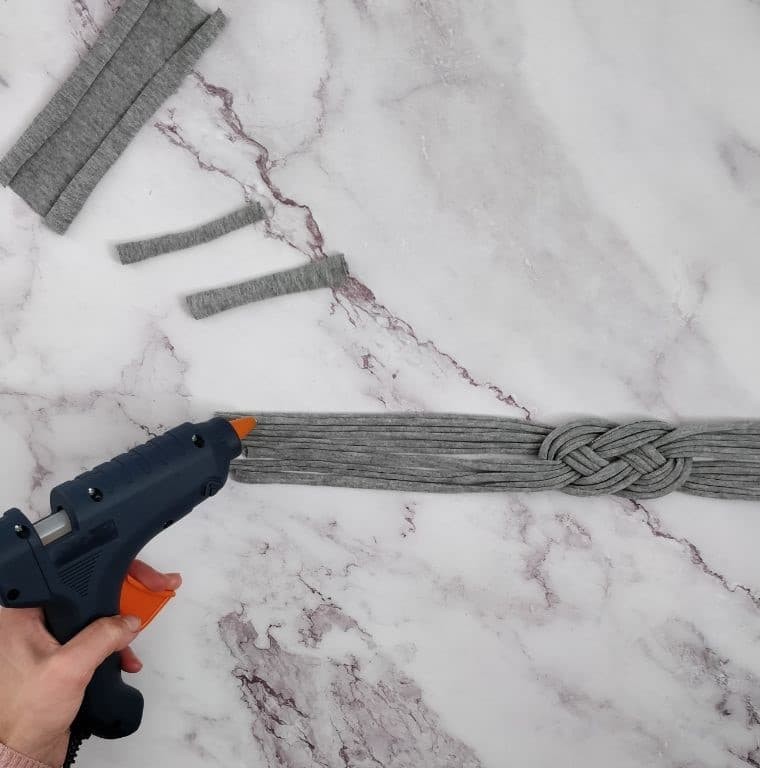
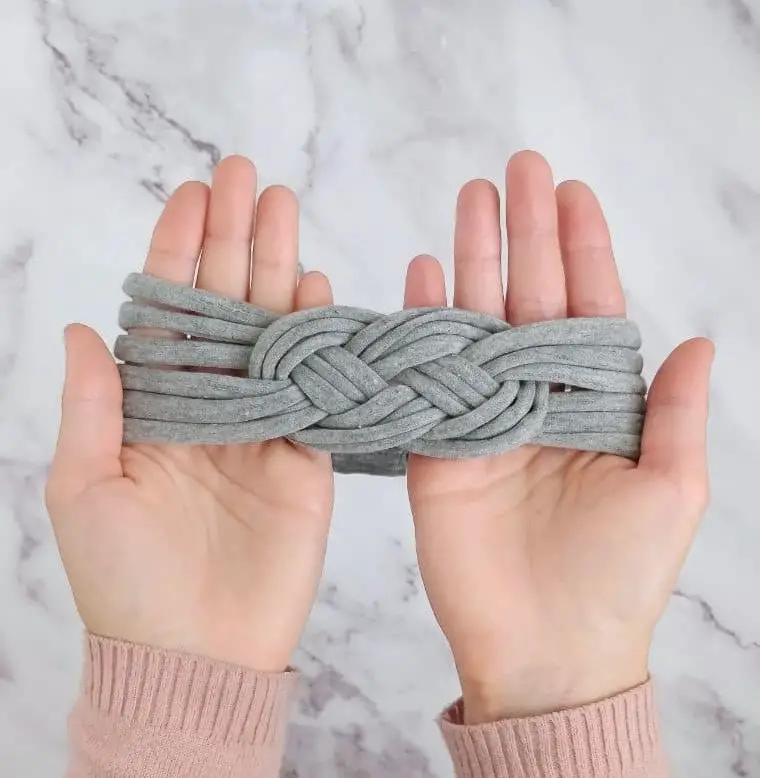
To tighten the weave, grasp the edges firmly and pull simultaneously, working your way around the entire surface. Visualize a single, intricate knot forming as you apply gentle yet consistent pressure. As you work, be mindful of maintaining even tension across all sides, ensuring the ends emerge at roughly equal lengths. If you’re new to this process, take it one step at a time and don’t hesitate to slow down – sometimes, patience is key.
Step Thirteen
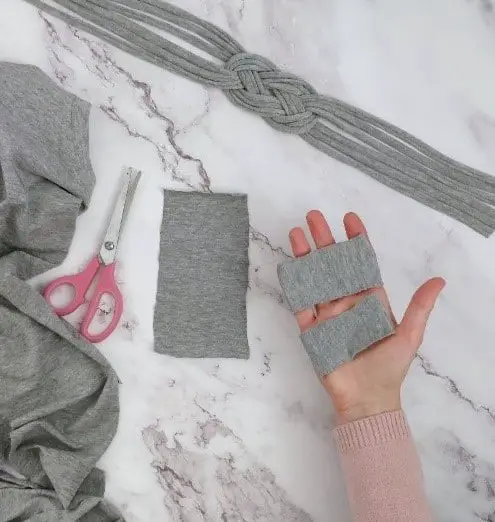
To create the foundation for your unique upcycled project, carefully cut out four distinct fabric pieces from your t-shirt. Two of these should measure approximately 1.5 inches by 2.4 inches, serving as the smaller end components. The larger piece, measuring about 2.7 inches by 3.9 inches, will form the base of the ends. These dimensions are crucial in setting the stage for your creative transformation.
Step Fourteen
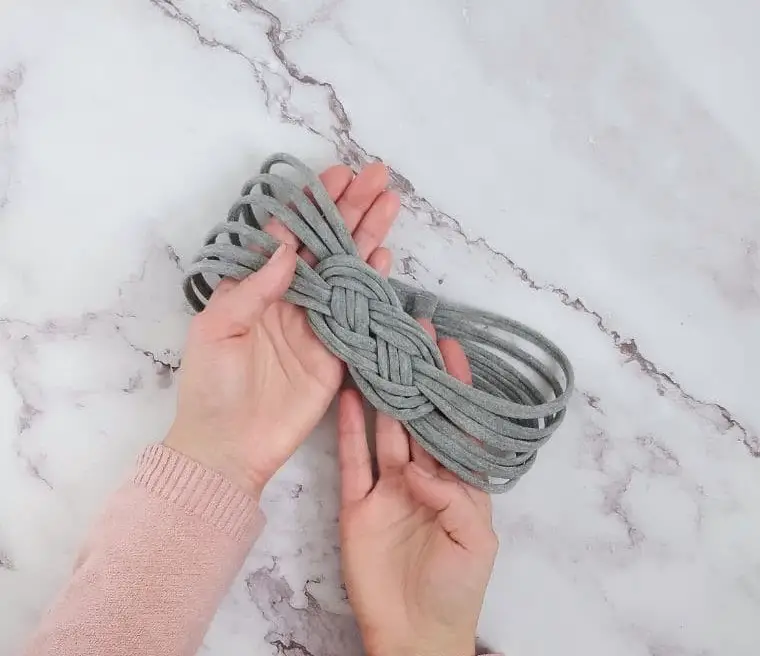
Once you’ve cut out new pieces to match the size of your original bands, it’s time to stretch them to their full potential. As you work through this process, you may notice the fresh cuts starting to roll slightly – a natural phenomenon that’s actually a good sign.
Step Fifteen
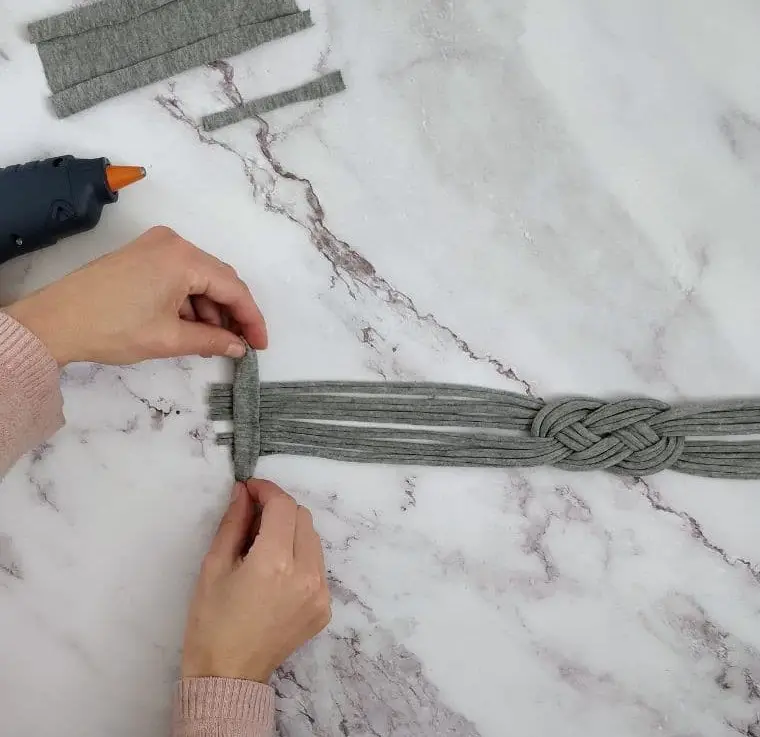

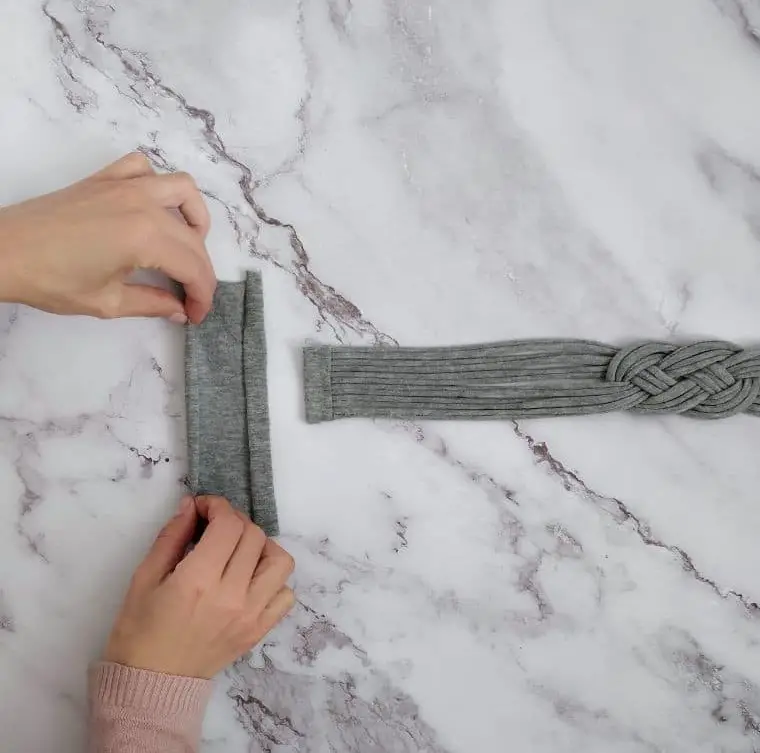
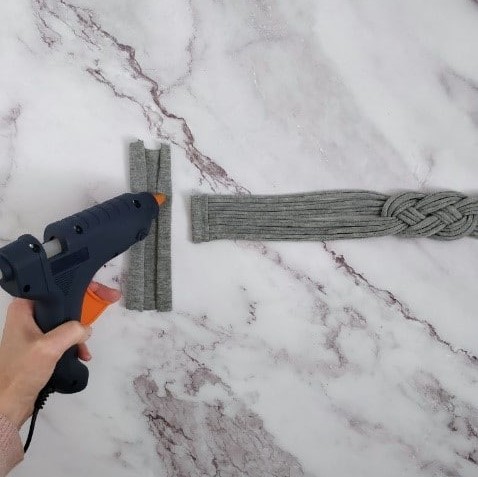
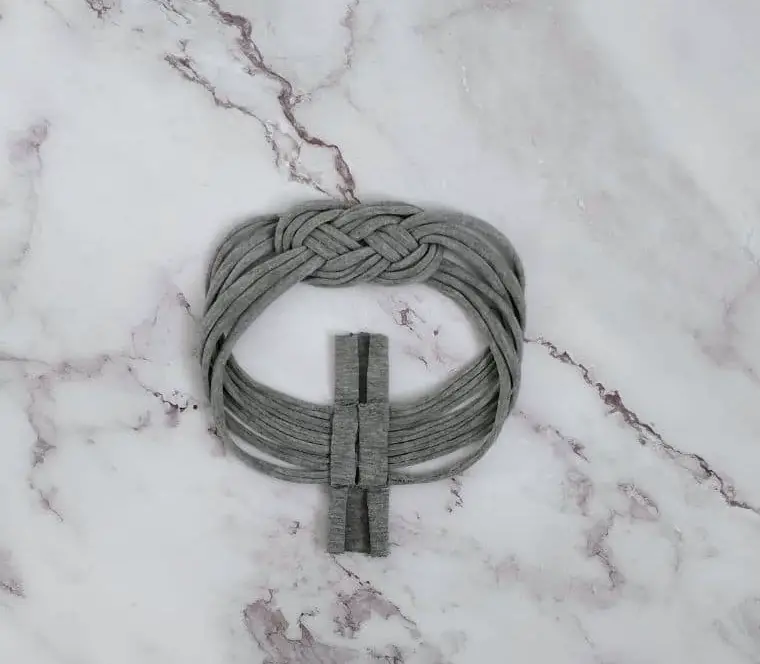
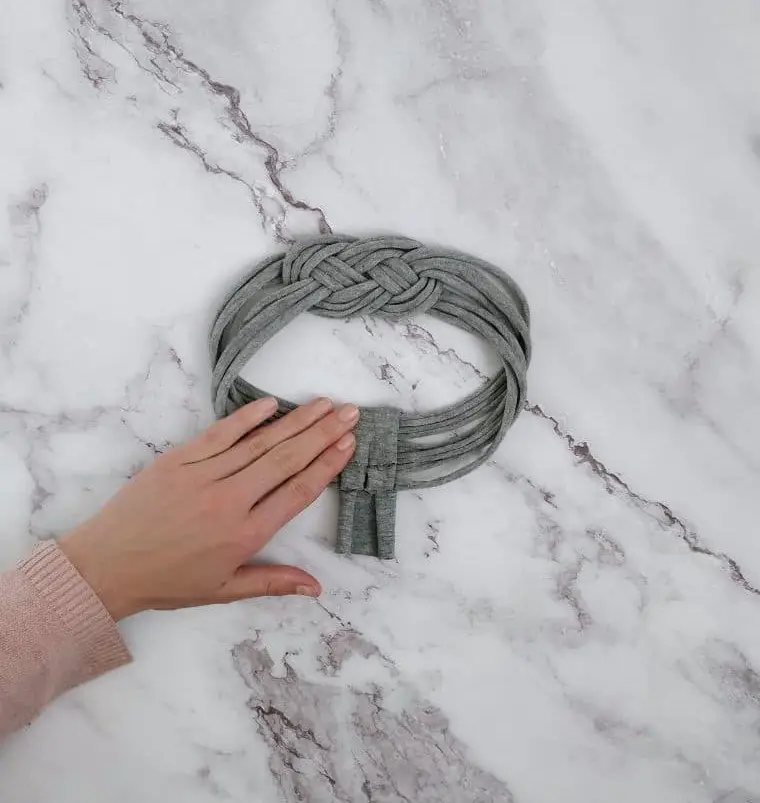
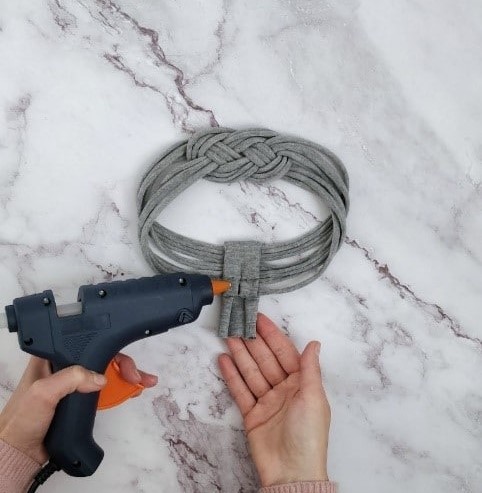
Now it’s time to finalize your hairband design! If you’ve made it this far, that means you’ve cut and prepared both sides equally. The next step is to attach the rolled ends together using your glue gun. Start by placing the side you prefer facing down on a flat surface. Take one of the smaller pieces you cut earlier and align its rolled end with the edge of one band piece, ensuring it’s centered and face down. Apply a small amount of adhesive and secure the piece in place.
Once the glue has set, trim any excess material from the edge. Repeat this process on the opposite side using the remaining small edging piece.
Step Sixteen
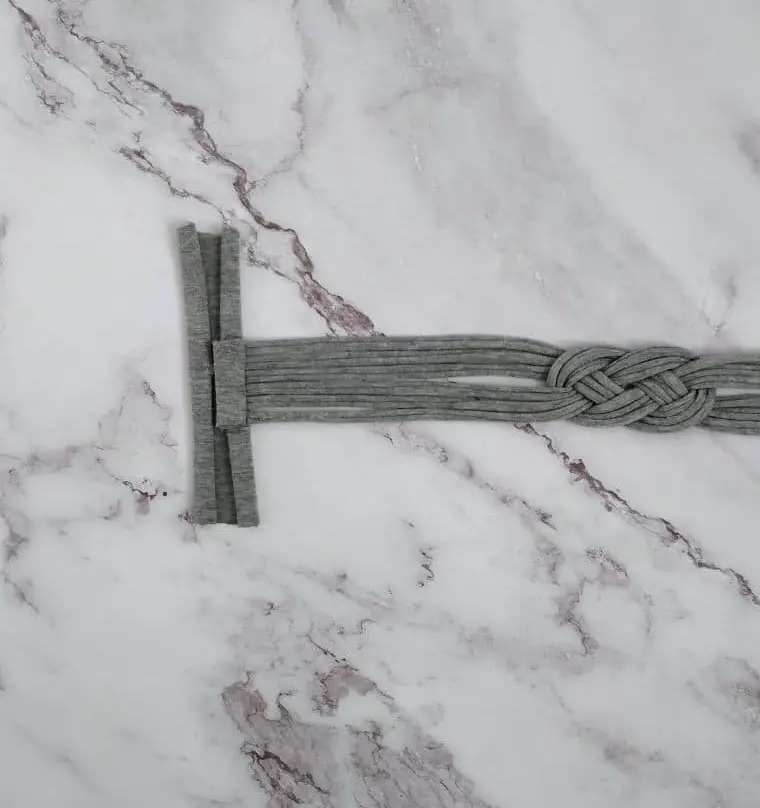
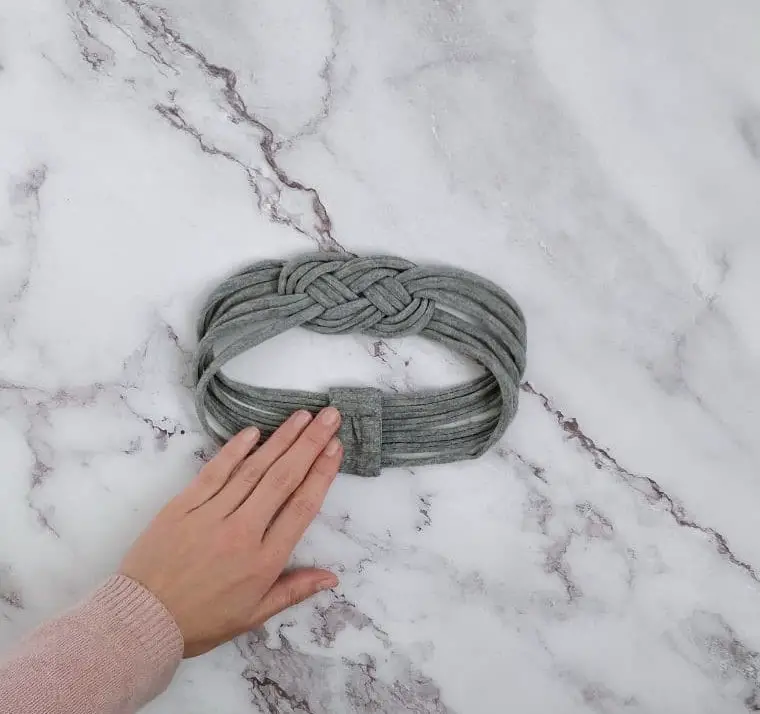
As you continue with the crafting process, take the larger piece and guide its folded edges towards the center to create a rectangular shape. Next, employ your trusty glue gun to securely fasten the left edge of the band to the right edge of the newly formed rectangle, ensuring a sturdy bond.
Step Seventeen
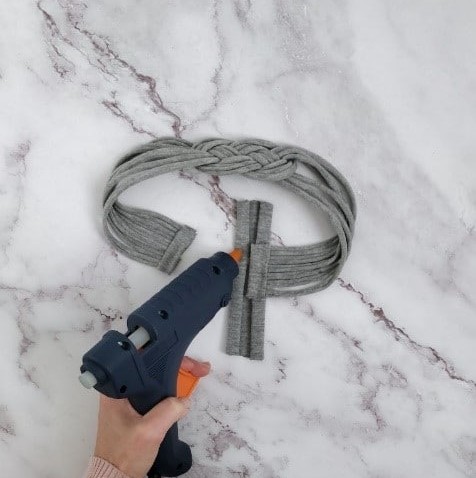
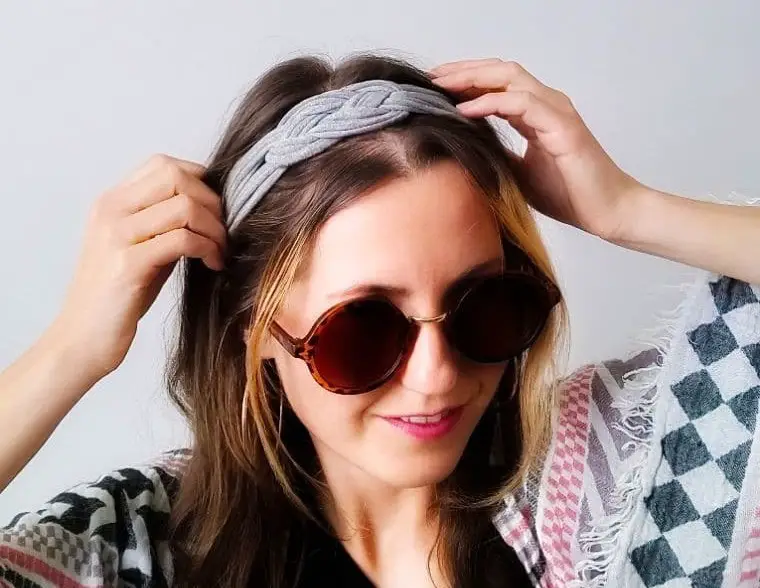
To complete the headband, start by bringing the hairband around into a loop, with the outside of the weave now facing towards you. Next, use your trusty glue gun to secure the remaining loose edge to the left side of the rectangle, forming a seamless bond. As you apply the glue, take note that you can adjust how far in you glue the edge to achieve the perfect fit for your head.
It’s always a good idea to test out the headband on yourself before committing it to your hair, so be sure to try it on first and make any necessary adjustments before securing it in place.
Step Eighteen

To complete the headband’s sleek appearance, fold the rectangle’s edges inward and secure them with your glue gun. This meticulous step will ensure a professional-looking finish, leaving you with a stylish accessory that’s ready to wear.
DIY Headband from an Old T-Shirt
Create a stylish DIY headband in just 22 minutes, using an old t-shirt and minimal effort. Perfect for teens and adults looking to upcycle and reuse old materials, this project is as budget-friendly as it is easy on the wallet – costing only $1! Here’s what you’ll need:
Equipment
Materials
Instructions
Transform an old t-shirt into a stunning headband. Start by laying out the t-shirt flat and folding it in half. Cut three fabric loops from the bottom of the shirt, each approximately 2cm wide. Stretch these loops outwards, beginning at the side seams and working evenly around the garment. Cut the loops at the seams to create six individual strings, which you’ll then divide into two groups of three.
Fashion a cartoon fish shape using one group of strings, forming a loop with the right side over the left. Secure this shape with hair ties. Lay the ‘fish’ on its side, with the head pointing to the left. Drape the other group of strings over it in a U-shape, ensuring the U faces the same direction as the fish’s ‘head’.
Bring the top of the fish’s tail up and over the U, then take the bottom end of the U-shape and bring it under the fish’s head.
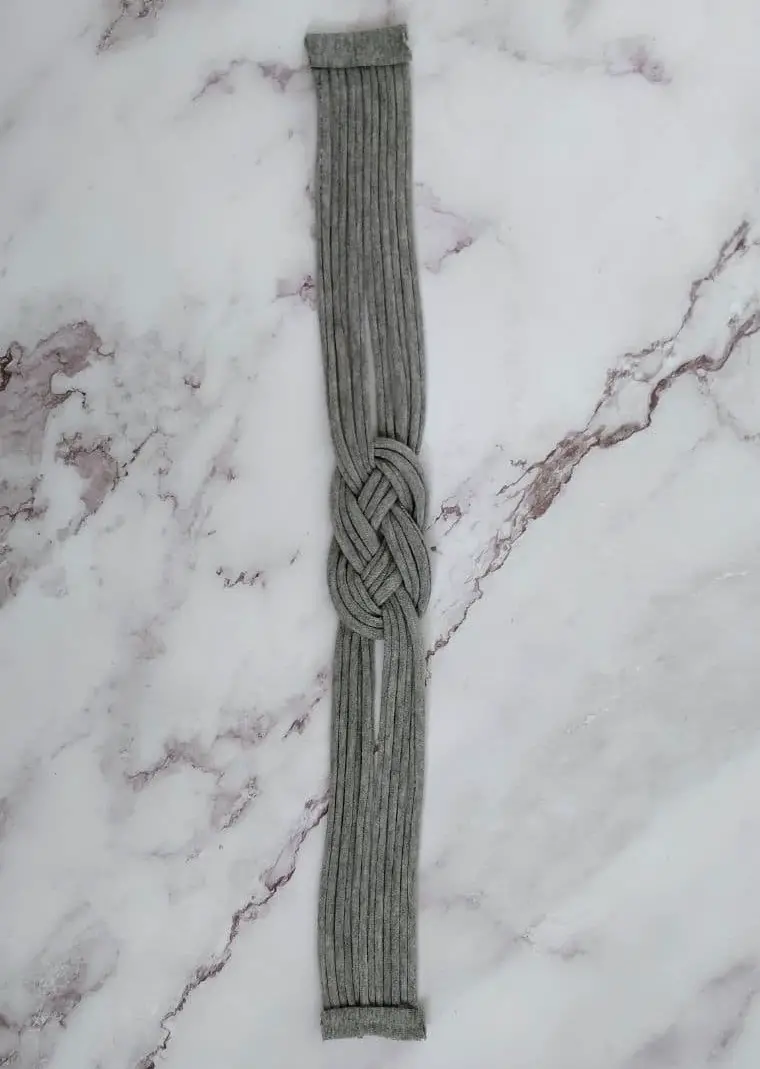
Pick up the band at the top of the U-shape, bringing it over the fish’s head and under the bottom band of the U-shape. Pull on all the ends to tighten the weave, creating a distinctive pattern on the headband.
Choose your preferred side and lay it face down on your work surface. Cut three more fabric pieces from the t-shirt: two small ones (4cm x 6cm) and one larger piece (7cm x 10cm). Stretch these out as you did previously.
Glue the smaller pieces to either end of the headband, bringing the individual strands together. Be sure to trim any excess for a smooth appearance. Fold the rolled edges of the larger piece inward, creating a rectangle with the edges facing upwards.
Now, glue the left side of the headband to the right side of the rectangle piece. Loop the other side of the band around and glue it to the remaining edge of the rectangle.
Finally, fold the extra rectangle edges inward and secure them with your glue gun for a seamless join.
And there you have it – a beautiful headband perfect for any occasion.