Need inspiration for a creative storage solution that adds style and functionality to your home? Look no further! This DIY hanging organizer is the perfect project to breathe new life into underutilized vertical spaces. Whether you’re looking to organize your office, kitchen, or living room, this clever idea will have you hooked from start to finish.
Storage space can be a precious commodity in many parts of the home. But what about those often-overlooked walls?
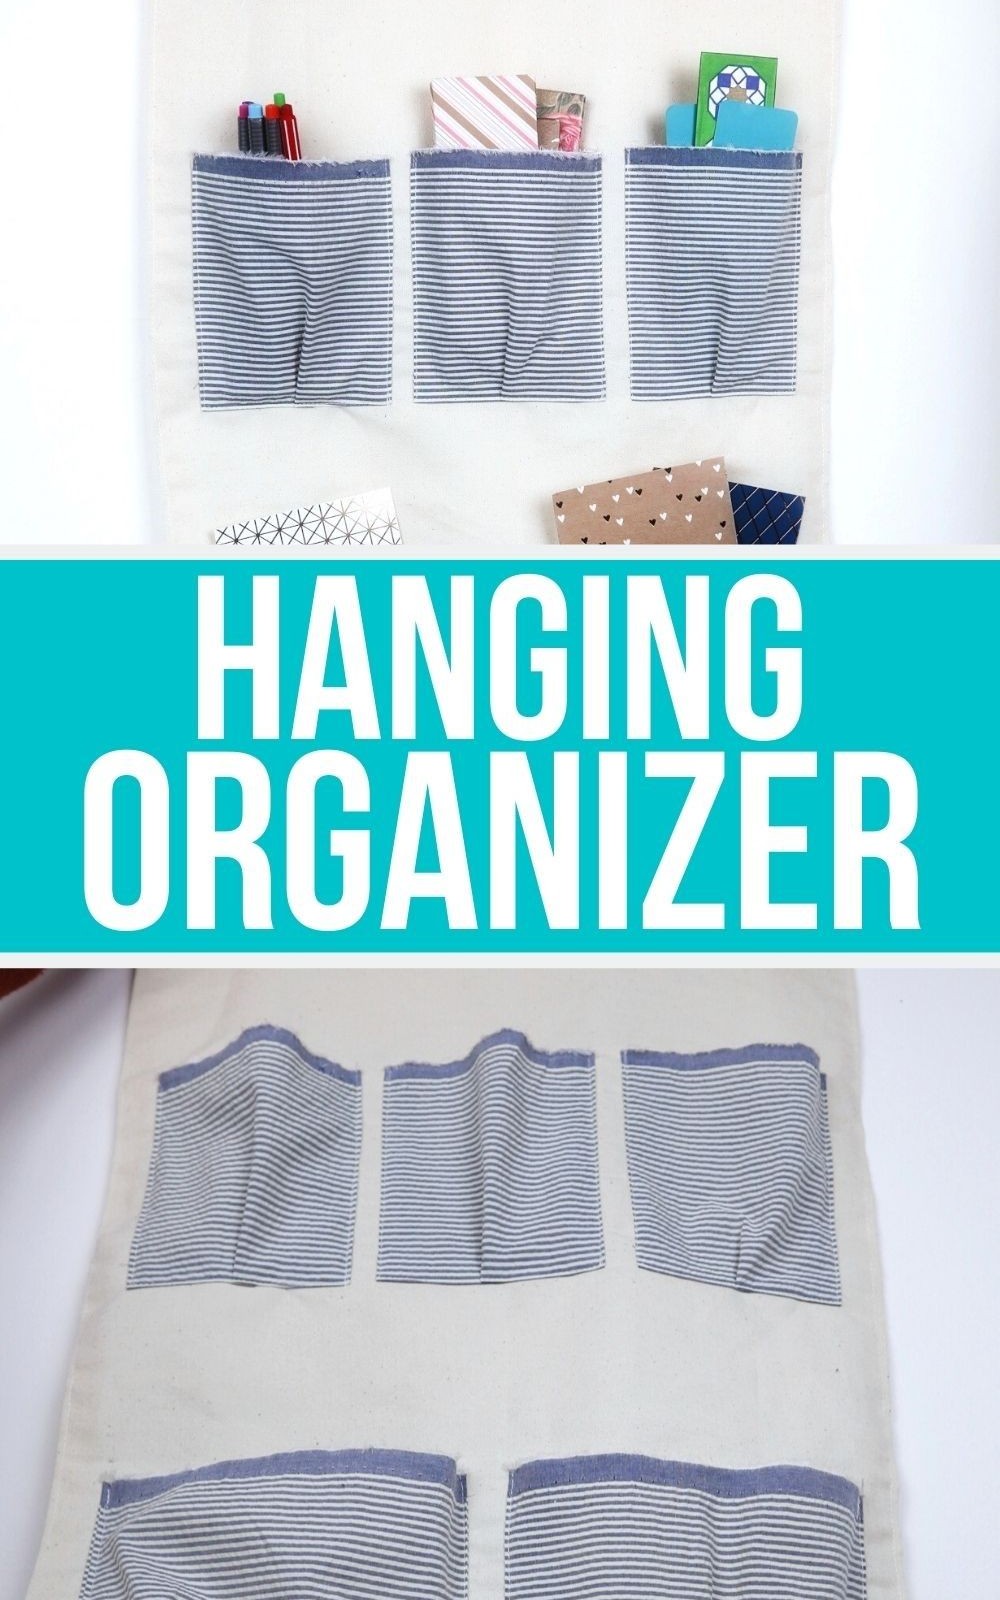
With a hanging organizer, you can transform a blank wall into a useful storage haven that also showcases your creativity and sewing skills. If you’re just starting out with sewing, this project is an excellent opportunity to build confidence and develop your skills.
Whether you’re a seasoned pro or a beginner, you’ll love the sense of accomplishment that comes from completing this easy-to-make organizer. So why wait?
Get started today and discover how a little creativity can go a long way in transforming your home.
What You Will Need for the Organizer
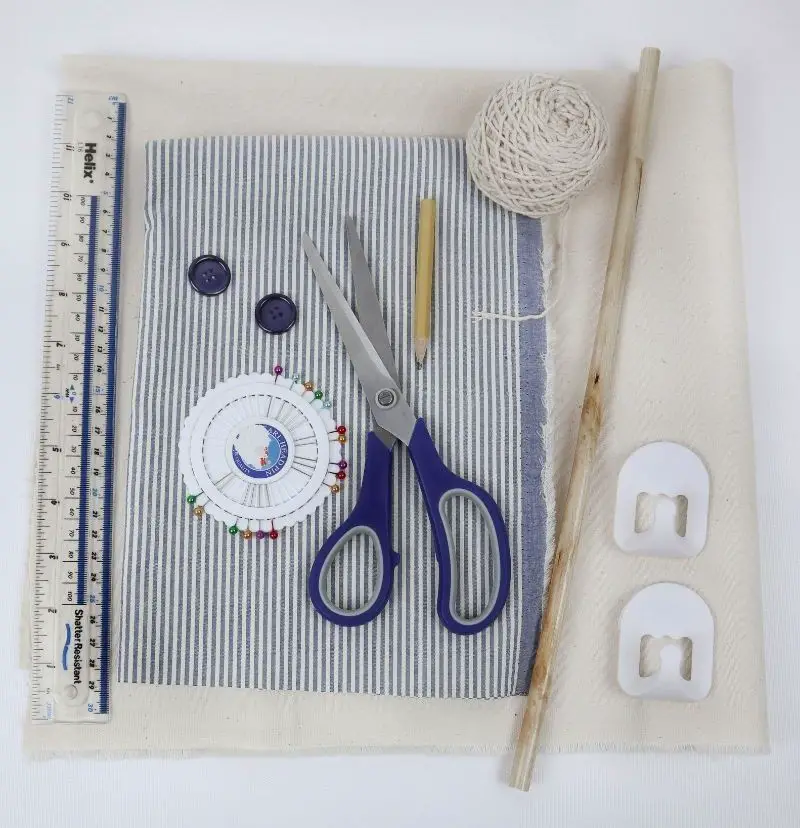
To create a functional and stylish tote bag, you’ll need to gather the following materials: thick fabric for the main piece, patterned fabric for the pockets, two command hooks or sturdy string for hanging purposes, a wooden stick for reinforcement, buttons if desired for added closure, a sewing machine for efficient stitching, a ruler for precise measurements, pins for securing fabrics, and scissors for cutting through various textures.
A pencil will also come in handy for marking patterns and guidelines.
How to Make a Hanging Organizer
Step 1
Gather all necessary materials before beginning your project. A sturdy textile serves as the foundation for your organizer, and having a sewing machine at your disposal can streamline the process. However, it’s also possible to complete this step by hand if you prefer. For added convenience, consider substituting traditional glue or hangers with adhesive sheets. This time-saving hack allows you to bypass the need for tedious assembly, making it an ideal solution for those short on time.
Step 2
To begin, you’ll need to cut a section of the sturdy fabric that will serve as the foundation. When creating a piece to be stored in a wardrobe, take precise measurements of the door’s width and height to determine the base’s size. This ensures a seamless fit when the textile is placed inside. Similarly, if your design is intended for a wall hanging, you’ll need to measure the area where it will be displayed to establish the correct dimensions.
Step 3
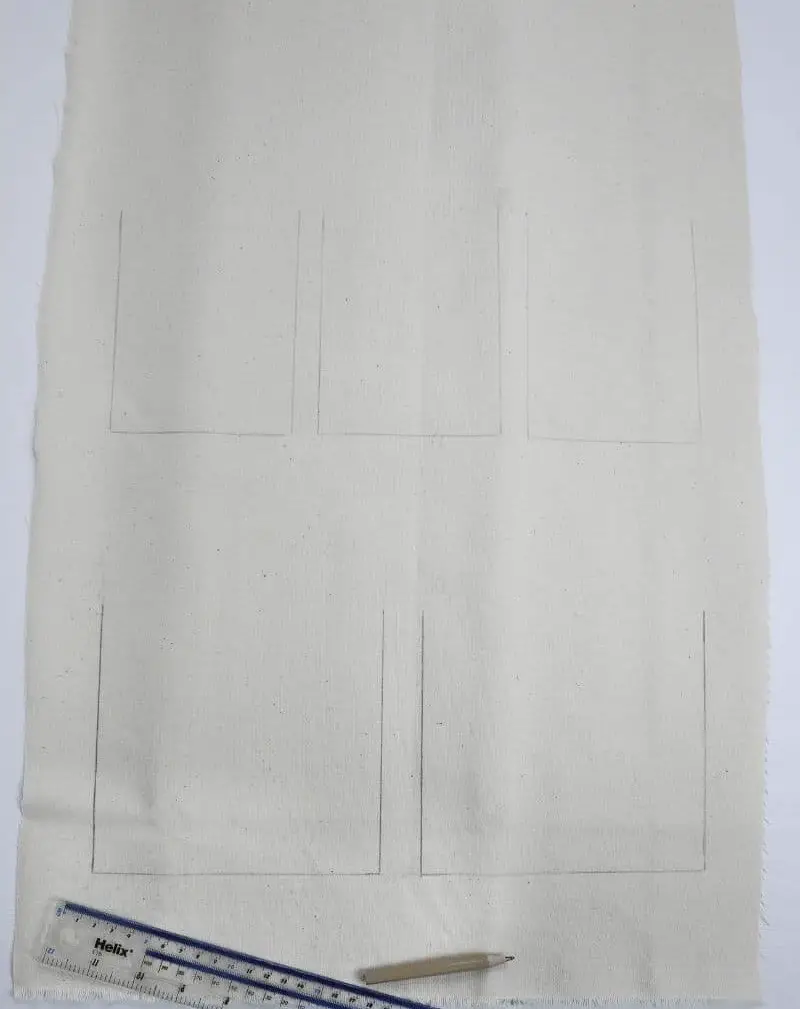
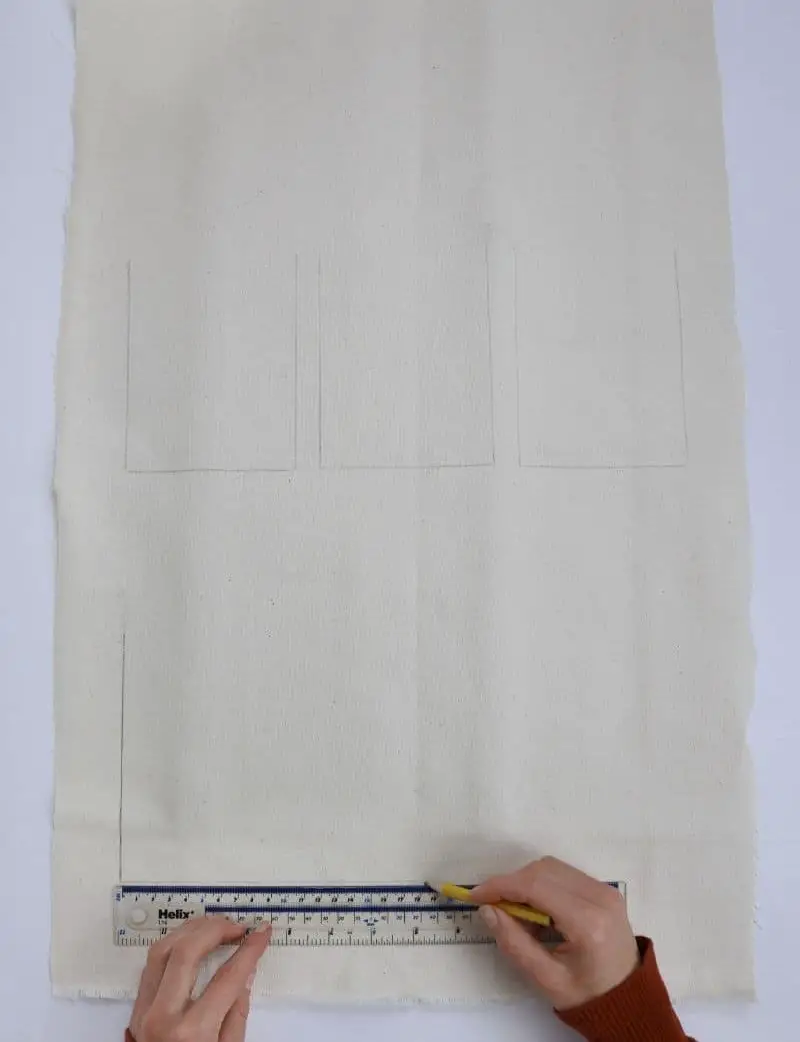
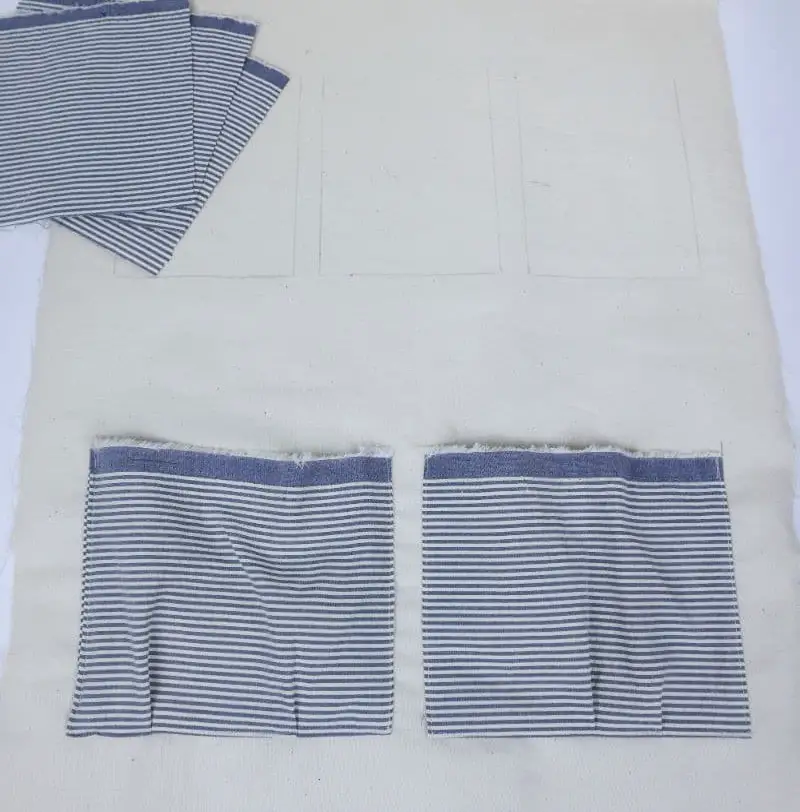
To begin, take out your drawing tools – a pencil and ruler should suffice. Alternatively, if you have tailor’s chalk at your disposal, now is the perfect opportunity to use it. The goal is to sketch the outline of where your pockets will be located on the fabric. As with any design decision, you’re free to stick with uniform pocket sizes or mix things up by incorporating varying sizes that cater to your specific needs.
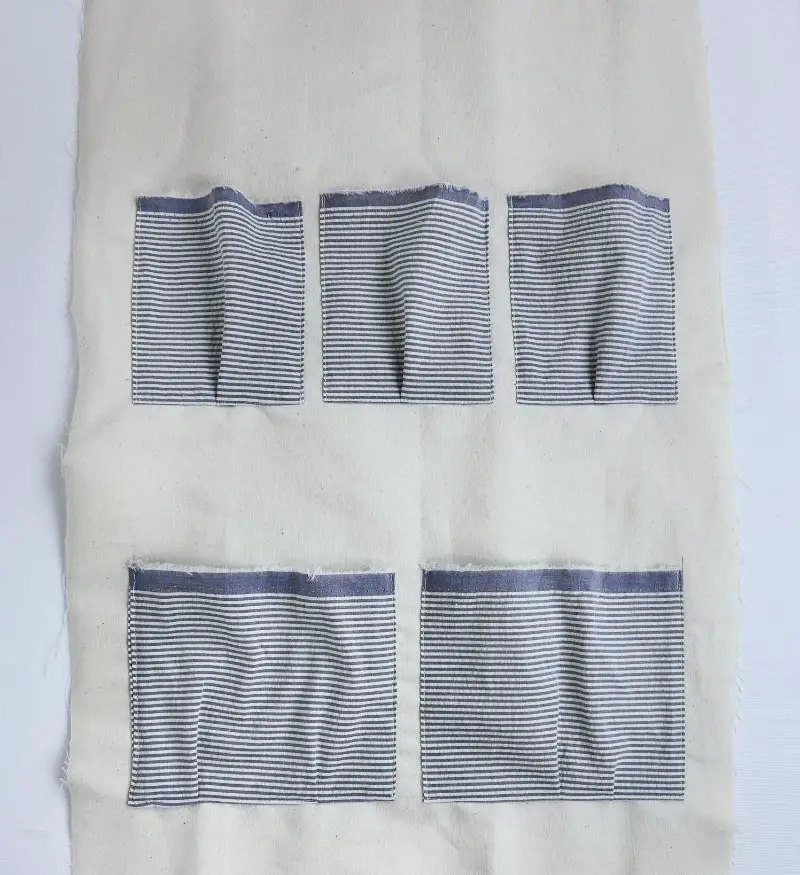
Step 4
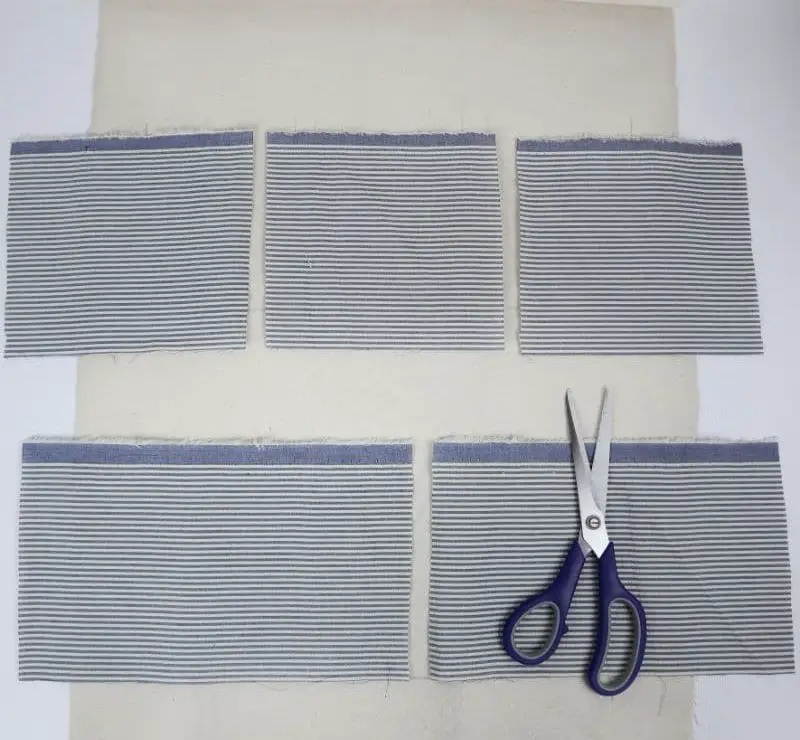
To begin sewing the pockets, it’s essential to cut out the fabric pieces, ensuring they are slightly larger than the original pocket design. A good rule of thumb is to add about 3/4 inch to the sides and 1/2 inch to the bottom of each piece. This allows for a subtle pleat when attaching the pockets, ultimately providing more storage space for your supplies. While this step may seem minor, it’s an important consideration for maximizing pocket functionality.
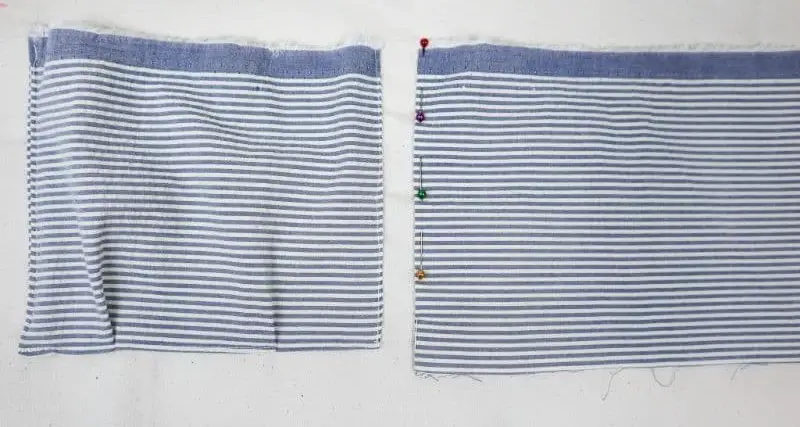
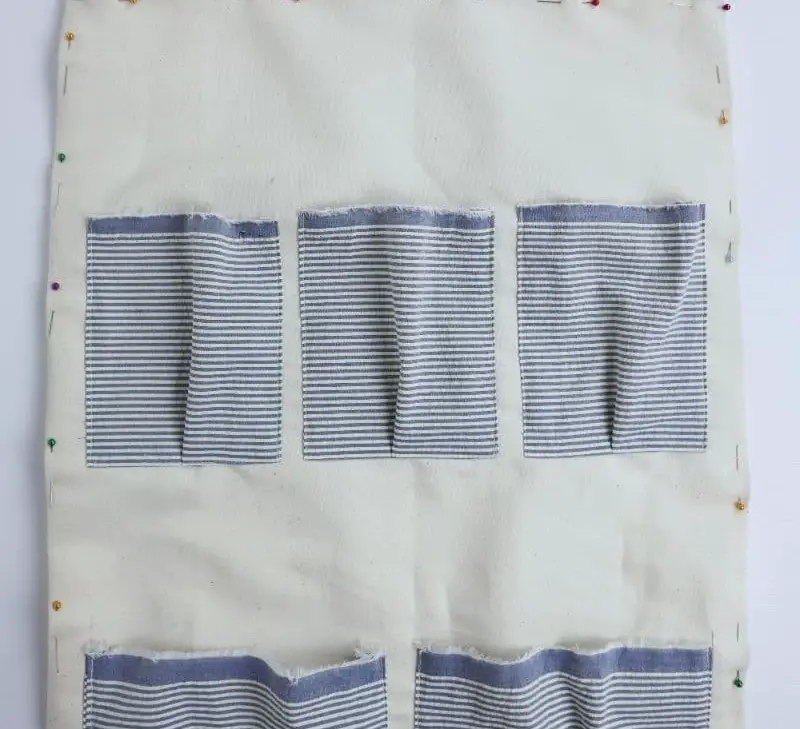
Step 5
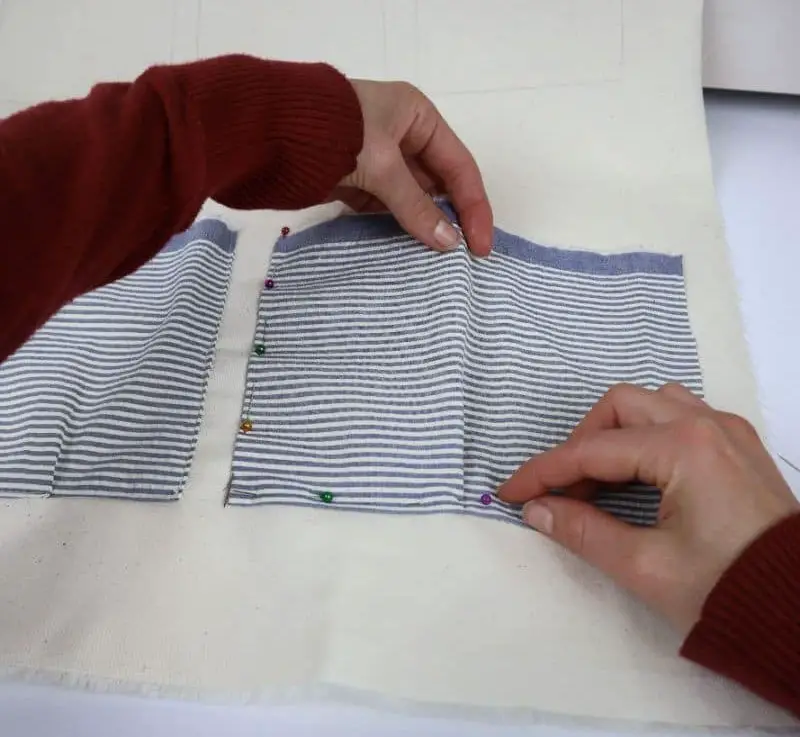
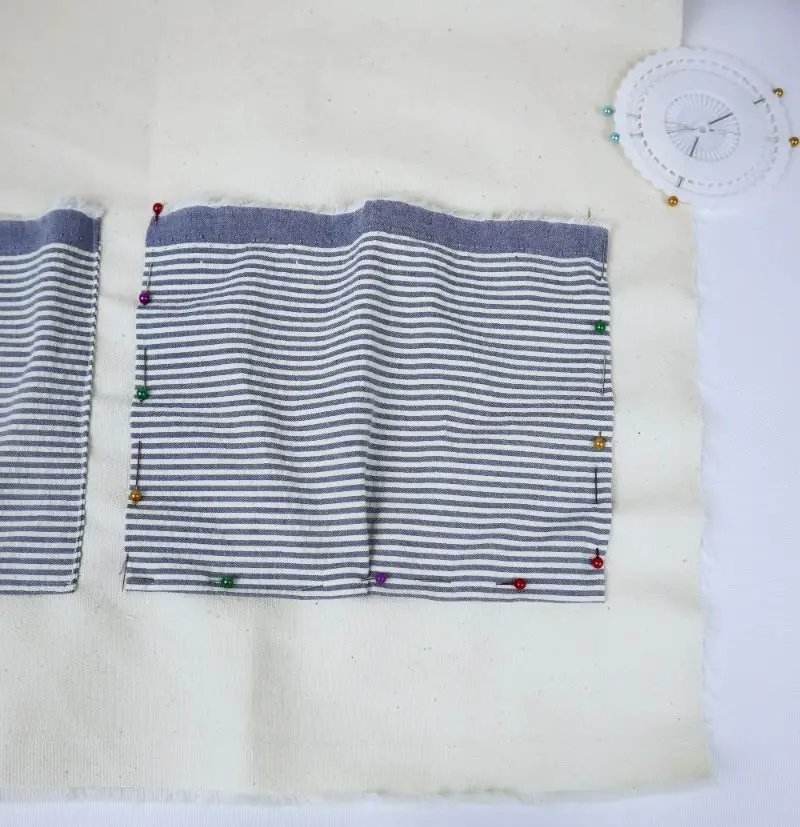
To ensure the durability and appearance of your garment, it’s essential to add a secure hem to prevent fraying with wear. Begin this process by pinning the fabric around the outer edge of the pockets, carefully folding in any raw edges as you progress. As you do so, you can also incorporate a pleat fold to maintain a consistent shape and create a clean finish.
Step 6
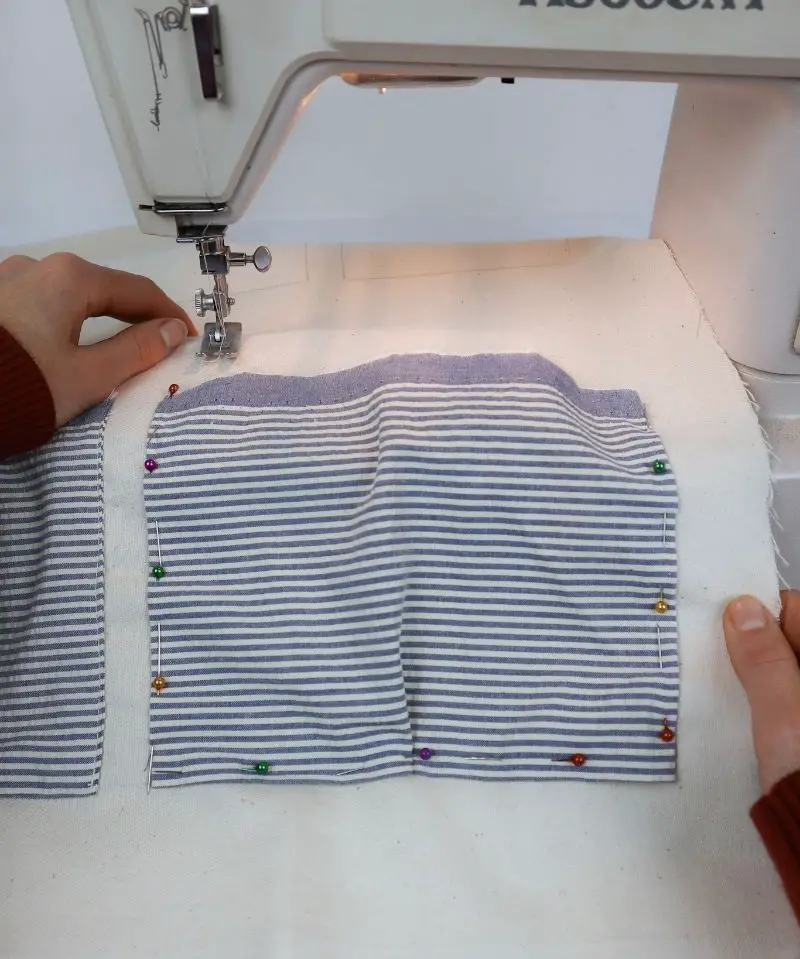
To complete this step, take the prepared organizer to your sewing machine or use a needle and thread with a length of matching thread to match the color of the fabric. Begin by creating a straight stitch along the left edge of the organizer, followed by the right edge and finally the bottom edge, carefully maintaining an even tension throughout. This process will create a selvage, which is essentially a self-finished edge that prevents fraying and provides a clean finish.
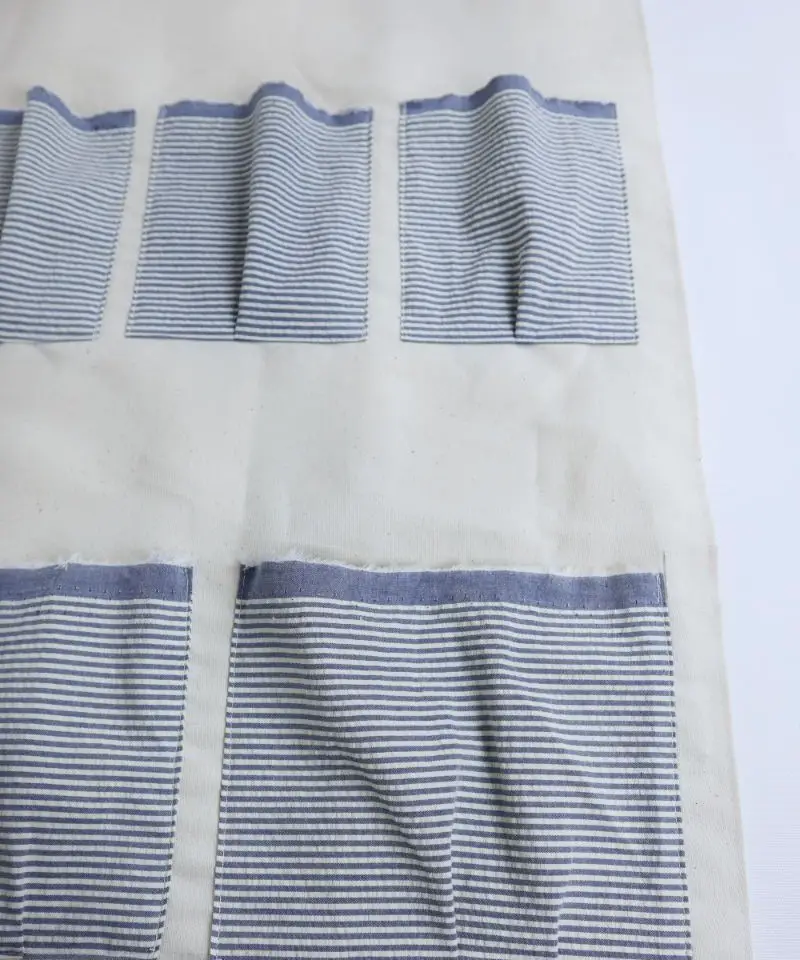
Step 7
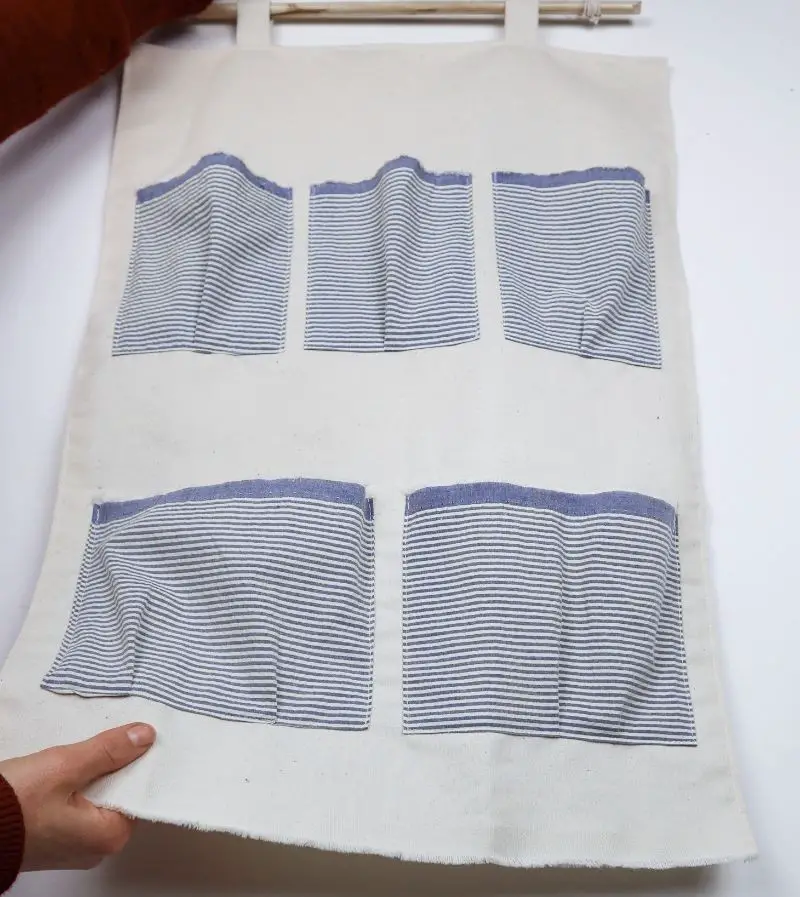
As you sew the pockets onto the base, be mindful of covering or erasing any drawn marks that may still remain. To achieve a professional finish, it’s essential to remove any guide lines as you progress. Consistency is key in sewing projects, and pressing your bags periodically will help maintain their shape and prevent wrinkles from forming.
Step 8
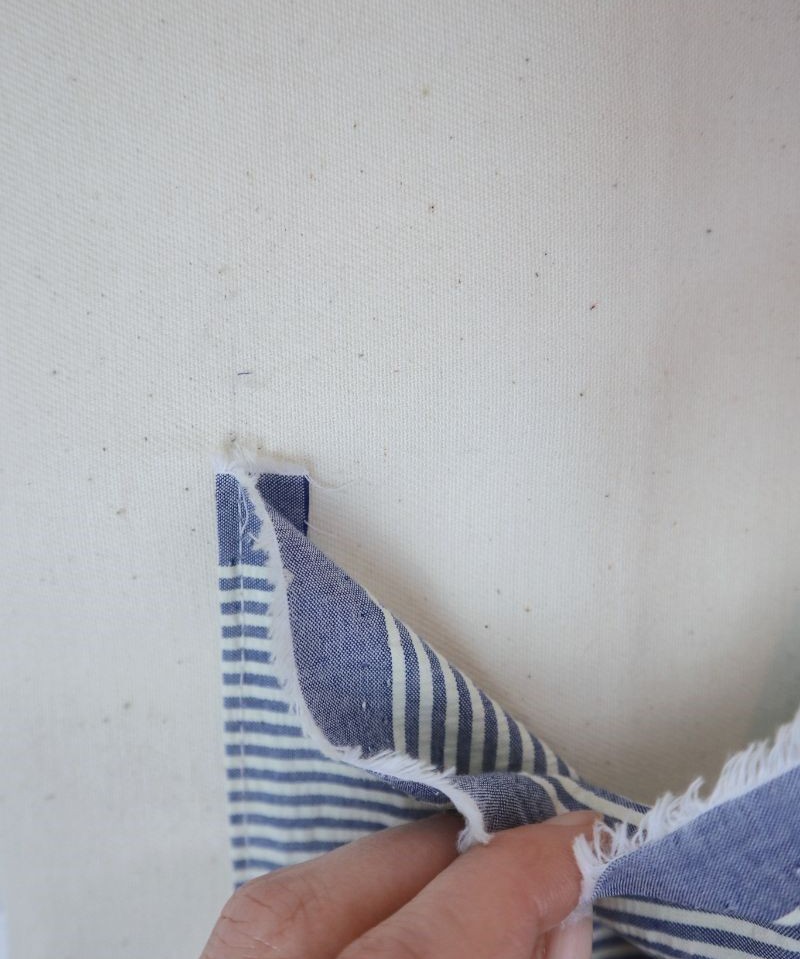
To finish the organizer’s edges, follow a similar process to sewing the pockets. Start by folding the edges inward and securing them with pins, ensuring the selvage is evenly aligned on all sides. A key step here is to iron down each edge as you go, before pinning it in place. This simple trick helps keep the fabric flat and secure, resulting in a more professional finish when sewing along the selvage.
Step 9
As you return to your sewing machine, carefully guide the fabric under the presser foot, ensuring the selvage edge is securely stitched in place. Aim for a smooth, even line as you work your way along the edge, using your best judgment to maintain straightness.
Step 10
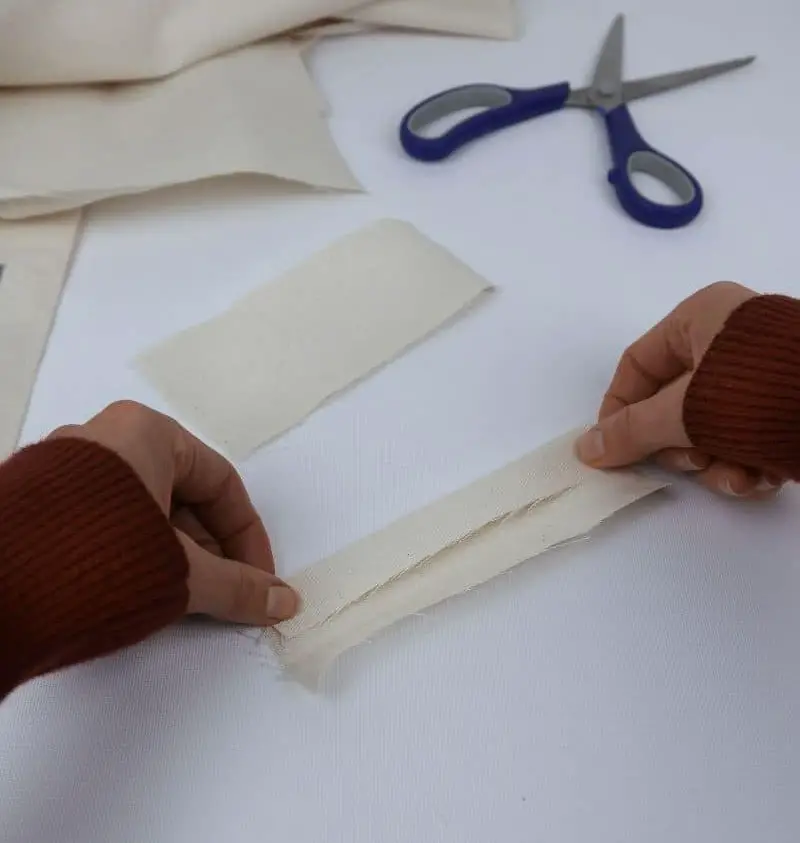
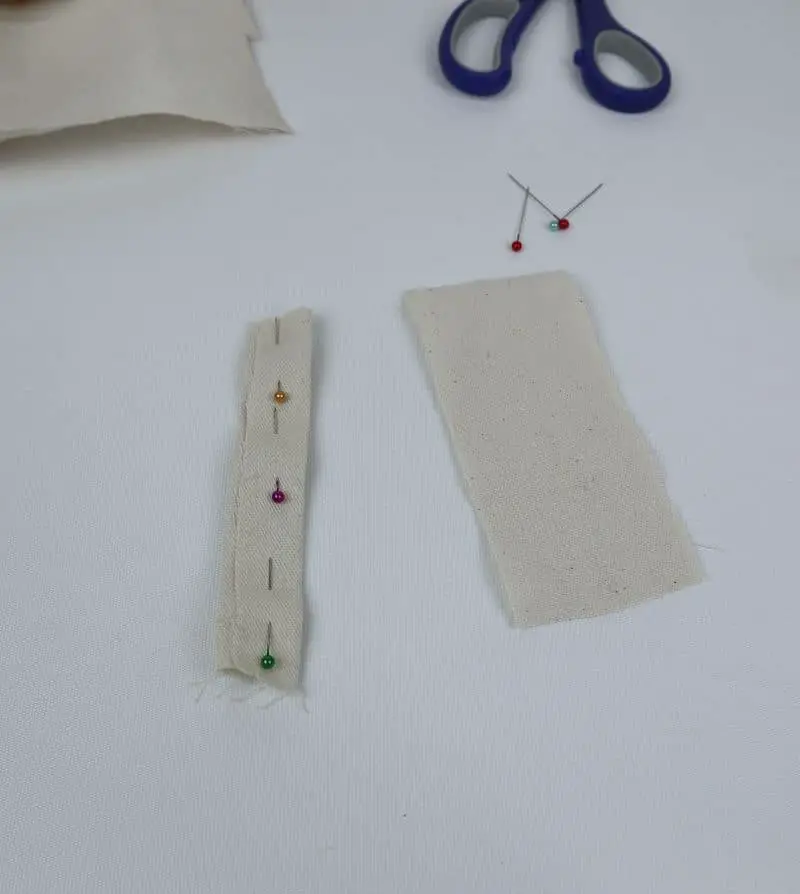
To set up the organizers’ hanging mechanism, start by cutting two identical fabric pieces to the same size – I opted for 6.5 inches wide and 6 inches long. These fabric strips will serve as the ‘suspenders’ or loops that hold your organizer in place.
Step 11
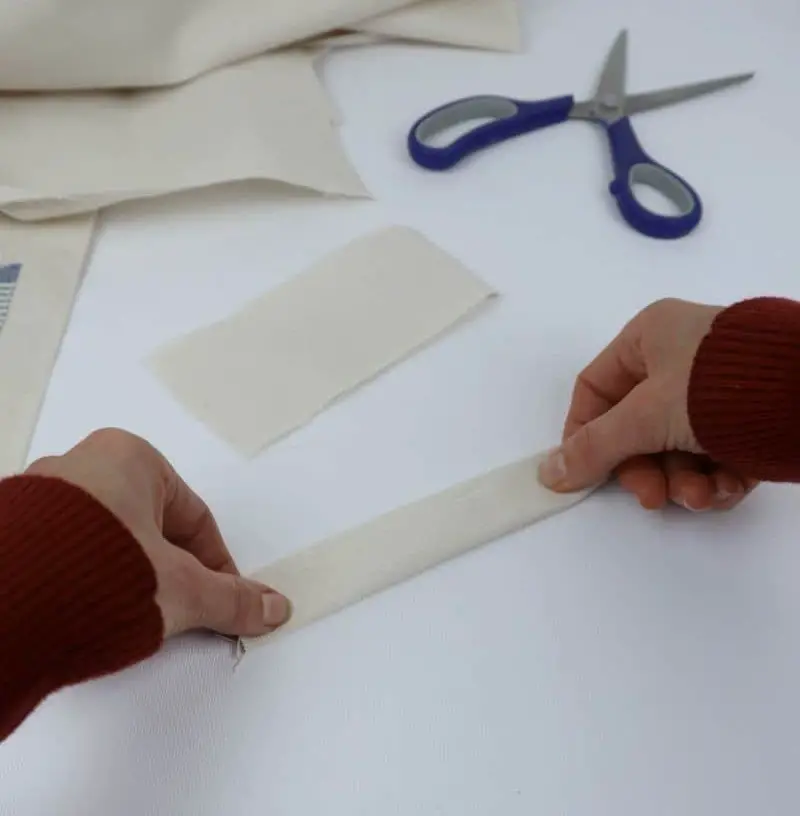
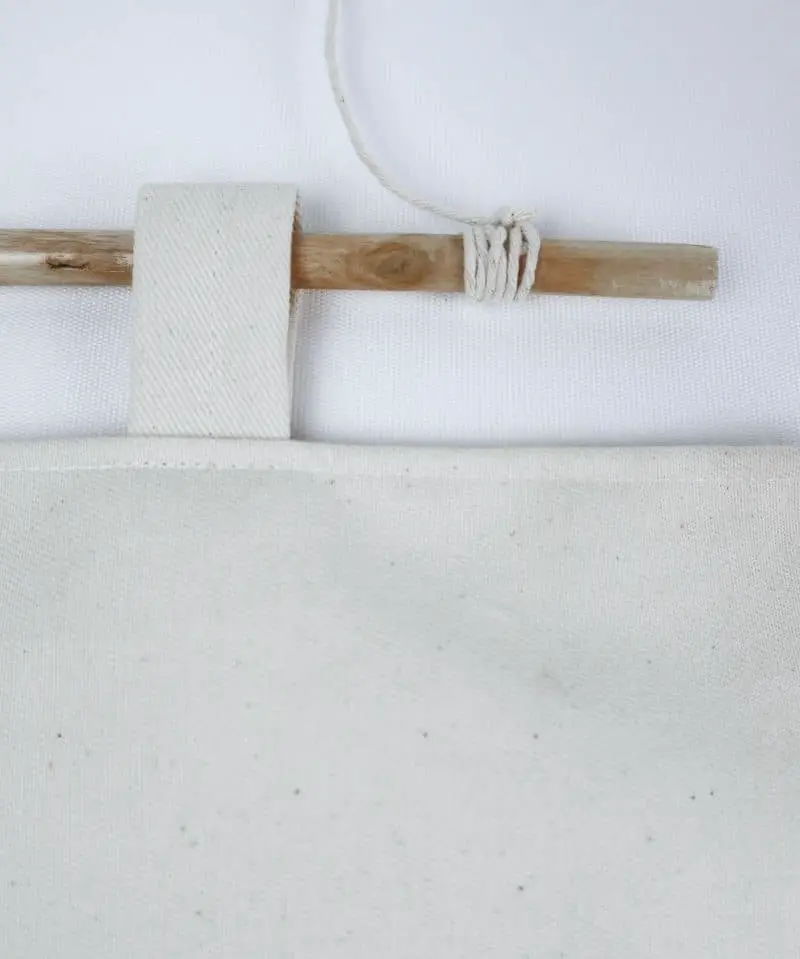
To create a secure and neater construction, fold the edges of the fabric inward, applying gentle pressure to eliminate any wrinkles. Then, secure the folded flaps together, forming a rectangular shape reminiscent of a suspender. This step-by-step process will ensure your project takes on a polished appearance while maintaining its structural integrity.
Step 12
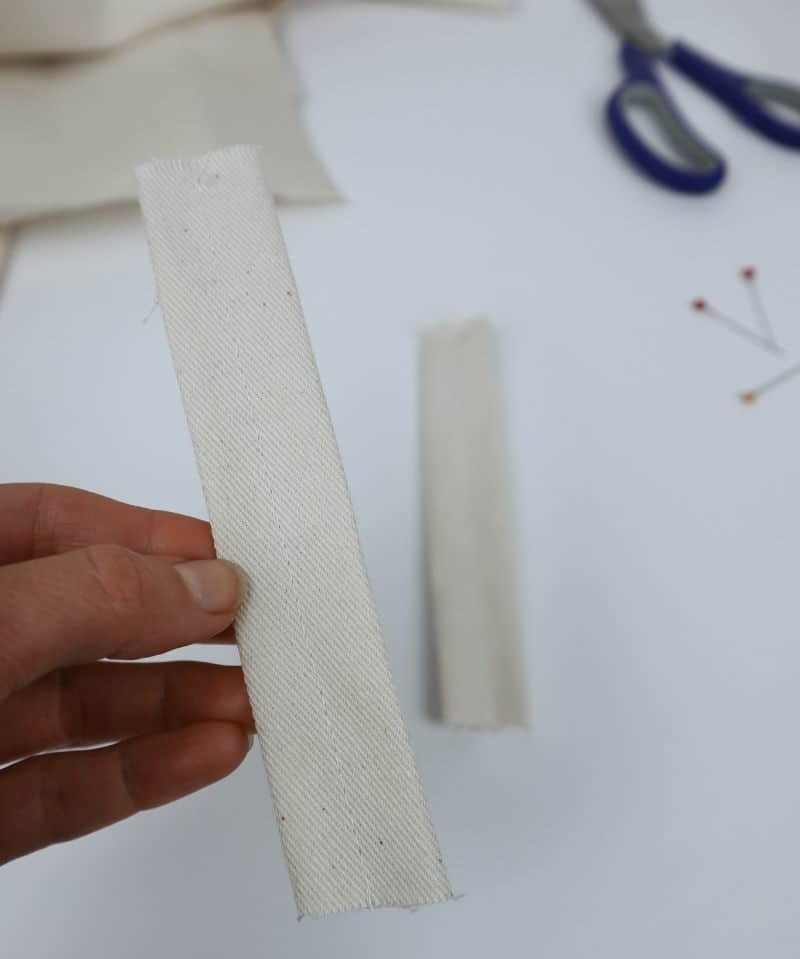
To reinforce the loops, quickly run a straight stitch along the center of each one. Since you won’t be worrying about securing the loose ends just yet, focus on keeping those stitches neat and tidy. This prep work sets the stage for the next step, where you’ll be sewing those loose ends to the organizer.
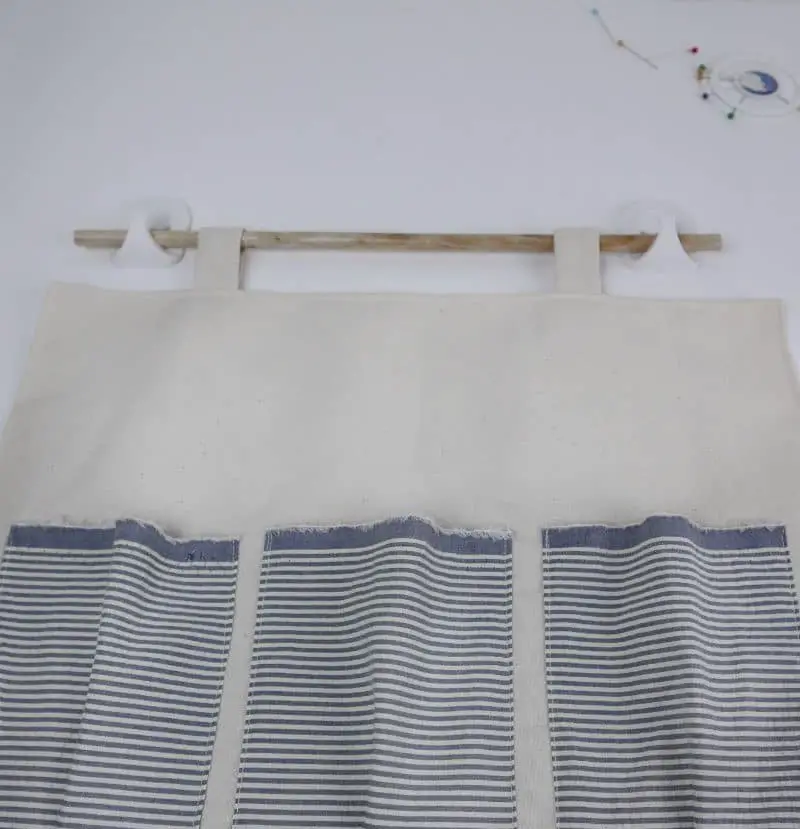
Step 13

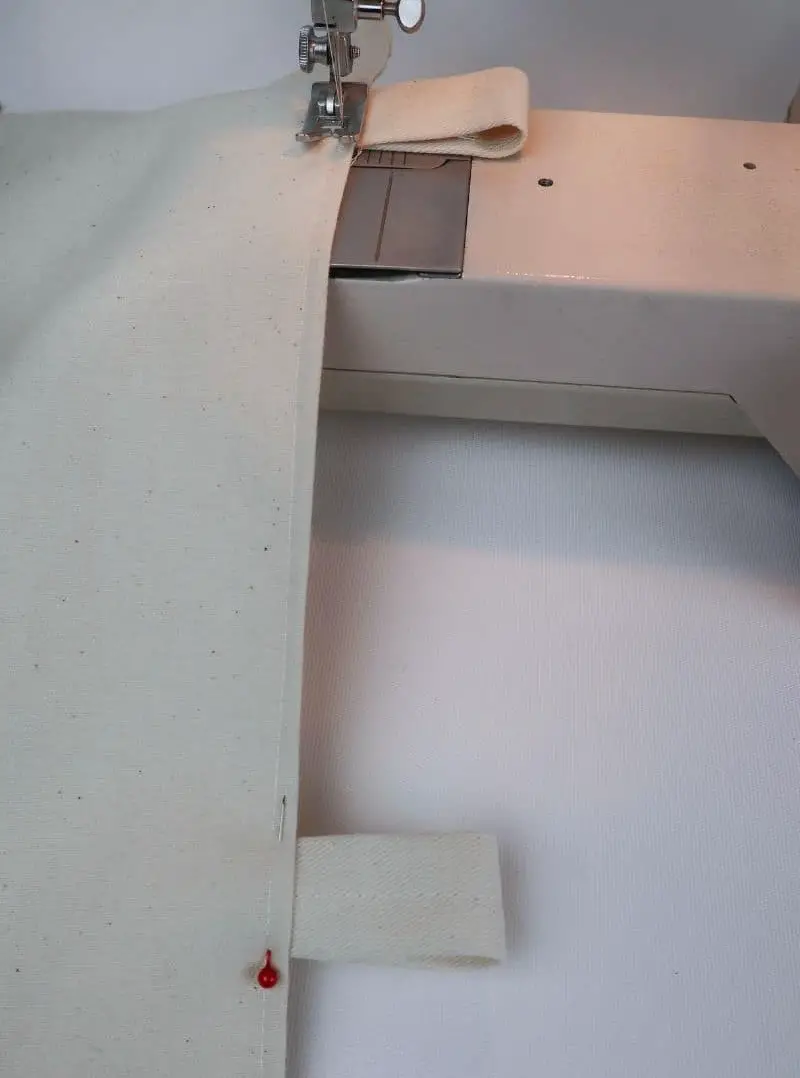
To complete this step, start by preparing the wooden stick, also known as the bar. This is where your organizer will be hung. Take the loops and space them evenly apart on the base, wrapping them around the rod and securing them with pins. Once you have evenly spaced loops, move on to attaching them to the base. To do this, run a straight stitch along the bottom of each loop, effectively binding it in place.
Step 14
While the approach may differ depending on the type of hanging system you’re utilizing, let’s proceed with the steps. If you’re employing command hooks, you can consider this part of the process complete. For others, continue reading for further guidance.
Personally, I opted to use twine as my hanging method due to its aesthetically pleasing appearance. Attaching the twine is a straightforward process that yields a visually appealing display when hung on your wall.
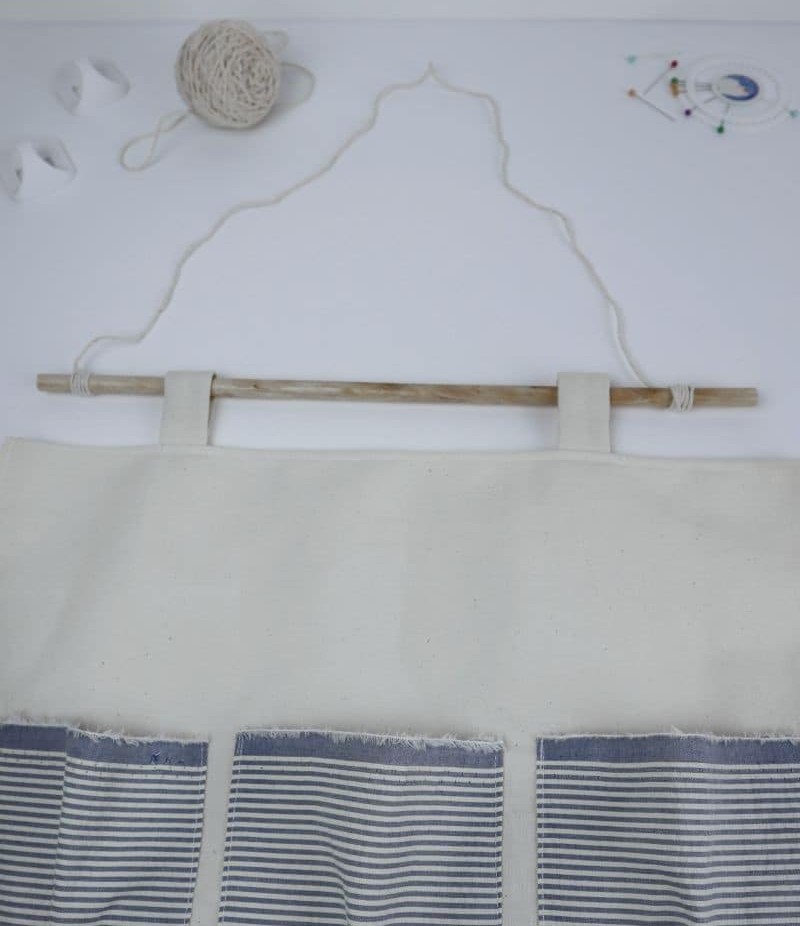
Step 15
To complete the project, start by cutting a length of string and attaching it to either end of the wooden stick. Secure the twine in place by wrapping it around the bar several times. For added stability, apply a small amount of hot glue to reinforce the bond. Once the base is secure, you can focus on adding your personal touches and decorations to make the organizer truly unique.
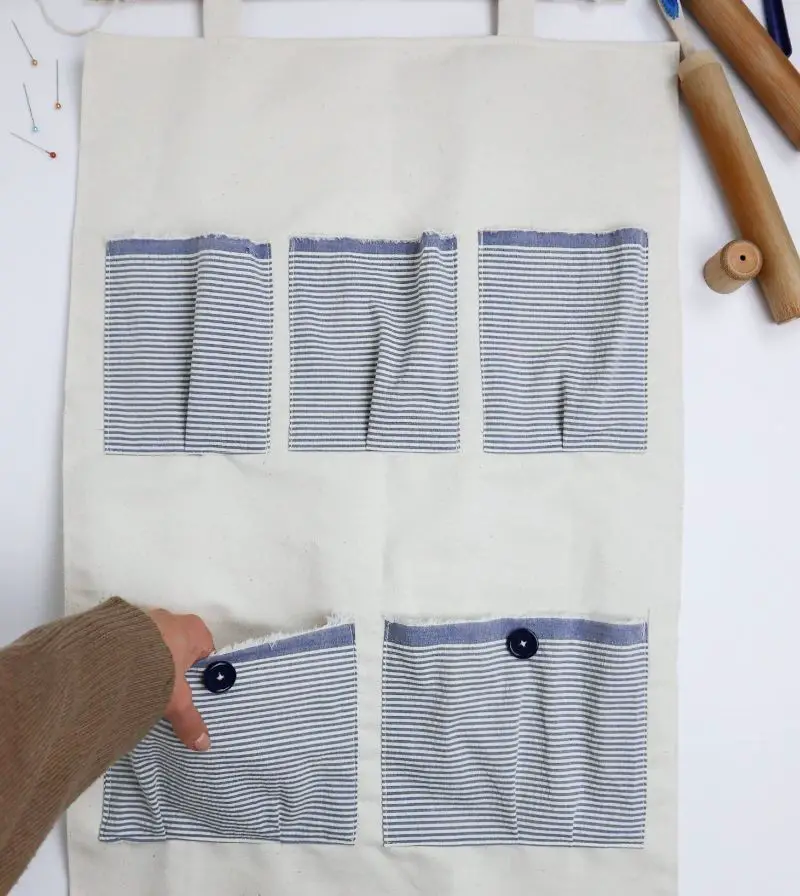
Step 16
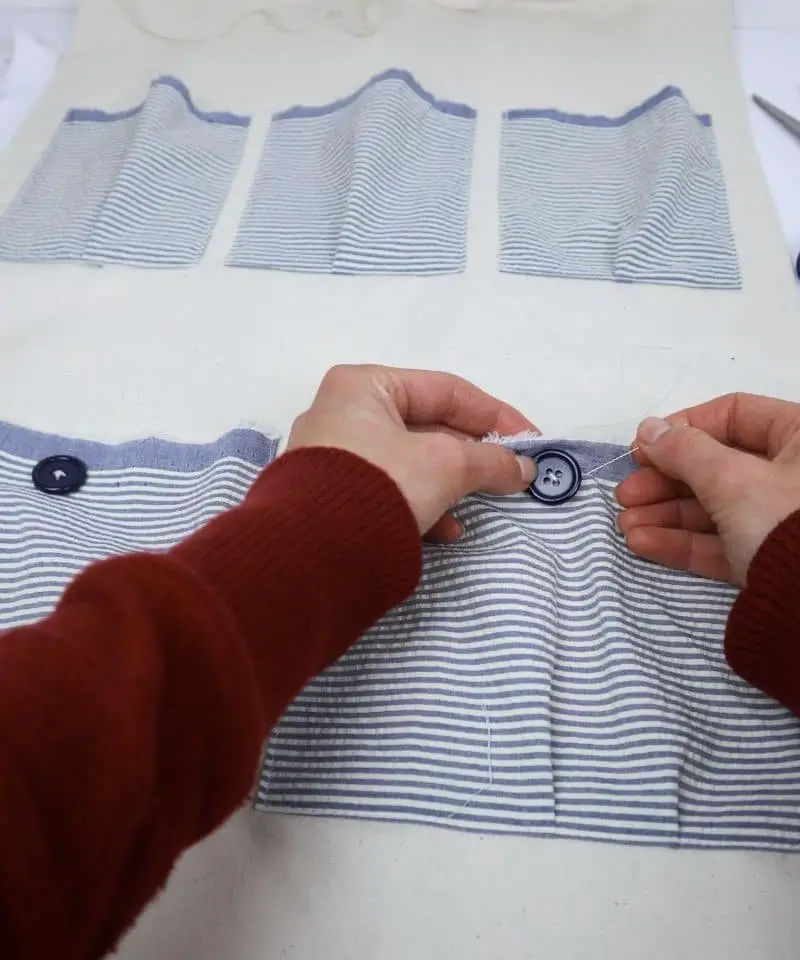
To give my organizer an extra touch of personality, I decided to add buttons to the larger pockets. This small detail adds a pop of color and visual interest. Other creative ways to decorate this organizer include embroidering patterns or phrases, using rick rack for a homespun look, applying sequins for added sparkle, or even incorporating fake foliage for a natural touch.
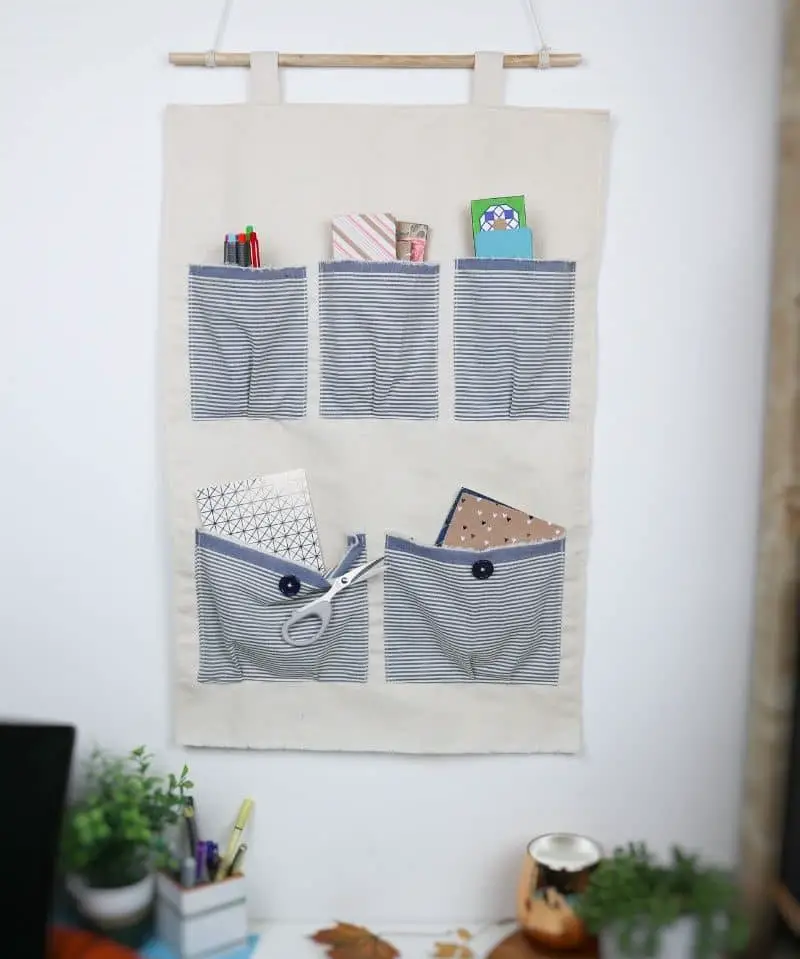
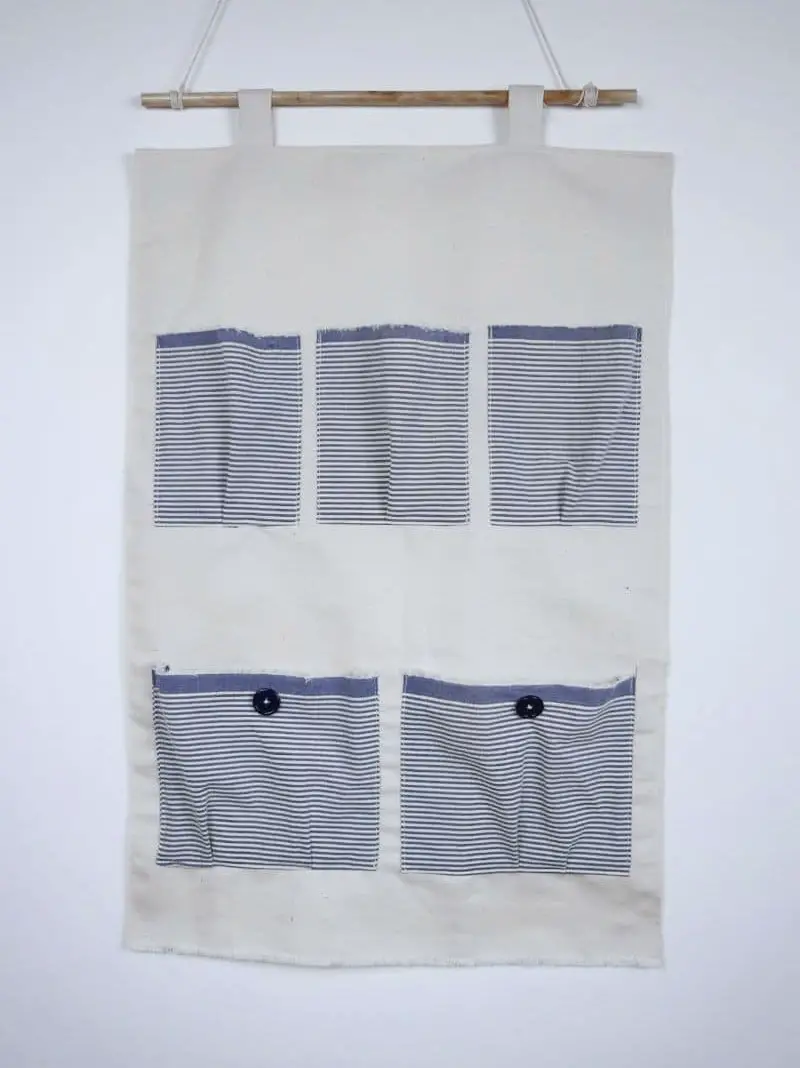
Once I was satisfied with my design, all that remained was to hang my newly created organizer on the wall and admire its functionality and aesthetic appeal.
How Do You Hang Pocket Organizer?
When dealing with a large number of items stored in your organizer, it’s crucial to choose a reliable attachment method to ensure everything stays in place. A wall-anchored hook is an excellent option for this purpose, as it eliminates the risk of adhesive failure. This way, you can confidently hang your organizer without worrying about unexpected collapses. Alternatively, you could consider using two hooks to provide additional support or secure the entire organizer to the wall.
Whatever method you choose, make sure to share where you’re hanging yours in the comments below!
DIY Hanging Organizer with Pockets
Get ready to tackle your next stash-busting sewing project! This DIY hanging organizer with pockets is a fantastic addition to any office or kitchen space, providing ample storage and organization. With only 20 minutes of prep time, you’ll be well on your way to creating this functional piece in no time. Once you’ve got everything ready, expect to spend about an hour actively working on the project. In total, you’re looking at around 1 hour and 40 minutes from start to finish. The end result?
A one-of-a-kind pocket organizer that’s sure to become a treasured addition to your workspace or kitchen counter.
Equipment
A list of essential tools for any sewing project includes the obvious – a reliable sewing machine or, if you’re working by hand, a trusty needle and thread. However, there are several other indispensable items that can make all the difference between a successful outcome and a frustrating experience. Scissors with sharp blades are crucial for cutting through fabric with ease, while pins provide a secure way to hold your material in place as you work.
A pencil is necessary for marking patterns or tracing designs onto your fabric, and a ruler ensures that your pieces are accurately cut and aligned.
Materials
When it comes to crafting your bag, you’ll want to consider the following materials: thick fabric for the main body, patterned fabric for adding some visual interest to the pockets. For hanging and securing your bag, 2 x command hooks or sturdy string will do the trick. A wooden stick can also be used as a stabilizing element. Finally, buttons are optional but can add an extra layer of functionality and style.
Instructions
To create your DIY organizer, start by measuring out the space where you’ll be placing it. Cut a piece of heavy material to fit the dimensions, leaving about 3/4 inch around the edges for the selvage. Next, draw the desired pocket sizes onto the base and cut out corresponding pockets from the patterned fabric. To prevent fraying, create a selvage on each pocket by folding the edge inward and sewing a straight stitch around the sides and bottom. Then, sew all the pockets onto the base.
Repeat this process to create a selvage for the outside of the organizer. Cut two equal pieces of heavy material (I used 6.5in x 6in) and fold the edges inward, pinning them in place before sewing a straight stitch down the middle to secure. These will be your loops. Secure the loops to the top of the organizer with pins, then sew along the bottom. Thread your wooden stick through the loops and decide how you’d like to hang the organizer – whether that’s with a string or command hooks.
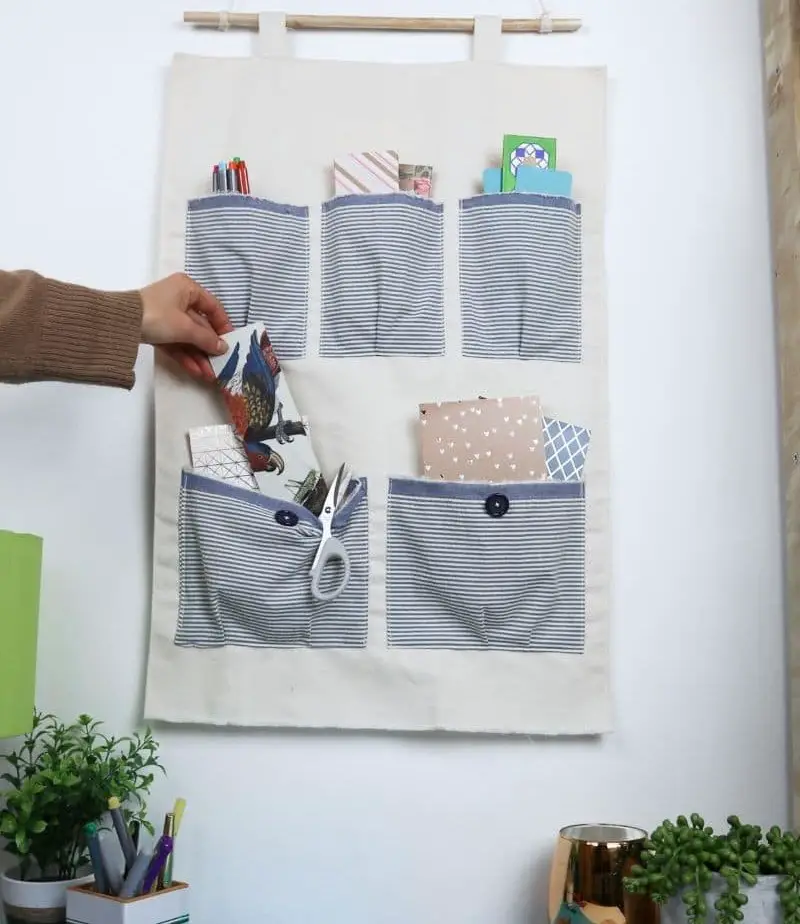
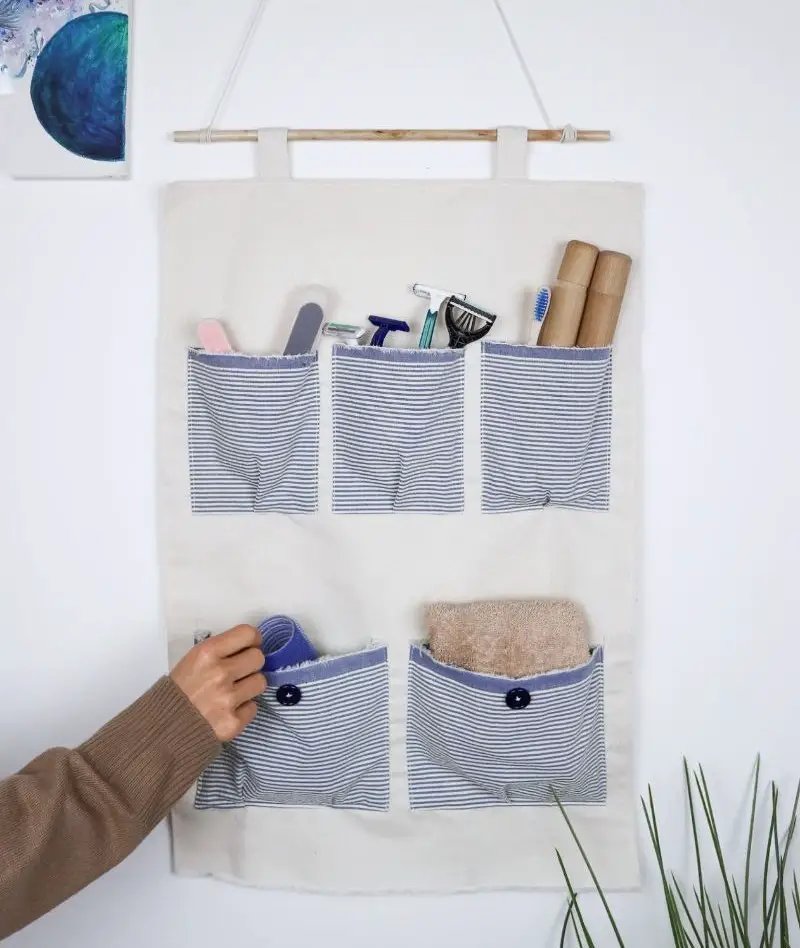
Once it’s secured, fill the organizer with whatever you need a little extra space for, such as notebooks, pens, craft supplies, cooking utensils, or anything else.