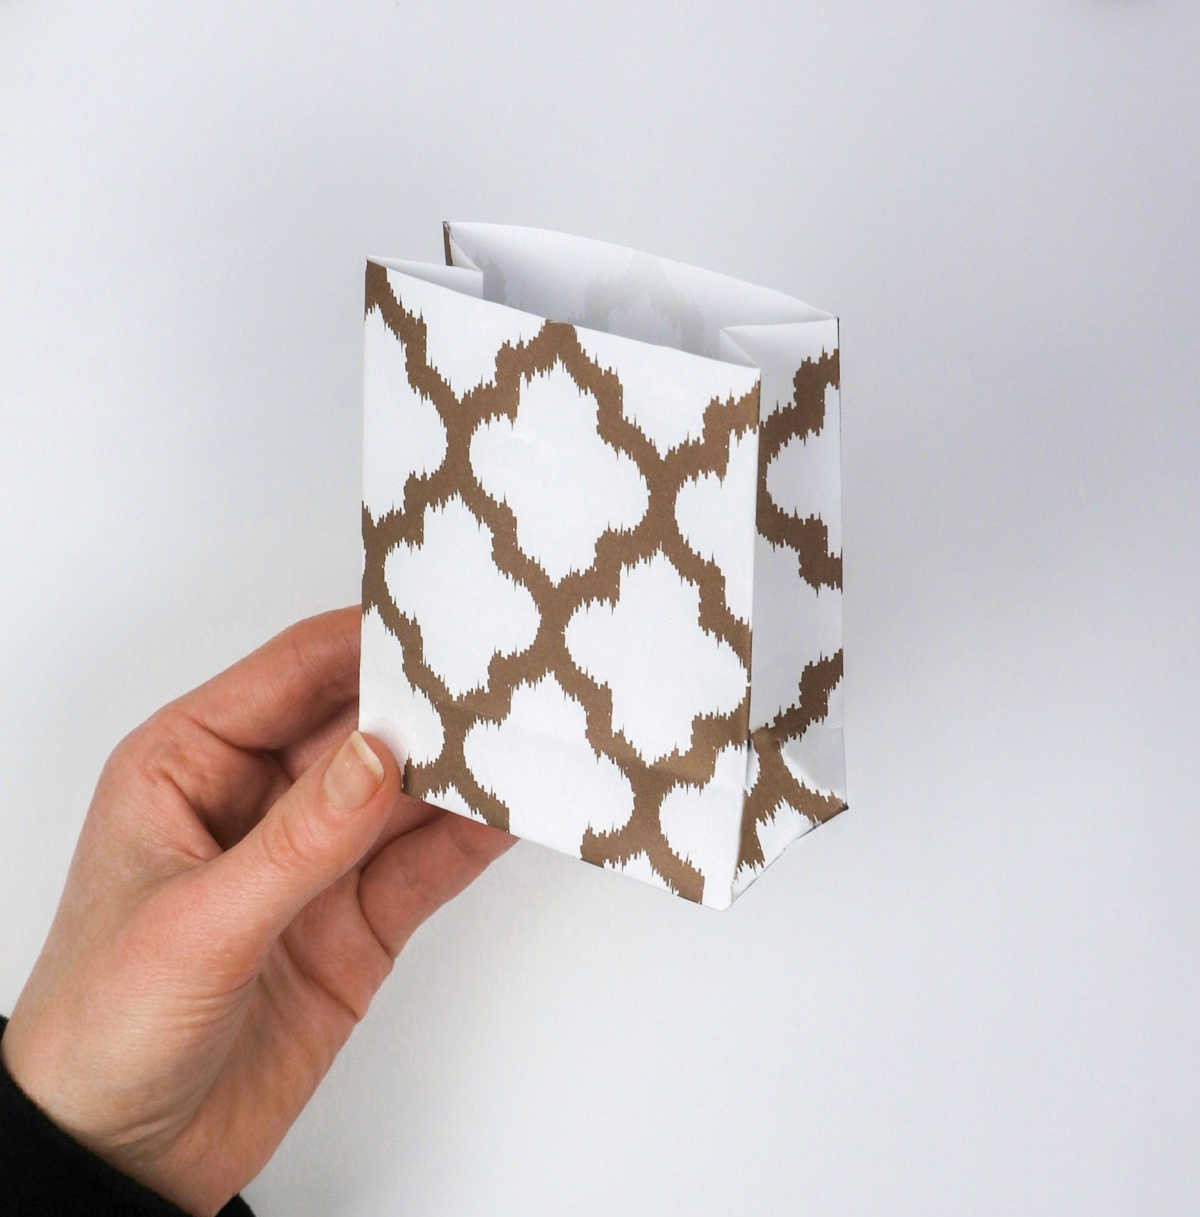
The art of gifting takes a delightful turn when you create your own DIY gift bags. The excitement of unwrapping a present is amplified by the thrill of digging through vibrant packaging, only to discover the treasures inside. Unfortunately, premium gift bags can be quite pricey, making it challenging to justify spending more on wrapping than on the actual gifts.
Fear not, for we’ve got a solution that’s as budget-friendly as it is easy-peasy!
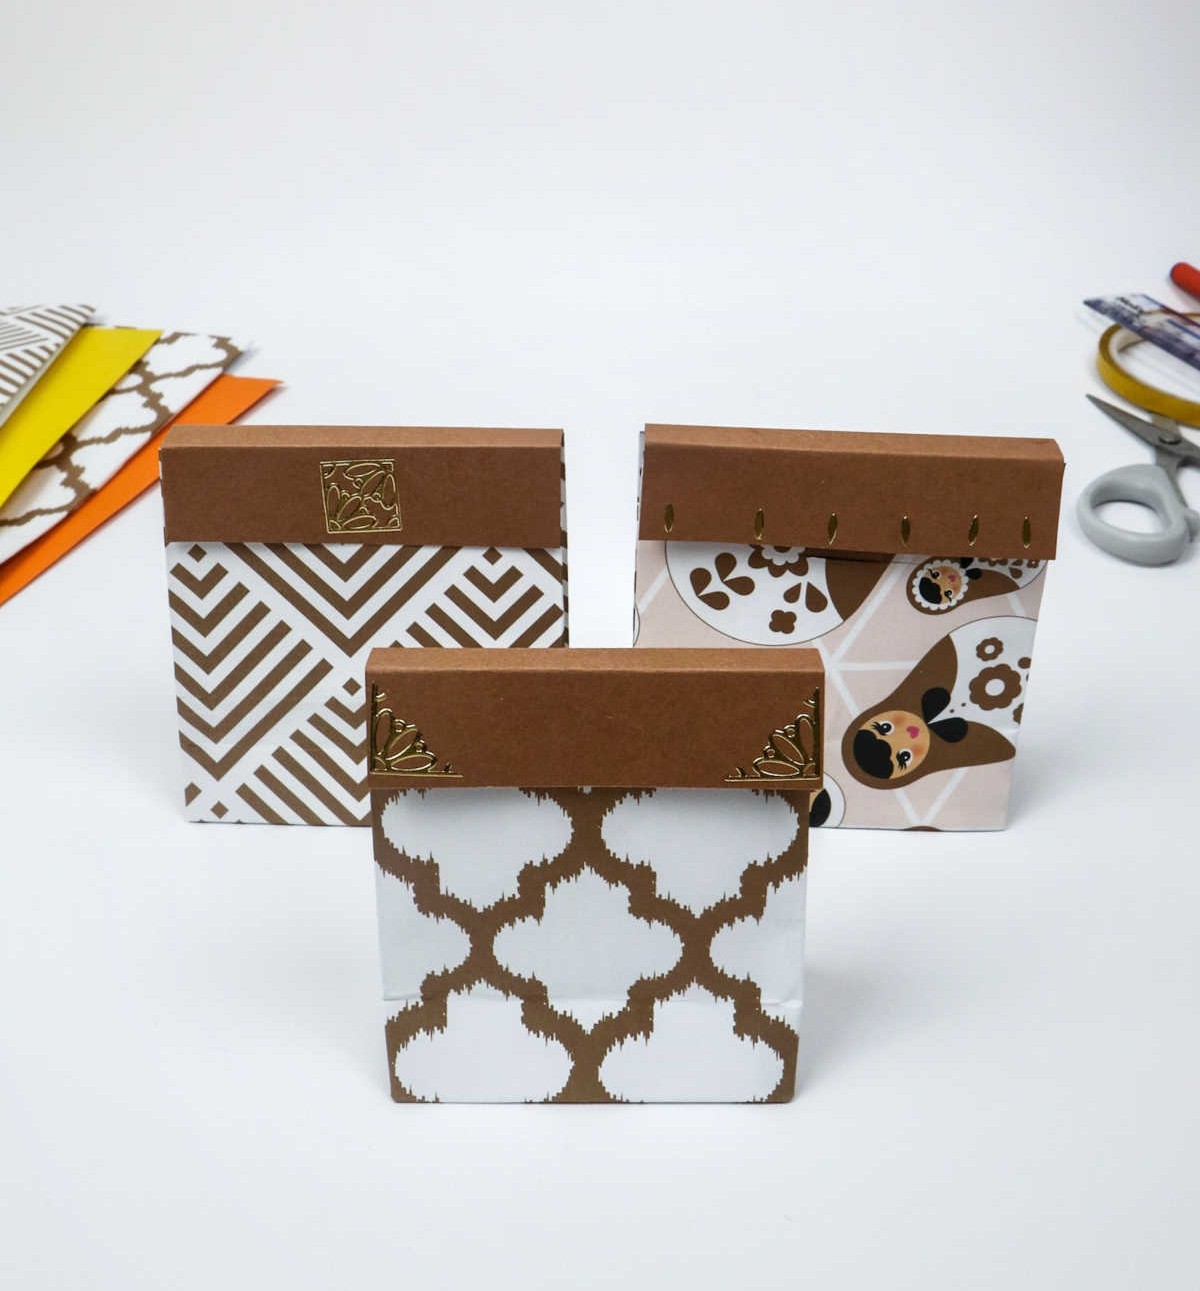
By embarking on this DIY adventure, you’ll craft beautiful gift bags that are sure to make your presents even more special. So, take a peek at our step-by-step guide and get ready to wrap up the perfect present with ease!
Supplies for Gift Bags
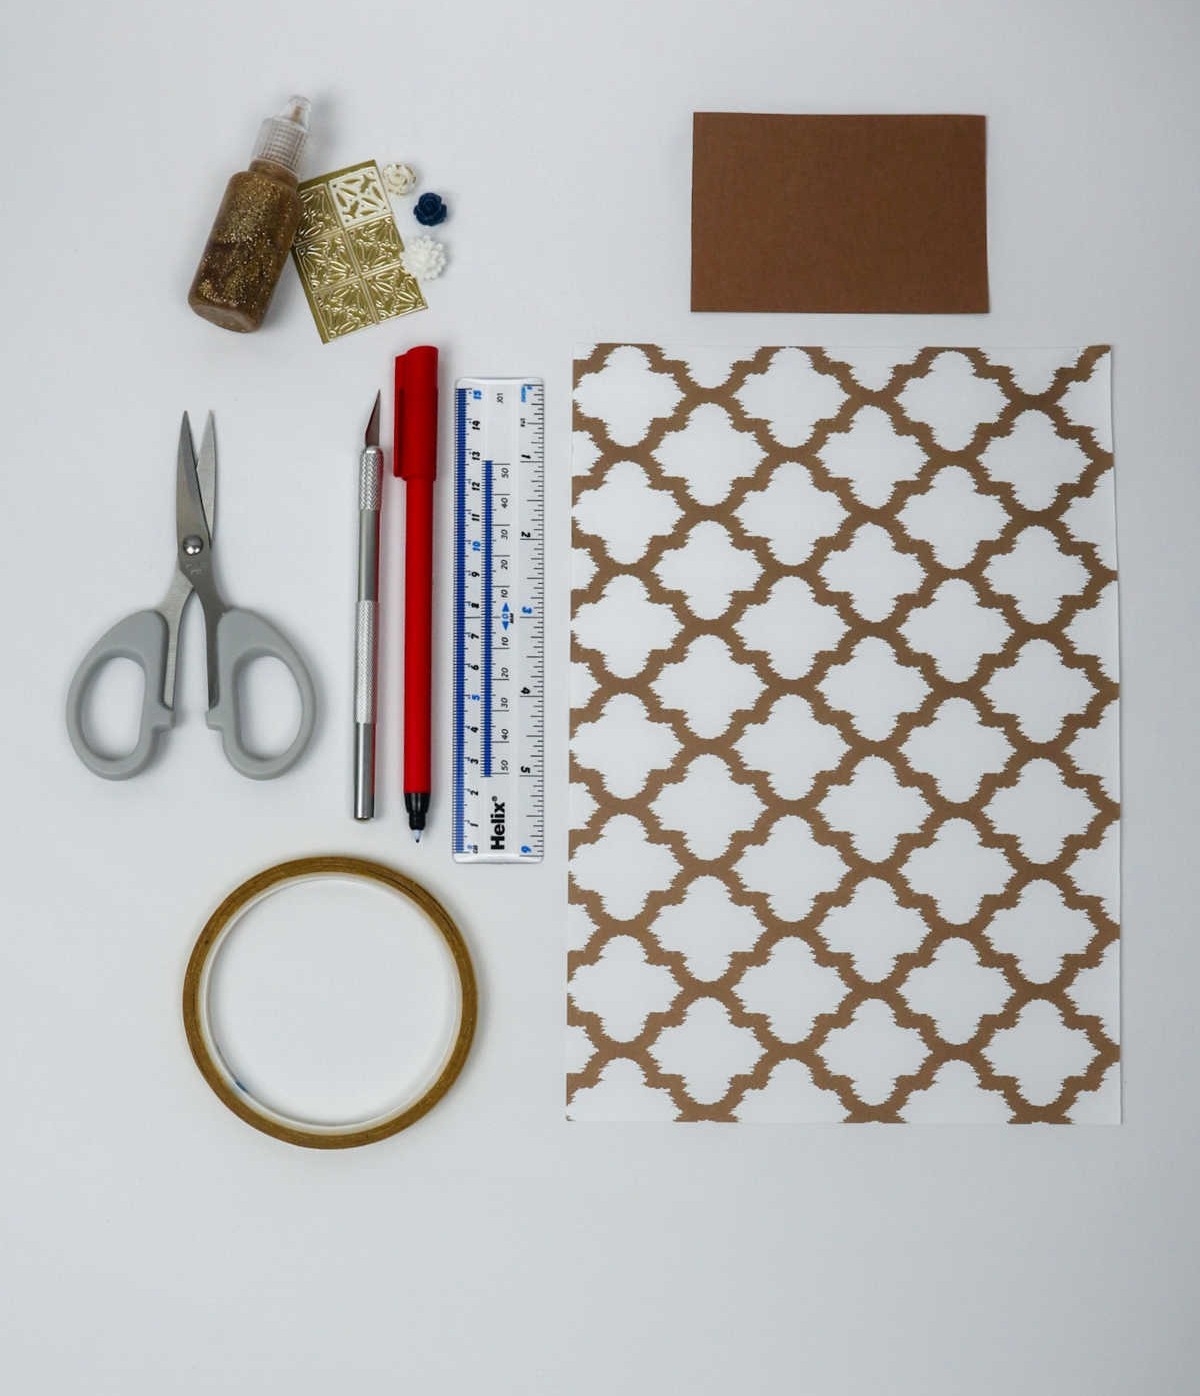
To begin crafting your unique creations, you’ll need a few essential supplies.
These include: patterned paper or gift wrapping paper for the main design; a small piece of paper to serve as the top layer; a ruler to ensure precise cutting; a pencil for drawing and planning; a hobby knife for making intricate cuts; scissors for cutting out shapes; double-sided tape or glue to secure your pieces together; glitter glue for adding an extra touch of sparkle; and stickers for embellishing your final product.
With these materials at the ready, you’re one step closer to bringing your creative vision to life.
How to Make Gift Bags
Imagine the excitement of creating something from scratch – that’s what awaits you with this DIY project. As you bring all your materials together, envision yourself as an origami master, carefully folding, tucking, and shaping each piece into its perfect form. The process is almost meditative, with each crease and fold a testament to your creativity and skill.
Step 1
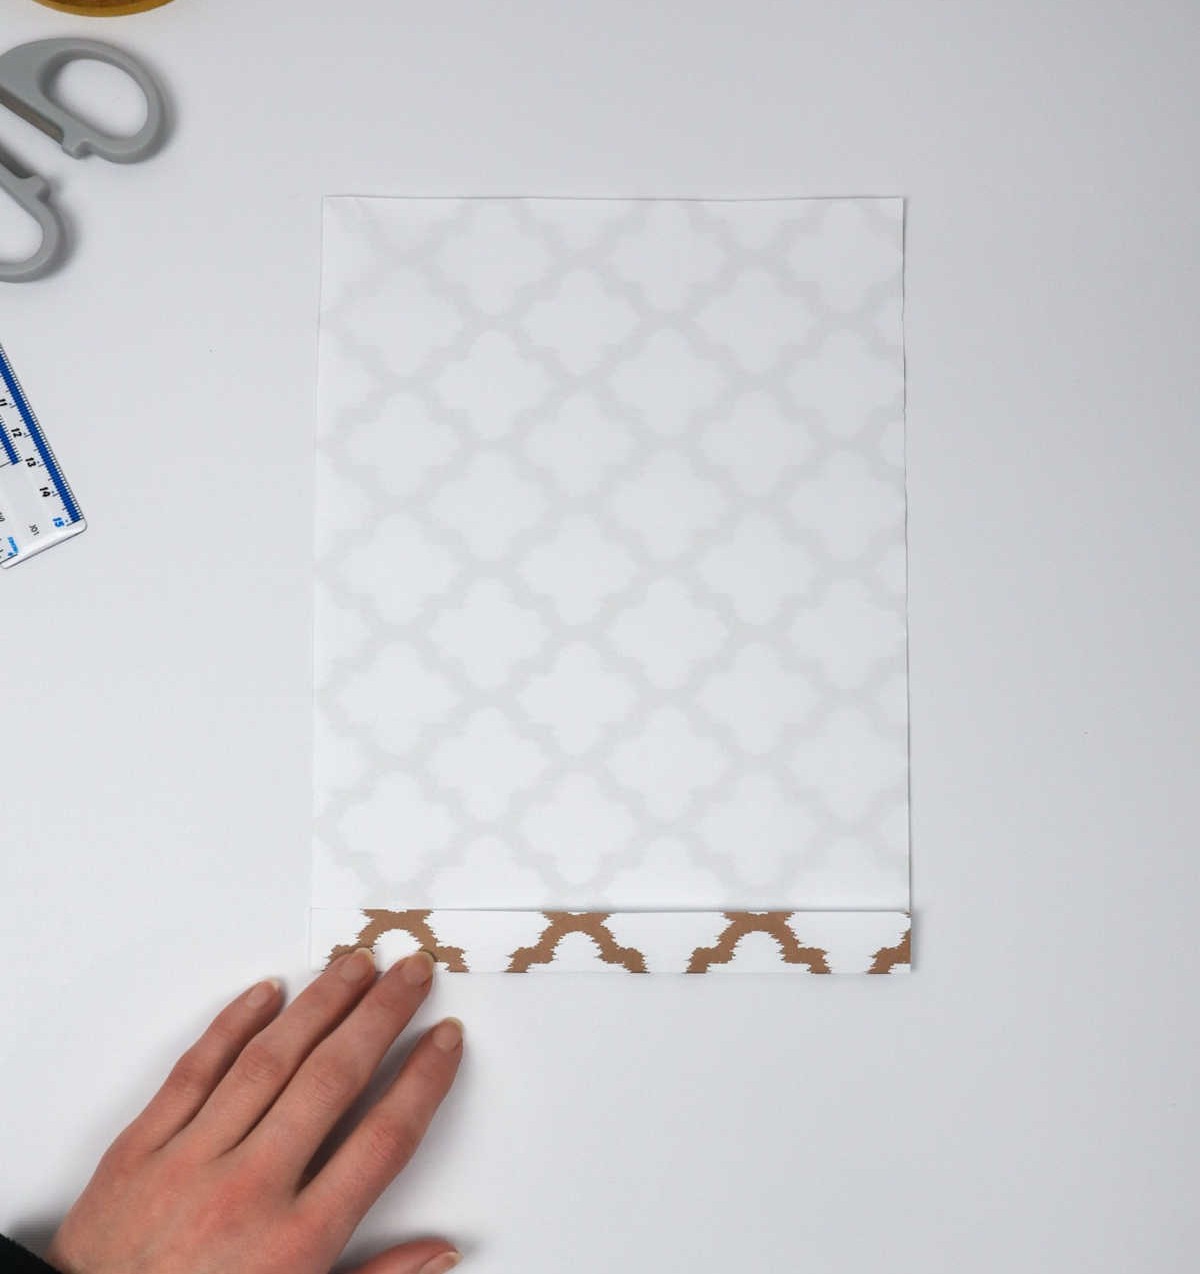
To begin, position the paper with the patterned side facing downwards and the plain side facing upwards. Then, create a crease by folding the bottom inch or so of the paper up and pressing it firmly in place. Next, apply double-sided tape along the folded edge to secure it.
Step 2
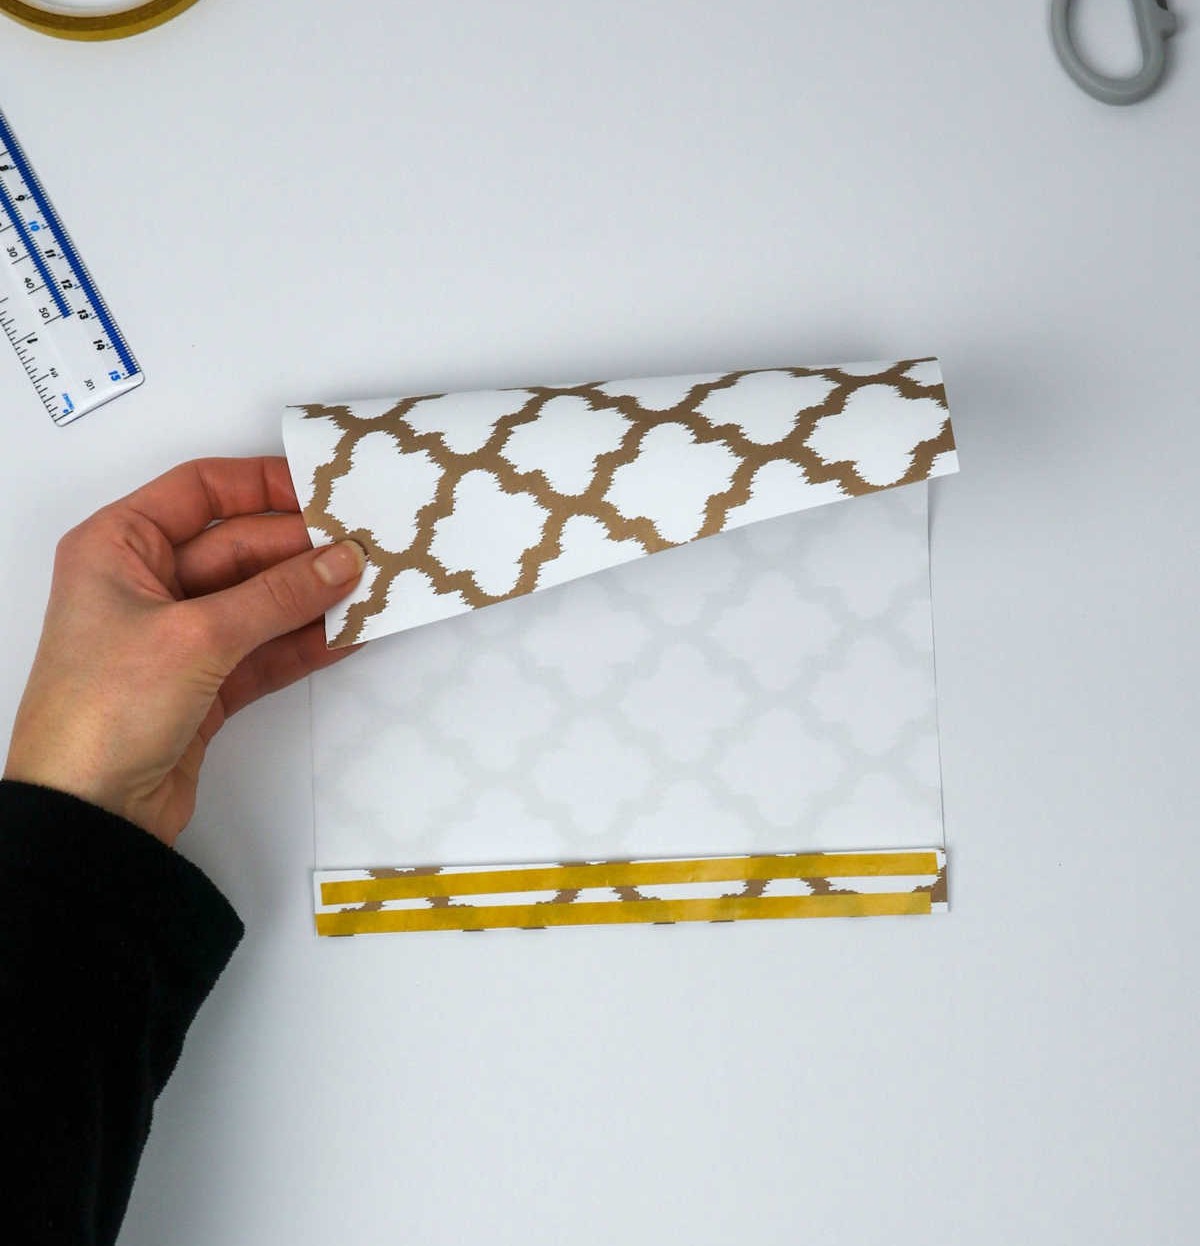
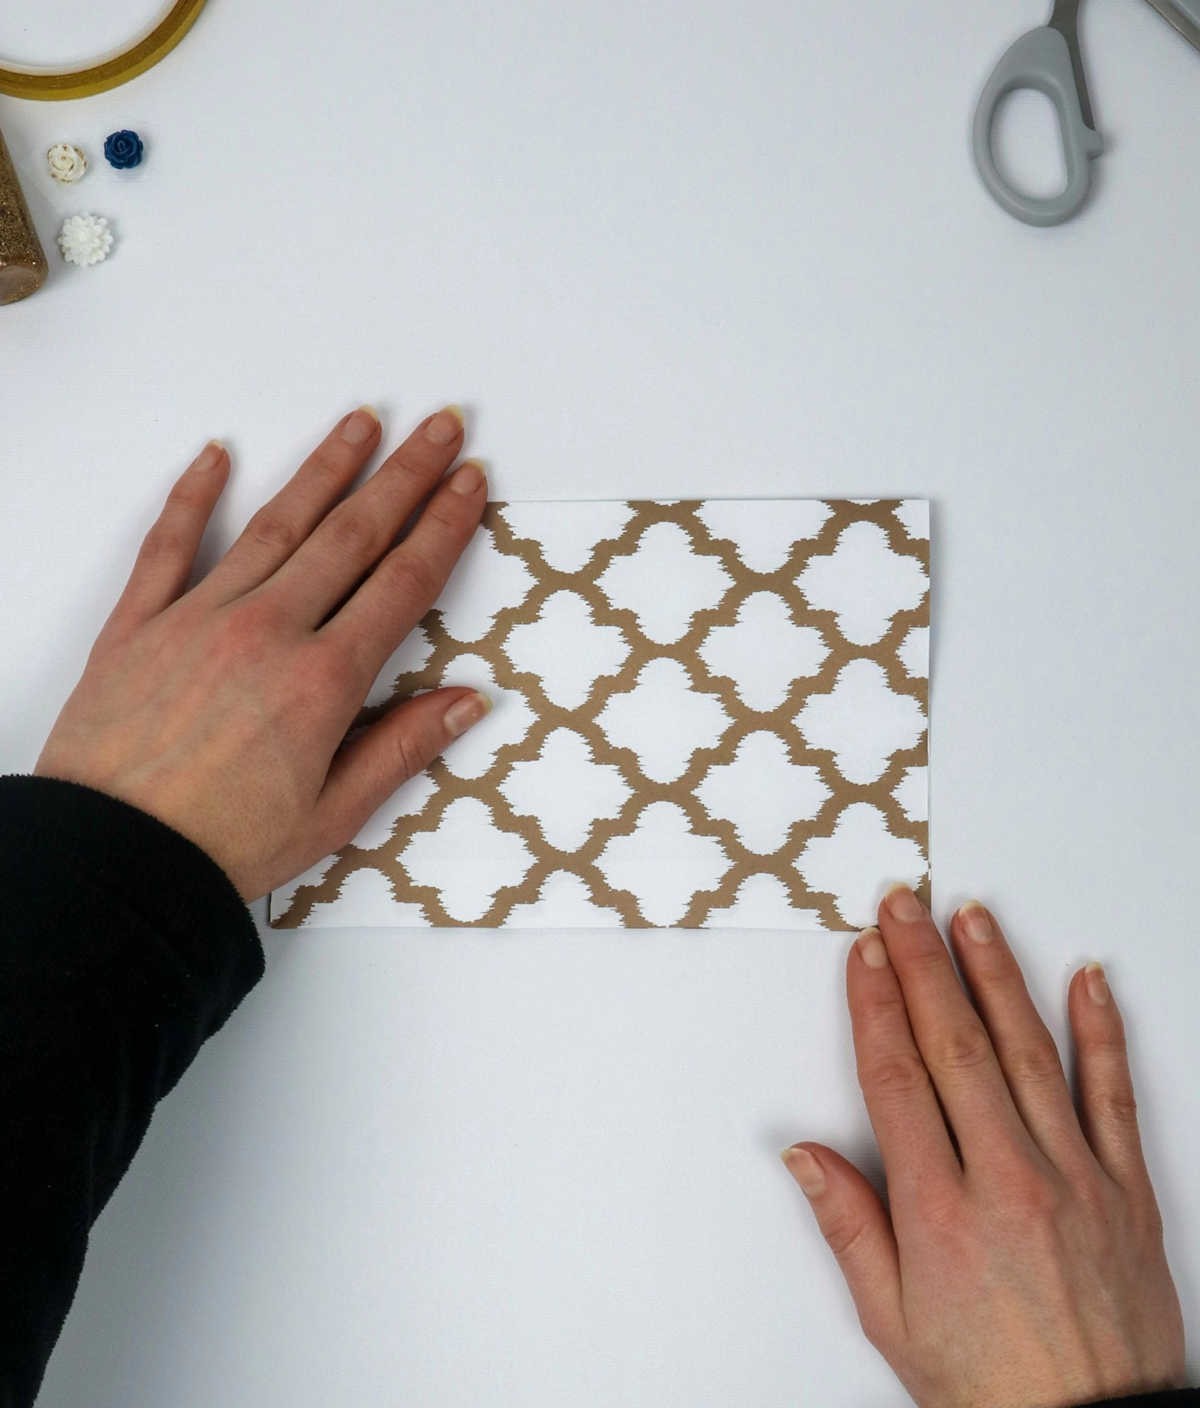
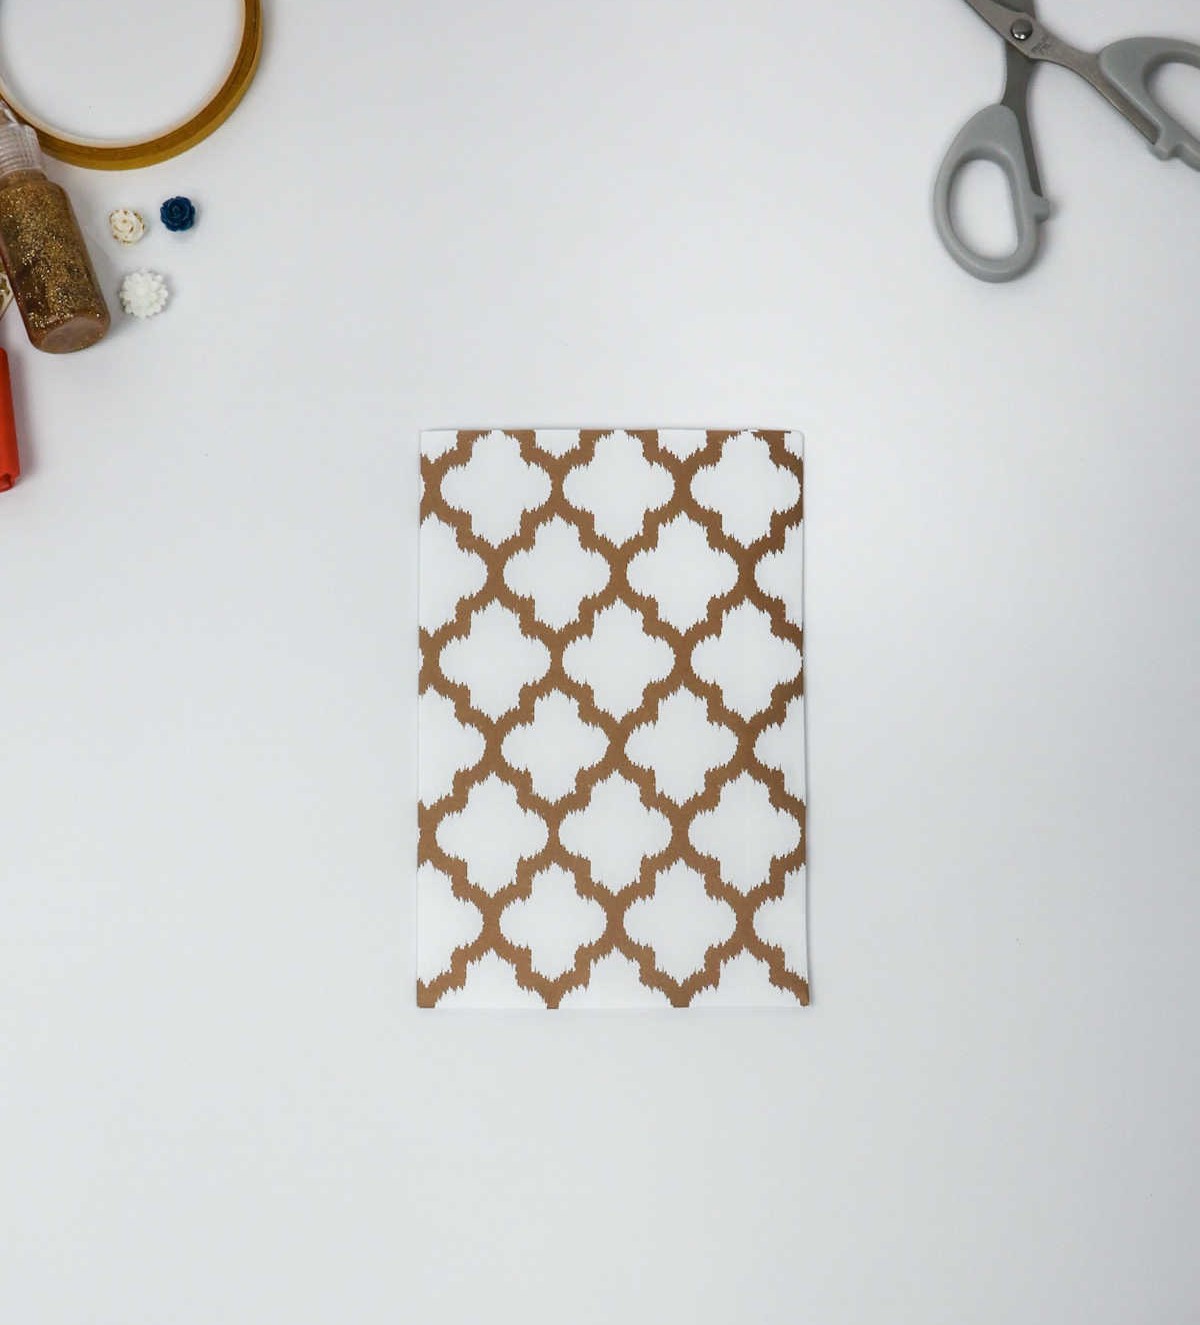
To start, grasp the top edge of the paper and gently lower it to the bottom, ensuring accurate alignment before pressing down firmly. The double-sided tape will effectively secure the paper, transforming it into a compact rectangular shape. Next, rotate your newly formed rectangle 90 degrees, placing it vertically for further manipulation.
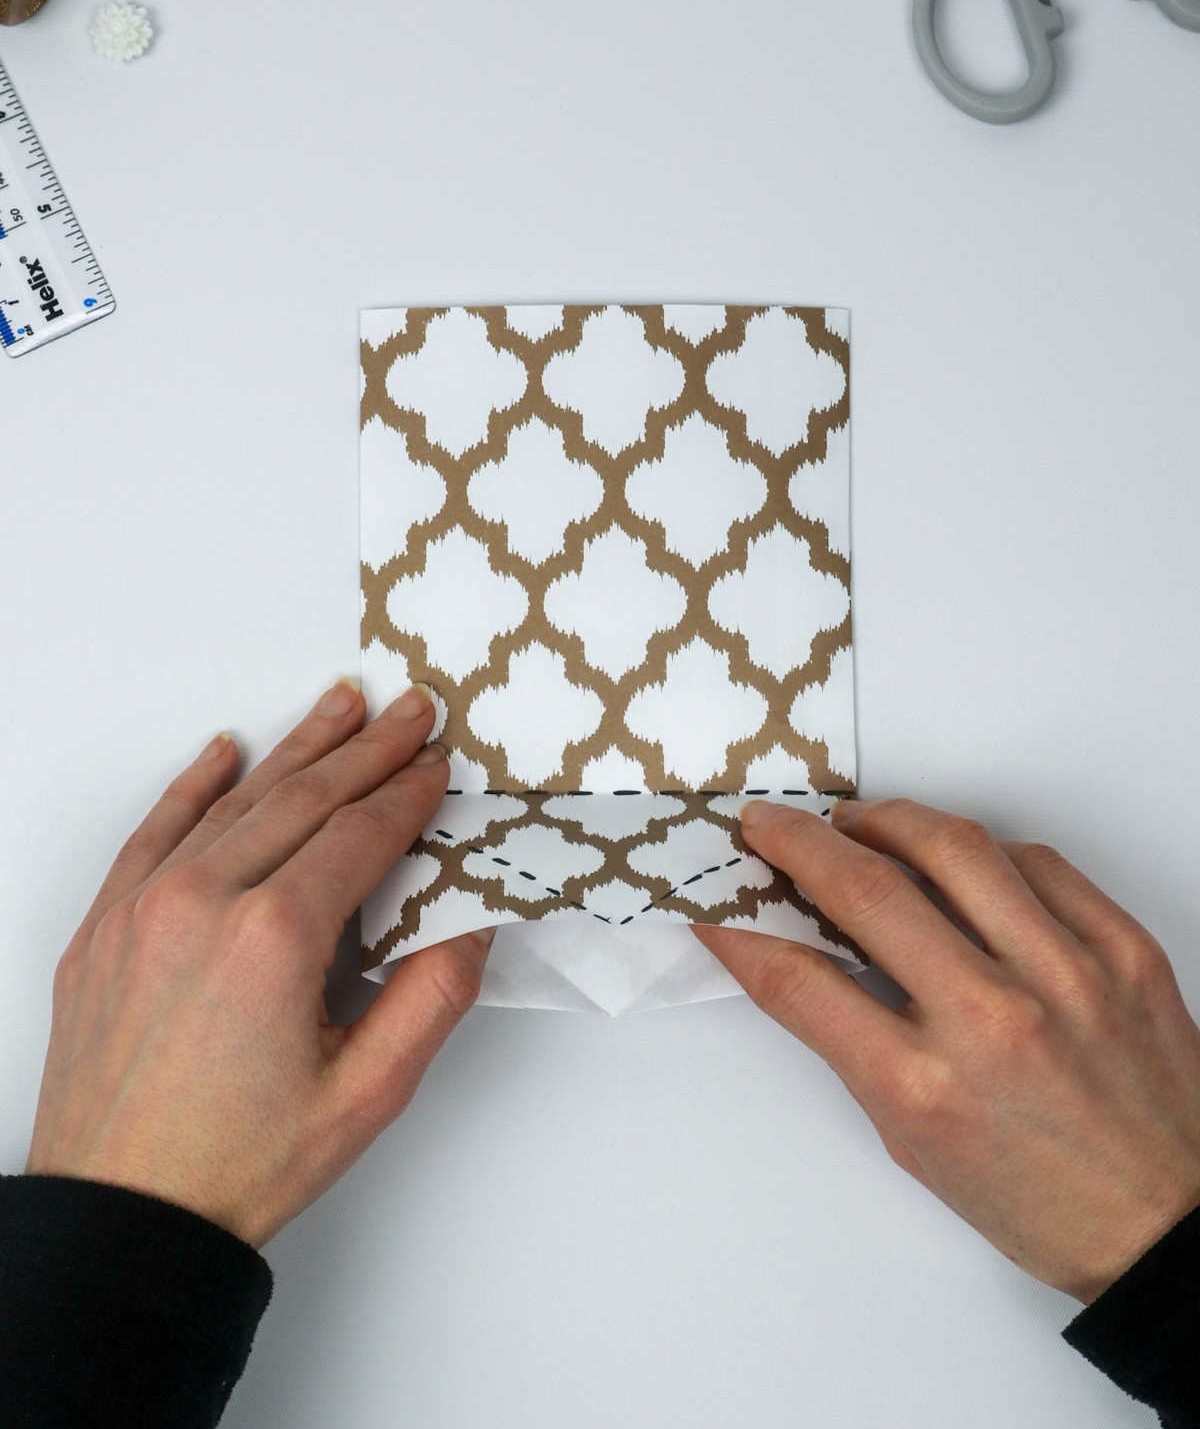
Step 3
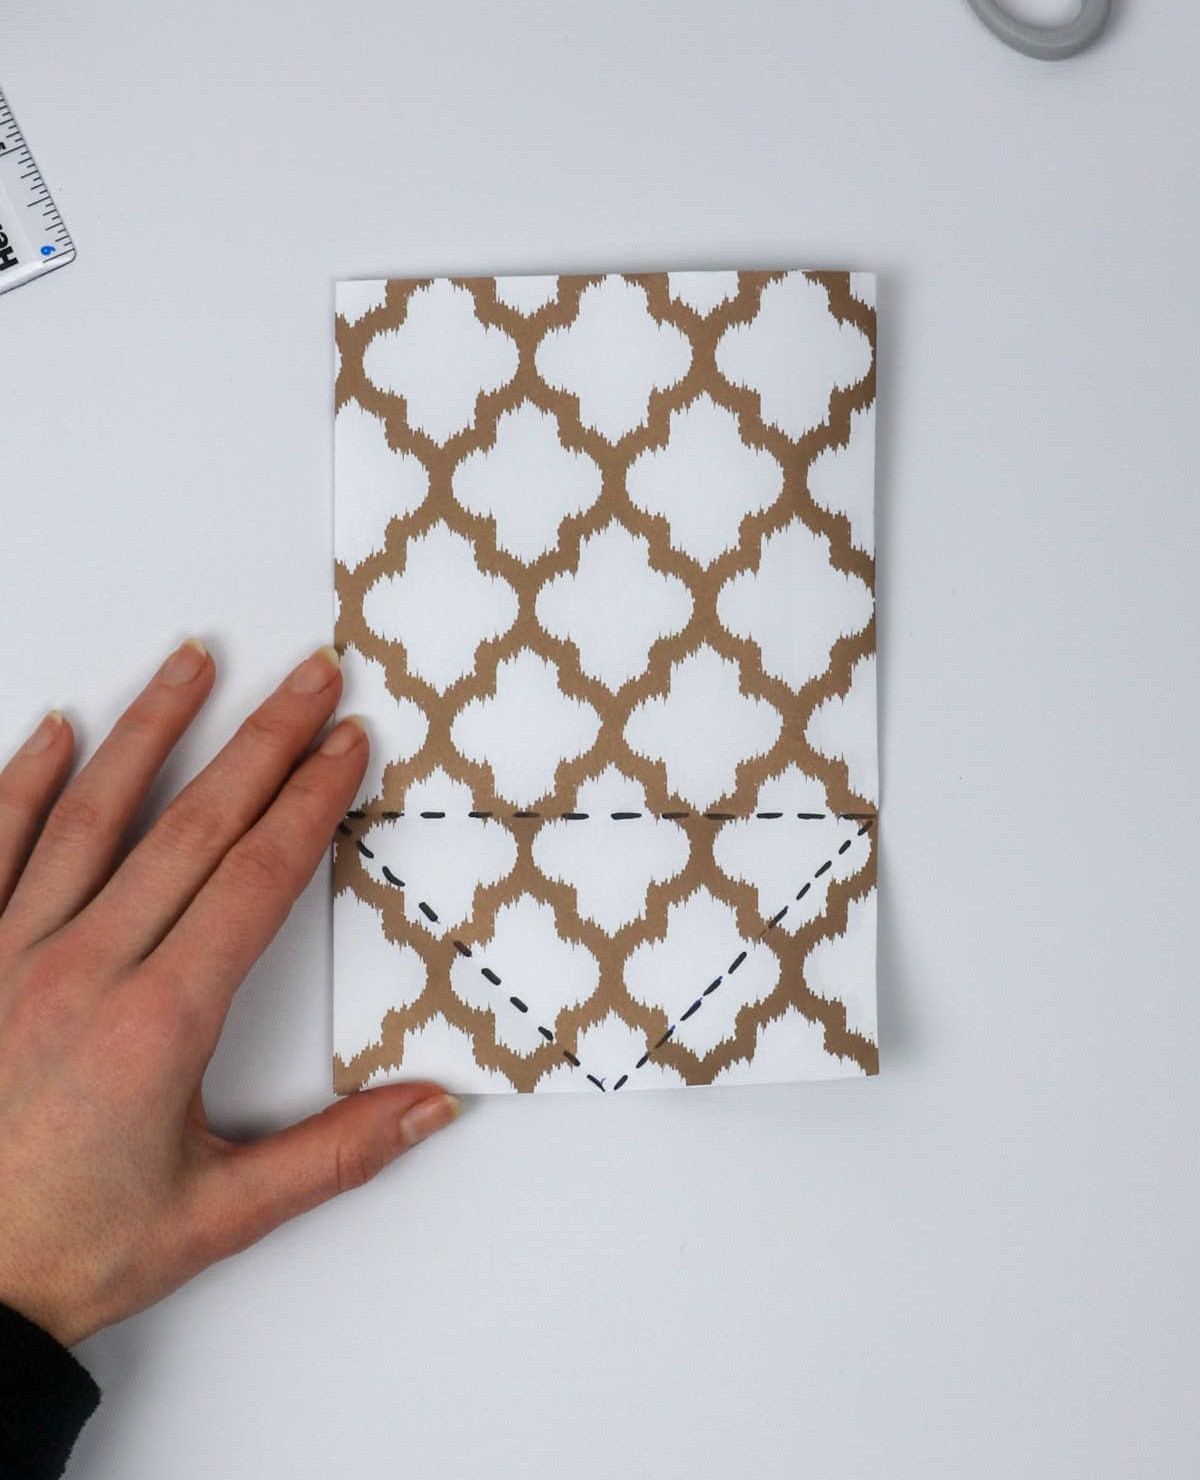
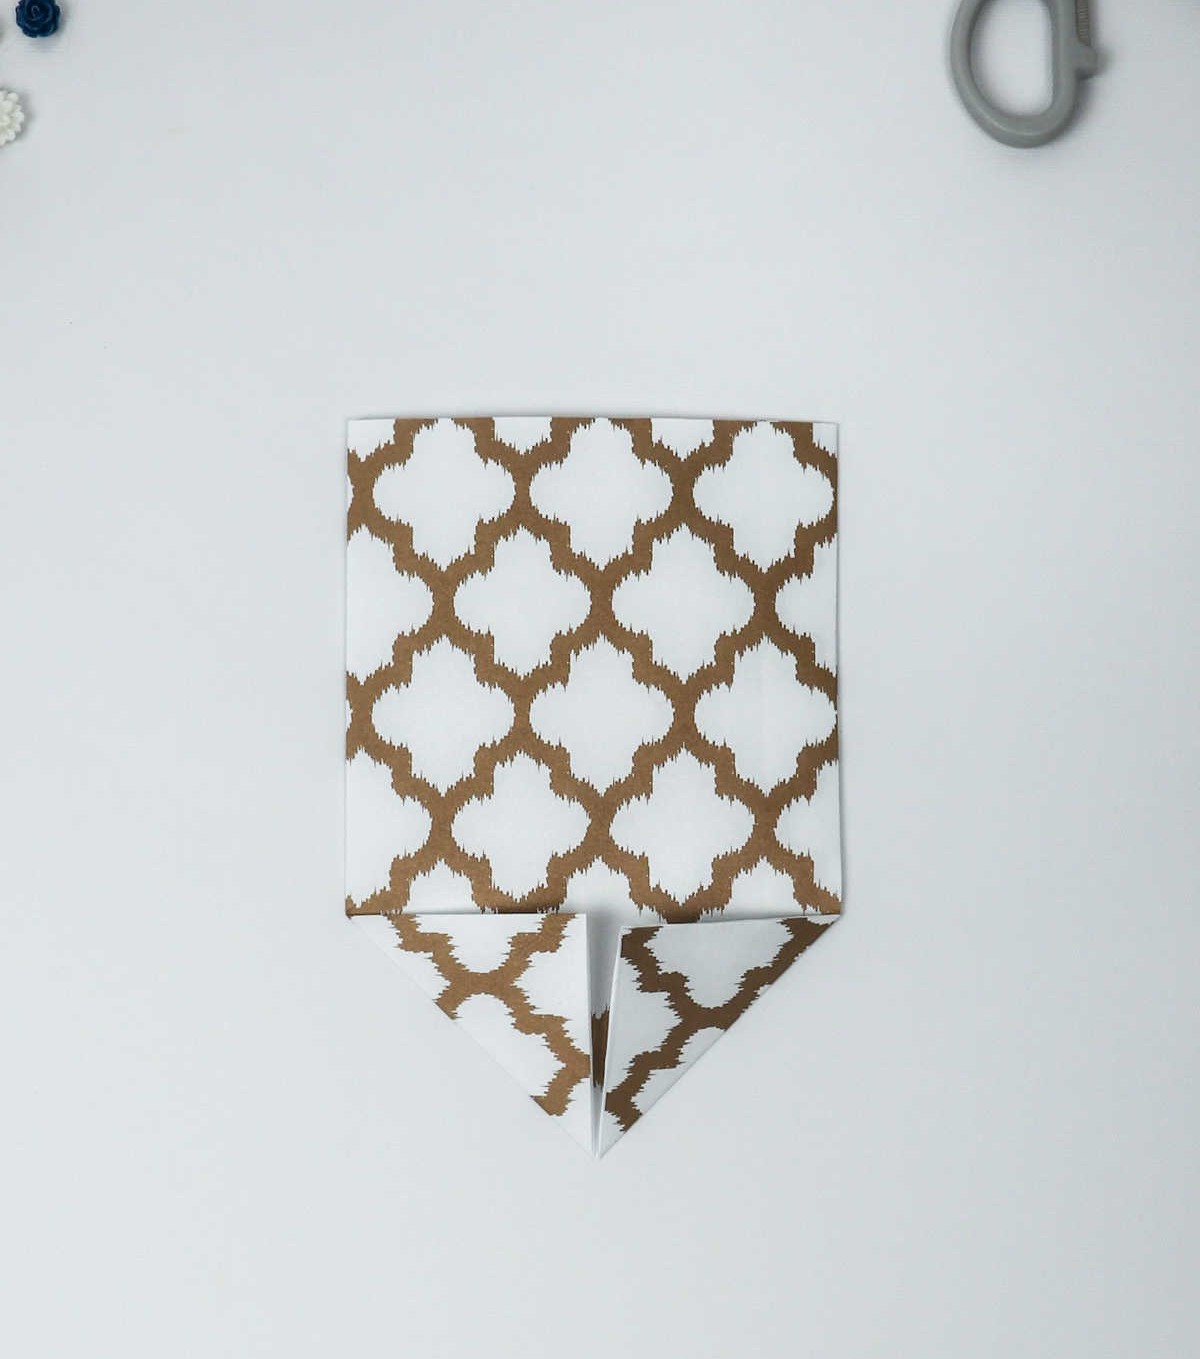
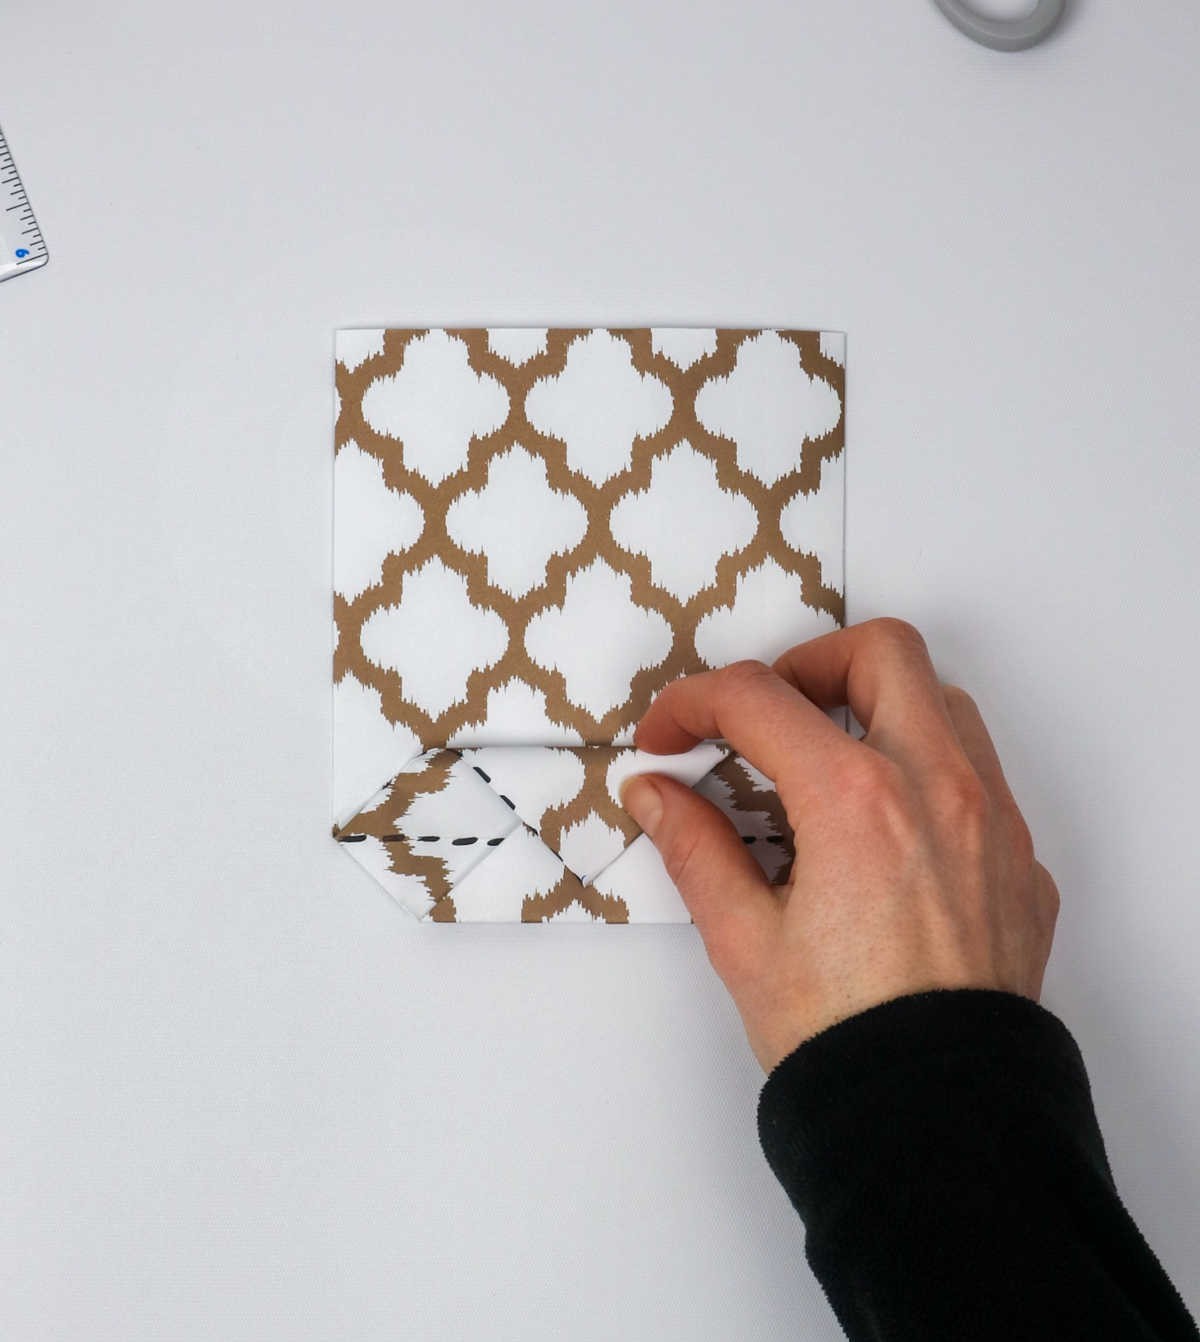
The next step involves a creative choice: you can opt for drawing black dotted lines on your paper to facilitate folding, but feel free to skip this step altogether. To proceed, fold the two edges inward toward the center, following the indicated direction. Upon completing Step 2, you should be left with a formation resembling what’s depicted below. Ensure that both triangular flaps are aligned evenly before moving forward.
Although we’re nearing completion, there’s one more crucial step to execute. Grasp the triangle’s tip and fold it upward along the longest line – where the black dotted line previously resided. To solidify this new crease, gently press down on the paper, allowing the edge to indent as illustrated.
Step 4
As you carefully open your paper, recall that this moment is all about transformation – from a simple sheet of paper to a beautiful and functional gift bag. Allow yourself to be guided by the unfolding process, as you’ll soon discover that the end result will be well worth the effort.
Step 5
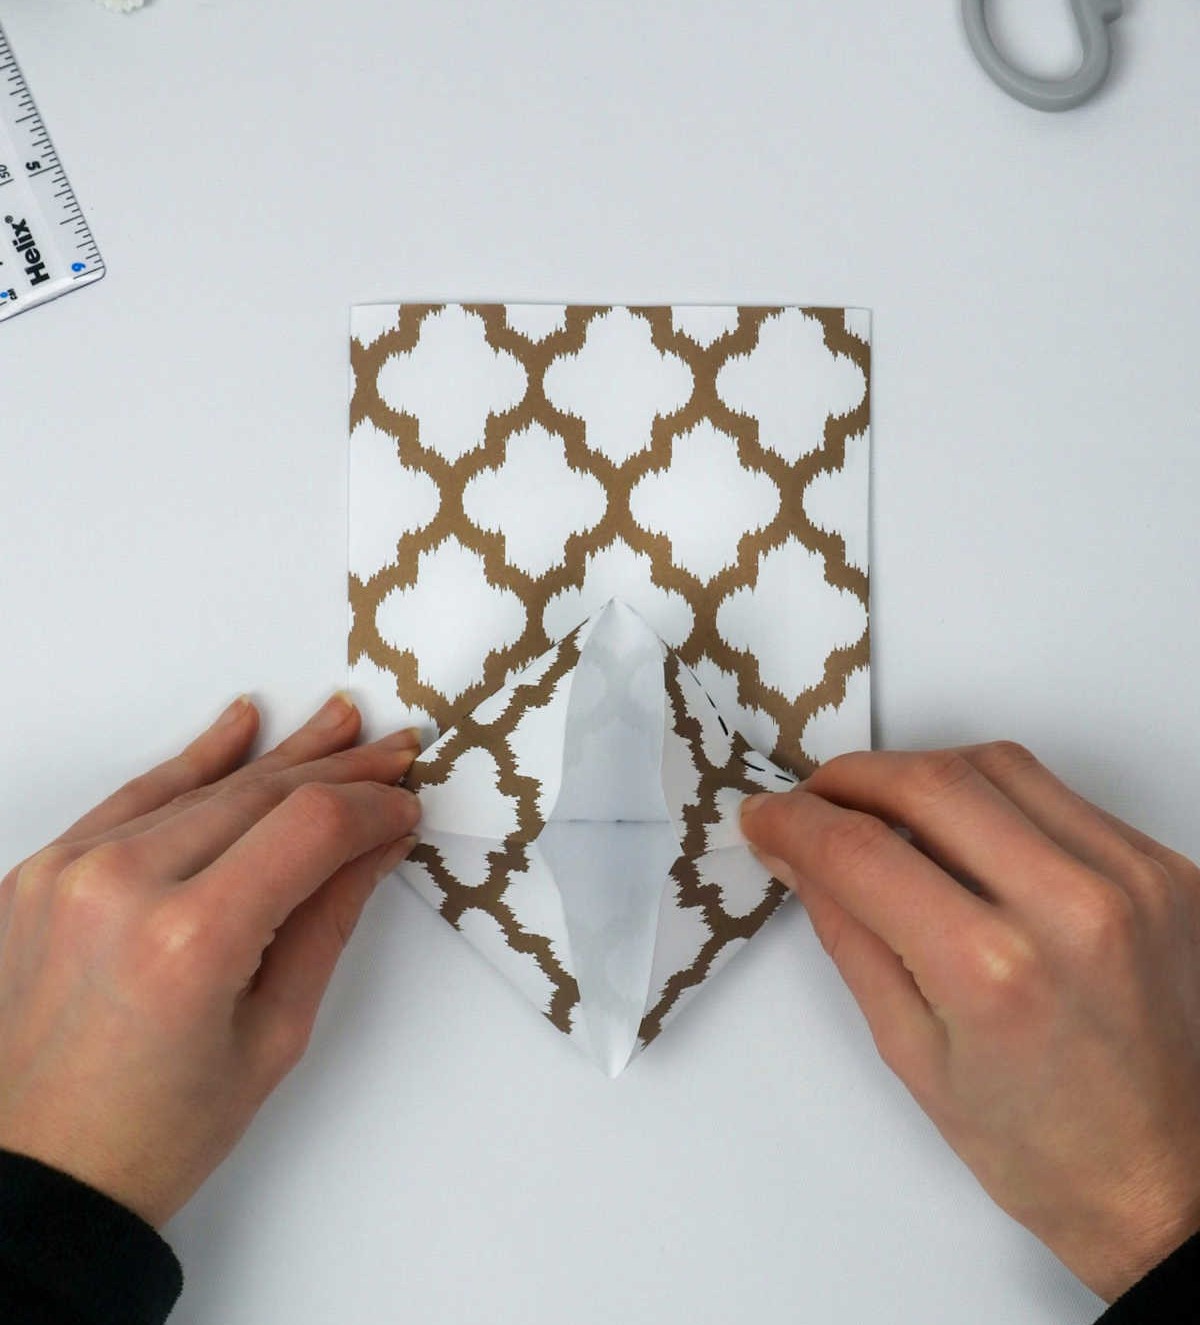
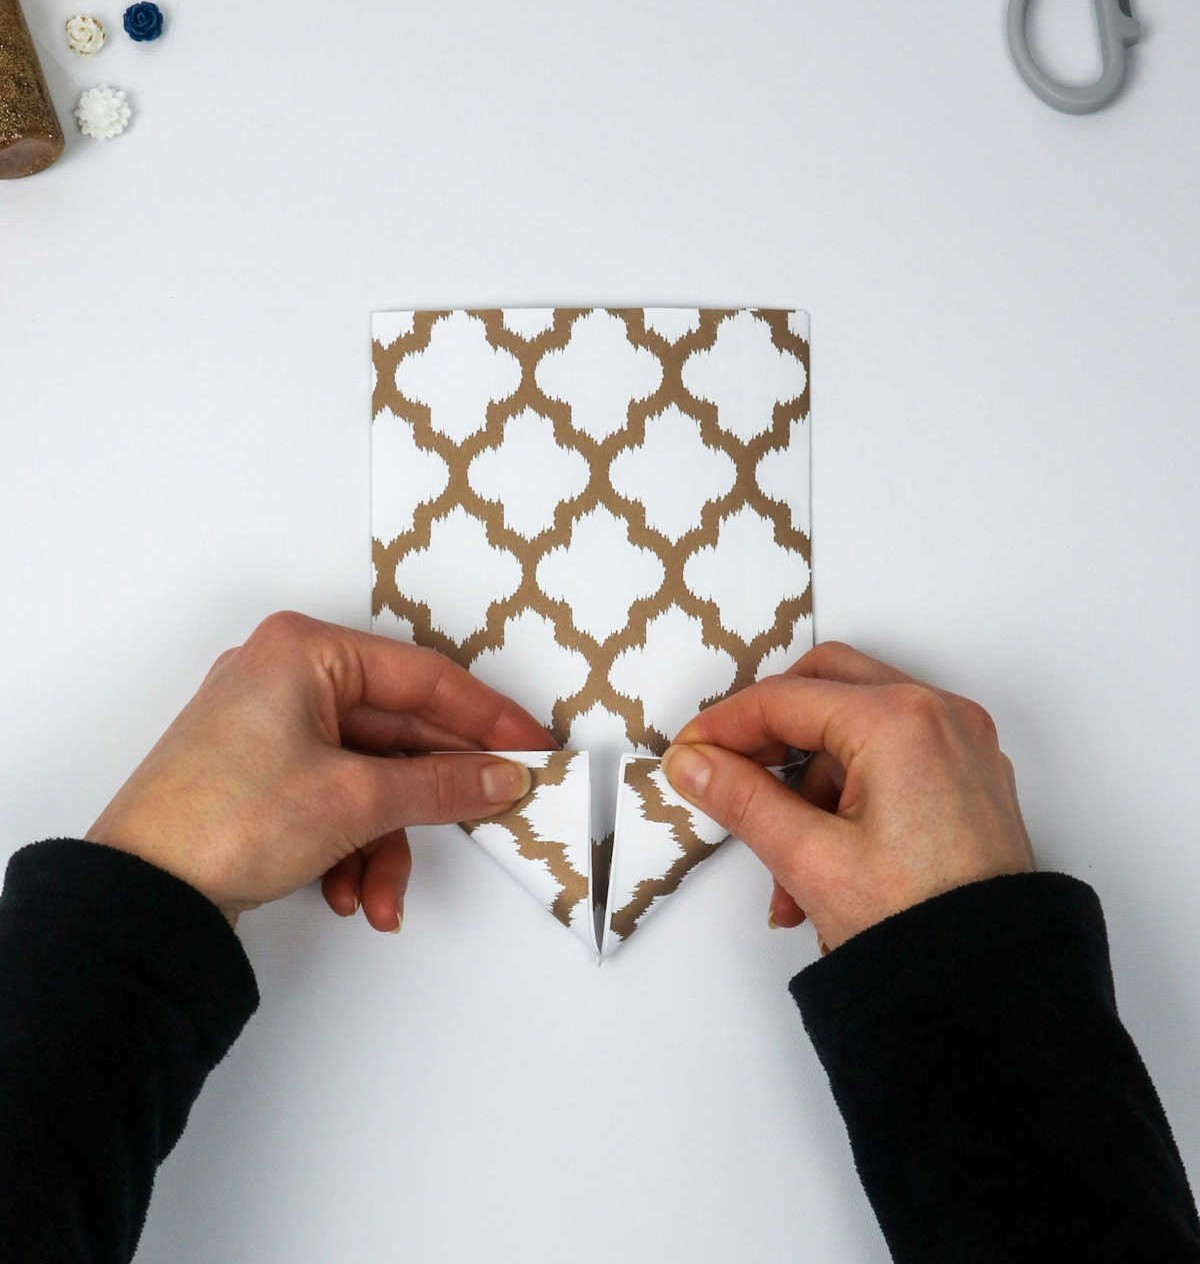
As I approach this crucial step, my nerves start to get the better of me. However, it all boils down to grasping the fundamental concept. Take a look at the diagram below, which can serve as a visual aid in helping you fold your paper into a square. The objective is to coax the unfolded edges towards each other, ultimately forming a compact square.
Step 6
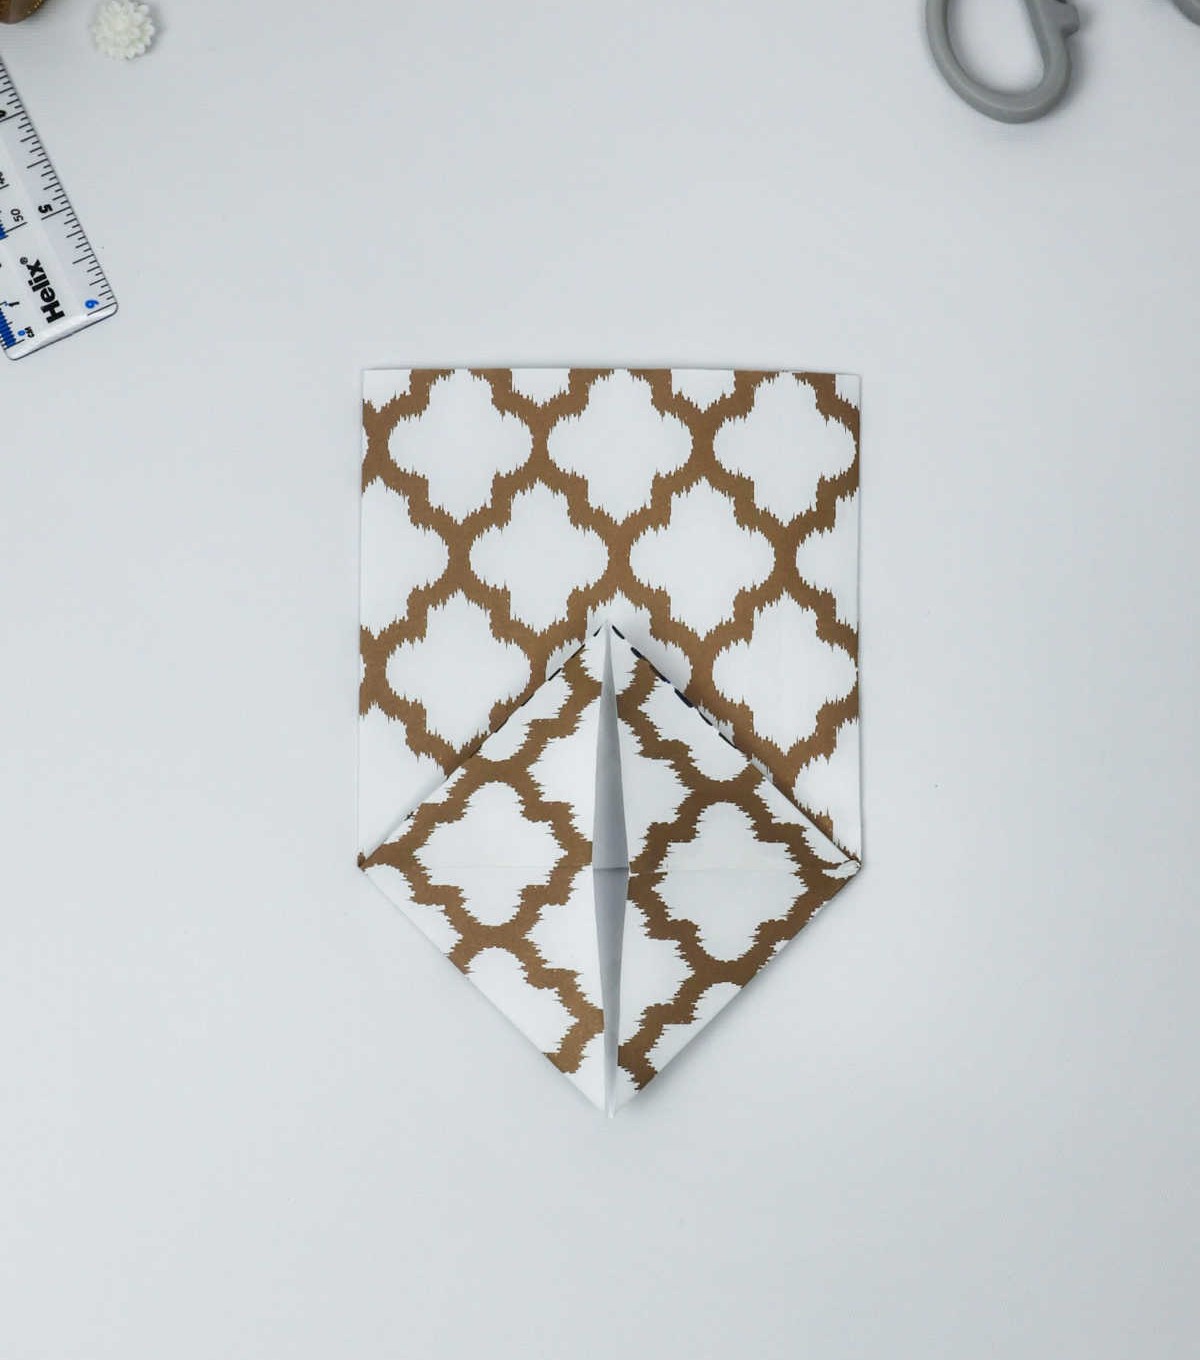
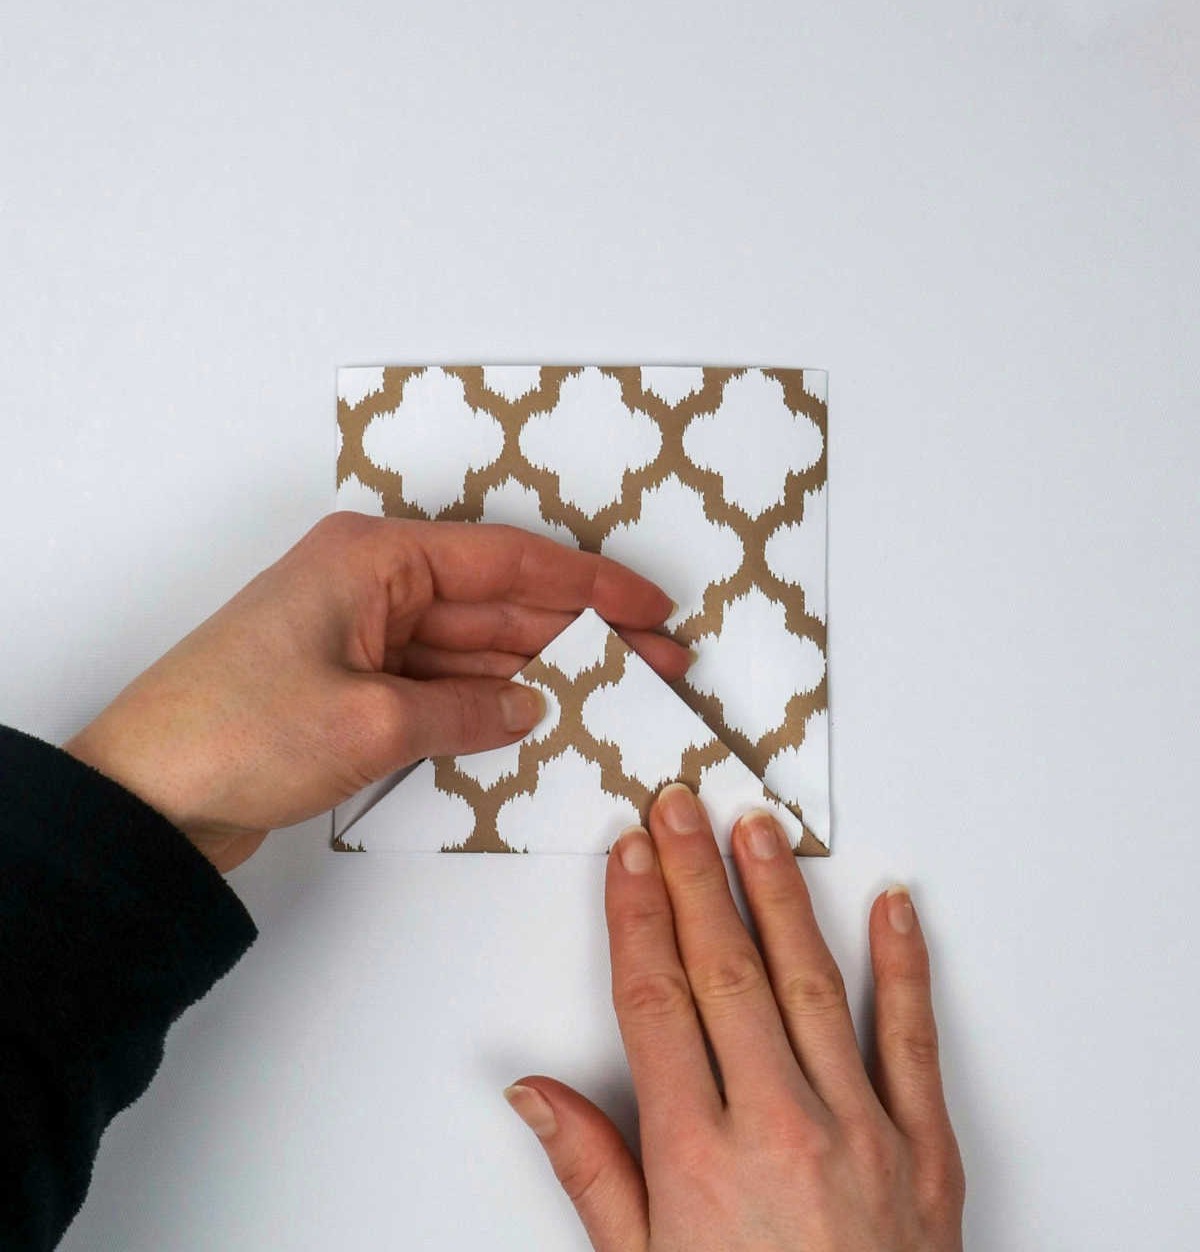
To create the foundation for your paper bag, start by folding your paper into a compact square shape. Next, press down firmly to ensure the fold is crisp and flat. This initial fold will serve as the base of your gift bag, providing the stability you need for a sturdy and secure design.
Step 7
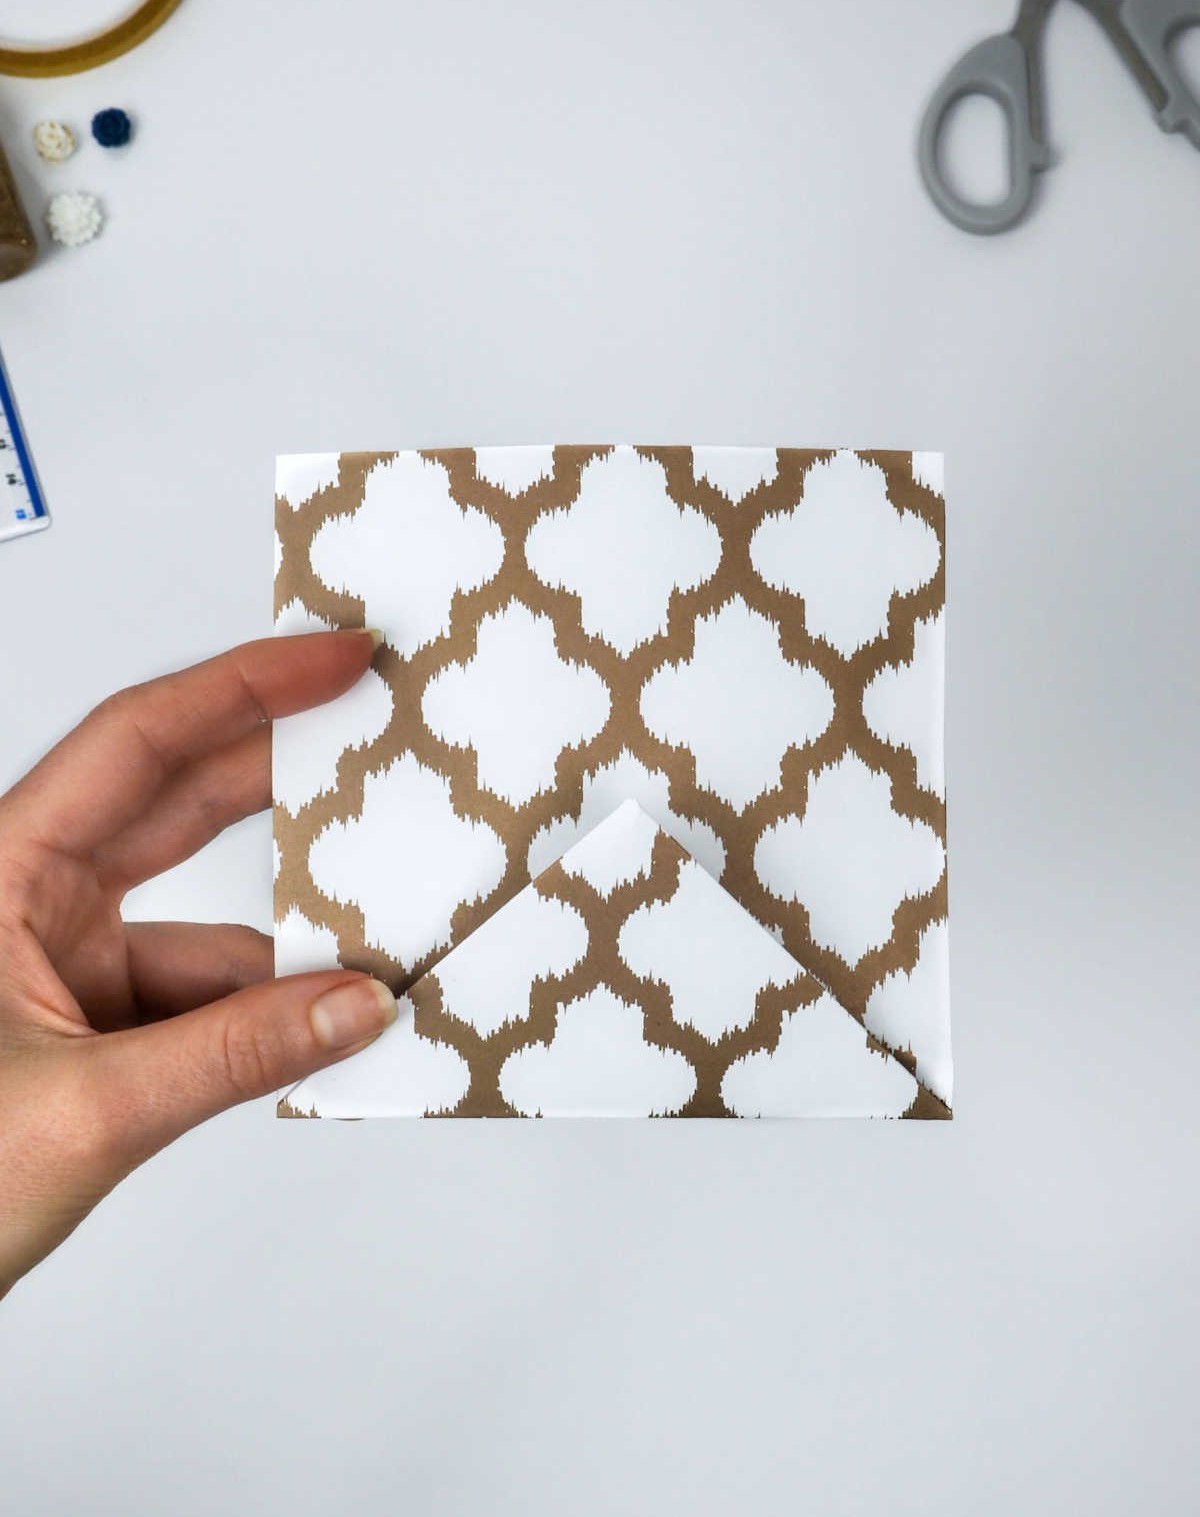
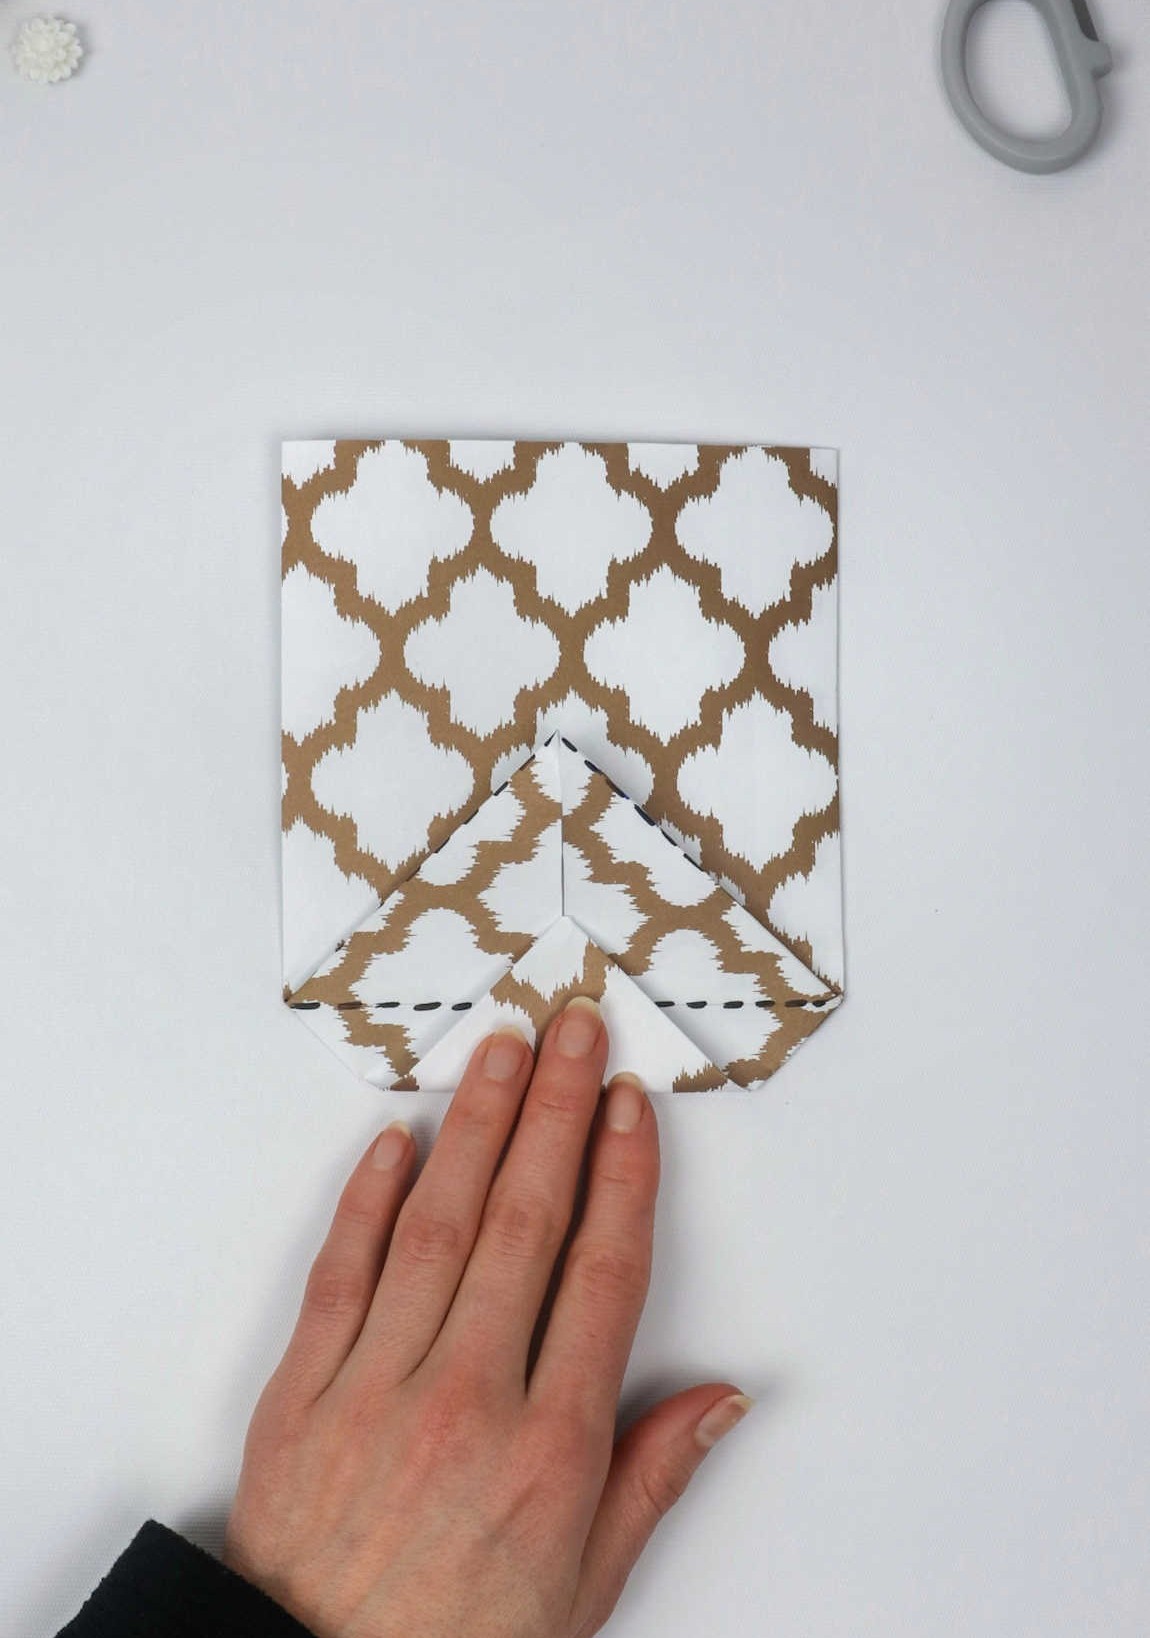
To complete the process, you’ll need to bring the northern and southern edges of the square towards its center. Fold these edges inward and ensure they overlap one another, with one edge sitting atop the other. The order in which you fold them doesn’t matter, so feel free to create a flap by having one edge sit on top of the other.
Step 8
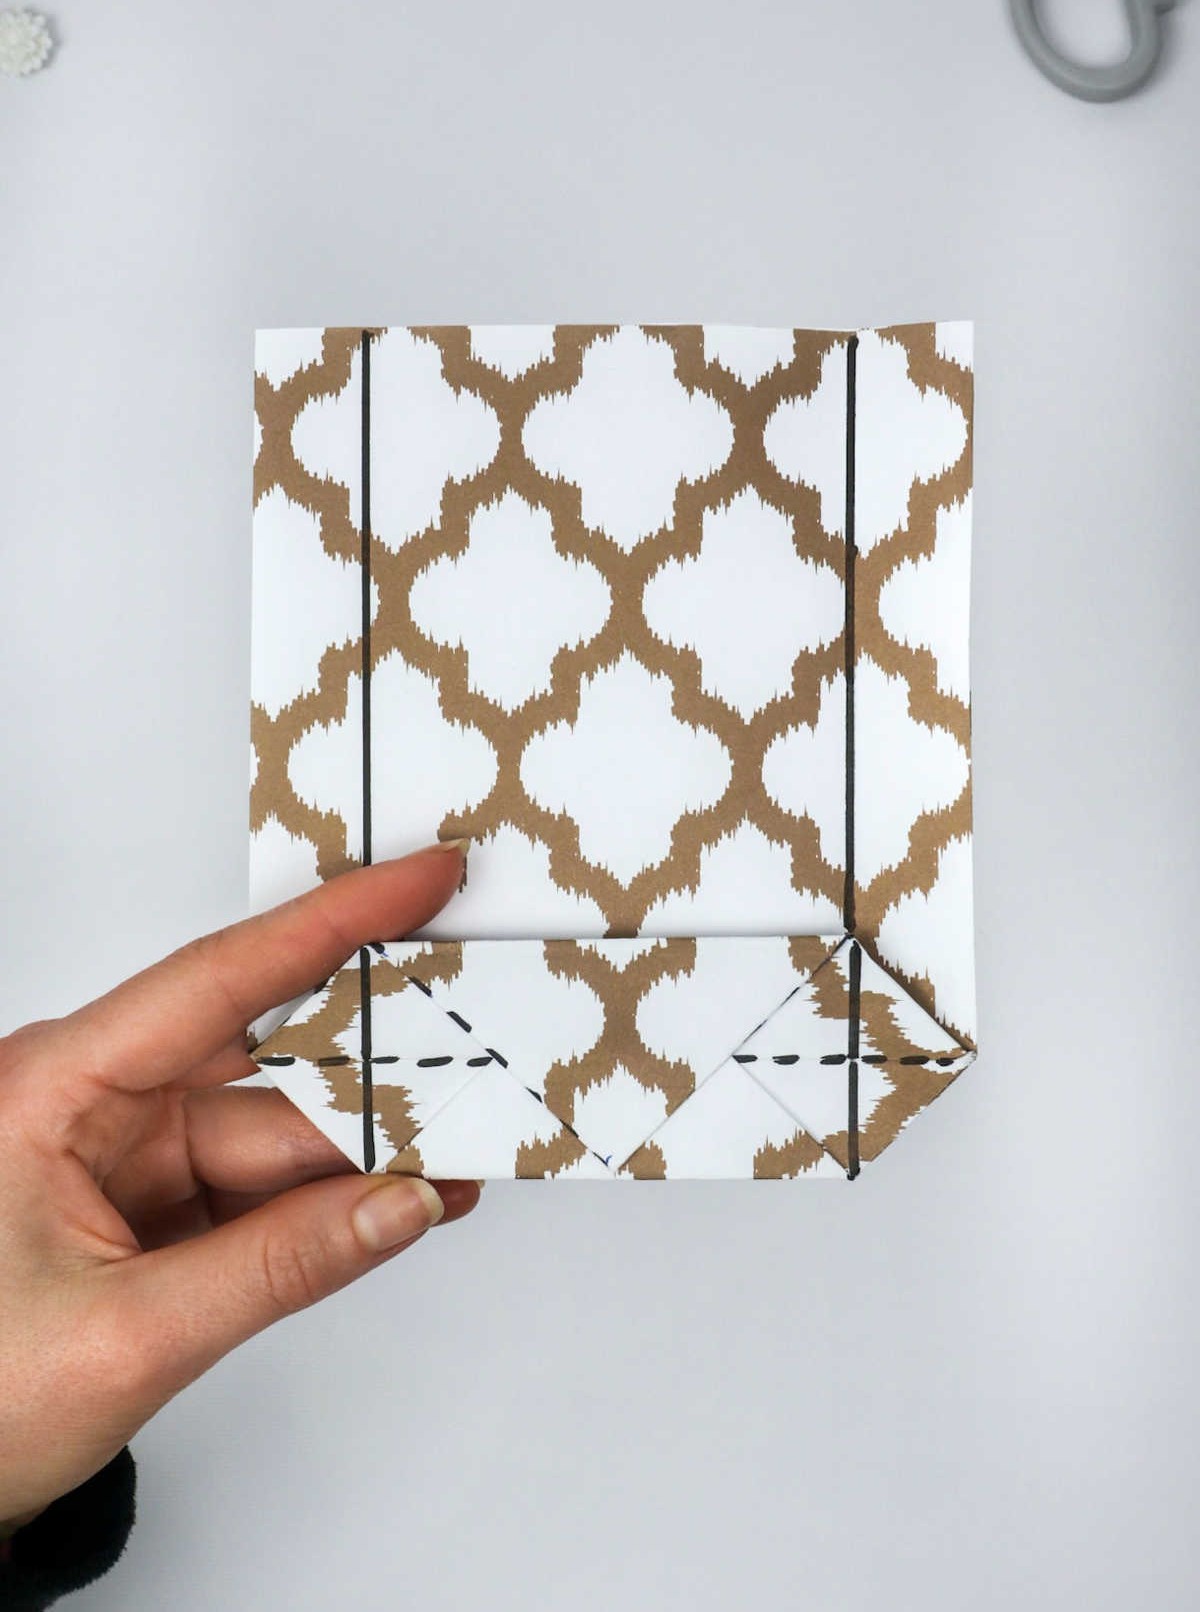
As you examine the image, take note of the black lines serving as a visual guide for creating the next folds. The more you understand where each fold needs to be made, the sharper and cleaner your edges will be upon folding.
To achieve crisp, precise folds, consider using a ruler to help you indent the paper. This will enable you to create straight lines with ease.
As you progress through step 7, take pride in how your bag is shaping up. The end result is truly taking form, isn’t it?
Step 9
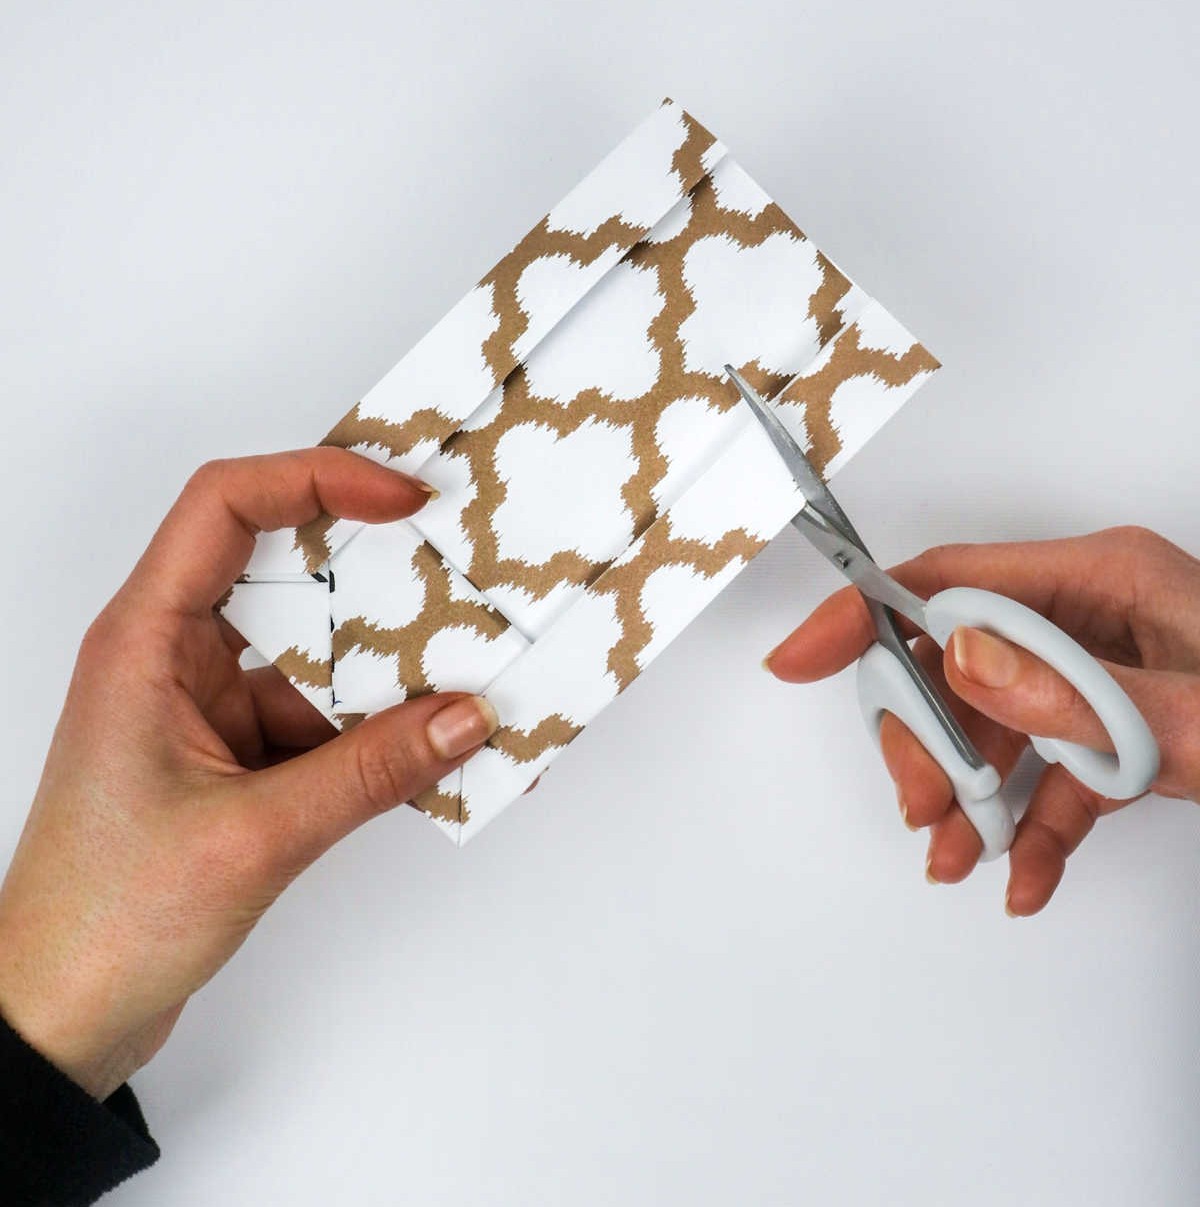
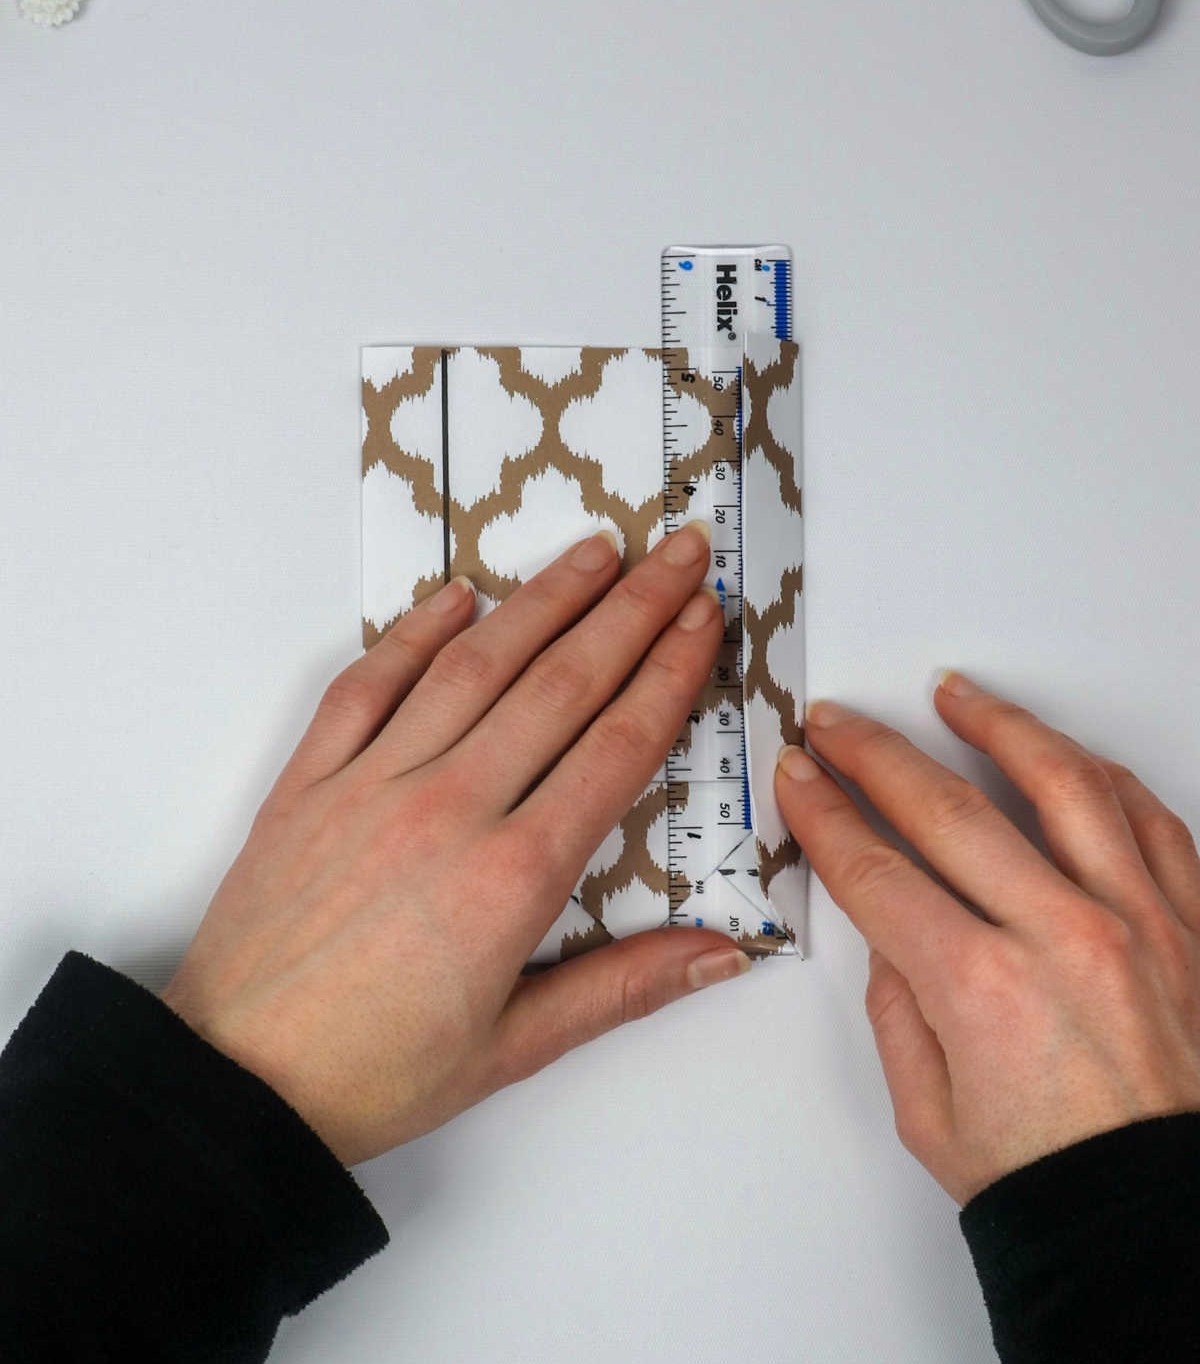
When it comes time to assemble your gift bag, one crucial consideration is its overall size. To achieve the perfect proportions, measure and trim the paper as needed to accommodate the items you plan to include. This flexibility ensures that your finished gift bag looks tailored to perfection.
Step 10
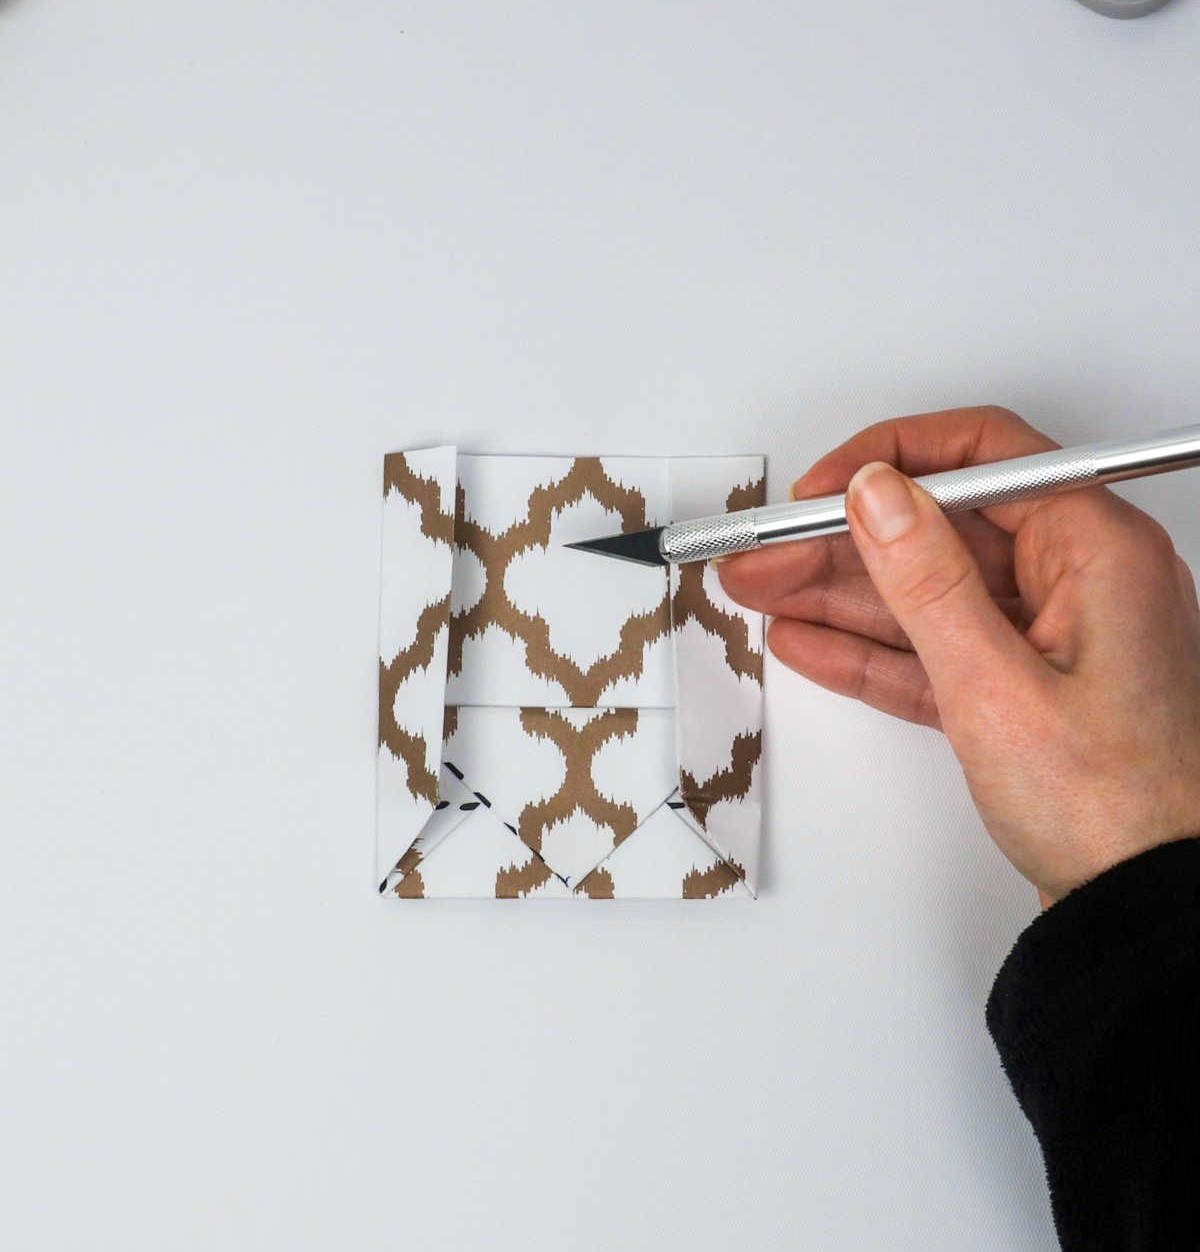
To create a seamless closure, start by positioning your ruler at the center of the paper bag and measuring down approximately two centimeters. Next, take out your craft knife and carefully cut a slit that’s roughly two centimeters wide across the paper. This precise incision will allow you to tuck in the tongue or flap of the lid when it’s in place, resulting in a clean and tidy finish.
Step 11
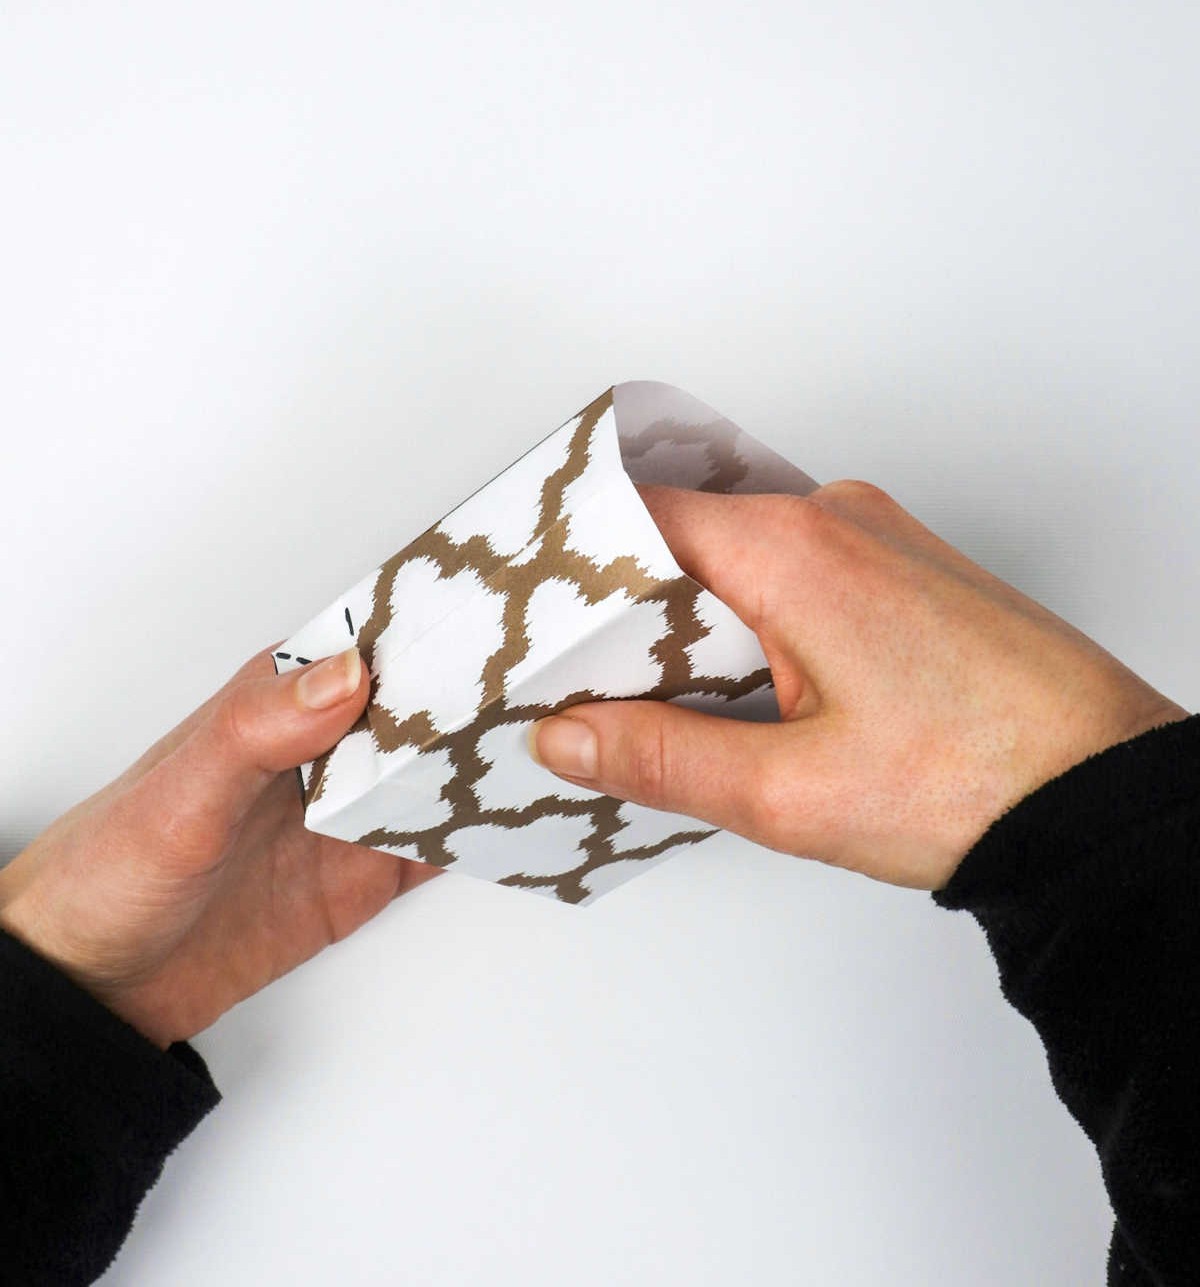
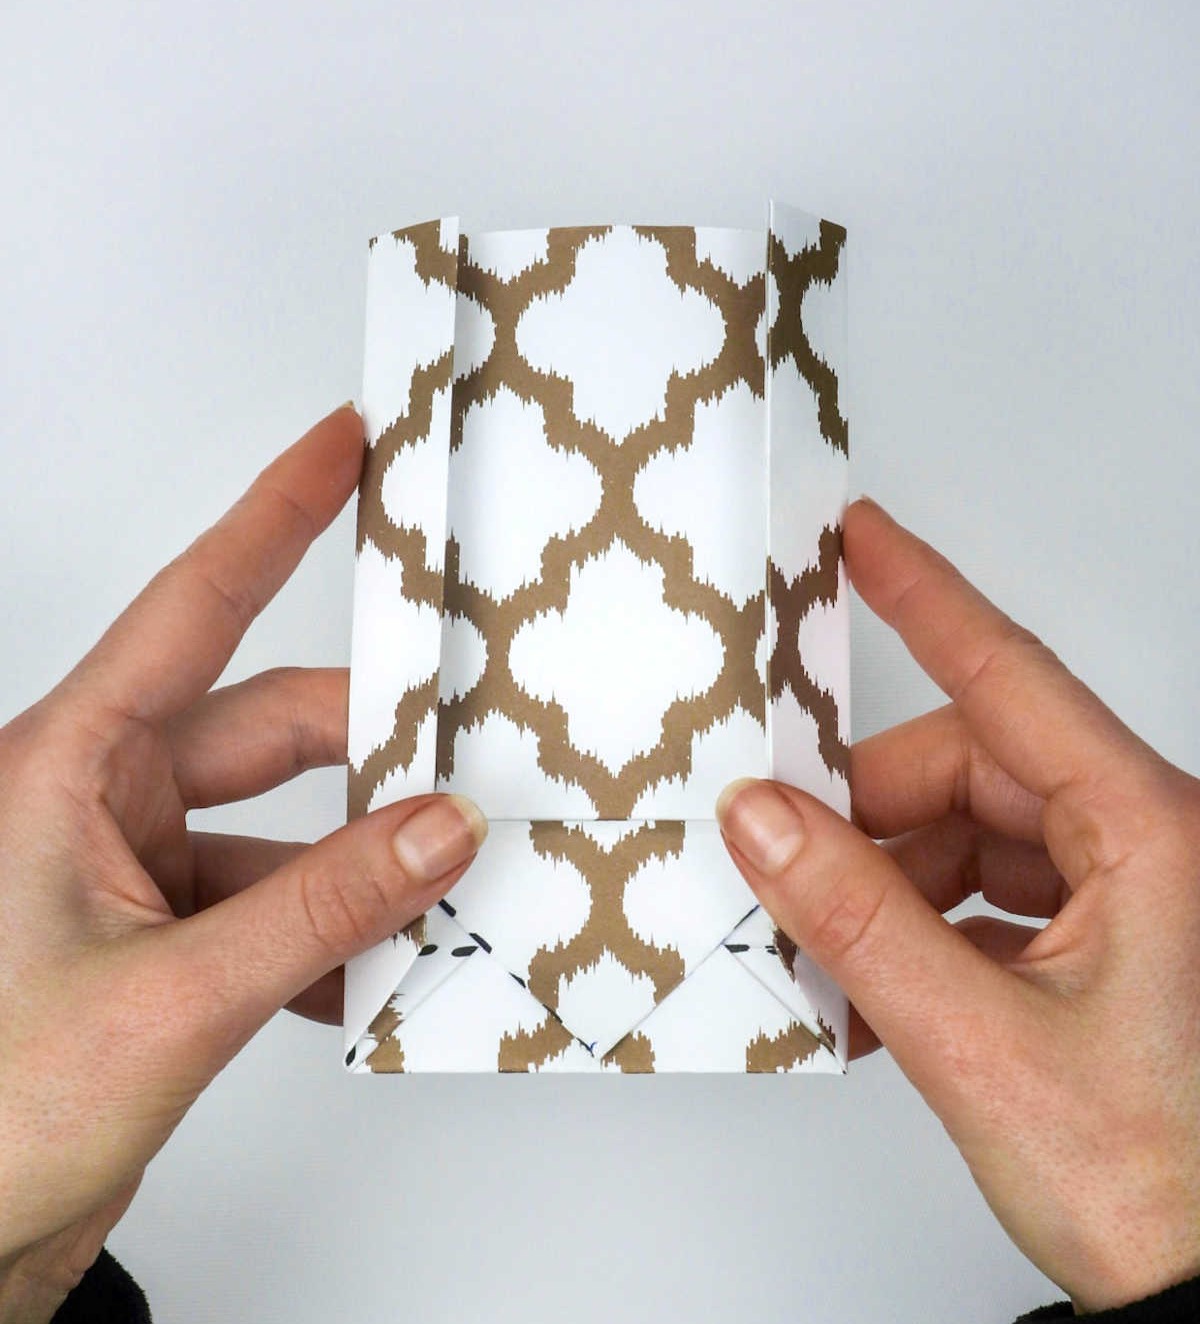
To create the desired form, gently press your hand or fingers against the bagged paper, allowing it to slowly unfold into a compact, cube-like structure. Be mindful not to apply too much pressure, as this can lead to unwanted creases or damage to the paper.
Step 12
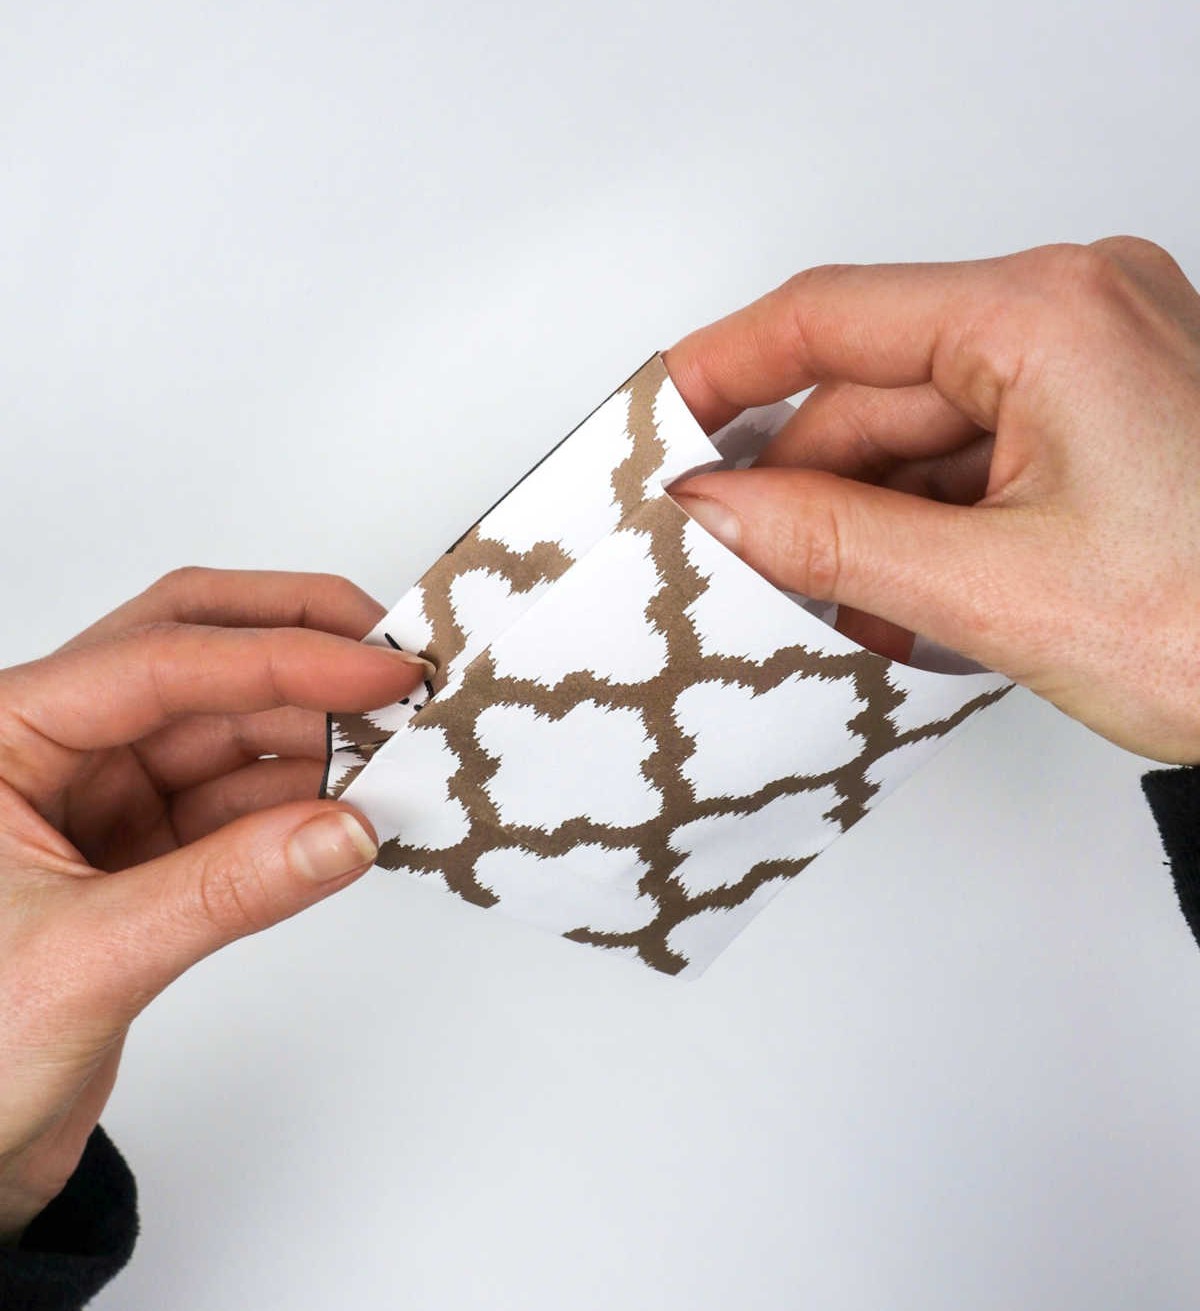
To create a crisp fold at the top of the bag, gently press your fingers into the seams, working your way along the sides and upwards towards the opening. As you do this, use your thumbs to carefully pinch the fabric in place, allowing the edges to crease naturally.
Step 13
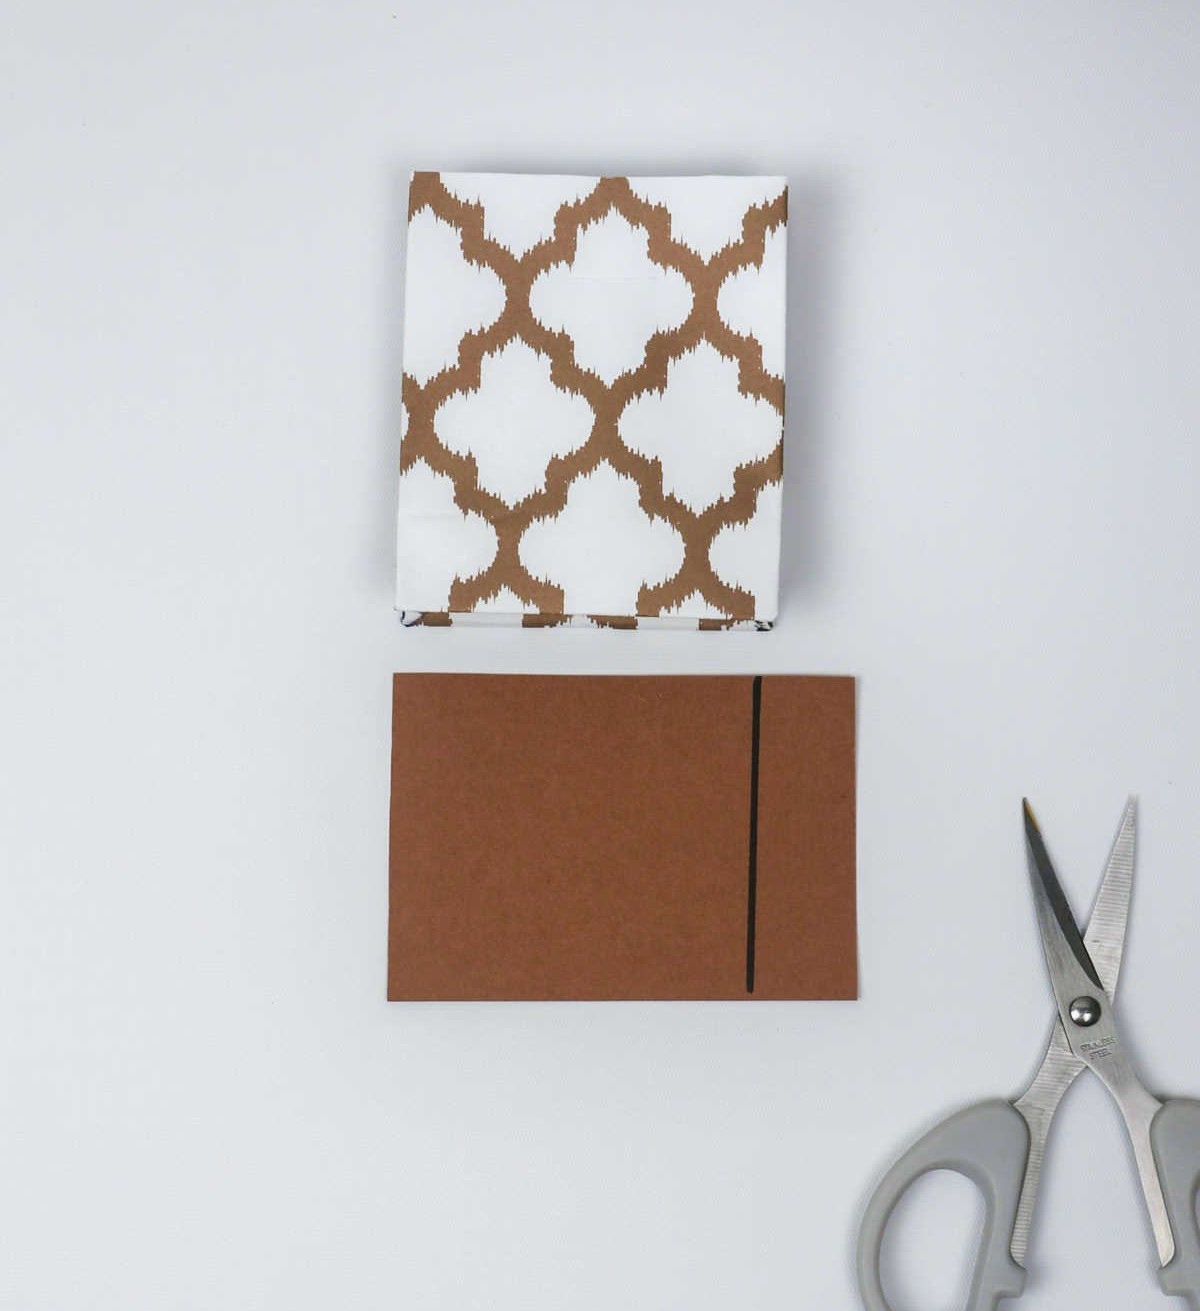
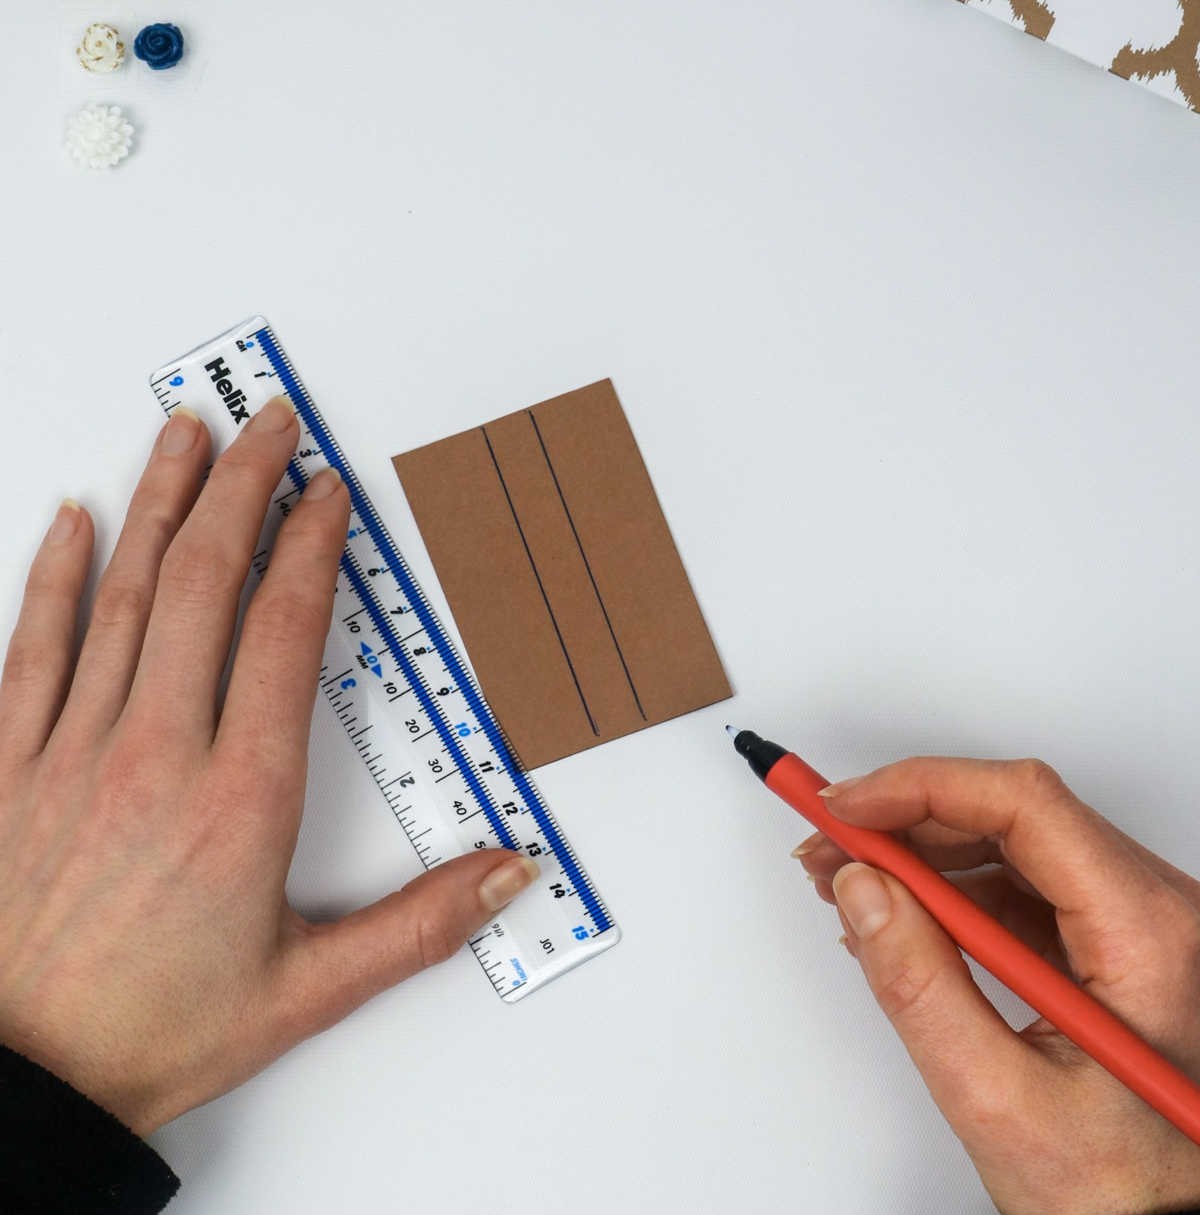
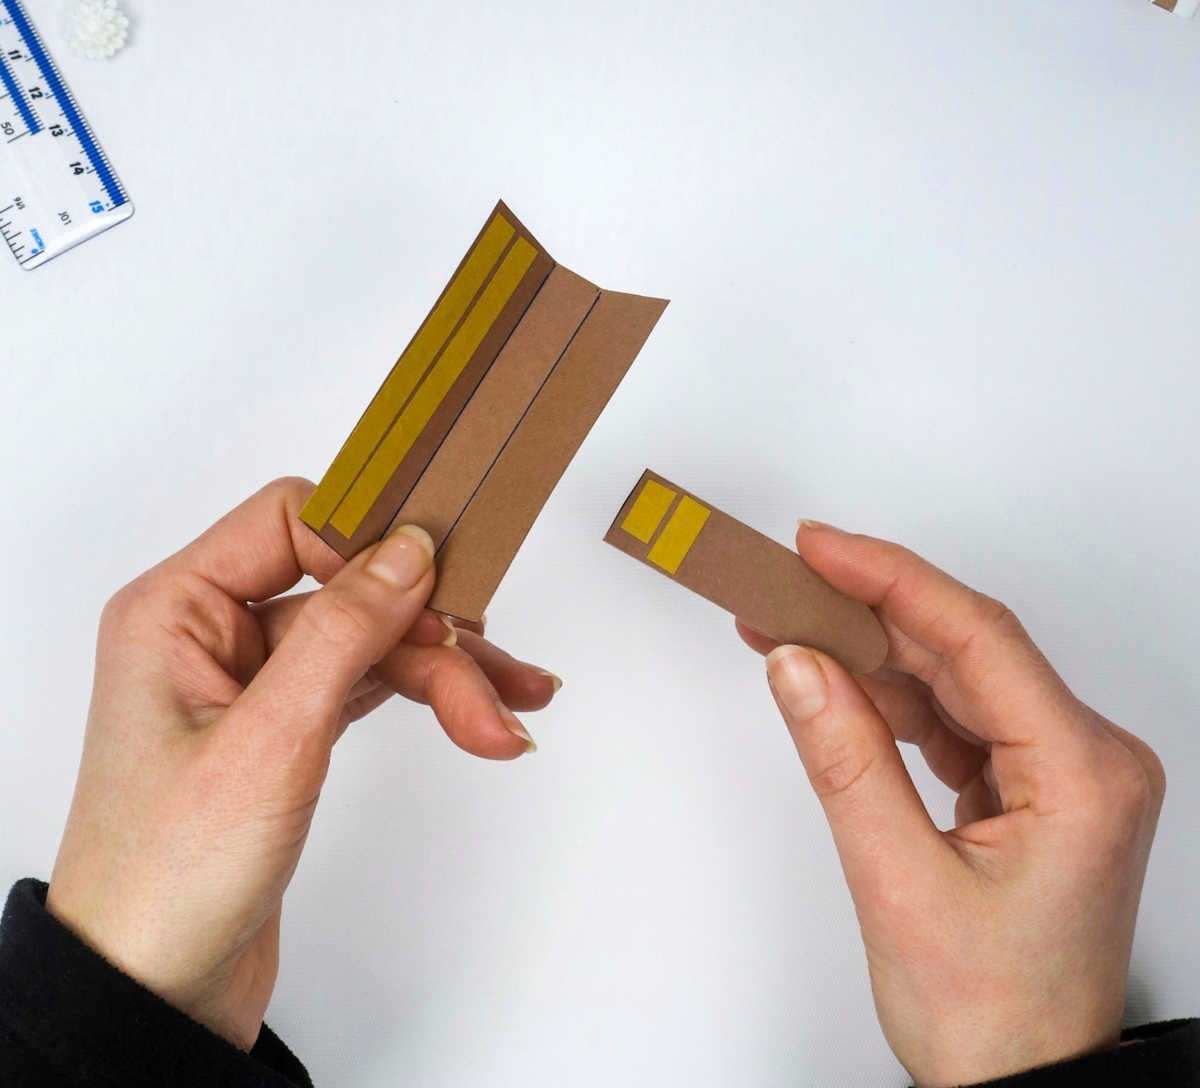
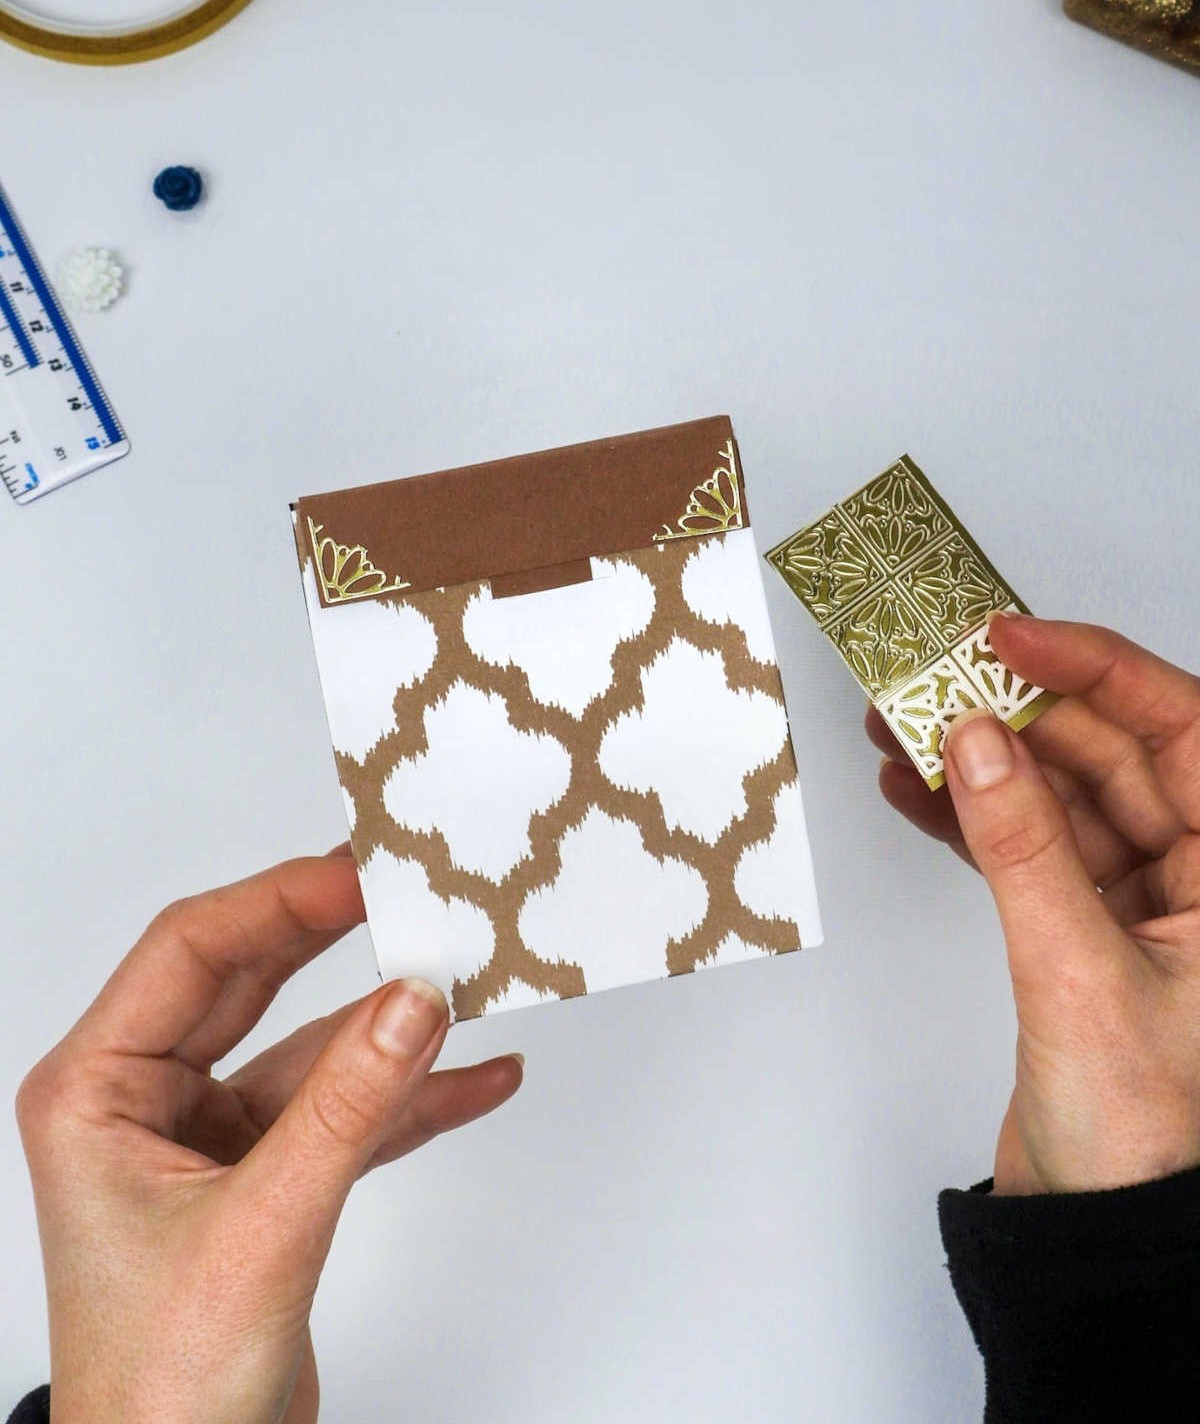
It’s time to put the finishing touches on our paper gift bag by creating the lid. Take the paper you’ve chosen for this purpose and trim away any excess until you’re left with a shape that matches the mouth of the bag. Next, divide this remaining paper into three equal parts, each proportionally 2:1:2, and then fold the paper along these lines to create the desired shape.
Step 14
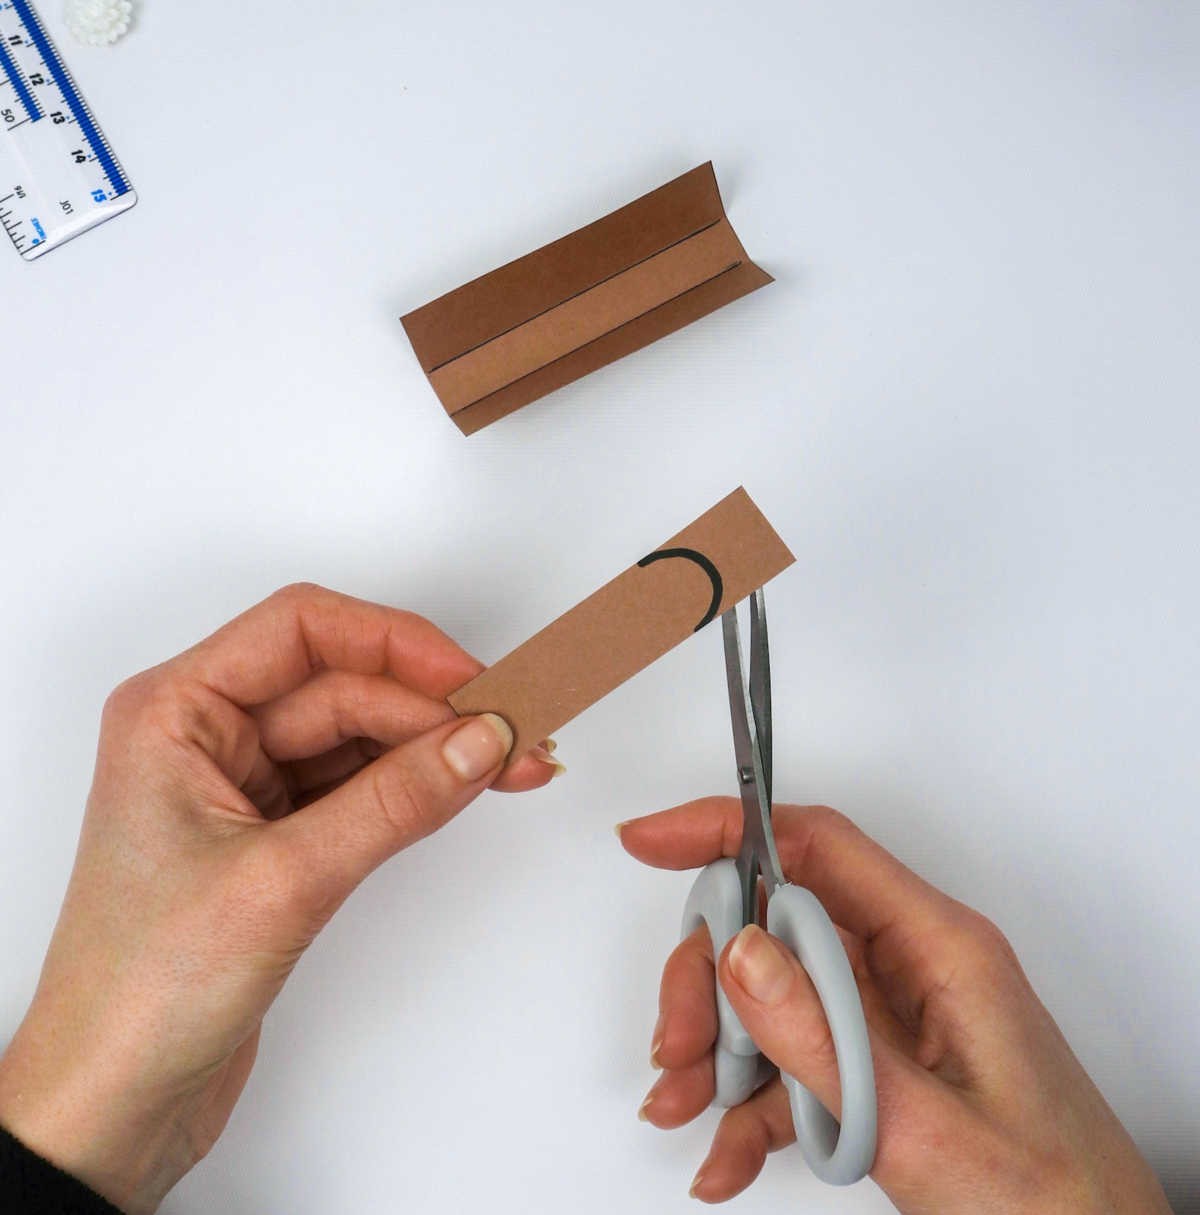
As you prepare to create the flap, recall the precise incision made earlier to align the lid’s tongue with its flap. For this step, take a sheet of paper and carefully cut the edges into a curved arc shape. The size of your flap is entirely up to your discretion, so feel free to measure it out according to your desired dimensions.
Step 15
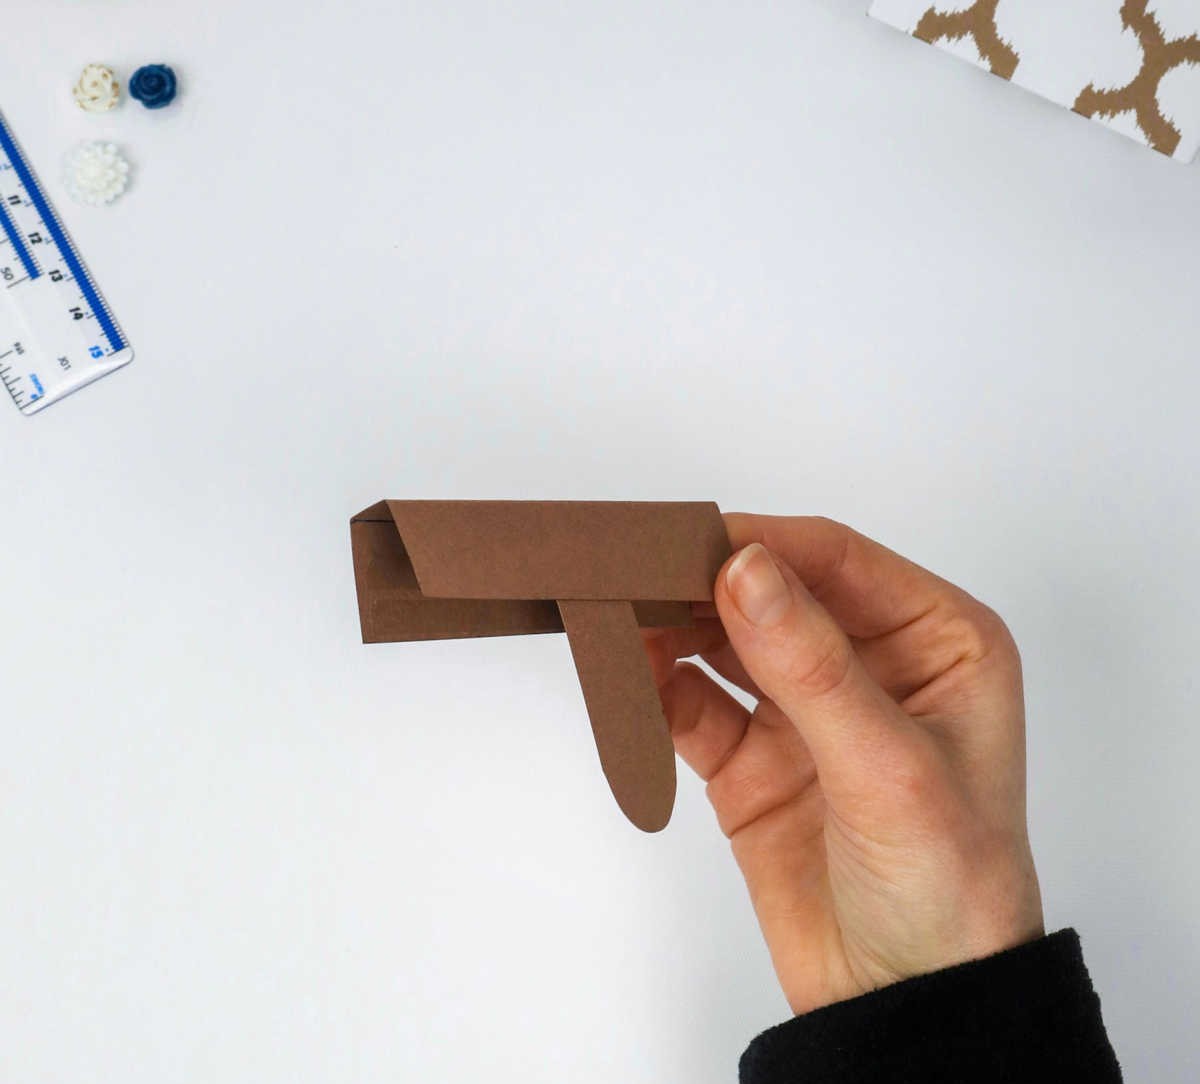
To complete the lid, attach the tongue to the flap by applying your double-sided sticky tape. As you progress through these final steps, you’re likely growing increasingly eager to see the finished paper gift bag take shape.
Step 16
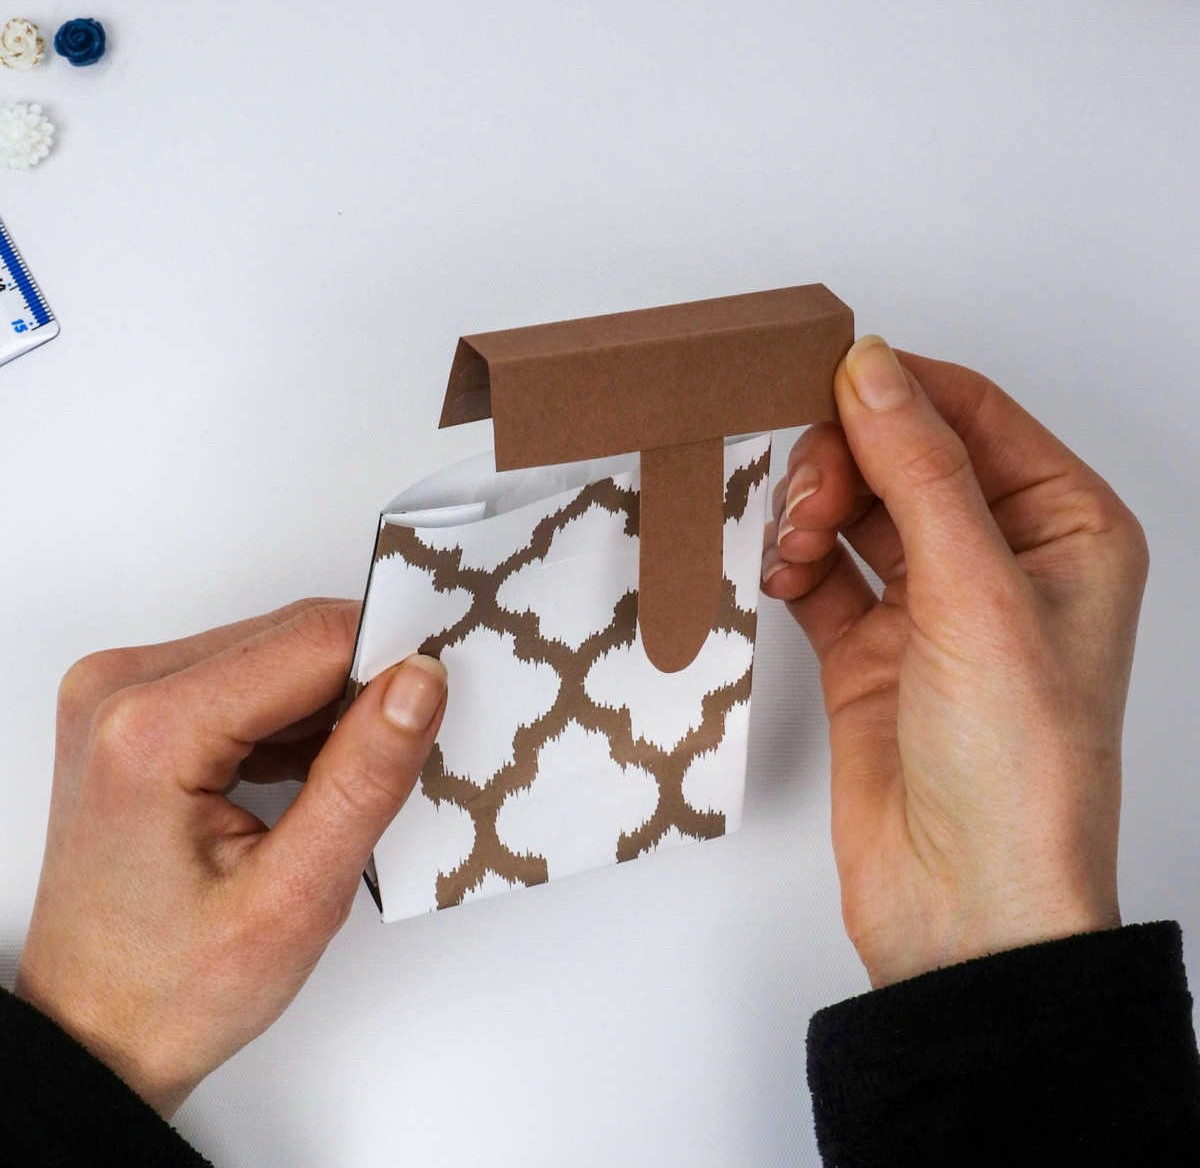
To attach the gift box lid to the bag, start by securing one edge with the double-sided sticky tape. Make sure to insert the tongue into its corresponding slit and firmly press the lid onto the bag, ensuring a snug fit.
Step 17
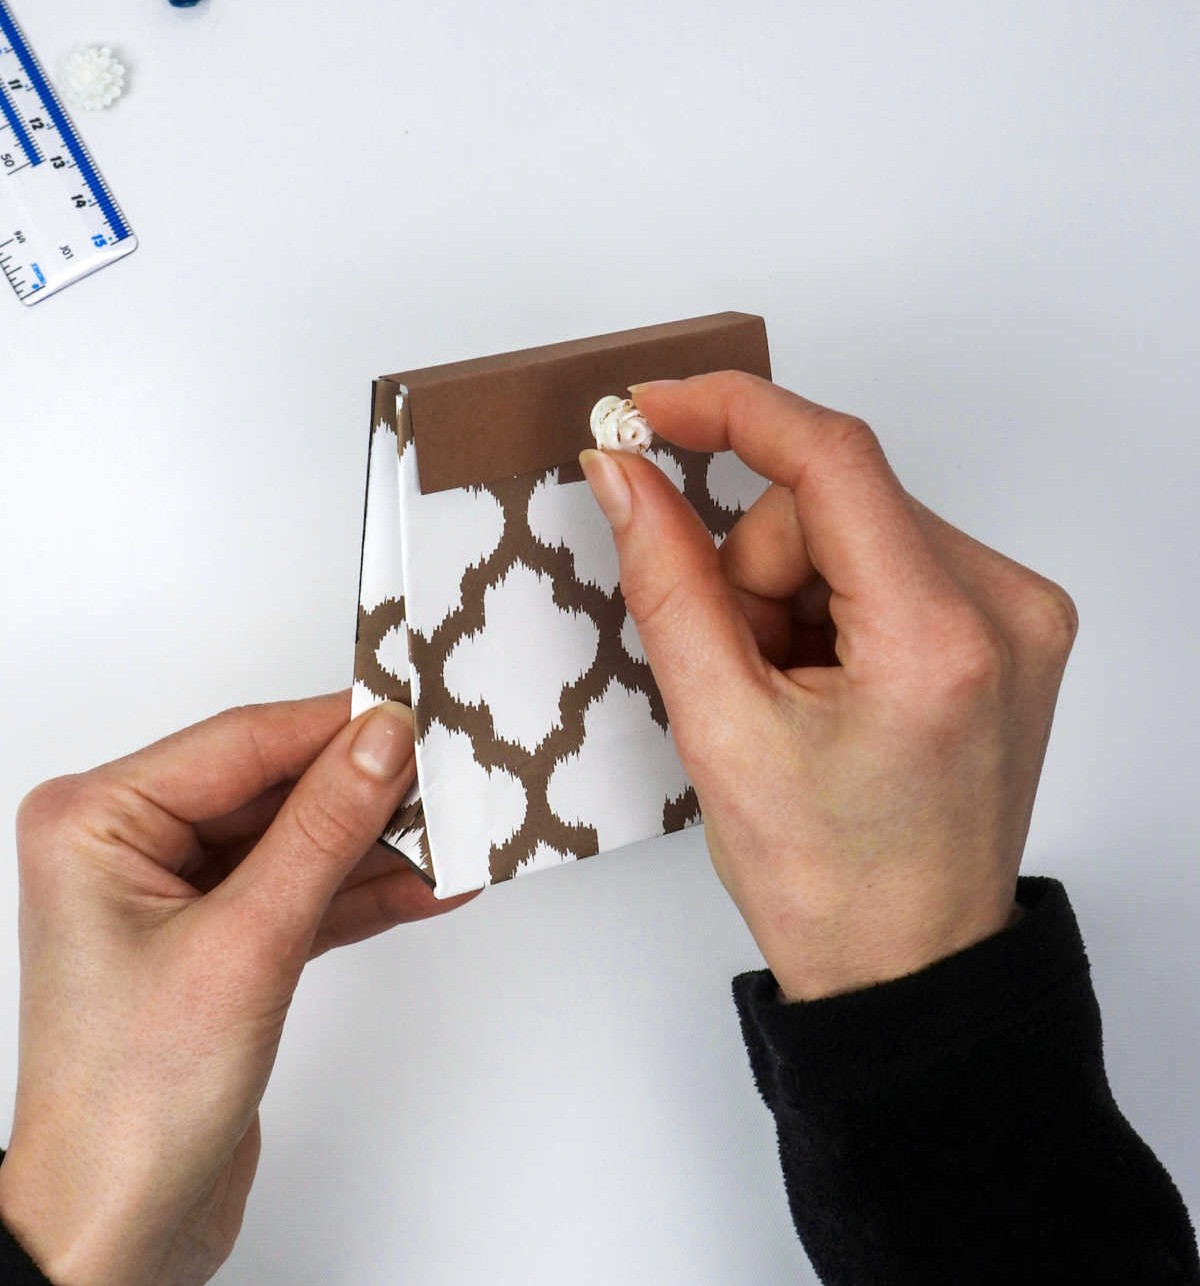
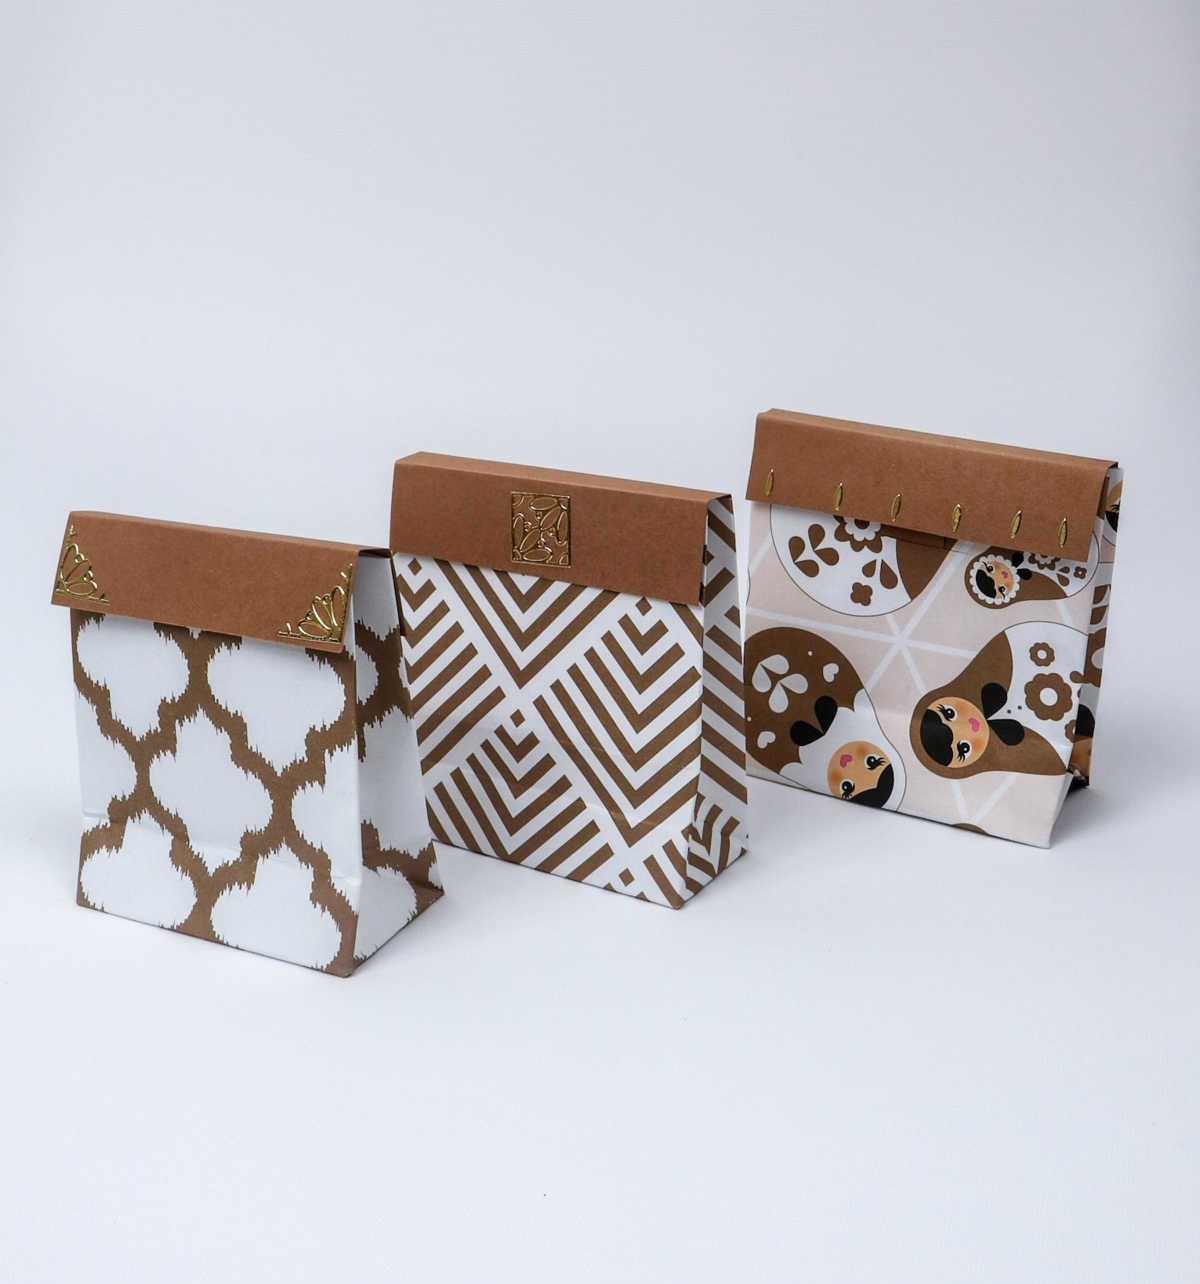
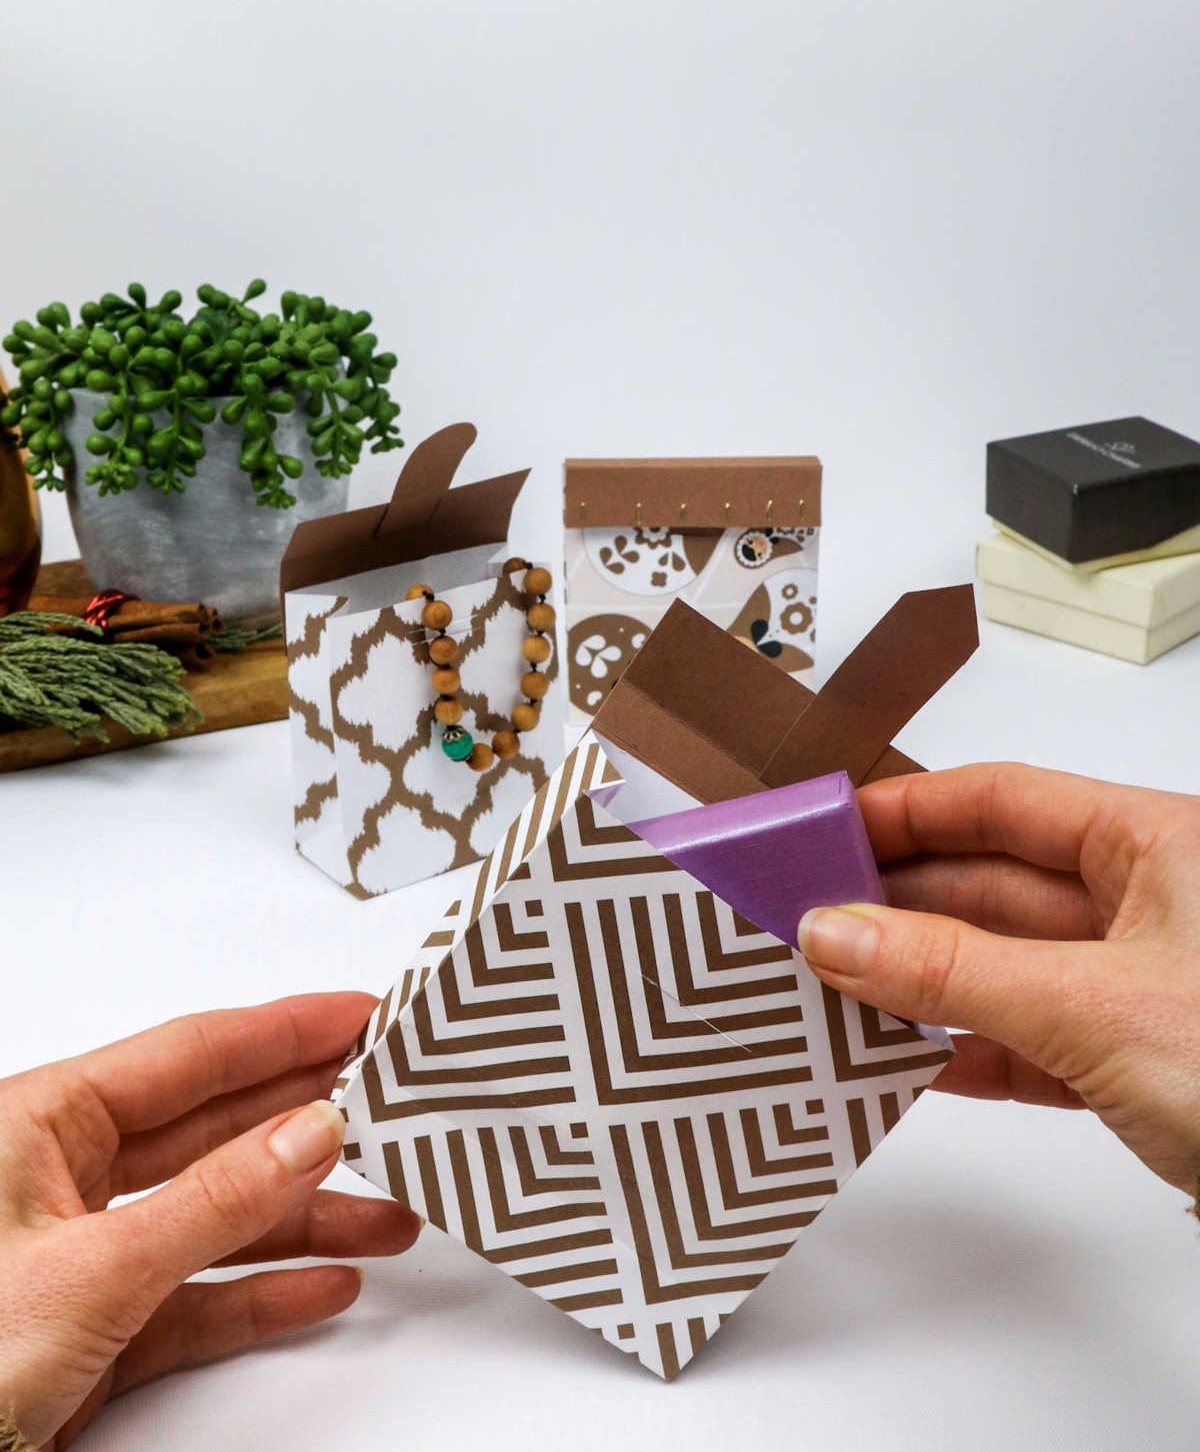
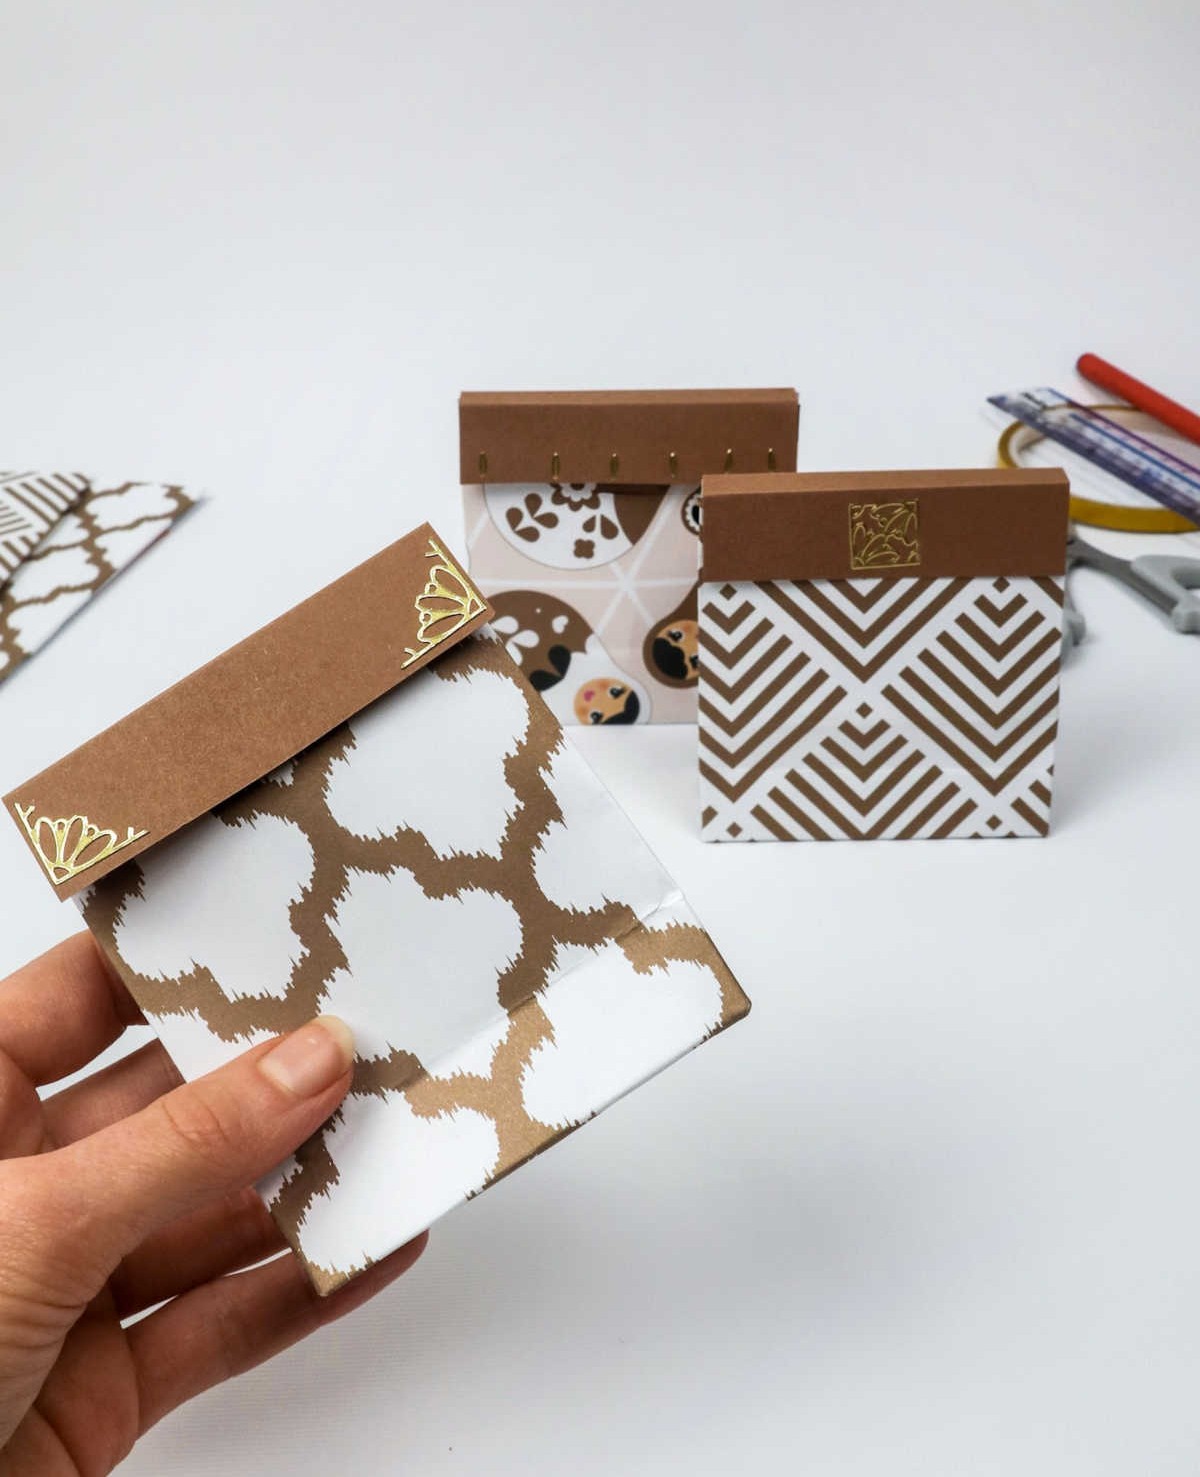
The crowning glory of this project lies in its decorative aspects. With unbridled creativity, you can transform the gift bag into a masterpiece by adorning it with an assortment of embellishments – paper flowers, rhinestones, sparkles, or any other whimsical touch that strikes your fancy. Alternatively, inject some visual flair by lining the flaps with vibrant washi tape or adding delicate patterns with metallic markers. The results are nothing short of breathtaking!
Simply place your gift or party favor within the bag, secure it with a satisfying seal, and voilà – your DIY gift bag is ready to make its debut.
DIY Gift Bags
To elevate the gifting experience, create your own DIY gift bags that will surely impress your loved ones. Not only are they adorable, but also relatively straightforward to craft. With a mere 20 minutes of active time and total time, you can transform plain gifts into thoughtful presents.
Equipment
Materials
To create a beautifully wrapped present, you’ll need a few basic supplies. Start with some patterned paper or gift wrapping paper to serve as the main wrap. For the top layer, use a small piece of matching or coordinating paper to add an extra touch of elegance. To secure these layers together, you can use double-sided tape or glue. If you want to take your wrapping to the next level, consider adding some embellishments like glitter glue or stickers to give it a personal and thoughtful touch.
Instructions
Begin by preparing all necessary supplies. Start by folding one edge of the paper up, approximately an inch in size, with the ‘wrong’ side facing upwards. Secure this fold with double-sided sticky tape. Next, fold the opposite edge down, aligning it with the previous fold and pressing firmly to create a crease. Continue by folding the edges towards the center, creating triangles that meet at the middle point. Press the folds firmly in place.
Repeat the process along the length of the longest side, then open up the folded sections. Take hold of one edge and fold it inward to form a square shape, ensuring the other two ends overlap. To complete the bag’s foundation, fold the paper upwards on either side, creating a rectangular shape. Trim the edges to achieve your desired length. For the lid, cut a piece of paper to match the desired dimensions and fold it inward at a 2:1:2 ratio.
Create the tongue or flap by cutting a strip of paper with an arc-shaped end. Apply double-sided sticky tape along one edge of the inner flap and use it to attach the tongue as well. Carefully place the lid onto the bag, sliding the flap into the incision made earlier. Press the edges together to secure them in place. Finally, decorate your DIY gift bag to complete the project.