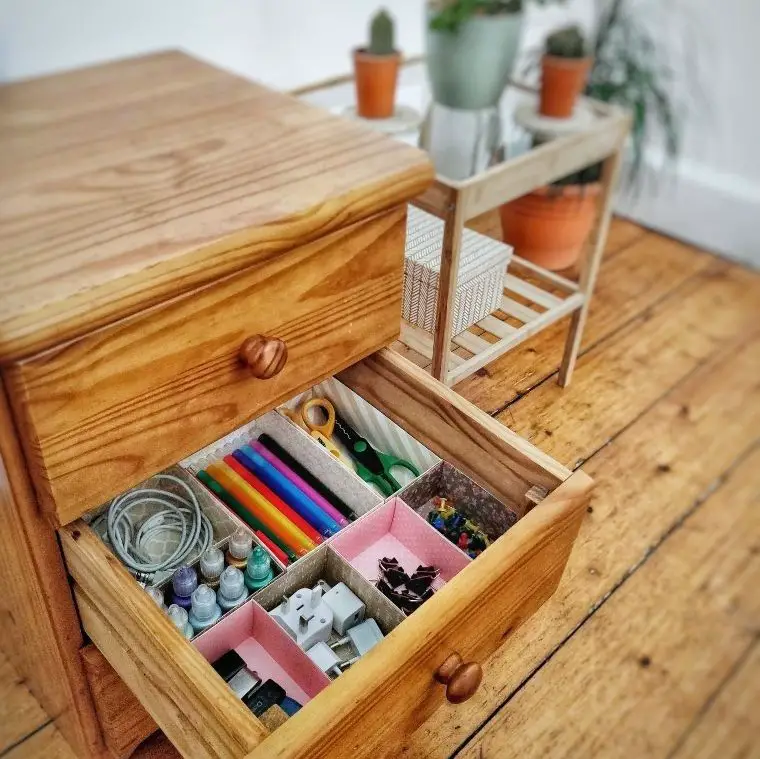
A cluttered drawer can be a major productivity killer. While it’s true that a drawer can store a wide range of items, the frustration of searching through disorganized contents to find what you need is a huge waste of time and energy. The solution lies in using drawer dividers or compartments to separate and categorize your belongings.
You don’t have to break the bank to achieve this level of organization – with just a few simple DIY techniques and some basic crafting supplies, you can create effective dividers that will keep your office space tidy and efficient.
What You’ll Need for Dividers
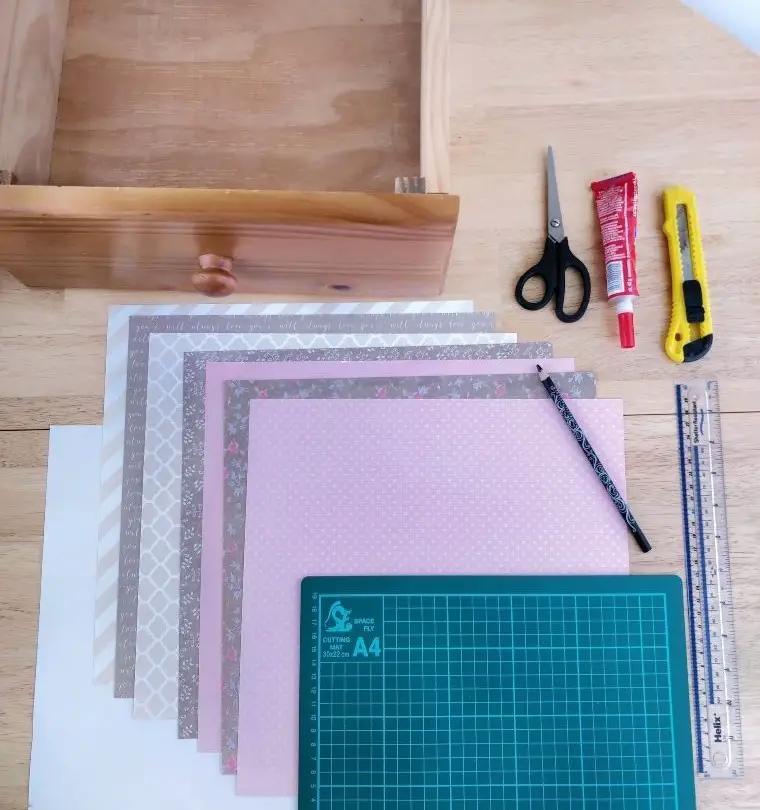
To create your project, you will need a few essential materials. Start with cardstock, specifically patterned and in a standard size of 12 inches by 12 inches. The weight of this cardstock should be around 200 gsm, which is considered heavyweight. Additionally, you’ll require glue to hold everything together, as well as some basic crafting tools like pencils, scissors, and craft knives. Finally, having an A4 cutting mat will come in handy for any precision cuts or measurements you need to make.
STEP 1

To begin, carefully remove the drawer from its shelf and meticulously clear out all its contents. It’s essential to start with a clean slate, ensuring that your workspace is free from any potential distractions or obstacles that might hinder your progress.
STEP 2
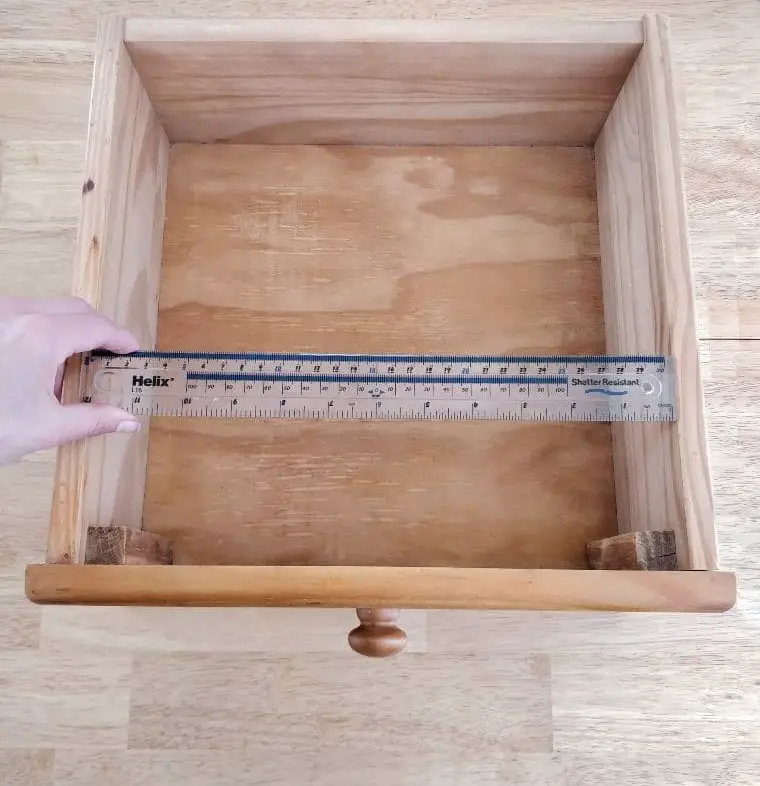
To create the foundation of your custom drawer organizer, begin by measuring the interior dimensions using a ruler. This vital information will enable you to accurately cut a piece of cardstock to serve as the base of your organizer, ensuring a snug fit within the drawer.
STEP 3
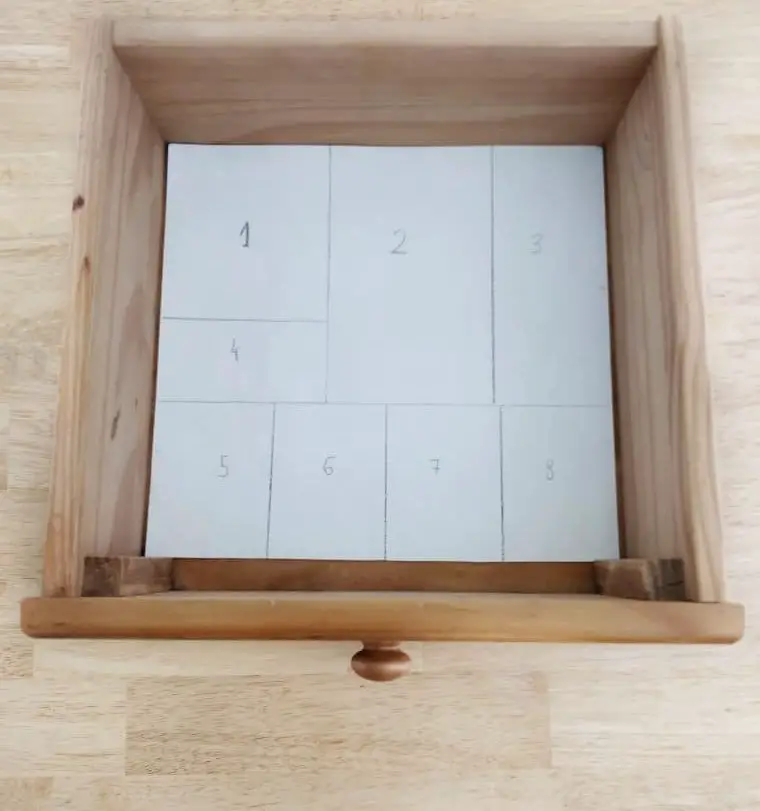
Position the cutting mat on your work surface and place the base card stock beneath it. Next, gather all the drawer contents and arrange them in an organized manner on top of the base stock, utilizing the cutting mat as a visual aid to separate items. Once you’re satisfied with your compartment setup, use a pencil to sketch out rough outlines for each compartment, again referencing the cutting mat to ensure accuracy.
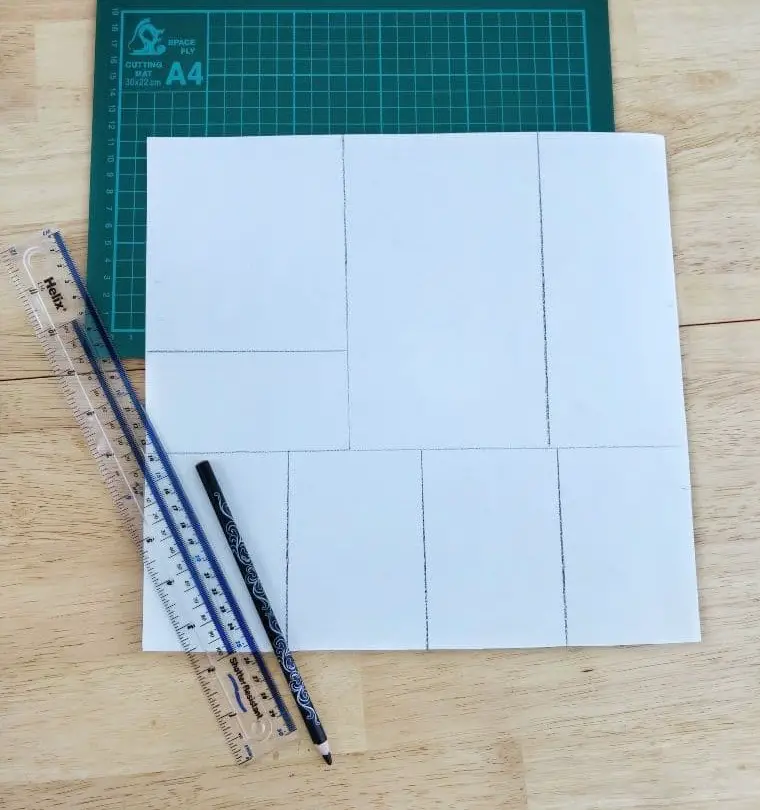
STEP 4
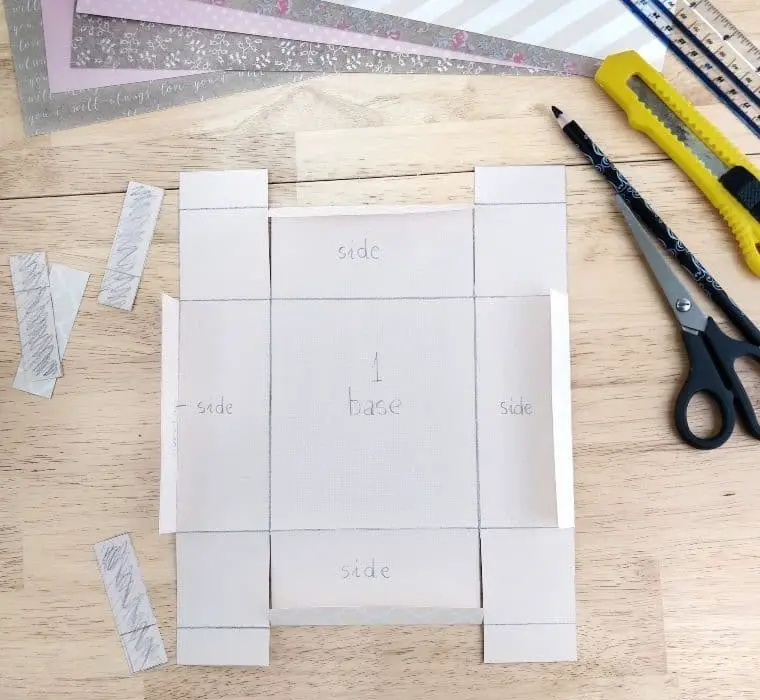
To finalize your diagram, set the content boxes aside and create a clean foundation by using the ruler to refine the rough outline you developed earlier. This will allow you to focus on making precise adjustments. Next, take the time to number each section carefully, ensuring that everything is organized and easy to follow.
STEP 5
Before moving forward with your drawer organization project, take a moment to reassess the base card stock and verify the accuracy of your initial measurements. This step allows you to gain a preliminary understanding of how the compartments will eventually be laid out within the drawer.
STEP 6
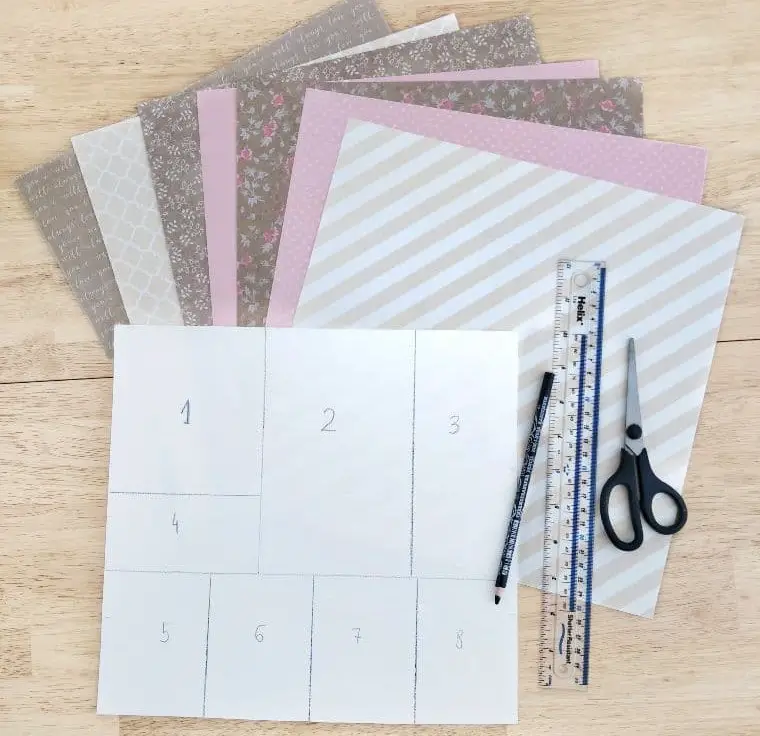
When you’re satisfied with the size and configuration of your travel organizer’s compartments, it’s time to add a touch of personalization. Begin by retrieving the drawer insert and laying out all the cardstock designs intended for your dividers. Start by selecting the perfect design for compartment one, allowing yourself to get creative and express your unique style.
STEP 7
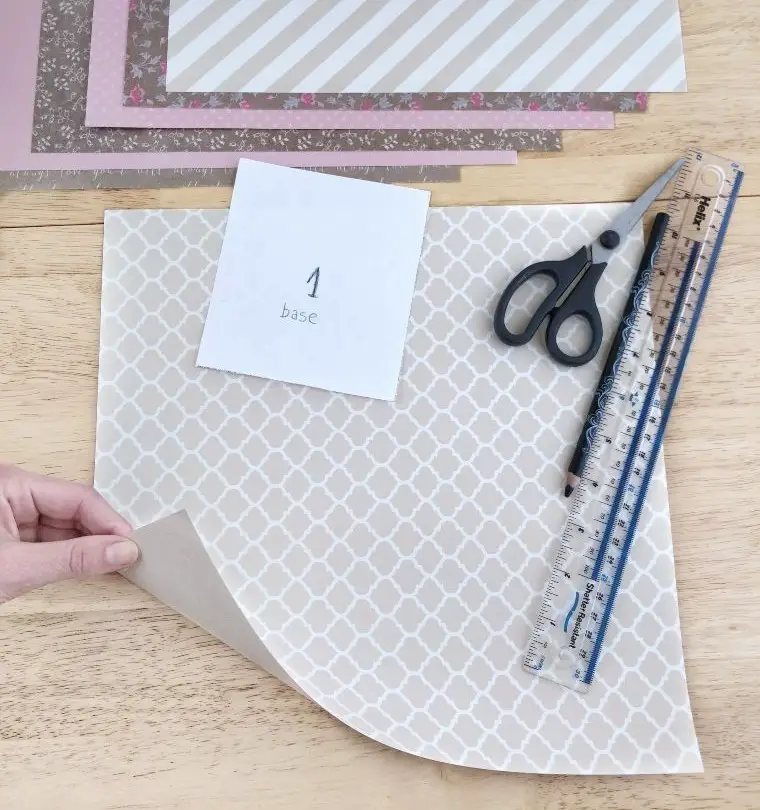
Carefully isolate the first compartment on your cardstock, taking great care not to compromise the integrity of the surrounding sections or damage any delicate edges. This crucial step ensures a precise and controlled separation of each compartment, laying the groundwork for a flawless and professional-looking finished product.
STEP 8
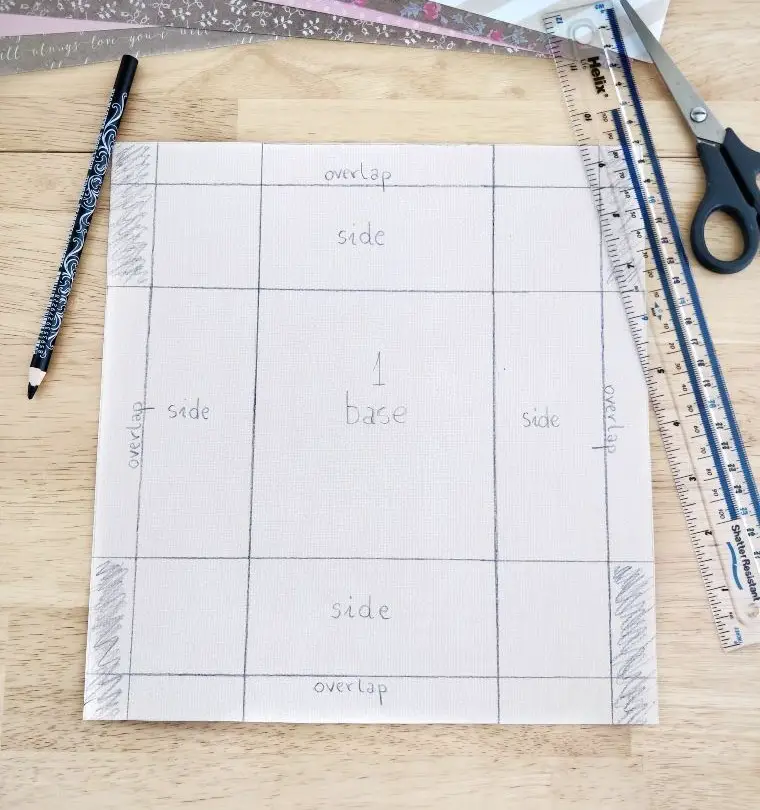
Start by preparing the first compartment’s foundation. Take a piece of card stock and flip it over to expose its plain side. Place your cut-out piece on this surface, positioning it centrally. Sketch a rough outline around the shape with a pencil, serving as the base for your divider. Next, use a ruler to shave off 2mm from all sides of the outline, allowing for adjustments when assembling the compartments. Determine the desired height of your divider and mark it on the card stock.
The marked areas should be in this order: overlap-side-base-side-base-overlap, mirroring the photo reference.
STEP 9
To achieve a seamless finish, it’s essential to carefully trim away any excess materials that may have accumulated at the points where the overlapping surfaces meet. This is particularly crucial when working with materials that don’t tolerate imperfections well, such as smooth woods or plastics. By taking the time to meticulously remove these excess corners, you’ll be able to create a clean and professional-looking joint that won’t compromise the overall appearance of your project.
STEP 10
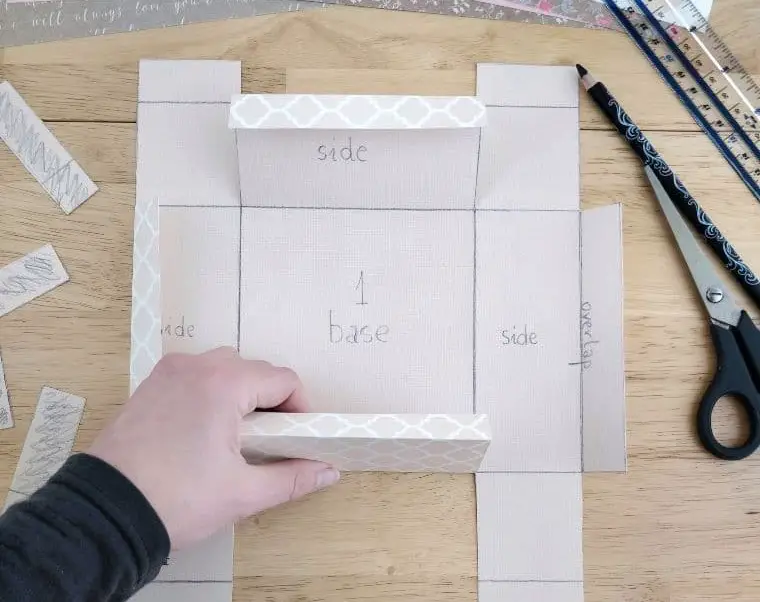
To secure your divider in place, fold the overlapping edges inward on all four sides. This simple step helps prevent the divider from shifting or coming loose over time, ensuring a precise and consistent separation between areas.
STEP 11
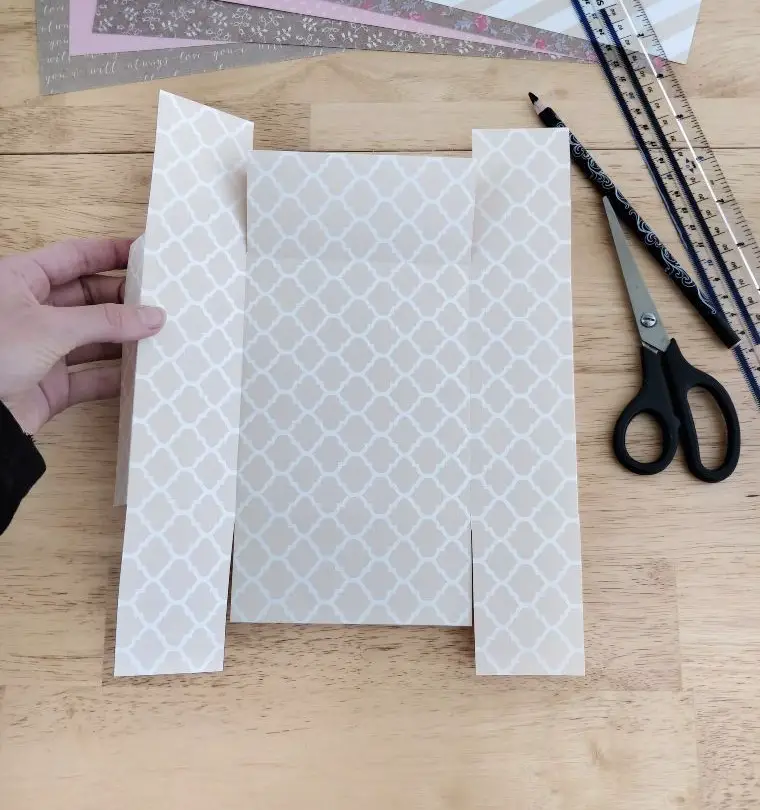
Once you’ve prepared your cardstock, turn it over to expose the beautiful design on the reverse side. As you do so, take a moment to appreciate the intricate details and colors that will soon become part of your craft project.
STEP 12
To construct your divider, start by folding the two ‘sides’ upwards along the lines you’ve drawn on the paper. This will help you create a sturdy foundation for your design.
STEP 13
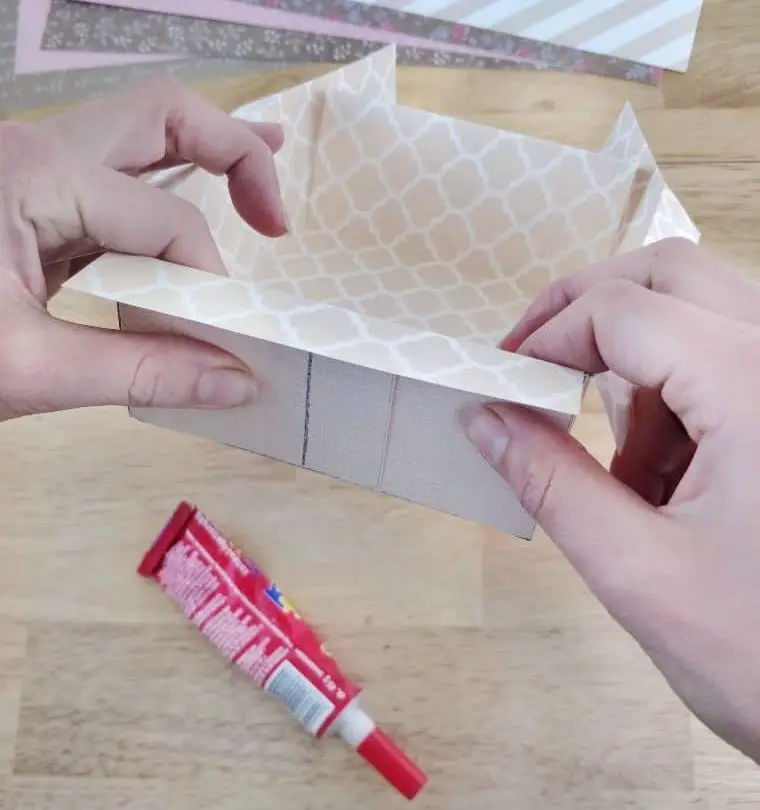
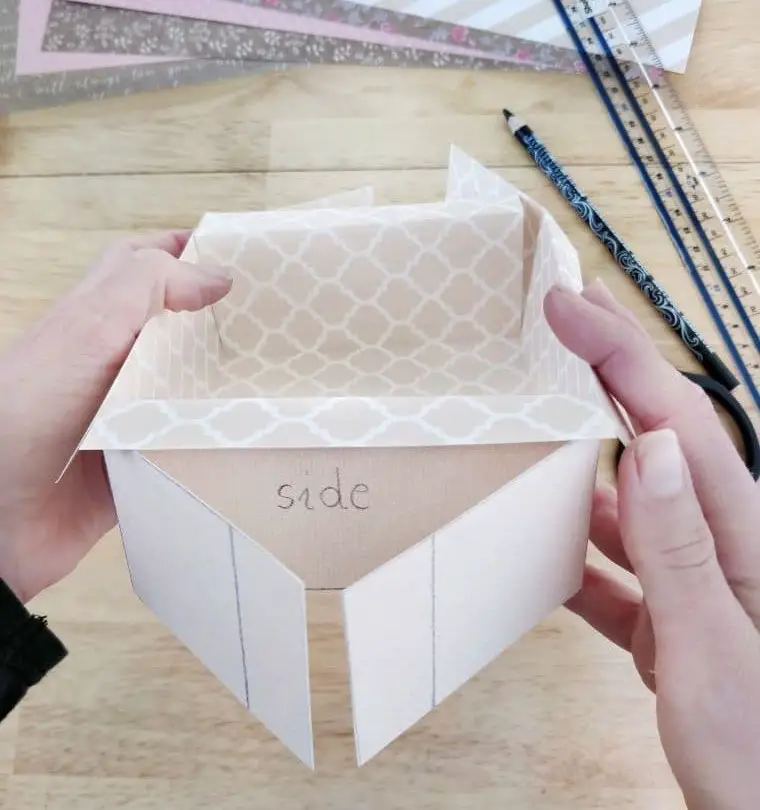
The process of finishing the divider’s edges involves a few simple steps. First, you’ll need to fold the excess flaps inward towards each other, ensuring they’re crisp and symmetrical. Once aligned, apply a thin layer of glue along the folded edge, carefully pressing down to secure the flaps in place. This will create a neat and tidy finish that complements the overall design.
STEP 14
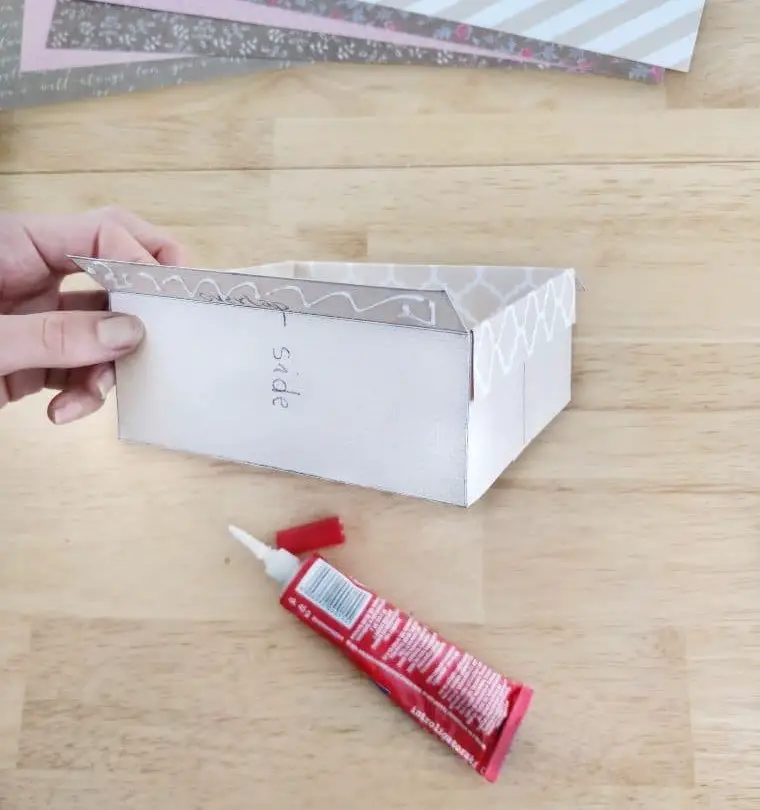
To secure the folded edge in place, apply a small amount of dab glue directly onto the overlapping area. Gently press the fold downwards, ensuring a firm bond between the two surfaces.
STEP 15
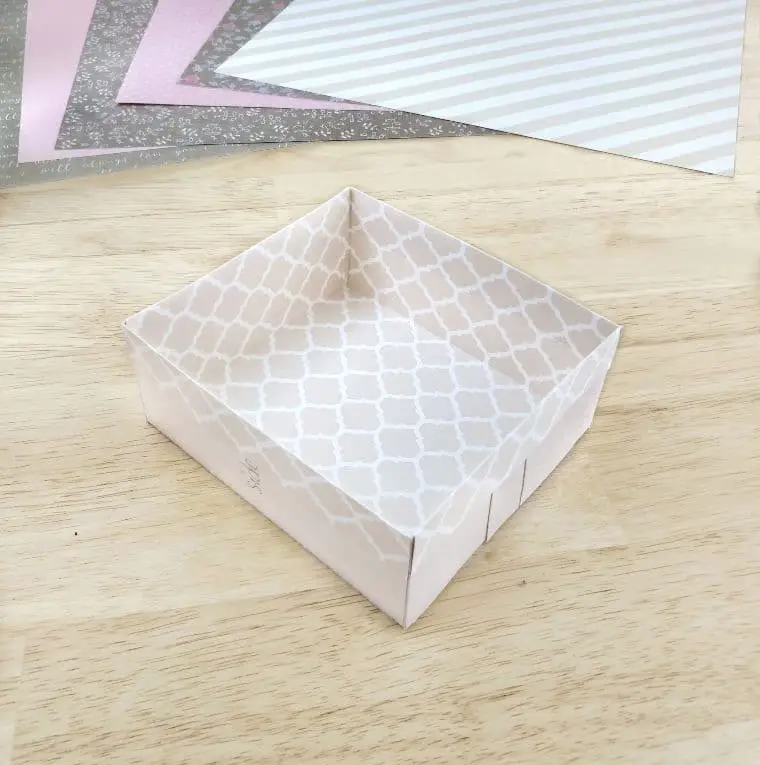
As you’ve already begun optimizing one divider, continue the process for all remaining ones. Follow the exact same steps – inspect each overlap, identify any inconsistencies or irregularities, and resolve them by fine-tuning the alignment, spacing, and overall visual appeal. This meticulous approach will ensure a seamless integration of all dividers within your design, creating a cohesive and harmonious layout that effectively communicates your message to your audience.
STEP 16
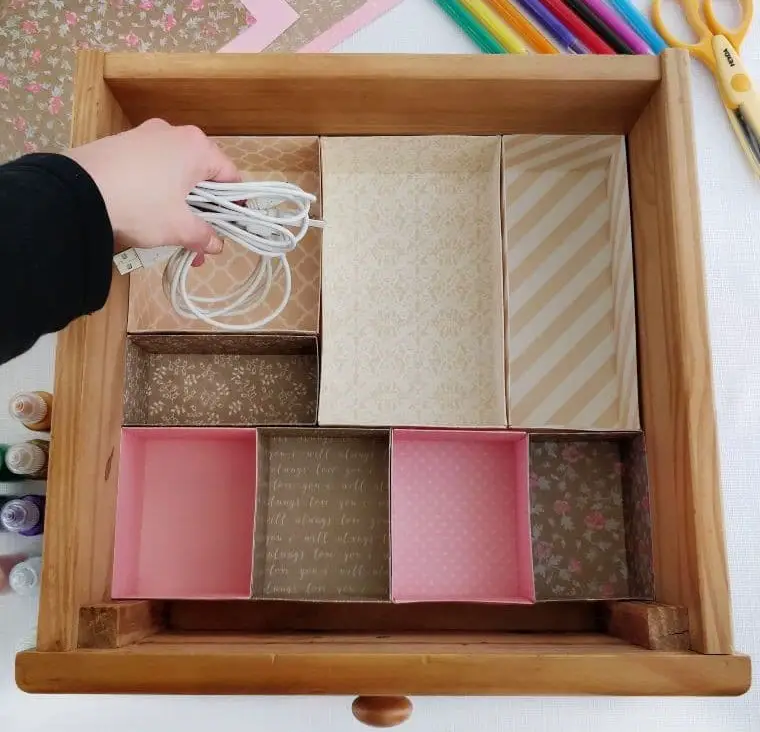
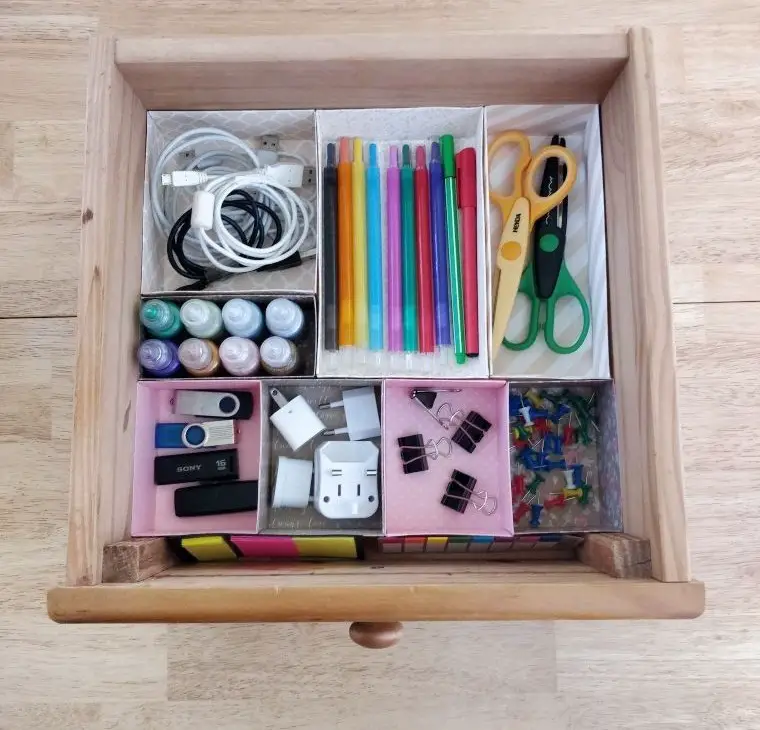
Once you’ve lined up your drawer dividers according to your desired layout, it’s time to categorize the contents. Gently remove everything from the drawers and organize each item into its designated section. As you work through this process, take a moment to admire your newly organized space – the sense of accomplishment is well-deserved! With all drawers now functional, clutter-free, and visually pleasing, you’re ready to tackle the remaining spaces in your home.
This project not only simplifies daily life for yourself and your family, but also serves as an excellent opportunity to involve children in a fun, hands-on learning experience that fosters organization skills and creative expression.
DIY Drawer Dividers Out of Cardboard
Revamp your workspace with a cost-effective, eco-friendly cardboard organizer. This budget-friendly solution takes mere minutes to create and can be customized to fit your unique office needs. With just 2 hours of active time invested, you’ll have a tidy and organized space that’s perfect for brainstorming, meeting notes, or simply keeping track of daily tasks. The best part? This project requires minimal resources: a few simple cardboard pieces and some basic crafting supplies.
For under $2, you can enjoy the satisfaction of knowing you’ve created something truly useful while also reducing waste.
Equipment
Materials
Instructions
To create a custom drawer divider system, start by preparing your materials. Remove one drawer and empty its contents. Measure the interior dimensions and transfer these measurements to plain cardstock. Cut the cardstock to size and arrange the drawer’s contents on it according to your desired division layout. Use a cutting mat as a visual guide to sketch a rough outline around the items with a pencil.
Place the items back in the drawer, then use a ruler to refine the outline and add numerical labels to each compartment. Check the cardstock’s fit within the drawer and make any necessary adjustments. Next, create each individual divider by starting with the first one. Cut out the design you’ve chosen for this divider and place it in the middle of the non-patterned side of the cardstock.
Roughly outline the cut-out piece with a pencil, then use a ruler to draw a final outline, leaving 2mm margins on either side. Define the ‘sides’ of the divider according to your preferred height, using the overlap-side-base-side-overlap pattern. Cut away excess material along each side’s overlaps, fold them inwards, and flip the cardstock to reveal its patterned surface. Fold along the remaining lines to create the box shape, then attach all sides and overlaps with glue.
Repeat this process for each divider or compartment, reiterating these steps until you’ve completed a custom system for every drawer at home. In doing so, you’ll have successfully saved your family hours of frustration from rummaging through clutter.