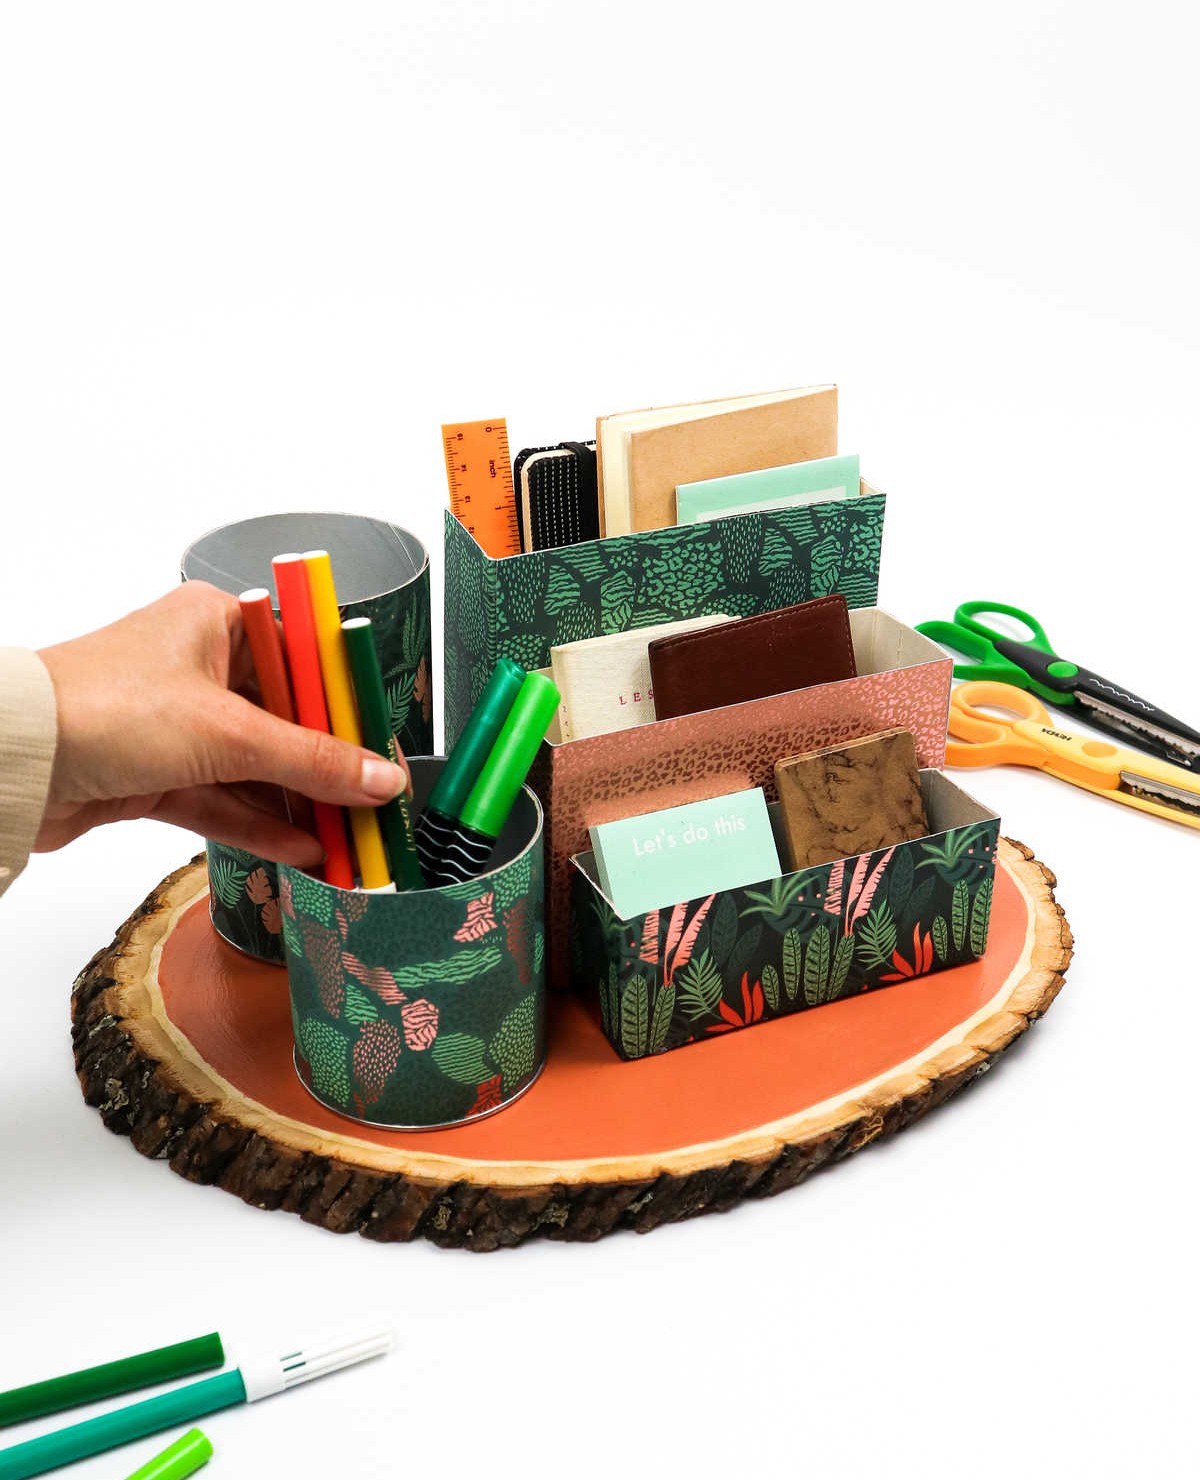
Transform your office space with a functional DIY desk organizer crafted from repurposed food packaging. Say goodbye to the frustration of searching through cluttered drawers or dealing with a messy desktop.
The chaos that ensues when you can’t find what you need amidst a sea of stationery and supplies is all too familiar. But by upcycling leftover food containers into a desk organizer, you’ll be able to contain your office essentials in one place, keeping them both visible and accessible.
With this innovative solution, you’ll no longer have to choose between the inconvenience of digging through drawers or the visual clutter of a messy desktop. Instead, enjoy a tidy workspace that makes it easy to find what you need when you need it.
Supplies and Tools You’ll Need
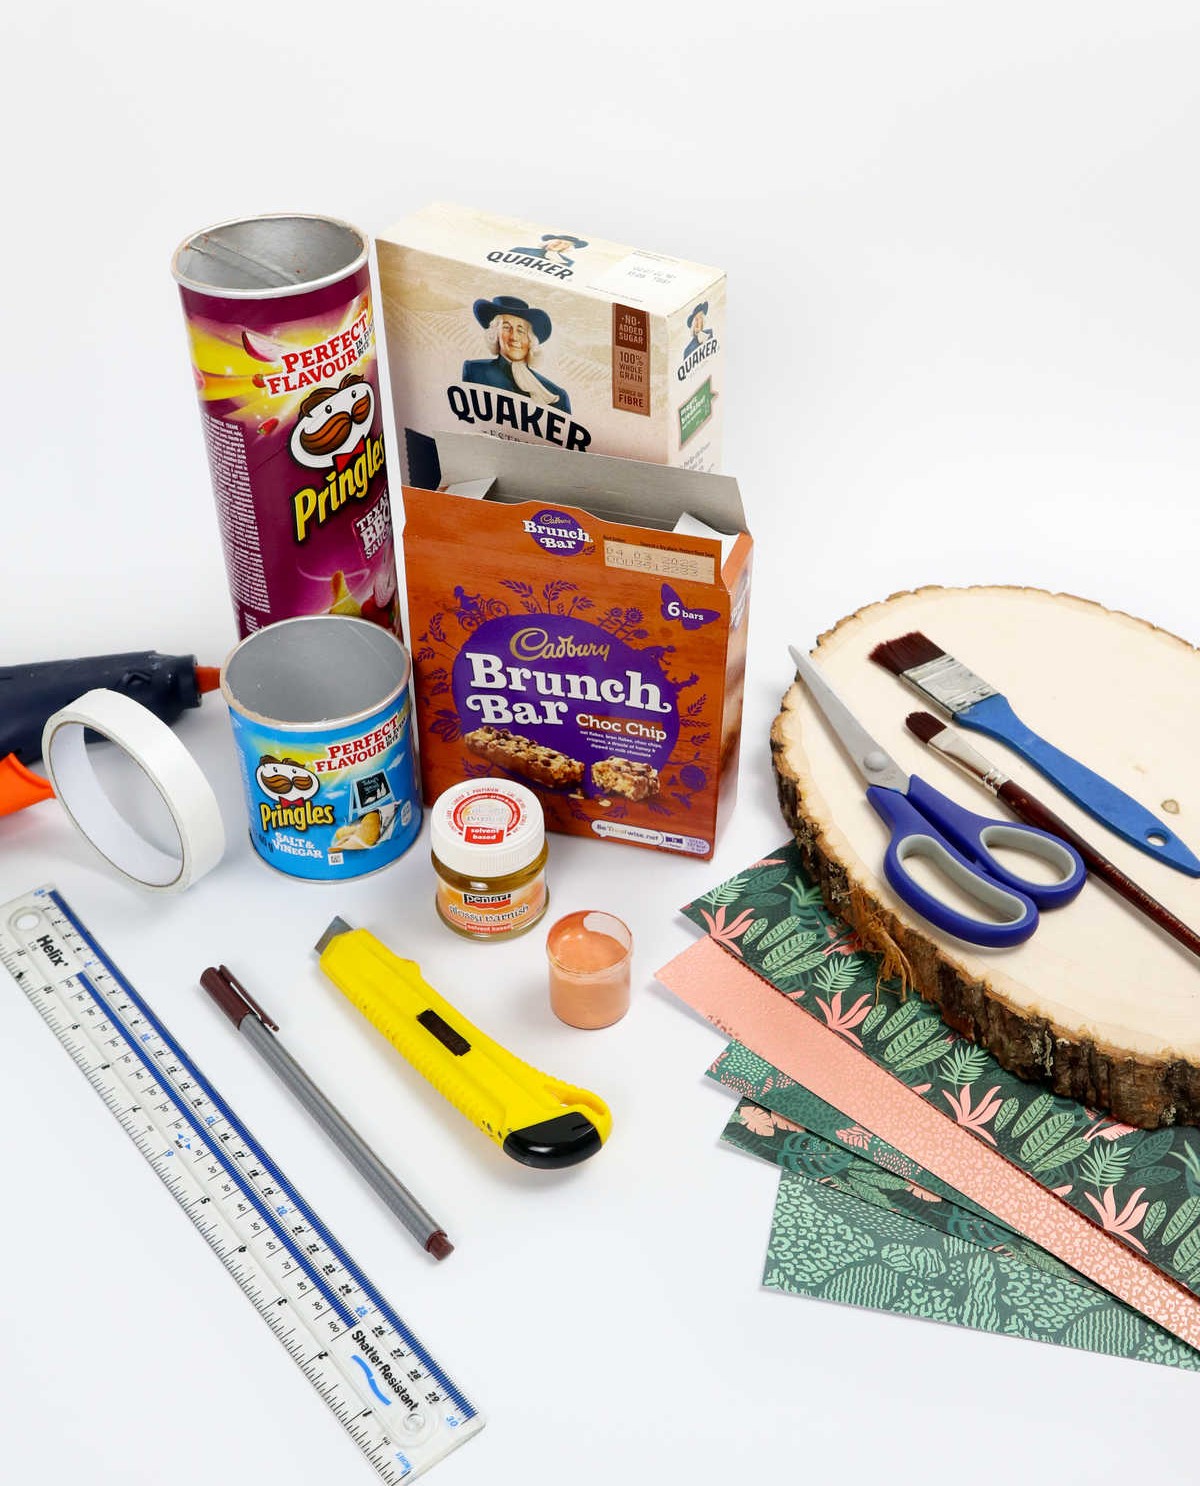
To get started with this creative project, you’ll need to gather the following materials: a wood board measuring 13 inches wide, empty food boxes that can be repurposed for their unique shapes and textures, craft paper sheets in various colors and textures, double-sided tape for secure adhesion, a retractable knife for precise cutting, a marker or pen for adding details, a ruler to ensure straight lines, scissors for cutting out shapes and designs, acrylic paint for adding color and vibrancy, glossy varnish for a protective coating and added shine, and various paintbrushes for applying the paint.
Additionally, you’ll need a hot glue gun to bond materials together and create three-dimensional forms.
How to Make a Desk Organizer
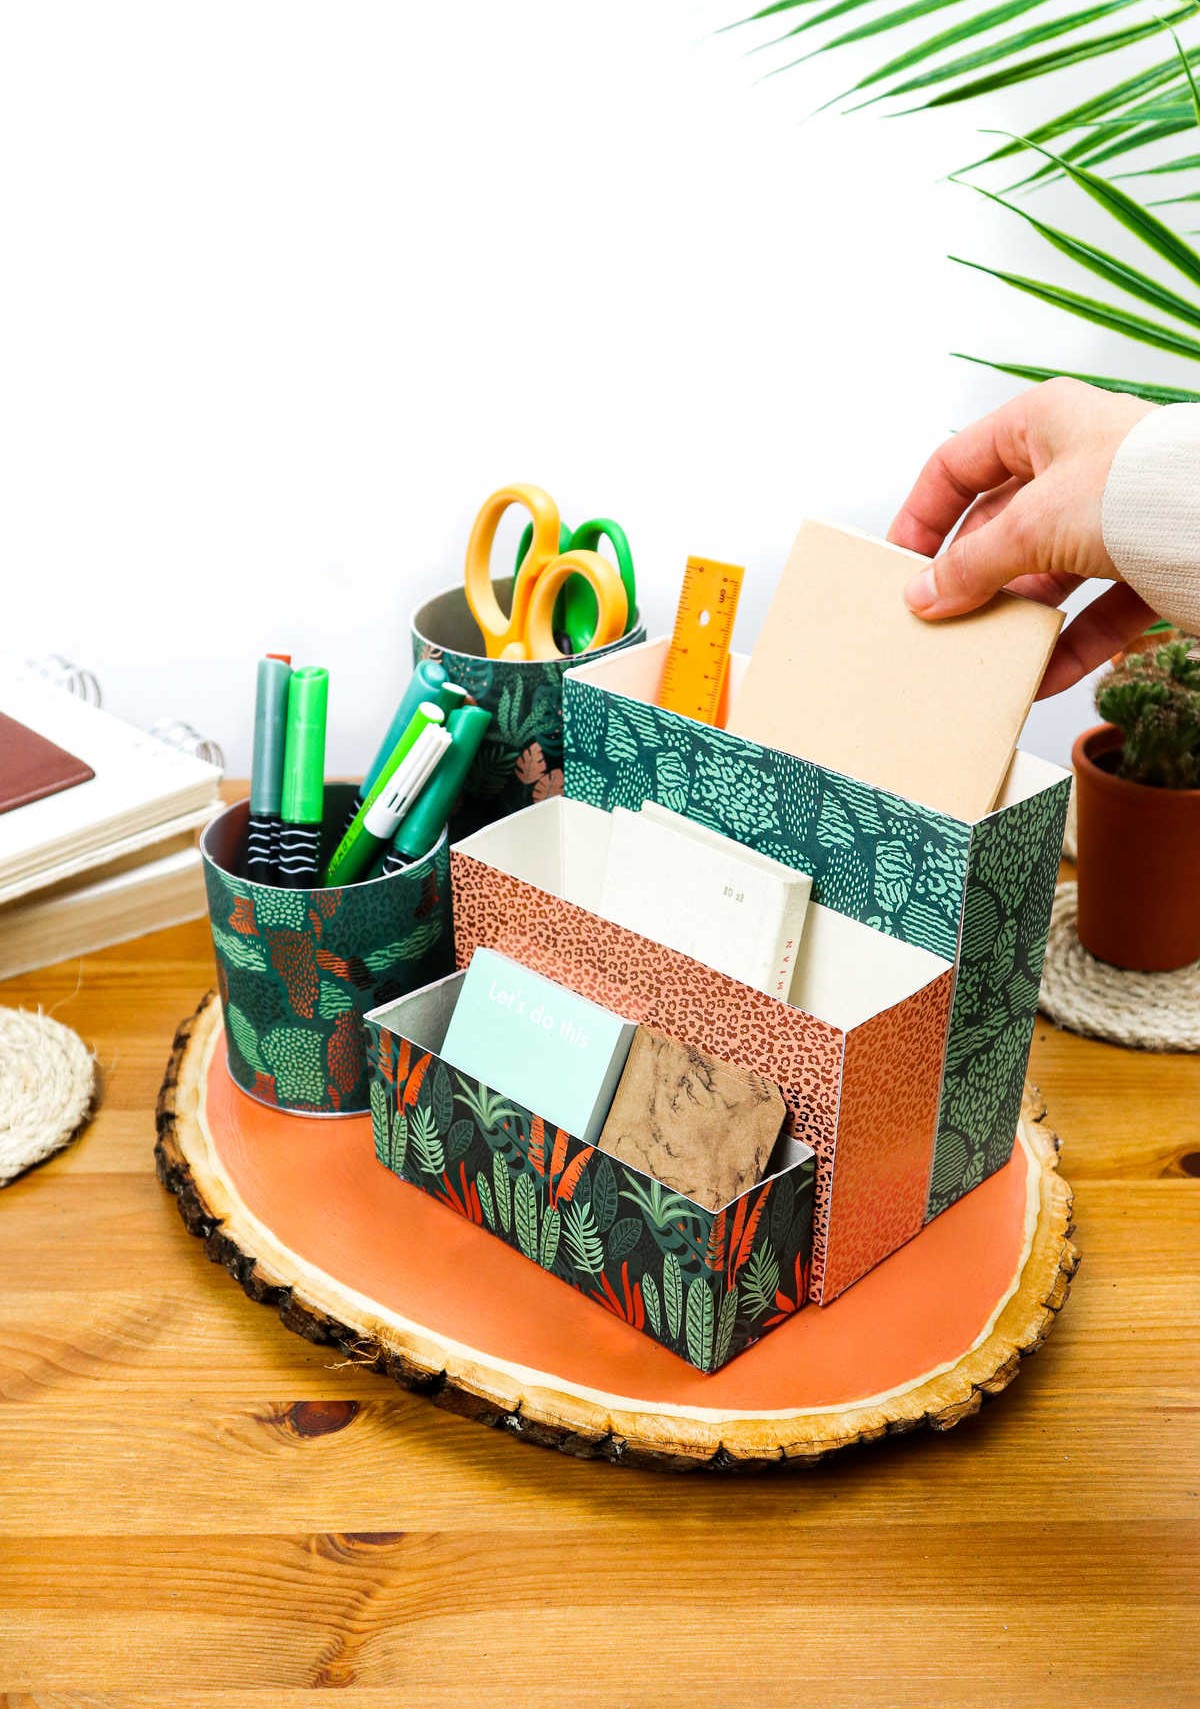
While it may seem inconsequential at first glance, the purpose of that wooden board goes beyond just providing a decorative touch to your desk. In reality, having a well-organized workspace is crucial for productivity and efficiency. The wood board serves as a sturdy stand, allowing you to arrange all your various desk organizers in a neat and accessible manner.
This thoughtful arrangement enables you to quickly locate the items you need, reducing the time spent searching for misplaced supplies and minimizing distractions.
Step 1
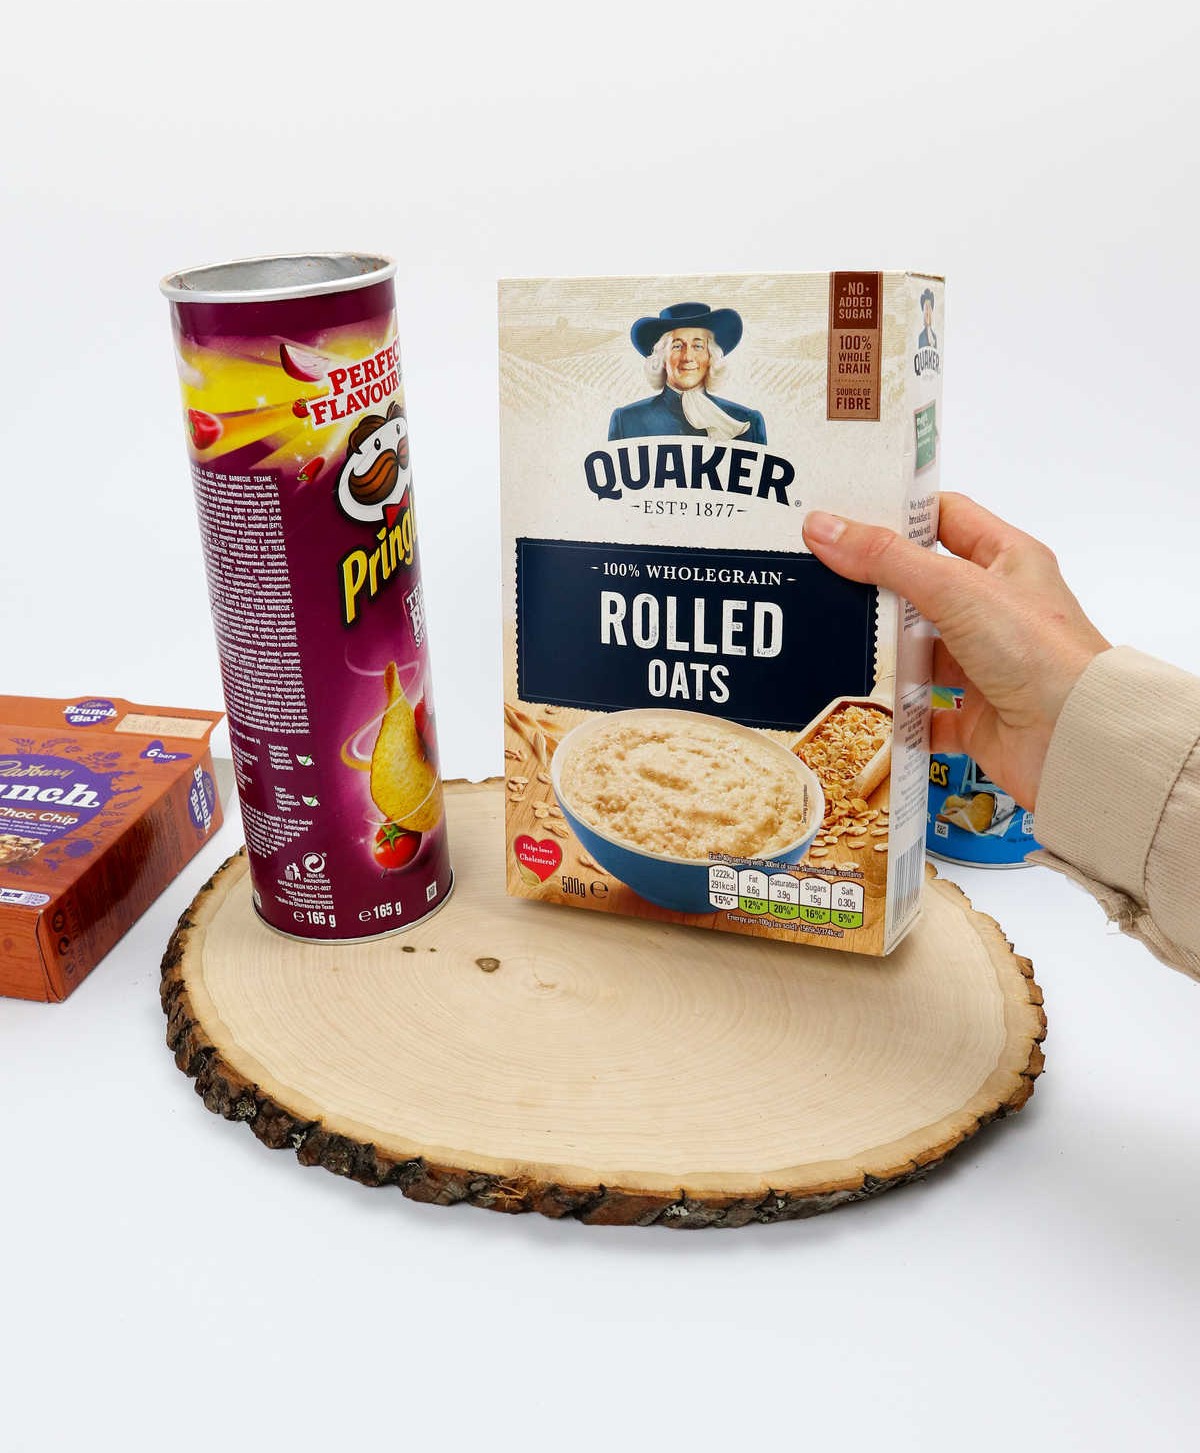
To begin with, gather all the boxes you intend to use and place them on the wooden board. Take this opportunity to carefully plan out where each piece will go, ensuring that everything fits snugly within its designated space. This exercise not only helps you visualize the final product but also allows for any necessary adjustments before you start decorating.
With a solid foundation in place, you’ll be well on your way to transforming those containers into something truly remarkable – and just as impressive as it sounds!
Step 2
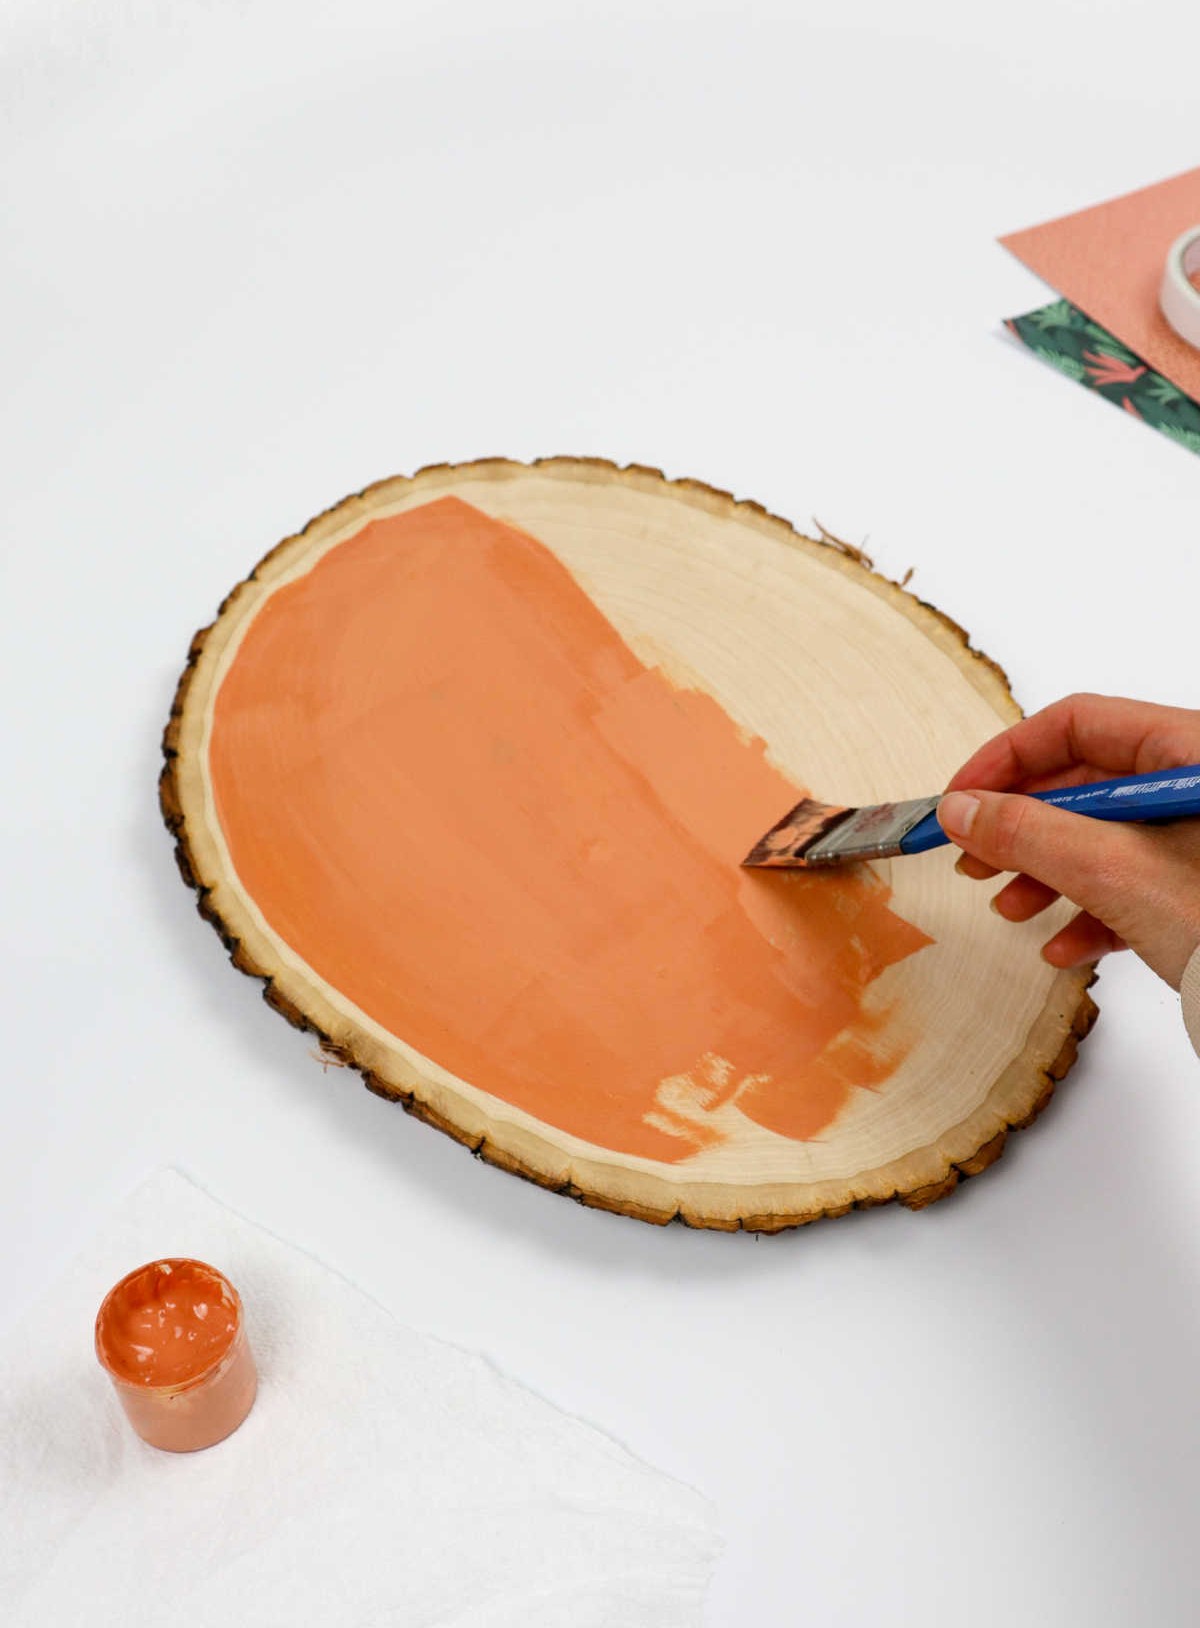
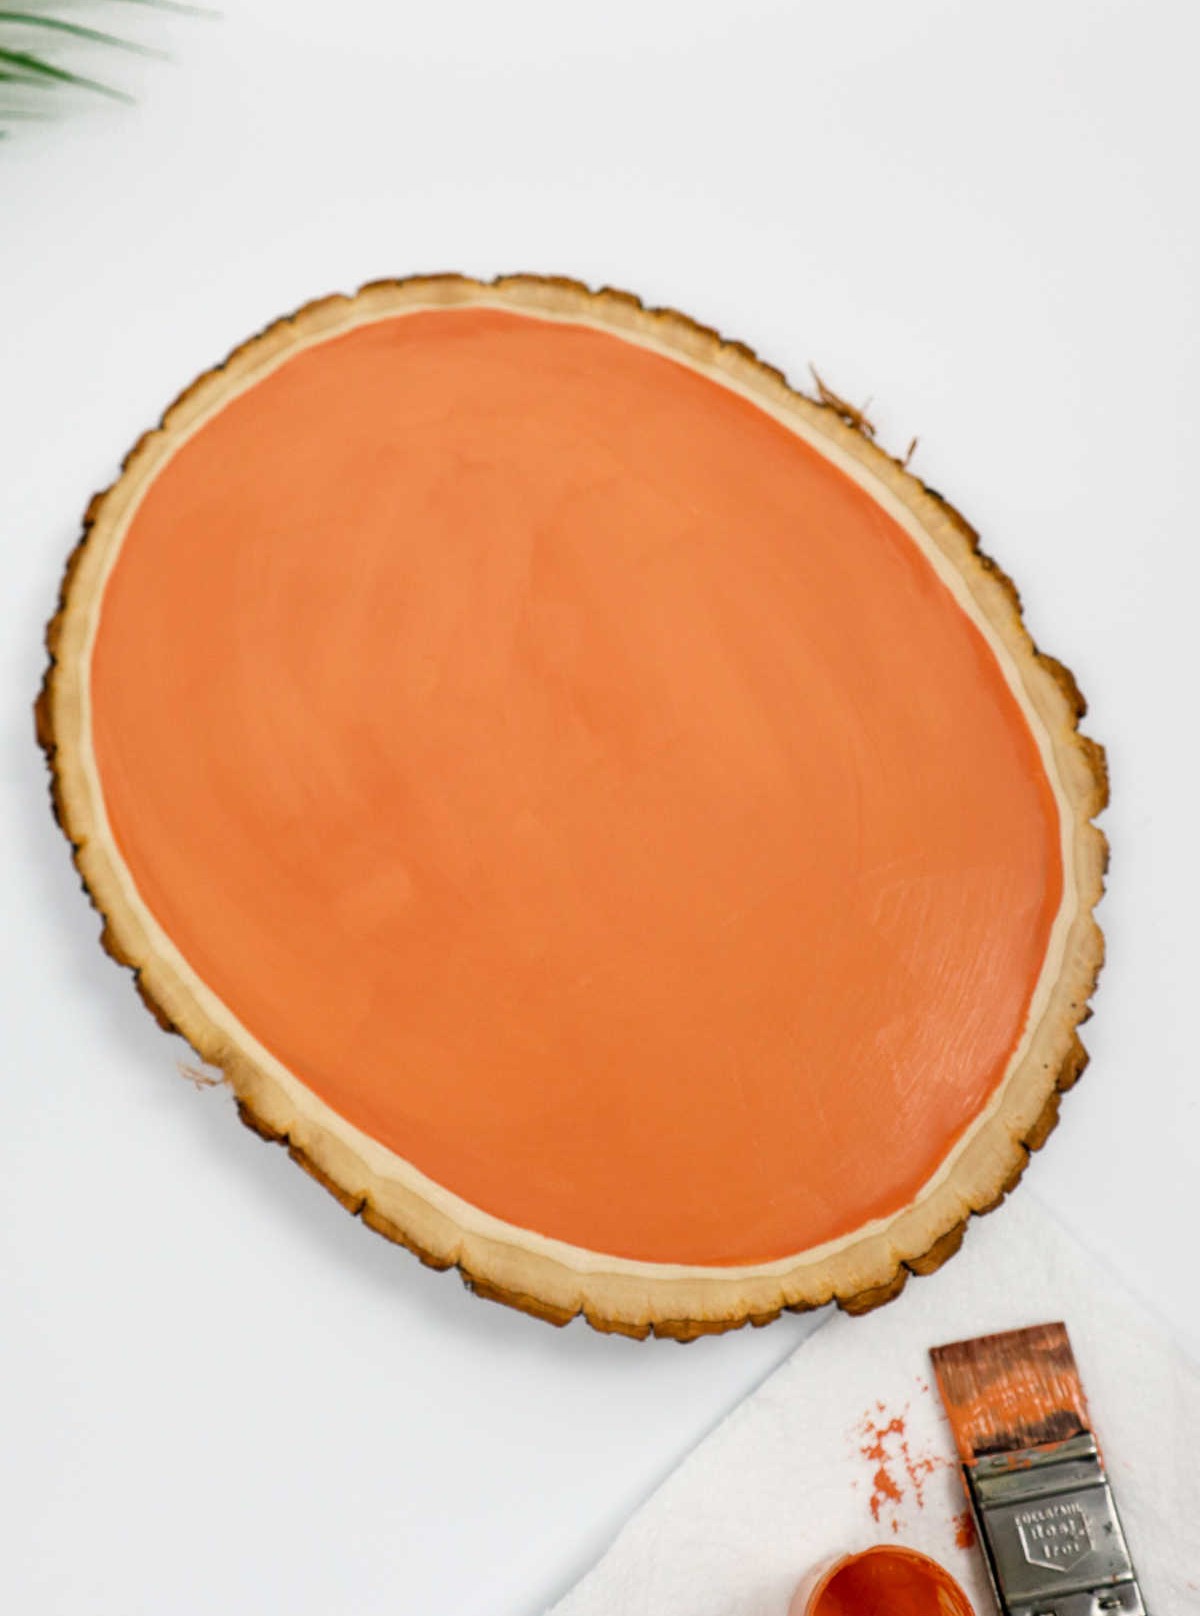
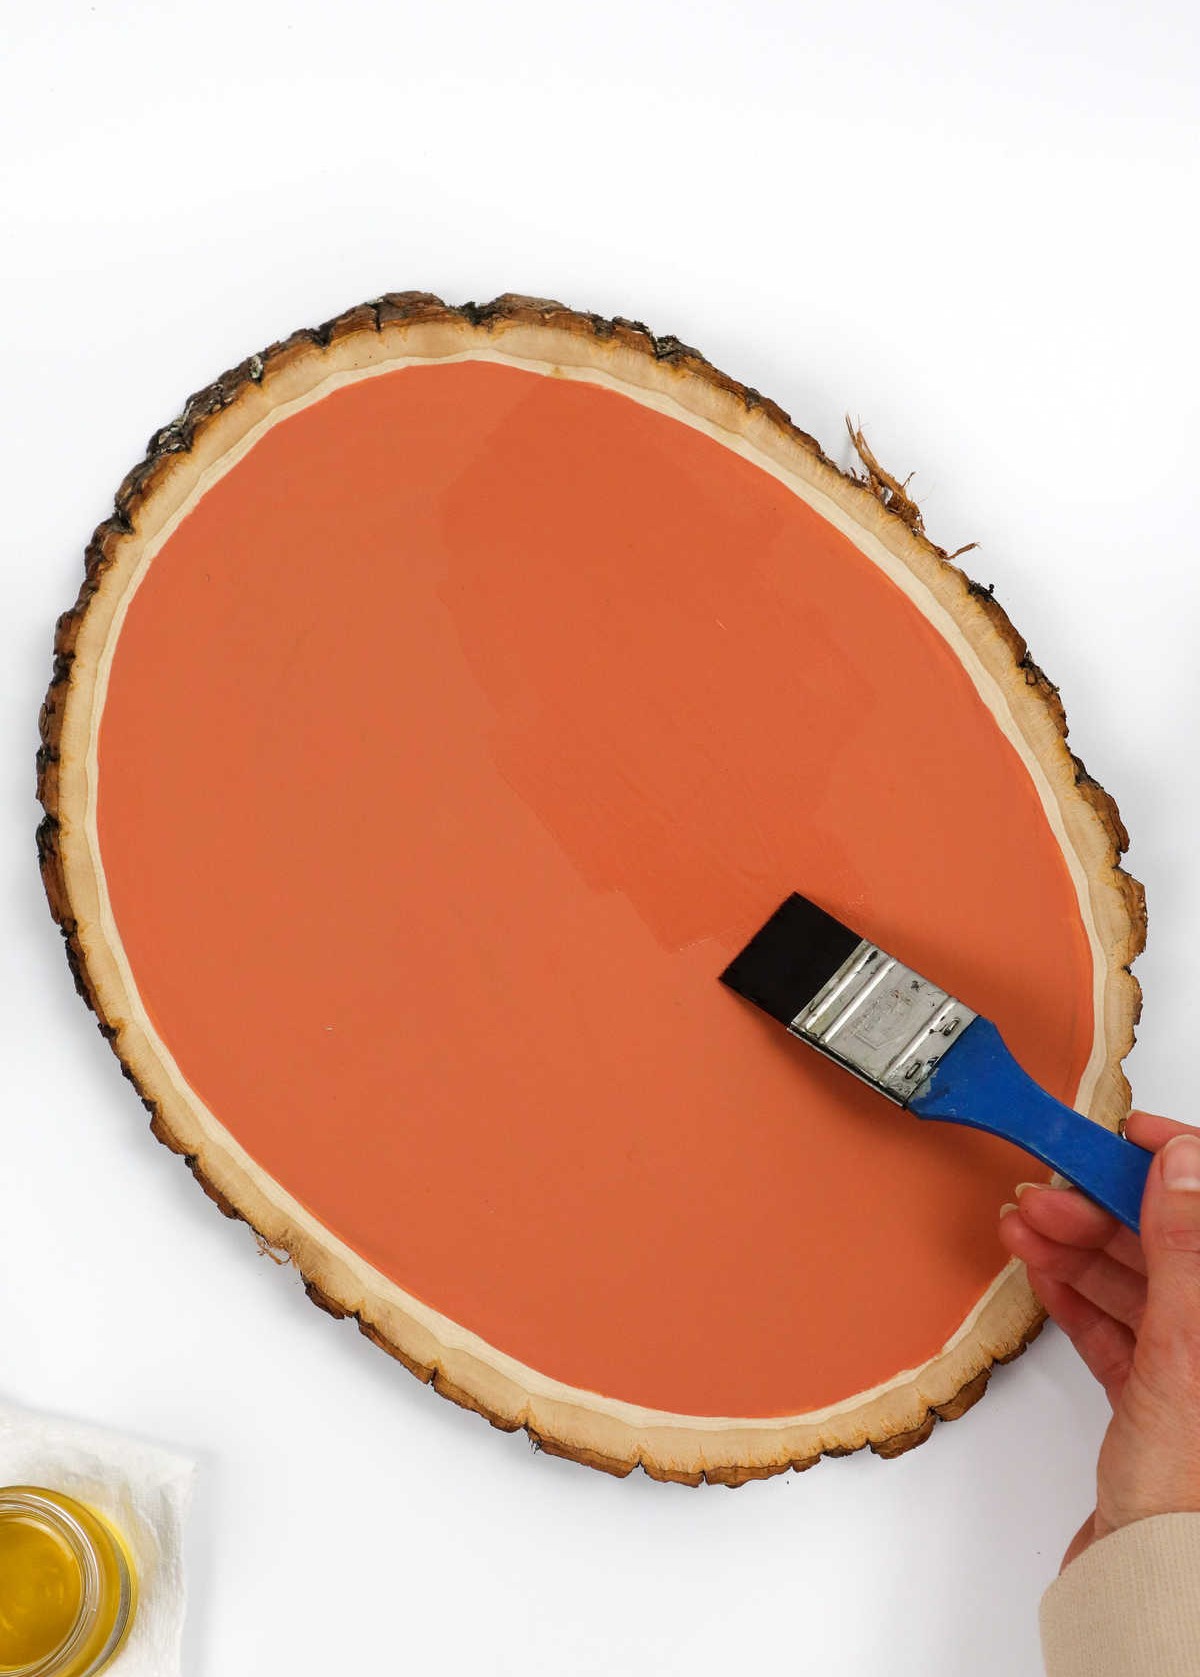
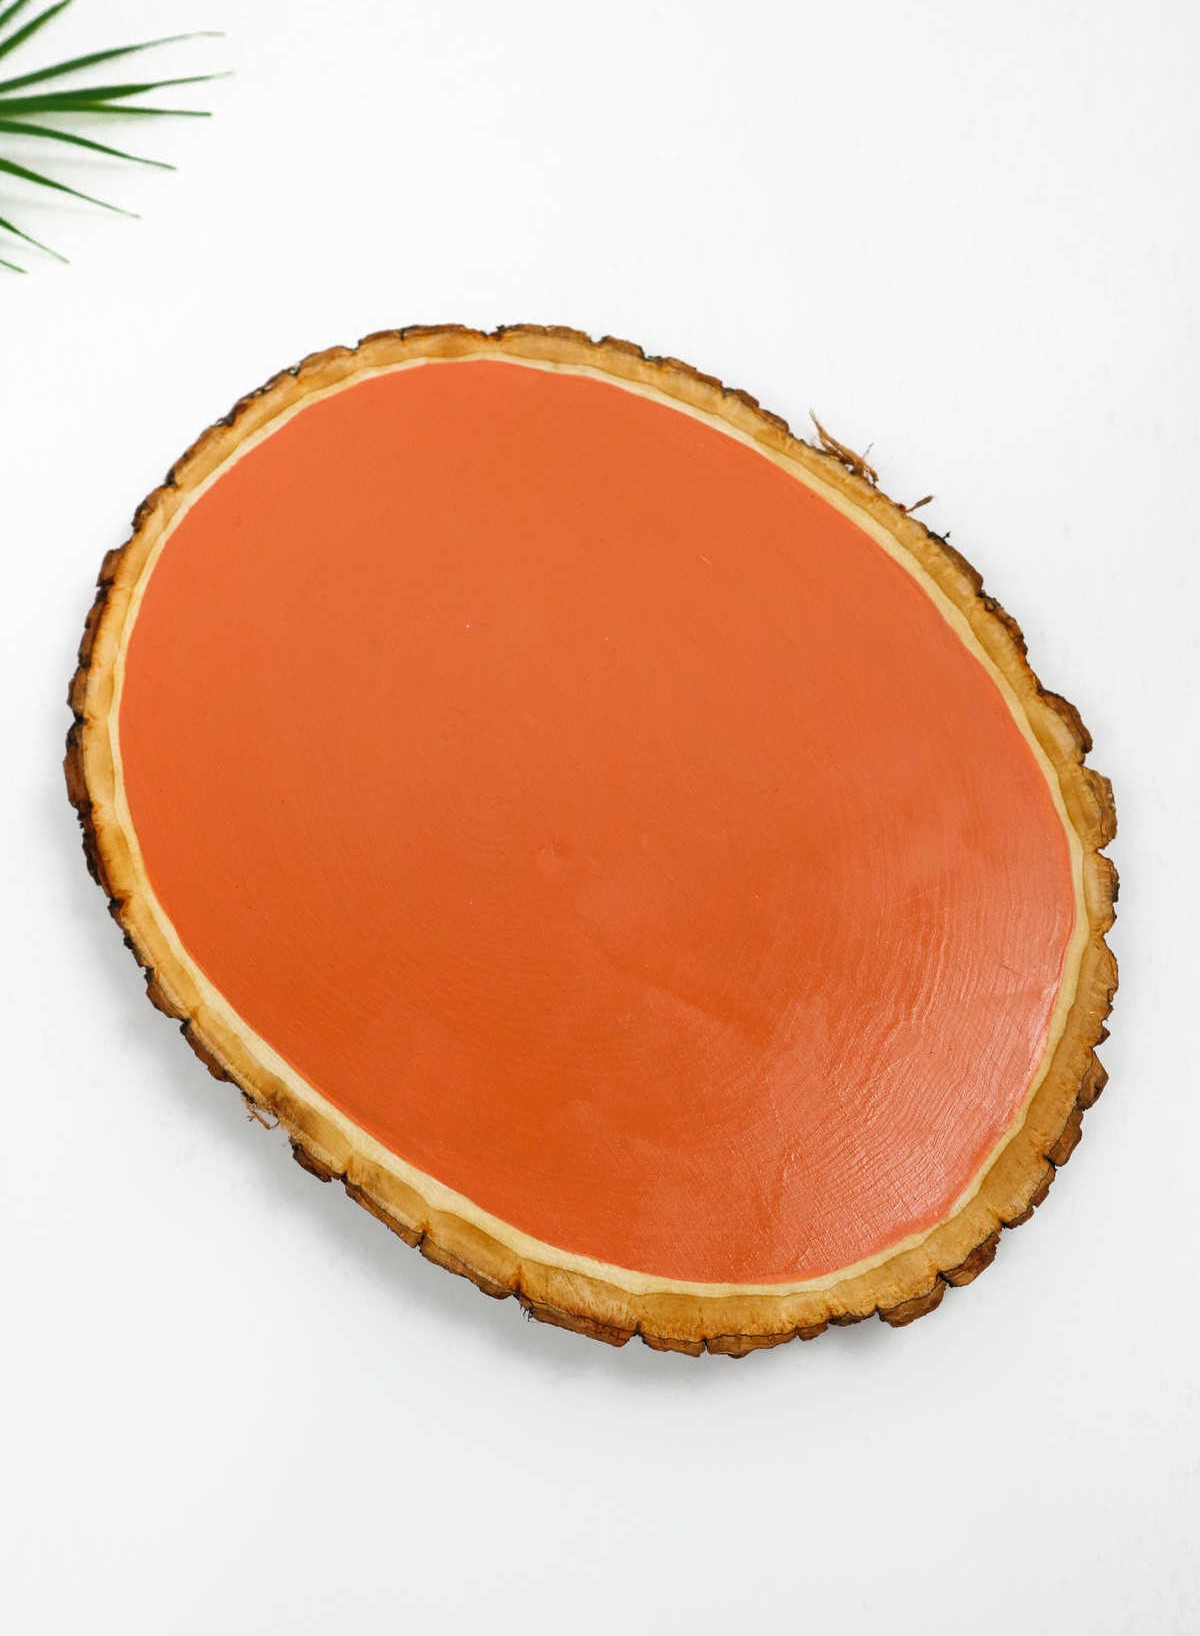
Begin by selecting a bottle of acrylic paint in your preferred shade, along with a flathead brush. With these tools at hand, you’re ready to add a vibrant touch to the wooden board. Aim for two to three layers of paint, allowing each coat to dry before moving on to the next.
Step 3
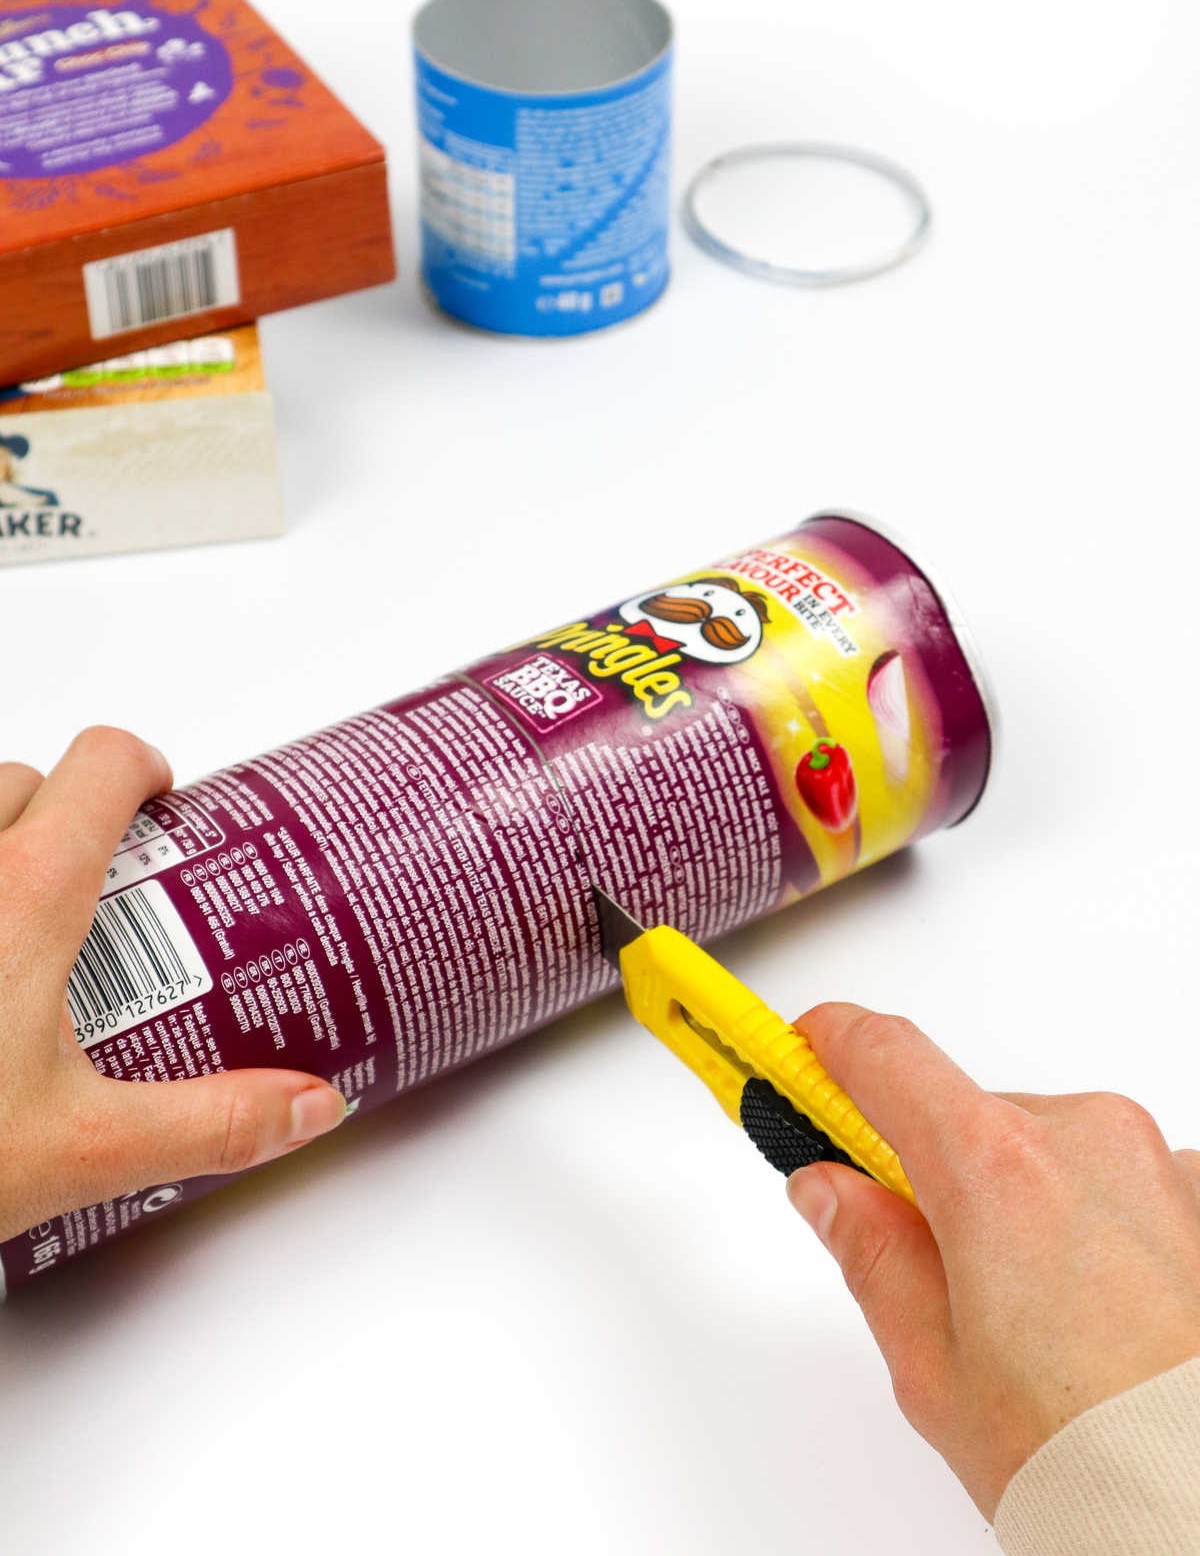
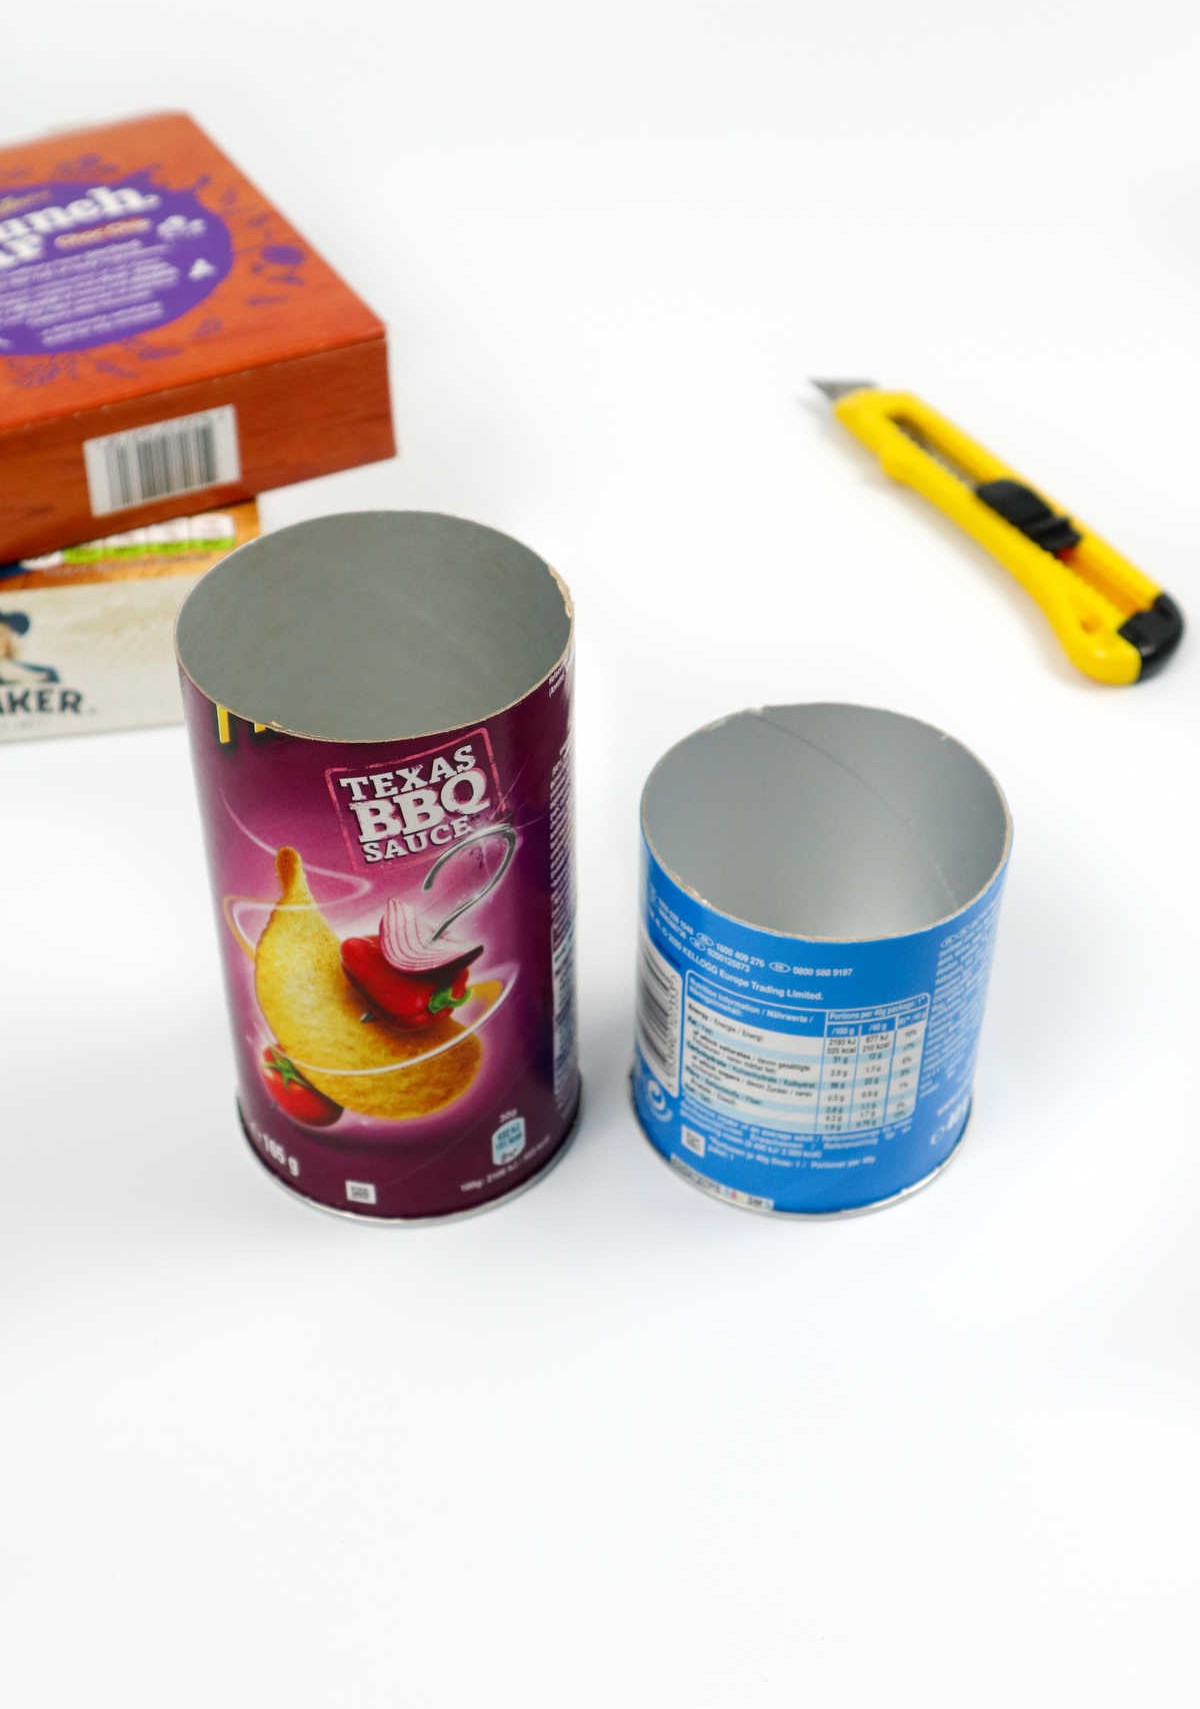
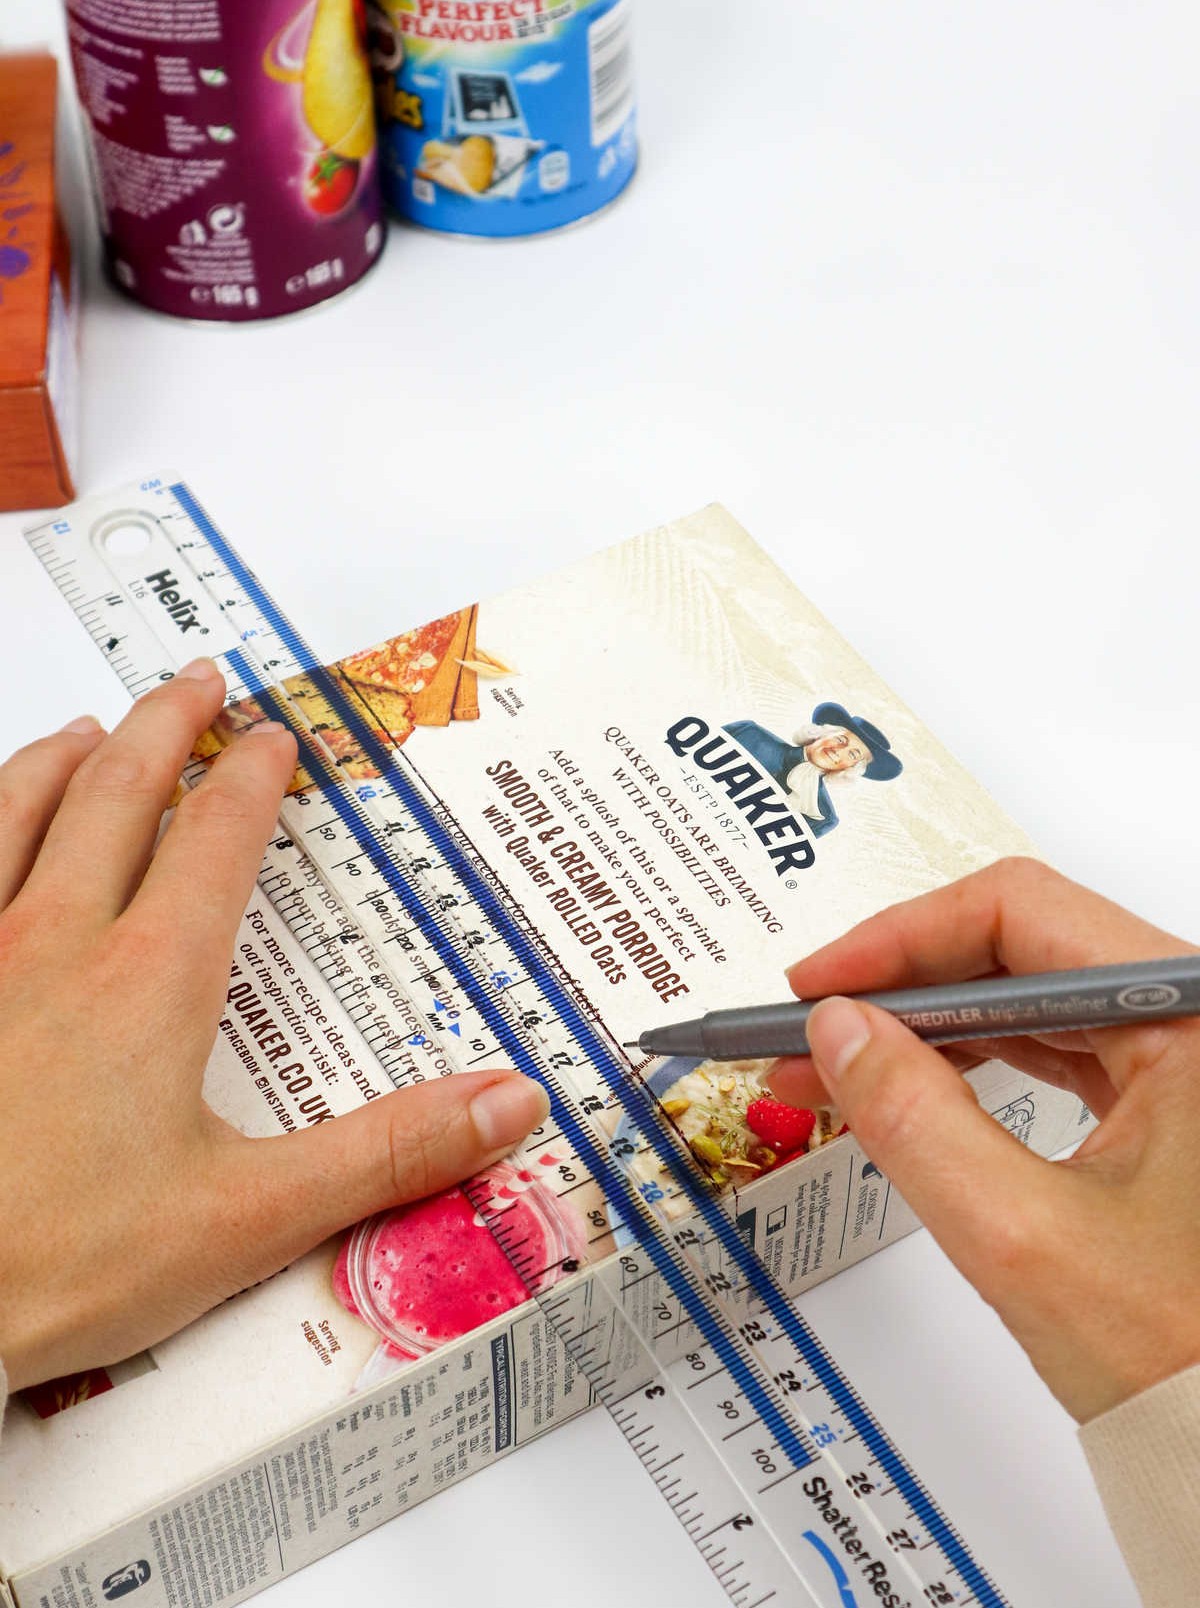
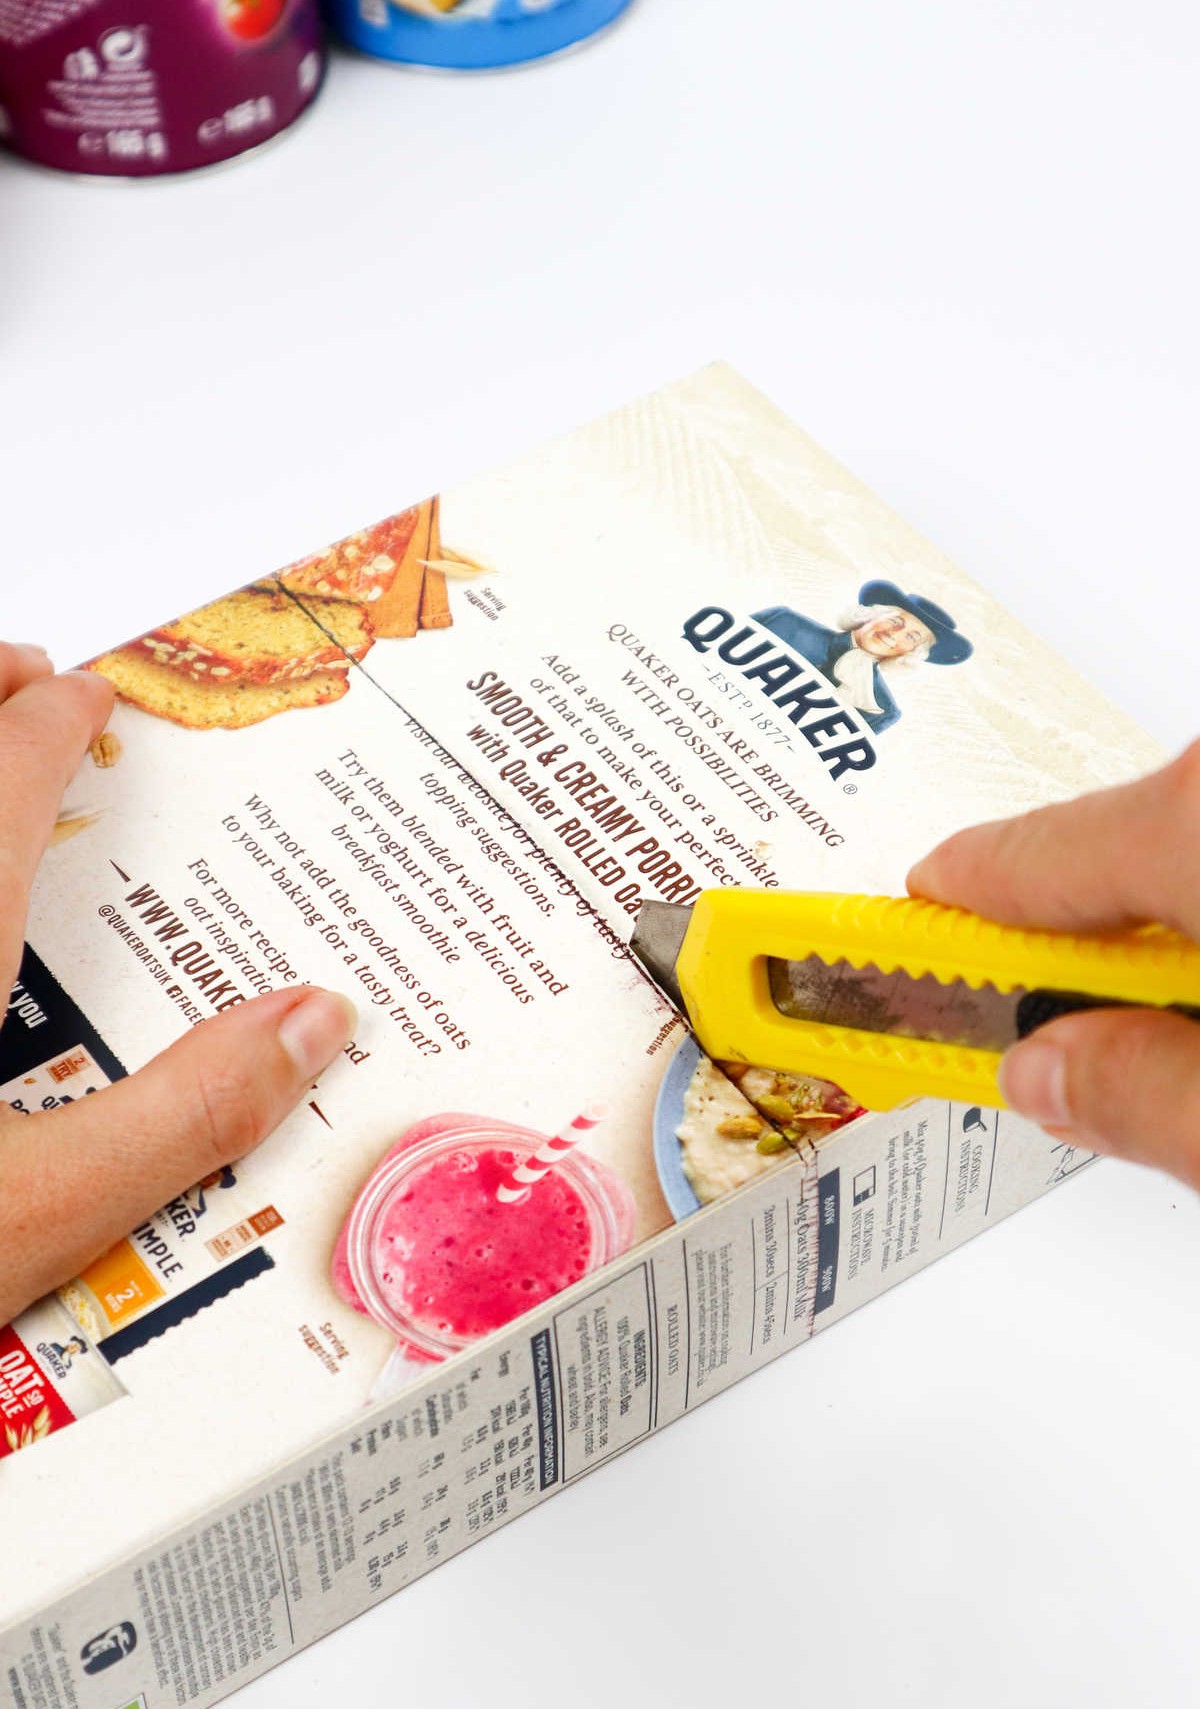
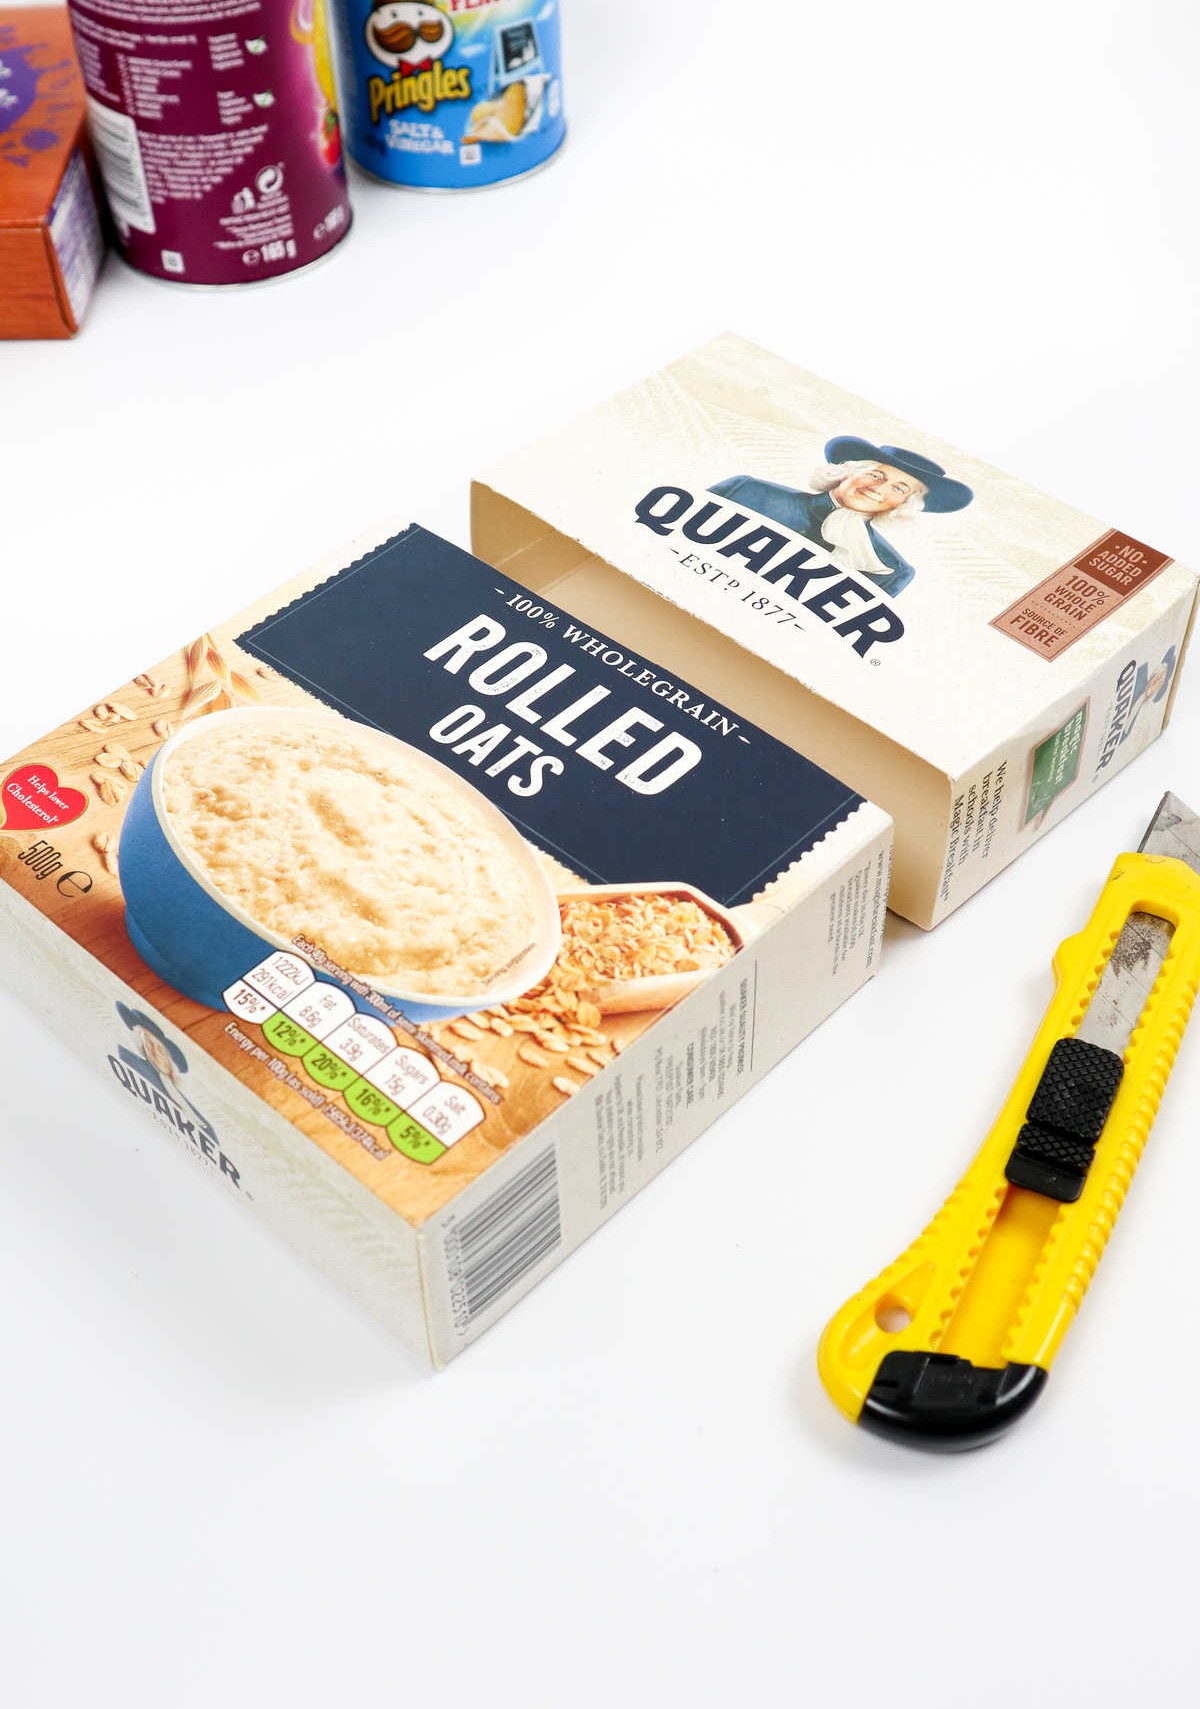
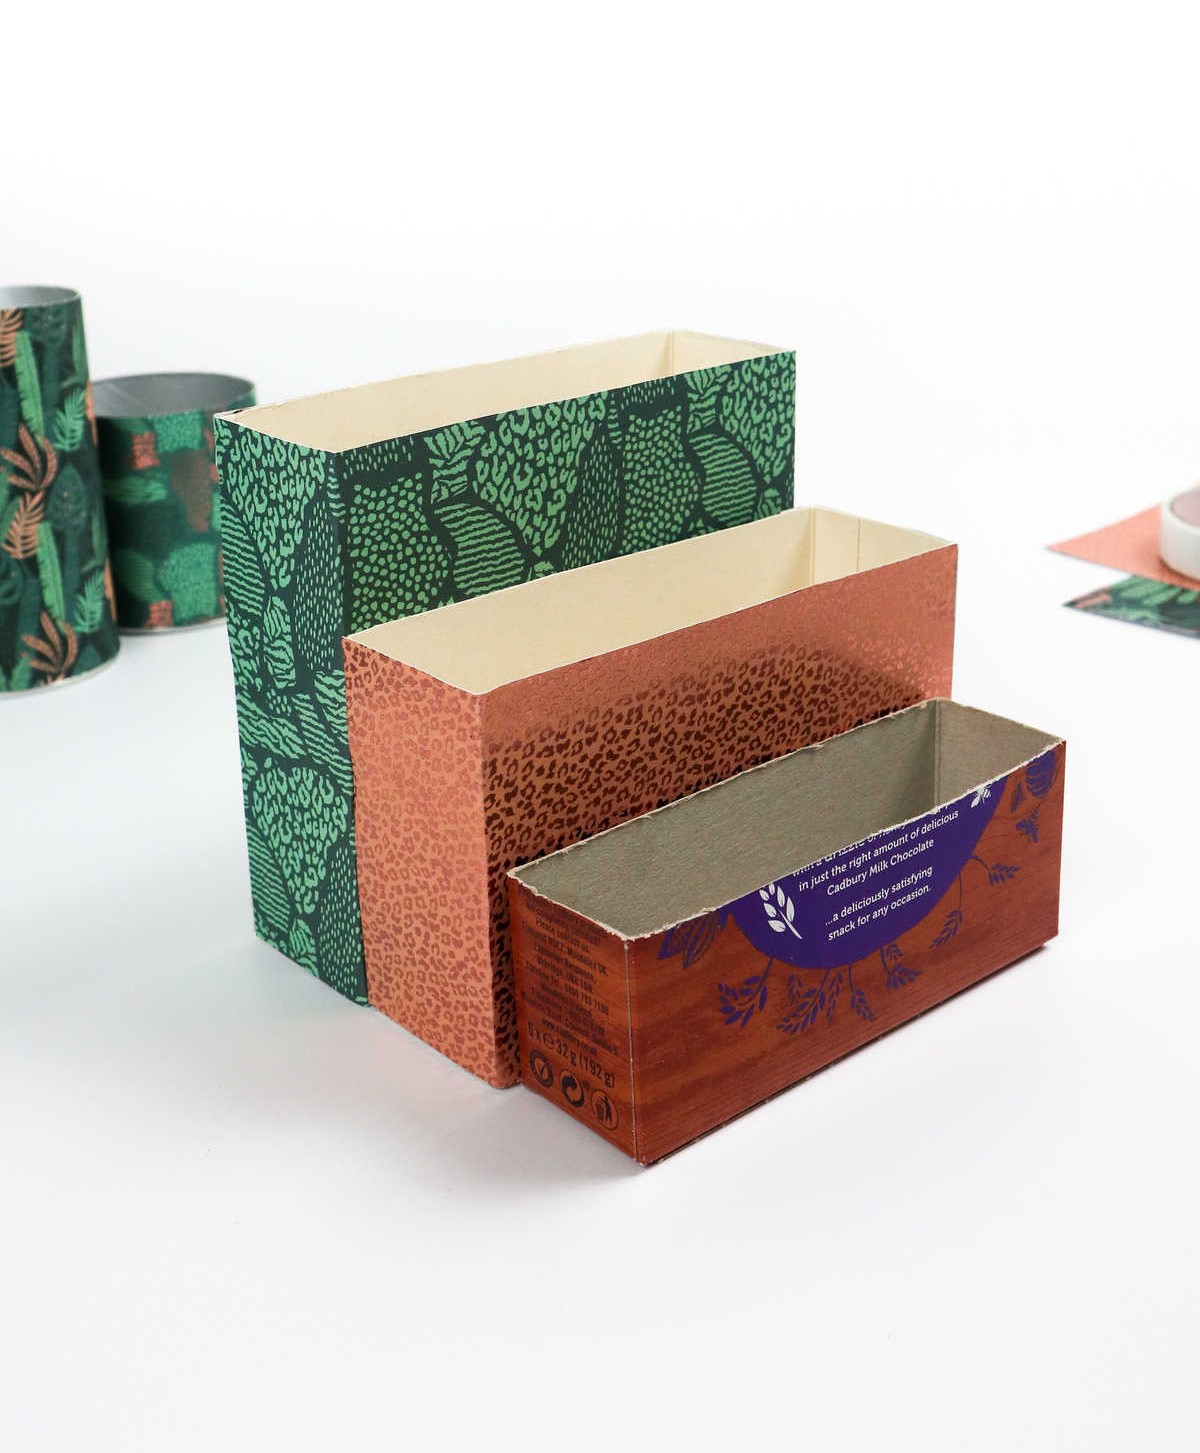
As you prepare to repurpose the cereal boxes, take out your retractable knife and begin cutting them into manageable pieces. Ensure each piece reaches the desired height by using a ruler for added precision. A few pencil marks along the edges can also help guide your cuts, resulting in smooth, even edges.
Before discarding the top flaps of the boxes, remember that they’ll be used again.
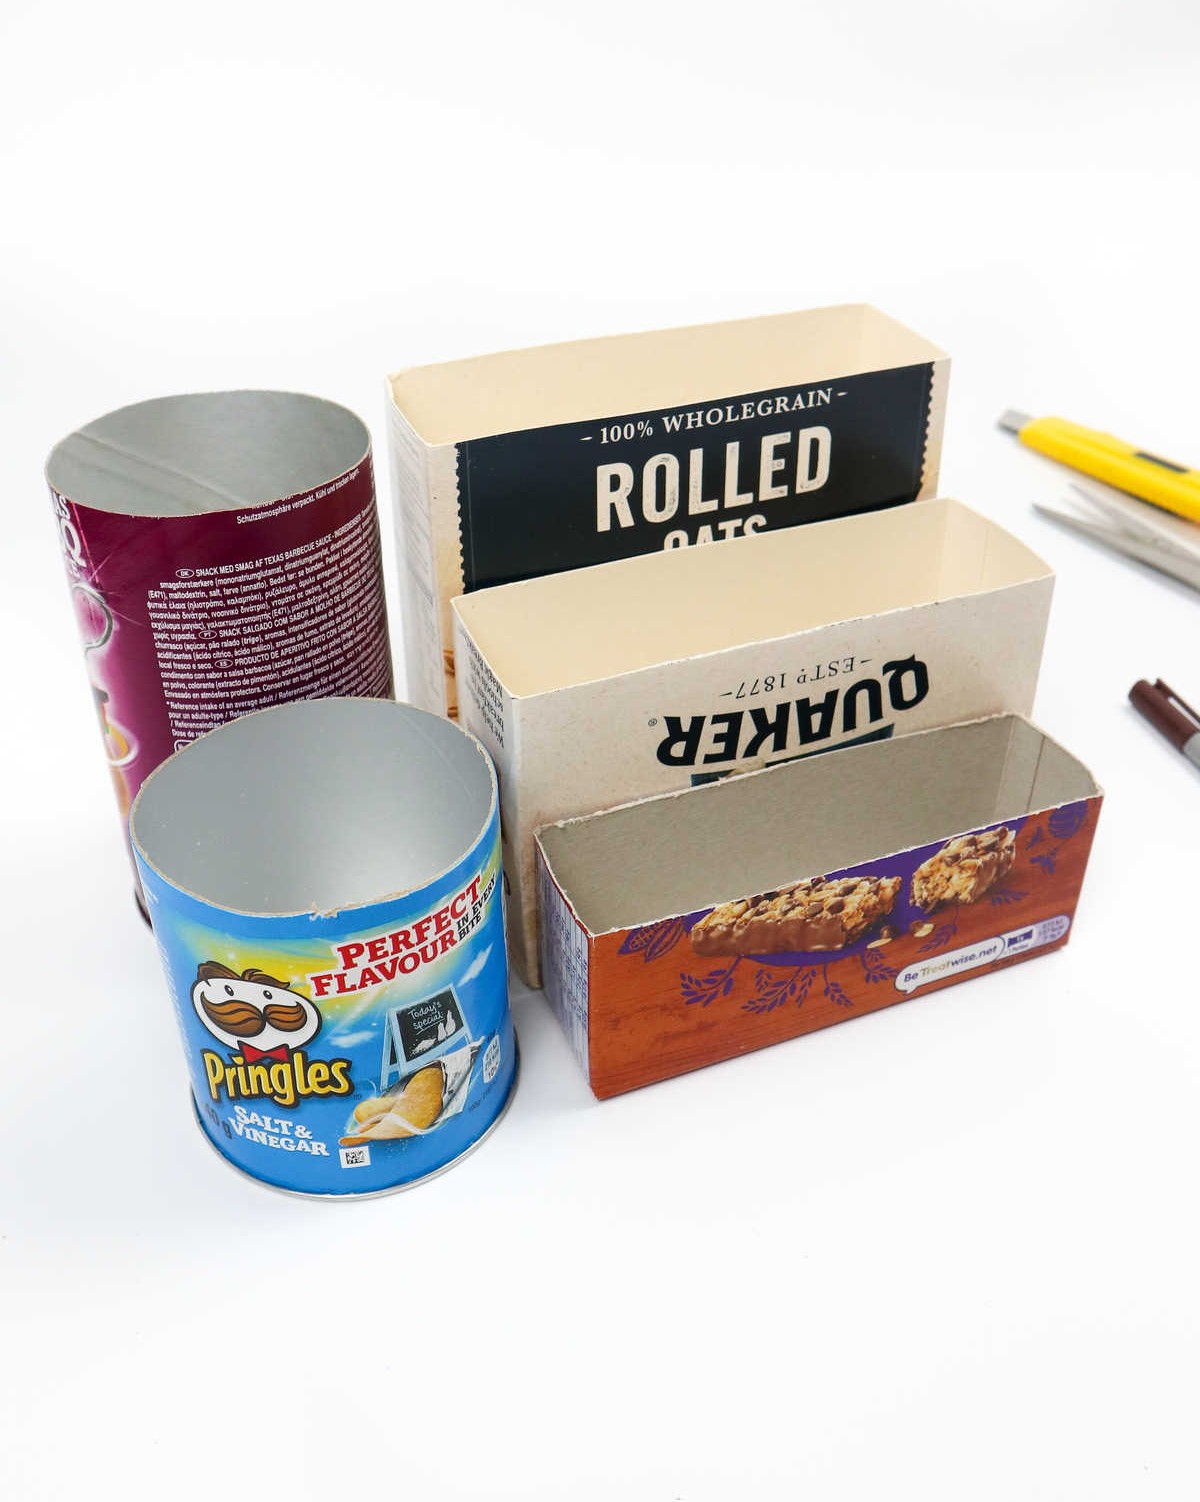
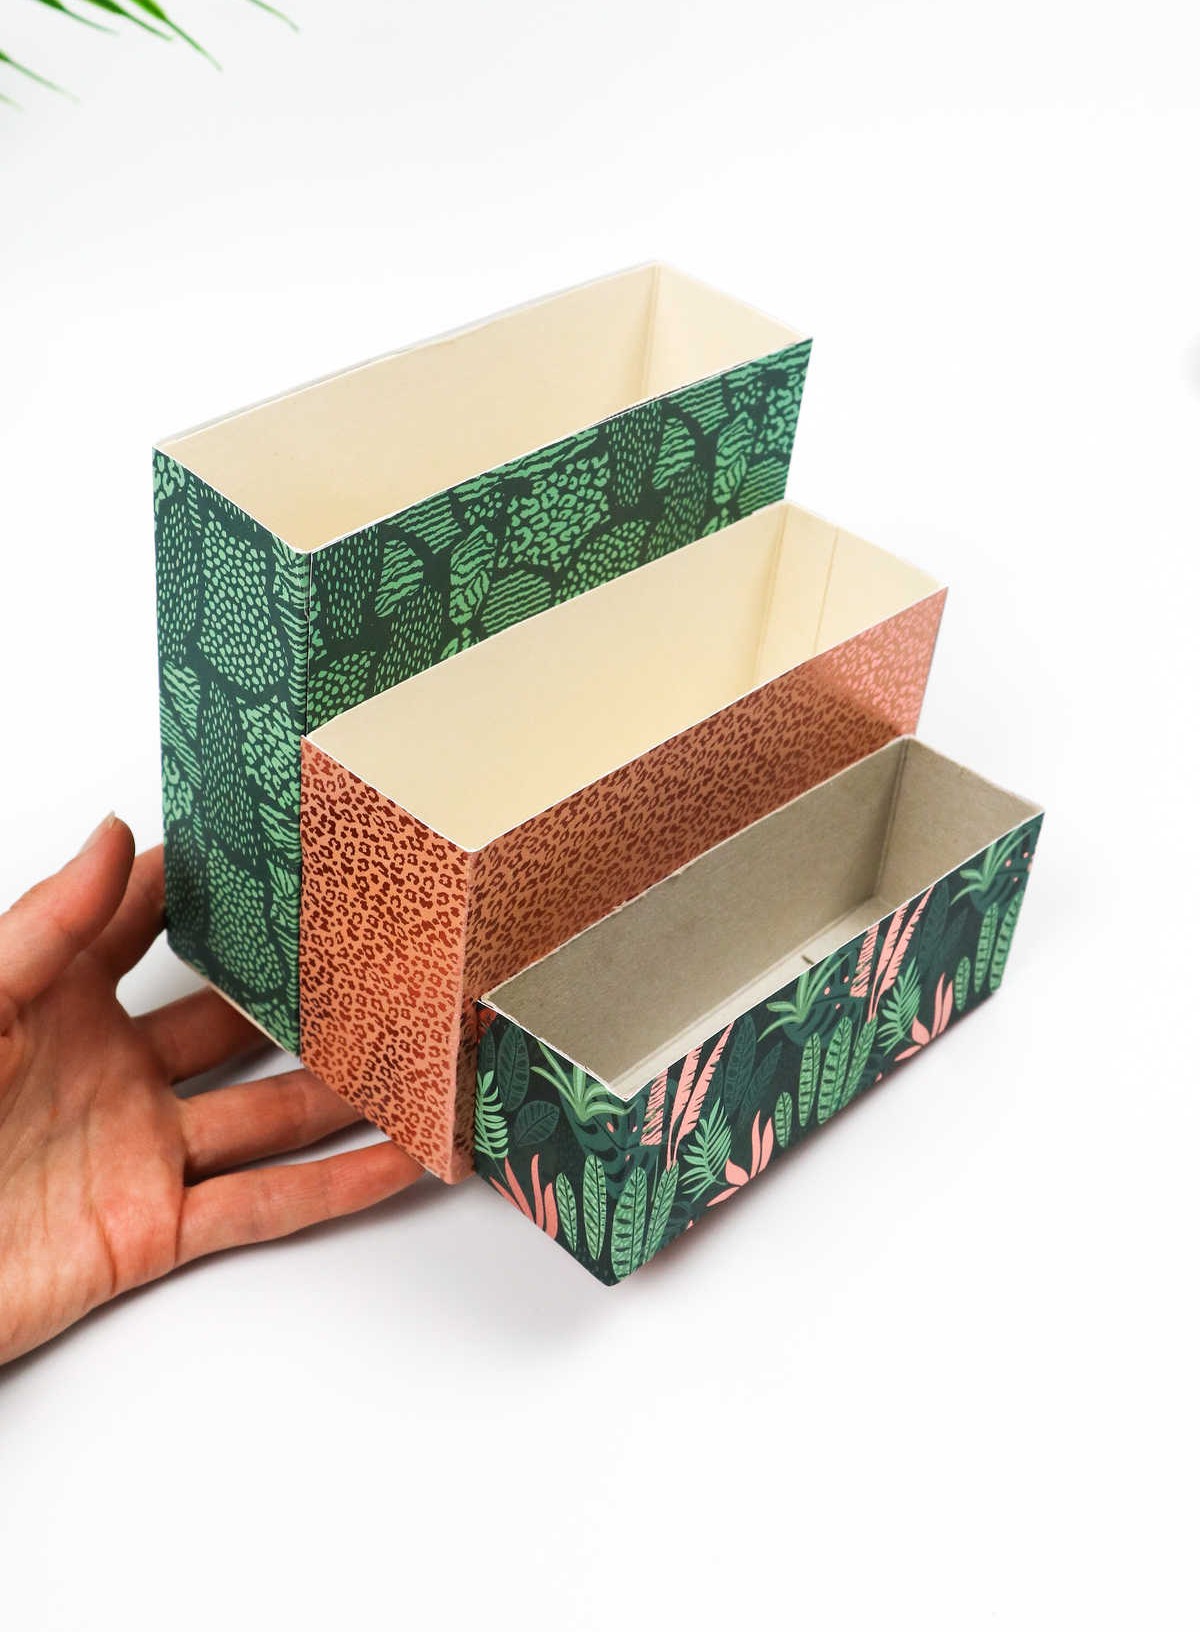
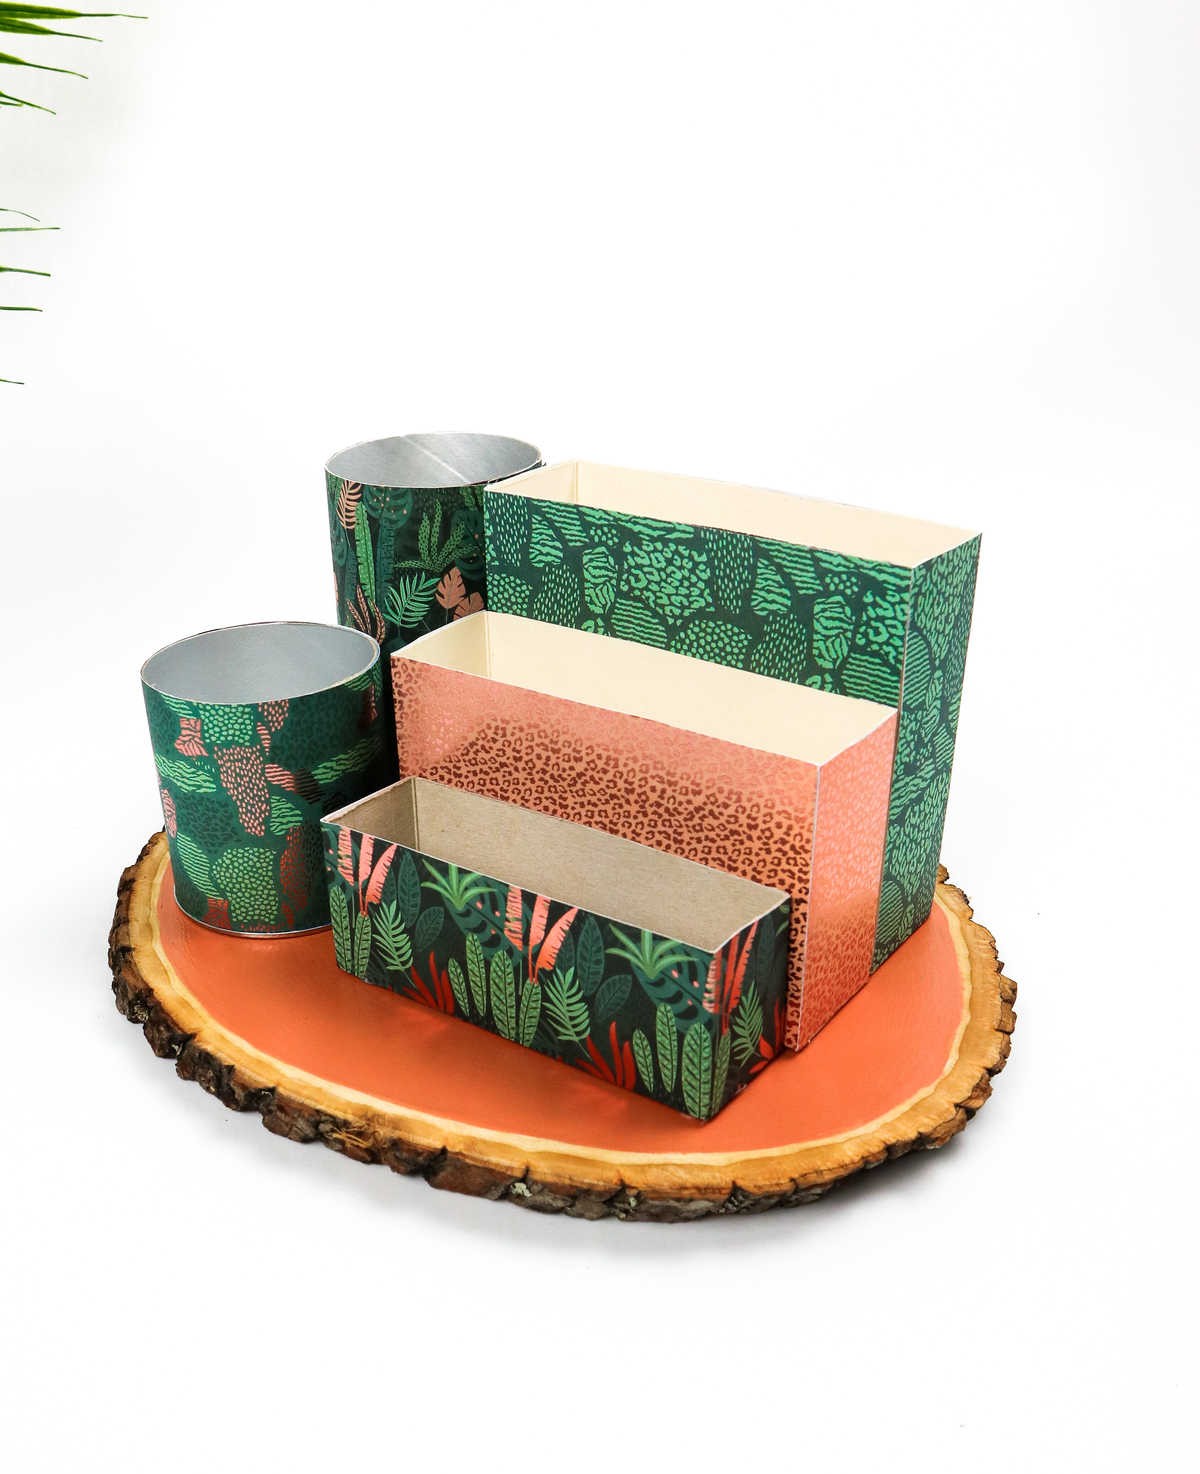
By arranging your cut boxes in decreasing order of height, you’ll create an organized and easily accessible storage system.
Step 4
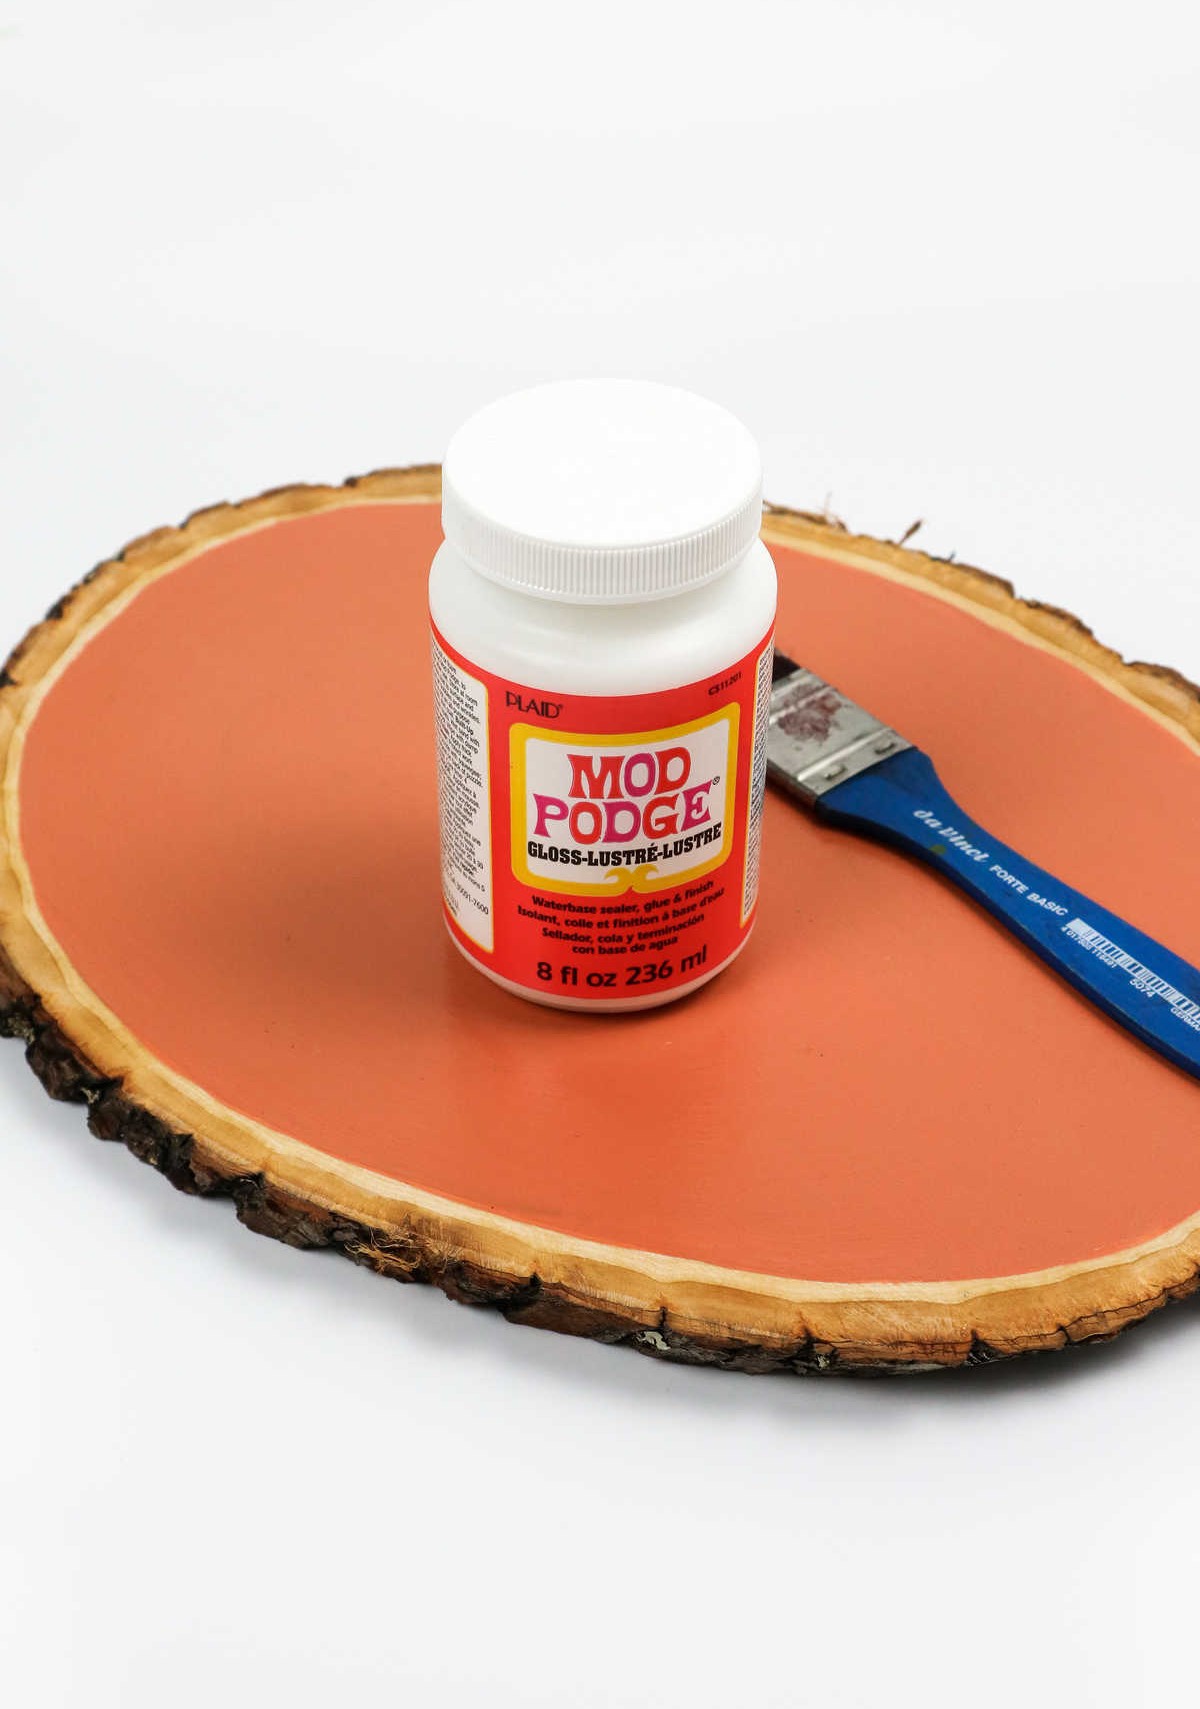
To complete the finishing process, simply retrieve your chosen varnish or polyurethane-based coating from its container. With your desired texture in mind, spritz the liquid evenly across the painted wooden board’s surface. Opt for a clear matte finish to maintain a subtle appearance or select a glossy finish for added visual appeal.
As an alternative, you can opt for a more traditional approach by using a paintbrush to apply a thin layer of mod podge over the entire surface.
Step 5
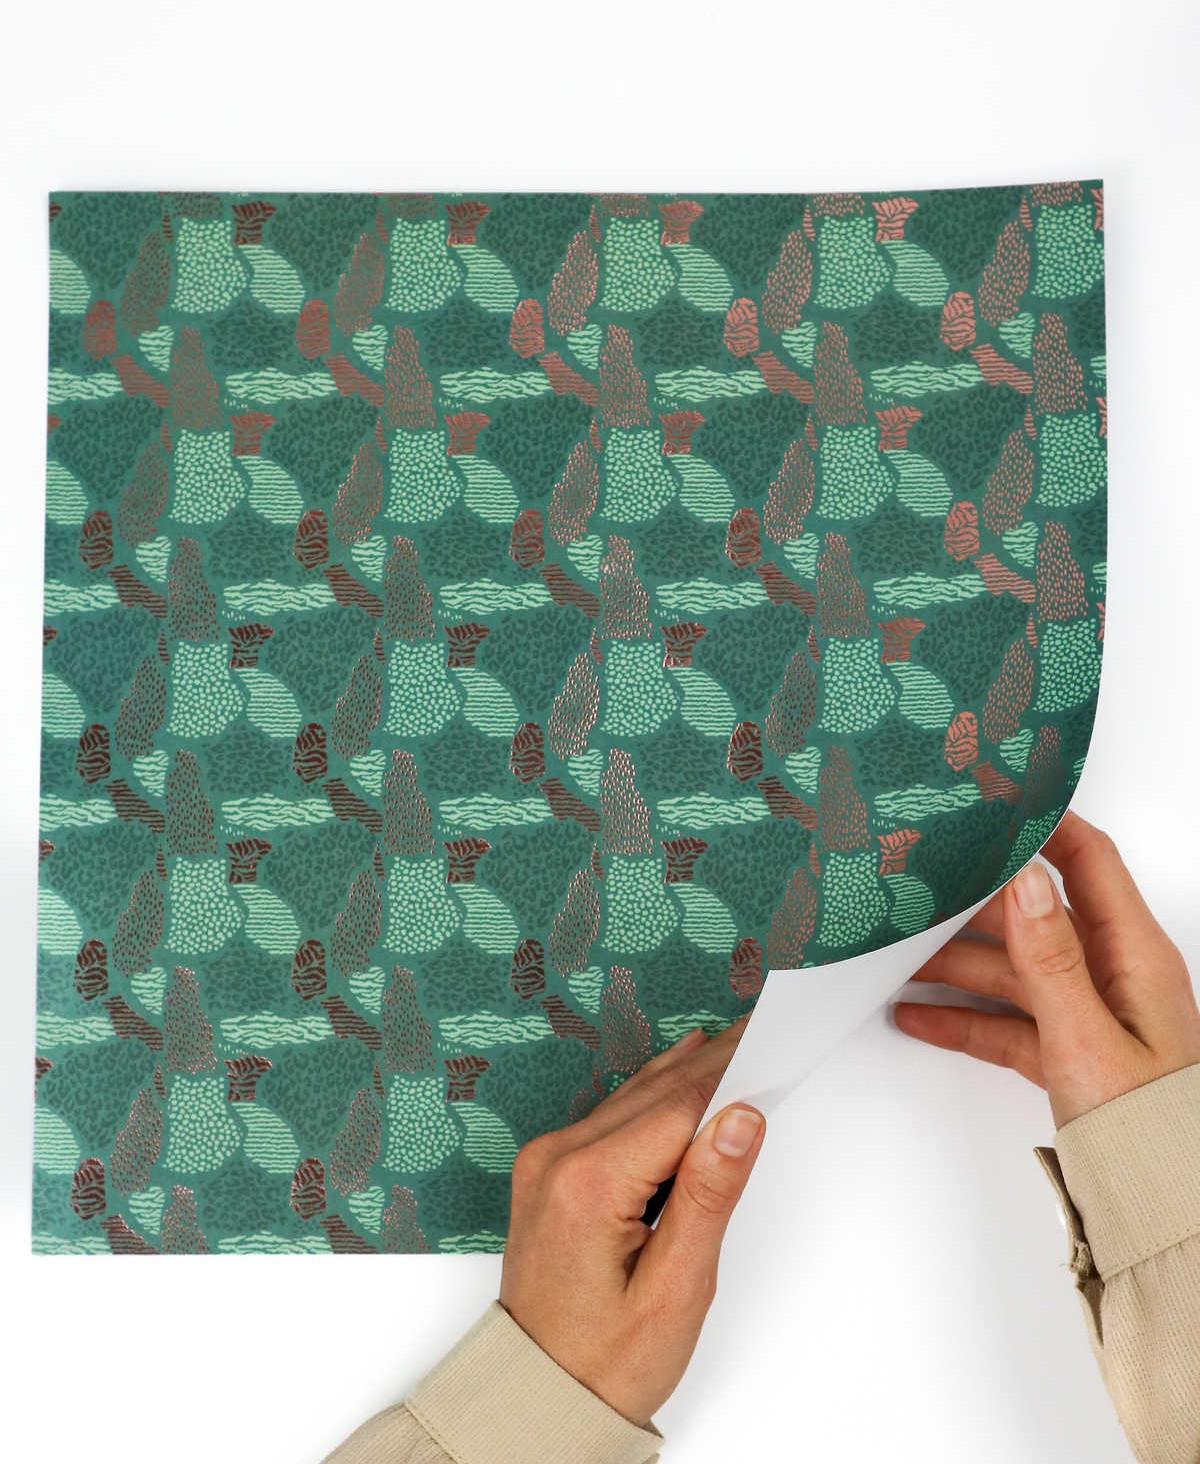
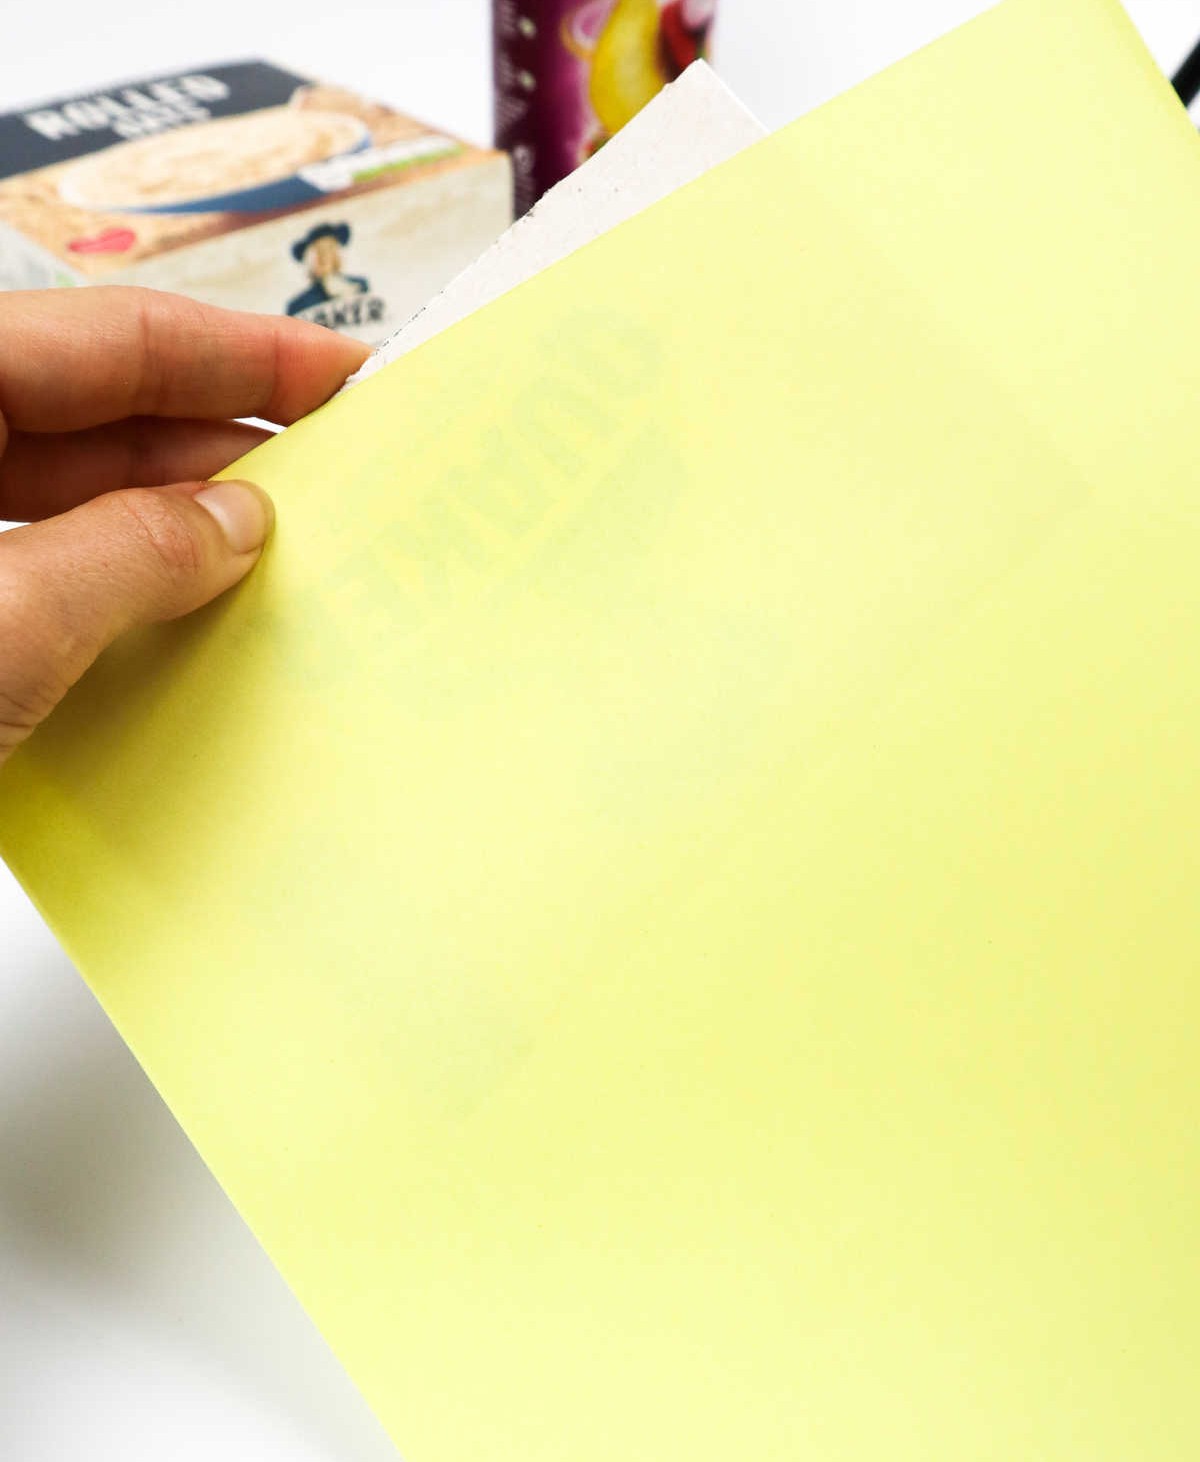
The process of decorating your organizer boxes is always an enjoyable one. When selecting wrapping paper, it’s essential to consider two key factors: thickness and transparency. Opt for papers that are substantial enough to conceal any underlying box material, such as a cereal box. Thicker paper not only provides better coverage but also increases its durability. By choosing wisely, you’ll be able to create beautifully wrapped boxes that will make your organizer system truly stand out.
Step 6
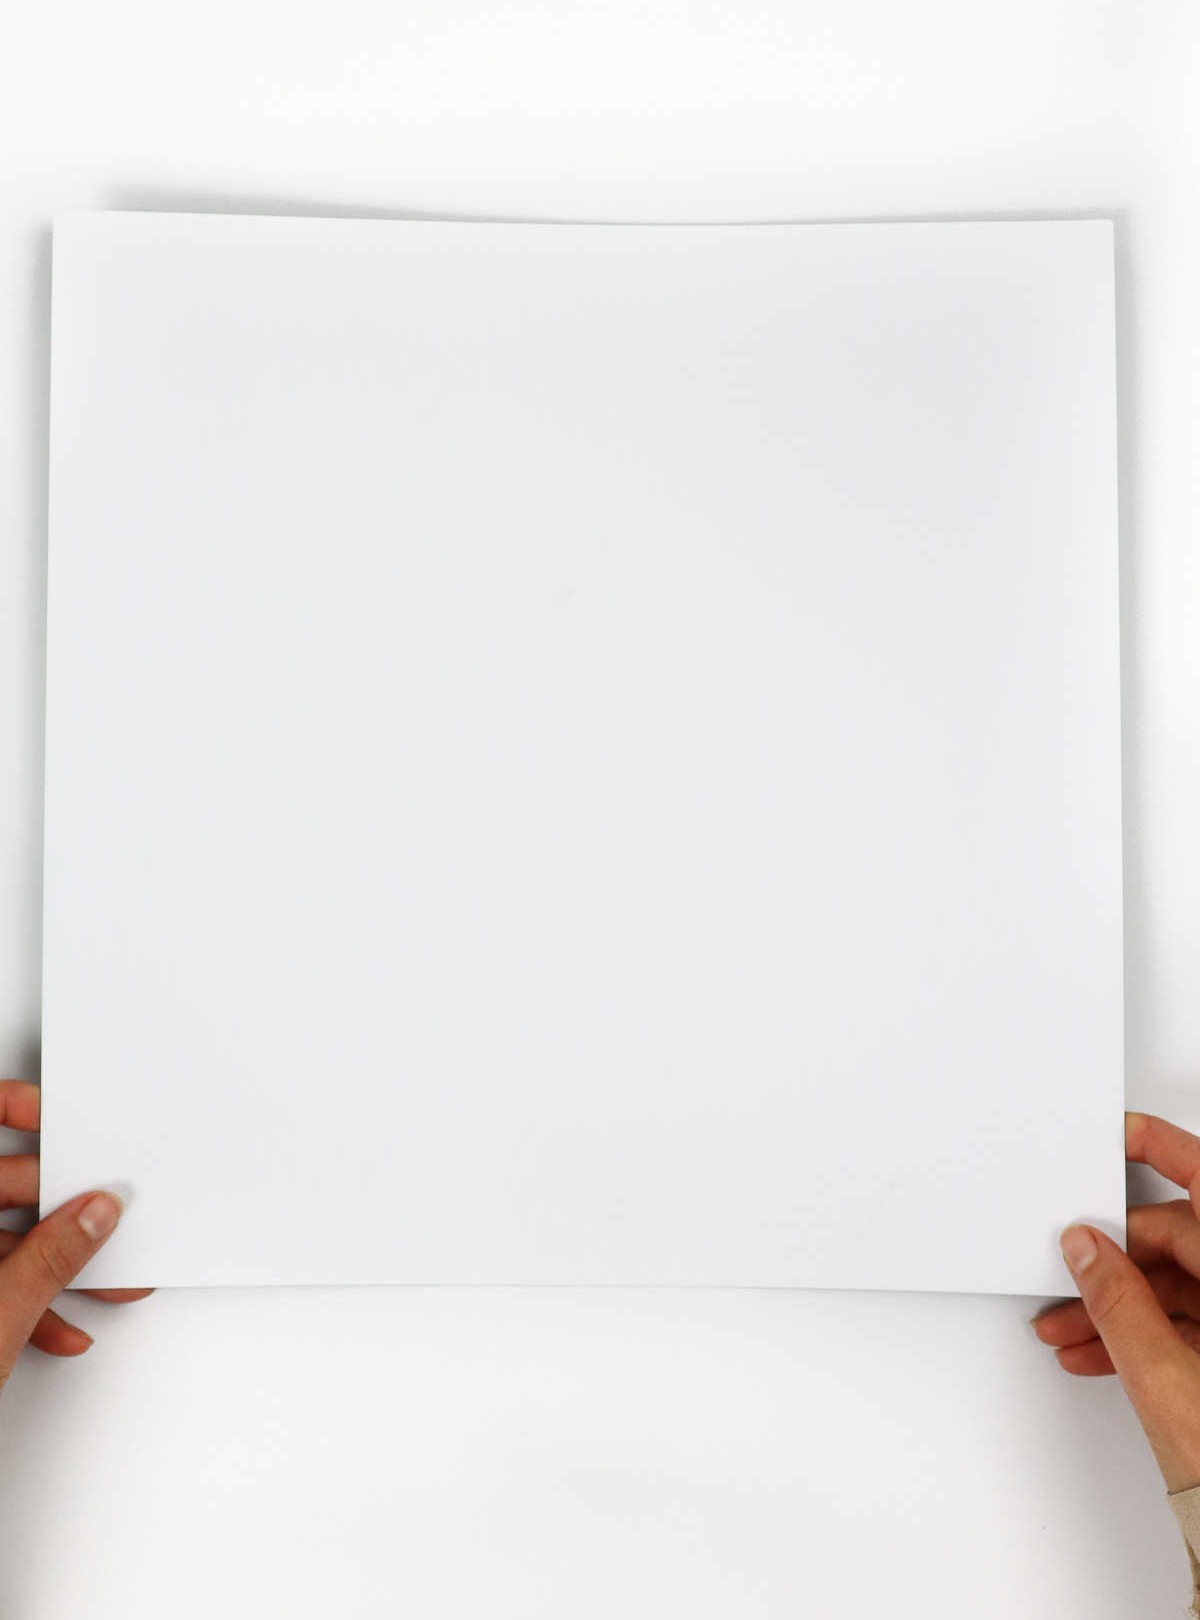
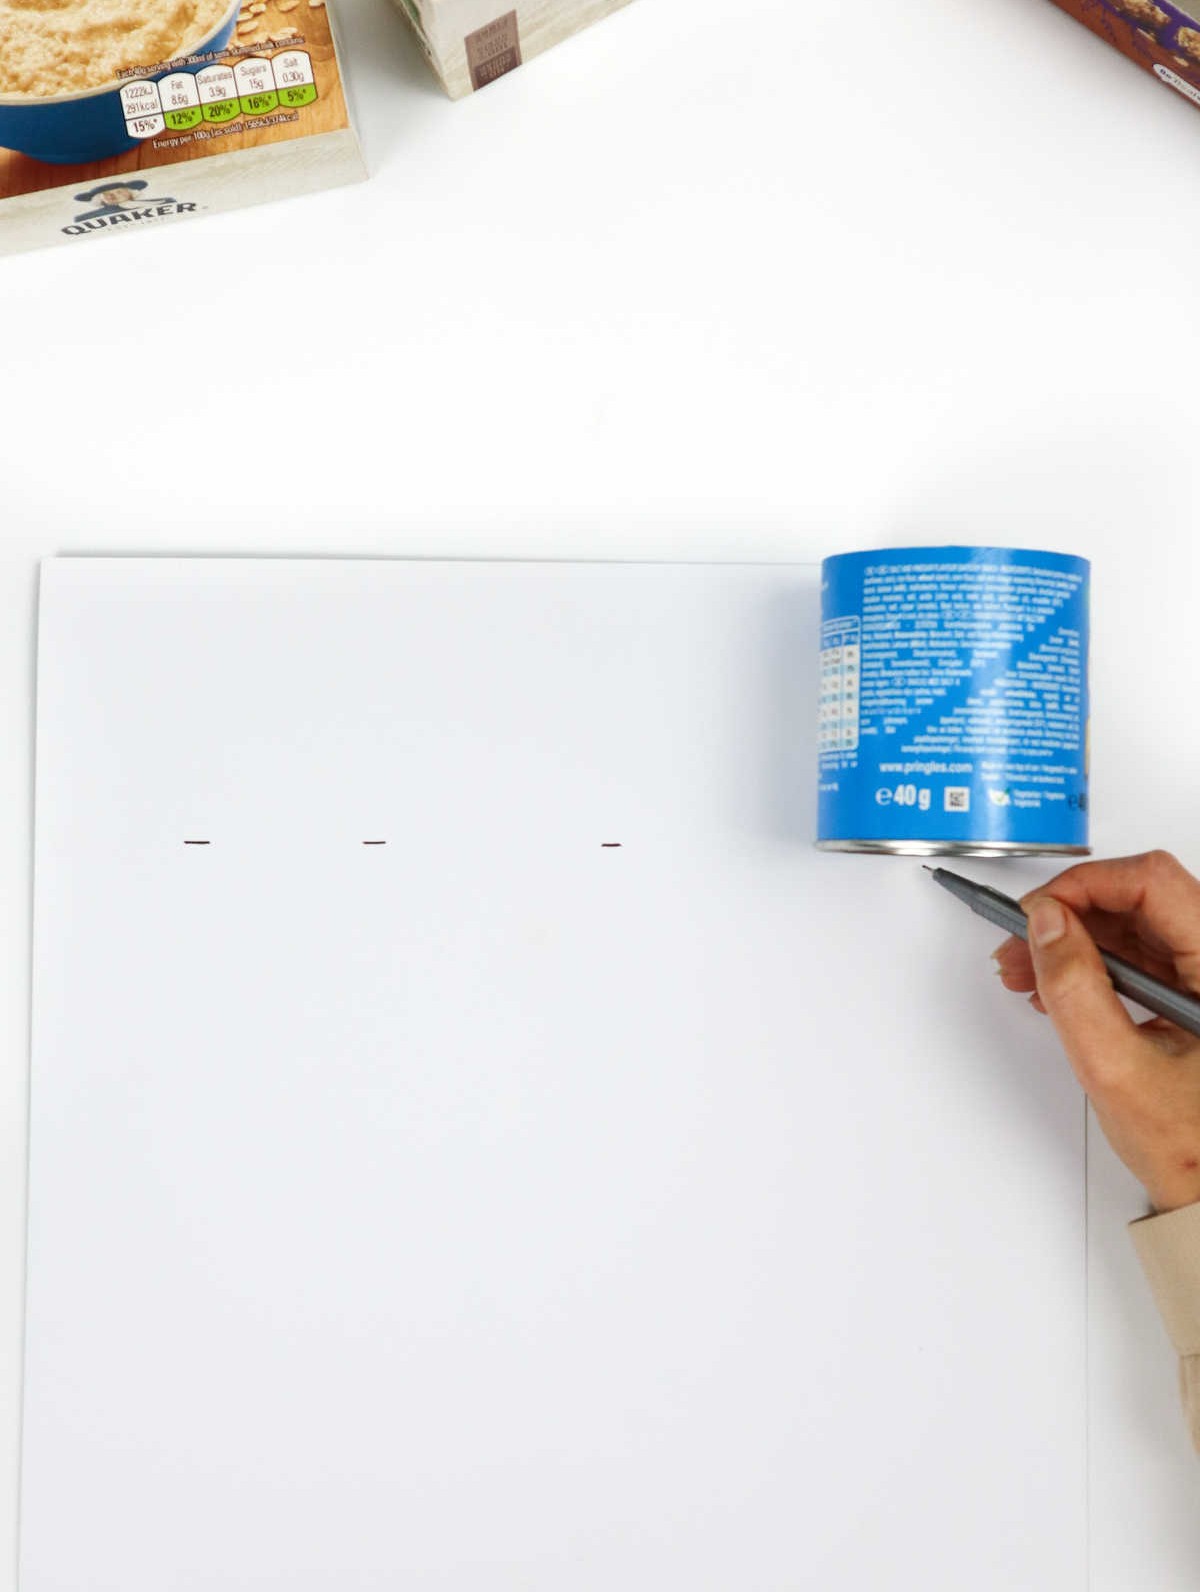
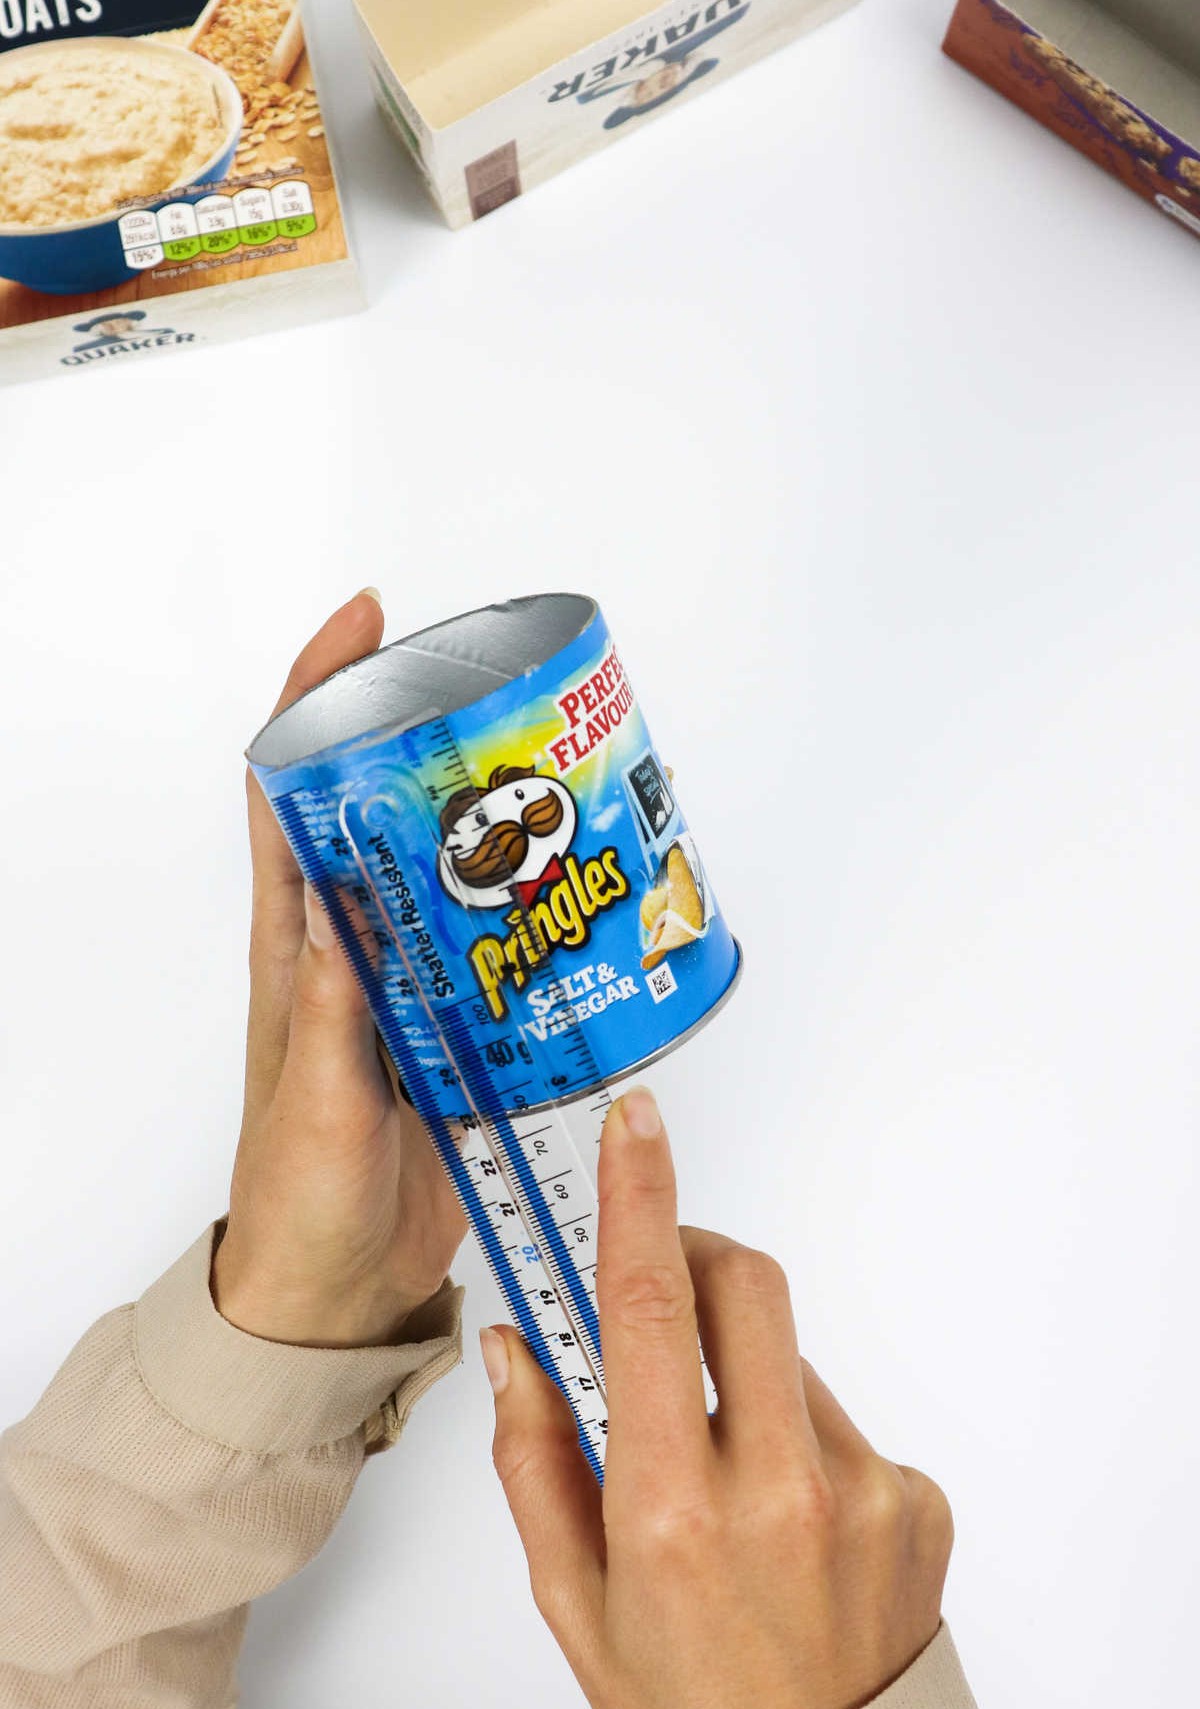
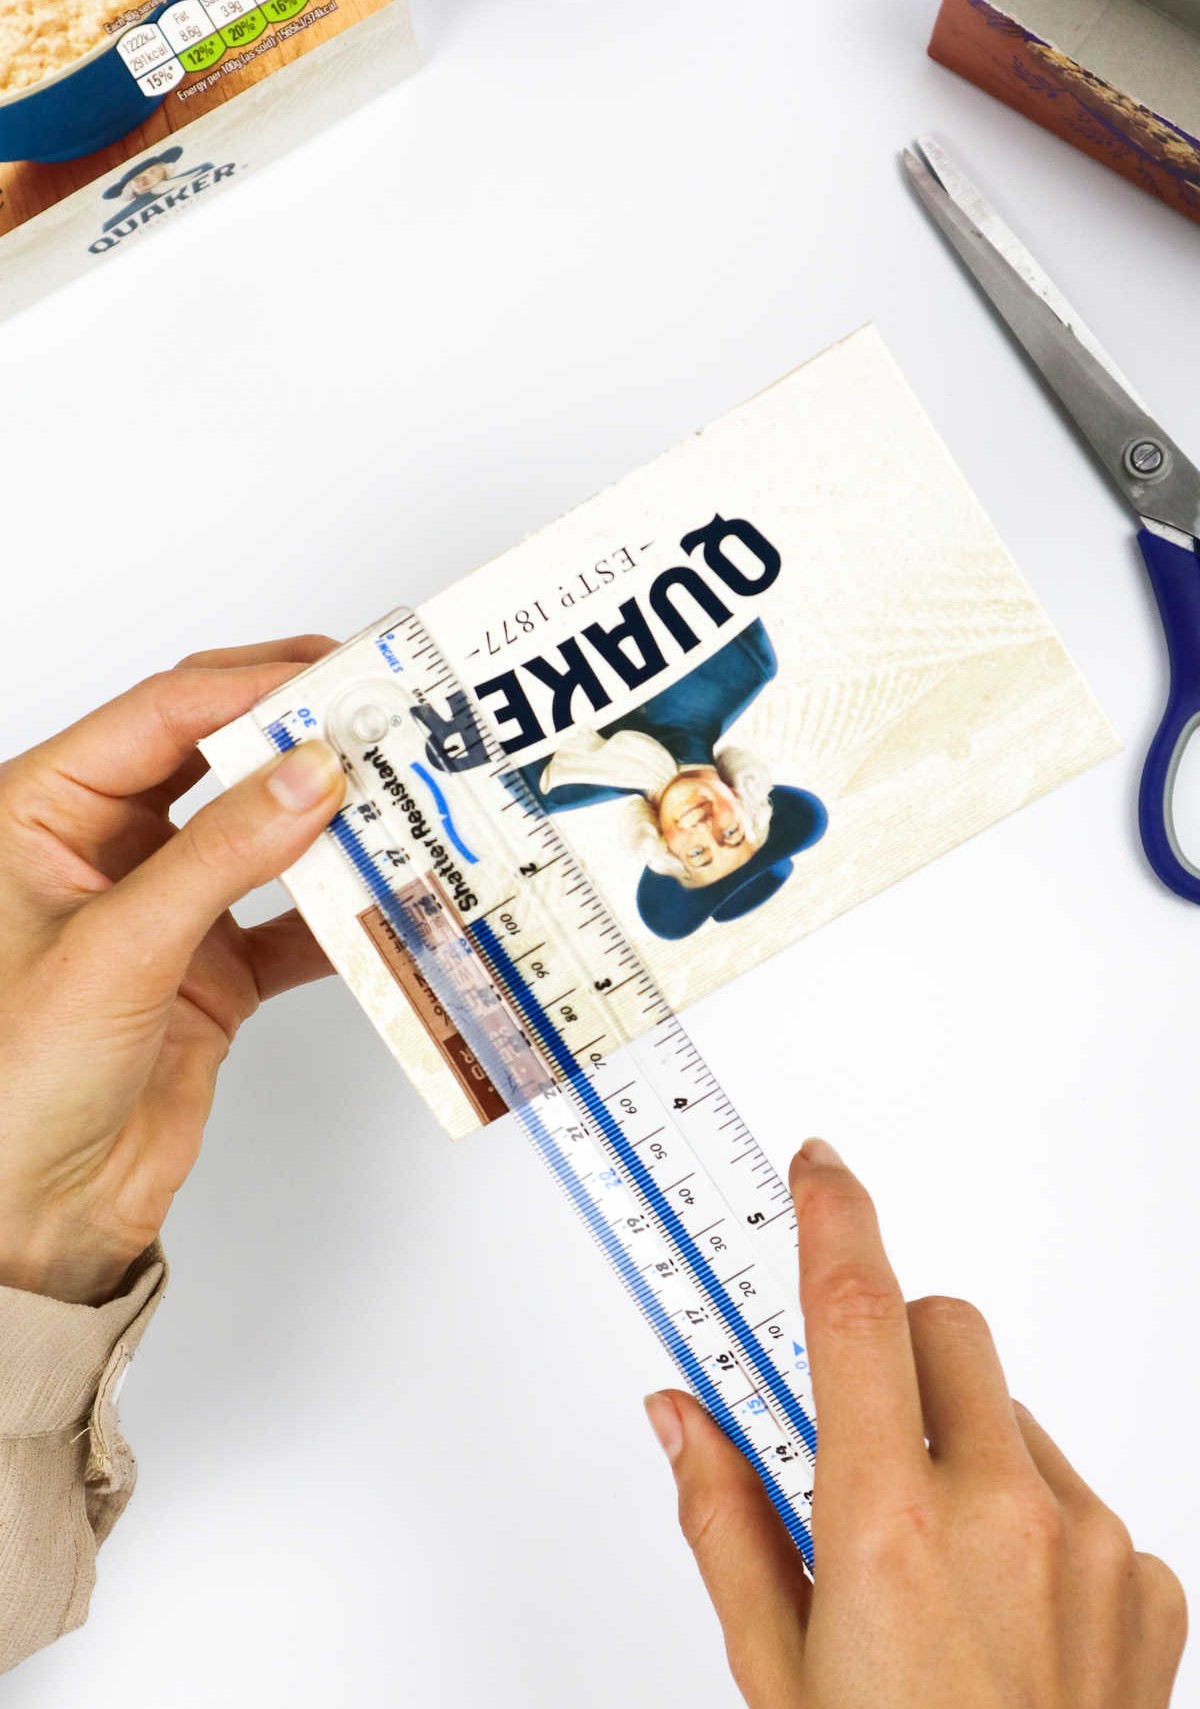
To ensure a perfect wrap, you’ll need to measure and mark the dimensions of each container before wrapping. While square boxes are relatively straightforward to wrap, cylindrical containers require more precision. Begin by placing the wrapping paper on your work surface with the wrong side facing upwards. Next, position the cylindrical container along one edge of the paper and roll it across until you’ve completed a full turn, making note of exactly where that point is.
Additionally, mark the height of the container to serve as a reference. Once you’ve reached this initial point, draw a line across the paper to connect your markings, providing a clear guide for wrapping.
Step 7
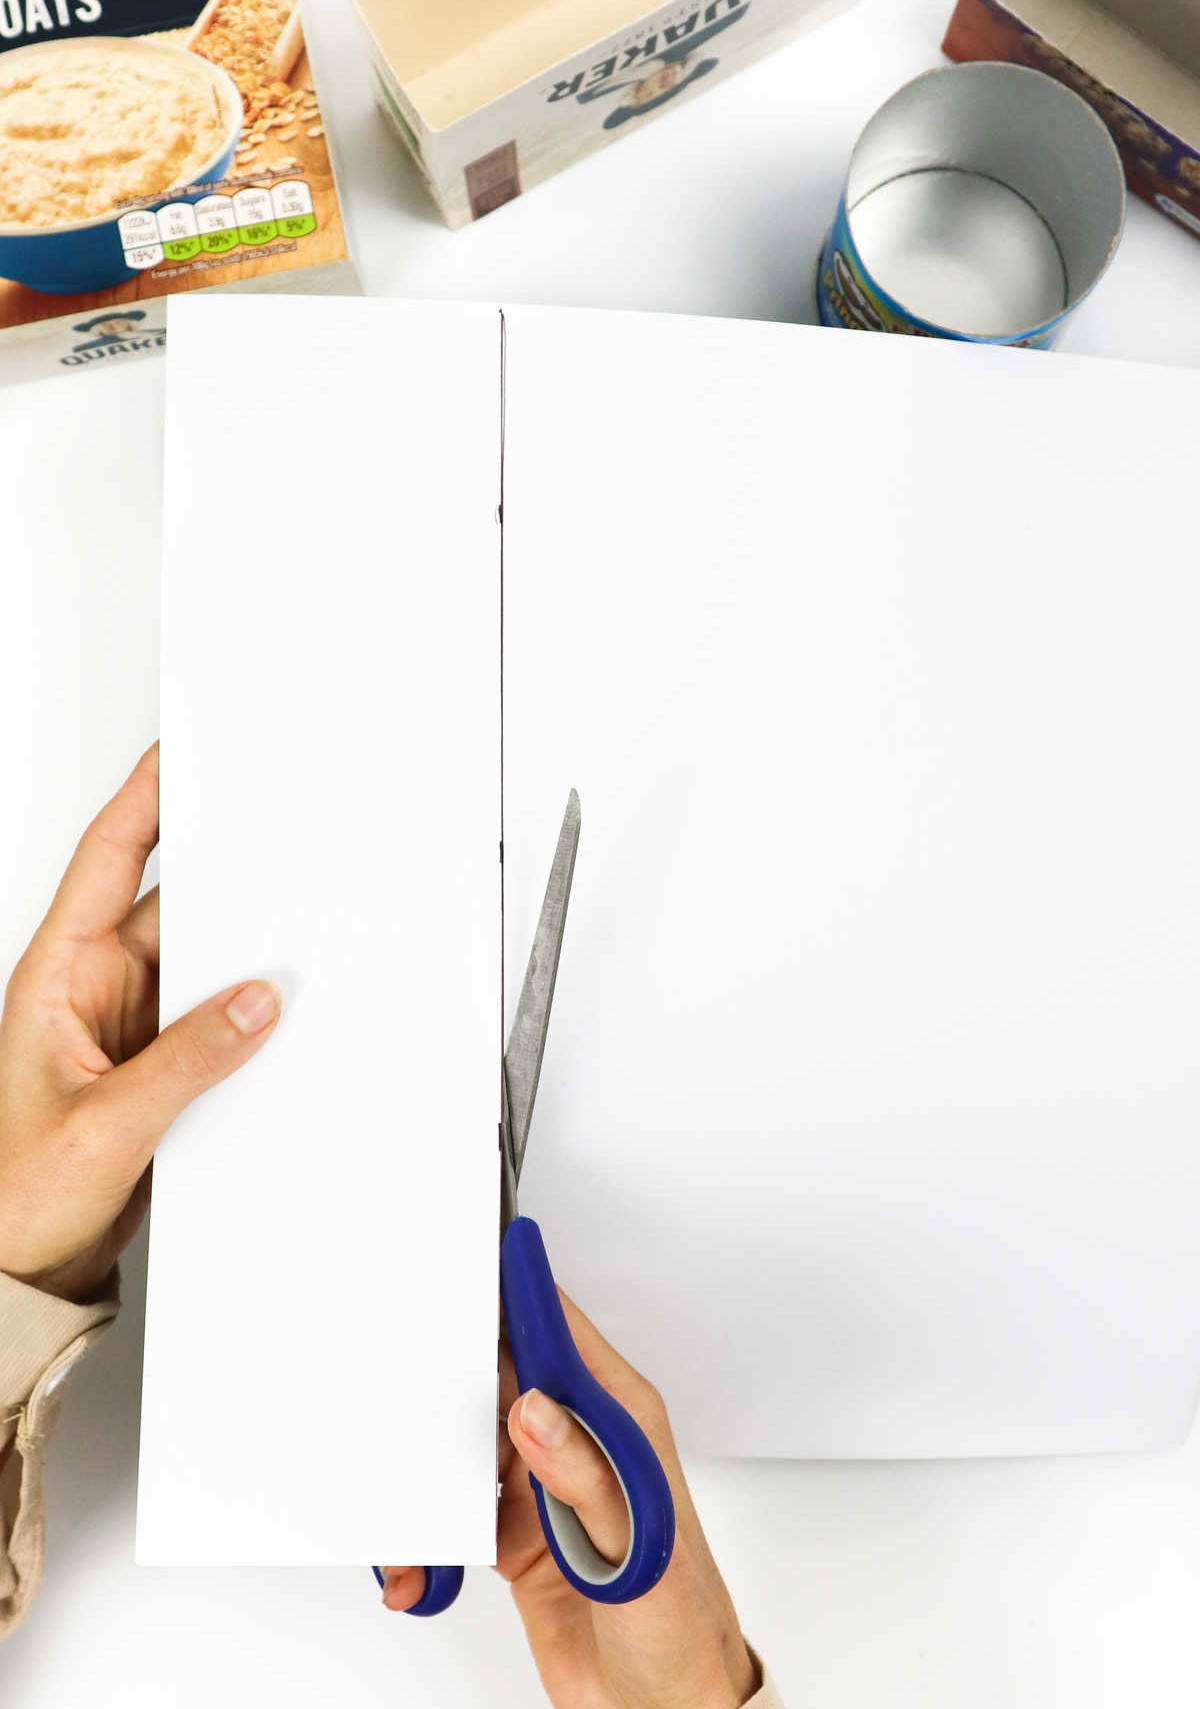

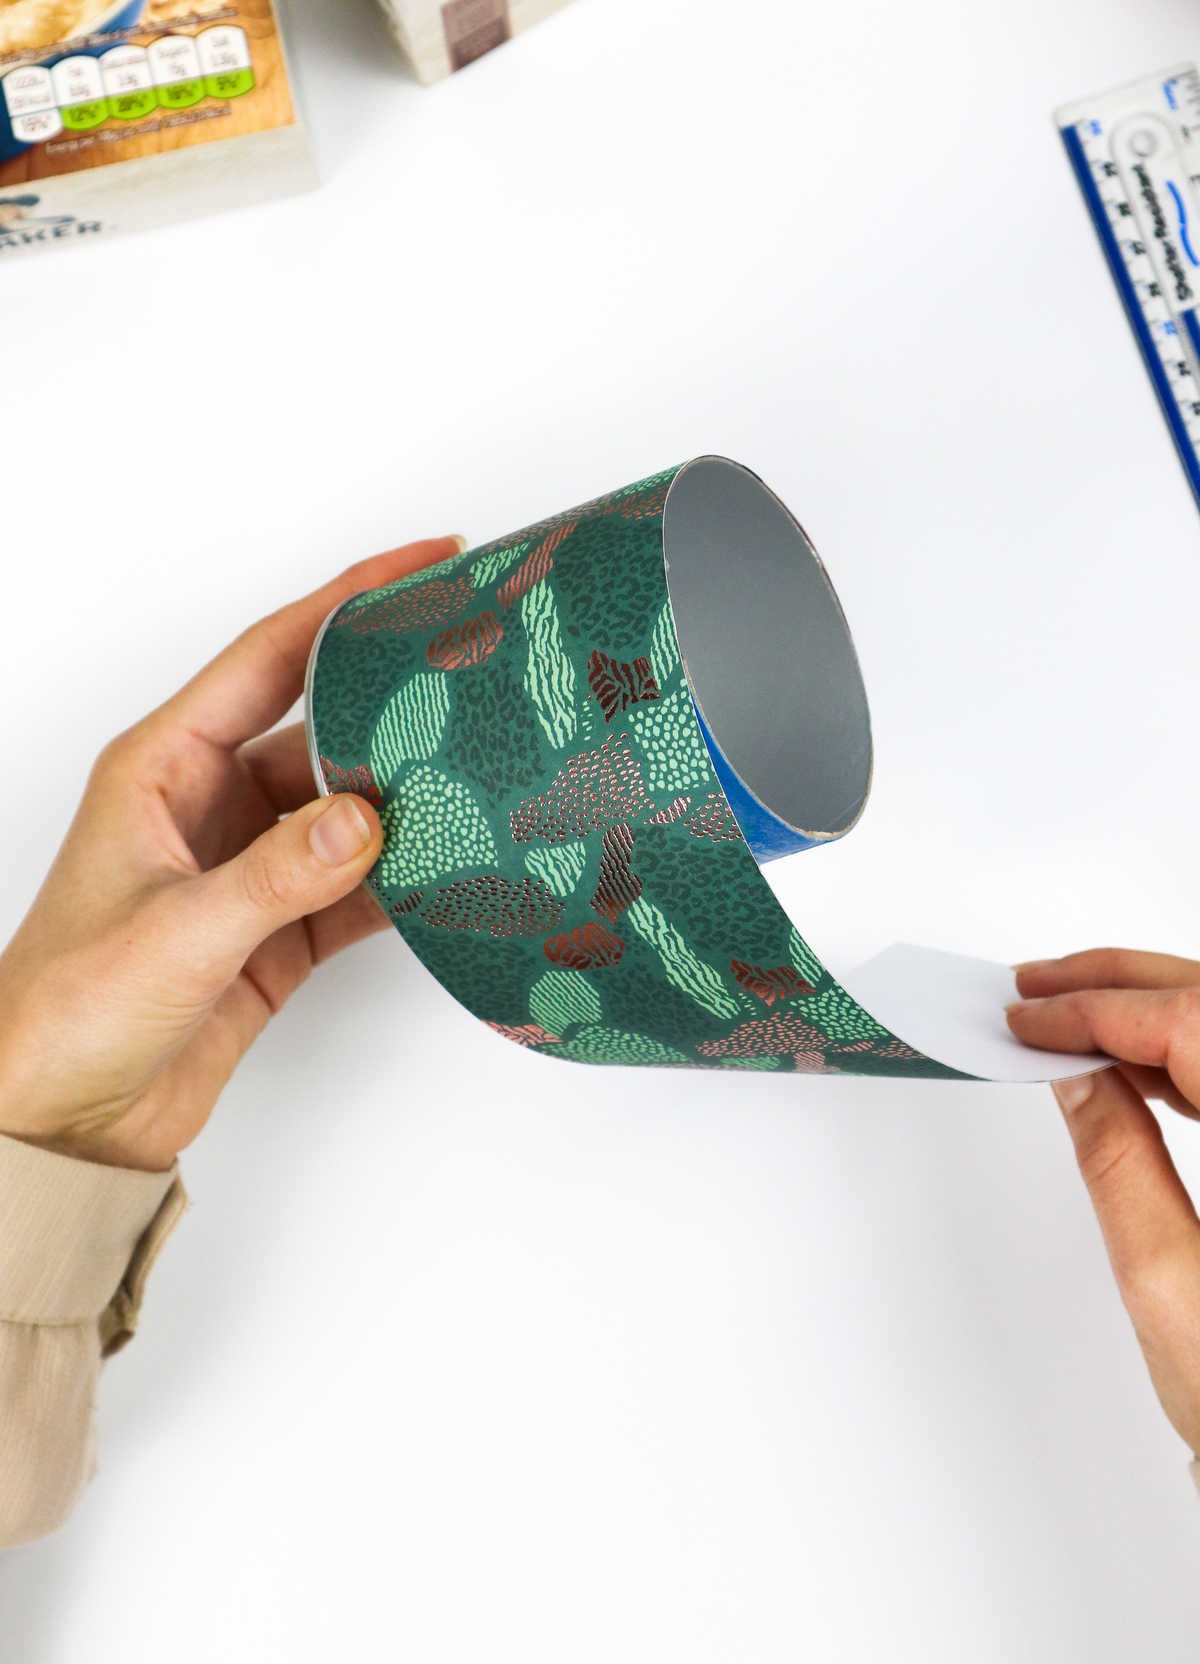

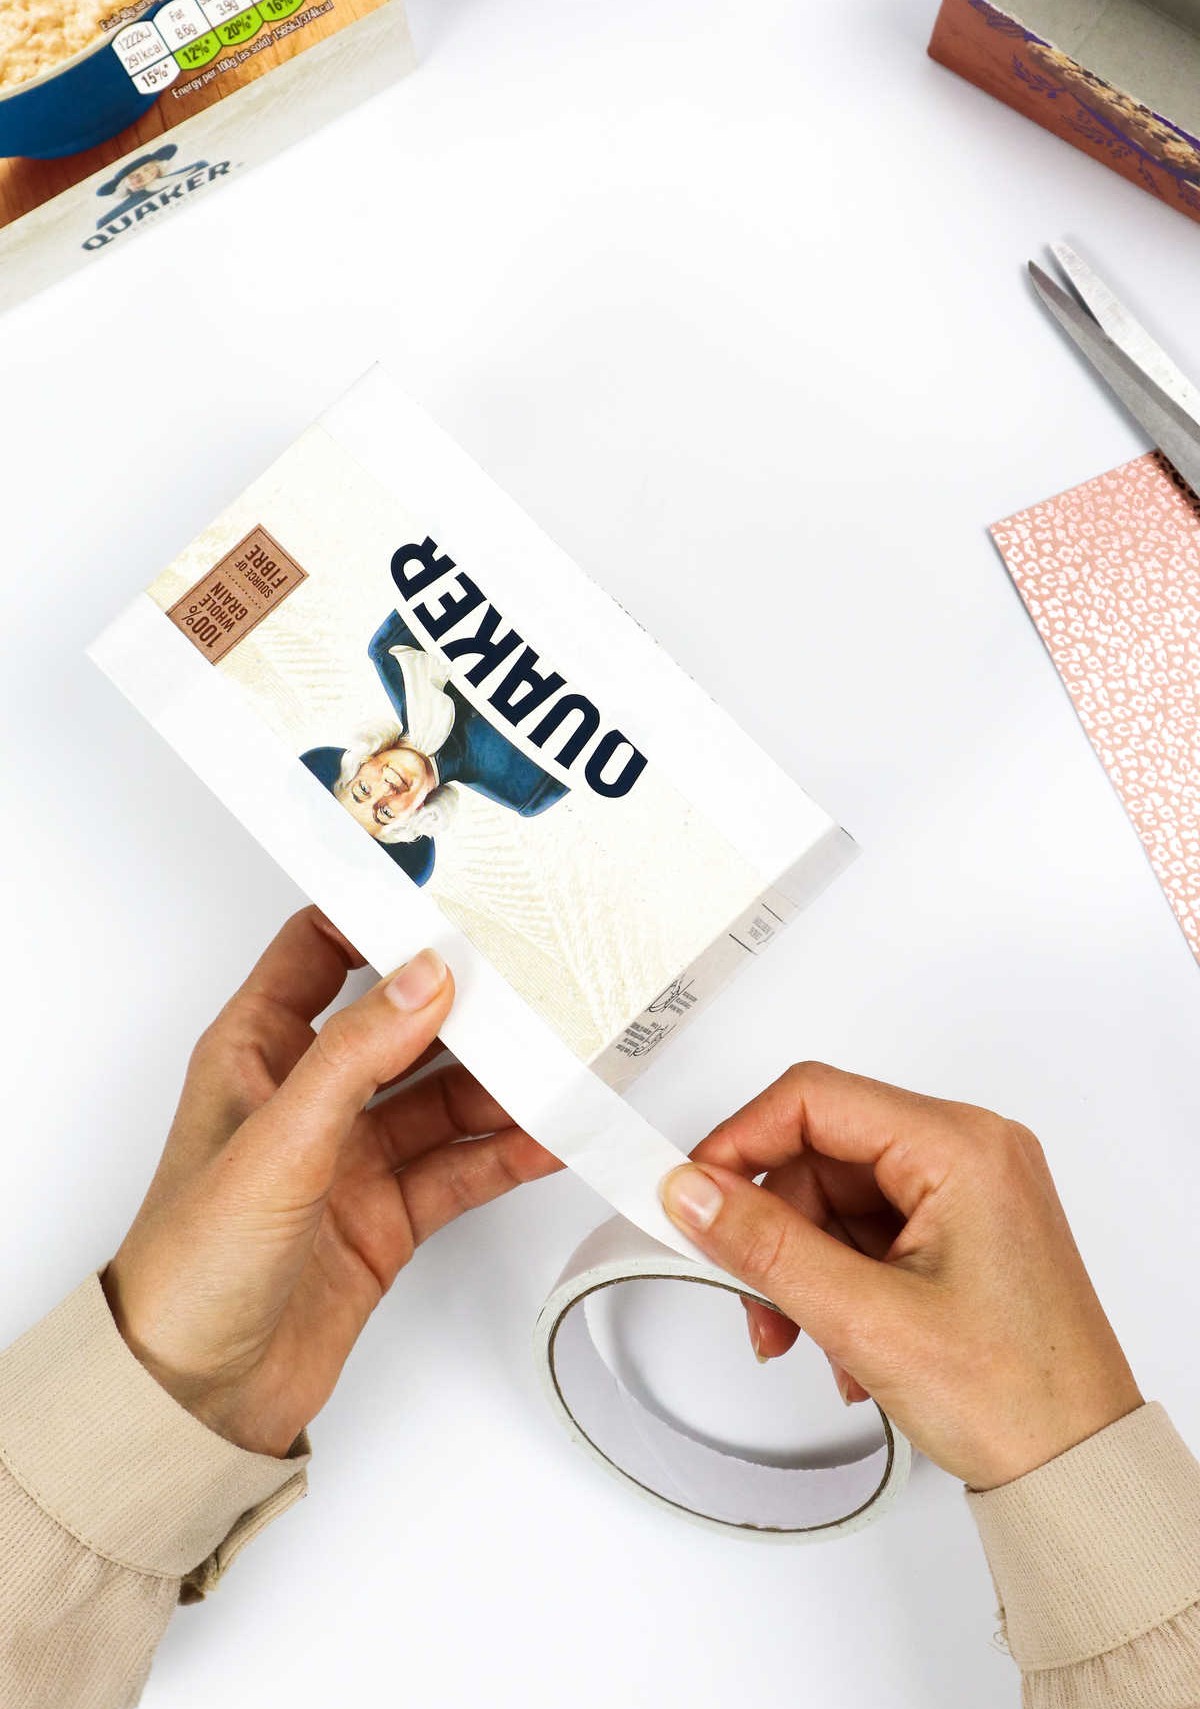
To complete the transformation of your container, begin by cutting along the line you drew on the paper using a pair of scissors. This will create a clean edge for wrapping. Next, apply double-sided tape to the top and bottom edges of the container, ensuring it covers a sufficient area to secure the paper effectively. This step will significantly simplify the process of attaching the paper to the container. Finally, place the paper over the container and roll it around to achieve a smooth wrap.
Use your fingers or a tool to apply gentle pressure, eliminating any wrinkles that may form.
Step 8
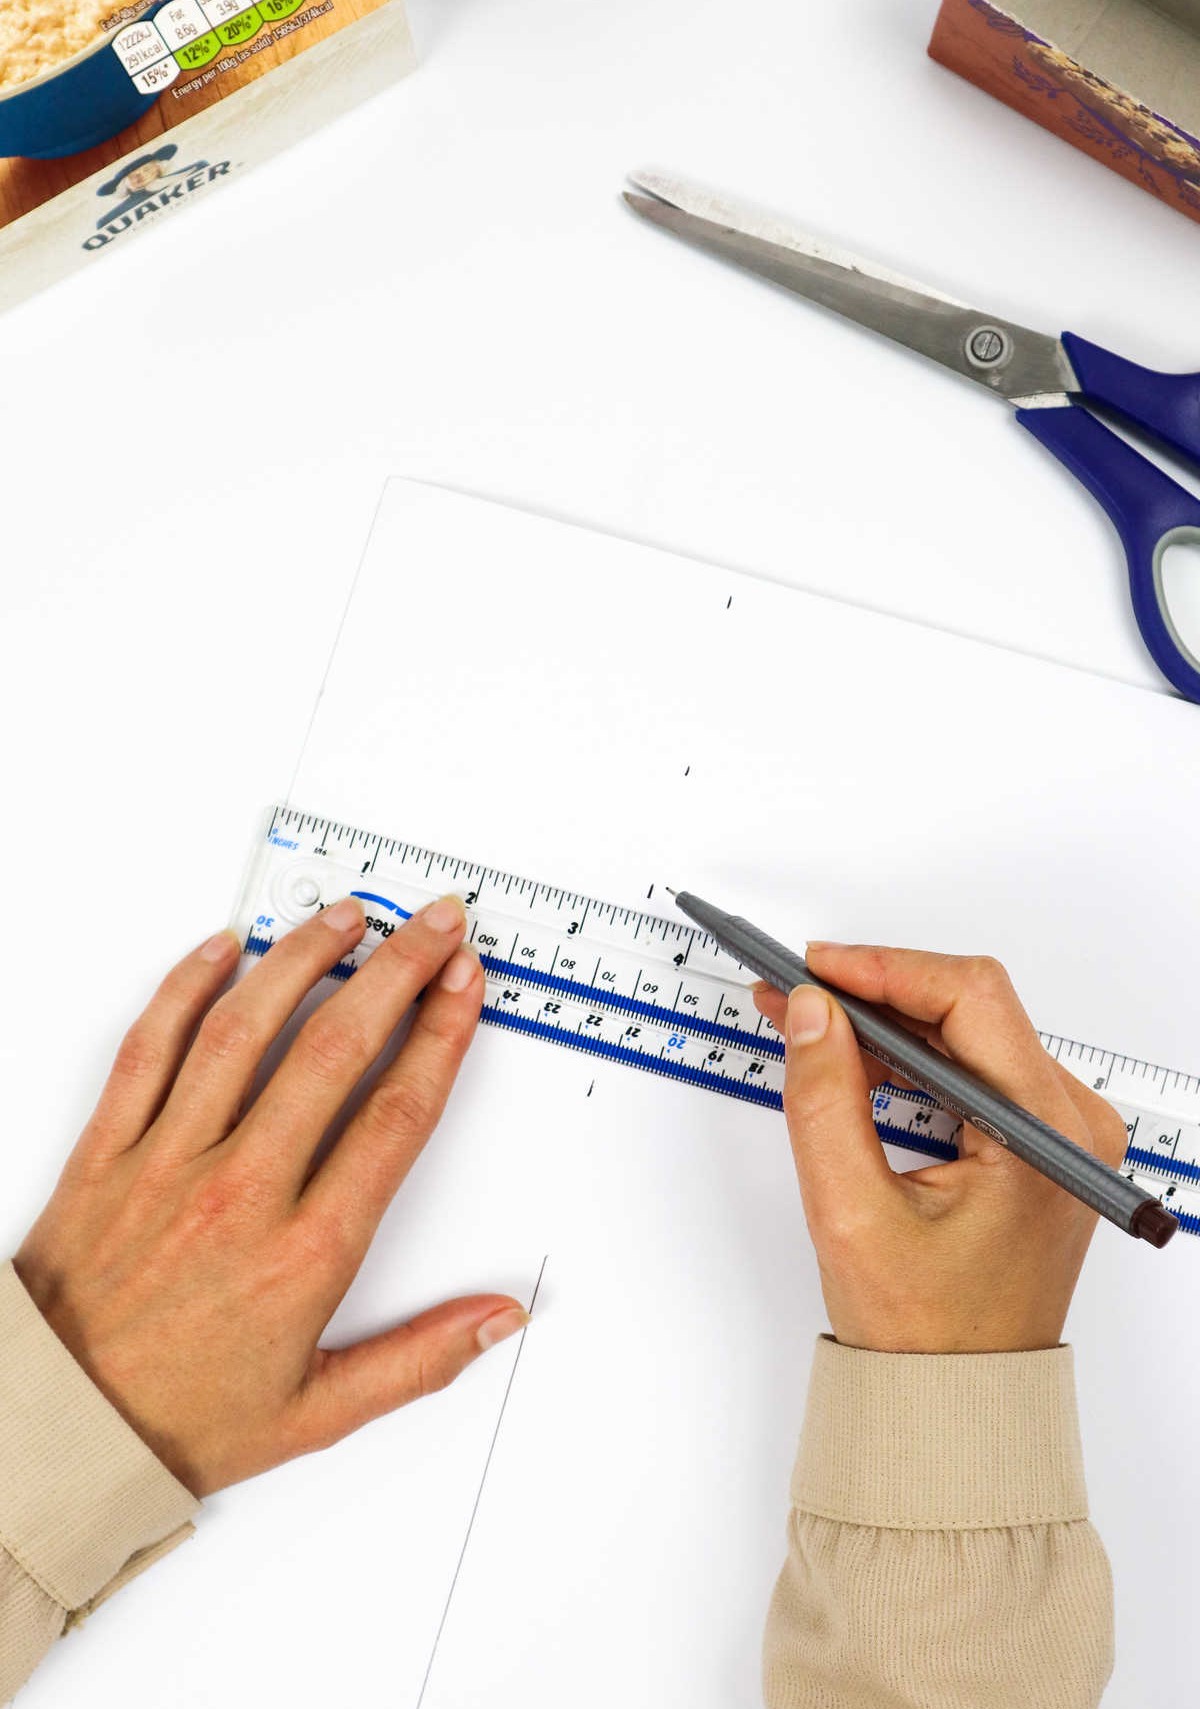
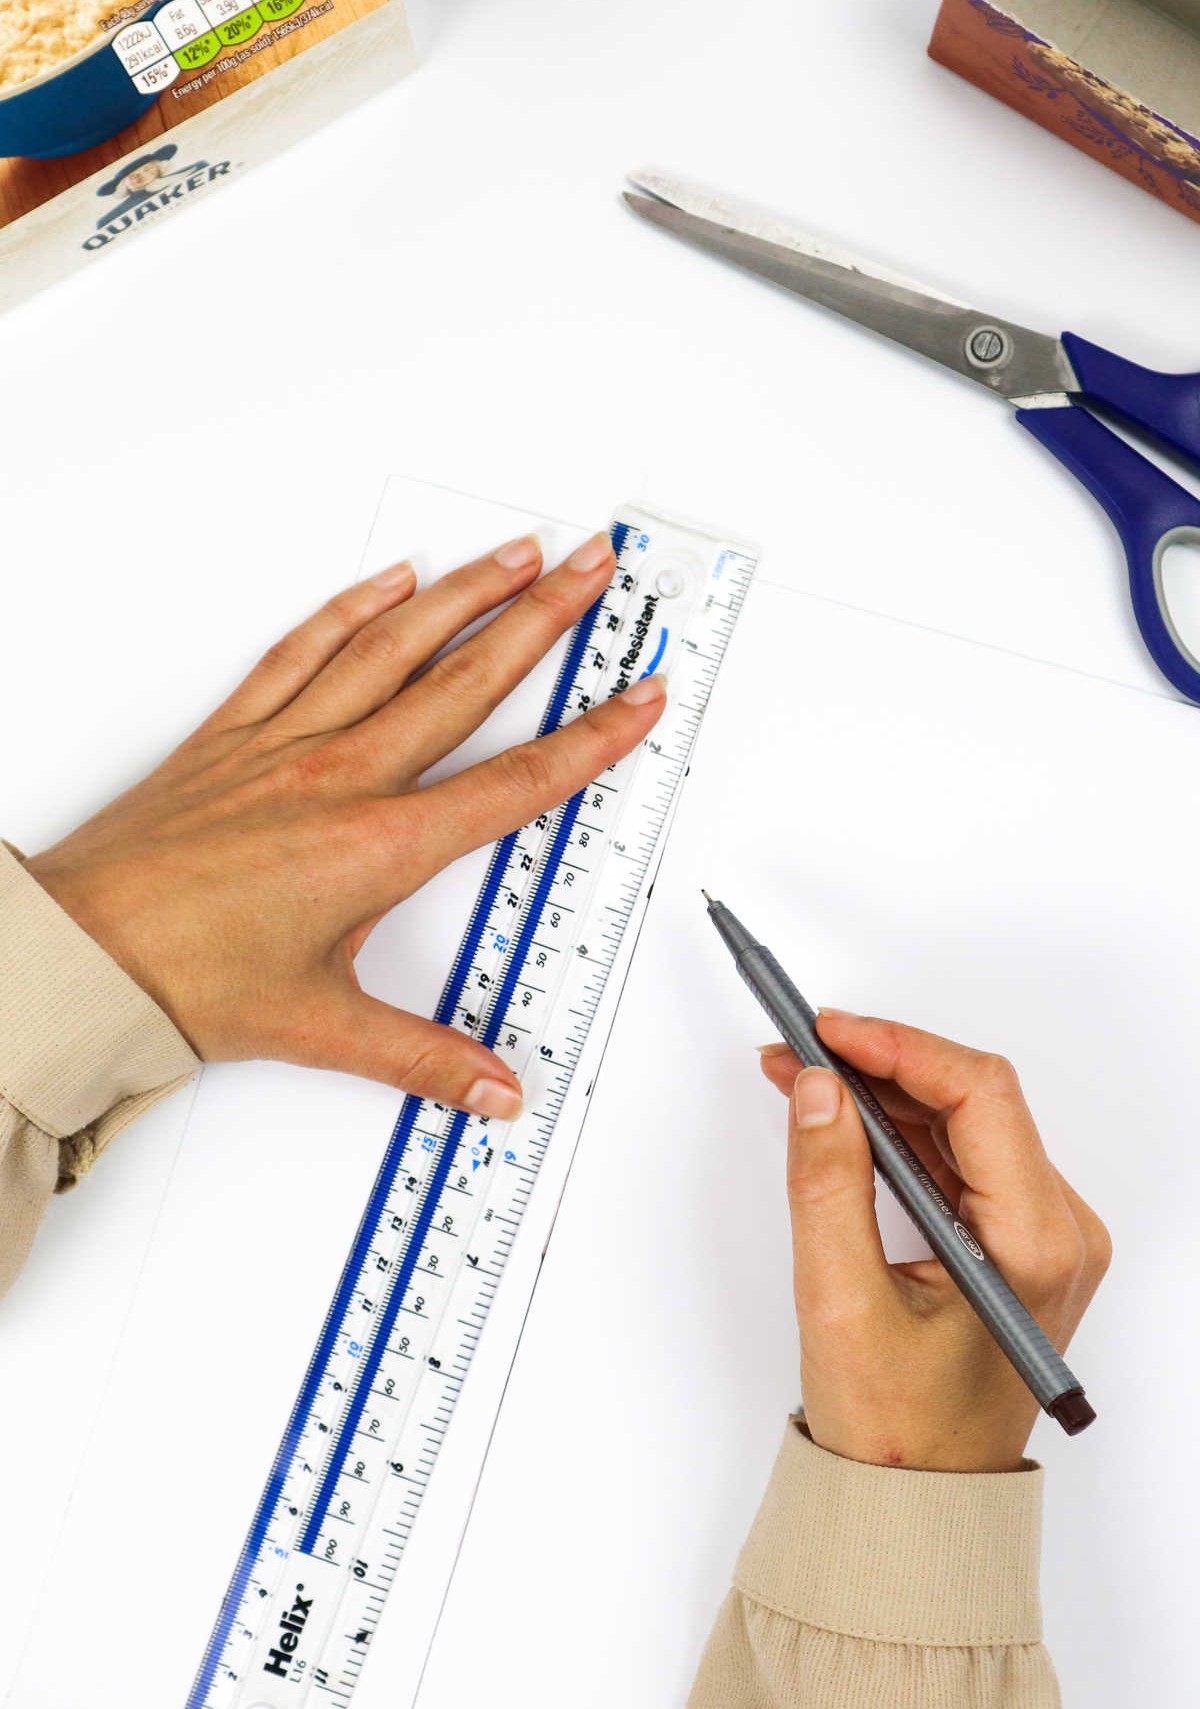
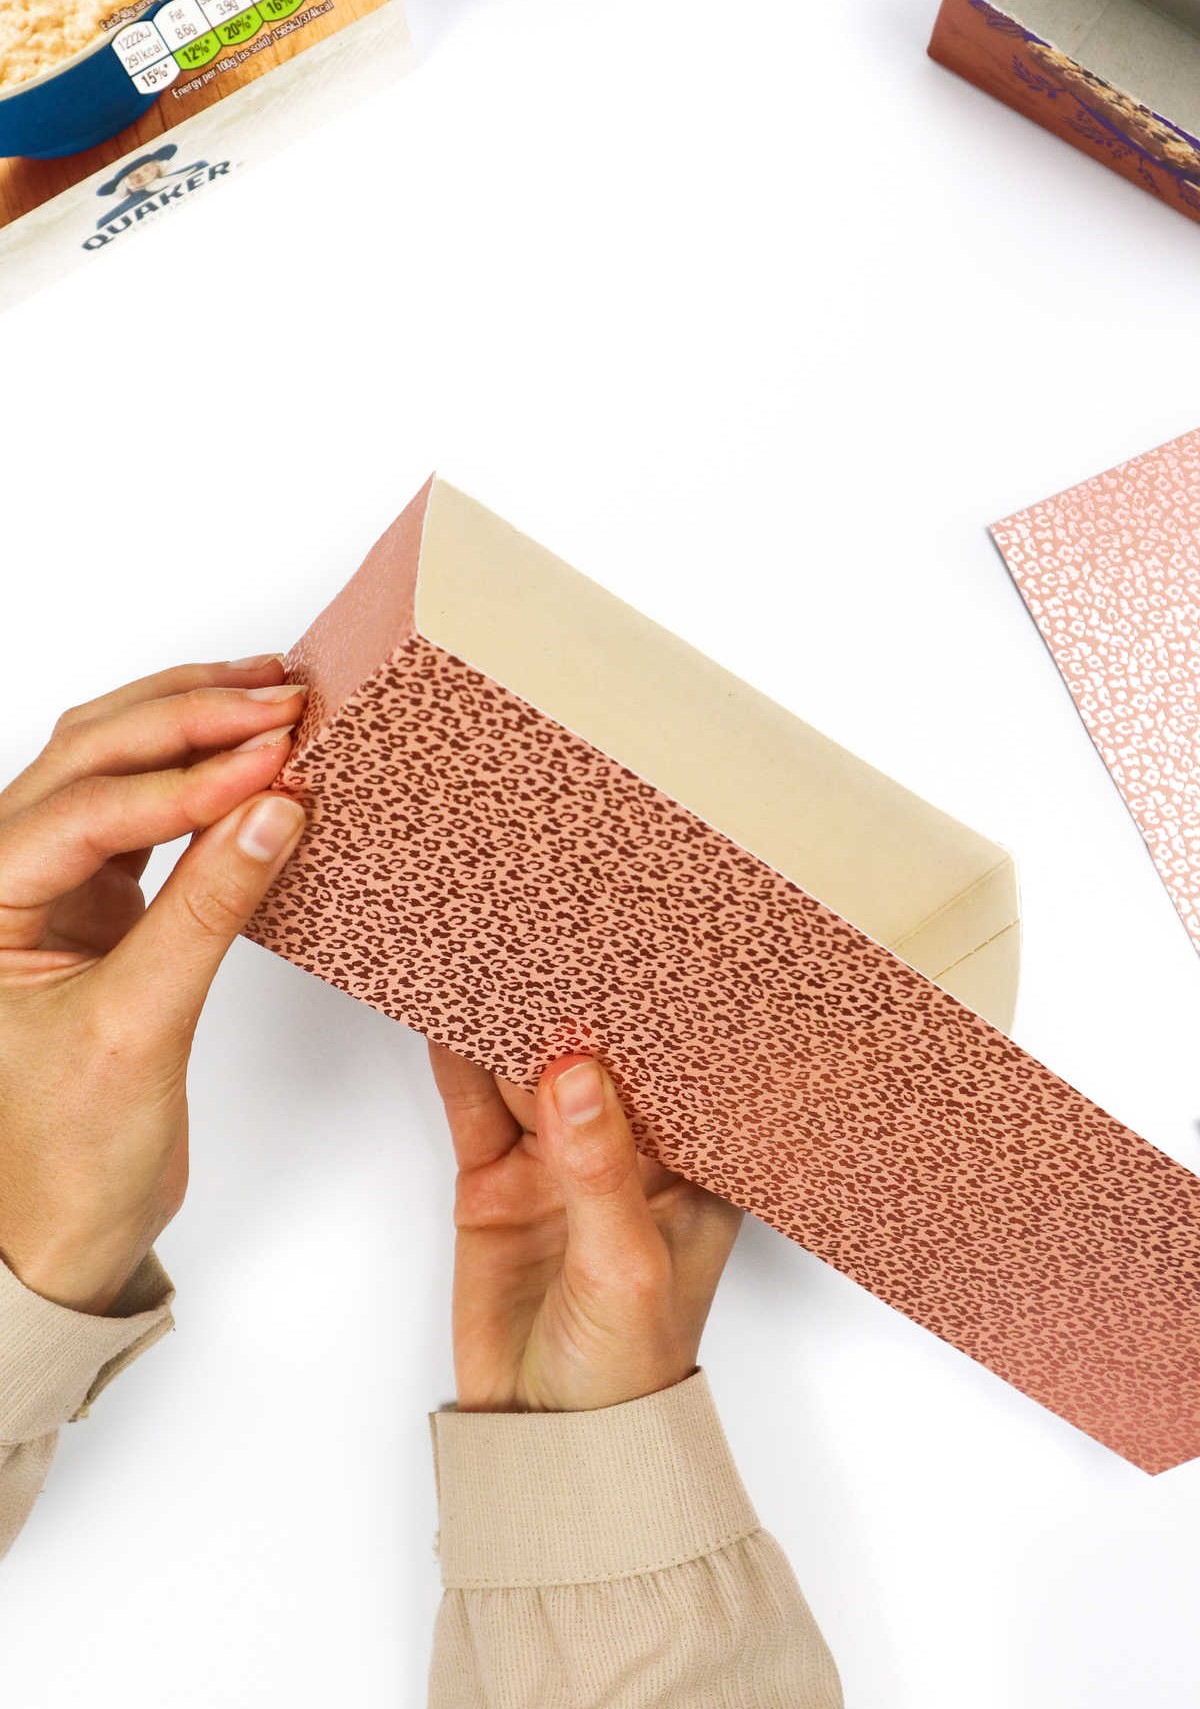
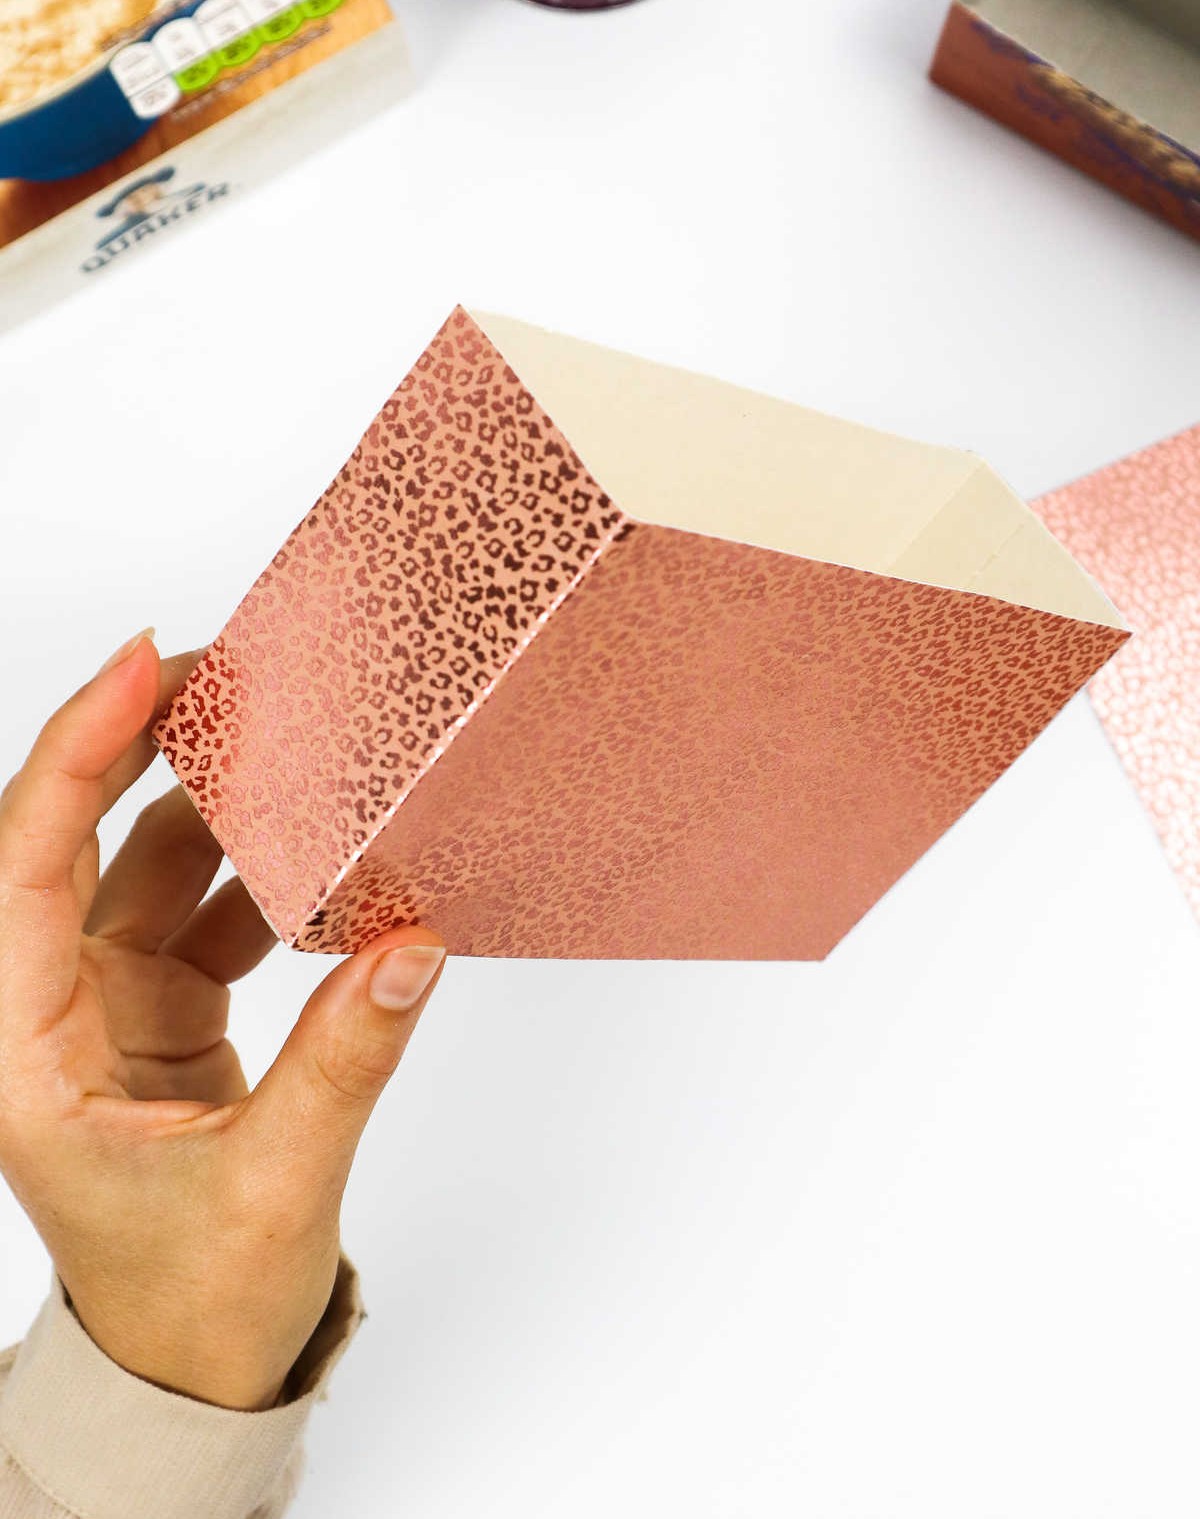
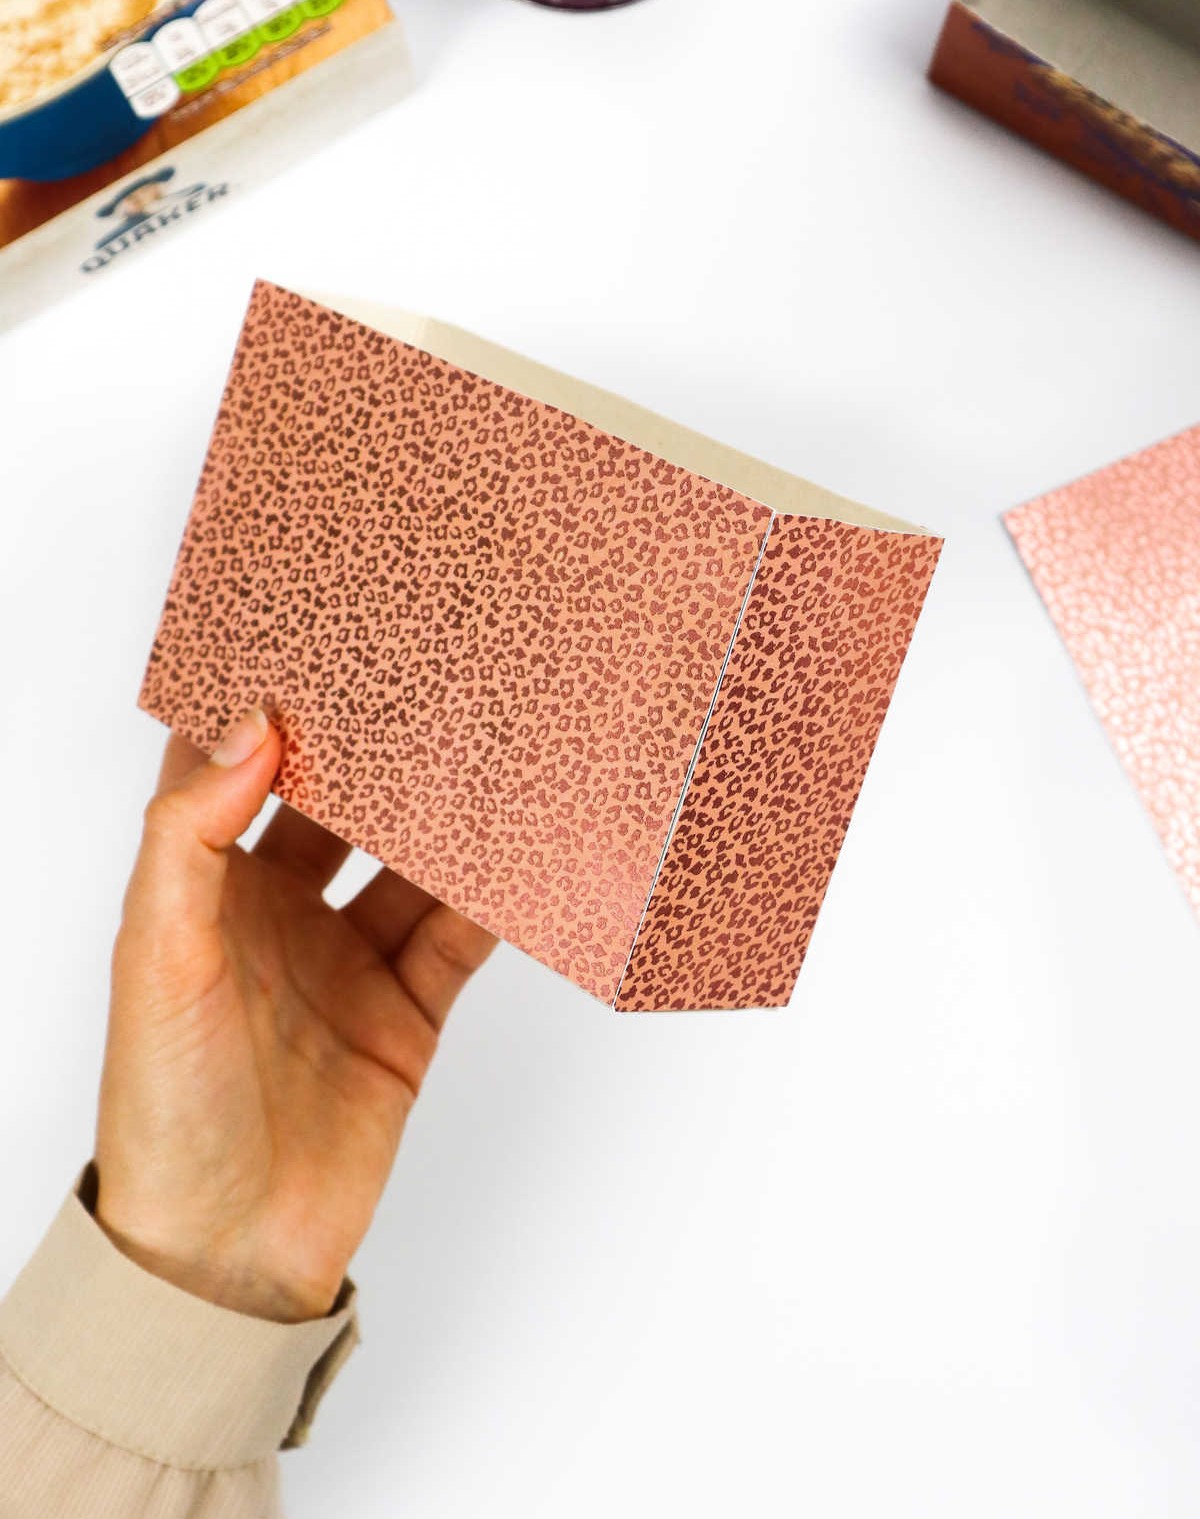
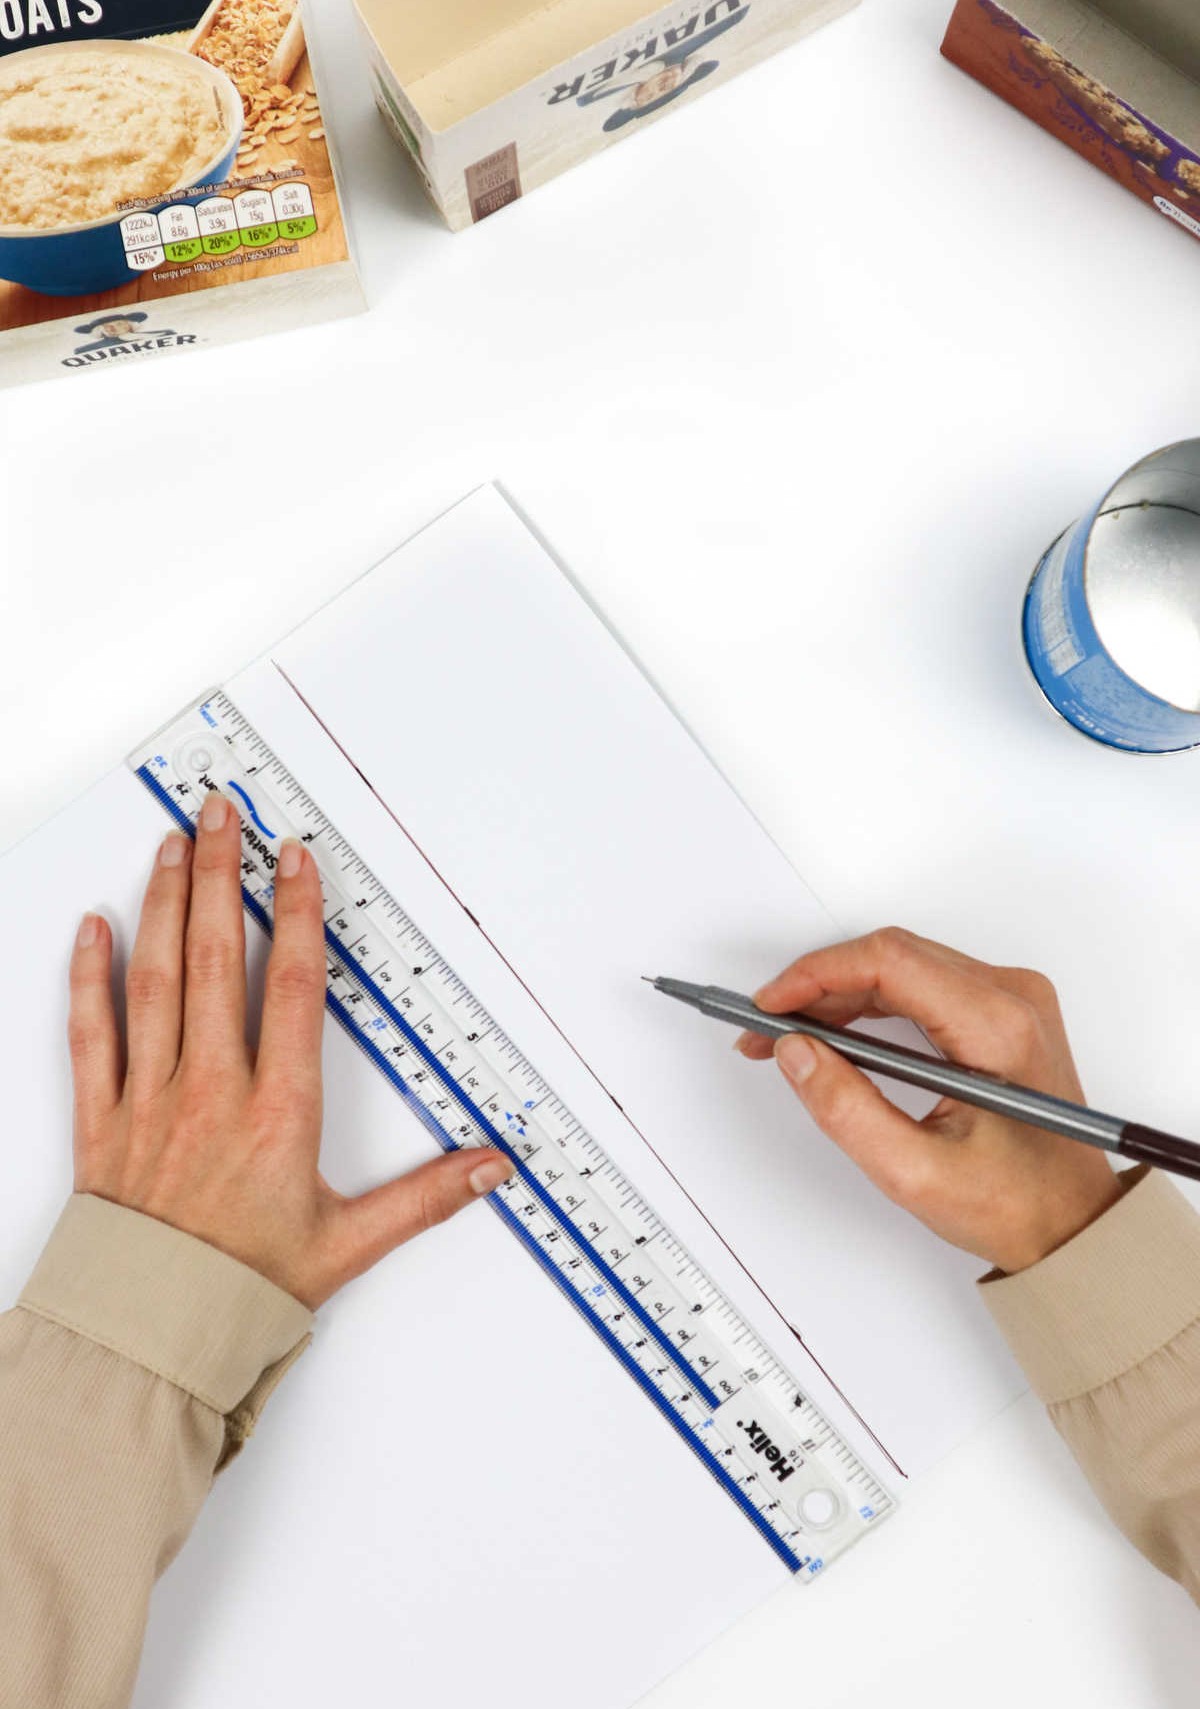
Now that you’re ready to finish wrapping those boxes, start by measuring their dimensions with a ruler, ensuring accuracy according to the guidelines provided. Next, apply double-sided tape along the edges of the box, creating a strong adhesive bond. As you wrap the container, take care to press down each corner firmly, folding the paper tightly to achieve crisp creases and sharp lines.
Step 9
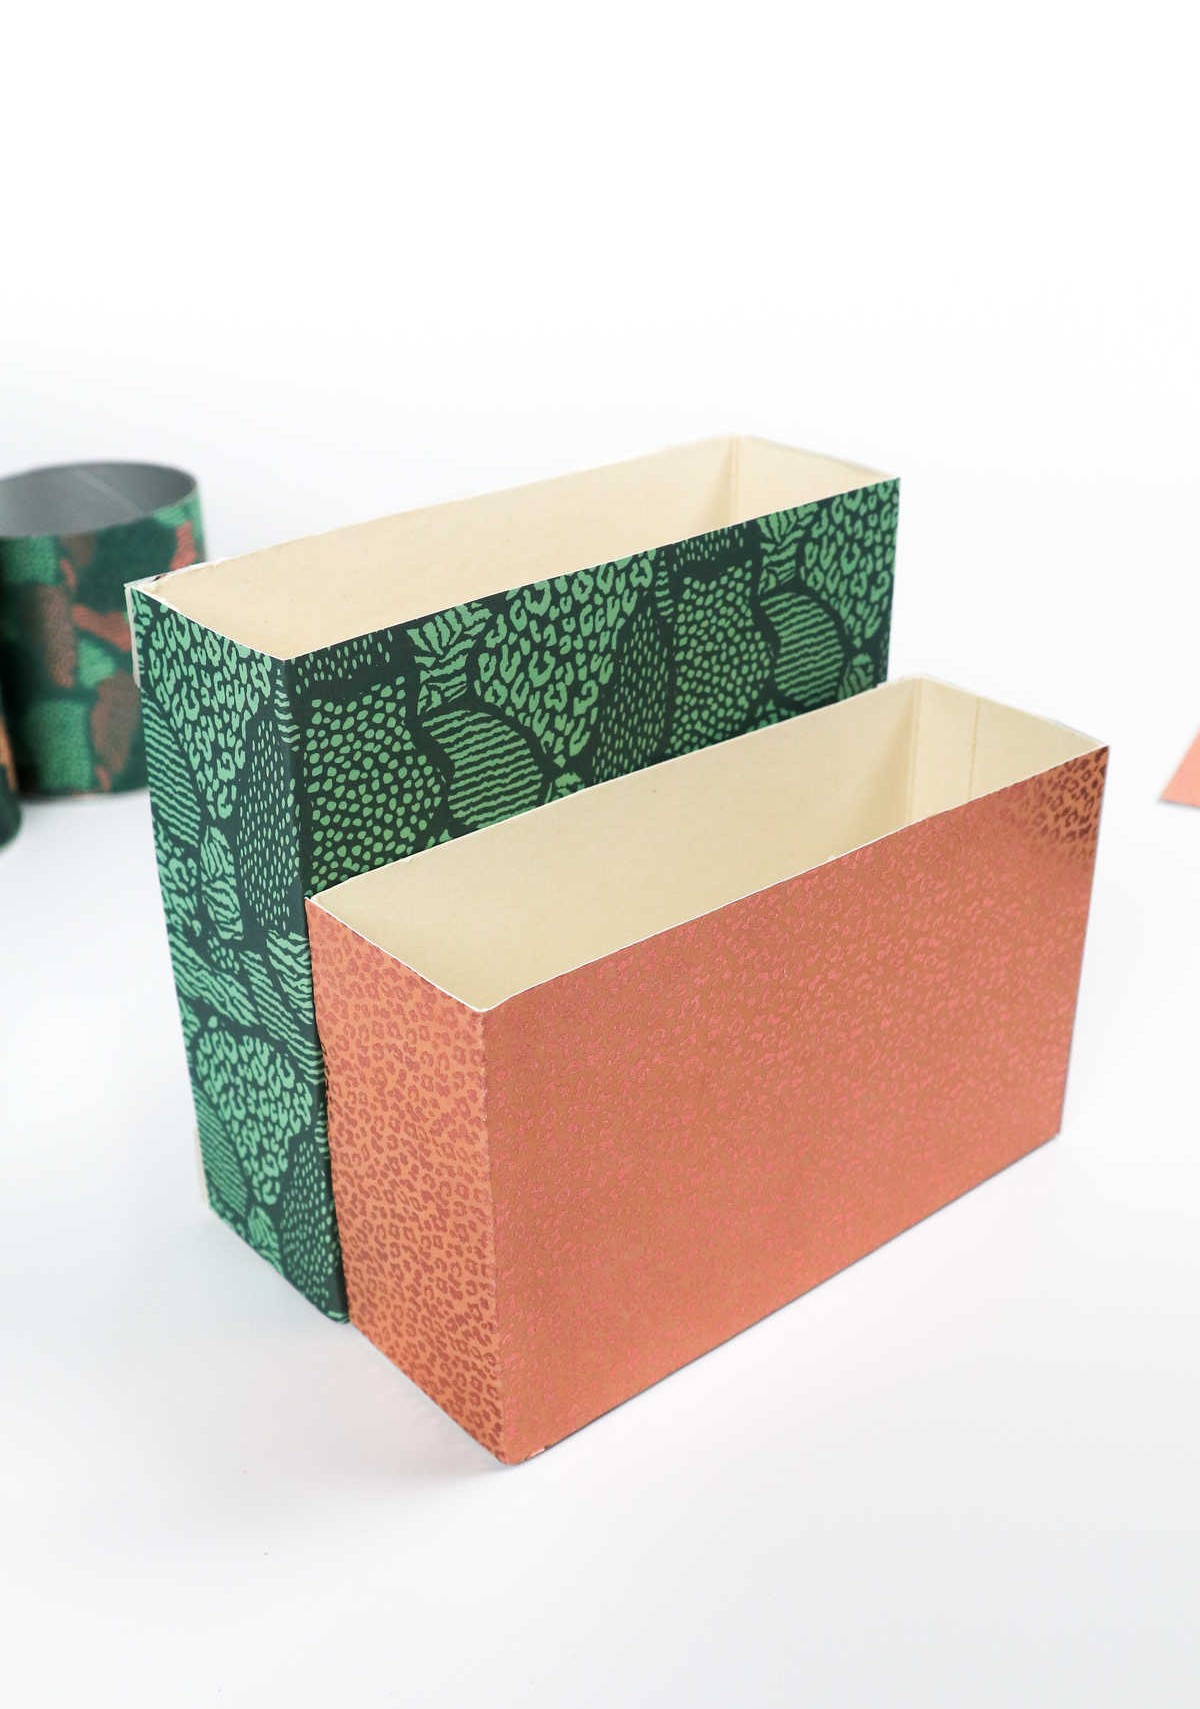
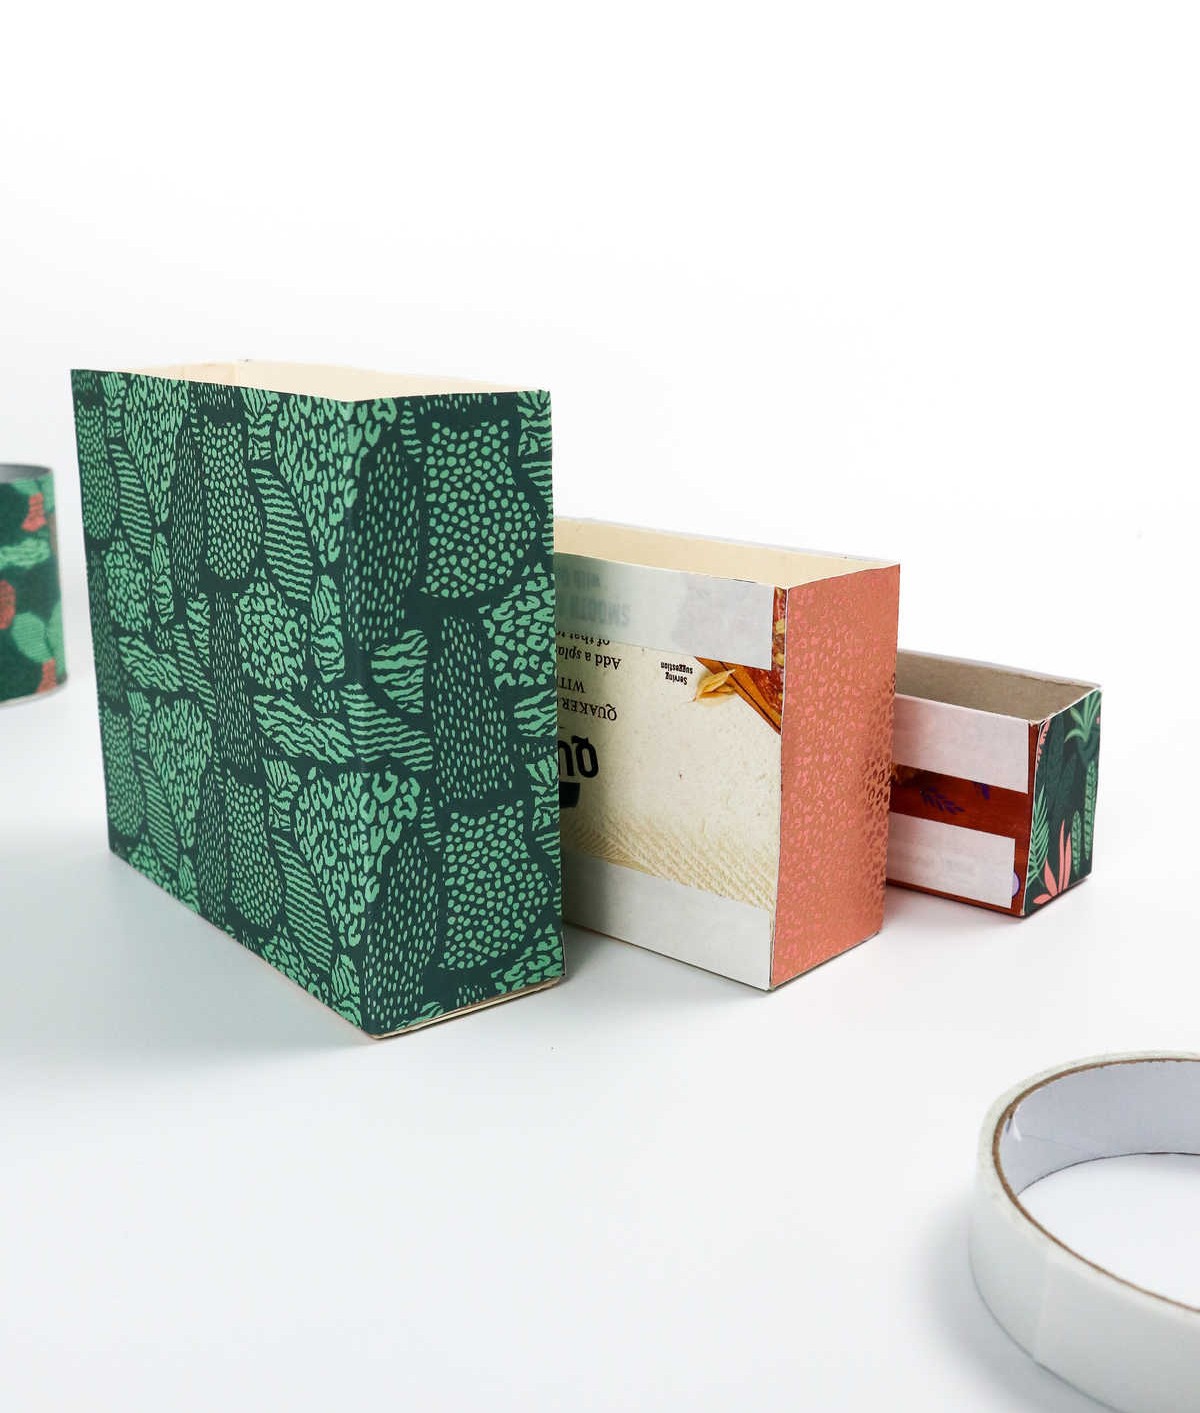
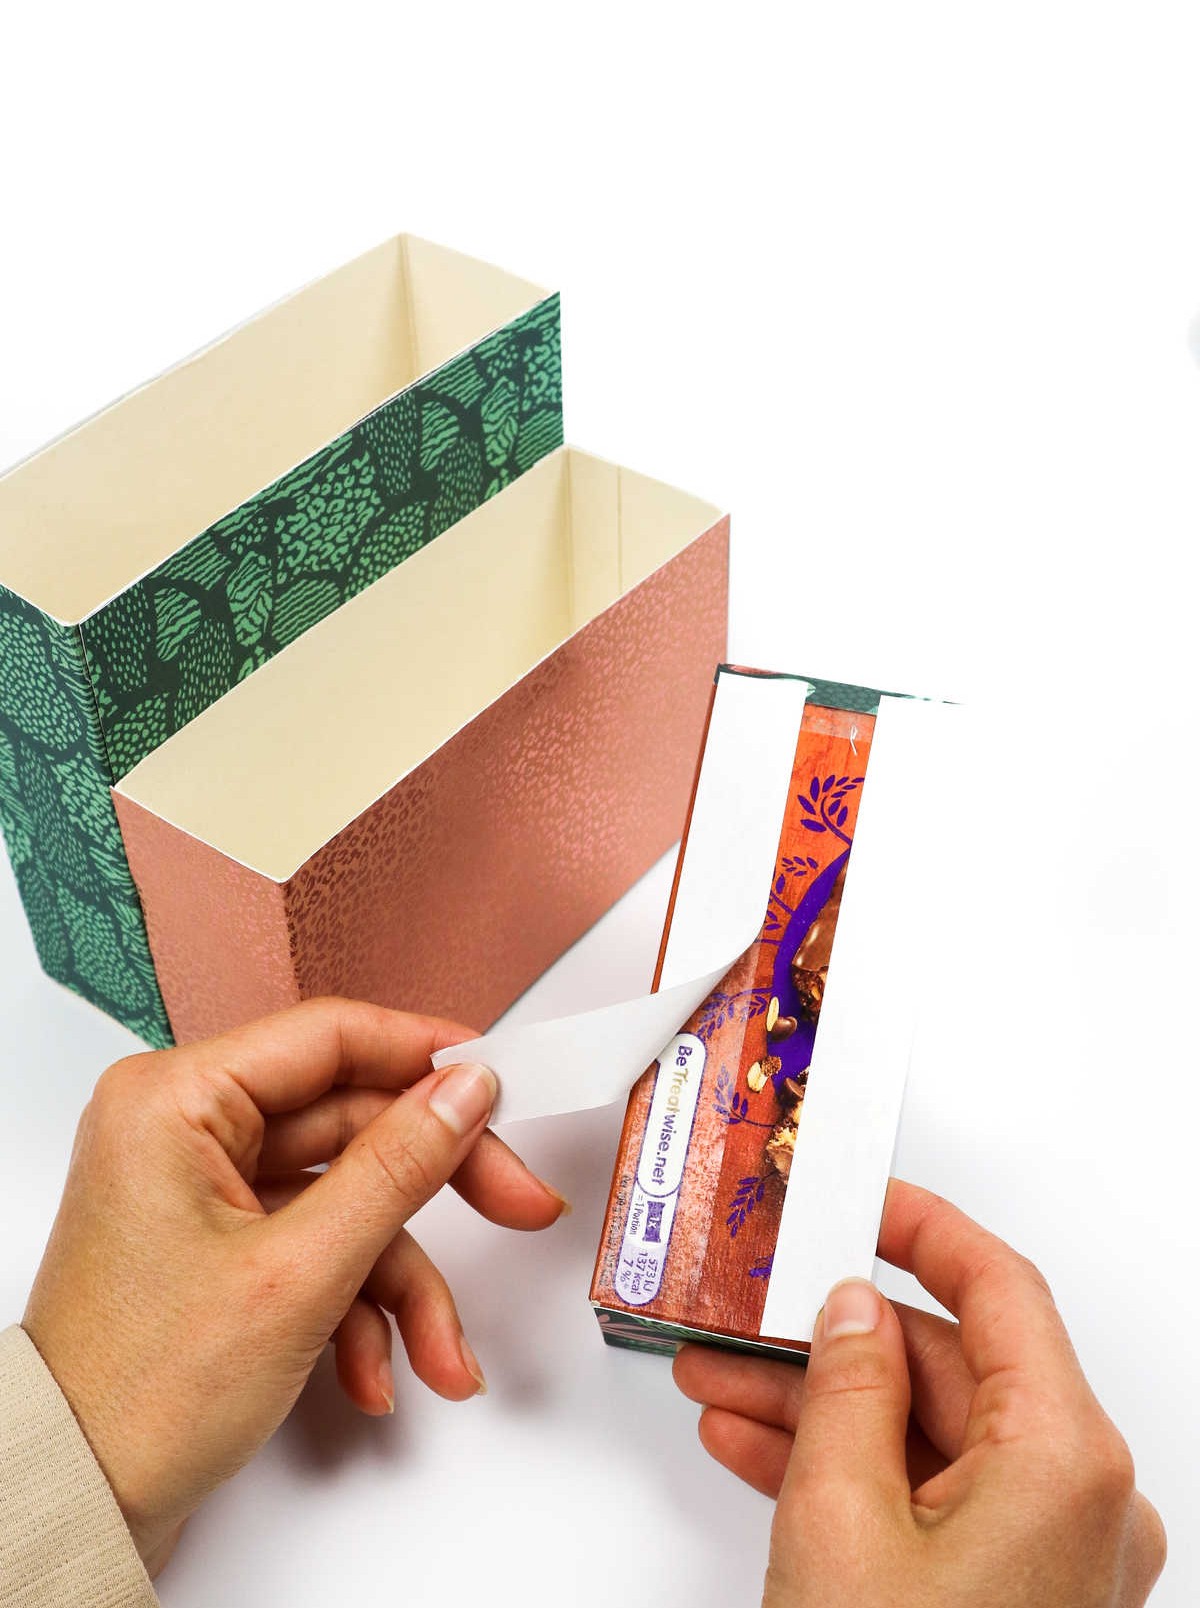

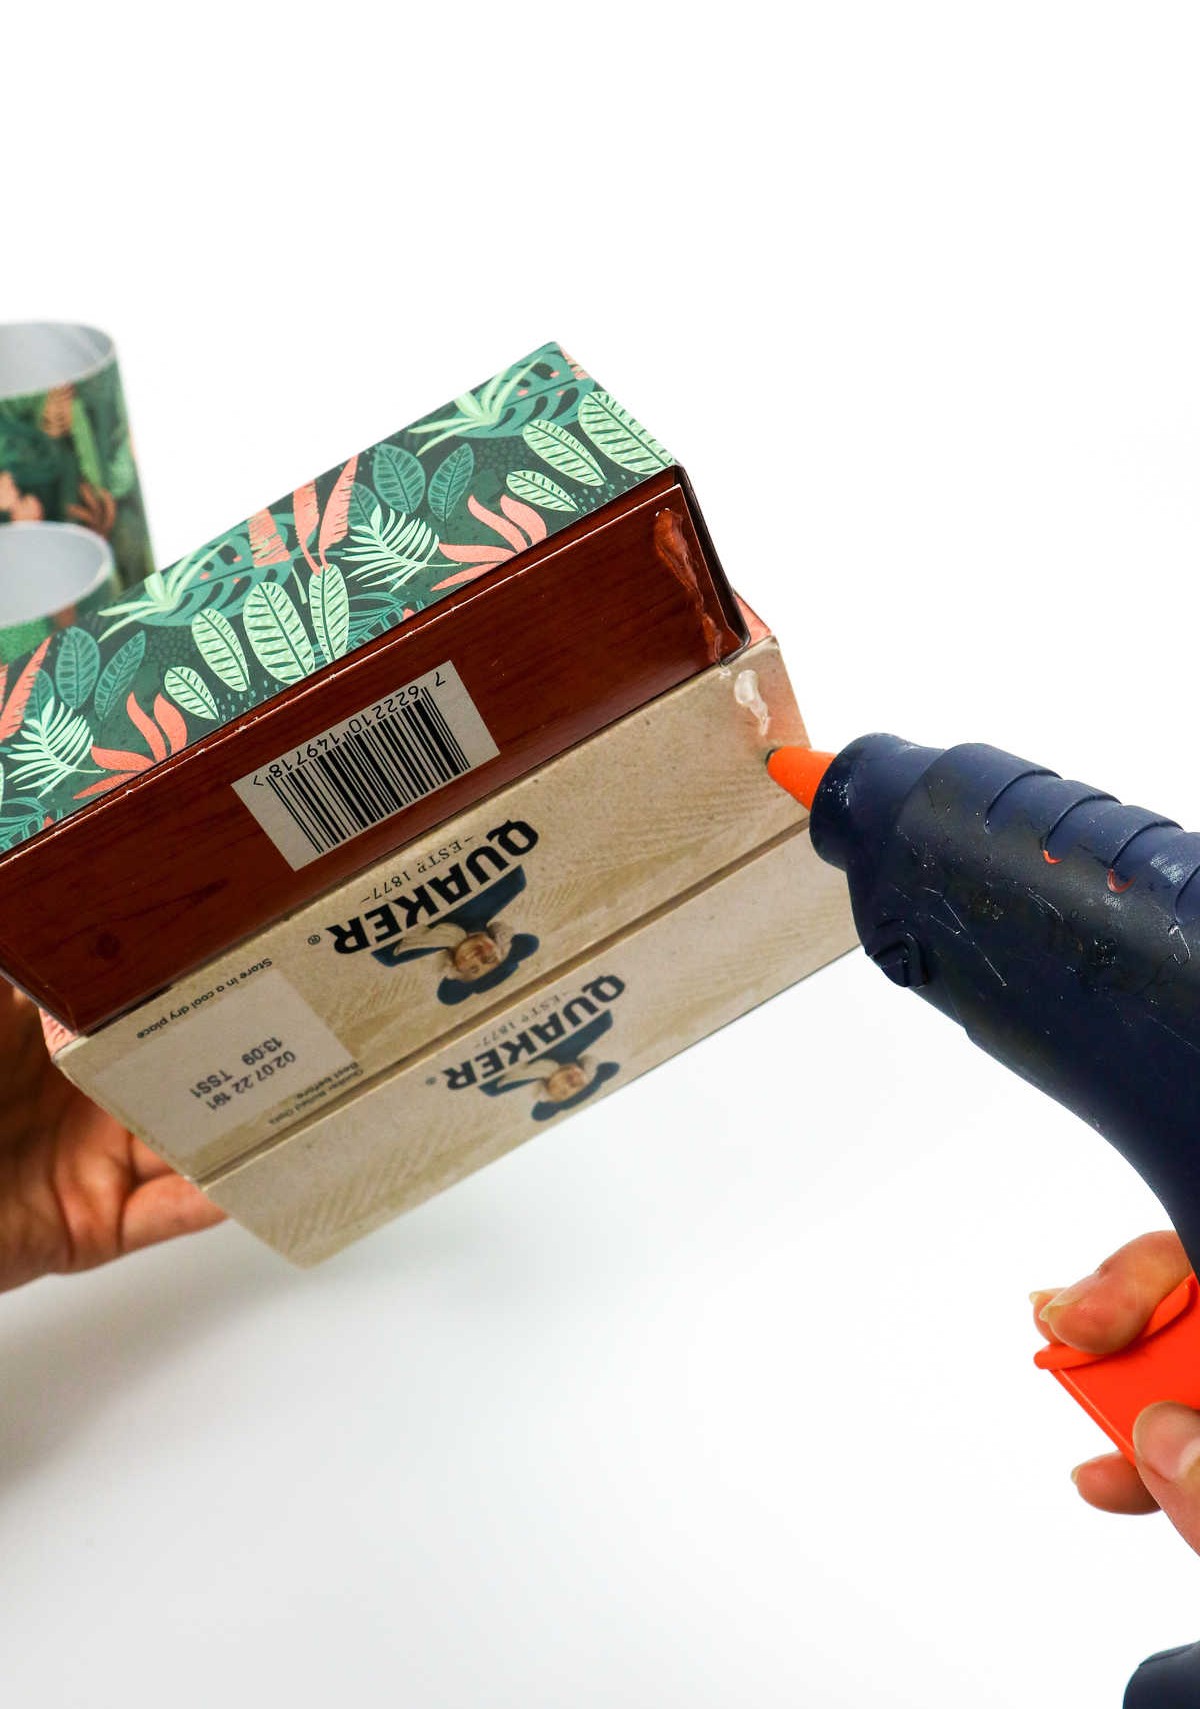
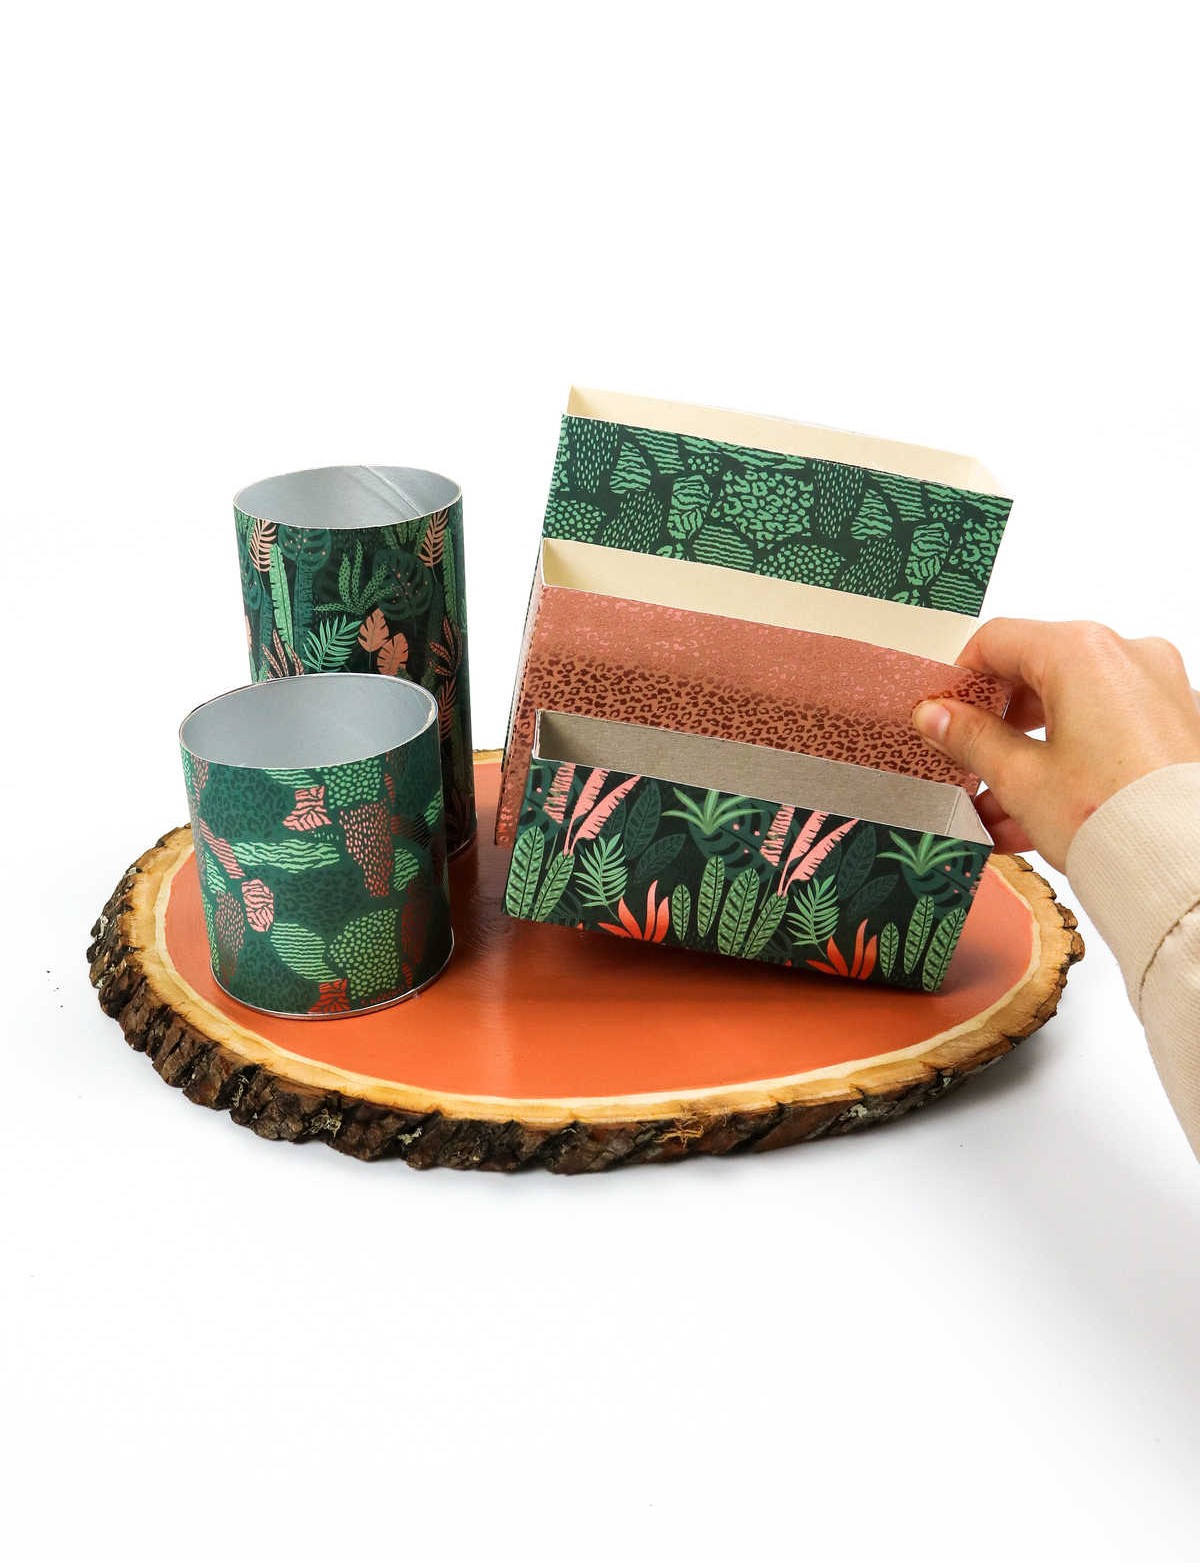
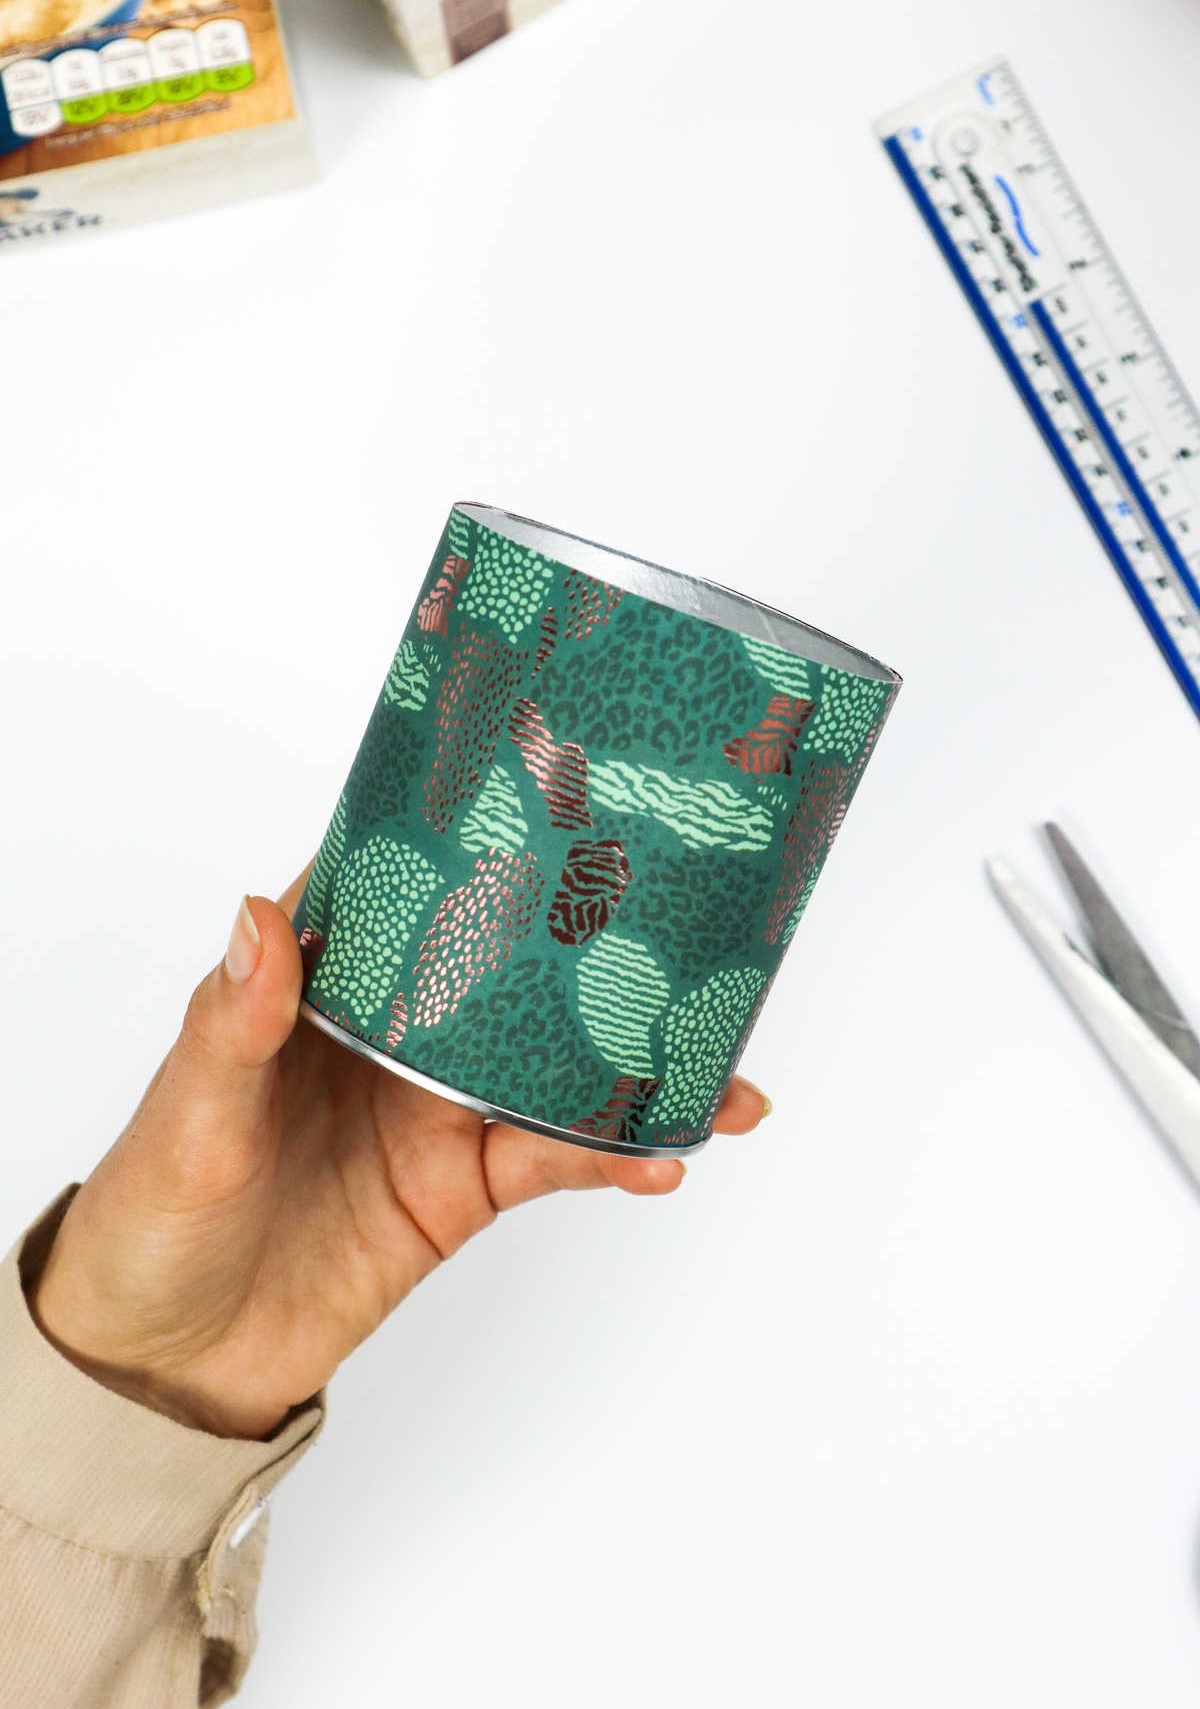
As you finish wrapping each box container, it’s time to assemble them. Begin by lining up all three containers in descending order of size. You have two options for securing them: tape or glue. While both methods work, using double-sided tape can provide a sleeker finish. To achieve this, align the back of the smallest and middle-sized boxes and adhere them to the rear of the largest box. For cylindrical containers, a glue gun is the more effective choice.
Apply a ring of hot glue to the base of each container and hold it in place until it adheres to the wooden board. Repeat this process for attaching the wrapped cereal boxes as well. Once complete, your DIY desk organizer will be ready for use, although you’ll need to wait for the glue to fully dry before putting it into action.
What Can You Store In This Organizer?
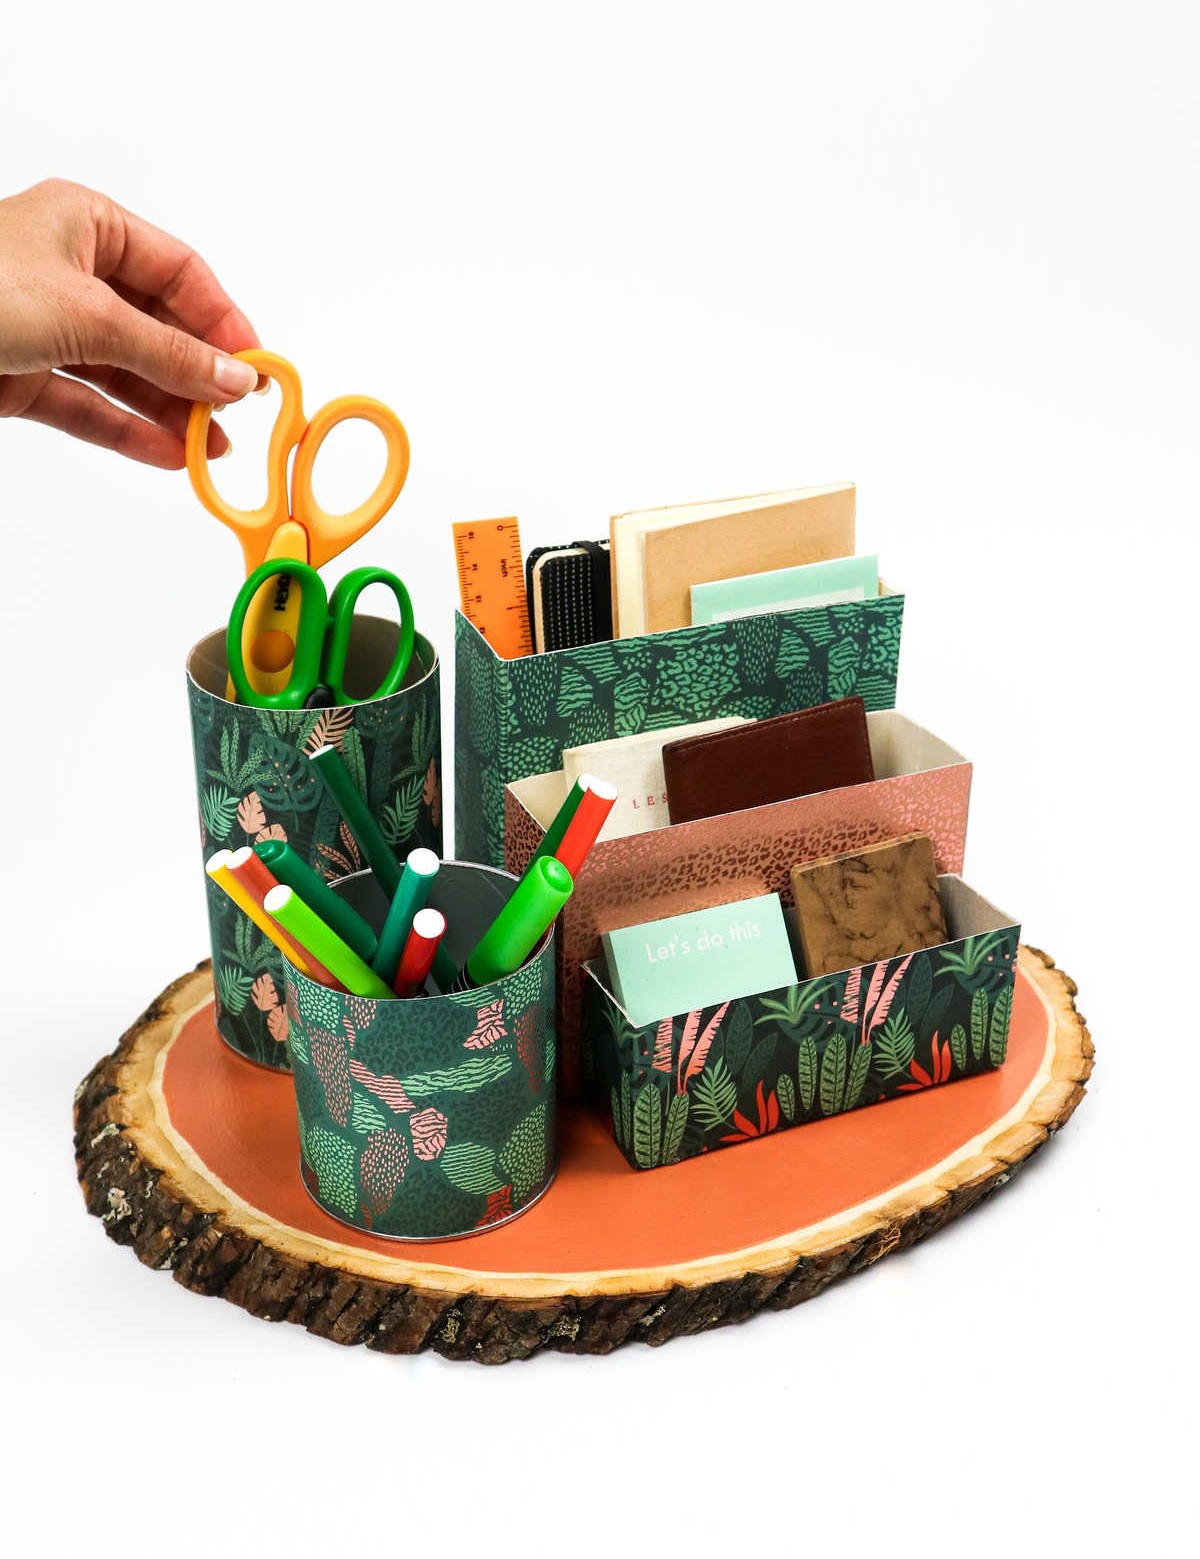
This versatile organizer is designed to keep your workstations clutter-free, whether you’re studying, working or crafting. Its compartments are tailored to store a wide range of items, including office and school supplies such as scissors, craft cutters, pens, pencils, rulers and geometry kits, and mini notebooks and planners. You’ll also find designated spaces for sticky notes and memo pads.
But its practicality doesn’t stop there – with some creative thinking, you can repurpose it in your kitchen too. Simply customize the containers to hold utensils, line up cooking ingredients and spices, or store other essentials.
DIY Desk Organizer Out of Upcycled Food Packaging
Transform your old food packaging into a functional DIY desk organizer in just under an hour. The process is straightforward and requires minimal prep time, making it perfect for those who love upcycling and repurposing materials. With this simple hack, you can breathe new life into yesterday’s containers and create something truly unique for your workspace.
Equipment
Materials
When it comes to upcycling and repurposing materials, you don’t need a treasure trove of exotic supplies. In fact, some of the most creative projects can be built using everyday items found around the house or at your local craft store. Take for example a humble wood board 13 inches wide – perfect for creating unique wall art or functional storage solutions.
Meanwhile, empty food boxes can be transformed into quirky planters or decorative containers, while craft paper sheets provide a blank canvas for adding personal touches through drawing, painting, or collaging. For added stability and security, double-sided tape comes in handy, allowing you to attach lightweight materials like paper or fabric without damaging the underlying surface.
For those who enjoy getting creative with color, acrylic paint and glossy varnish offer endless possibilities for customizing your projects. And finally, a hot glue gun is always on hand to bind disparate elements together, giving shape and form to your imagination-driven creations.
Instructions
To begin crafting your DIY desk organizer, start by preparing your materials. Begin by painting two to three coats of your preferred color on the wooden board, allowing each coat to dry before moving forward. Once the paint is fully dry, apply a clear matte or gloss-finish varnish to protect and enhance the finish. Next, cut the cereal boxes into the desired shape and height using scissors. For the cylinder containers, you’ll need a retractable knife to achieve the right size.
Before assembling your organizer, plan out where each box will be placed on the wooden board. This will help ensure a visually appealing arrangement. Once you’ve prepared your containers, it’s time to wrap them in craft paper. Select sheets with patterns, textures, or colors that complement your design. Ensure the paper is not too thin or transparent, as this could compromise the overall appearance of your organizer. Take note of the dimensions for both types of containers.
To wrap the cylinder containers, line up the edge of the paper and roll it around the container once, taking a measurement of its height. Draw a line across the paper at this point, then cut along the line. Apply double-sided tape to the top and bottom edges and secure the paper in place. The boxed containers require similar treatment: measure their dimensions and mark them on the back of your wrapping paper before cutting.
Finally, apply double-sided tape to the backing of each container and attach them to one another, forming a cohesive unit. Finally, use hot glue to adhere the containers to the wooden board, applying a small amount to the bottom of each and holding it in place for a moment to ensure a secure bond. Your DIY desk organizer is now complete!