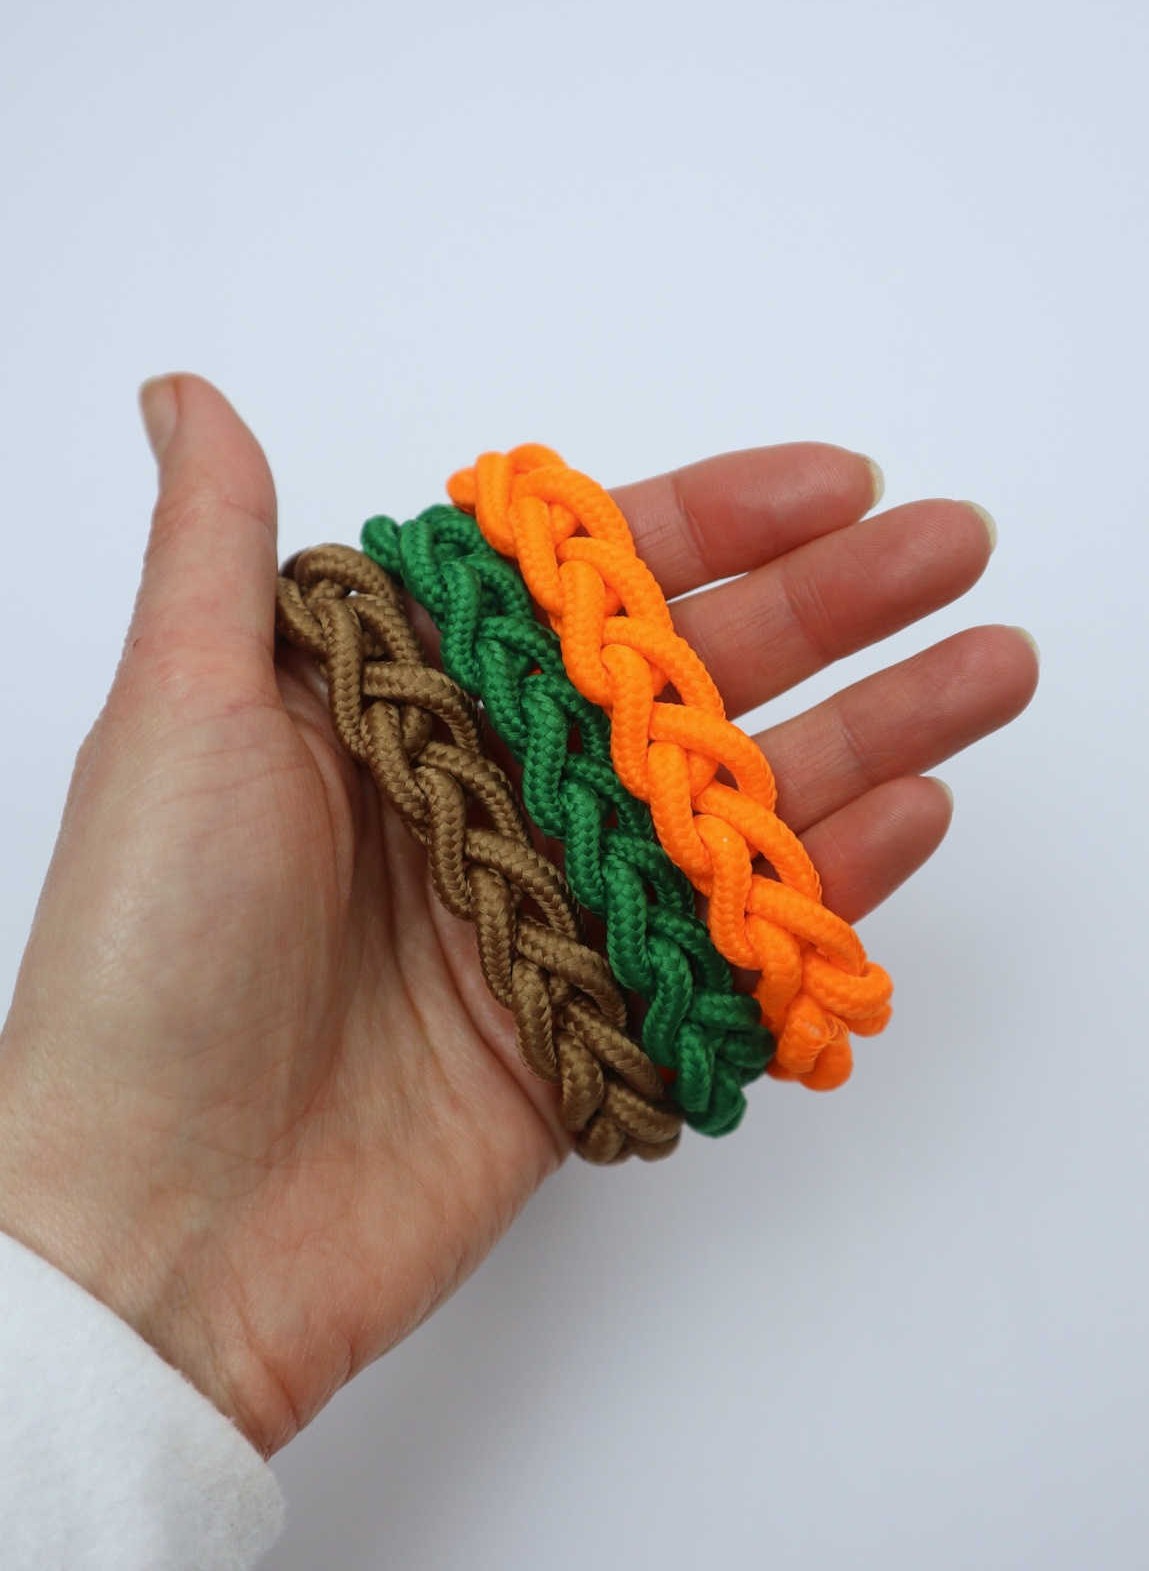
Breathe new life into an old favorite with a DIY shoelace bracelet that’s perfect for all ages. From teens to adults and kids alike, this easy craft project is a great way to get creative and have fun.Remember the aglet-crafting craze of yesteryear? It’s time to revive it! With so many creative projects you can make using shoelaces, why not start with a simple yet stylish DIY bracelet. The best part? You don’t need much in terms of craft supplies – just your chosen shoelaces and colors.
Supplies You’ll Need
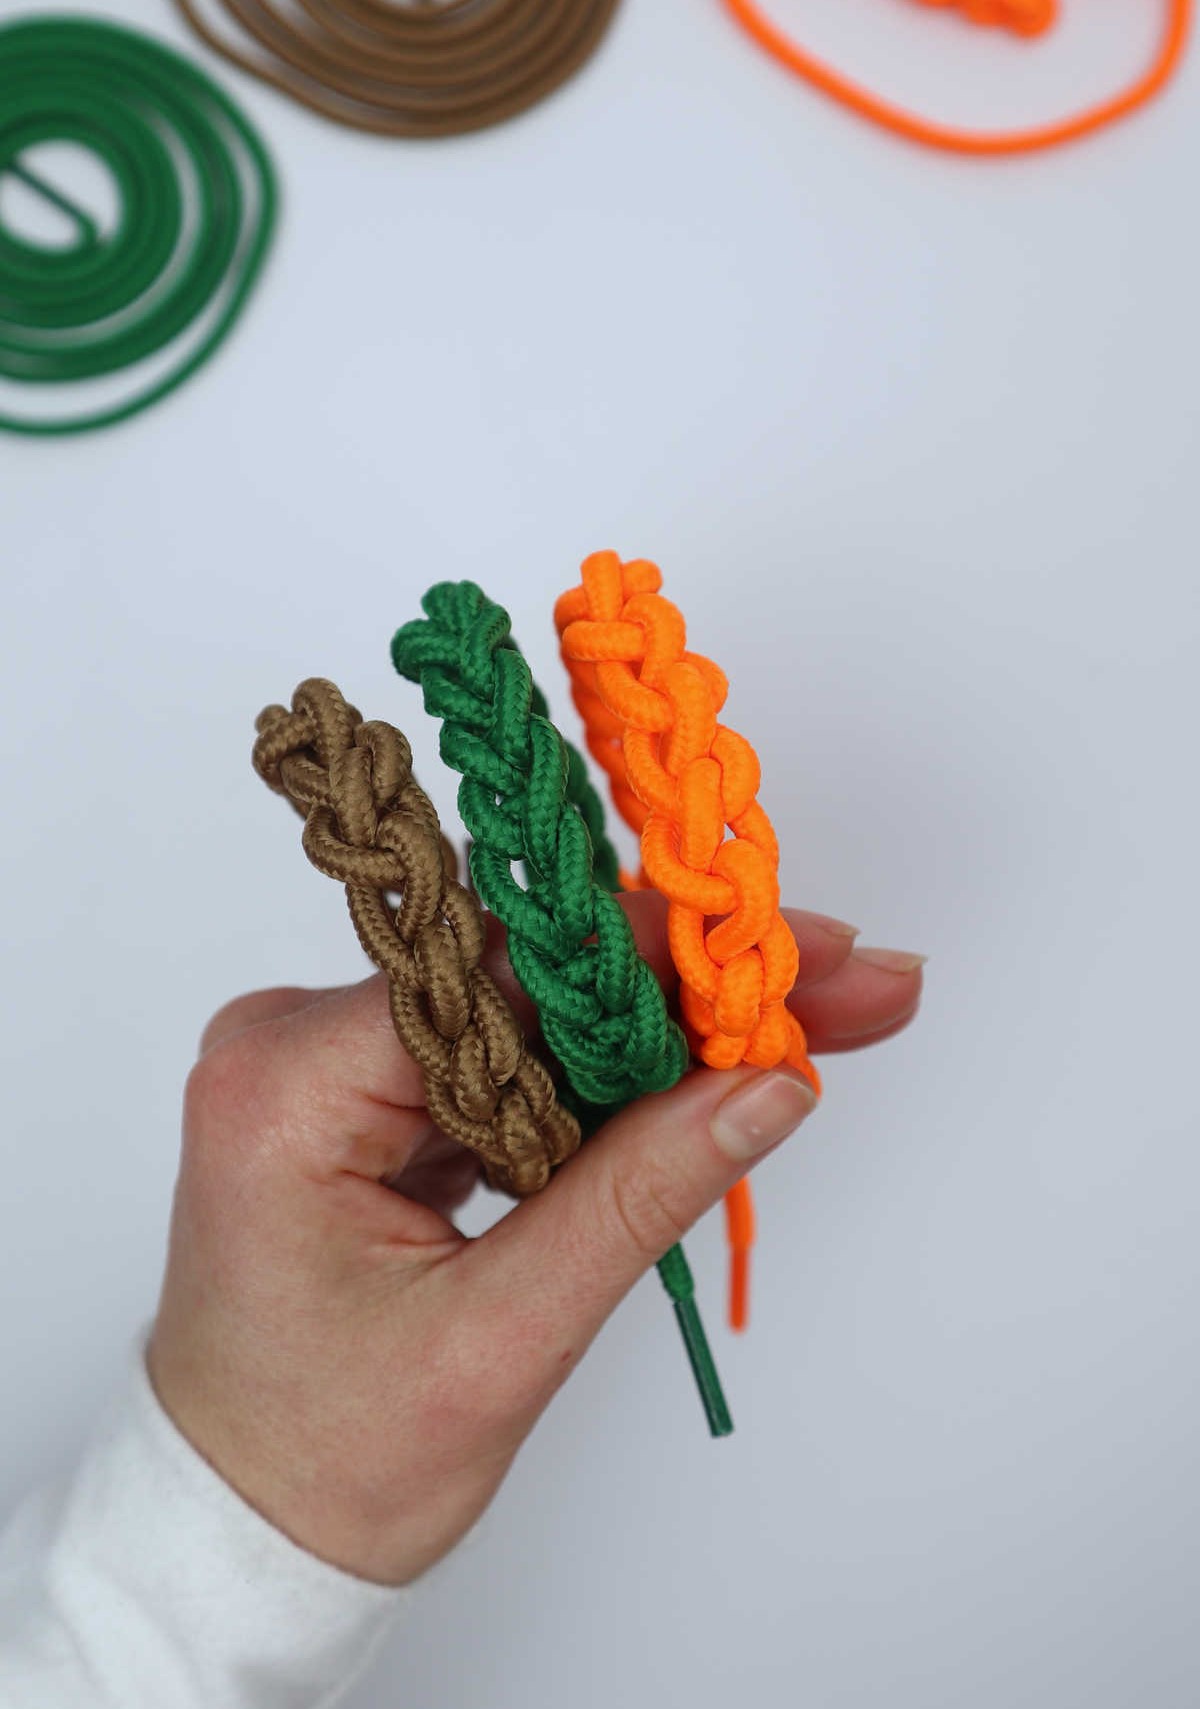
Transforming ordinary shoelaces into extraordinary DIY bracelets has never been easier. With a vast array of color options at your fingertips, the creative possibilities are endless. From classic neutrals to bold statements, you can customize the look to suit your personal style. And the best part? You won’t need a thing beyond those humble shoelaces and a willingness to get crafty. So why wait? Let’s dive in and create something truly unique.
How to Make Bracelets Out Of Shoelaces
Step 1
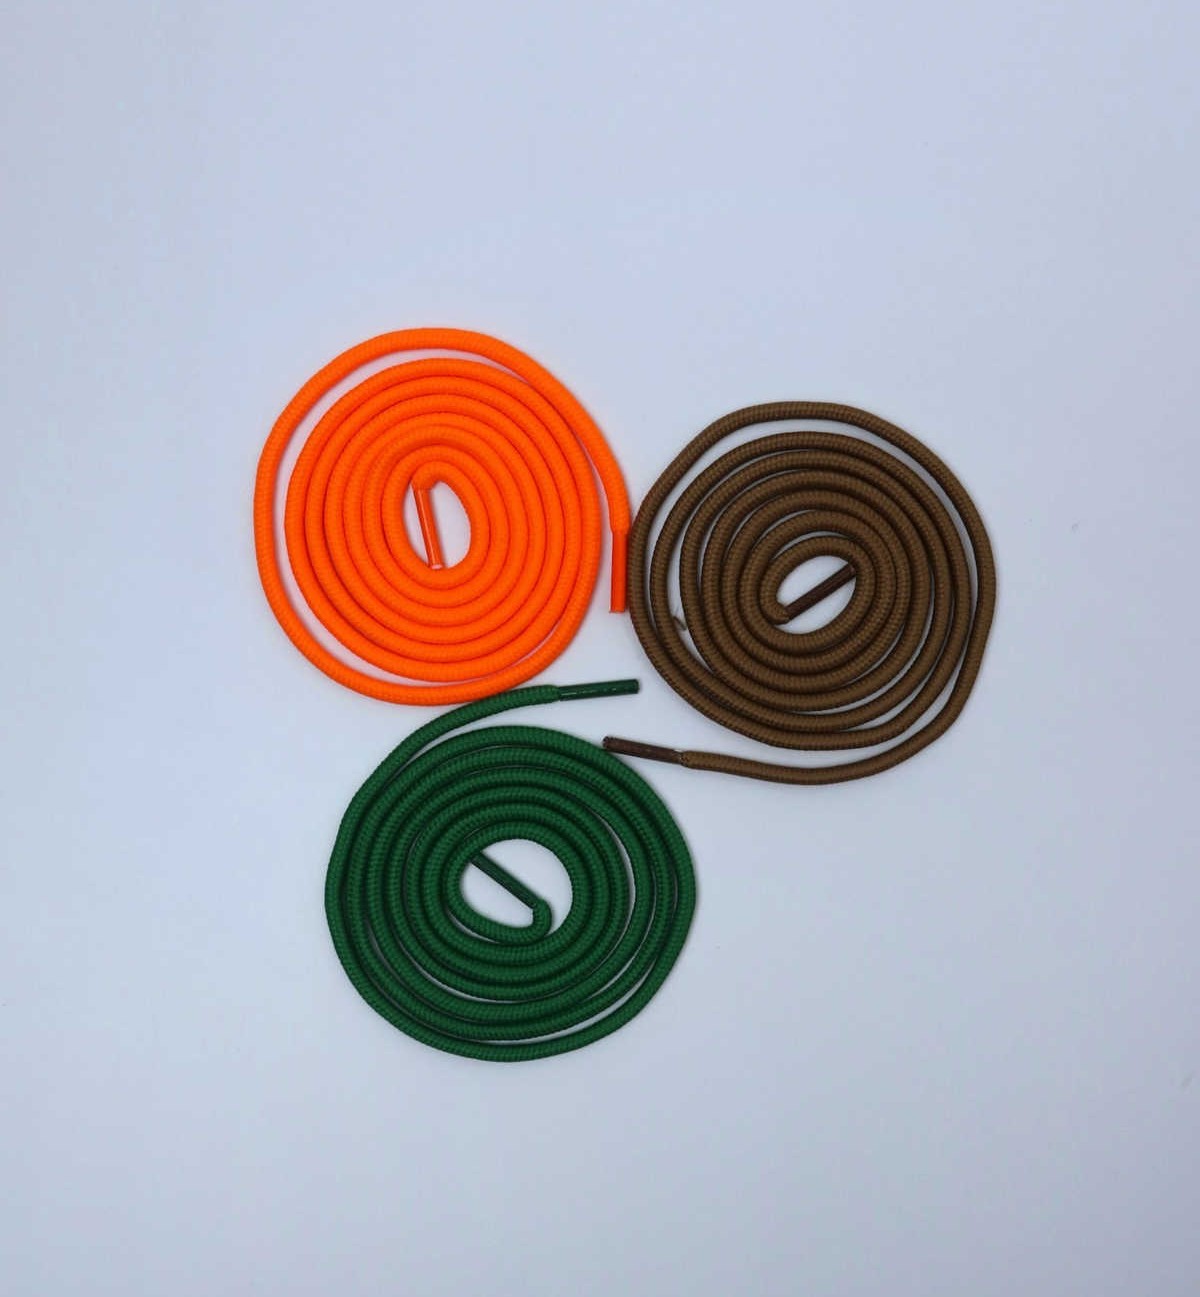
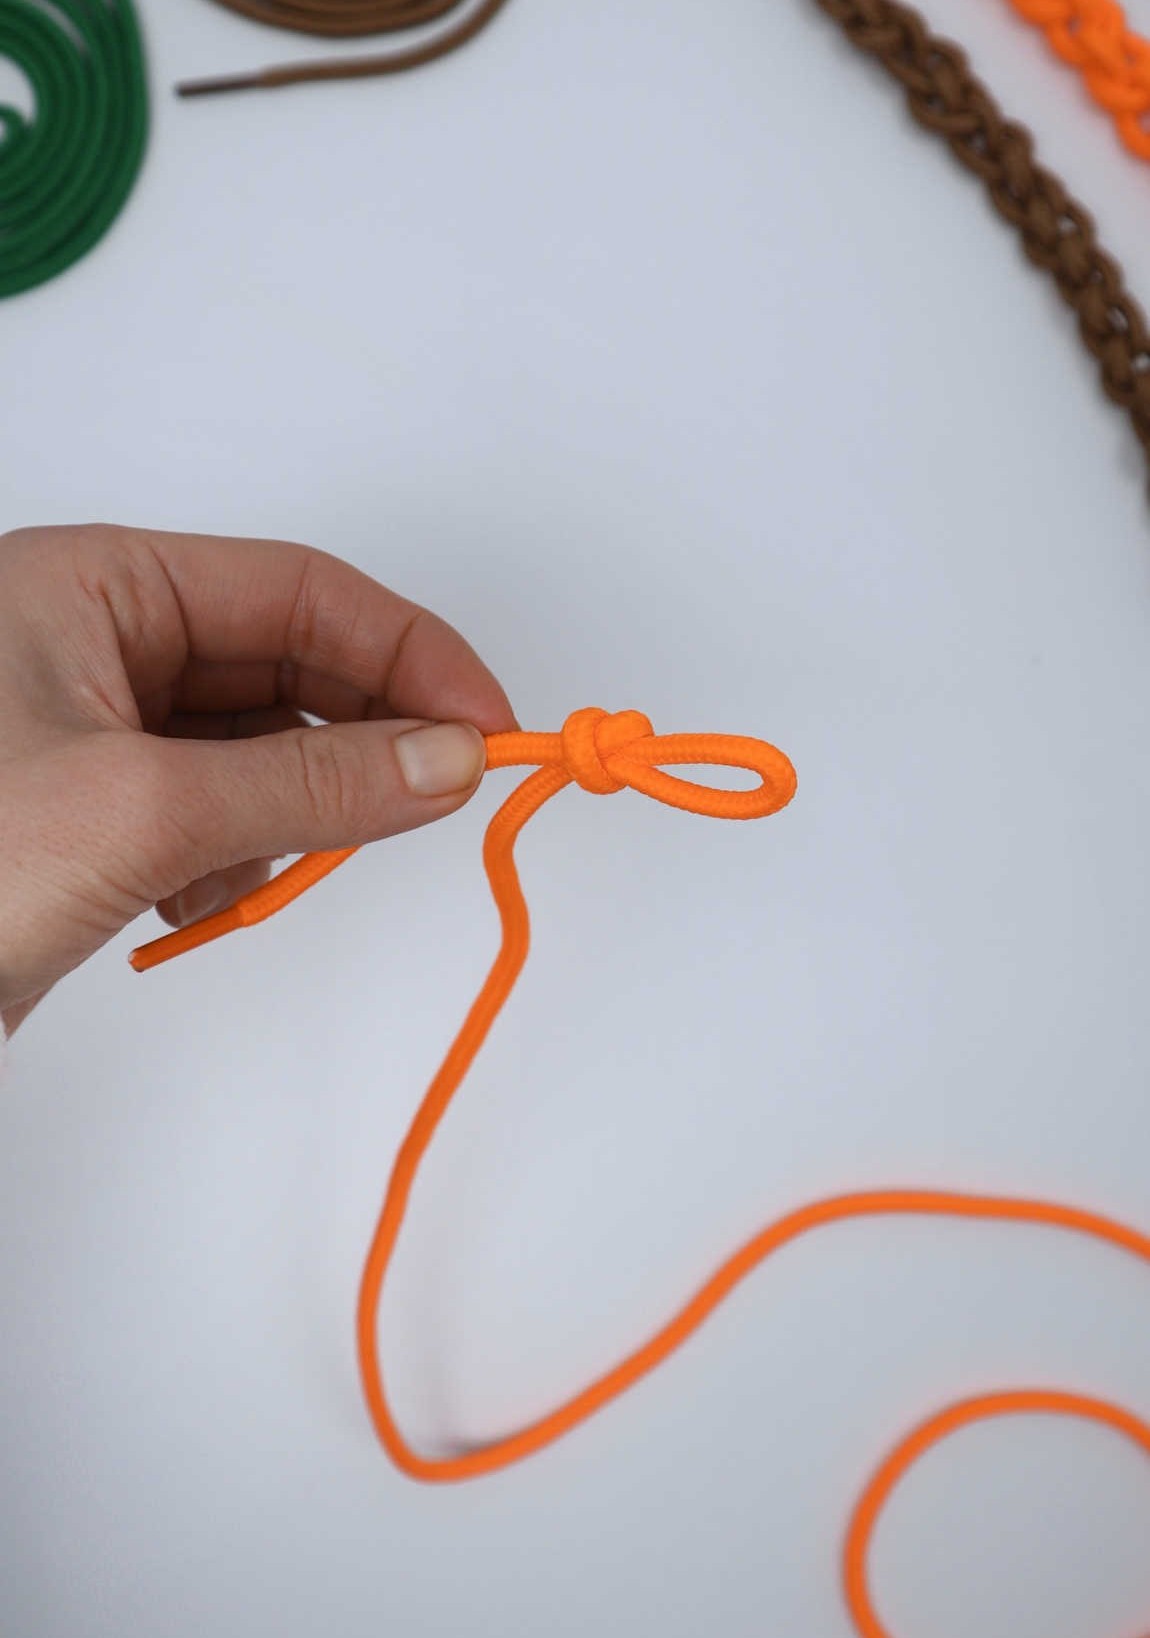
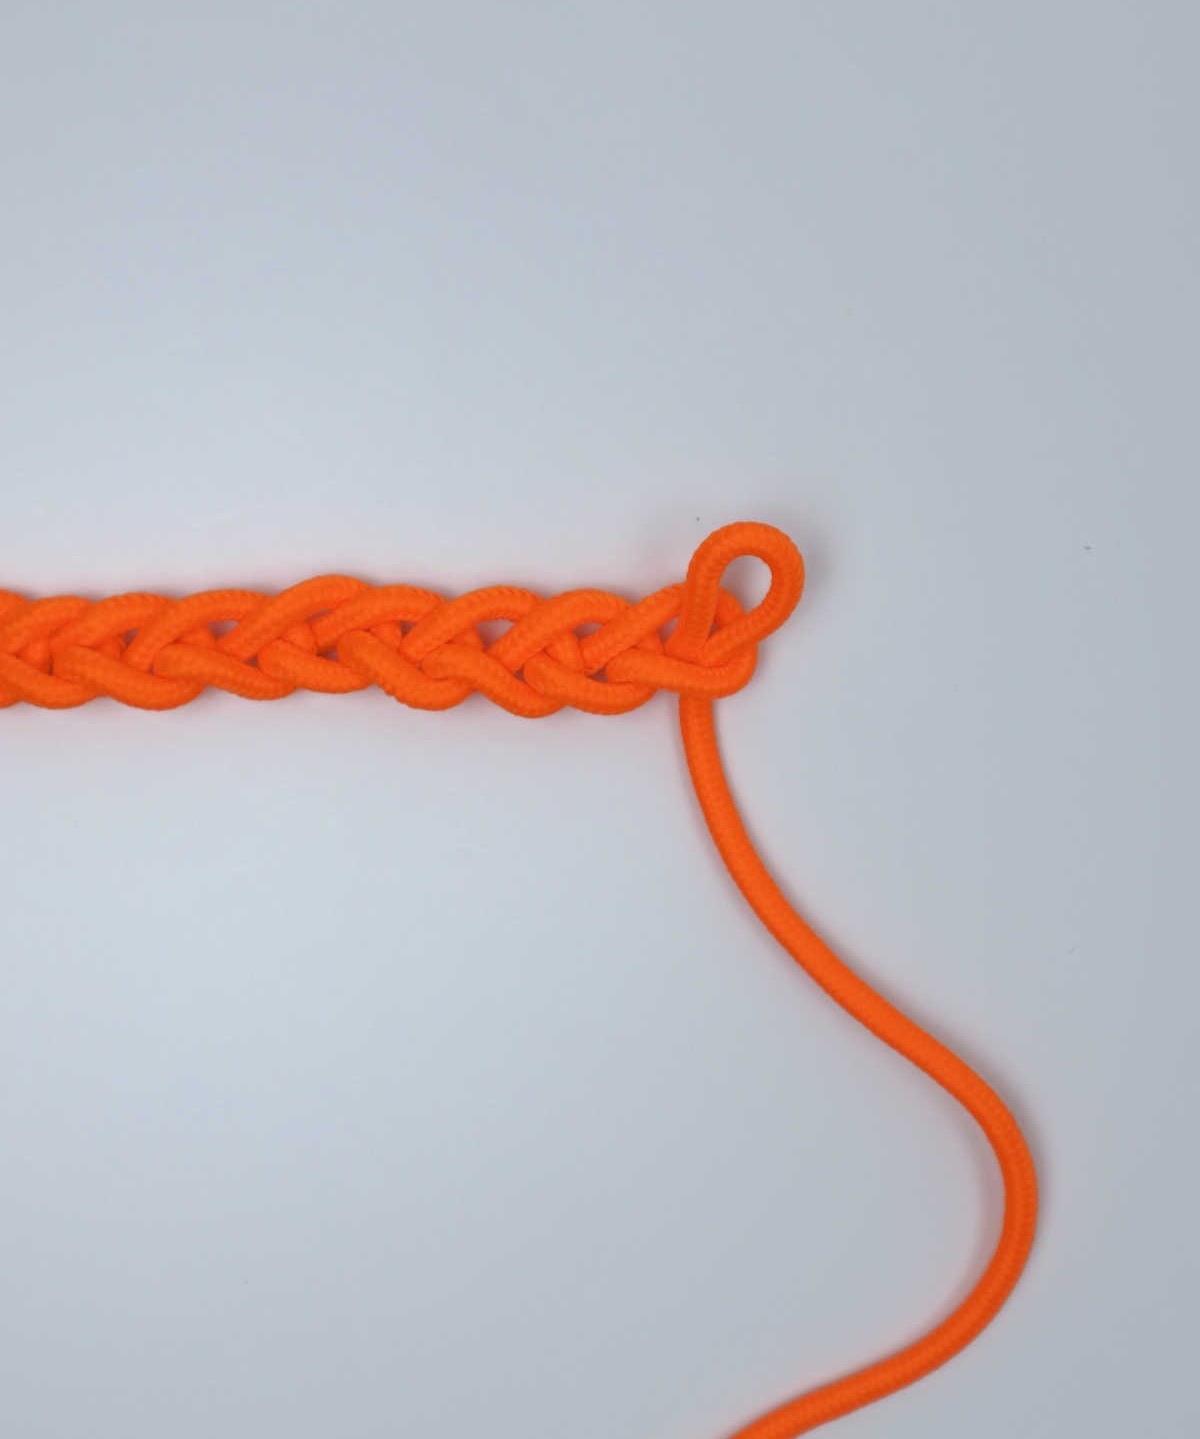
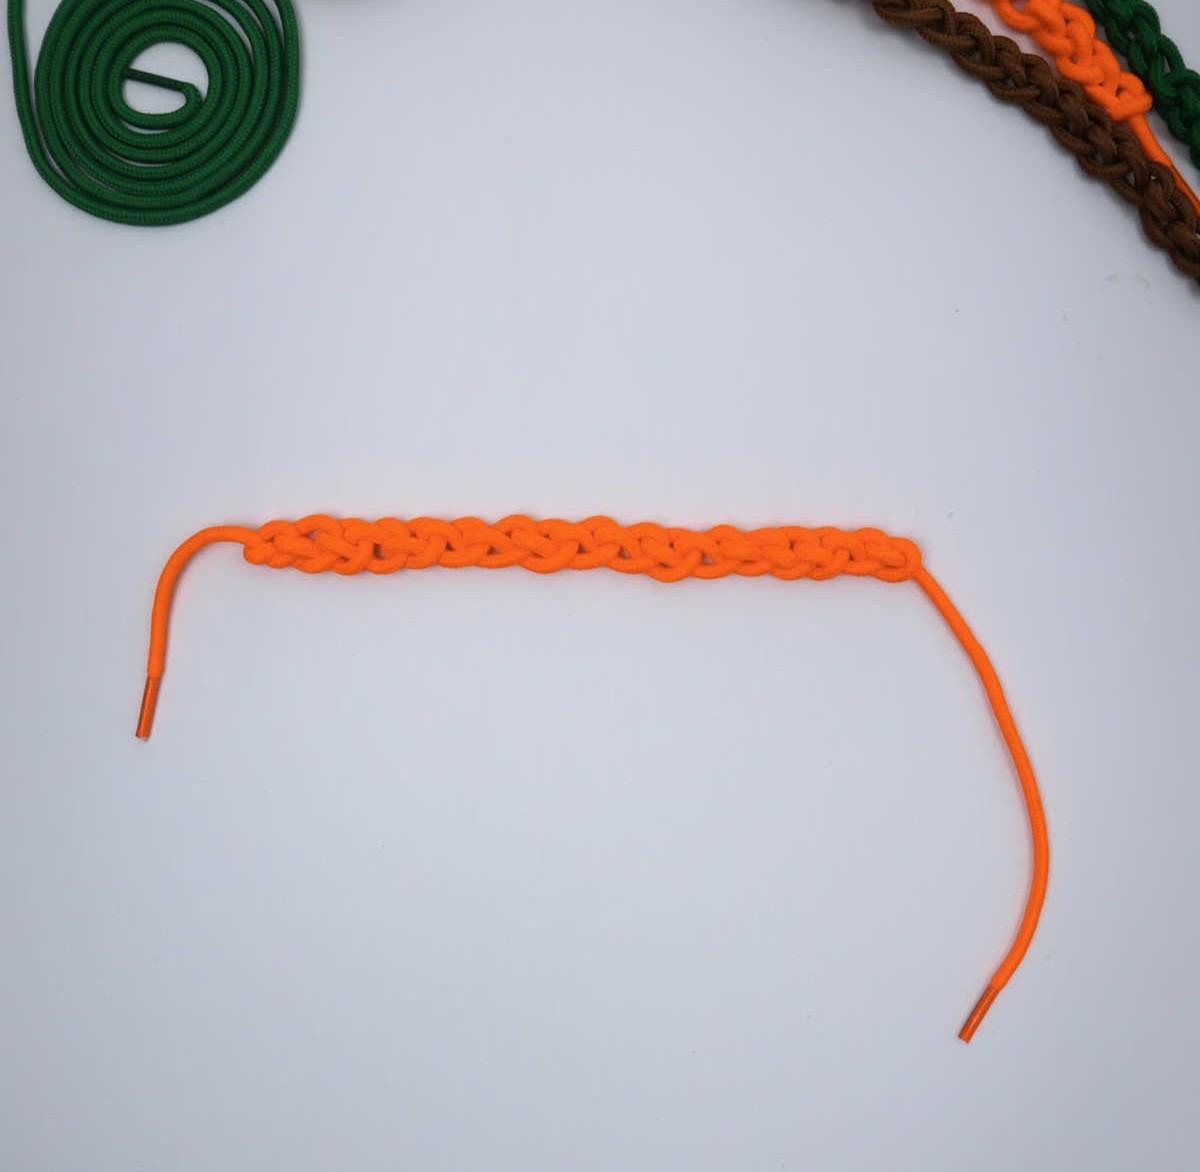
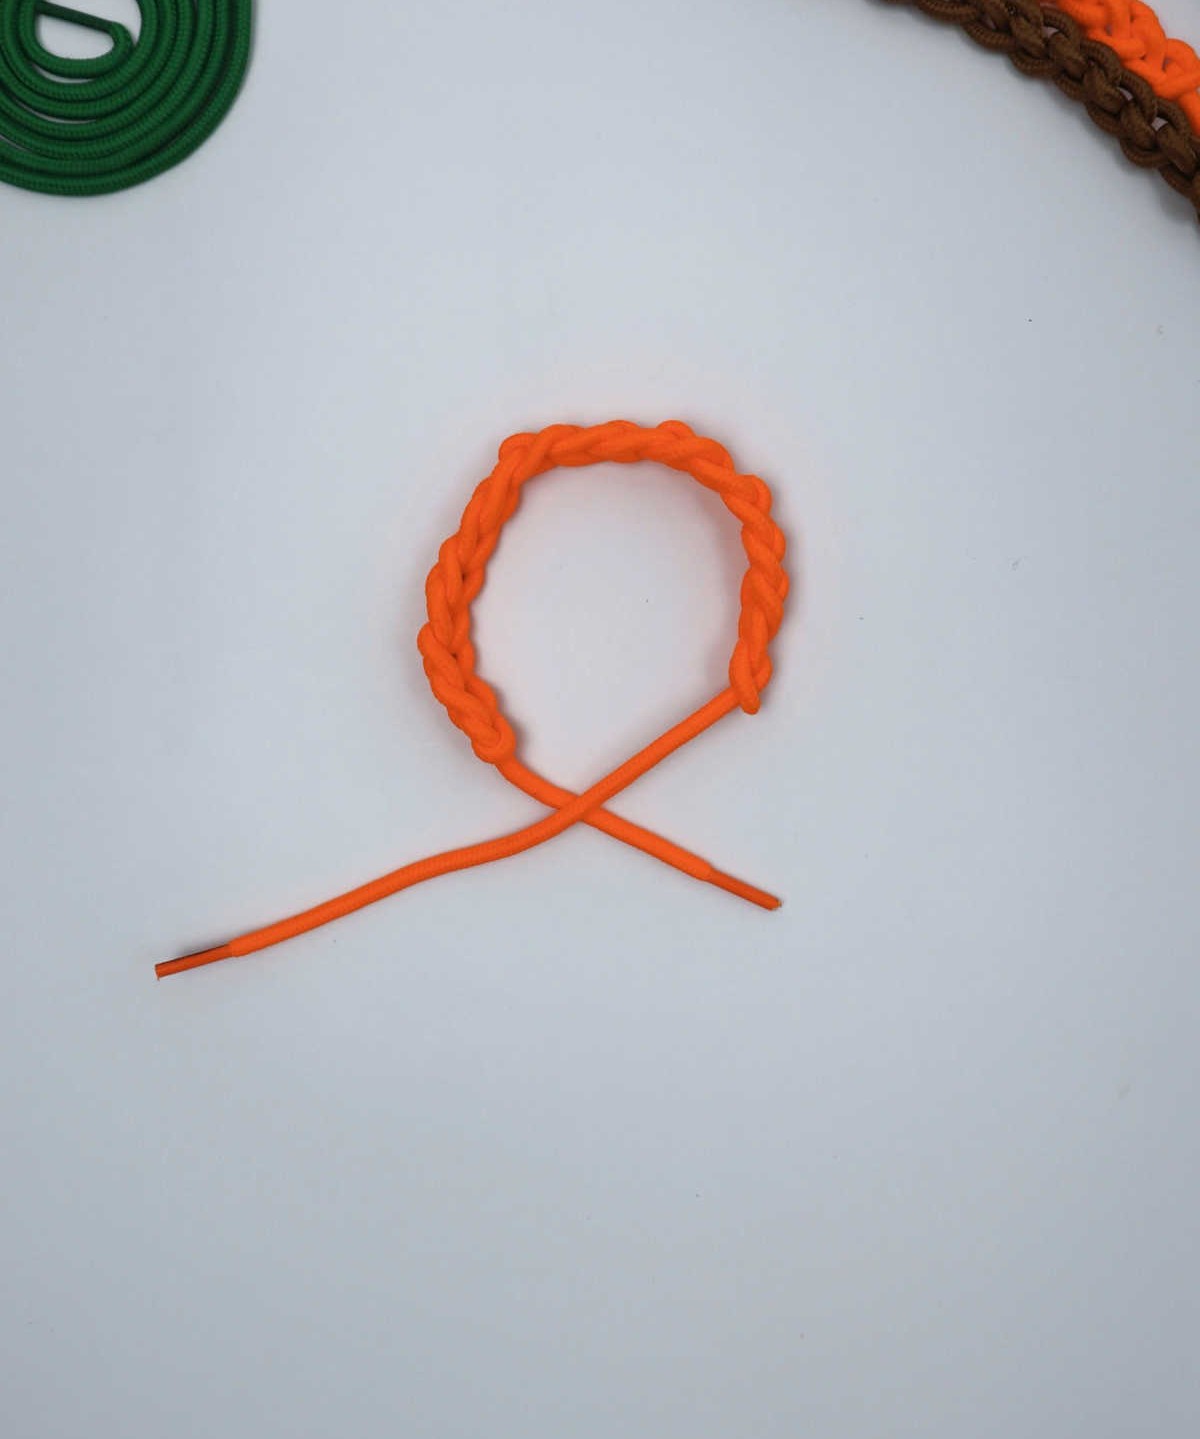
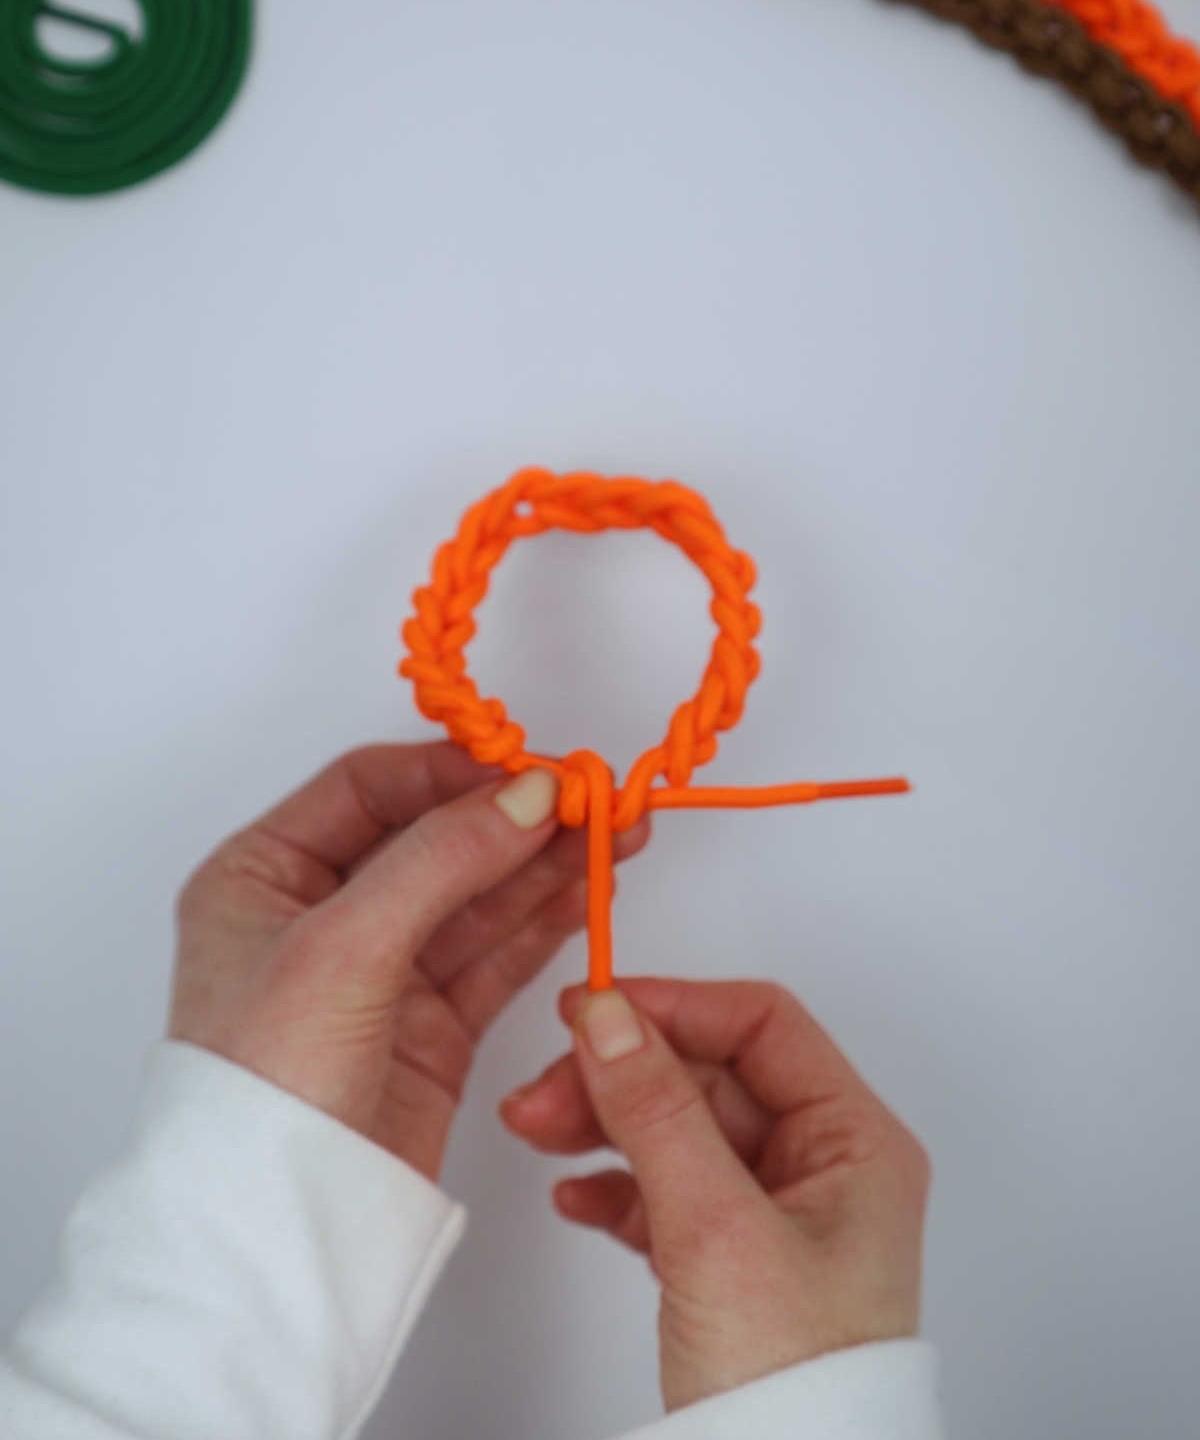
To get started, you’ll need a single shoelace measuring approximately 80 centimeters to a meter in length, depending on the circumference of your wrist. Begin by creating a loop using one end as the shorter tail. From here, work your way around the remaining portion of the lace, which will serve as the foundation for the rest of the project.
Step 2
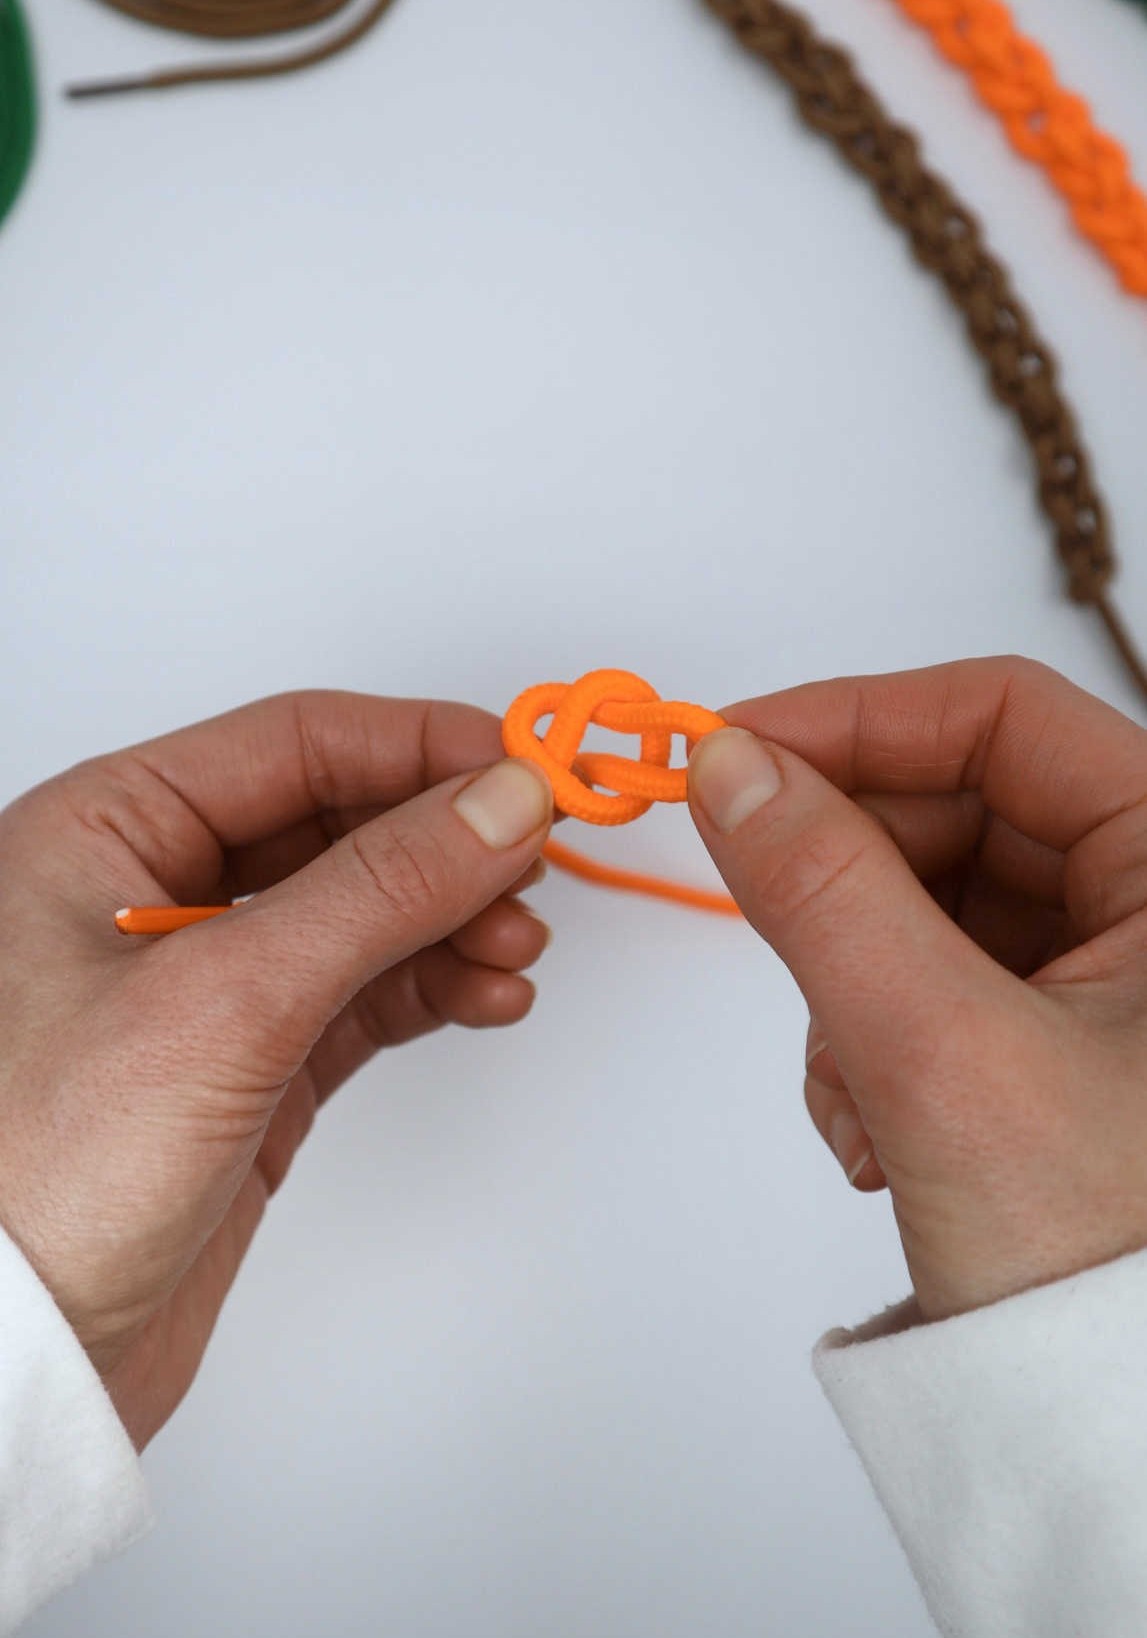
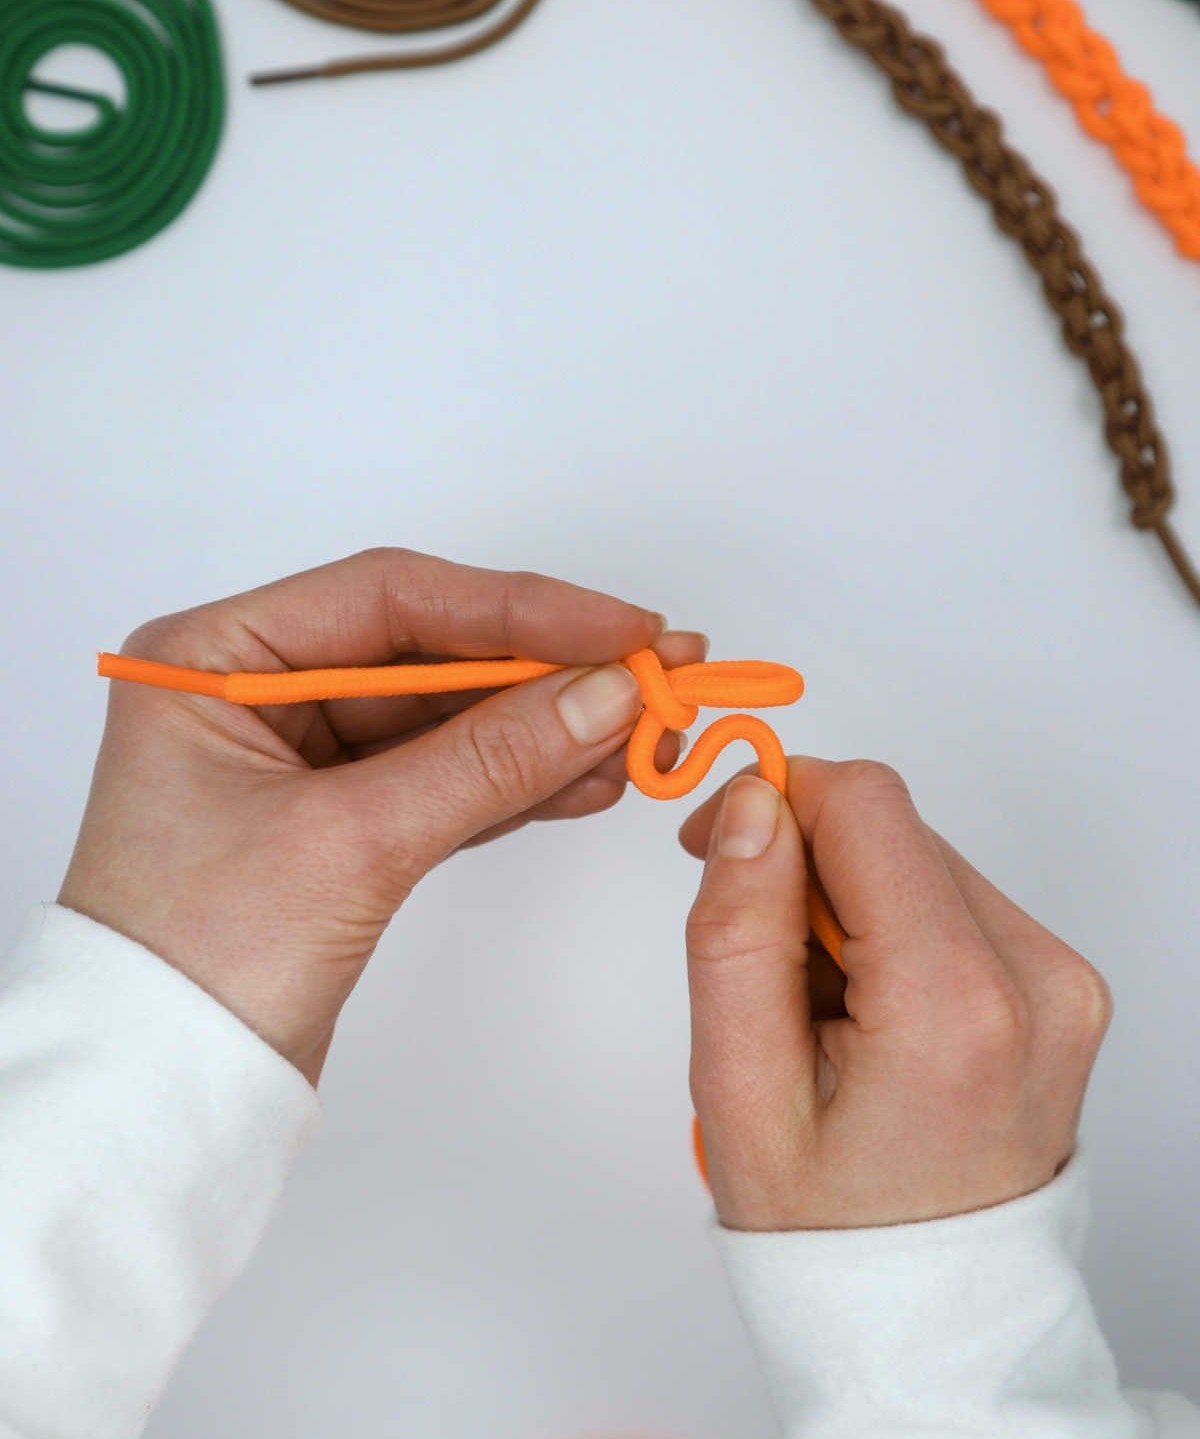
The intricate design takes shape as you weave the tail over and behind itself, evoking the intricate patterns found in ancient Celtic art. The resemblance to these iconic knots is striking, don’t you agree?
Step 3
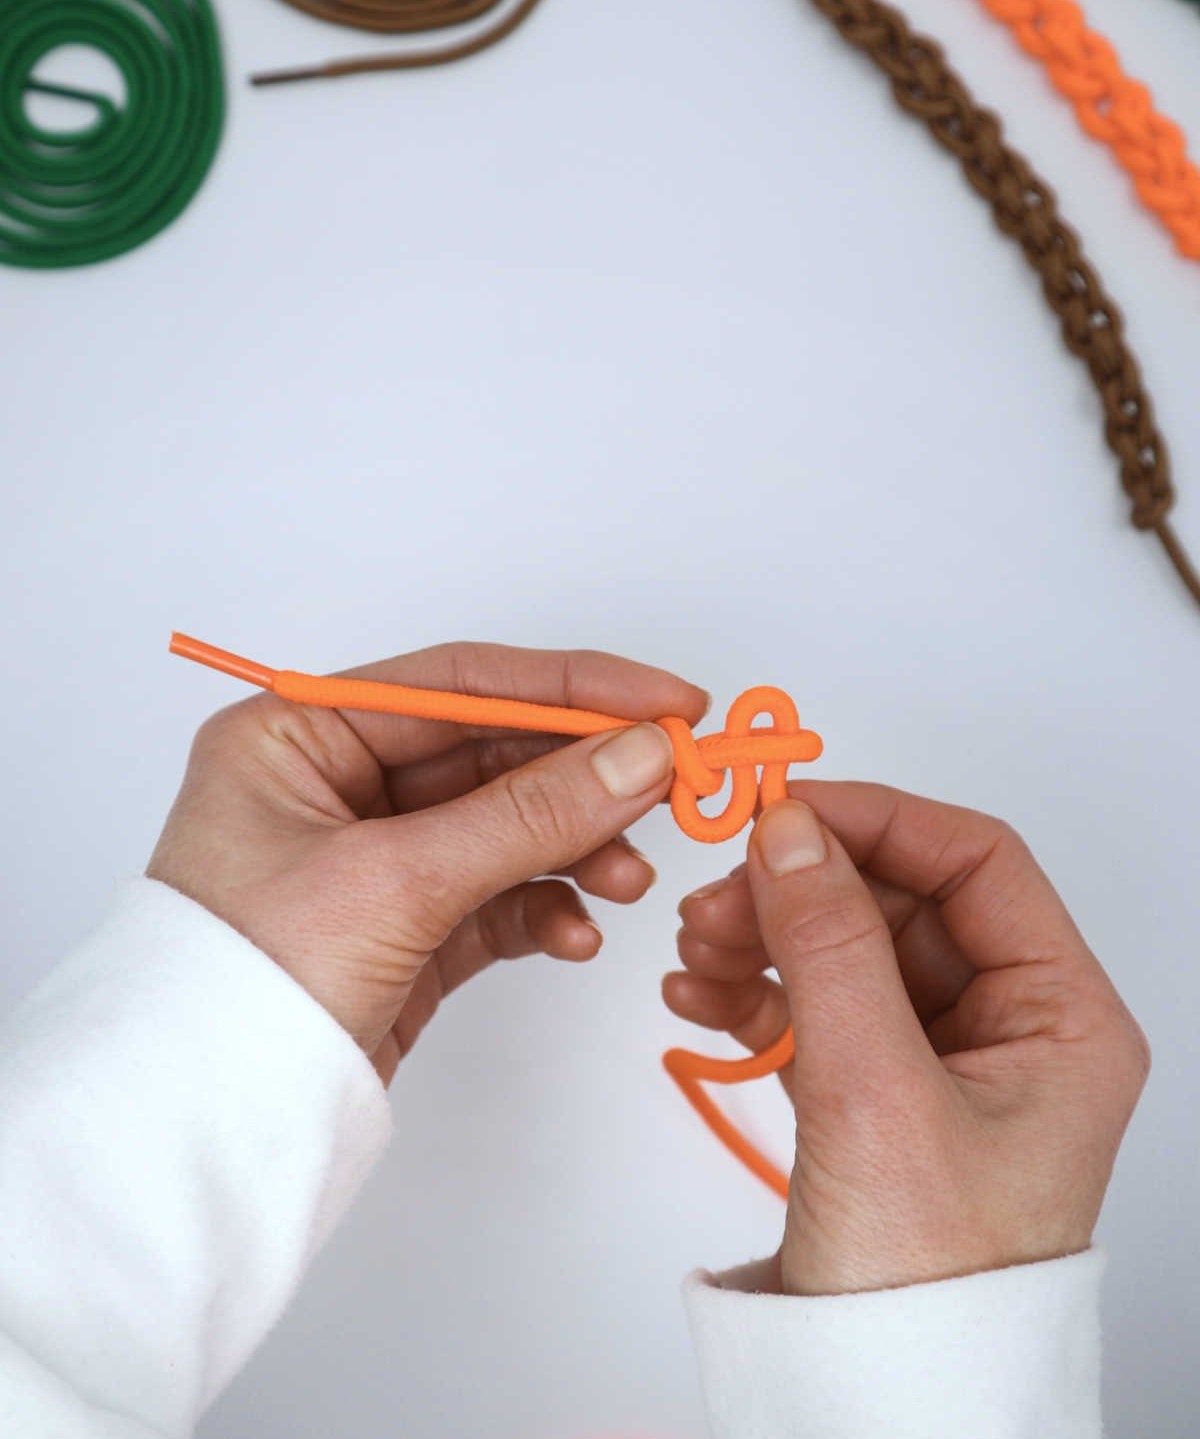
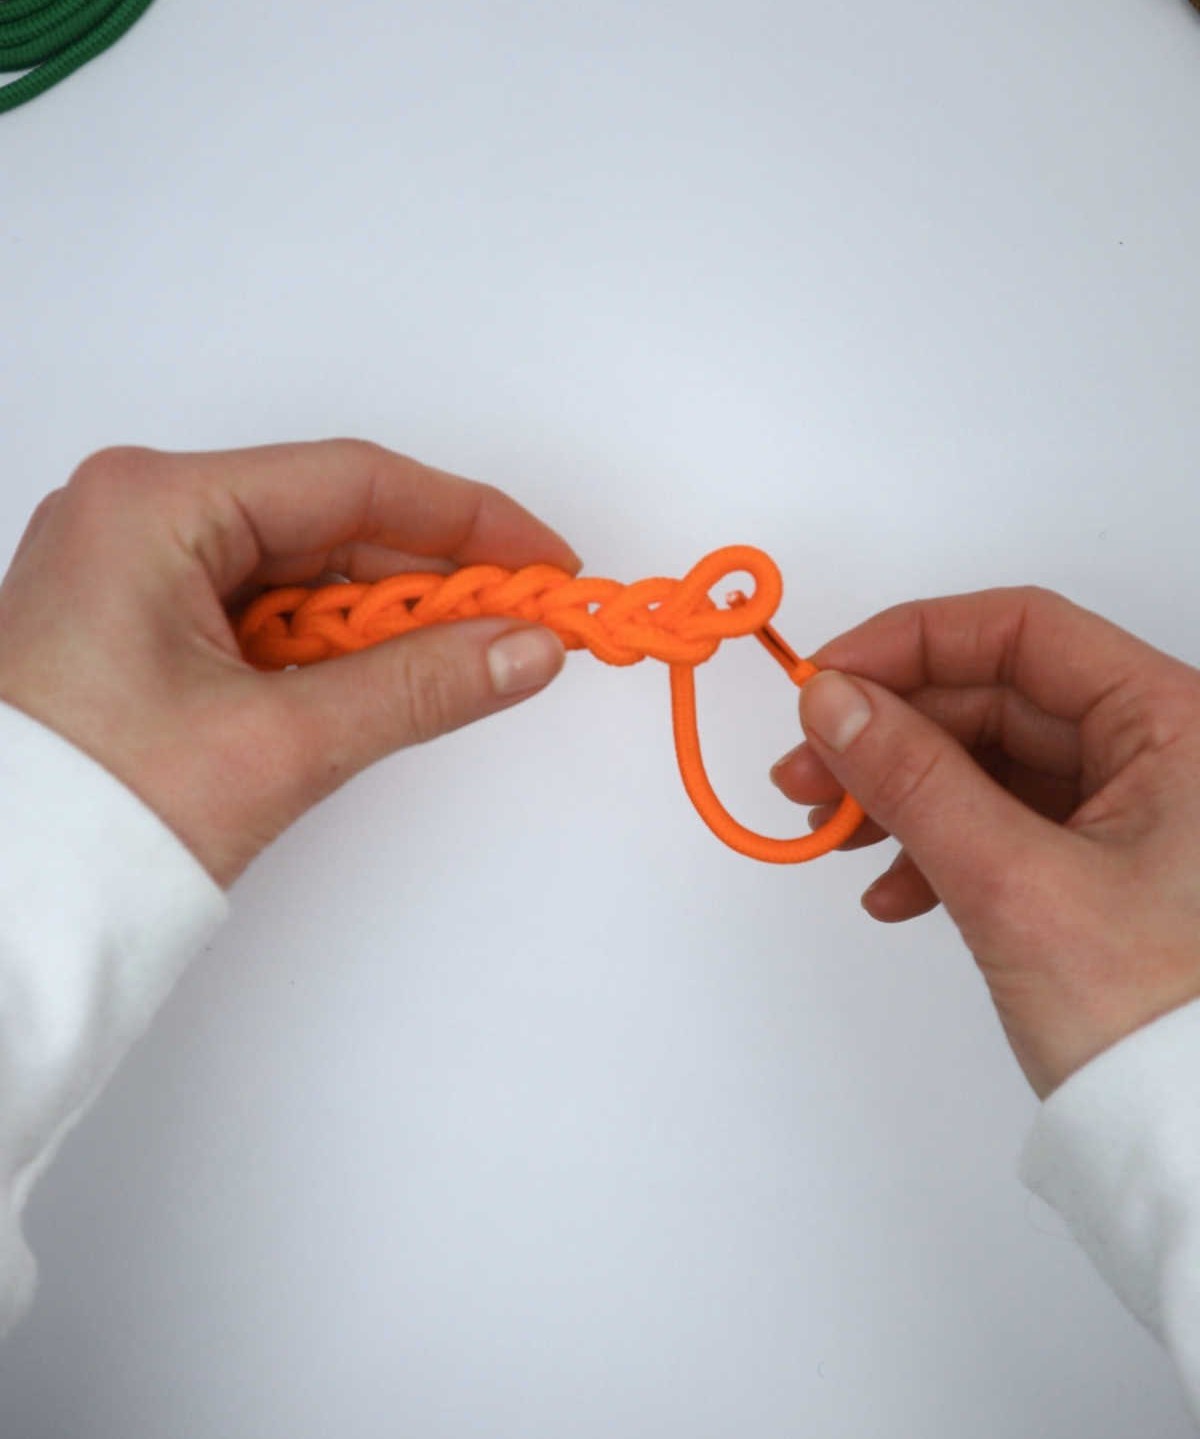
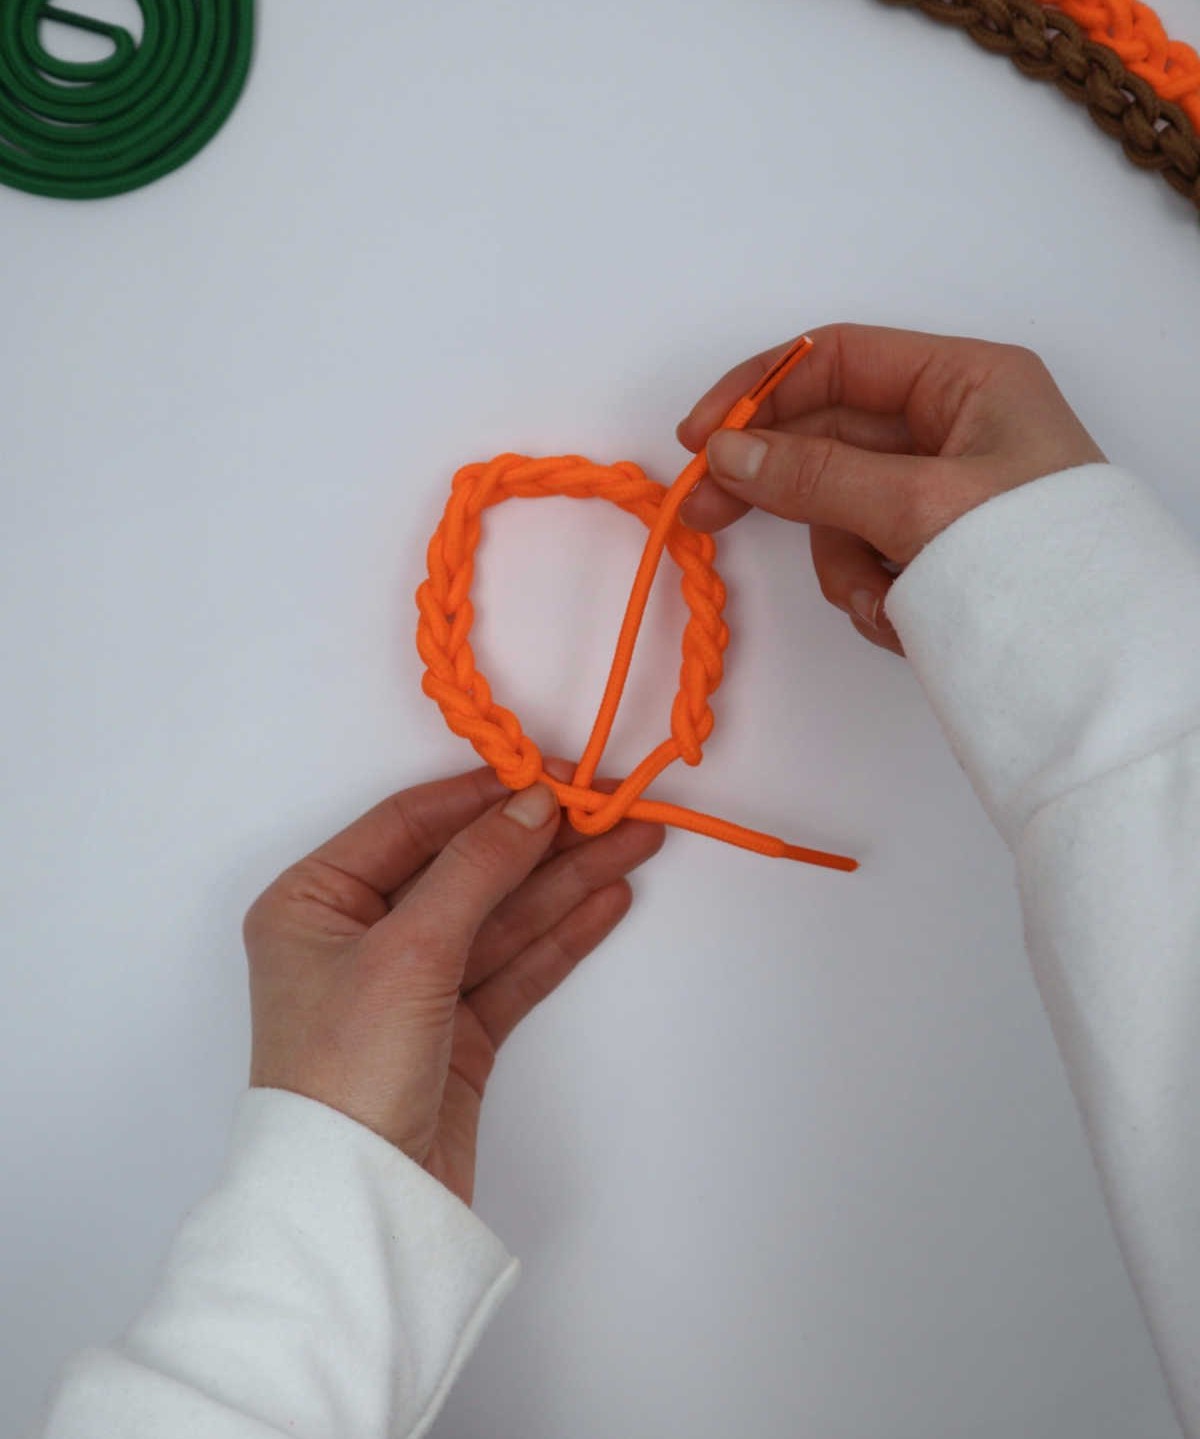
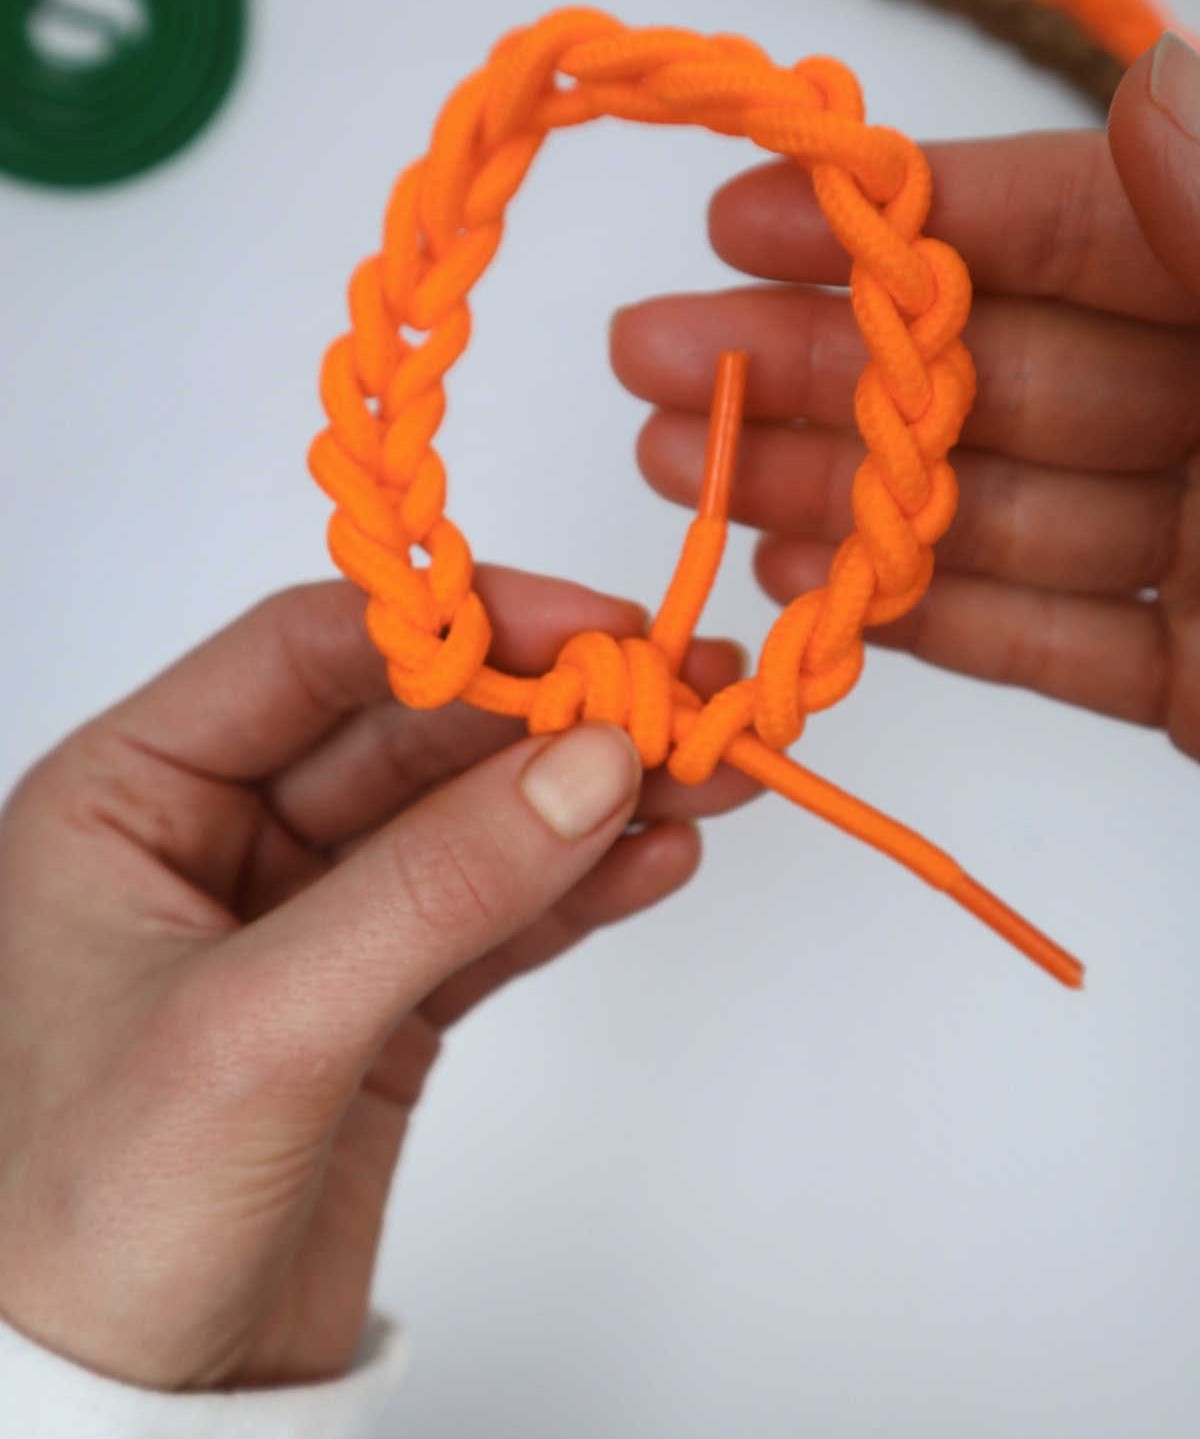
As you begin to form the final connection in your handmade bracelet, thread the remaining tail end through the initial loop with precision. Next, gently but firmly draw it towards you until it meets the forming knot. This secure foundation will serve as the anchor point for the subsequent loops that will be woven around it.
Step 4
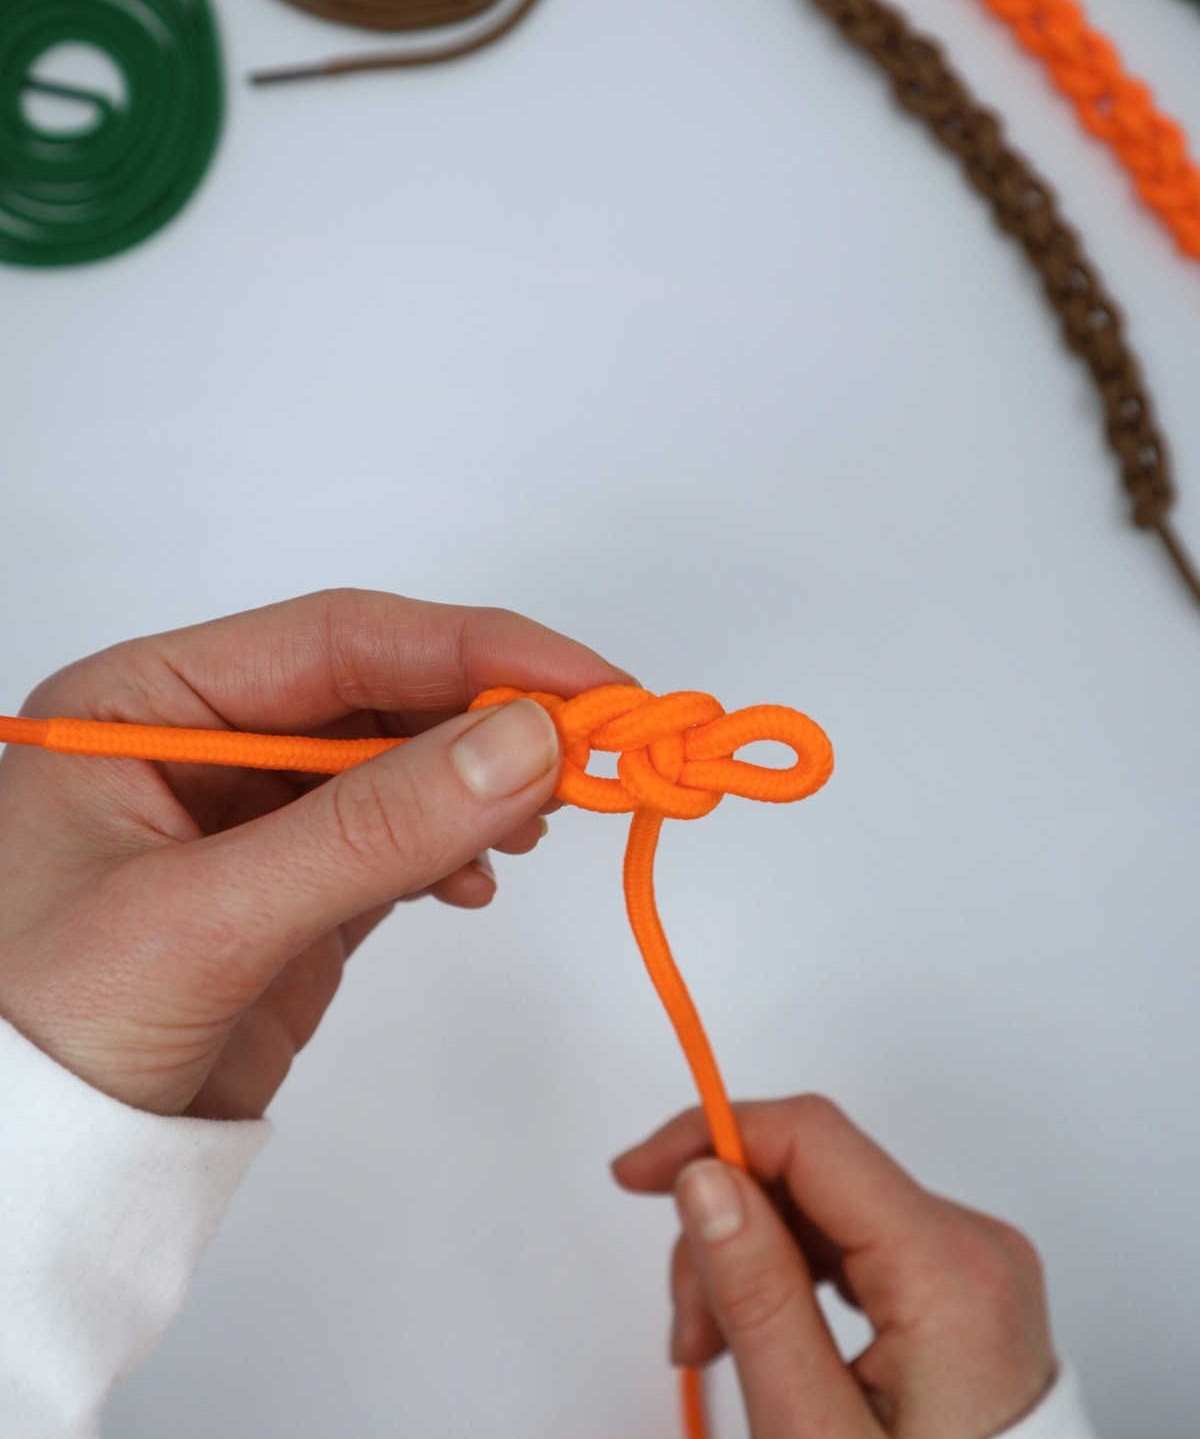
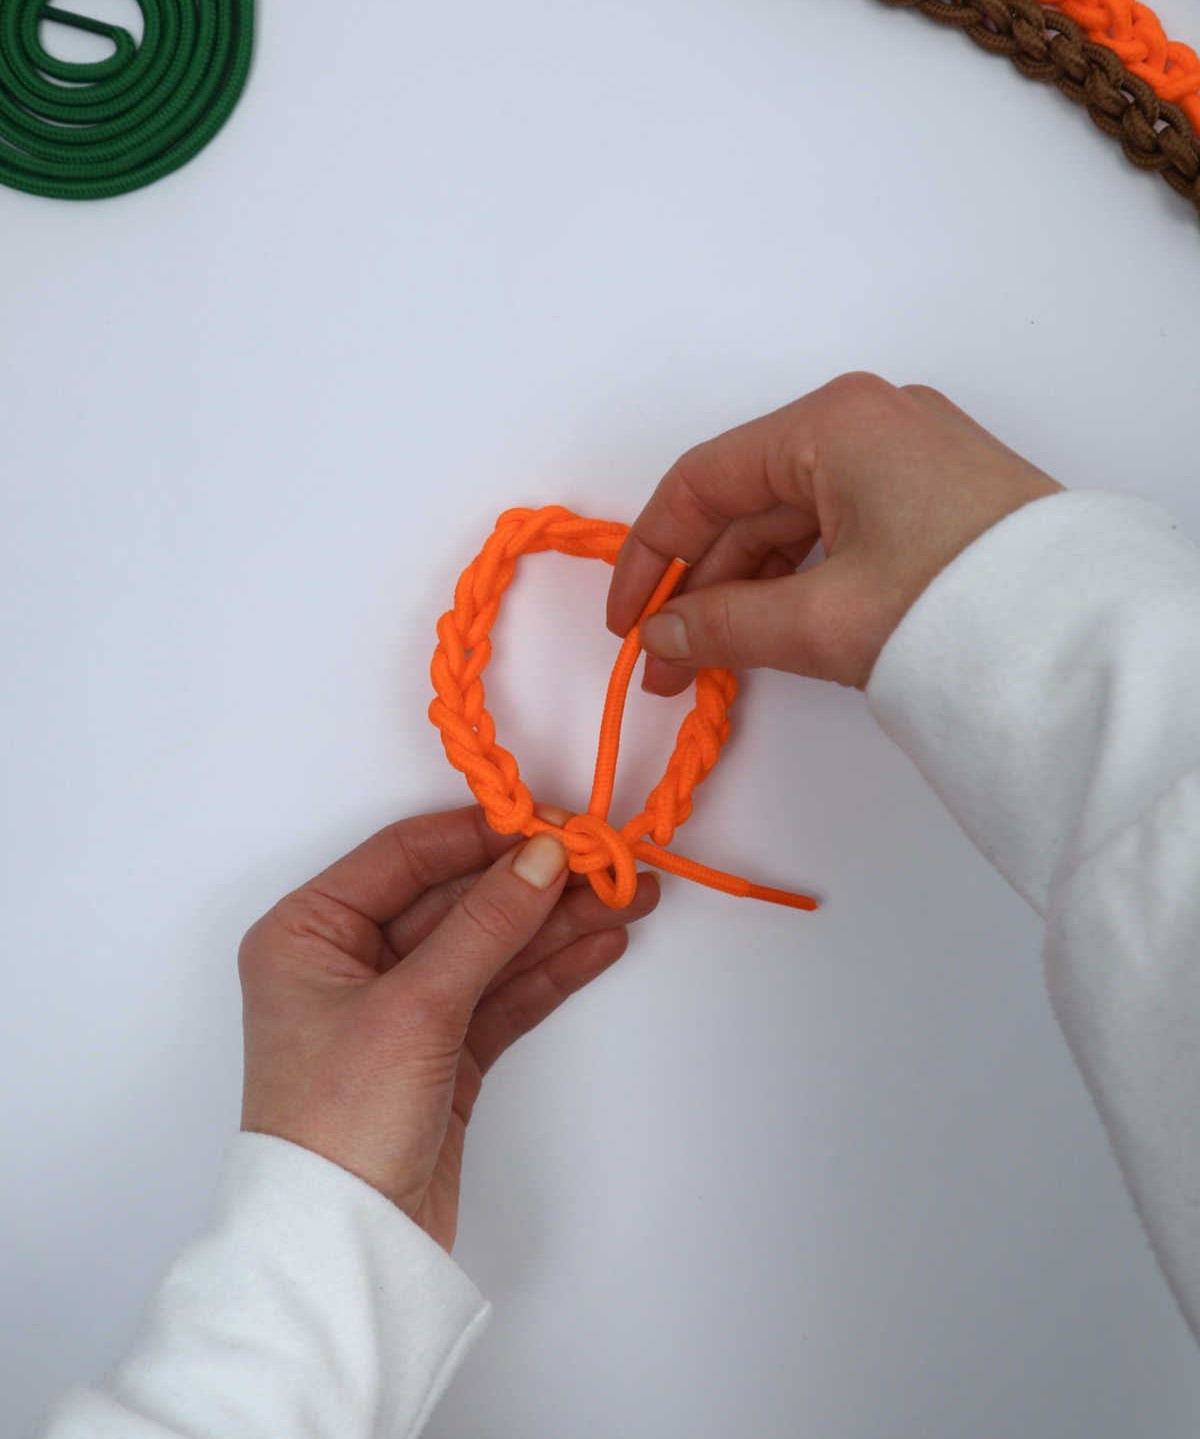
To create a secure bond, grasp the working end of the tail around two inches from the knot’s center and gently draw it into the loop, leaving just a small amount exposed.
Step 5
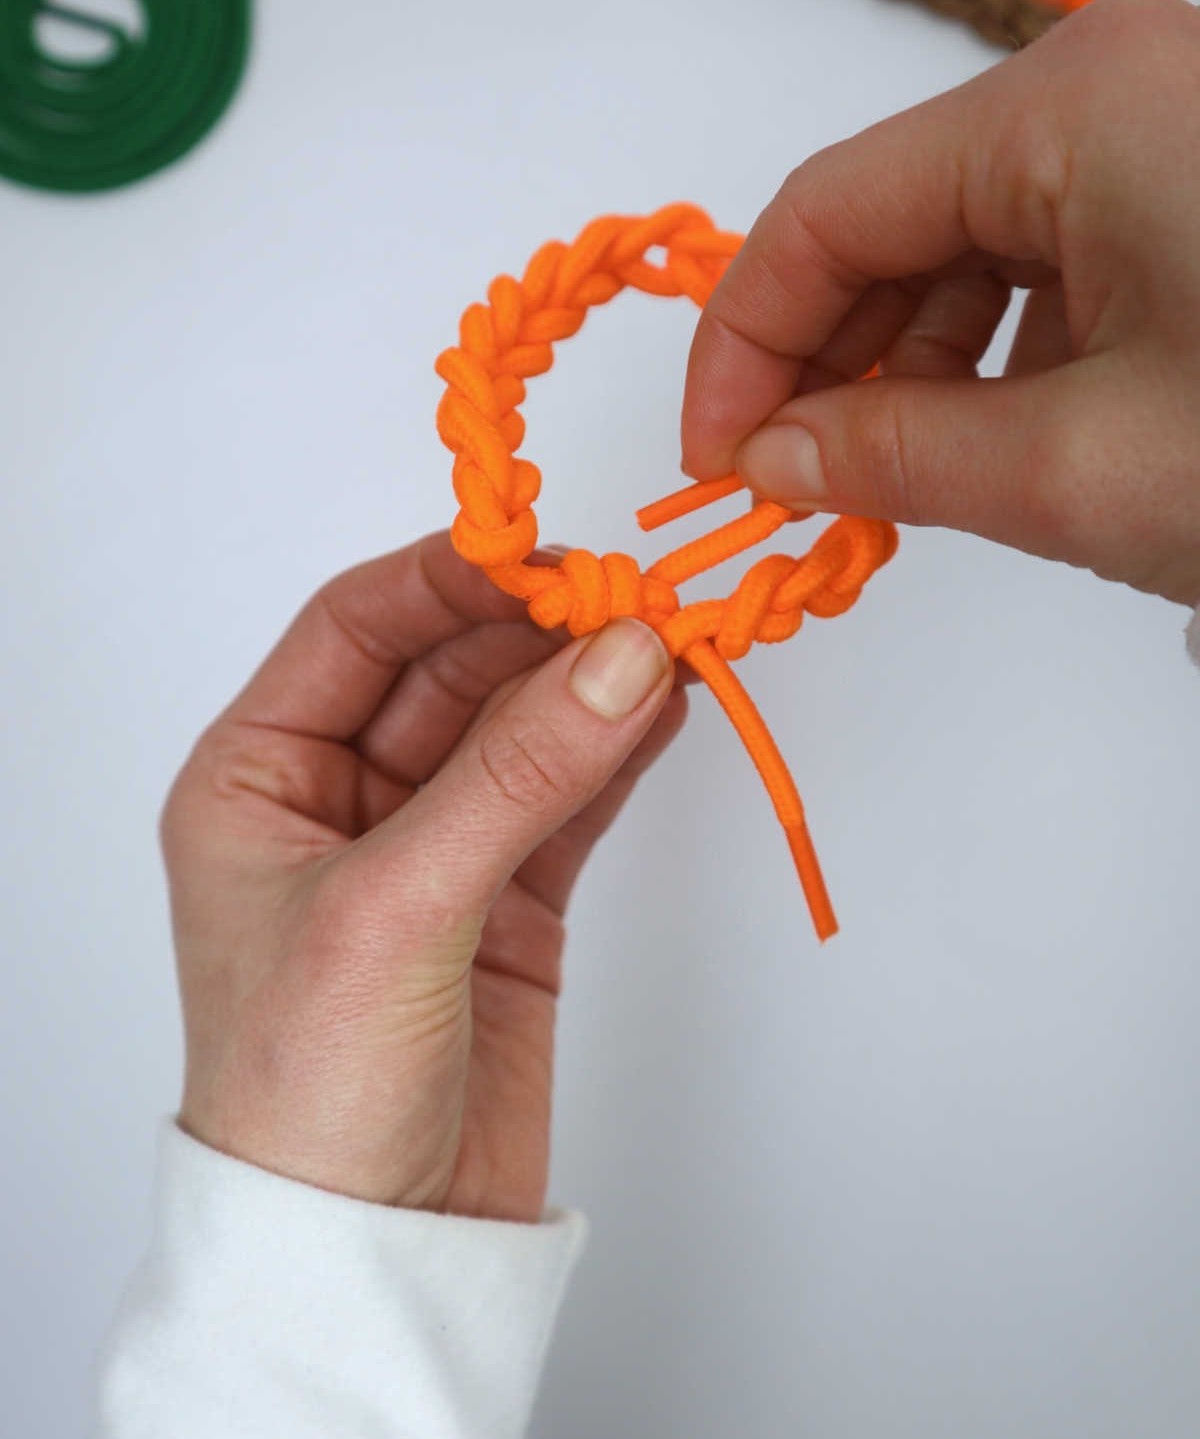
As you navigate the process of creating your beaded masterpiece, keep the right tail firmly in place by pulling it through the loop and securing it with a gentle tug. This technique allows for precise control as you work your way around the bracelet, enabling you to achieve the perfect length or reach the end of the shoelace, whichever comes first.
Step 6
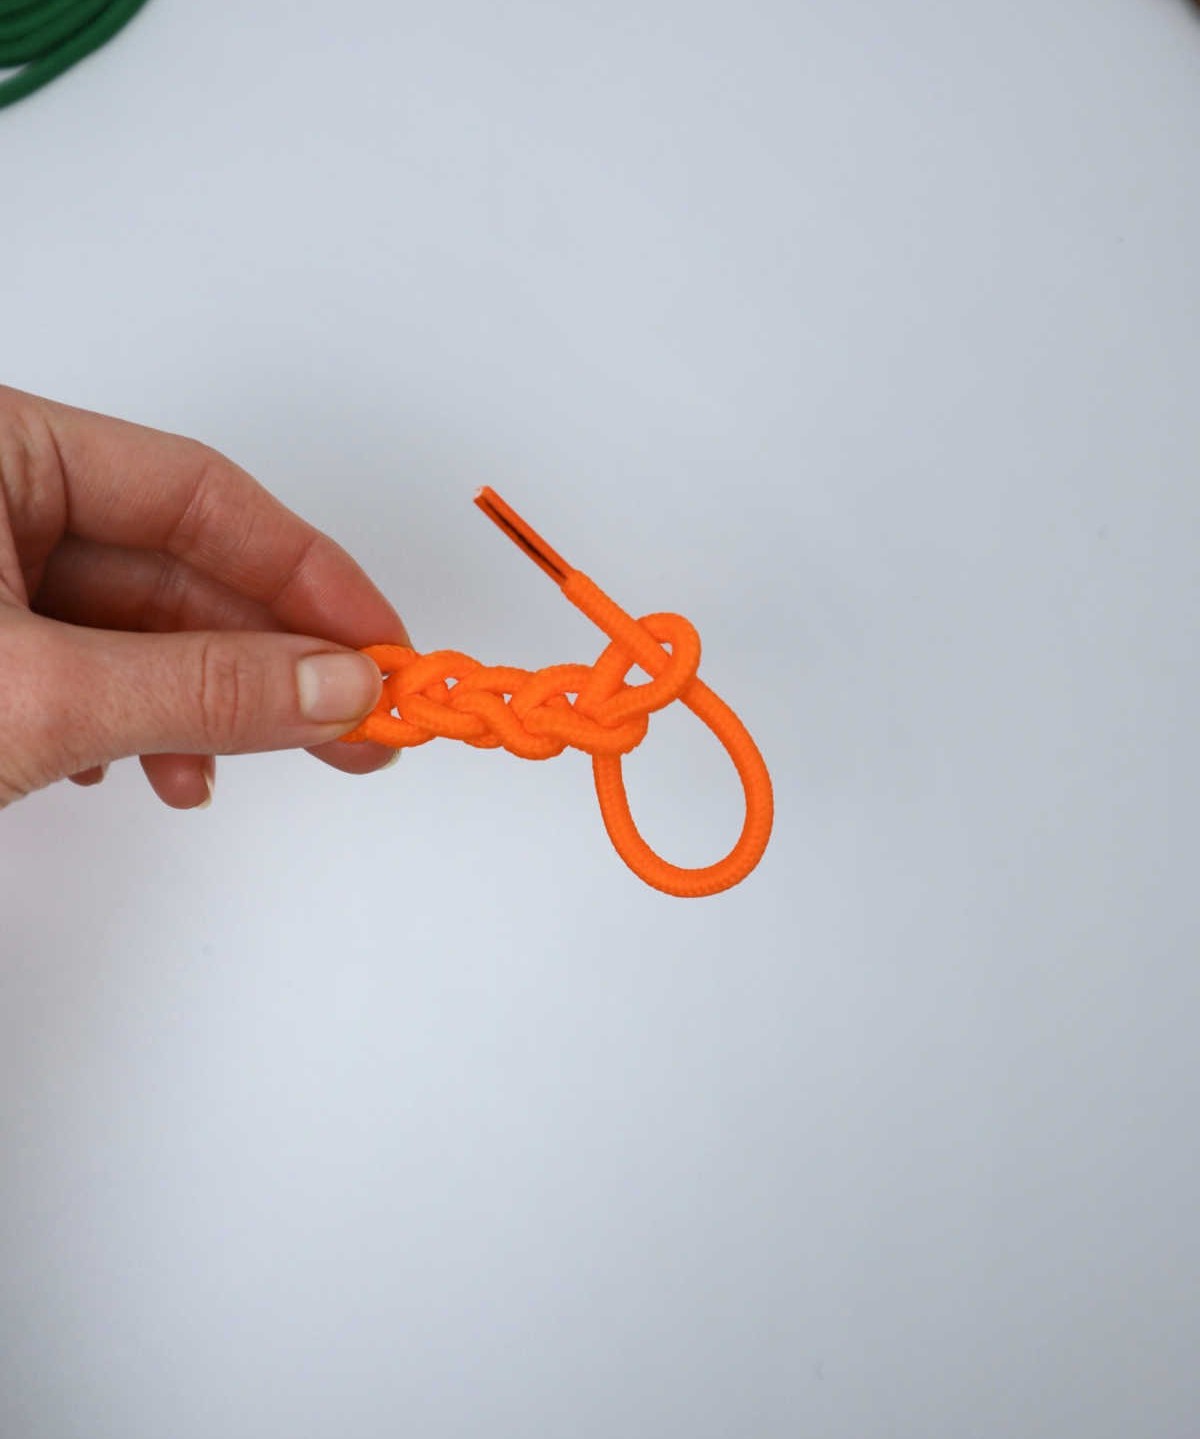
When crafting the final touches of your shoelaces, don’t forget to reserve a small margin at the end of the process – roughly two inches of lacing should remain intact on the right side of the shoe. This buffer will come in handy as you need to be able to guide the loose end through the remaining loop, ensuring a secure and tidy finish.
Step 7
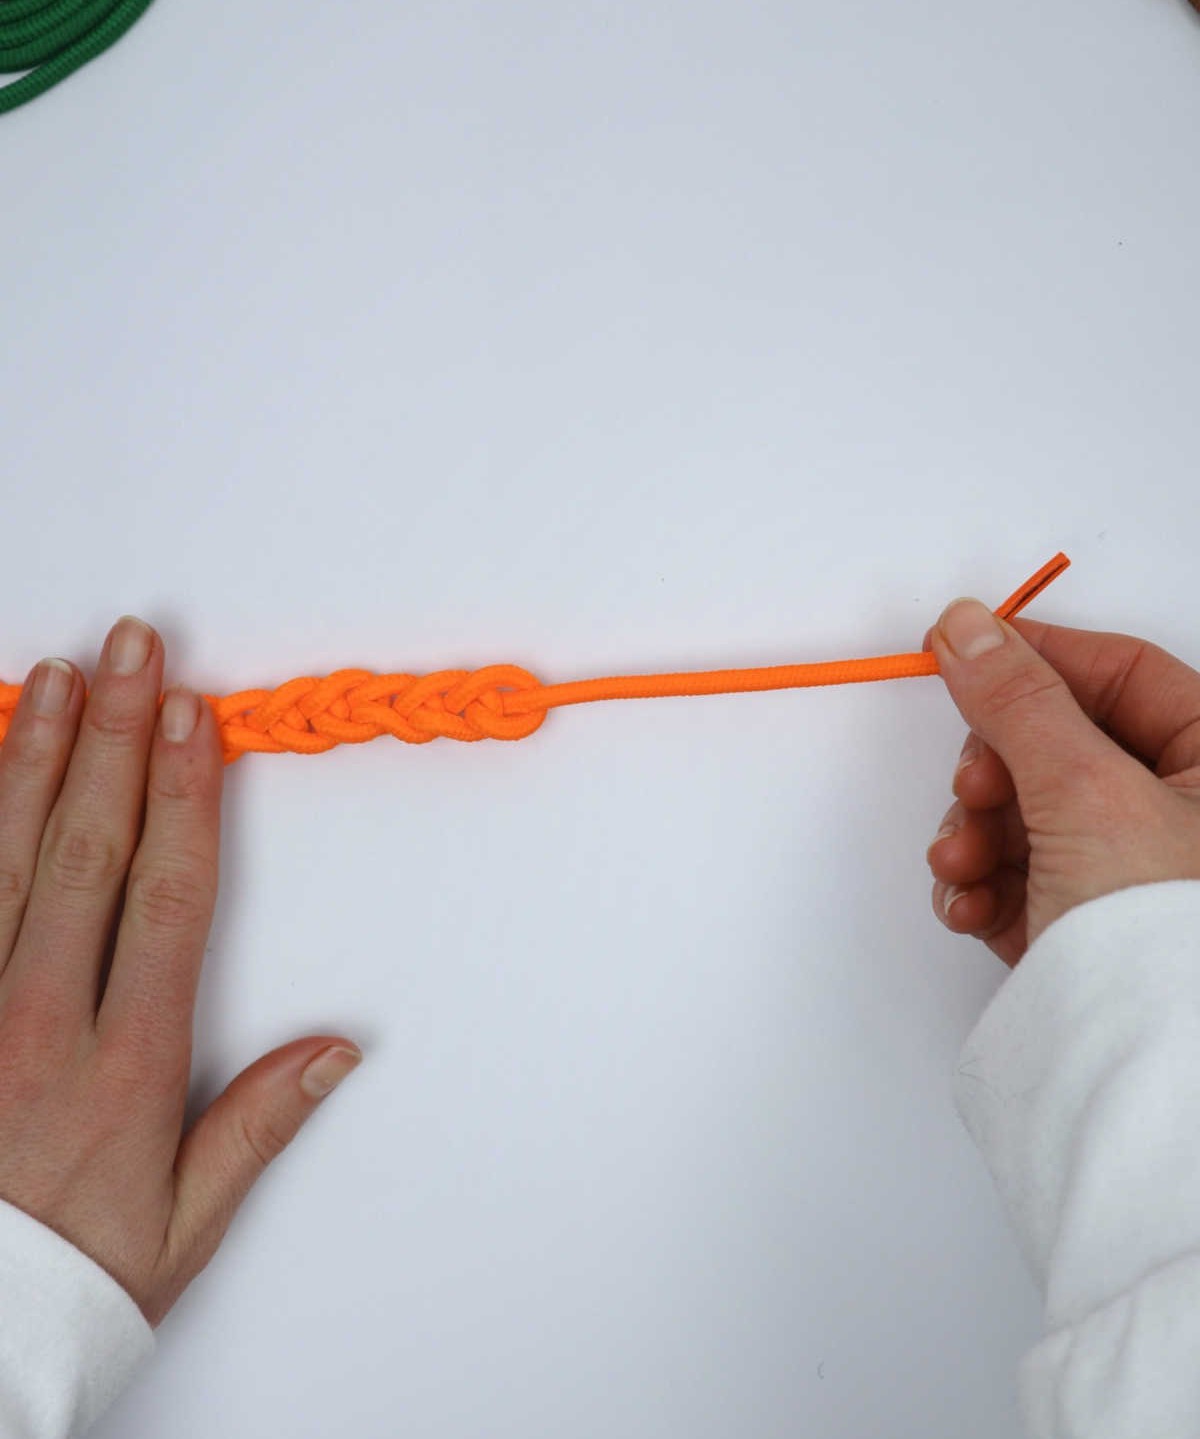

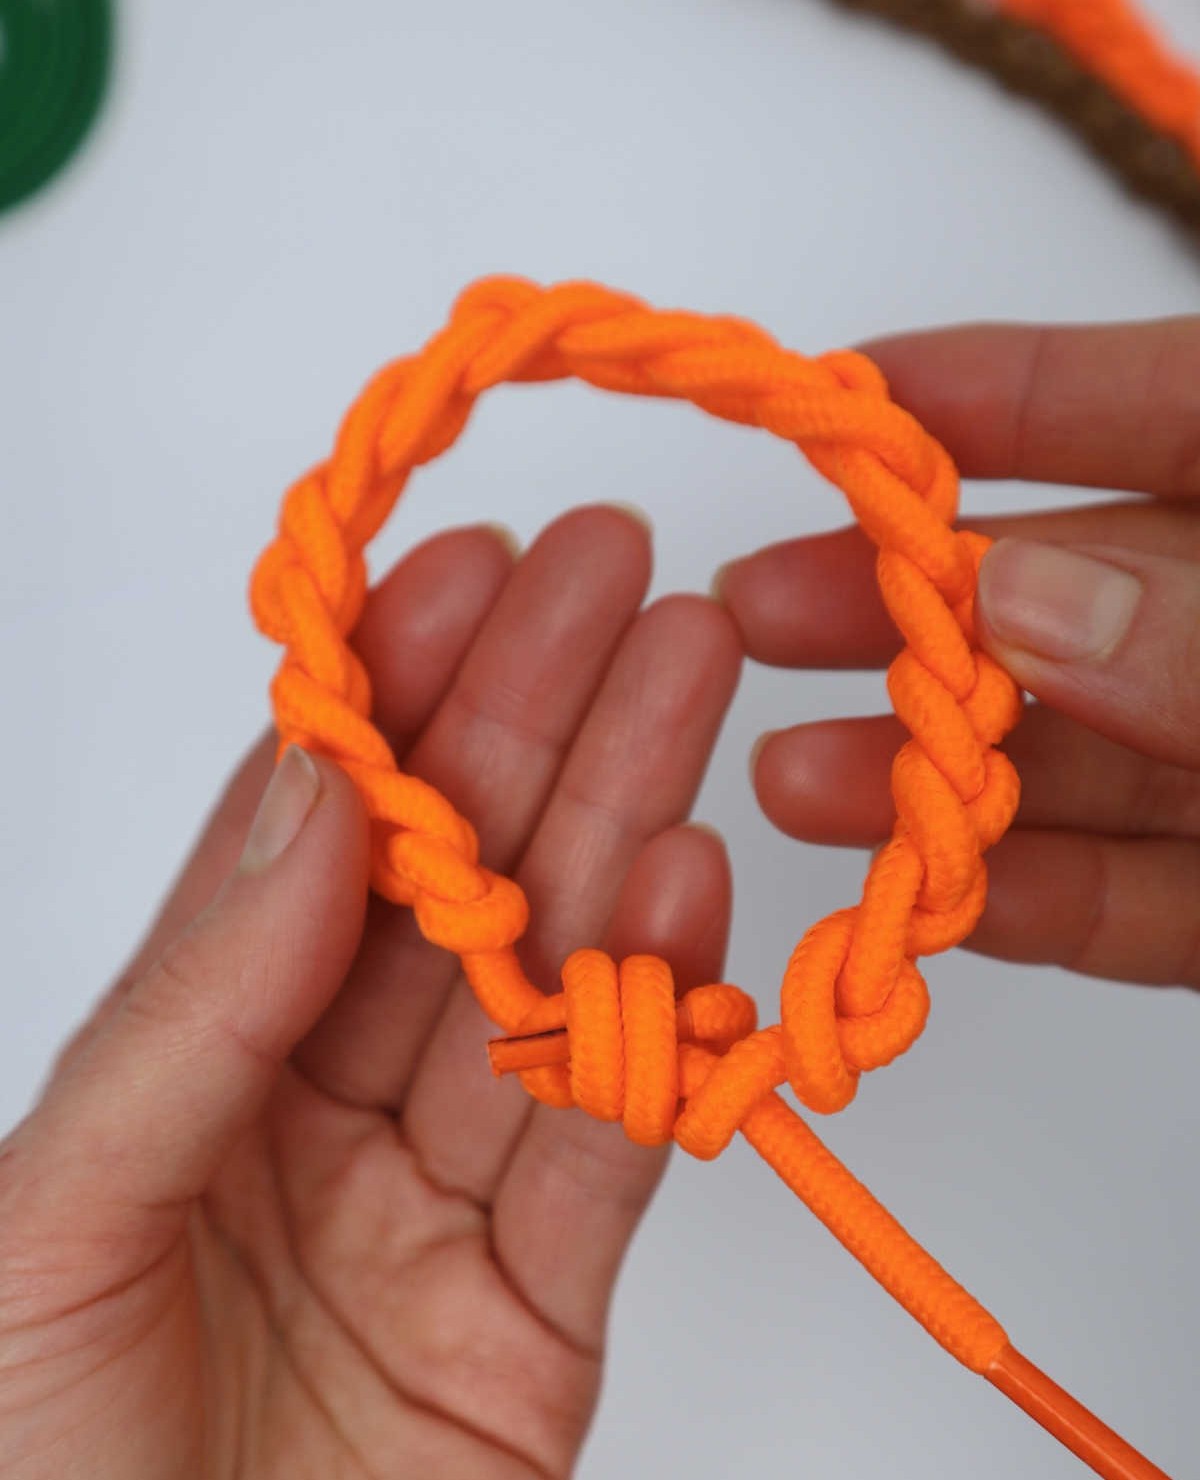
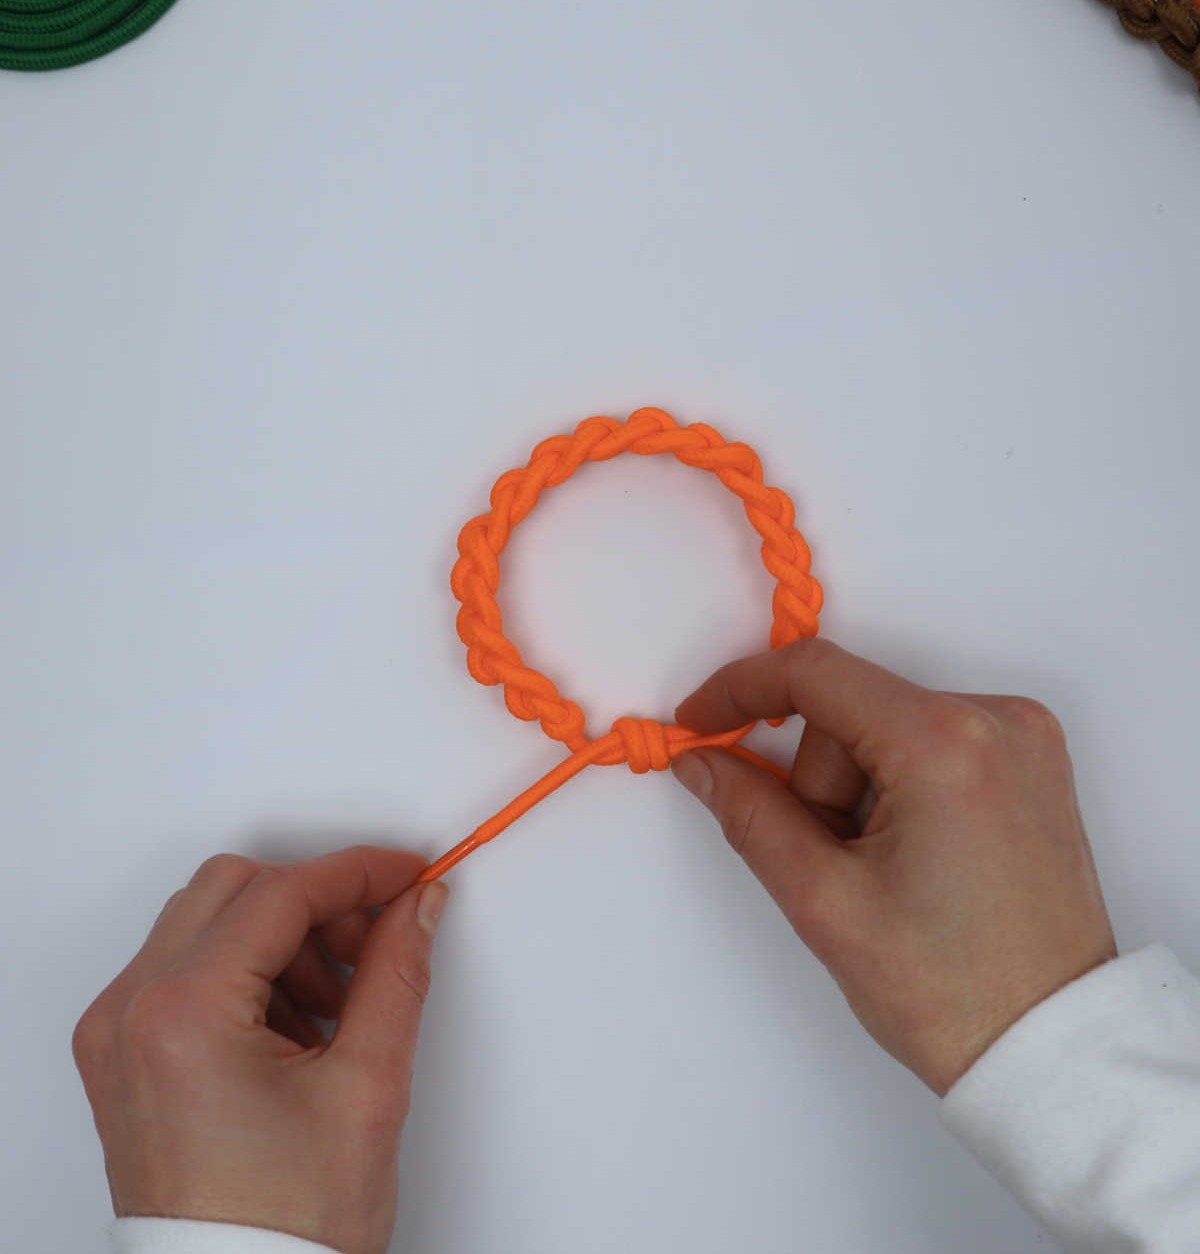
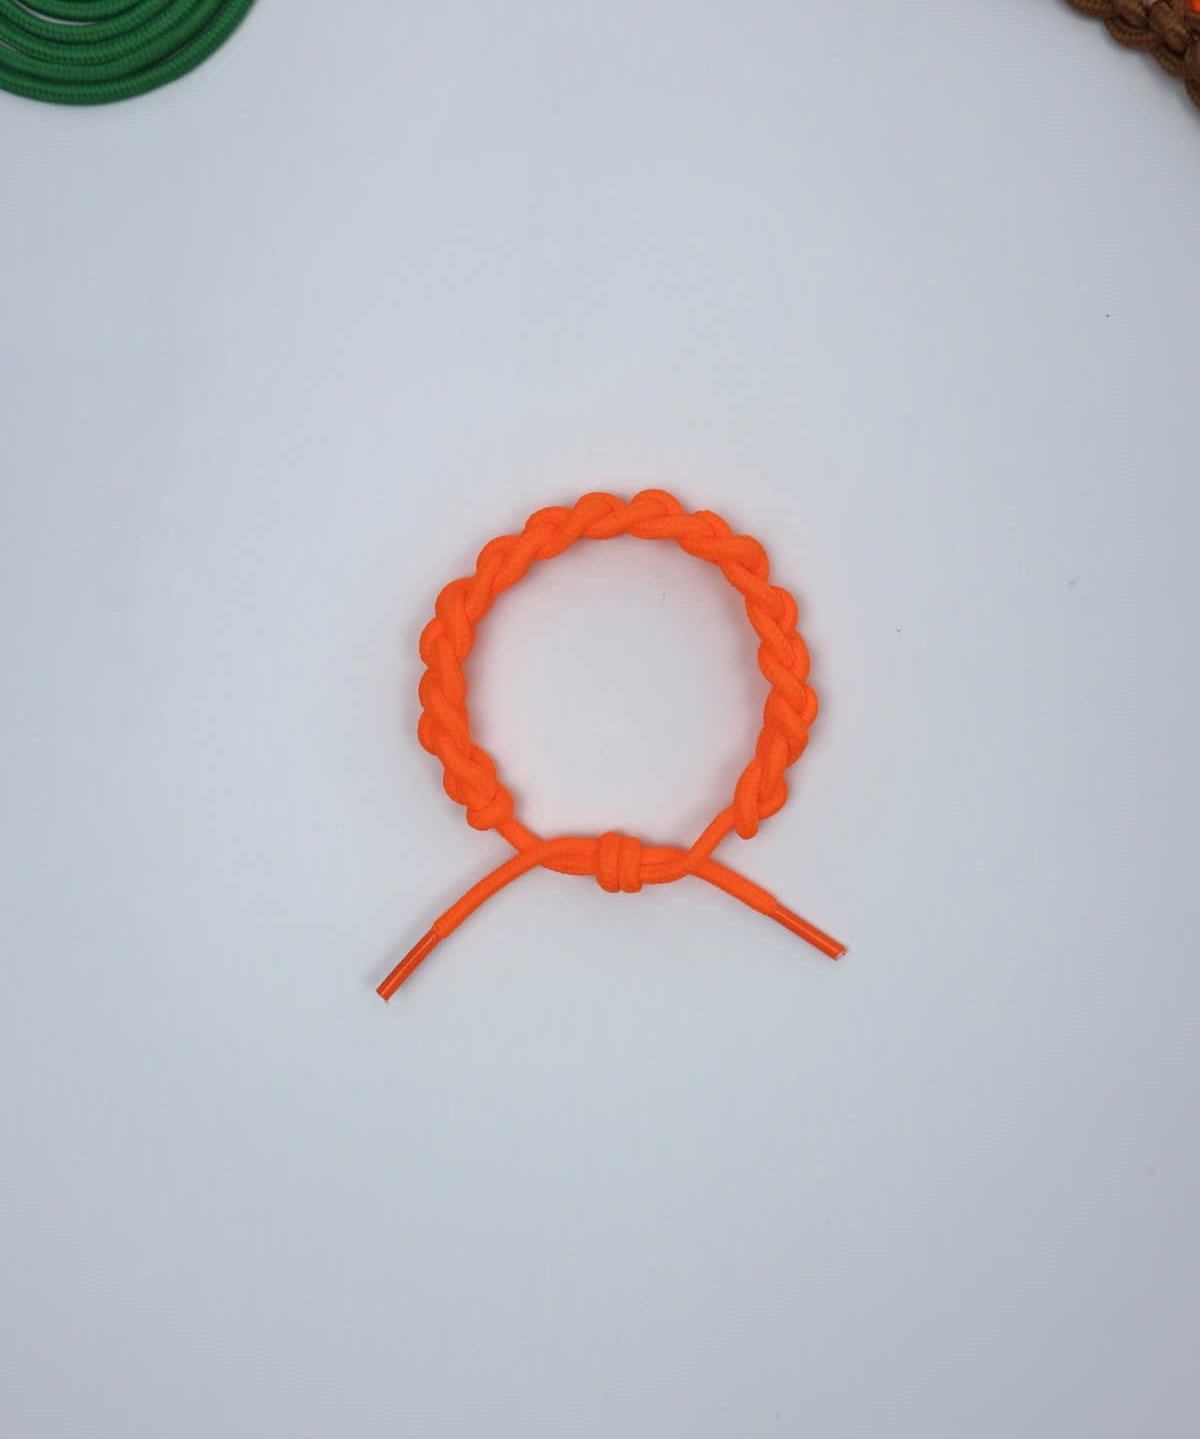
To complete your DIY bracelet, tug the end firmly outward and pull it into a secure knot. This marks the final step in creating your simple yet stylish shoelace accessory. You now have the option to leave the tails hanging until you’re ready to wear the bracelet or tie them together to form a knot. If you do choose to tie the ends together, create two loops by wrapping one tail around the other twice.
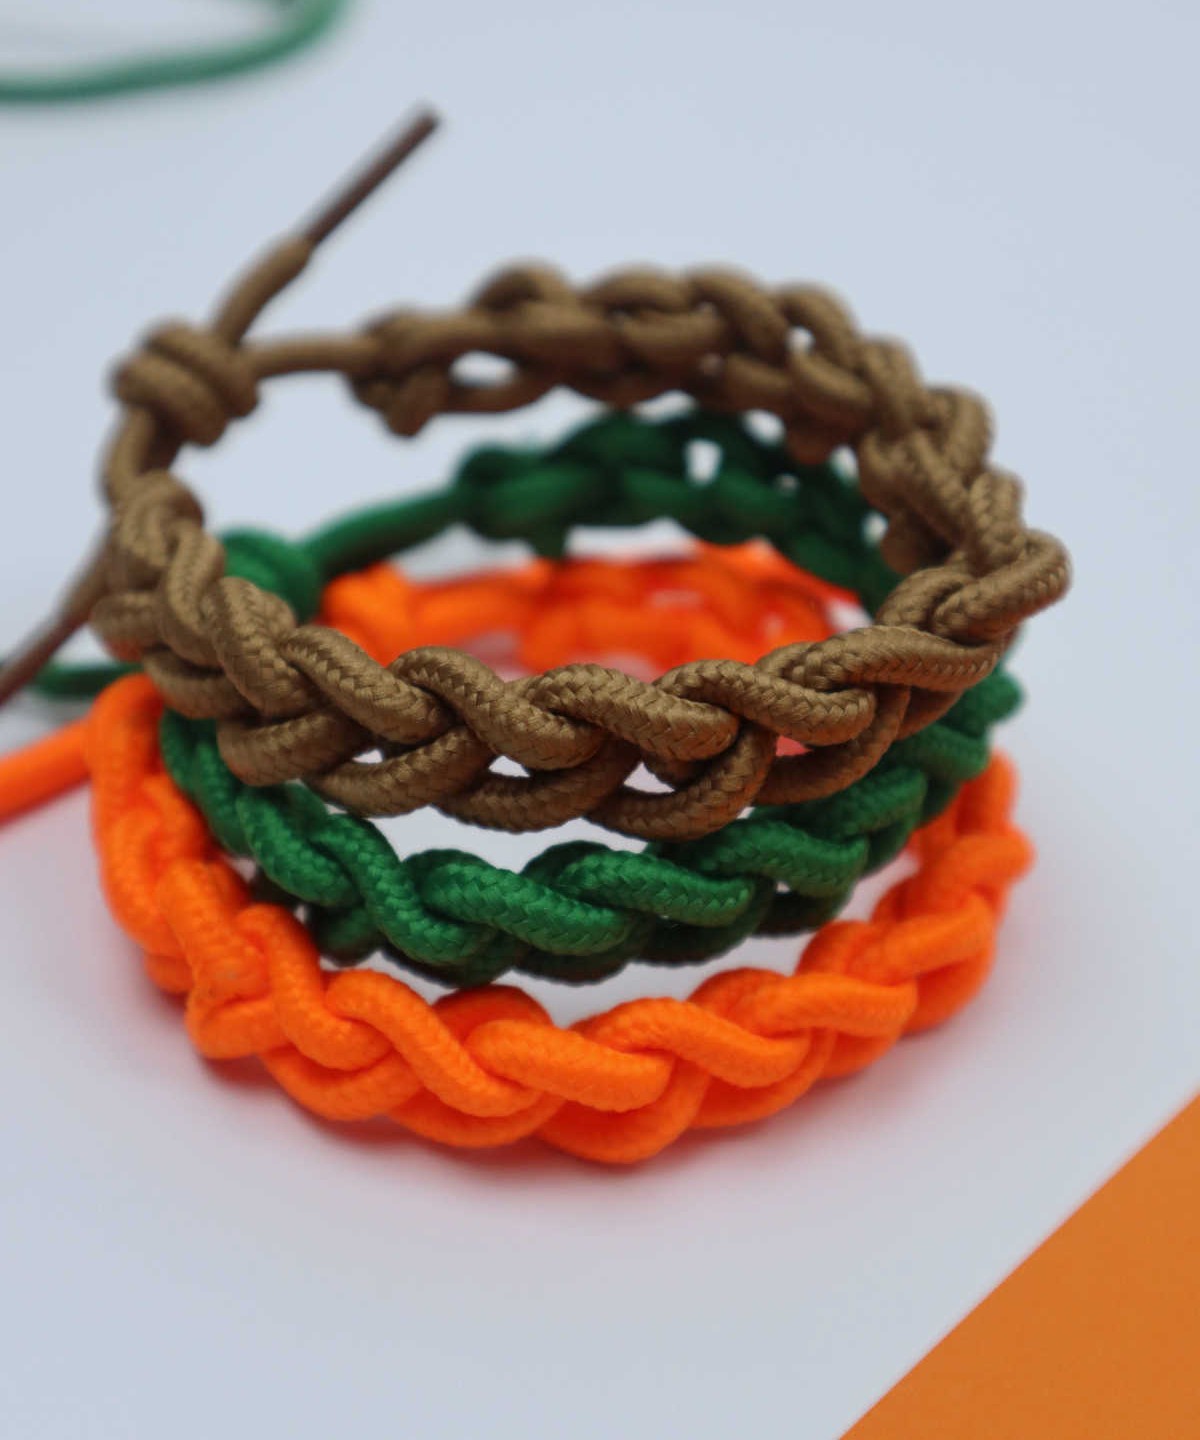
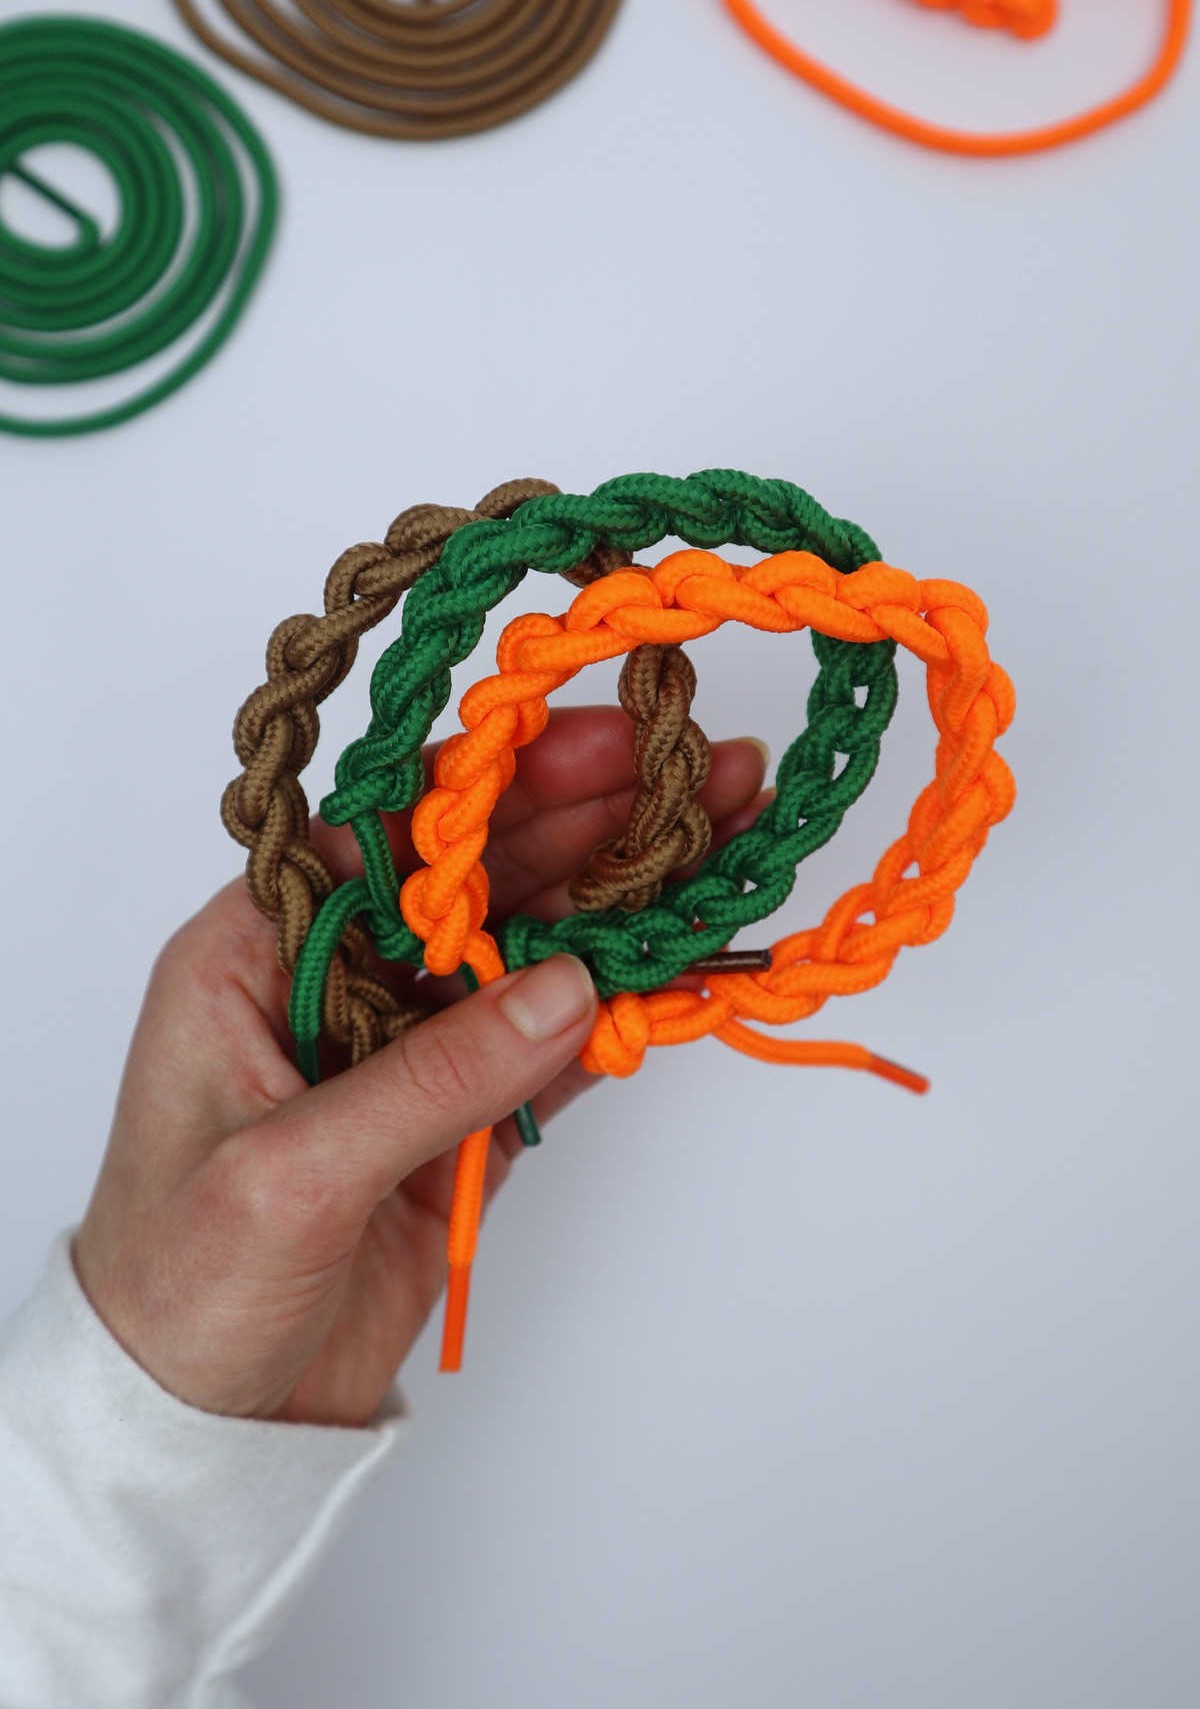
Once you’ve achieved this, pass the aglet through the two loops and secure it in place with a gentle tug. With your new DIY bracelet now complete, you can’t help but wonder what other creative projects await your attention. In fact, making multiple bracelets is a breeze, taking less than an hour to create up to a dozen unique pieces. These versatile accessories are perfect for party favors or as tokens of friendship.
Additionally, you can experiment with various DIY accessories, such as earrings and rings, to further showcase your creativity and share it with friends on special occasions.
DIY Bracelet Out of Shoelaces
Transform those idle shoelaces into adorable DIY bracelets that make perfect gifts or accessories for kids and teens! With just 5 minutes of active time, you can create these charming friendship bracelets without spending a dime. Author Karo @ CraftsyHacks.com shares this easy tutorial with you.
Materials
To get started, you’ll need a shoelace that’s around 80 centimeters to 1 meter in length. The great thing is that you’re not limited to just one option – choose your favorite color from the available palette and make it your own.
Instructions
To craft this stylish bracelet, begin by forming a foundation loop using your shorter left tail. As you work your way along, the right tail will play a crucial role. Bring the right tail over and then behind the initial loop, before pulling it through to create a smaller, more defined circle. Tighten the knot by gently tugging on the shoelace. Repeat this sequence of actions – above, behind, and through the loop – until you reach the end of the lace or achieve your desired length.
The repetitive nature of this process ensures that each loop is secure in its knot, but be mindful not to fasten them too tightly, as this could cause the bracelet to curl under when worn. Once you’ve reached the final loop, pull it through and tug it firmly into place to complete the bracelet. You can opt to leave it open-ended or close the loop by bringing both tails together and wrapping the right tail around the left a few times.
Ensure the wrap is firm yet not overly tight before pulling the right tail through and securing it in place.