Transforming old glass bottles into unique DIY vases is an excellent way to add a touch of creativity to your home decor. This project is perfect for adults and teens who want to work with air-drying clay, requiring minimal skills but yielding impressive results. By upcycling, you can give new life to discarded materials, making it a sustainable and environmentally friendly option. Having multiple vases in different rooms can enhance the overall aesthetic of your space.
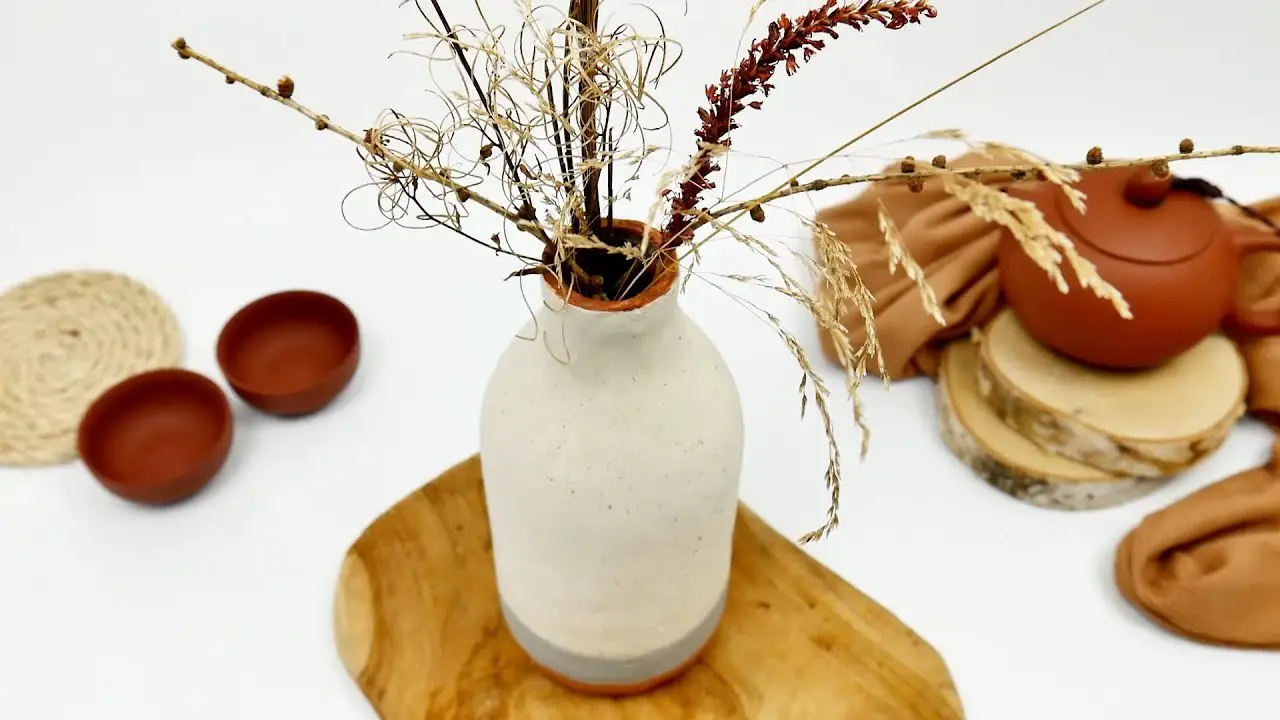
A beautiful vase filled with fresh flowers or greenery can instantly brighten up any room, making it feel more welcoming. Upcycling old bottles into vases is an excellent way to create one-of-a-kind decorative pieces that reflect your personal style. Consider giving new life to an old bottle by transforming it into a stunning DIY vase. This versatile piece can be used as a flower vase, centerpiece, or simply as a decorative item for the mantel.
Its unique design will add elegance to any room, making it a perfect addition to any home decor. And let’s not forget the sense of accomplishment you’ll feel when you show off your handmade creation – there’s no better feeling than knowing you’ve created something special with your own hands.
Supplies and Tools for this Bottle Vase
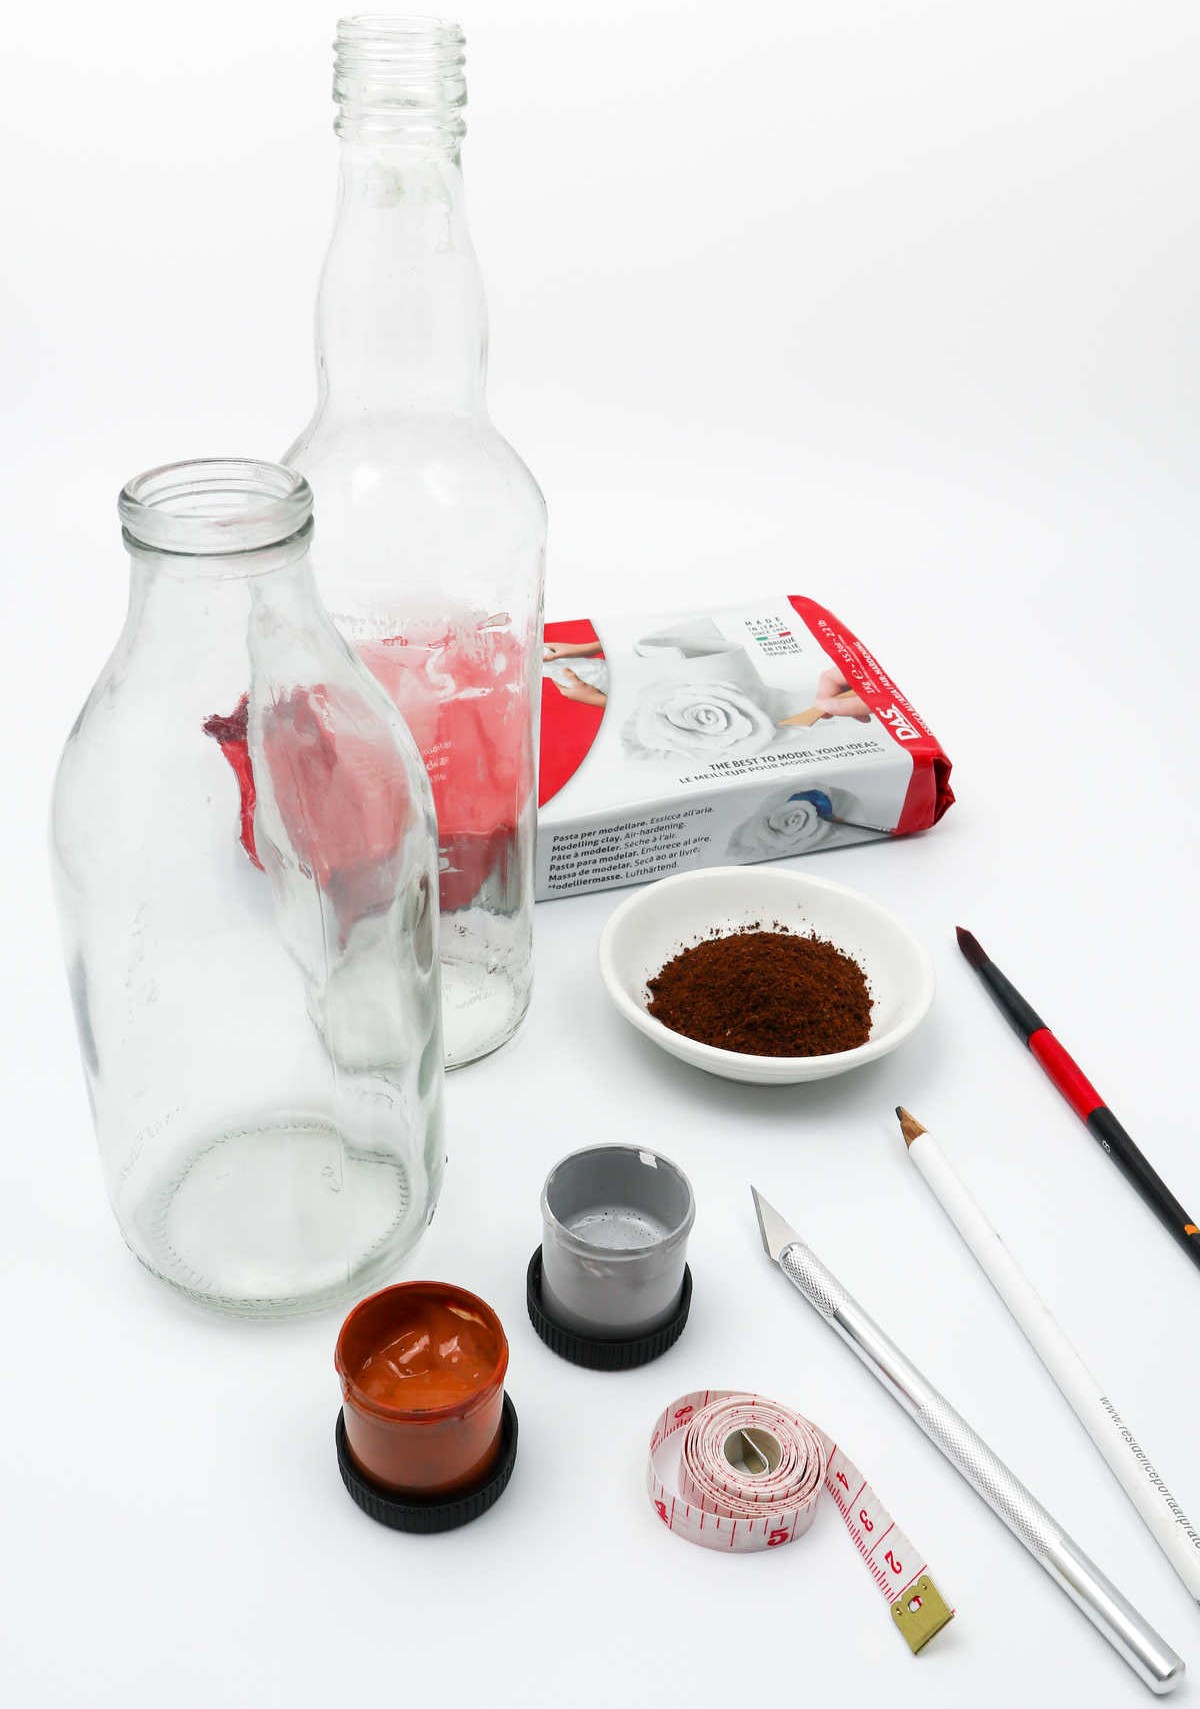
To begin, gather the essential materials for this DIY project: a glass bottle, which will serve as the base of your piece, as well as a rolling pin or an additional glass bottle to aid in shaping the air drying clay.
You’ll also need the following supplies: ground coffee for adding texture and detail, a tape measure for precise measurements, a precision knife for carving and shaping, a pencil for marking and tracing designs, and a paintbrush for applying acrylic paints in shades of grey and brown.
Watch: DIY Clay Vase
For those who prefer to learn through visual aids, we’re also offering a step-by-step guide in video format. Simply follow along with our accompanying tutorial and watch as the instructions come to life on screen.
How Do You Make a Bottle Vase?
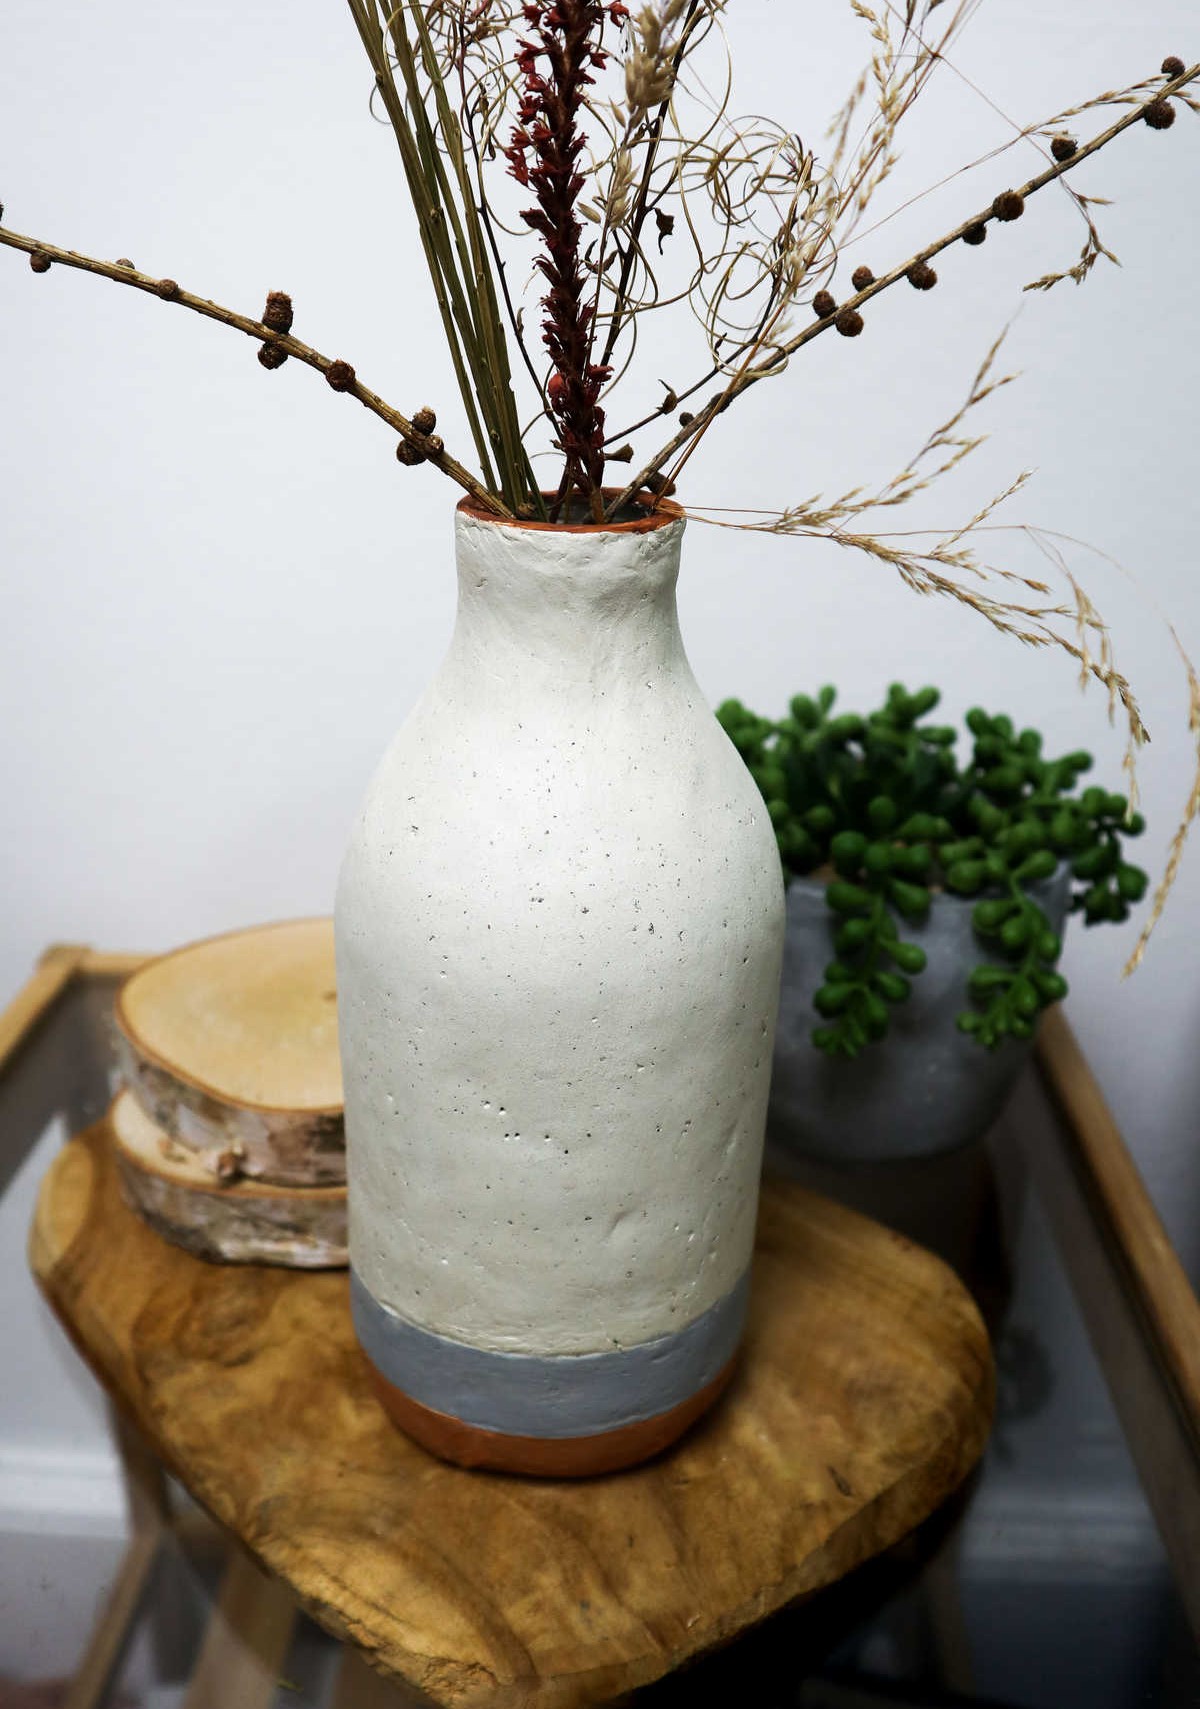
Transforming a humble glass bottle into a charming rustic vase is all about embracing the art of air-drying clay. The unique speckled effect it produces is truly captivating, and with these simple steps, you can turn your wine bottles into stunning crafts that exude an earthy charm. So, let’s dive in and explore how to create this beautiful piece!
Step 1
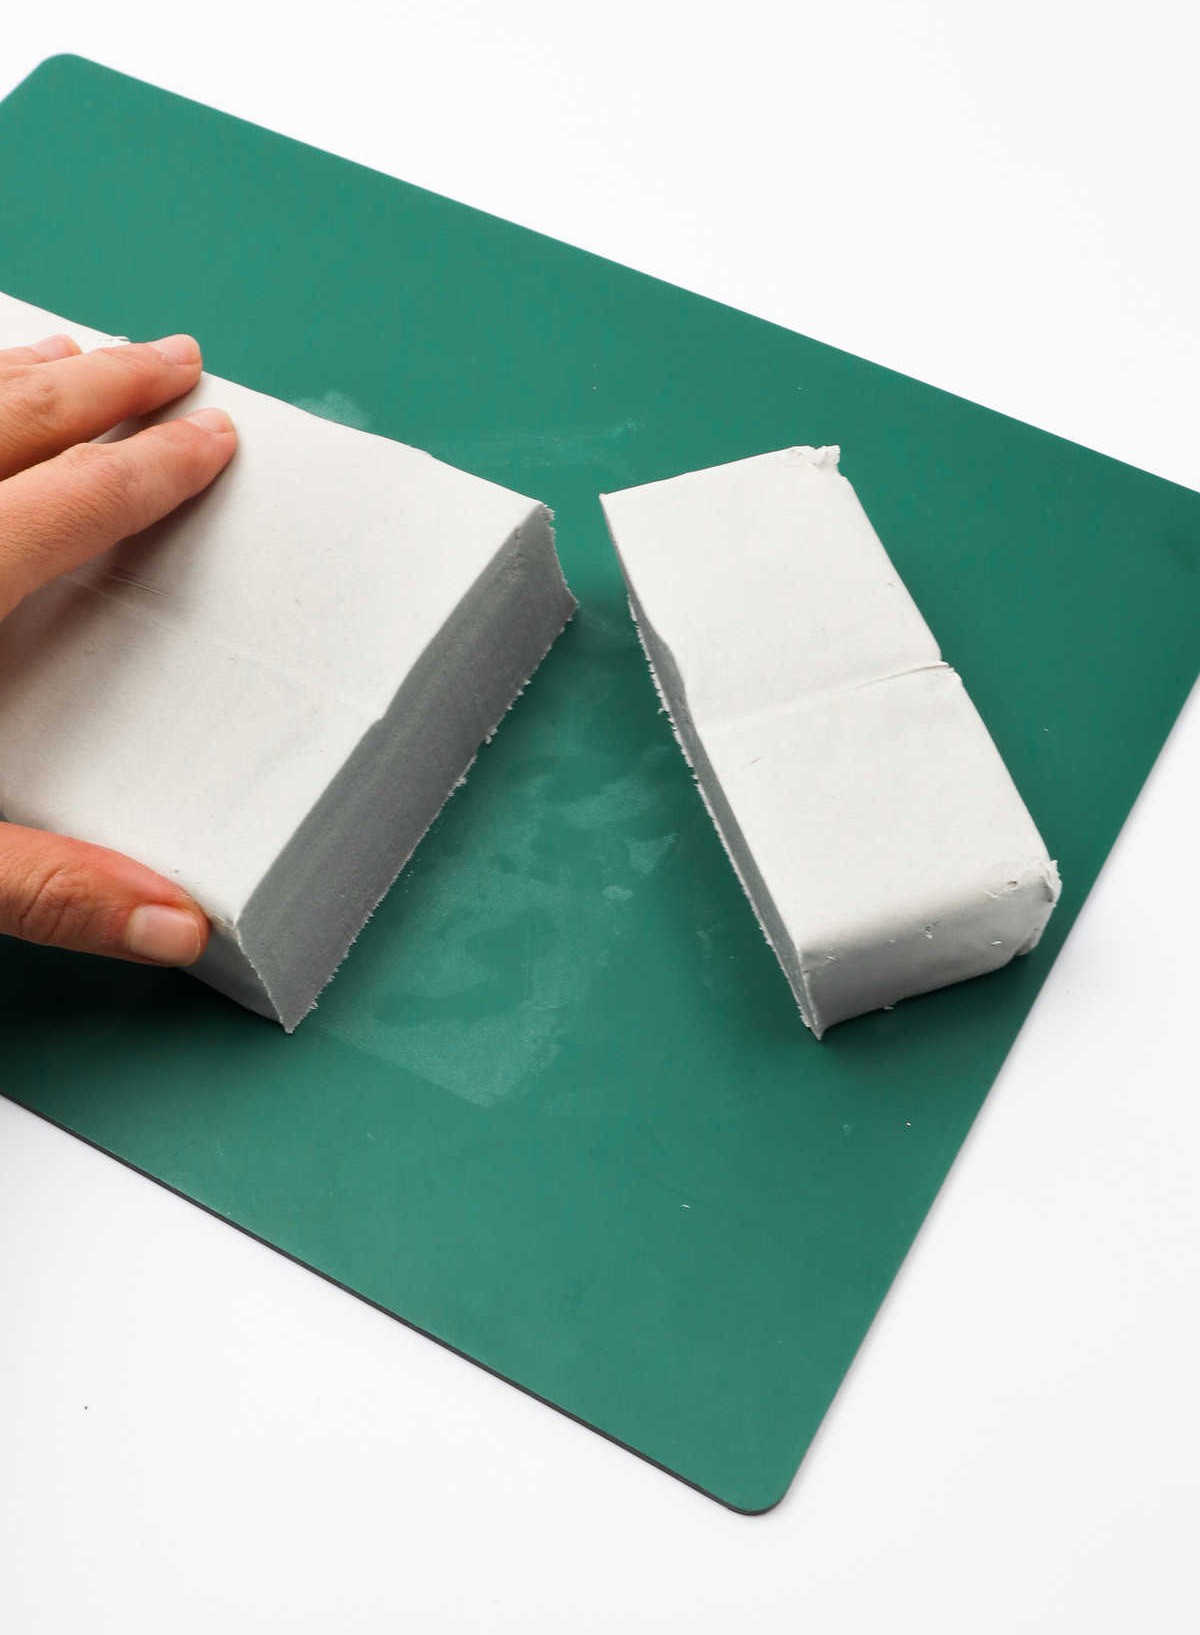
To begin, carefully portion off a section of your air-dry clay and promptly seal the remaining amount back into an airtight container to maintain its freshness.
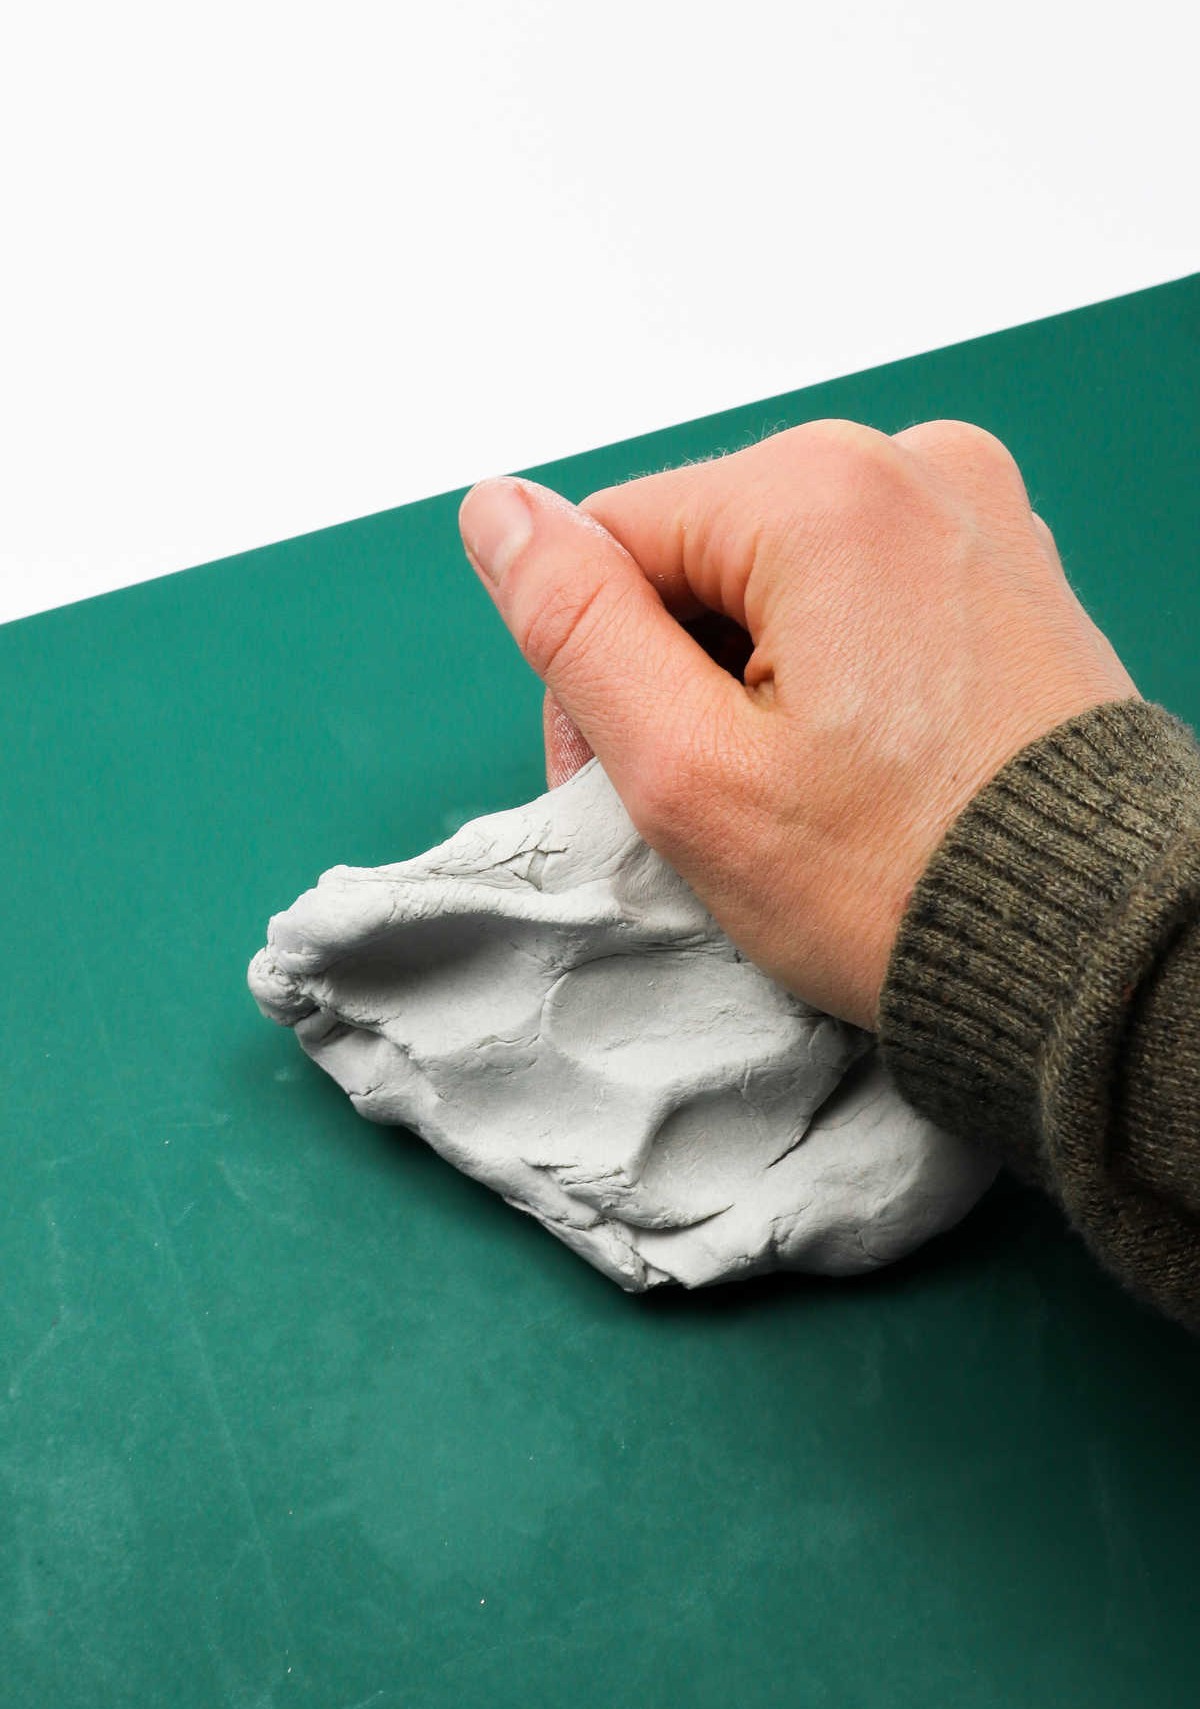
Next, employ your palms to meticulously knead the clay until it achieves a smooth, lump-free consistency. To safeguard against mess and ensure a clean work surface, consider utilizing a rolling mat as you work.
Step 2
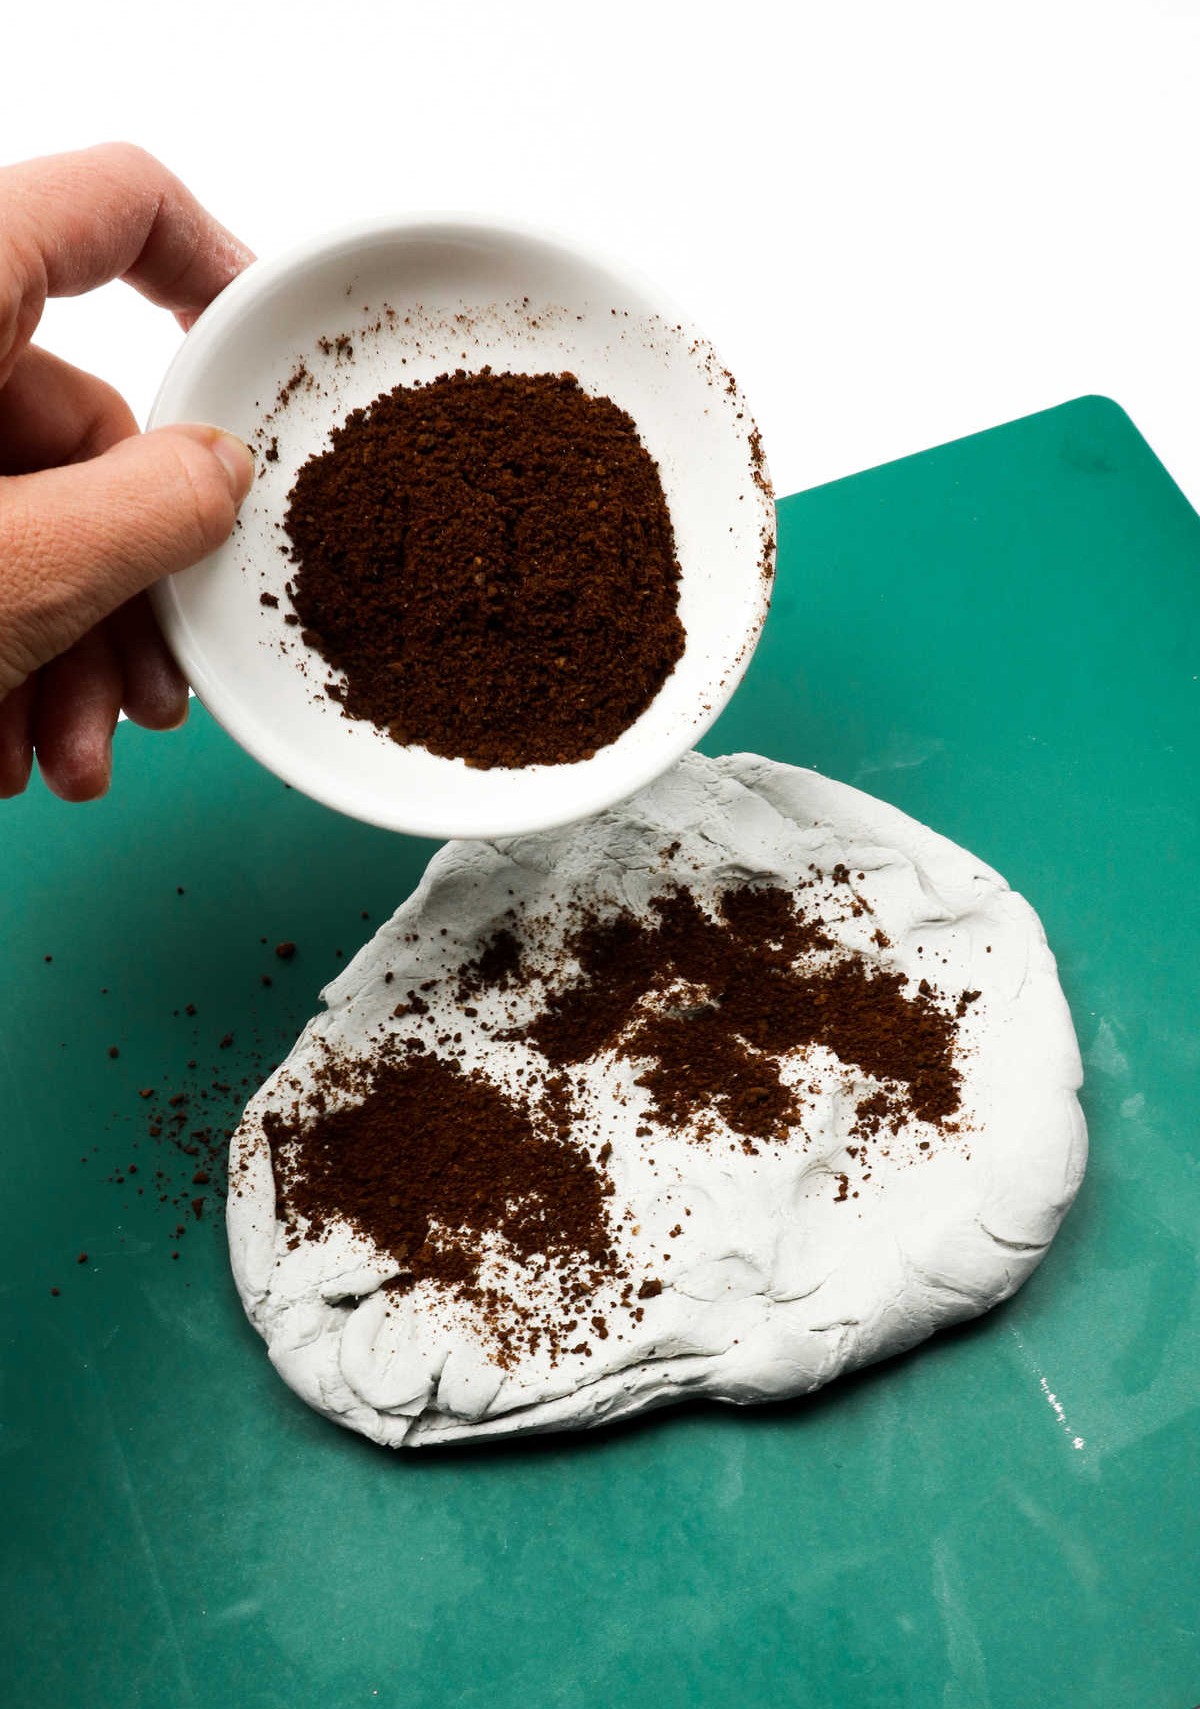
To achieve that speckled clay effect, start by incorporating coarsely ground coffee into your dough. Simply sprinkle a cup of the grounds evenly across the surface of the dough you’ve just kneaded. While this step is entirely optional, it can add a visually appealing texture to your final product.
Step 3
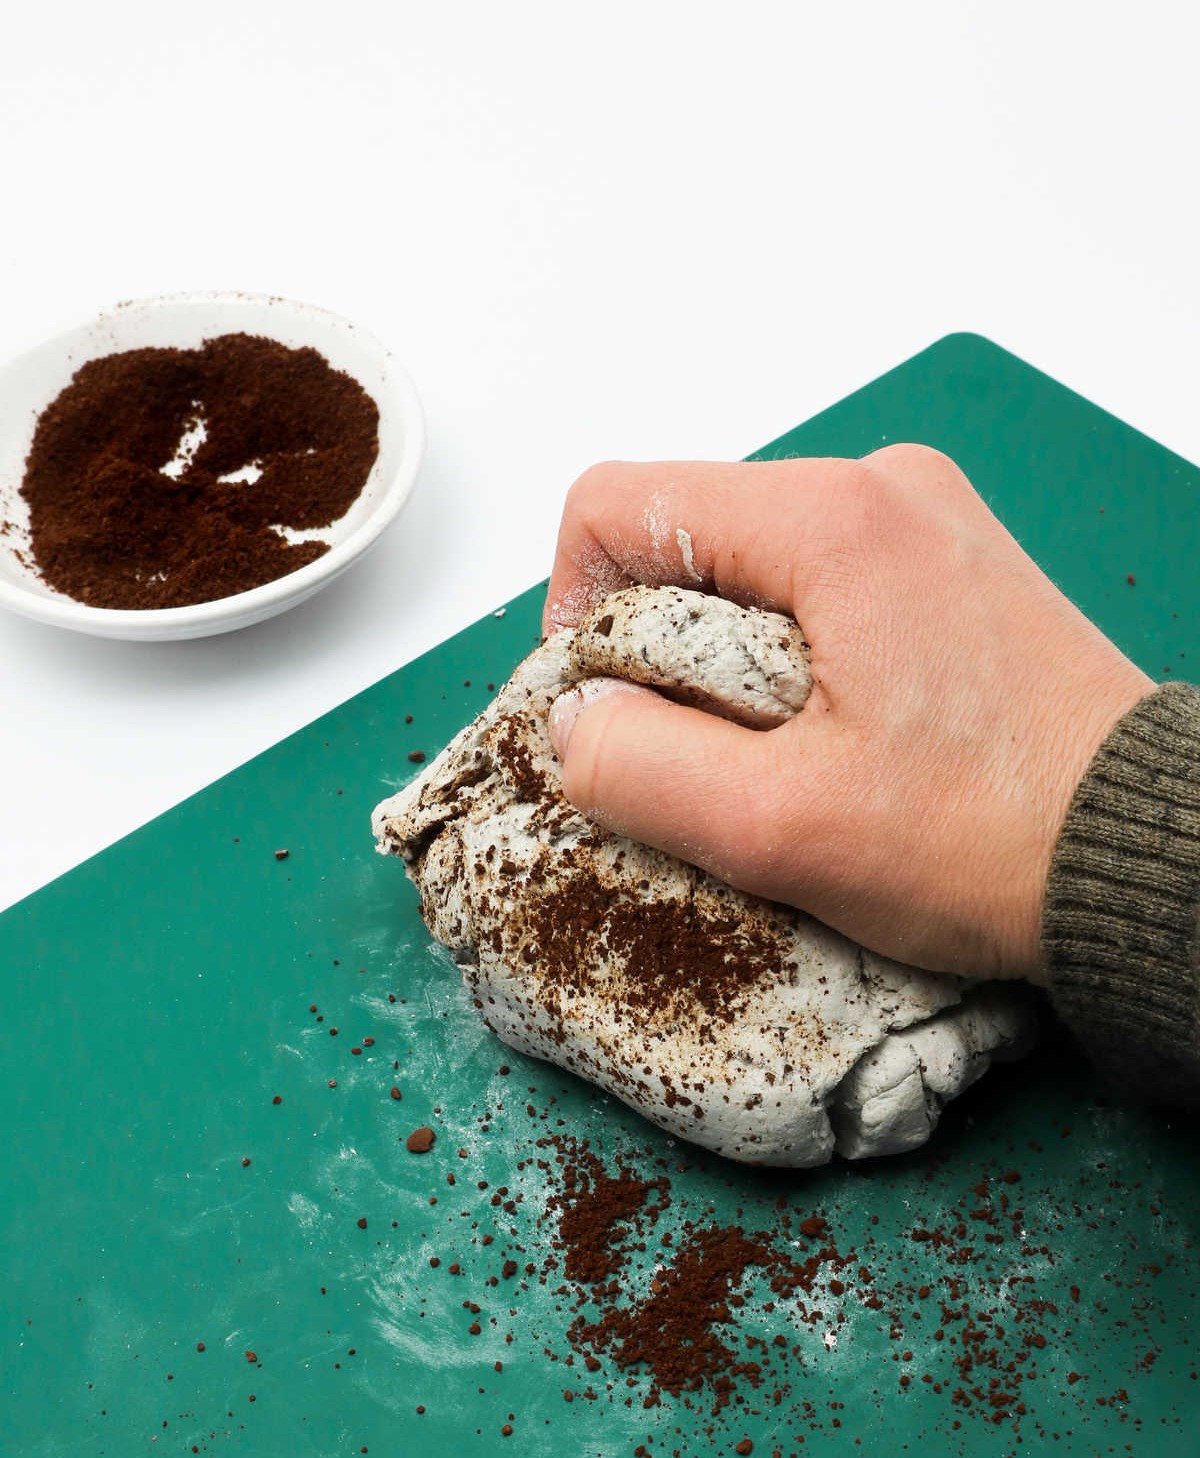
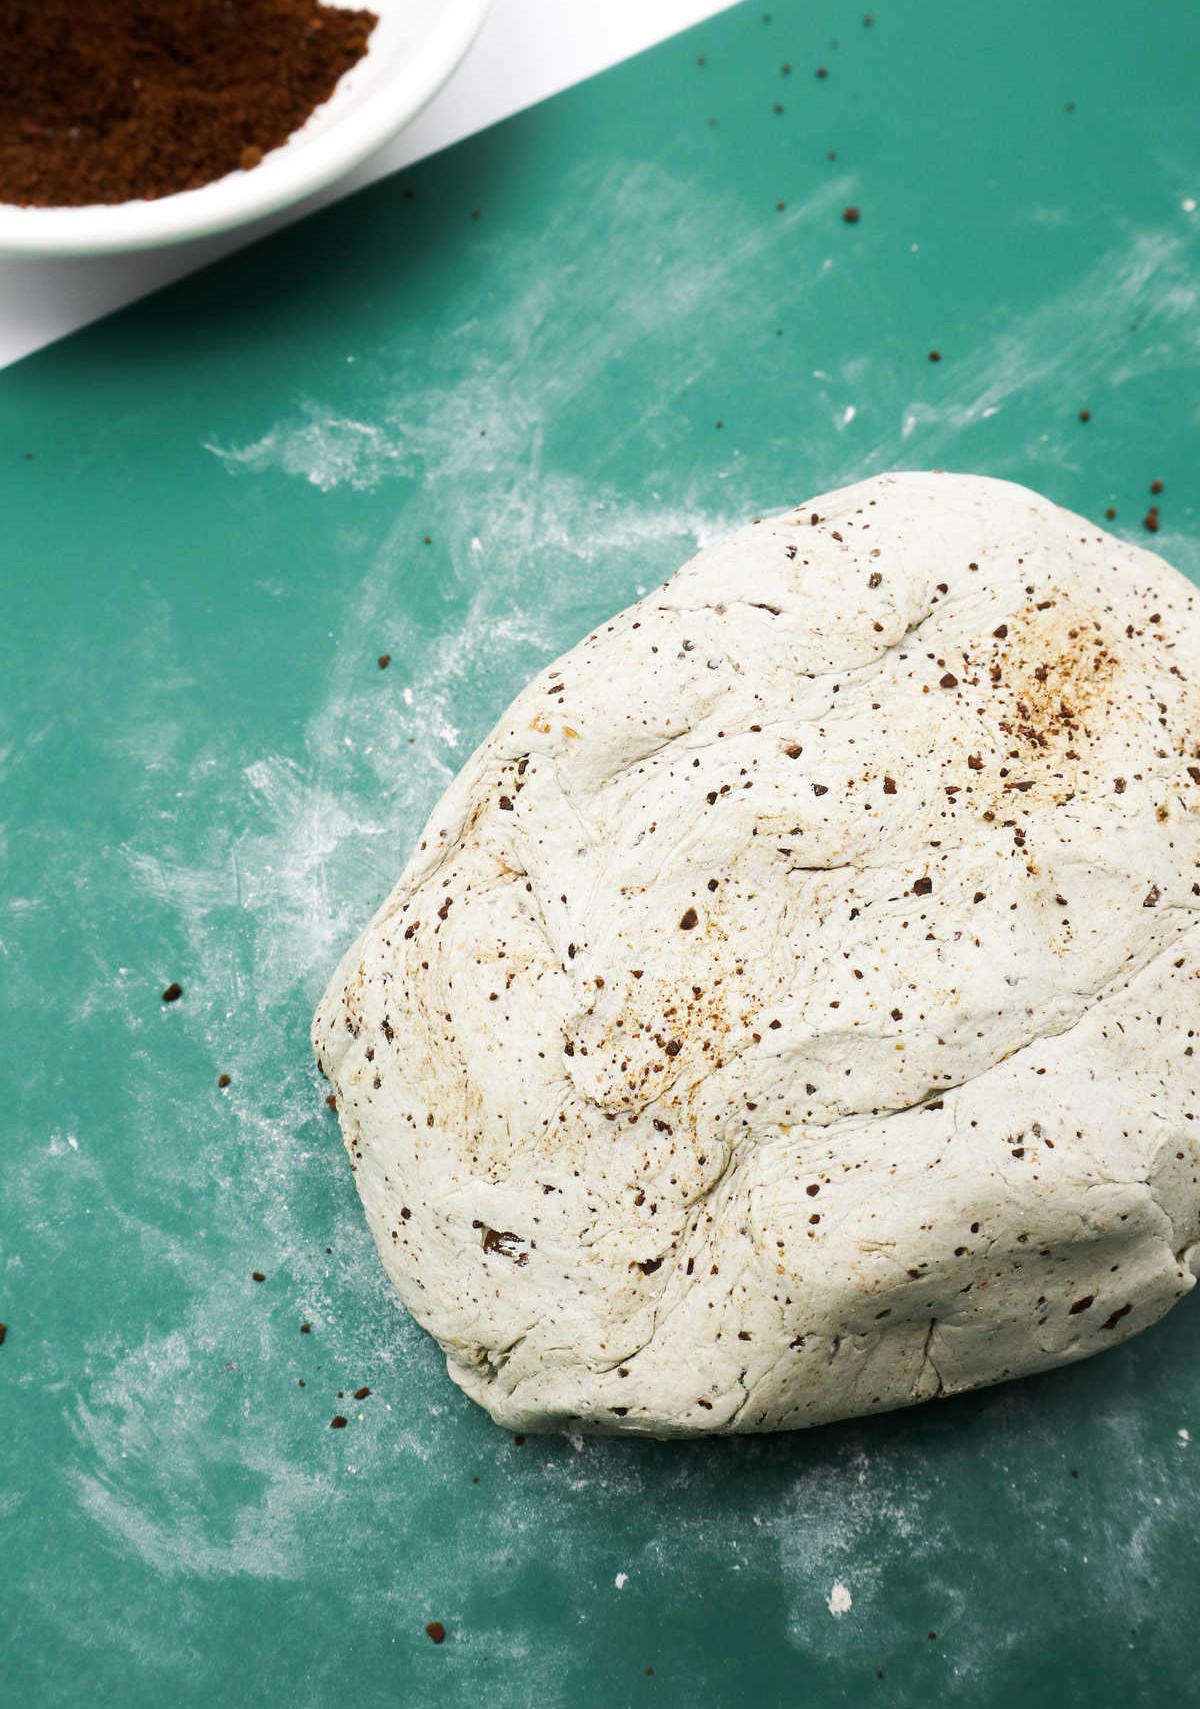
Incorporate the coffee grounds into the clay by thoroughly kneading it until the mixture is uniformly distributed. Be vigilant in searching for any residual coffee clumps that may have formed during the process.
As you complete the kneading, your clay should resemble a well-mixed blend with no visible coffee residue, much like the illustration above.
Step 4
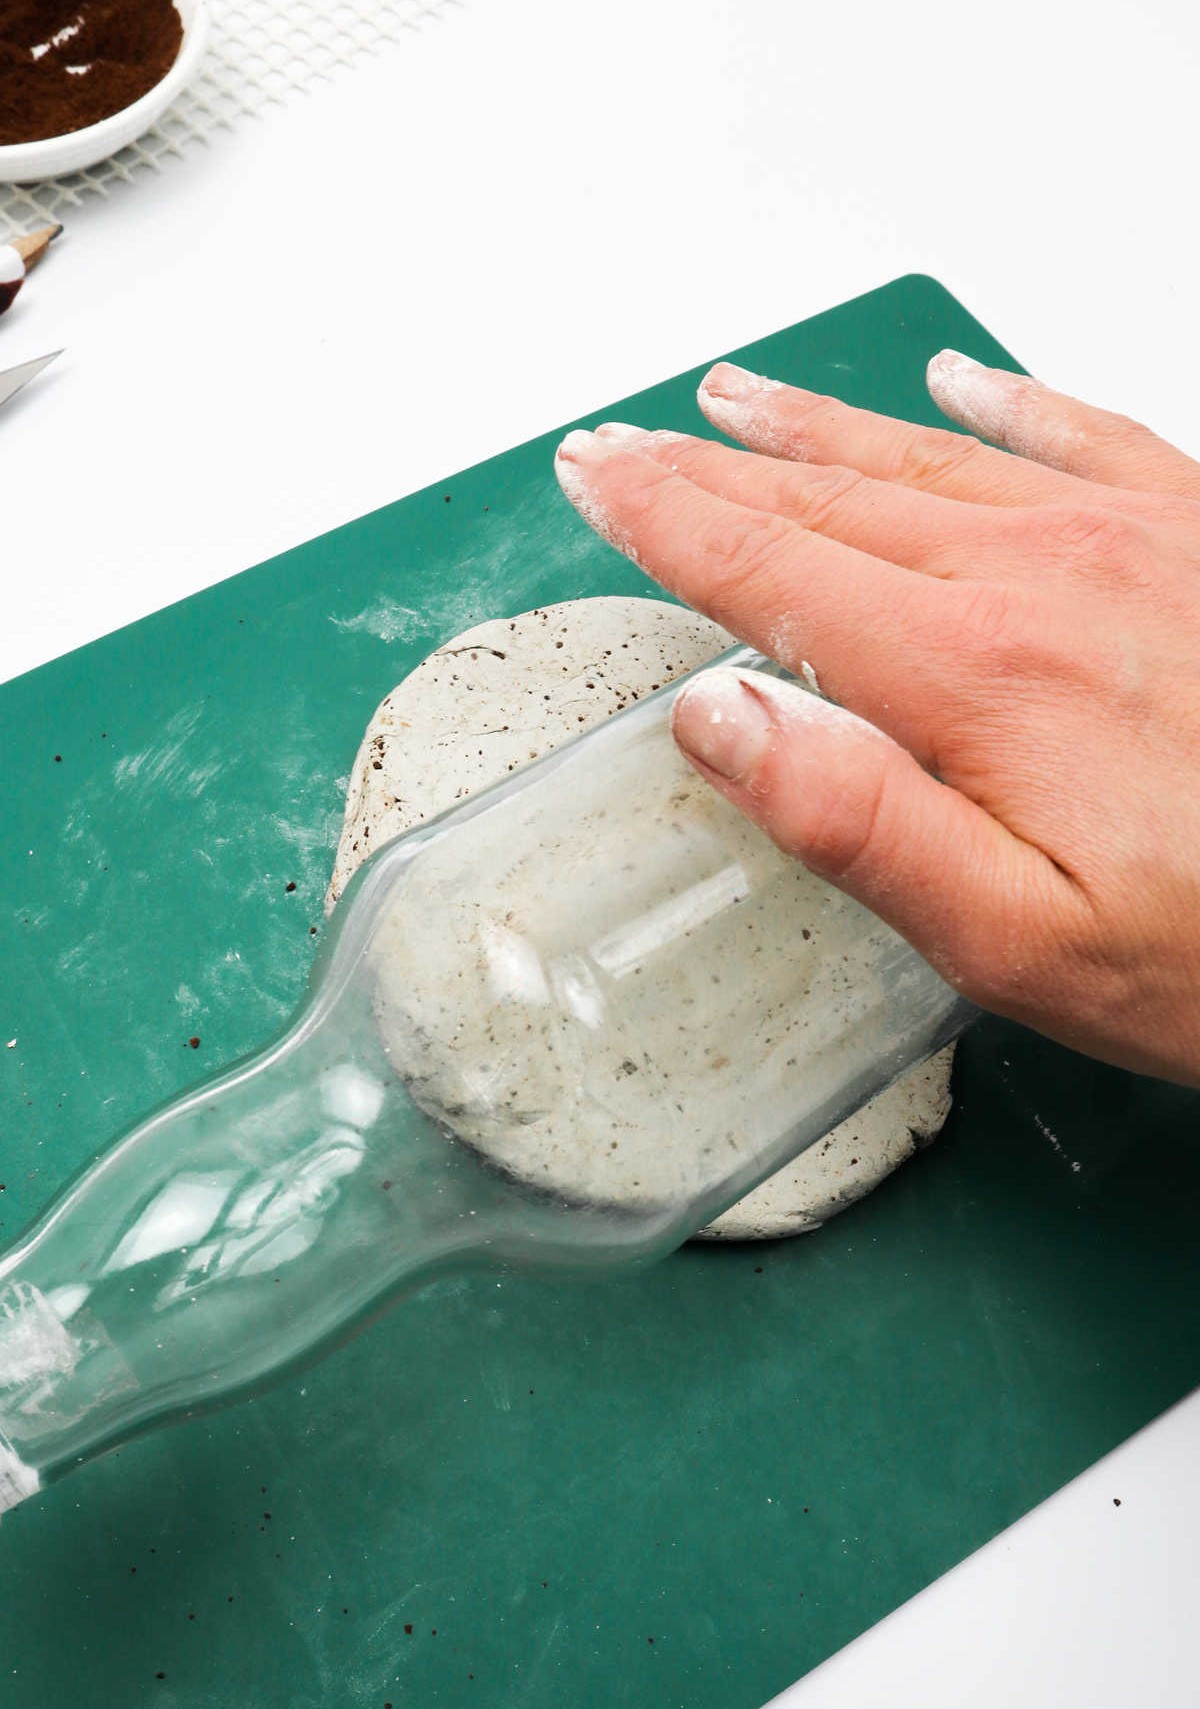
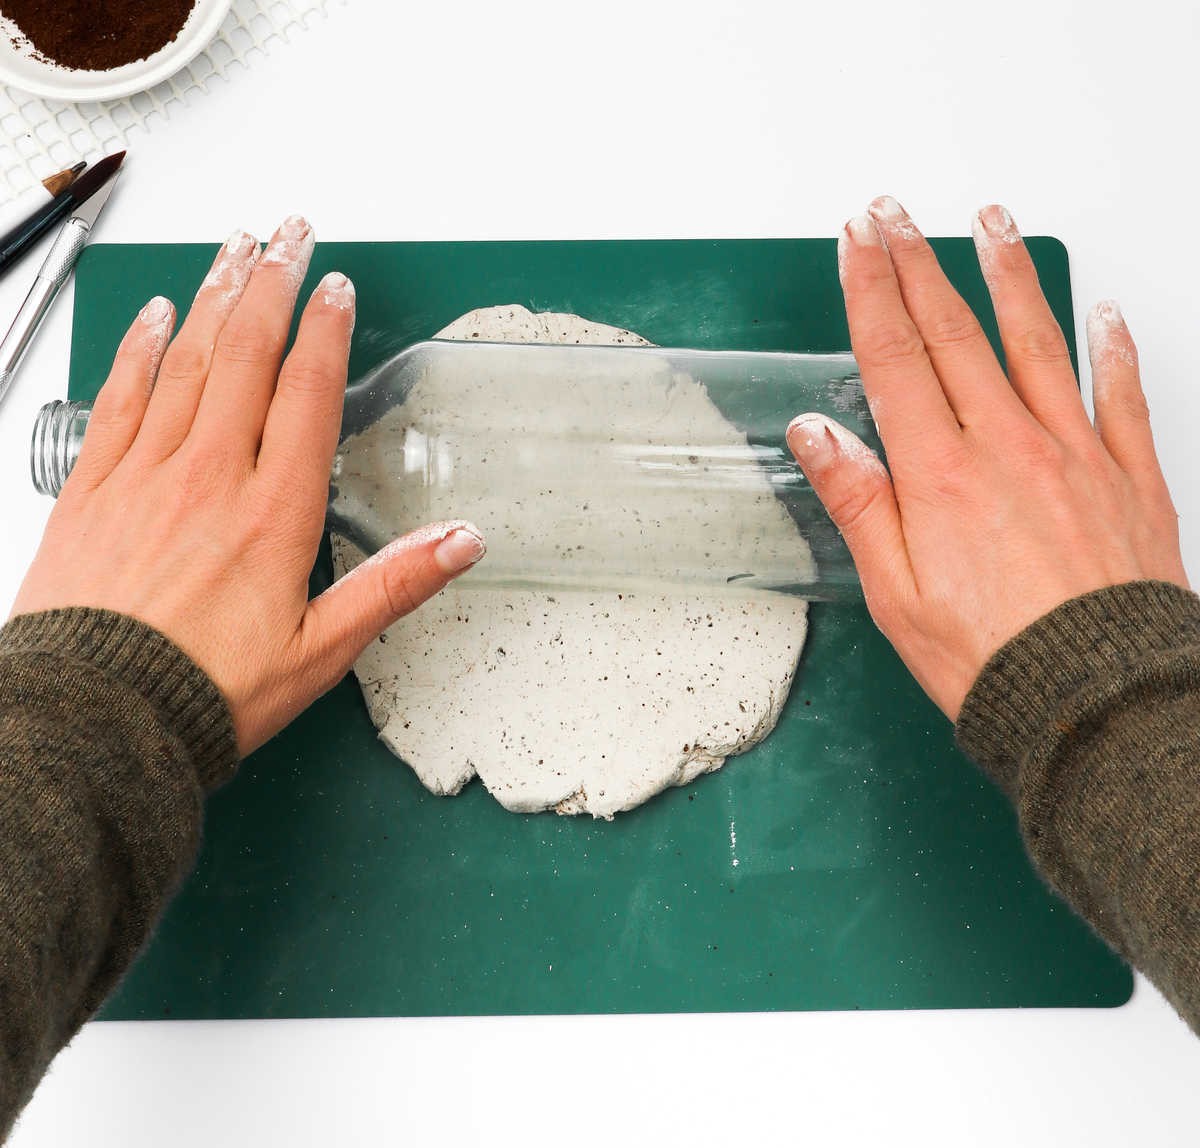
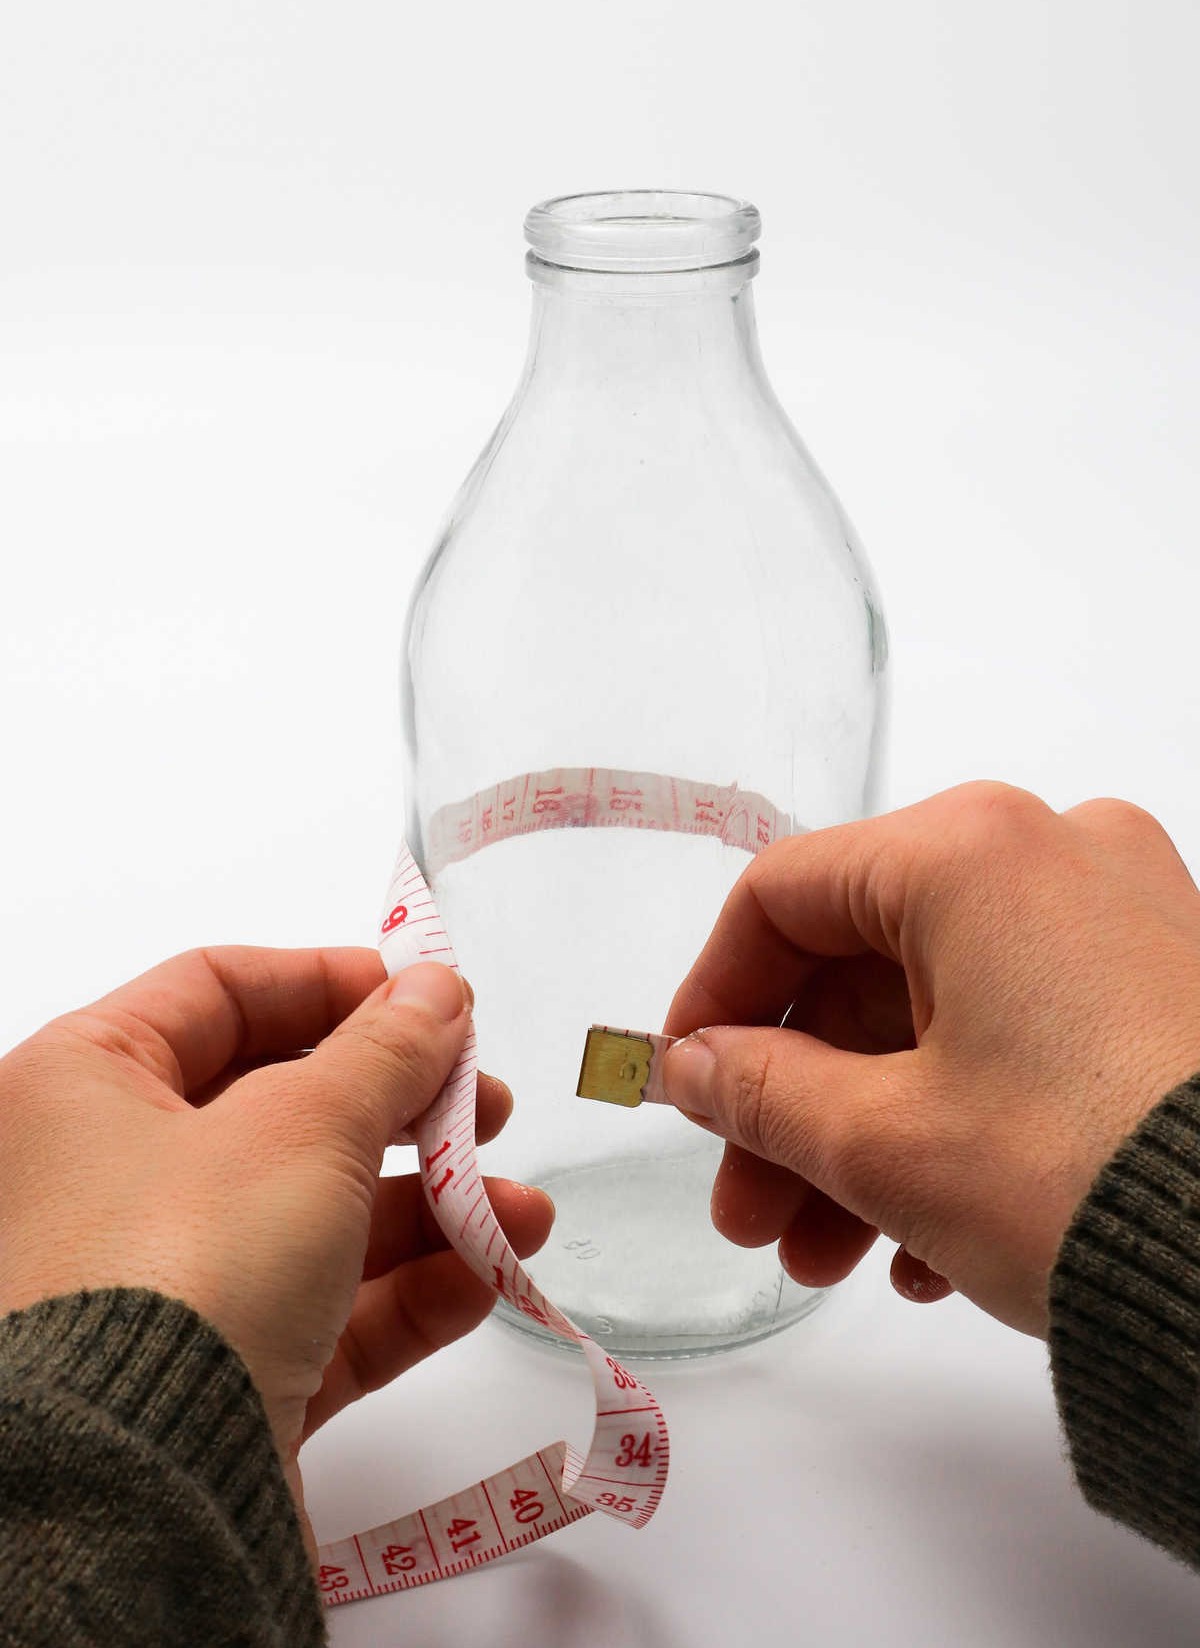
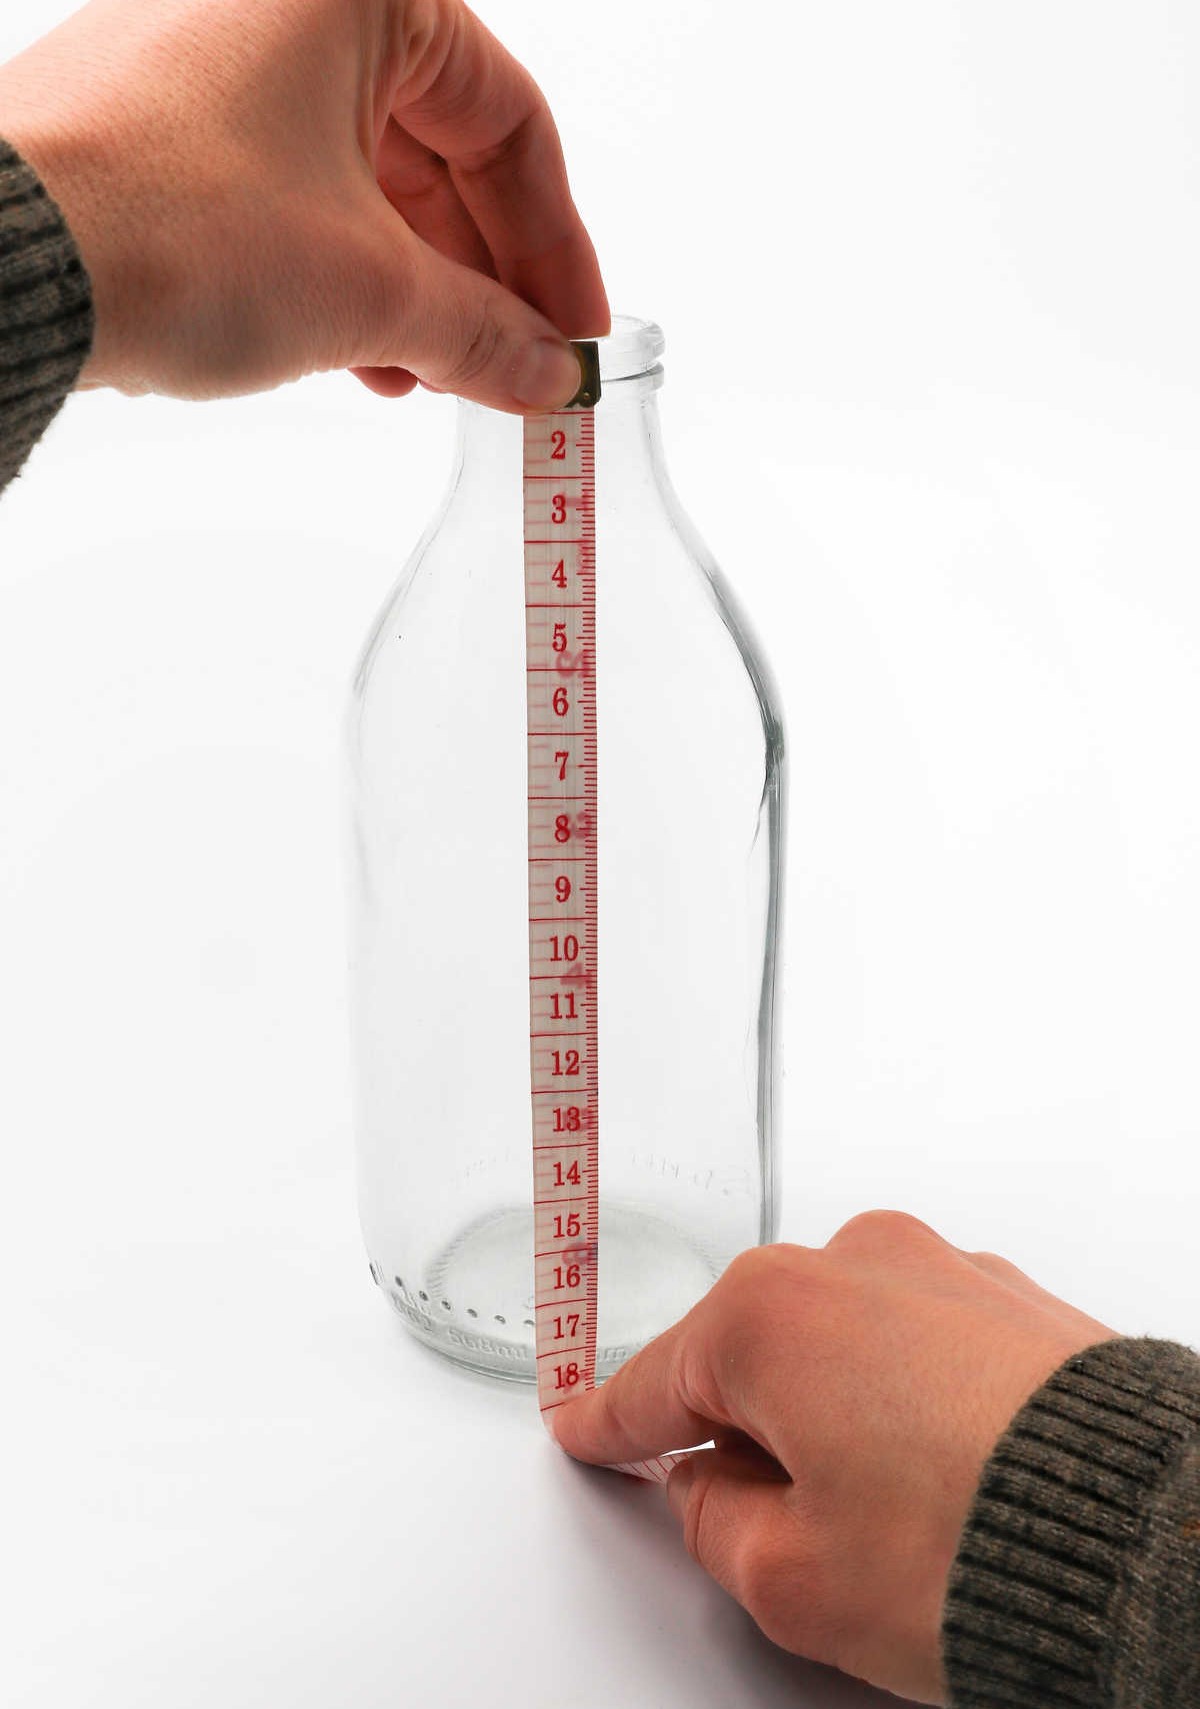
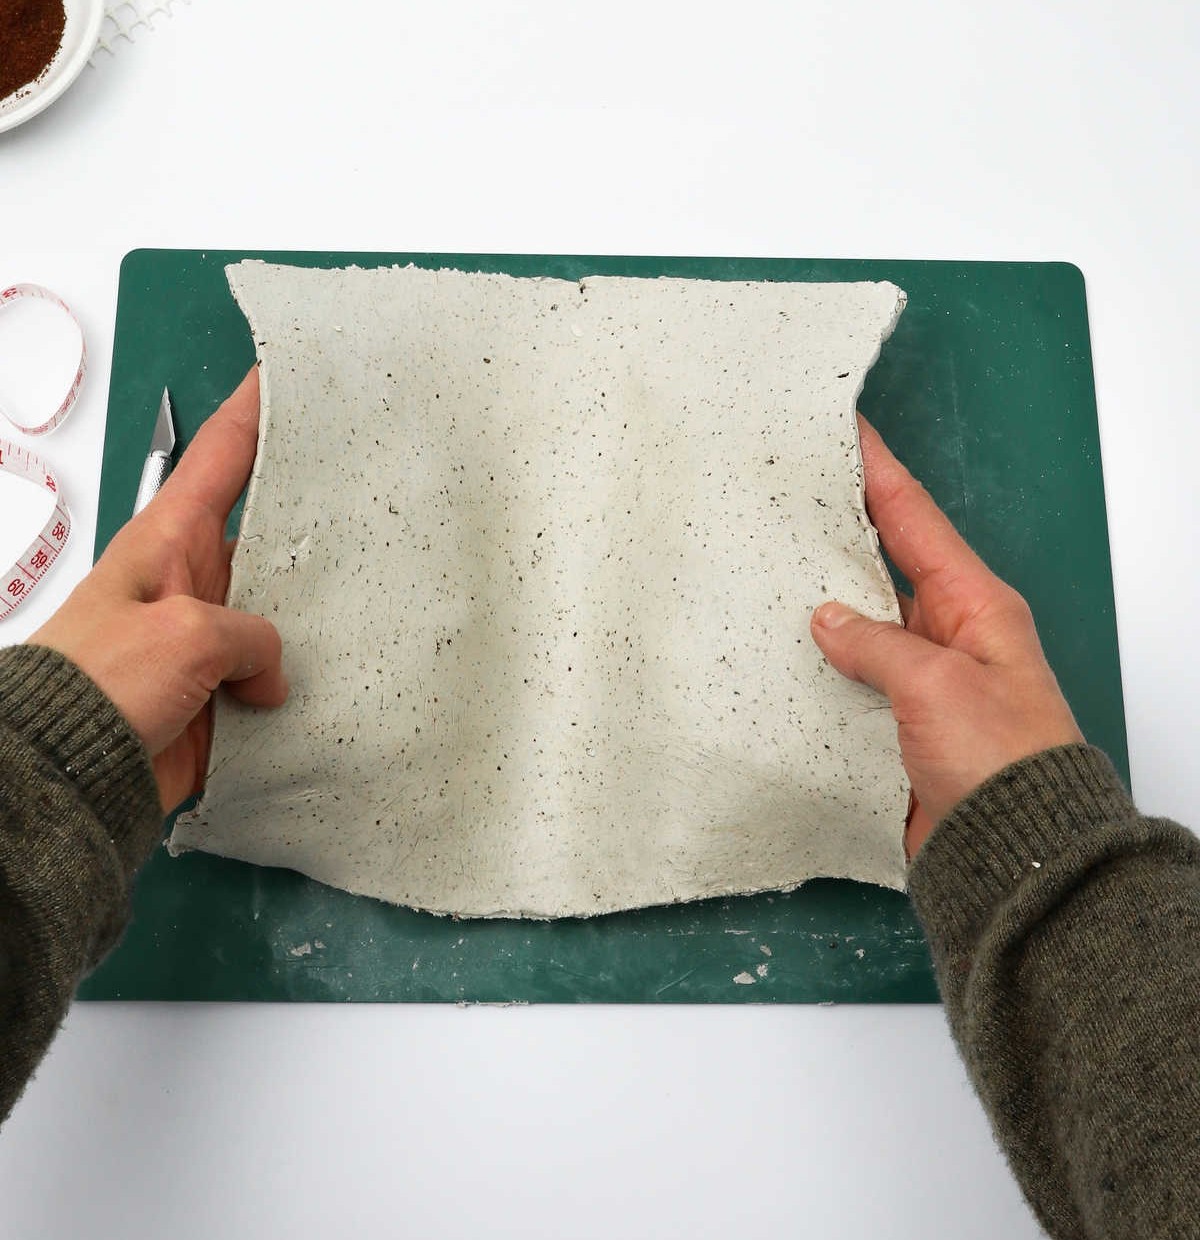
Transform the clay into a flat sheet by using a rolling pin or even a glass bottle. Aim for a thickness that’s neither too thin nor too thick, just like a tortilla. To ensure a proper fit, measure the bottle and roll the clay until you’re confident it can cover its surface. Alternatively, take extra precautions by measuring the bottle’s height and circumference with a tape measure. Then, consider the clay sheet you’ve created – will it be enough to wrap your chosen vessel?
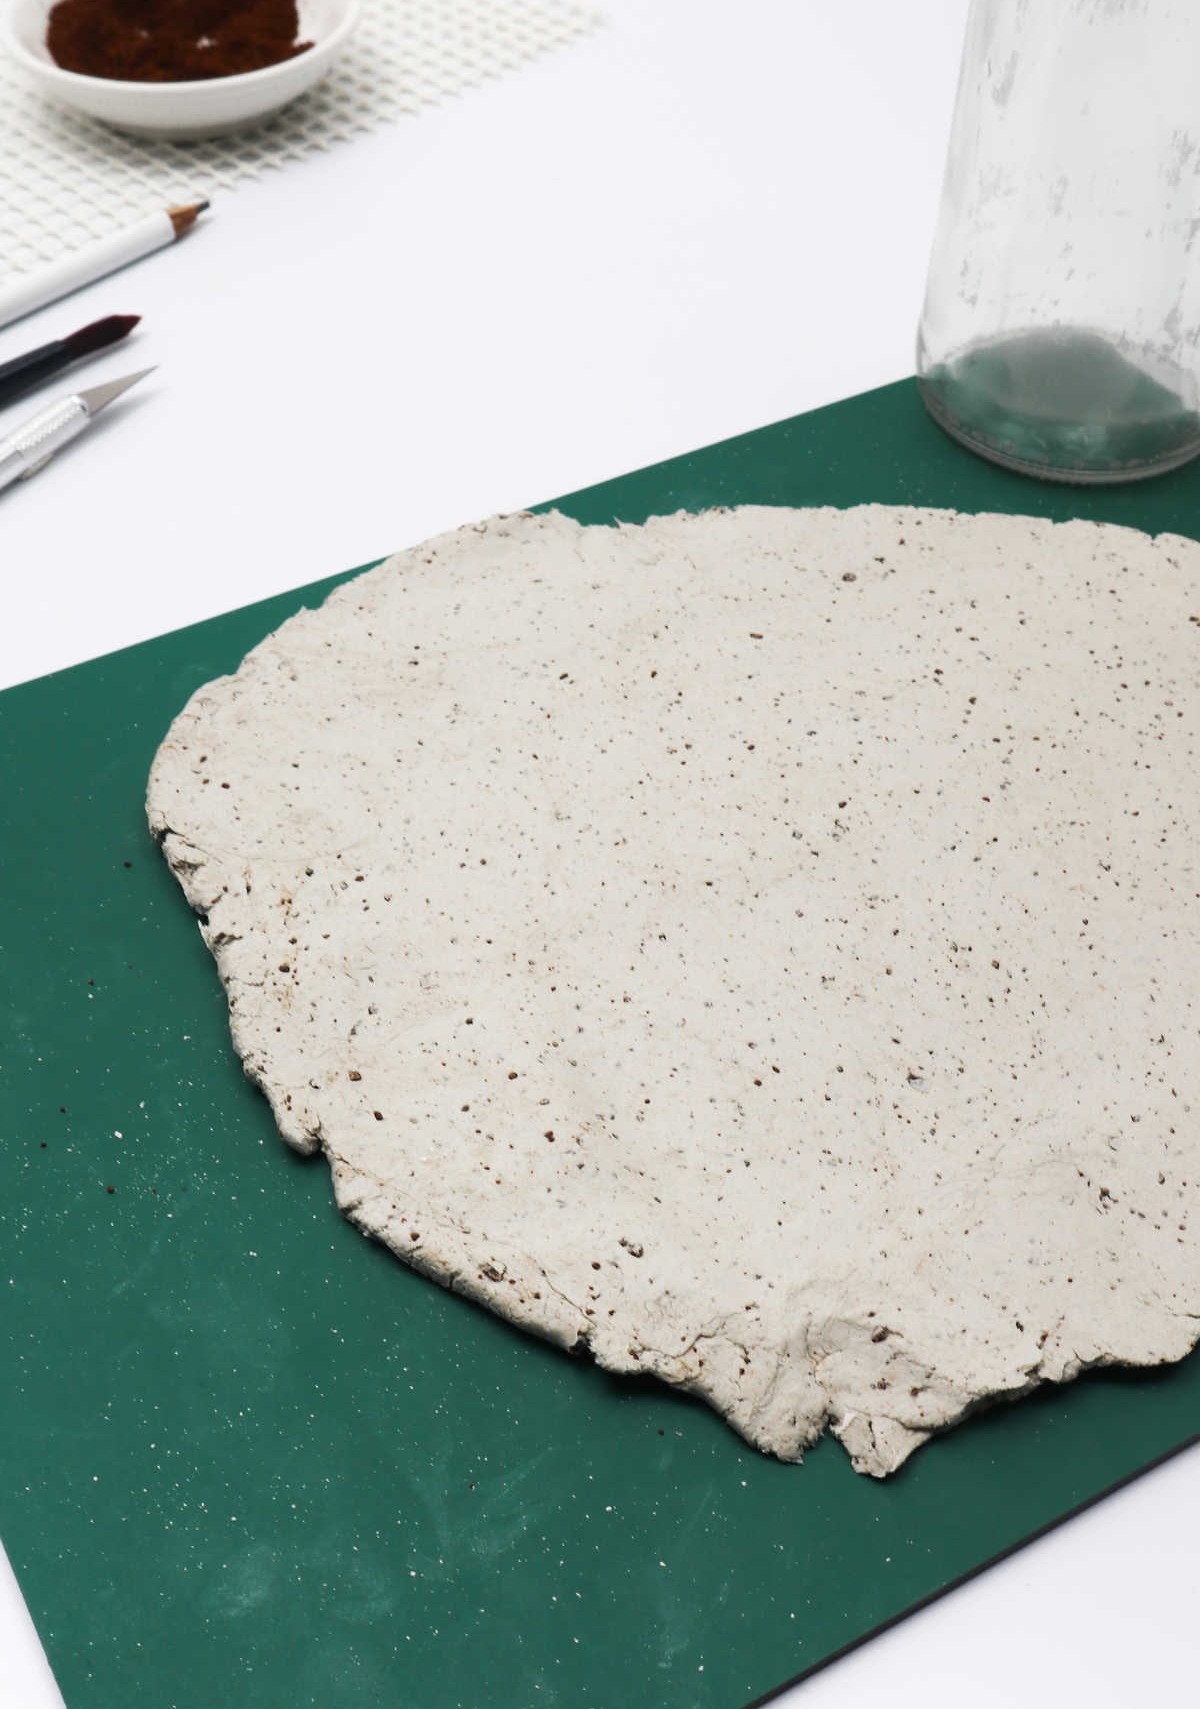
Step 5
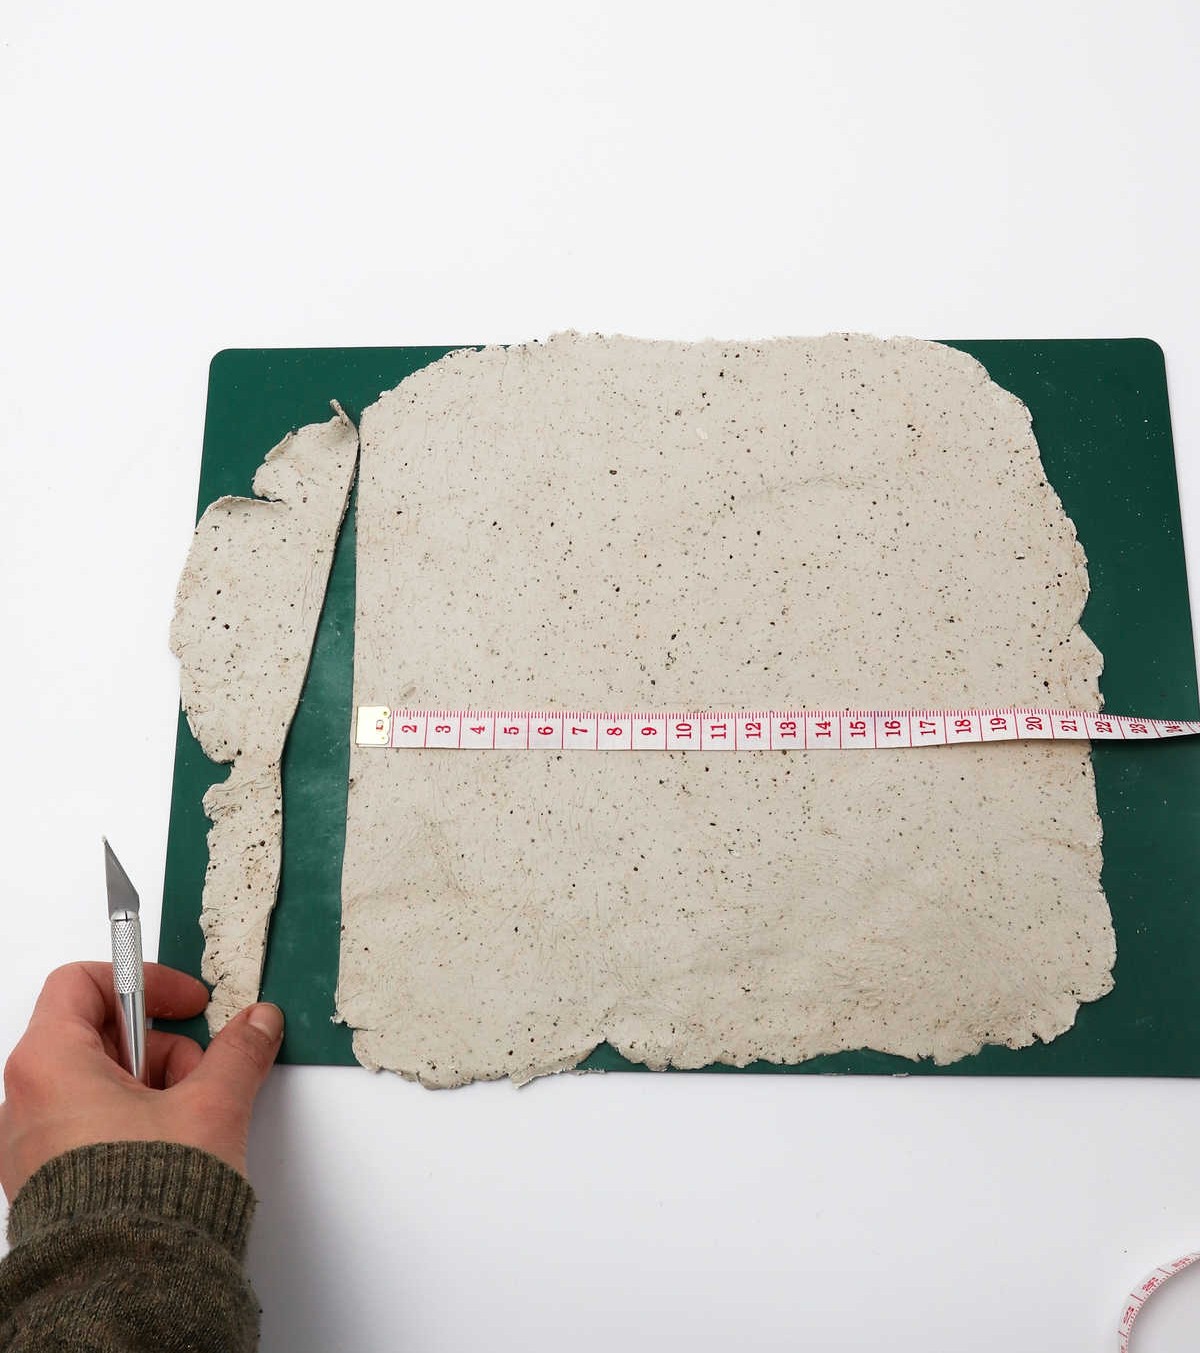
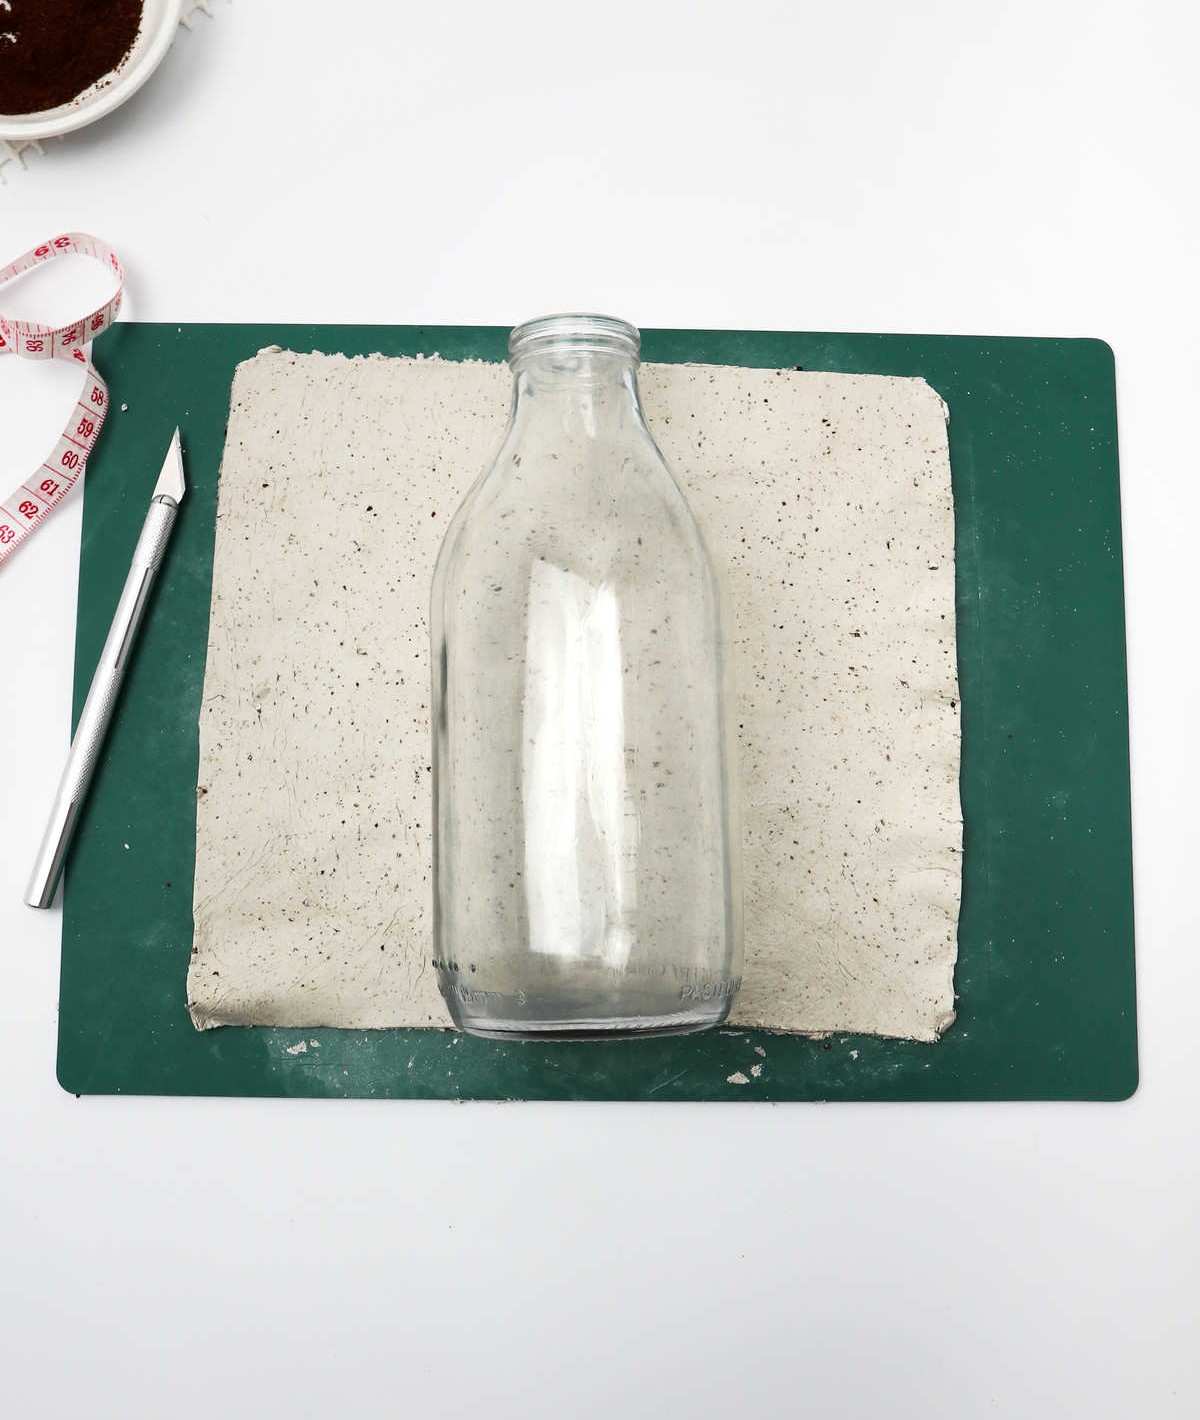
As you’ve determined the precise dimensions of your bottle, it’s time to shape the clay accordingly. Using a craft knife, carefully cut the clay into the required shapes, ensuring accuracy is paramount. Remove any excess clay and set it aside for future use; I suggest covering it with plastic wrap or a damp cloth to prevent drying out. Once you’ve achieved the desired shape, place the bottle over the clay to conduct a thorough size check.
Step 6
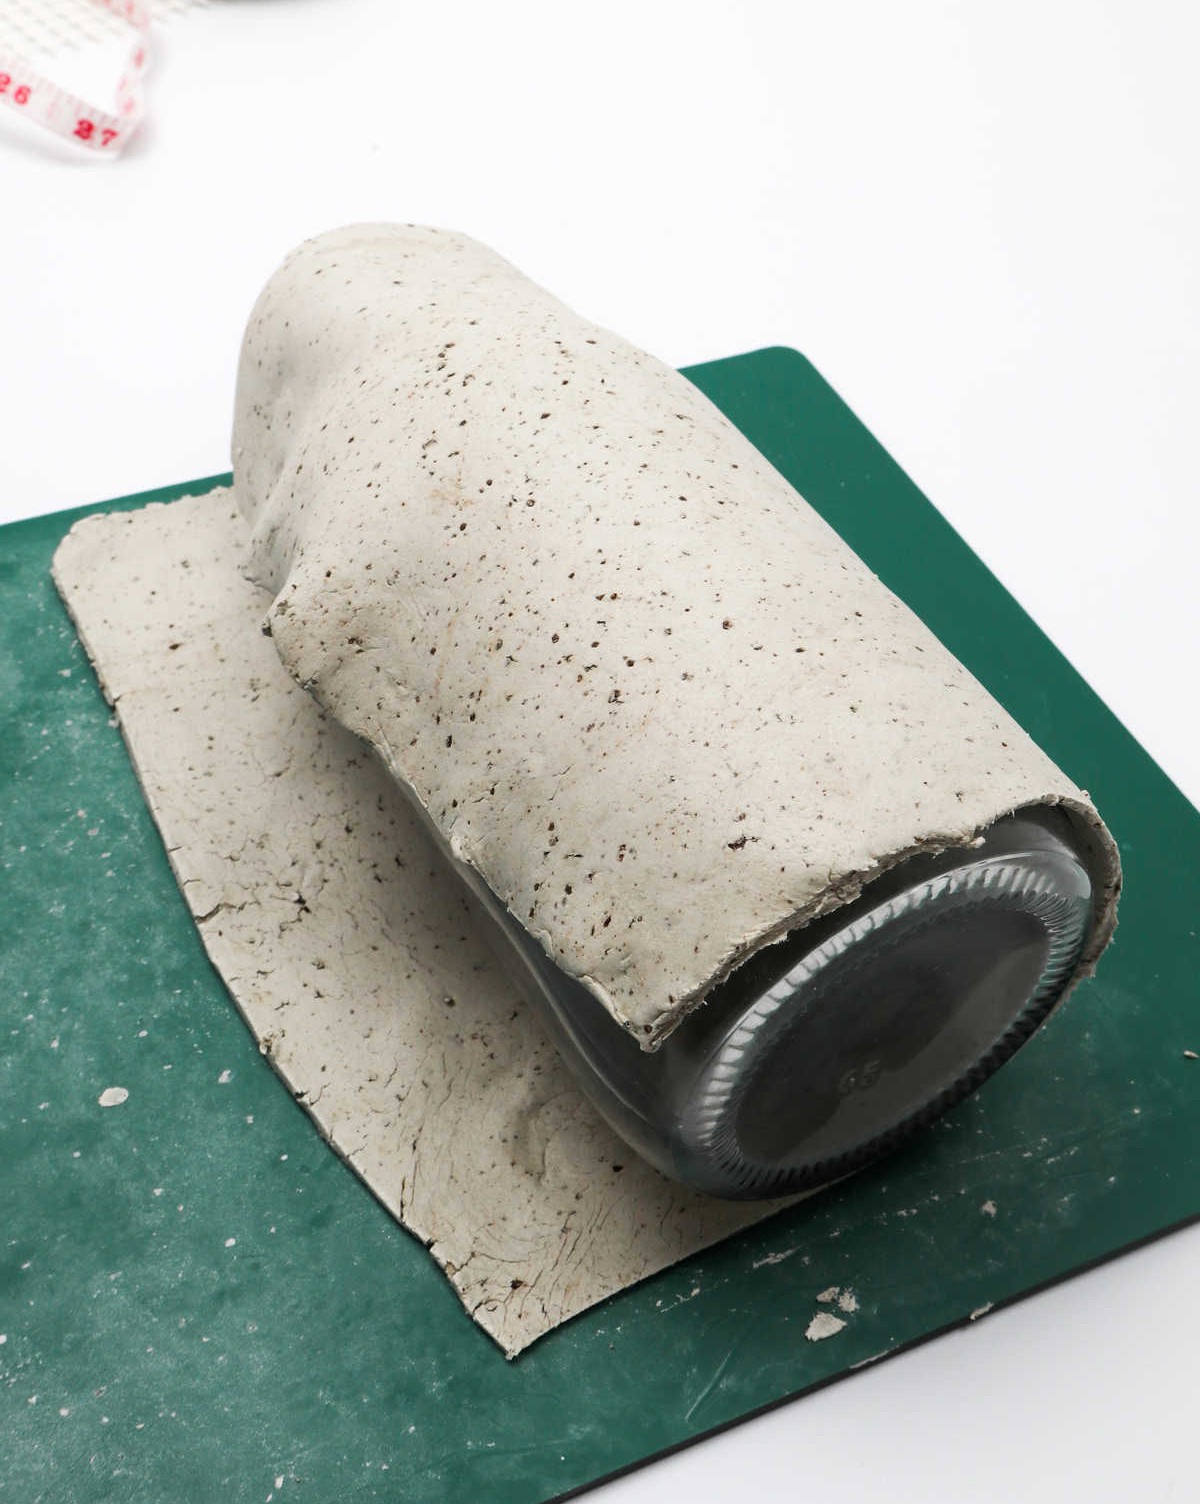
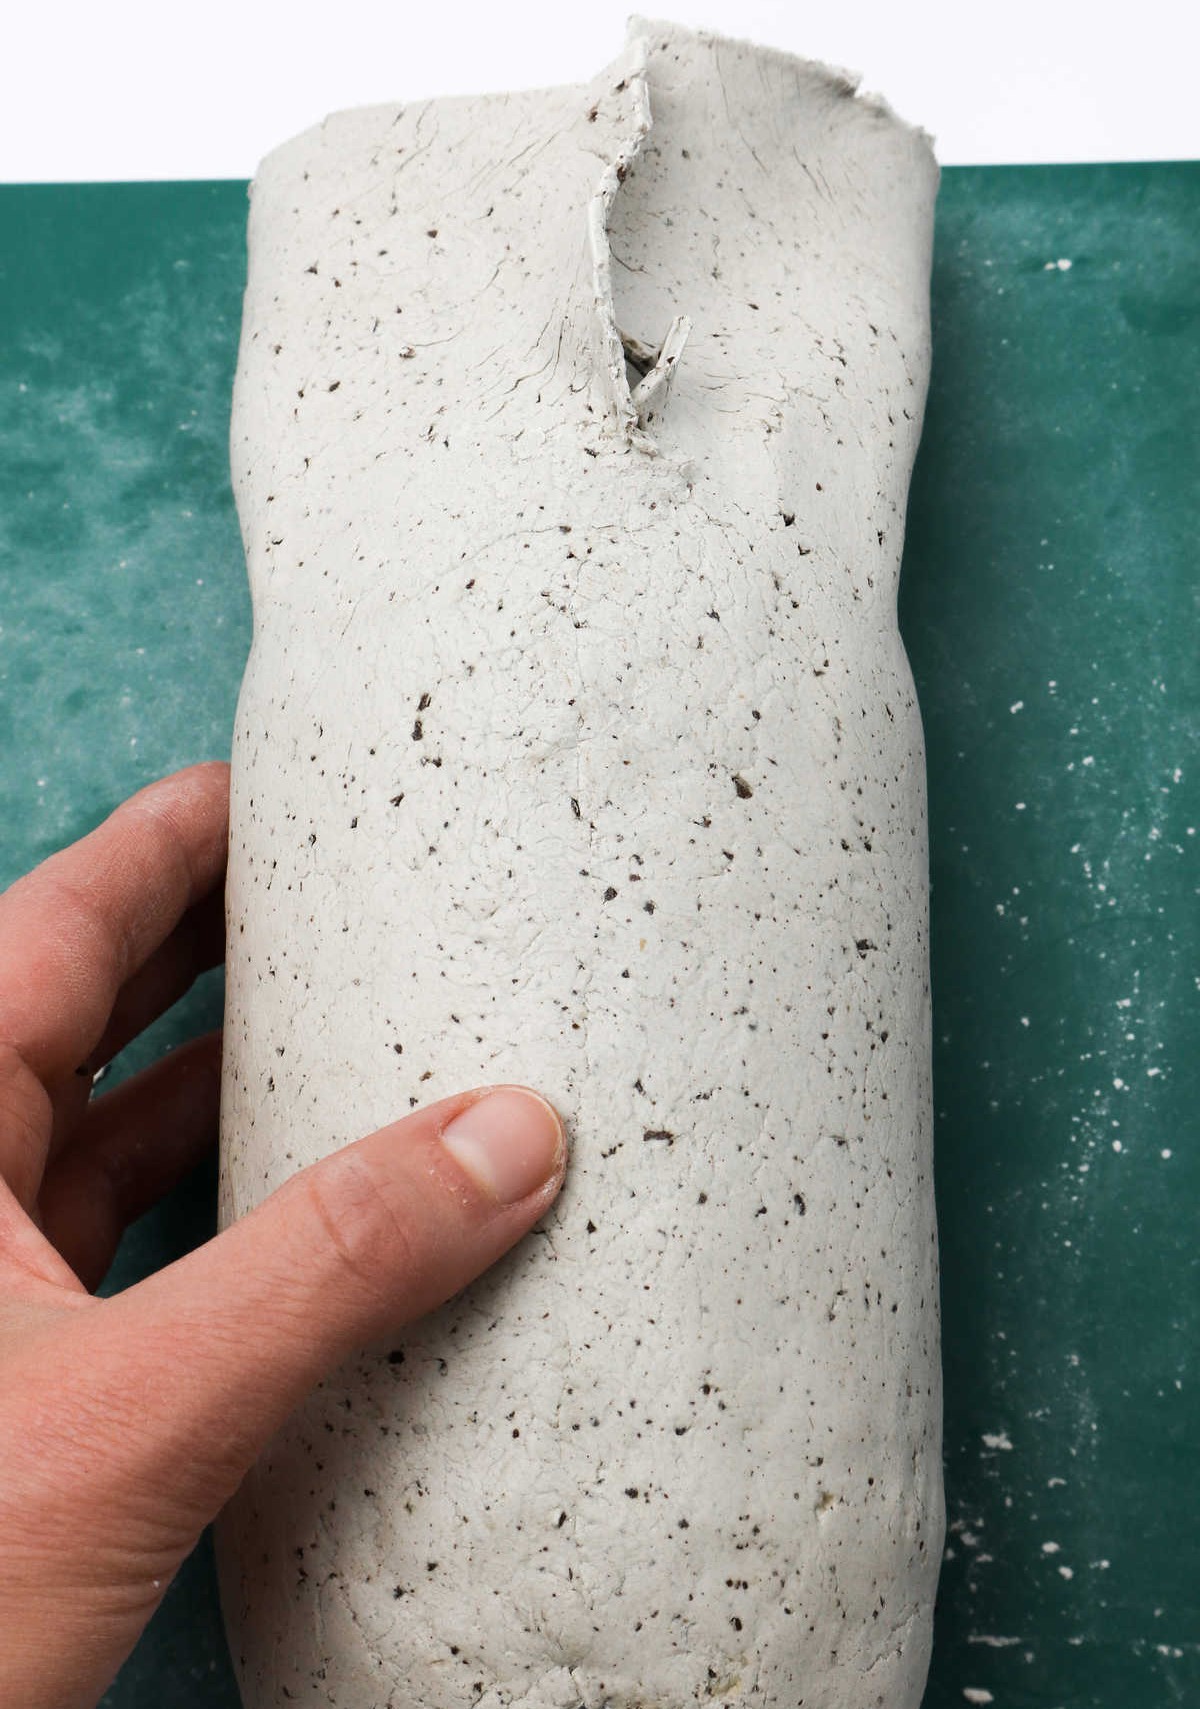
To achieve the desired outcome, begin by positioning the bottle on a flat surface and gently laying the clay sheet over it. This process is reminiscent of working with fondant and cake, requiring attention to detail to ensure a smooth application. As you lay the sheet, be mindful of any folds, wrinkles, or cracks that may appear. Once the sheet is in place, roll the bottle around to ensure complete coverage.
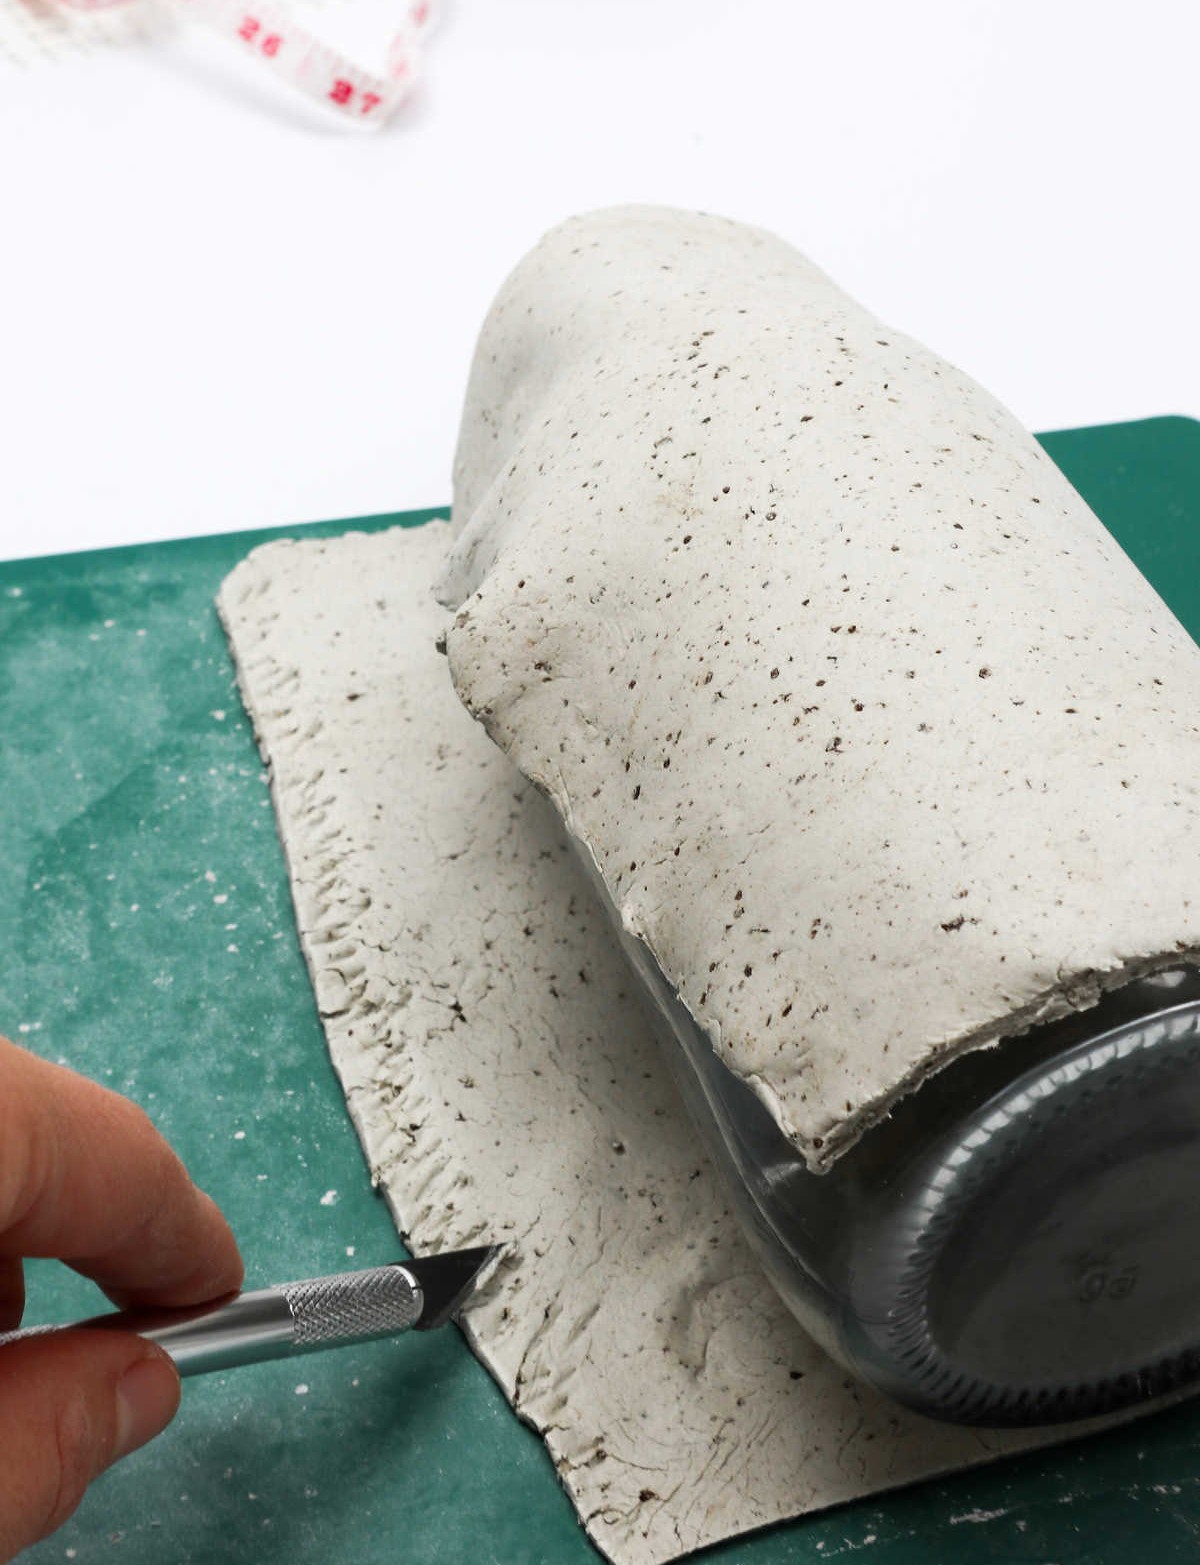
Next, use your craft knife to make a few strategic incisions at one end of the clay sheet. These notches will facilitate a secure bond when you later attach the ends together, allowing for a seamless finish.
Step 7
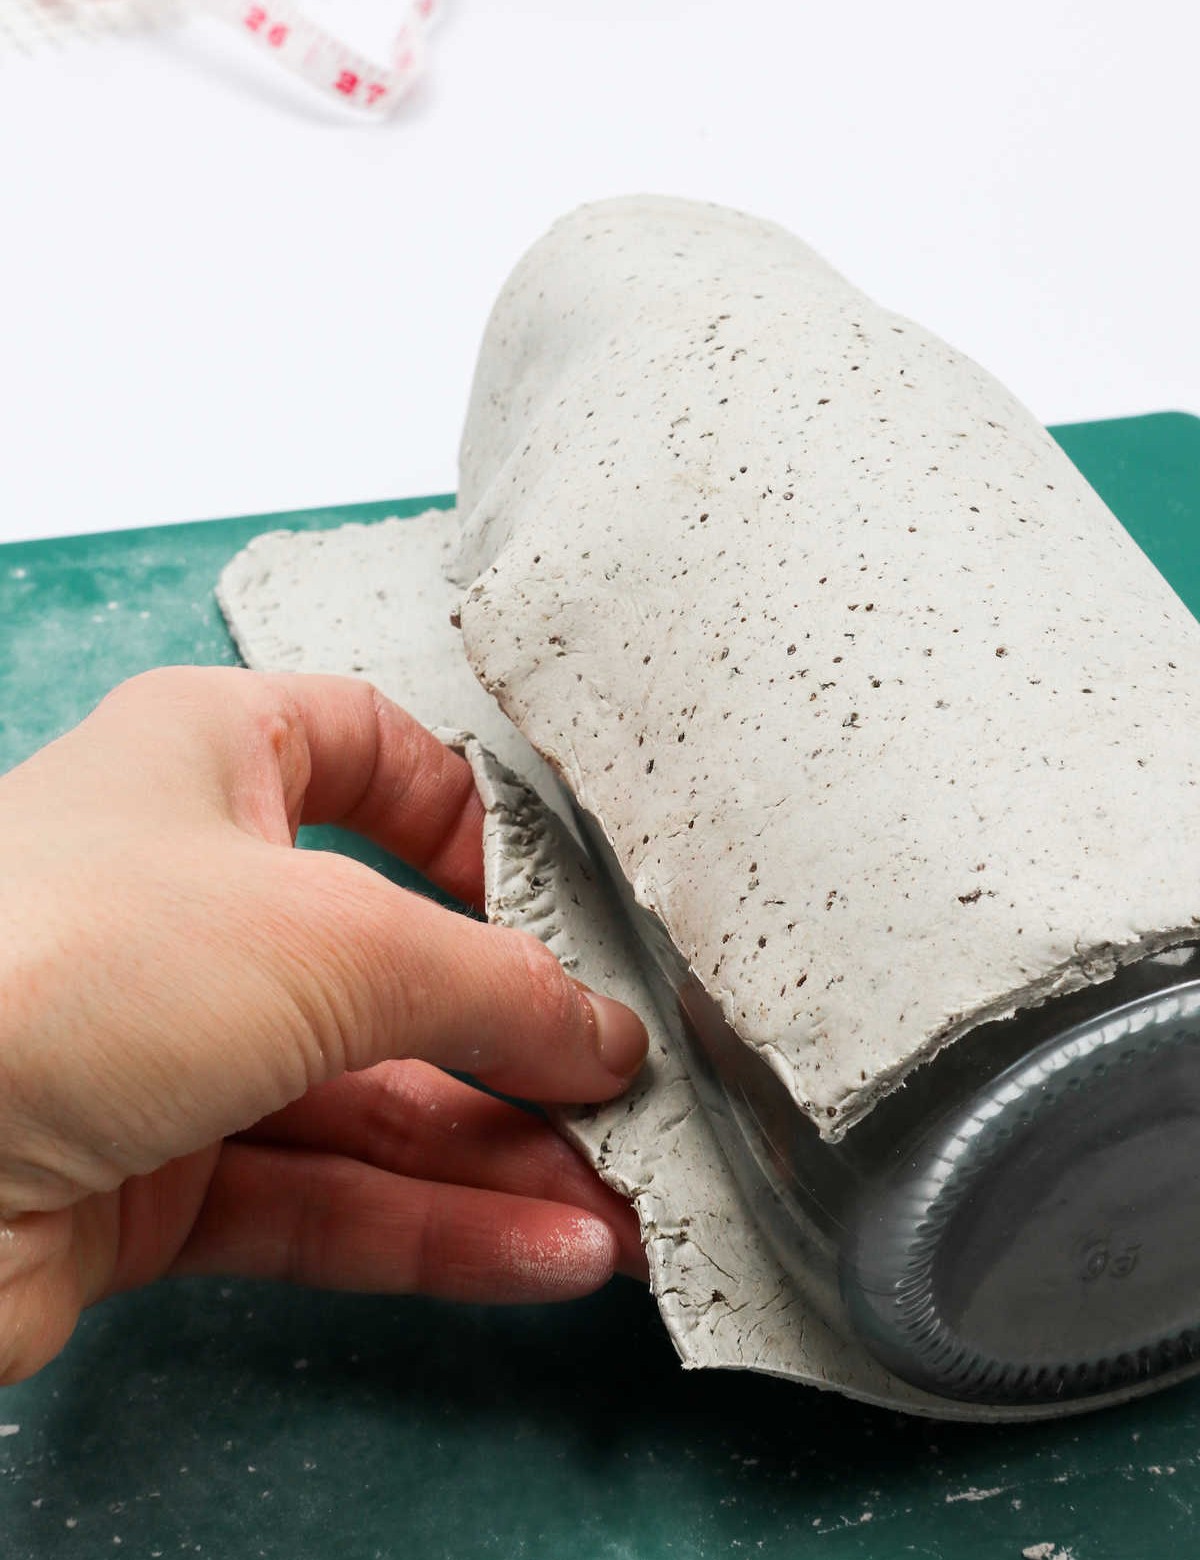
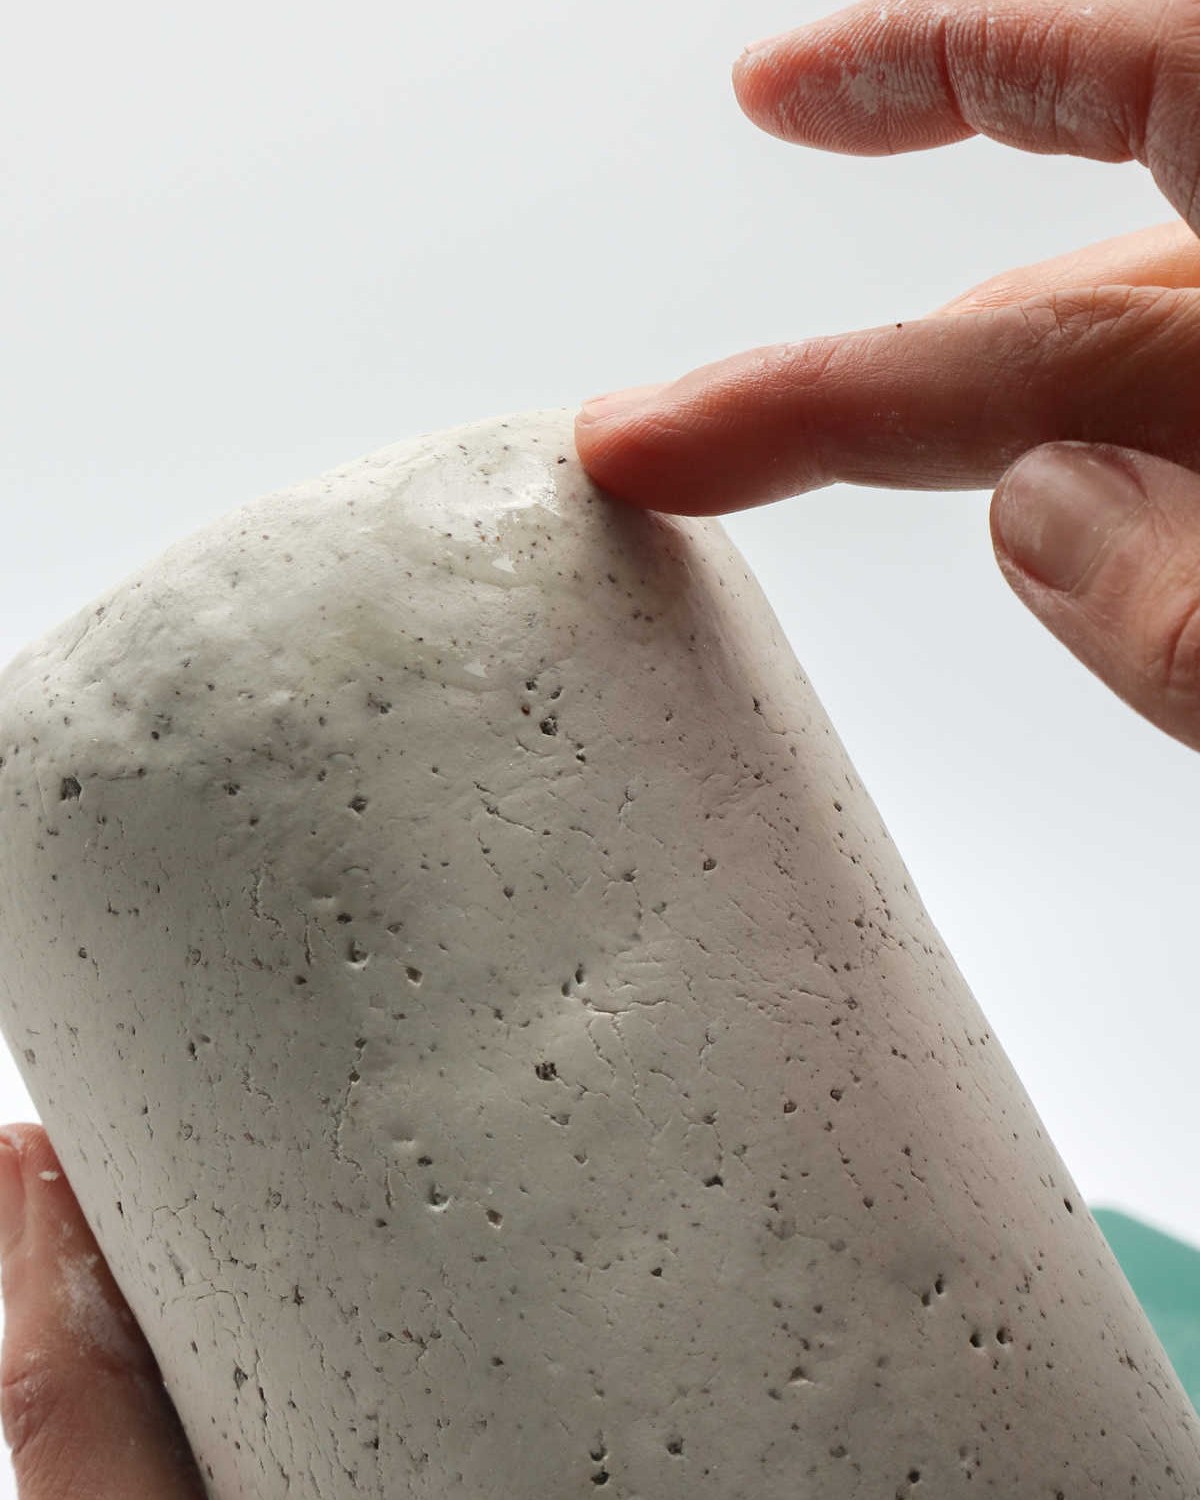
To merge the two halves of the clay, carefully align the notched side with its counterpart and press them firmly together. Ensure a seamless blend by applying gentle pressure to the entire joint. If necessary, dampen your finger with water and use it to smooth out any imperfections or ridges that may arise. It’s crucial to achieve a flawless fusion, free from visible seams or demarcations, so take your time and be meticulous when refining the joint.
Step 8
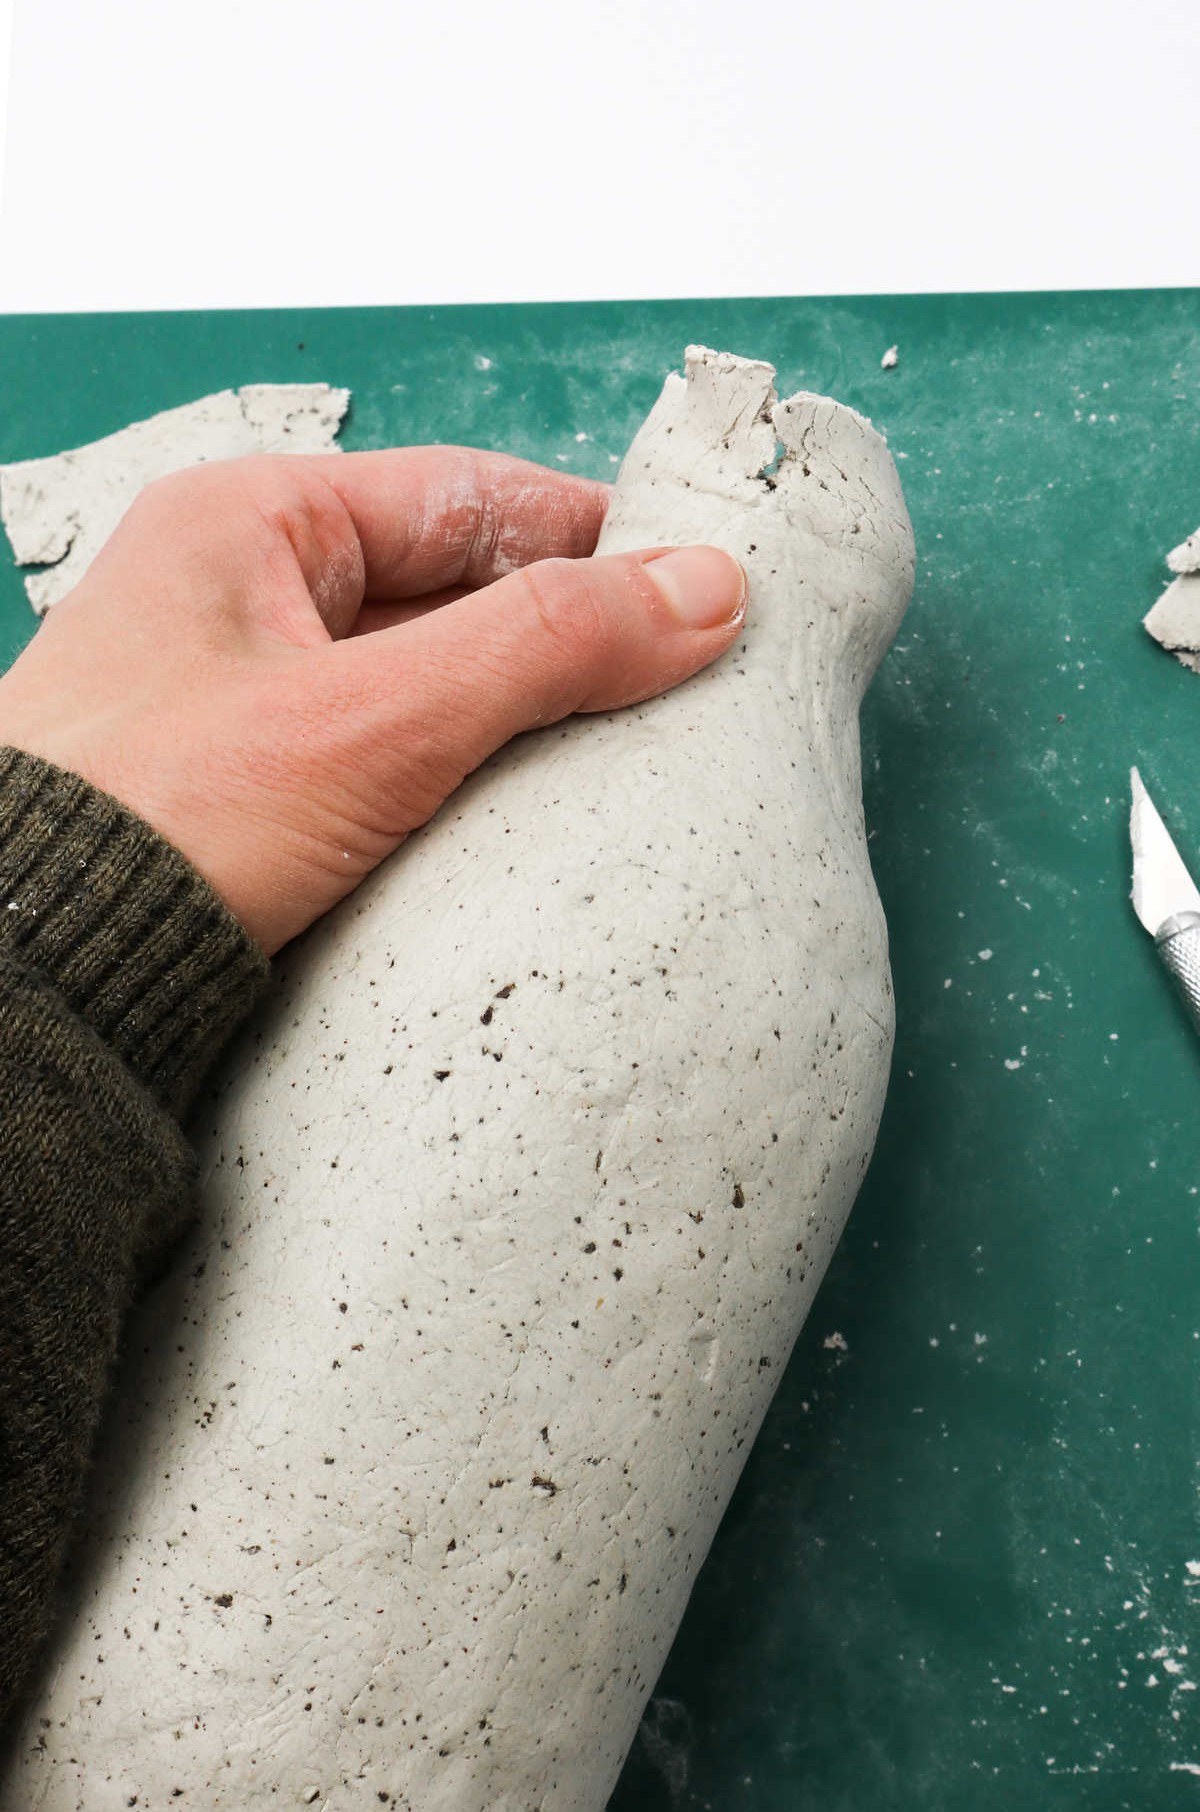
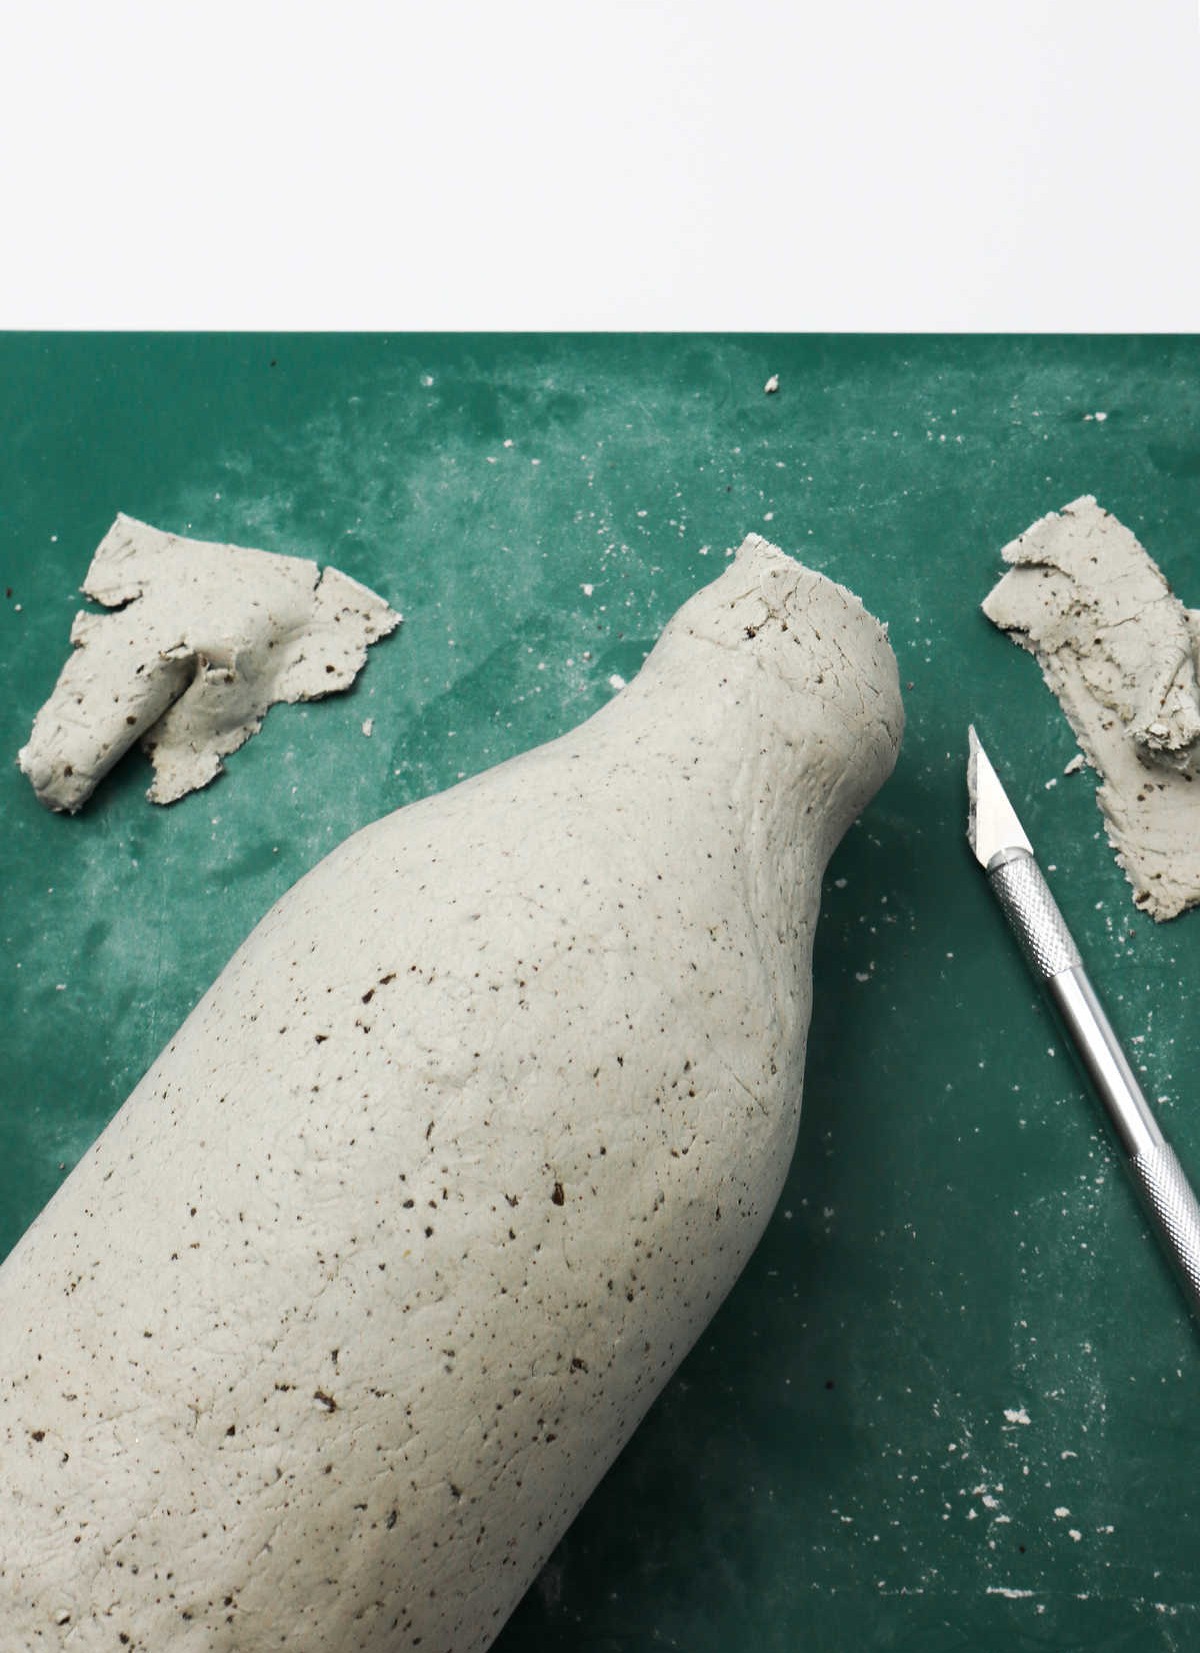
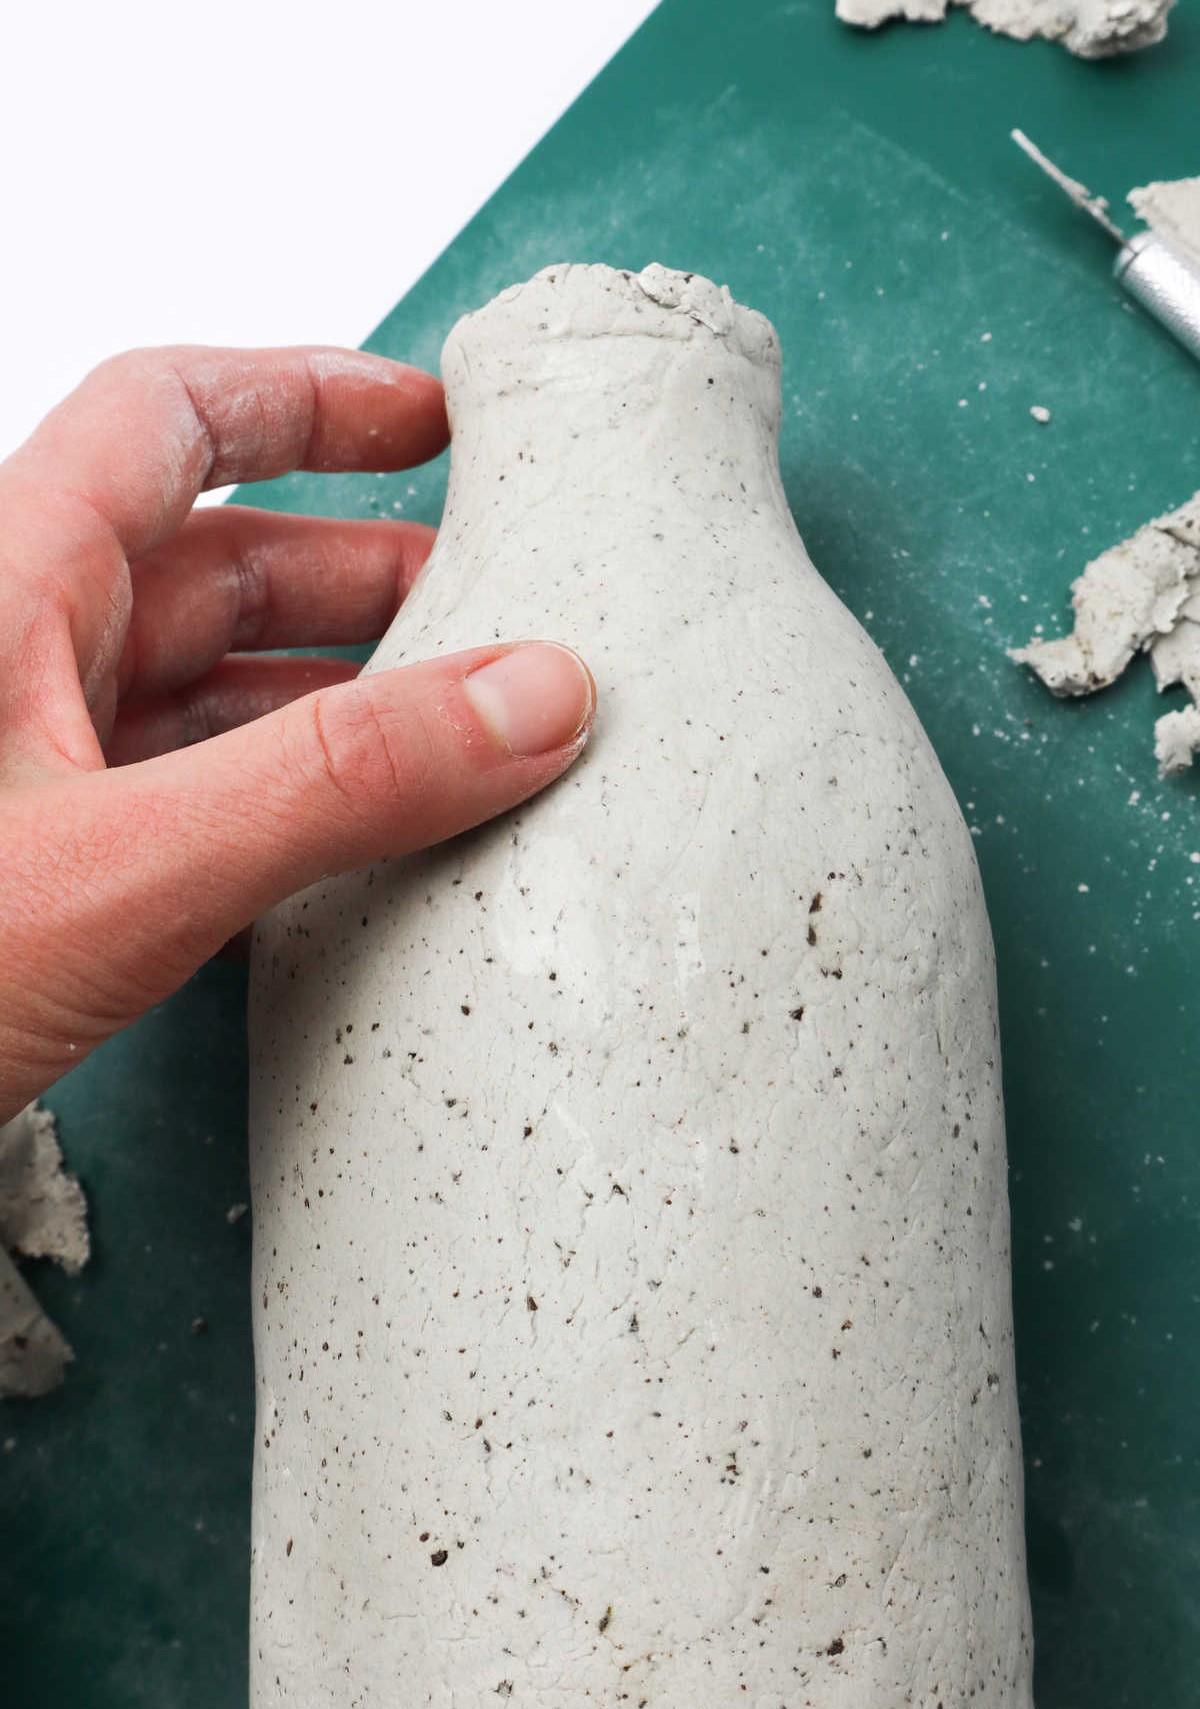
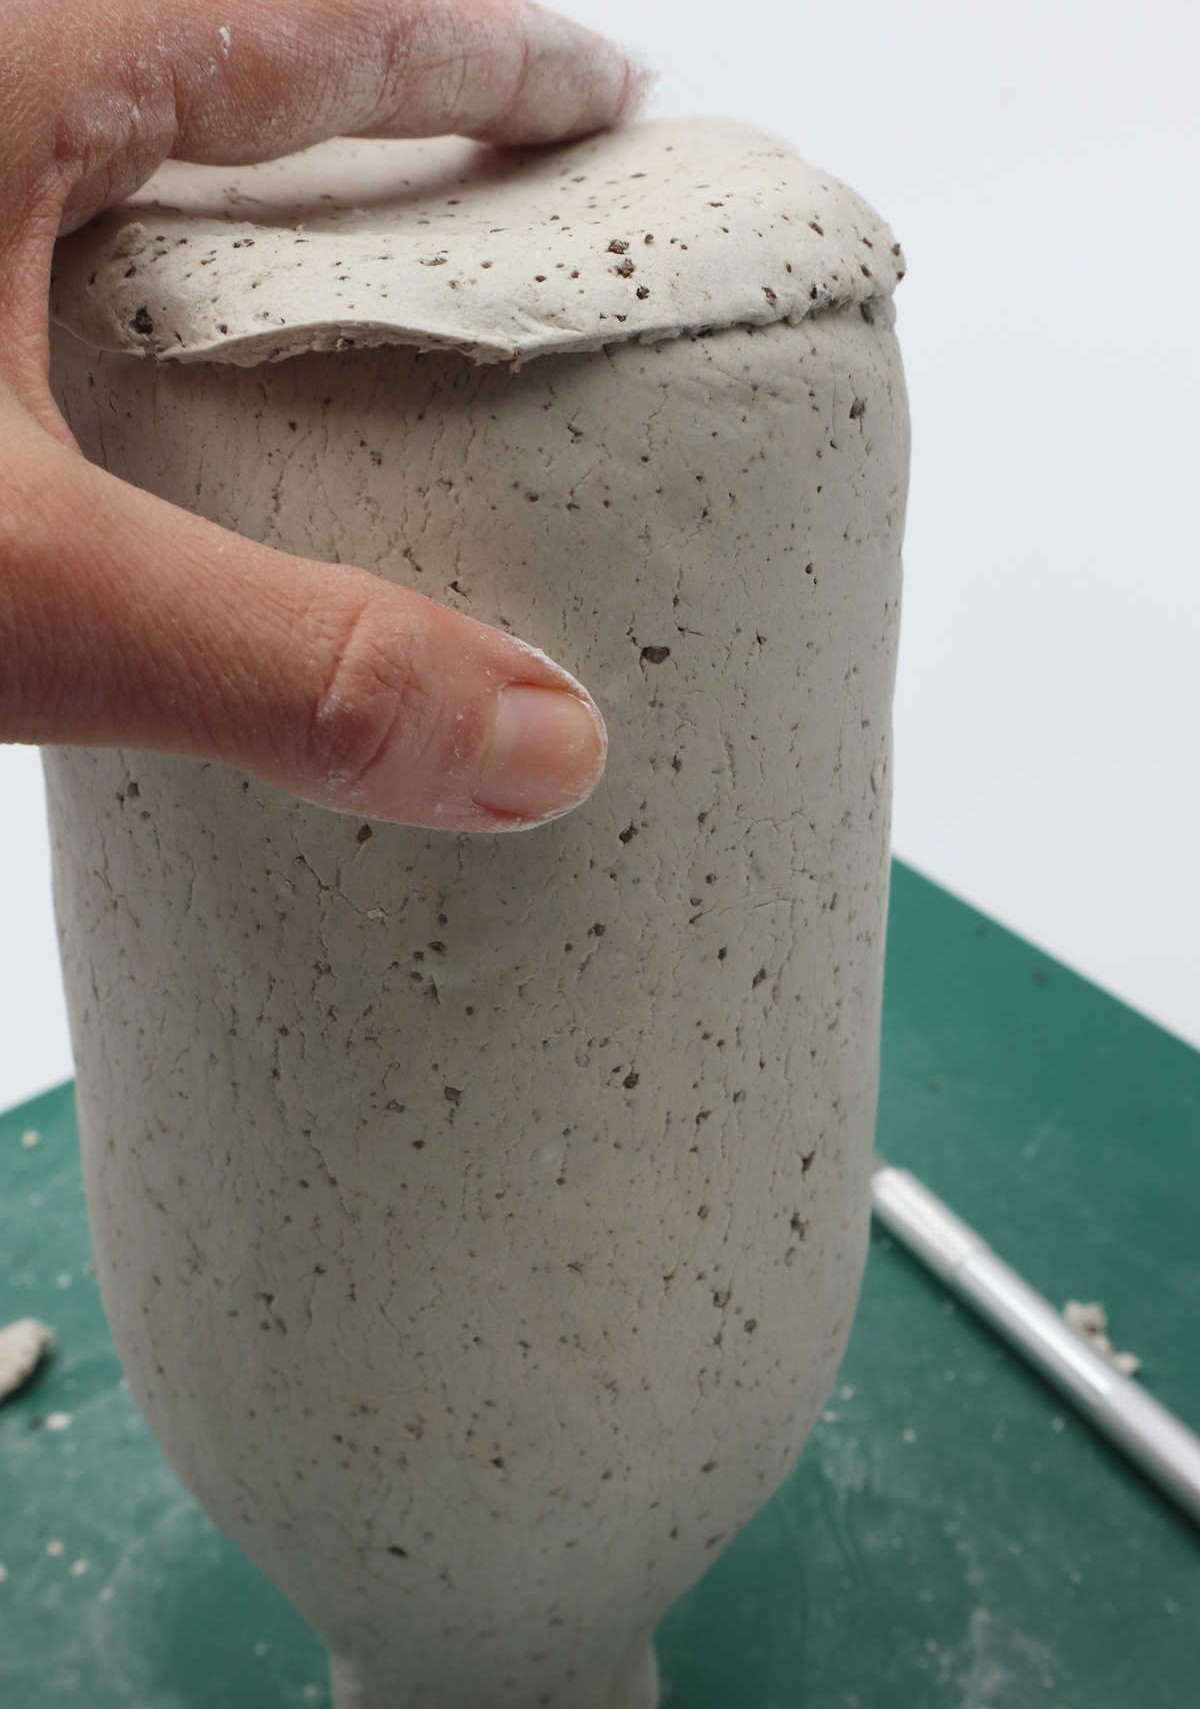
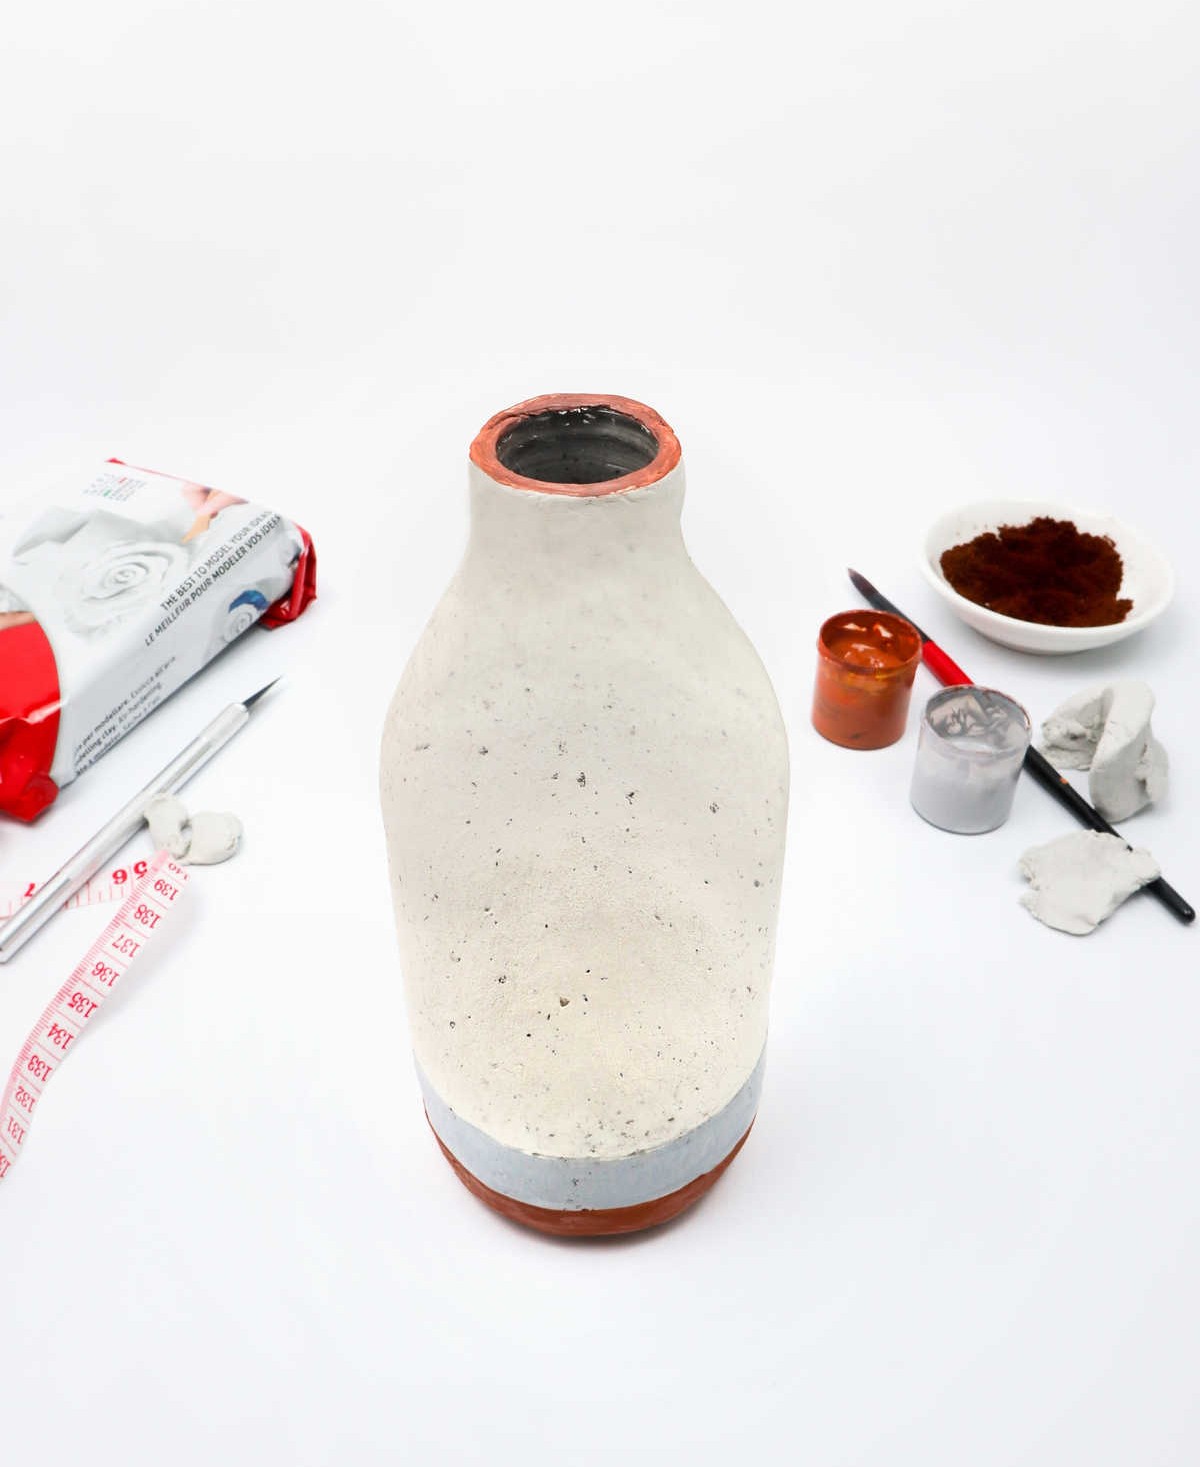
As you approach the neck and mouth of the bottle, attention to detail is crucial. The area where these two parts meet requires a gentle touch to successfully blend them together.
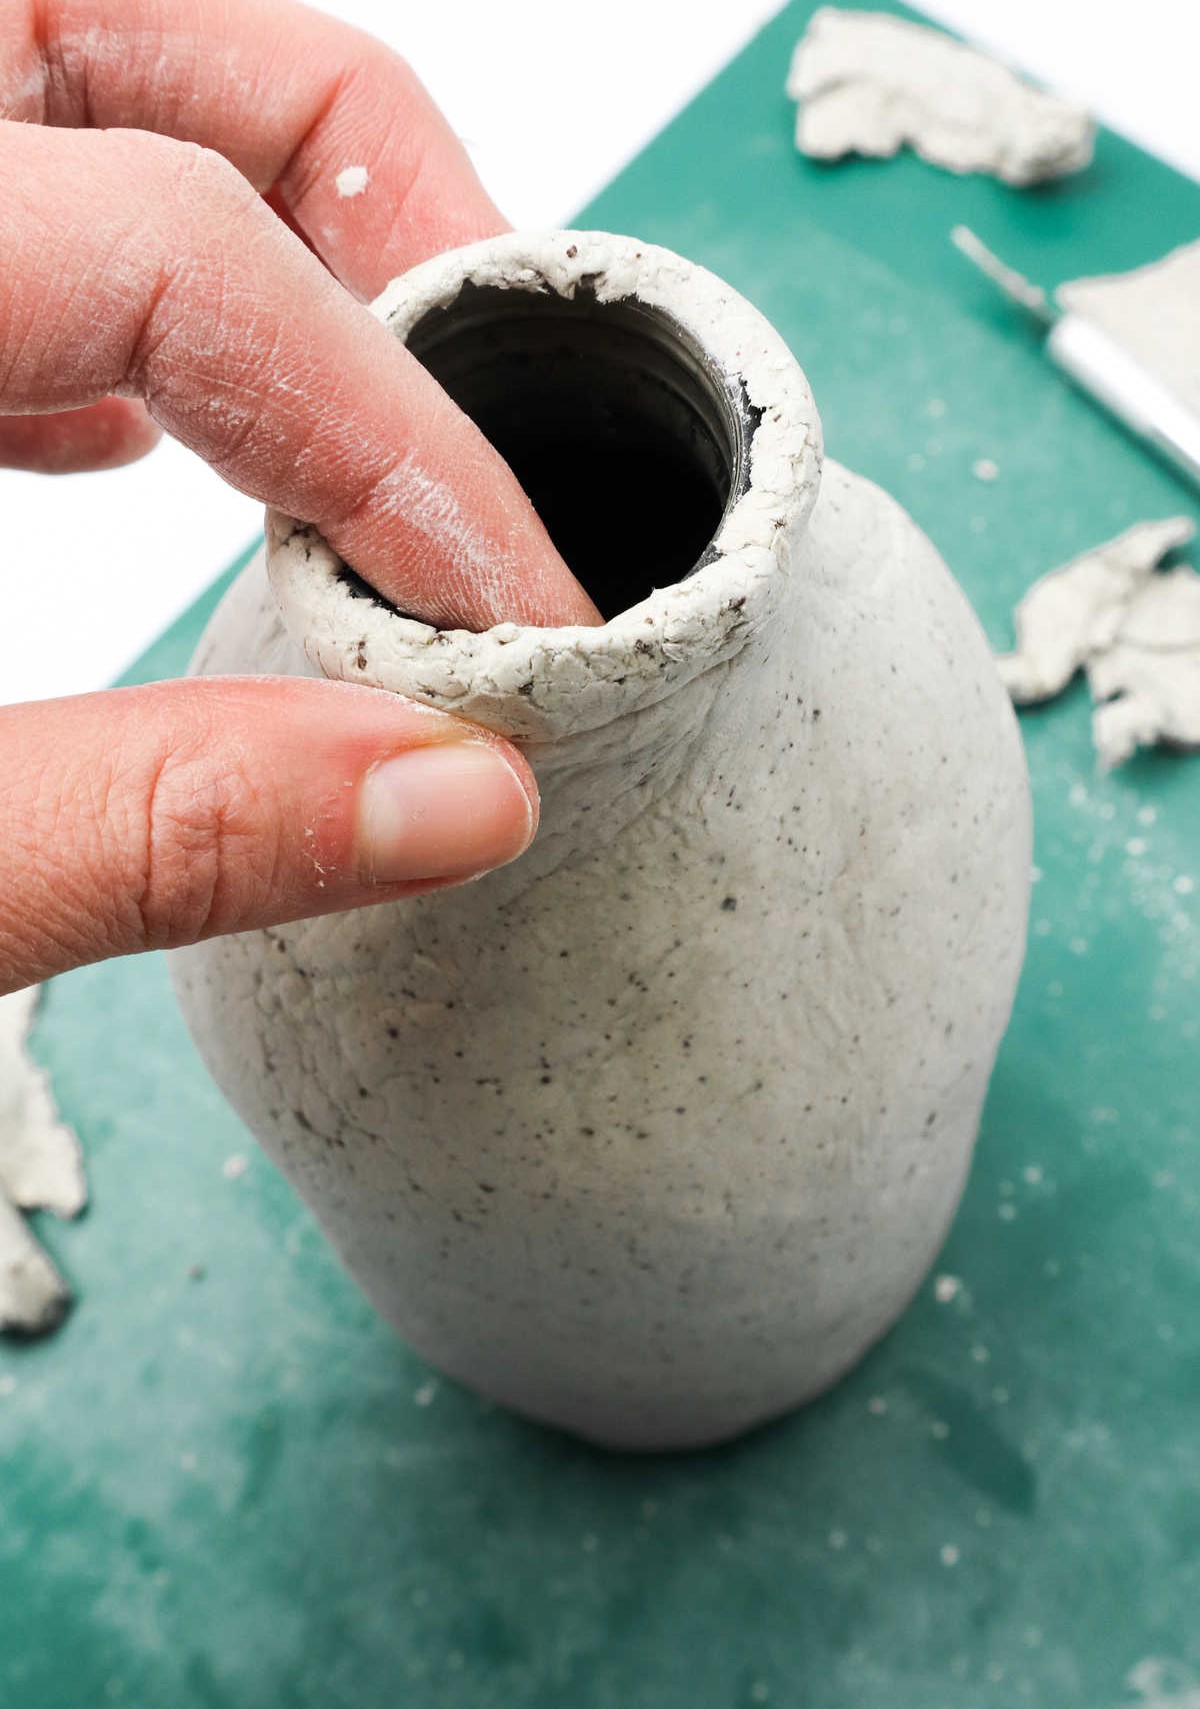
Use your thumb to shape the clay over the curved neck of the bottle, ensuring a seamless connection. Meanwhile, don’t forget to cover the rim of the mouth with a thin layer of clay. While it’s ideal to achieve a smooth surface, perfection isn’t necessary at this stage.
If you’re not entirely satisfied with the result, fear not! A craft knife can be used to trim away any excess clay and refine the shape around the rim. With these minor adjustments, your clay-covered bottle should take on a refined appearance.
Step 9
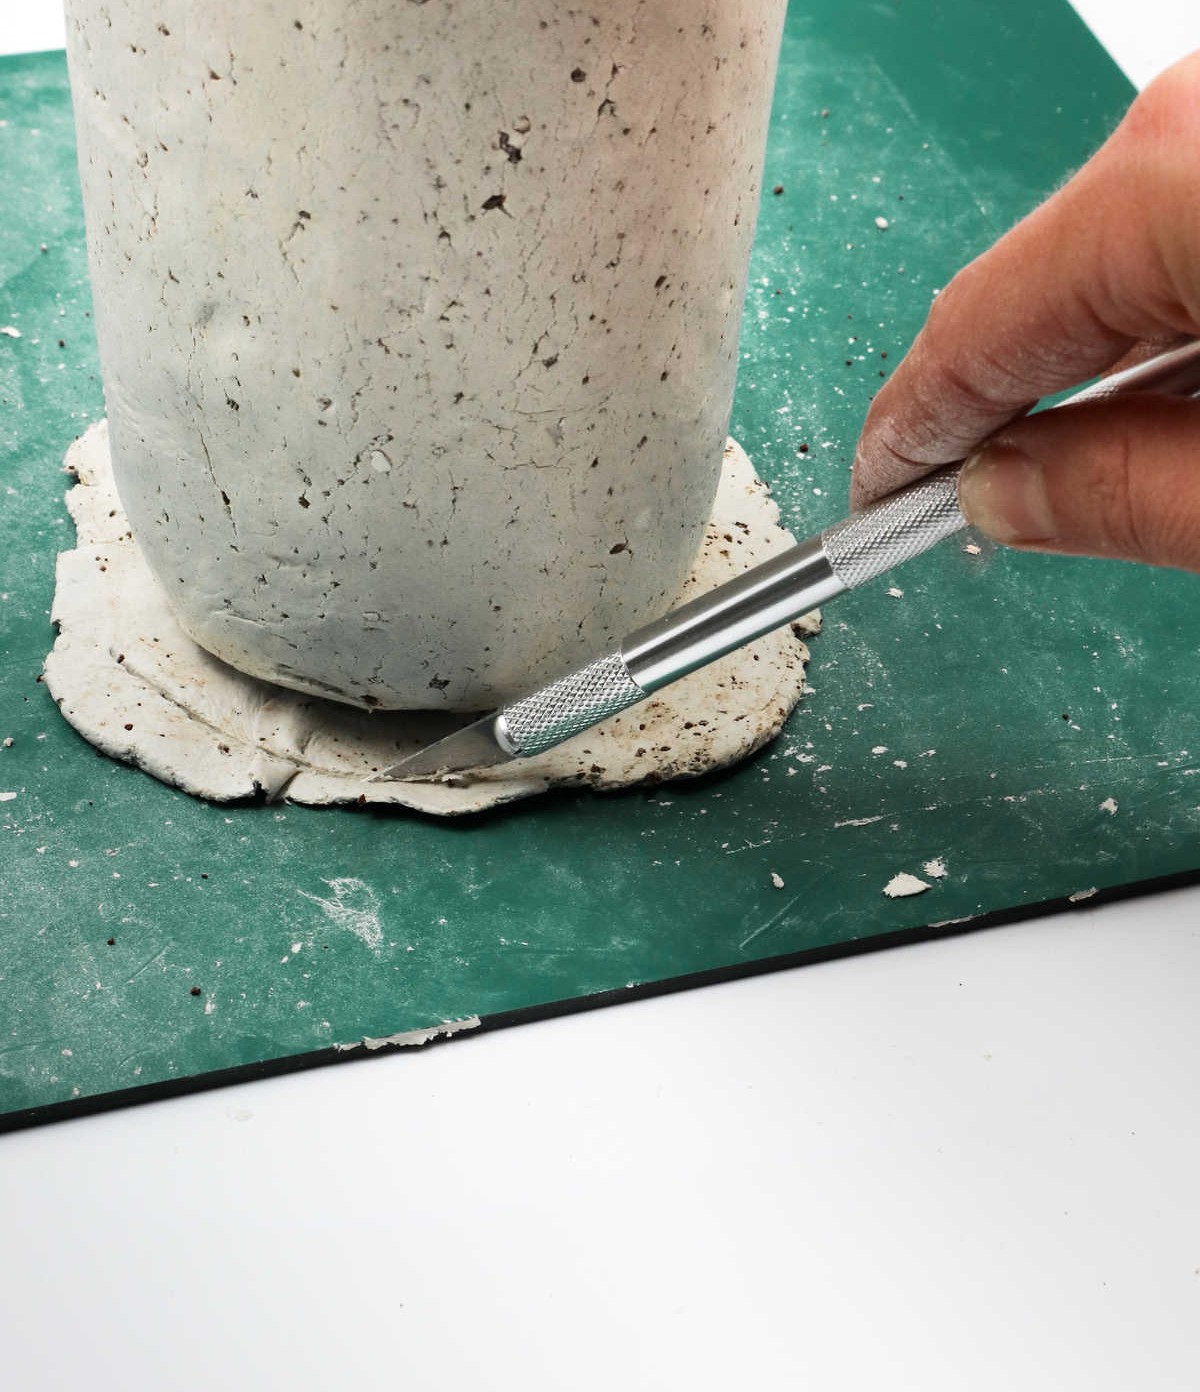
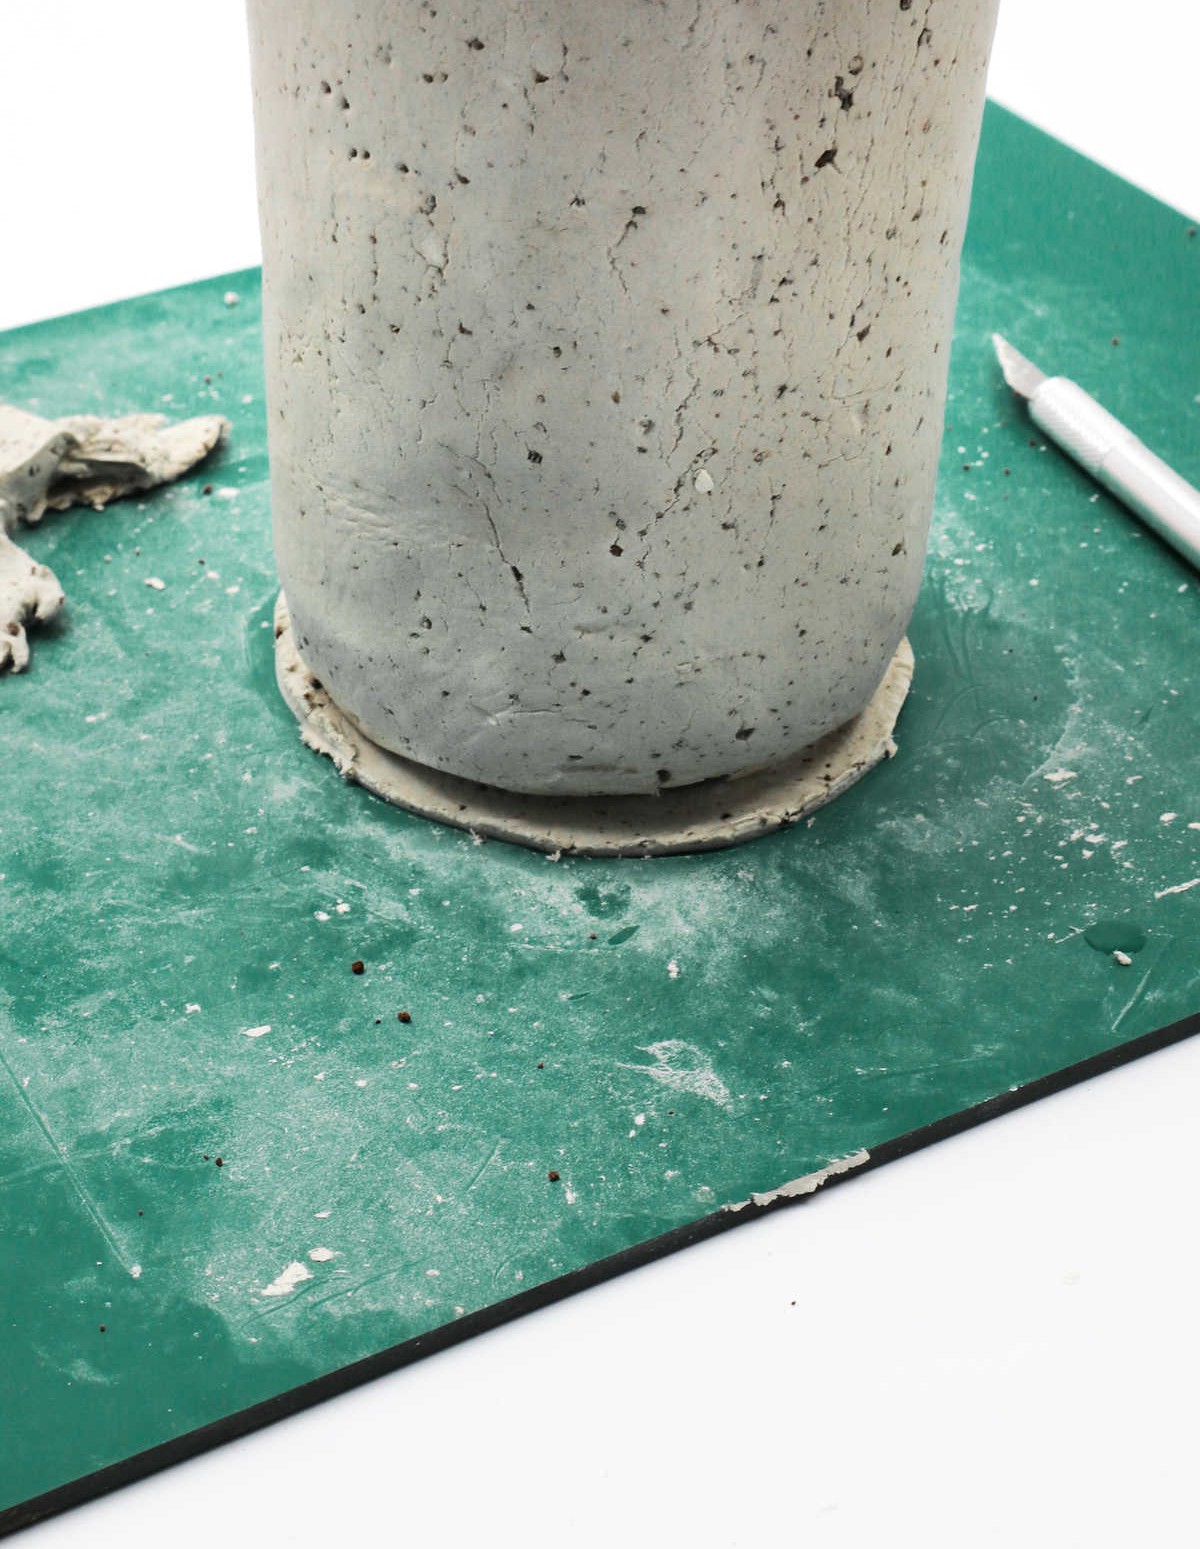
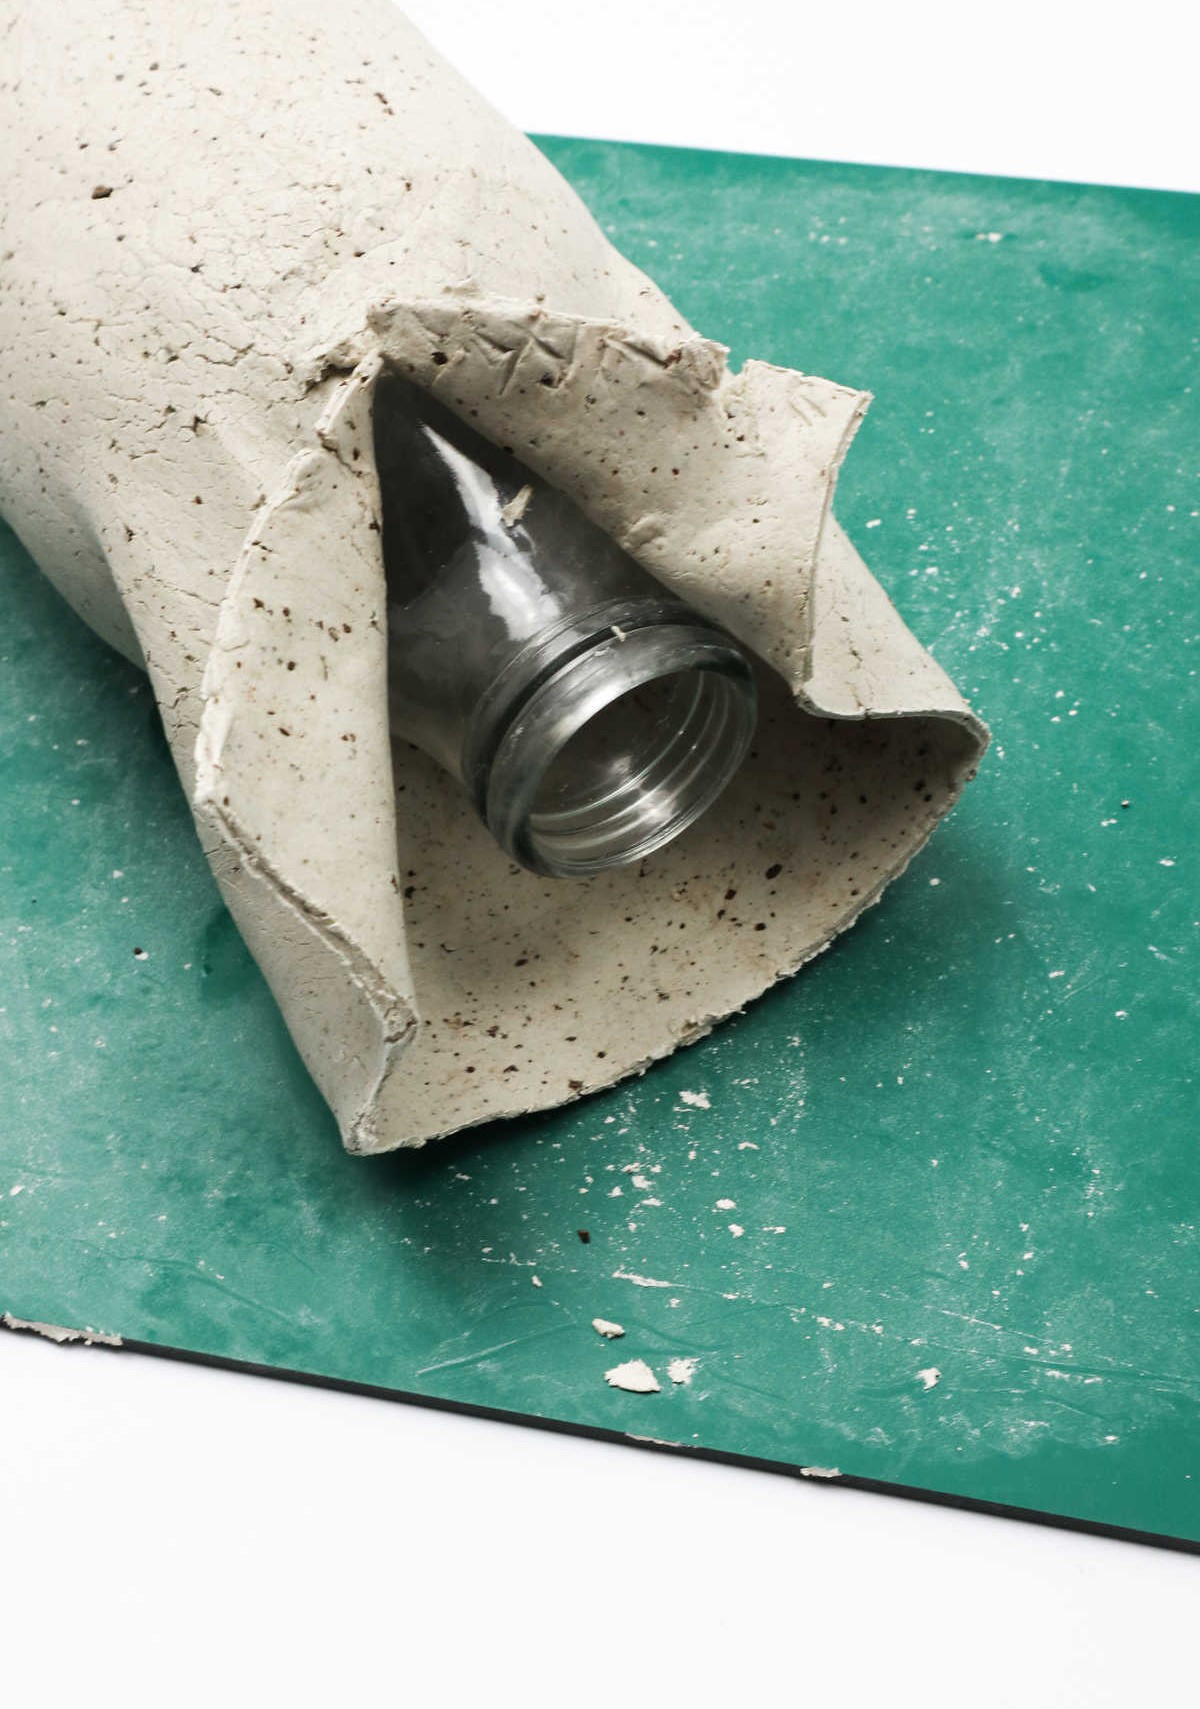
To utilize the clay set aside earlier, begin by rolling it out evenly. Position the bottle over the clay, ensuring a smooth surface. Next, use your craft knife to carefully cut the clay around the bottle, as illustrated. Carefully invert the bottle, balancing it on its mouth. Press the bottom component of clay into the bottle, blending it seamlessly with the remaining clay.
To eliminate any imperfections and enhance the bond between the clay components, consider adding a small drop of water to fill in any cracks or lines.
Step 10
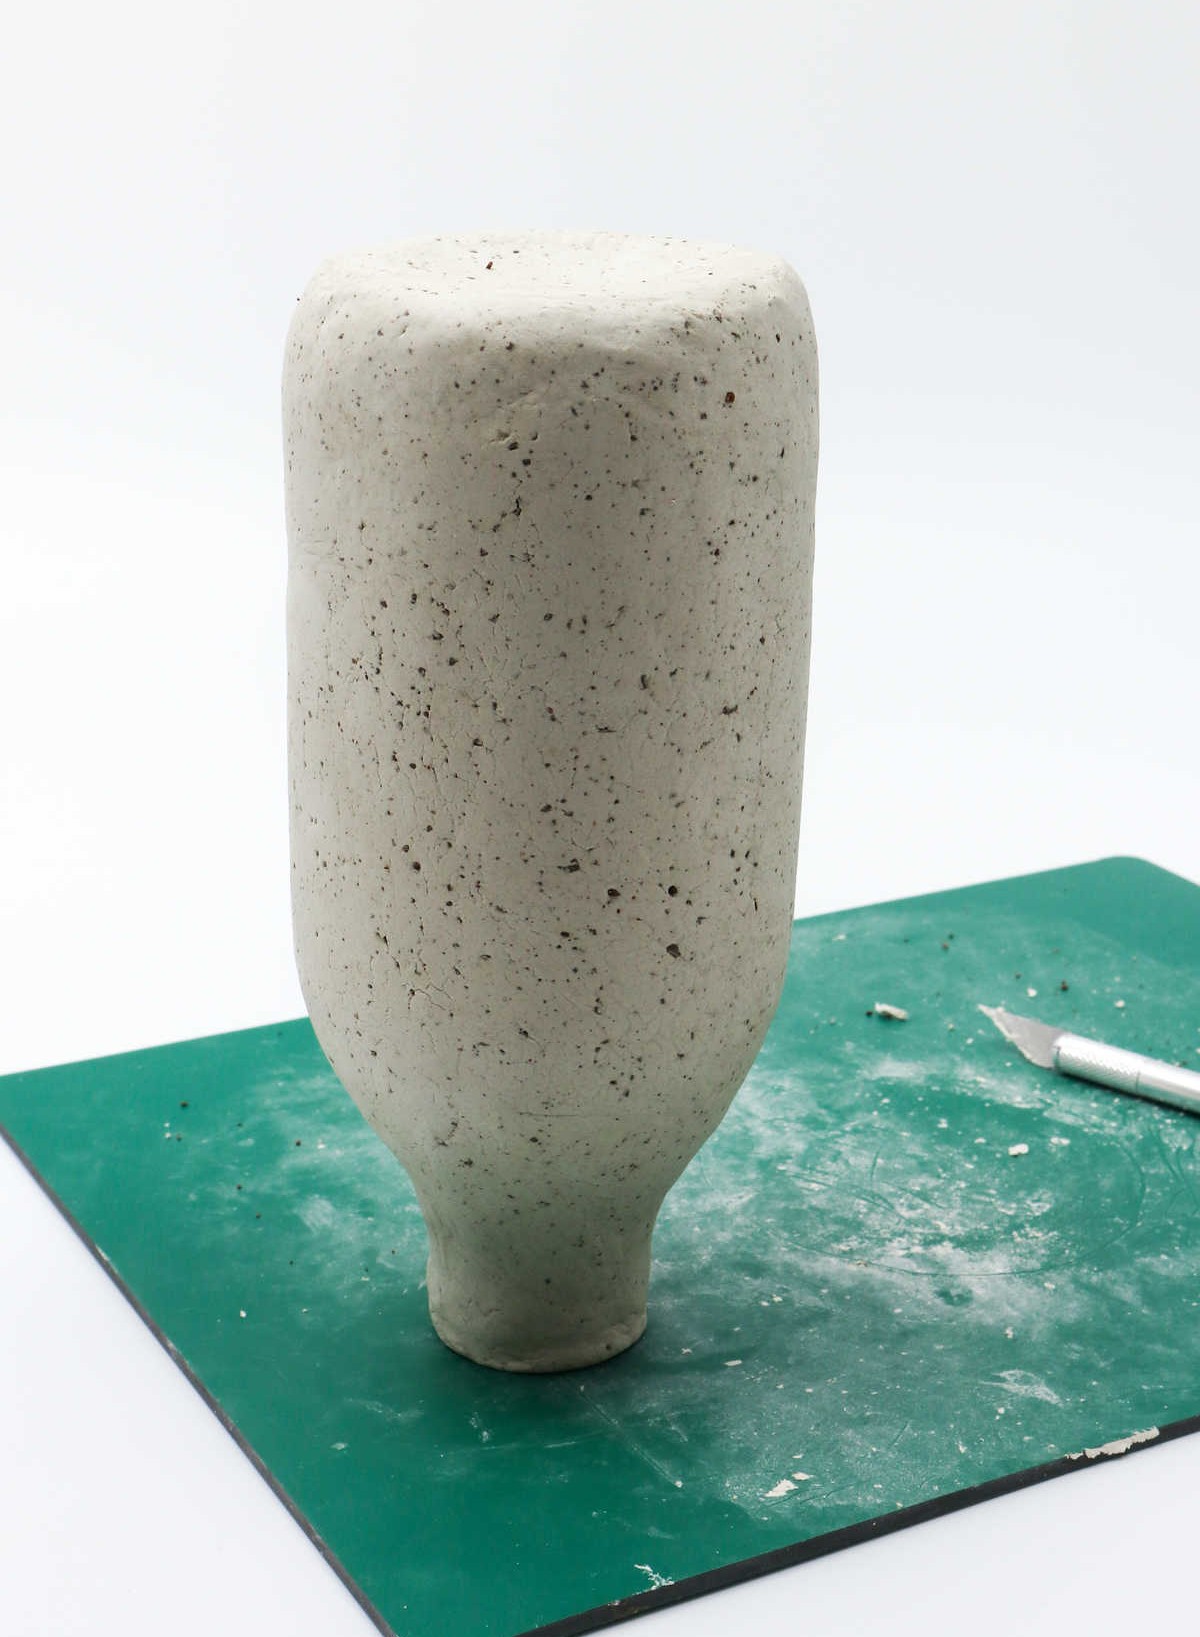
As the first stage of the process comes to a close, it’s essential to permit the clay to undergo a drying period of 2-3 days. This allows the moisture to evaporate fully, ensuring the material is ready for the subsequent steps. It’s crucial to exercise patience and wait until the clay has dried completely before proceeding, as any remaining moisture can hinder the quality of the final product.
Step 11
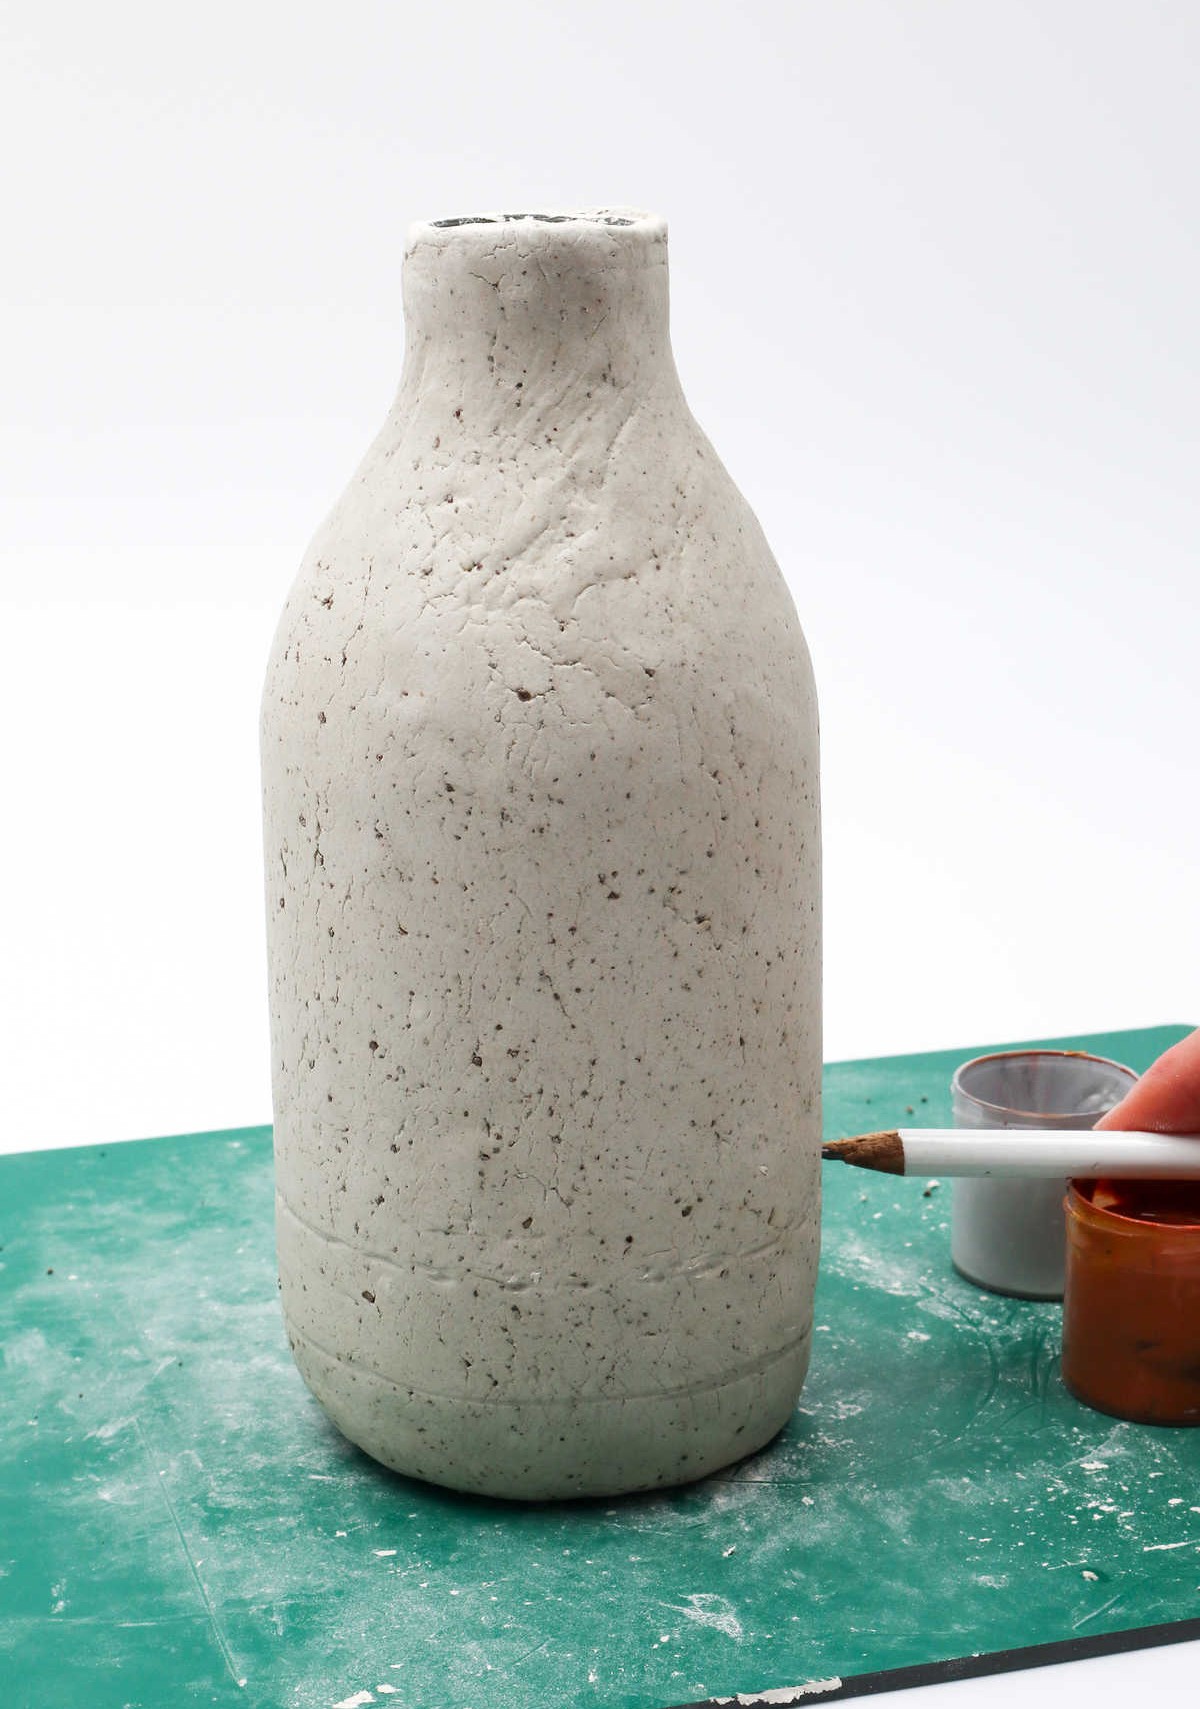
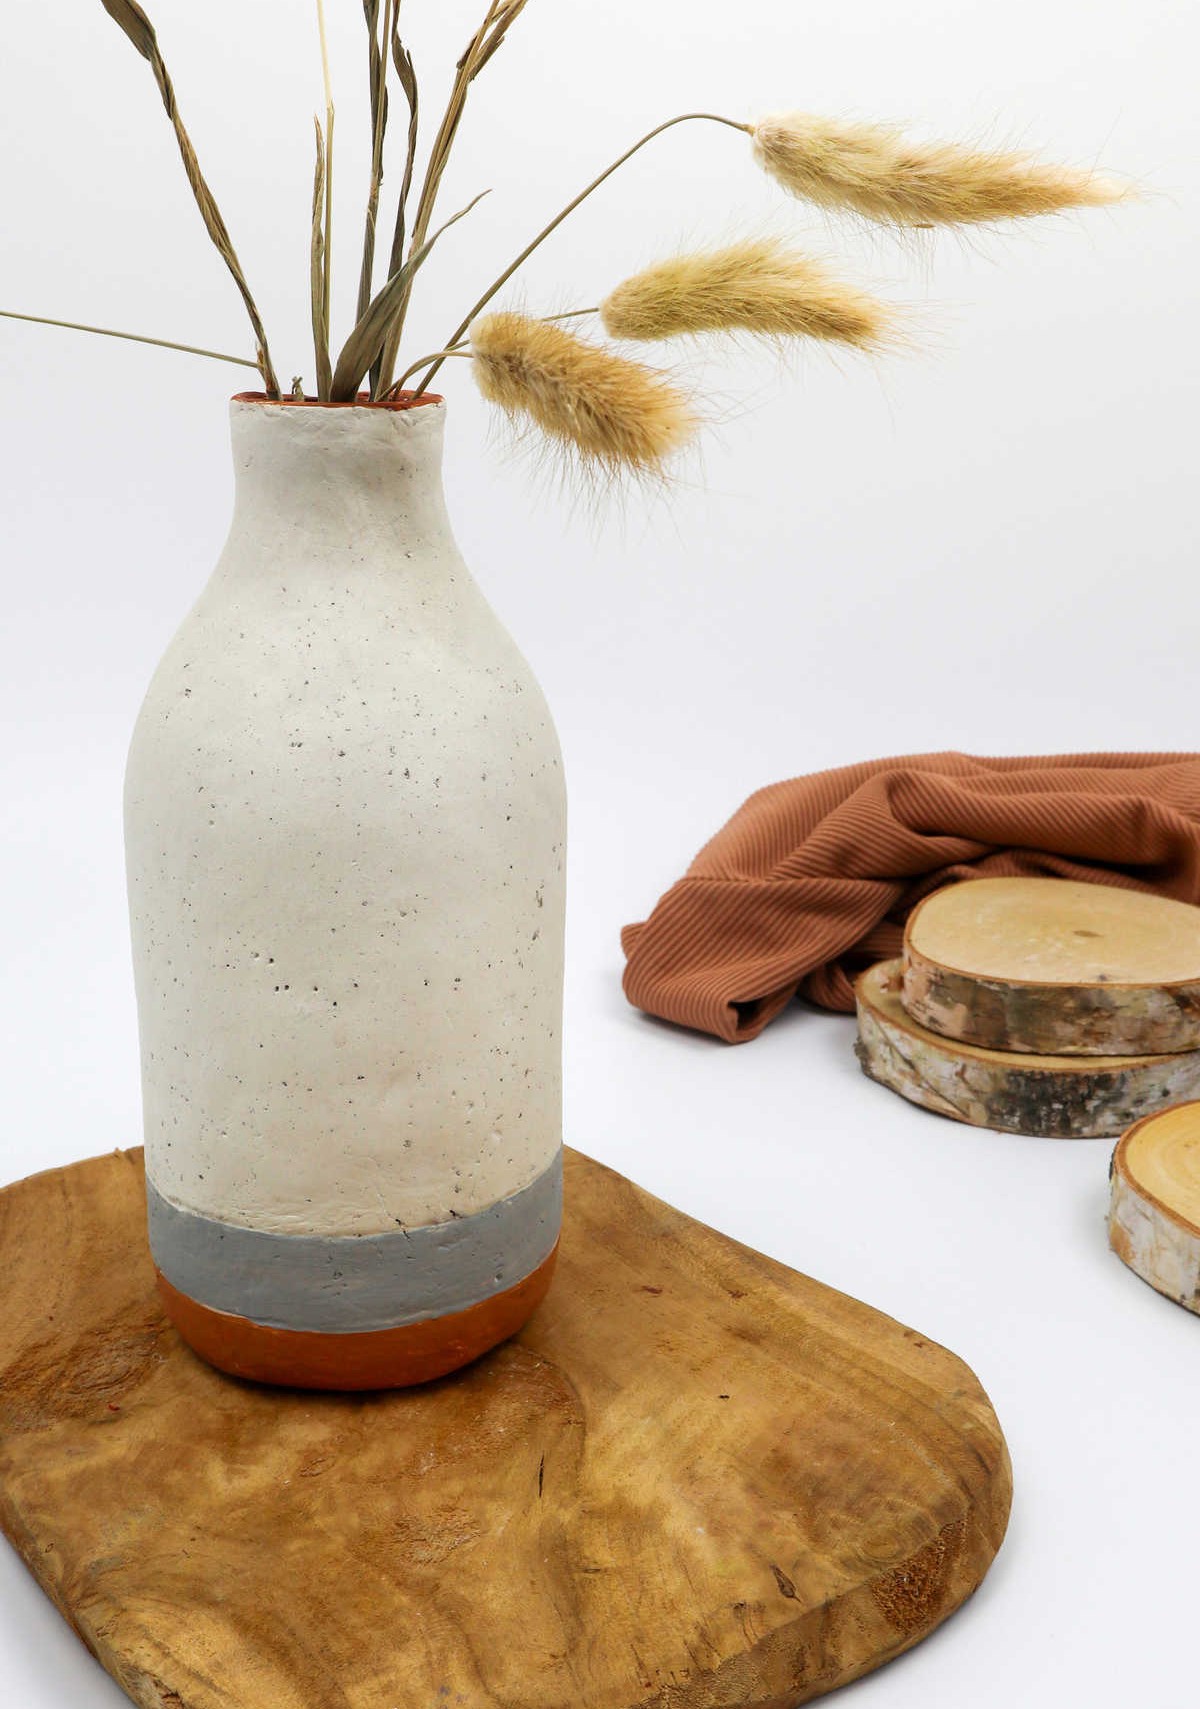
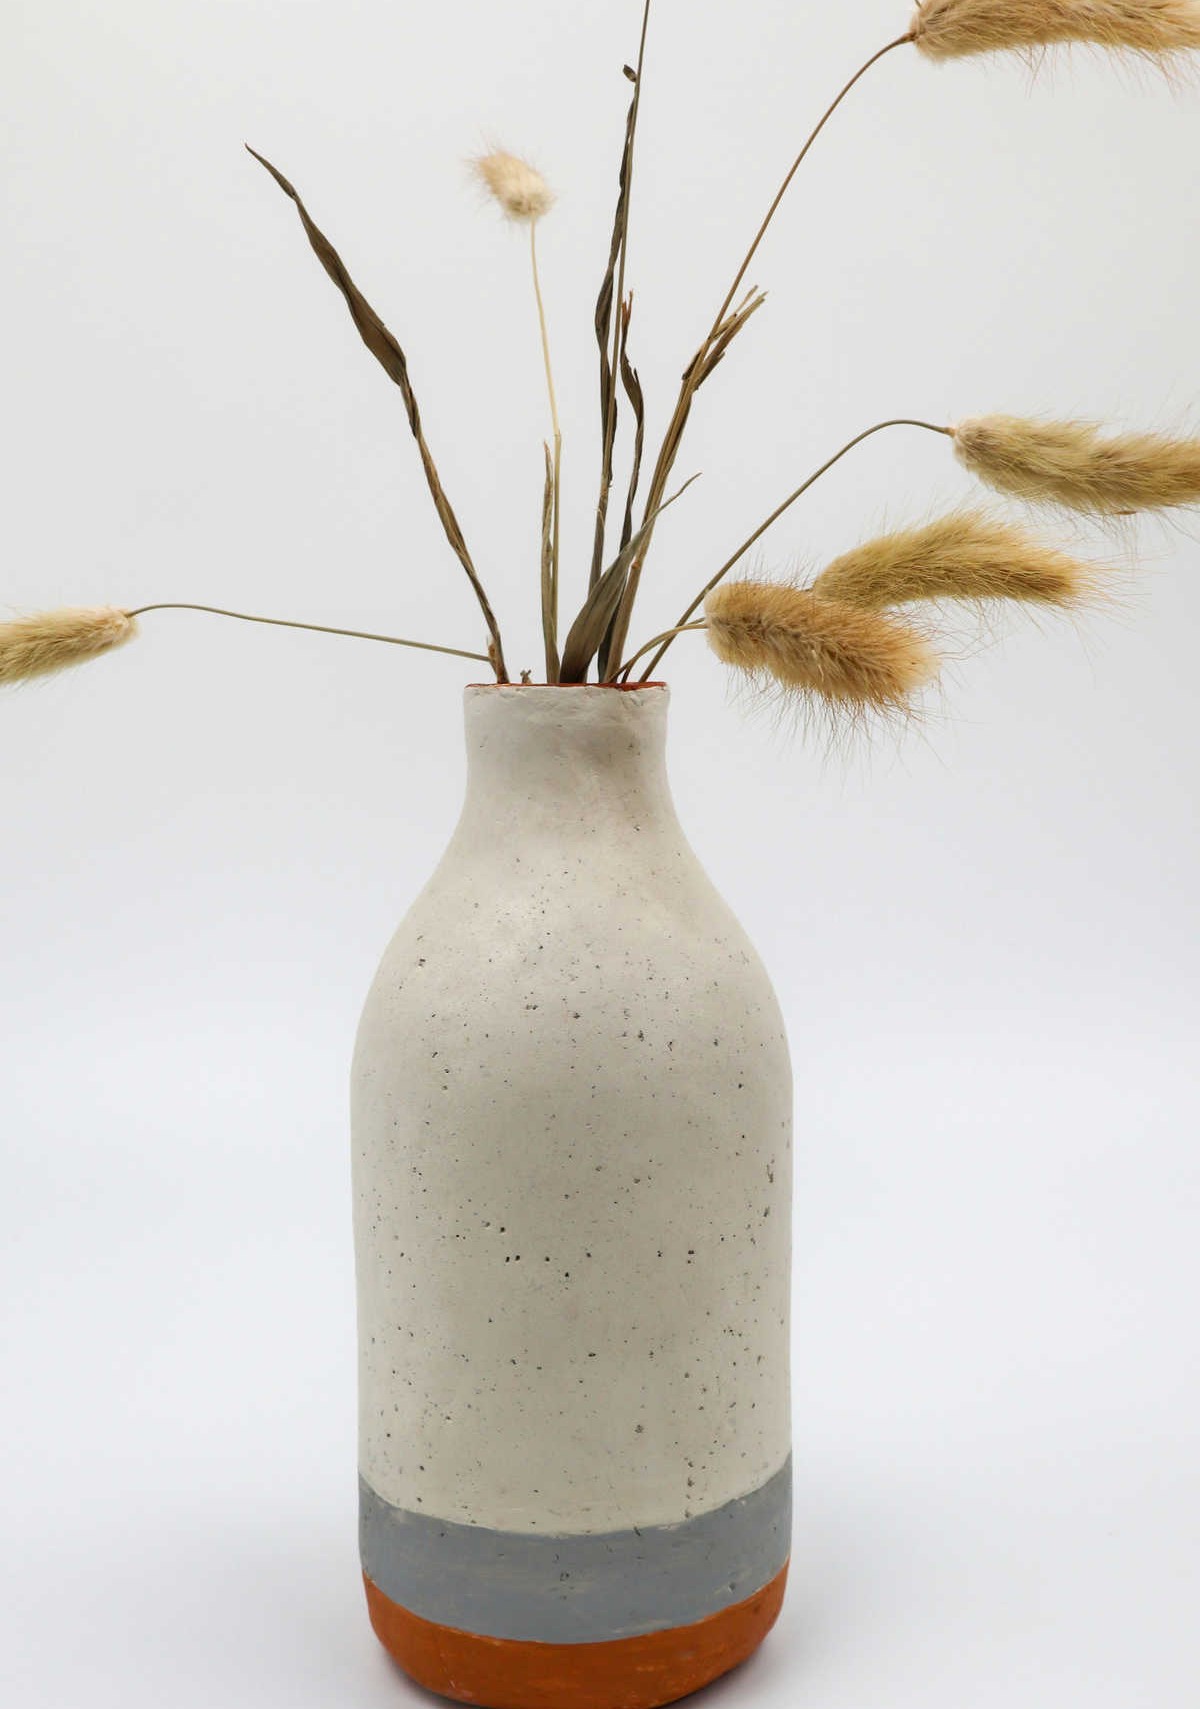
As your slay has fully dried, it’s time to bring it to life with some vibrant colors! Begin by applying a steady hand to carefully draw two parallel lines along the base of the bottle using a pencil. To achieve precision and uniformity, consider placing the pencil on the clay and allowing the bottle to rotate as you create the lines, rather than moving the pencil itself. This subtle trick can make all the difference in ensuring your design turns out crisp and even.
Step 12
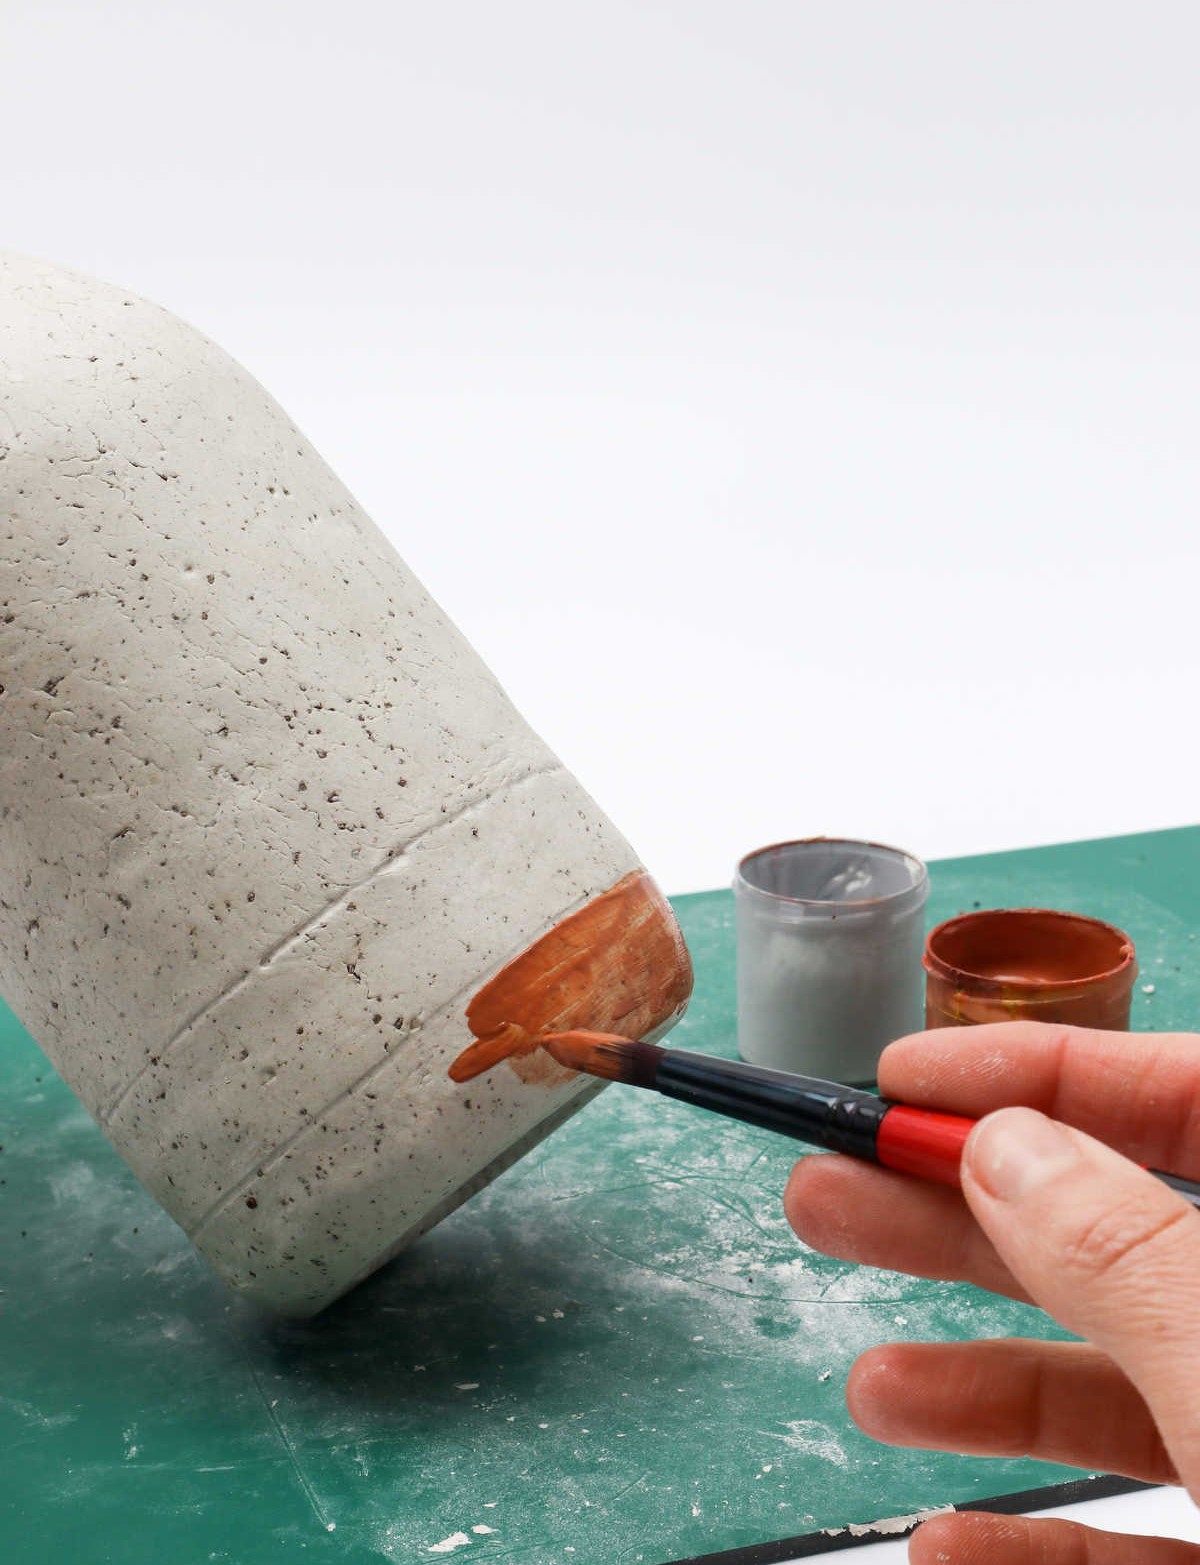
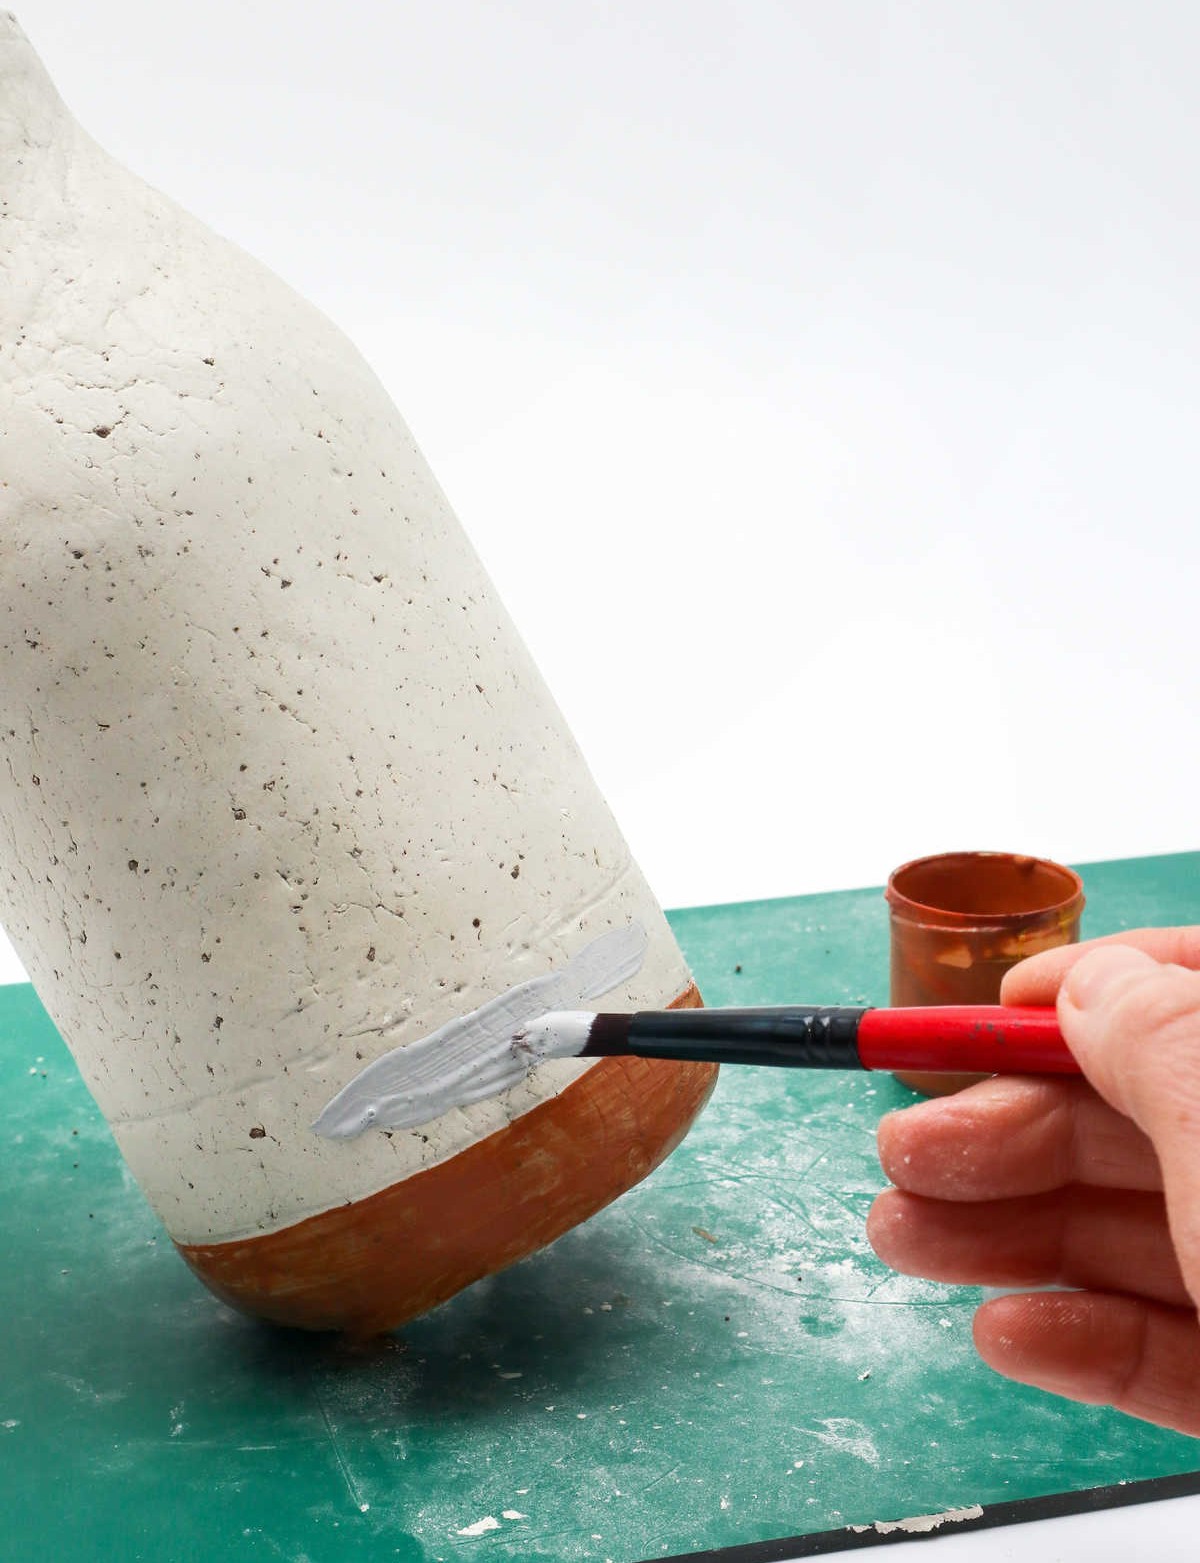
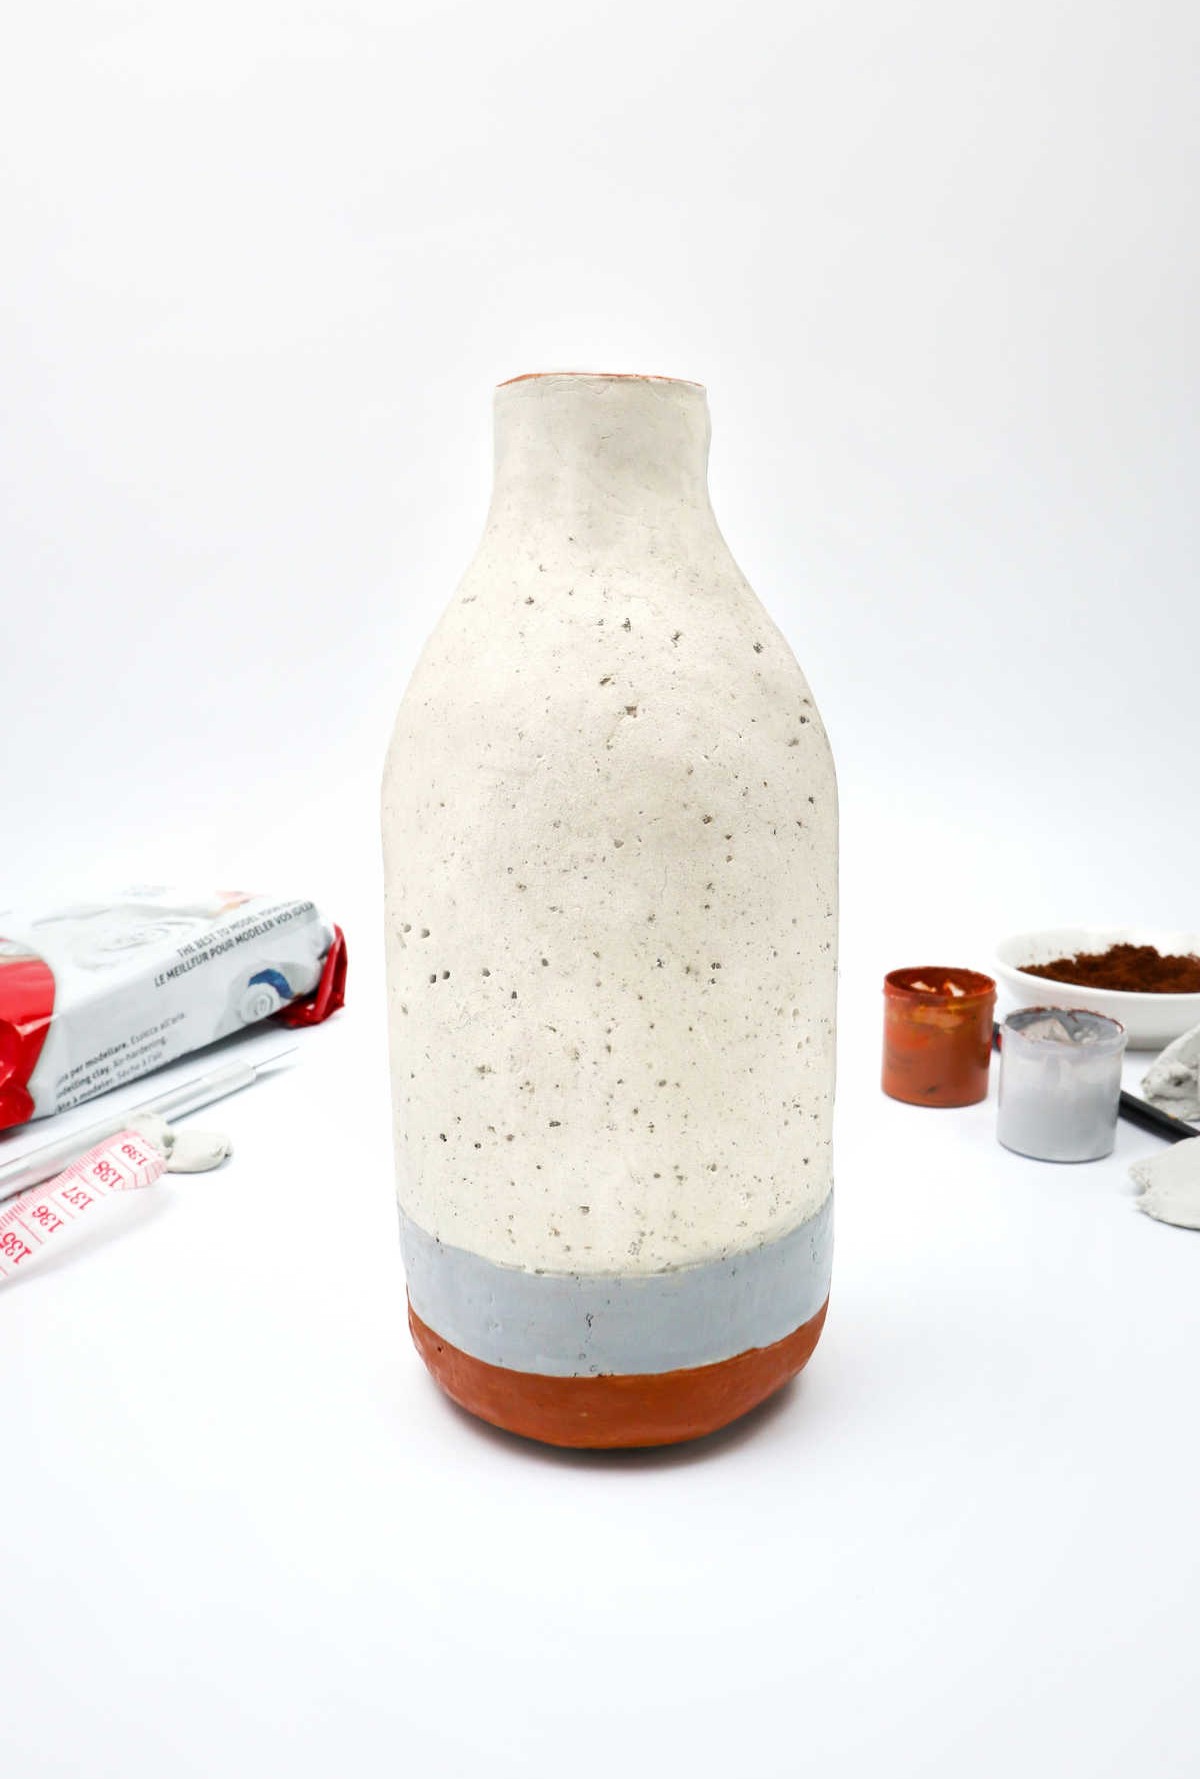
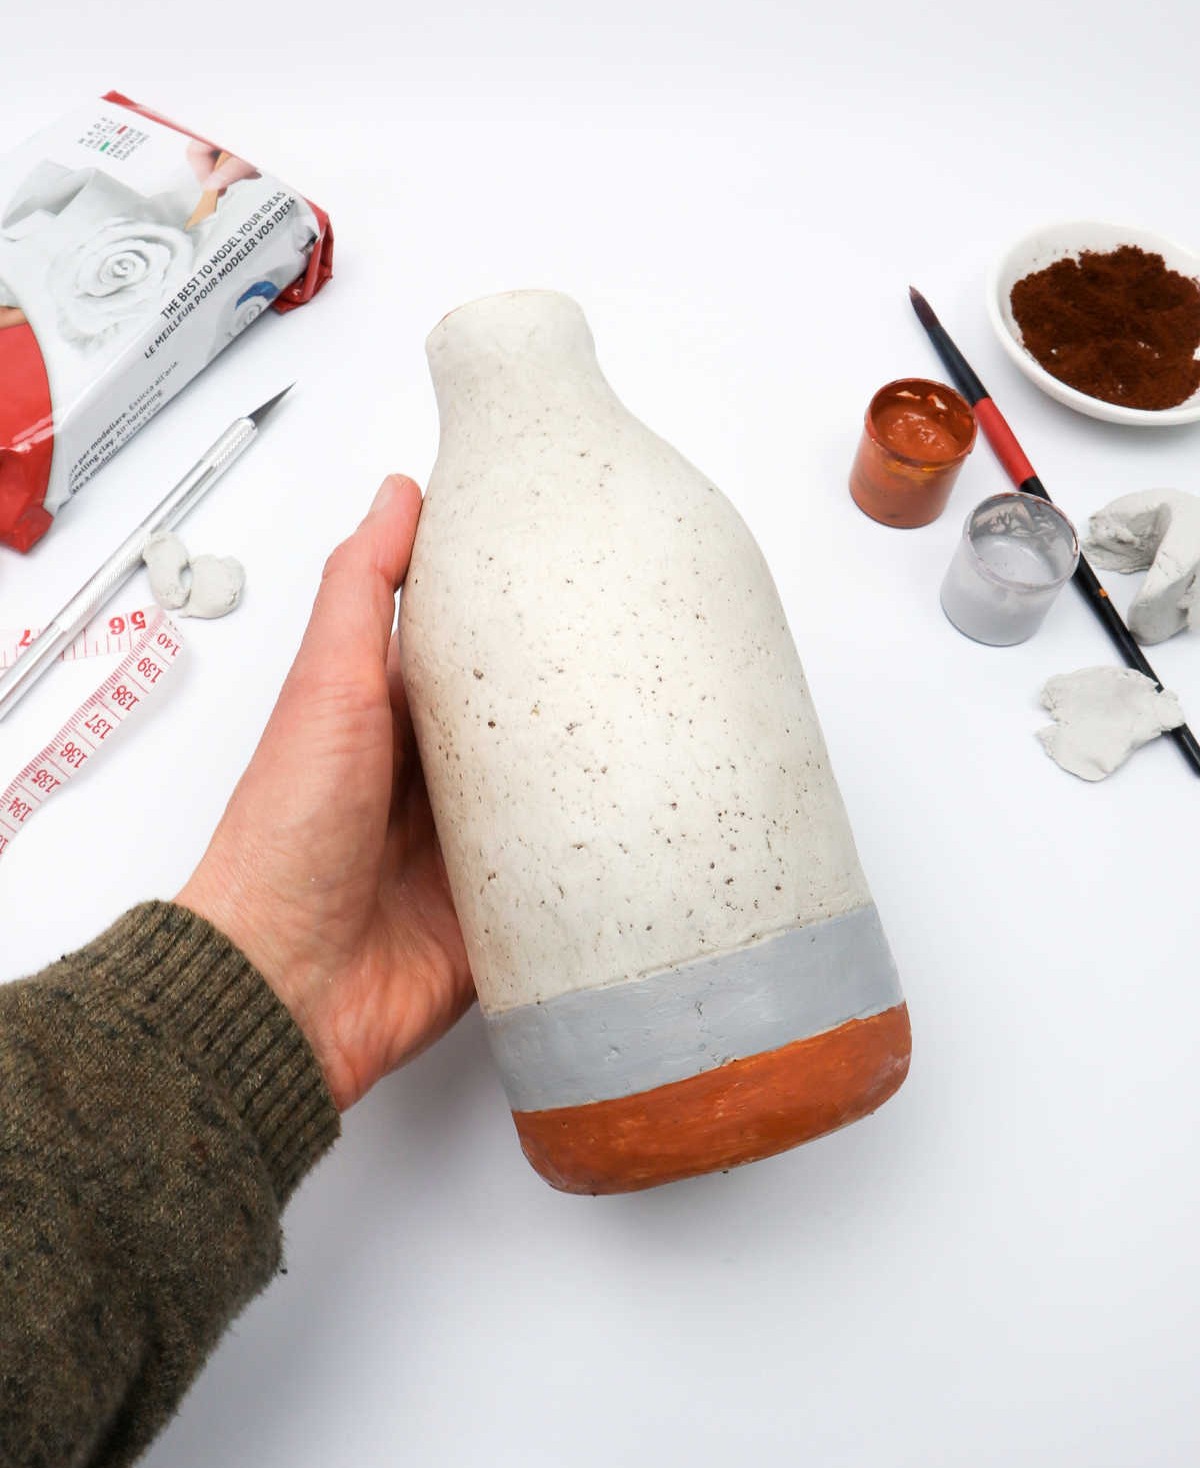
Transform your glass bottle into a stunning vase by giving it a personalized touch with paint. Use your favorite colors and designs to bring out the unique charm of your handmade masterpiece. As each coat dries, apply the next, allowing sufficient time for complete drying before moving forward.
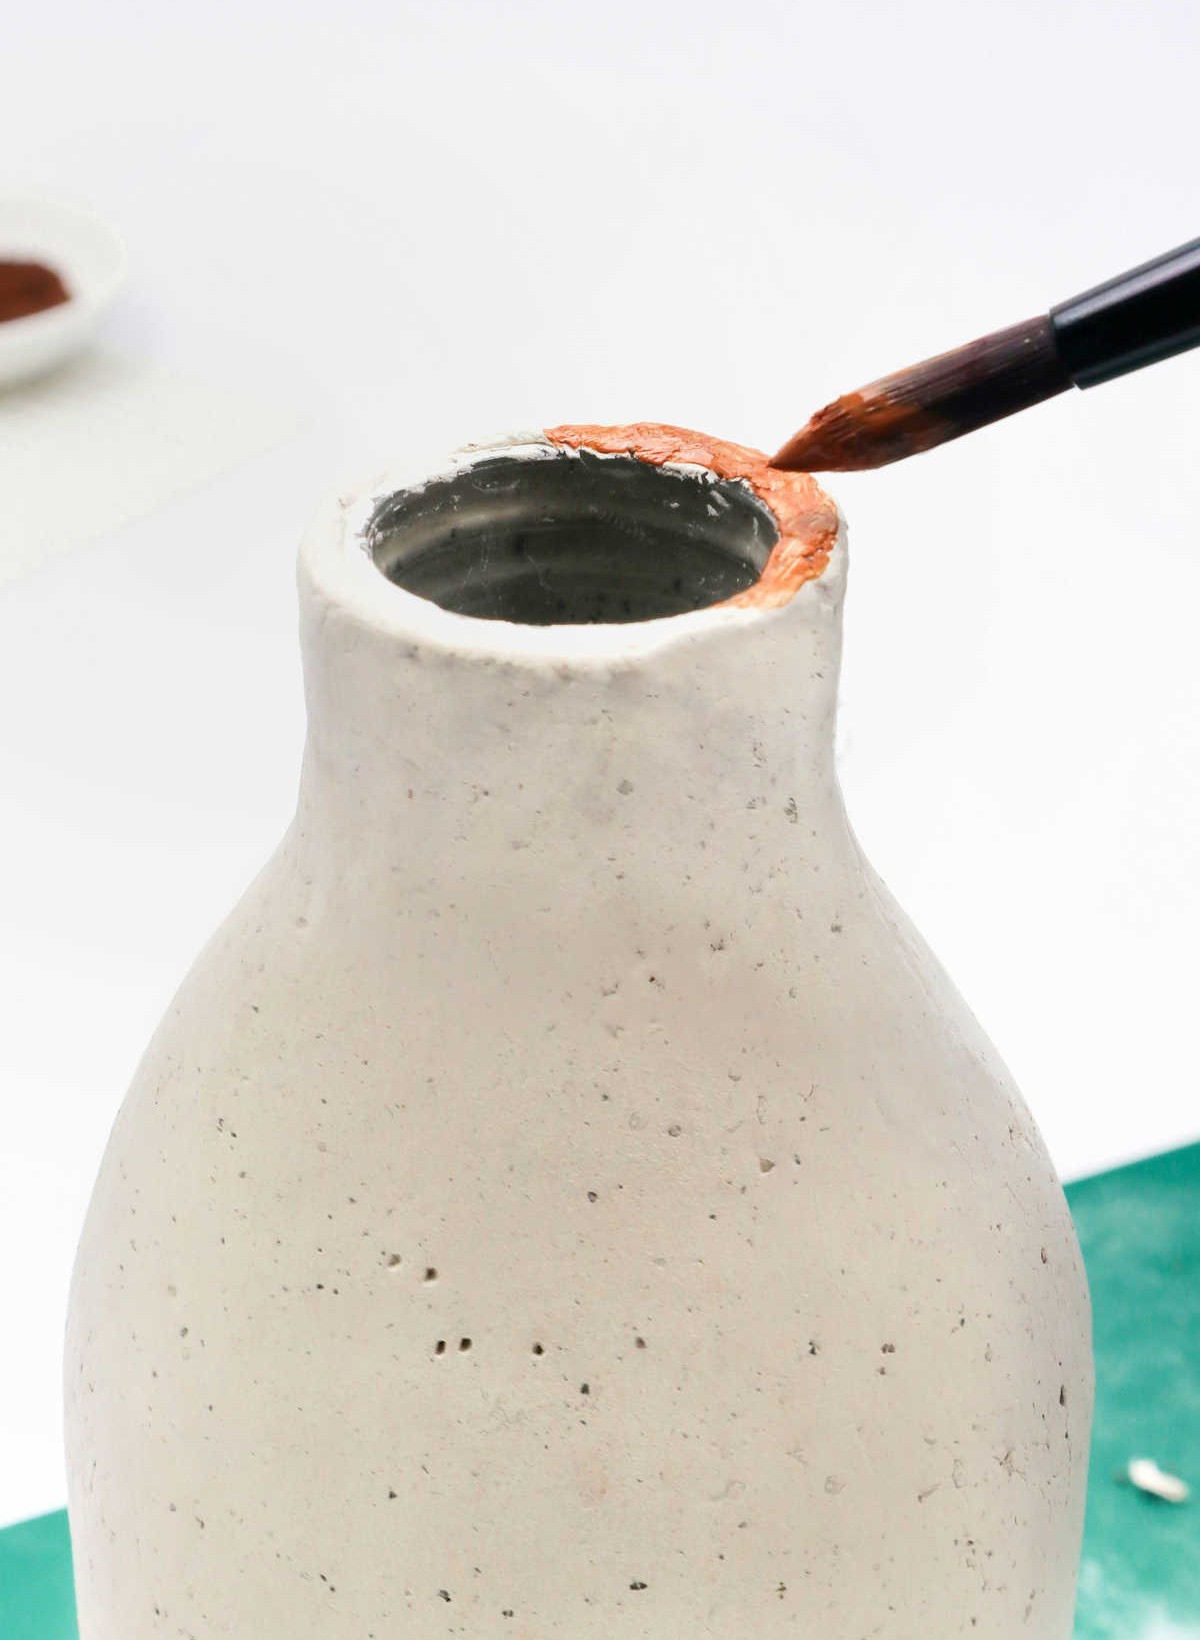
Feel free to get creative and add some flair to the rim as well. Just remember to let each layer dry thoroughly before proceeding.
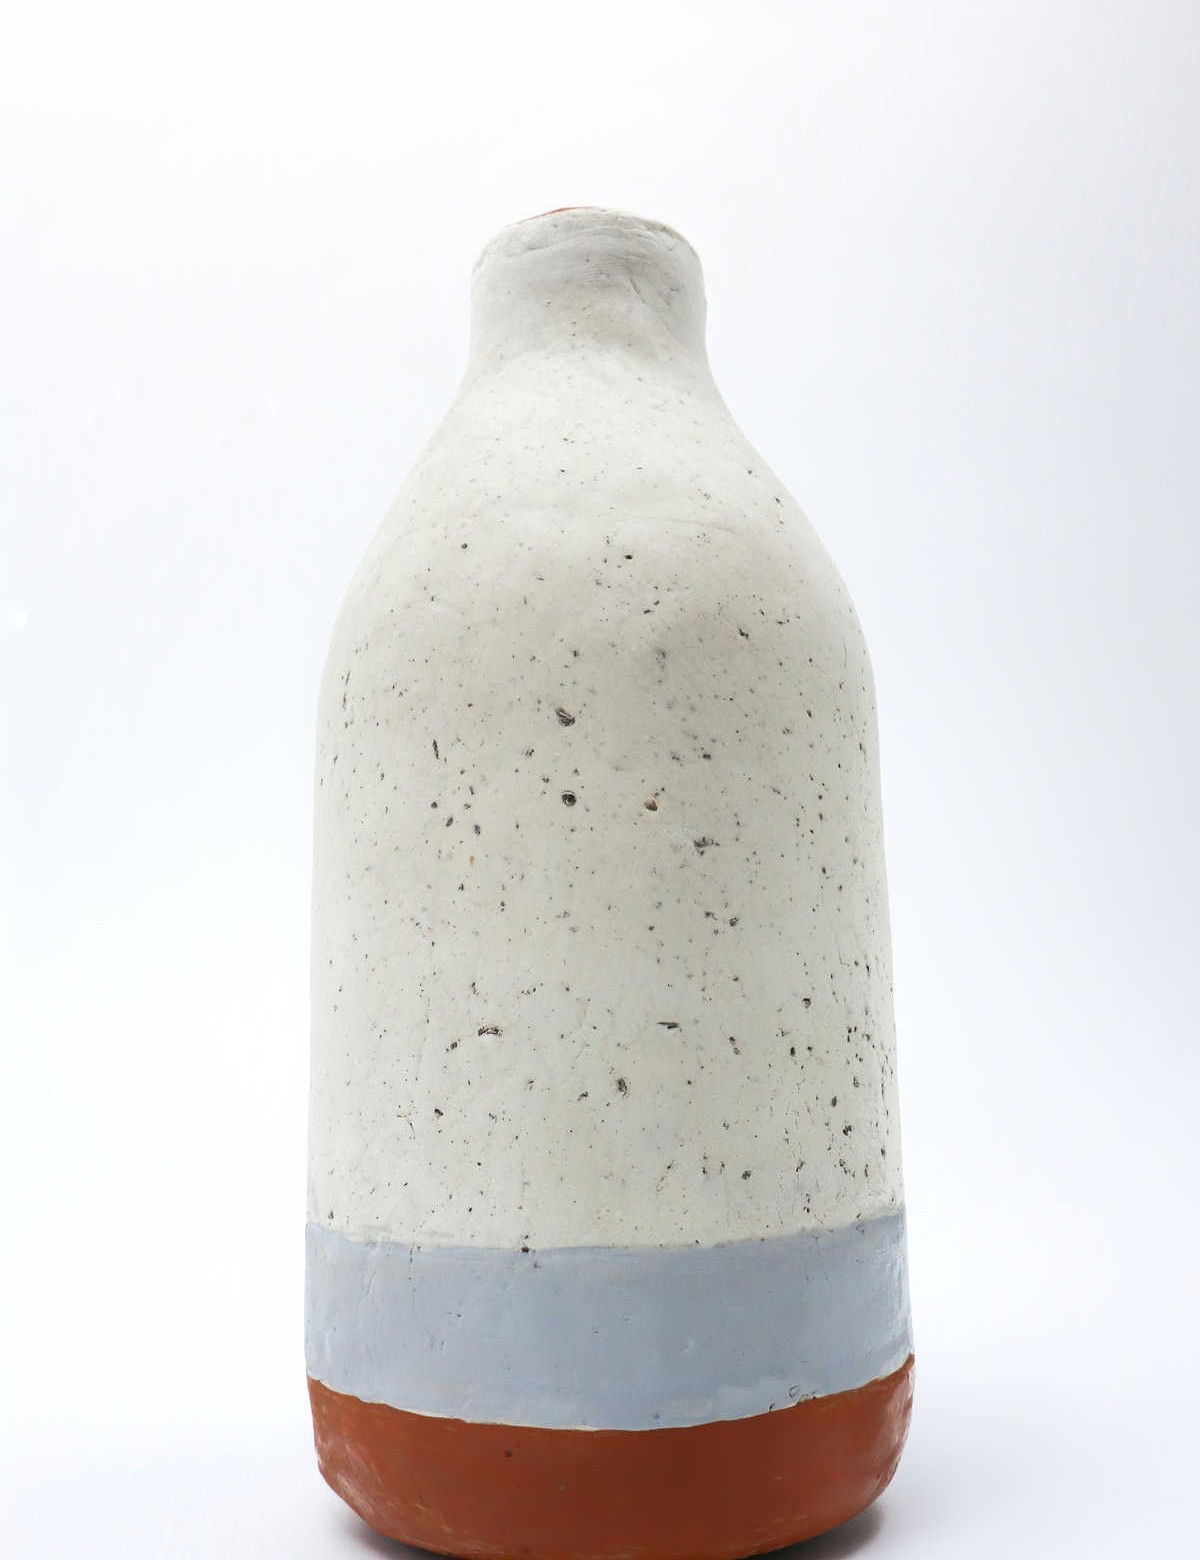
To enhance the overall appearance and protect the surface, consider applying a sealant. However, if you’re aiming for a matte finish, opt for a matte sealant instead.
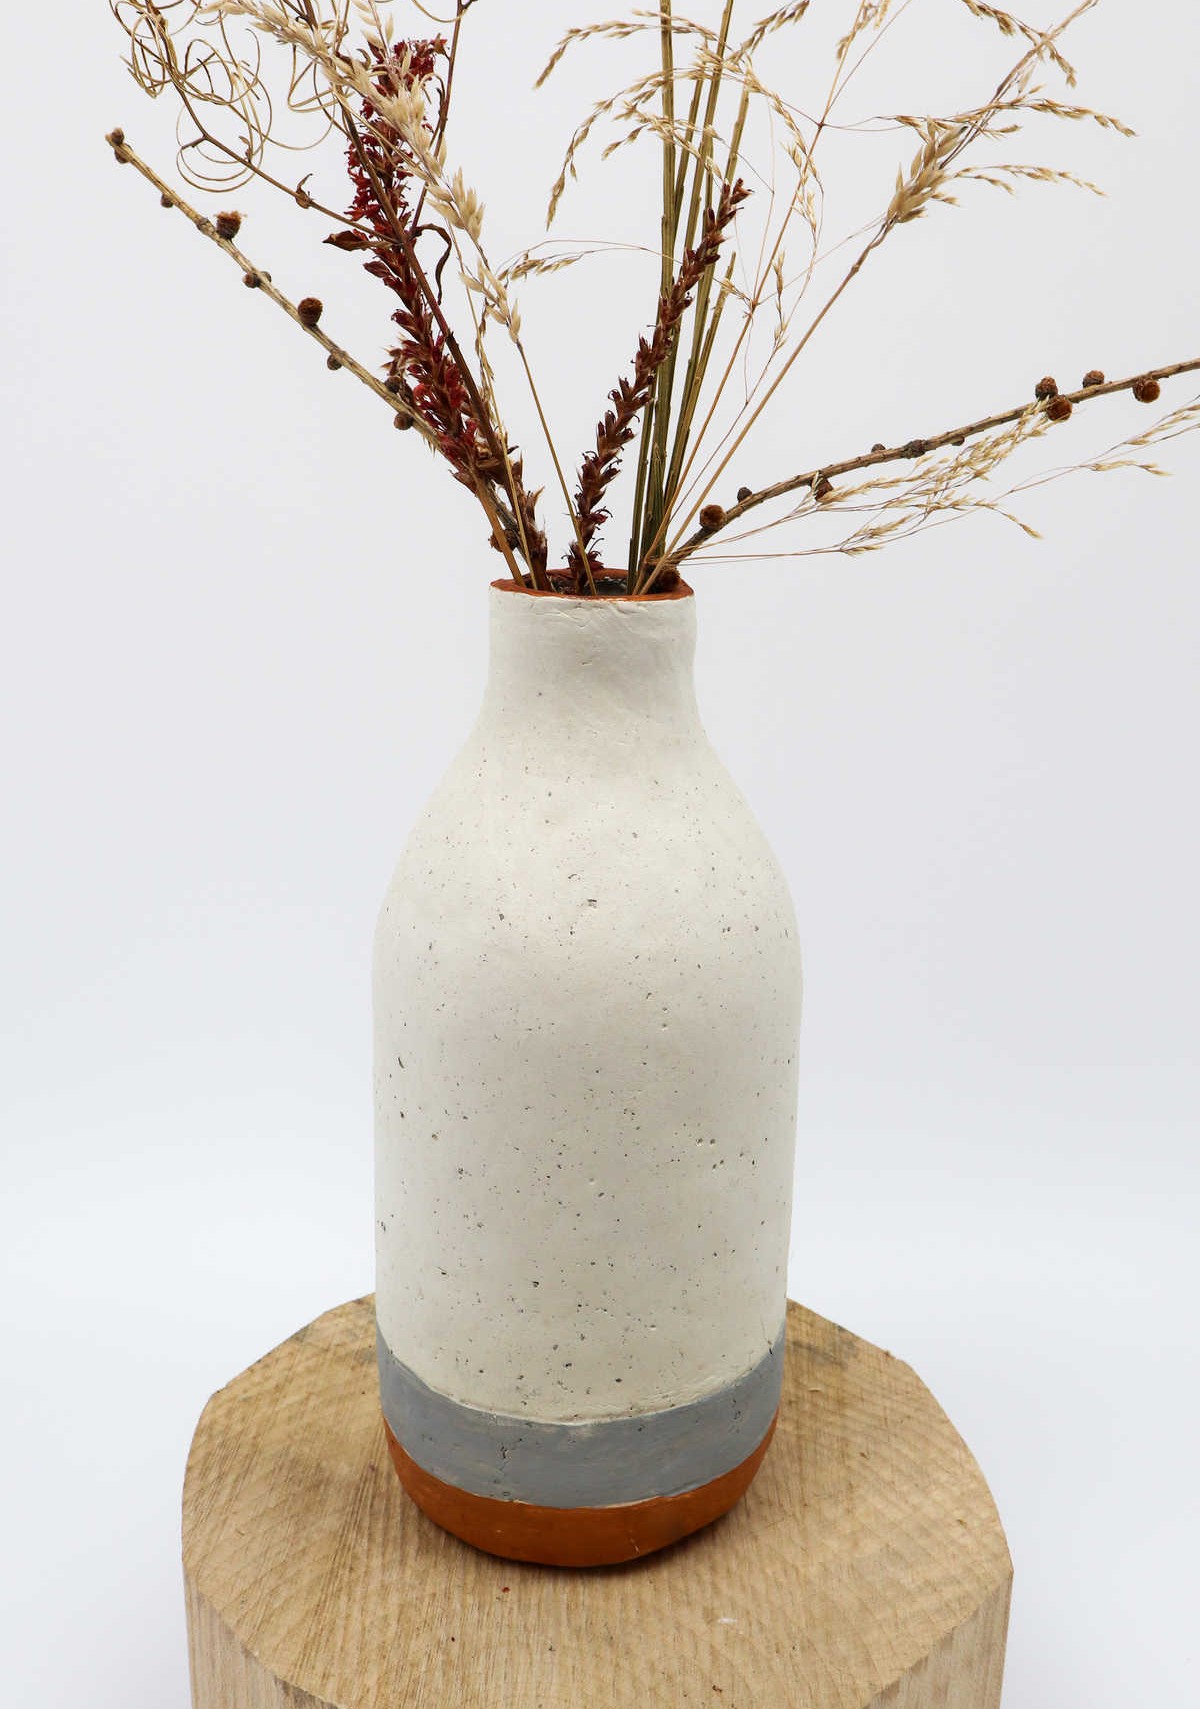
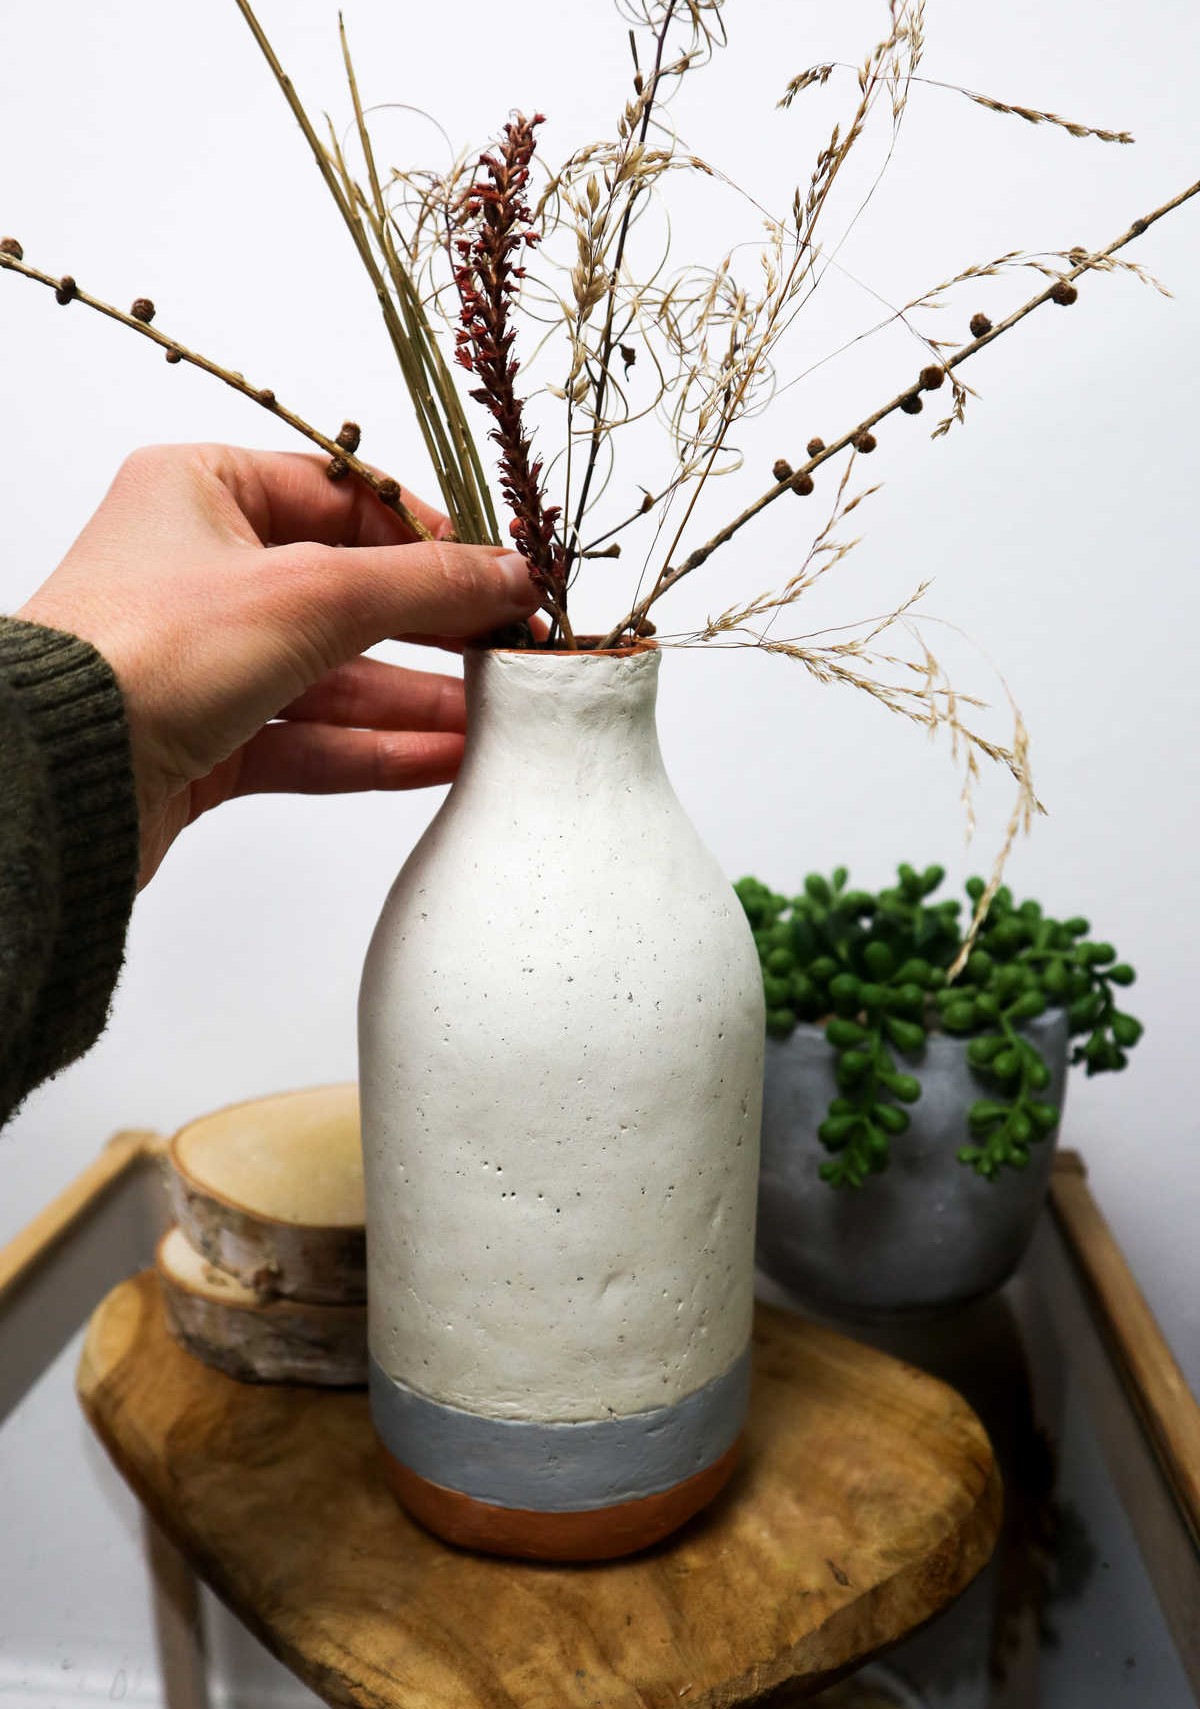
With that, your one-of-a-kind DIY vase is ready to adorn any room with its beauty.
How Can I Decorate My Vase?
While decorating a vase may seem like a straightforward task, there’s still room for creativity. To get started, you can incorporate textures into your design by using embossers, stamps or other imprinting tools that mimic natural elements like leaves or flowers. This adds depth and visual interest to the vase, making it perfect for painting over with bold colors. For an extra touch of elegance, embellishments or ornaments can be used to add a pop of personality.
If you’re feeling artistic, consider drawing directly onto the vase to create a one-of-a-kind design. Finally, don’t forget about the power of glitter – a pinch of sparkle can instantly elevate the entire piece and make it shine.
How Do I Display the Vase?
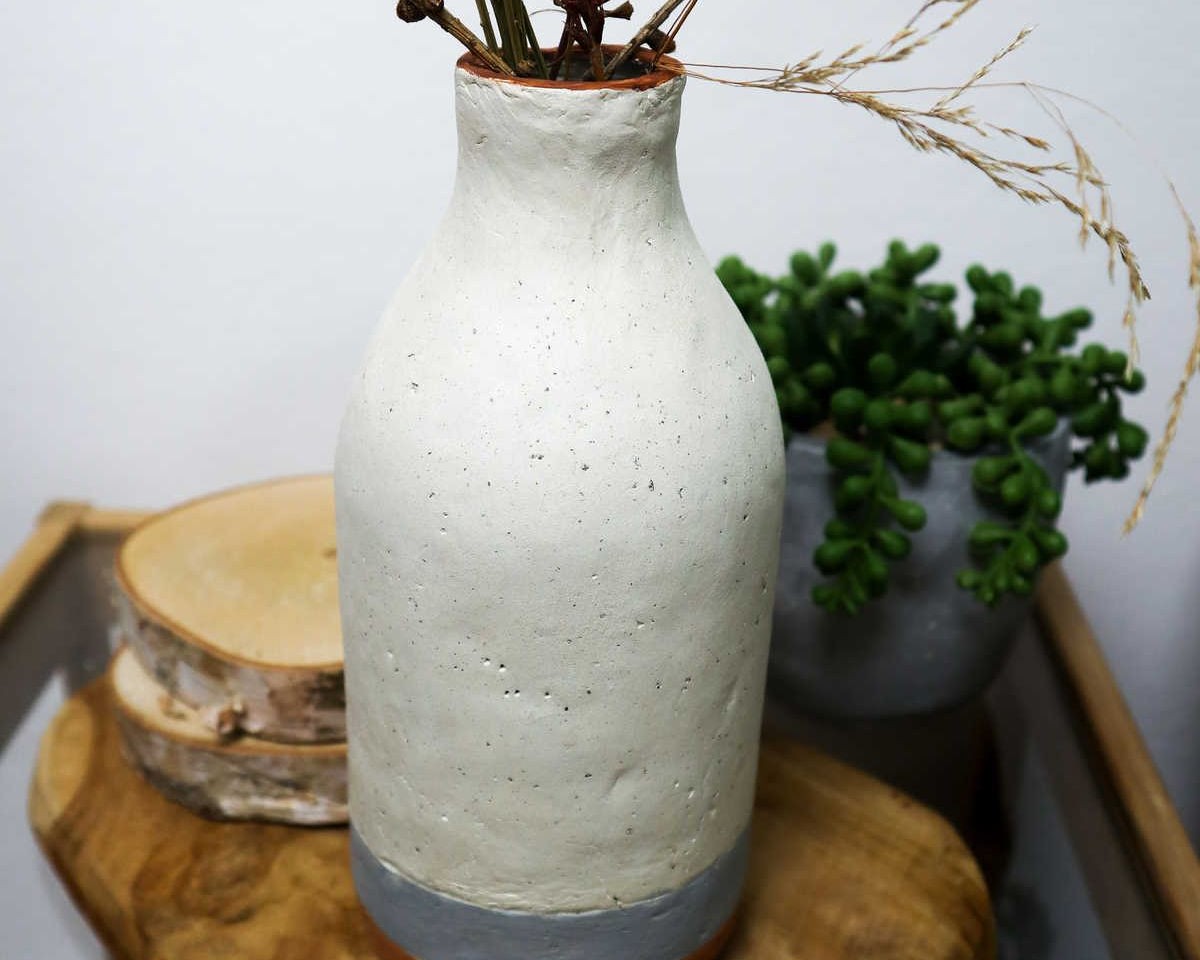
When it comes to displaying your vase, consider these ideas to strike the perfect balance between functionality and aesthetics. Start by placing it in a strategic location, such as a shelf or inlet at your home’s entrance, where you can appreciate its beauty from the moment you walk in. Alternatively, if the vase is large enough, use it as a floor piece that adds visual interest to a room.
To create a cohesive look, pair the vase with complementary decor and art, or use it as a focal point on your kitchen counter or island. For added flair, consider placing it over your kitchen cabinets to draw attention to the space below. Finally, don’t forget to incorporate your vase into your dining table setup by filling it with flowers and using it as a stunning centerpiece.
DIY Bottle Vase (Step-by-Step Tutorial)
Transform a humble bottle into a stunning vase with this easy DIY project. With just 40 minutes of active time and $7 worth of materials, you can create a unique decoration to adorn your home. This budget-friendly upcycling idea is perfect for anyone looking to add a touch of personality to their space.
Equipment
When it comes to crafting the perfect DIY project, having the right tools is crucial. From humble household items like a rolling pin or an old glass bottle, to precision instruments and artistic supplies, each one plays a vital role in bringing your vision to life. A tape measure ensures that your measurements are accurate, while a precision knife allows for precise cuts and adjustments.
For those with artistic flair, a pencil is essential for sketching out designs, and a paintbrush is necessary for applying coats of color. With these tools at your disposal, you’ll be well-equipped to tackle even the most ambitious DIY project.
Materials
The creative process often requires an eclectic mix of materials, and for some artists, the humble glass bottle can serve as a canvas. Similarly, air-drying clay can be molded into intricate forms, while ground coffee adds a rich aroma to any artistic space. Meanwhile, acrylic paints in shades of grey and brown evoke the earthy tones of nature, providing endless possibilities for exploration and expression.
Instructions
To begin crafting your DIY bottle vase, gather all necessary supplies and cut a portion of the clay. Store the remaining portion in an air-tight container. Knead the clay with your hands to remove any lumps and achieve a soft, pliable texture. If desired, add a cup of ground coffee powder to create a speckled effect and knead it evenly into the clay. Roll out the clay on a flat surface using a rolling pin or bottle, ensuring you have sufficient material to cover the vessel.
Measure the dimensions of the bottle with a measuring tape to determine the required amount. Cut a clay sheet based on these measurements, setting aside excess clay for the bottom portion. Place the glass bottle over the sheet and wrap it around the shape, checking for size. Roll out any remaining wrinkles or air pockets. Create notches at one end of the sheet using a craft knife to facilitate blending when joining the two ends.
Blend the joined area with your fingers, adding a small amount of water as needed to smooth out any cracks. To shape the clay around the neck and mouth of the bottle, use gentle pressure and a drop or two of water. Cover the rim with clay, trimming excess material and evening it out. For the ‘bottom’ of the bottle, flatten the set-aside clay with a rolling pin and place the bottom of the bottle over it. Cut the clay to fit, flipping the bottle over to blend the clay into the bottom and sides.
Allow any cracks to dry using water, then let the entire piece air-dry for 48-72 hours before decorating. Once the vase is complete, apply a clear matte or glossy-finish sealant to protect the surface of the clay.