As we continue to strive towards a more sustainable lifestyle, creative minds have found innovative ways to reduce waste and create something new from the old. One such example is the DIY bottle cap candle – a delightful fusion of vibrant colors and scents that will brighten up your home. And the best part? You can repurpose those old bottle caps you’ve been holding onto, giving them a new lease on life.
With a little creativity and some recycled materials from your local recycling bin, you can transform these humble scraps into charming candles that bring a splash of color to any room. Who knew that something as ordinary as a bottle cap could become the perfect vessel for a warm, inviting glow?
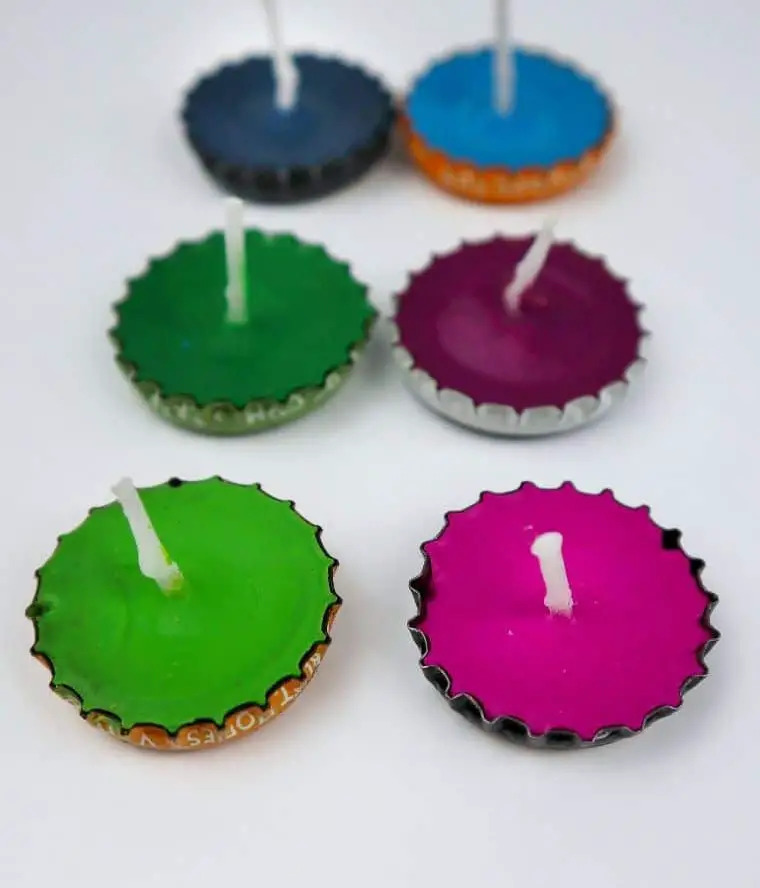
These mini masterpieces are not only eco-friendly but also visually striking, evoking the feeling of sugary treats and bringing a touch of springtime to your space.
And with our step-by-step guide, you’ll be well on your way to creating your own bottle cap candles in no time.
What You’ll Need
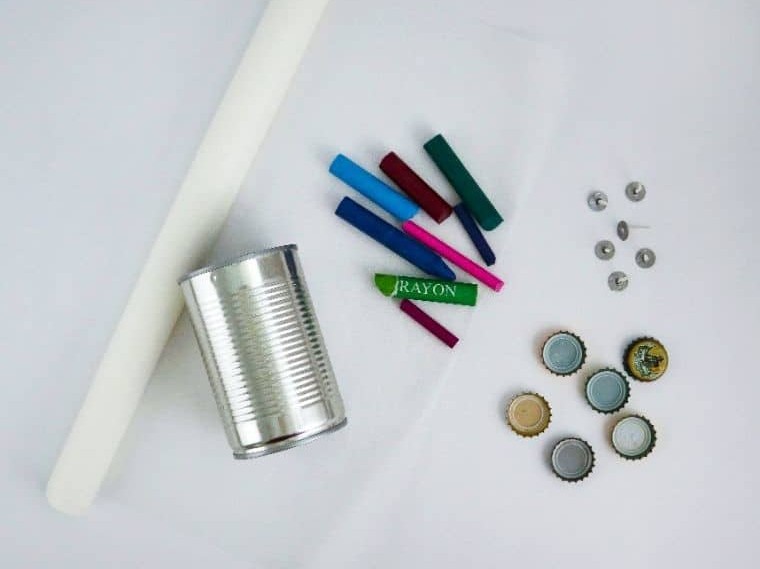
A miscellaneous collection of items that might seem unrelated at first glance includes bottle caps, crayons, an empty soup can, pre-waxed wicks, and a saucepan. These objects may have served different purposes in the past, but they all share one thing in common – their presence in our daily lives is often taken for granted. As we go about our daily routines, these items are frequently used or discarded without much thought.
How to Make Bottle Cap Candles
As the curtain opens on a warm and inviting glow, let’s ignite our creativity and craft some utterly adorable candles. But before we get started, take a step into the world of candle-making, where a dash of imagination and a pinch of patience come together to create these lovable little light-bringers.
Step One
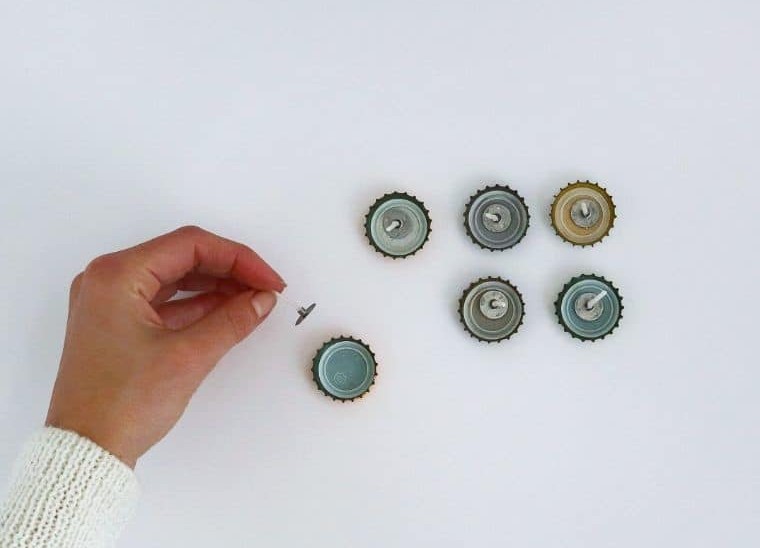
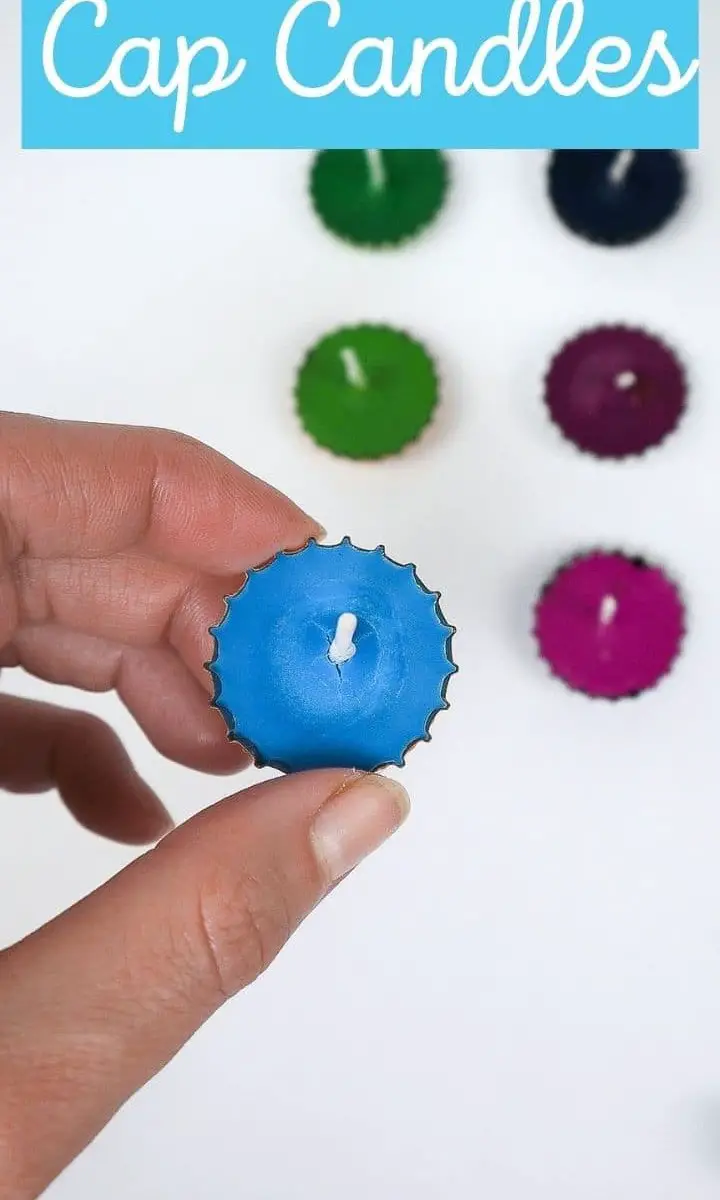
To begin, gather all your bottle caps and carefully position a pre-waxed wick within each one. Note that if you’re having trouble sourcing tealight-sized wicks, you can easily adapt by trimming standard-sized wicks to the desired length.
Step Two
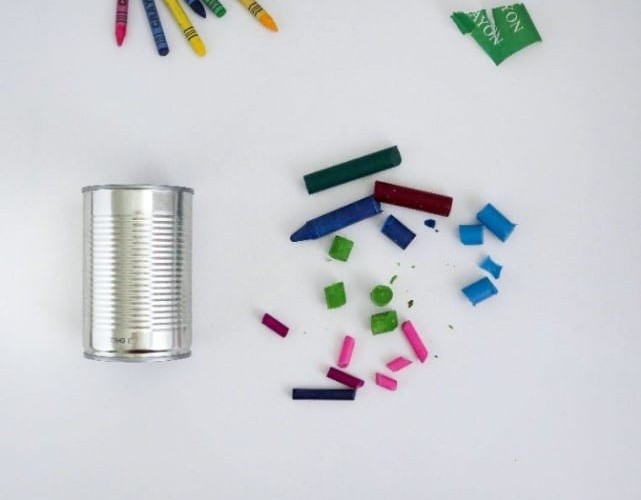
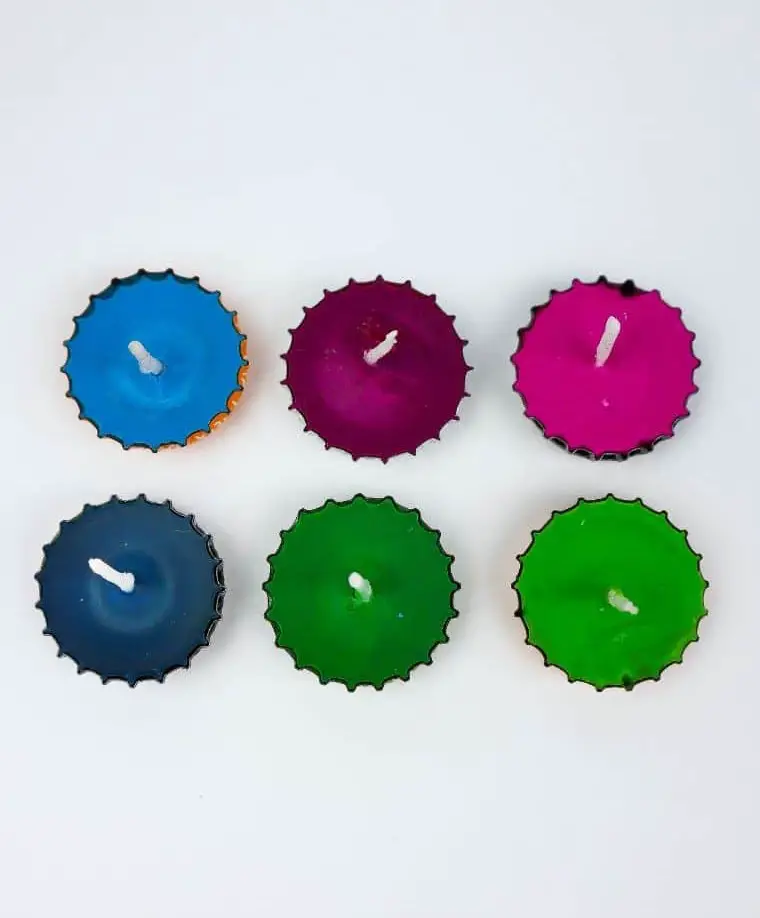
When it comes to selecting the wax color for your candle, the possibilities are endless. You have the freedom to get creative and mix-and-match different hues to create a unique blend. Consider swirling colors together, creating spiral patterns or opting for a gradient effect – the choice is entirely yours! To ensure smooth melting, be sure to crush up the crayons beforehand. Although not strictly necessary, this step can significantly speed up the melting process.
Step Three
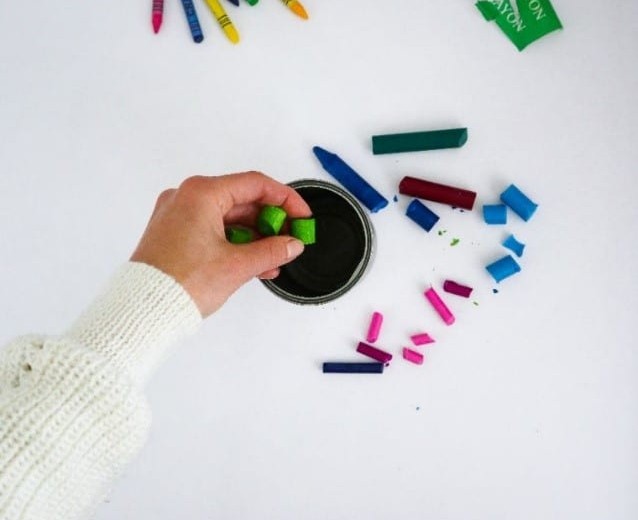
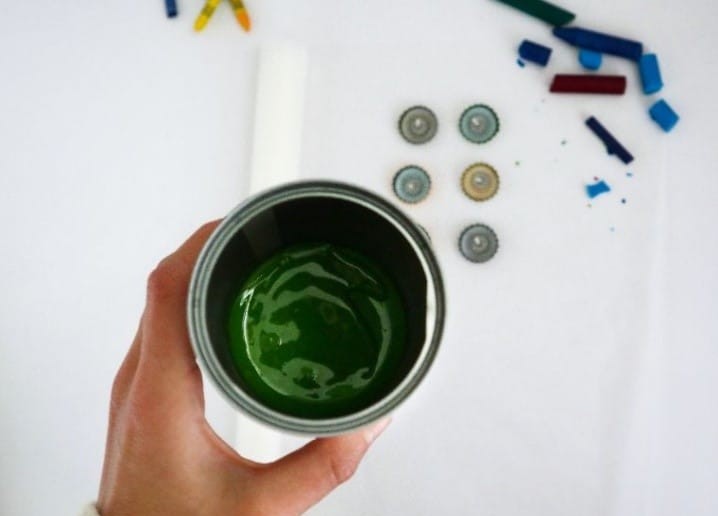
Combine the crushed crayons with a sturdy metal container, such as a soup can, to facilitate their transformation. A metal surface is essential to withstand the high temperatures that follow, and glass or ceramic alternatives can also be used if a metal can isn’t available.
Step Four
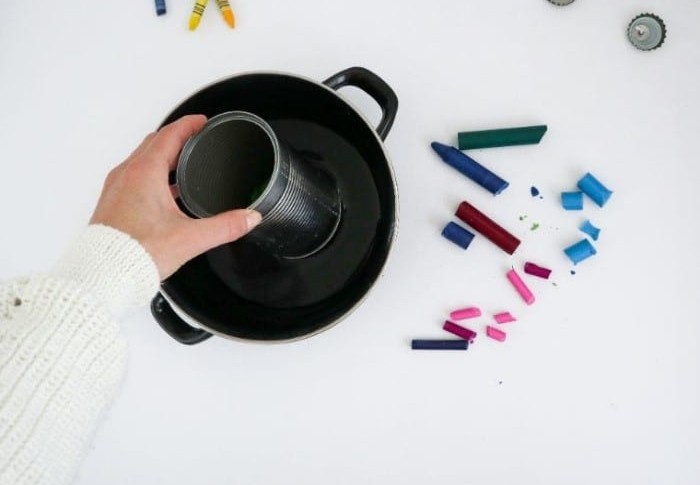
For a low-maintenance and mess-minimal approach, place a saucepan on your stovetop and fill it roughly one-quarter of the way with water. Bring the liquid to a gentle simmer before carefully placing the metal can into the pan. This setup essentially mimics a double boiler, allowing the crayons to melt through the heat transferred from the water rather than direct exposure to the saucepan’s surface.
Notably, disposing of a soup can is significantly easier than cleaning up a stained saucepan – a thoughtful consideration for any crafter or DIY enthusiast.
Step Five
To achieve a seamless blending process, it’s crucial to melt each crayon color individually until they reach a fully liquid state. This approach allows for precise control over the resulting hue and minimizes any potential contamination from mixing different colors simultaneously. If you’re working with multiple soup cans, consider replacing them between colors to ensure the purity of your melted wax.
Alternatively, thoroughly washing the can with hot water in between color changes is also an effective method for removing residual wax.
Step Six
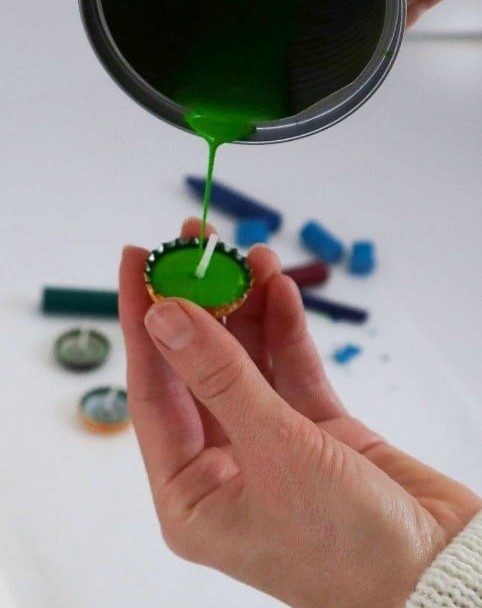
When working with hot wax, it’s crucial to strike the right balance between speed and precision. On one hand, you must ensure that the wax doesn’t come into contact with your skin, as it can cause burns. On the other hand, if the wax cools too rapidly, it may stop flowing altogether. This is particularly true for crayon wax, which has a tendency to cool quickly.
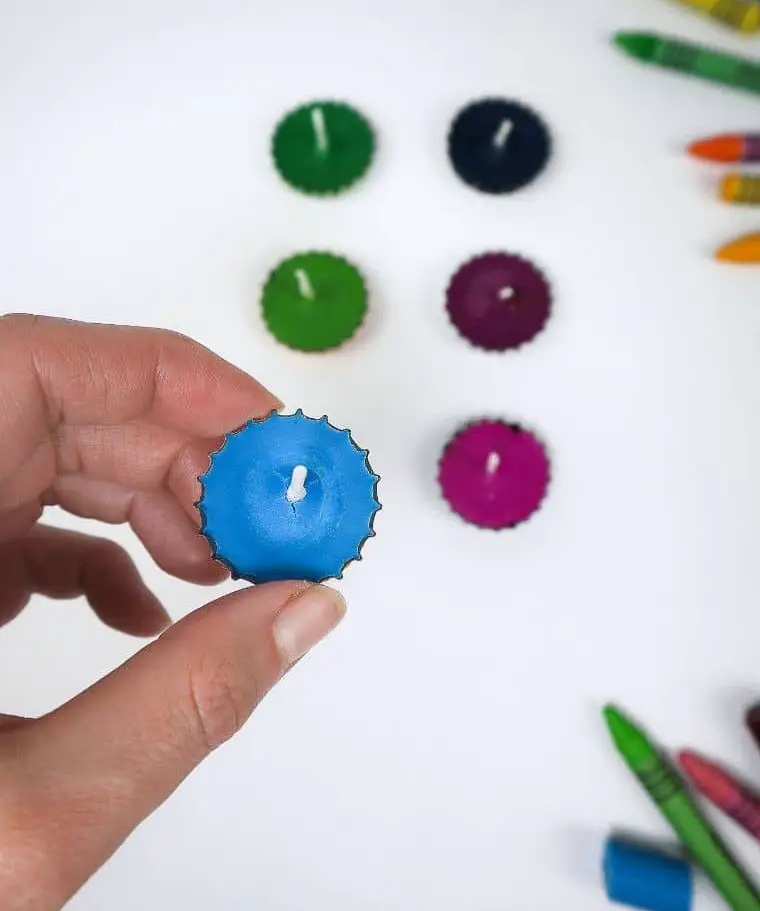
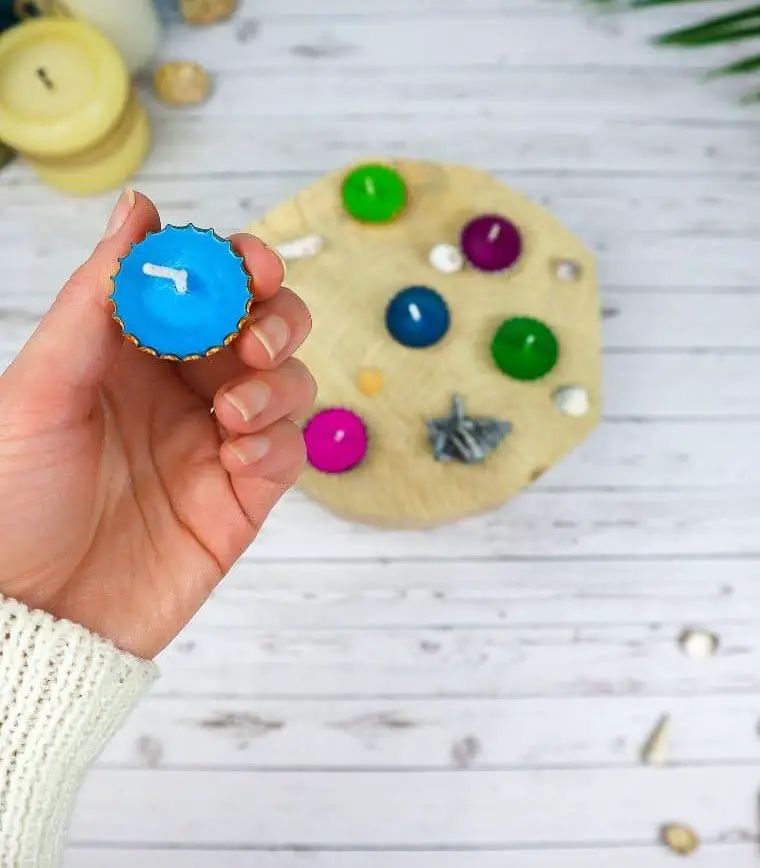
To achieve a smooth and controlled pouring process, start by gently picking up one of our bottle caps, ensuring that the wick is properly aligned within. Next, pour the wax into the cap or onto a sheet of baking paper to prevent any mess. This careful approach will allow you to create your candle with precision and ease.
Step Seven
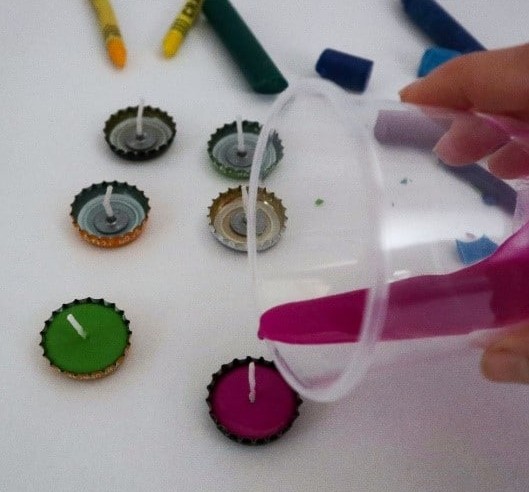
As you work on crafting each candle, be sure to melt and pour the wax individually. Allowing the wax to dry between colors can affect the overall appearance of your finished candles. To add an extra touch of elegance, consider spraying the bottle caps with gold paint before getting started. This subtle detail will give your DIY project a charming rustic flair.
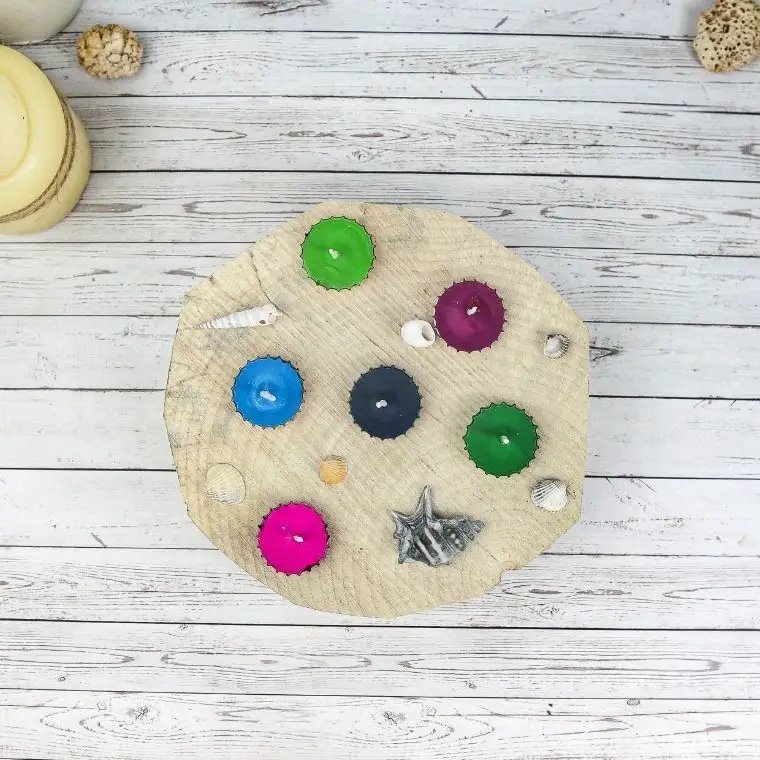
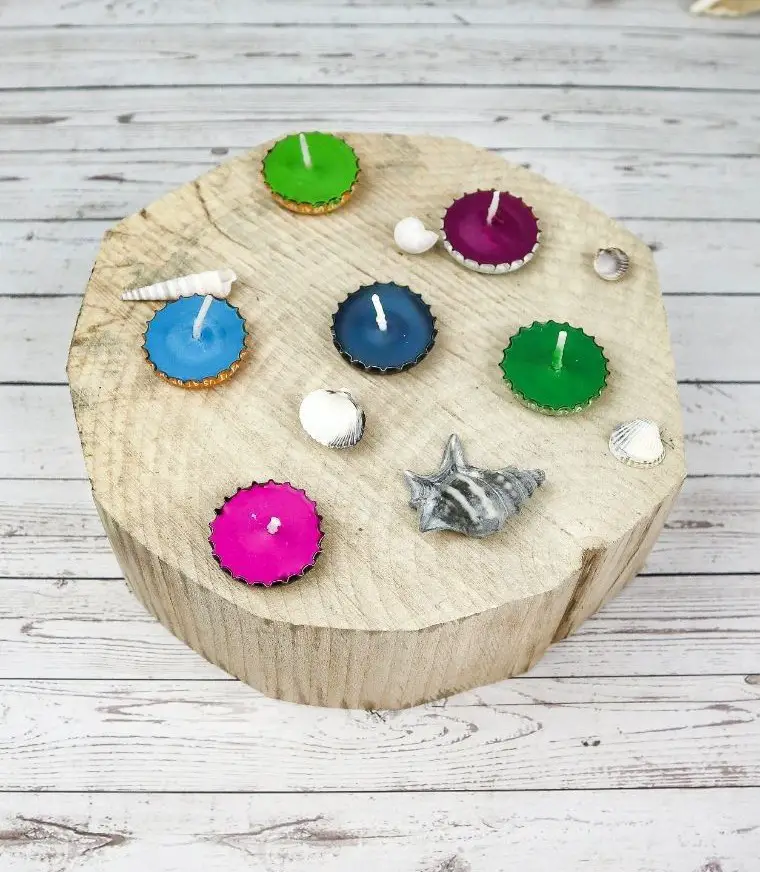
With these adorable candles, the possibilities are endless! Make them in bulk and use them to brighten up any room in your home.
Alternatively, you can create them as unique gifts for friends and family. The world is truly your canvas.
How to Make a Scented Bottle Cap Candle?
When it comes to crafting scented candles, essential oils are a must-have. With a wide range of options, from calming lavender to invigorating peppermint, you can create a unique blend that suits your taste. Consider combining different scents to develop a signature aroma for your home or create a personalized gift for someone special. To incorporate the oils into your candle-making process, simply add a single drop to your melted wax once the crayons have reached their melting point.
Be sure to mix the wax thoroughly to ensure an even distribution of the fragrance, preventing any hotspots or uneven scent release when the candle is burned. From there, proceed with the standard candle-making process.
DIY Bottle Cap Candles
Transform your upcycled bottle caps into unique DIY candles, perfect for decorating and personalizing your home. This fun and practical craft requires just a few minutes of prep time, followed by 15 minutes of active crafting and an additional 10 minutes to let the magic happen. With a total time commitment of 27 minutes, you can create these beautiful candles without breaking the bank – all for just $1!
Equipment
Materials
The humblest of items can hold a world of creativity and inspiration. Take, for instance, a collection of crayons without their labels. The blank slates are waiting to be brought to life with imagination and color. Similarly, tealight candle wicks pre-waxed and ready for use, or old bottle caps that can be transformed into unique decorative accents. Even essential oils, though optional, can evoke emotions and memories when combined in a specific way.
And let’s not forget about the old metal soup can, which with some creativity, can become a quirky planter or storage container. These everyday objects are more than just mere items – they’re the building blocks of creative expression.
Instructions
To embark on your candle-making journey, begin by preparing your supplies. Start by heating water in a saucepan, filling it only a quarter of the way to prevent any excess liquid from contaminating the wax. As the water warms up, take this opportunity to prepare your bottle caps for melting. Place a single wick into each cap and secure them using hot glue if desired. Next, crush your crayons into smaller pieces to facilitate melting.
Then, melt the crayons color by color, pouring them into an old soup can situated in the warm water. The gentle heat will carefully melt the wax without burning it. If you’re incorporating essential oils, add a single drop once the crayon is fully melted, as these oils are potent and require minimal quantities. Once your crayons have reached a fully liquid state, pour the melted wax into the prepared bottle caps. To minimize any mess, perform this step over baking paper if desired.
Allow the caps to dry completely before lighting them up, marking the end of your candle-making adventure.