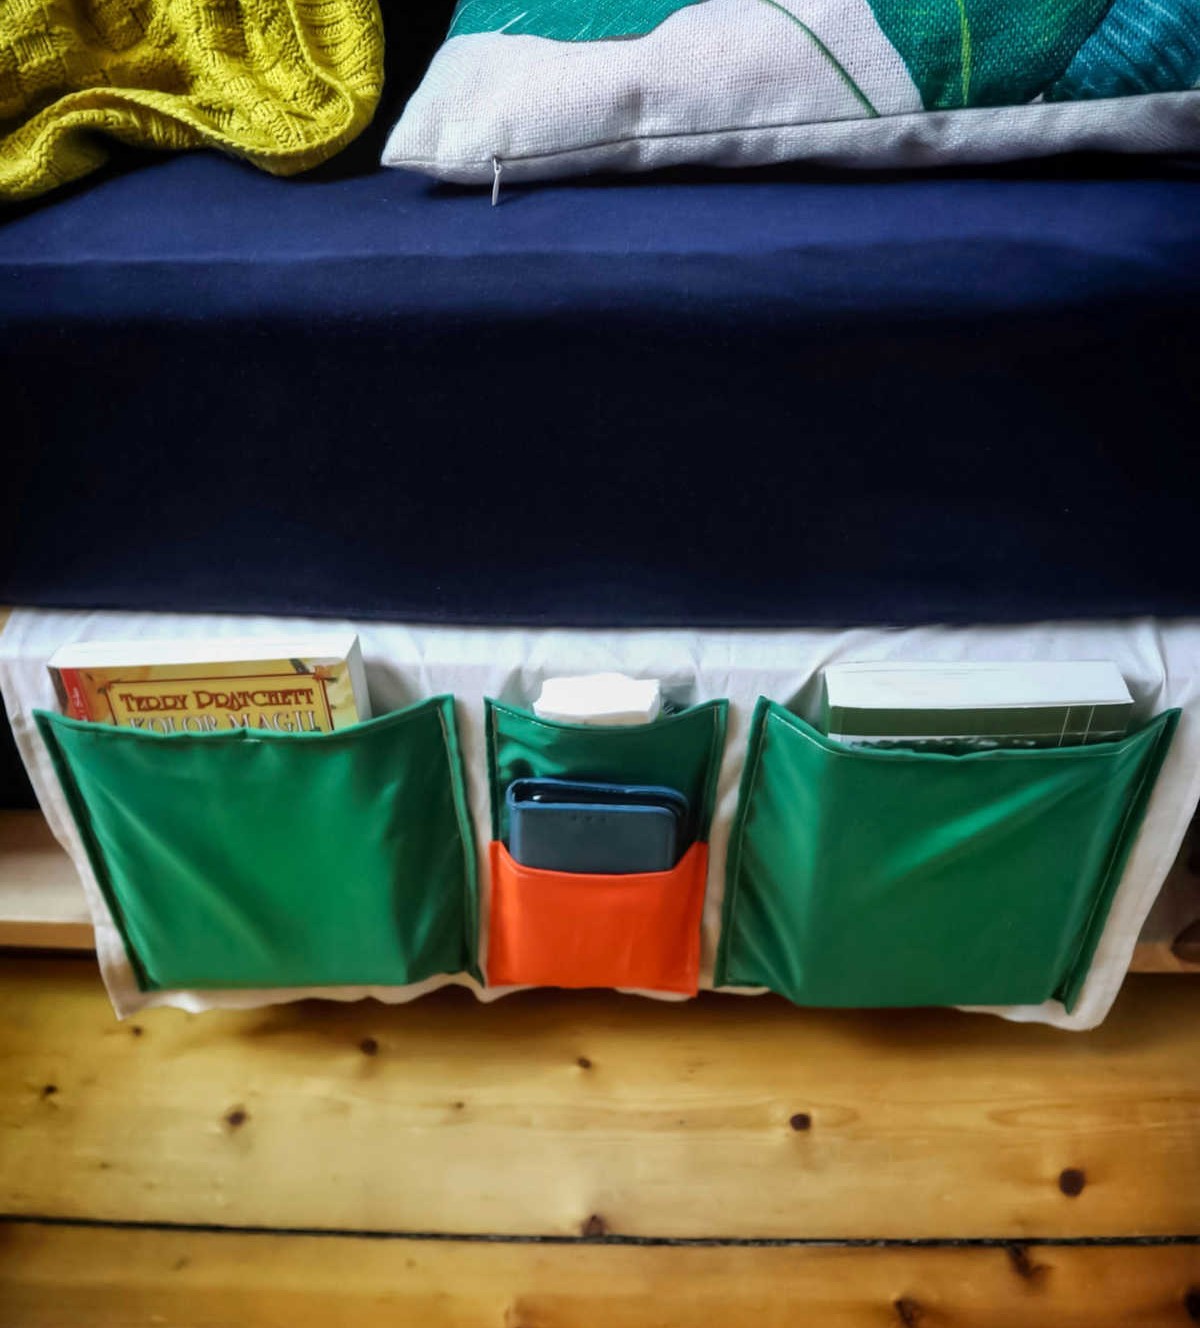
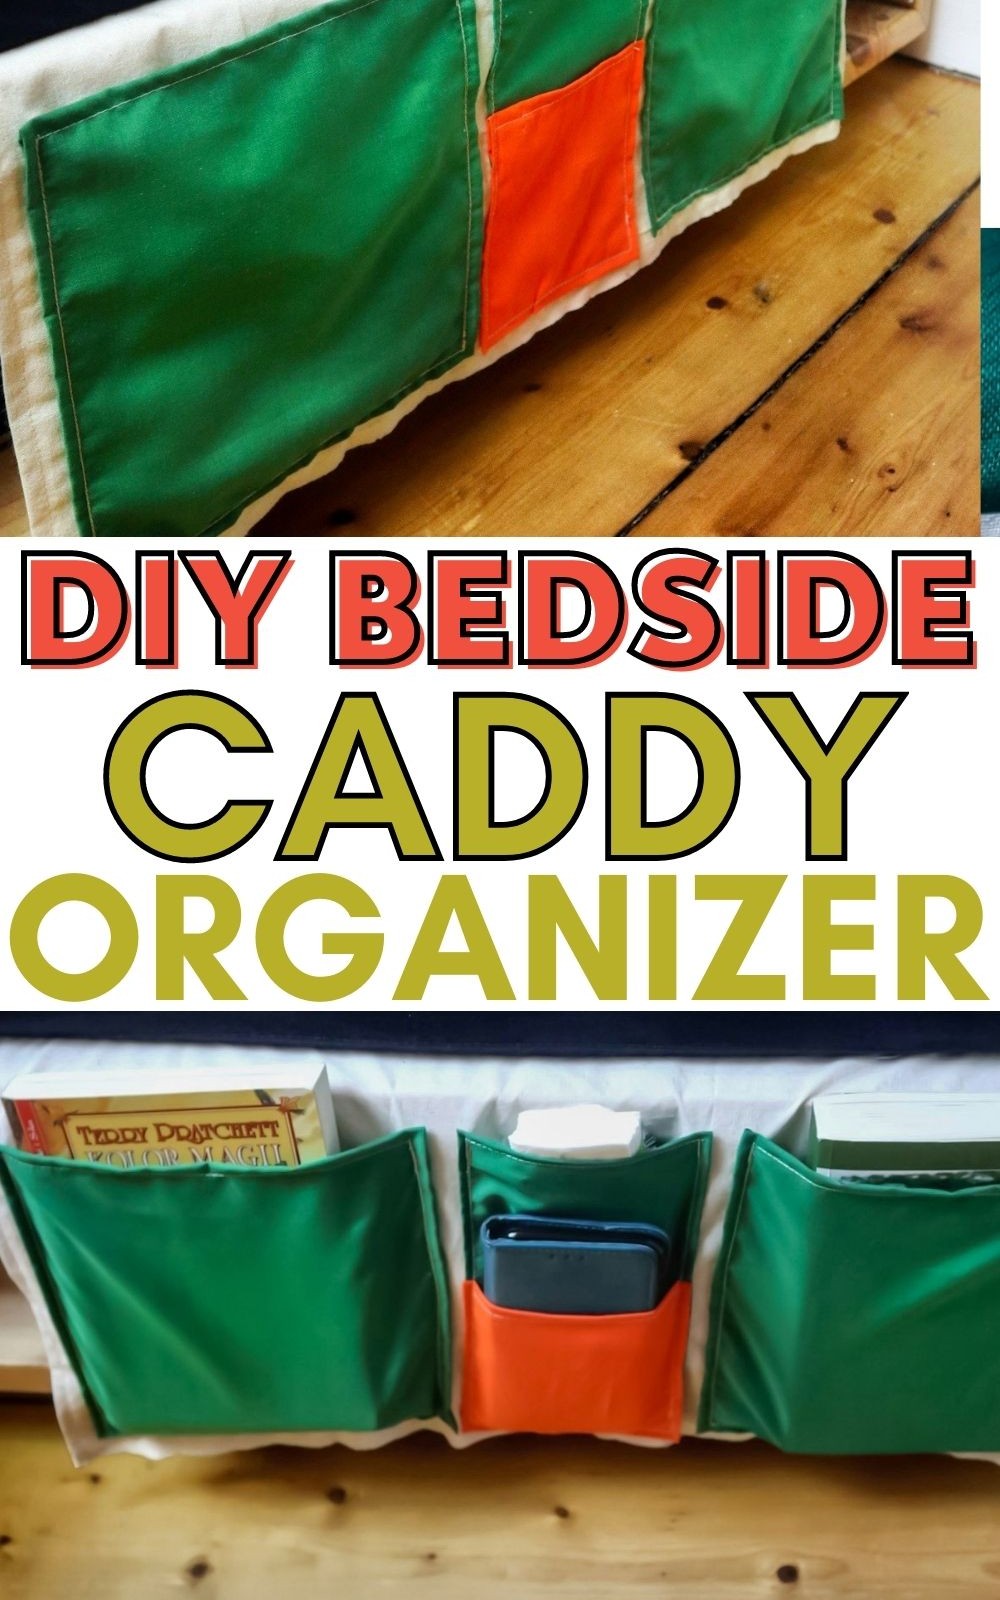
Transform your bedroom into a tranquil oasis by creating a one-of-a-kind DIY bedside caddy. This clever fabric craft will revolutionize your decluttering efforts and keep your space tidy. Bedside caddies often fly under the radar, but once you experience their organizational prowess, you’ll wonder how you ever managed without them.
These humble heroes of home decor are a game-changer for maximizing storage in even the smallest bedrooms.
By repurposing cluttered corners and surfaces, they free up valuable real estate, allowing you to breathe a sigh of relief.
So, what’s the secret to crafting this magic? Let’s dive into the essentials you’ll need to get started.
Supplies for Bedside Caddy
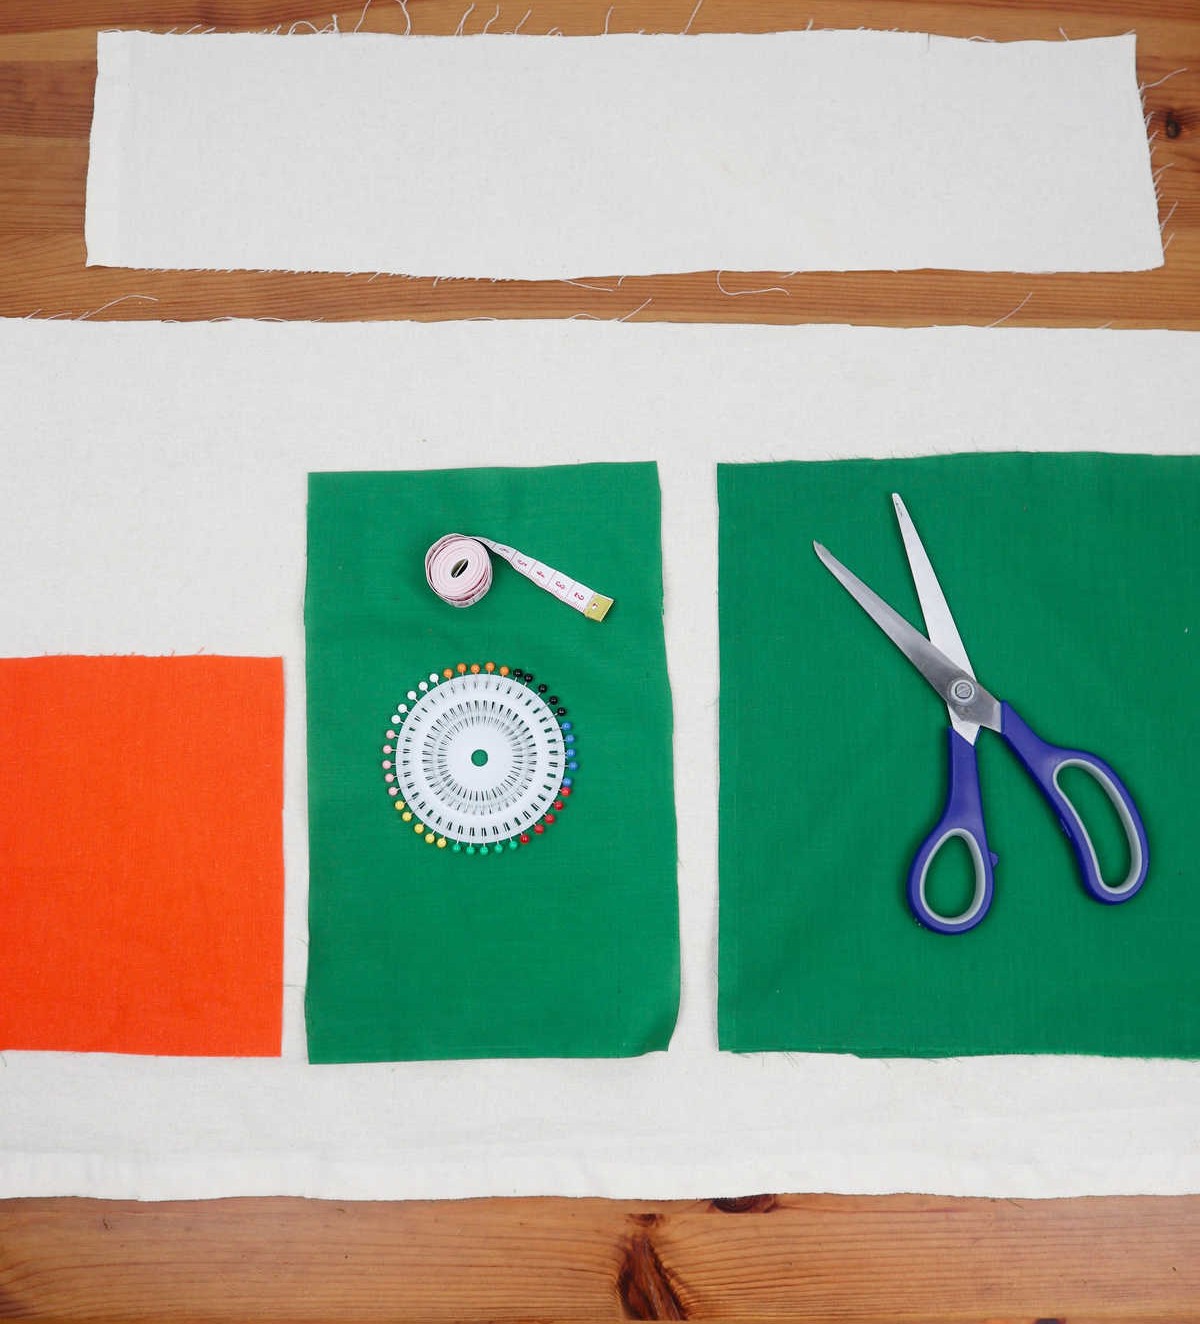
To embark on the creative journey of crafting, one must first gather a selection of essential materials. This includes a substantial piece of fabric that will serve as the foundation of your project, as well as smaller pieces for creating functional elements such as pockets. Additionally, two equal pieces of fabric are required to create strips that can be used to add texture and interest to your design.
Furthermore, a variety of tools are necessary to bring your vision to life, including pins for securing fabrics in place, scissors for cutting and shaping your materials, a ruler for ensuring precise measurements, and a tape measure for taking accurate measurements and making adjustments as needed.
How to Make Bedside Caddy
Before diving into the process, ensure that you have all the necessary materials at hand. With your supplies prepared, it’s time to begin constructing the caddy. For now, set aside the largest piece of fabric as it will be utilized in a later stage of the project.
Step 1
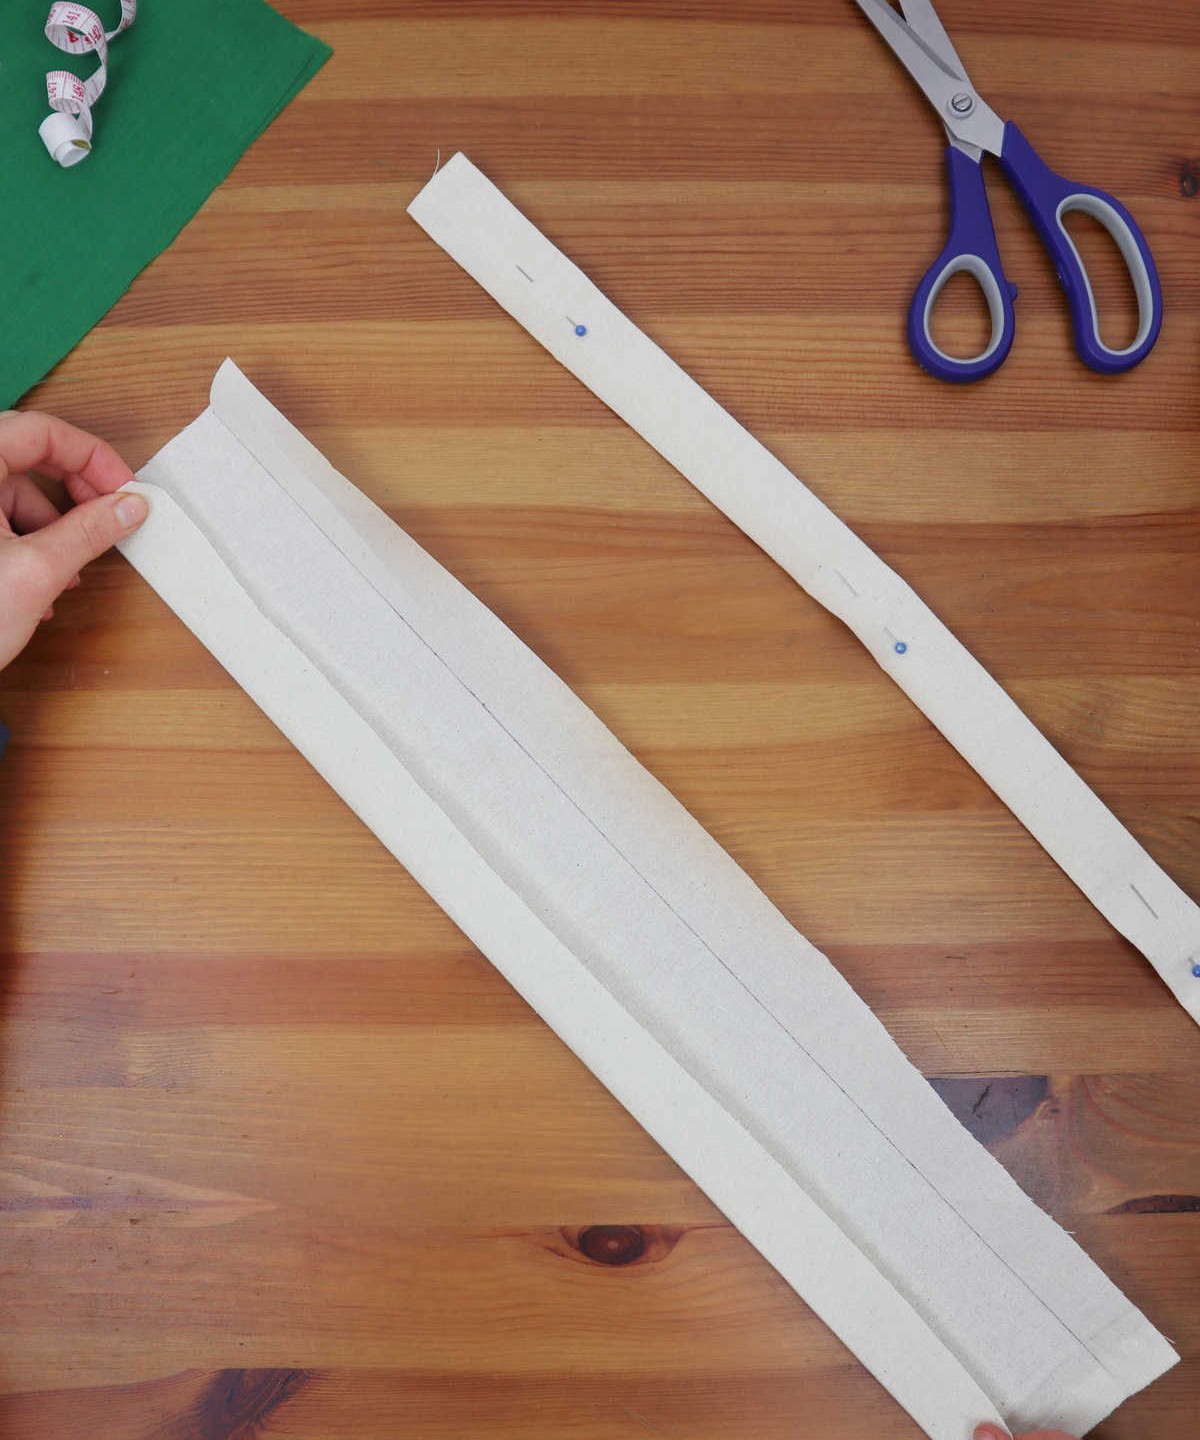
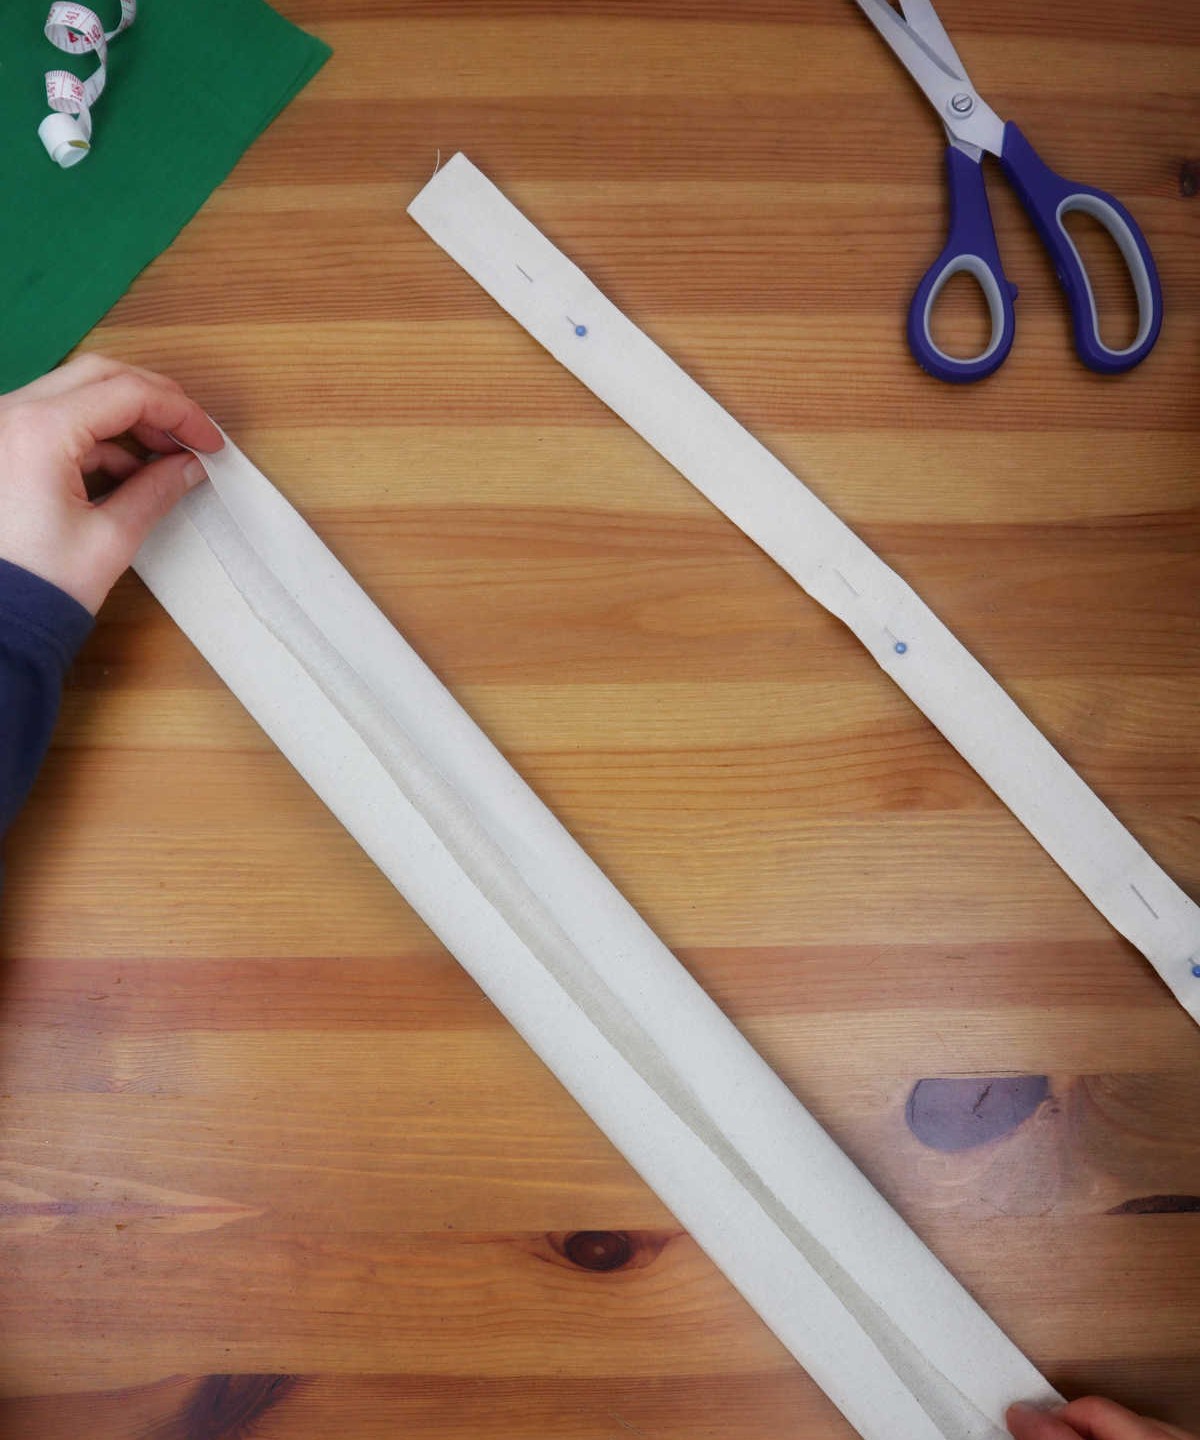
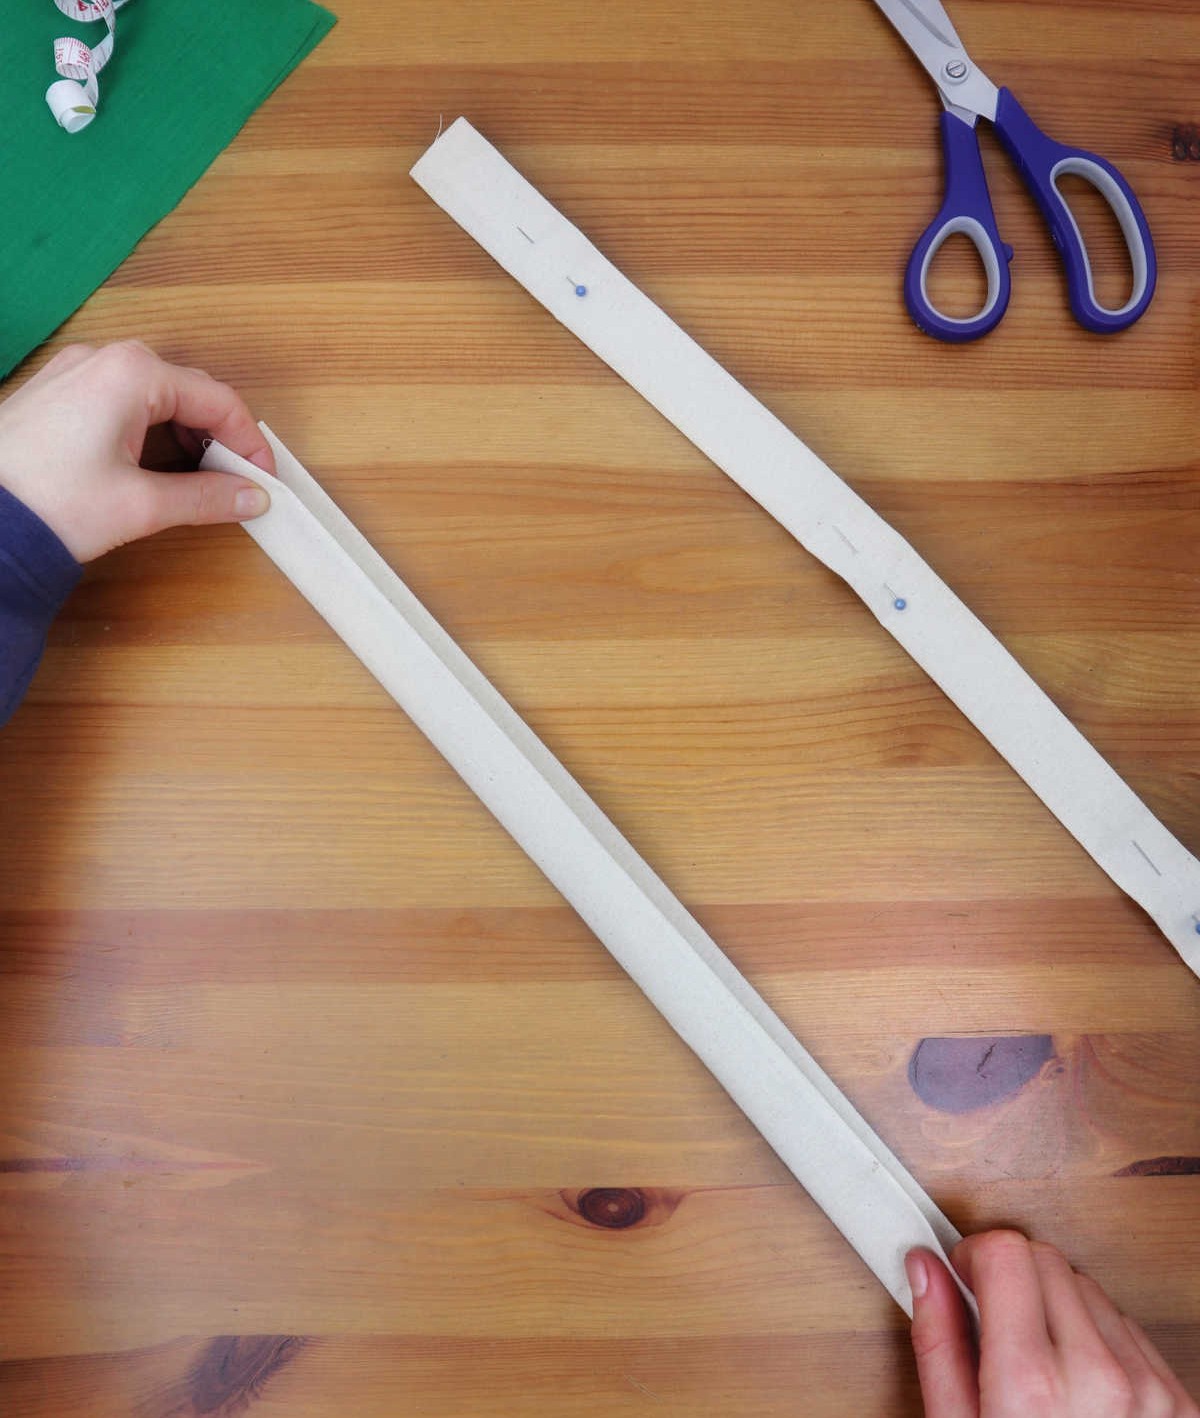
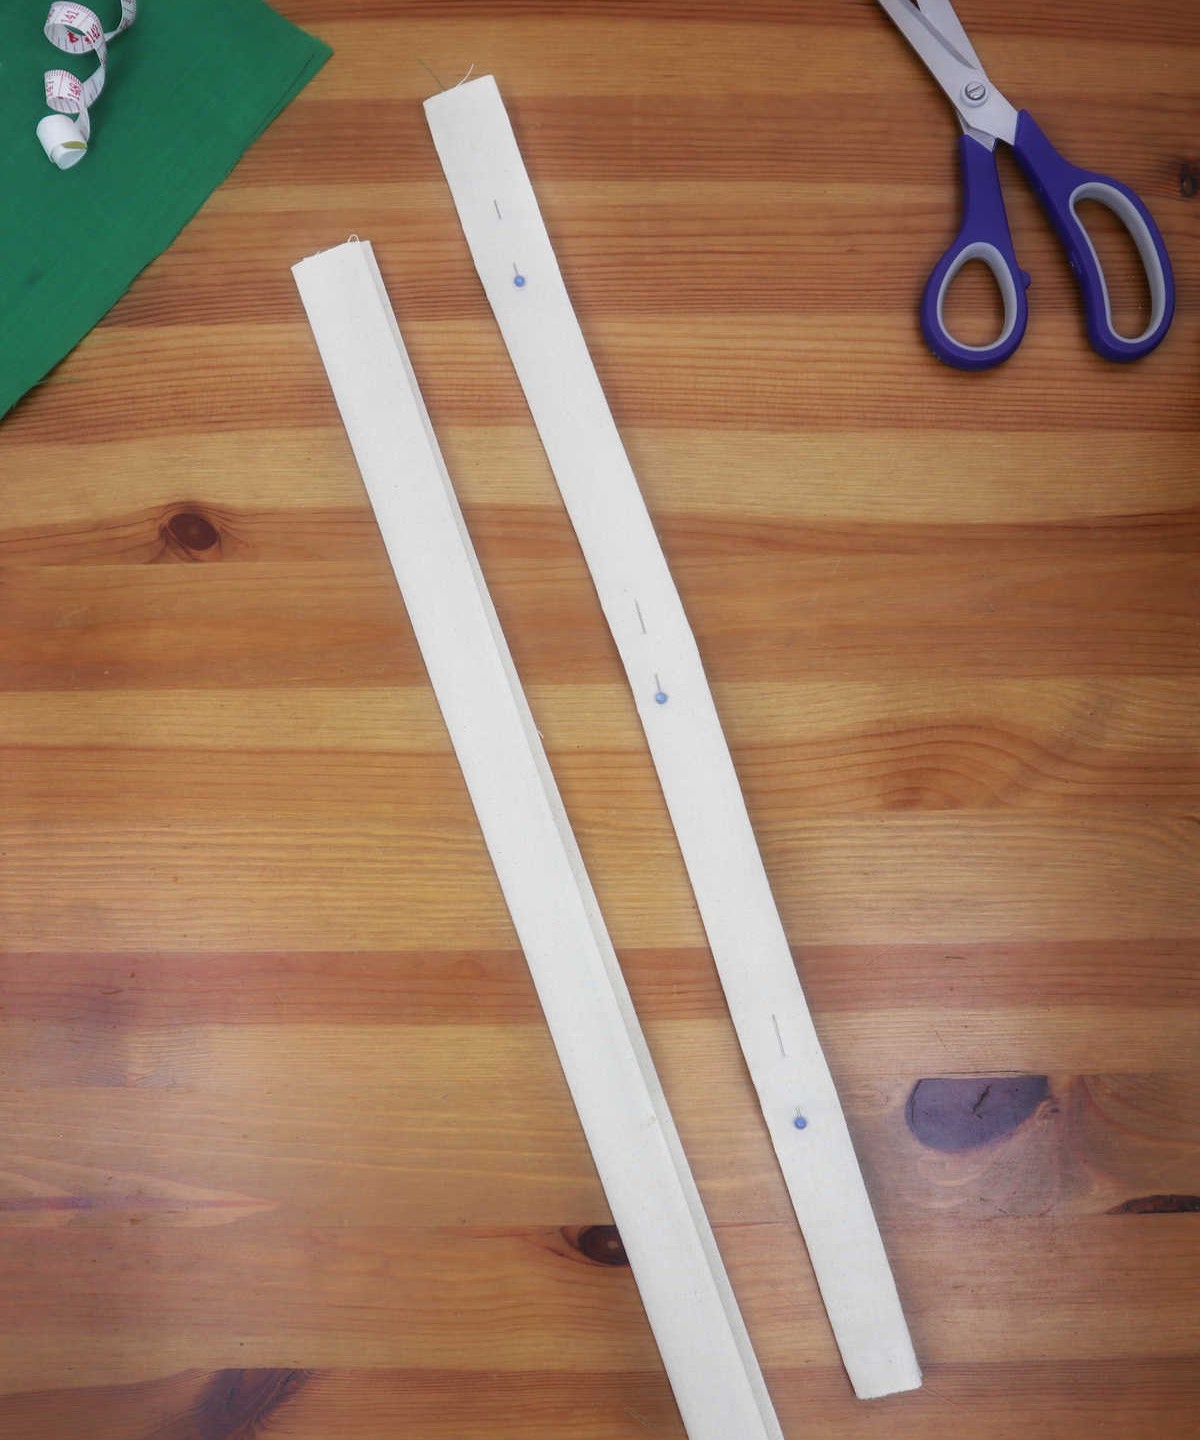
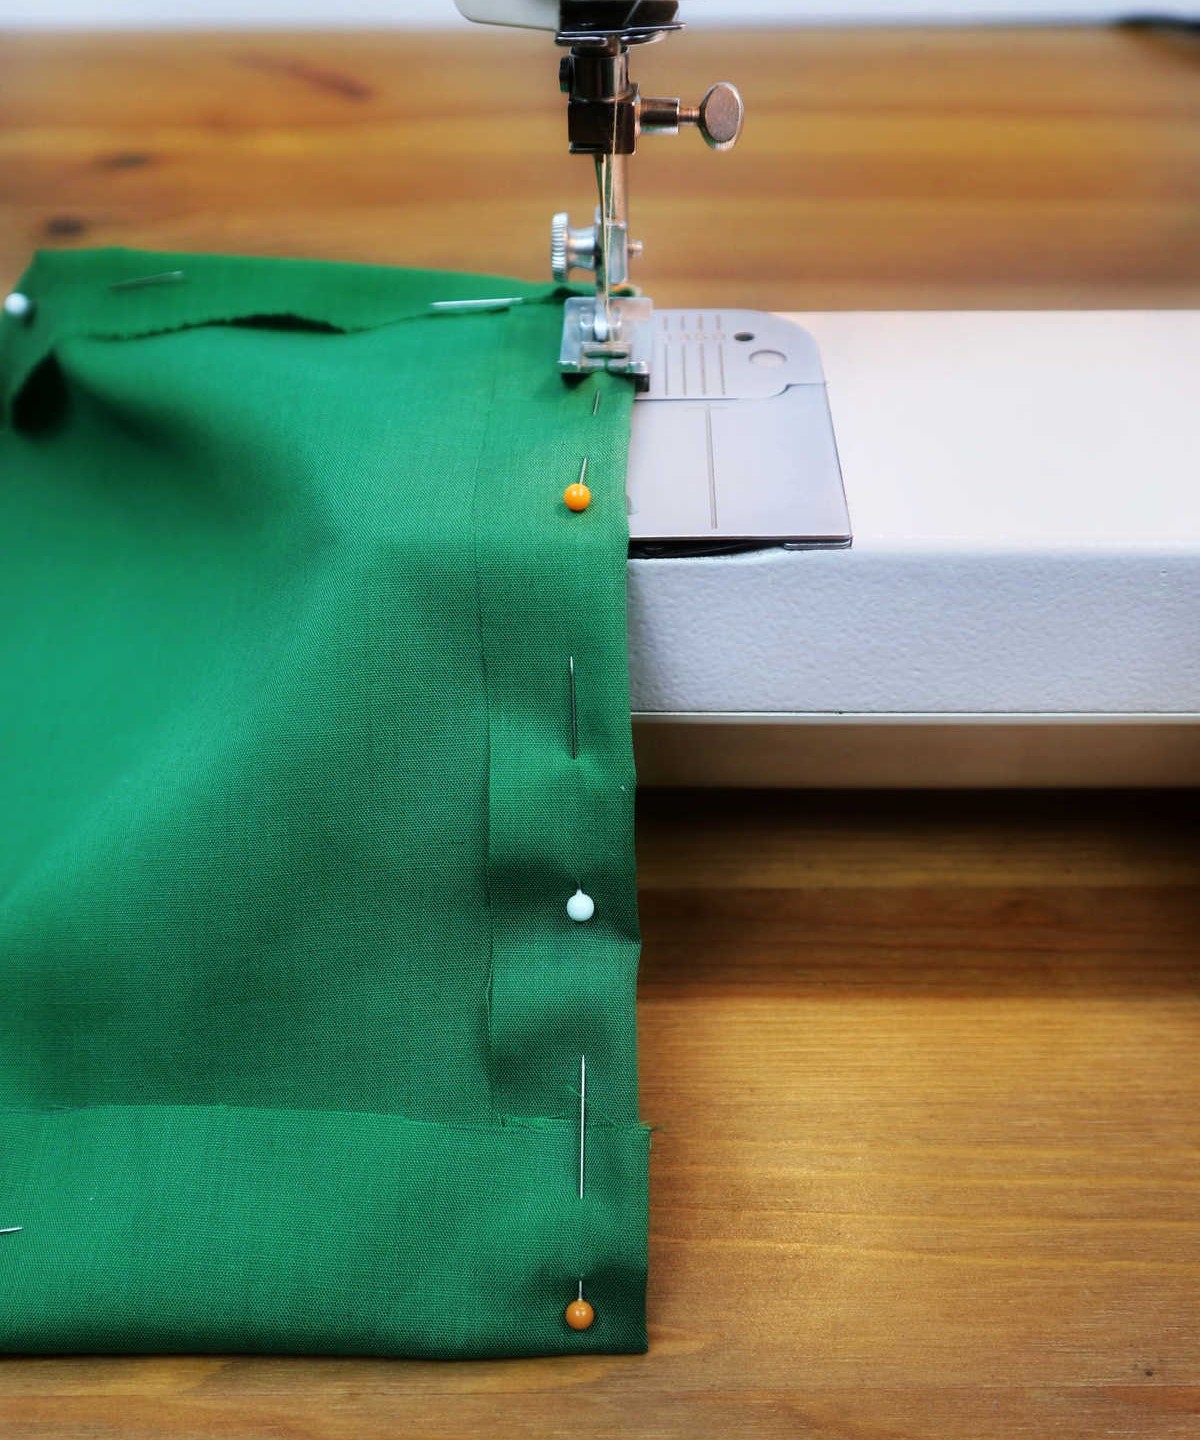
To begin, determine the dimensions of your caddy’s strips and cut out corresponding pieces of cloth, each approximately 6-7 cm wide. Next, fold the fabric three times, ironing it in place to create a crisp crease that will facilitate a smooth sewing process. As an optional step, you can also secure the folds using sewing pins, ensuring your seams are neat and tidy.
Step 2
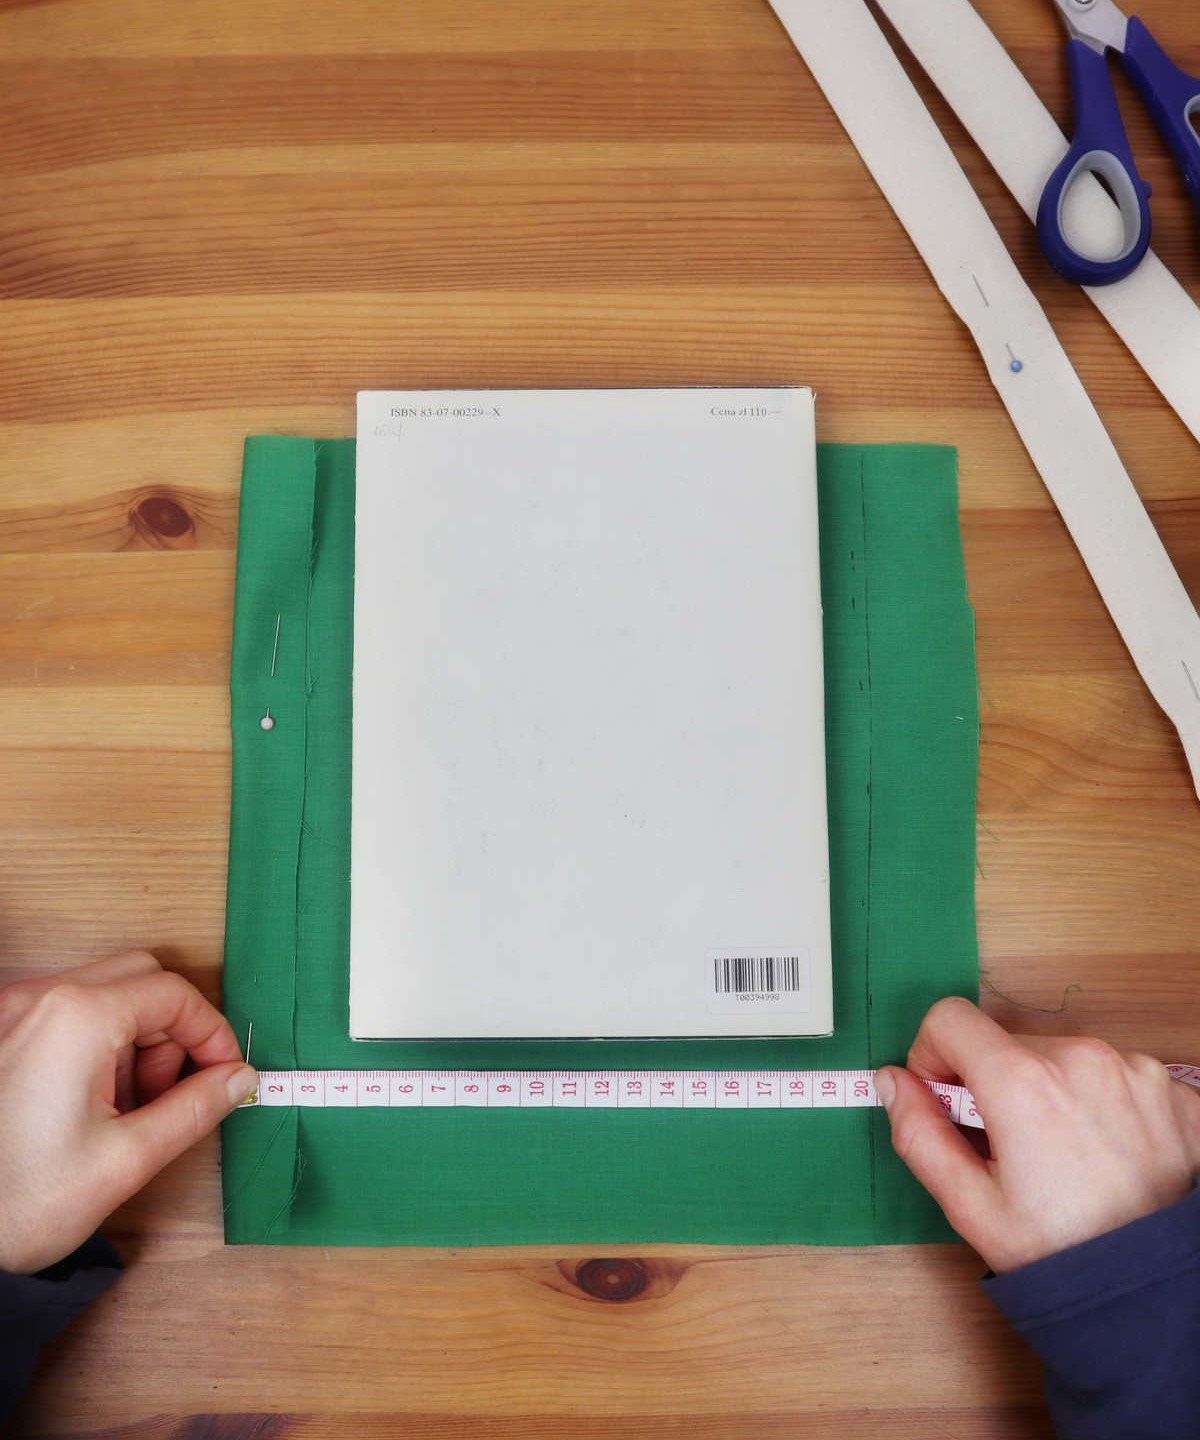
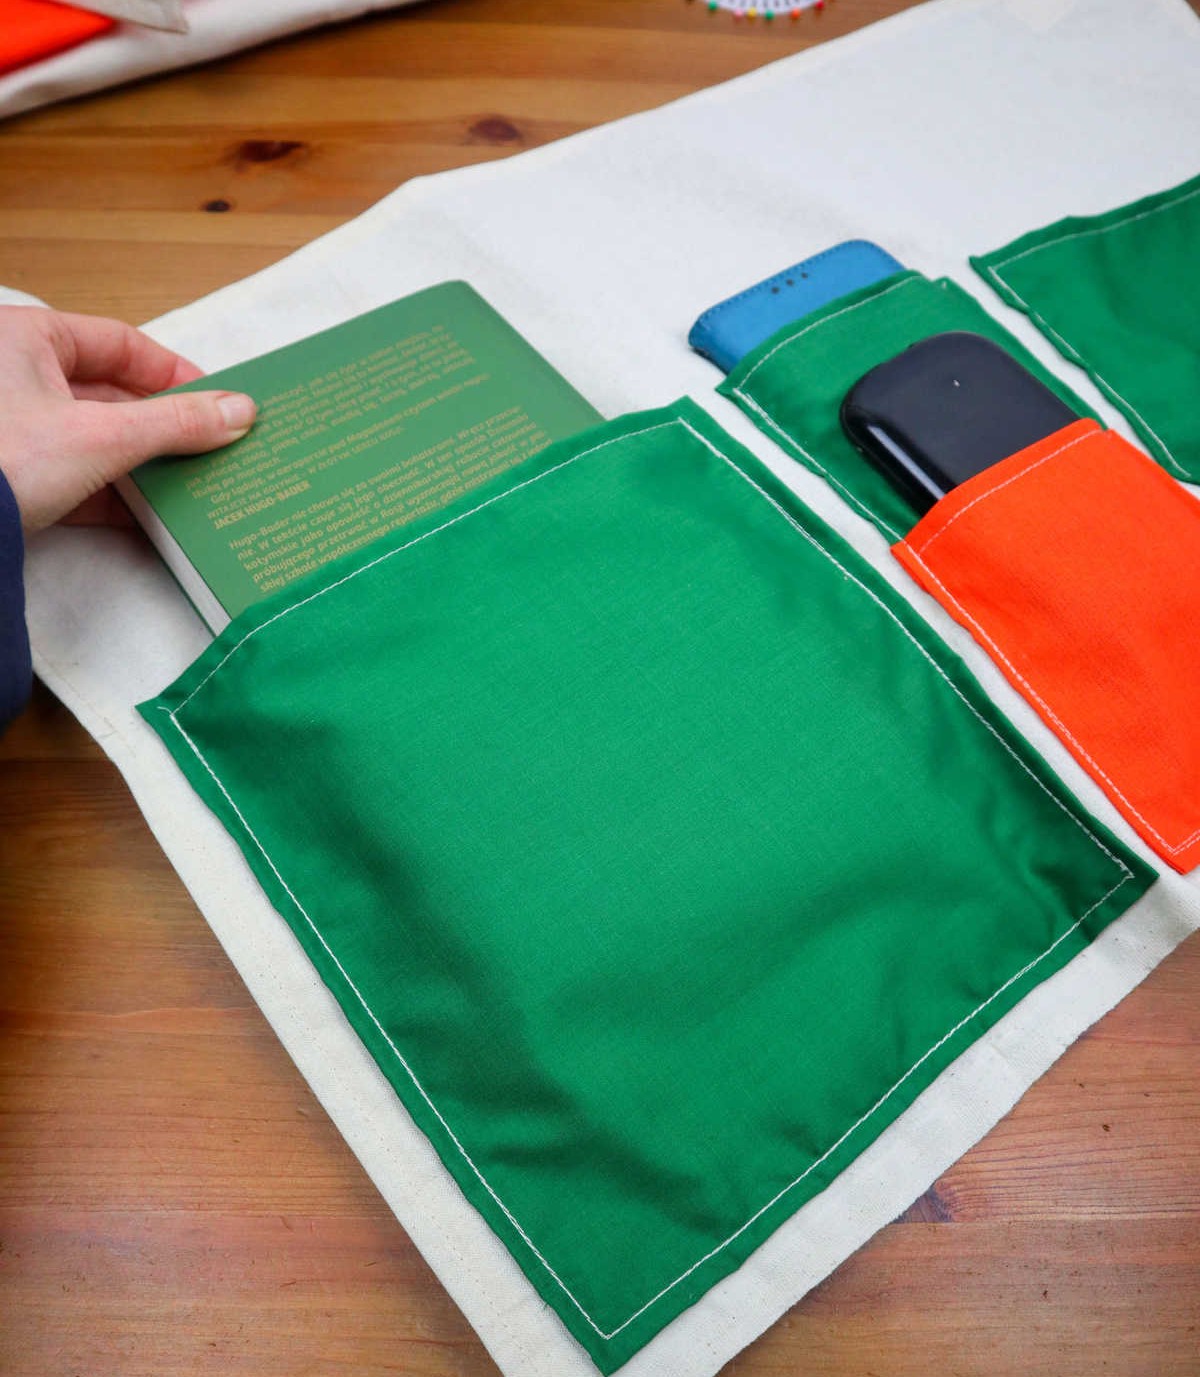
When designing your caddy, it’s essential to establish a clear vision of its size and functionality. To do this, determine what items each pocket should accommodate, such as laptops, books, or phones. This thought process will guide you in deciding the optimal dimensions for each pocket and the overall number of pockets needed. As you plan, place a book or laptop on top of your cloth template to serve as a reference point during measurement.
Be mindful to leave a 1-inch buffer around all four sides to allow for seamless sewing and construction.
Step 3
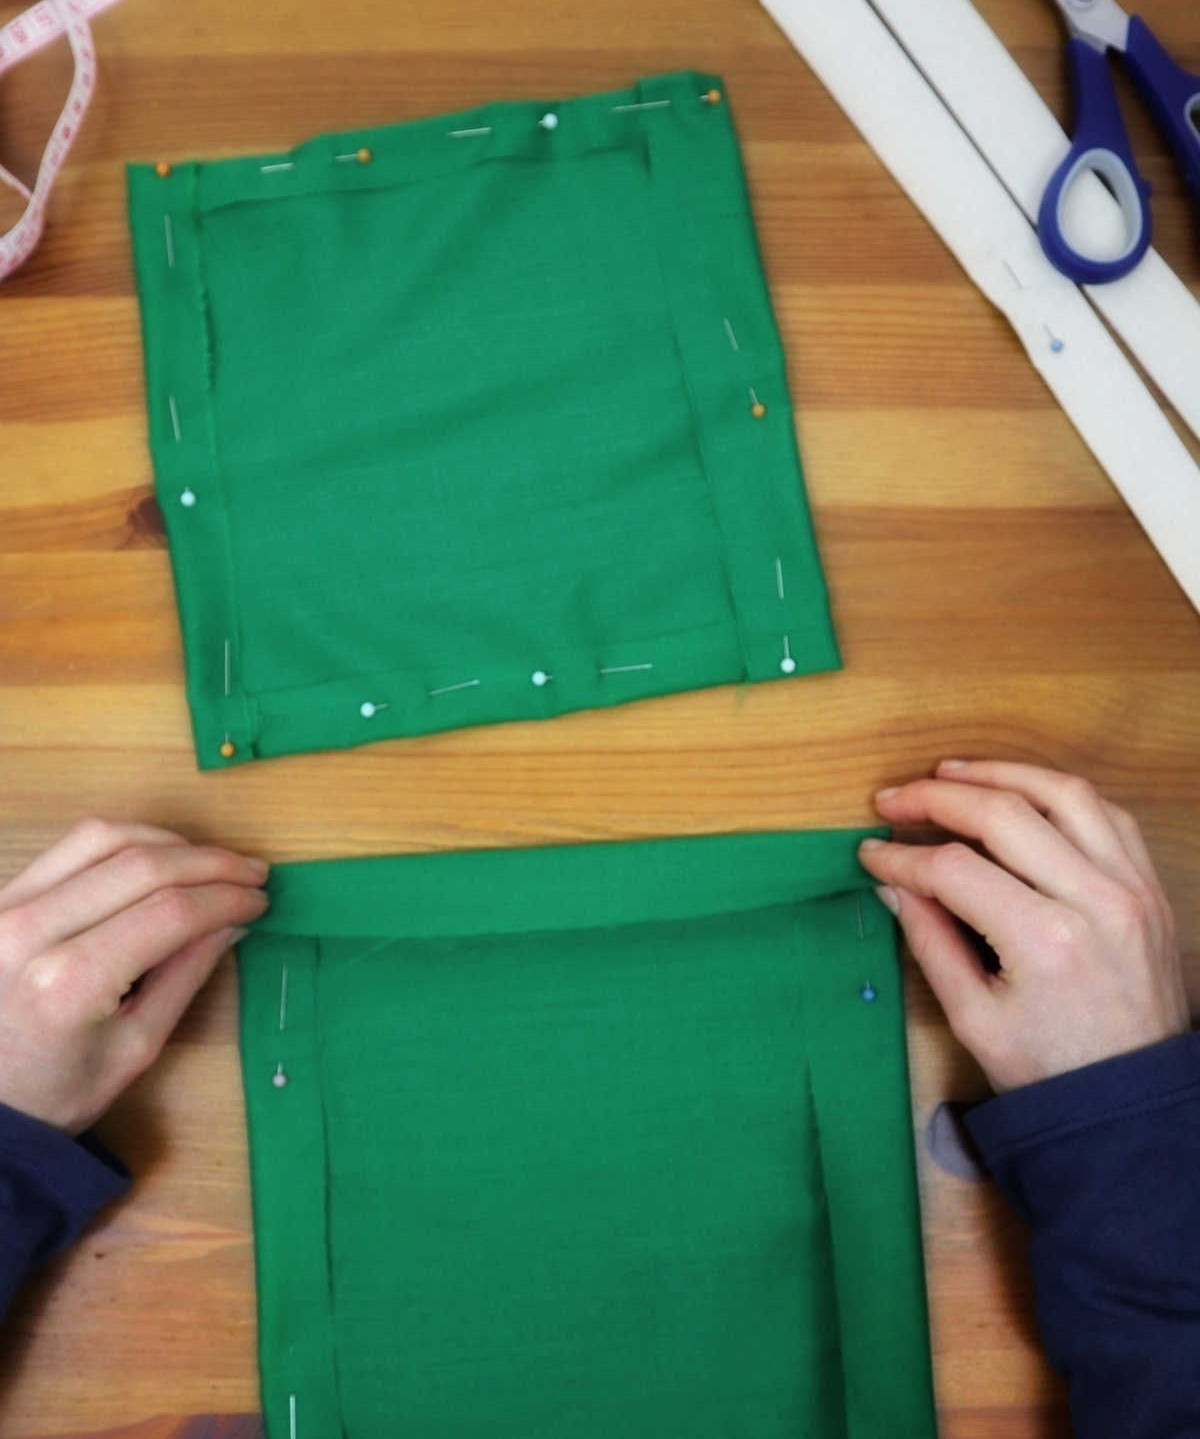
As you construct the project, it’s essential to secure the seam allowances by pinning the raw ends down and setting each pocket aside for now. To achieve this, you can employ sewing pins or opt for a more versatile alternative like bobby pins – either option will effectively keep your seams in place while you focus on completing the task at hand.
Step 4
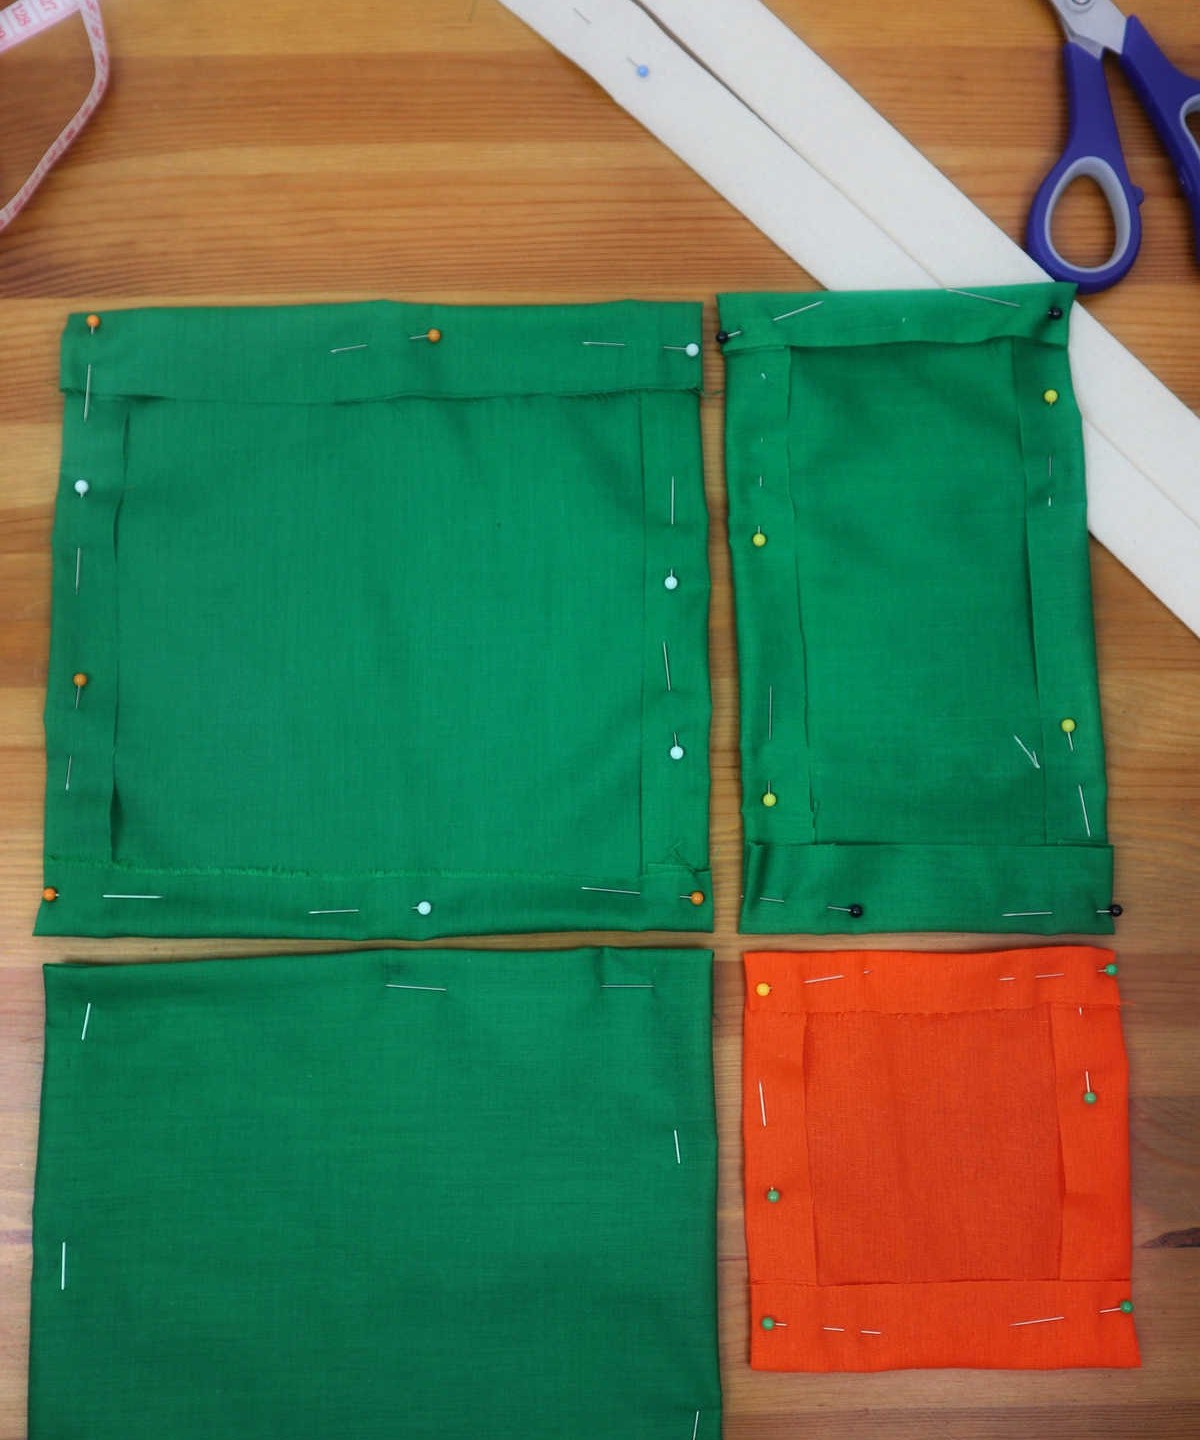
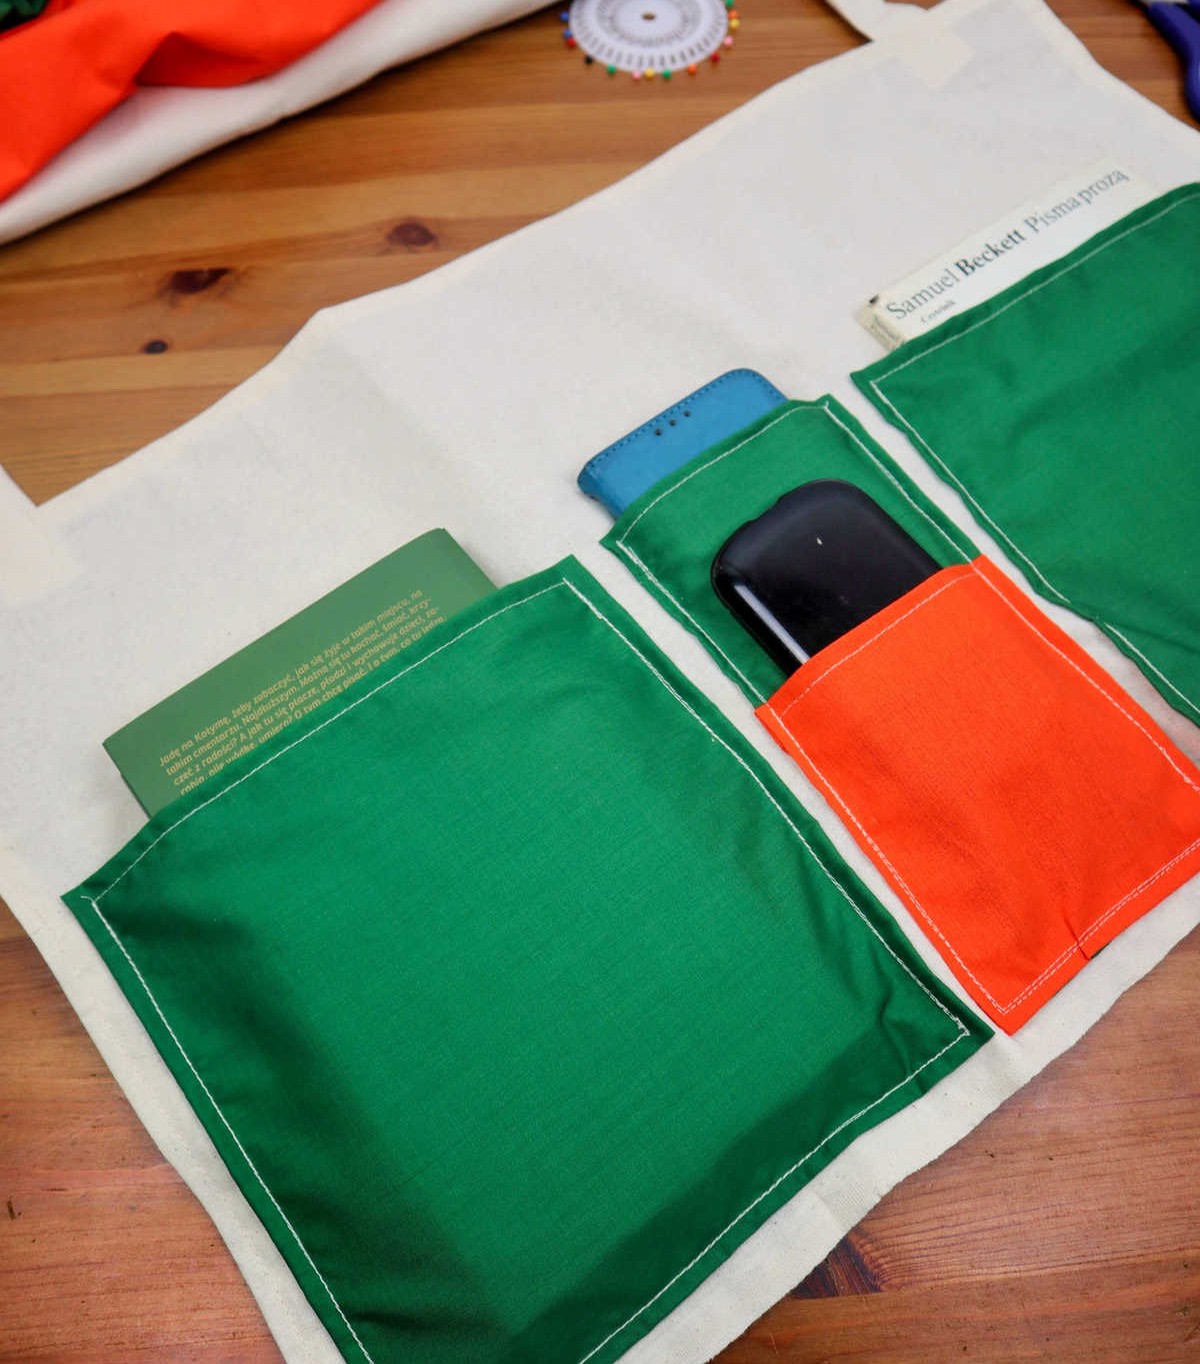
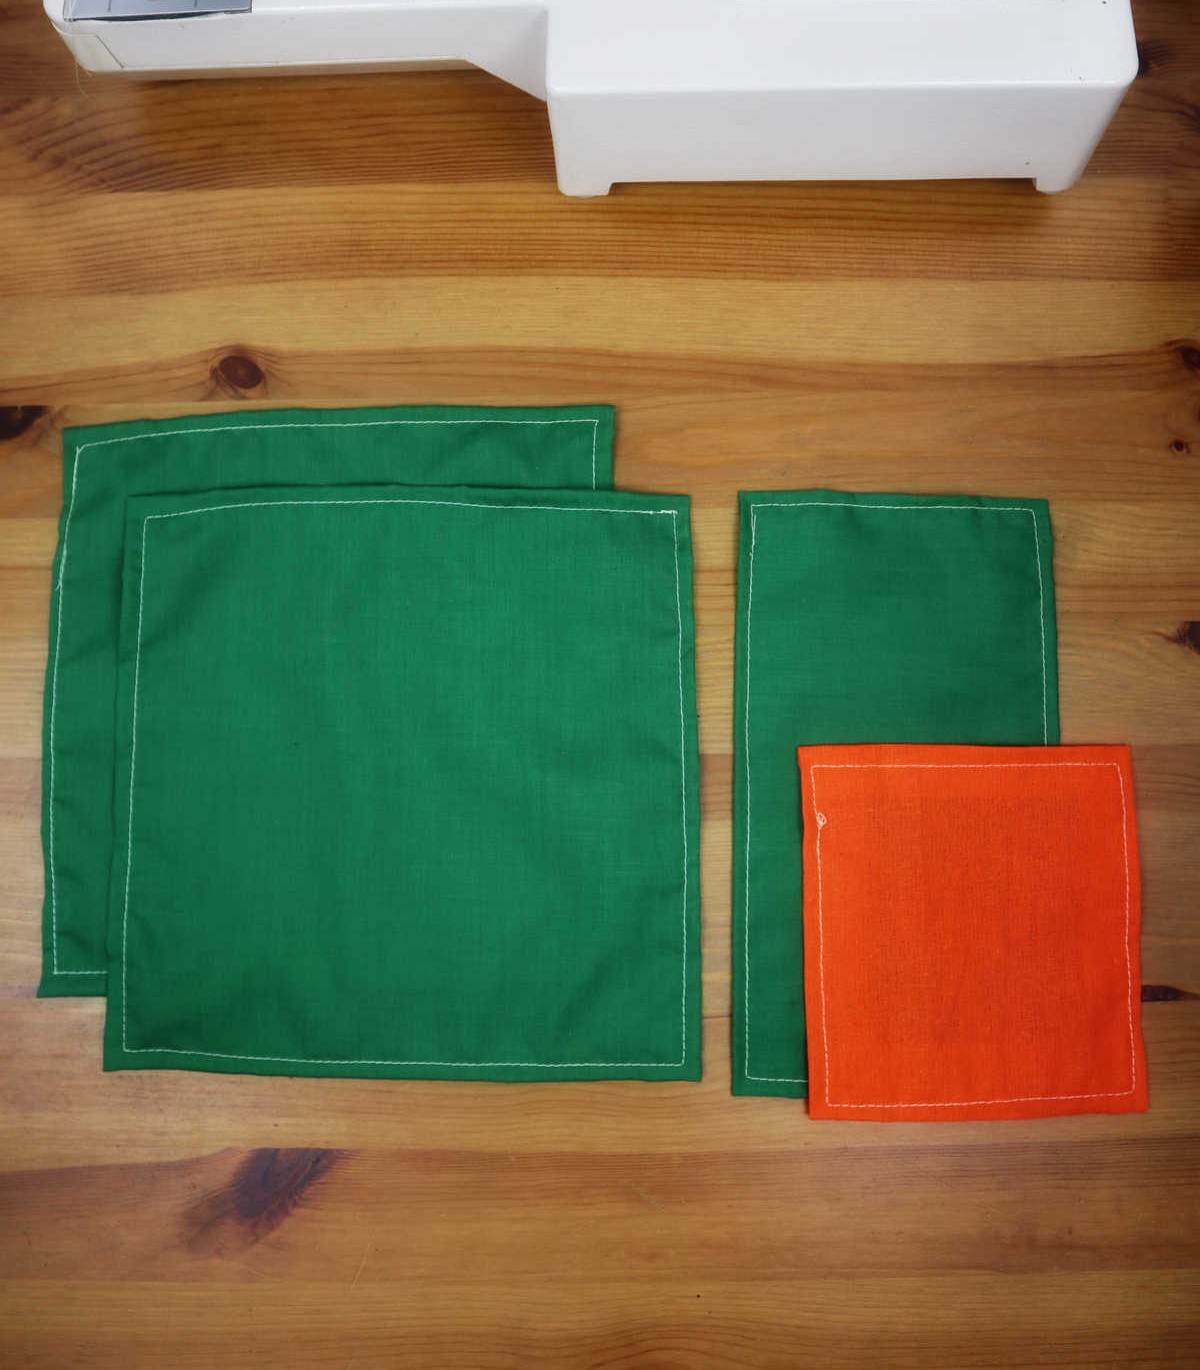
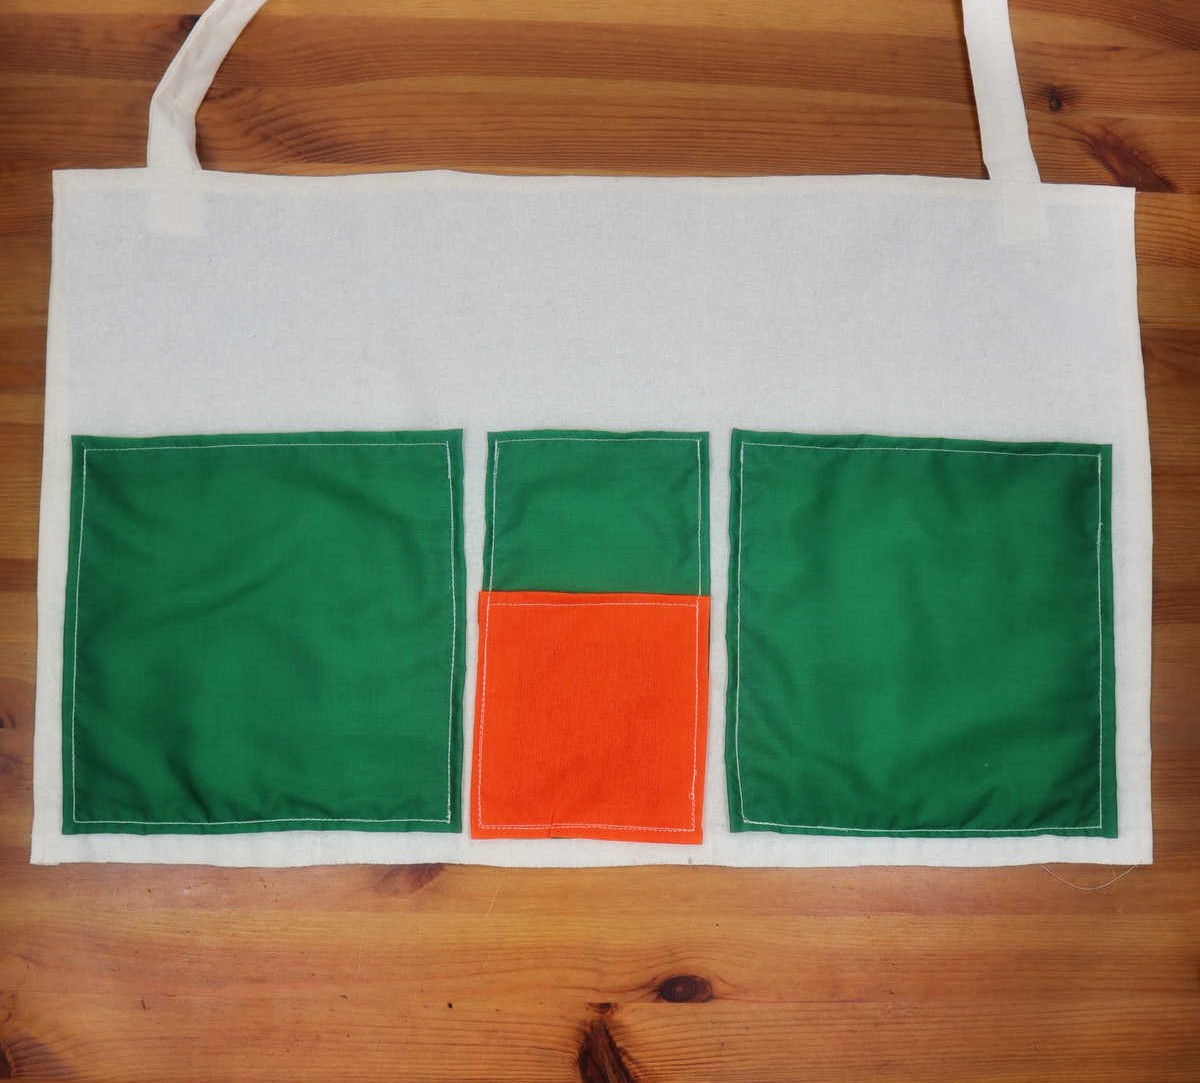
To elevate your bedside caddy’s visual appeal, consider swapping out different colors for distinct pockets. For instance, in this project, a vibrant combination of kelly green and saffron adds a pop of personality. To achieve a polished look, carefully flip the swatches over to ensure all edges are evenly aligned.
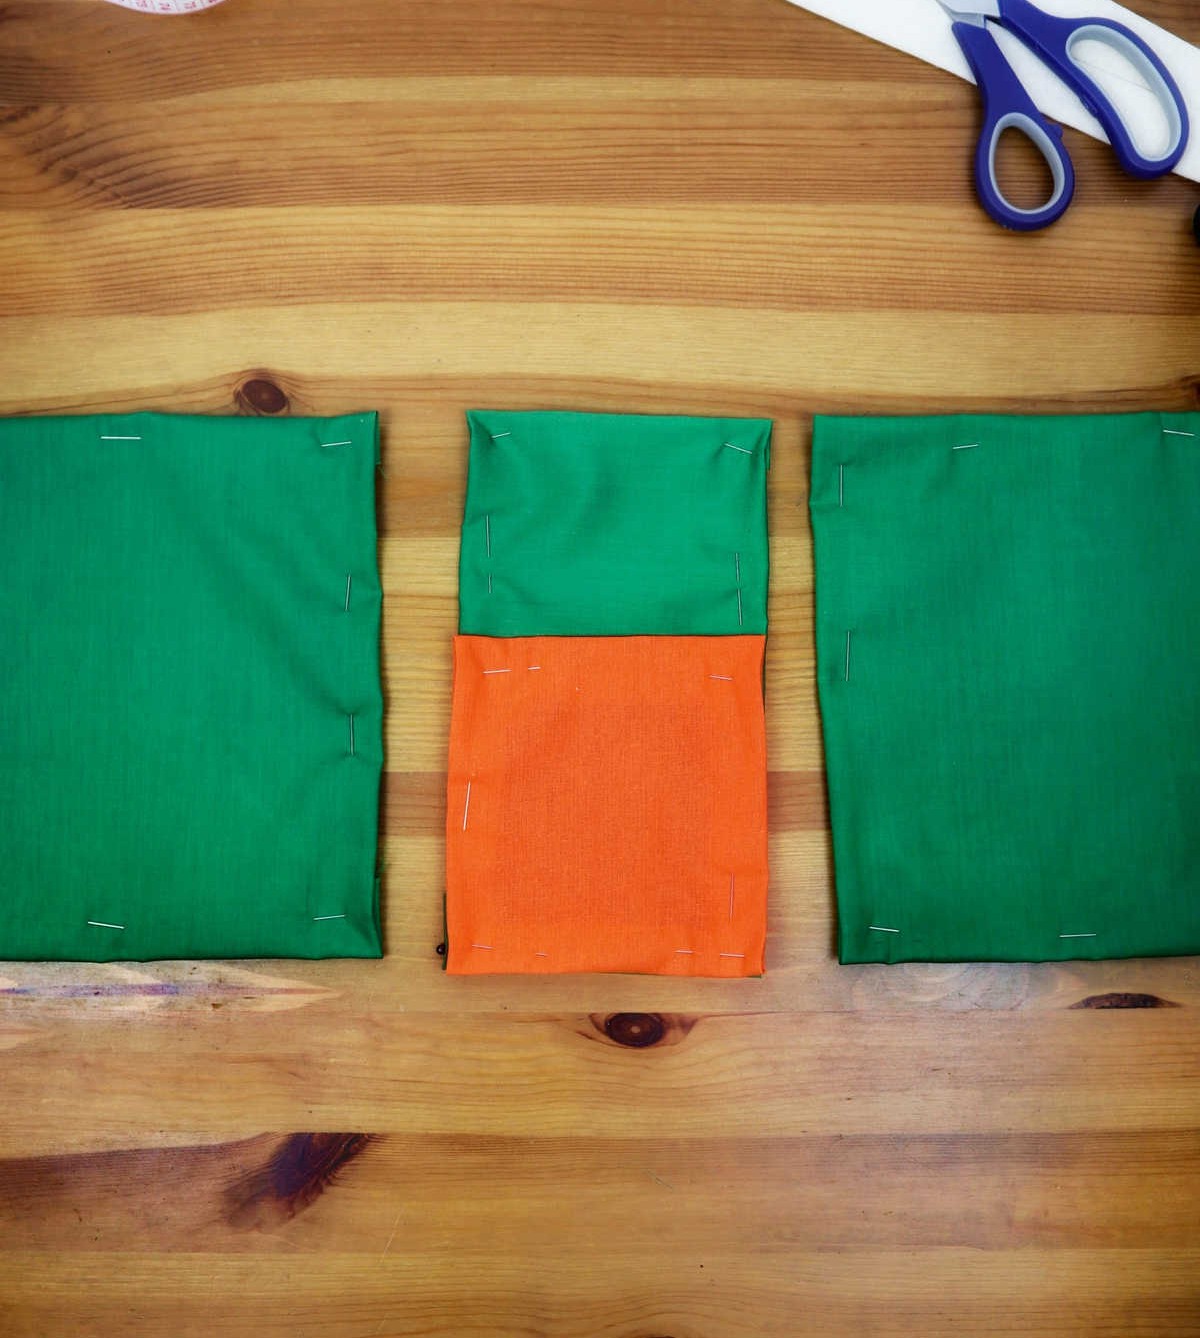
Step 5
Retrieve the sizable piece of fabric you reserved earlier and ensure all the loose ends are securely pinned. With this foundation established, proceed to arrange the pockets on the large white surface, using this opportunity to plan the precise placement for each pocket.
Step 6
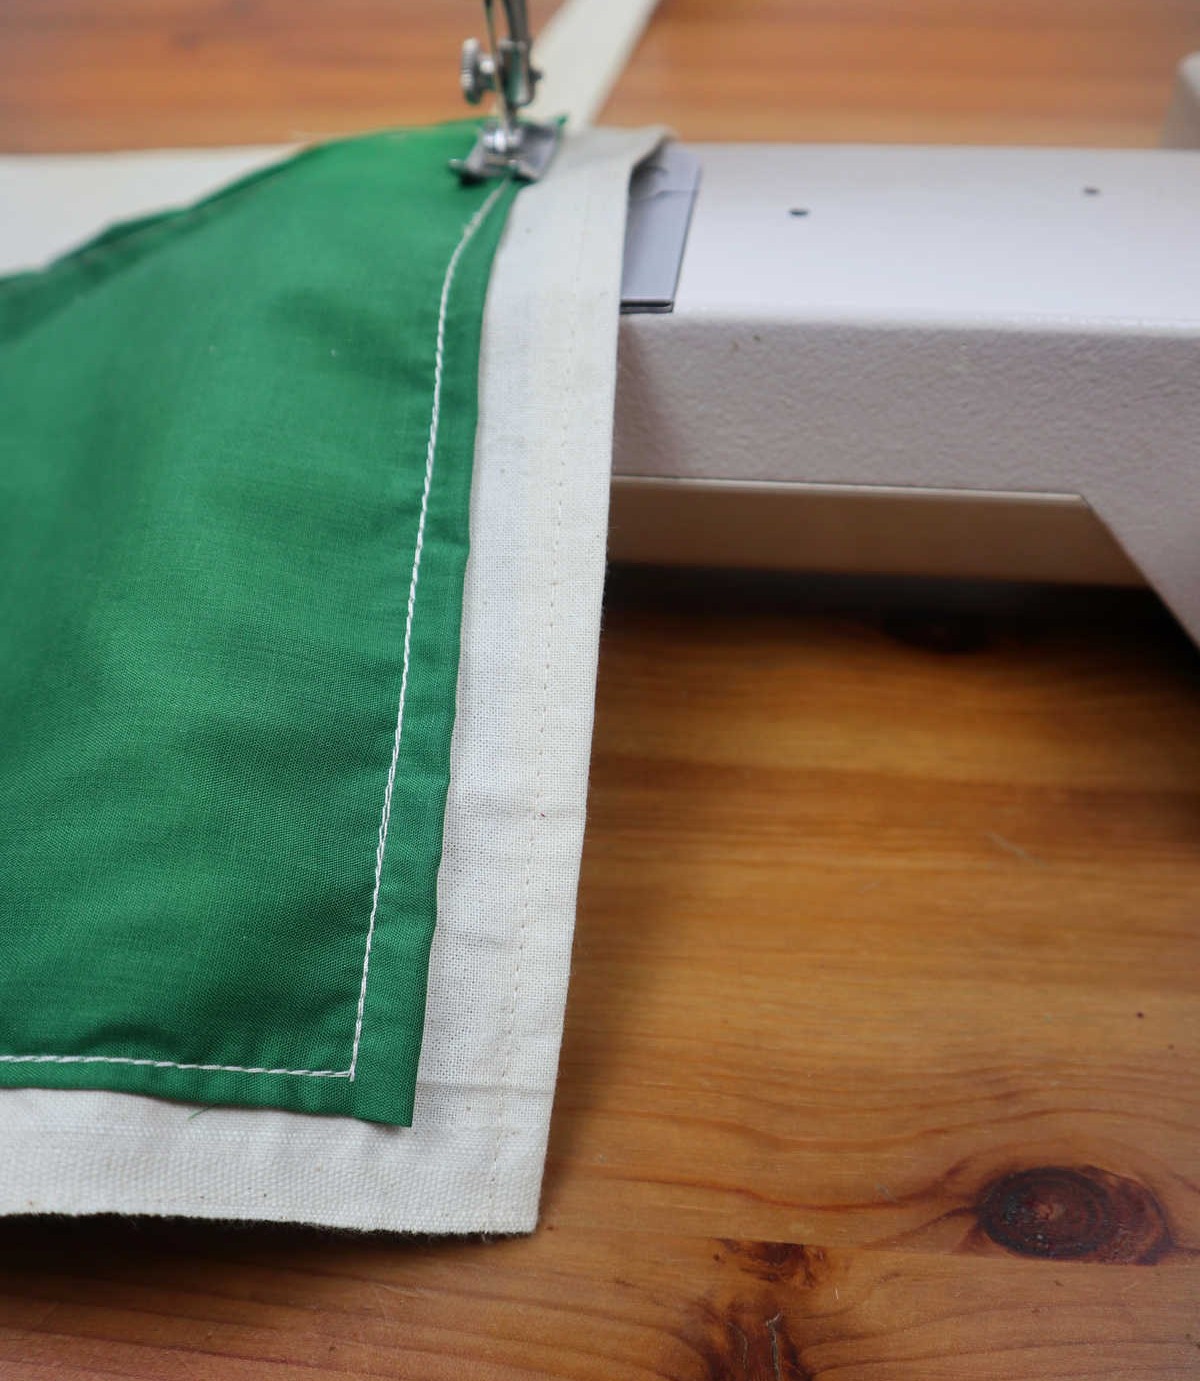
To complete your project, it’s time to secure those pockets with stitches. You can opt for hand-stitching or utilize your sewing machine for efficiency. For added visual appeal, consider employing a contrasting thread color to create a striking effect. This subtle yet effective approach not only adds a pop of color but also gives the pocket edges a polished finish.
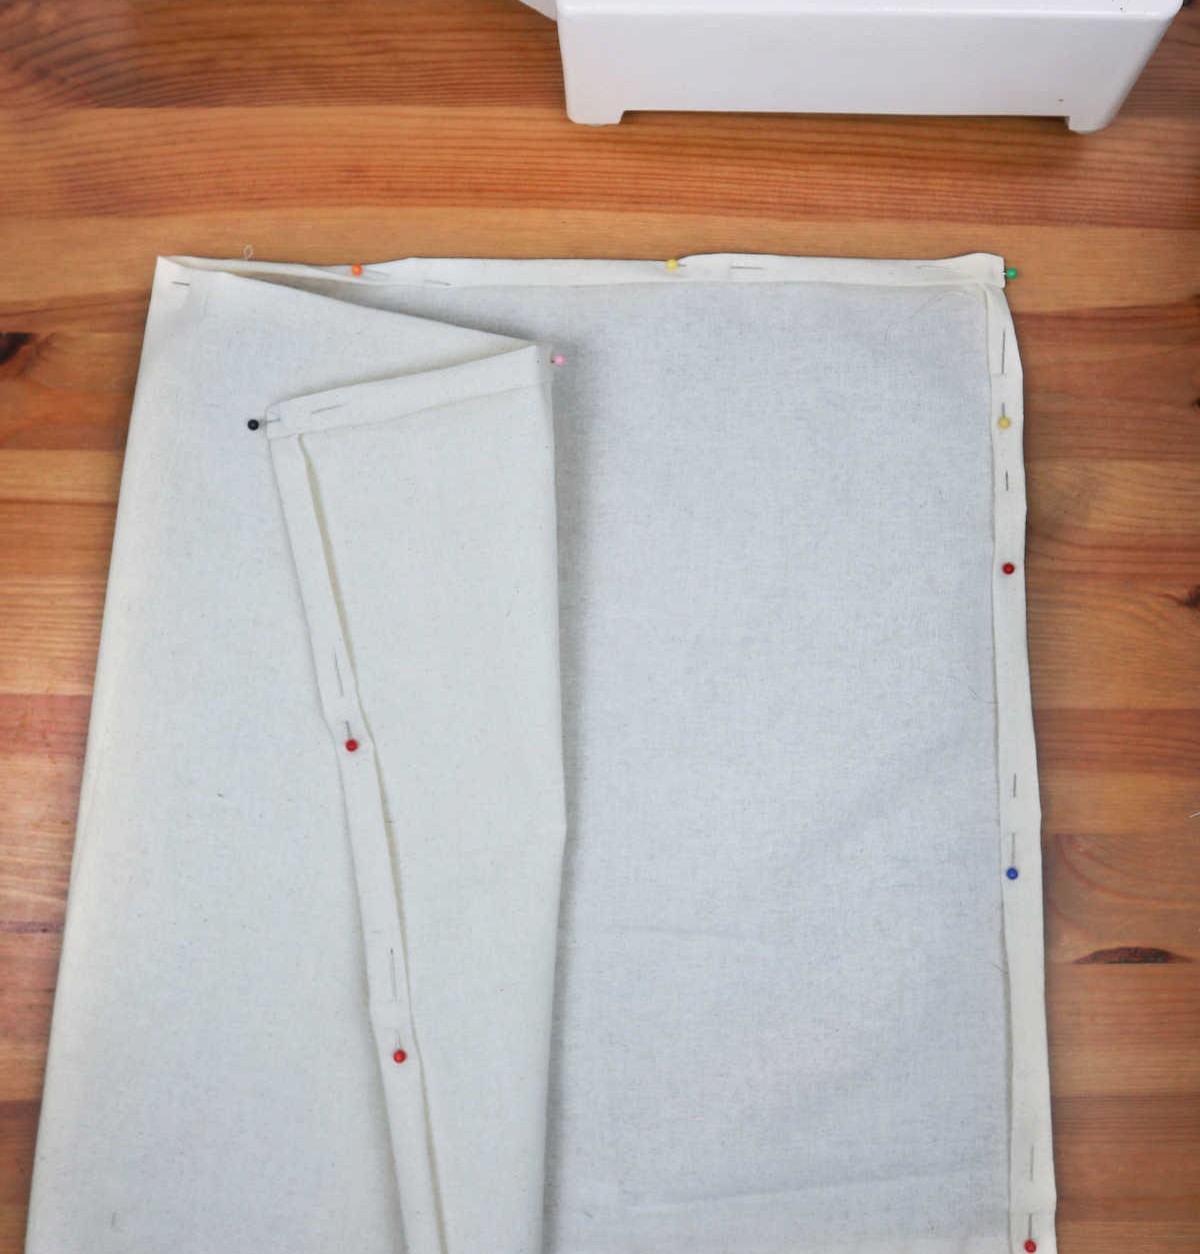
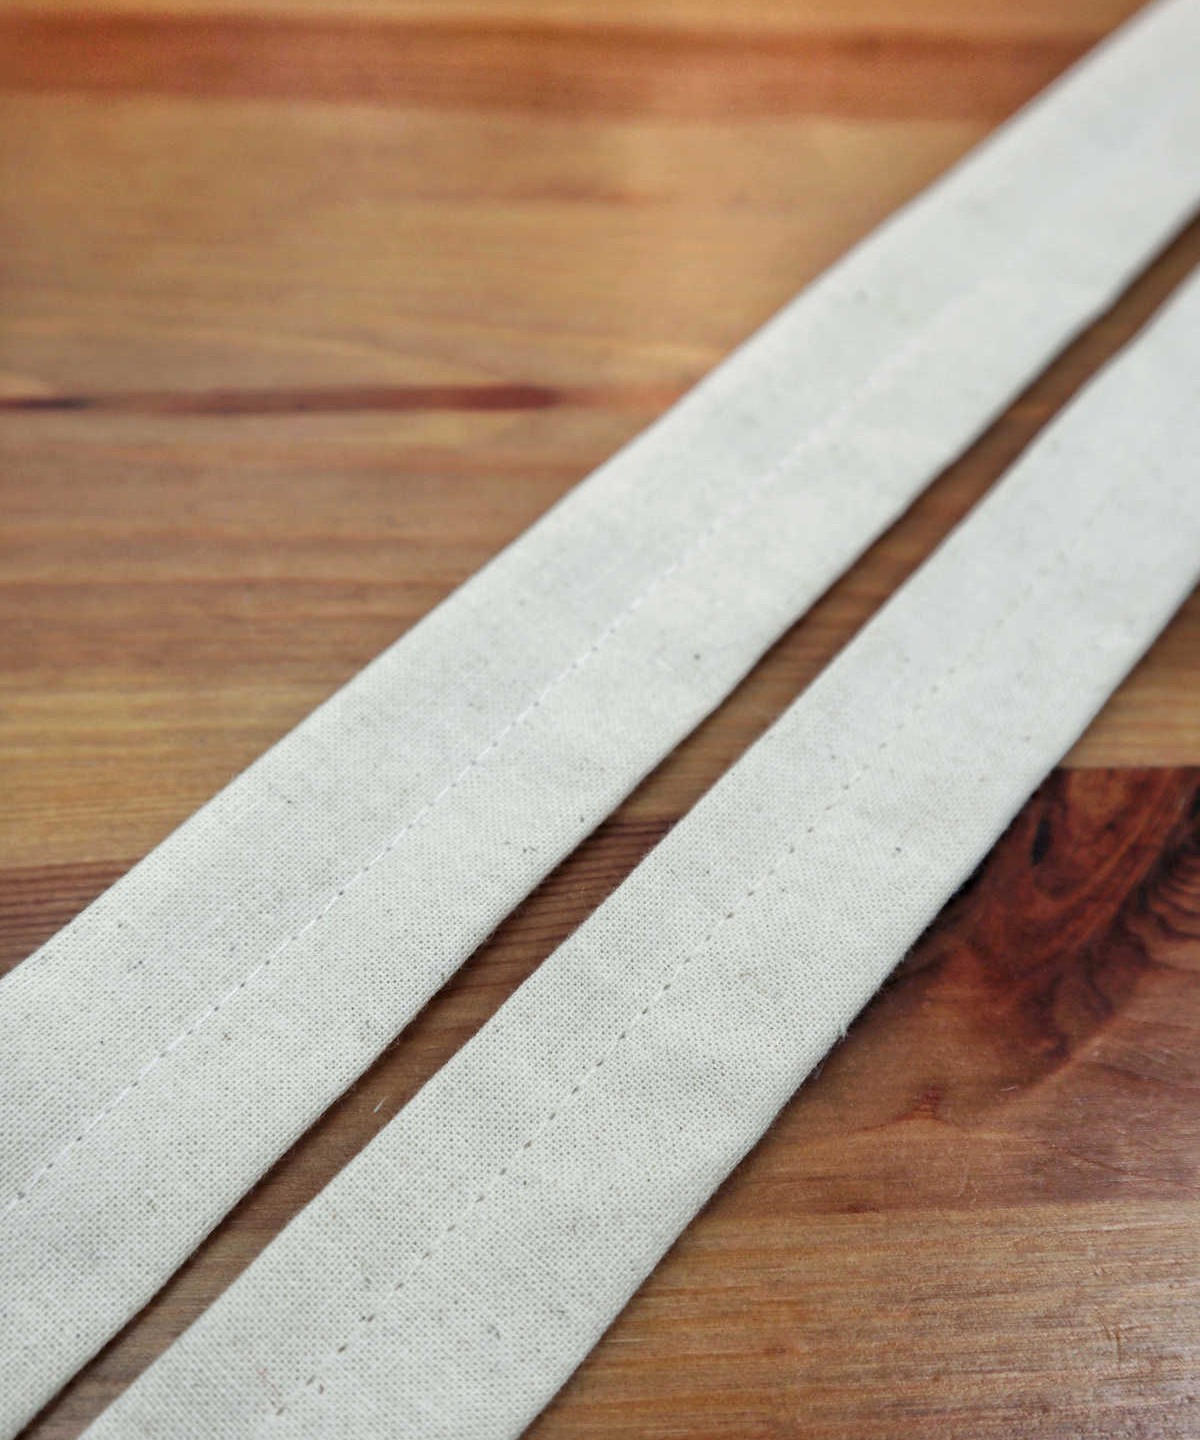
Additionally, don’t forget to attend to the long white fabric strips you previously cut and pinned.
To achieve a neat result, sew along the centerline of each strip using a thread color that harmonizes with your overall design.
Step 7
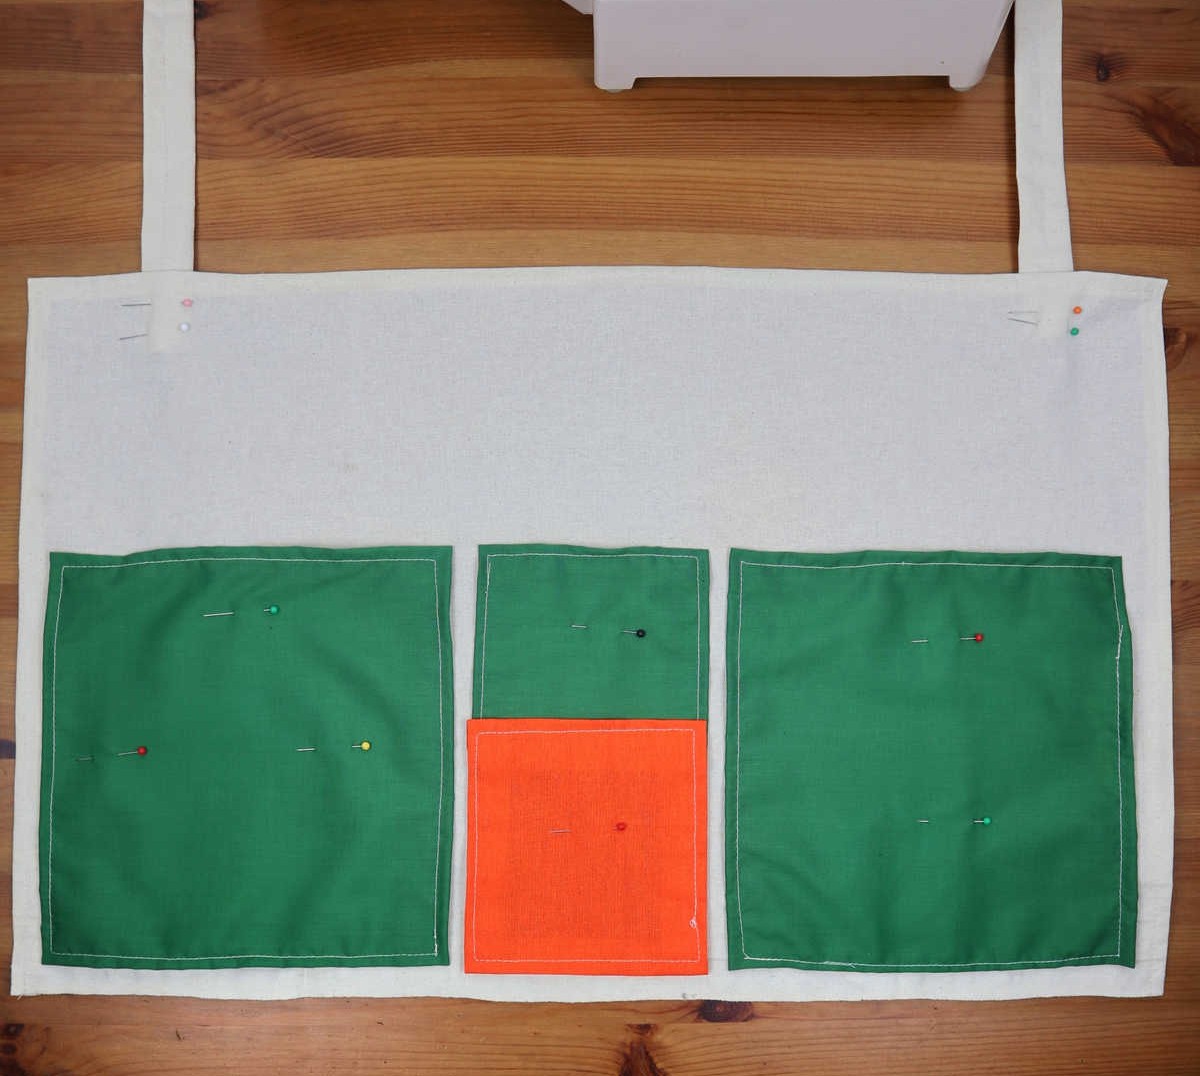
Now that you’ve completed the individual components – sewing the pockets, creating the strips, and preparing the large white backdrop fabric – it’s time to bring everything together. The purpose of those strips might still be unclear, but let me reveal their surprising functionality: they transform into stunning handles that elevate the entire piece.
Step 8
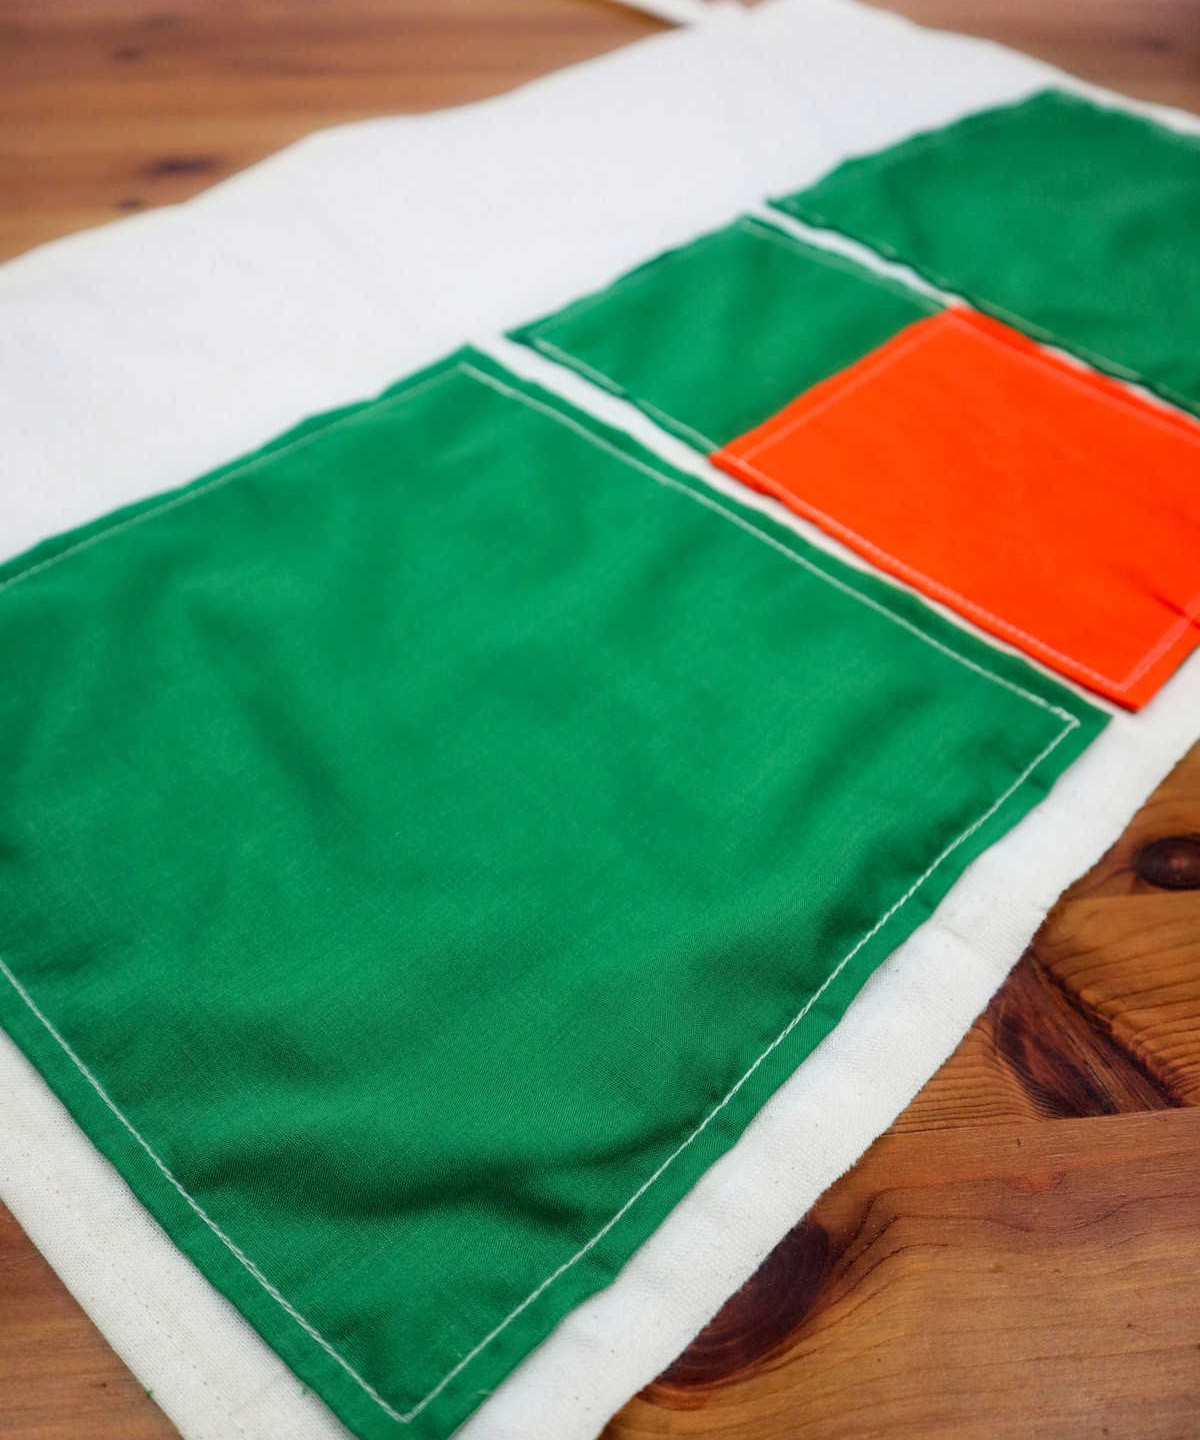
Now that your layout is finalized and you’re confident about the placement of every pocket, it’s time to bring everything together by sewing the entire project. As you work on attaching the pockets to the white backdrop, remember not to accidentally sew them shut. When designing this project, consider keeping all the pockets uniform in height or width to maintain a cohesive look.
Step 9
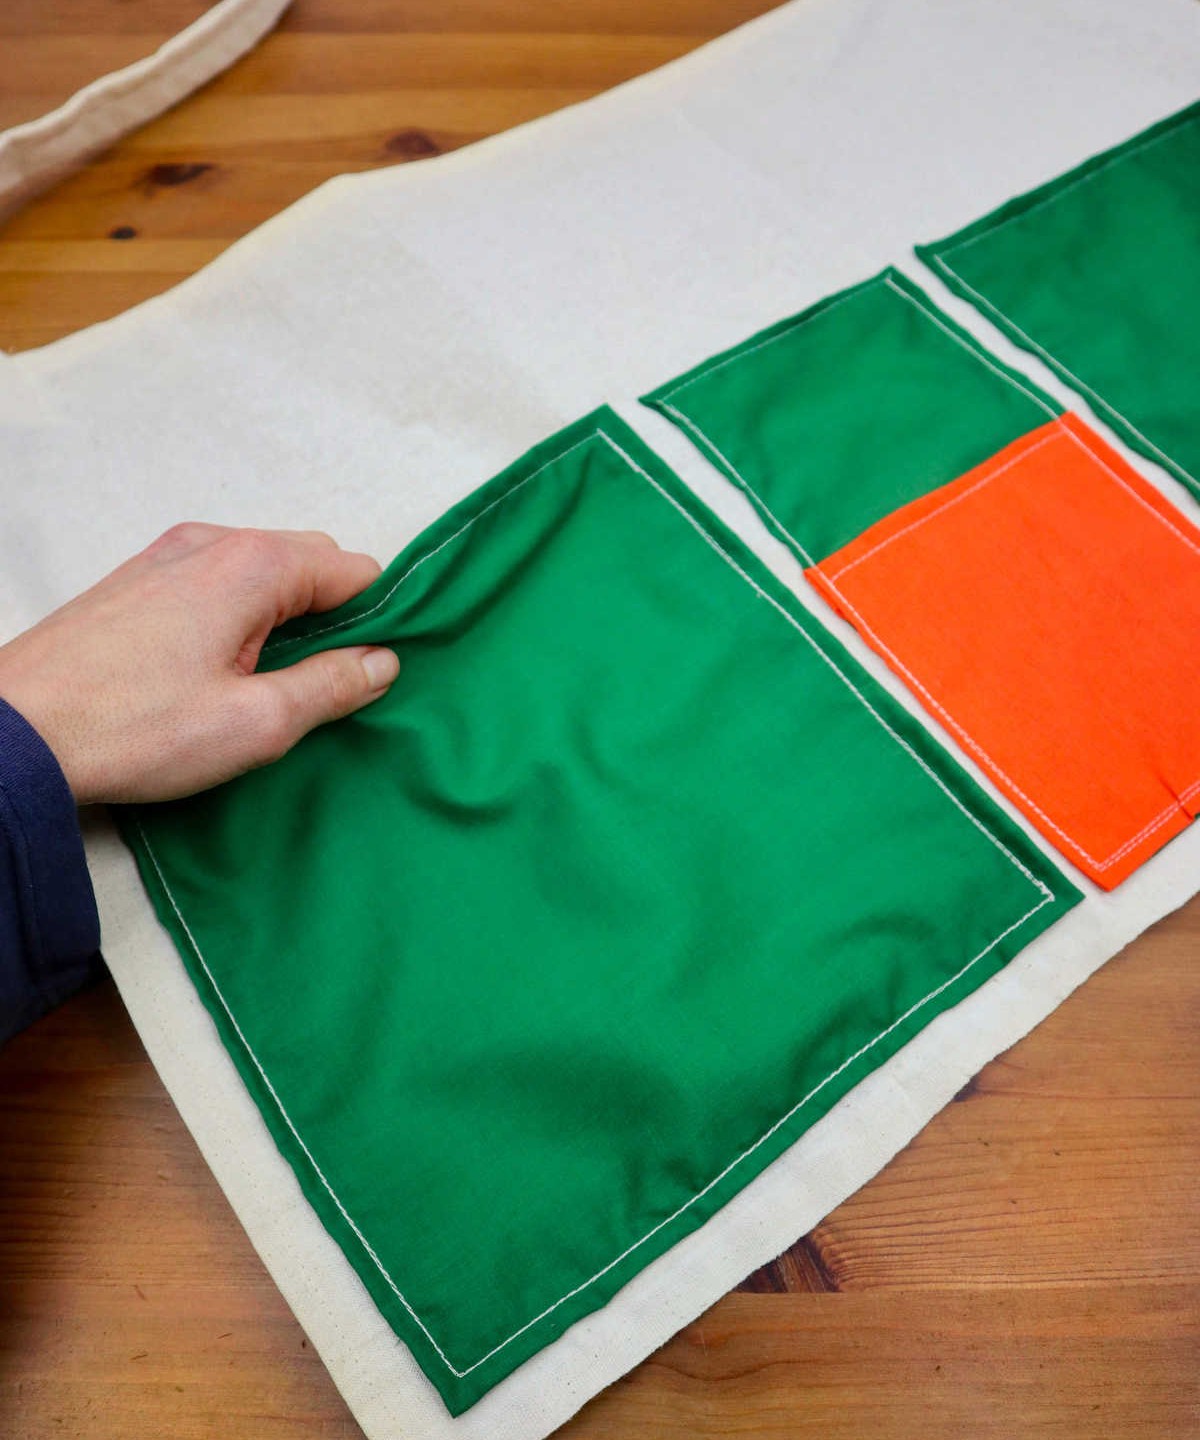
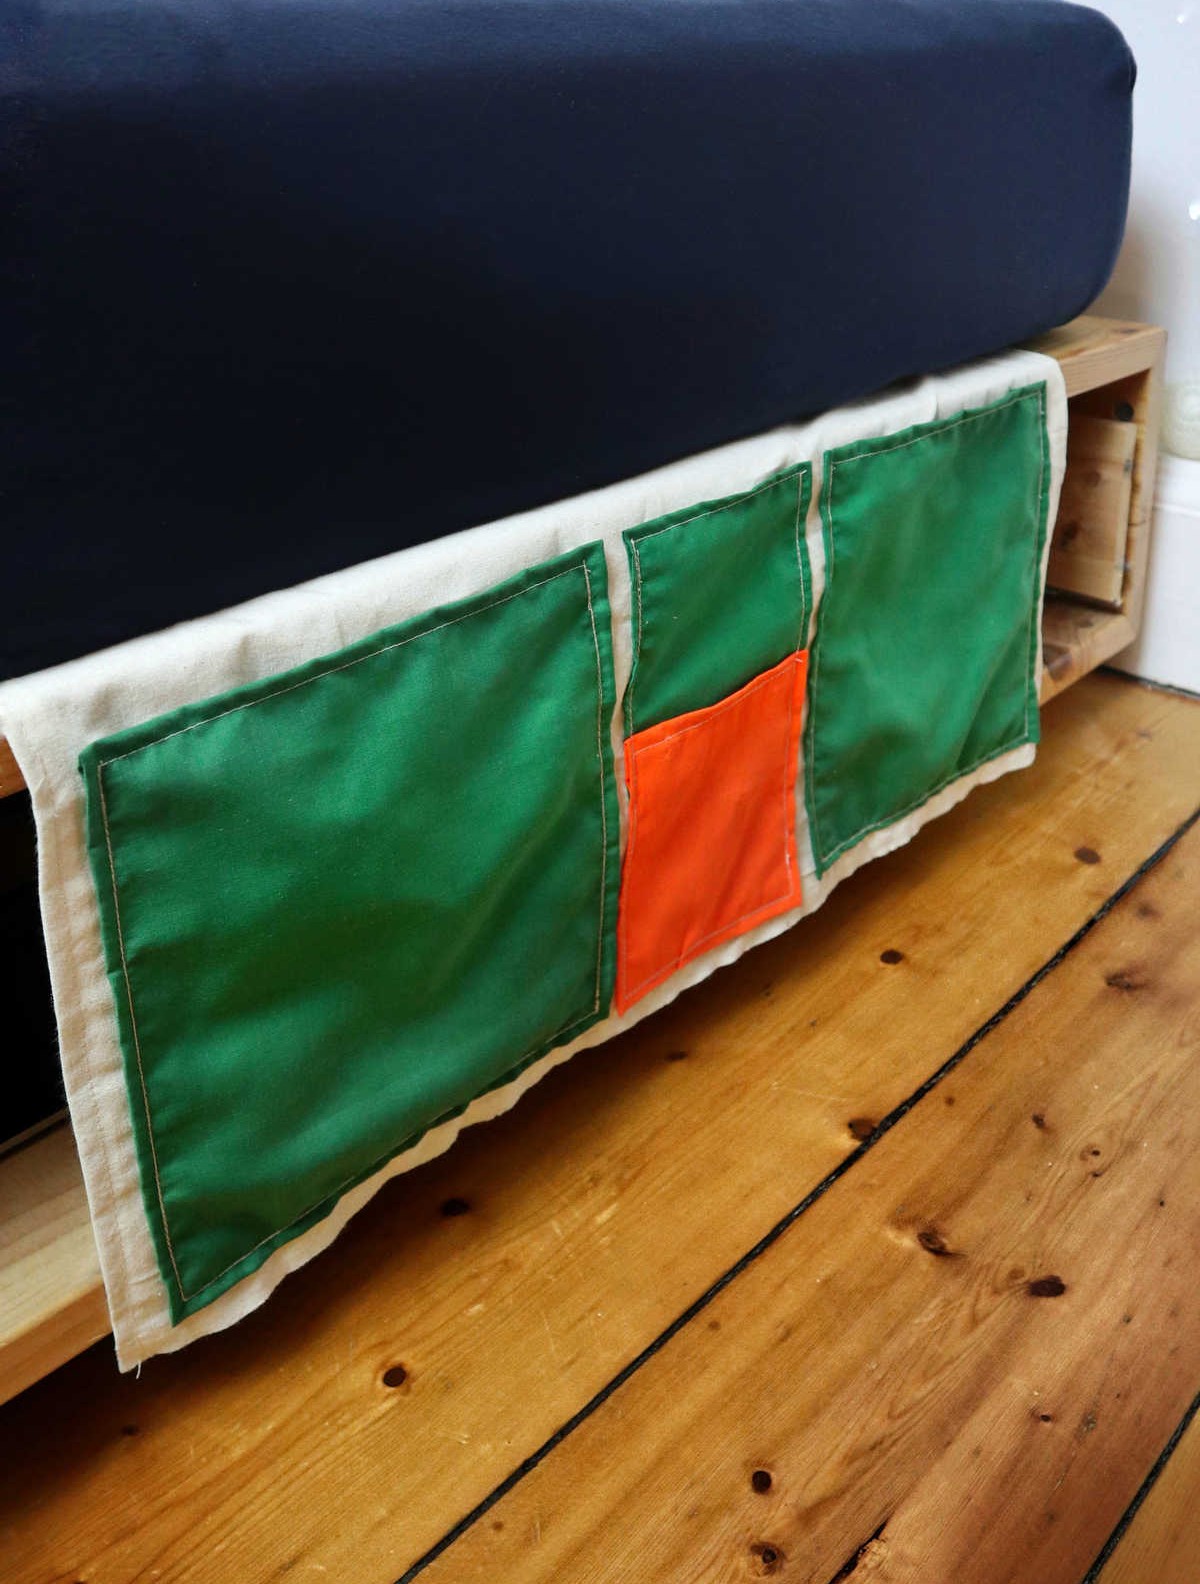
The final step involves attaching the long white strips, or handles, to secure them in place. Next, carefully remove all the pins that were used to keep the edges and folds steady throughout the process. To give your newly crafted caddy a sleek and polished finish, take a moment to iron out any wrinkles.
DIY Bedside Caddy
Transform leftover fabric into a functional and stylish DIY bedside caddy, perfect for organizing your bedroom essentials. This project requires minimal effort and time, making it an ideal activity to complete within an hour. With just $10 worth of materials, you’ll be able to create one beautifully crafted bedside organizer that will keep your bed area clutter-free.
Equipment
Materials
To create a sturdy and functional bag, you’ll need a sufficient amount of fabric. The ideal starting point would be to have at least one large piece of fabric that can serve as the main body of your bag. Additionally, consider setting aside a few smaller pieces for creating pockets or other interior features. Finally, having two separate pieces of fabric for strips or straps will ensure you have enough material to complete any embellishments or details.
Instructions
To create a custom bedside caddy, start by preparing all necessary supplies. Measure and cut two long strips of fabric for the handle, approximately 5-6 cm in width. Next, measure and cut out individual pockets, leaving room to fold and sew the edges. Secure each pocket with sewing pins or safety pins before sewing along their edges. Feel free to add a pop of color by using contrasting thread.
Once all pockets are sewn, lay them out on a white cloth backdrop to ensure even spacing and pin into place. Sew the pockets onto the fabric, taking care not to attach any excess material. To complete the caddy, attach the white fabric strips to the top of the bedside storage container and secure with stitching. Finally, hang your creation in your bedroom and fill it with your favorite essentials!