Transform your space with a one-of-a-kind DIY boho succulent planter that’s perfect for teens and adults alike. This charming centerpiece combines the beauty of terrariums with the rustic charm of textured rocks, creating an earthy yet eclectic ambiance. The best part? It’s incredibly easy to create, requiring just a few simple supplies and some basic crafting skills. You can customize it to fit your personal style and recreate this unique planter to adorn your home or give as a thoughtful gift.
Let’s dive into the world of bohemian chic and explore the simple steps to bring this stunning succulent planter to life.
Supplies and Tools You’ll Need
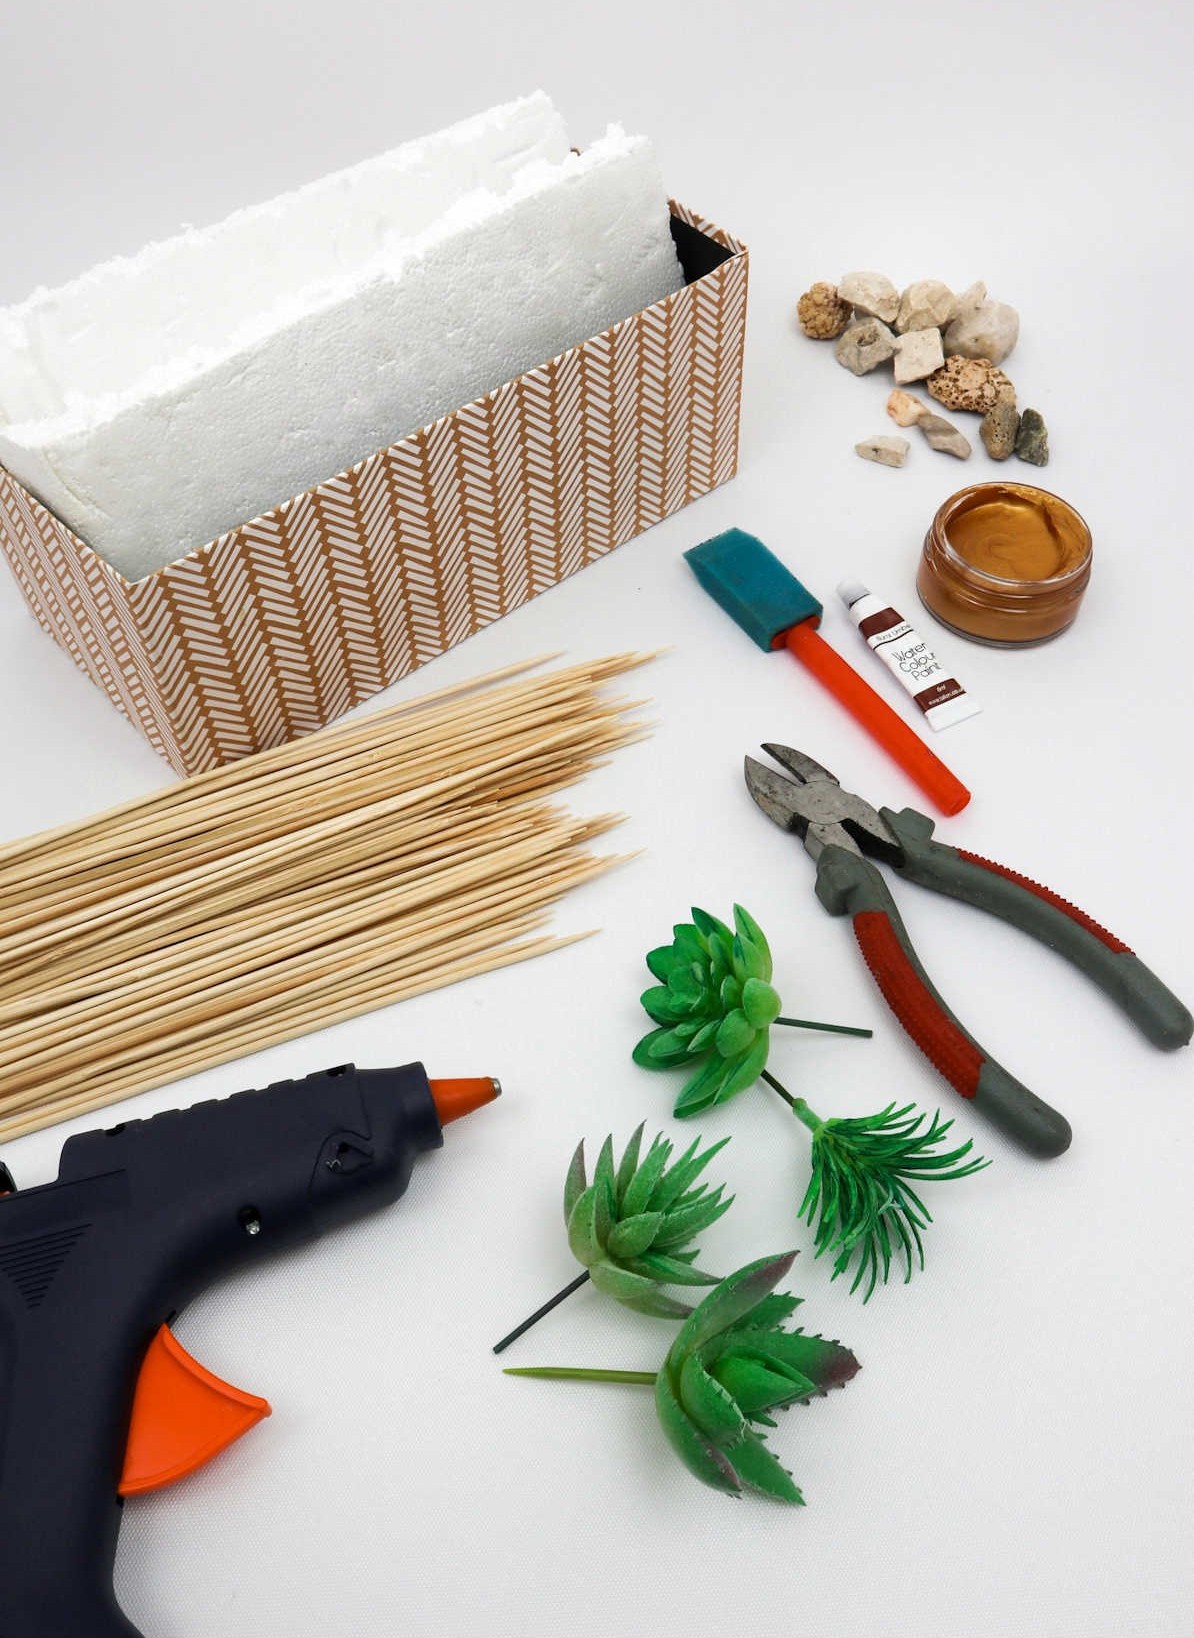
To get started with this project, you’ll need to gather the following essential materials: a single cardboard box, a set of Styrofoam sheets, a white napkin, pliers, artificial succulents, stones, and 100 skewers (adjust the quantity based on the size of your box). You’ll also require some specialized tools like a hot glue gun, paintbrush, acrylic paints in brown and metallic gold, and a foam brush. These materials will provide the foundation for creating your unique piece.
Watch: DIY Boho Succulent
For those who prefer visual learning, watching a step-by-step video demonstration can be an excellent way to absorb the information presented. If that’s your preference, I invite you to explore our comprehensive tutorial in its entirety.
How to Make a Boho Succulent
With your newfound understanding of the project’s requirements, it’s time to start gathering the necessary materials. As you’ve likely deduced by now, we won’t be working with actual succulents for this particular project. Instead, our focus will be on creating a stunning display piece that showcases the beauty of these plants without the need for their physical presence.
Step 1
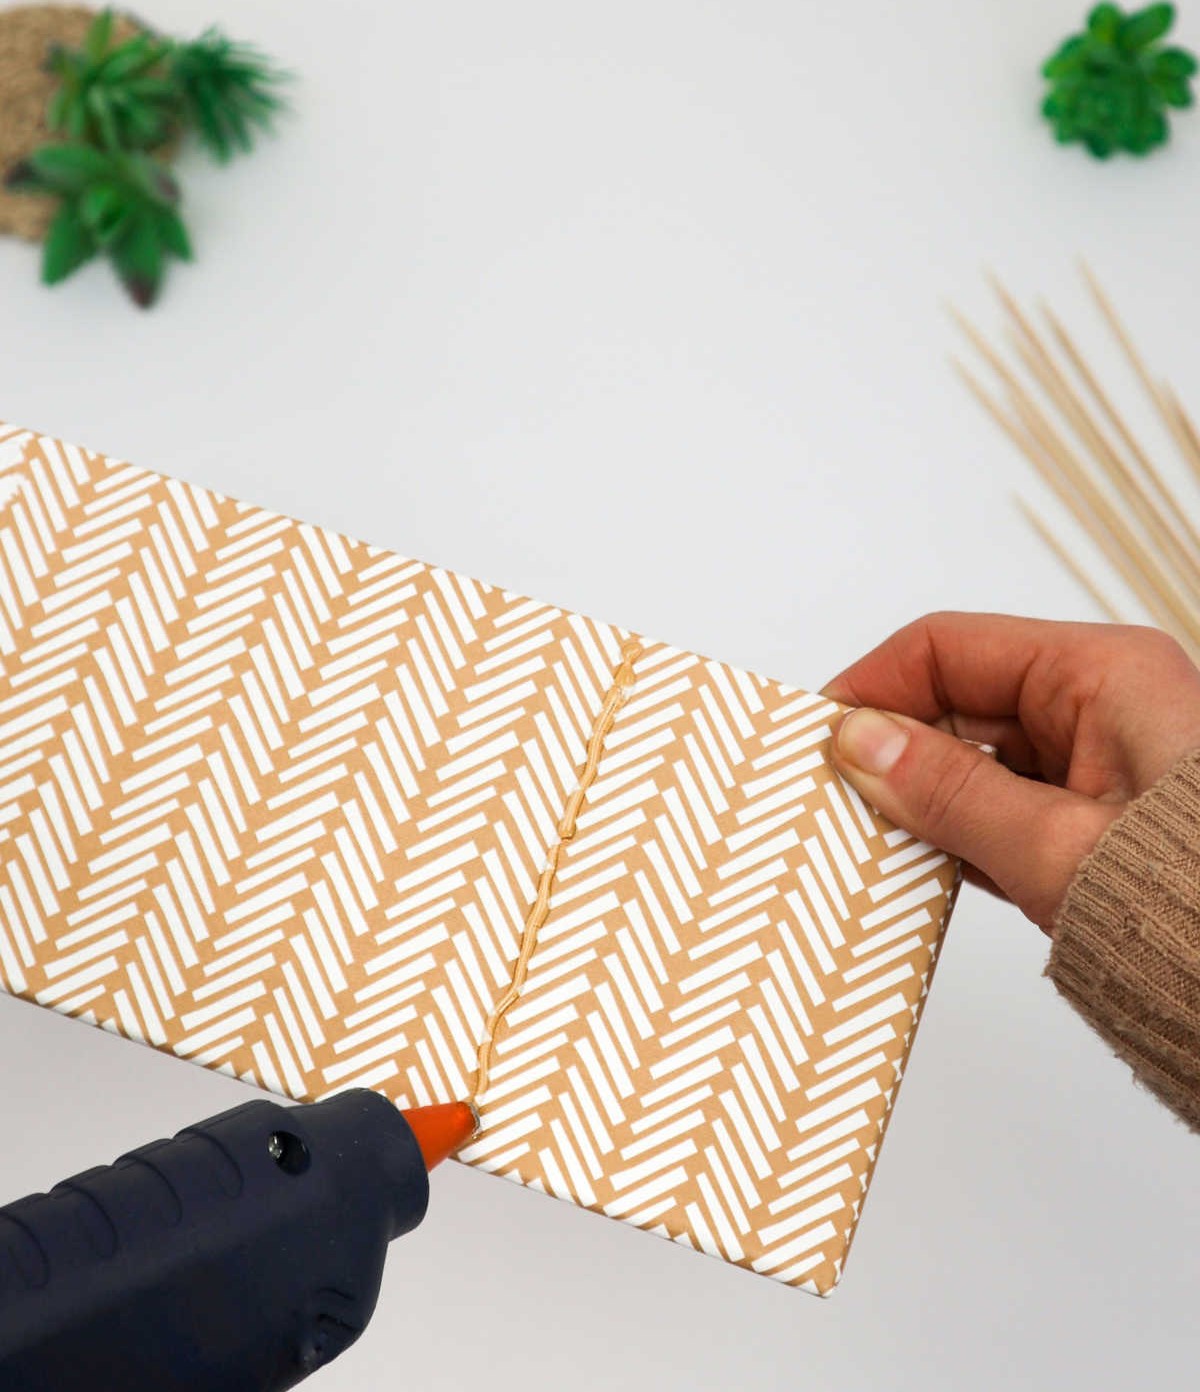
It’s hard to believe that something as humble as a cardboard box can be transformed into a stunning piece of art. But with just a few simple steps, you can breathe new life into an ordinary container. Whether it’s made of cardboard, plastic, or metal, the end result is sure to impress. The first step in this creative process is to apply a layer of hot glue along the bottom edge of the box, working from one end to the other.
This will create a sturdy foundation for your design, and ensure that everything stays in place once it’s complete.
Step 2
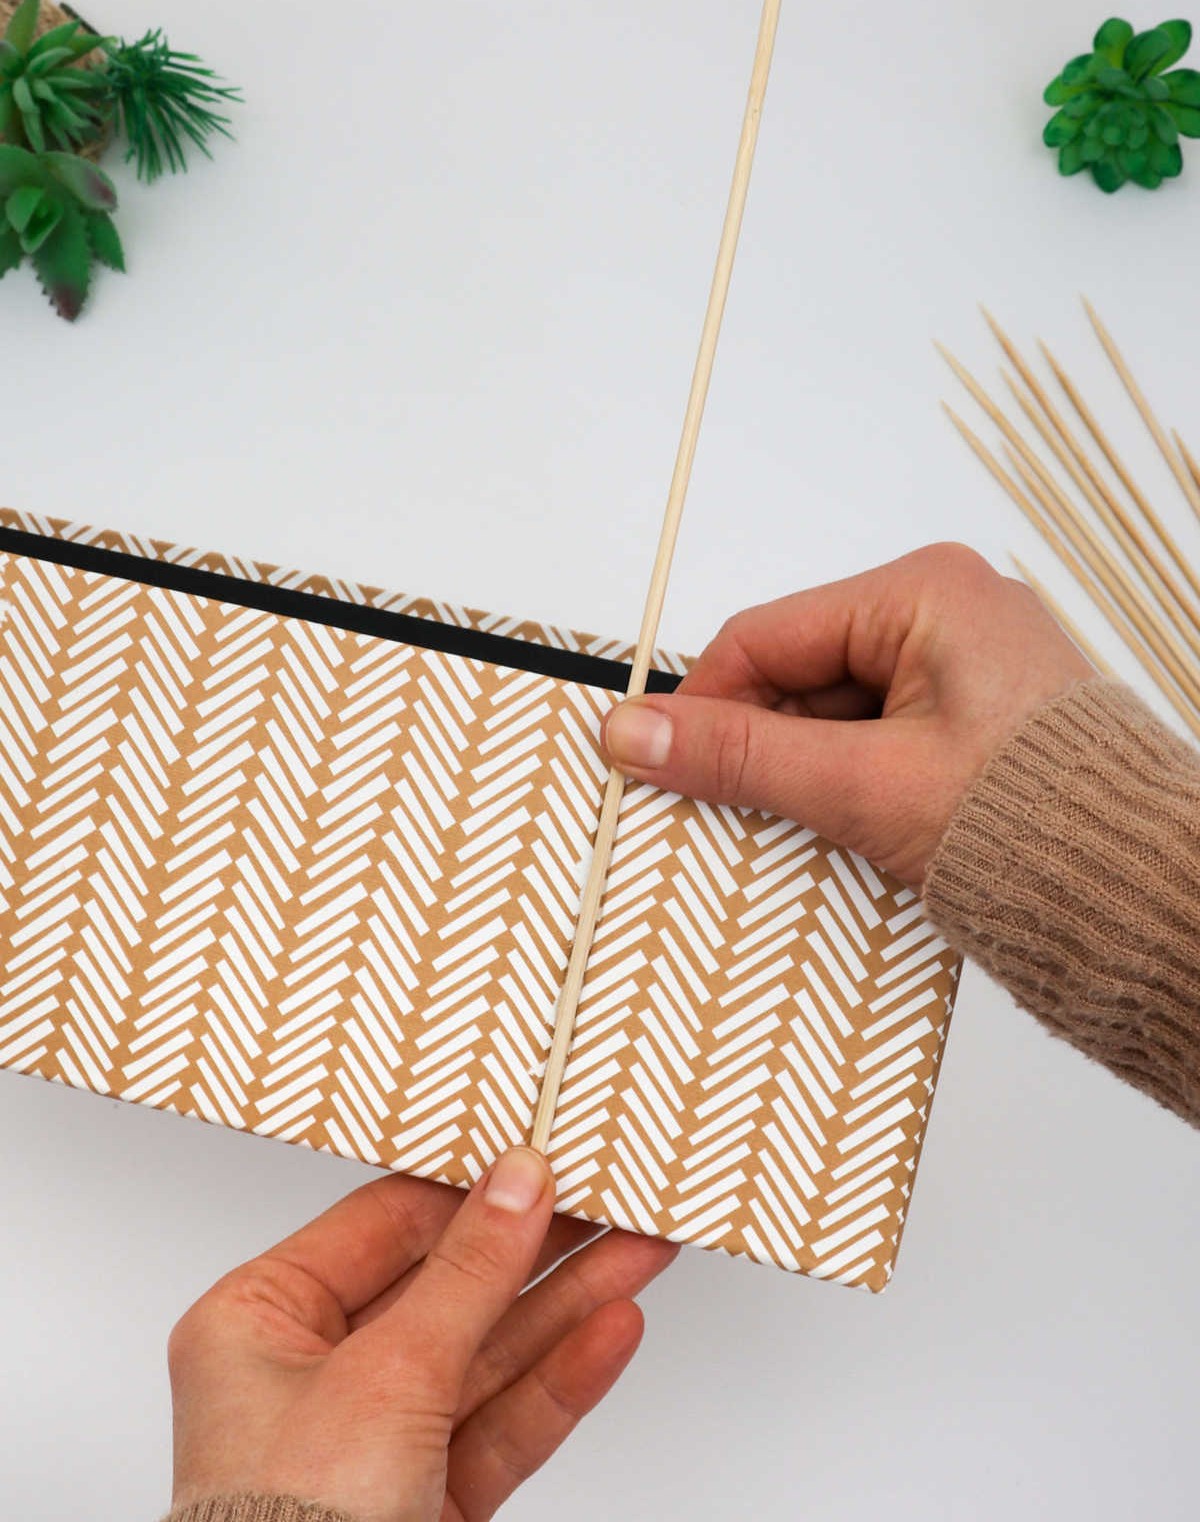
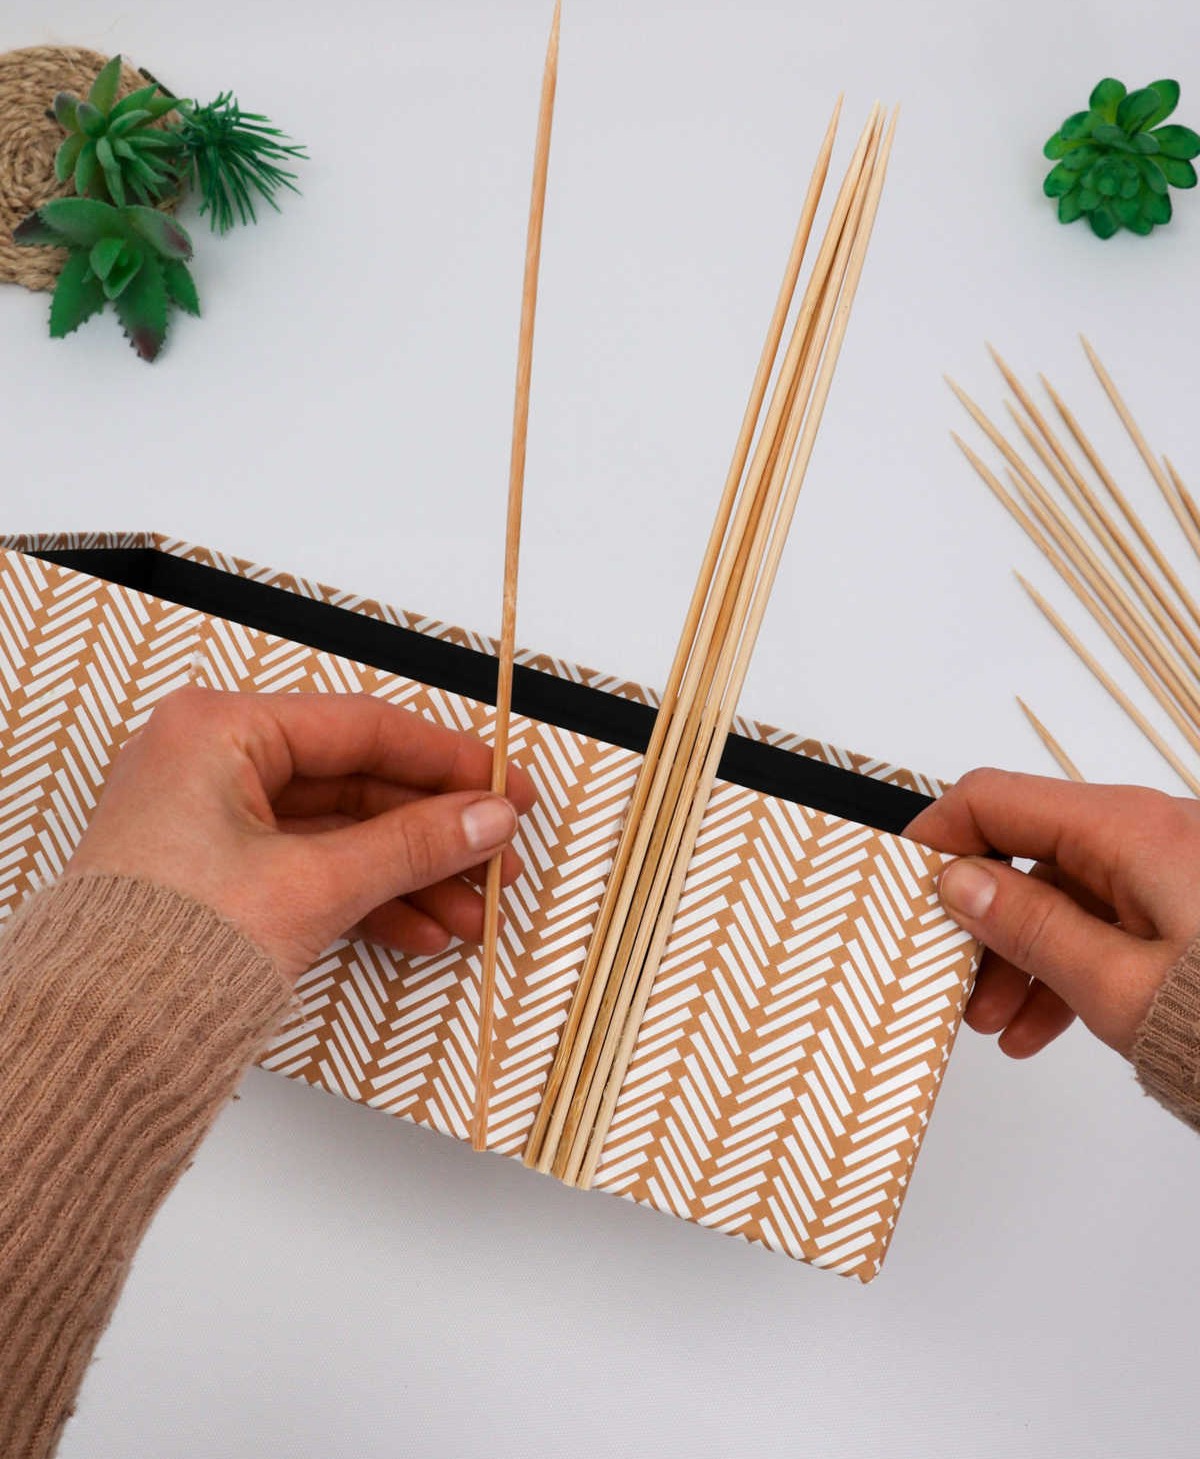
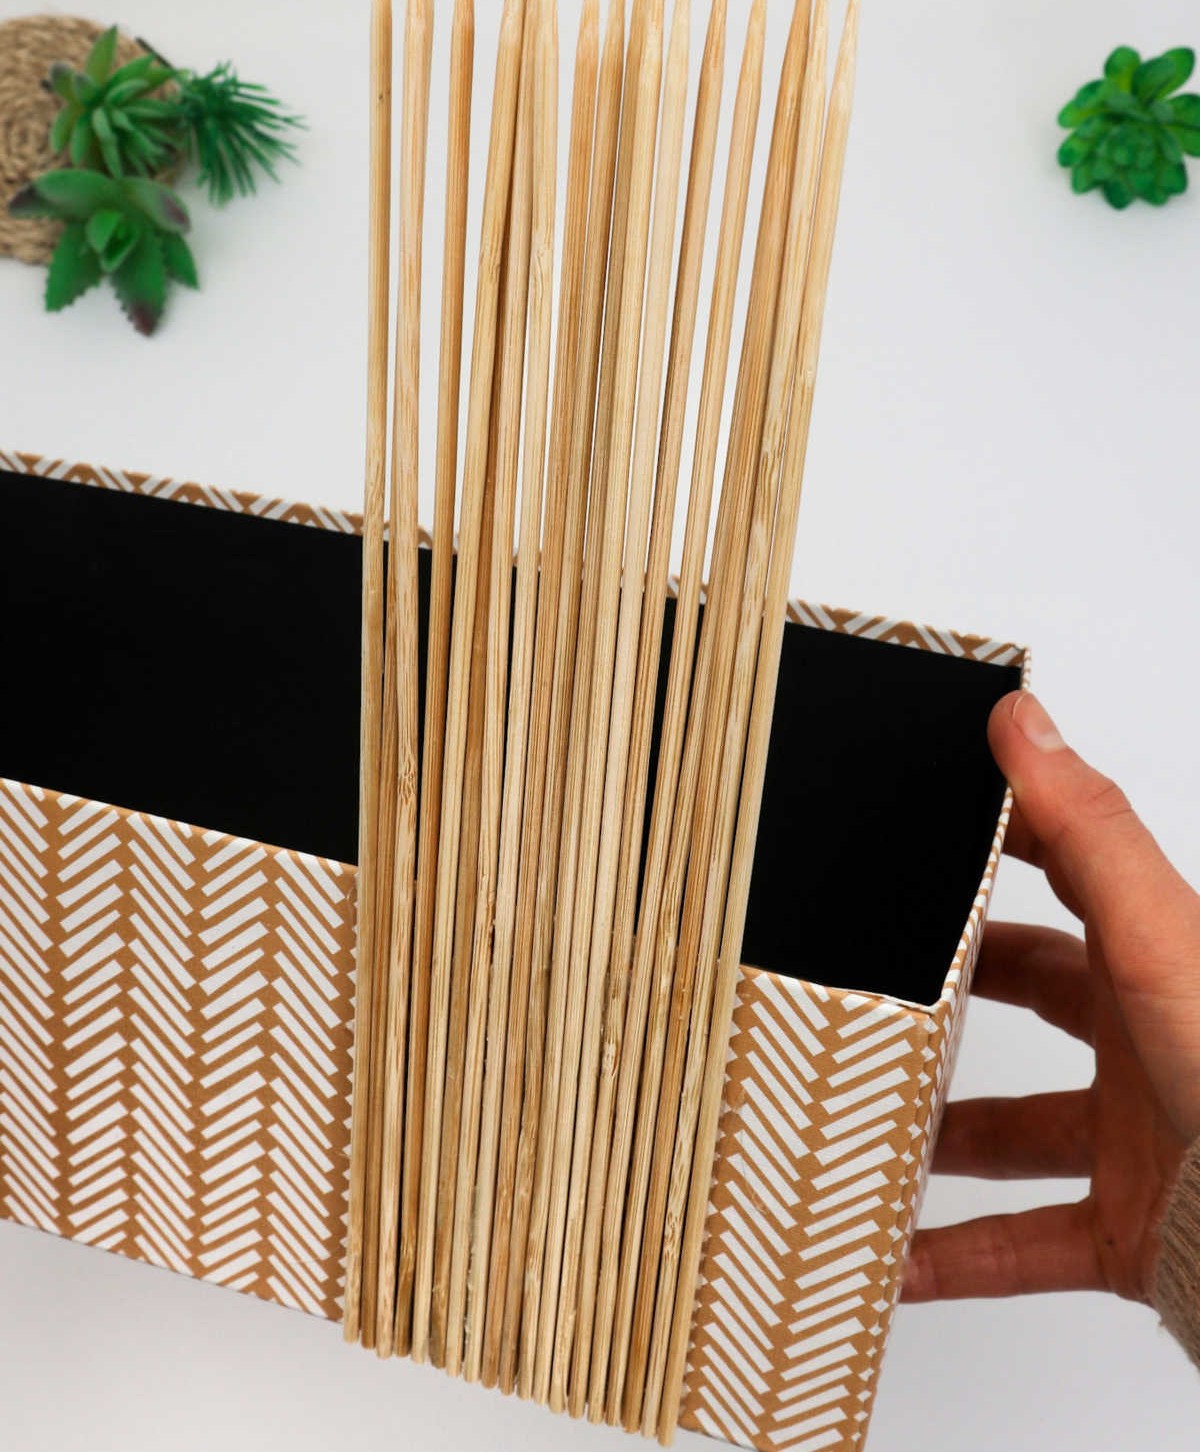
To secure the skewers, press each one firmly into the glue line, holding it in place for a few moments as the adhesive sets. A more efficient approach might be to apply multiple lines of glue at once and then attach the skewers. This method will expedite the process.
As you work across the board, make sure to monitor the glue’s temperature to prevent it from cooling down prematurely.
Step 3
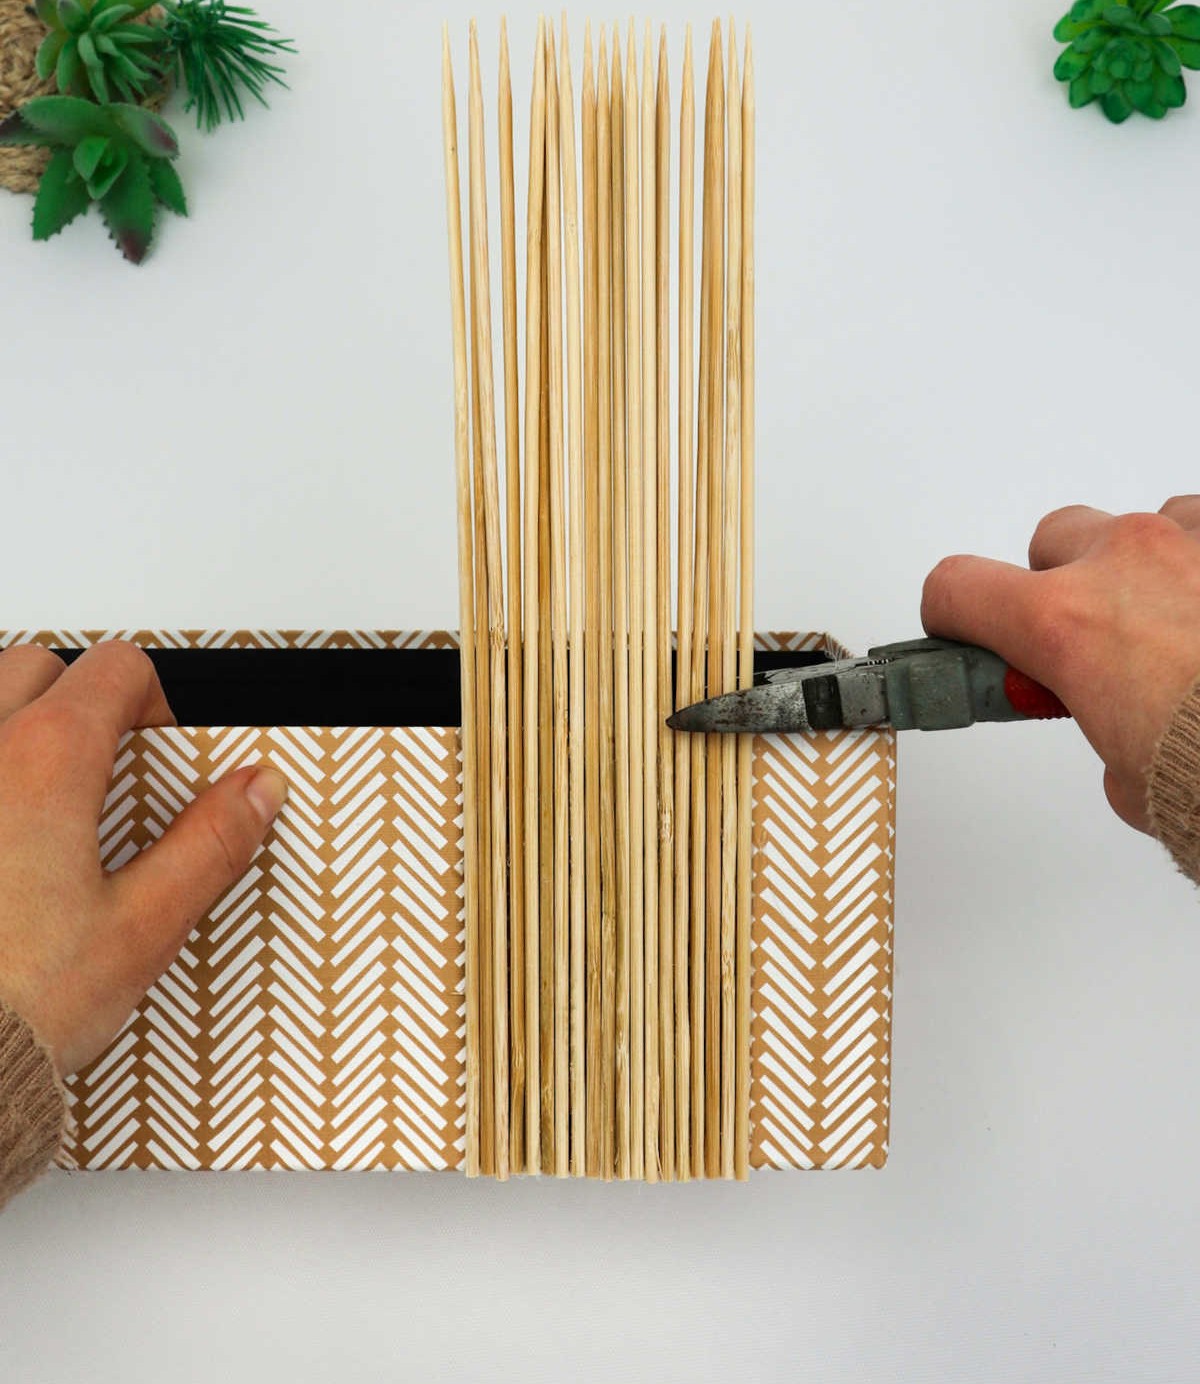
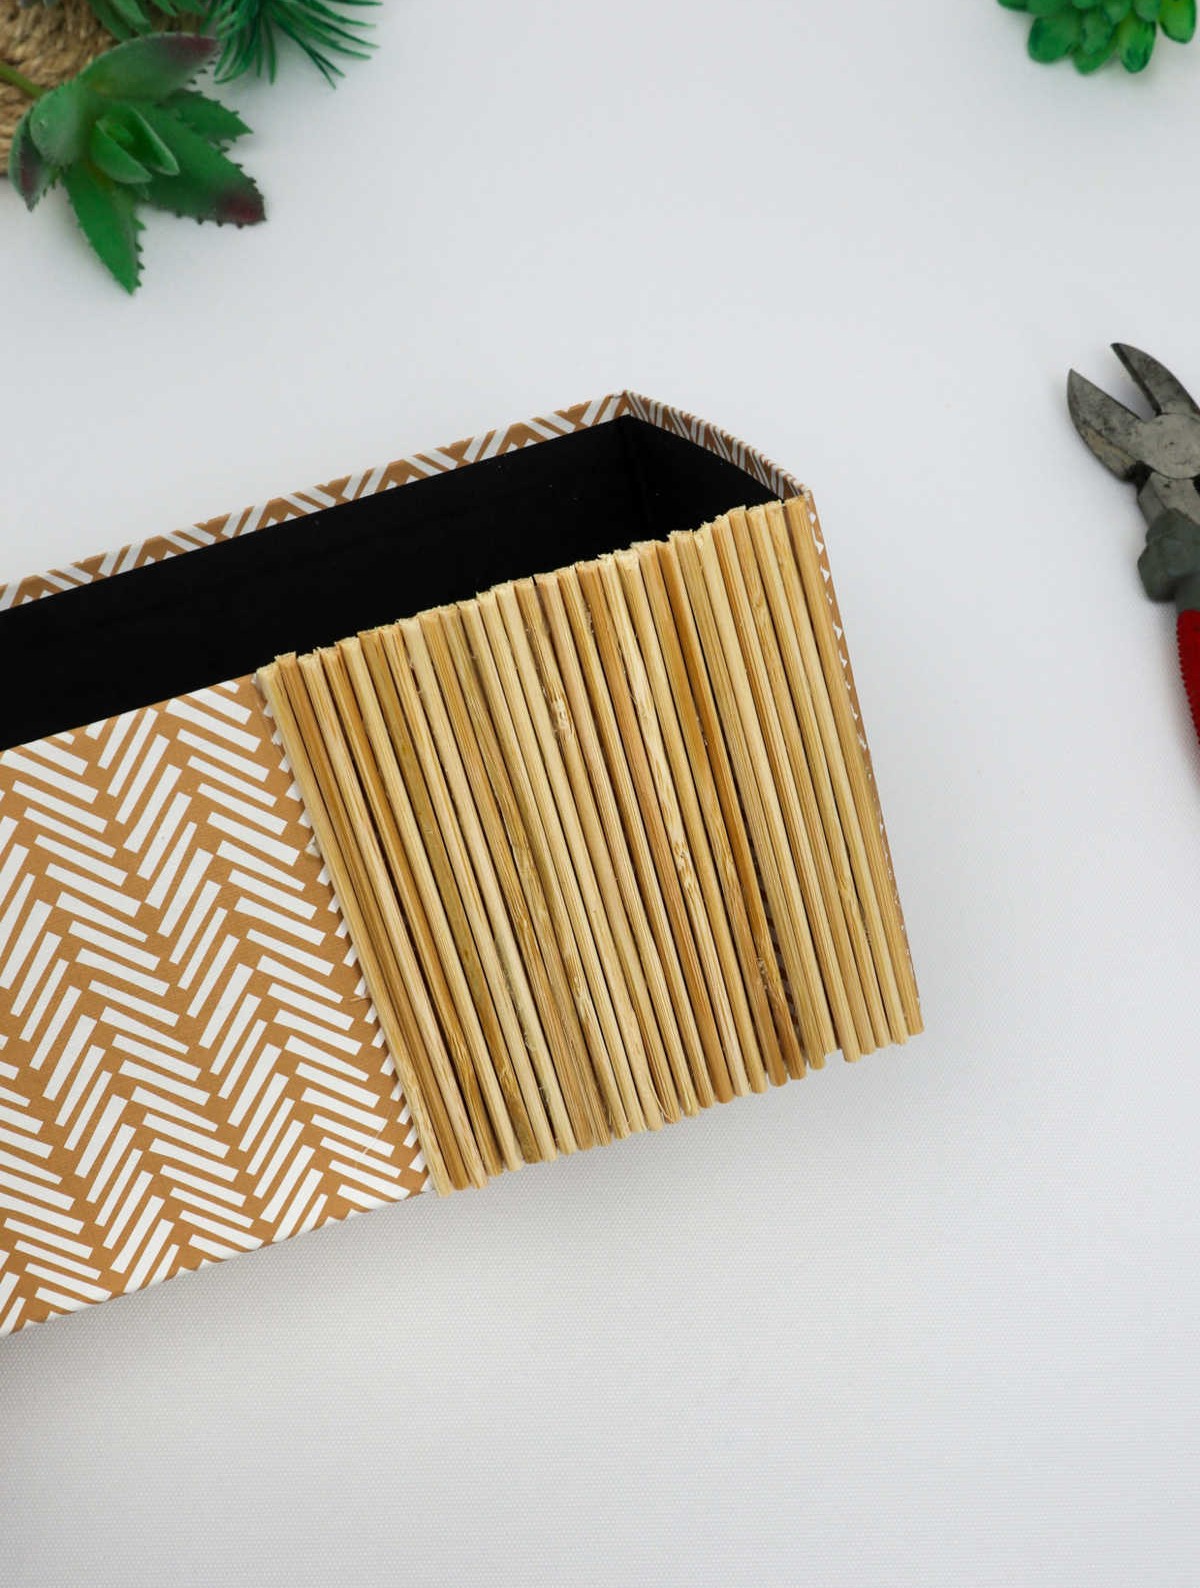
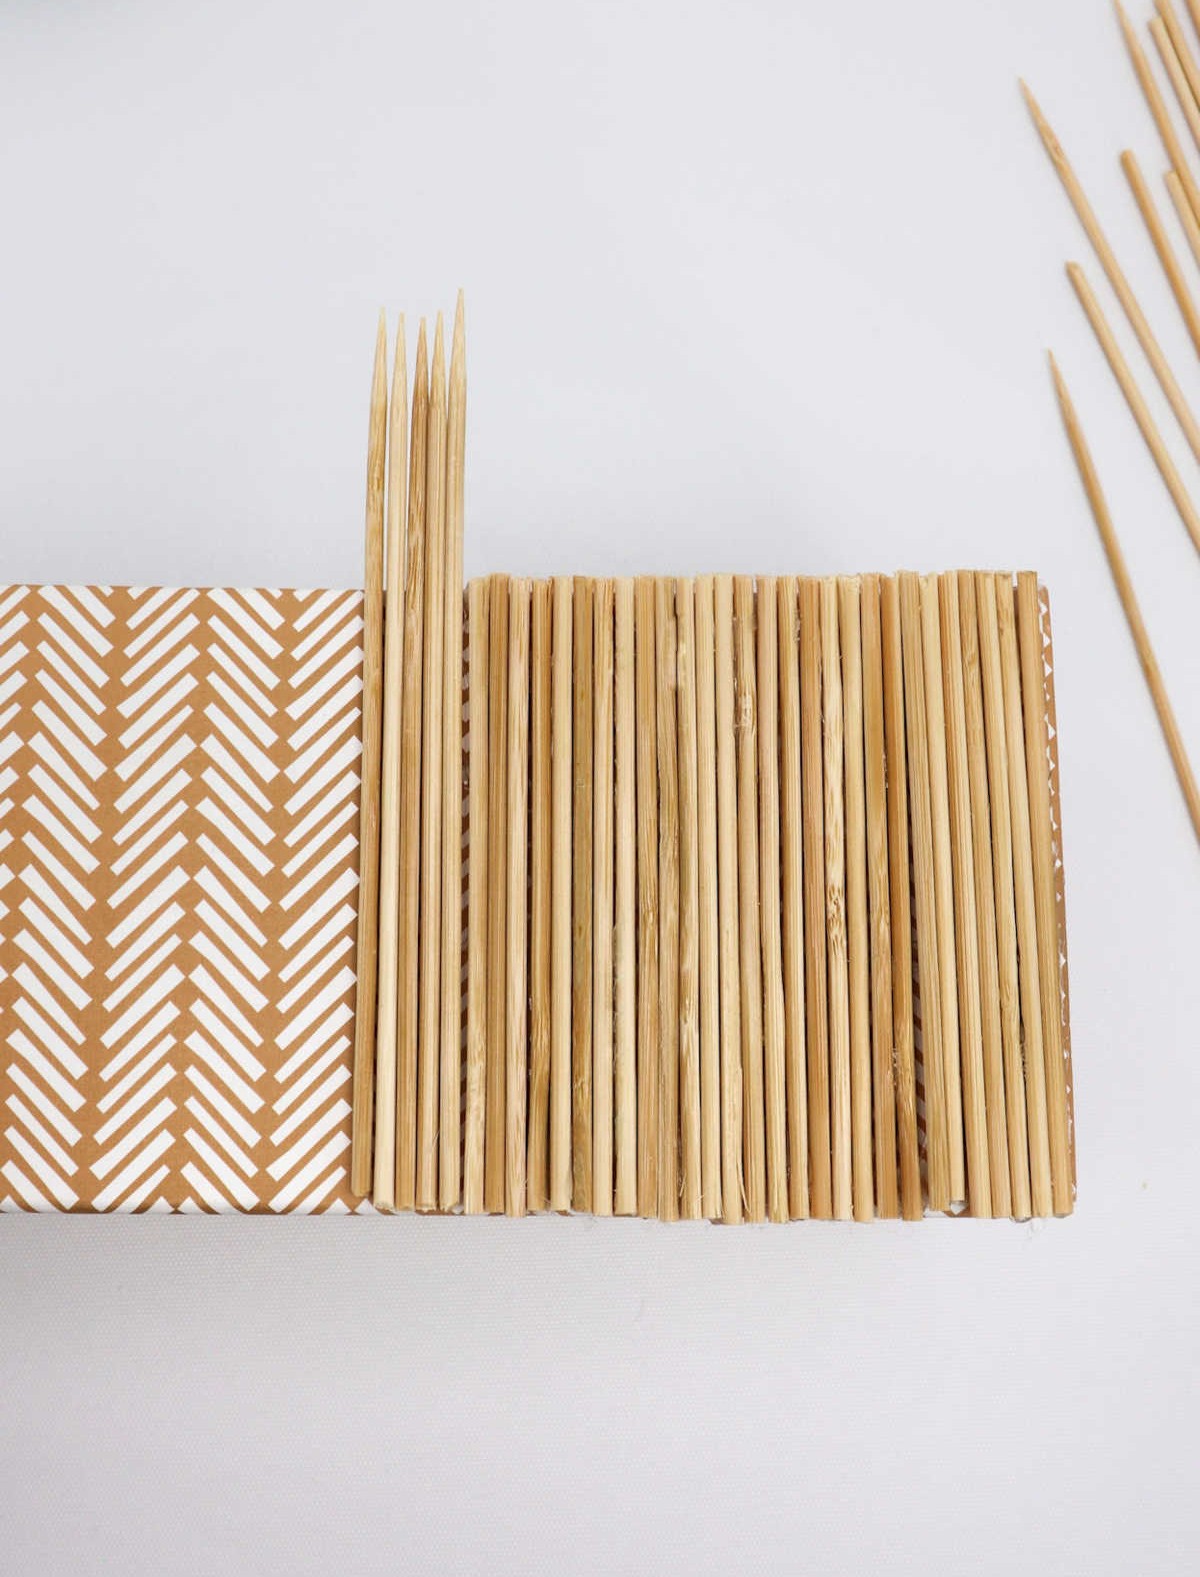
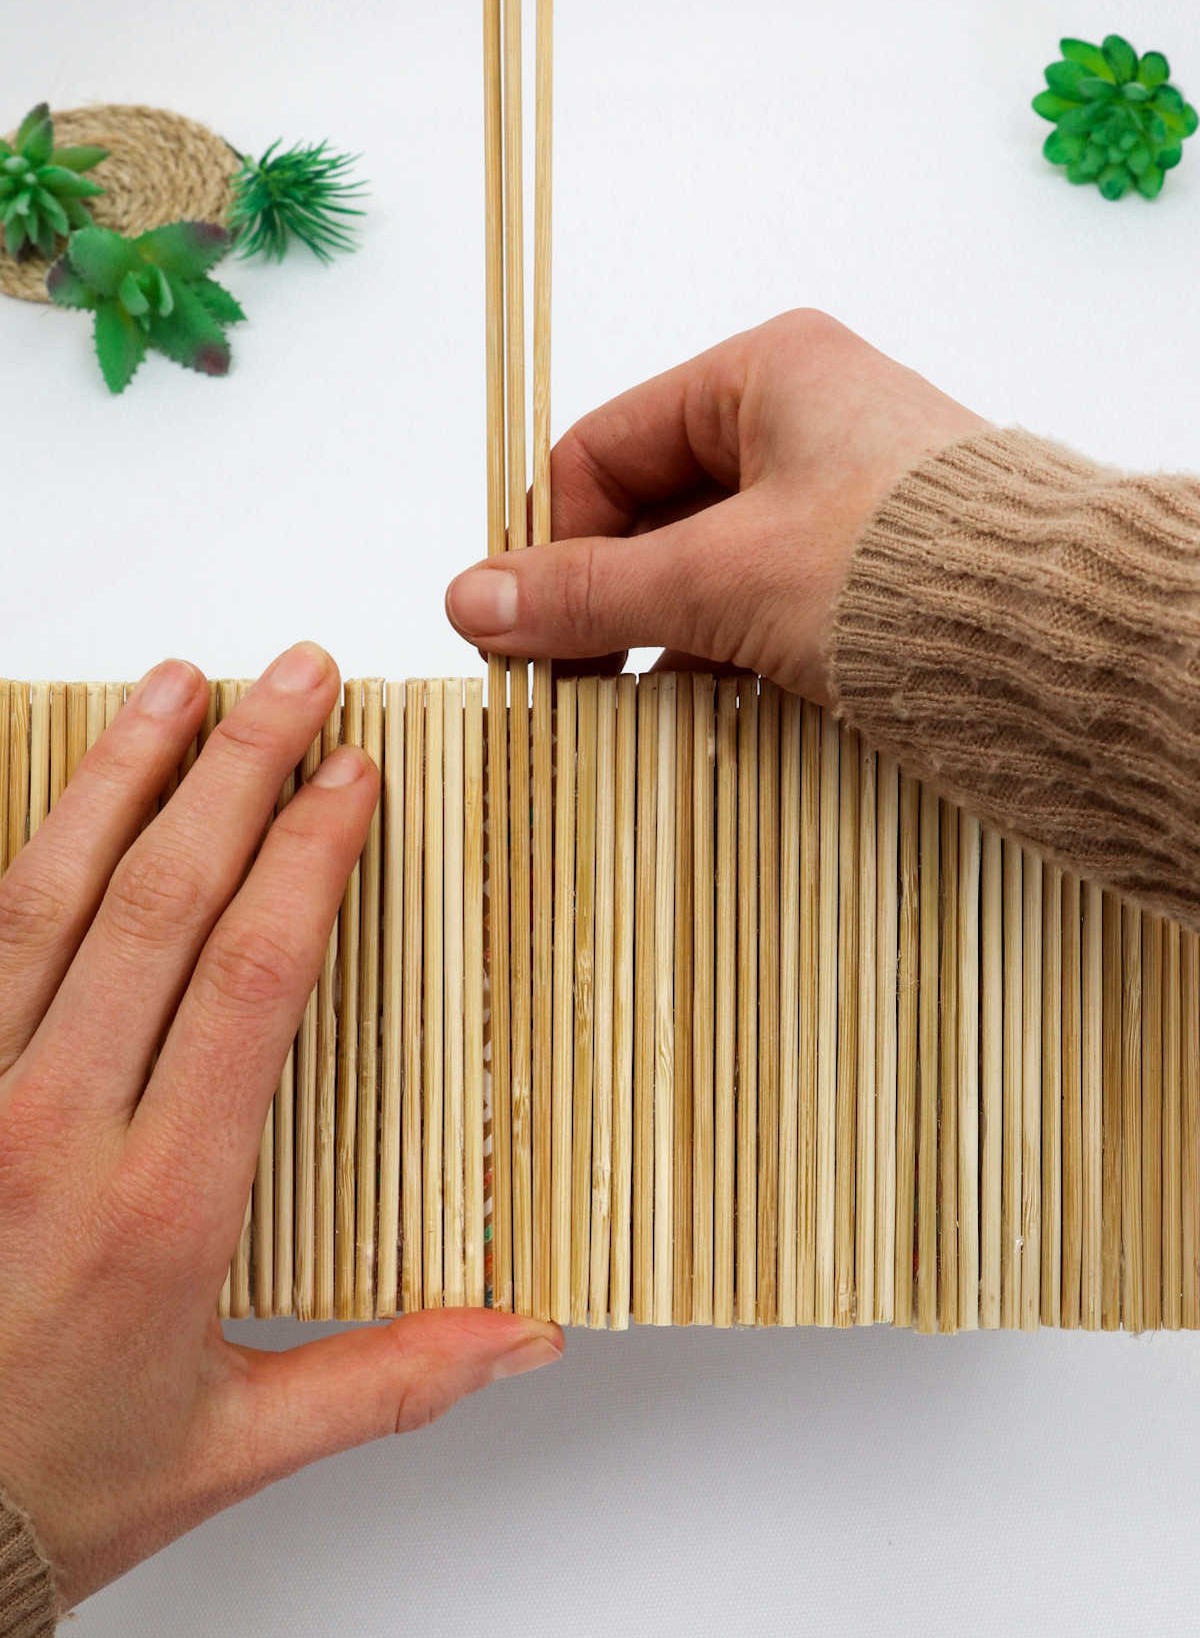
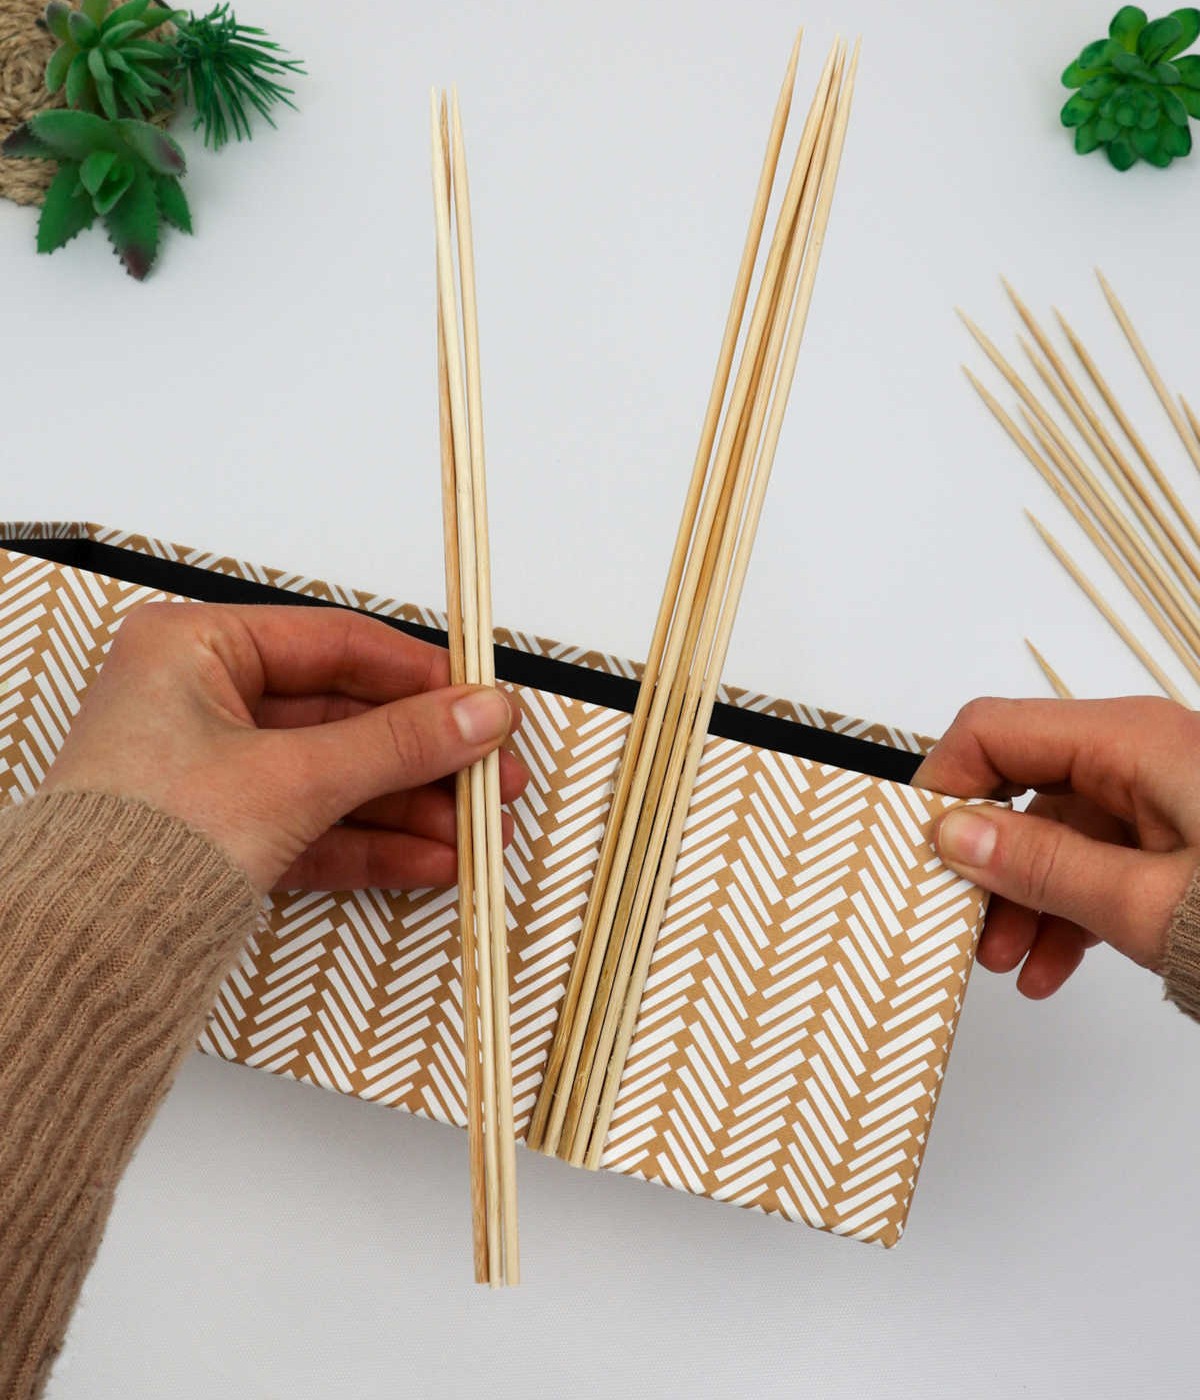
To begin, utilize pliers to trim the skewers into uniform lengths, ensuring no end exceeds the height of the box. This crucial step sets the foundation for a visually appealing final product. Next, systematically alternate between applying glue and clipping the skewers as you work your way through the entire box. As you near completion, take a moment to admire your handiwork – the finished box should resemble the one illustrated, boasting a charming aesthetic that’s sure to delight.
Step 4
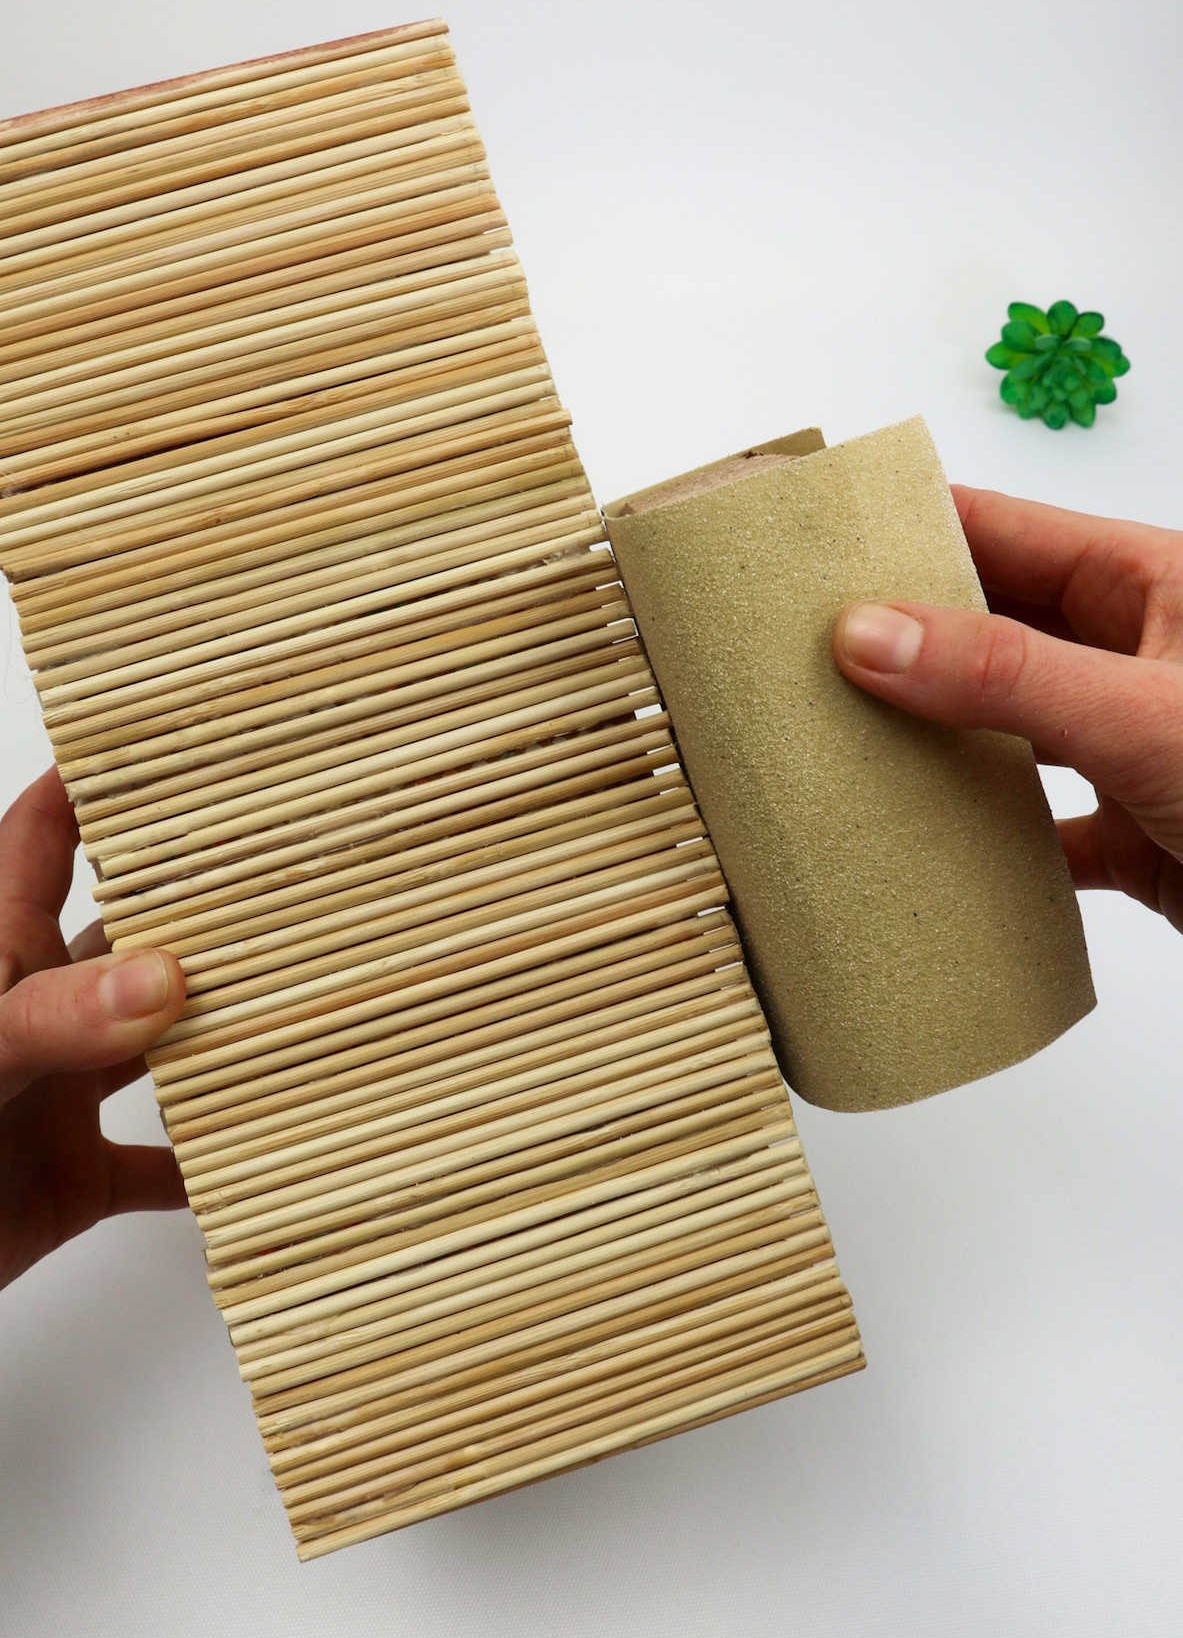
As we move forward with refining our wooden skewer box, it’s time to introduce a new tool into the process: sandpaper. If you recall, earlier we addressed the initial clipping of the skewers. Now, we’ll use this versatile material to smooth out the ends and achieve a more refined look. Take hold of your sandpaper and gently scrub the edges until they’re even and free from any jaggedness.
Alternatively, if you prefer to maintain the rustic charm that comes with uneven edges, feel free to skip this step altogether.
Step 5
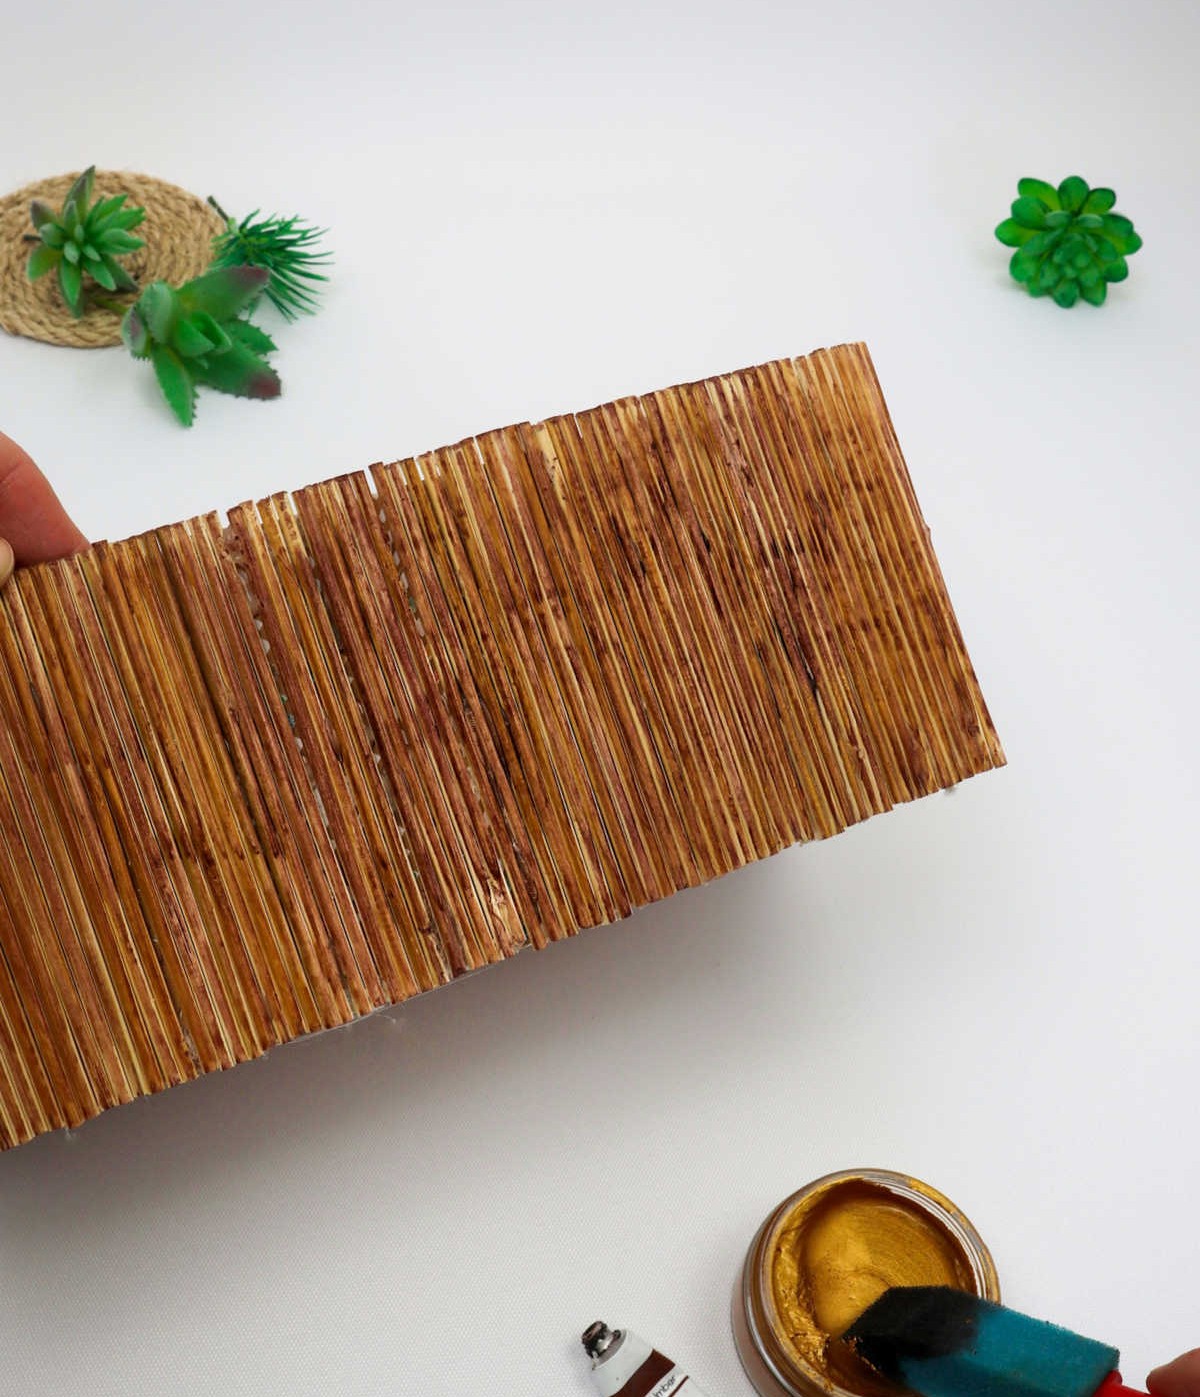
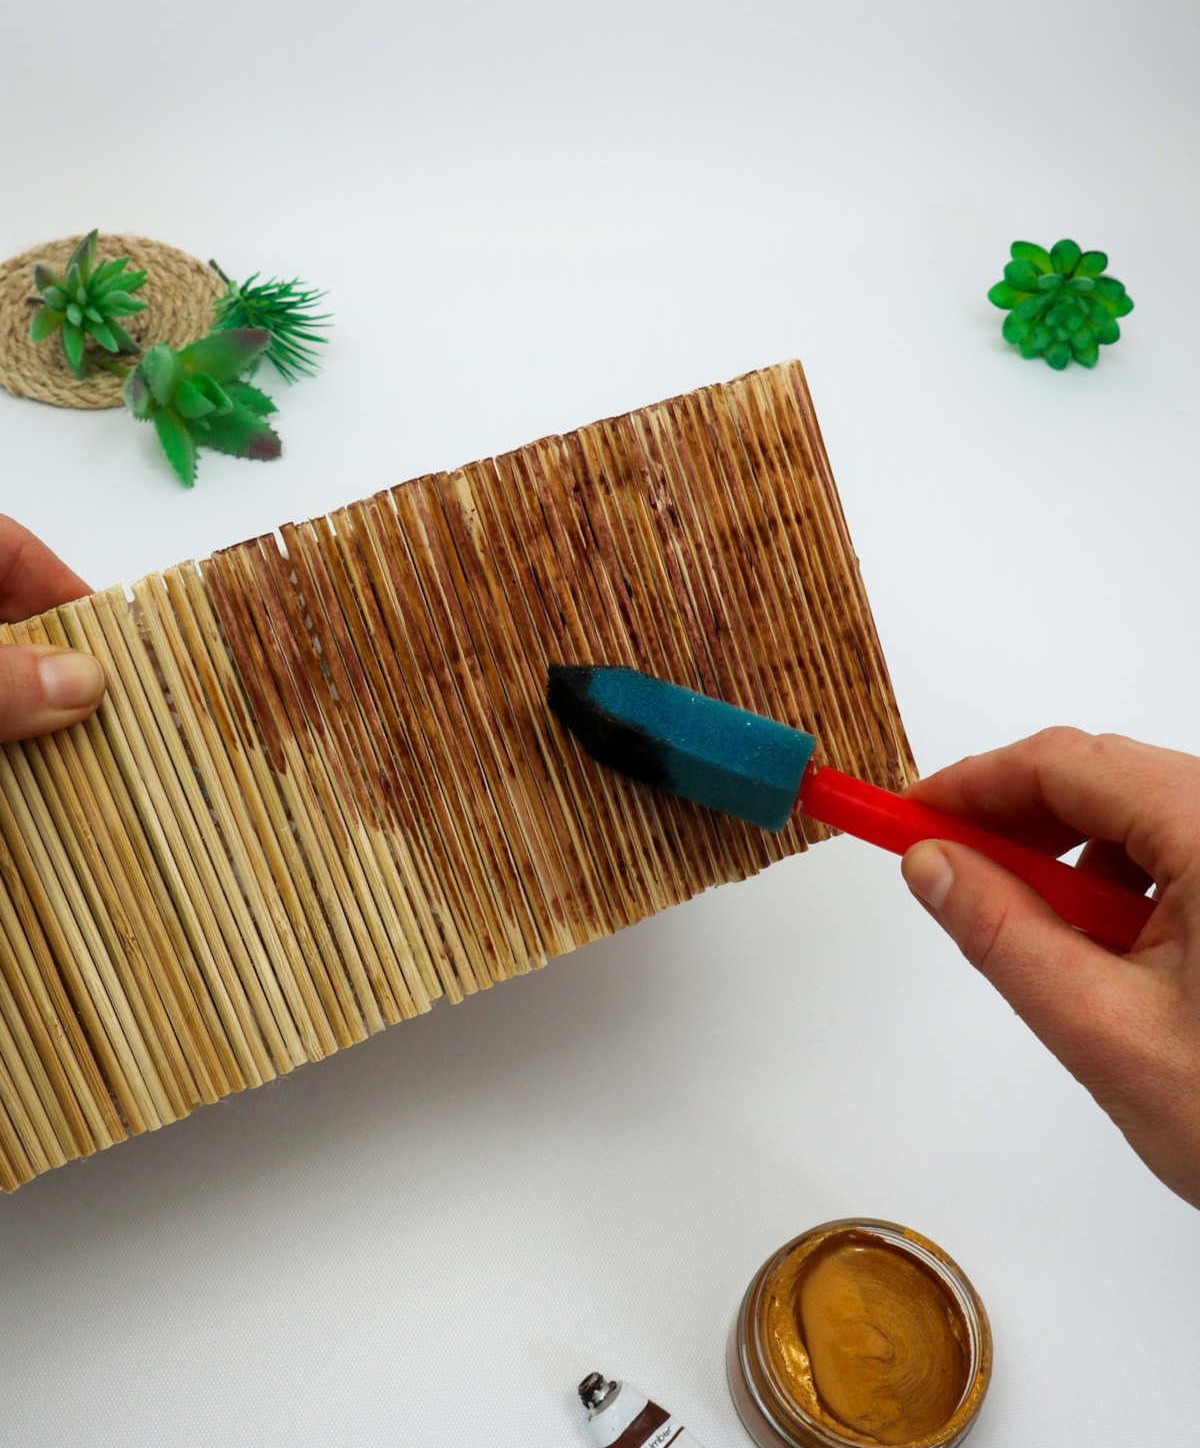
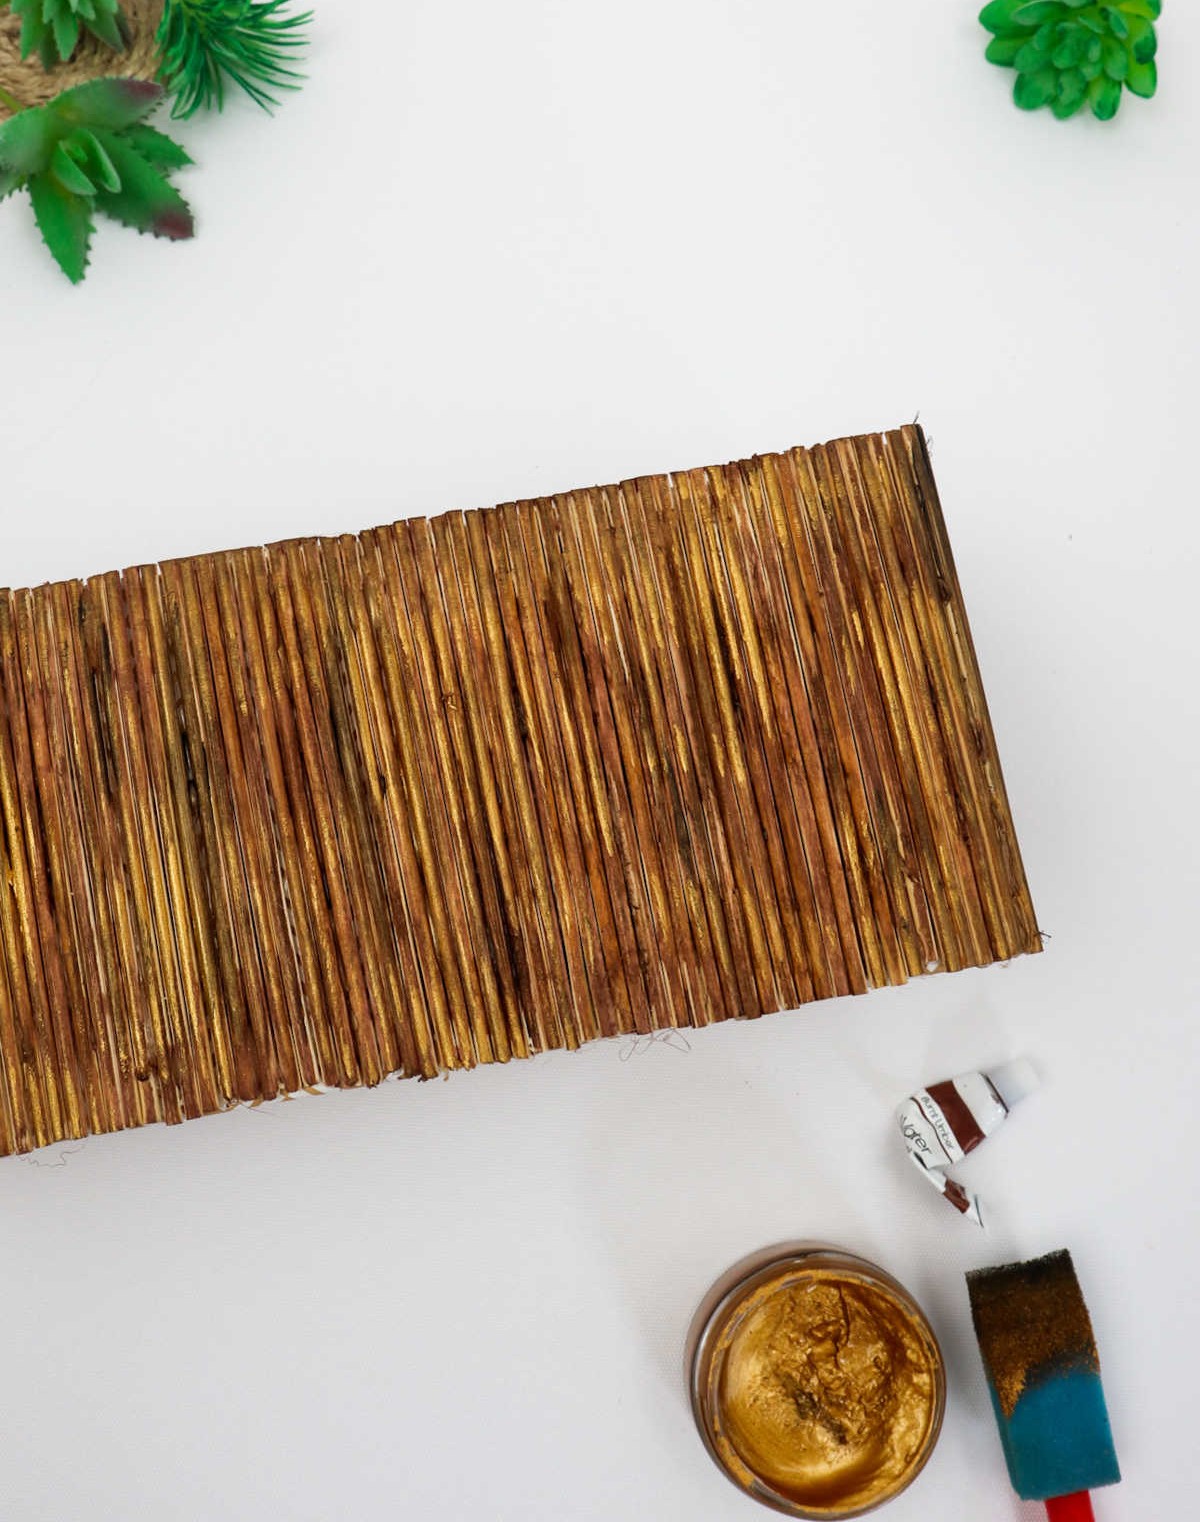
Get creative and unleash your artistic side! Begin by coating your skewers with a sturdy base layer using paint and brushes. Allow the initial coat to dry thoroughly before adding additional layers until you’re satisfied with the final result.
Step 6
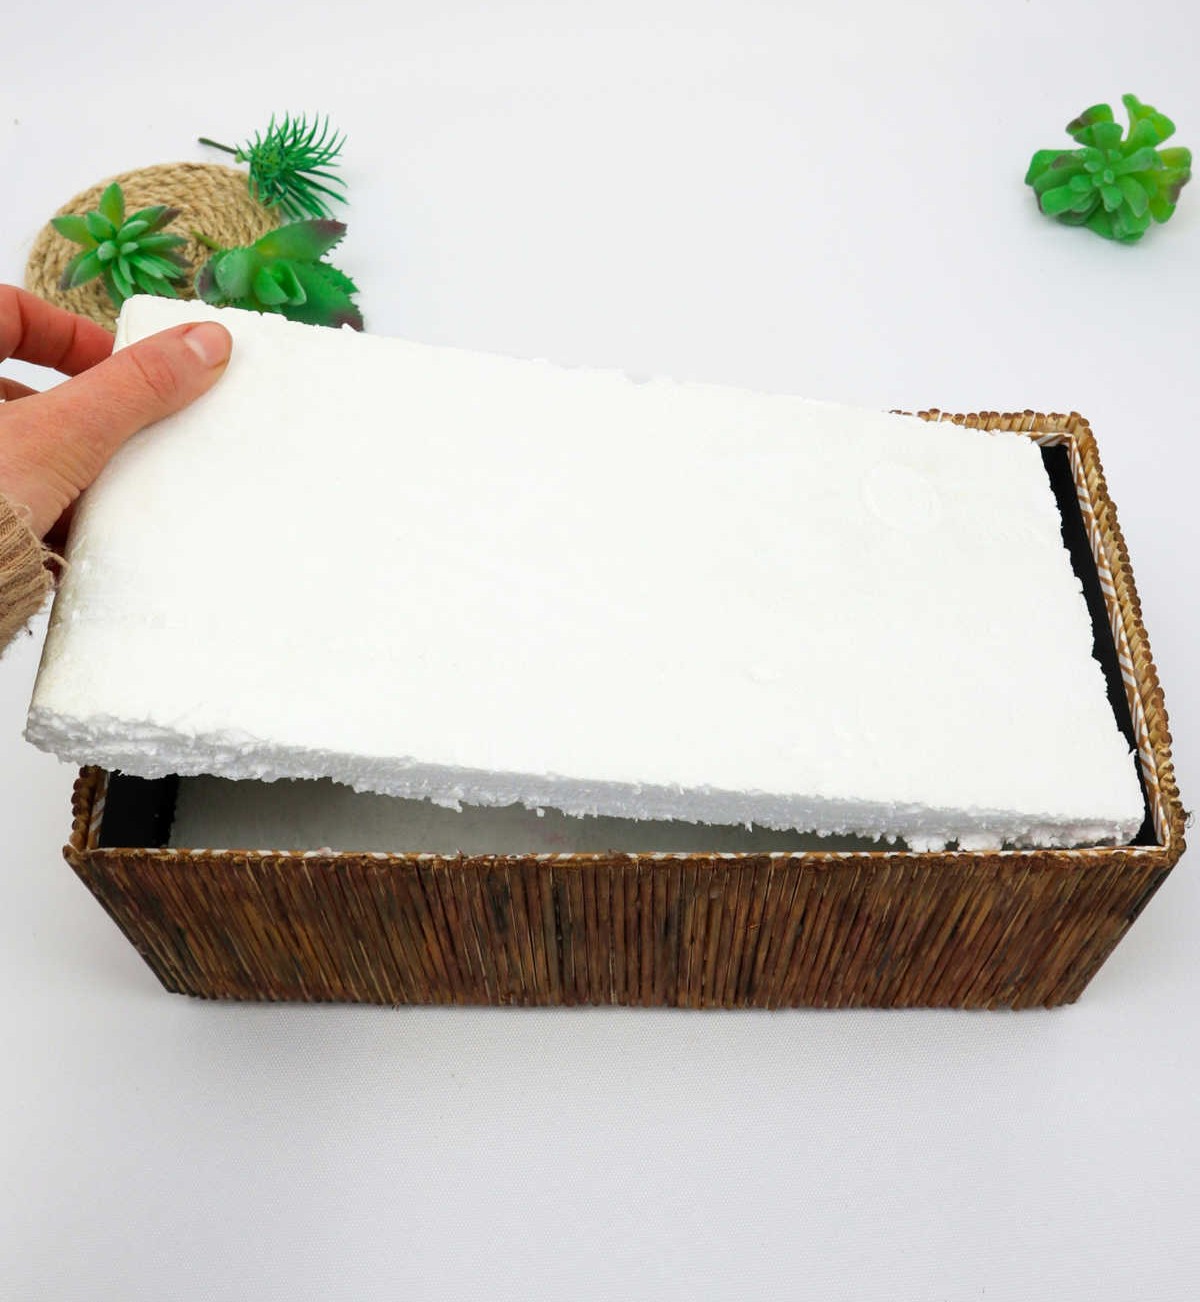
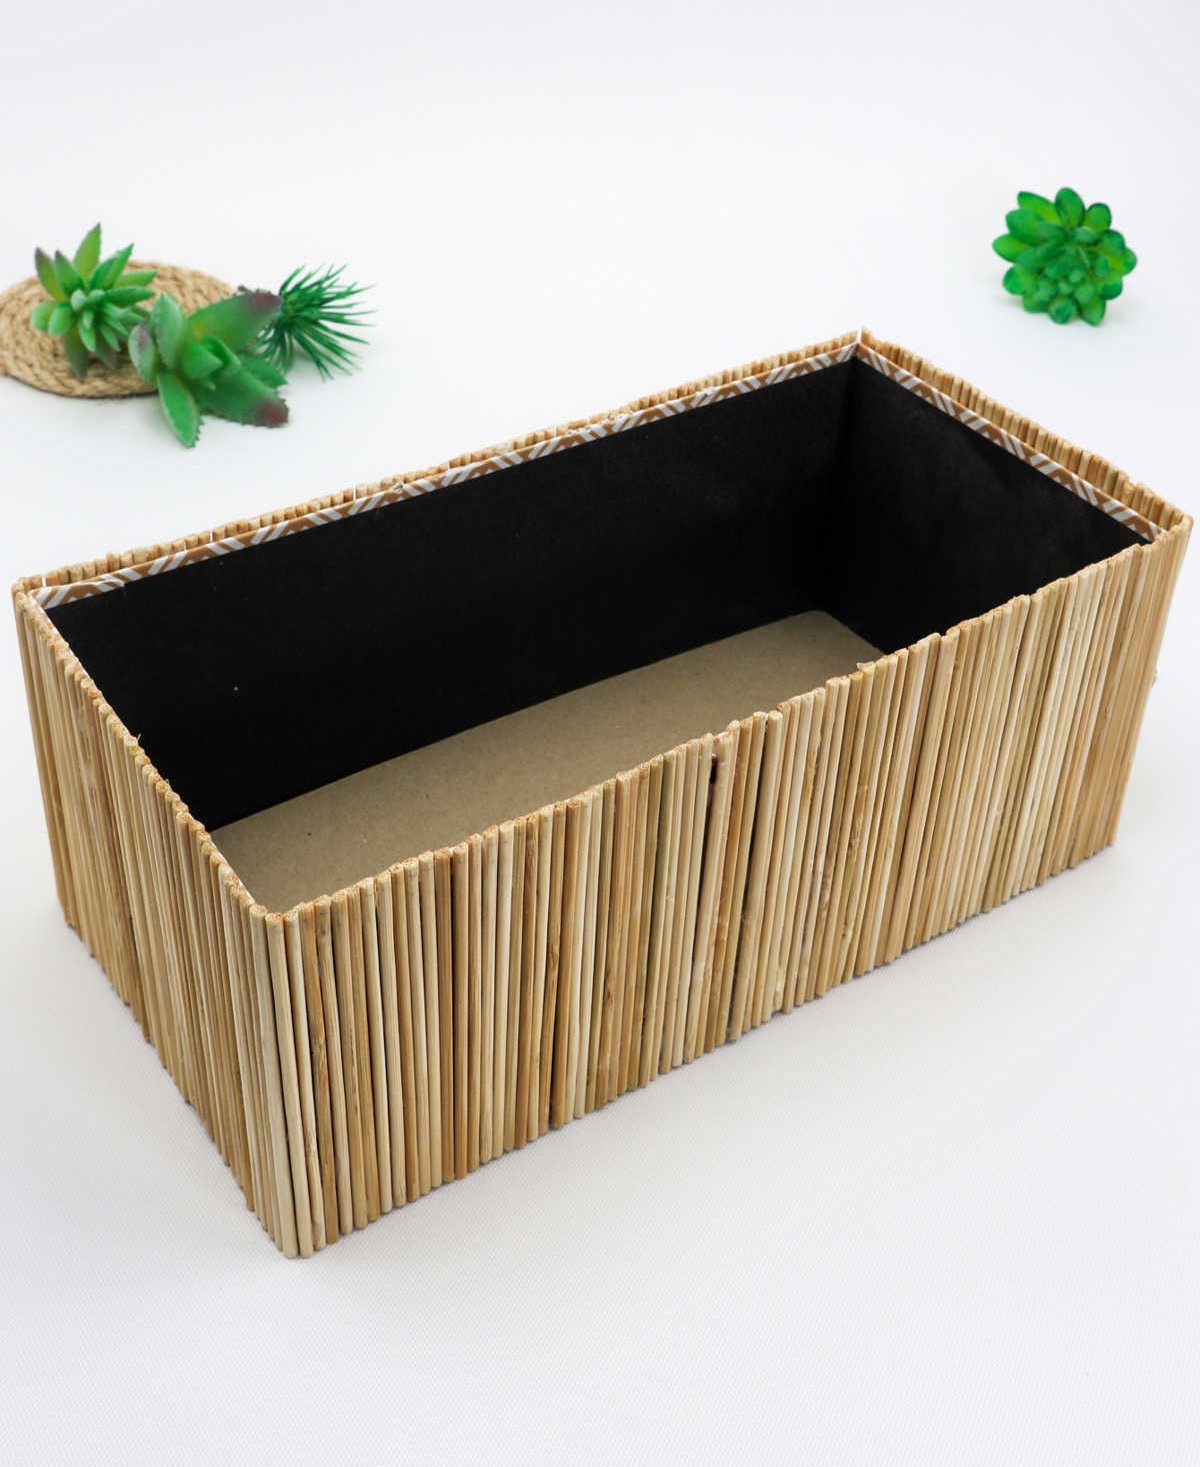
To complete the box’s foundation, it’s essential to line the base with a sheet of styrofoam. This can be achieved by utilizing pre-cut sheets or purchasing a block that can be trimmed to size. The chosen material should then be carefully placed at the bottom of the box, ensuring a snug fit. As illustrated, the styrofoam is tucked in, creating a secure and even base for the subsequent layers.
Step 7
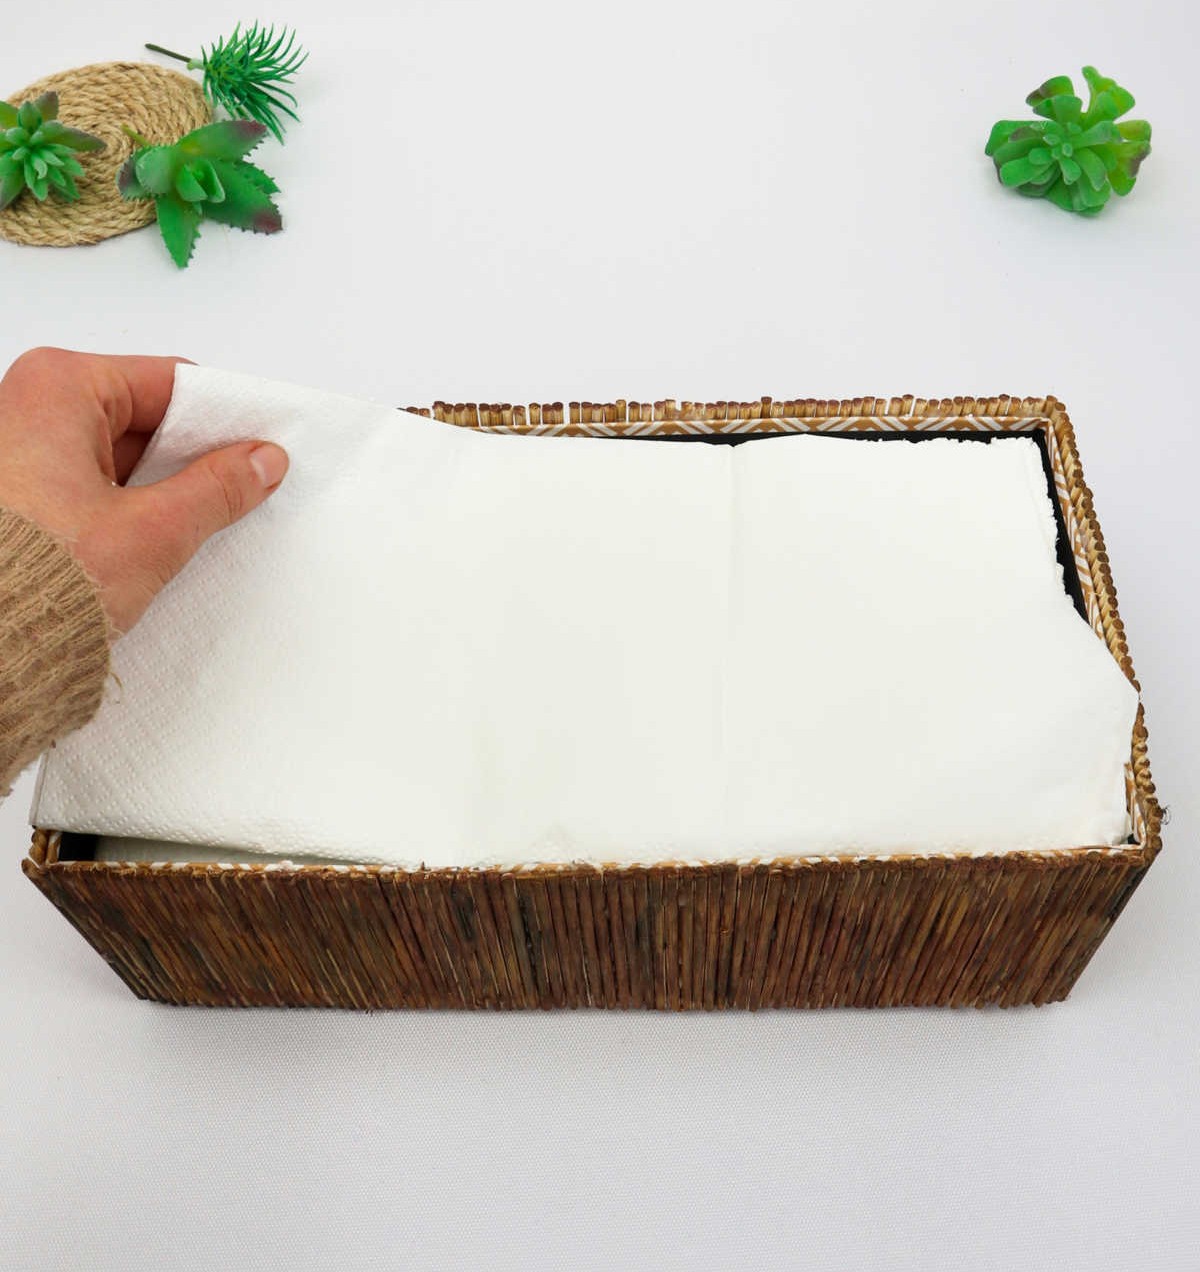
To create your masterpiece, begin by placing the box on top of a styrofoam sheet, ensuring it is centered and evenly distributed. Next, cover the entire surface of the styrofoam with a white paper towel or napkin, gently smoothing out any wrinkles to achieve a uniform layer. Alternatively, you can opt for fabric, which will add an extra layer of texture and visual interest to your design.
Step 8

Transform the interior of the box by incorporating an assortment of natural elements such as stones, pebbles, and rocks. For added depth and visual interest, consider including fragments of pumice stone to create a tactile experience.
Step 9
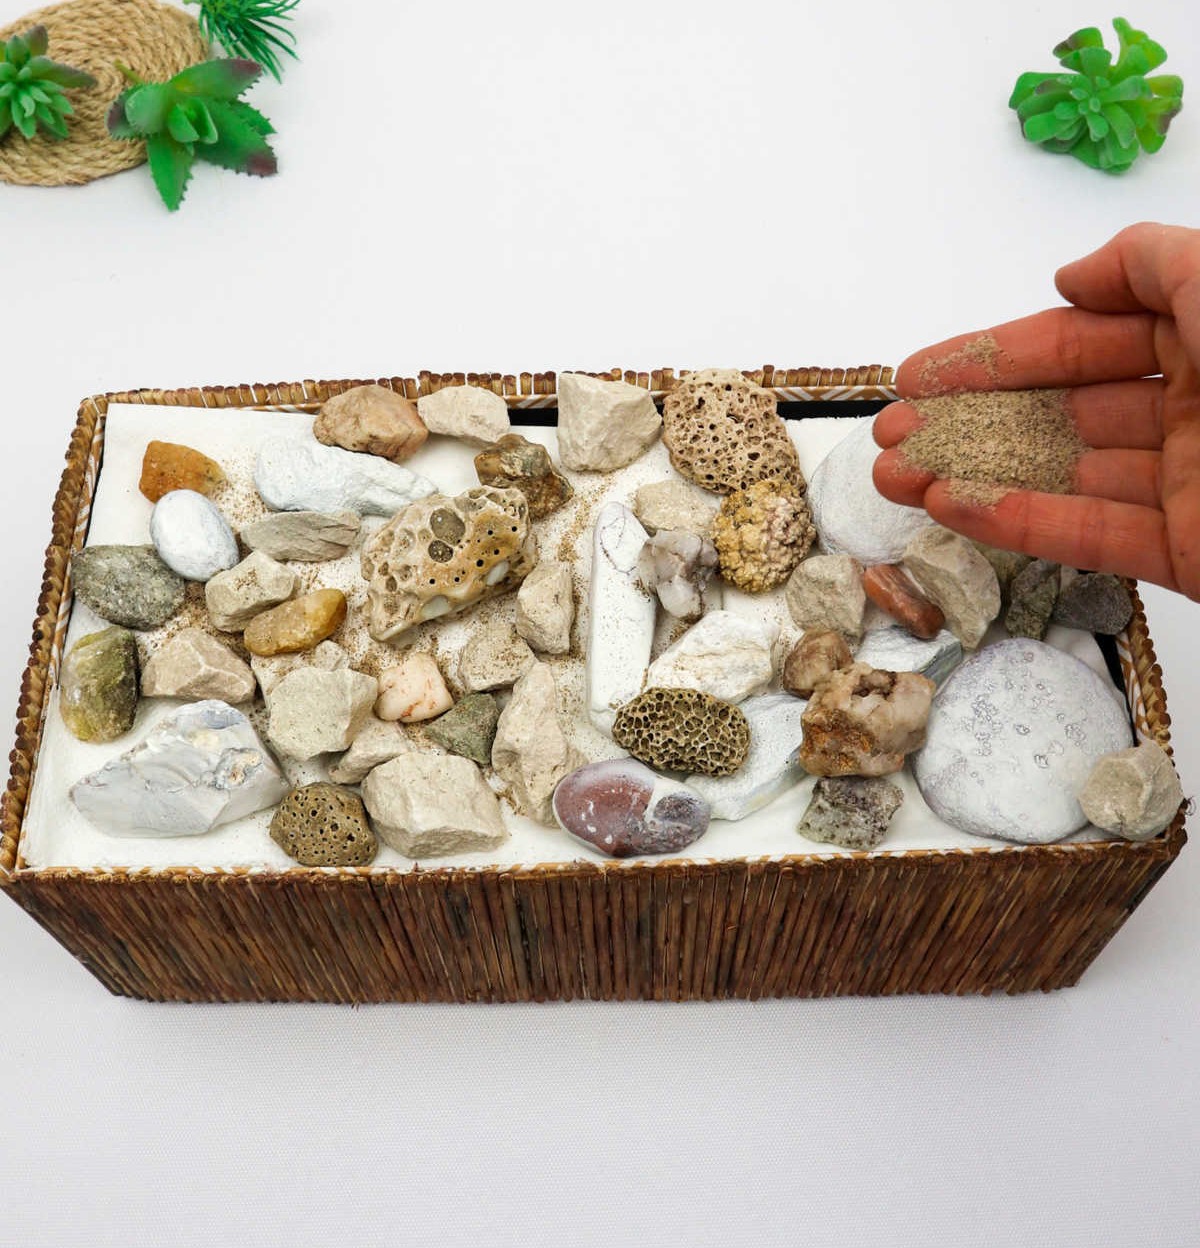
To conceal any unsightly gaps, fill them with a thin layer of sand. This will not only eliminate the white napkin fragments from view but also introduce a natural touch. Consider adding a few seashells or other coastal-inspired embellishments to give your bohemian treasure box an authentic beachy feel.
Step 10
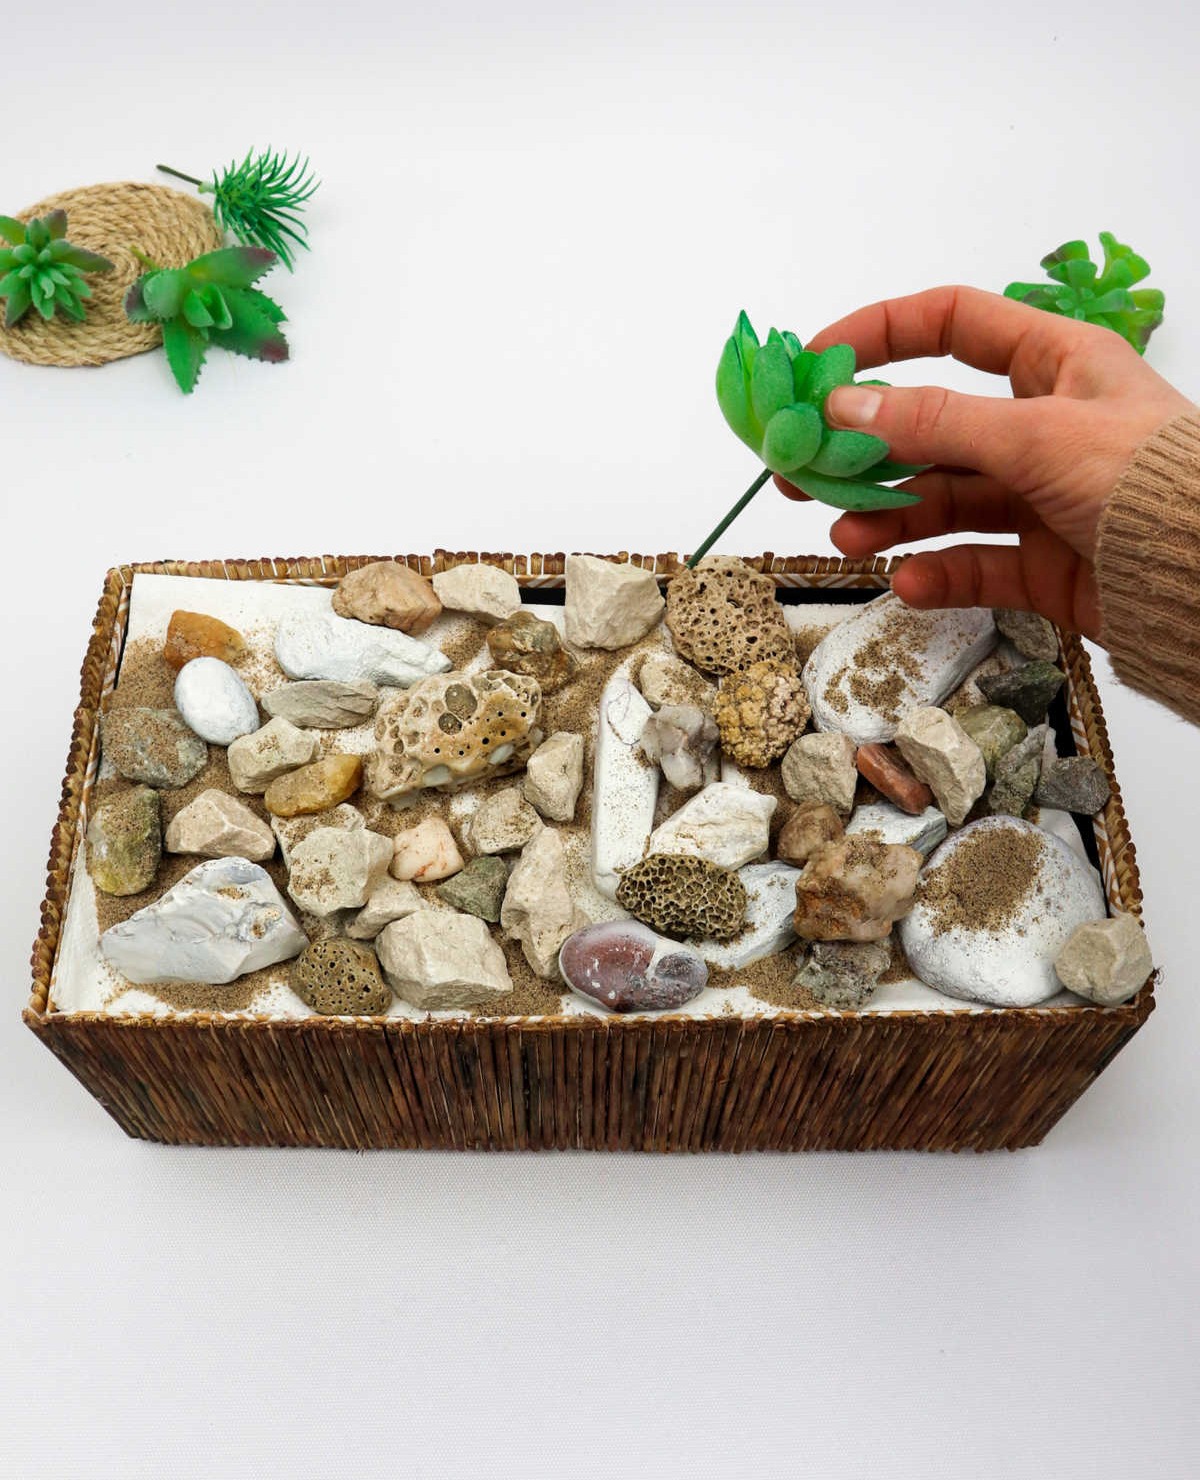
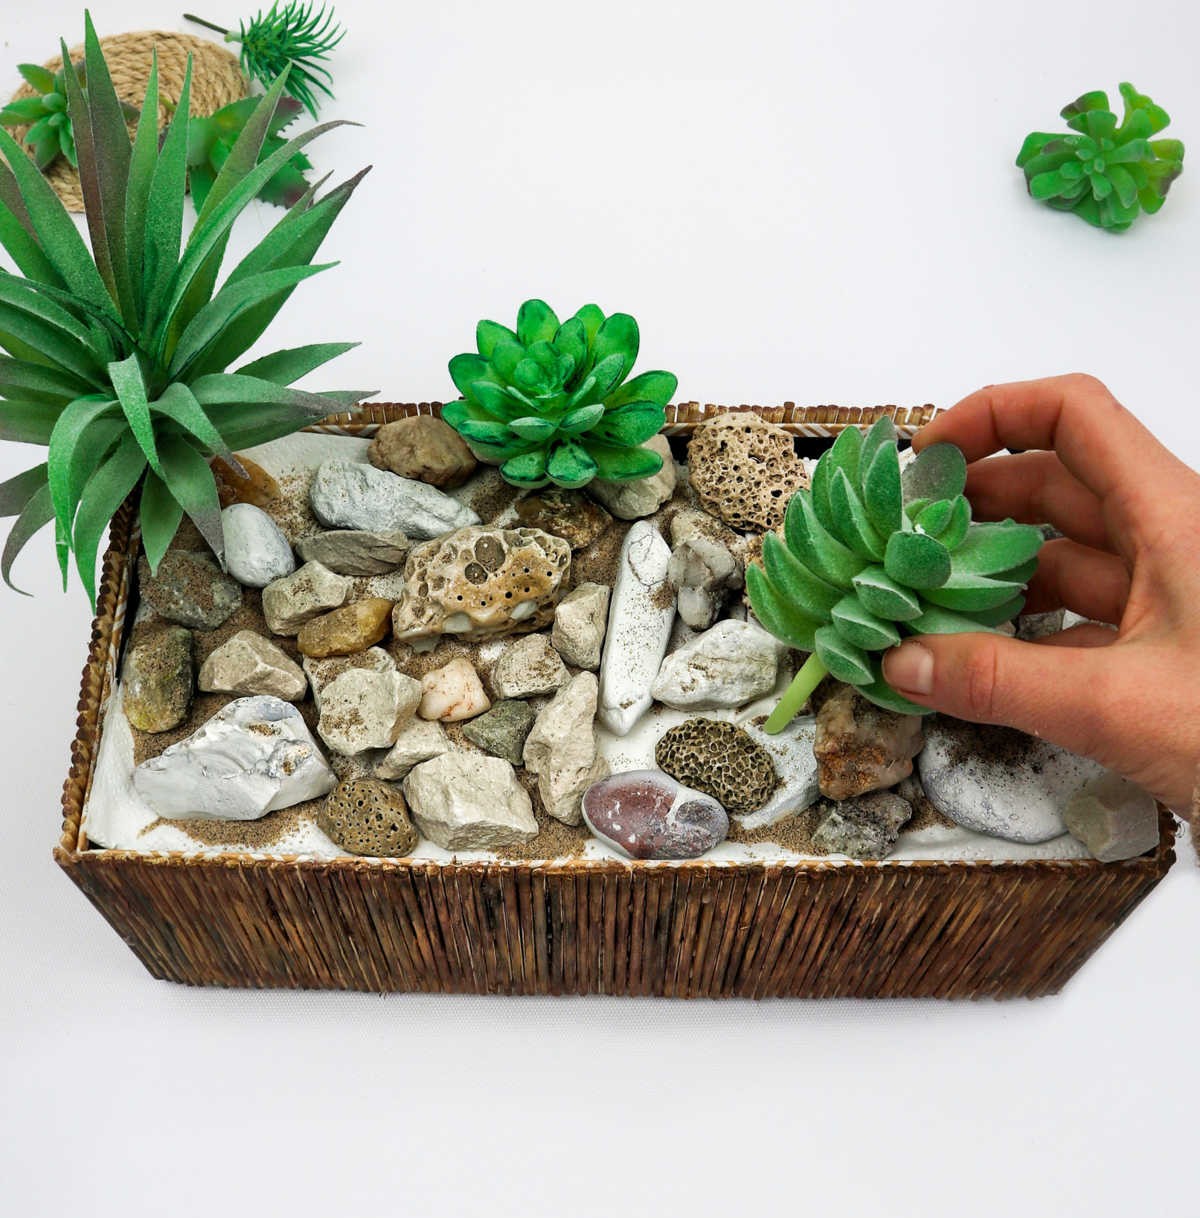
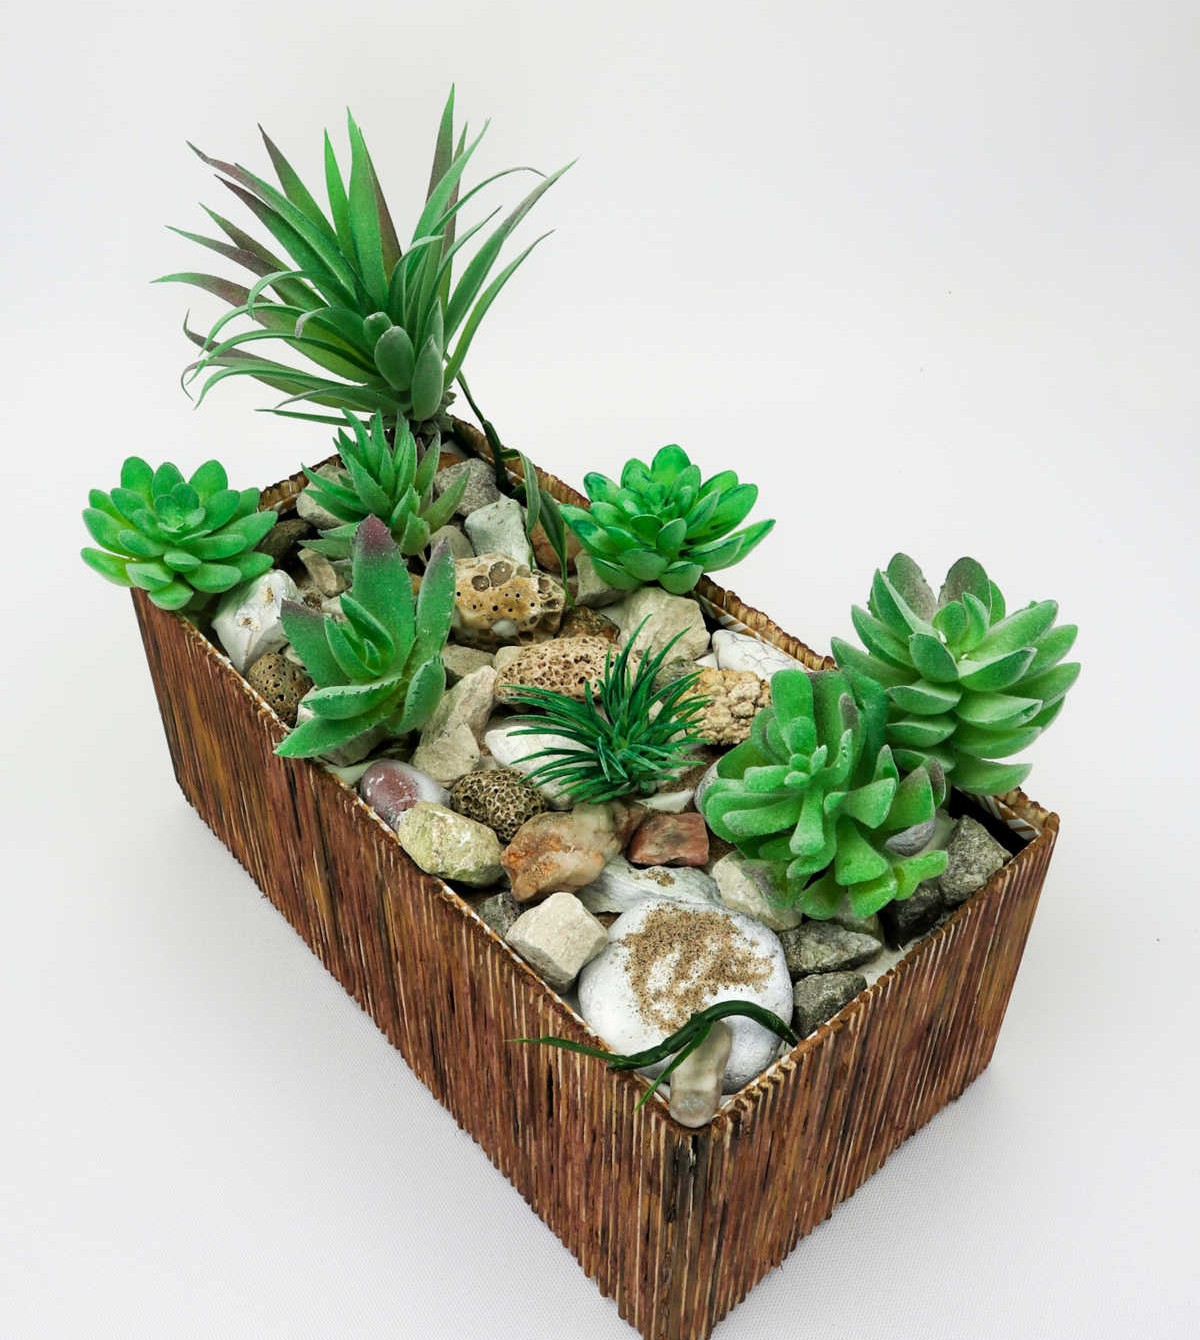
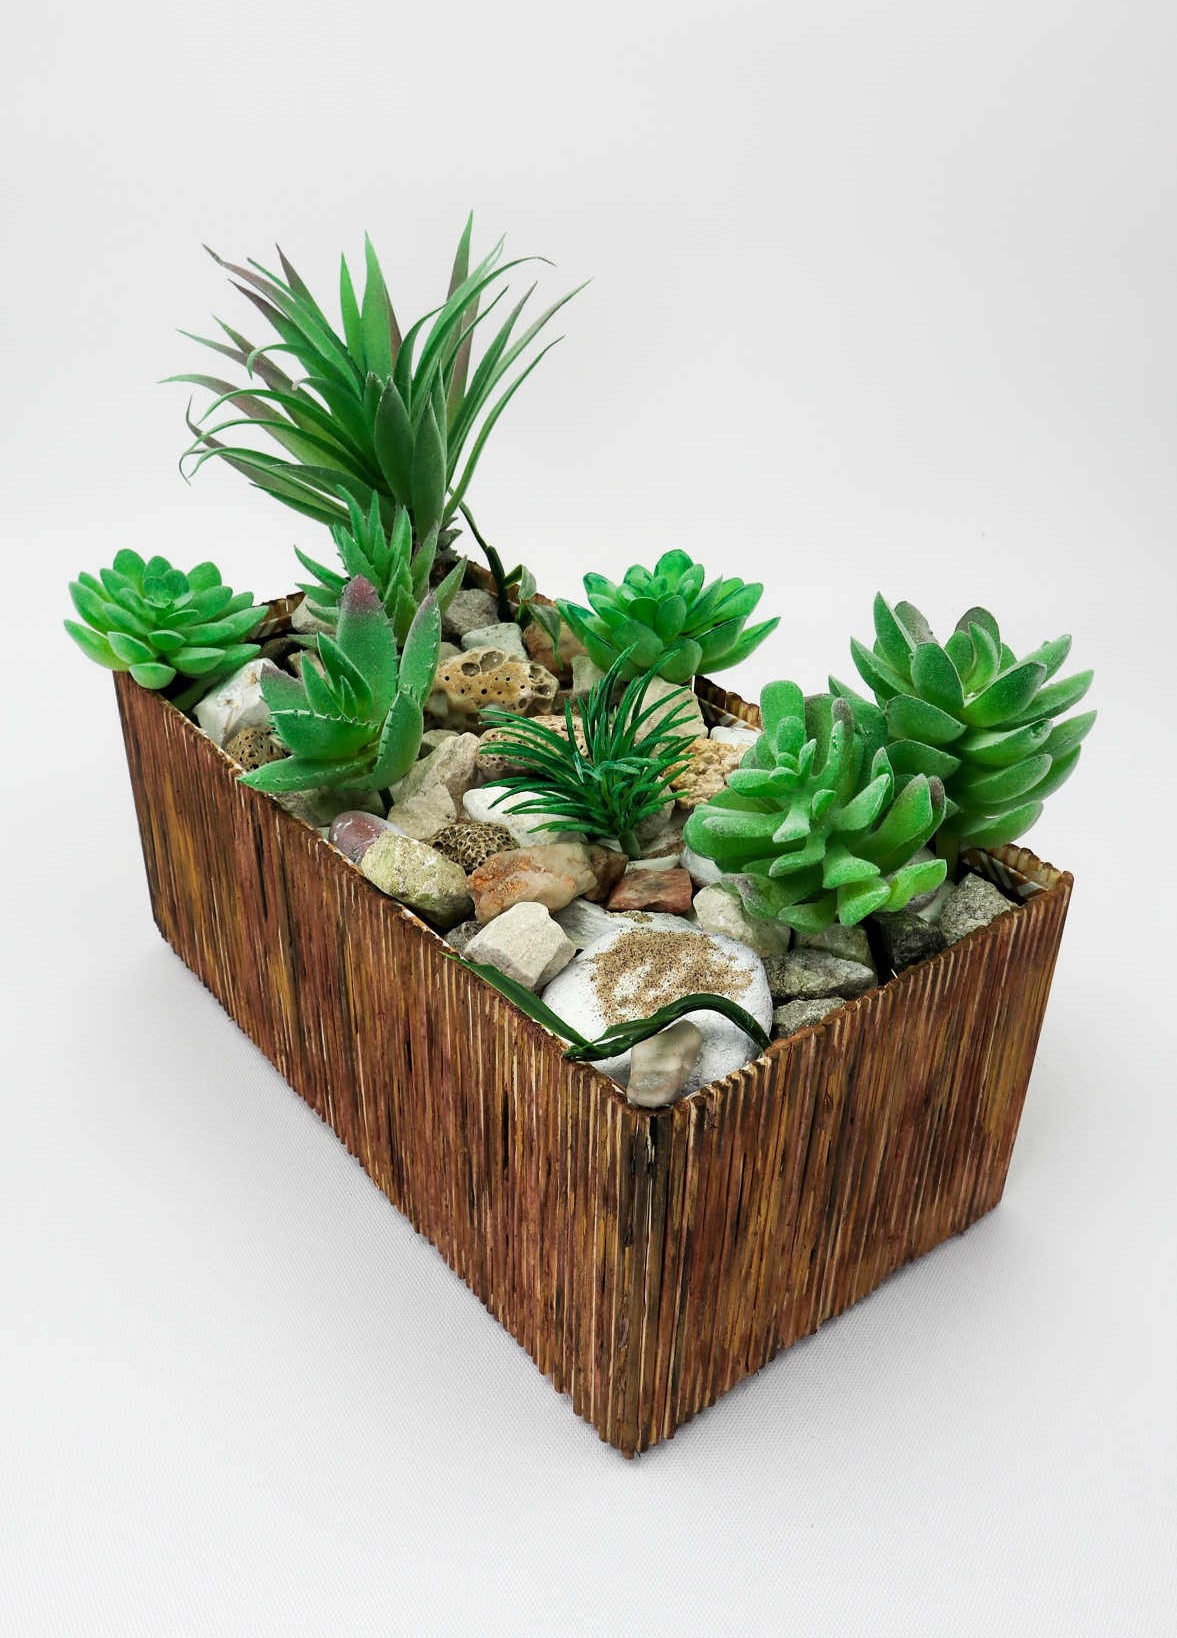
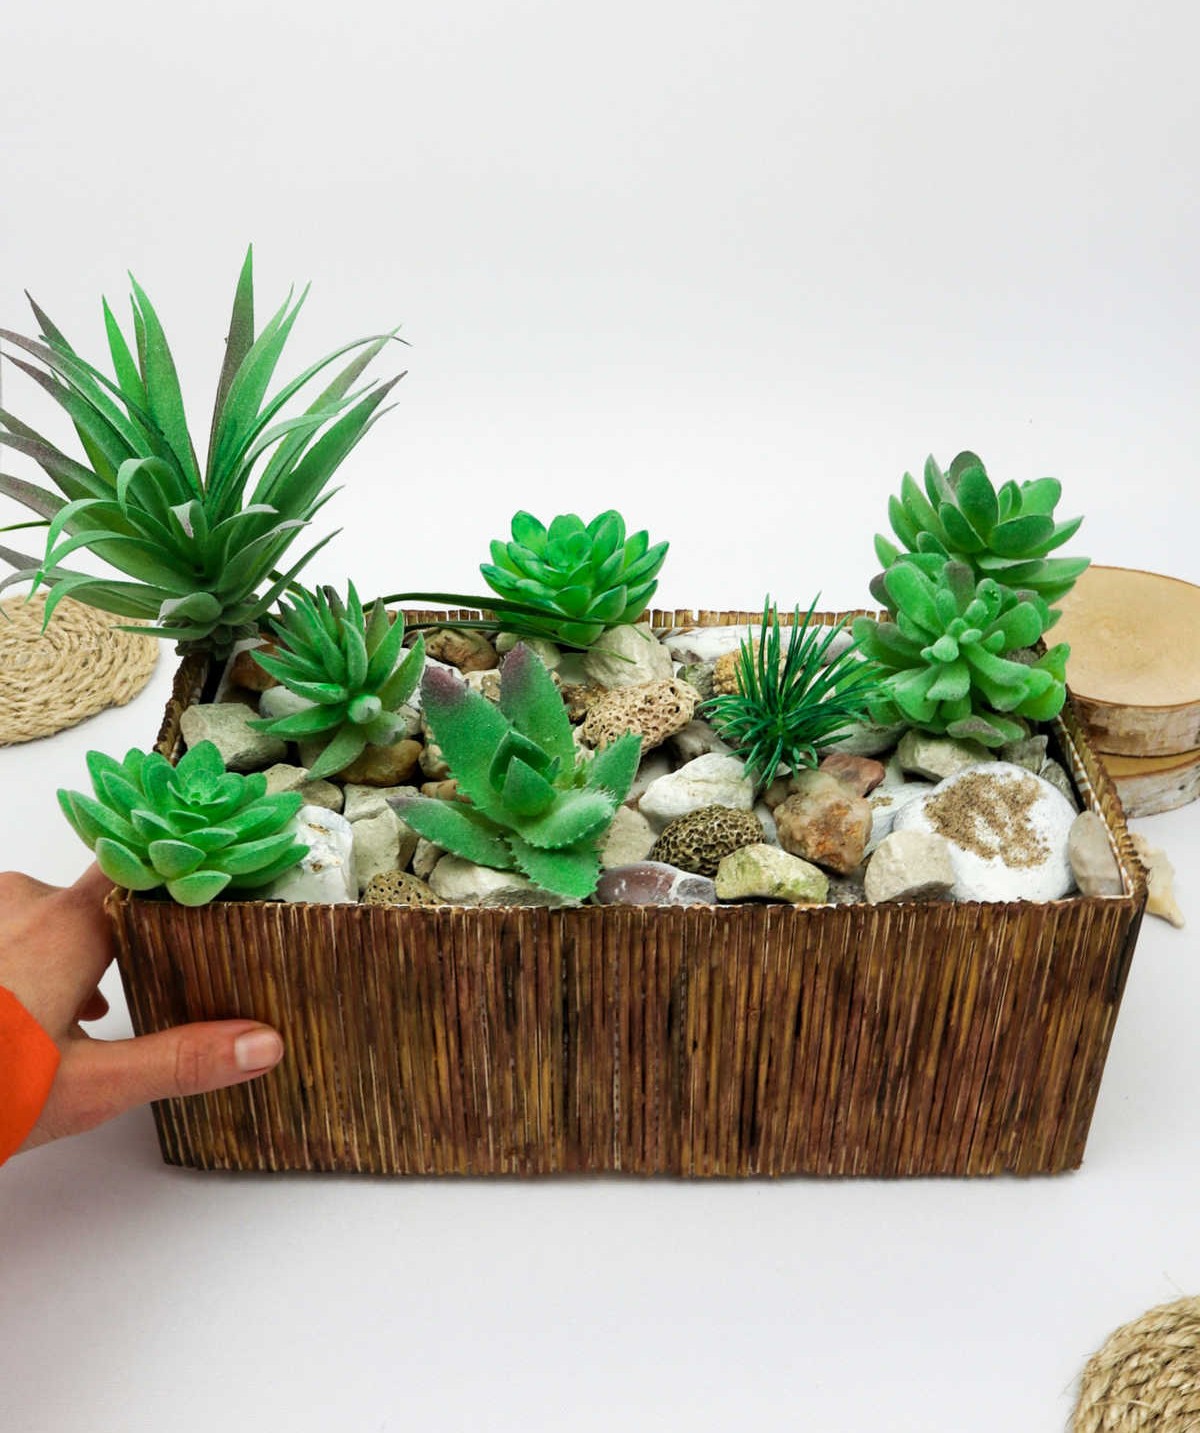
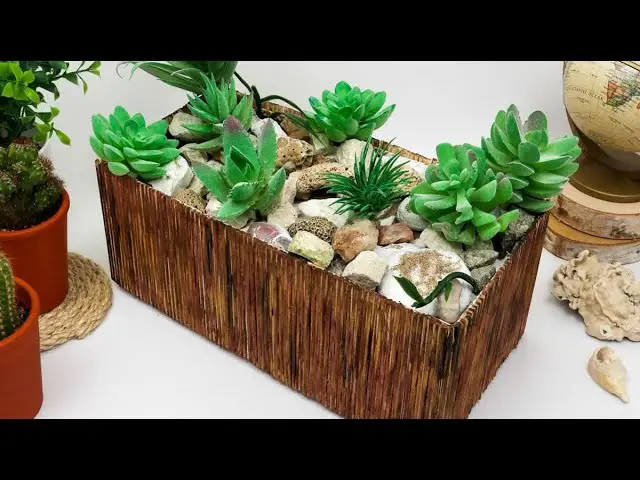
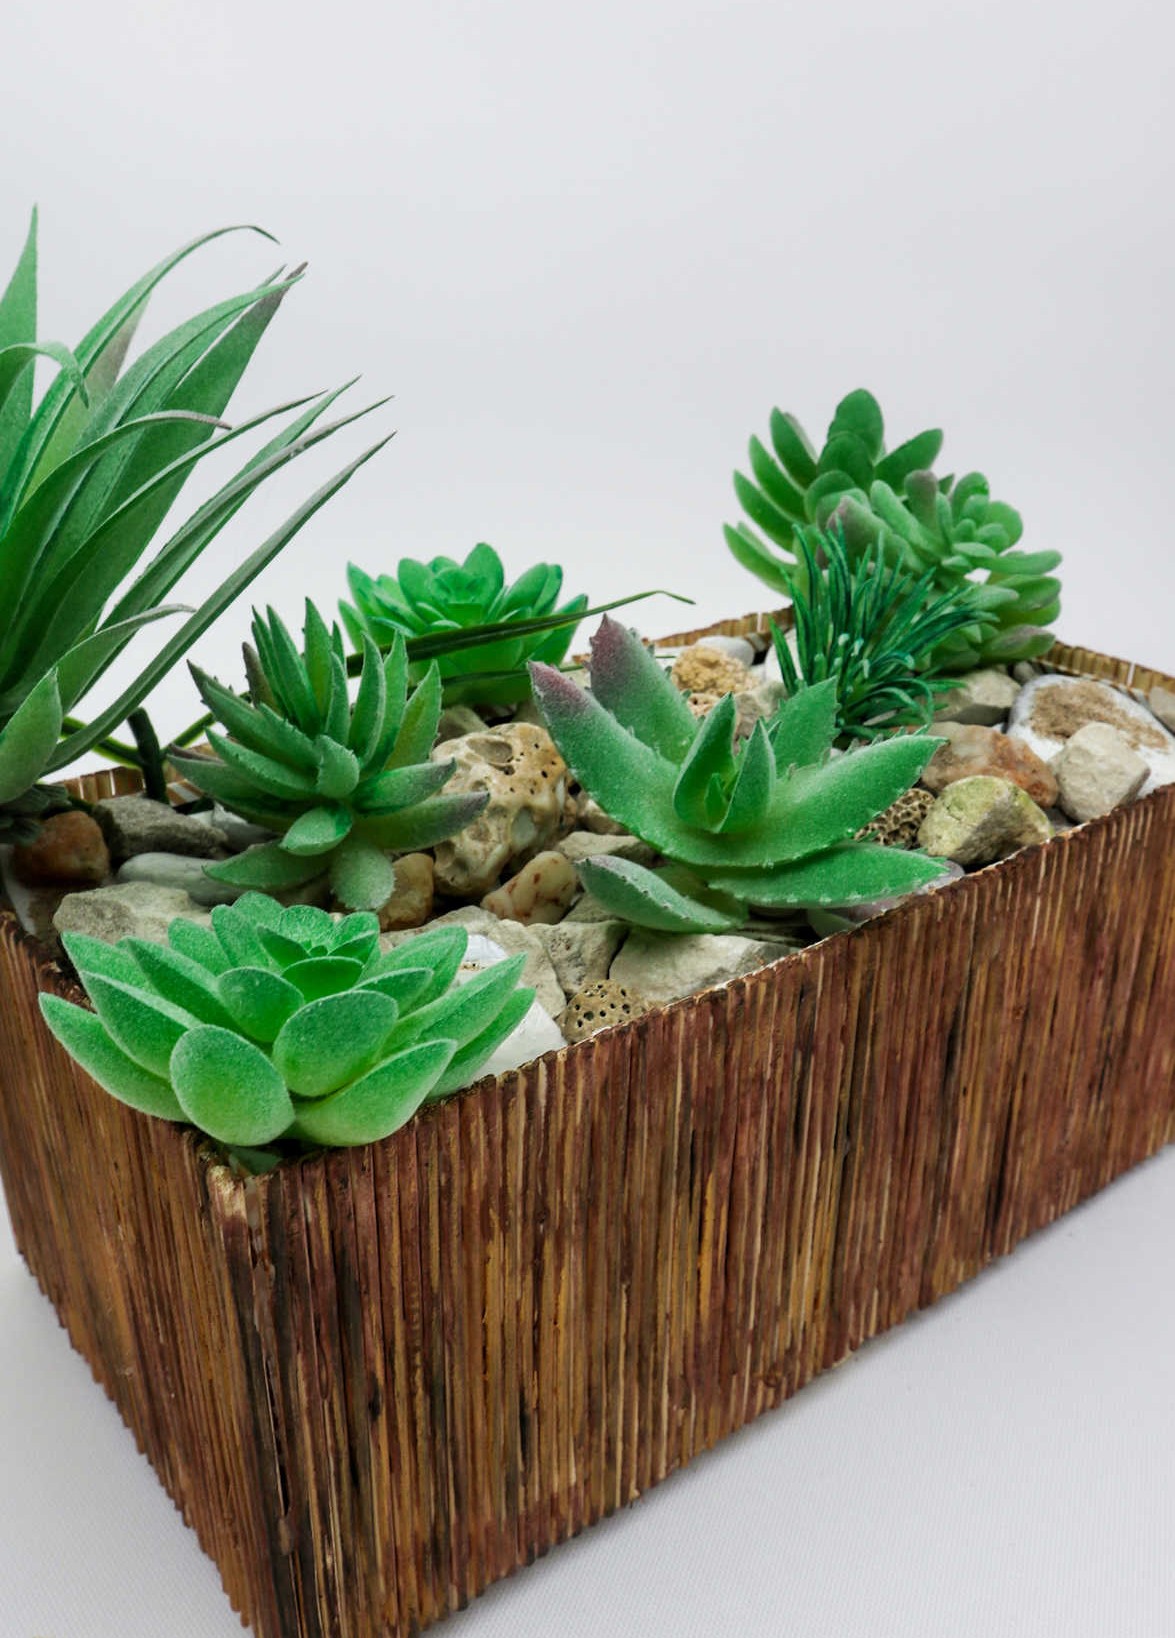
Place your faux succulent creations around the decorative stones, arranging them to your liking. The end result should resemble a real arrangement you might find at a store, complete with a natural-looking blend of textures and shapes.
Who Can Make This Boho Succulent?
This DIY planter project may be better suited for older kids or even adults, as it requires some level of dexterity and caution when handling the skewers. While younger children can still participate in decorating the planter with sand and shells, they might need additional guidance and supervision to ensure their safety while working with the skewers.
Where Could I Place the Succulent Planter?
Imagine this bohemian planter adding a touch of elegance to various areas within your home. Here are some potential placement ideas to get you started:
Consider placing it on your deck, where its unique design can serve as a conversation starter.
Alternatively, use it as a centerpiece to bring a pop of color and texture to your dining or coffee table setup.
If you’re looking for a statement piece, place it on a sideboard or coffee table to add visual interest to the room.
For a warm and inviting atmosphere, position it up the front porch steps or on the front porch itself.
Finally, incorporate it into your garden path design to create a beautiful and harmonious outdoor space.
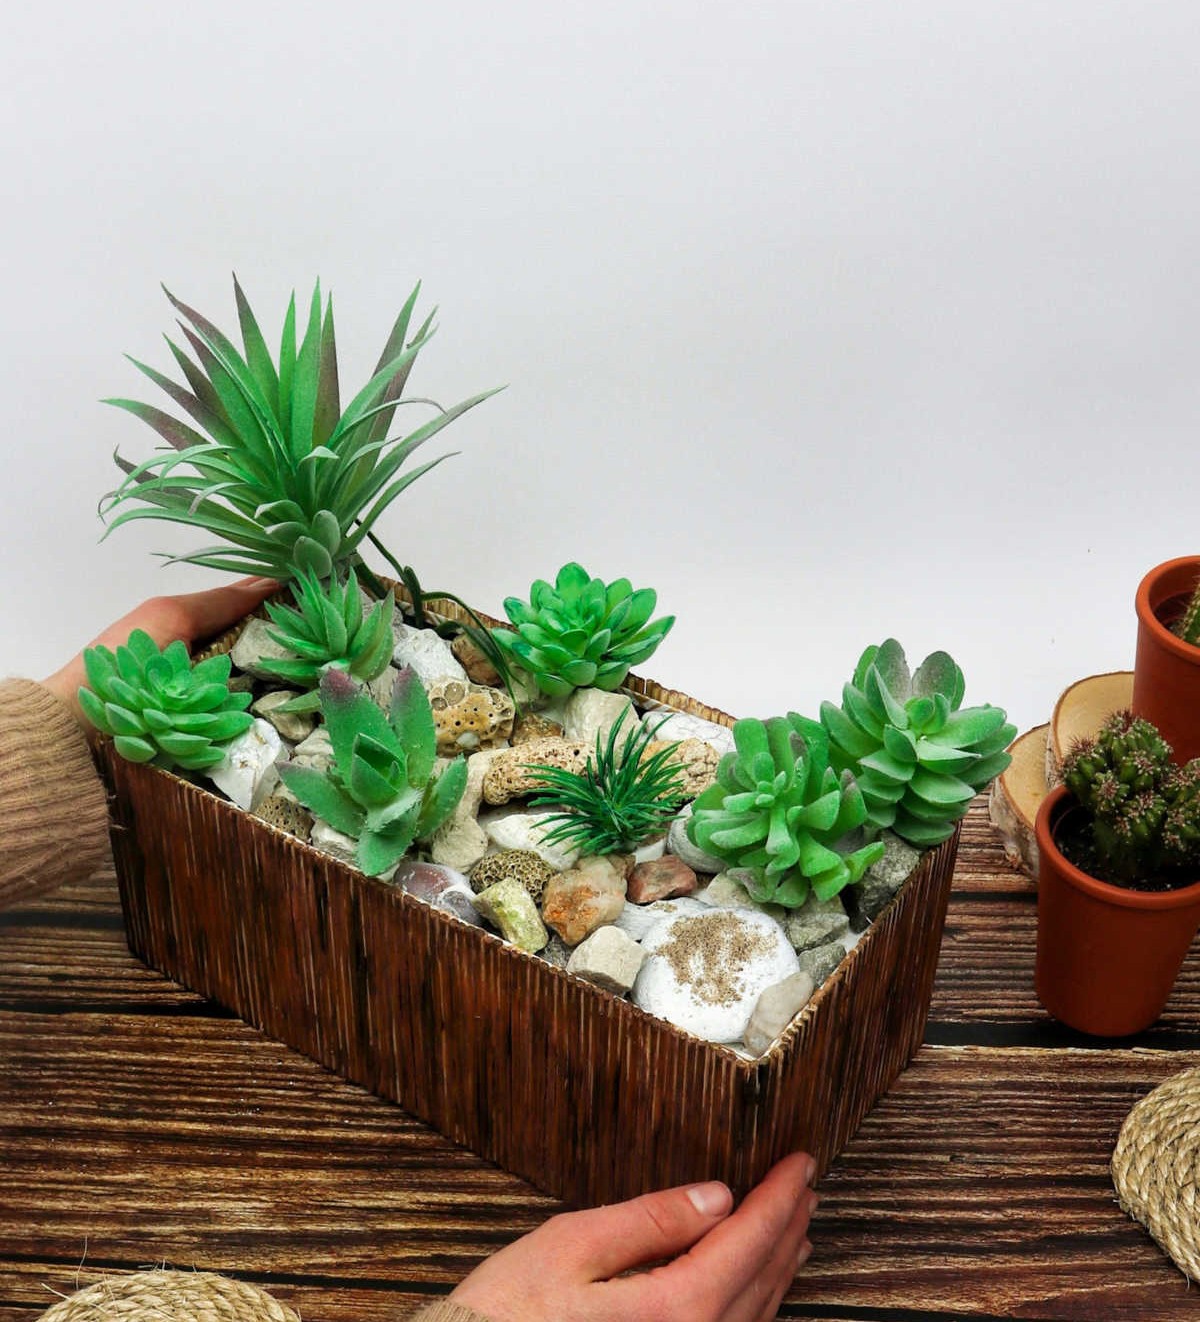
DIY Boho Succulent Planter
Transform an ordinary cardboard box and skewers into an extraordinary DIY decoration that will be the envy of all your friends. This unique centerpiece is surprisingly easy to create, requiring just a few simple steps and some basic materials. In fact, you can make it in just one hour, with an additional 30 minutes needed for preparation. So why not get creative and give it a go? With minimal investment of $5, you’ll have a beautiful decoration that’s perfect for any occasion.
Equipment
Materials
For this unique terrarium project, you’ll need to gather some essential materials. Start by collecting a sturdy cardboard box that will serve as the foundation of your mini indoor garden. You’ll also require Styrofoam sheets to create a stable base for your plants. A white napkin will come in handy for cleaning up any spills or messes. To add some natural charm, you’ll need artificial succulents and stones to complete the look.
Make sure to stock up on skewers, too – the more you have, the bigger your terrarium can be. Finally, grab some acrylic paints in earthy tones like brown and metallic gold to give your project a personal touch.
Instructions
To initiate this project, gather all necessary materials. Begin by preparing the box with hot glue, applying vertical lines to create a sturdy base for the skewers. Secure multiple skewers at once, allowing the glue to dry before proceeding. Once the glue is set, use clippers or pliers to trim the ends of the skewers to the rim of the box, aiming for evenness. Next, sand the cut ends to achieve a smooth finish. Alternatively, leave them as-is to maintain the rustic charm.
With the planter prepared, apply two to three coats of paint, allowing each layer to dry before adding the next. This will provide a solid base for your decorative elements. Inside the box, place a sheet or block of styrofoam, cut to fit snugly. Top this with a folded paper towel, napkin, or cloth, followed by an arrangement of stones, pebbles, rocks, and shells. You can also use sand to fill any gaps where the cloth may peek through.
Finally, artfully arrange your faux succulents among the decorative elements, securing them firmly in place.